LawrenceSA
New member
<span style="color:rgb(0,0,0);font-family:verdana, geneva, lucida, 'lucida grande', arial, helvetica, sans-serif;font-size:13px;">I put this post together initially on the local VW Club forum I am a member of as this was one of the club member's cars I detailed.
<span style="color:rgb(0,0,0);font-family:verdana, geneva, lucida, 'lucida grande', arial, helvetica, sans-serif;font-size:13px;">I have removed the links to that forum and have tried to give credit where it was due, and may have 'paraphrased'? in my summary of things, but am not trying to claim his process as my own - more just trying to educate my fellow dubbers, so I hope 'no harm done'.
<span style="color:rgb(0,0,0);font-family:verdana, geneva, lucida, 'lucida grande', arial, helvetica, sans-serif;font-size:13px;">_________________________
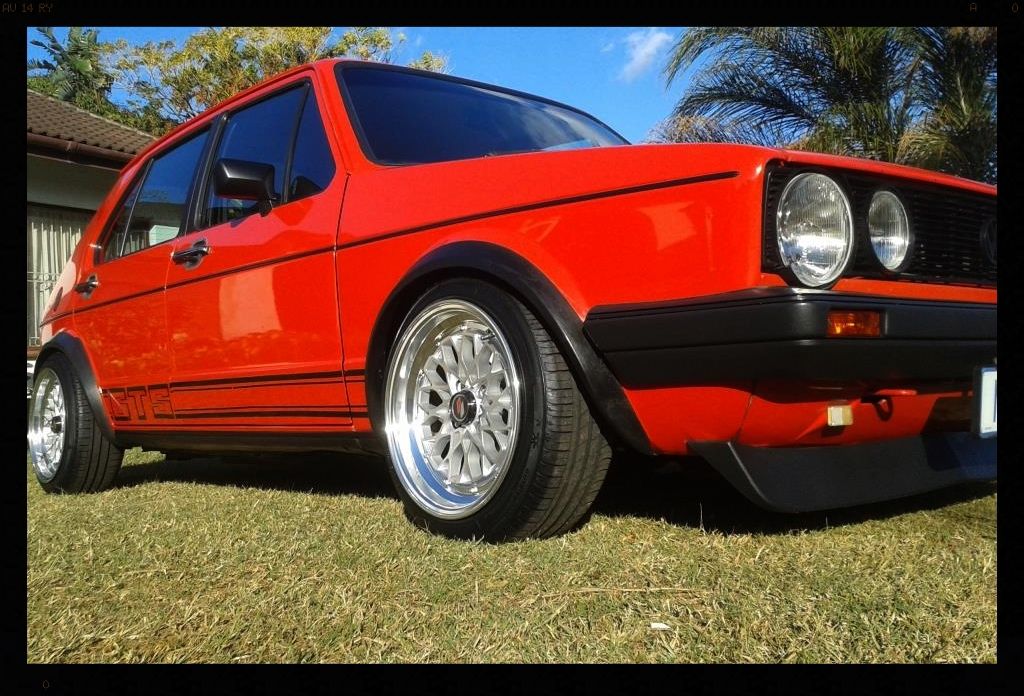
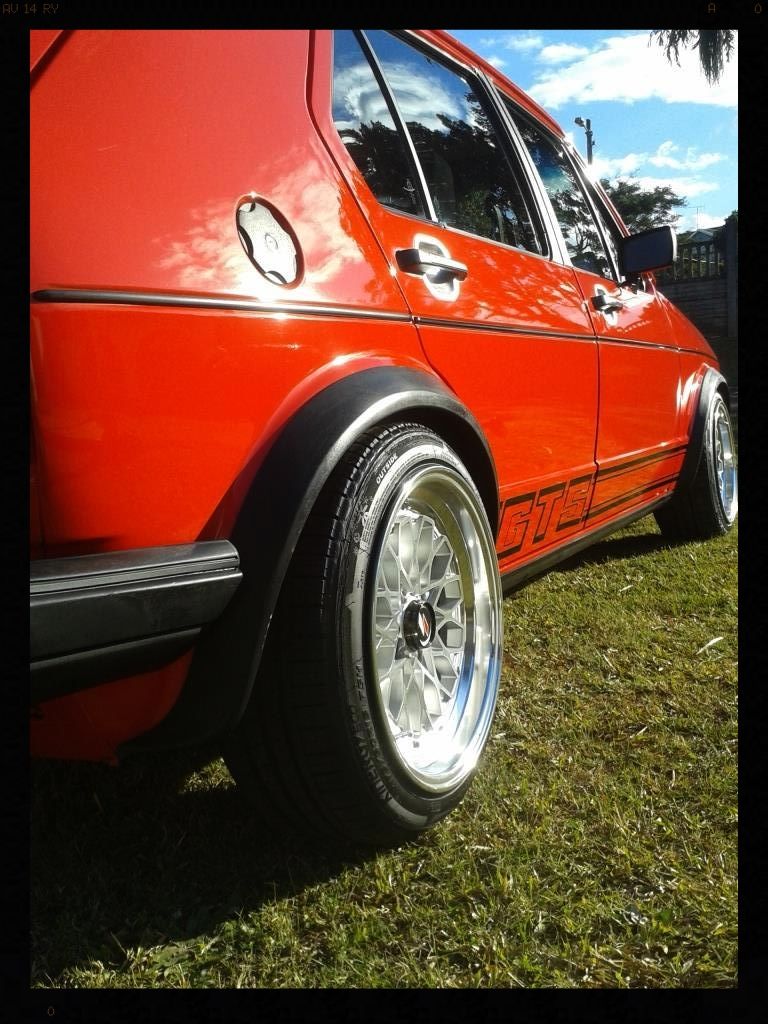
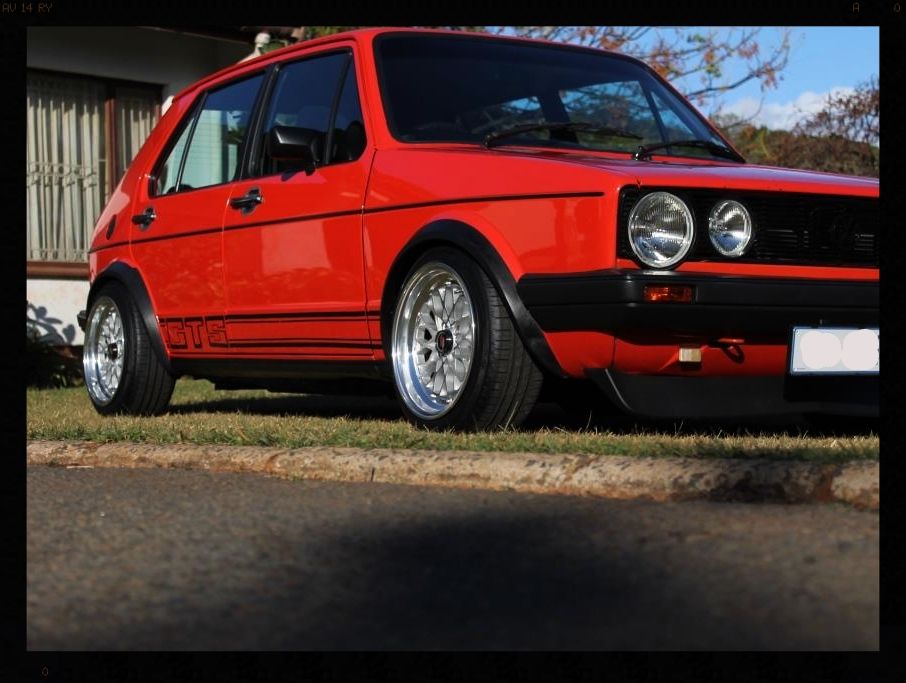
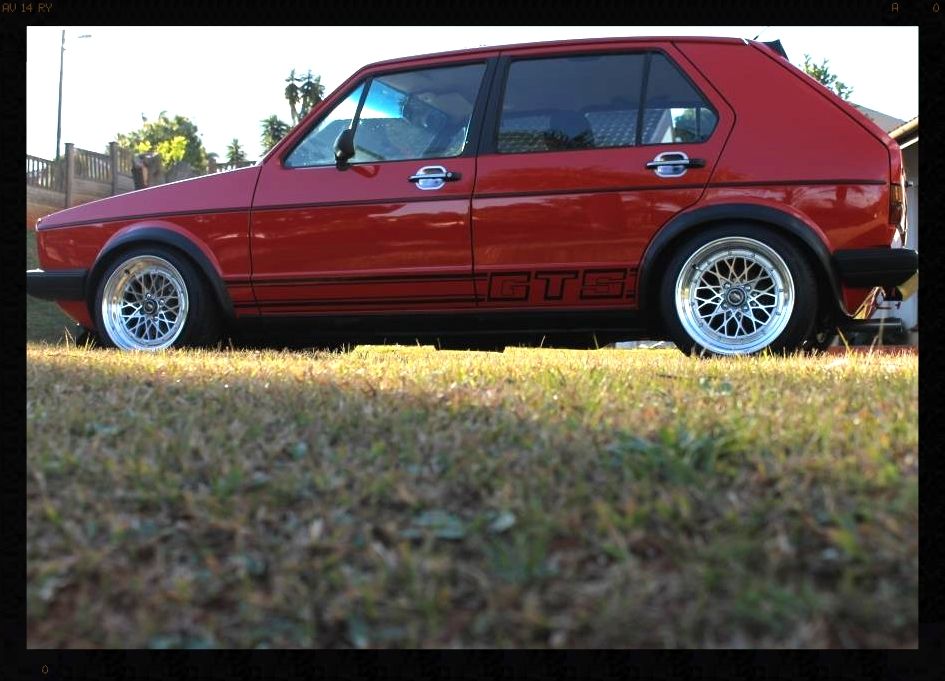
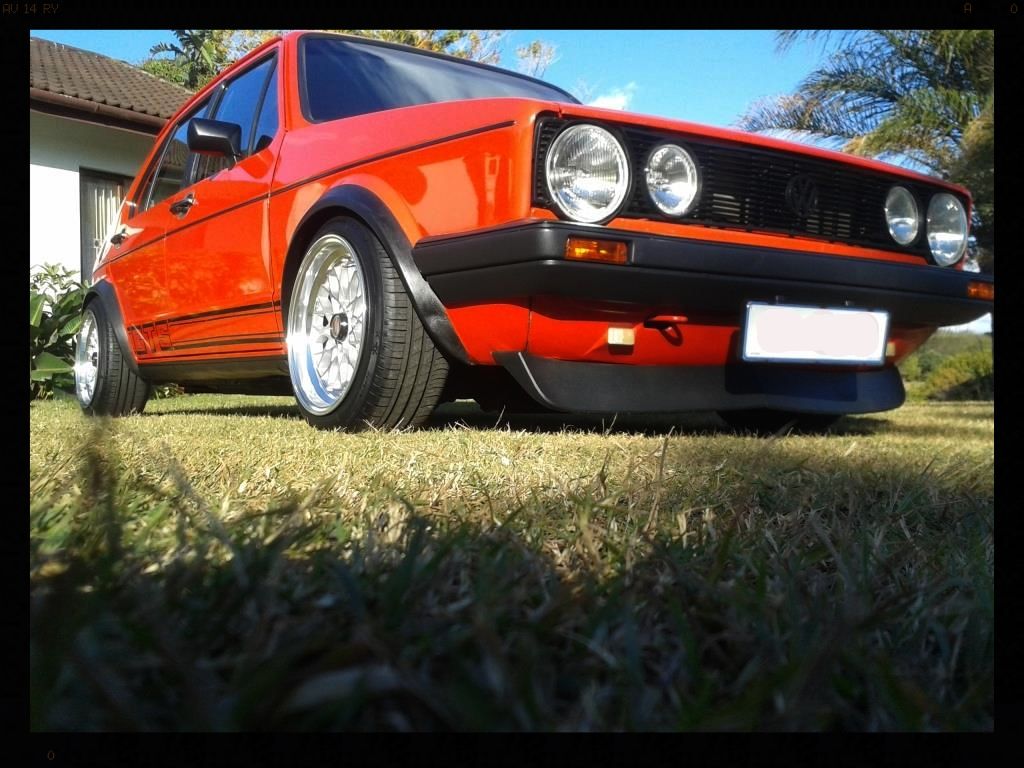
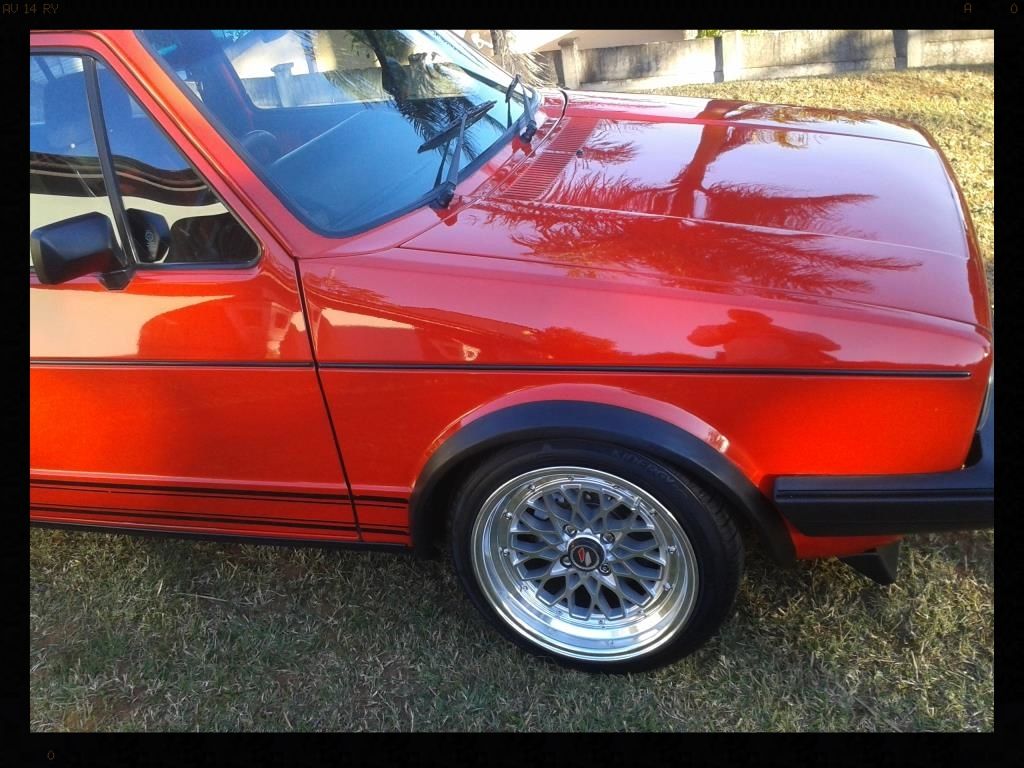
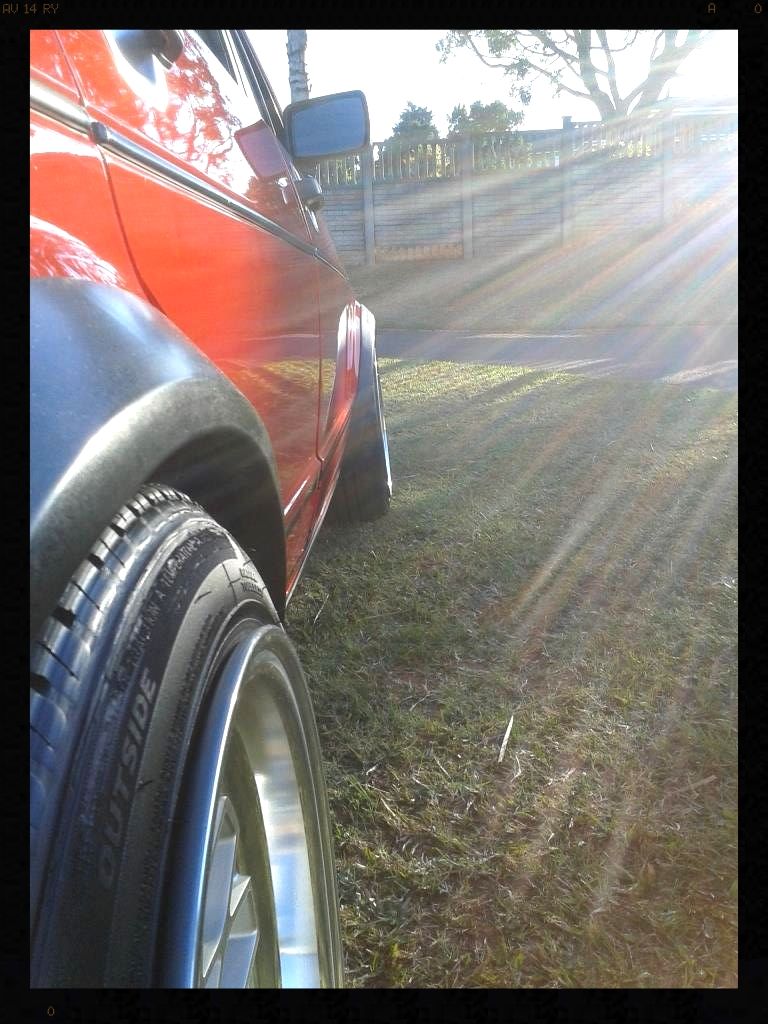
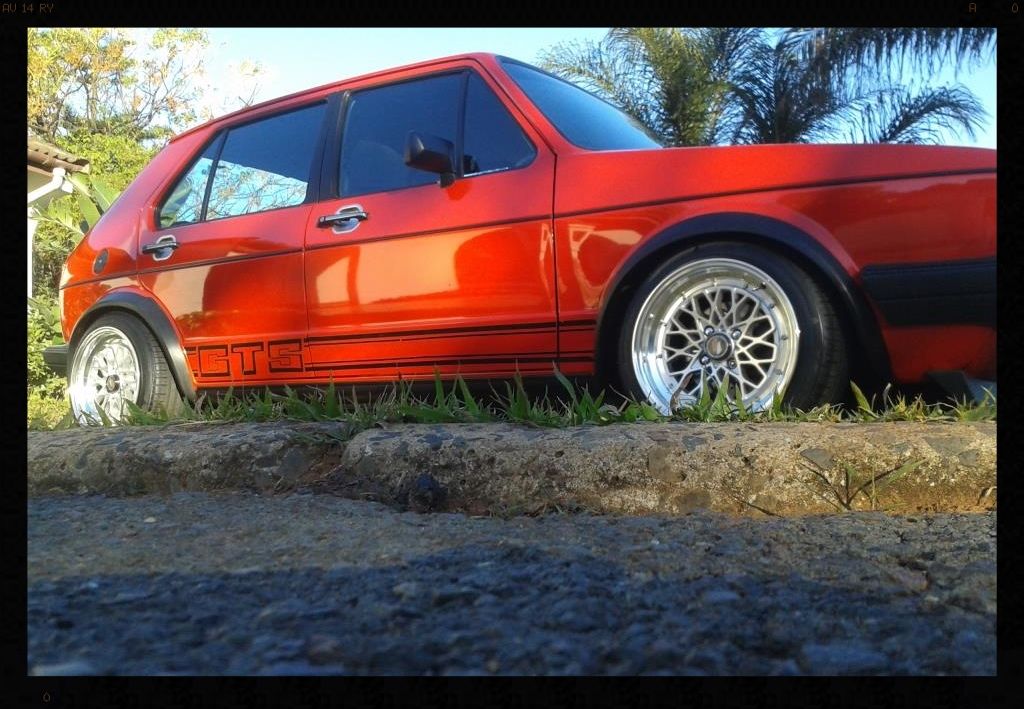
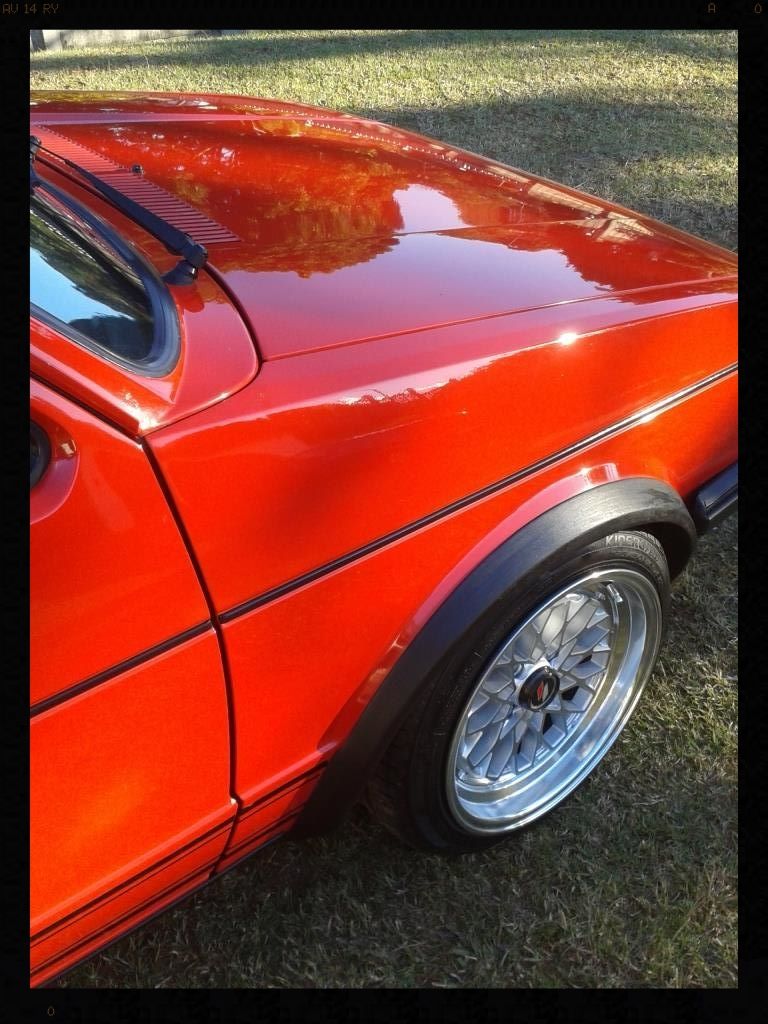
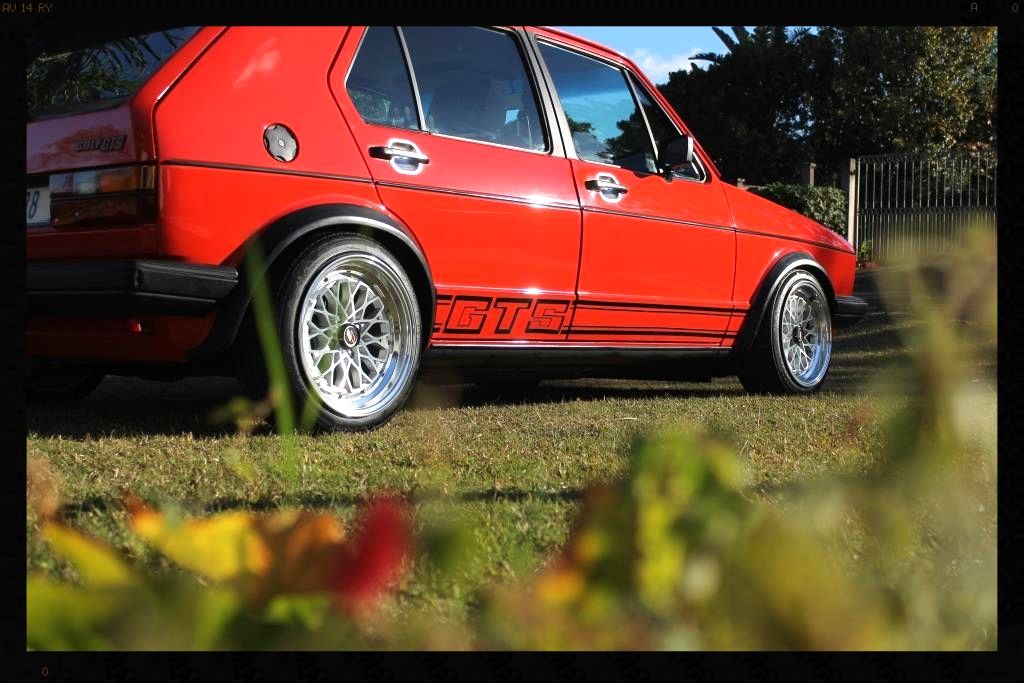
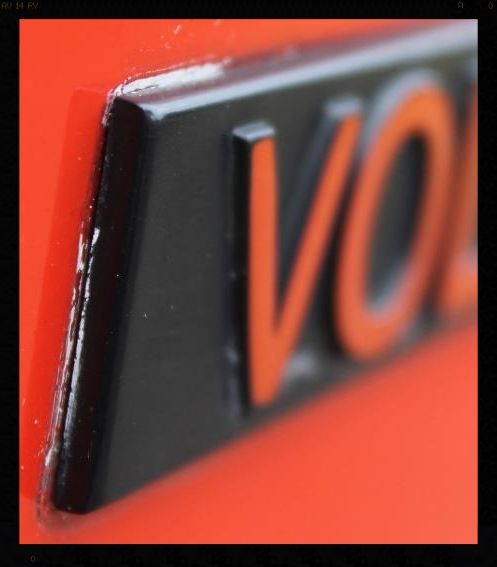
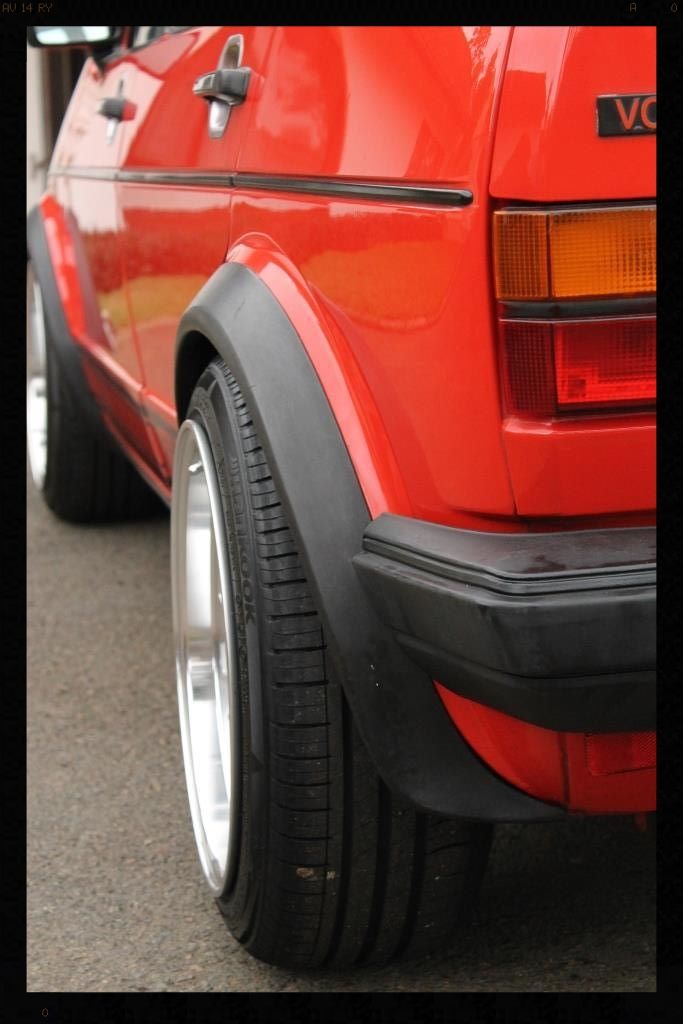
I had been looking forward to this detail ever since it was booked in the better part of 6 months ago, not only because the car is still wearing it's original 30 year old single stage paint, but also because I simply love this little car.
How can any dubber not?

The car belongs to club member slownick. Here is the rides thread *link removed*
So.... firstly, I must give credit to Mike Phillips (ex Meguiars, currently at Autogeek) who compiled the most comprehensive guide on dealing with single stage paint, <span>that matters to you. , without which too many a caveman would hack up this delicate paint, by applying modern approaches on something older than some of them. It was an invaluable source of information. Thank you. Here is the link to the thread should anyone want to read it http://www.autogeekonline.net/forum/ask-expert-featuring-mike-phillips/25304-secret-removing-oxidation-restoring-show-car-finish-antique-single-stage-paints.html. It focusses on single stage metallic paint but the principles are the same.
Single stage paint is effectively the base color (red in this case) with no clear coat on top if it. This is how older cars were painted, and in fact how some still are. The problem with these paints is that they are prone to oxidation (where the sun's UV rays break down the pigment in the paint) fading the color and turning it a chalky white kind of color. Red fades to orange to pink to white for example - by the way, red is the color most prone to oxidation because red is at the opposite end of the light spectrum to Violet and thus 'absorbs' all Ultra Violet Rays' energy from the sun.
Manufacturers eventually changed to the modern base/clear system to mitigate oxidation by introducing the harder clear coat on top of the base coat. The downside is that these paints are more 'scratch sensitive' and their 'issue' is thus swirl marks (very fine scratches) which make the paint look dull through the refraction of light. Single stage paint still gets swirls inflicted (as you will see later), but usually the oxidation is the first thing you will notice making the paint look dull.
Single stage paint is also a lot more porous than moder base/clear coats (Polony/Strat can tell you just how much rater a modern car's paint can absorb) and so it is able to suck up any oils you feed it via capillary action, either through a wax or something like Meguiars #7 and this is where the real trick comes in when dealing with these old paints.
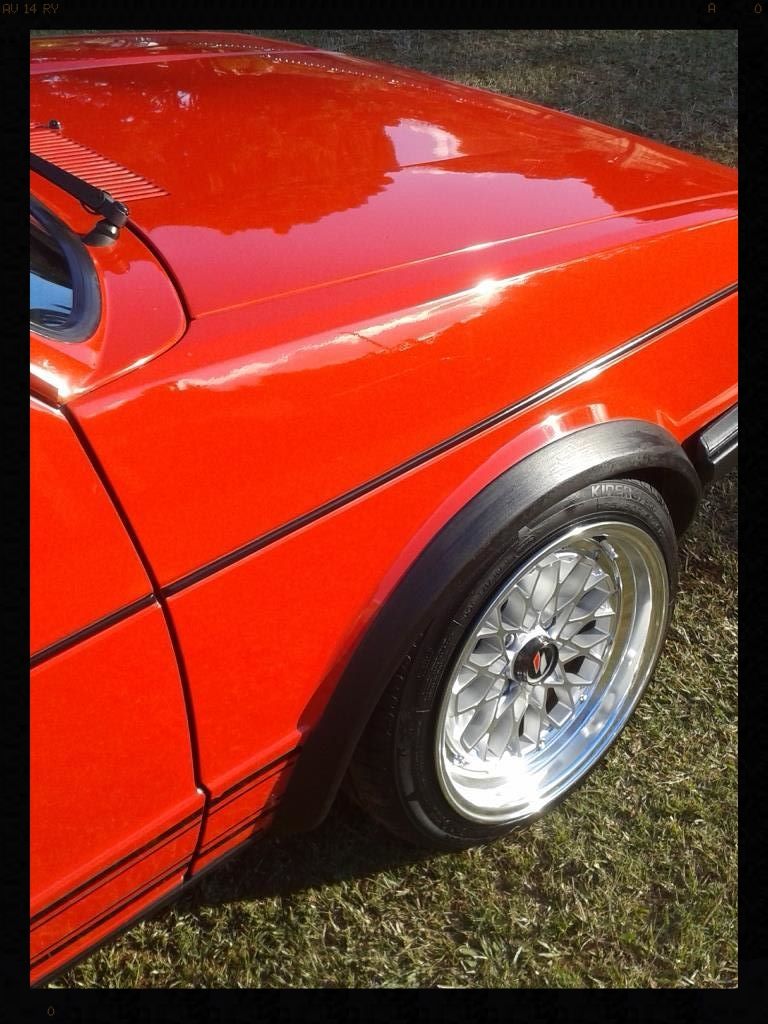
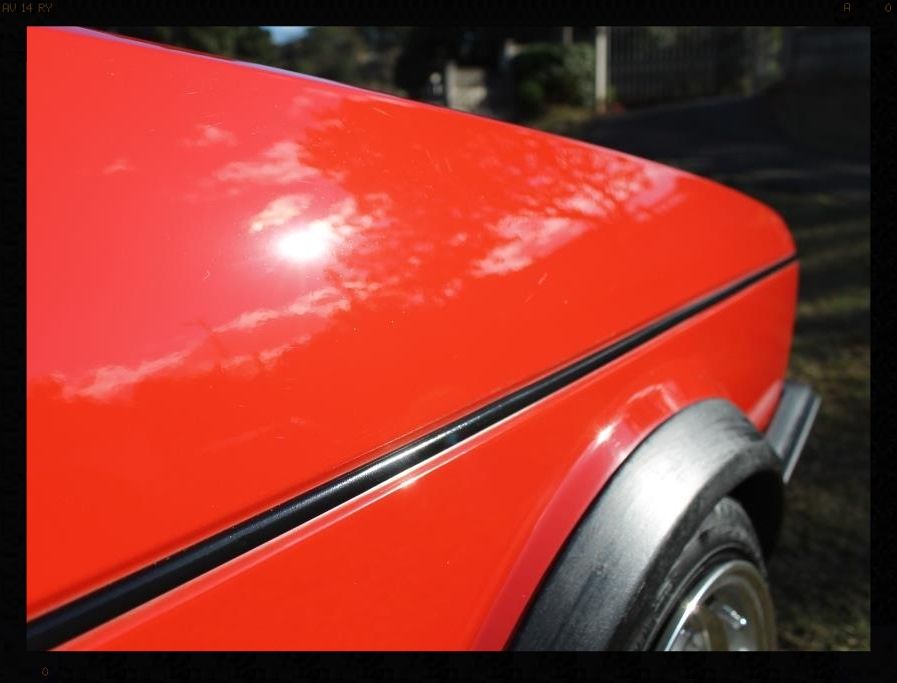
By first gorging the paint with oils you 're-hydrate' it and this means that you get to polish paint which is less 'powdery' and so you land up removing LESS paint, reducing the chance of having to re-spray the car which, IMO on an old beauty like this, would be sacrilege - I know the owner feels the same way. Some caveman (or many a caveman?) has unfortunately burnt through 2 spots on the bonnet, presumably by simply climbing in with the polisher on 'delicate/brittle/dry/powdery' paint, and obviously showing no regard for the raised edges.
So this wasn't to be the normal type of detail for me and so the car was detailed over 2 full weekends and during the week after work in between them. It was a lot more work than I expected :lol: but a whole lot of fun.
Right.... let's talk about washing an old car like this....
Well.... DON'T...
Not the normal way anyway..... you see 2 bucket washes, HP rinses and flooding the car will on drive water into place where it will sit and eventually turn to rust.... so instead a 'rinse-less' wash is the way to go. Think of it liking wiping the car clean instead of washing it. BUT, you use the correct products and process. You can't just grab any old rag and a bucket of water.
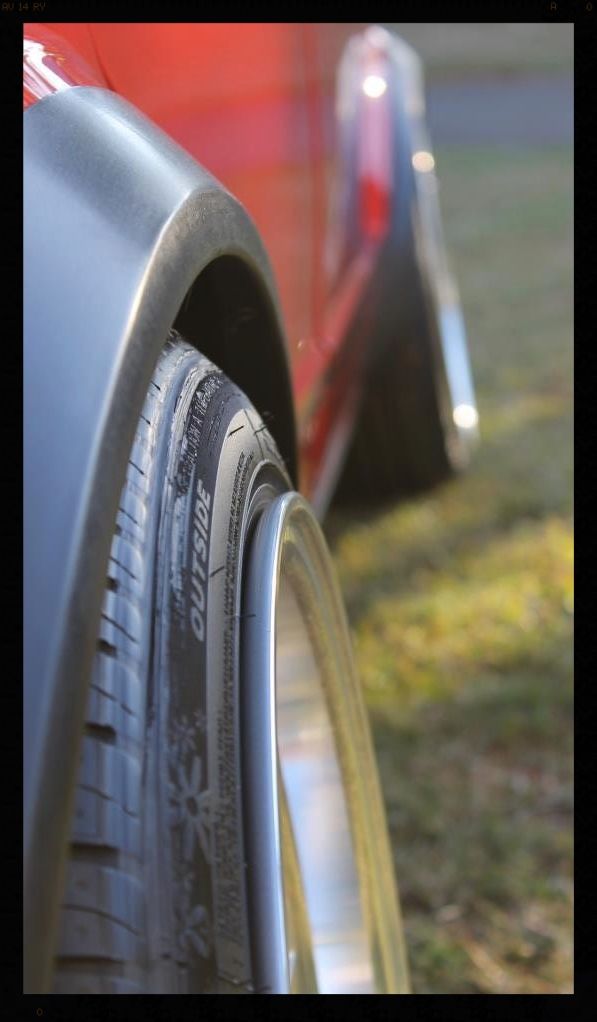
Now the first thing to understand is the dirtier the car, the more likely this method will inflict swirls, so you will need to perform this 'wash' more often, which really shouldn't be a problem because it is so quick to do. I took me around 20 minutes to do the car including the wheels, which weren't really dirty to start with.
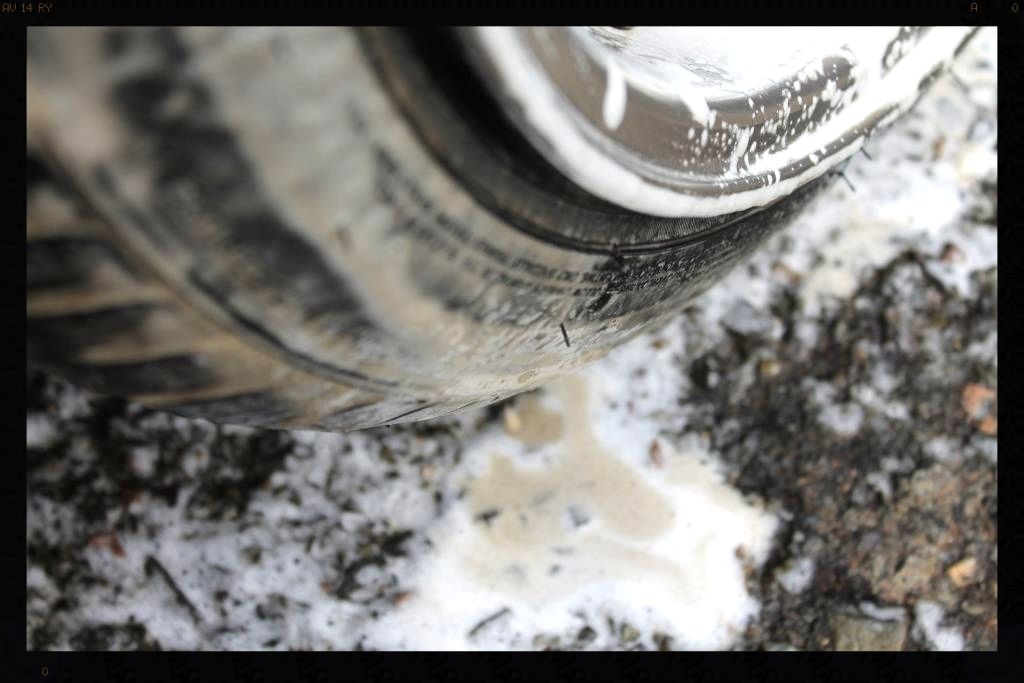
But did need a good tire cleaning
So how do you do it....
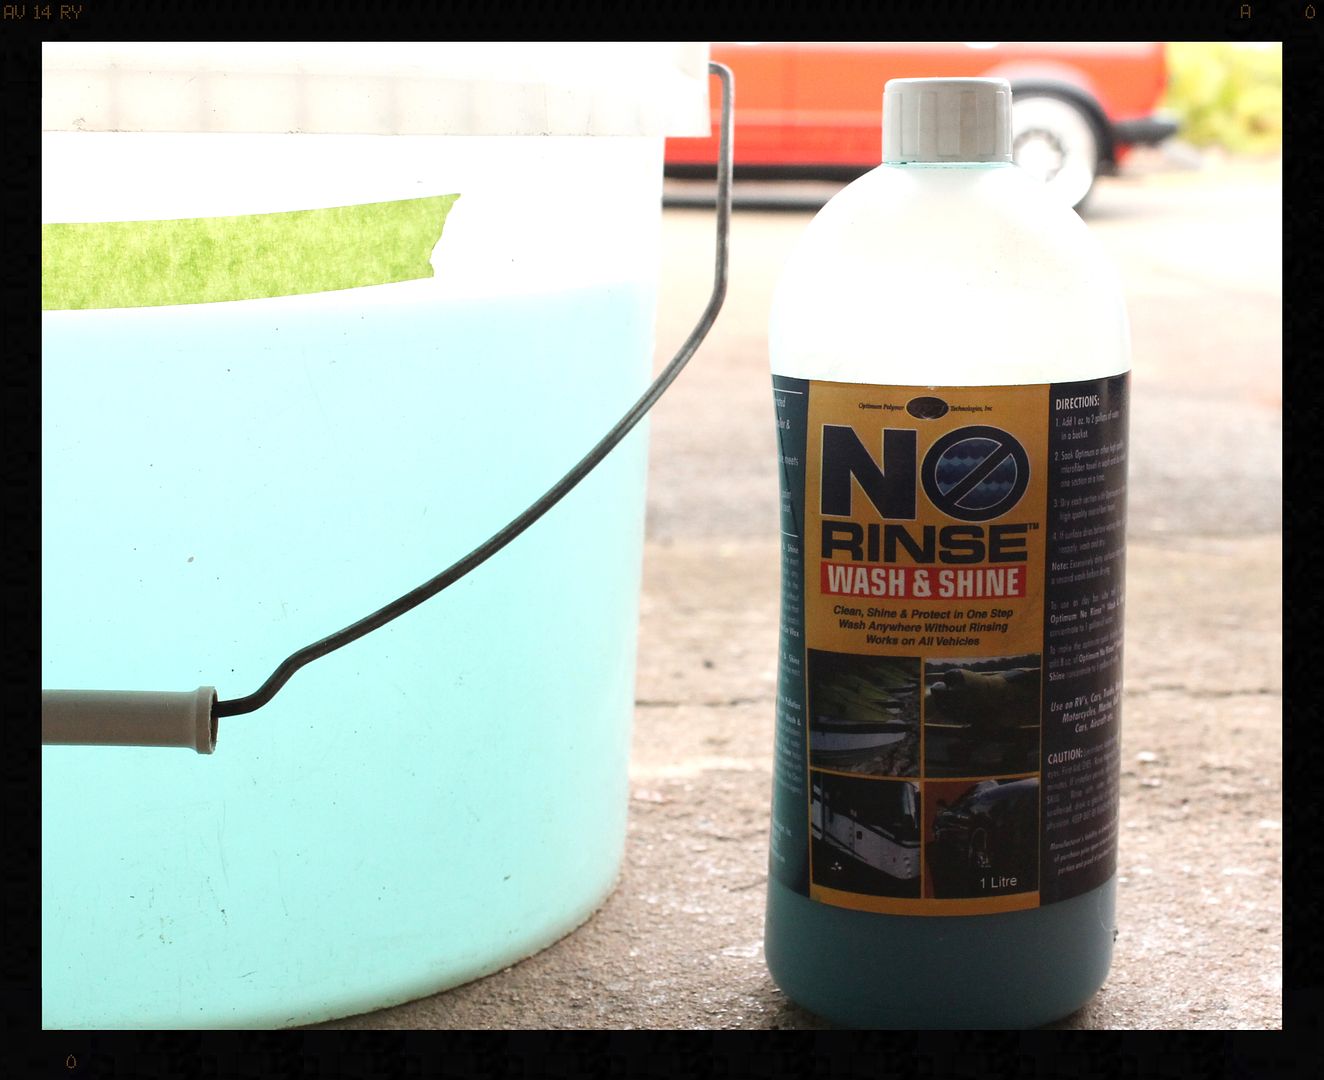
You get a bucket, ideally with a seal-able lid. You mix up a solution of your rinse-less wash of choice - in this case it was Optimum No Rinse. The dilution ratio is 1 ounce of No Rinse Wash & Shine to 2 gallons of water, or for us, 30ml to 7.5l
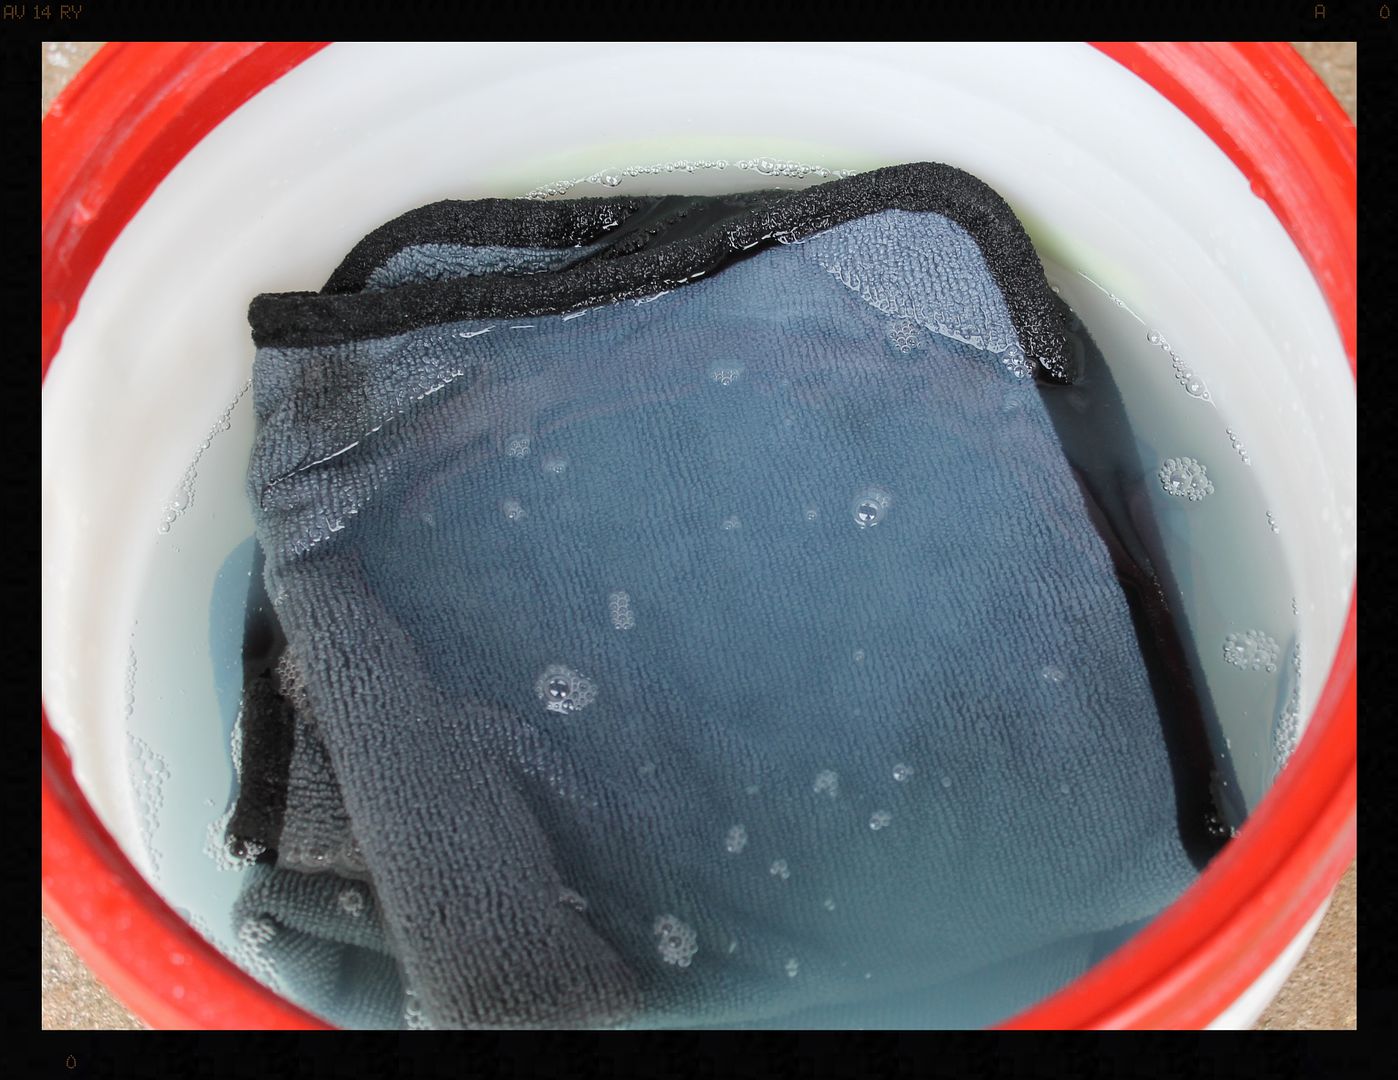
Then you put some MF Towels in - I used 14 for this car - put the lid on (so no dirt gets in) and let them soak overnight [this only takes a few minutes to do]
Then when you are ready to wash the car, simply grab one of the towels out your bucket, give it a little squeeze to get the bulk of the water out and fold it half then fold it again. Moving from the top of the car down work your way around the car, changing out to a new towel after you have dirtied each clean side of the towel (by folding in half and then in half again you effectively get 8 clean sides to the towel). Only wipe one short stroke with each clean side of the towel so you don't re-grind dirt back into the paint.
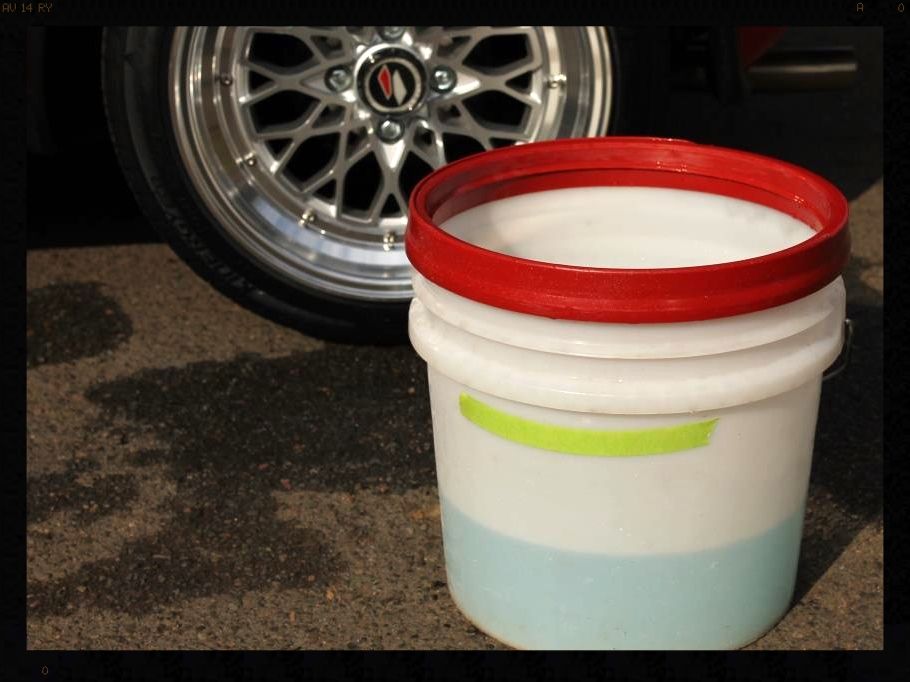
This is how much solution I used to clean the car.
You can also spray some pre-mixed solution onto the car via a spray bottle to further 'lubricate' the surface, should you want to.
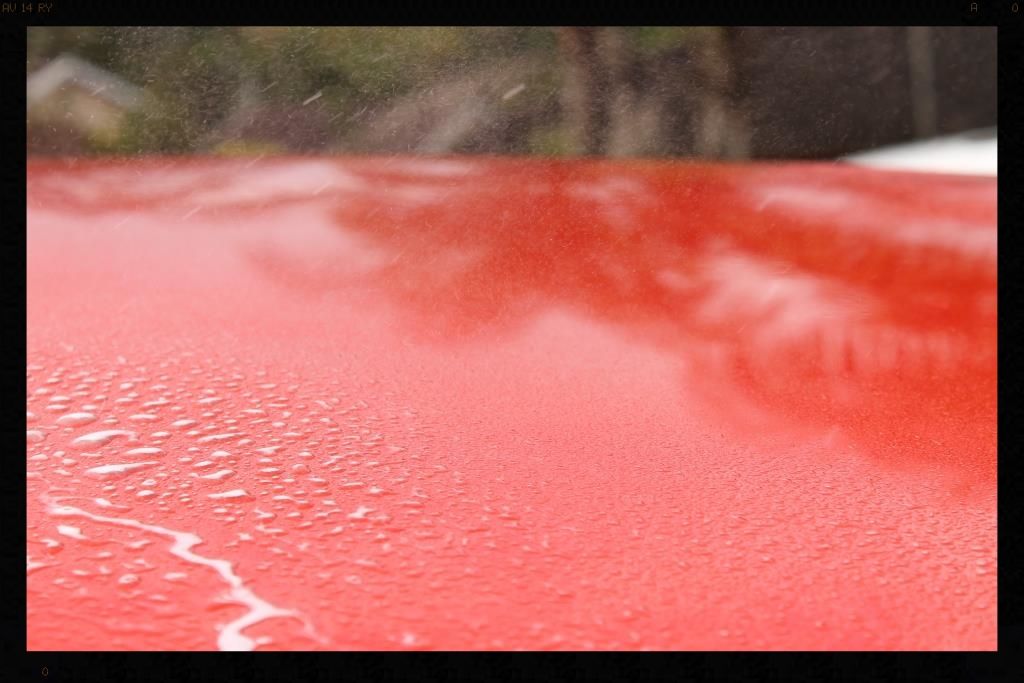
But let's back up a little and see what the general condition of the car was
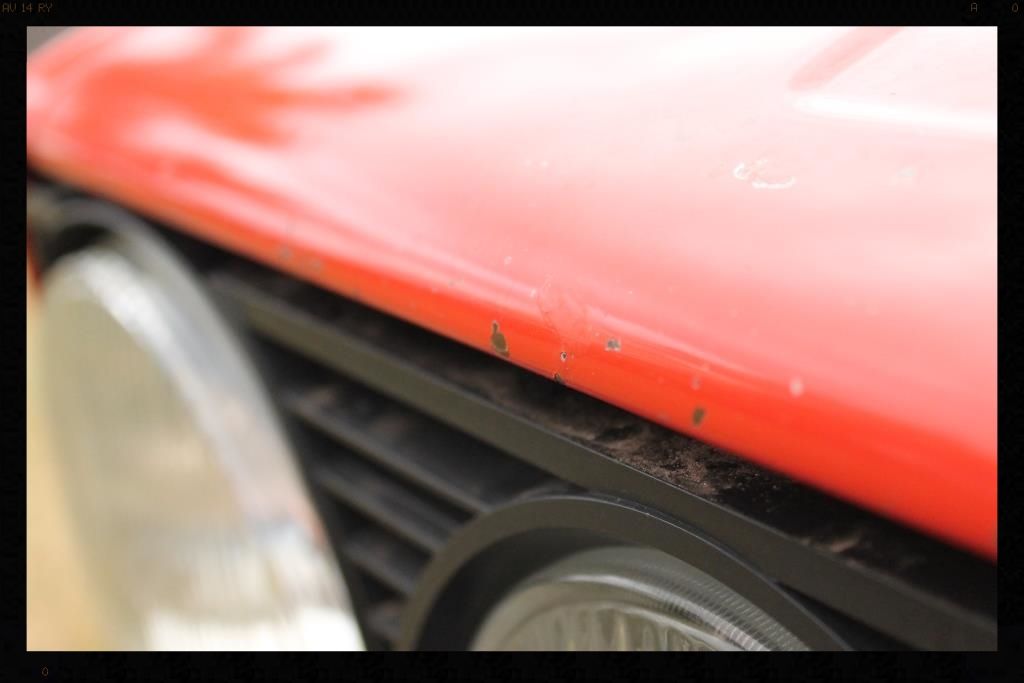
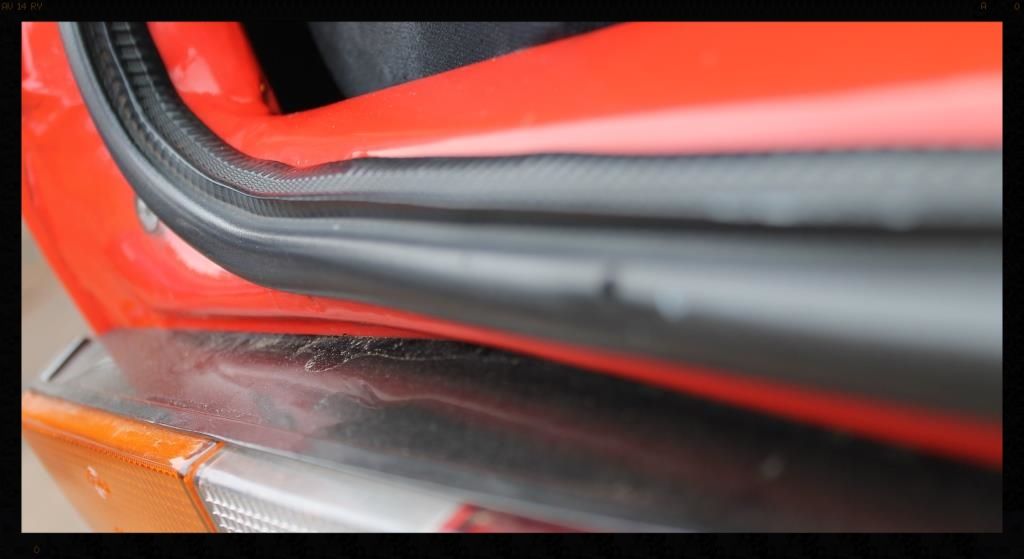
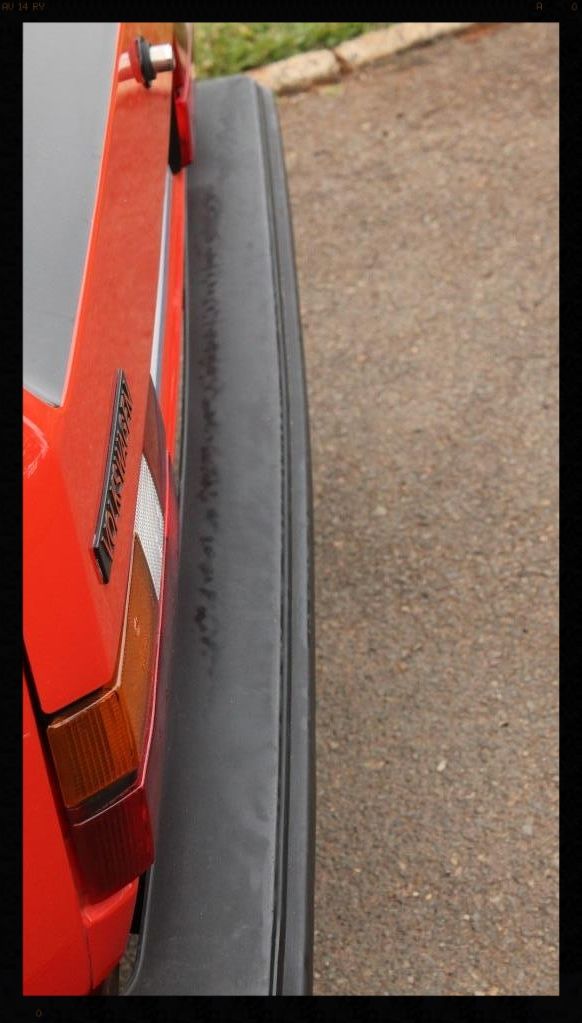
Some battle scars
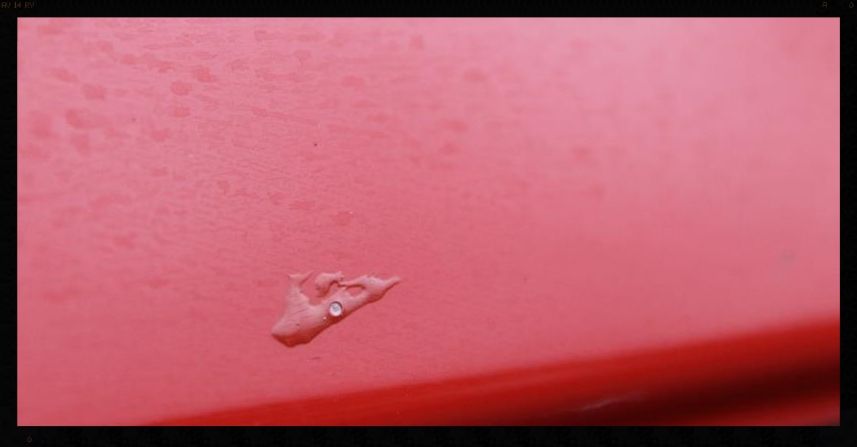
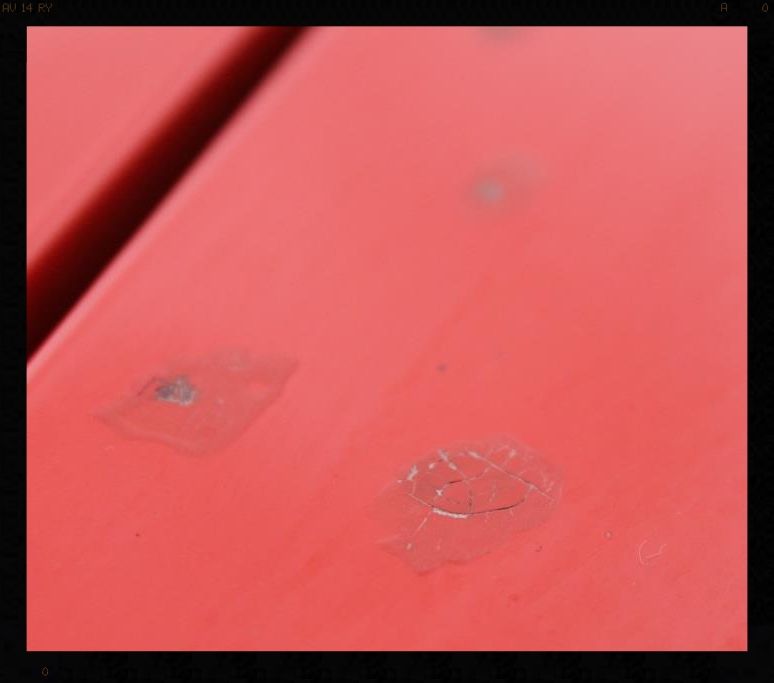
A little bit of dirt
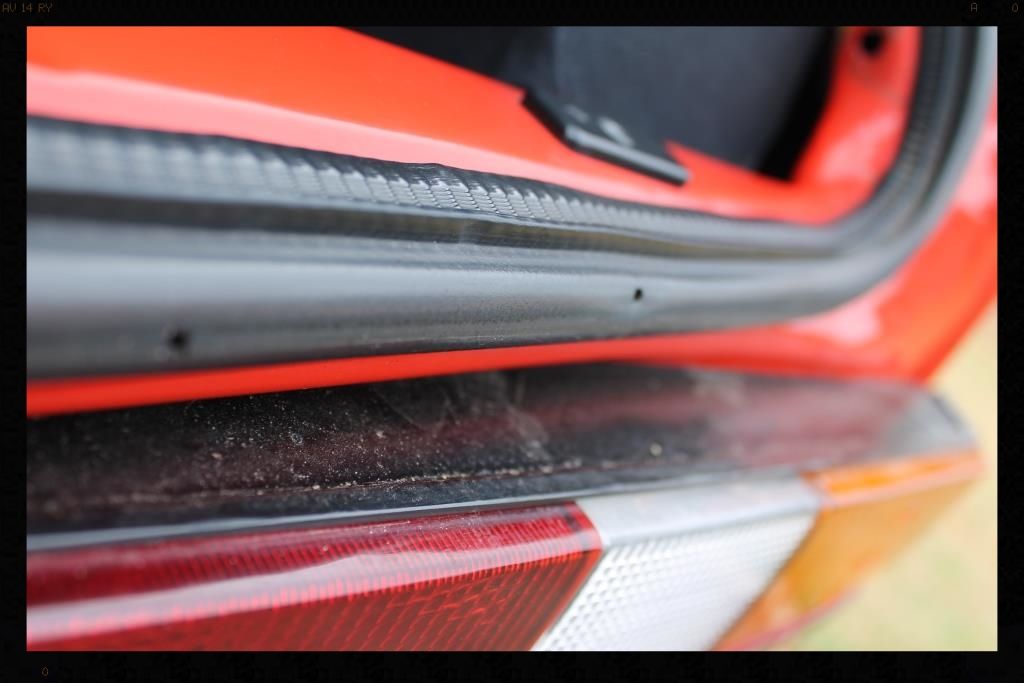
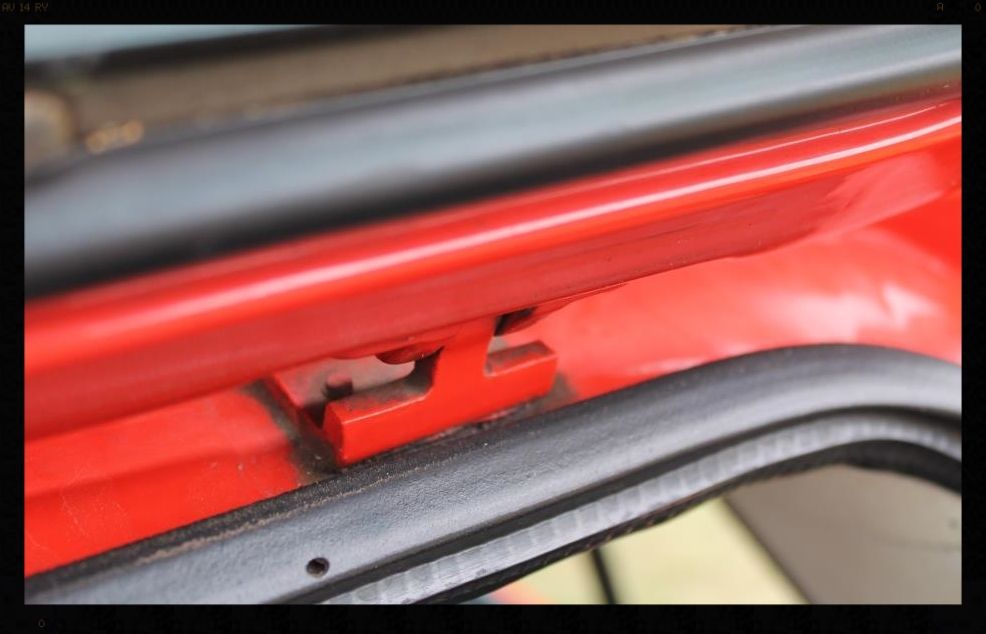
Wax in the cracks
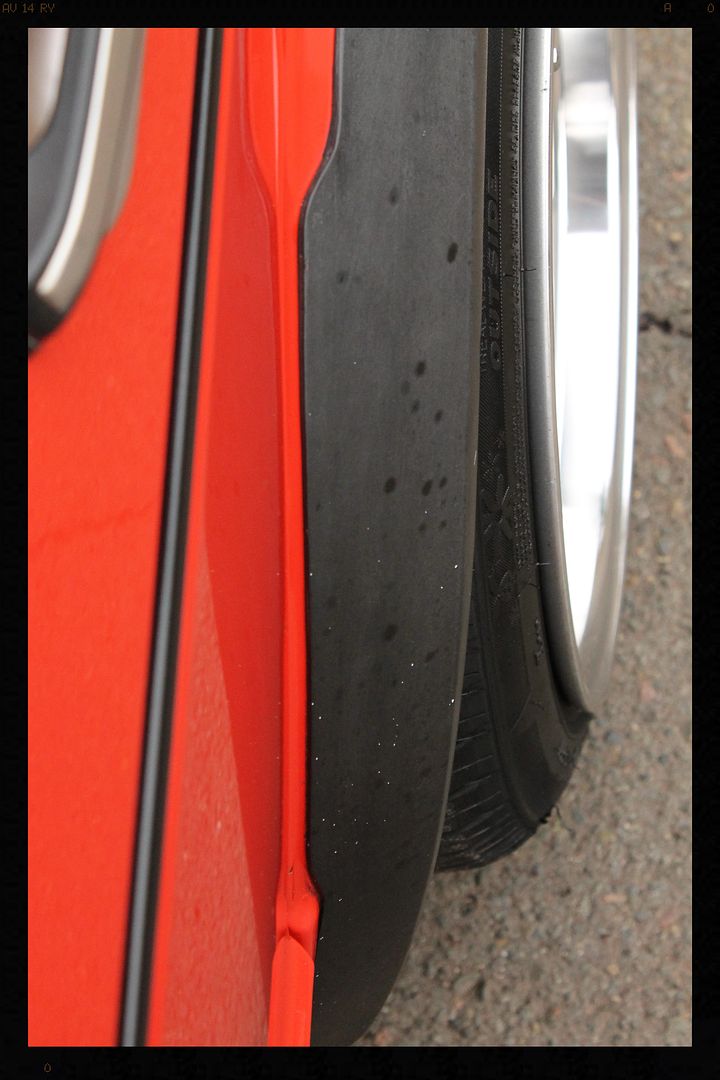
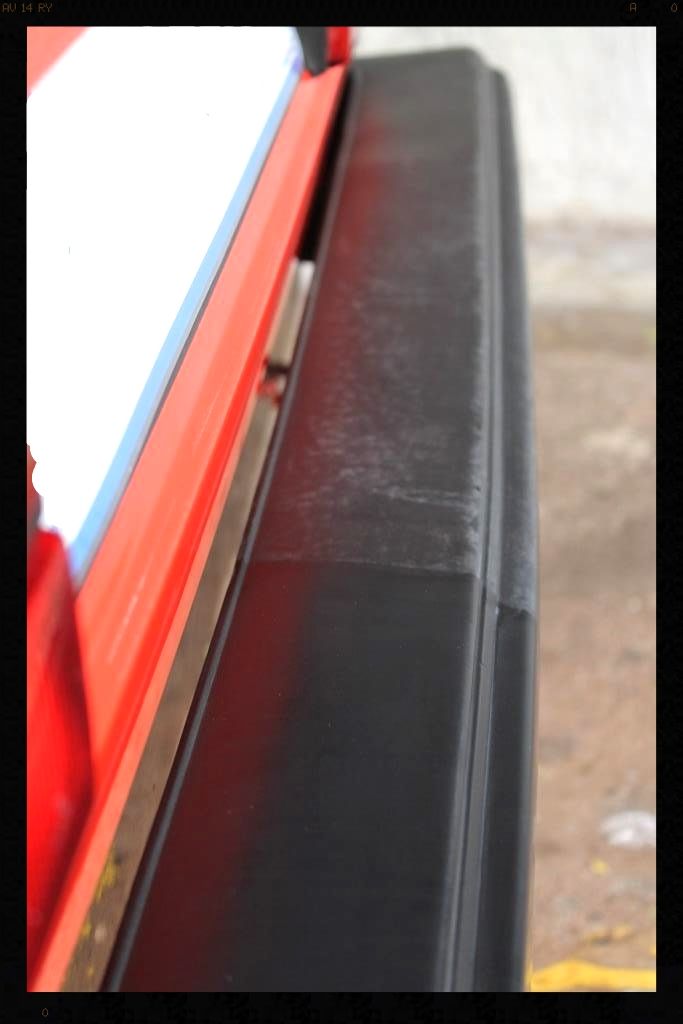
And some faded bumpers that had 'splotches' of what may have been a silicone dressing
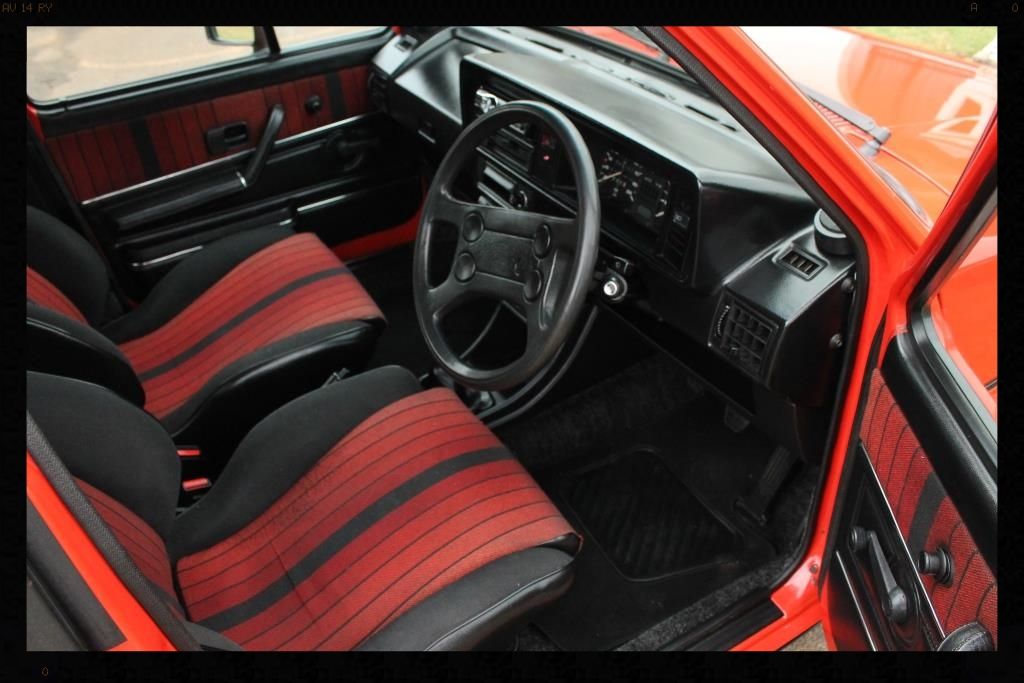
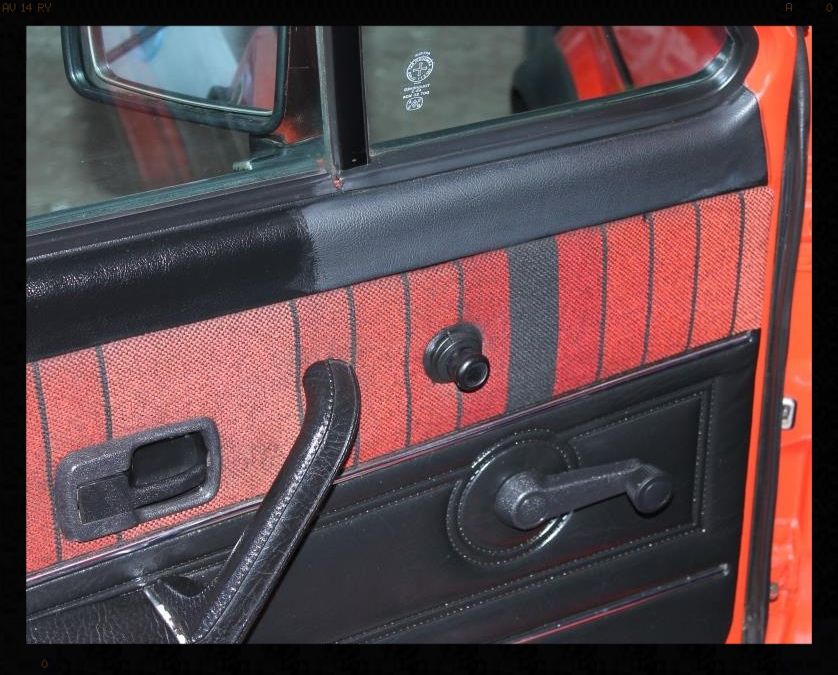
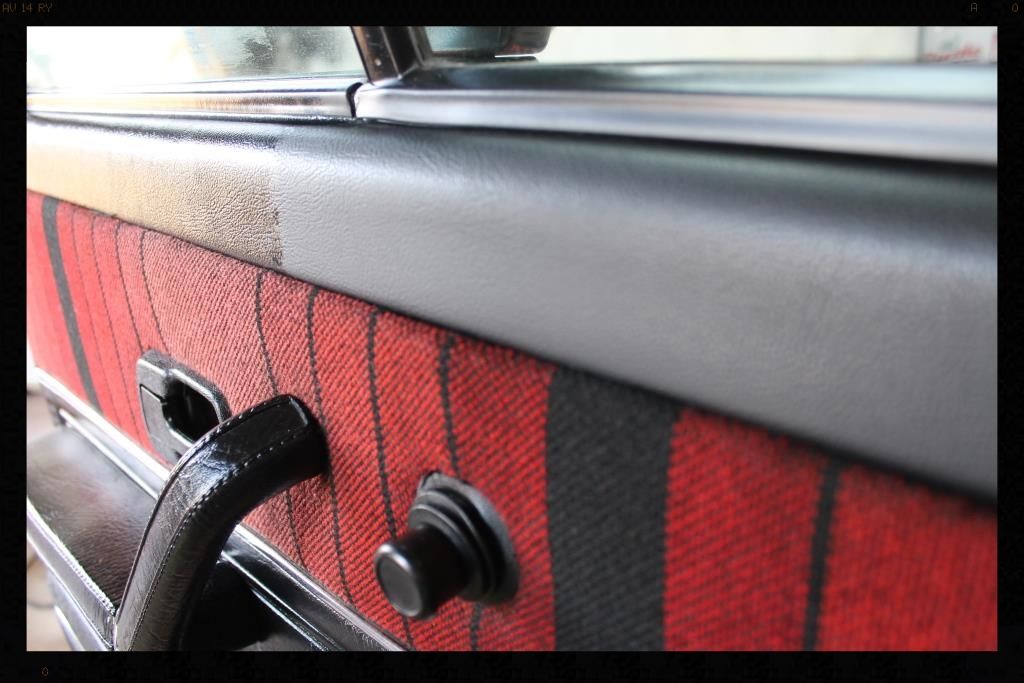
So after giving the outside a rinse-less wash it was time to start cleaning up the interior, which for the most part is really clean.
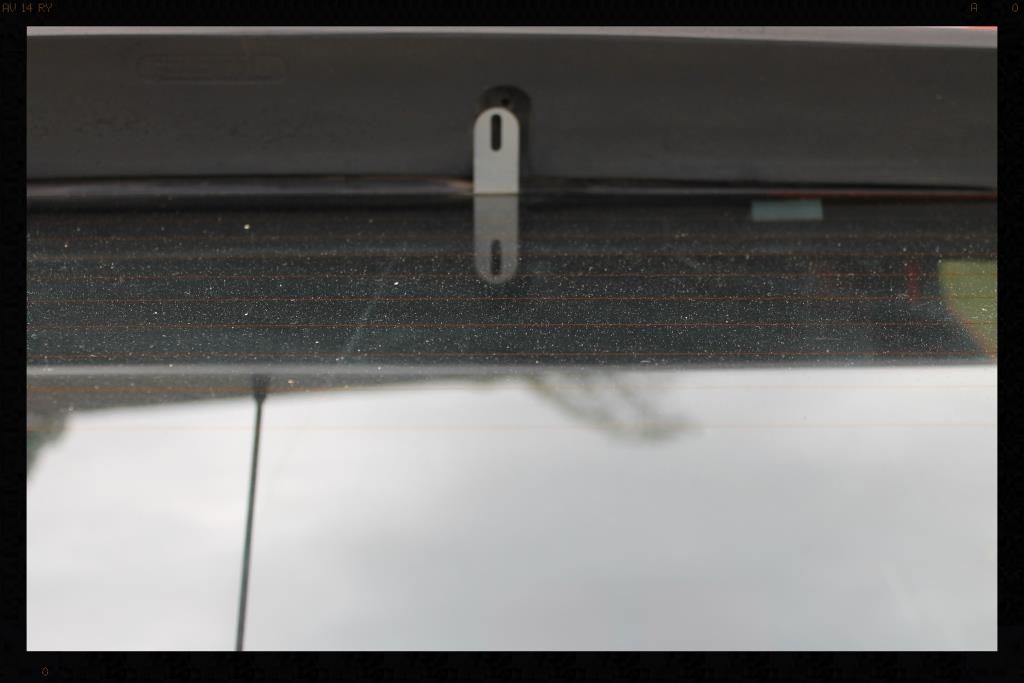
But upon closer inspection we find
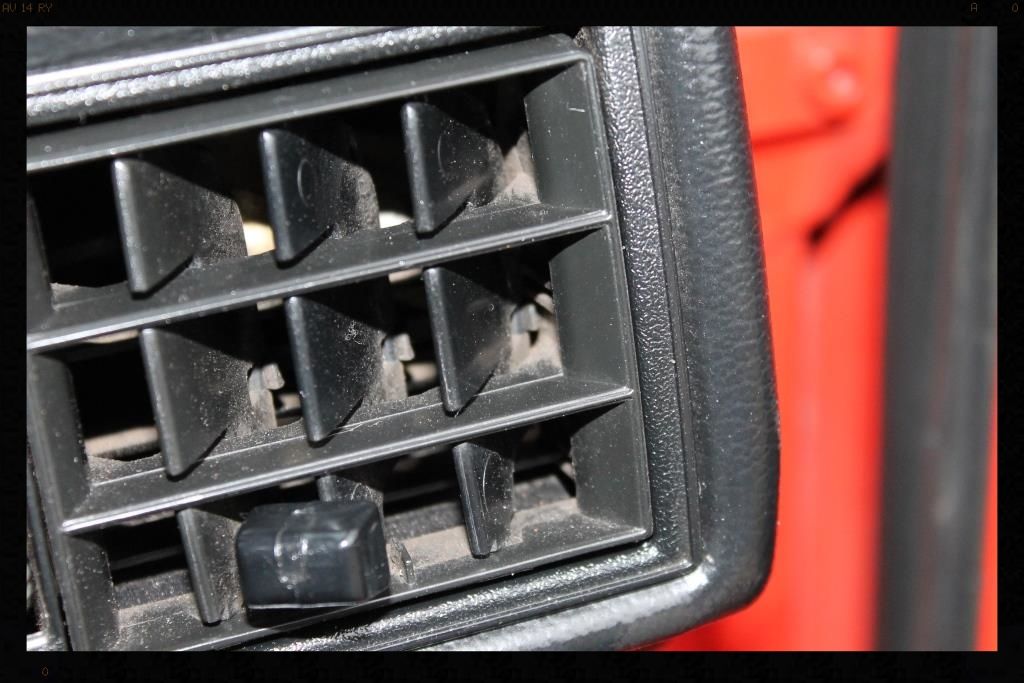
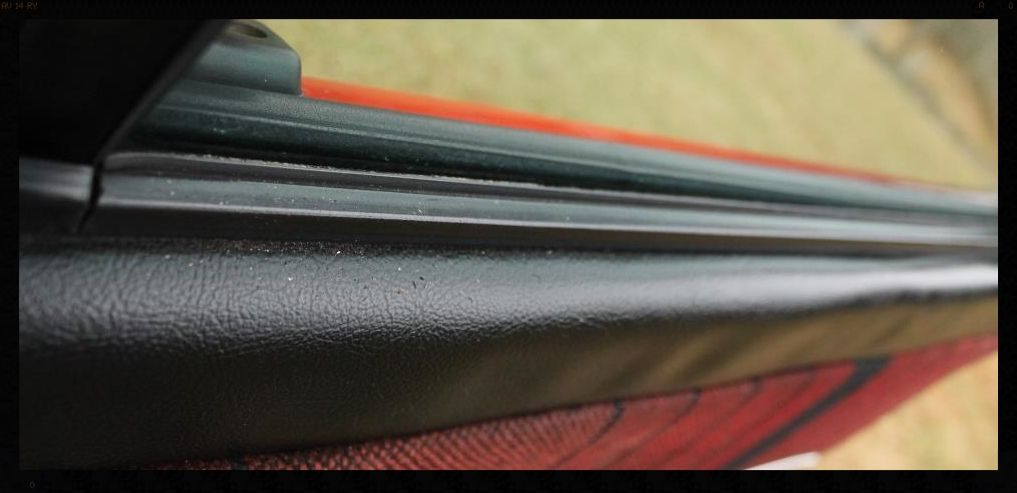
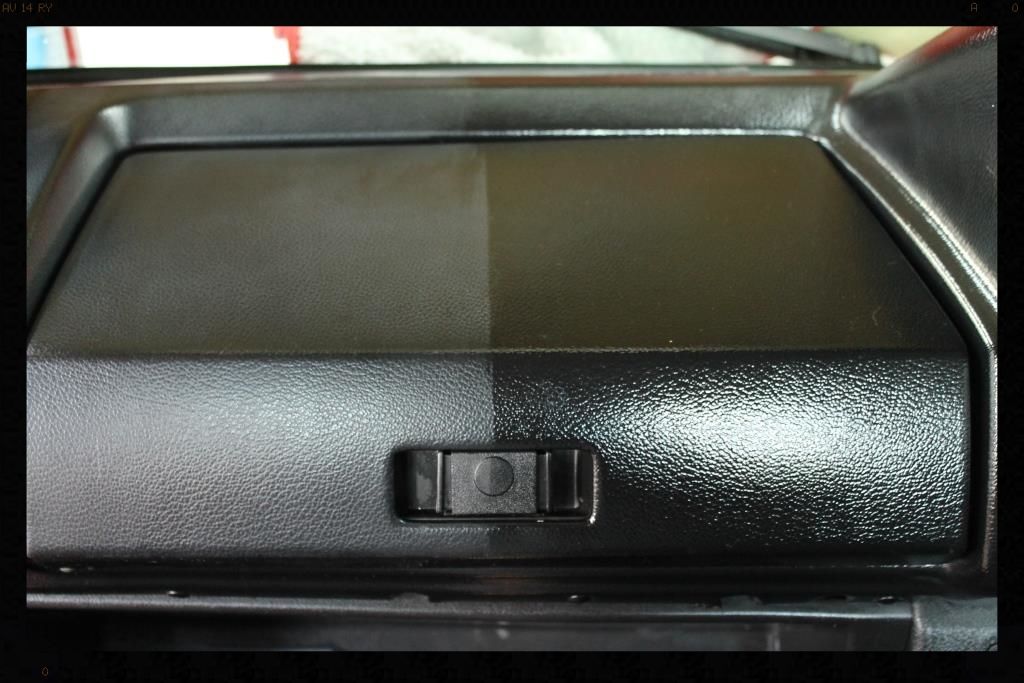
And looking even closer we see this horrendous shiny 'dressing' (I started cleaning it off on the right)
It was everywhere...
So with the inside and outside of the car now cleaned, it was time to start working in more earnest on the paint. I obviously did not use an iron remover (you need to rinse is extremely well and I did not want to introduce water to the car) or a tar remover (sticker kit would not have liked it, plus you should rinse off, again not something I wanted to do). So the only decontamination process was claying.
Now you can see the swirls under some focussed lighting
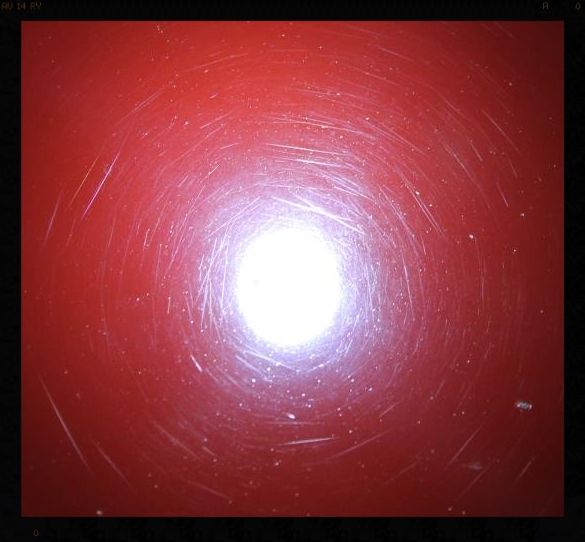
And some deep RIDS
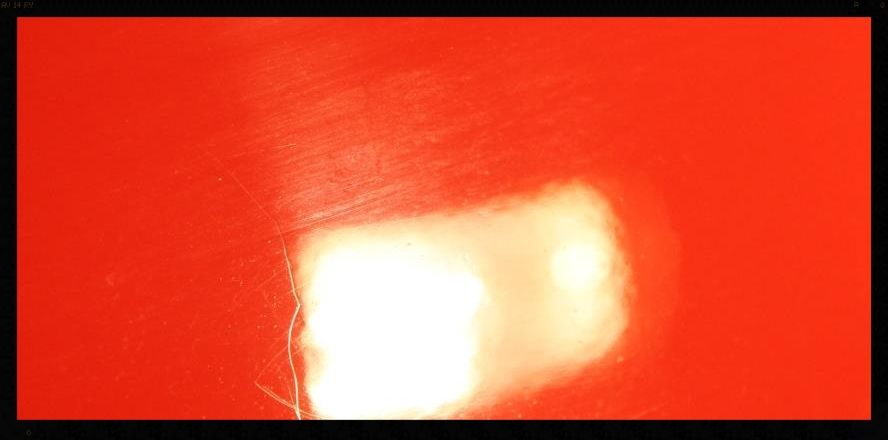
Once this was completed, it was time to start gorging the paint with oils....
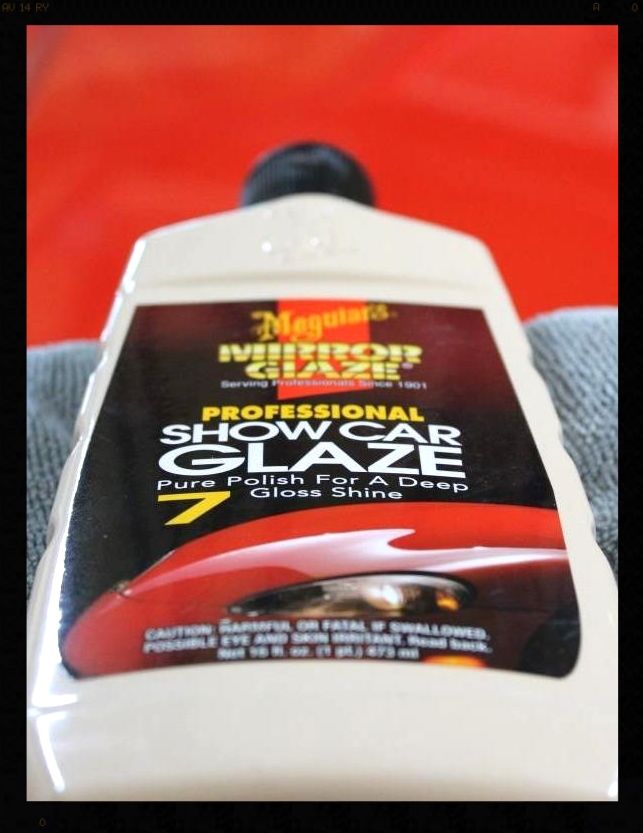
The weapon of choice.
So we know that applying #7 will feed oils into the paint via capillary action, but by changing the way in which it is applied, we can also remove part of the dead/oxidised layer of paint. If you use a terry towel which has a loop designed pile, these little loops will scrape the paint, removing it while you work #7 in. A MF Towel due to its design (more of a tuft of individual fibres) will be less aggressive, and given how little oxidation the car presented on arrival, I chose not to use the terry towel method but instead used short nap MF Towels)

Worked in with some passion
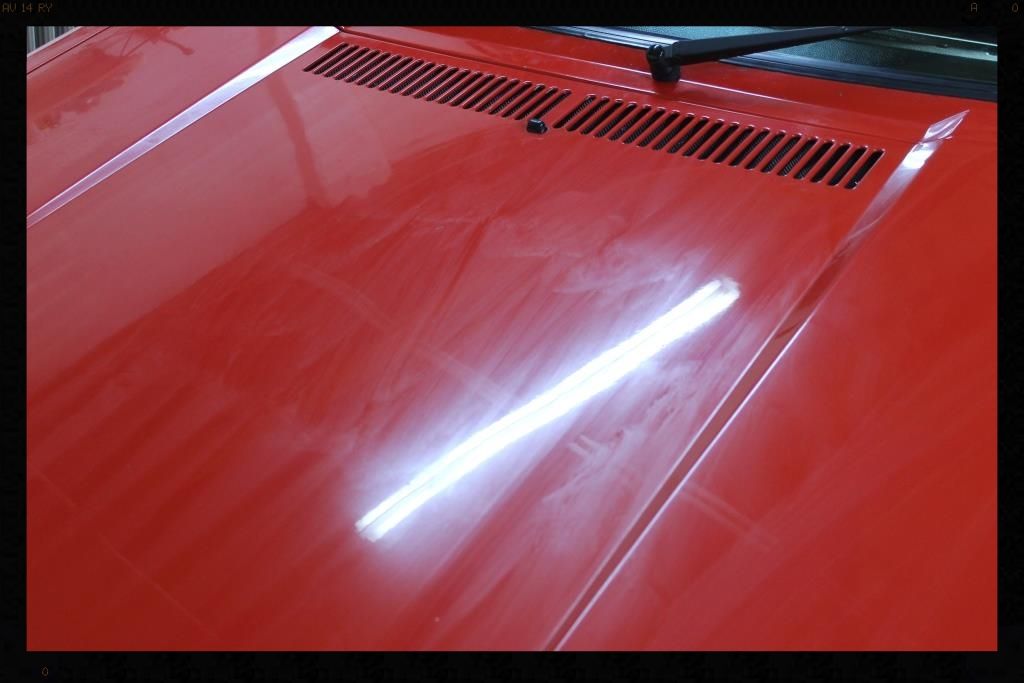
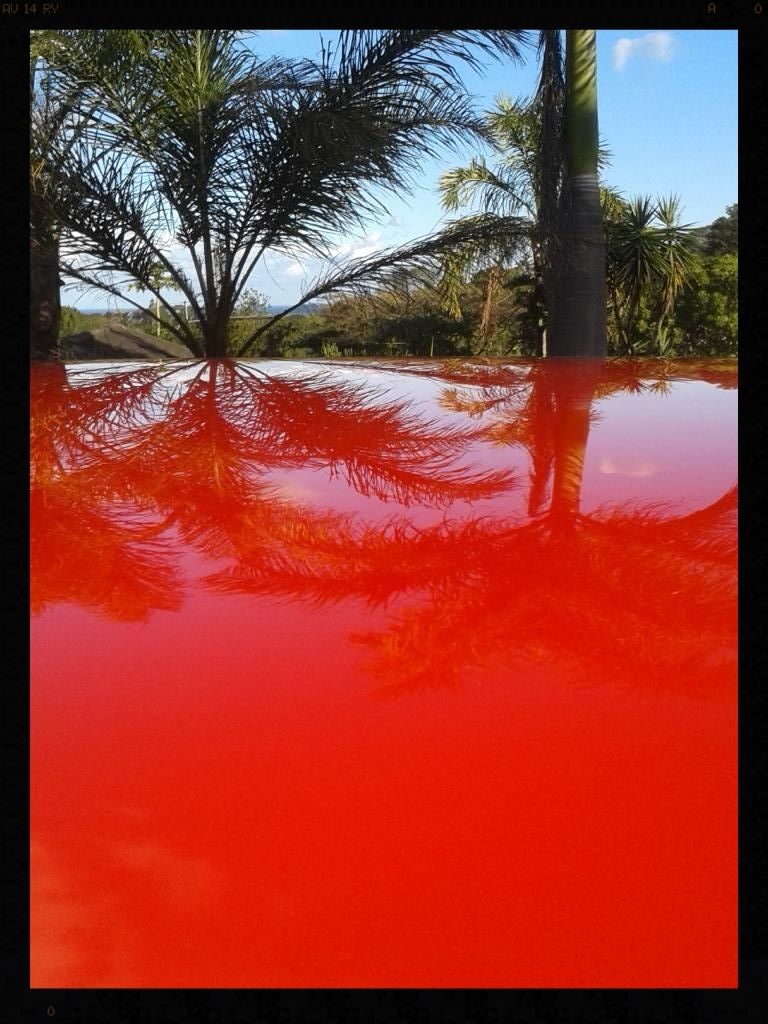
And this is the result
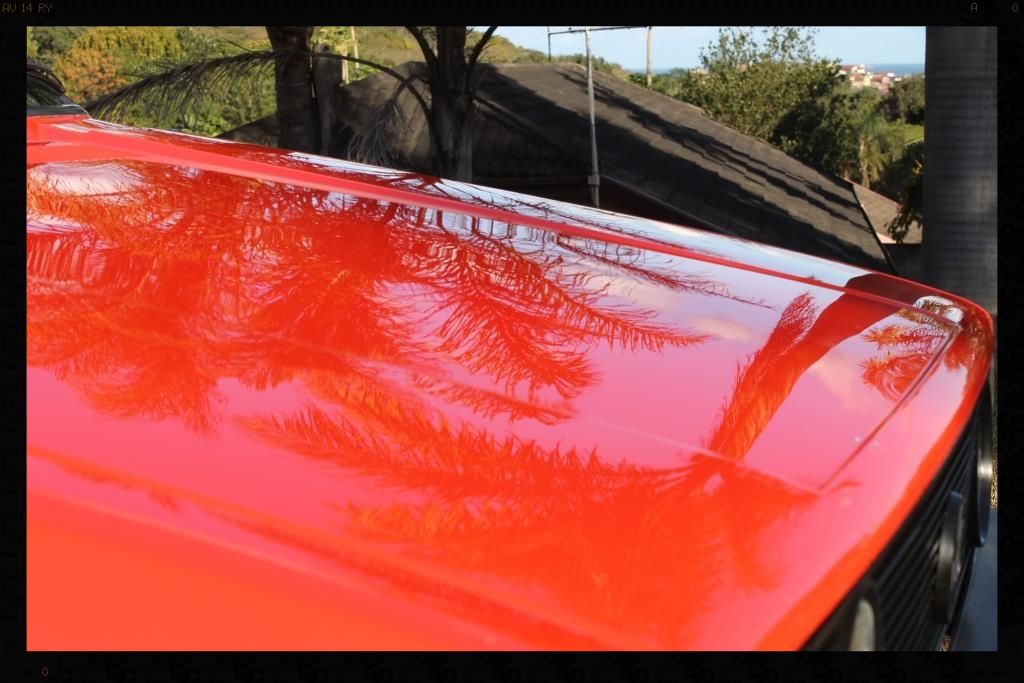
This coat of #7 was applied on Saturday afternoon and left to soak in until Sunday lunchtime whereafter it was wiped off and a second coat applied. This was repeated on Monday and Tuesday too and all in all I used about 2 bottles and a lot of energy :lol: but you could literally see the deepness of the red starting to return to the paint.
In the meantime I had completely cleaned all the plastic trim working a relatively stiff bristled brush to work the cleaner in, which helped to remove some of the dead/oxidised plastic. All in all the dried out bumpers soaked in 10 applications of dressing over the course of the week.
After the 2 applications
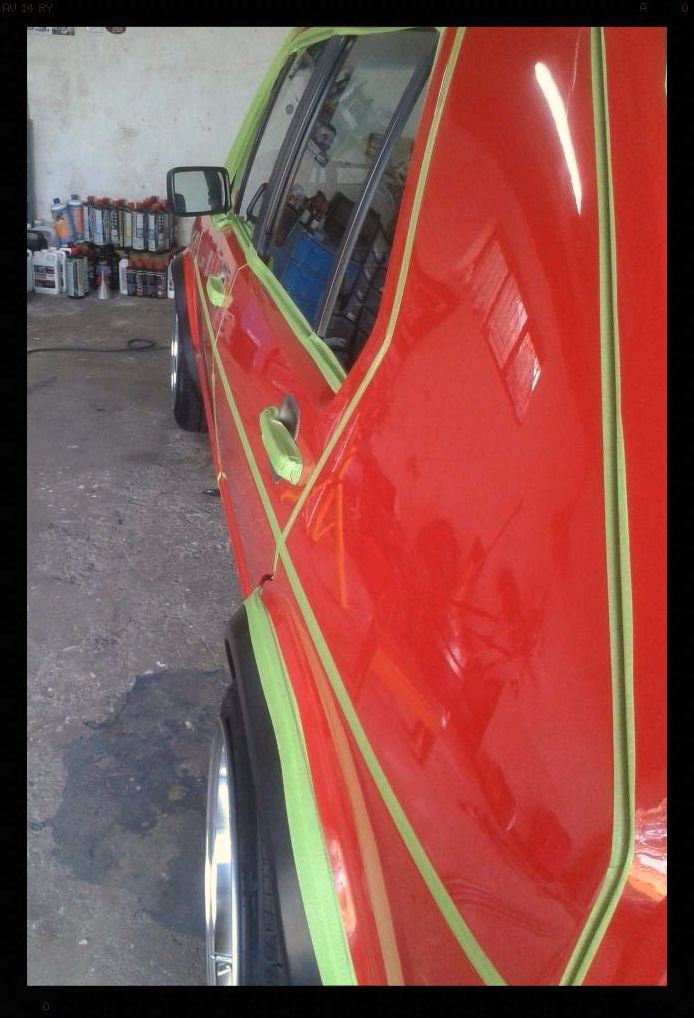
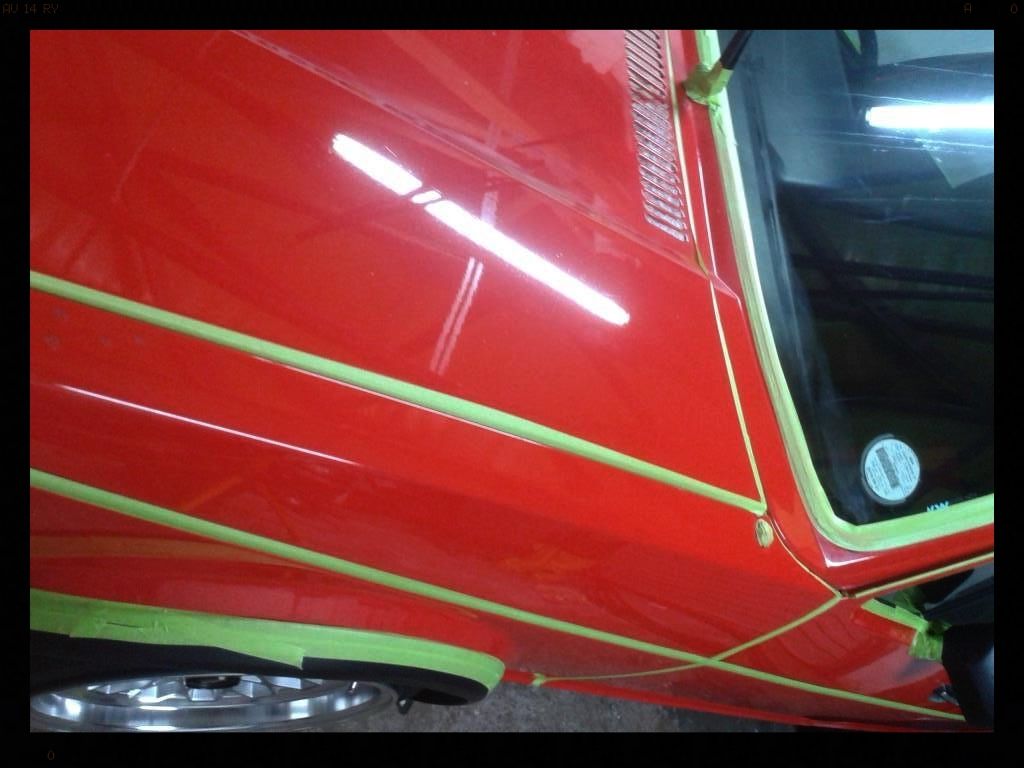
Then on Thursday night, after wiping off the final application of #7 it was time to start the laborious task of taping up, and on these cars, there is a lot of taping to be done.
Excuse the cruddy cell phone pics
Then on Friday night I performed some test spots, dialled in my process and started polishing, which finished late Saturday afternoon. The first coat of wax was laid down and a second coat applied on Sunday morning.
The rest of Sunday was spent polishing the exhaust, cleaning the interior glass, cleaning and treating the exterior glass, polishing and sealing the door and boot shuts, vacuuming the interior and cleaning and treating all the rubbers and dressing the interior plastics.
<span style="color:rgb(0,0,0);font-family:verdana, geneva, lucida, 'lucida grande', arial, helvetica, sans-serif;font-size:13px;">I have removed the links to that forum and have tried to give credit where it was due, and may have 'paraphrased'? in my summary of things, but am not trying to claim his process as my own - more just trying to educate my fellow dubbers, so I hope 'no harm done'.
<span style="color:rgb(0,0,0);font-family:verdana, geneva, lucida, 'lucida grande', arial, helvetica, sans-serif;font-size:13px;">_________________________
I had been looking forward to this detail ever since it was booked in the better part of 6 months ago, not only because the car is still wearing it's original 30 year old single stage paint, but also because I simply love this little car.
How can any dubber not?
The car belongs to club member slownick. Here is the rides thread *link removed*
So.... firstly, I must give credit to Mike Phillips (ex Meguiars, currently at Autogeek) who compiled the most comprehensive guide on dealing with single stage paint, <span>that matters to you. , without which too many a caveman would hack up this delicate paint, by applying modern approaches on something older than some of them. It was an invaluable source of information. Thank you. Here is the link to the thread should anyone want to read it http://www.autogeekonline.net/forum/ask-expert-featuring-mike-phillips/25304-secret-removing-oxidation-restoring-show-car-finish-antique-single-stage-paints.html. It focusses on single stage metallic paint but the principles are the same.
Single stage paint is effectively the base color (red in this case) with no clear coat on top if it. This is how older cars were painted, and in fact how some still are. The problem with these paints is that they are prone to oxidation (where the sun's UV rays break down the pigment in the paint) fading the color and turning it a chalky white kind of color. Red fades to orange to pink to white for example - by the way, red is the color most prone to oxidation because red is at the opposite end of the light spectrum to Violet and thus 'absorbs' all Ultra Violet Rays' energy from the sun.
Manufacturers eventually changed to the modern base/clear system to mitigate oxidation by introducing the harder clear coat on top of the base coat. The downside is that these paints are more 'scratch sensitive' and their 'issue' is thus swirl marks (very fine scratches) which make the paint look dull through the refraction of light. Single stage paint still gets swirls inflicted (as you will see later), but usually the oxidation is the first thing you will notice making the paint look dull.
Single stage paint is also a lot more porous than moder base/clear coats (Polony/Strat can tell you just how much rater a modern car's paint can absorb) and so it is able to suck up any oils you feed it via capillary action, either through a wax or something like Meguiars #7 and this is where the real trick comes in when dealing with these old paints.
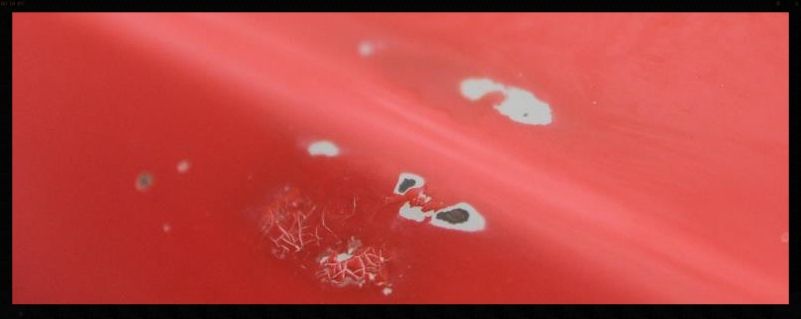
By first gorging the paint with oils you 're-hydrate' it and this means that you get to polish paint which is less 'powdery' and so you land up removing LESS paint, reducing the chance of having to re-spray the car which, IMO on an old beauty like this, would be sacrilege - I know the owner feels the same way. Some caveman (or many a caveman?) has unfortunately burnt through 2 spots on the bonnet, presumably by simply climbing in with the polisher on 'delicate/brittle/dry/powdery' paint, and obviously showing no regard for the raised edges.
So this wasn't to be the normal type of detail for me and so the car was detailed over 2 full weekends and during the week after work in between them. It was a lot more work than I expected :lol: but a whole lot of fun.
Right.... let's talk about washing an old car like this....
Well.... DON'T...
Not the normal way anyway..... you see 2 bucket washes, HP rinses and flooding the car will on drive water into place where it will sit and eventually turn to rust.... so instead a 'rinse-less' wash is the way to go. Think of it liking wiping the car clean instead of washing it. BUT, you use the correct products and process. You can't just grab any old rag and a bucket of water.
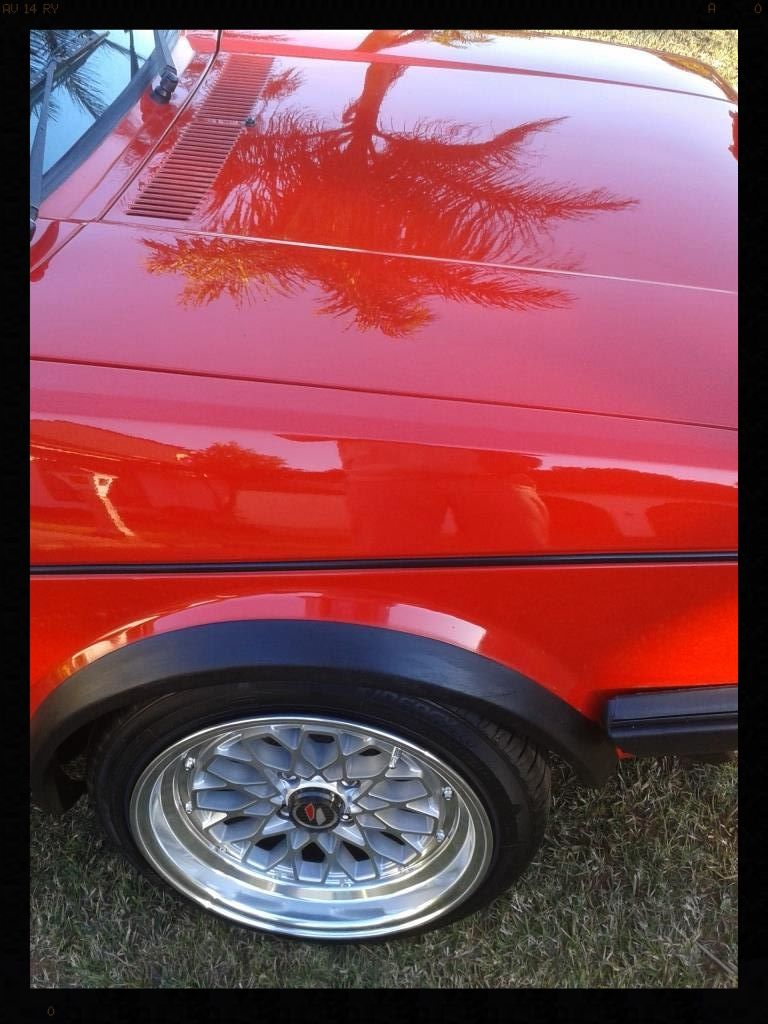
Now the first thing to understand is the dirtier the car, the more likely this method will inflict swirls, so you will need to perform this 'wash' more often, which really shouldn't be a problem because it is so quick to do. I took me around 20 minutes to do the car including the wheels, which weren't really dirty to start with.
But did need a good tire cleaning
So how do you do it....
You get a bucket, ideally with a seal-able lid. You mix up a solution of your rinse-less wash of choice - in this case it was Optimum No Rinse. The dilution ratio is 1 ounce of No Rinse Wash & Shine to 2 gallons of water, or for us, 30ml to 7.5l
Then you put some MF Towels in - I used 14 for this car - put the lid on (so no dirt gets in) and let them soak overnight [this only takes a few minutes to do]
Then when you are ready to wash the car, simply grab one of the towels out your bucket, give it a little squeeze to get the bulk of the water out and fold it half then fold it again. Moving from the top of the car down work your way around the car, changing out to a new towel after you have dirtied each clean side of the towel (by folding in half and then in half again you effectively get 8 clean sides to the towel). Only wipe one short stroke with each clean side of the towel so you don't re-grind dirt back into the paint.
This is how much solution I used to clean the car.
You can also spray some pre-mixed solution onto the car via a spray bottle to further 'lubricate' the surface, should you want to.
But let's back up a little and see what the general condition of the car was
Some battle scars
A little bit of dirt
Wax in the cracks
And some faded bumpers that had 'splotches' of what may have been a silicone dressing
So after giving the outside a rinse-less wash it was time to start cleaning up the interior, which for the most part is really clean.
But upon closer inspection we find
And looking even closer we see this horrendous shiny 'dressing' (I started cleaning it off on the right)
It was everywhere...
So with the inside and outside of the car now cleaned, it was time to start working in more earnest on the paint. I obviously did not use an iron remover (you need to rinse is extremely well and I did not want to introduce water to the car) or a tar remover (sticker kit would not have liked it, plus you should rinse off, again not something I wanted to do). So the only decontamination process was claying.
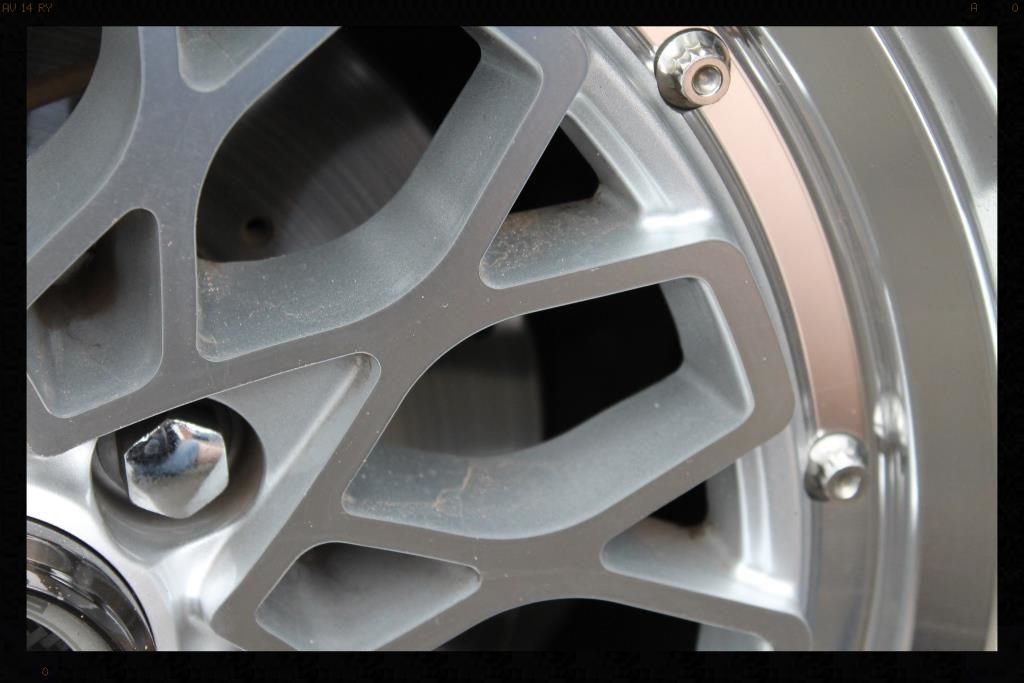
Now you can see the swirls under some focussed lighting
And some deep RIDS
Once this was completed, it was time to start gorging the paint with oils....
The weapon of choice.
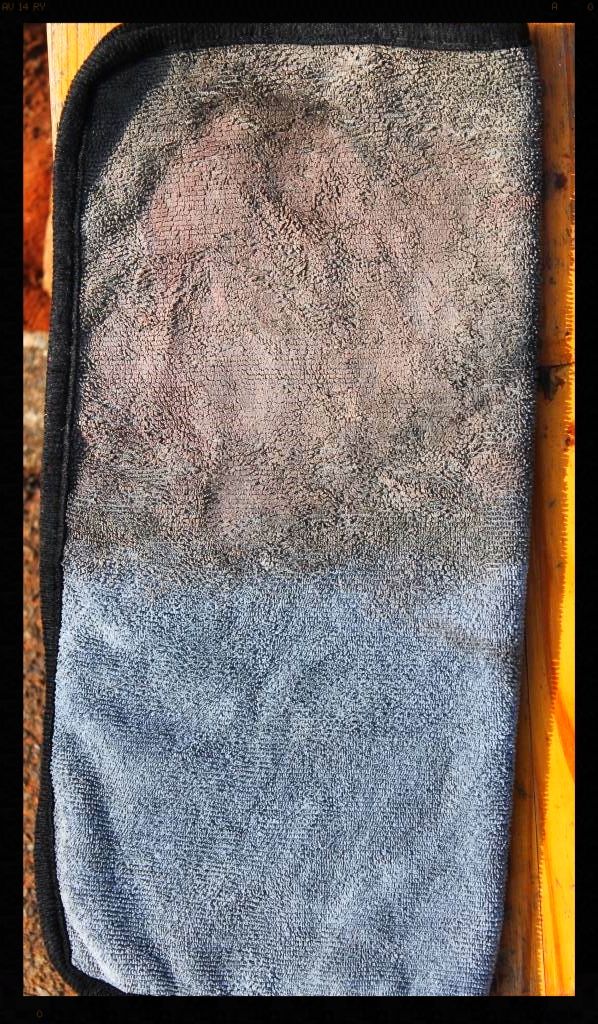
So we know that applying #7 will feed oils into the paint via capillary action, but by changing the way in which it is applied, we can also remove part of the dead/oxidised layer of paint. If you use a terry towel which has a loop designed pile, these little loops will scrape the paint, removing it while you work #7 in. A MF Towel due to its design (more of a tuft of individual fibres) will be less aggressive, and given how little oxidation the car presented on arrival, I chose not to use the terry towel method but instead used short nap MF Towels)
Worked in with some passion
And this is the result
This coat of #7 was applied on Saturday afternoon and left to soak in until Sunday lunchtime whereafter it was wiped off and a second coat applied. This was repeated on Monday and Tuesday too and all in all I used about 2 bottles and a lot of energy :lol: but you could literally see the deepness of the red starting to return to the paint.
In the meantime I had completely cleaned all the plastic trim working a relatively stiff bristled brush to work the cleaner in, which helped to remove some of the dead/oxidised plastic. All in all the dried out bumpers soaked in 10 applications of dressing over the course of the week.
After the 2 applications
Then on Thursday night, after wiping off the final application of #7 it was time to start the laborious task of taping up, and on these cars, there is a lot of taping to be done.
Excuse the cruddy cell phone pics
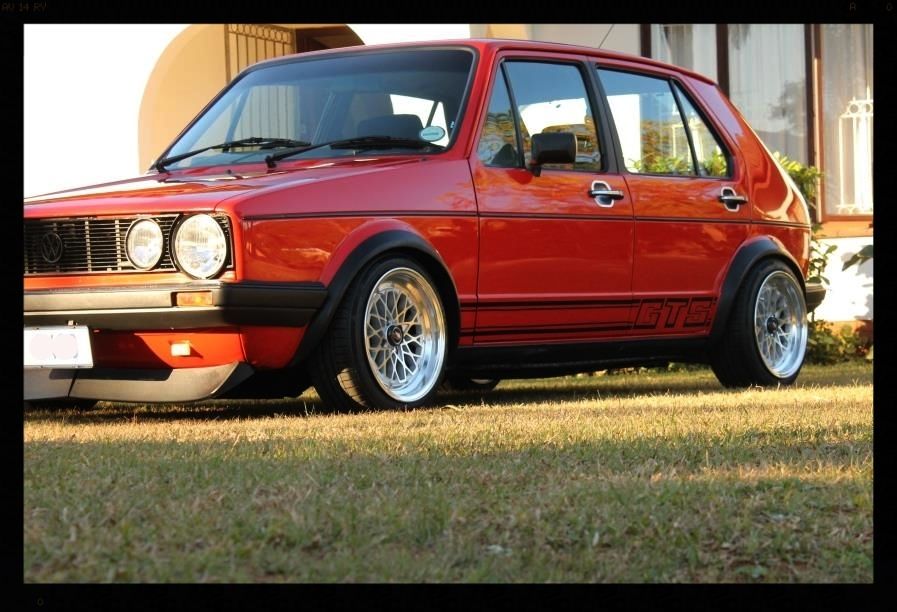
Then on Friday night I performed some test spots, dialled in my process and started polishing, which finished late Saturday afternoon. The first coat of wax was laid down and a second coat applied on Sunday morning.
The rest of Sunday was spent polishing the exhaust, cleaning the interior glass, cleaning and treating the exterior glass, polishing and sealing the door and boot shuts, vacuuming the interior and cleaning and treating all the rubbers and dressing the interior plastics.