Lincoln Continental Keeper's Makeover - autoLavish rejuvenates vehicle 8 years!

MarcHarris

New member
While we were working on the Black 997 we posted last week, a neighbor in the sub, while walking her dog, passed by. Literally amazed by the Porsche (what she said), she stopped to watch. I walked out to our truck to grab something, and stopped to talk to her. She asked what we were doing...


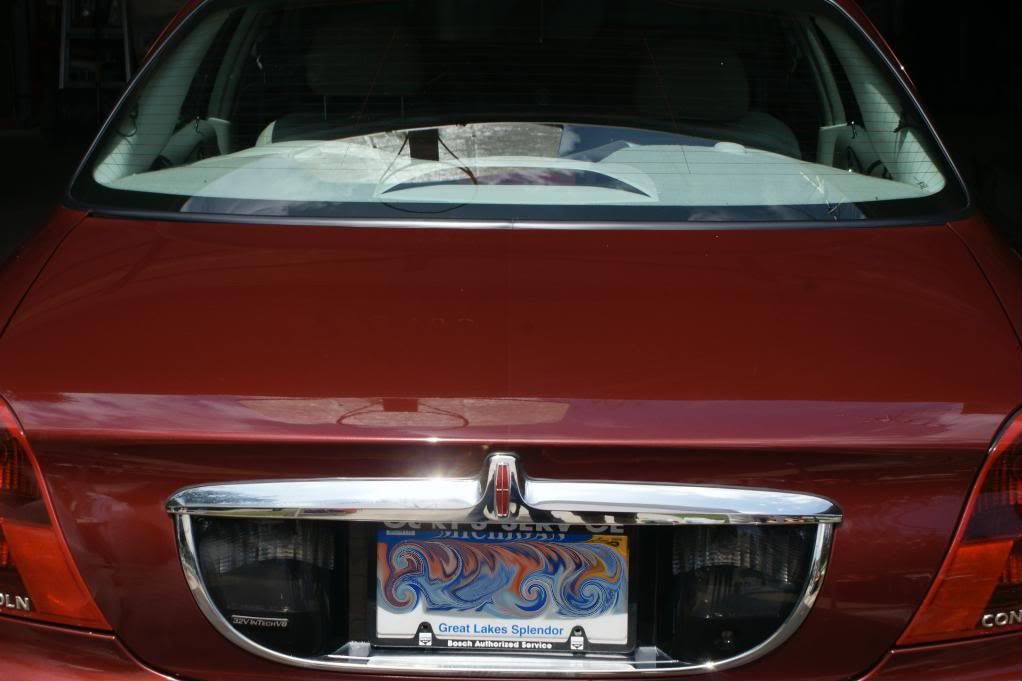
So after delivering the Porsche, we drove down the street for an estimate. The client needed a full interior deep clean and a nice wash & wax. We set the date for Monday morning.


Upon arrival on a beautiful day:


DSC09575.jpg


DSC09577.jpg


DSC09578.jpg


DSC09580.jpg


DSC09581.jpg


DSC09586.jpg


Interior befores:


DSC09589.jpg


DSC09591.jpg


DSC09592.jpg


DSC09593.jpg


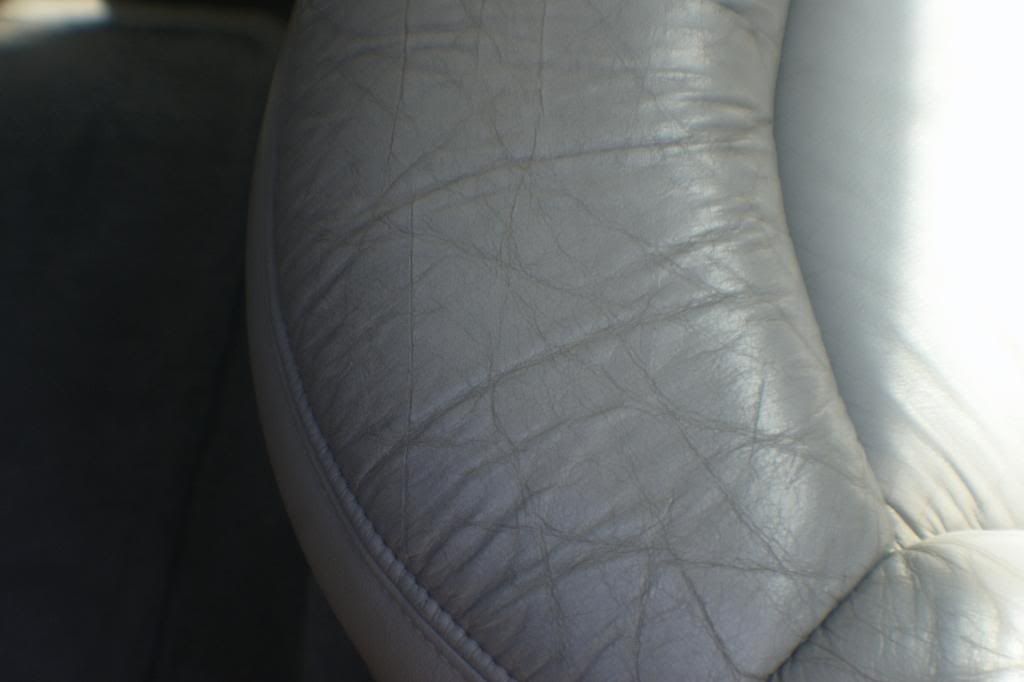
Notice the shine on the leather. This is accumulated oils and soils clogging the leather's pores. Just like the paint, the smoother the surface the more gloss it has. Leather should sheen, but not gloss.


DSC09598.jpg


DSC09599.jpg


DSC09603.jpg


DSC09604.jpg


DSC09605.jpg


The carpets would need extraction:


DSC09602.jpg


DSC09609.jpg


DSC09615.jpg


Dash will need dusting before cleaning. If you wipe with just water on a MF towel before wiping with cleaner, the towel works better, and less grime gets entrapped in the vinyl texturing. It only take a few minutes more. For a dirty dash, we rinse with water after wiping/brushing with cleaner. Then finish off with protectant or 1Z Cockpit (I love this stuff!!) depending on desired finish and protection needs.


DSC09610.jpg


DSC09611.jpg


DSC09600.jpg


We started by dry-vacuuming the seats and carpet:


DSC09613.jpg


DSC09614.jpg


Tools for first round of leather cleaning:


DSC09620.jpg


working in the Woolite blend with a leather brush:


DSC09621.jpg


after one wipe to remove the brushed up slurry:


DSC09622.jpg


DSC09623.jpg


But the seats already look MUCH better. The gloss is nearly all gone. The leather brush really helps to open up the leather's pores and wrinkles.


DSC09625.jpg


We then applied Leatherique Penetrating Oil, and proceeded to work on the exterior, giving the oil time to do its magic. This stuff really works, on the right type of leather. I find I have to apply fairly heavy to get good "wetness". If you apply too little, you can get blotching soon after finishing up. Opposed to many products, a little more here goes a long way.


DSC09629.jpg
 
The engine had never been washed as far as we could tell:


DSC09641.jpg


DSC09642.jpg


DSC09643.jpg


We foamed the engine to get the light stuff of first:


DSC09645.jpg


Then proceeded with Megs Super Degreaser at 4:1 dilution, rinsed with the pressure washer, and dressed with Megs Hyper Dressing at 2:1. The plastic surfaces were wiped off to even out the dressing:


DSC09667.jpg


DSC09669.jpg


DSC09670.jpg


The client wanted a good waxing for the finish, not correction at this time since it would go over her budget. We decided to use Klasse AIO applied by the PC, to see if we could get any "bonus" correction. After claying with Meg's Clay, we used a white pad (Next time we may try an orange pad), and got slight correction. The AIO was applied very fast, barely working it in due to time running out. Still, the correction was pretty good! I must say, in person the difference is quite dramatic!


DSC09647.jpg


DSC09648.jpg


DSC09649.jpg


DSC09650.jpg


DSC09652.jpg


After the exterior and engine were completed, we returned to the interior. The Leatherique Penetrating Oil had dried and surfaced:


DSC09653.jpg


DSC09655.jpg


...but more cleaning was in the seat's future. Marc has some very cool brushes for the PC, in various stiffness and bristle lengths. We chose the best one for the leather (short, medium stiffness), and applied Woolite and Lexol Leather Cleaner to the seats, and let the PC do the scrubbing. This worked amazingly well! We ordered another set of brushes for the second PC in our arsenal.


DSC09657.jpg


DSC09658.jpg


DSC09662.jpg


DSC09666.jpg


Scrubbed side:


DSC09659.jpg


Un-scrubbed side:


DSC09660.jpg


After final wiping with Lexol Conditioner:


DSC09680.jpg


DSC09681.jpg


DSC09688.jpg


DSC09689.jpg
 
Dash after final wipe with Megs Interior Detailer (no 1Z on hand this time :( ):


DSC09678.jpg


DSC09677.jpg


DSC09682.jpg


DSC09683.jpg


DSC09684.jpg


DSC09685.jpg


The trunk was vacuumed, and the spare was wiped (both sides) and cleaned.


DSC09631.jpg


DSC09630.jpg


Jambs were cleaned with #34 and/or ONR at QD dilution:


DSC09635.jpg


DSC09637.jpg


The owner uses reusable grocery bags, and had a few in the trunk among other things. We folded everything up, and put it into bags to help organize.


DSC09638.jpg


And here are the final shots. Total time was about 6 hours with Marc and I running full speed. The owner was quick to put it back in the garage as it was clouding over quickly:


DSC09691.jpg


DSC09693.jpg


DSC09695.jpg


DSC09696.jpg


DSC09697.jpg


The client wanted to freshen up her vehicle since she wanted to keep it. After the rejuvenation she saw it had strong potential, and is considering going after some multi-step correction in the near future. When we did the estimate we warned her that this detailing stuff can be habit forming. We told her so!


Thanks for reading. We hope you enjoy!


Jacob and Marc,


autoLavish
 
I have to say, every time I see your posts I am amazed at the amount of detail you guys go through to make every car look brand new.
 
Very nice and informative write up. I really like the attention to detail on this one guys. Its not always about a fully correction. What it boils down to is customer sastifaction. As they are the best advertisement. you guys are doing some nice work. keep it up!:hifive: by the way marc i like the bracelets!
 
dheath said:
I have to say, every time I see your posts I am amazed at the amount of detail you guys go through to make every car look brand new.


thank you, and that's always our goal!


wagonproject said:
Very nice work!

What kind of extractor do you use?


Thanks! The floor mats were cleaned with folex/apc/soap and water and then hit with the shop vac, followed by letting them finish drying in the sun


bufferbarry said:
Very nice and informative write up. I really like the attention to detail on this one guys. Its not always about a fully correction. What it boils down to is customer sastifaction. As they are the best advertisement. you guys are doing some nice work. keep it up!:hifive: by the way marc i like the bracelets!


Thanx barry! and send me your address so i can send you this stuff I set aside!

I agree it's not always about the 95%+ correction rate, and in this case the leather/interior was the clients (and therefor our) main focus.


and thanx - but i'd much rather give them up and have Combs and Perrott back


Honor the fallen: Army Staff Sgt. Casey D. Combs


Honor the fallen: Army Sgt. Dustin J. Perrott
 
Another great job.. I didn't think the leather would come out that well, guess leather that has gone that bad is impossible to get perfect.. Everything else looks brand new..
 
Back
Top