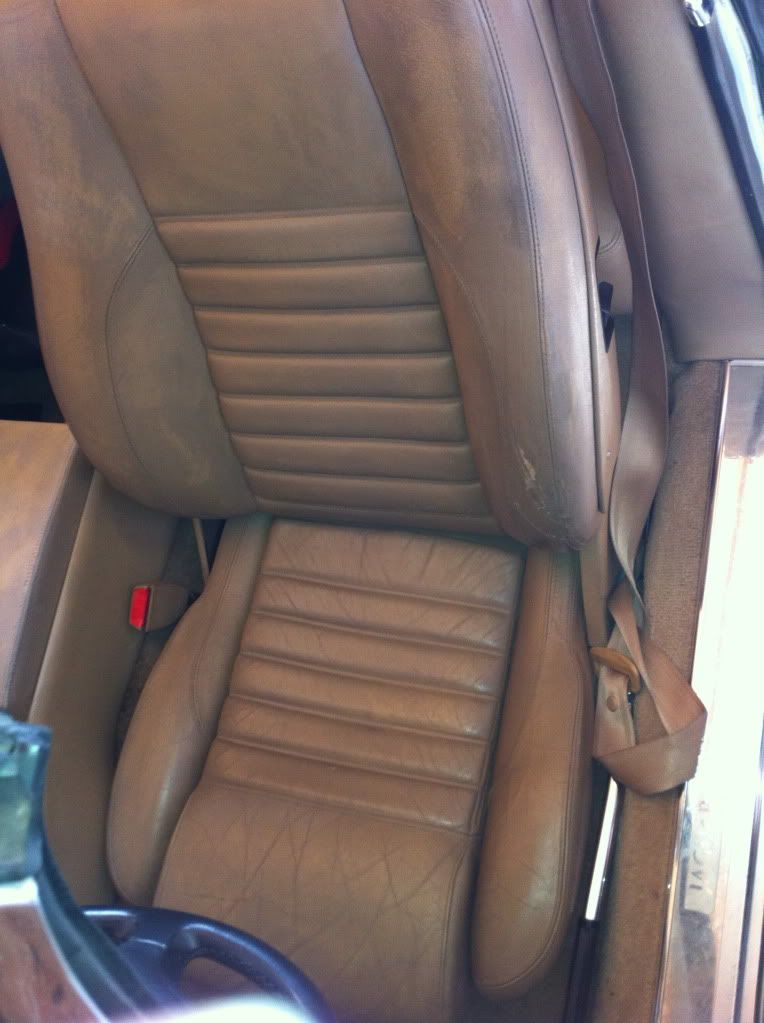
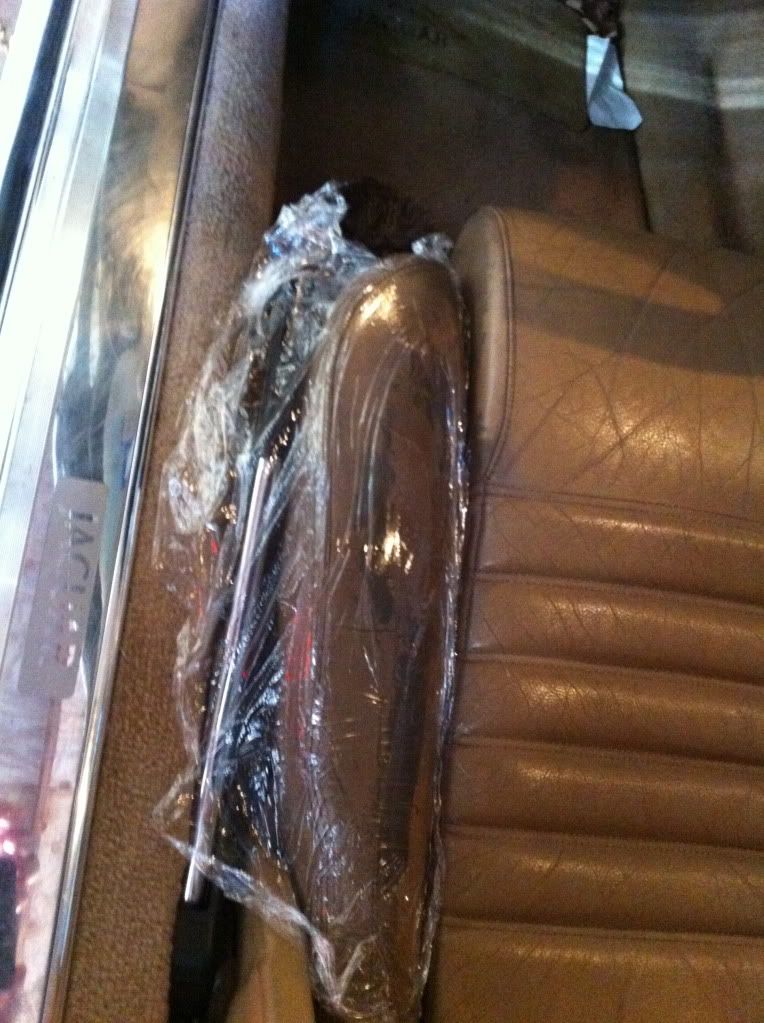
Not sure what the original color was supposed to be but started going at the seats in my new old Jag with my Leather Doctor Kit. Got ahead of myself and didn't test for color-fastness and did the whole drivers seat (a little). Here's pictures...
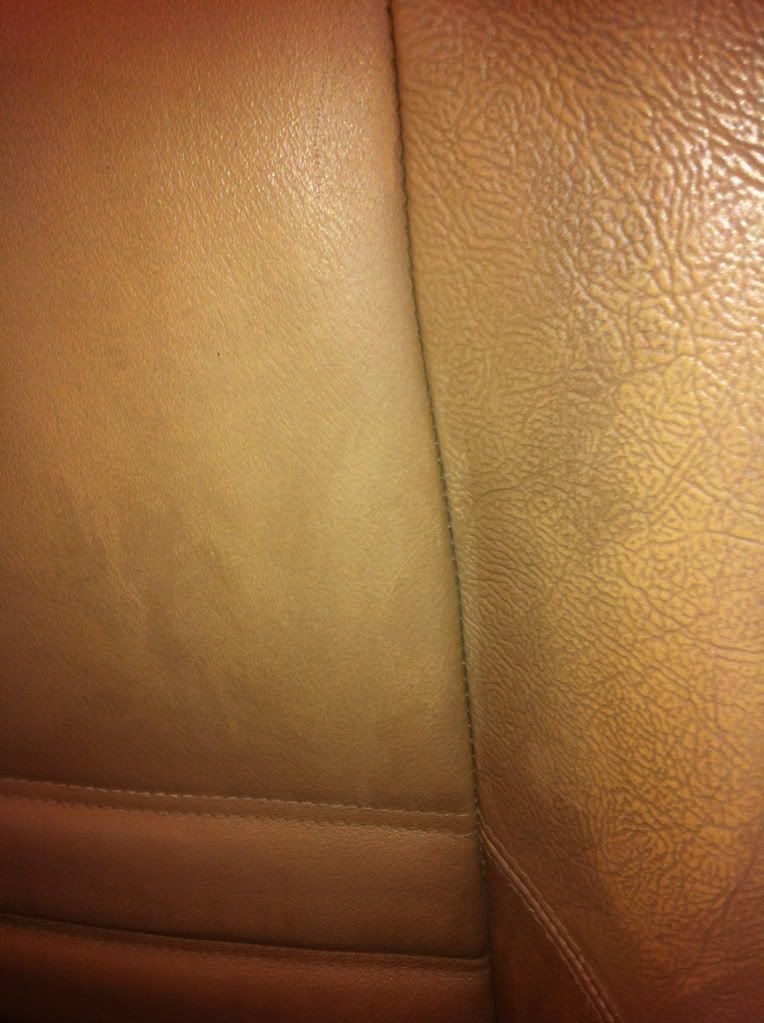
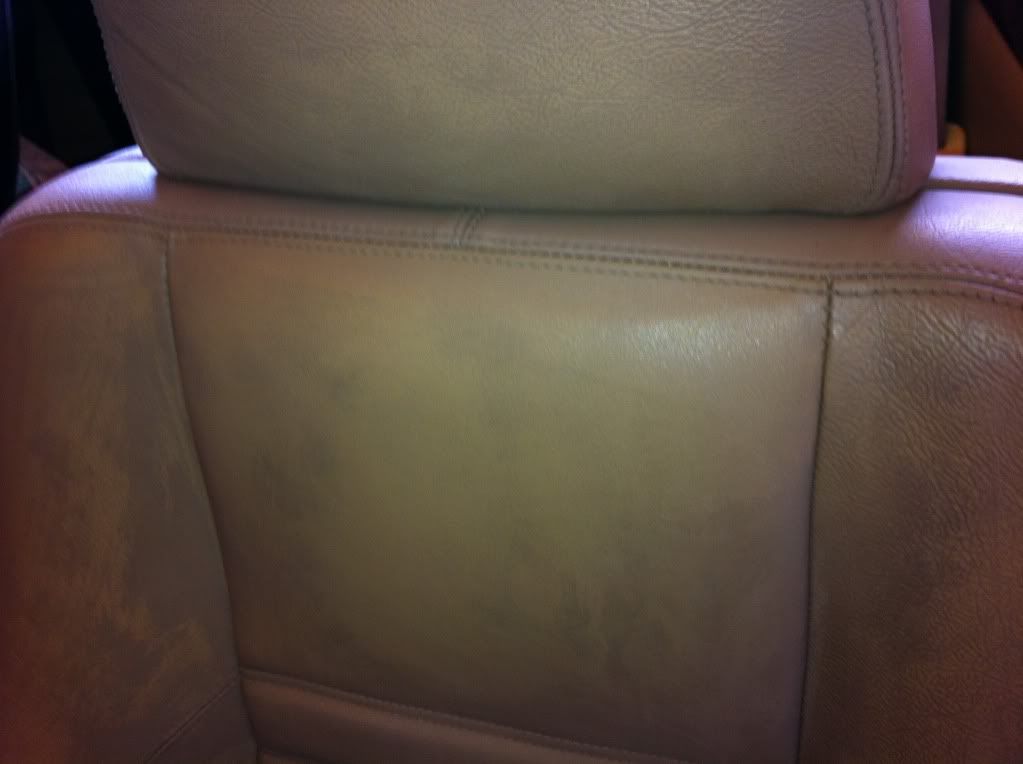
Kept going with the center of the seat/ top panel to see how it would turn out.
Am I takin away color - how do I tell - if I am what to do next?
If (as I hope) I'm just taking off 17 years worth of grime - any tips on how to make it easier?
Kept going with the center of the seat/ top panel to see how it would turn out.
Am I takin away color - how do I tell - if I am what to do next?
If (as I hope) I'm just taking off 17 years worth of grime - any tips on how to make it easier?
")
 about it. But when I finally get it out of mothballs I really oughta do something about it... gee, like I need another project