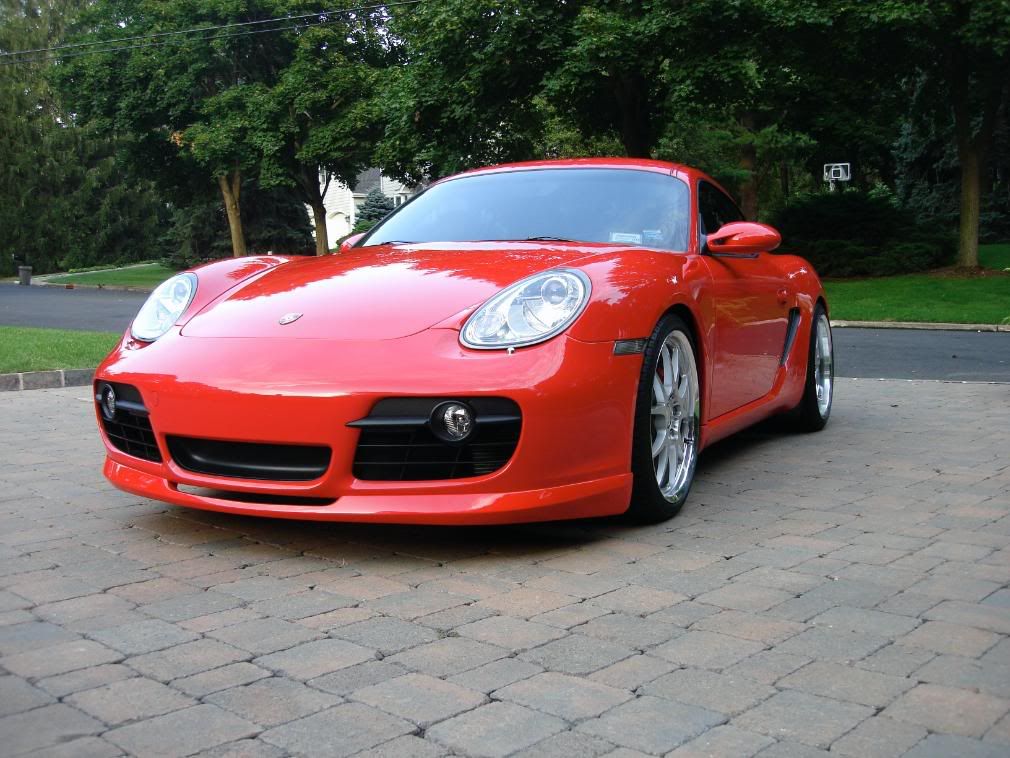
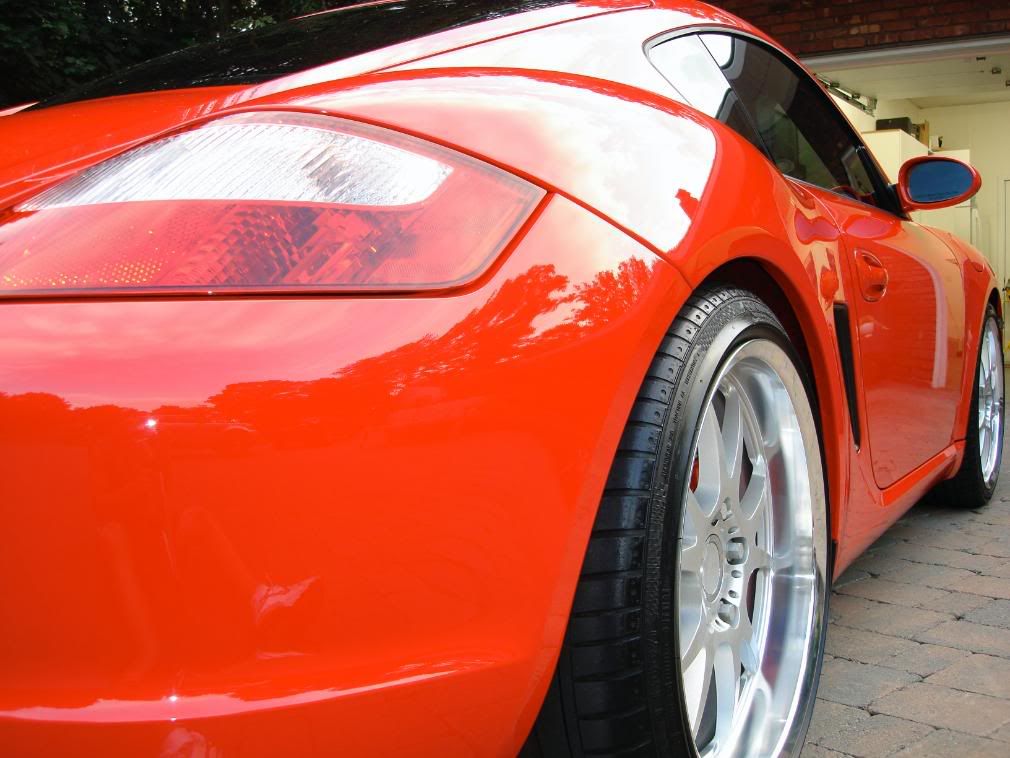
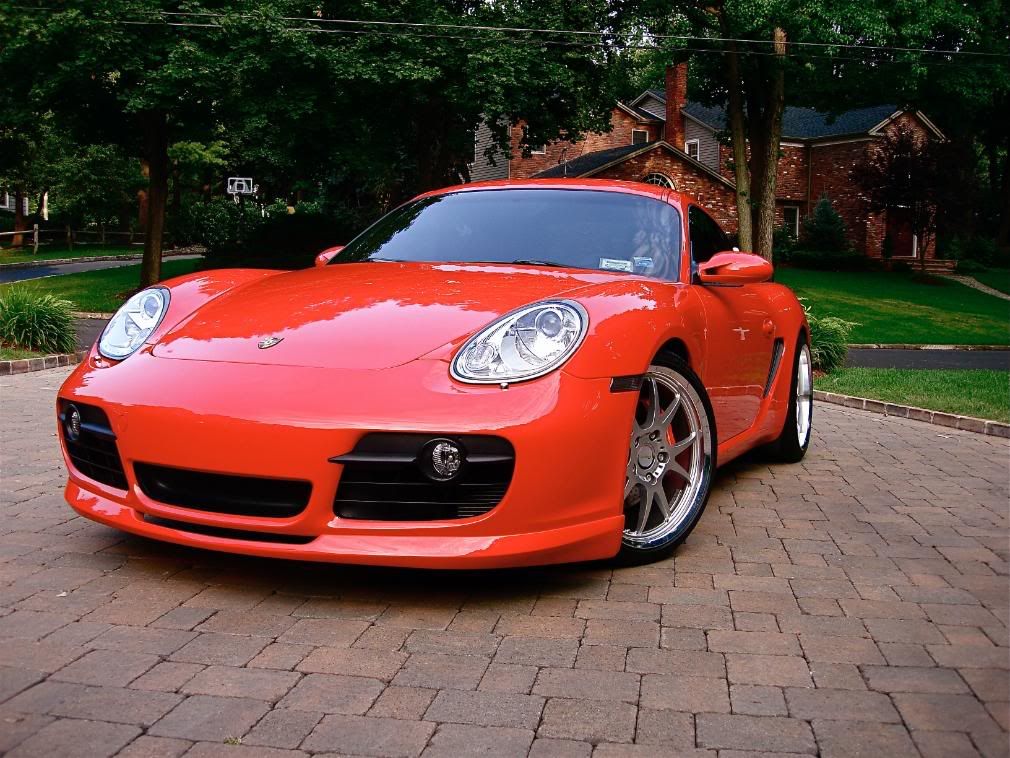
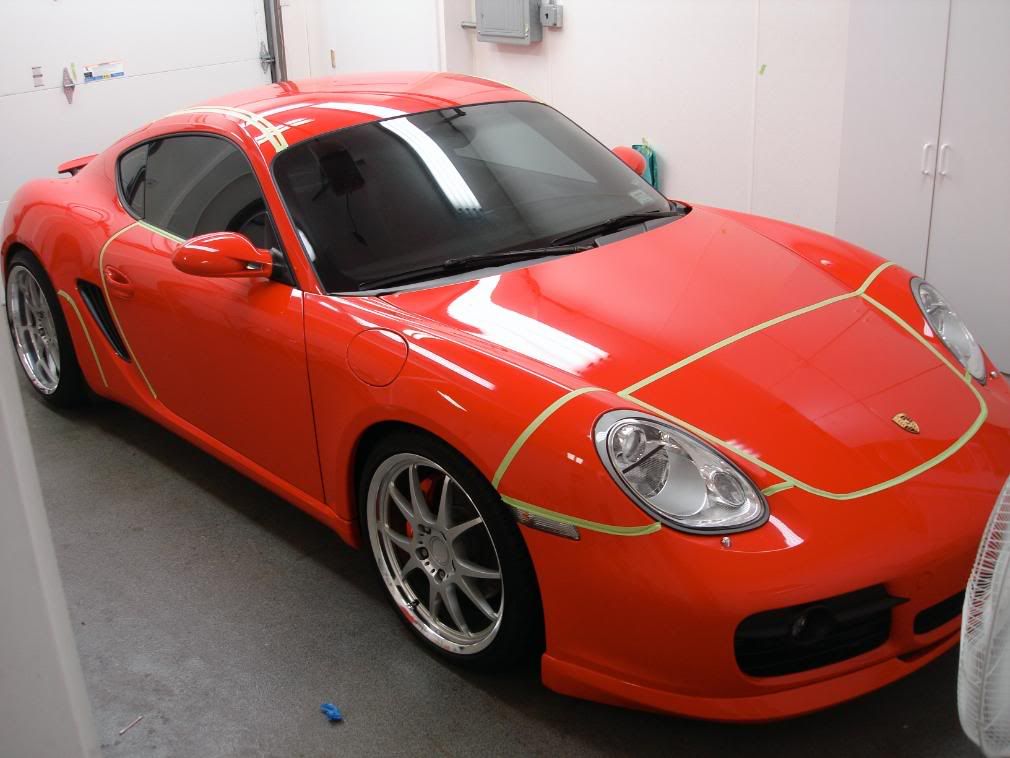
I was very exited to start this detail. I knew I was doing a red cayman but I didnt know it looked like this!
Heres the car after the wash, after just rinsing the car before washing I saw it was already beading nicely so I had to be sure that any prior wax applied was stripped off so I used the 2BM and P21s TAW with 2 schmitts.
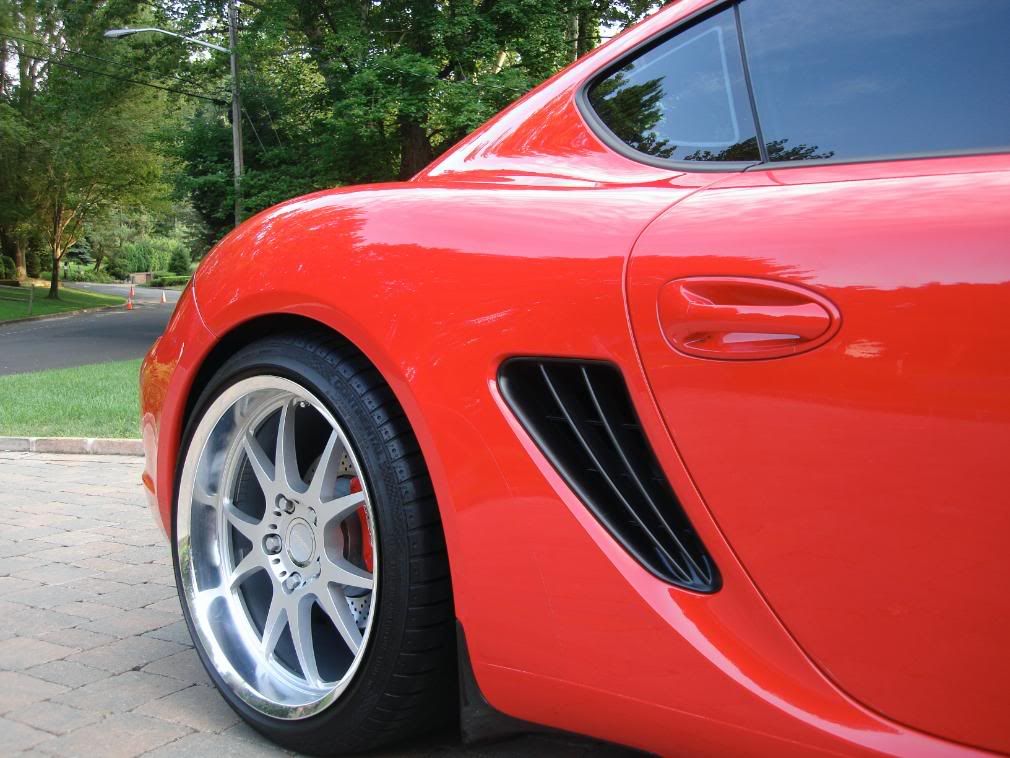
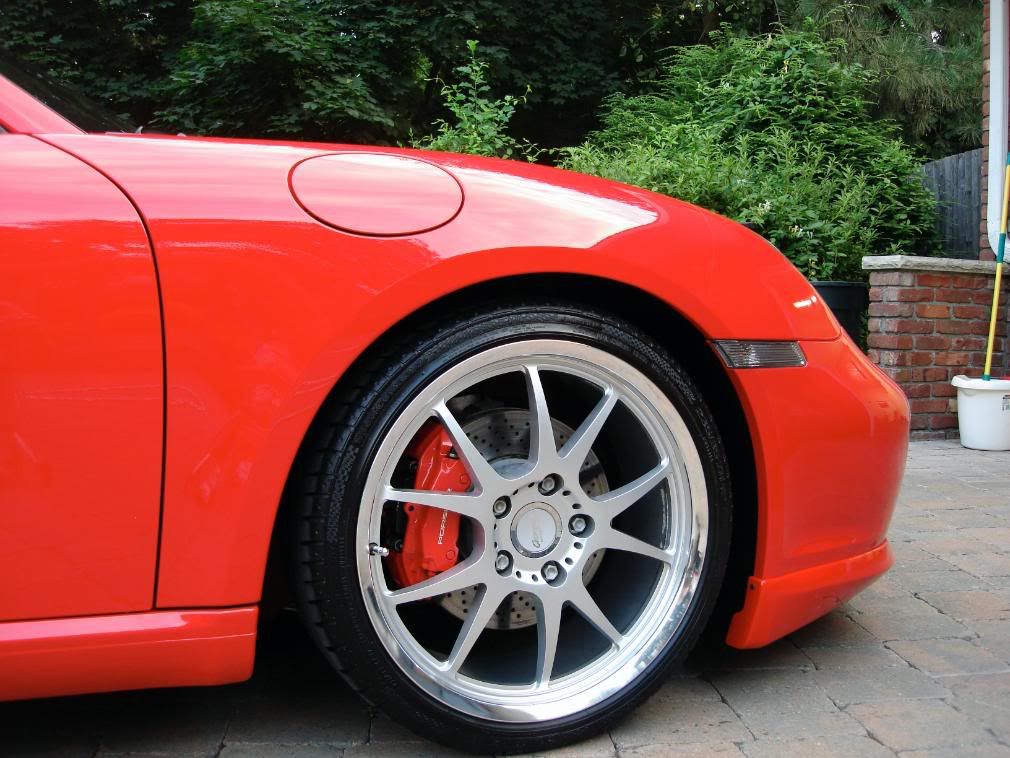
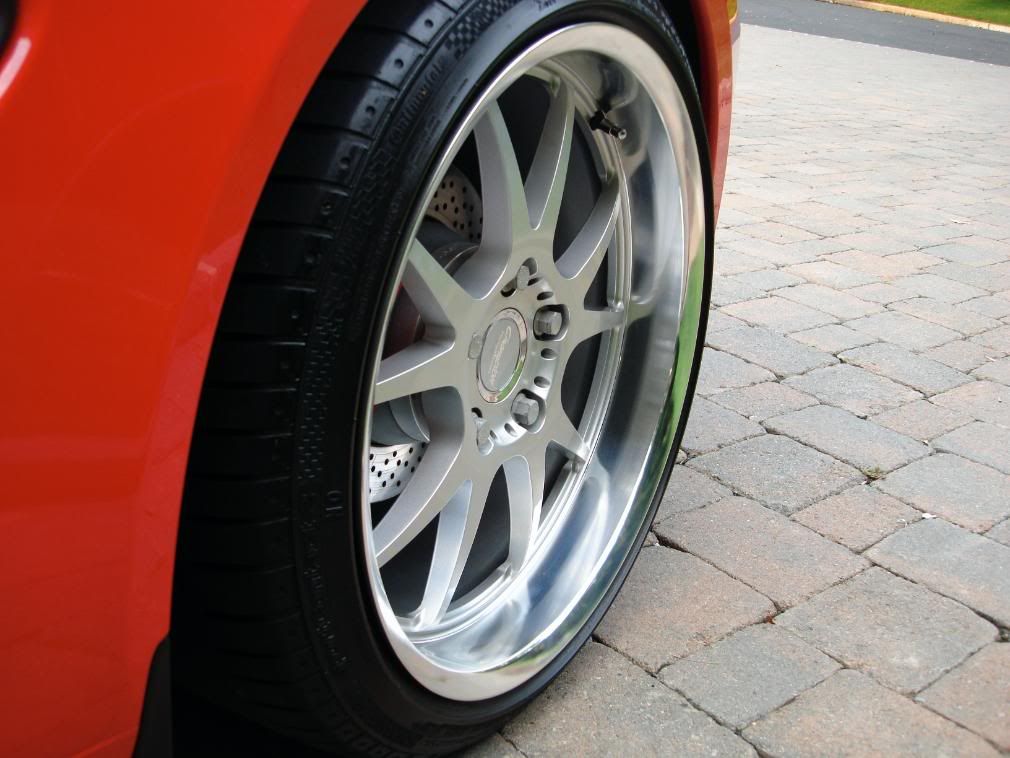
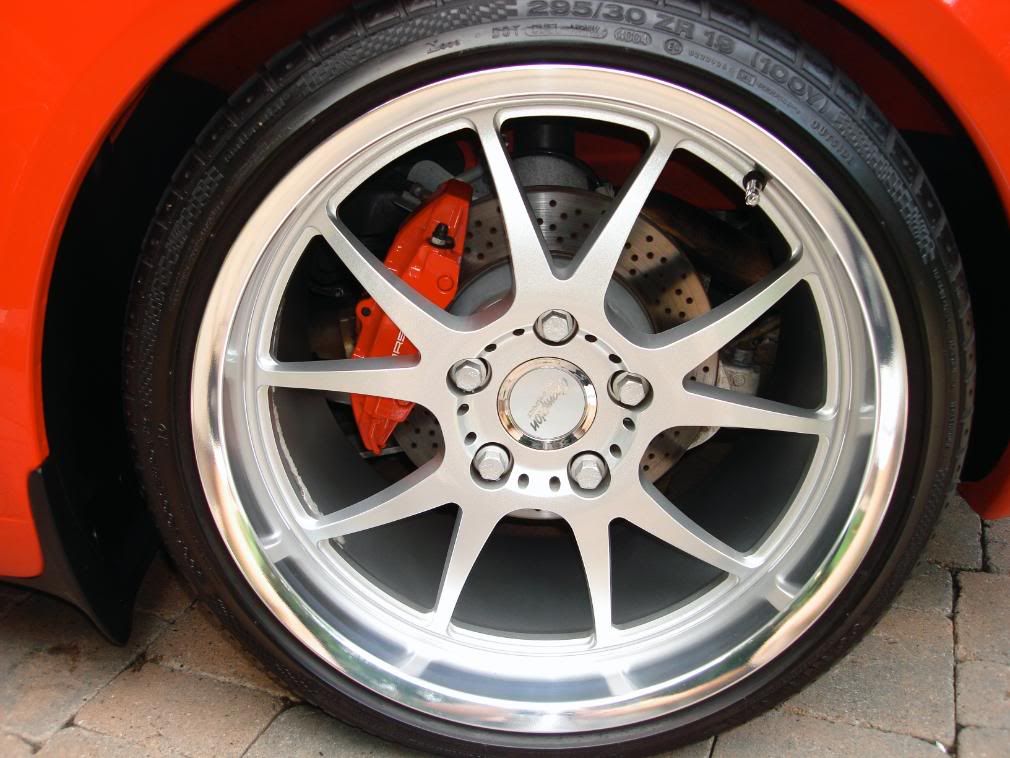
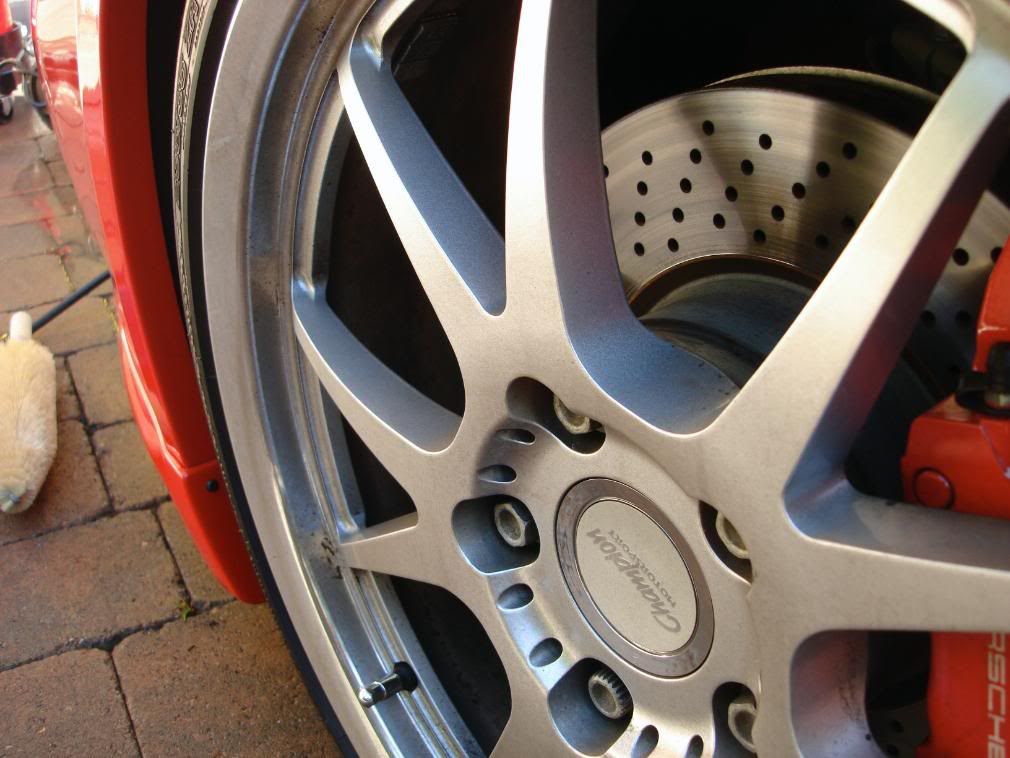
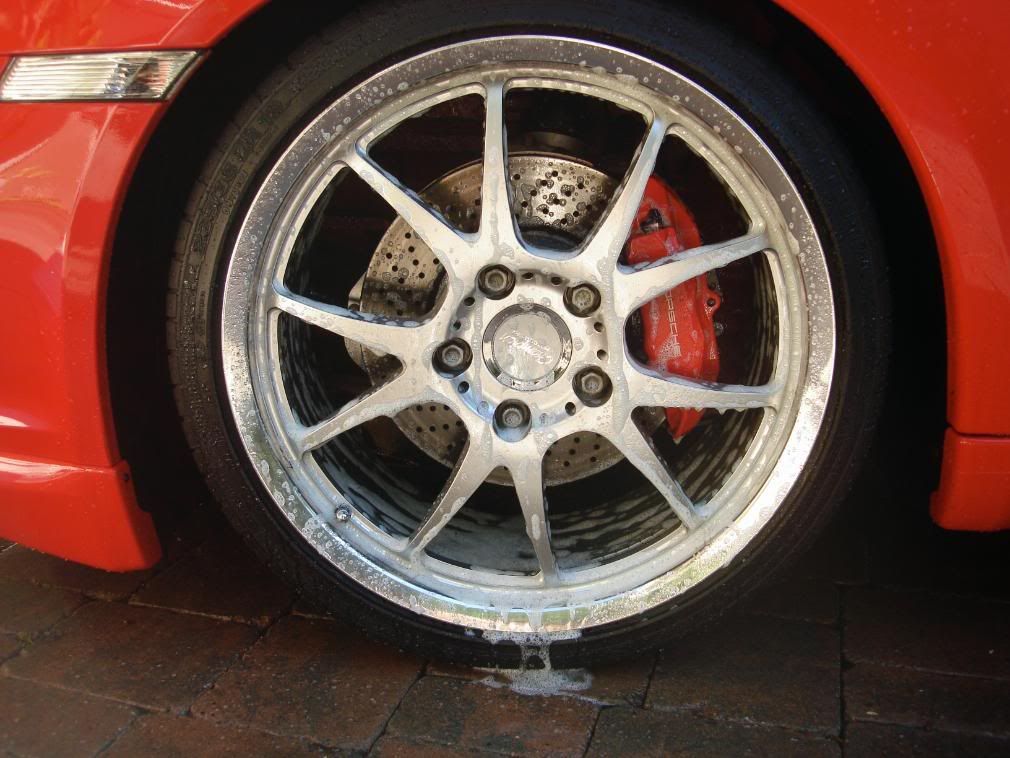
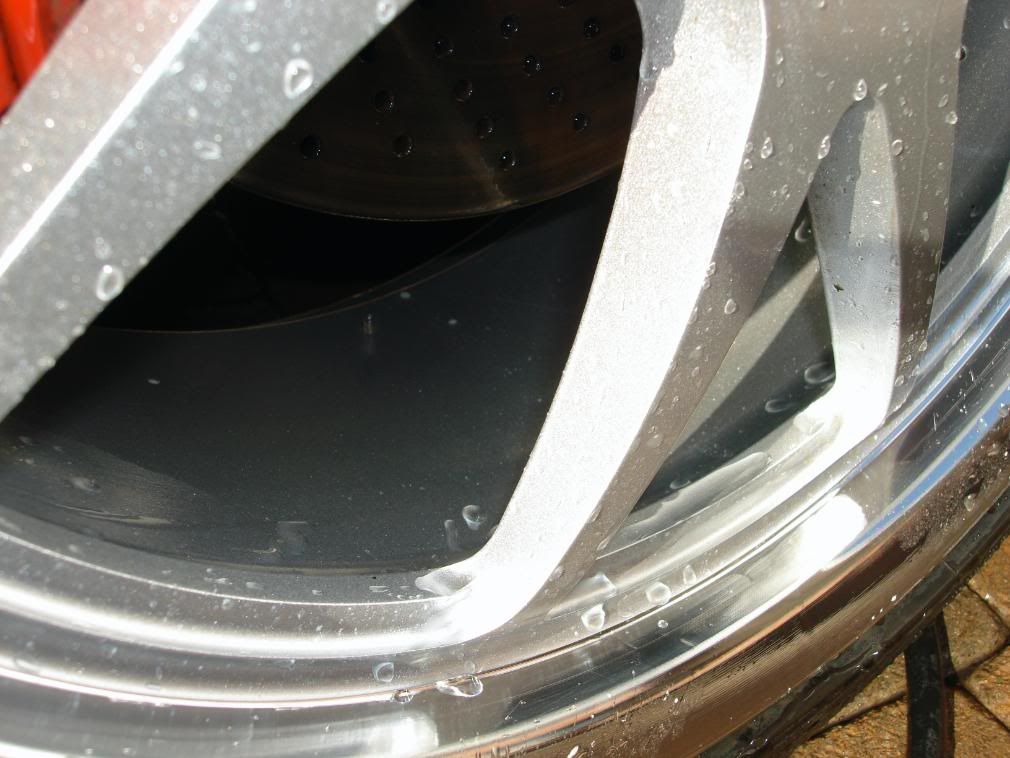
First I did the wheels. P21s gel was used to ensure no damage was done to the Champion wheels finish or the braking system
Letting dwell for 15minutes...
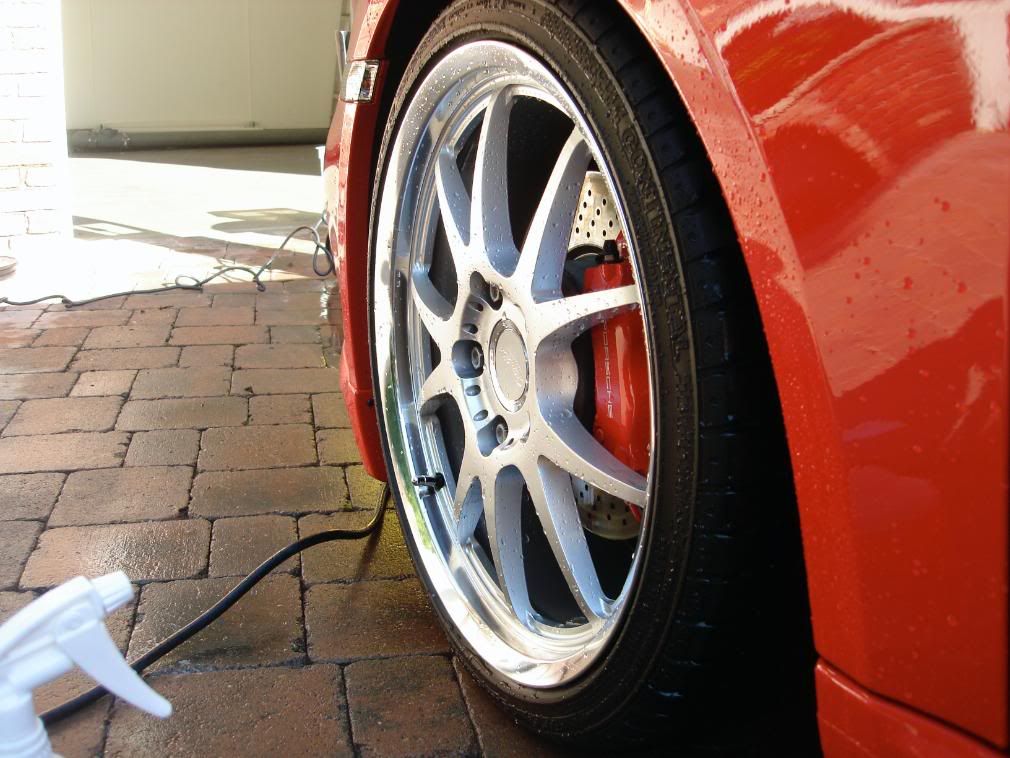
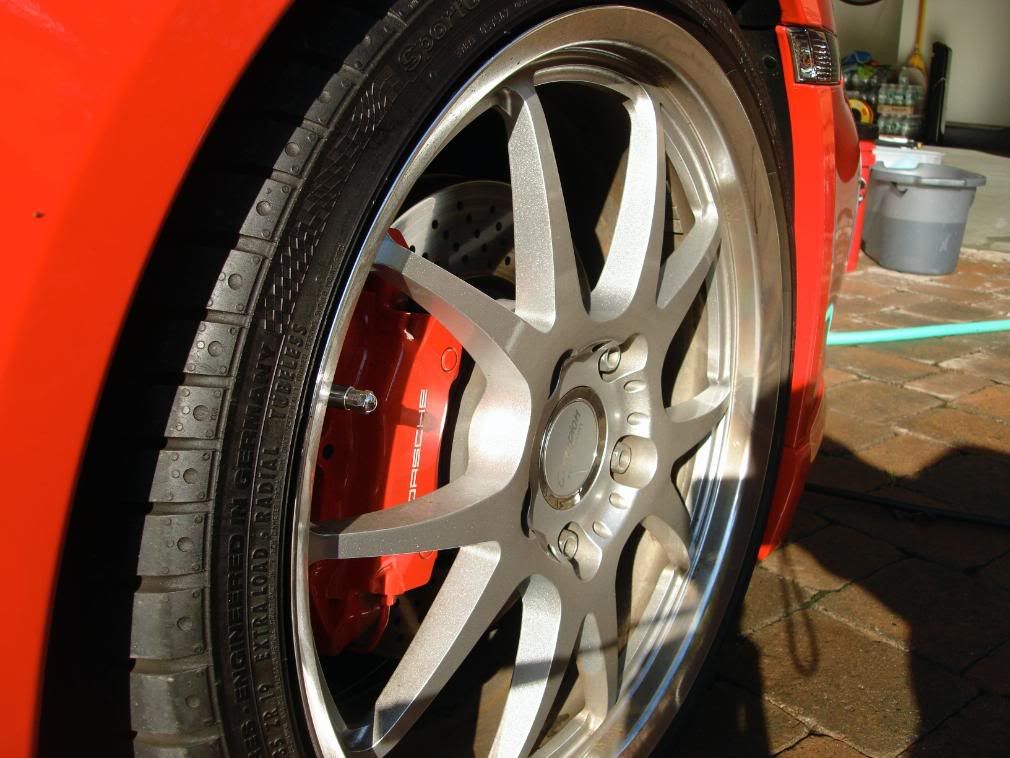
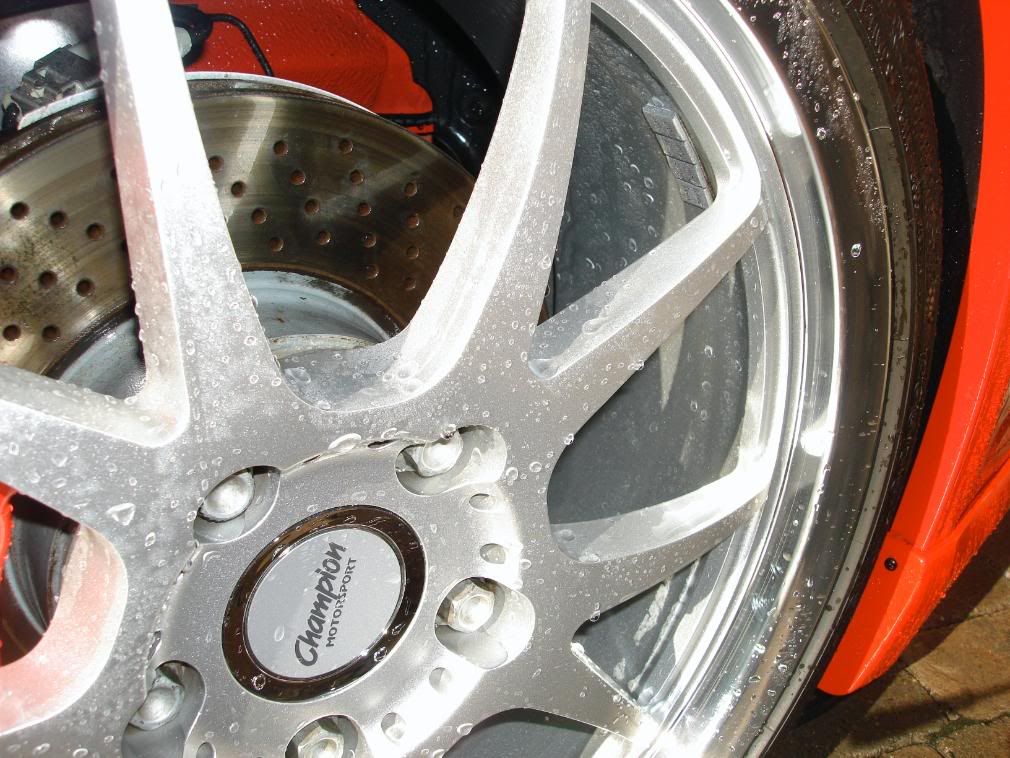
After
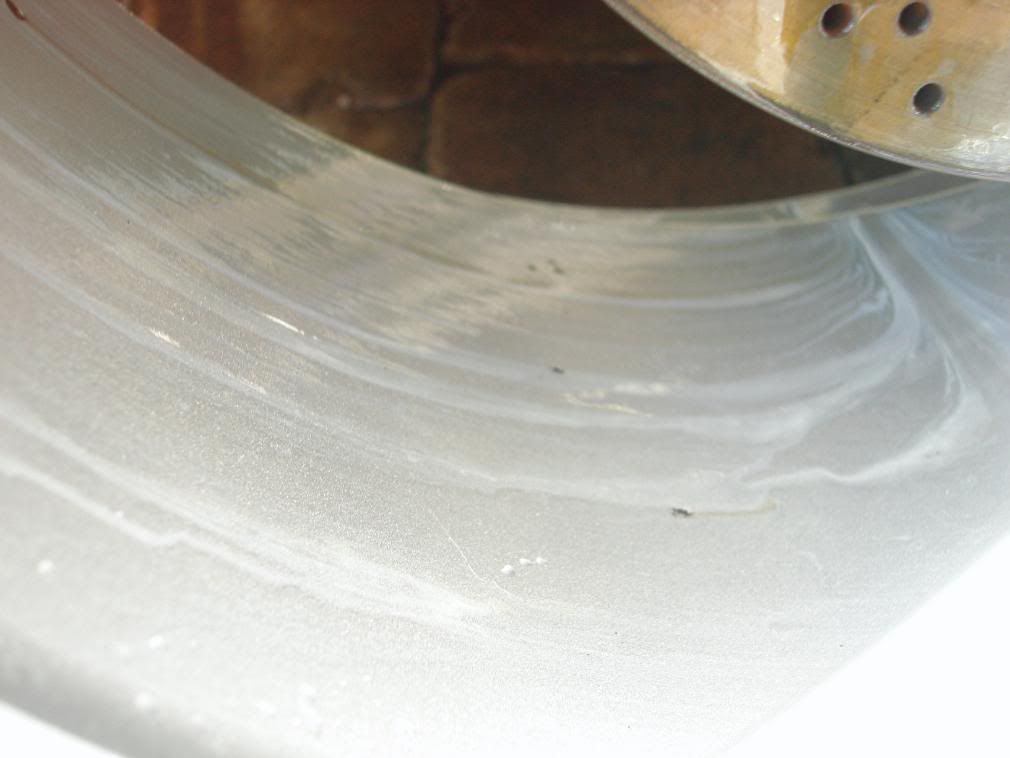
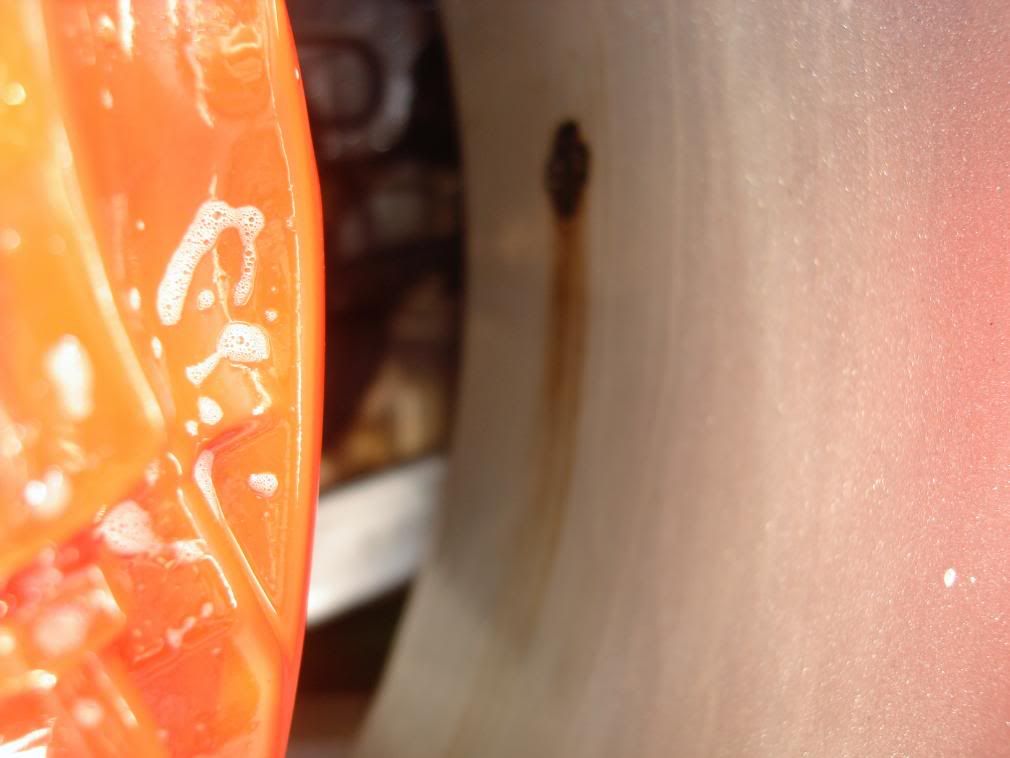
The front passenger wheel was the worst
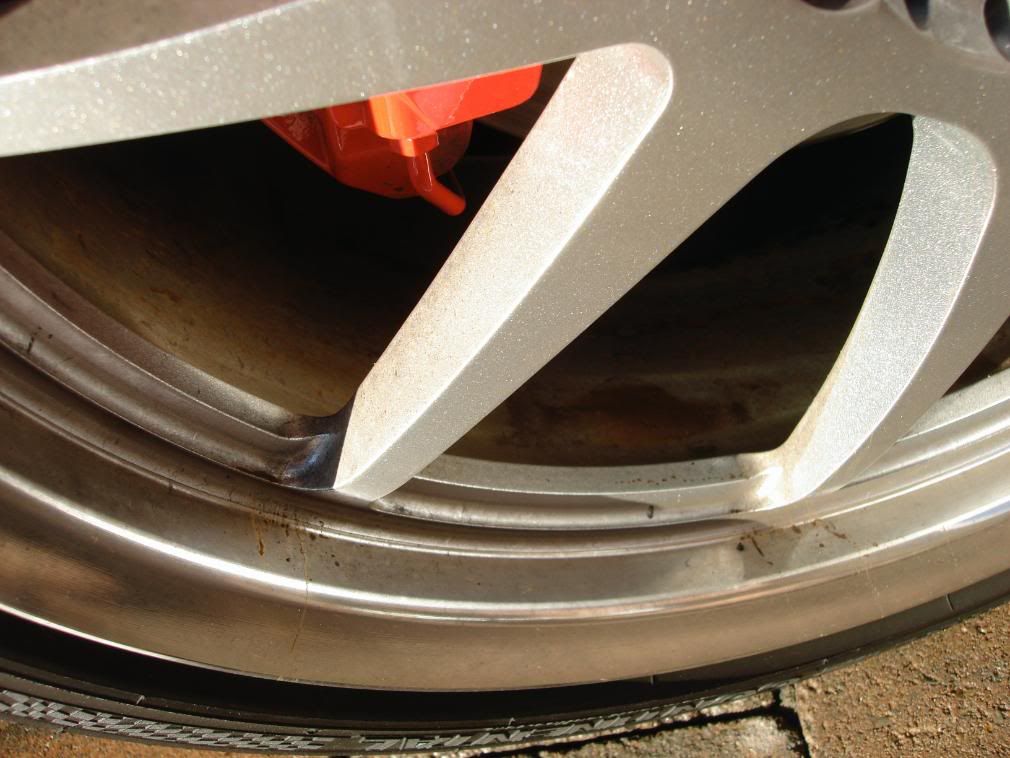
After cleaning I used AG intensive tar remover to dissolve the stubborn tar spots
After
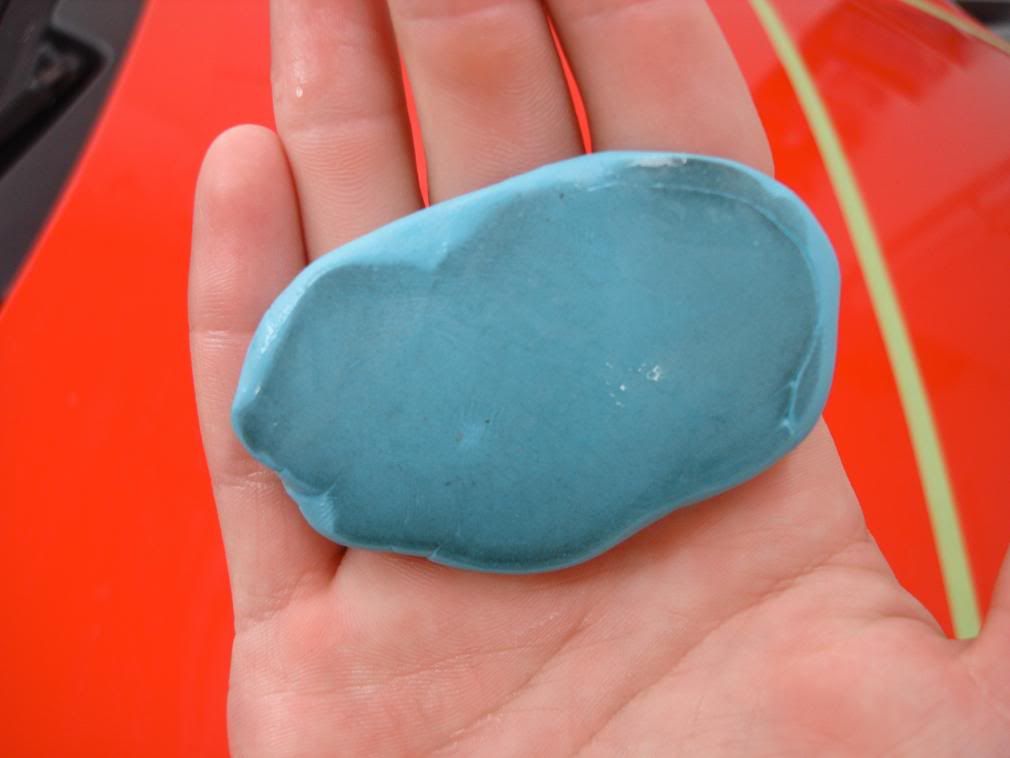
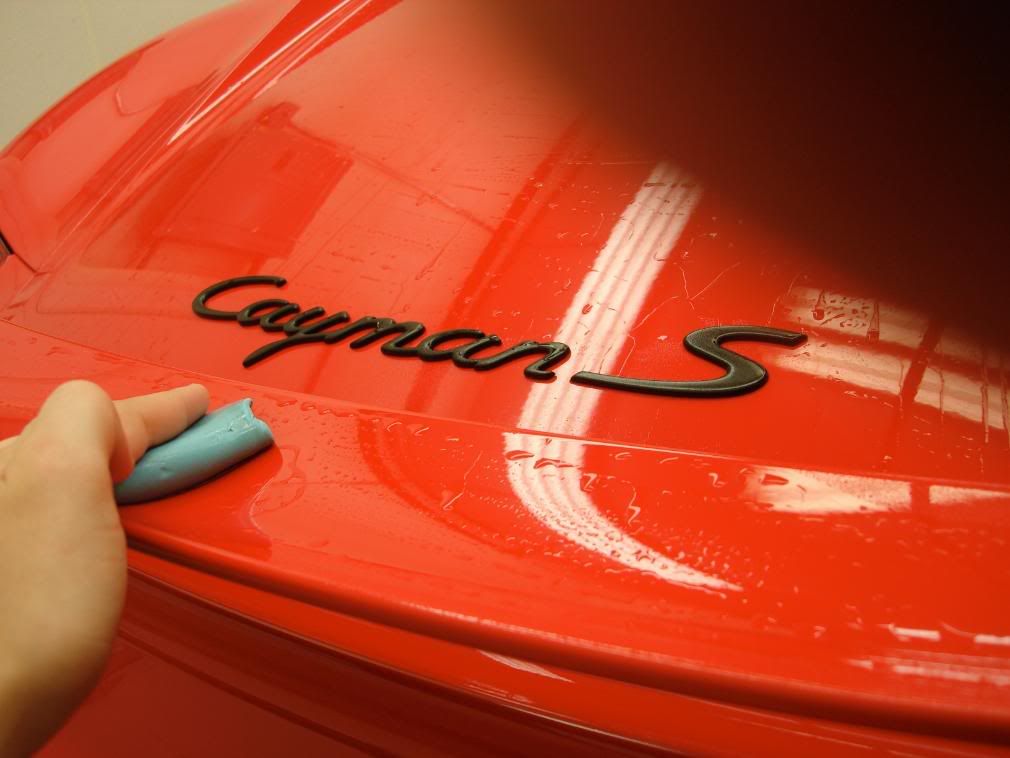
Onto to claying
Just after 1/2 the hood... the worst of the contaminats were on the hood, the rest of the body was fairly smooth.
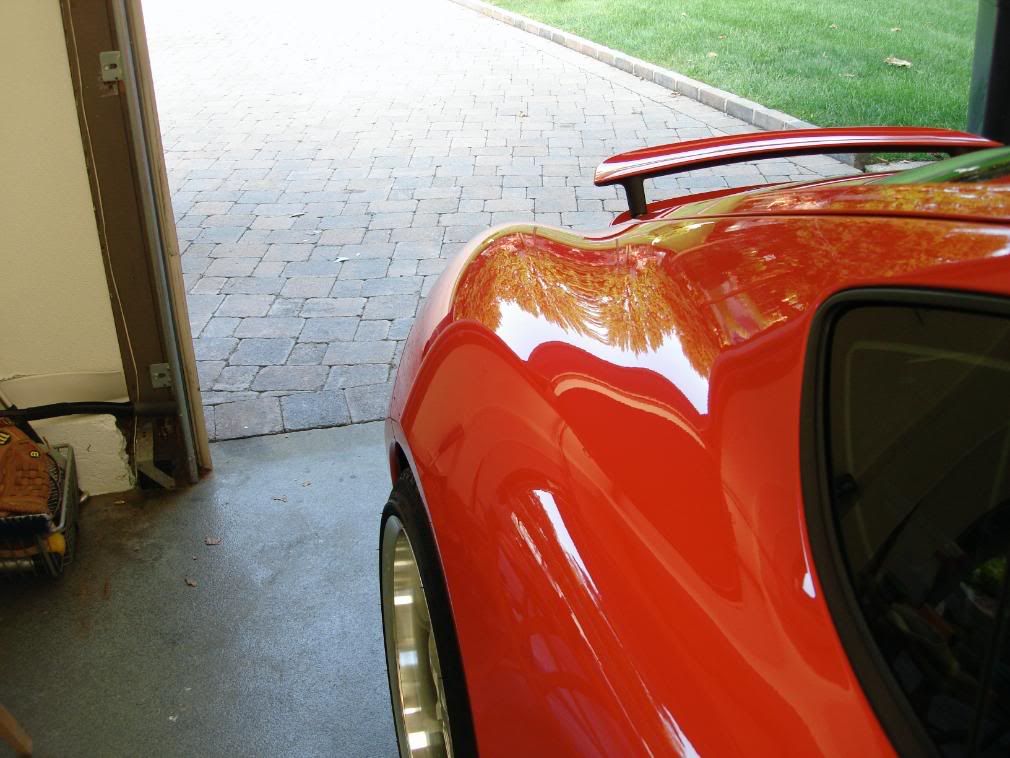
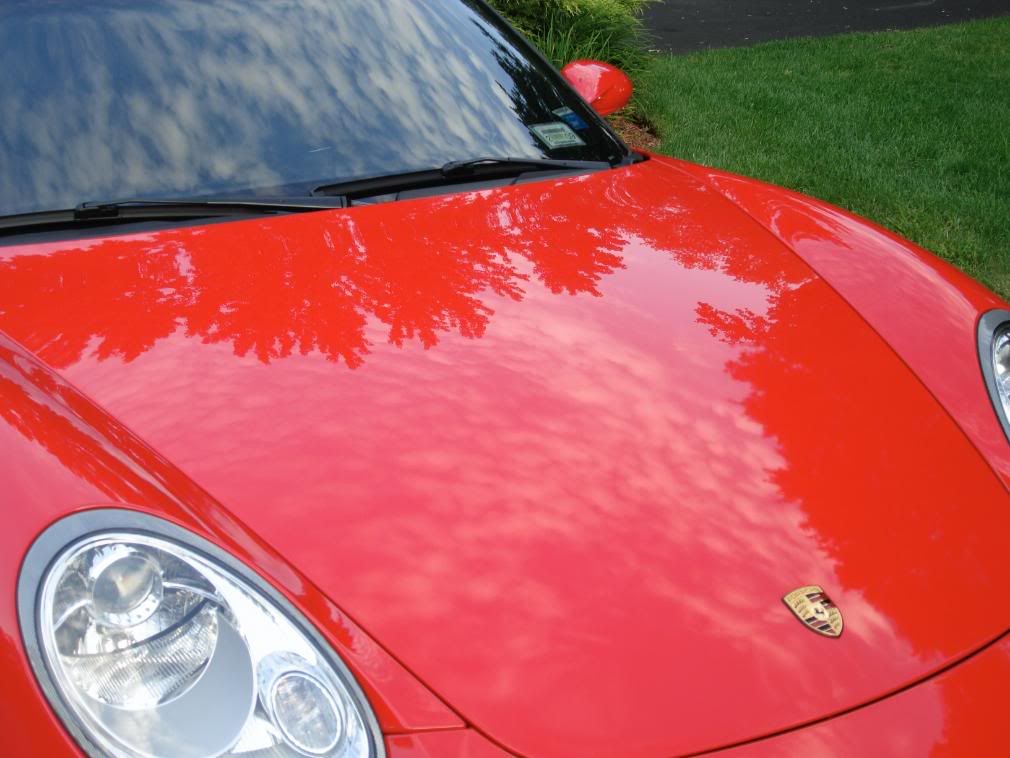
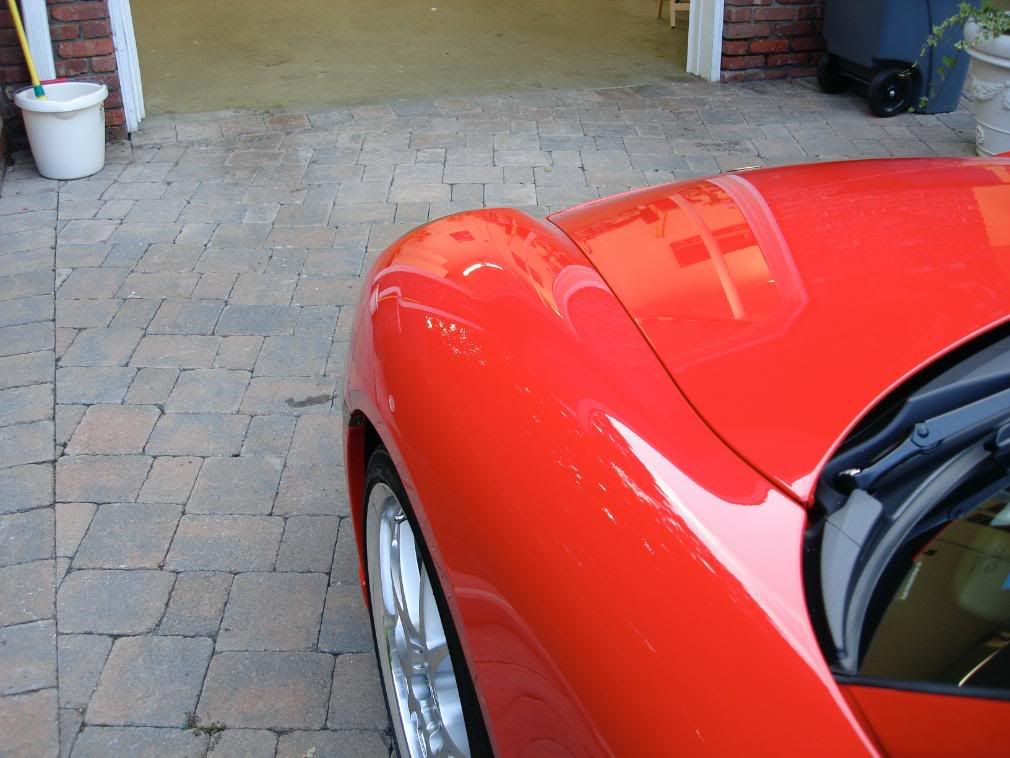
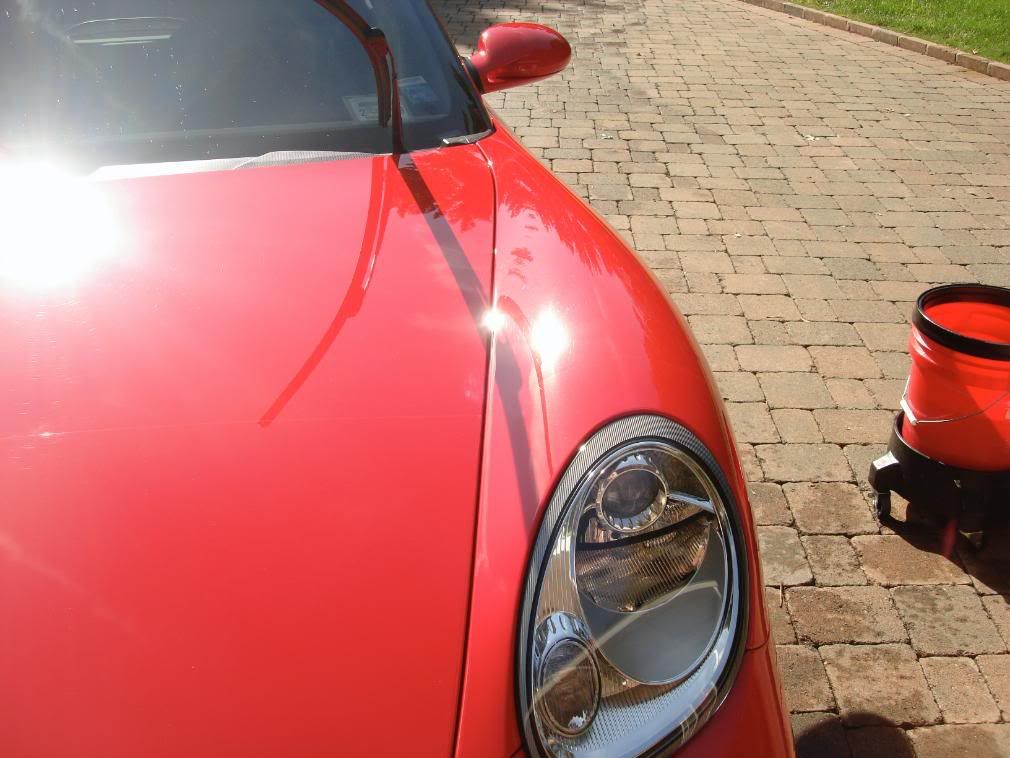
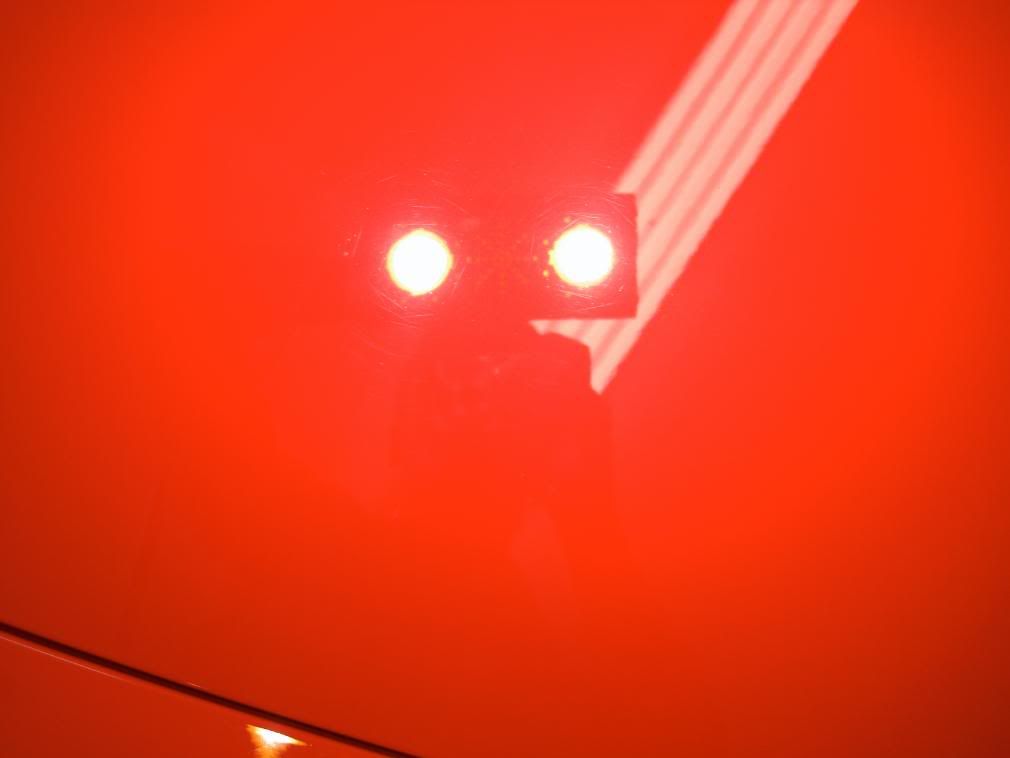
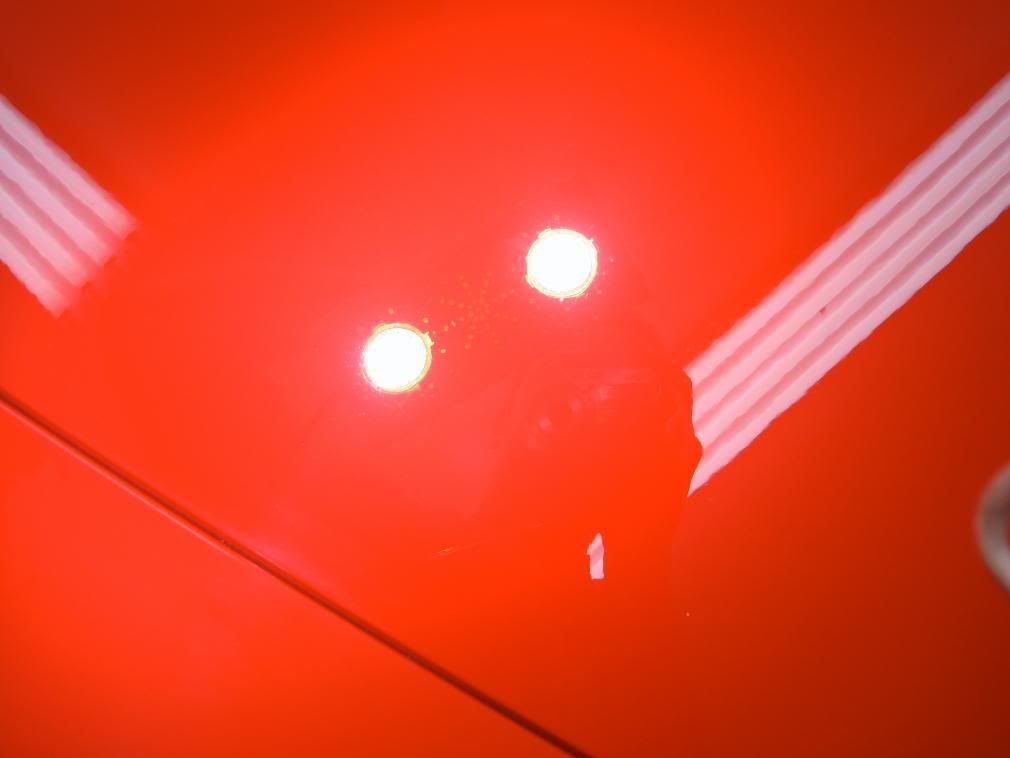
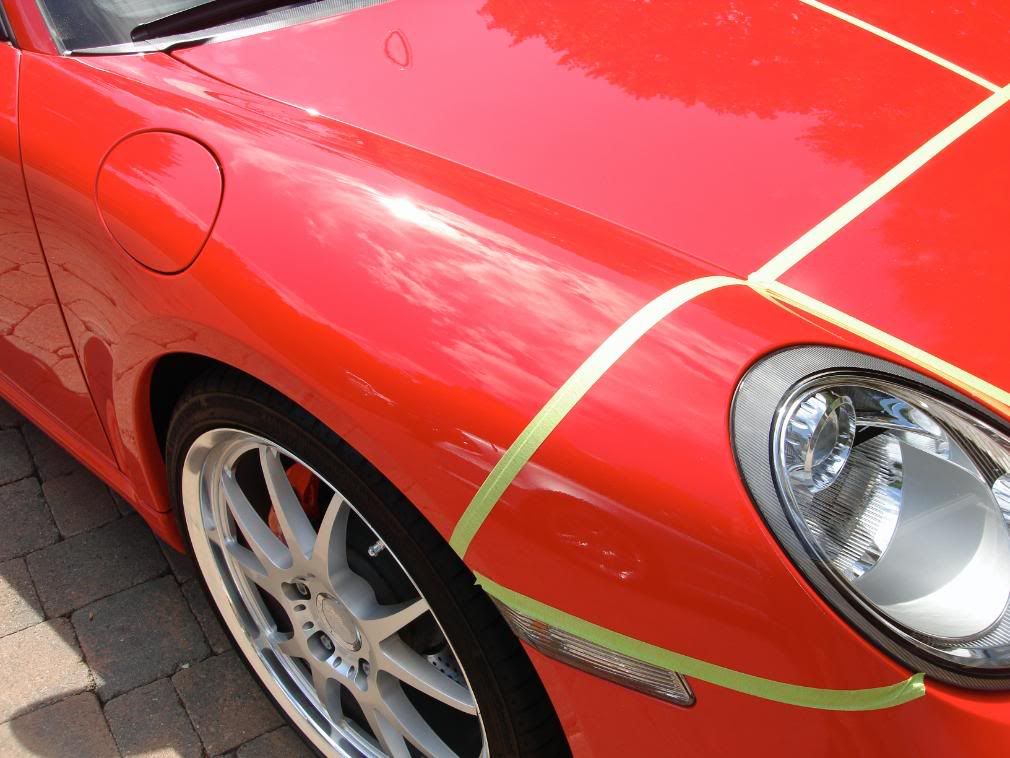
Here are some before shots of the car in sunligh to check for swirls

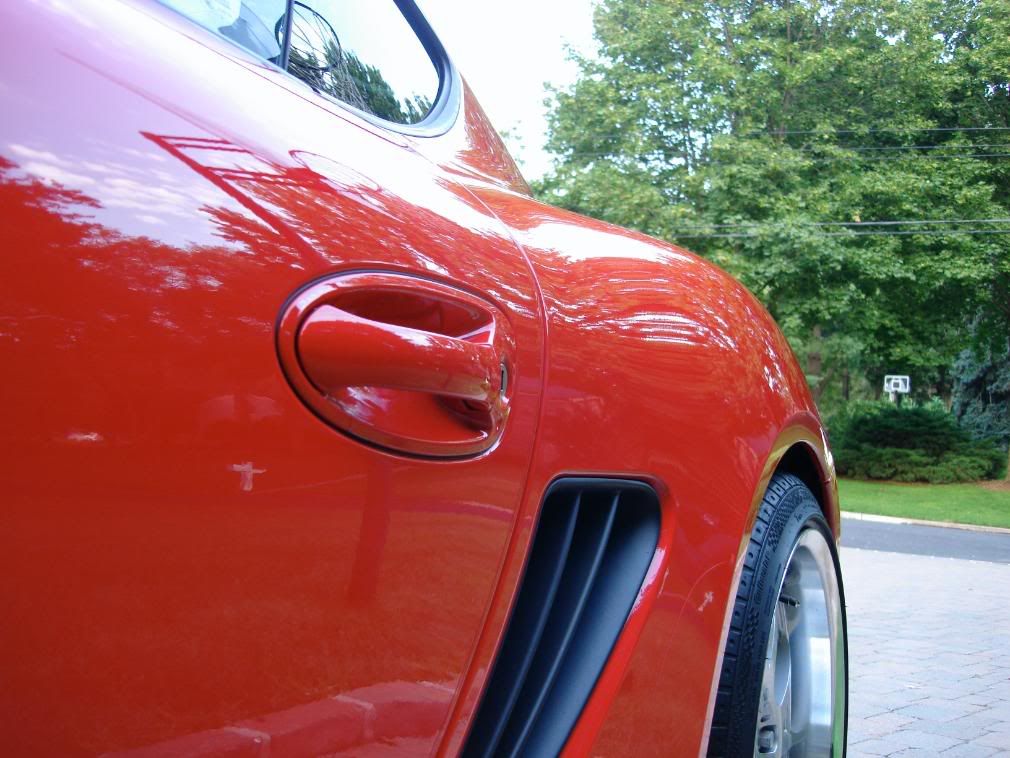
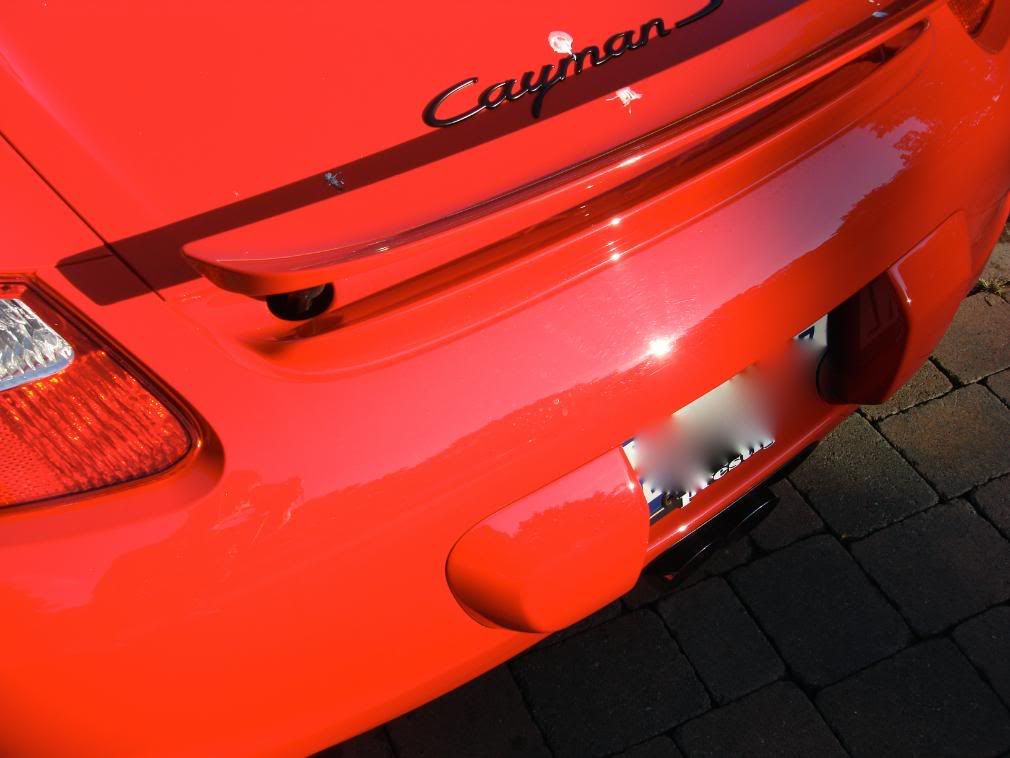
A bird must have though red meant bullseye
After claying I used PB spray and wipe to prep the finish for polishing
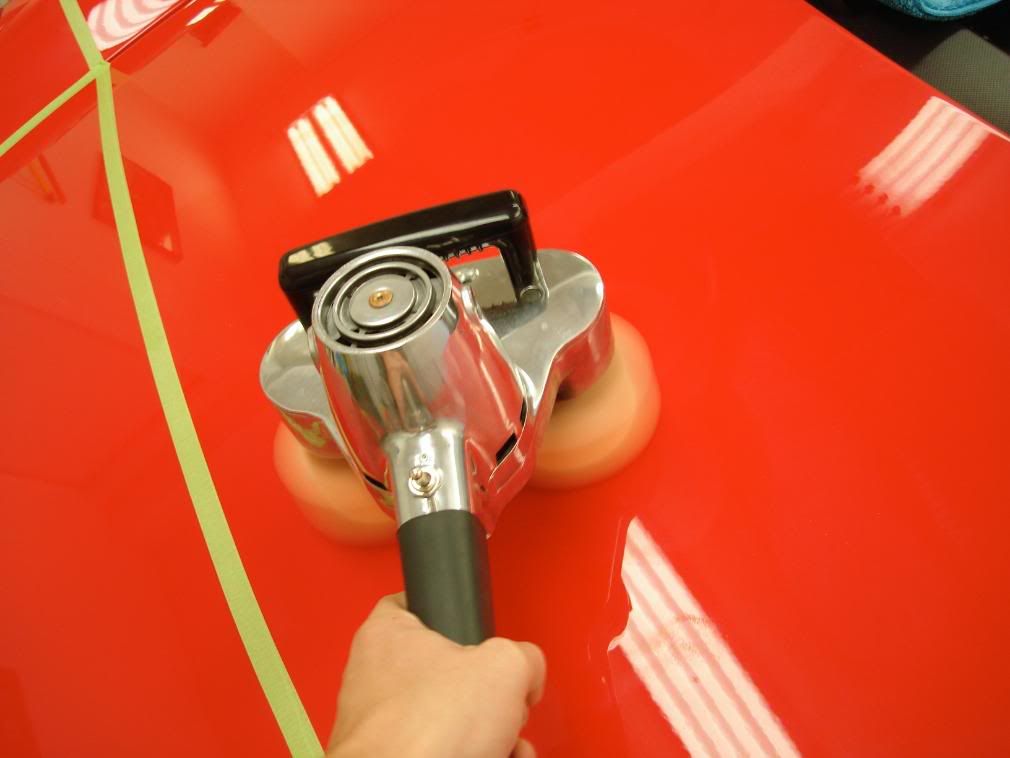
The car was moderatley swirled. It was booked for a 1 step correction. I was able to remover a solid amount of defect using Gloss It one step machine polish and the cyclo. I would say they car was 70-80% perfect after.
Hood before
Hood after
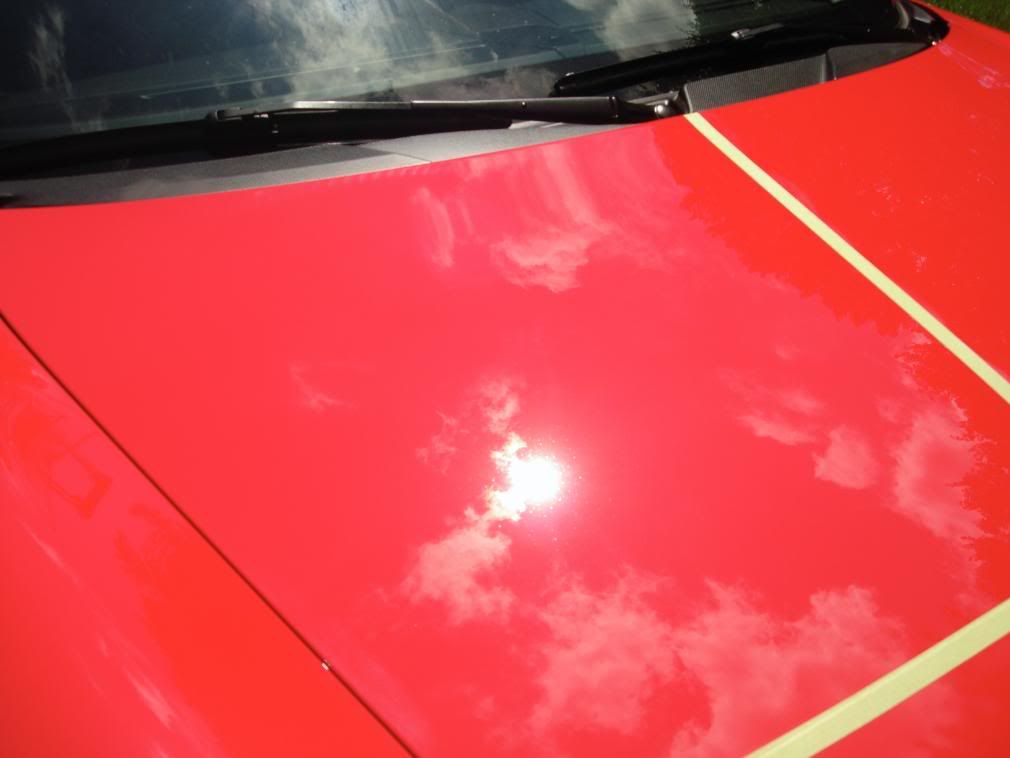
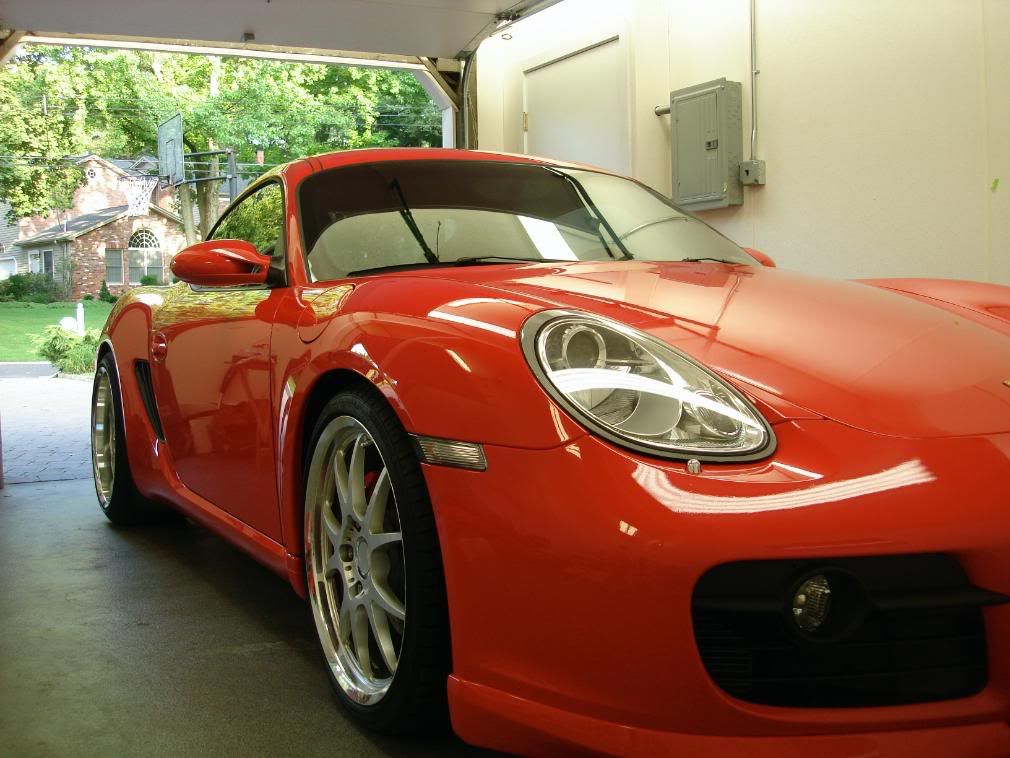
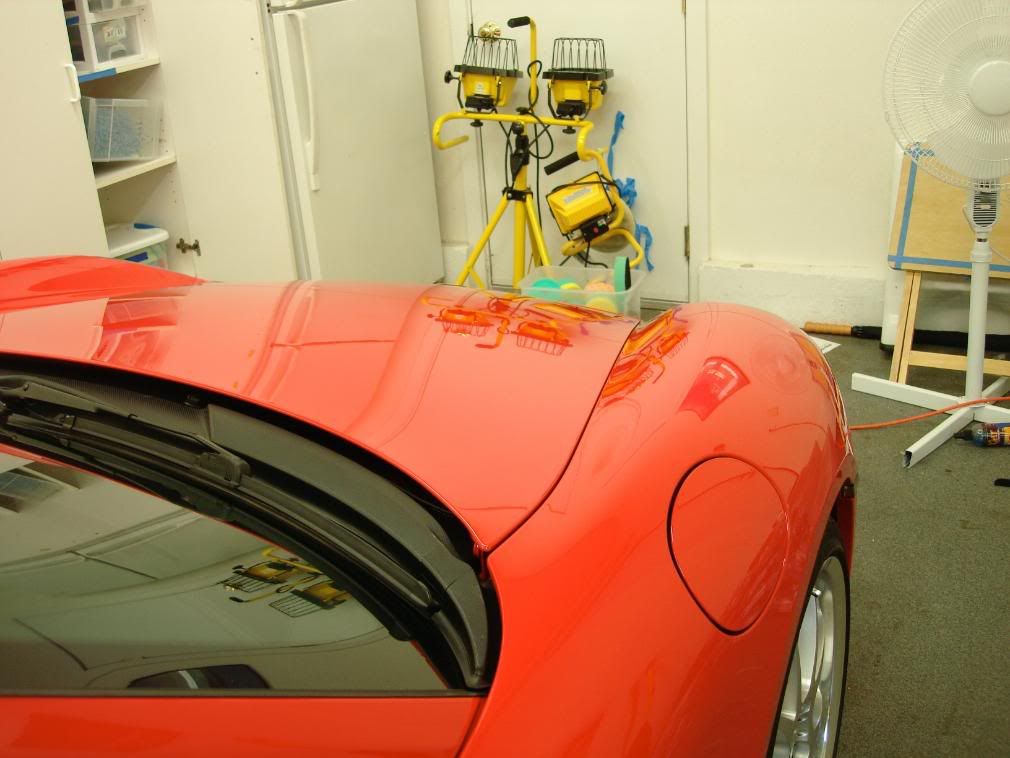
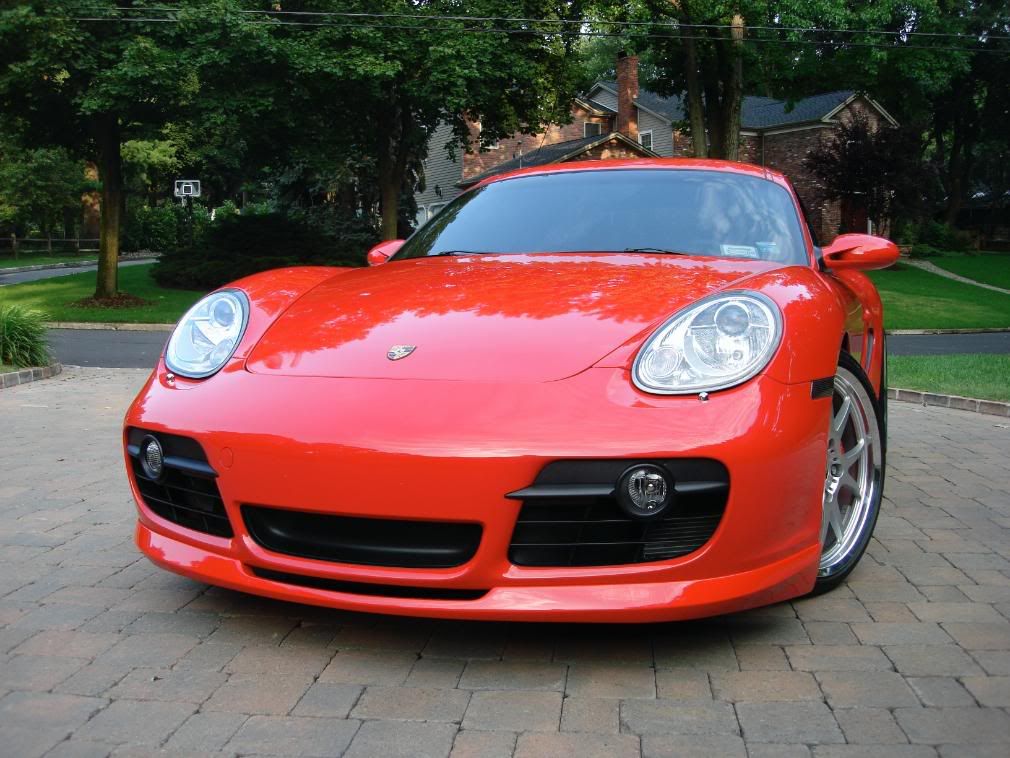
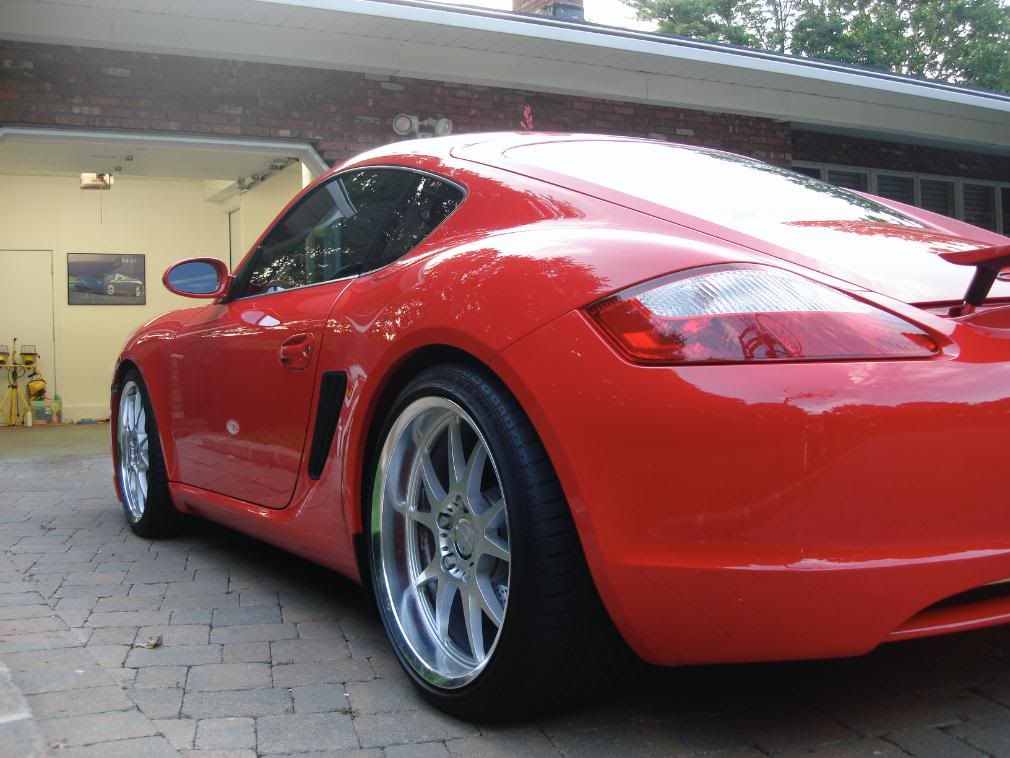
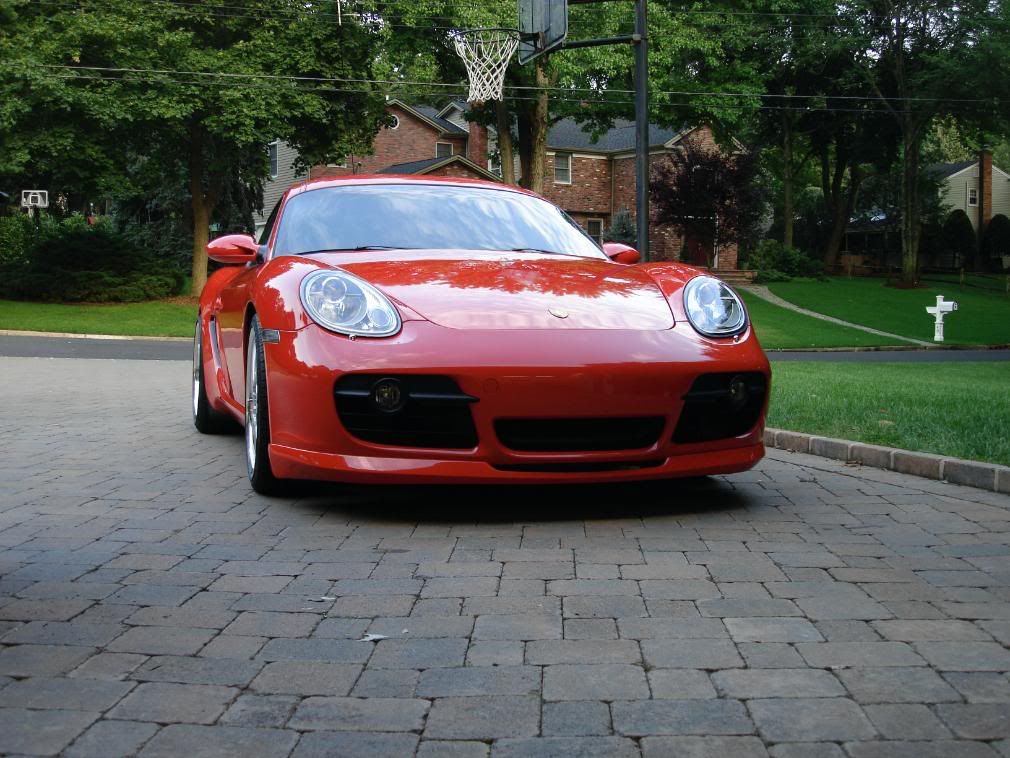
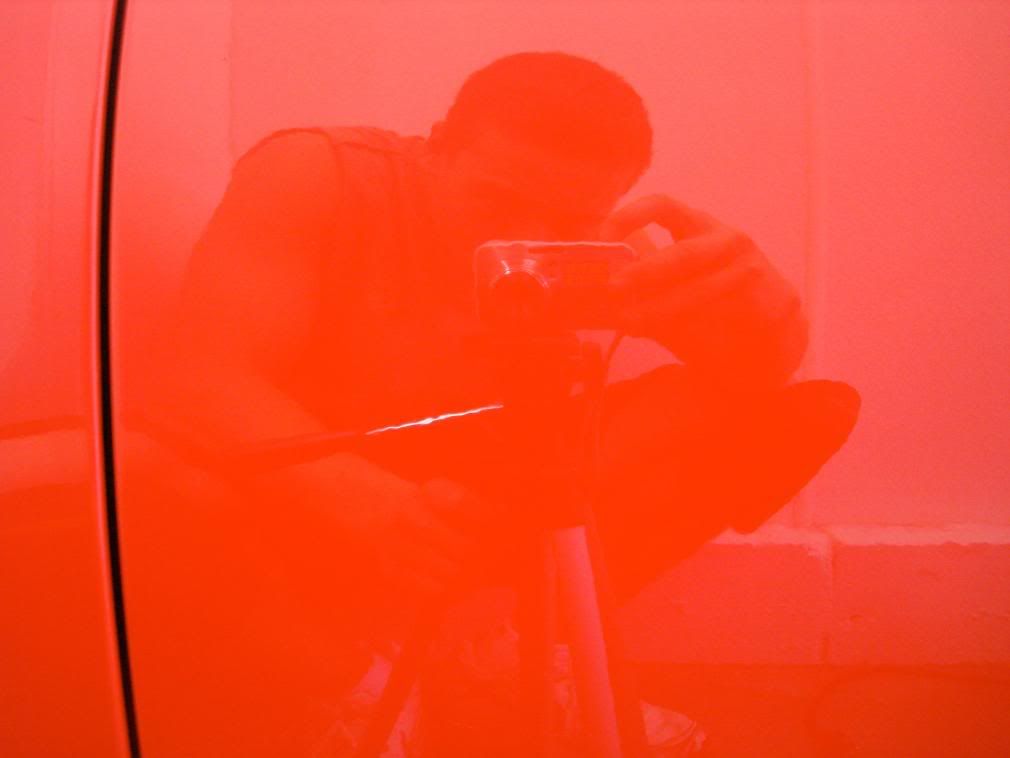
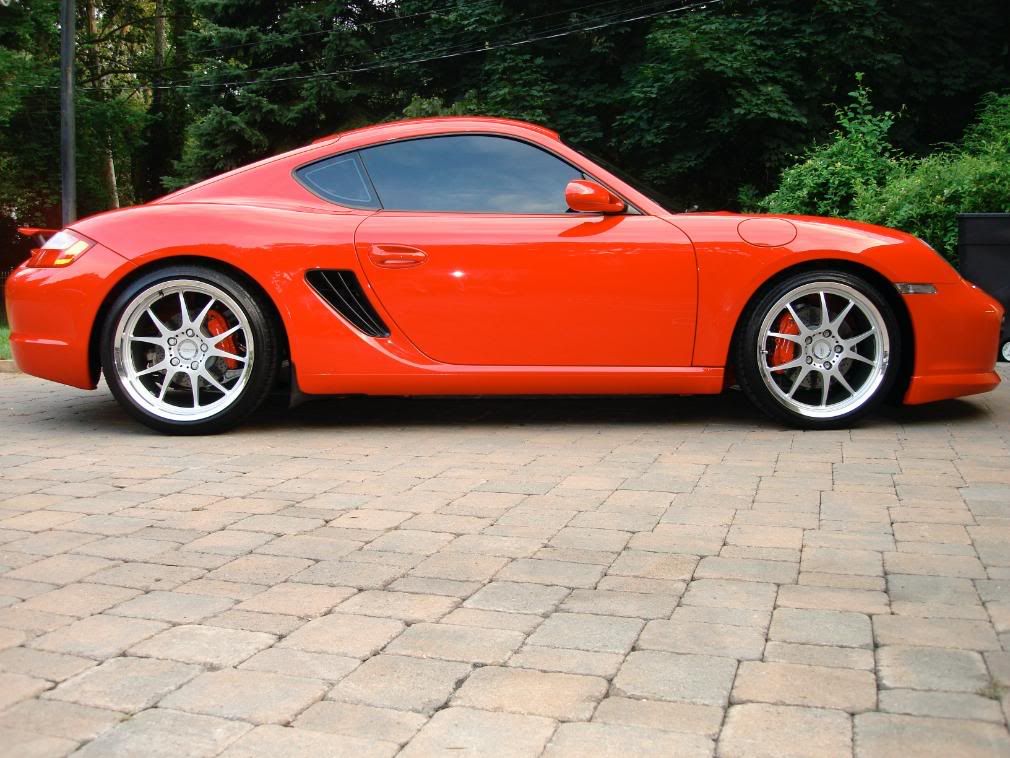
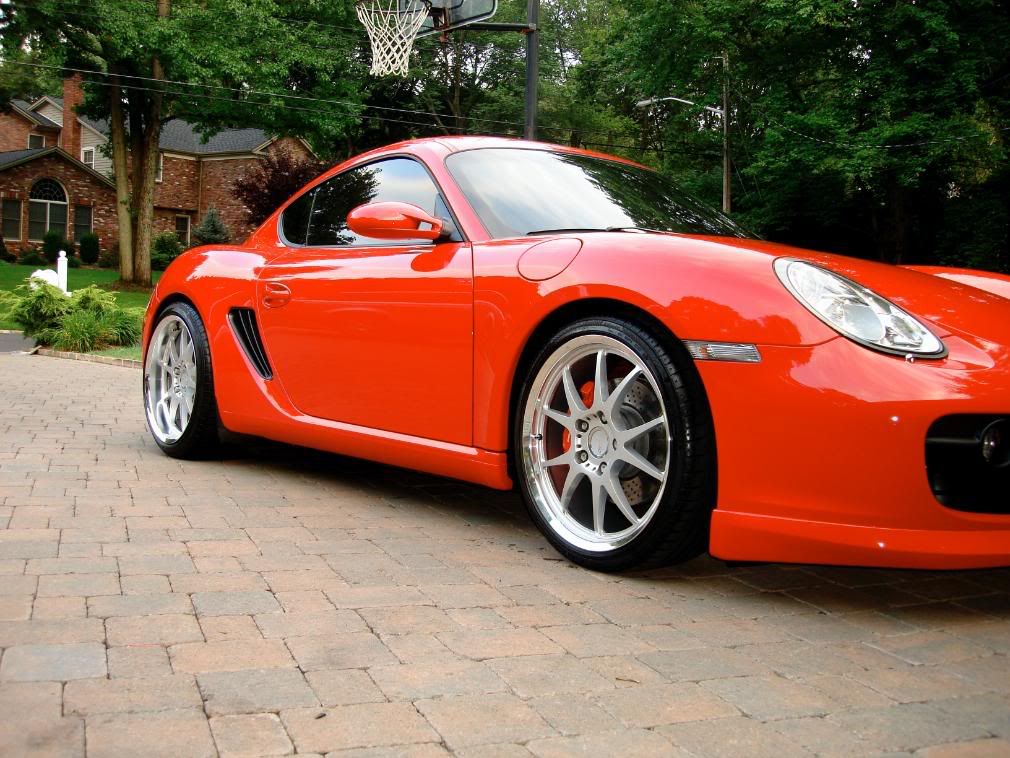
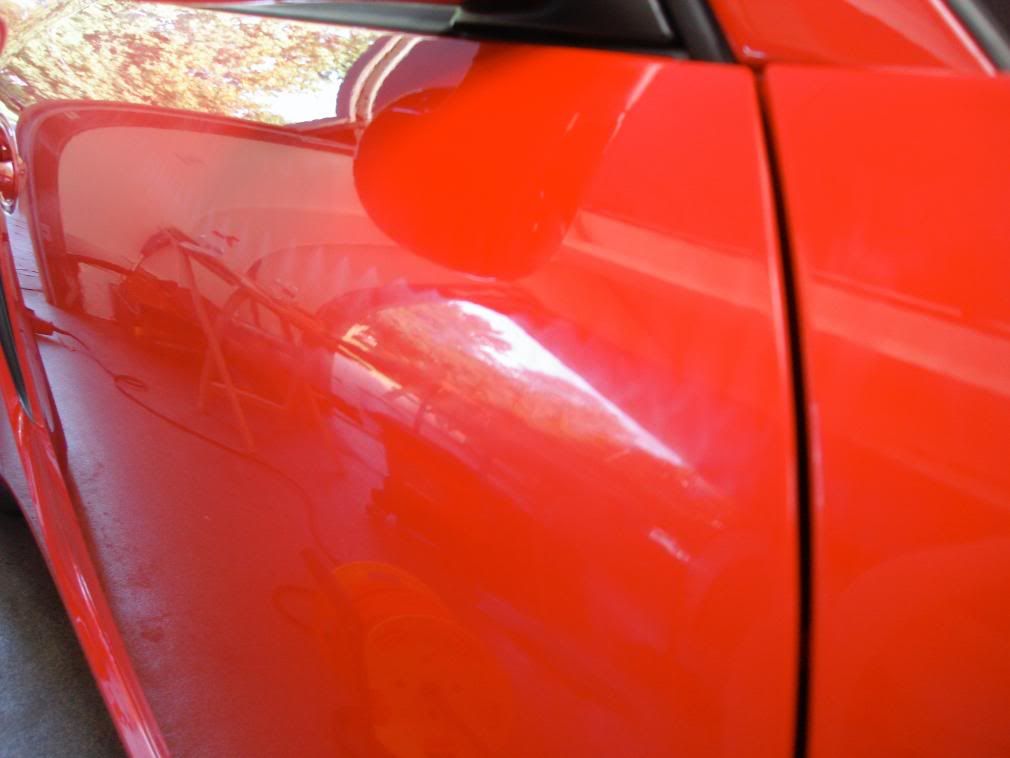
Post Polishing shots, No LSP was applied this is after a thorough IPA wipdown
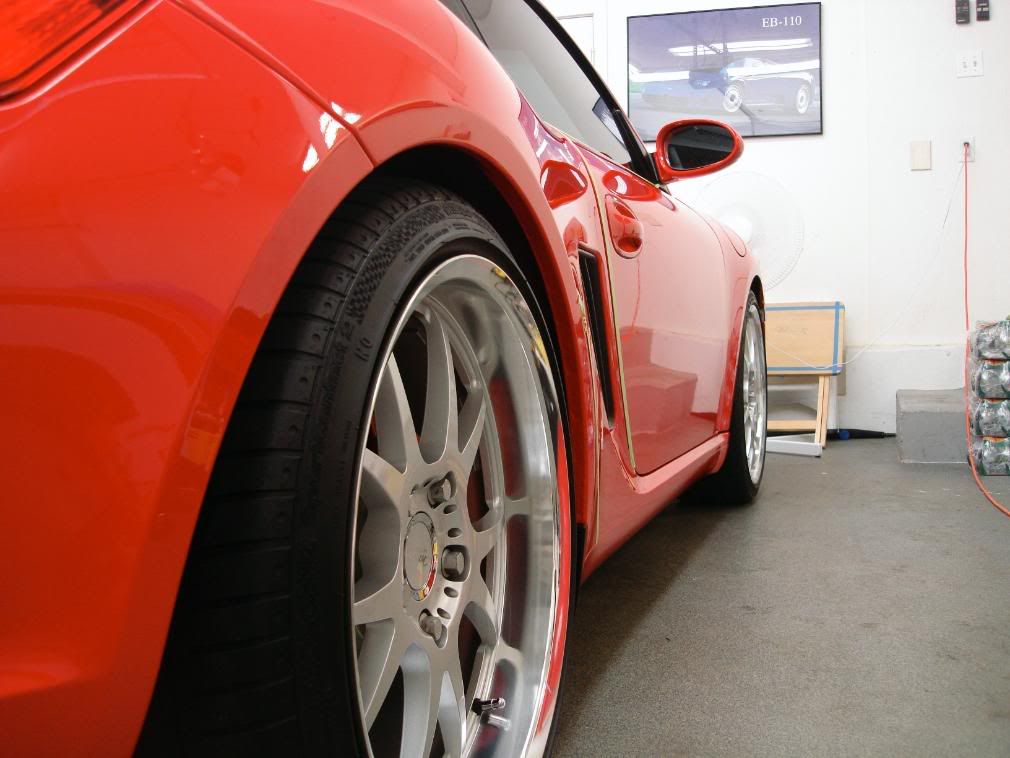
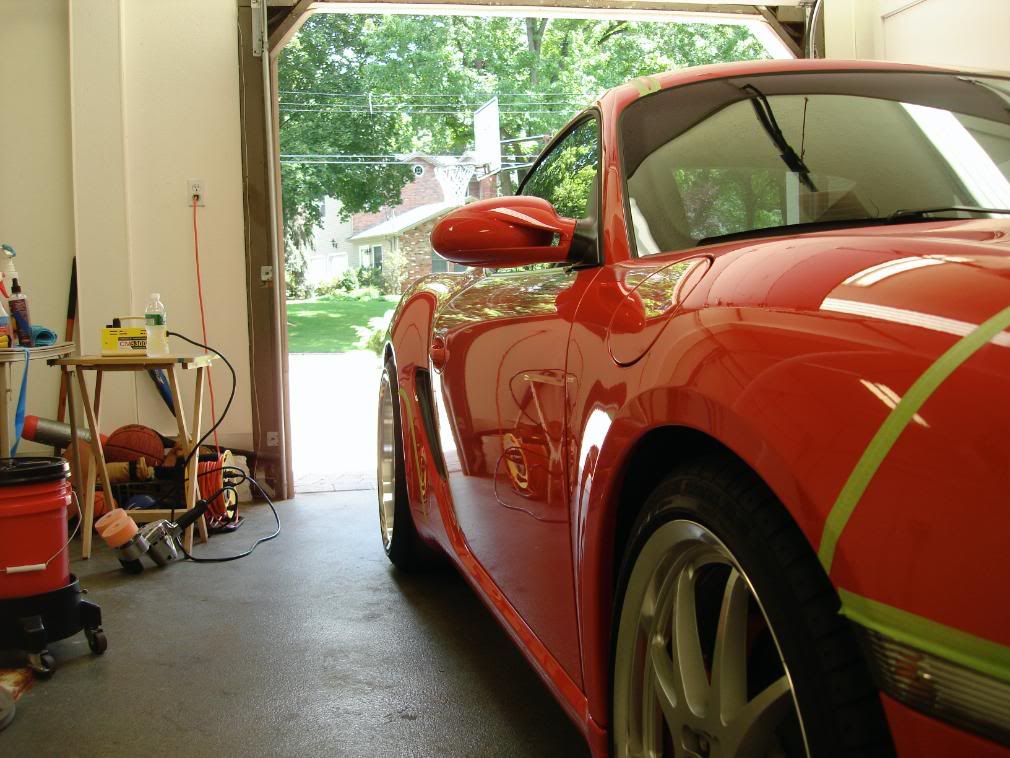
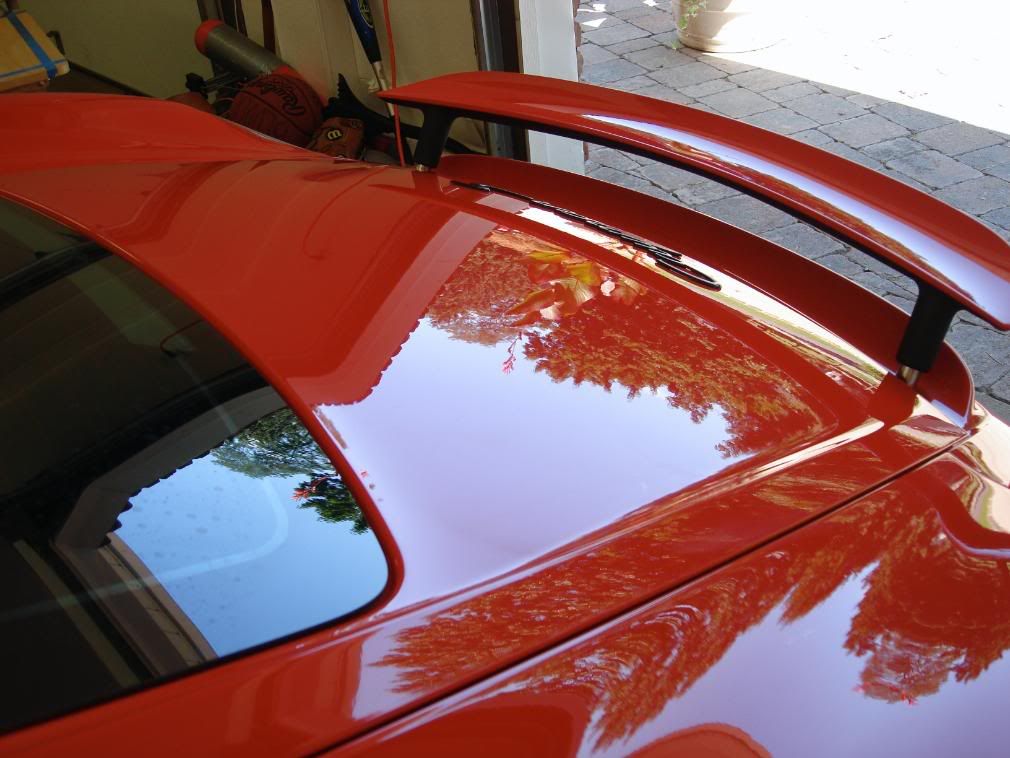
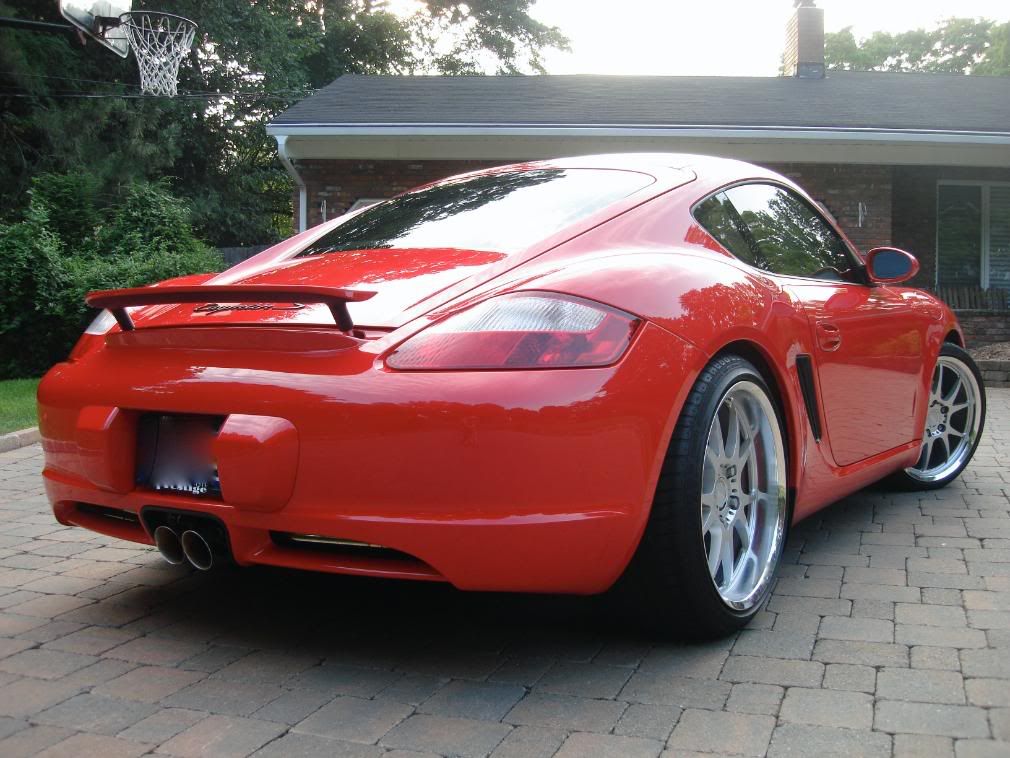
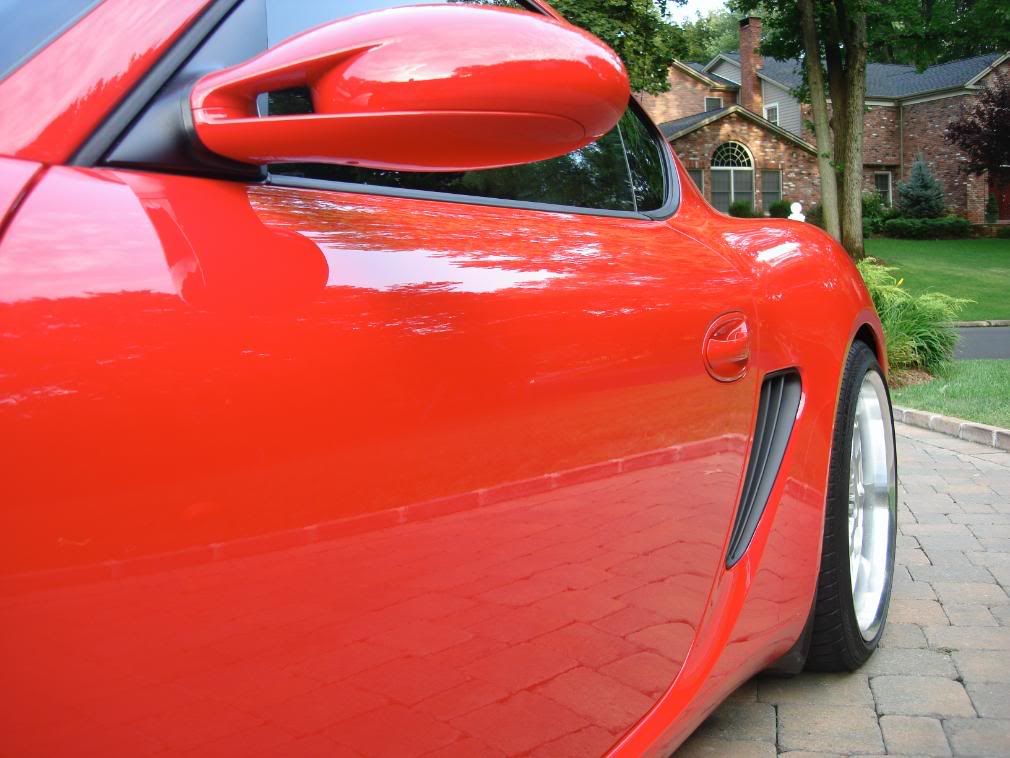
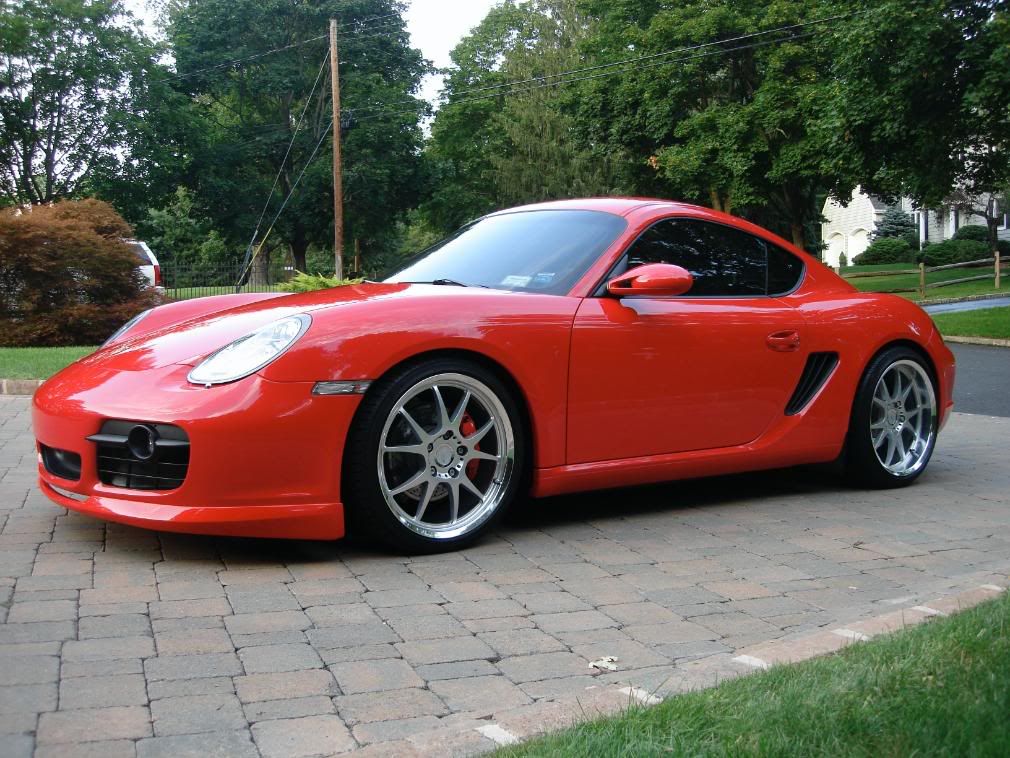
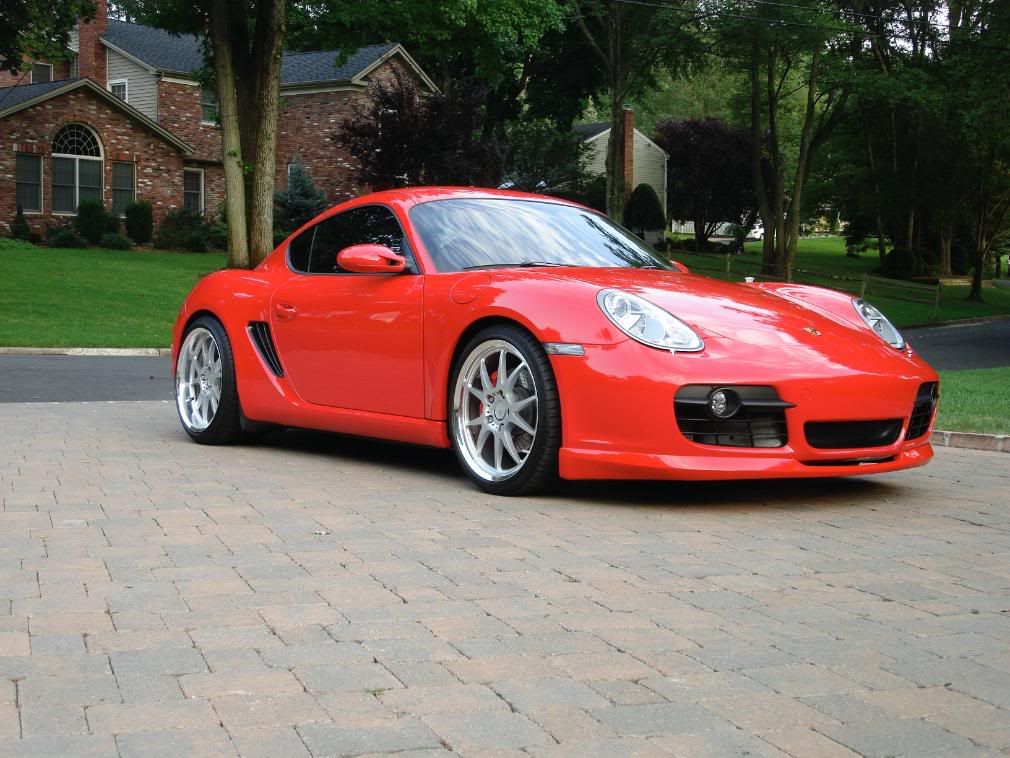
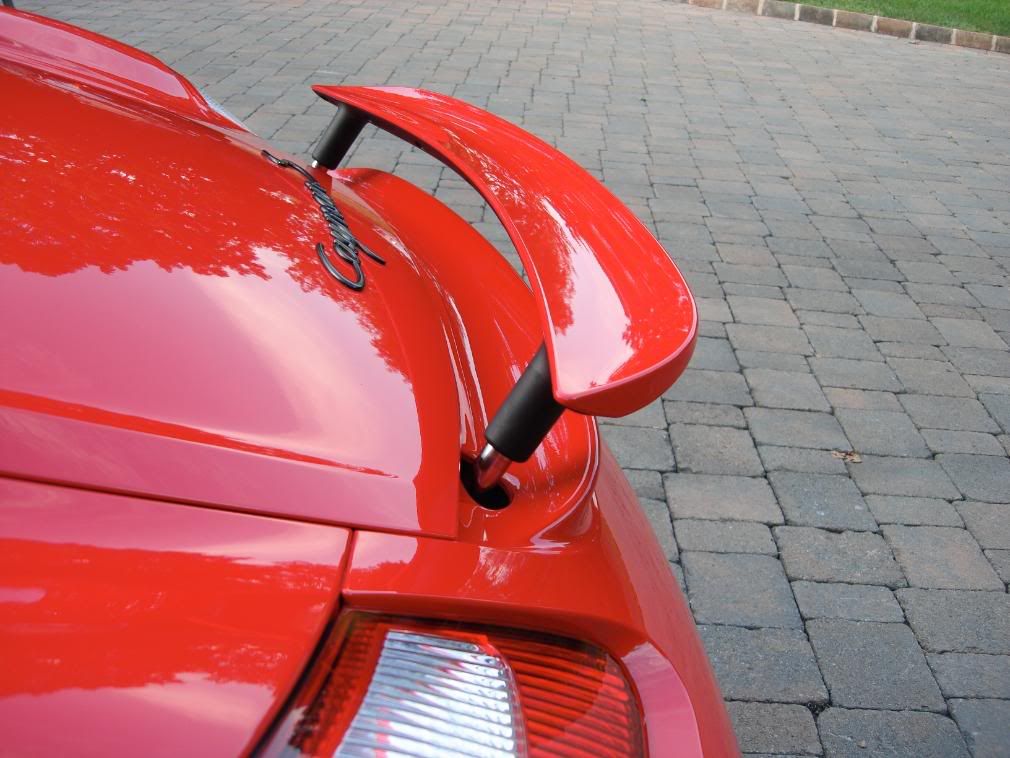
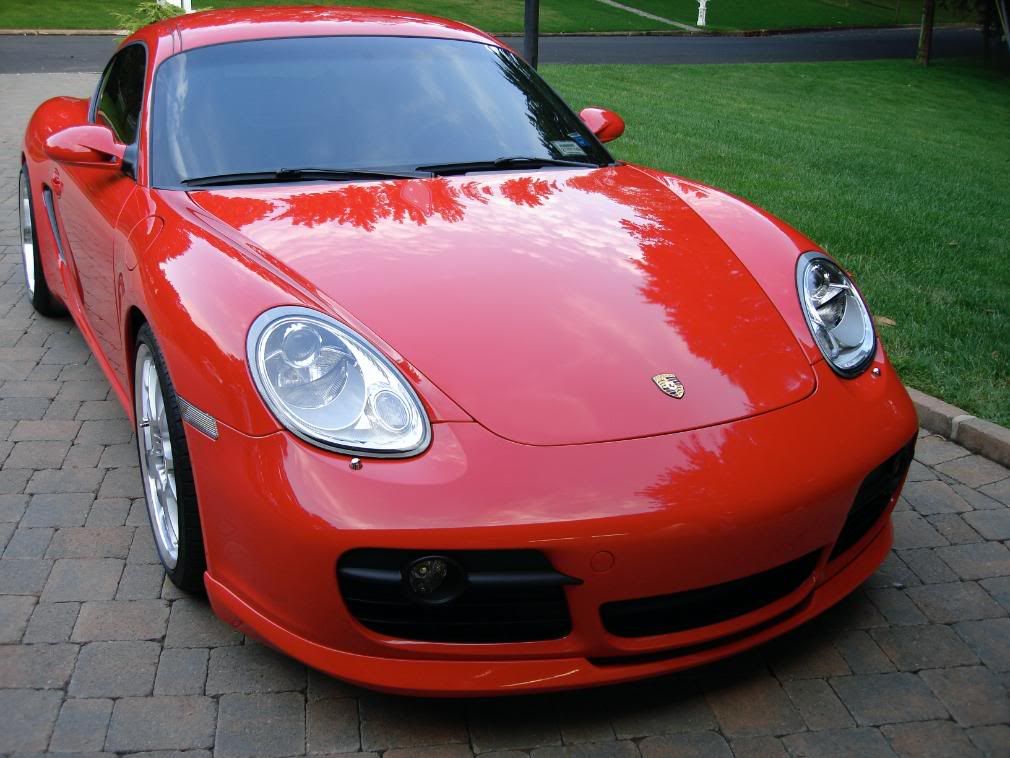
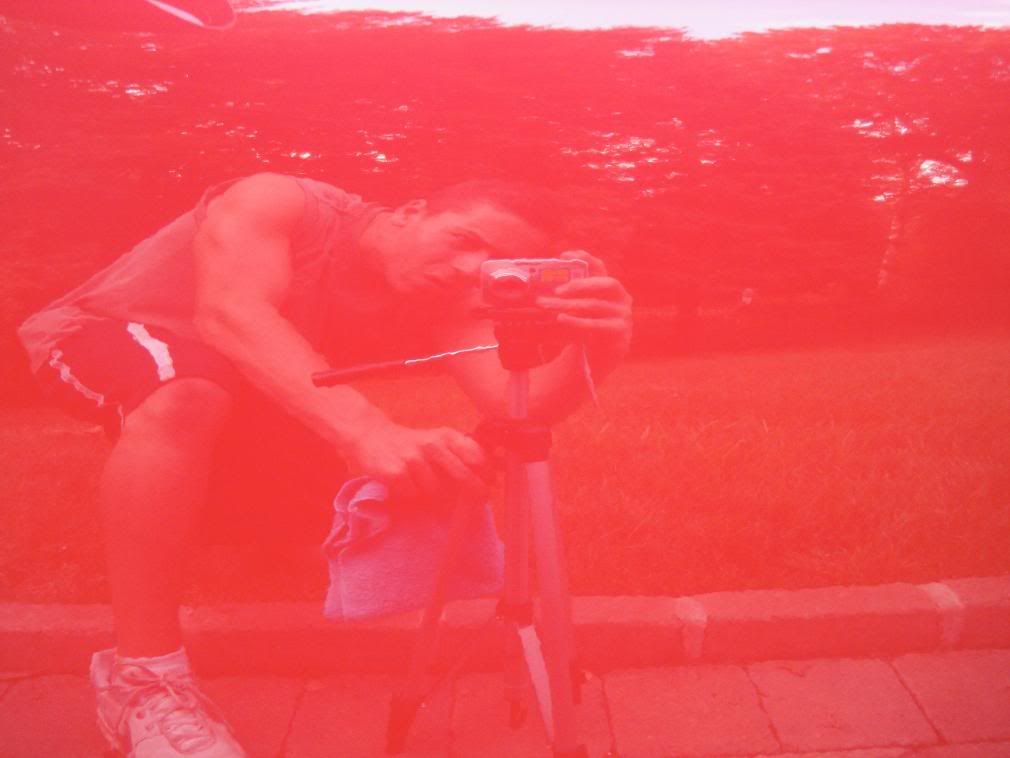
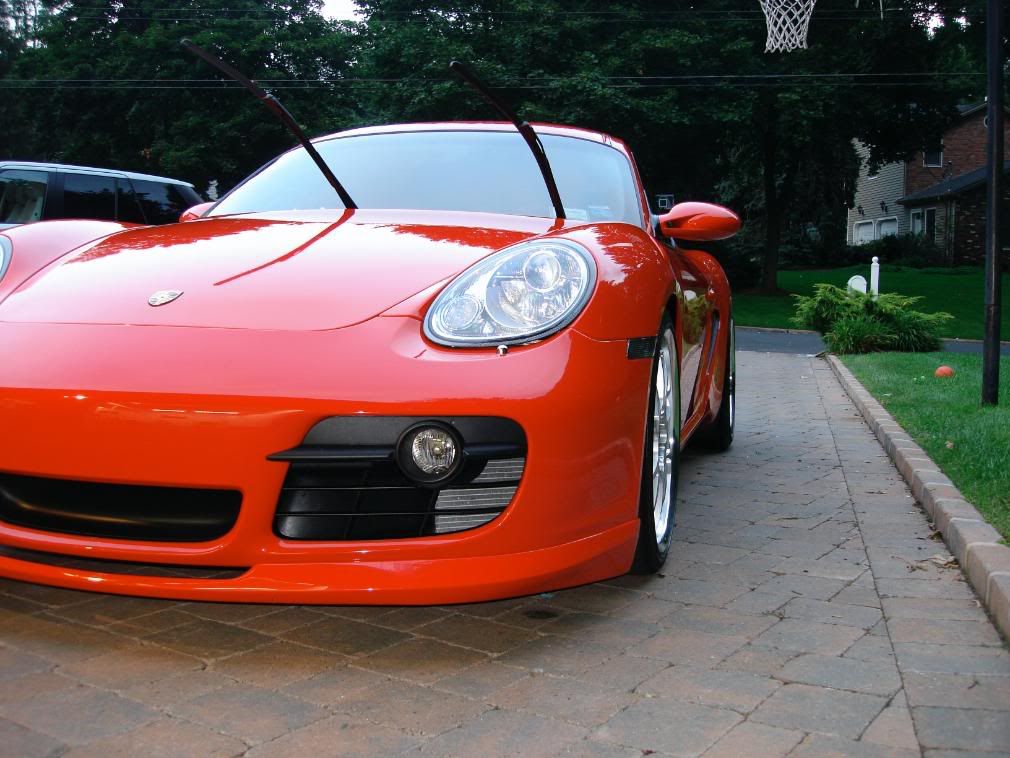
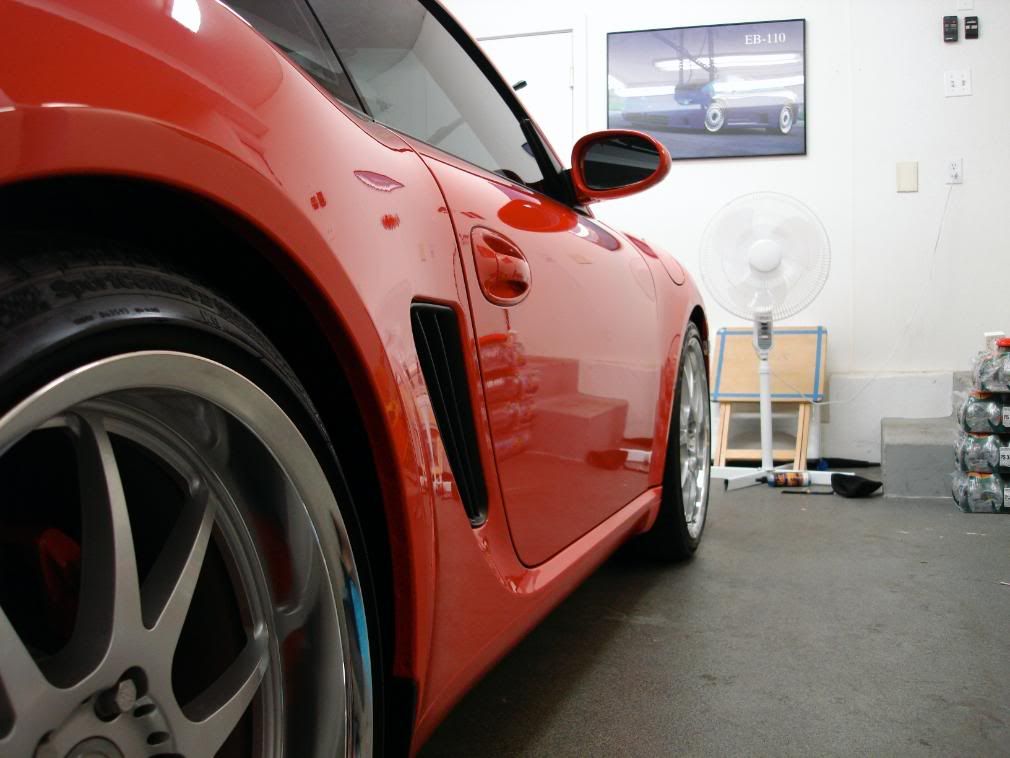
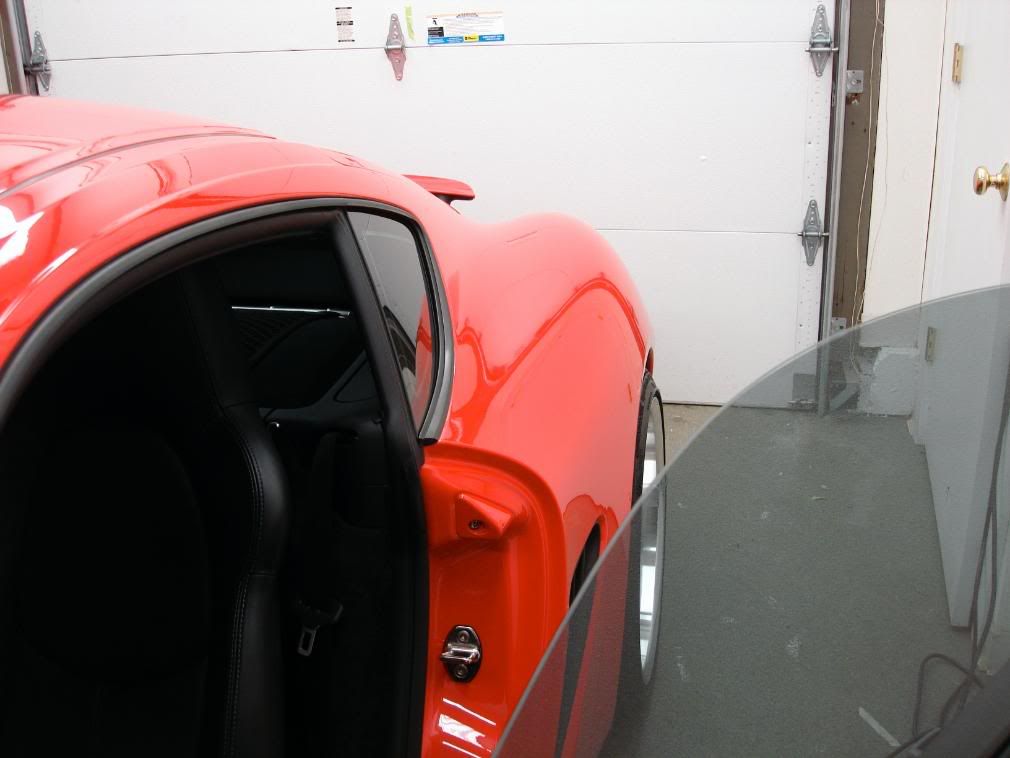
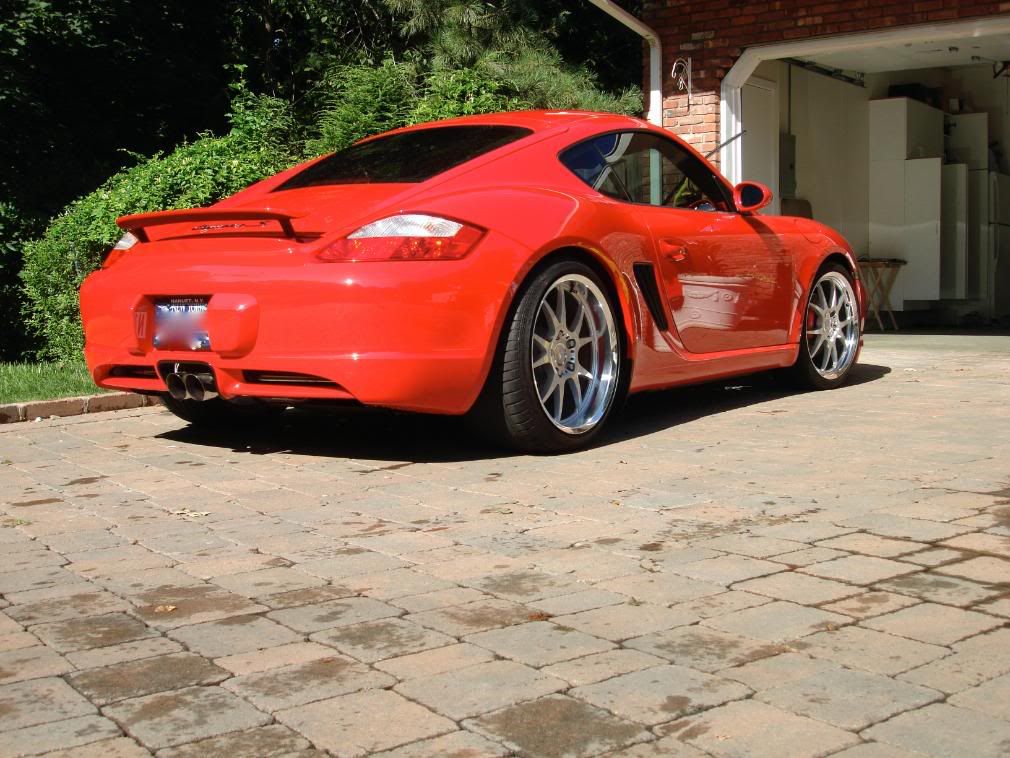
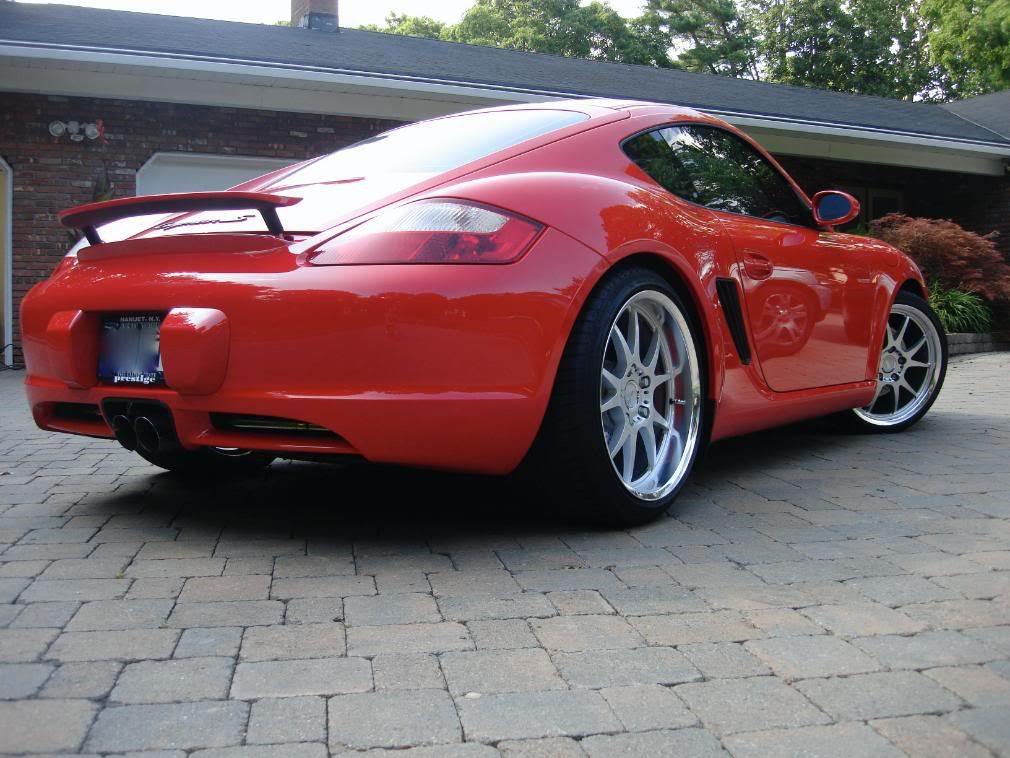
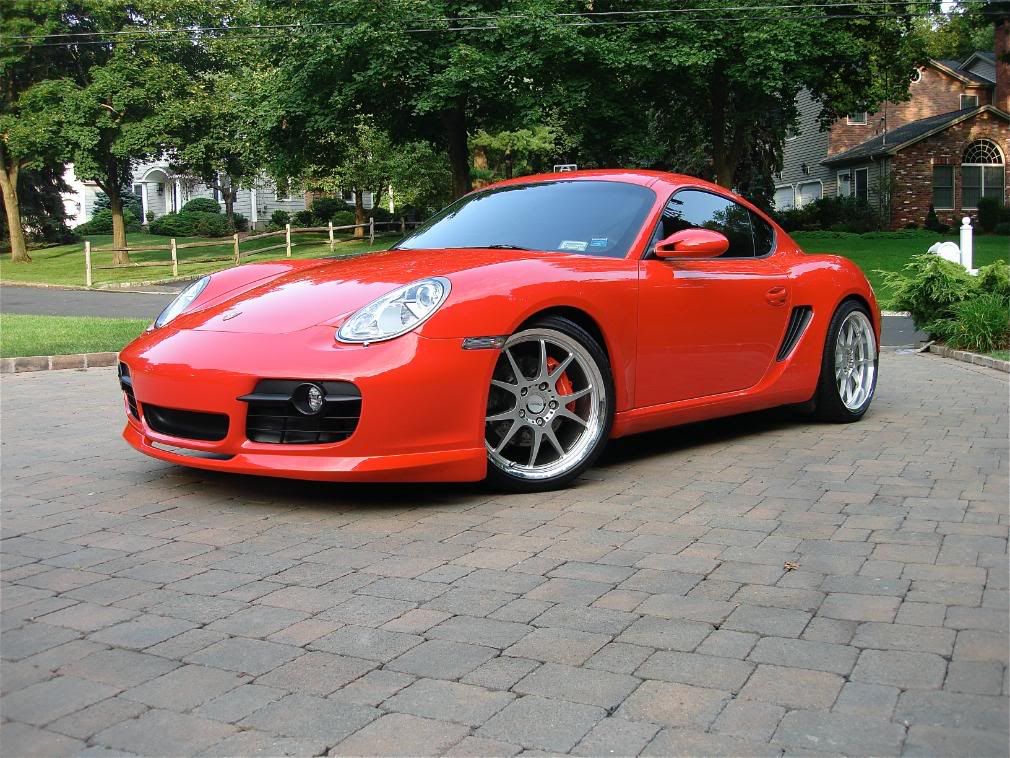
More post polishing shots outside, again there is NO LSP on this car
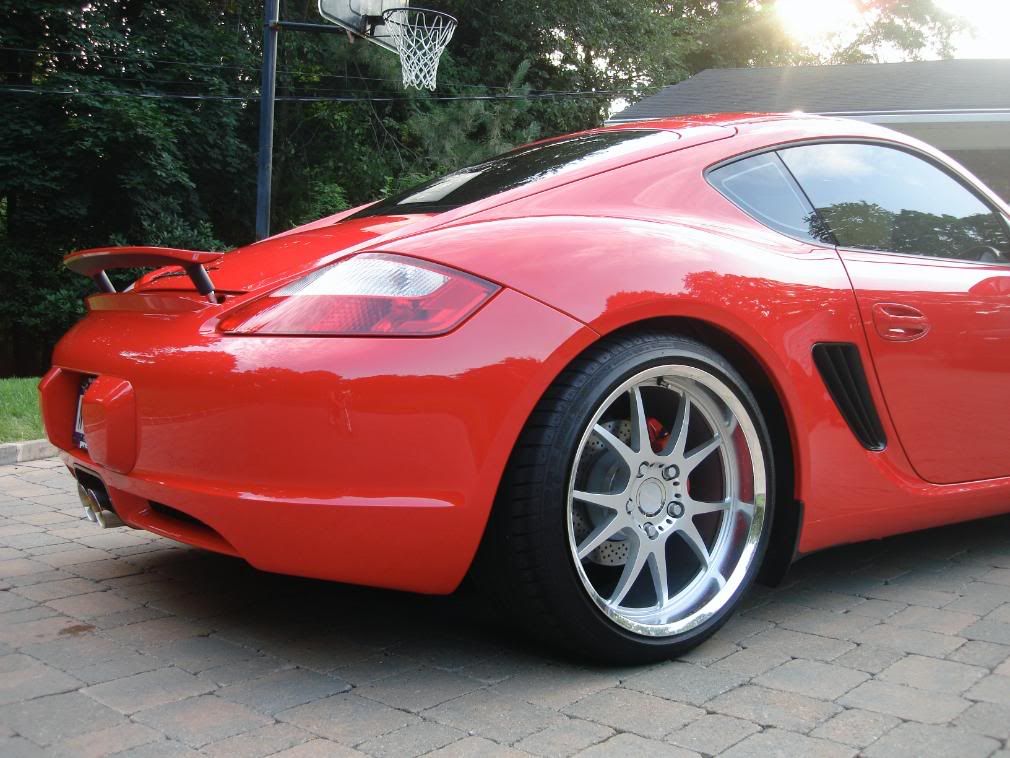
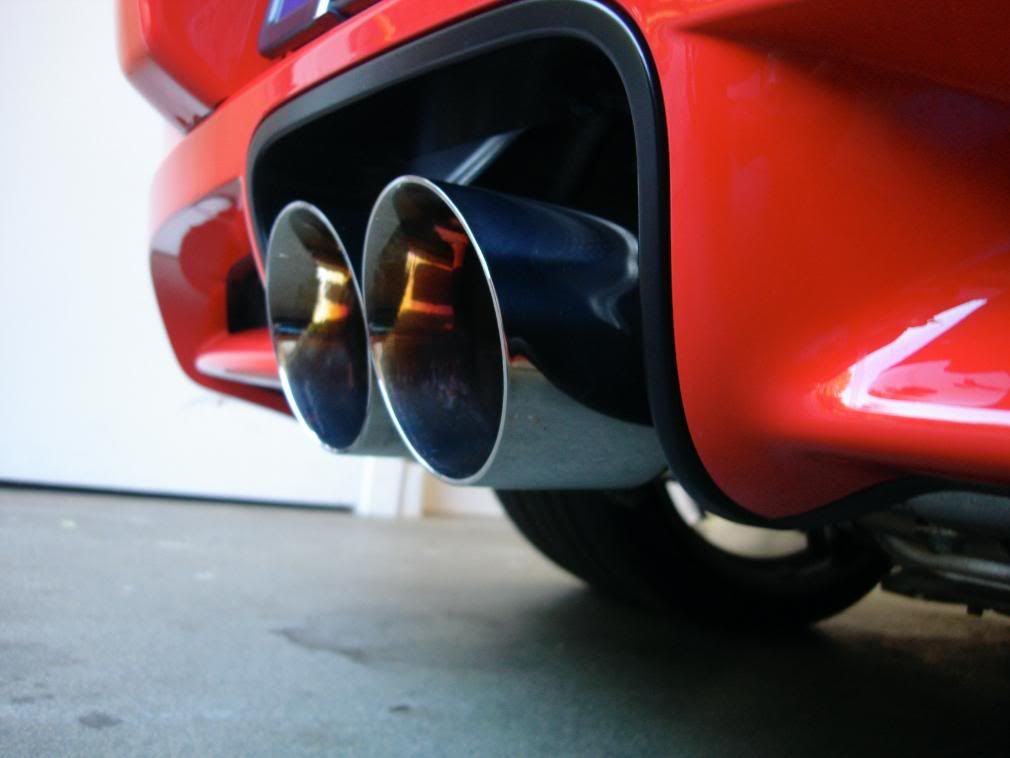
The B&B exhaust was polished with #0000 steel wool and Noxon, it sounded really great on the Cayman, very deep and throaty.
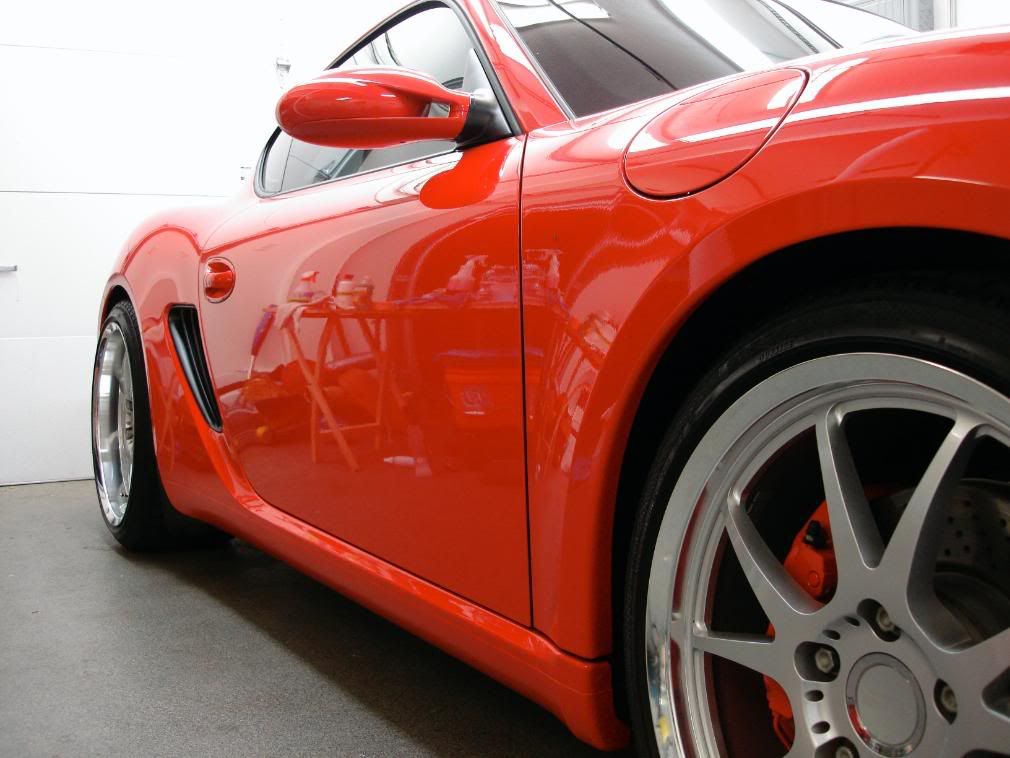
Now onto LSP application. I chose Gloss It Signature Gloss for its great clarity and depth, yes its a sealant and has depth! I applied it very thin via Flex and a LC blue final finishing pad. 2 coats were applied followed by a Gloss Enhancer QD wipedown (similar to using a Z8 or Z6 spray after applying Zaino)
Heres the car after the wash, after just rinsing the car before washing I saw it was already beading nicely so I had to be sure that any prior wax applied was stripped off so I used the 2BM and P21s TAW with 2 schmitts.
First I did the wheels. P21s gel was used to ensure no damage was done to the Champion wheels finish or the braking system
Letting dwell for 15minutes...
After
The front passenger wheel was the worst
After cleaning I used AG intensive tar remover to dissolve the stubborn tar spots
After
Onto to claying
Just after 1/2 the hood... the worst of the contaminats were on the hood, the rest of the body was fairly smooth.
Here are some before shots of the car in sunligh to check for swirls
A bird must have though red meant bullseye
After claying I used PB spray and wipe to prep the finish for polishing
The car was moderatley swirled. It was booked for a 1 step correction. I was able to remover a solid amount of defect using Gloss It one step machine polish and the cyclo. I would say they car was 70-80% perfect after.
Hood before
Hood after
Post Polishing shots, No LSP was applied this is after a thorough IPA wipdown
More post polishing shots outside, again there is NO LSP on this car
The B&B exhaust was polished with #0000 steel wool and Noxon, it sounded really great on the Cayman, very deep and throaty.
Now onto LSP application. I chose Gloss It Signature Gloss for its great clarity and depth, yes its a sealant and has depth! I applied it very thin via Flex and a LC blue final finishing pad. 2 coats were applied followed by a Gloss Enhancer QD wipedown (similar to using a Z8 or Z6 spray after applying Zaino)