Greg Gellas
I'm Greg :)
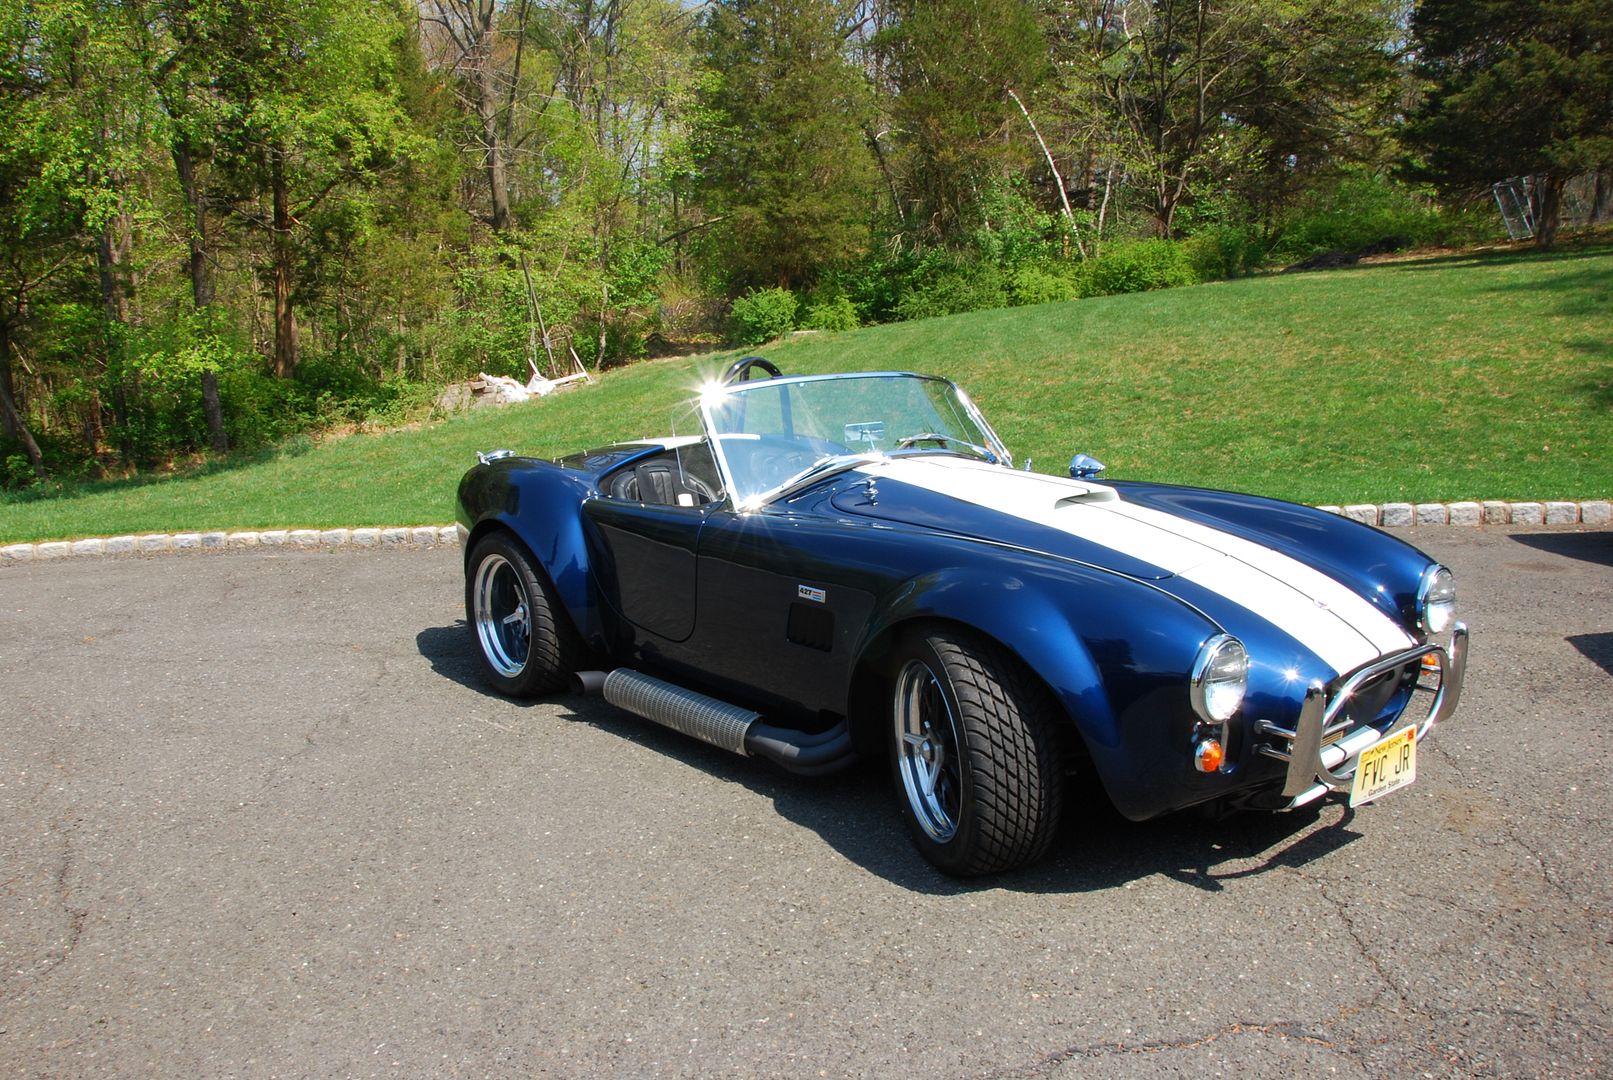
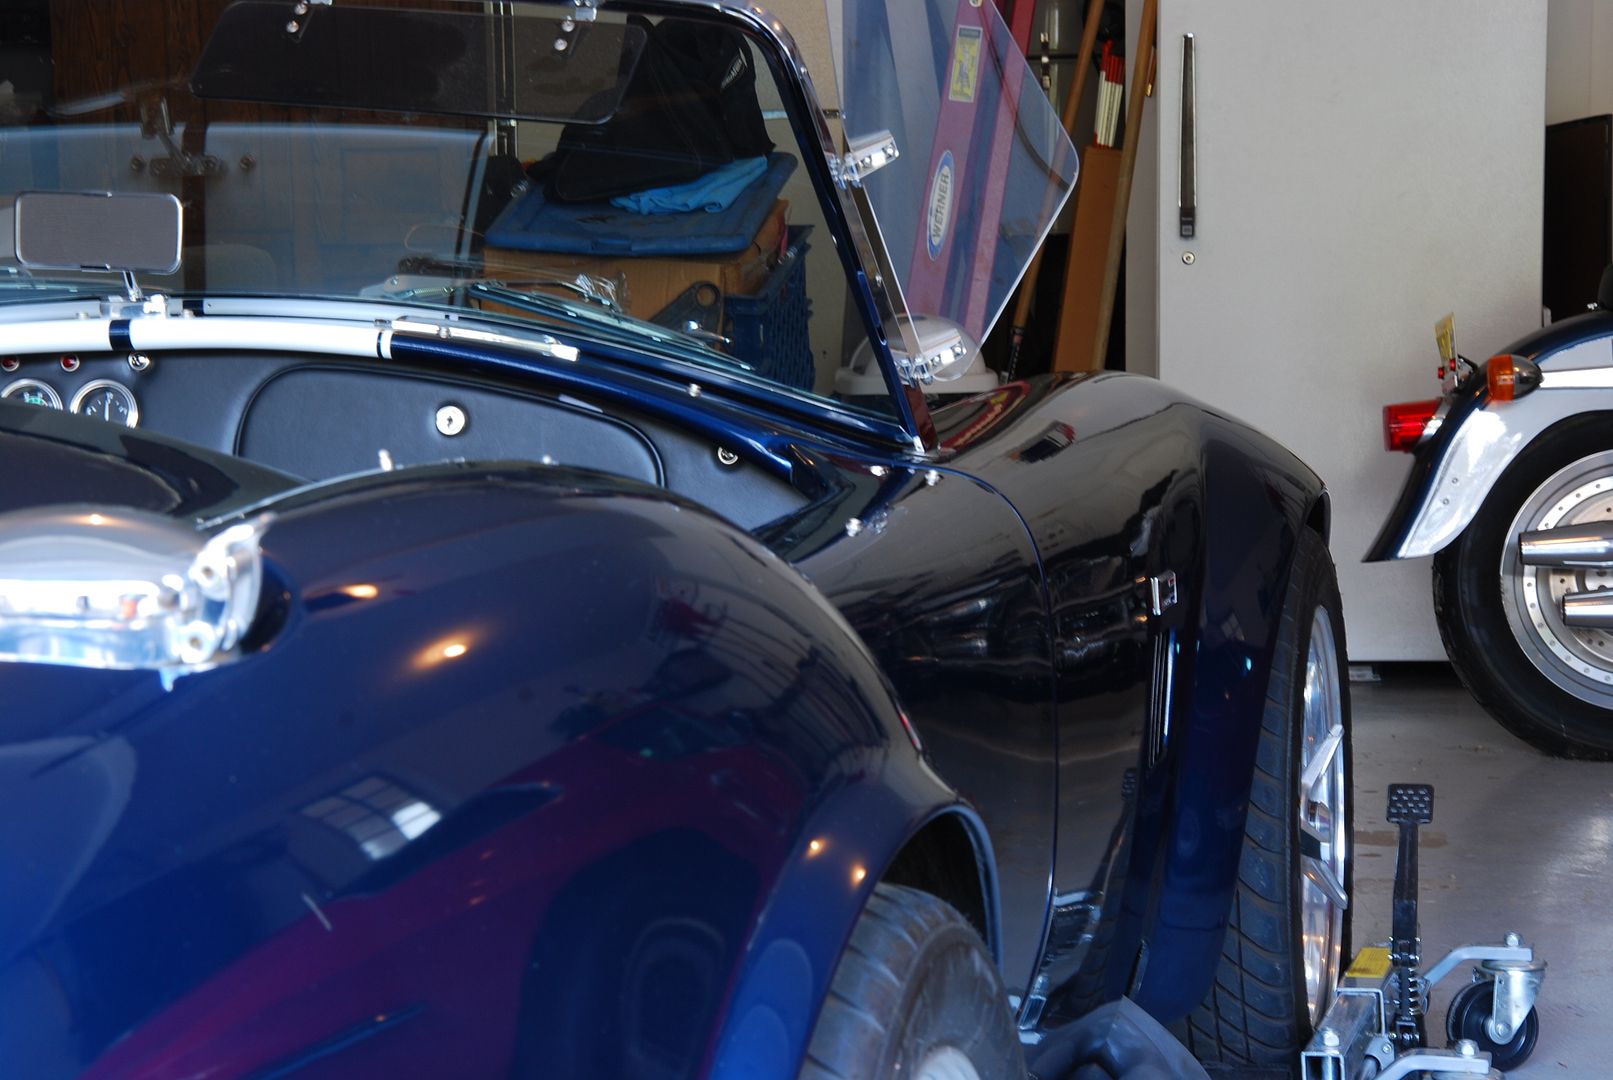
I was contacted to fully detail two American classics. I started with this one, an Everett Morrison Shelby Cobra replica. This replica is awesome, " the attention to detail is amazing. All the modern features you're looking for in a classic American muscle car. Power Brakes and Steering, Stereo System, Luxurious Leather Interior, and much more. This Shelby replica drives like a modern day car, but sounds like the real thing."
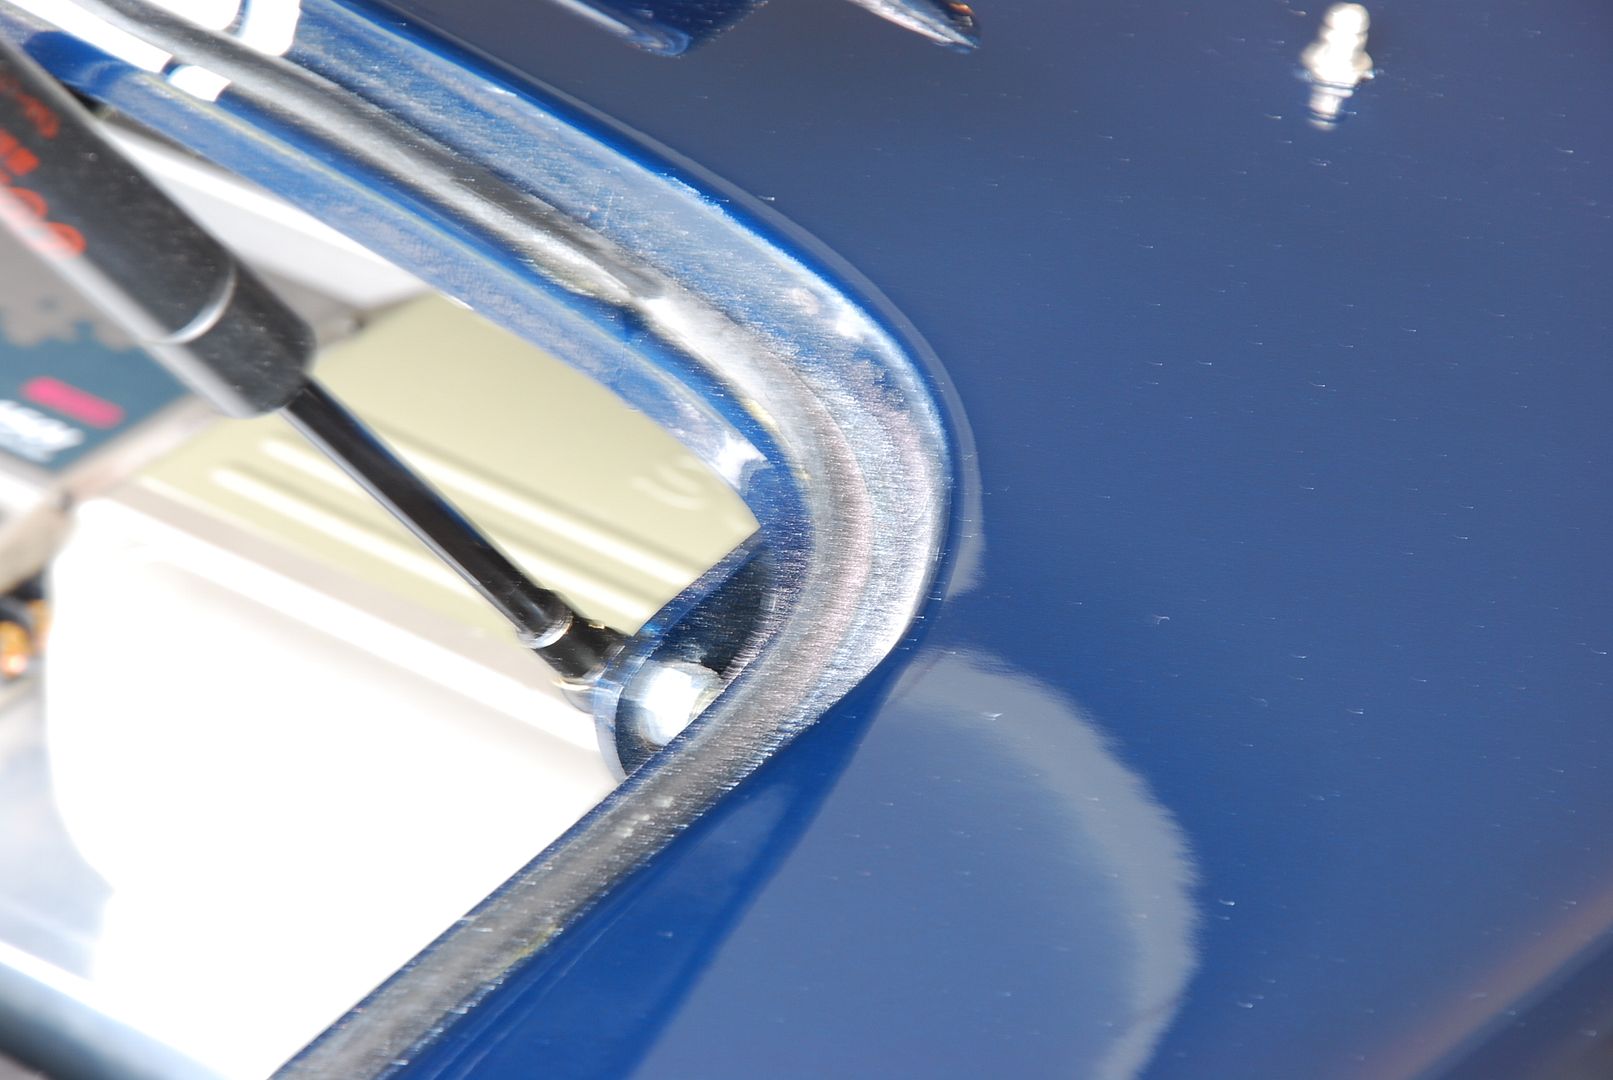
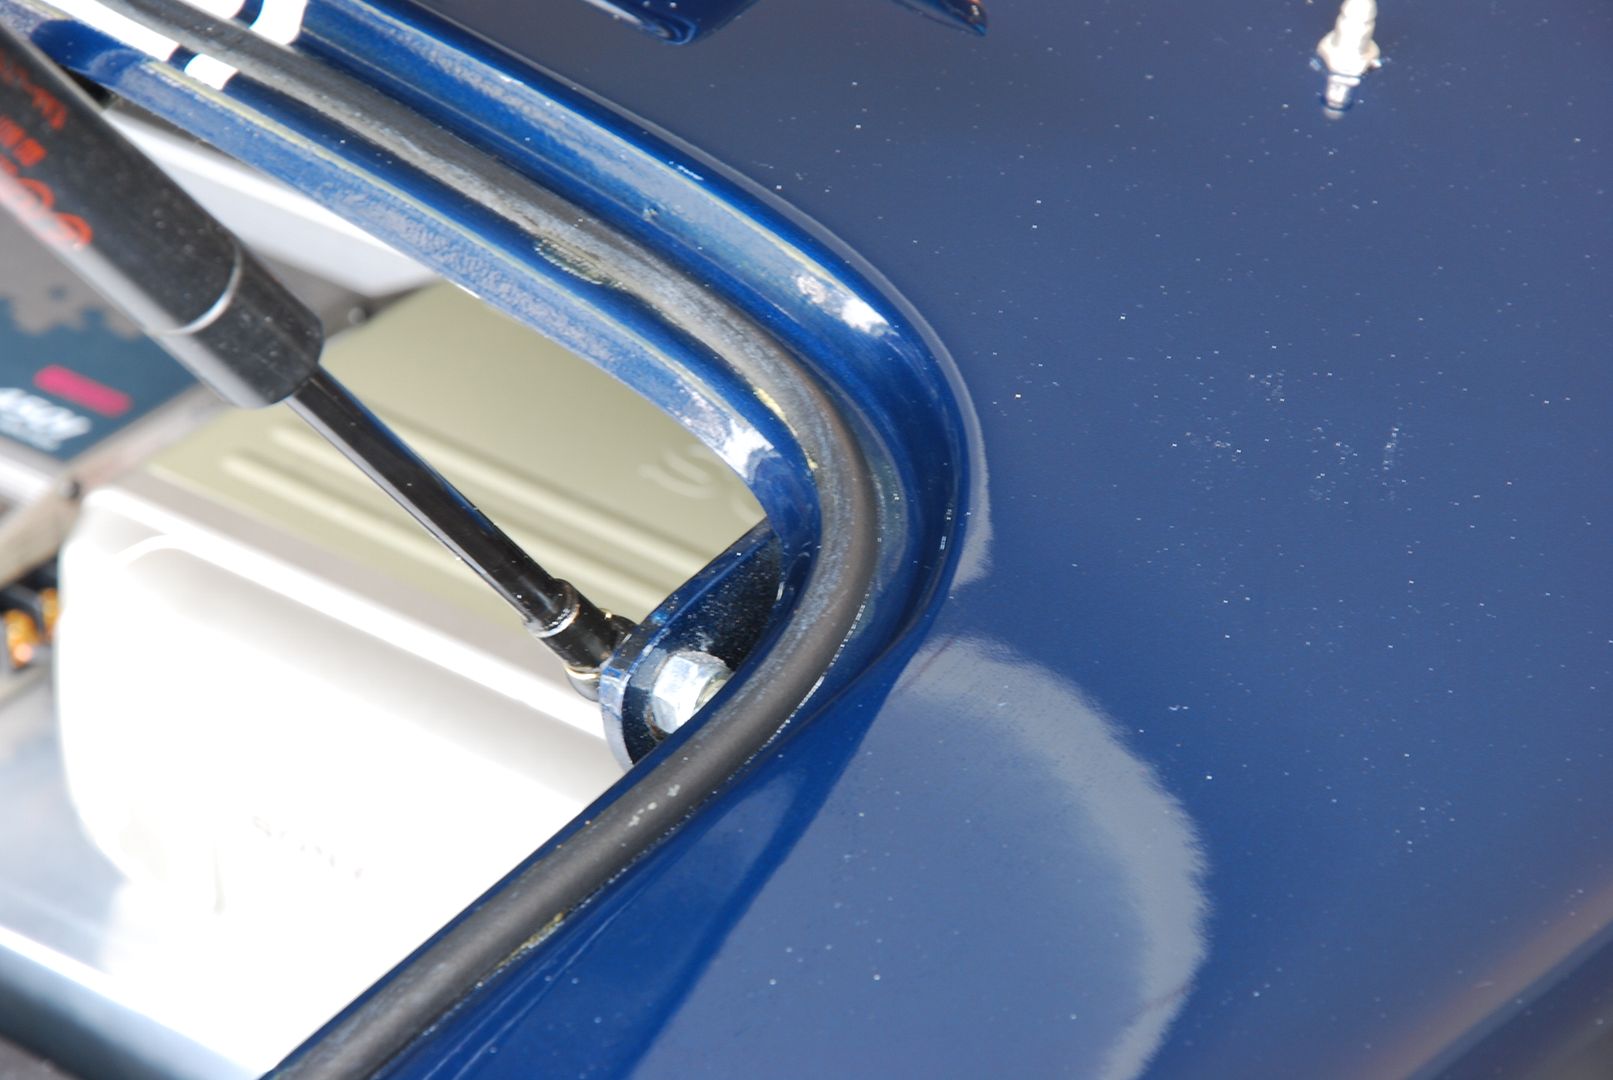
The car has been out of service due to an issue with the ignition. So unfortunately I was unable to move it from its present location. This also allowed for quite a bit of dust and debris to sit on the surface.
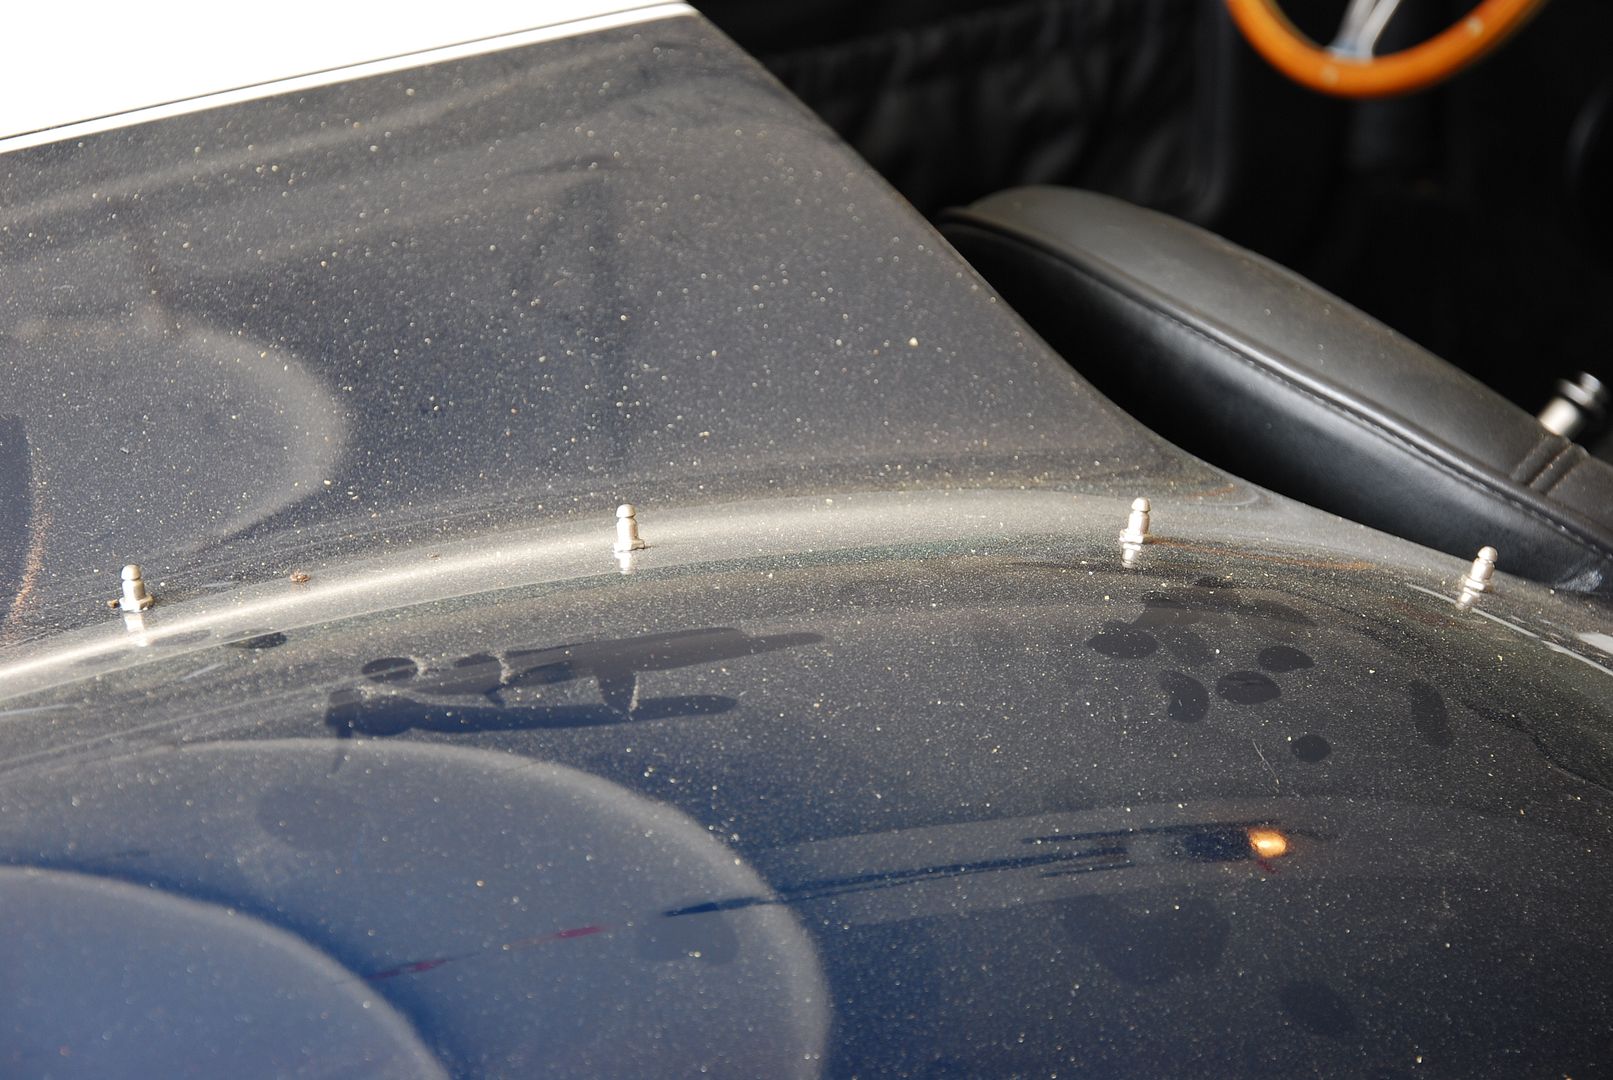

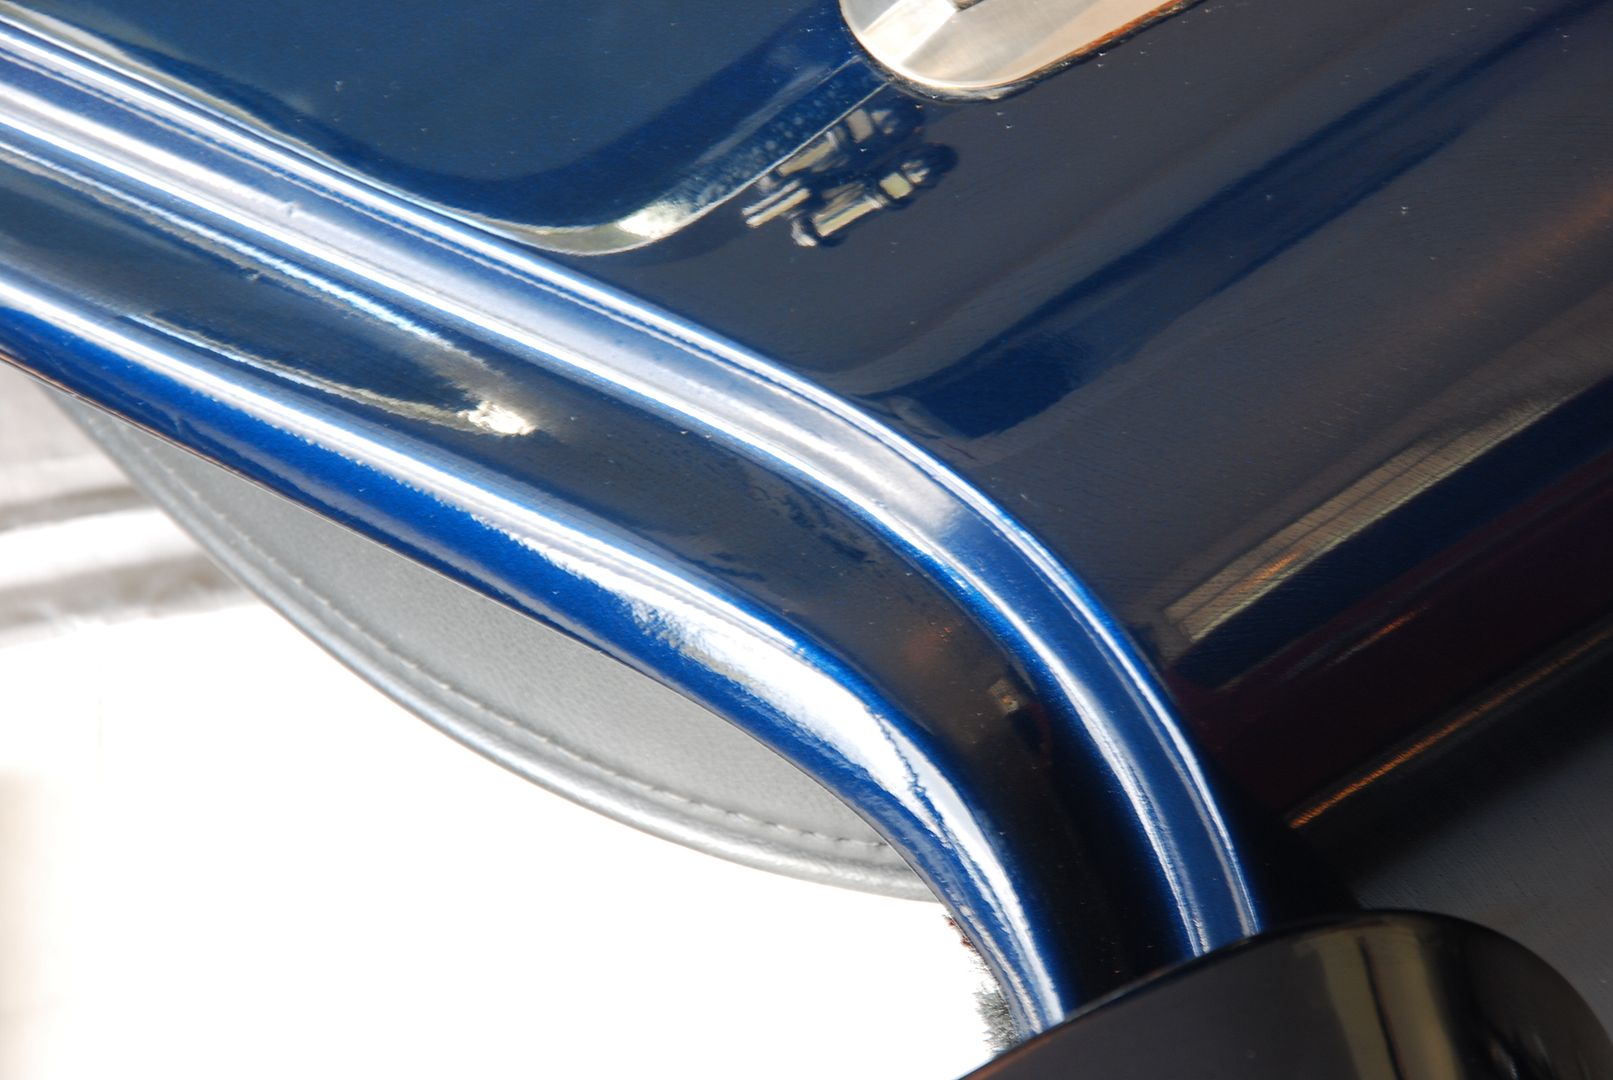
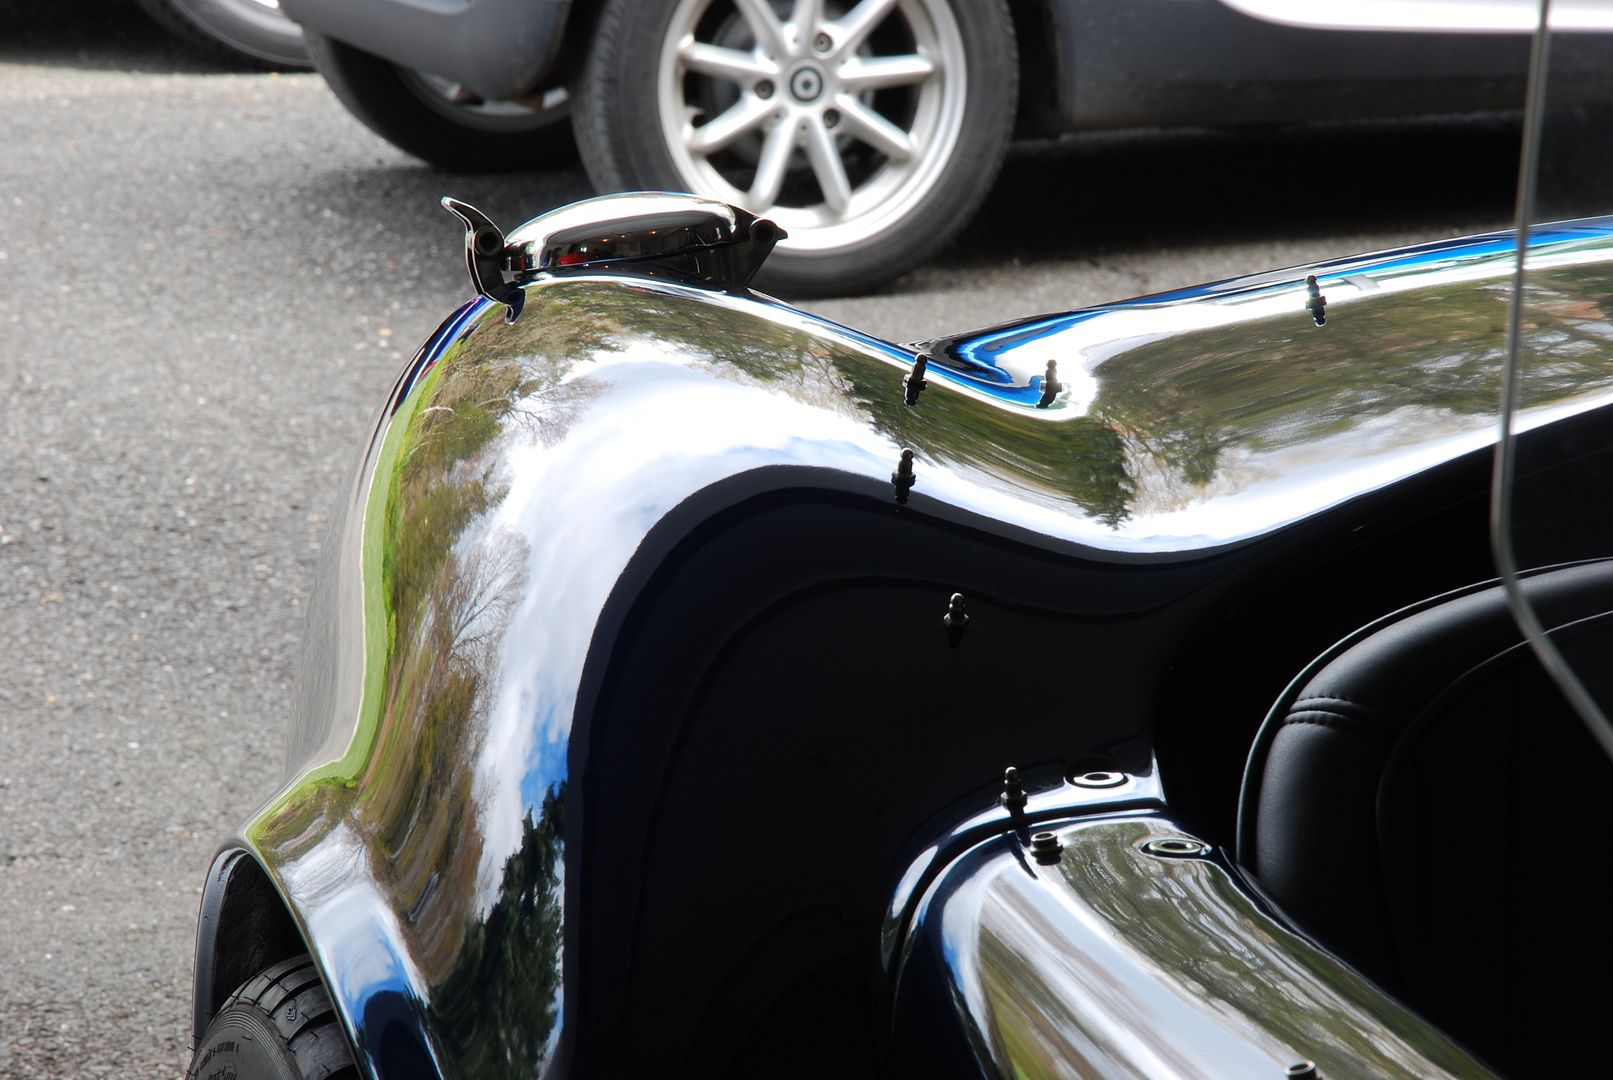
Even with all the dust we are able to see the condition underneath.

Not wanting to make a mess, and the fact that this was a garage and not a wash bay, I ONR'd the entire car. I used a little trick to help remove additional dust off the car before ONRing that I will share in my next write up") If the car could have been moved to do a full wash I would have loved it, sometimes we have to work with what were given. Panel by panel, section by section, was carefully washed to ensure no additional scratches or marring was induced.
If the car could have been moved to do a full wash I would have loved it, sometimes we have to work with what were given. Panel by panel, section by section, was carefully washed to ensure no additional scratches or marring was induced.
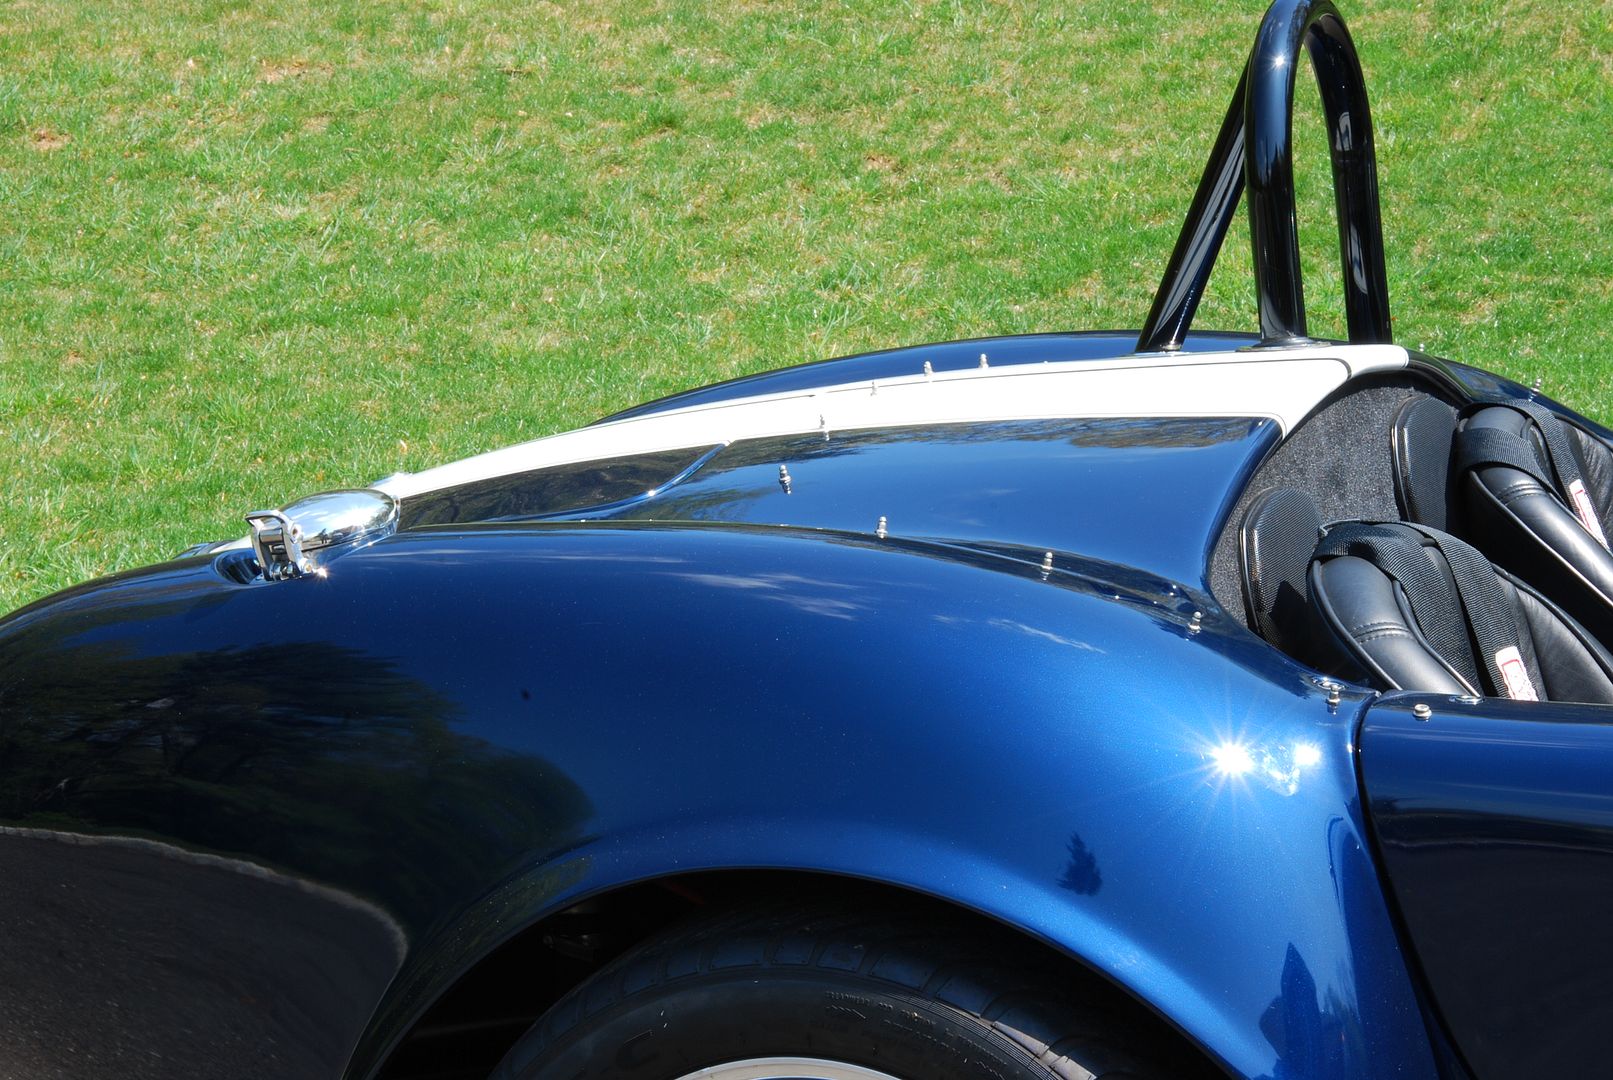
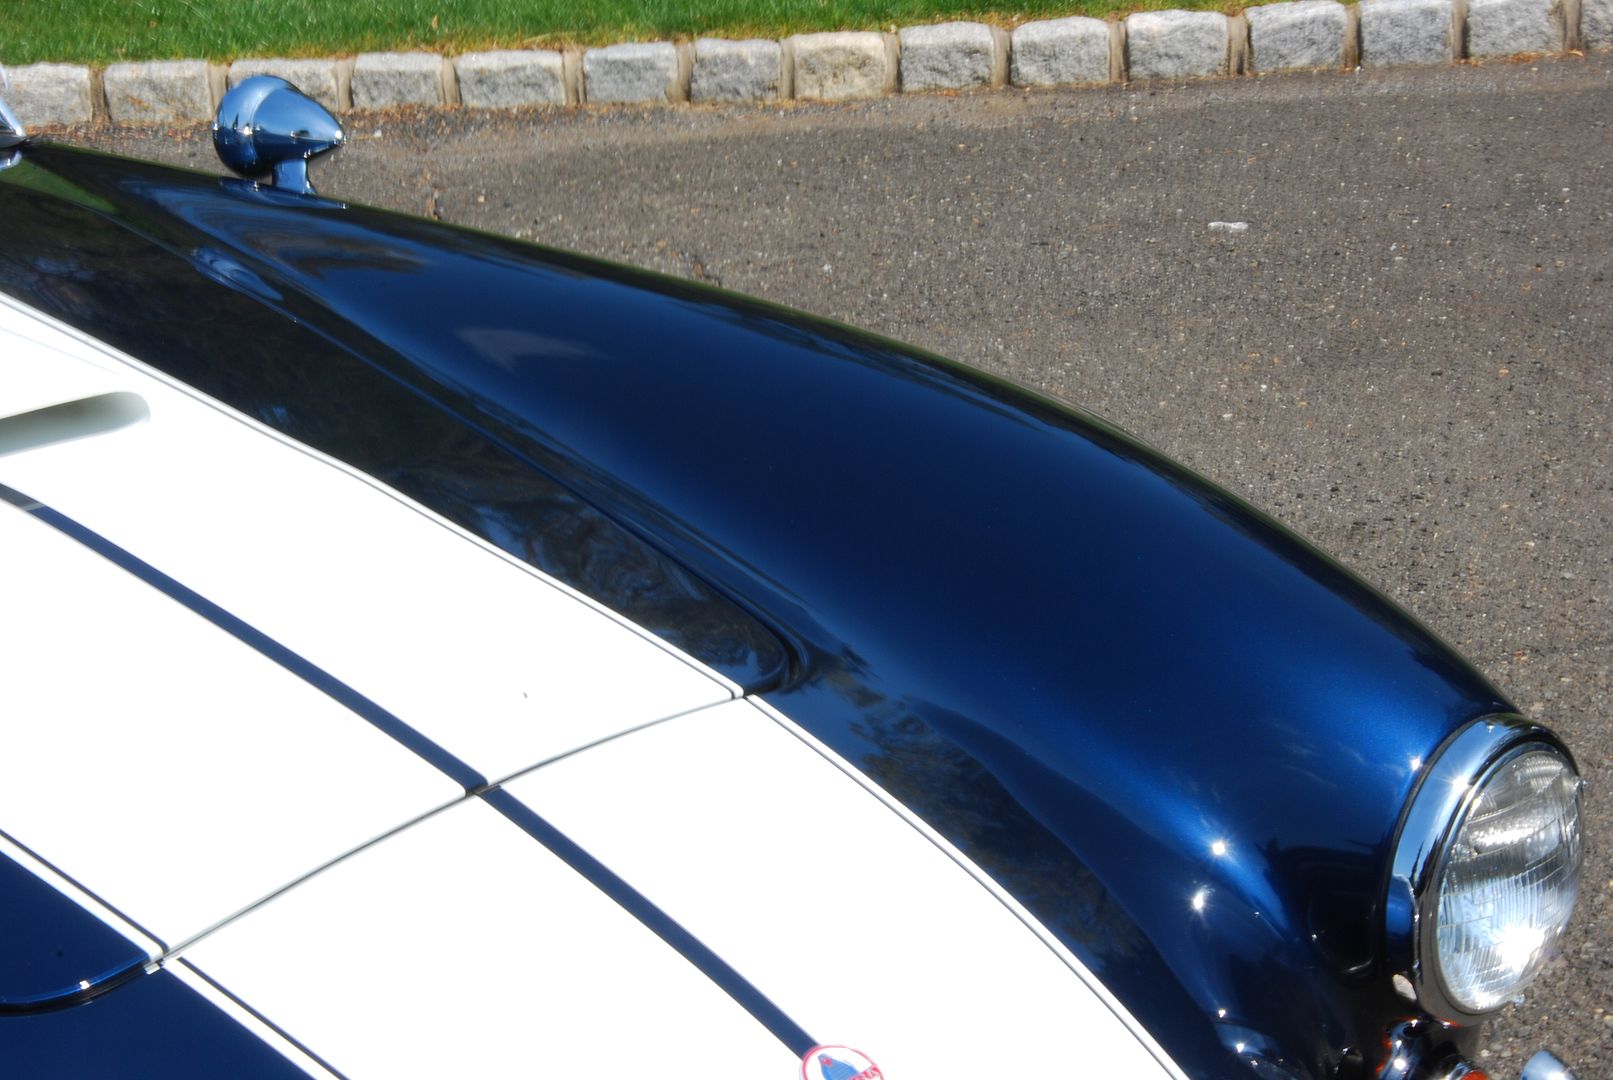
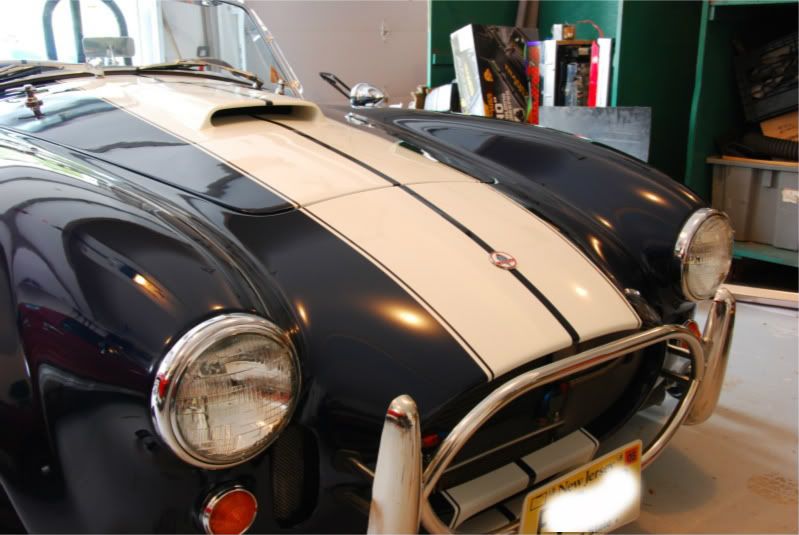
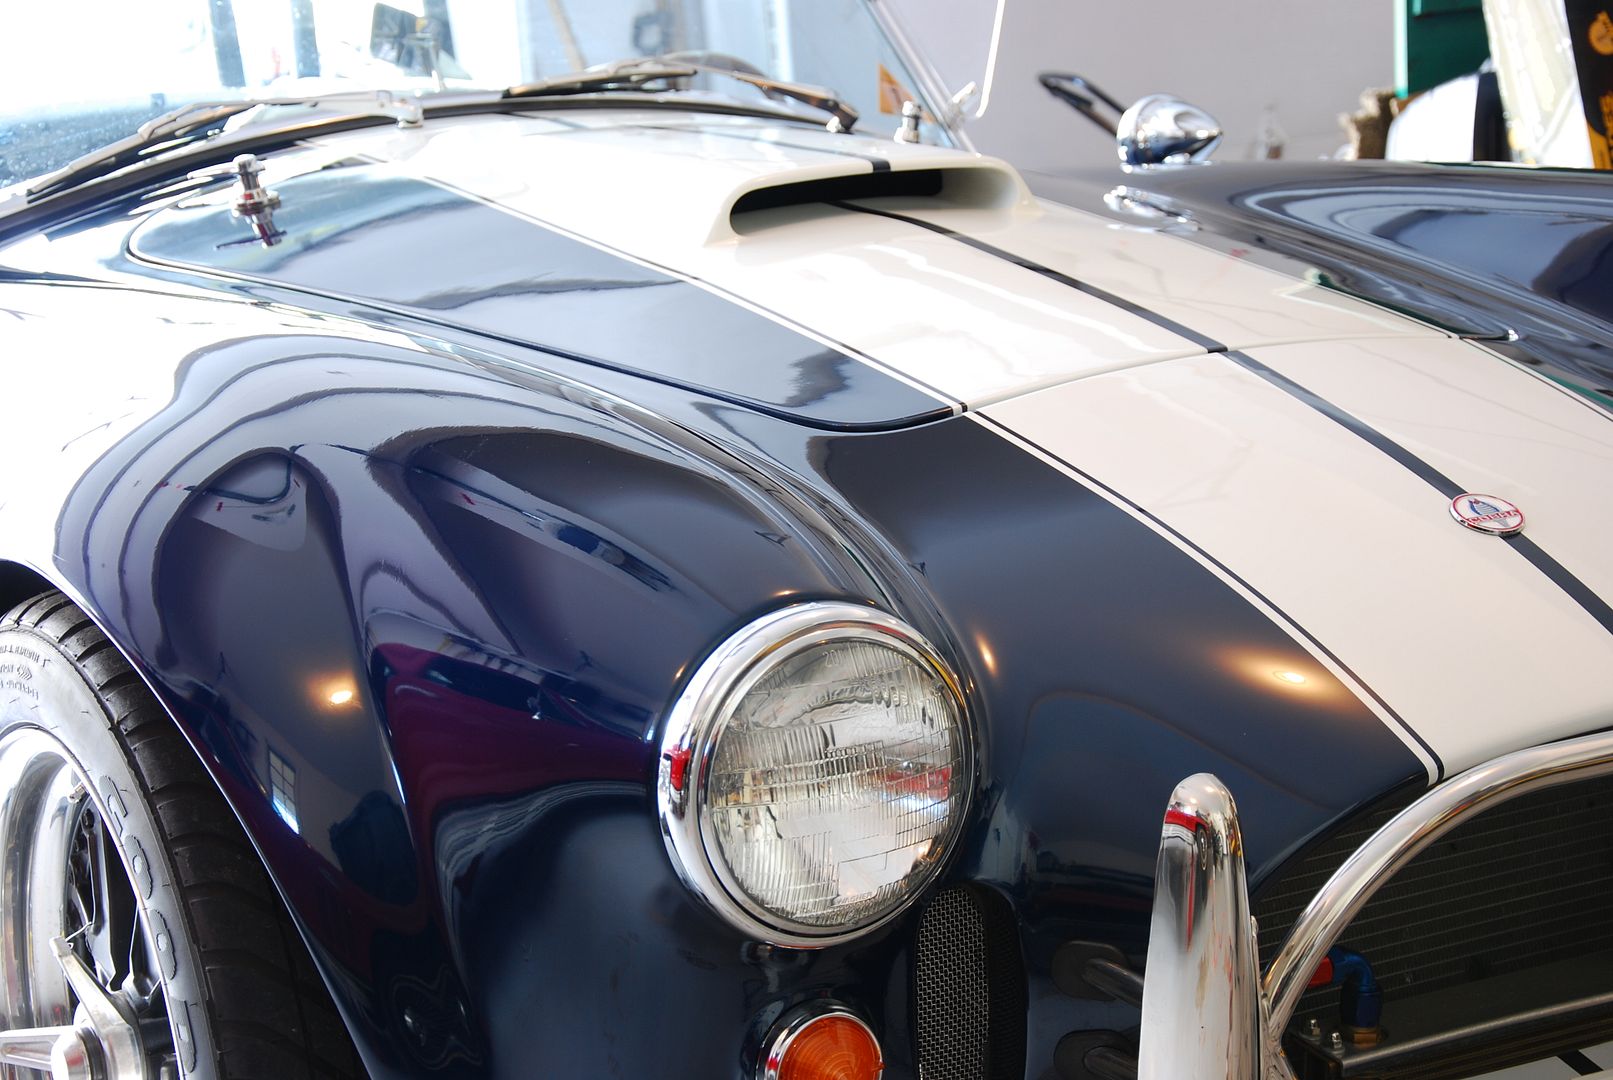
Eventually, after a complete wash I was able to check out the full condition of the paint. Don't forget to get any and all water out of seams and under emblems in order to ensure that polishing doesn't vibrate the water out. It has happed many times, and unless you want dripping water make sure you get all of the water out. Now when I go mobile I bring along my CG Jetspeed blower. When I don't have a compressor to remove water, this tool works perfect just for this sort of thing.
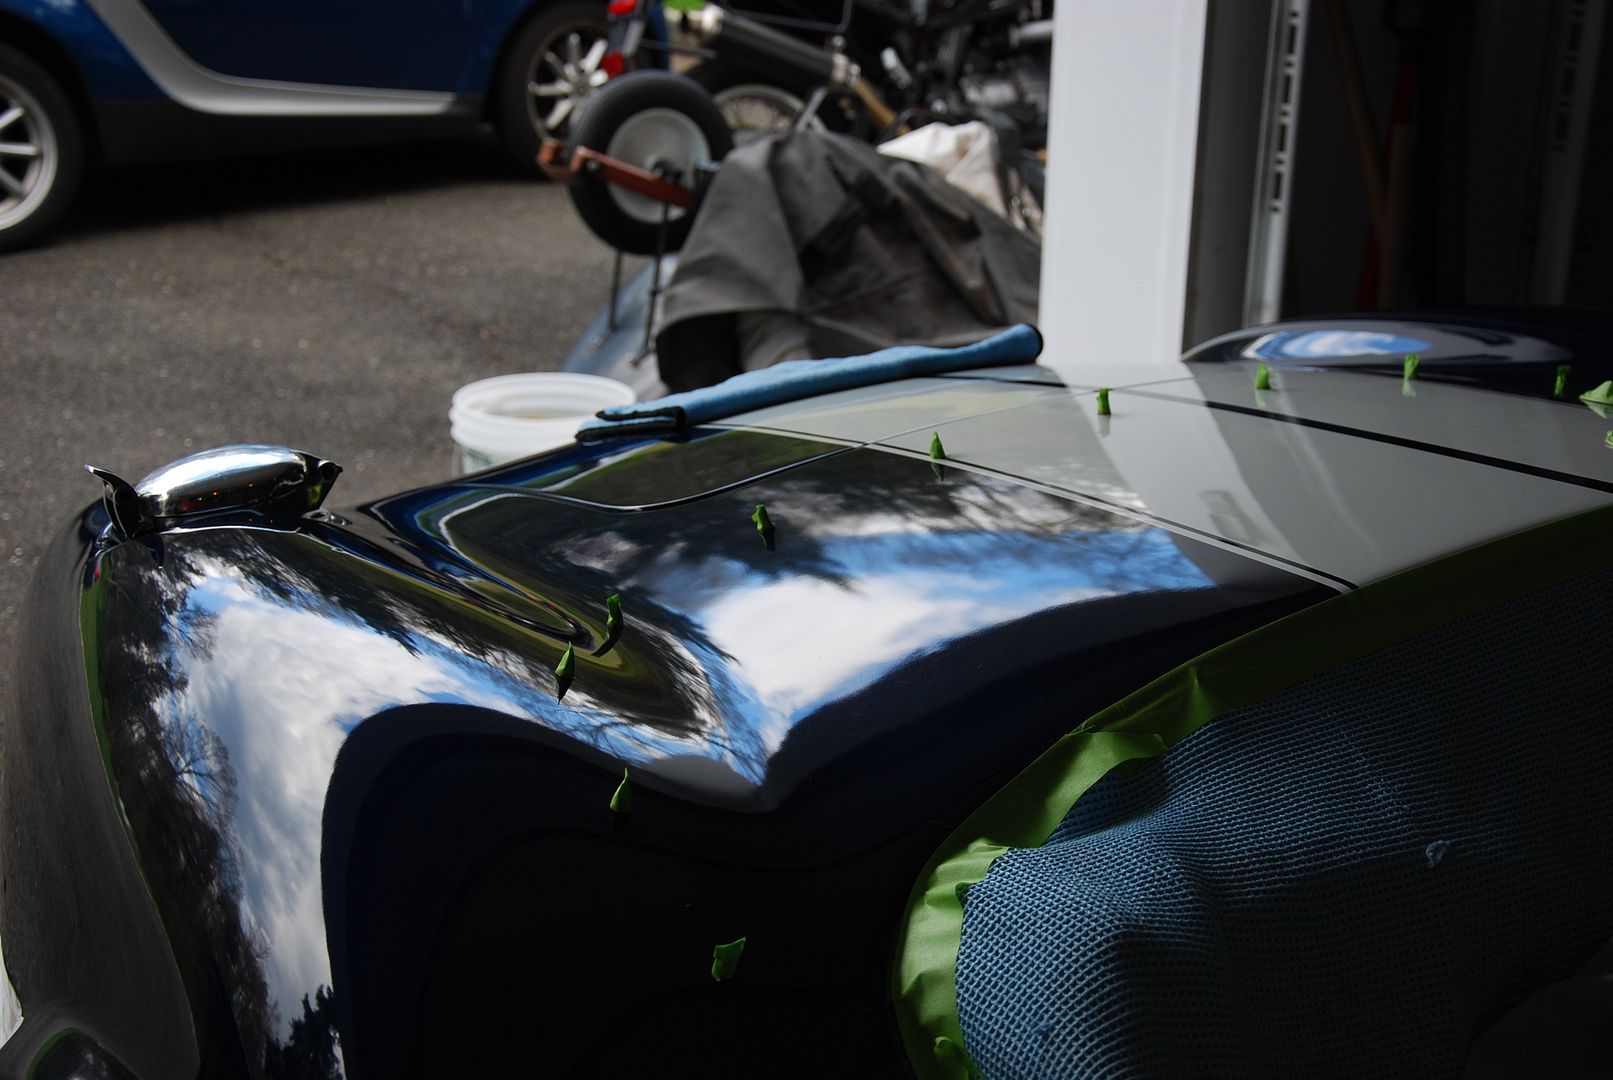
I proceeded to tape off everything I could. Protecting trim and metal is important in order reduce time later, no one likes to have to remove polishing residue from trim, not to mention creating a chalky film on metal.
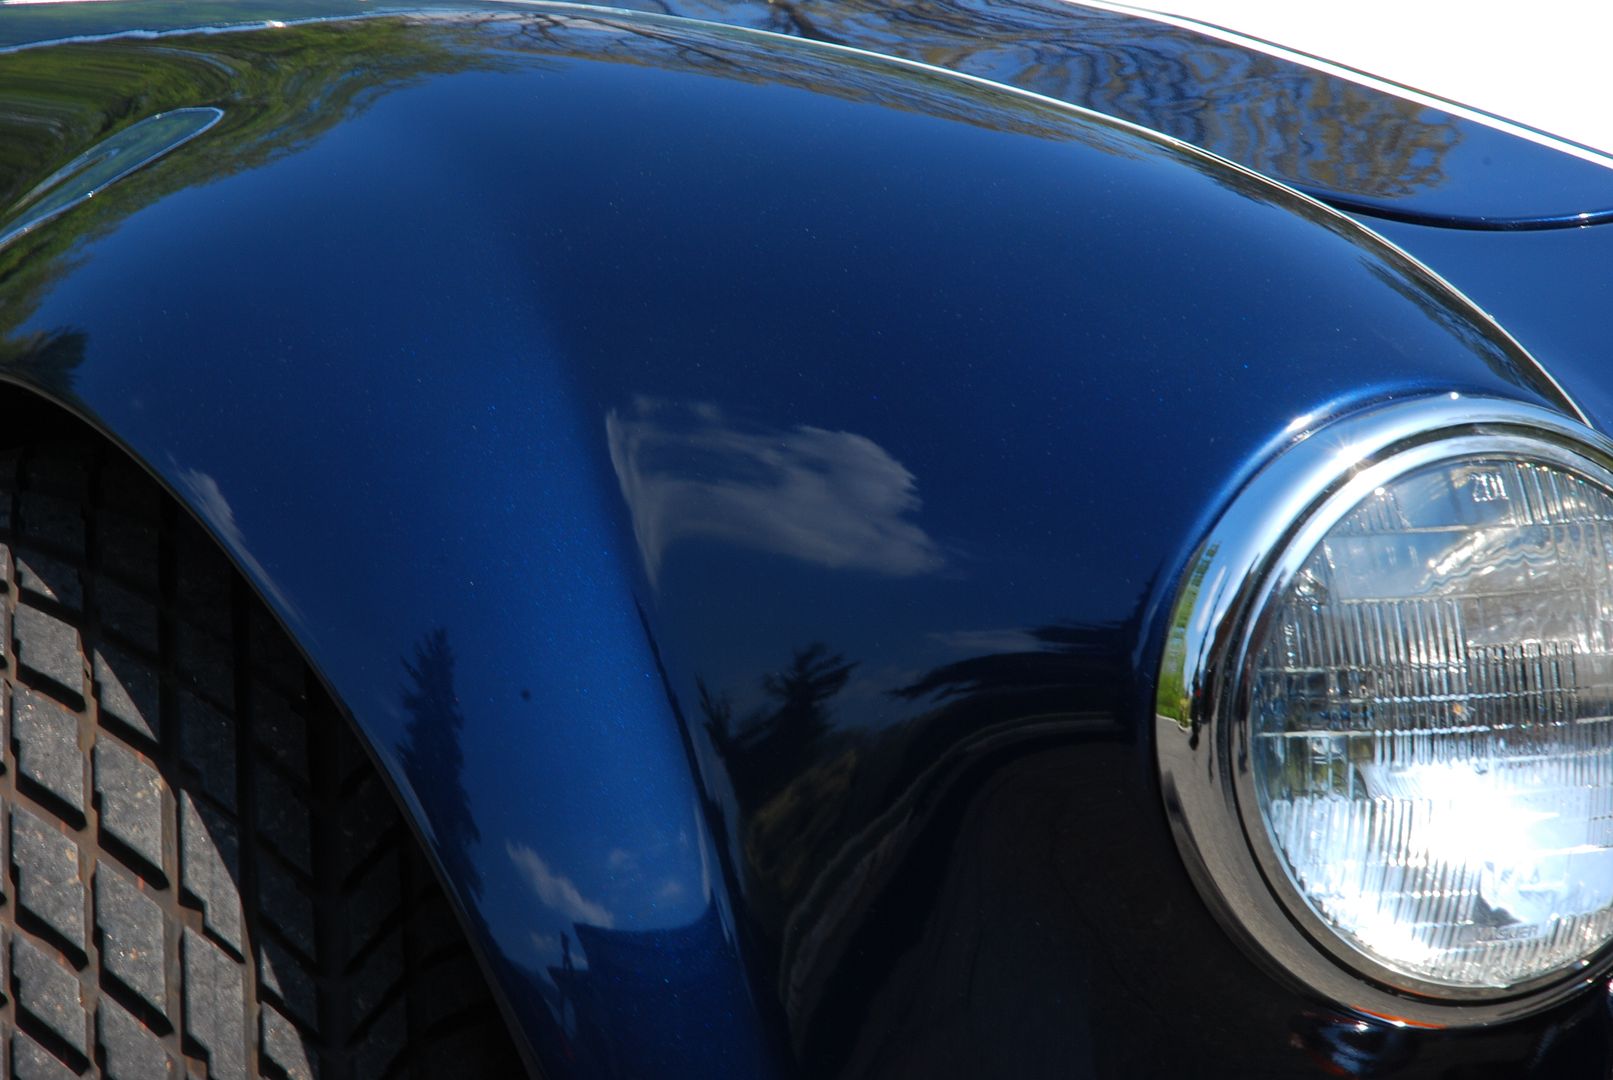
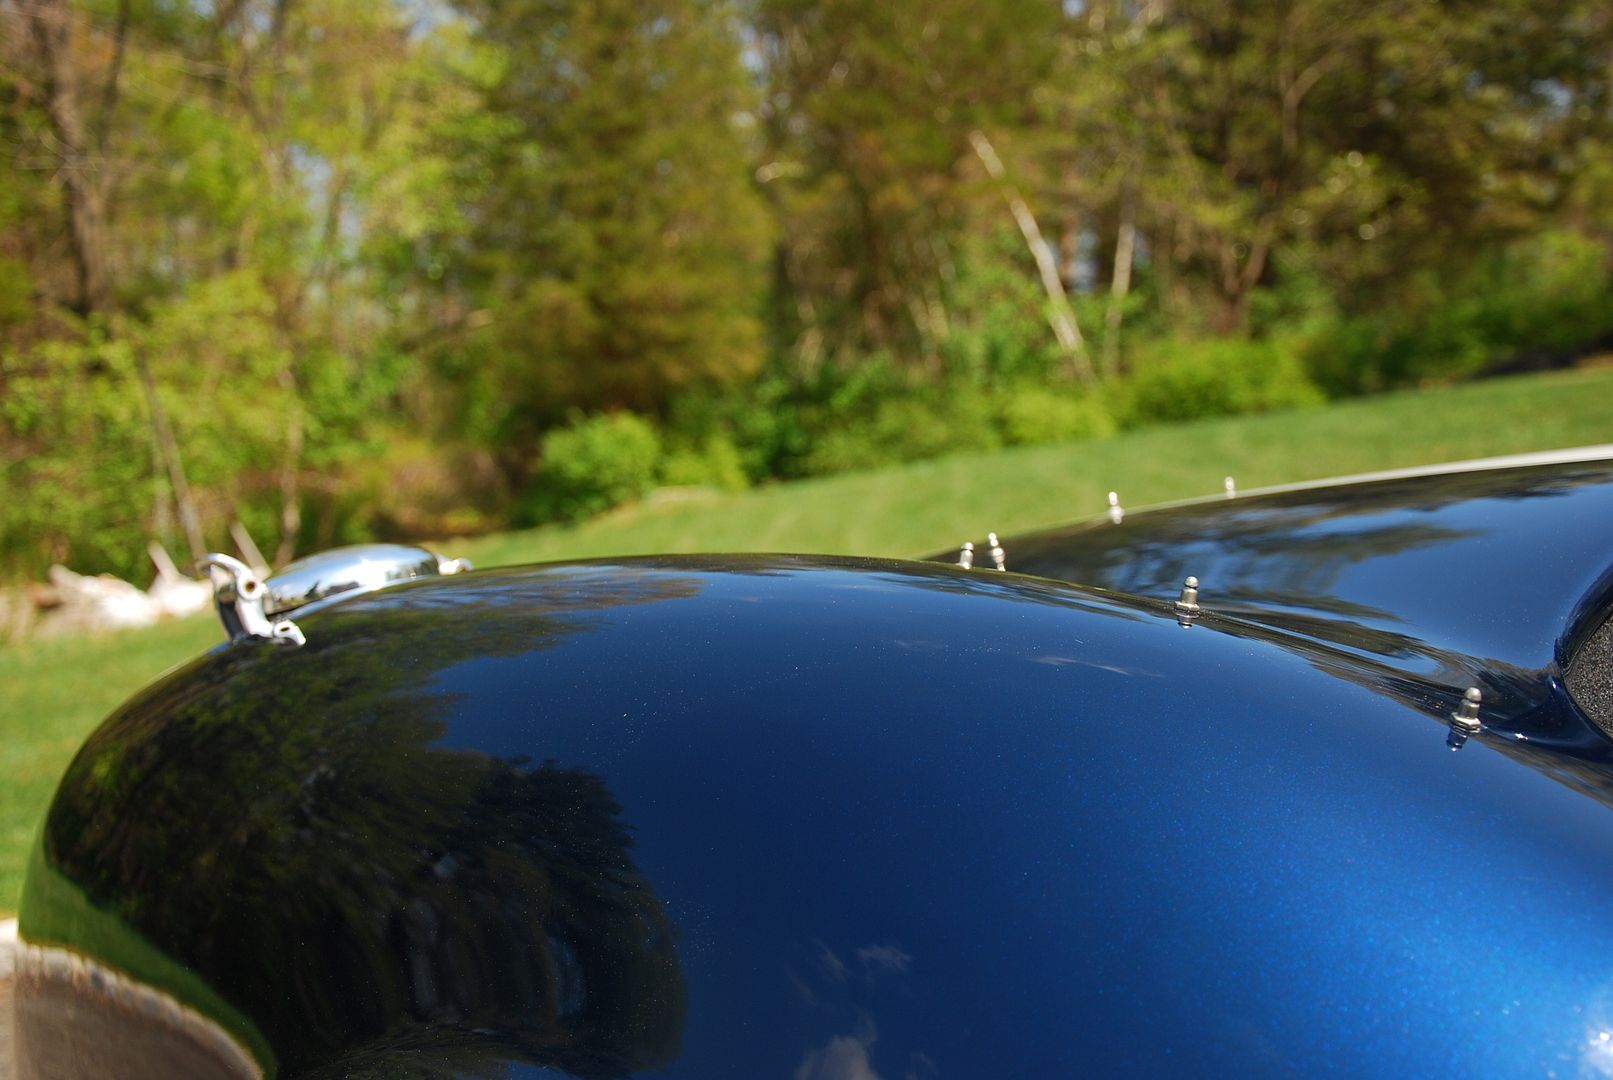
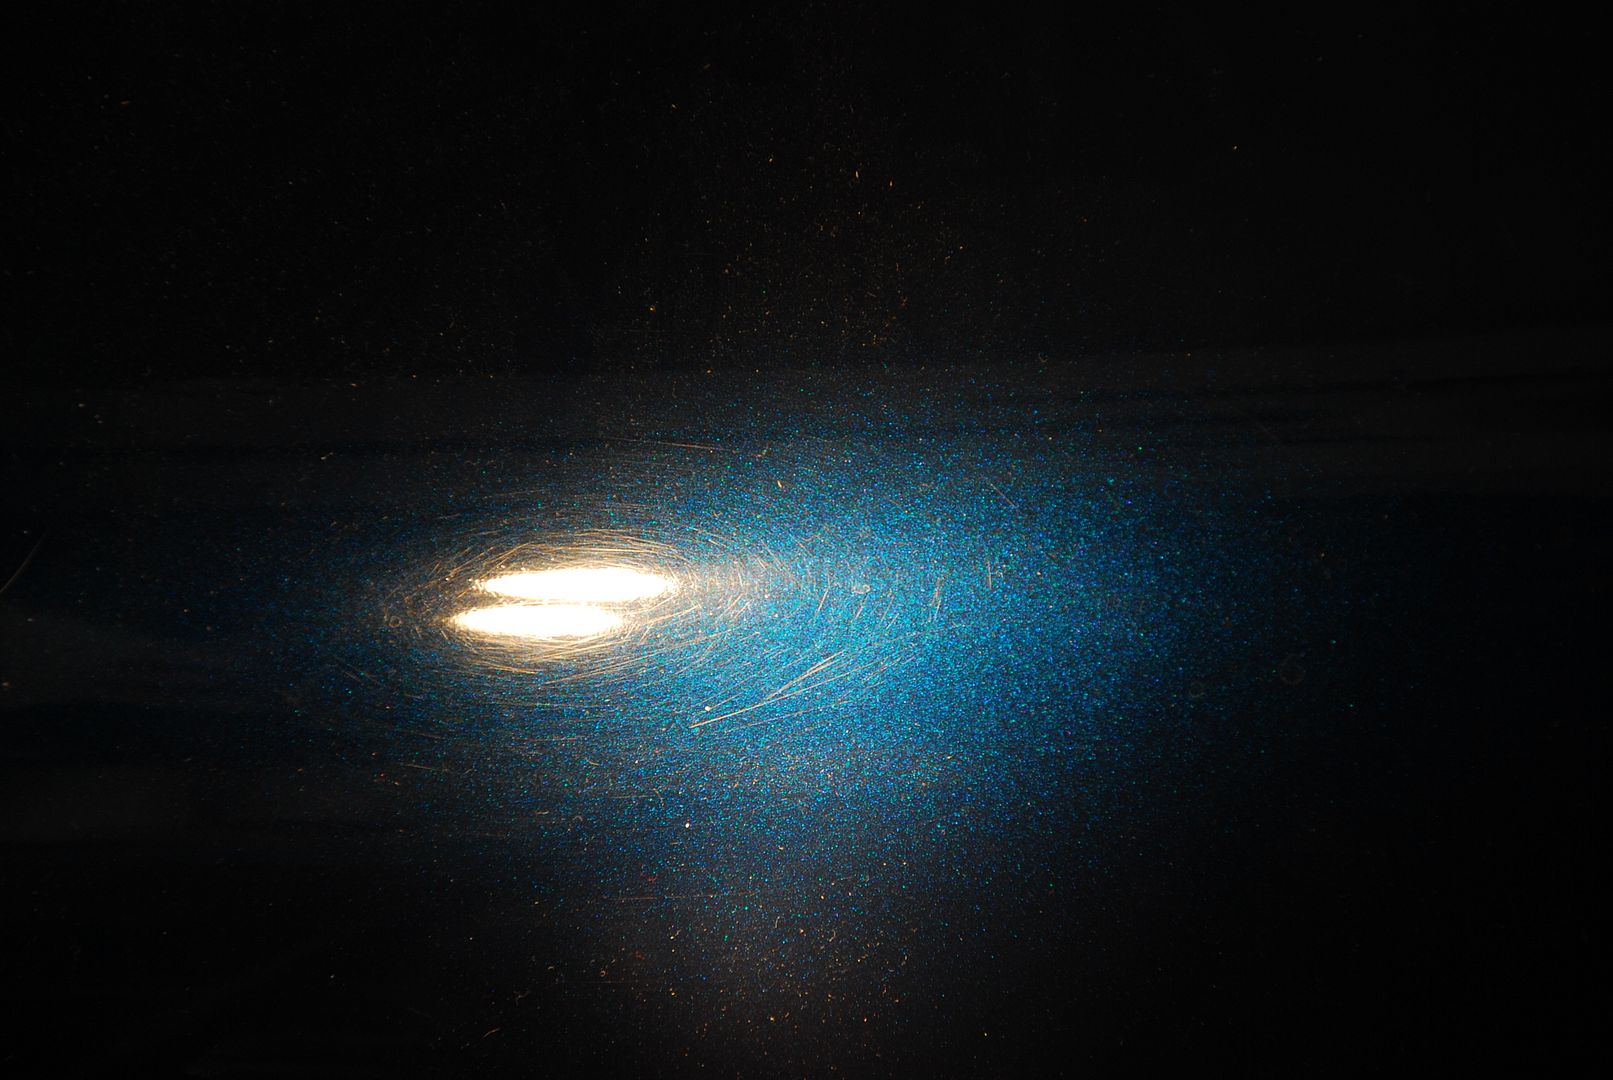
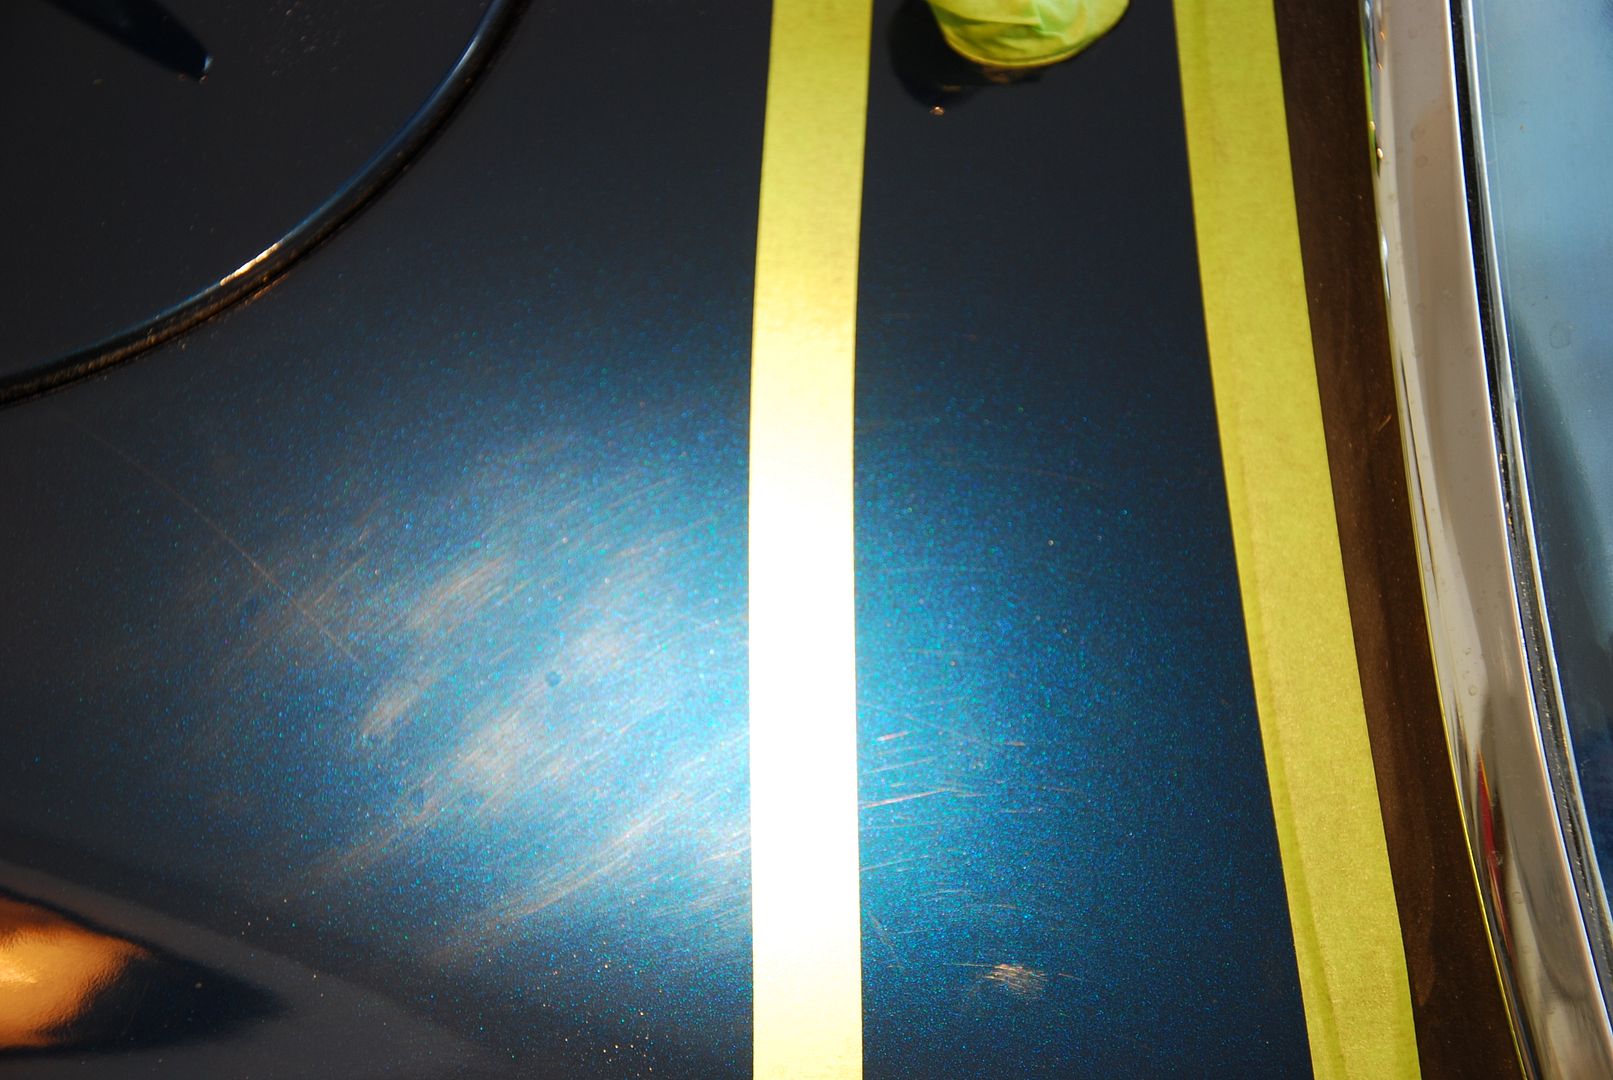
After a quick test spot something that is always important...I saw the correction I was going for. I wanted to ensure I was using the least aggressive method for correction. As is the key with every detail, if we don't have to remove additional clear then why do it. Doing the least aggressive method, not only ensure longevity of the paint, but also allows for a much safer process. A more aggressive approach can remove more clear and could cause issues down the road.
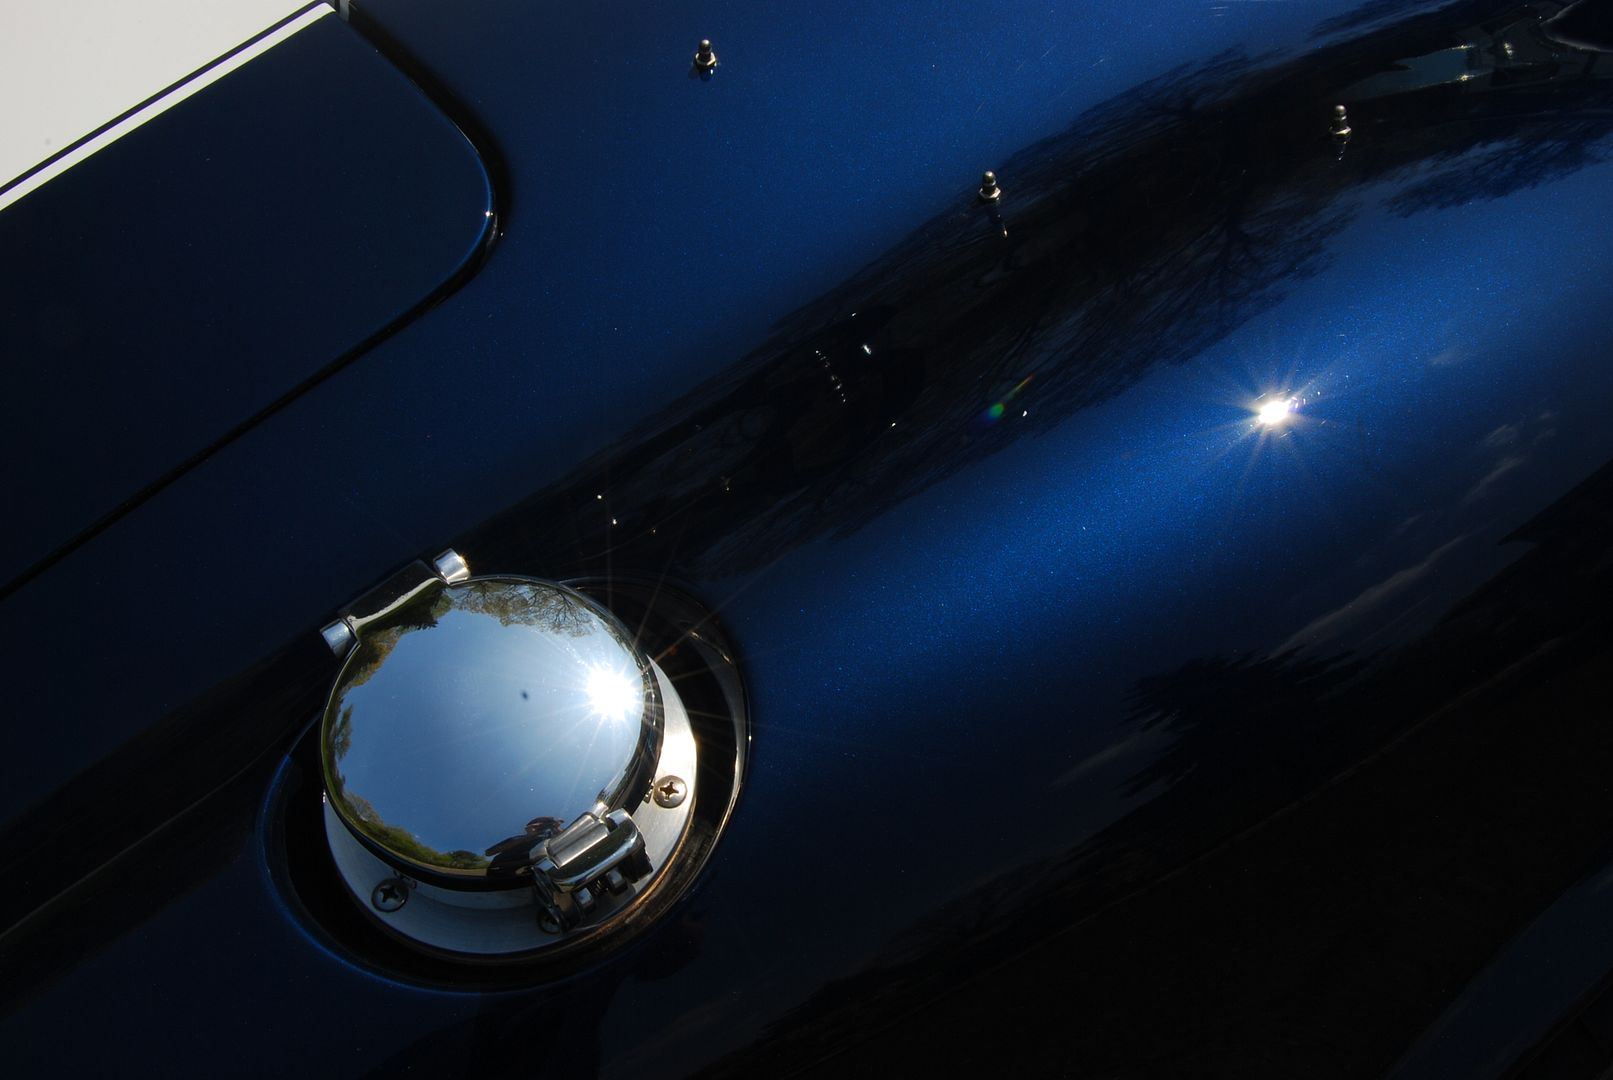
That works....
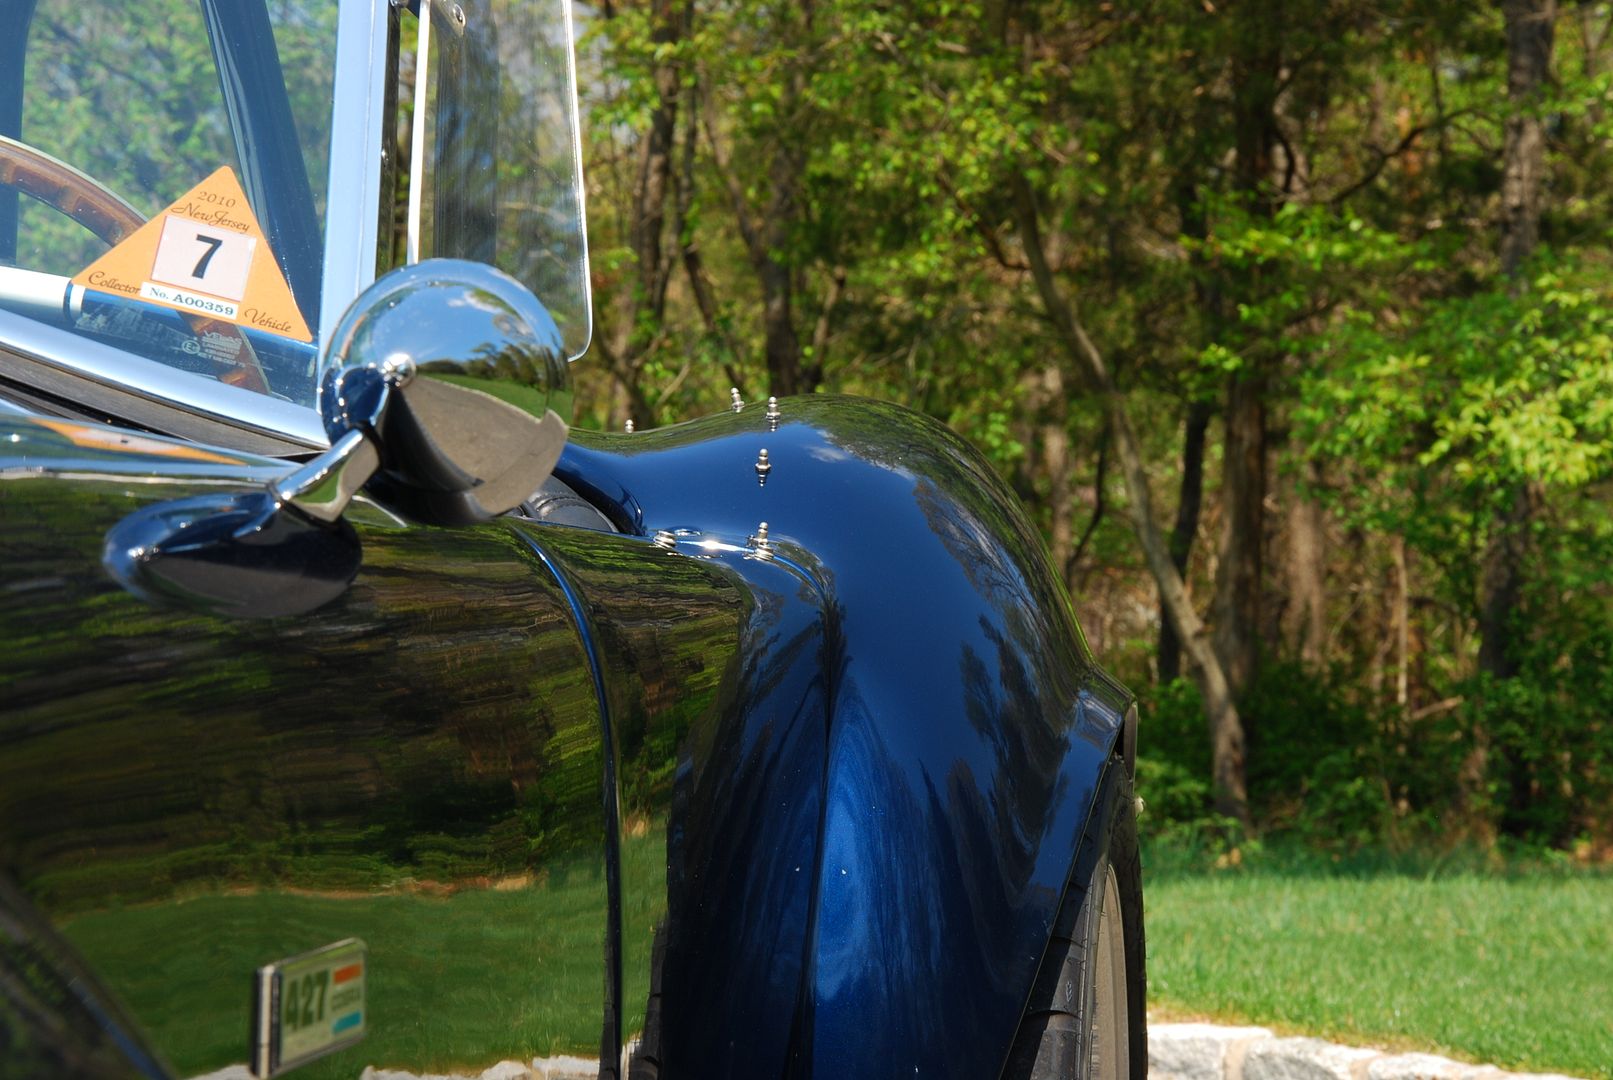
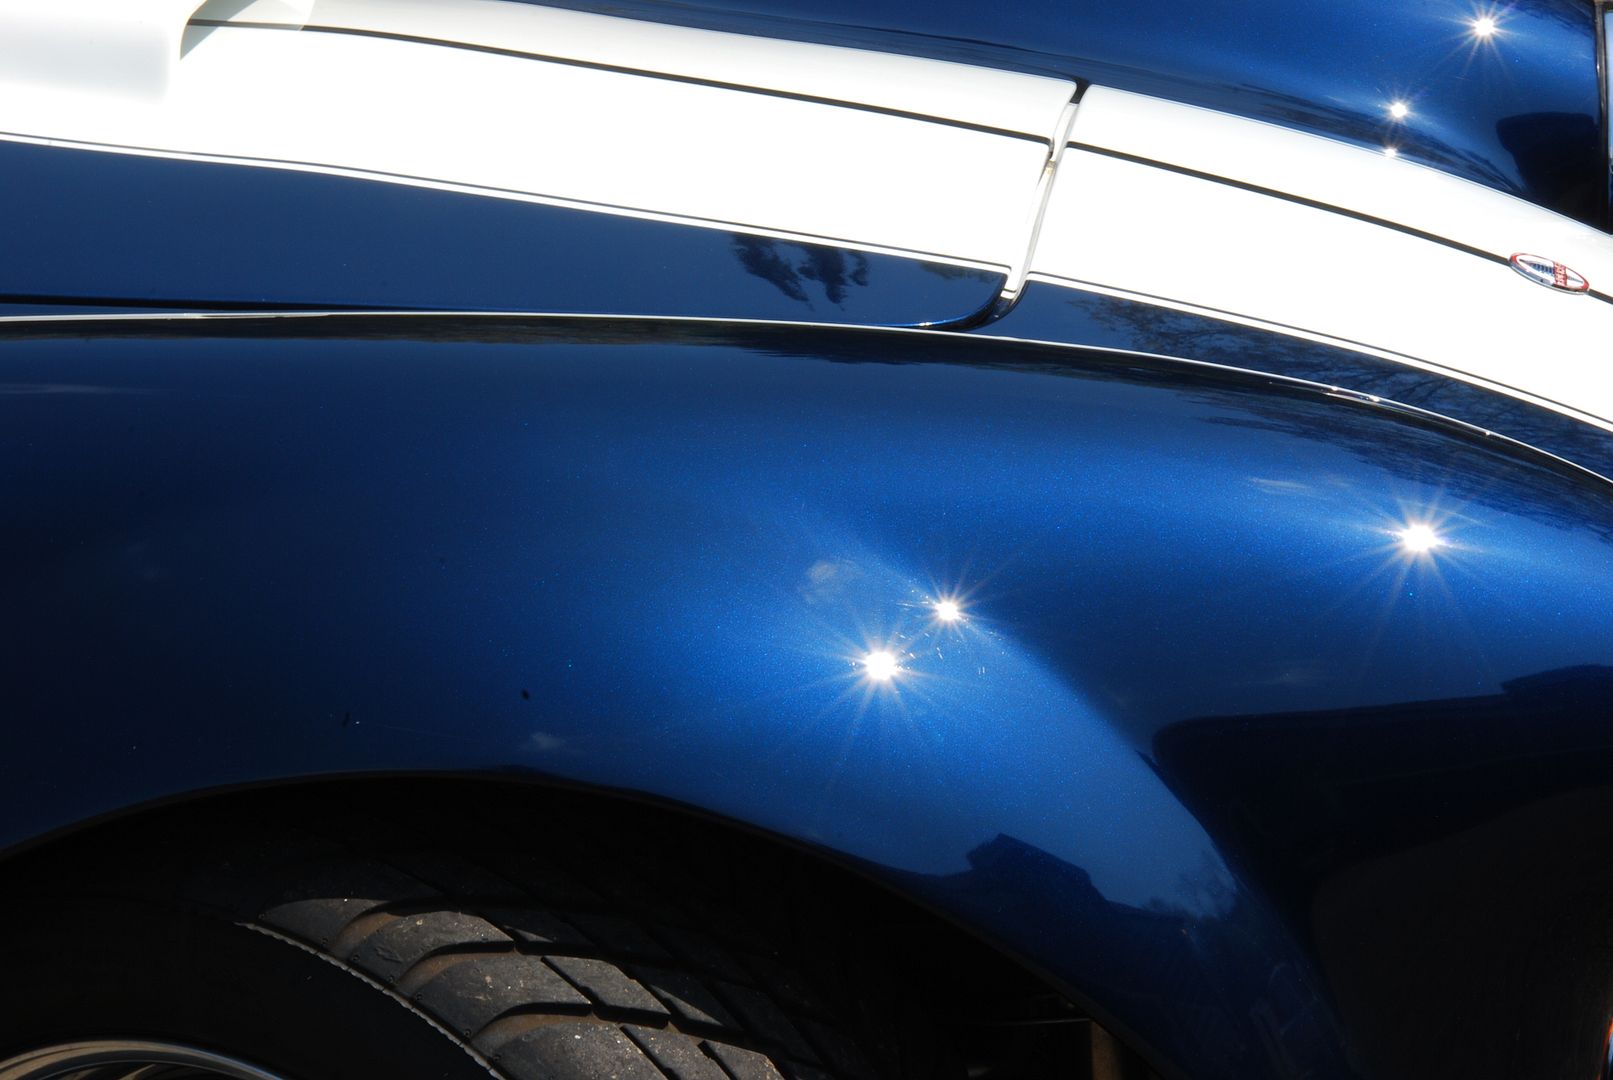
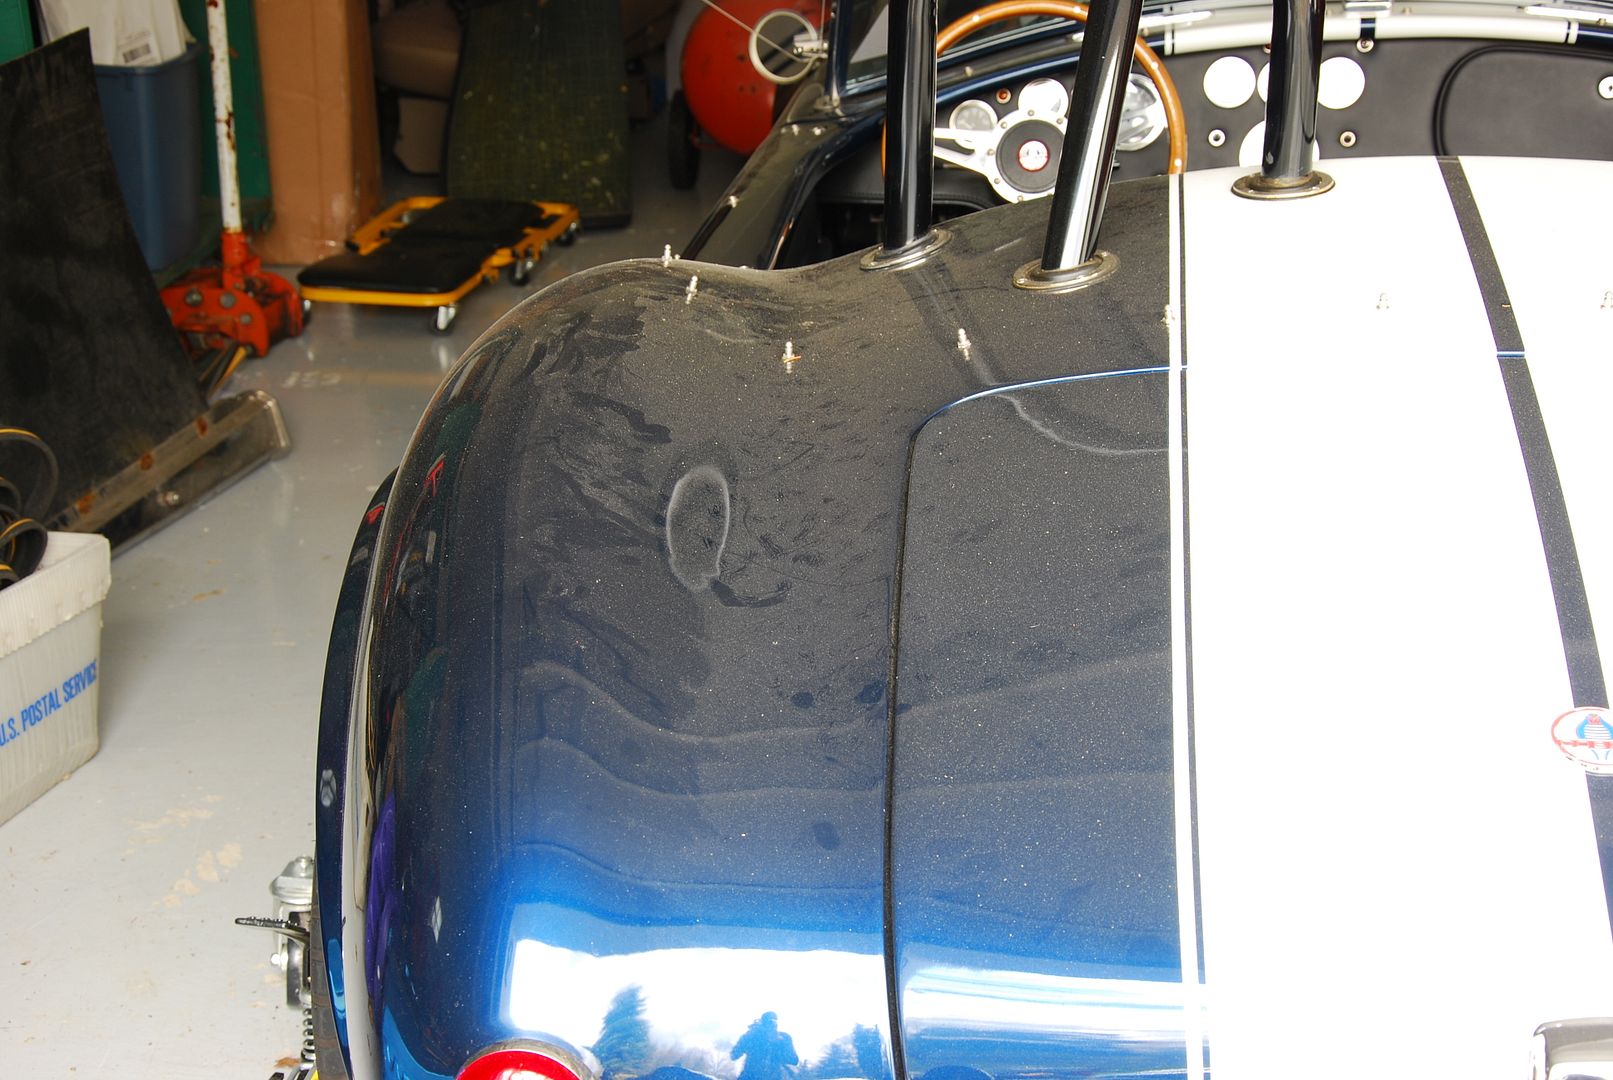
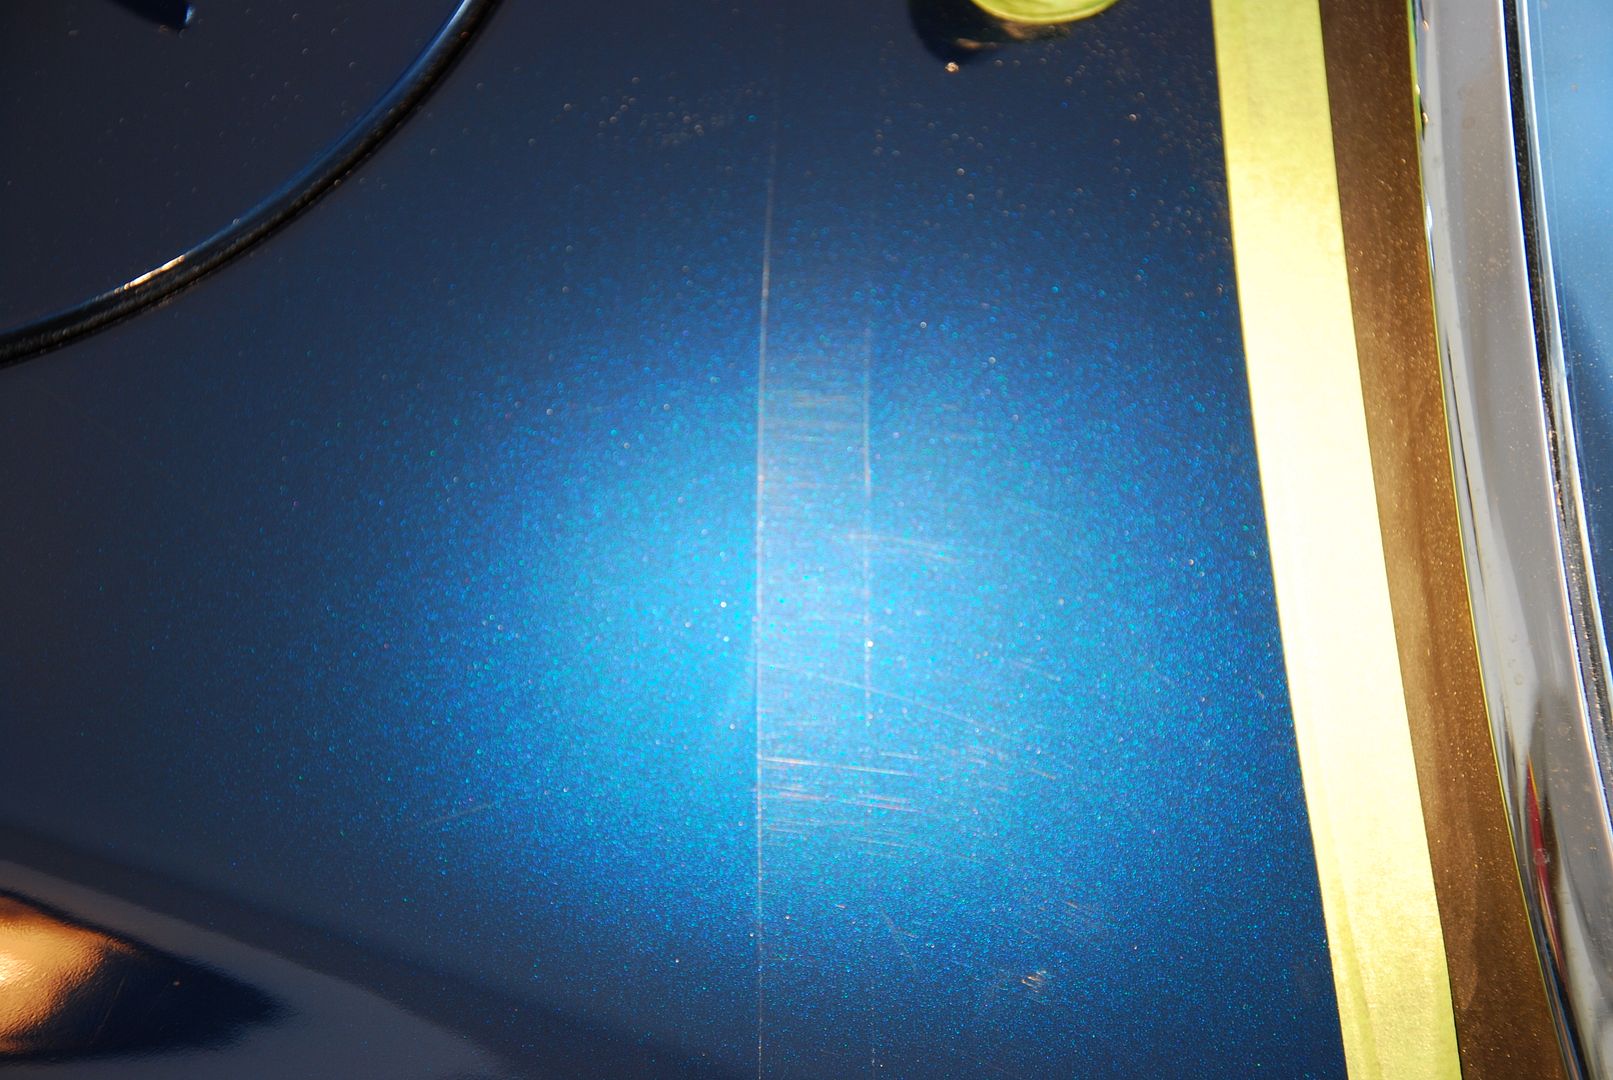
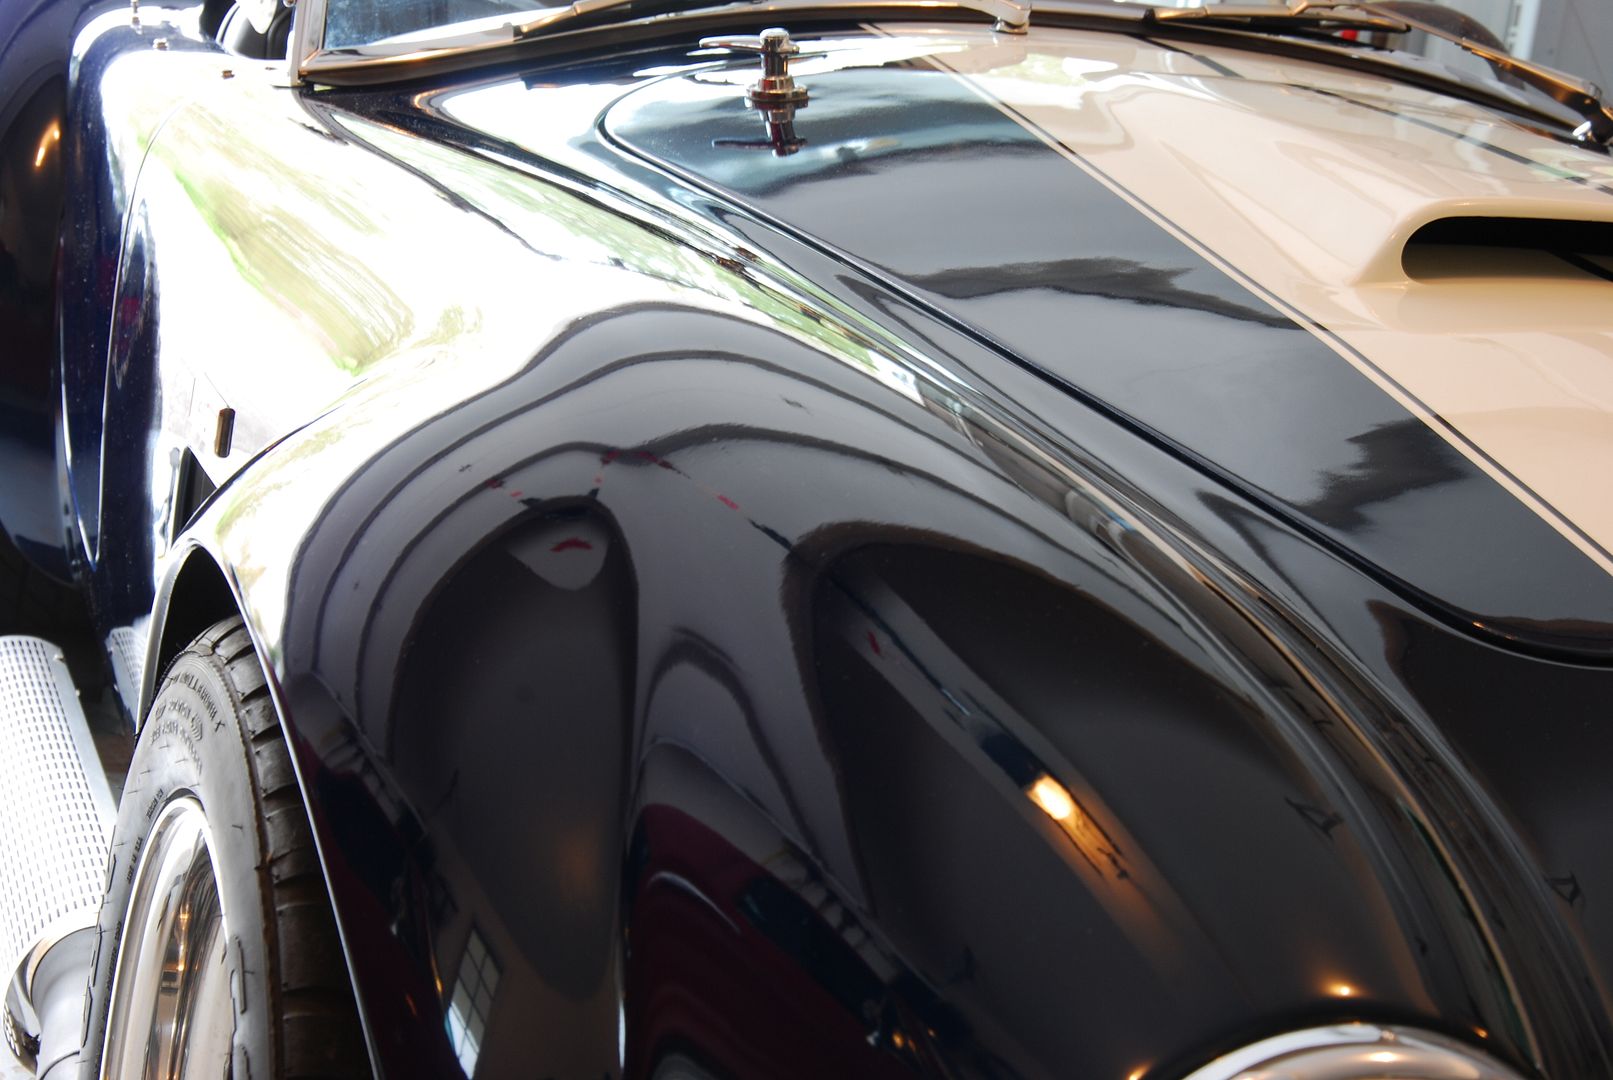
Here are some smaller areas that had some horrid swirls. This also shows the level of correction I was able to get.
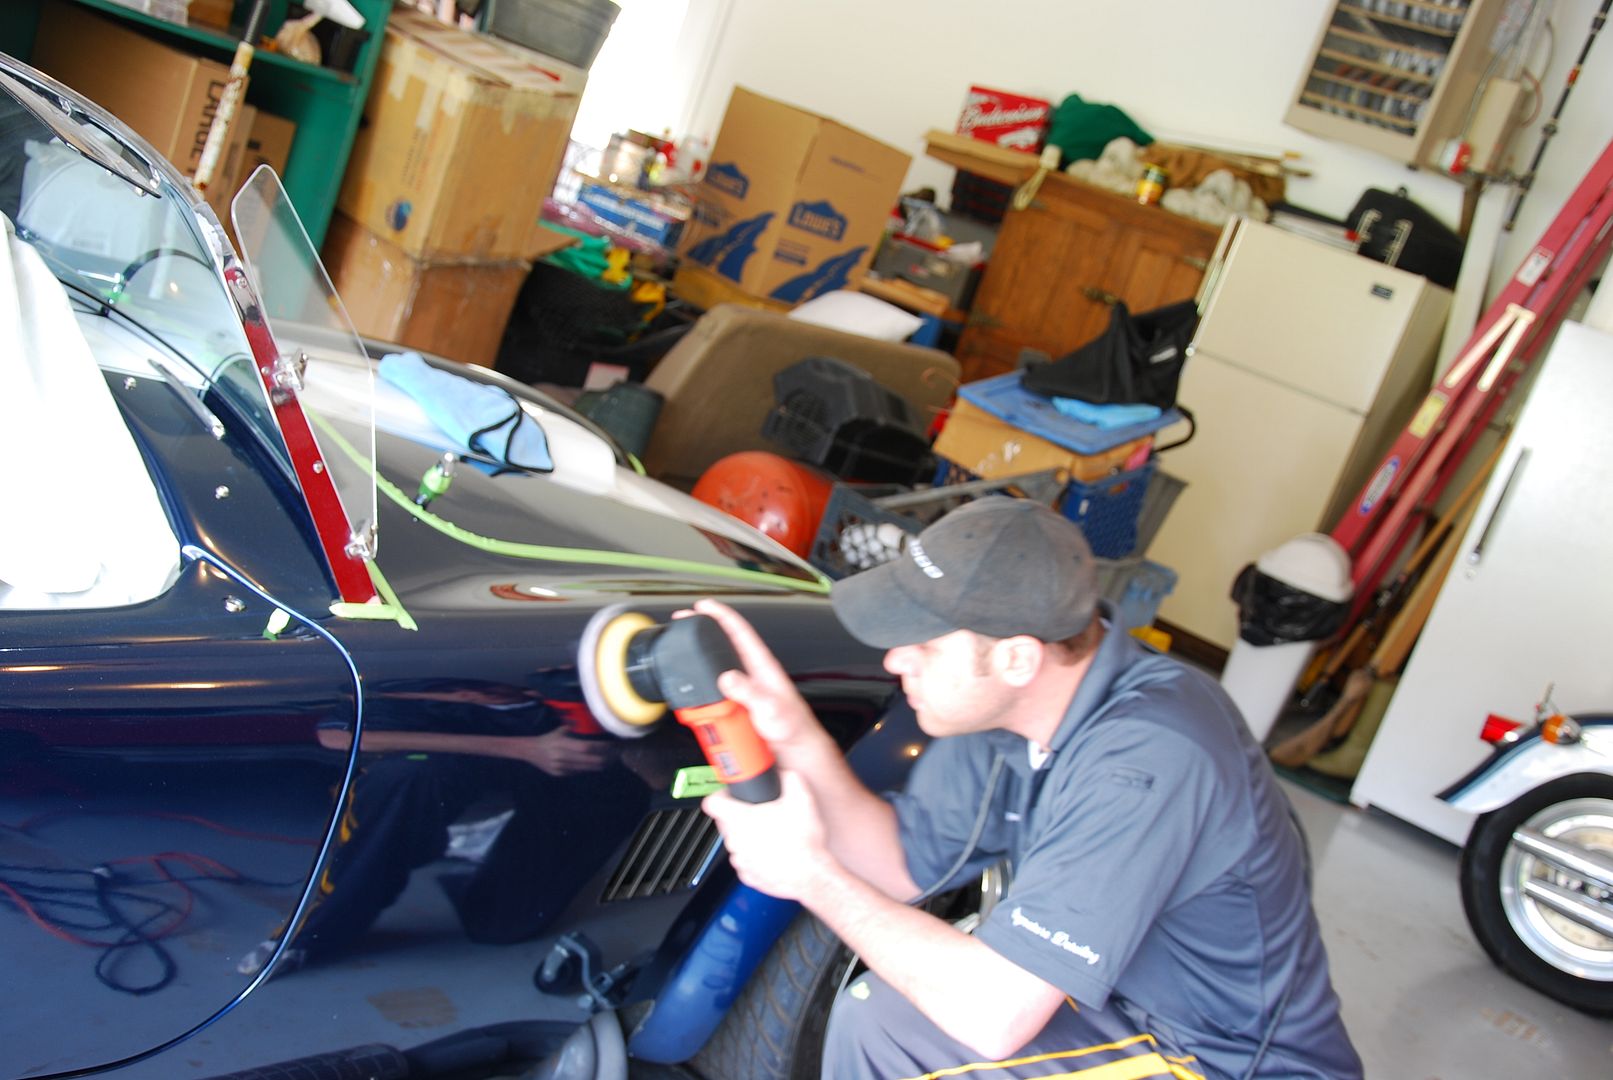
I went to town, using a traditional LC Orange pad and a mixture of roughly 75% 105 and 25% Menzerna 203s. Not a normal choice for polishing I know. It allowed for less dust and extended working times. Why add the 203, I knew I wouldn't be able to fully wash the car after polishing. I had to ensure that I kept dust to a reasonable level. Adding the 203 helped with this. After correction I slowed the speed down and reduced pressure, allowing for some additional gloss to be generated. I was able to do this with the extended working time the 203 added. Also, I made sure that I changed pads very often. I didn't want any paint contamination in the pad. Due to the tight curves around the entire car, I also used my 4" pads to ensure proper rotation of the machine. I have some of the older style thin LC Orange pads and have found that they really work great")
After another complete ONR wash, the entire car was wiped down with Carpro Eraser. It's a great product, that doesn't dry the paint like an IPA wipe does, yet it ensures full removal of the polishing oils to allow for the LSP to adhere to the paint. Not to mention it smells great!

It's always important to open doors, hoods and trunks, to ensure you fully remove all dust you have made from polishing. It was especially difficult not being able to move it outside for a complete hose down, so I had to pay special attention to every area. A quick spritz with some ONR in a spray bottle followed up with the carpro, ensured proper removal of all the polish and the oils, I then hand coated the areas with my LSP to be sure every area of the car was protected.
Ok let's face it, metal polishing is not one of the most favorite things to do, probably not for your either. Usually, it's done by hand, and unless you wear your gloves your hands get black and stained for days. The results are worth the additional time and detail spent on metal polishing, this time I used the optimum metal polish.
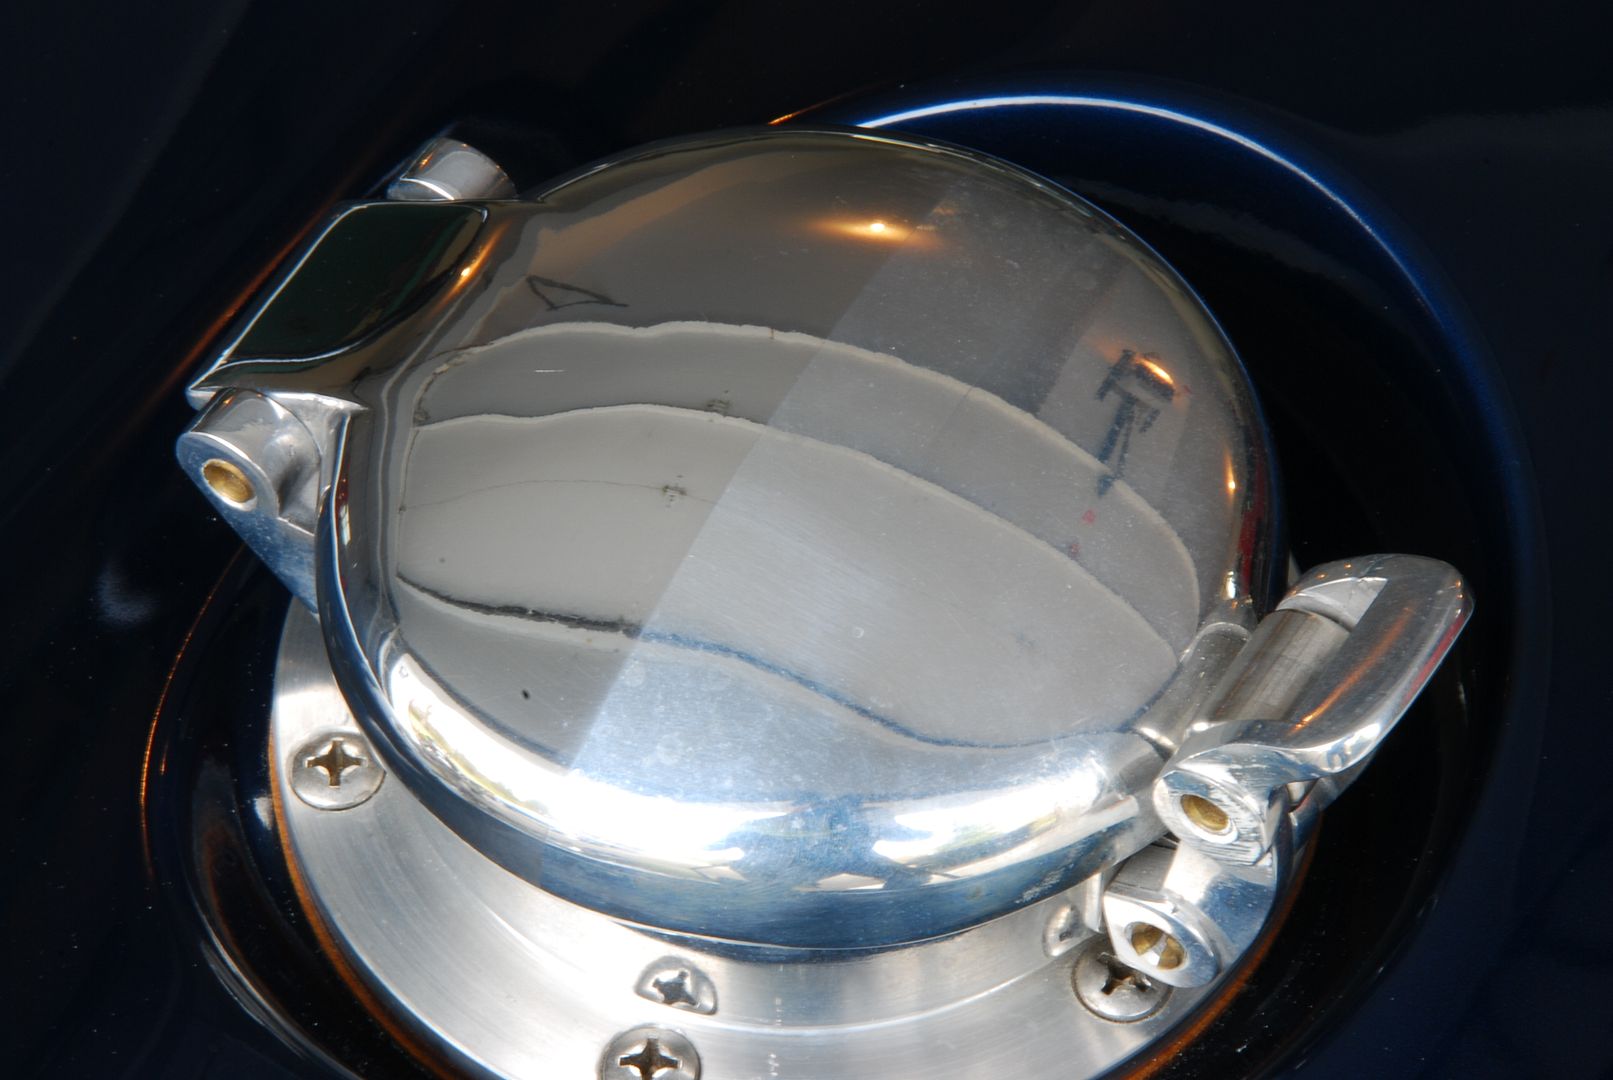
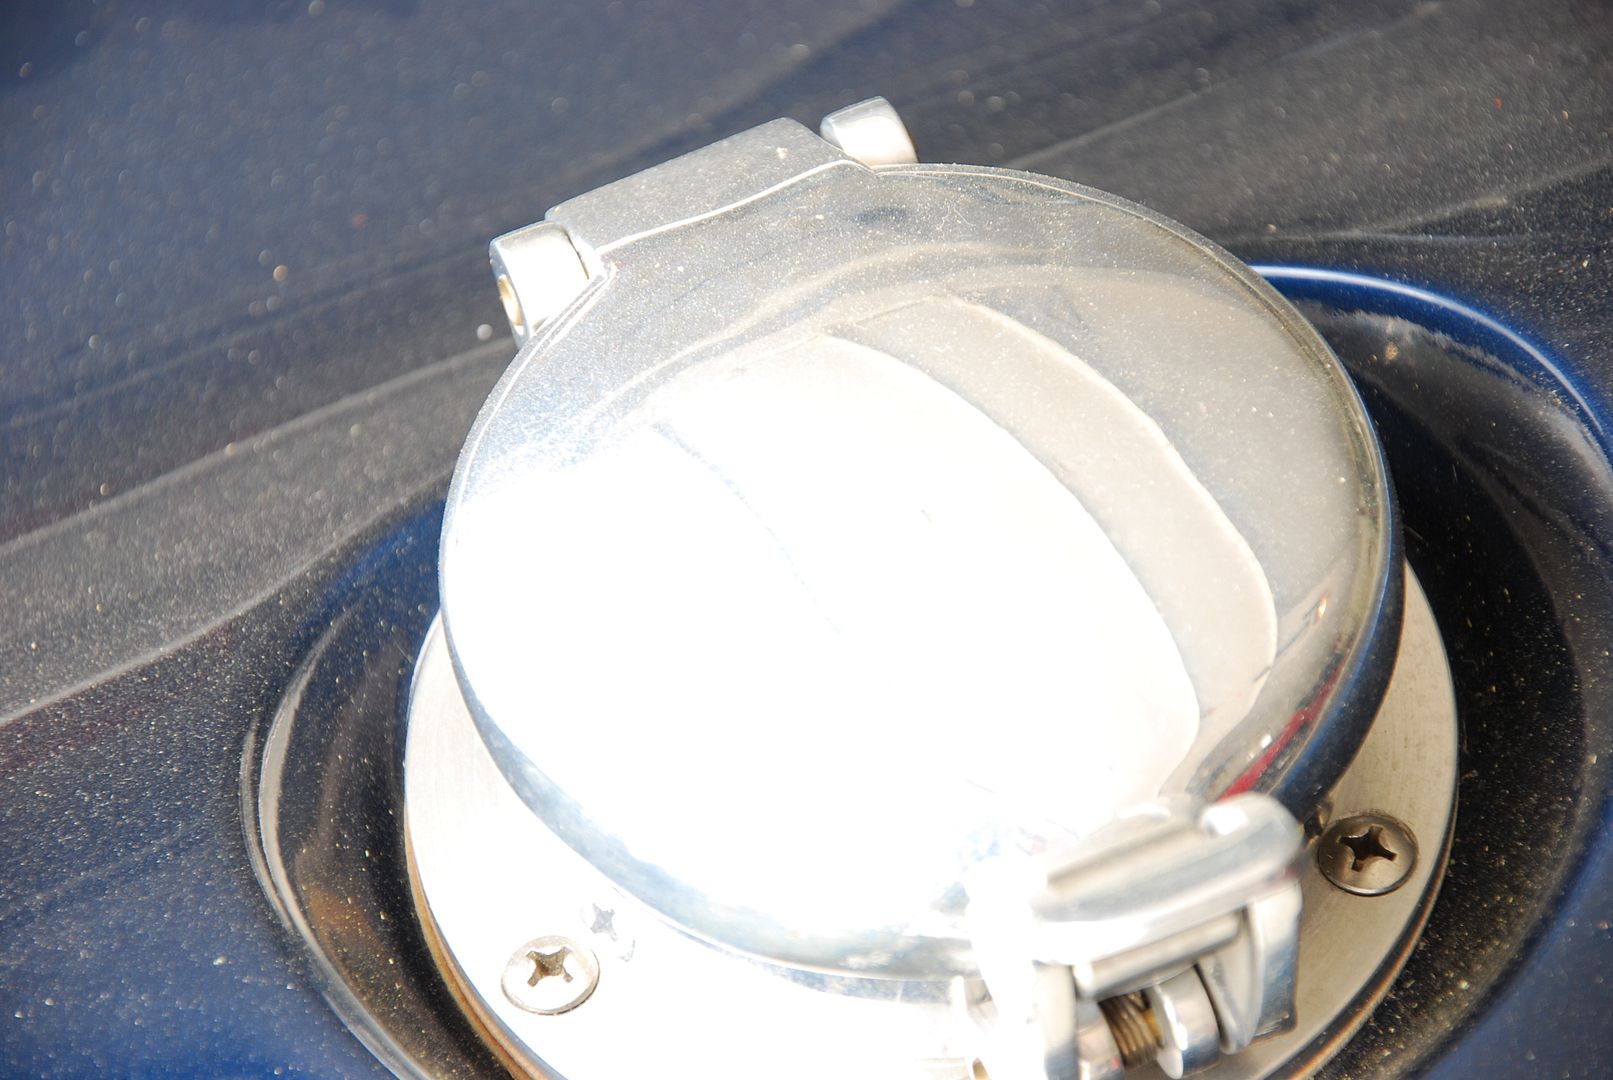
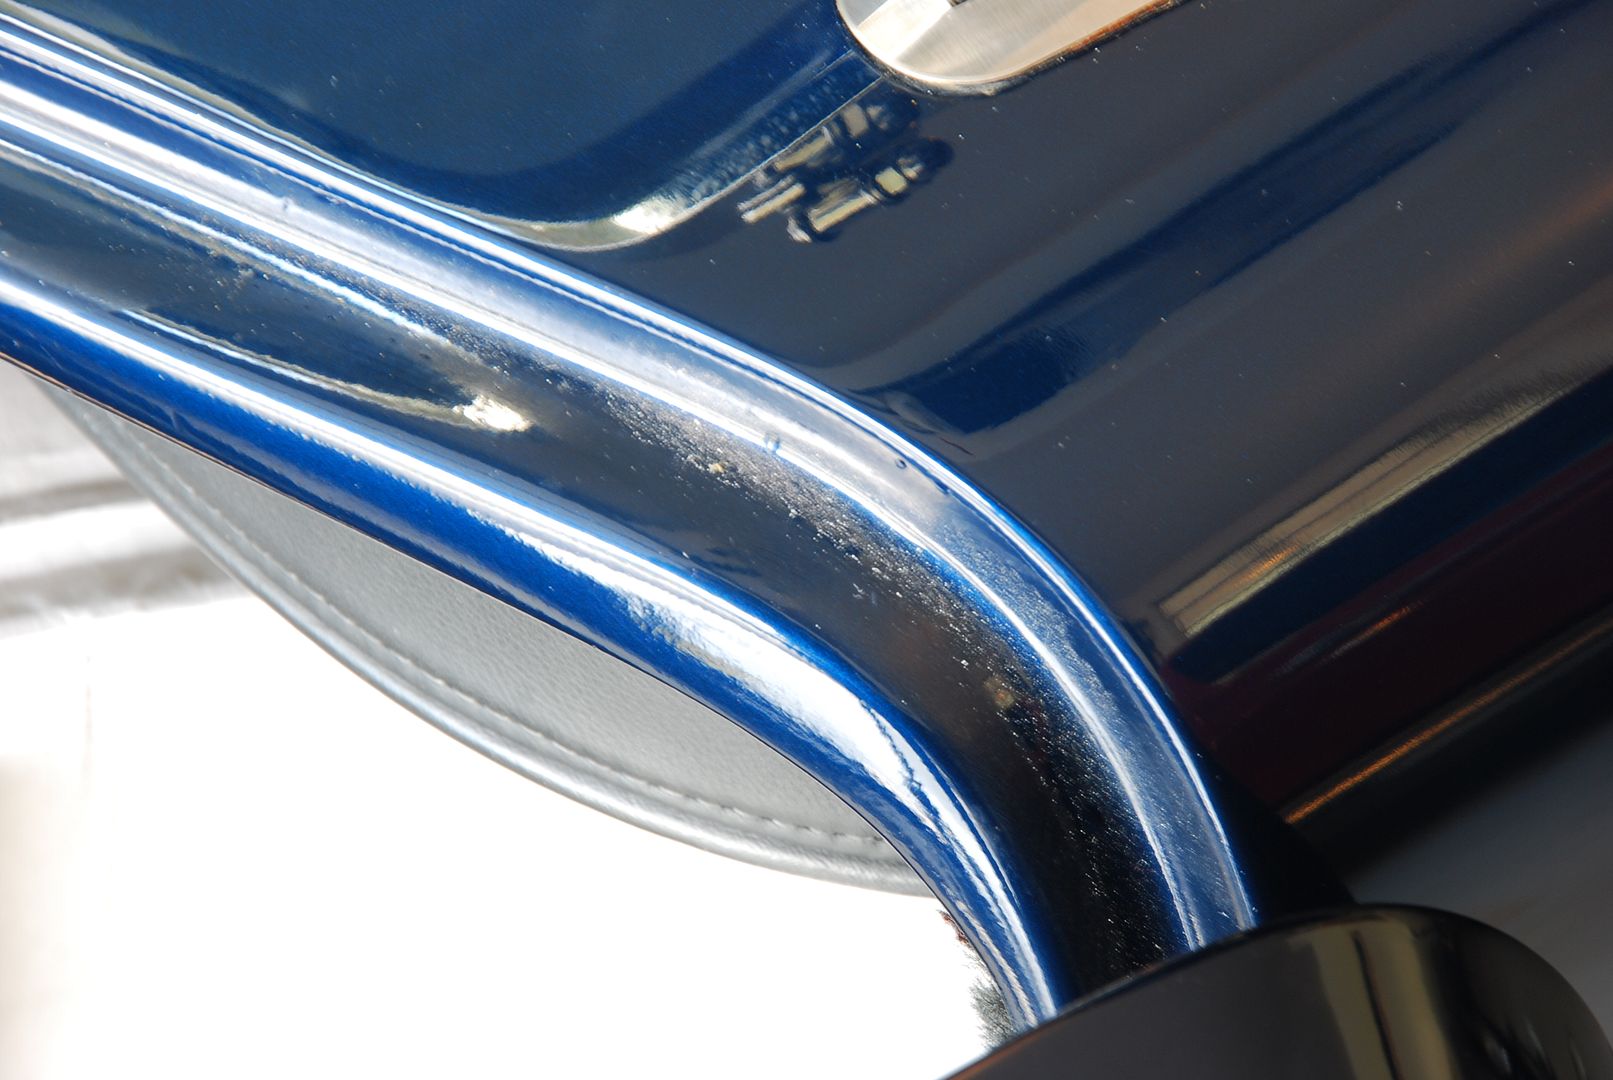
The main section looks great, now it's time for the crevices. There was some dried up wax on the upper right hinge.
Sometimes I use a soft tooth brush, other times I feel I need to use my dental pics. If you decide to buy a set of dental pics, remember not to use the points, but the back rounded side, and don't use them on your teeth after a car The points can cause additional scratching. Other times I have used them to remove that stubborn piece of tape that got caught under a piece of molding. I think they were about $2 dollars, not a bad investment if you ask me.
I moved on to the rest of the metal, I was getting some great results with the optimum metal polish.

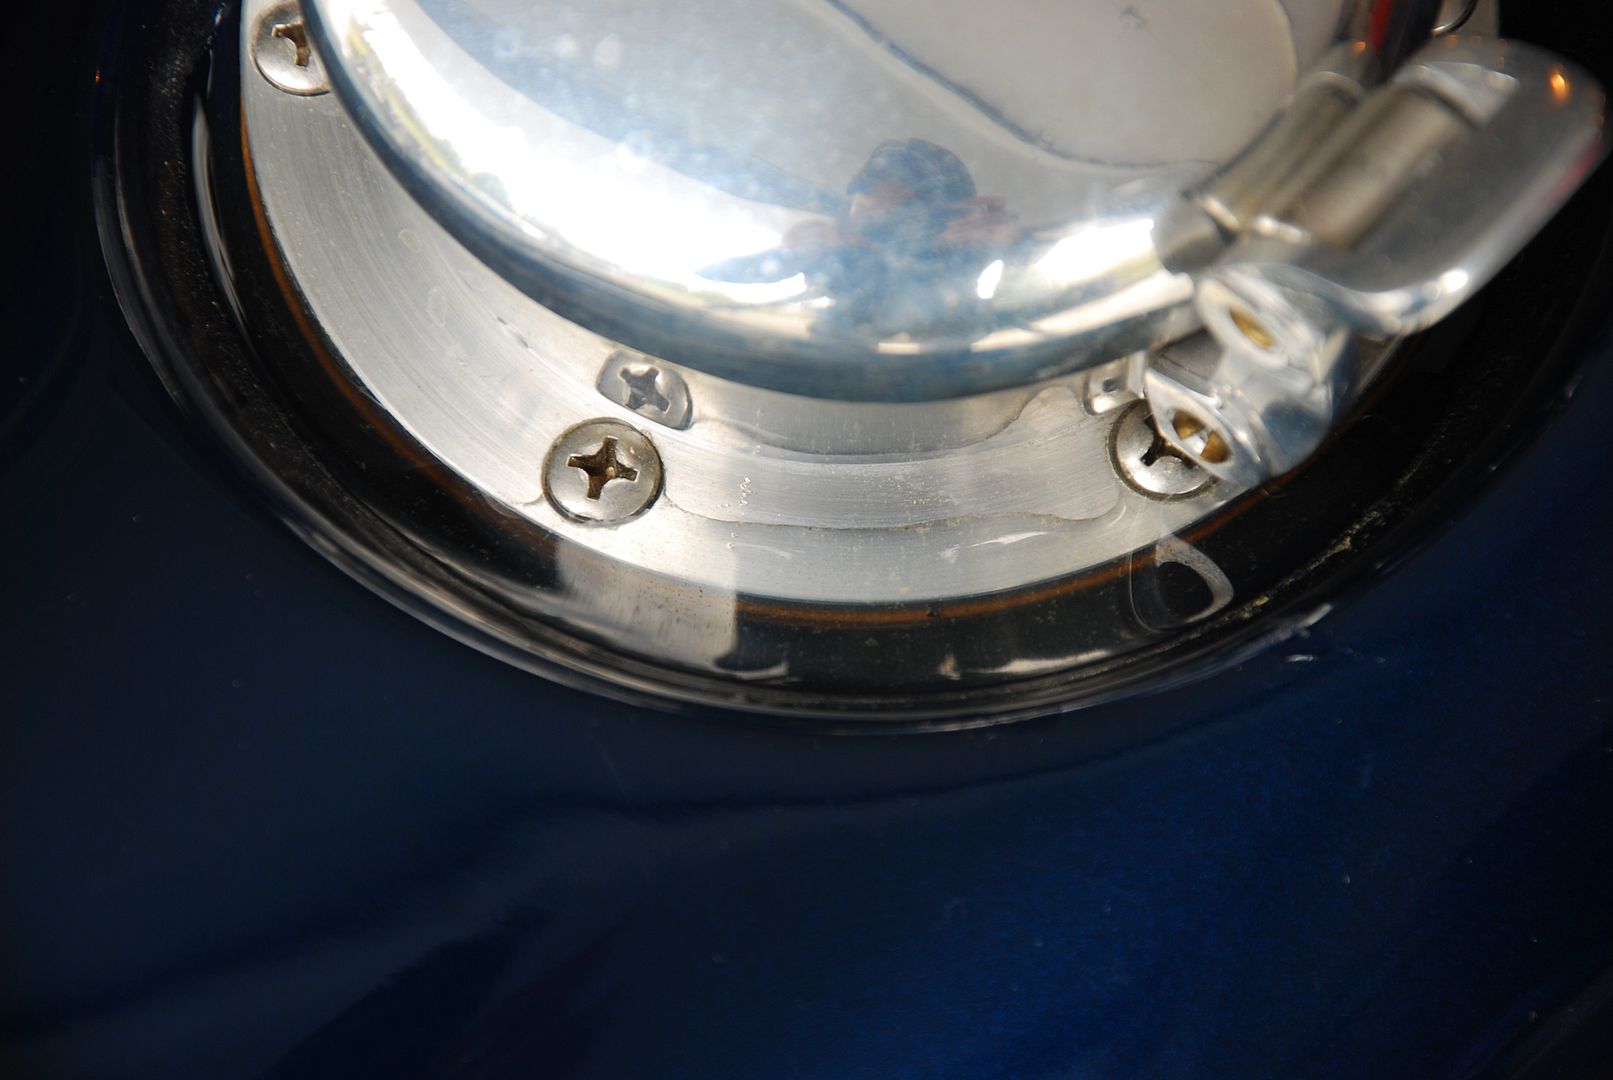
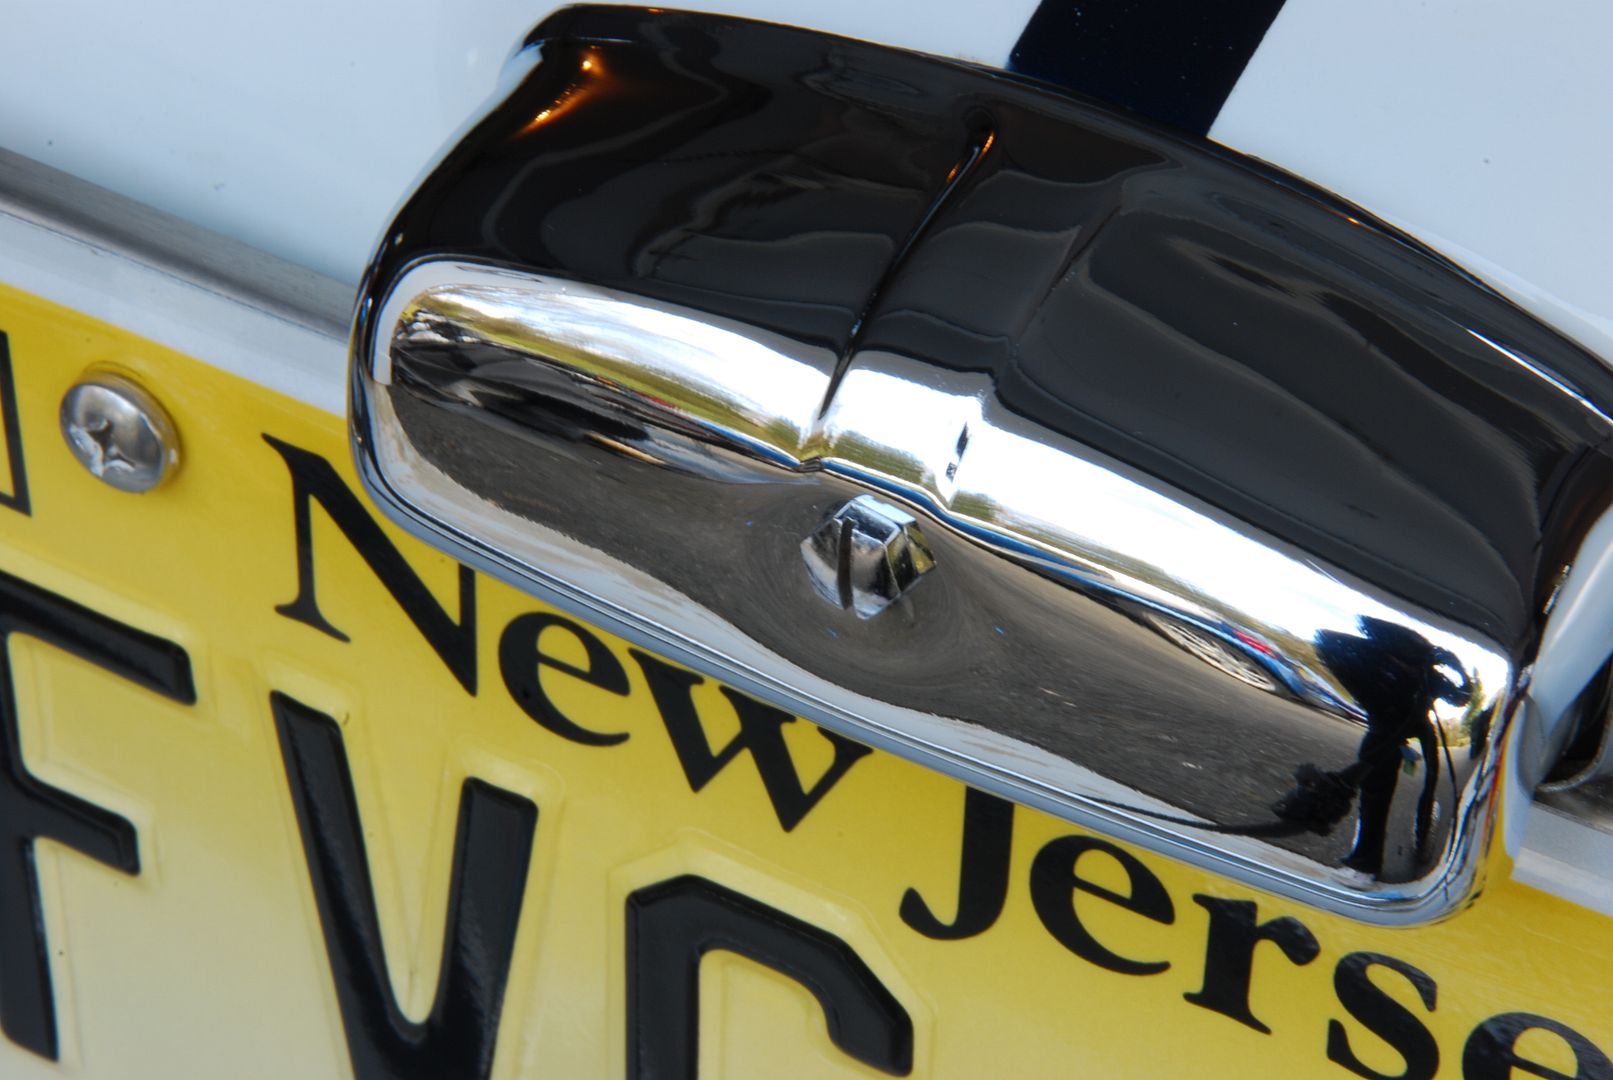
More dried on wax around the flat head screw that holds the license plate light on the car. It's little things like this that can take time. Removing this is one of the things that can often get overlooked, but this is the type of service that shows the quality of work that we do.
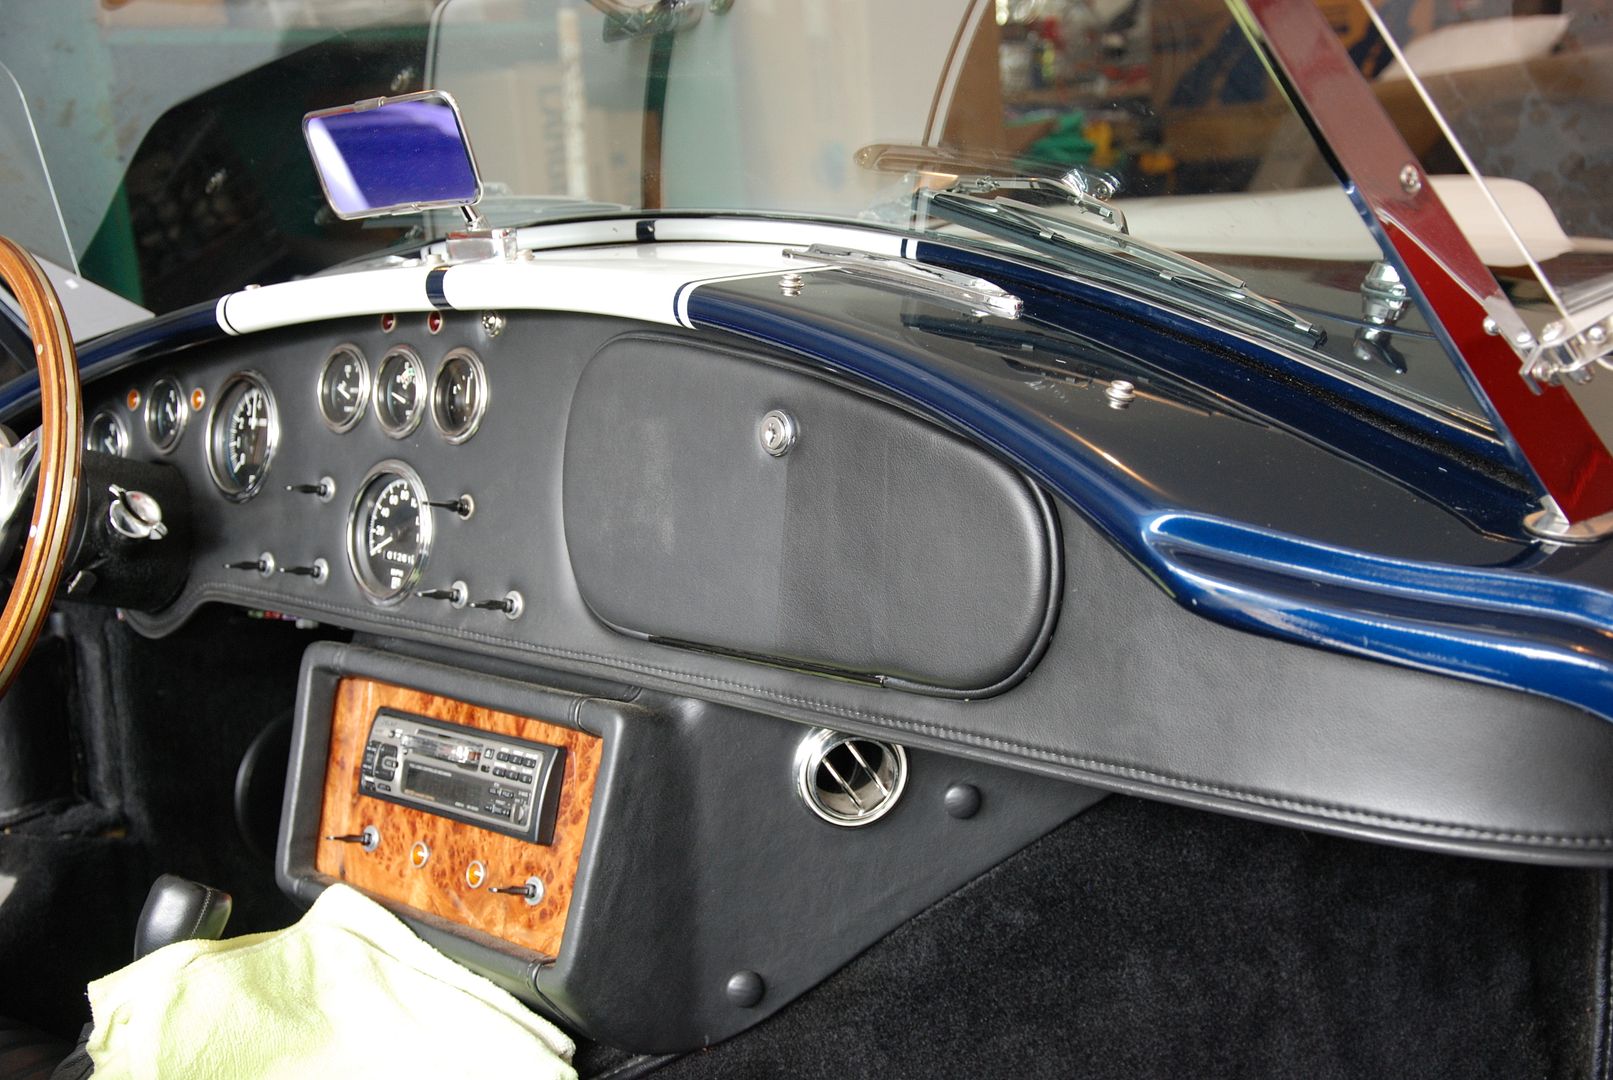
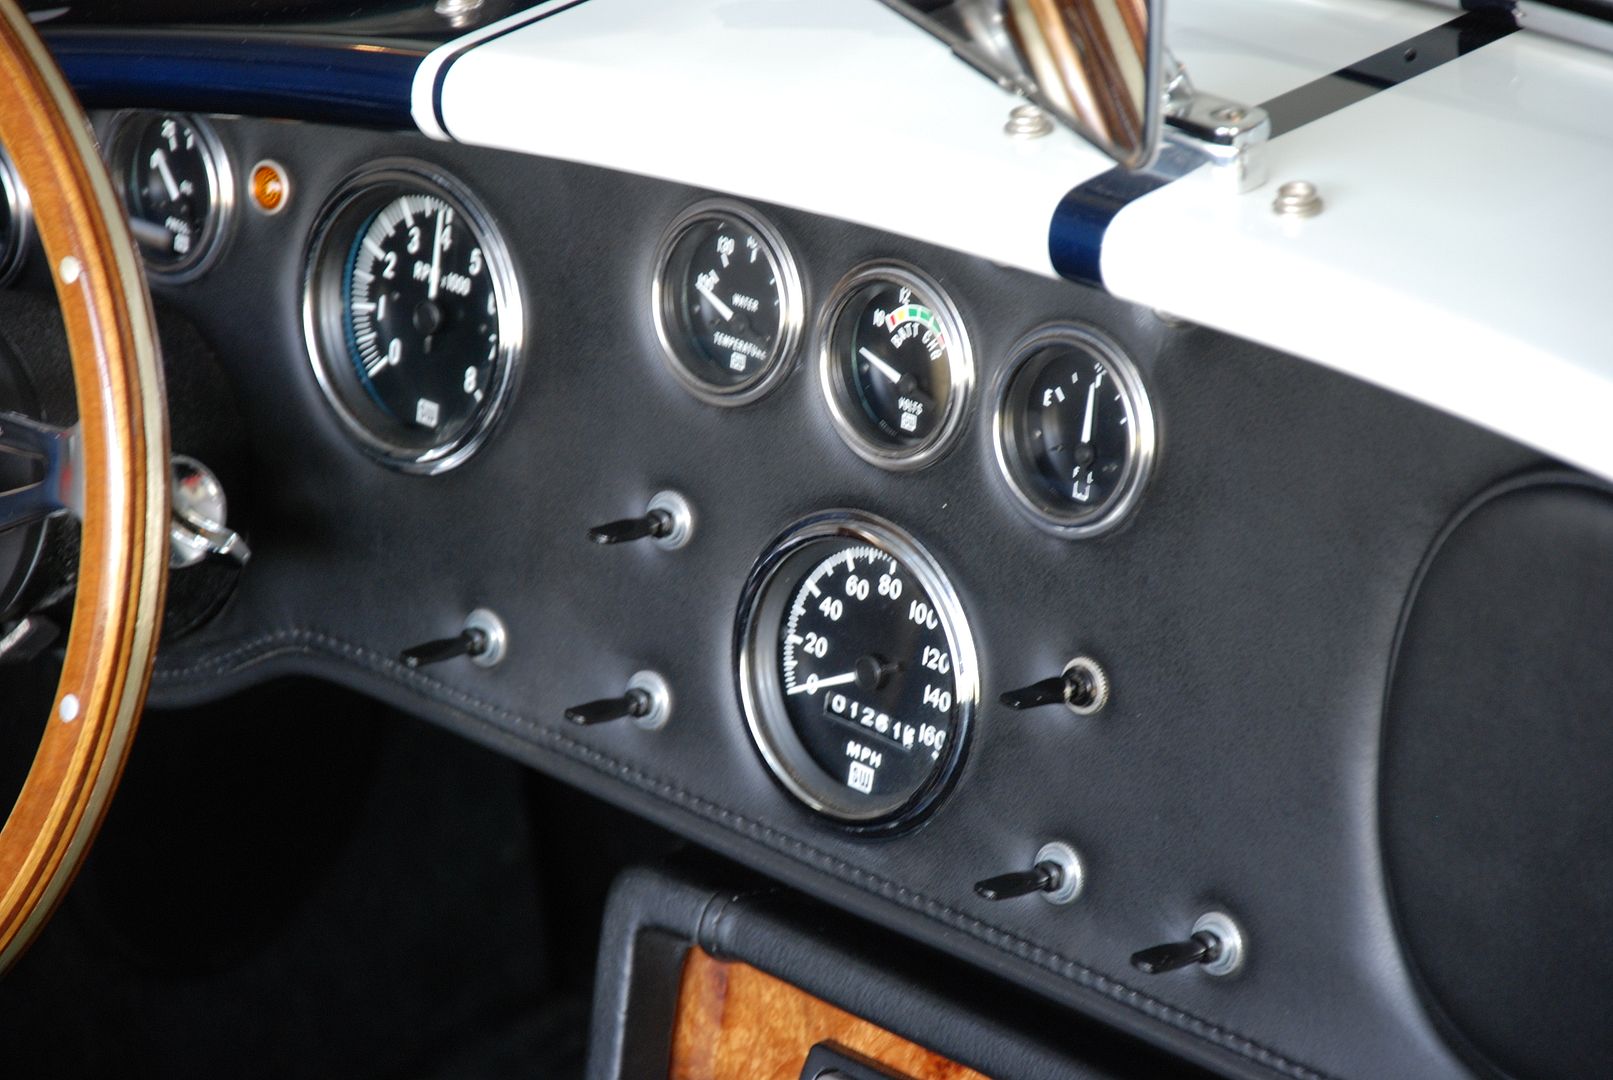
I then moved on to the interior, there isn't much area in there, but it's important to take care of it. No one wants a shiny finish do they? I decided to dress the interior with Optimum Protectant Plus; it provides a great Satin finish. Additionally, it helps hydrate leather that may have gotten a little dry. You can see the change with some hydration and some UV protection.

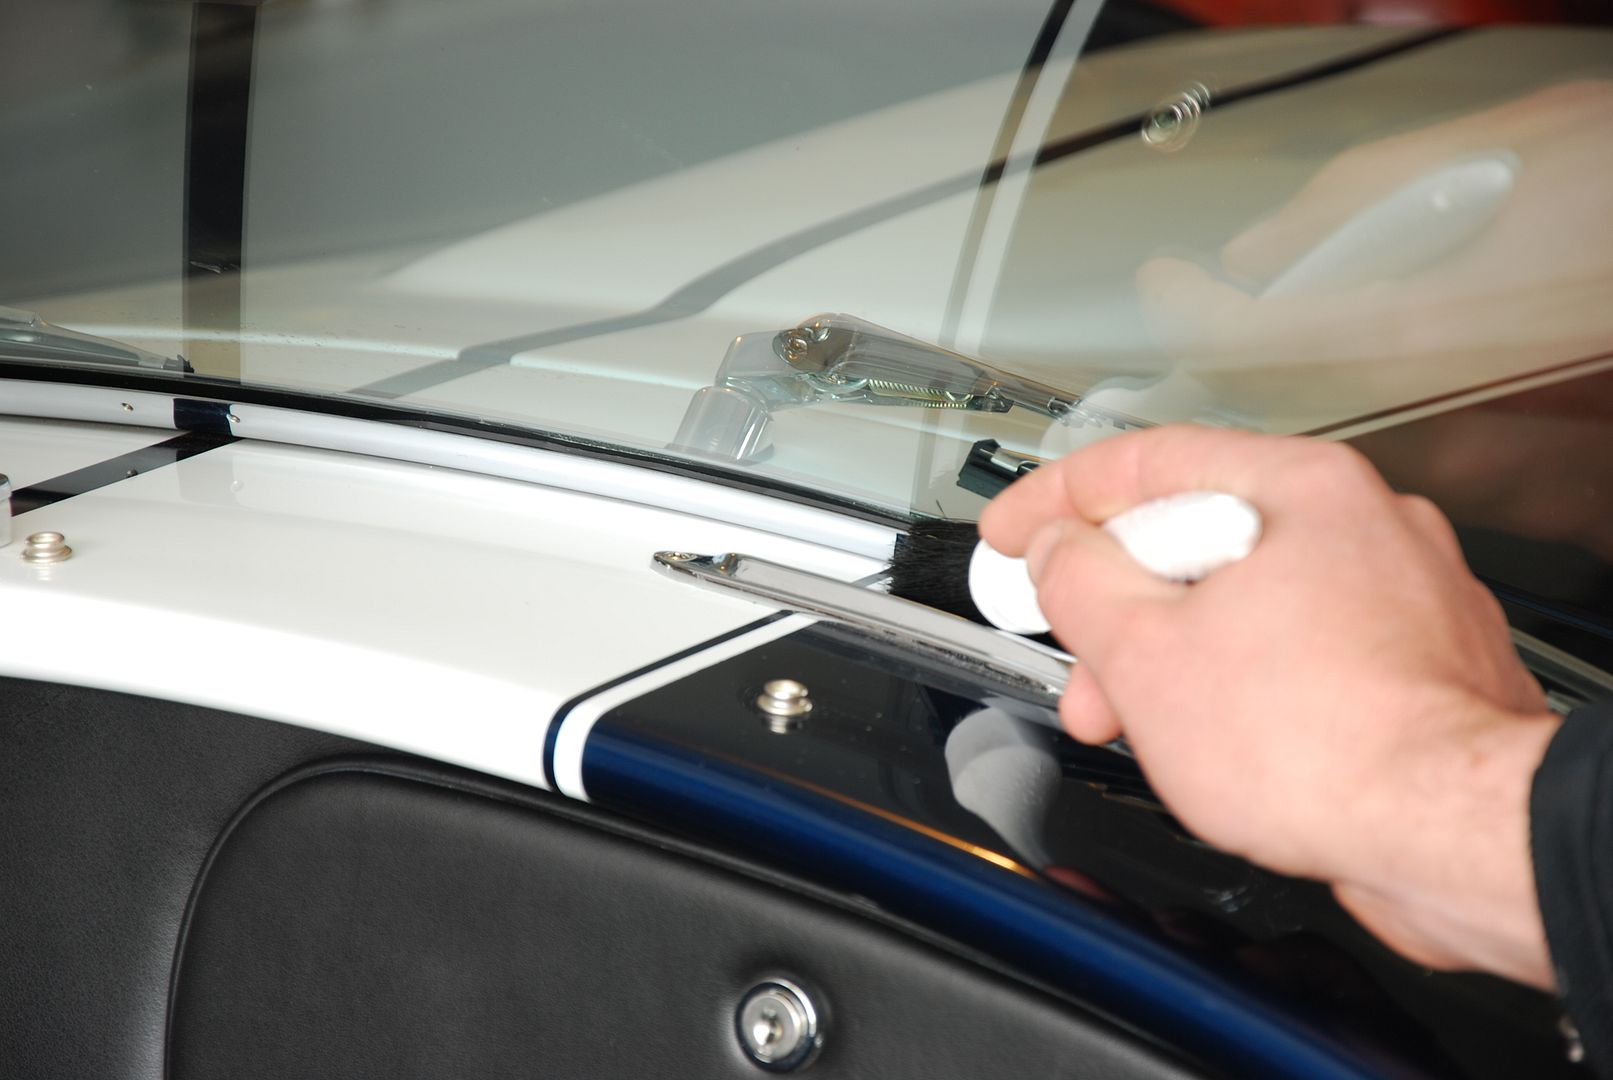
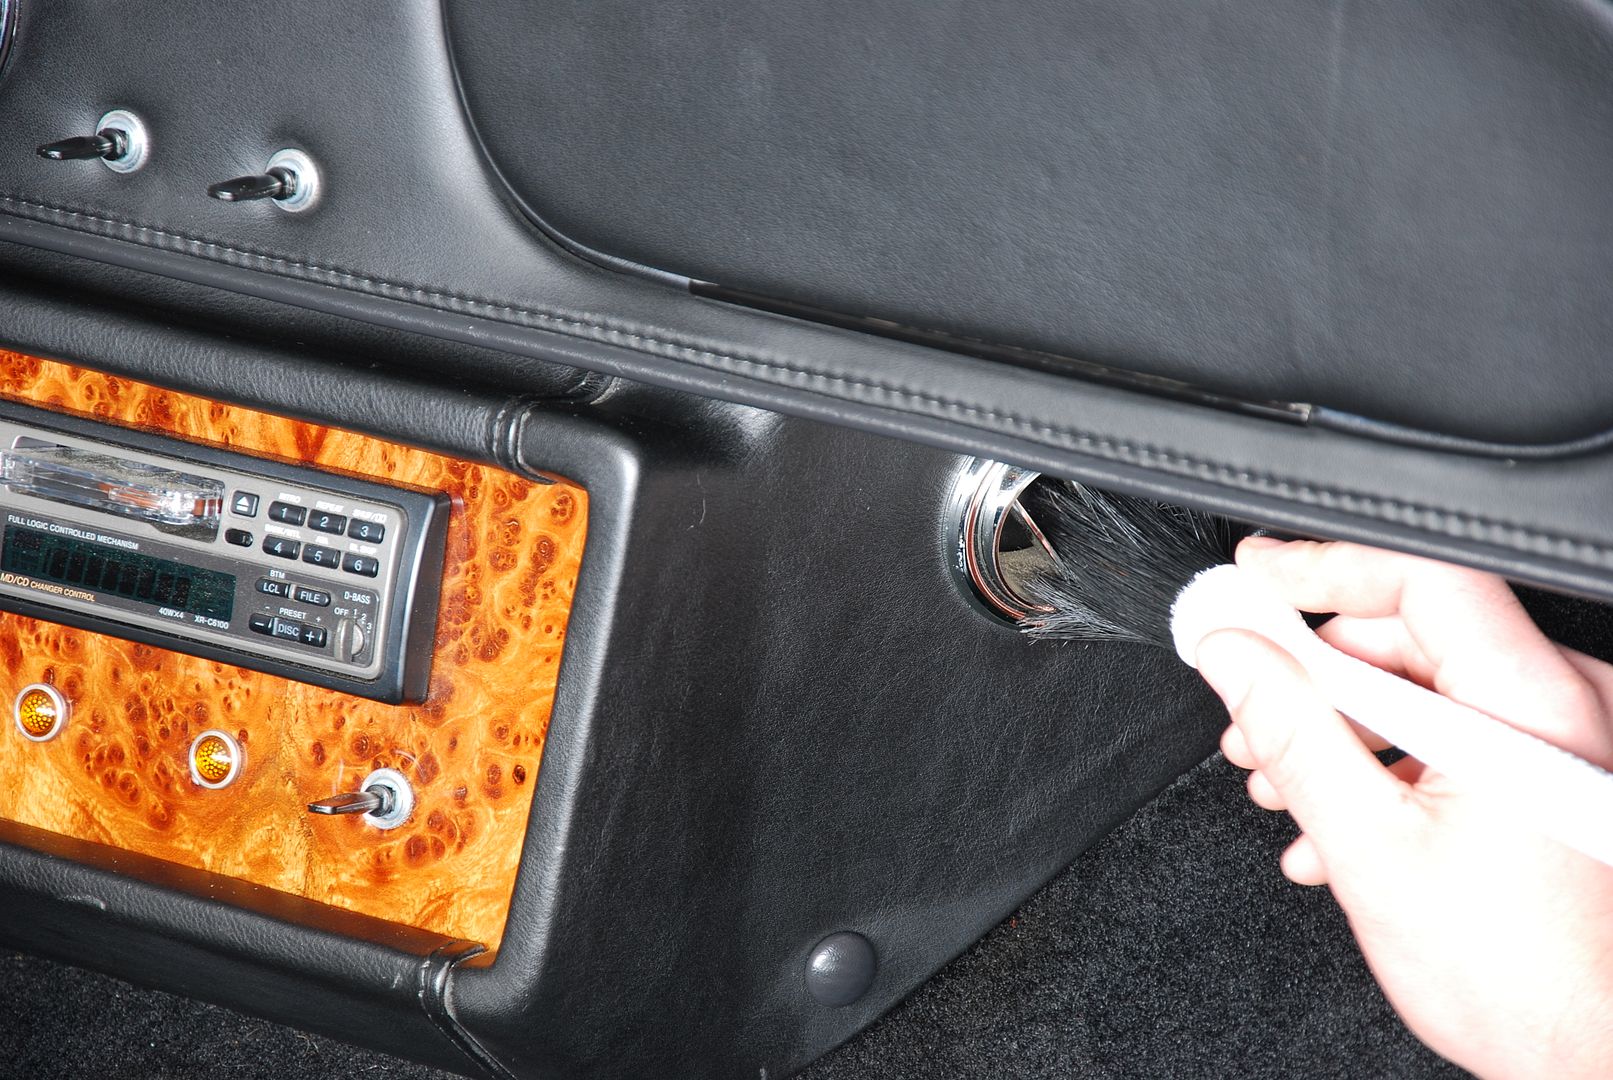
Don't forget any areas that may need attention. Dust can find its way into any crevice. A light brushing with a soft boars hair brush is a great way to remove dust in tight areas.
Finally, I went over the entire car with CG Blacklight. Door Jambs, and hood and trunk seams were done by hand.


And as always thanks for looking. Greg
The car has been out of service due to an issue with the ignition. So unfortunately I was unable to move it from its present location. This also allowed for quite a bit of dust and debris to sit on the surface.
Even with all the dust we are able to see the condition underneath.
Not wanting to make a mess, and the fact that this was a garage and not a wash bay, I ONR'd the entire car. I used a little trick to help remove additional dust off the car before ONRing that I will share in my next write up
If the car could have been moved to do a full wash I would have loved it, sometimes we have to work with what were given. Panel by panel, section by section, was carefully washed to ensure no additional scratches or marring was induced. Eventually, after a complete wash I was able to check out the full condition of the paint. Don't forget to get any and all water out of seams and under emblems in order to ensure that polishing doesn't vibrate the water out. It has happed many times, and unless you want dripping water make sure you get all of the water out. Now when I go mobile I bring along my CG Jetspeed blower. When I don't have a compressor to remove water, this tool works perfect just for this sort of thing.
I proceeded to tape off everything I could. Protecting trim and metal is important in order reduce time later, no one likes to have to remove polishing residue from trim, not to mention creating a chalky film on metal.
After a quick test spot something that is always important...I saw the correction I was going for. I wanted to ensure I was using the least aggressive method for correction. As is the key with every detail, if we don't have to remove additional clear then why do it. Doing the least aggressive method, not only ensure longevity of the paint, but also allows for a much safer process. A more aggressive approach can remove more clear and could cause issues down the road.
That works....
Here are some smaller areas that had some horrid swirls. This also shows the level of correction I was able to get.
I went to town, using a traditional LC Orange pad and a mixture of roughly 75% 105 and 25% Menzerna 203s. Not a normal choice for polishing I know. It allowed for less dust and extended working times. Why add the 203, I knew I wouldn't be able to fully wash the car after polishing. I had to ensure that I kept dust to a reasonable level. Adding the 203 helped with this. After correction I slowed the speed down and reduced pressure, allowing for some additional gloss to be generated. I was able to do this with the extended working time the 203 added. Also, I made sure that I changed pads very often. I didn't want any paint contamination in the pad. Due to the tight curves around the entire car, I also used my 4" pads to ensure proper rotation of the machine. I have some of the older style thin LC Orange pads and have found that they really work great
After another complete ONR wash, the entire car was wiped down with Carpro Eraser. It's a great product, that doesn't dry the paint like an IPA wipe does, yet it ensures full removal of the polishing oils to allow for the LSP to adhere to the paint. Not to mention it smells great!
It's always important to open doors, hoods and trunks, to ensure you fully remove all dust you have made from polishing. It was especially difficult not being able to move it outside for a complete hose down, so I had to pay special attention to every area. A quick spritz with some ONR in a spray bottle followed up with the carpro, ensured proper removal of all the polish and the oils, I then hand coated the areas with my LSP to be sure every area of the car was protected.
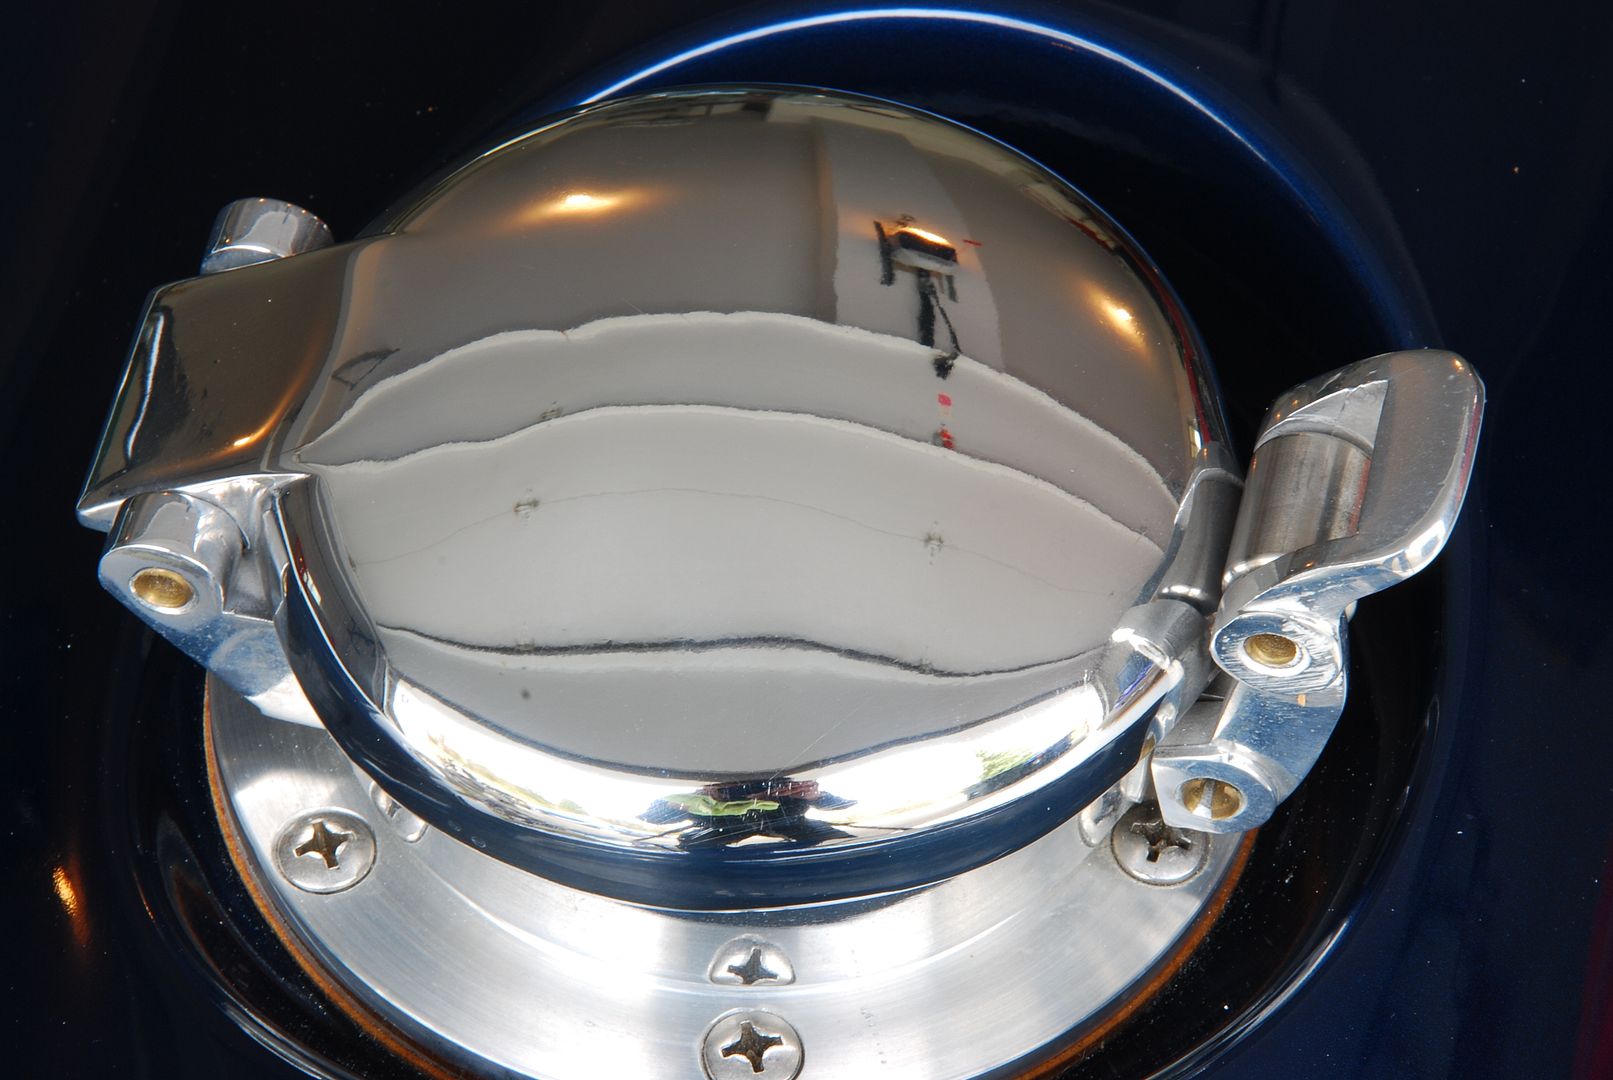
Ok let's face it, metal polishing is not one of the most favorite things to do, probably not for your either. Usually, it's done by hand, and unless you wear your gloves your hands get black and stained for days. The results are worth the additional time and detail spent on metal polishing, this time I used the optimum metal polish.
The main section looks great, now it's time for the crevices. There was some dried up wax on the upper right hinge.
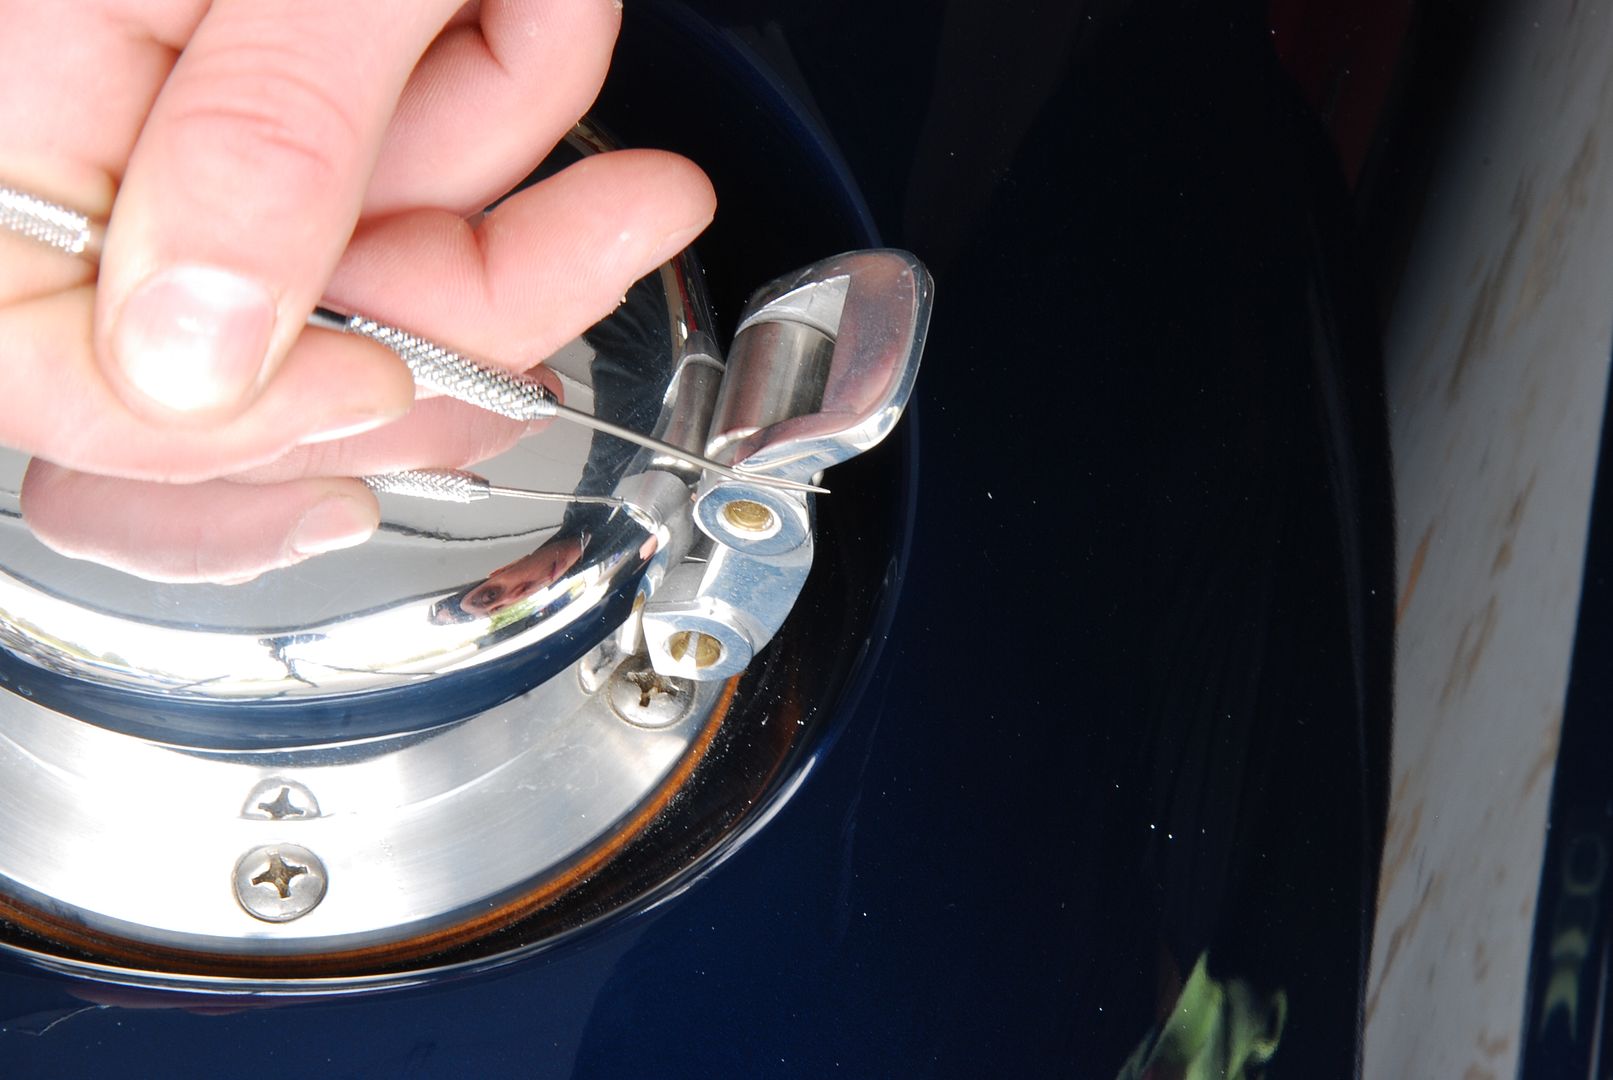
Sometimes I use a soft tooth brush, other times I feel I need to use my dental pics. If you decide to buy a set of dental pics, remember not to use the points, but the back rounded side, and don't use them on your teeth after a car
The points can cause additional scratching. Other times I have used them to remove that stubborn piece of tape that got caught under a piece of molding. I think they were about $2 dollars, not a bad investment if you ask me.
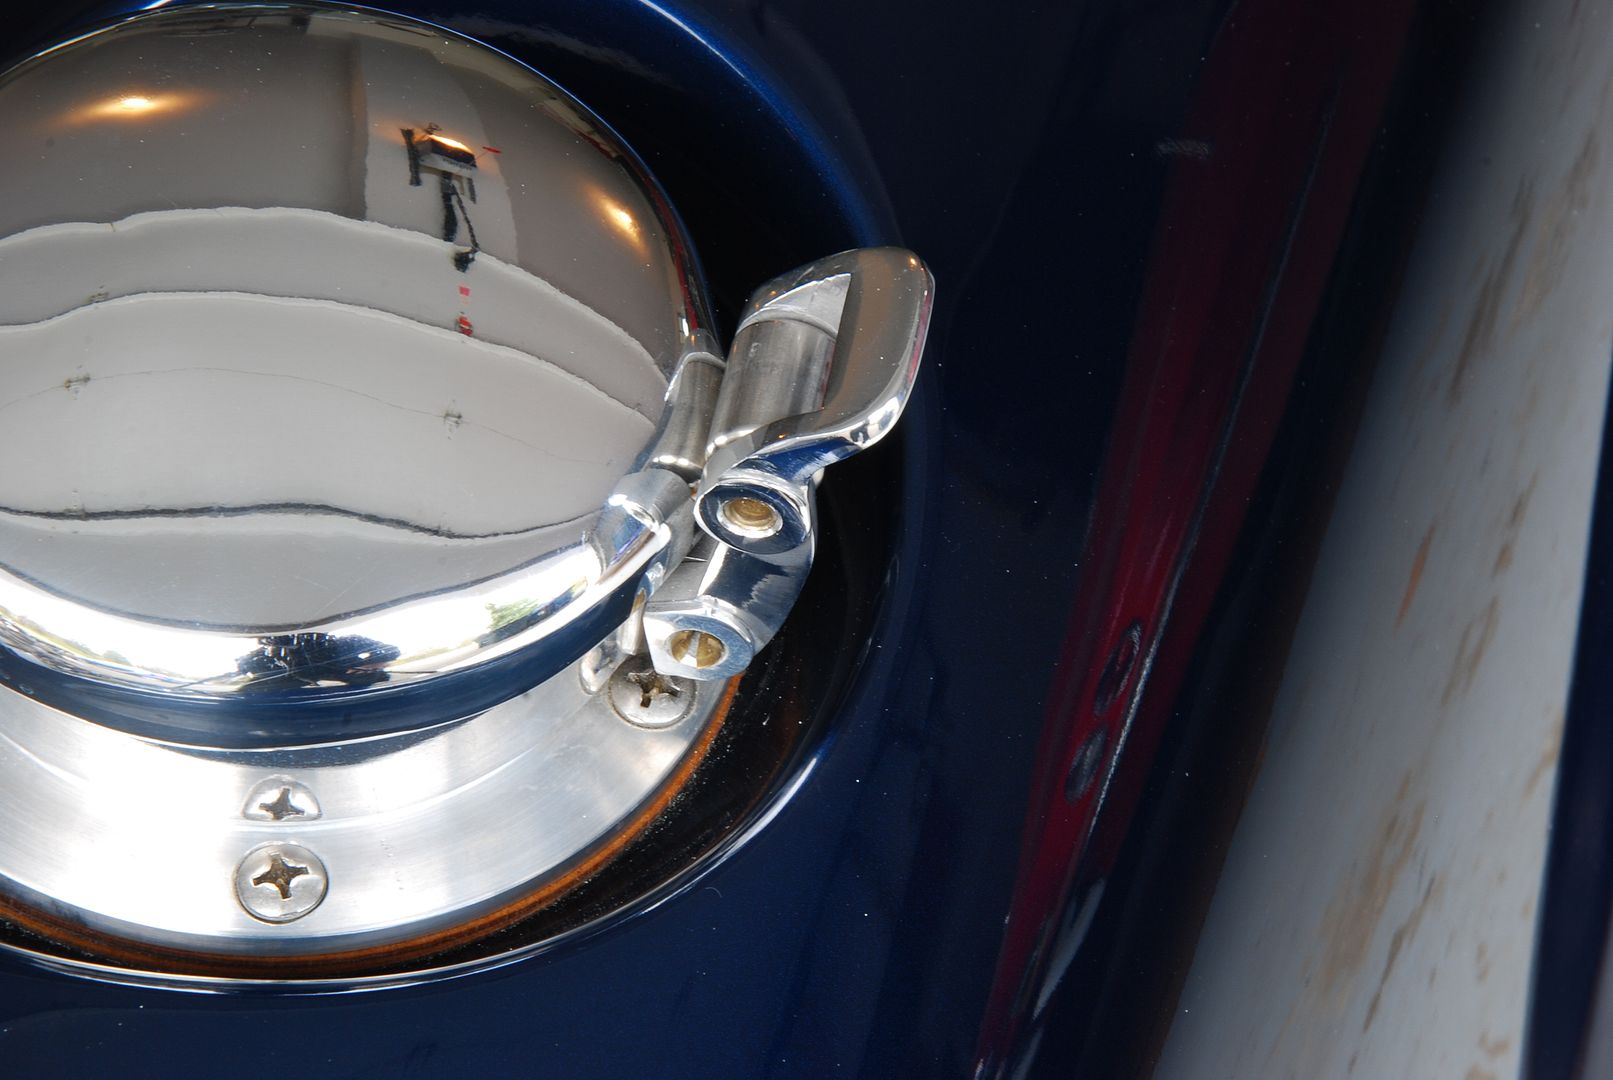
I moved on to the rest of the metal, I was getting some great results with the optimum metal polish.
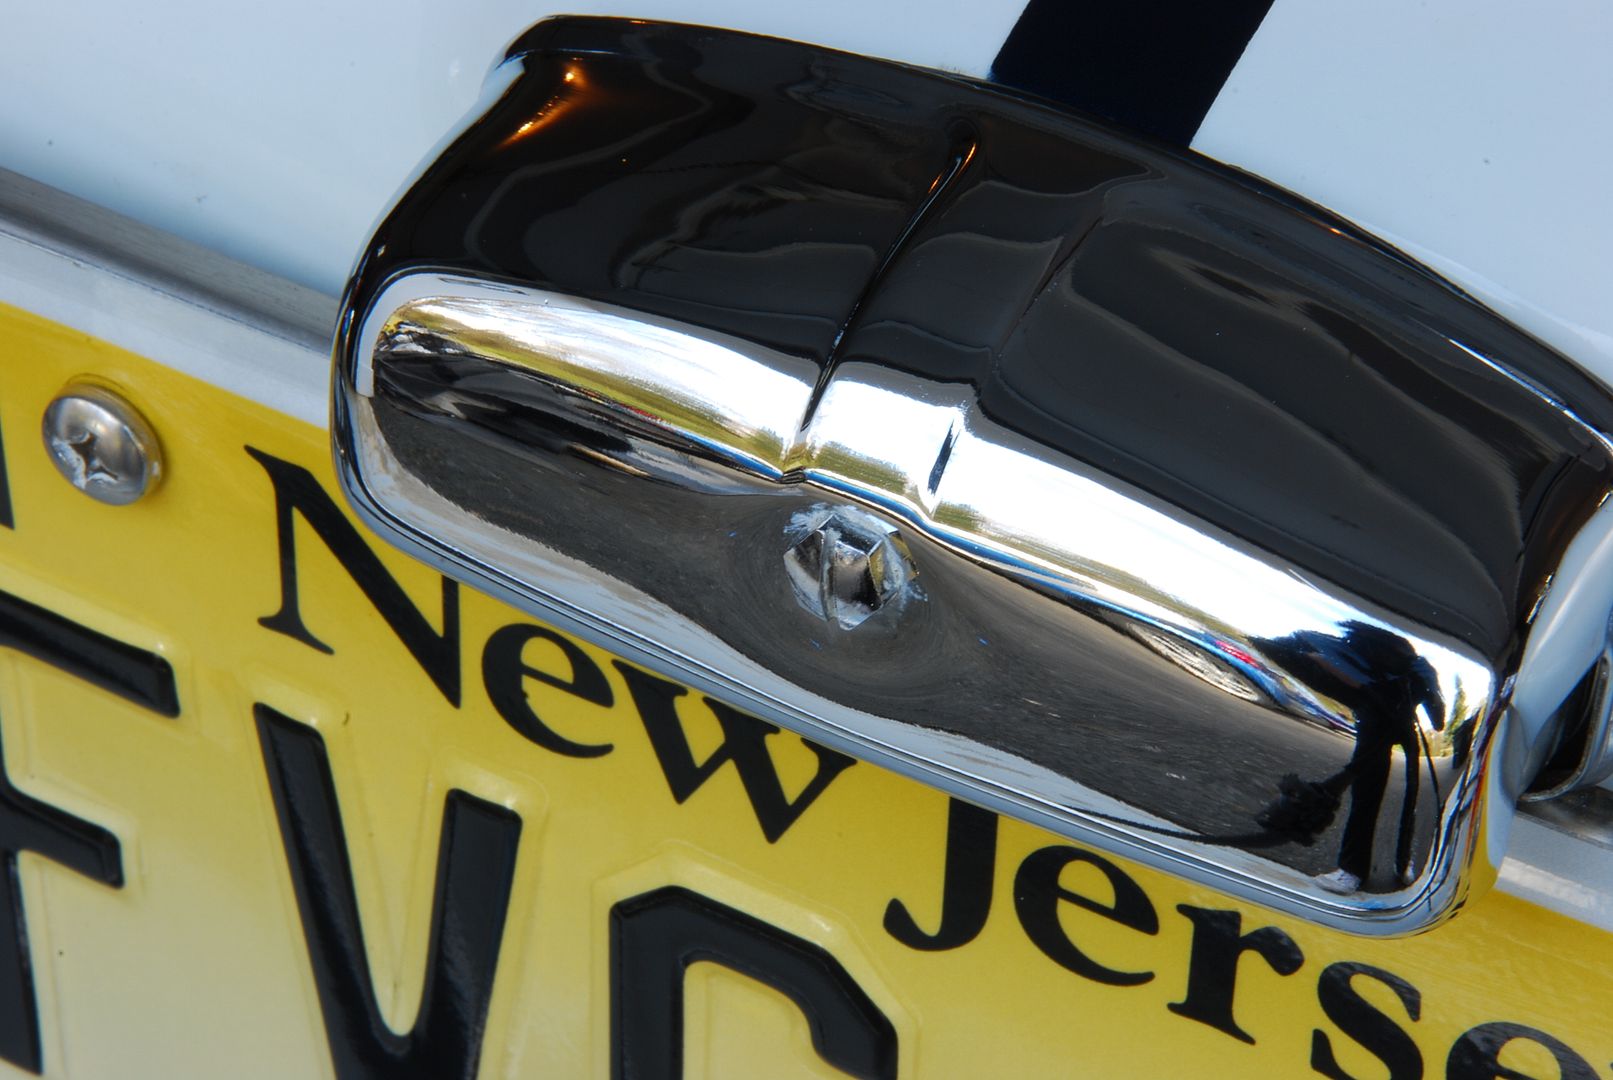
More dried on wax around the flat head screw that holds the license plate light on the car. It's little things like this that can take time. Removing this is one of the things that can often get overlooked, but this is the type of service that shows the quality of work that we do.
I then moved on to the interior, there isn't much area in there, but it's important to take care of it. No one wants a shiny finish do they?
I decided to dress the interior with Optimum Protectant Plus; it provides a great Satin finish. Additionally, it helps hydrate leather that may have gotten a little dry. You can see the change with some hydration and some UV protection.
Don't forget any areas that may need attention. Dust can find its way into any crevice. A light brushing with a soft boars hair brush is a great way to remove dust in tight areas.
Finally, I went over the entire car with CG Blacklight. Door Jambs, and hood and trunk seams were done by hand.
And as always thanks for looking. Greg