Greg Gellas
I'm Greg :)
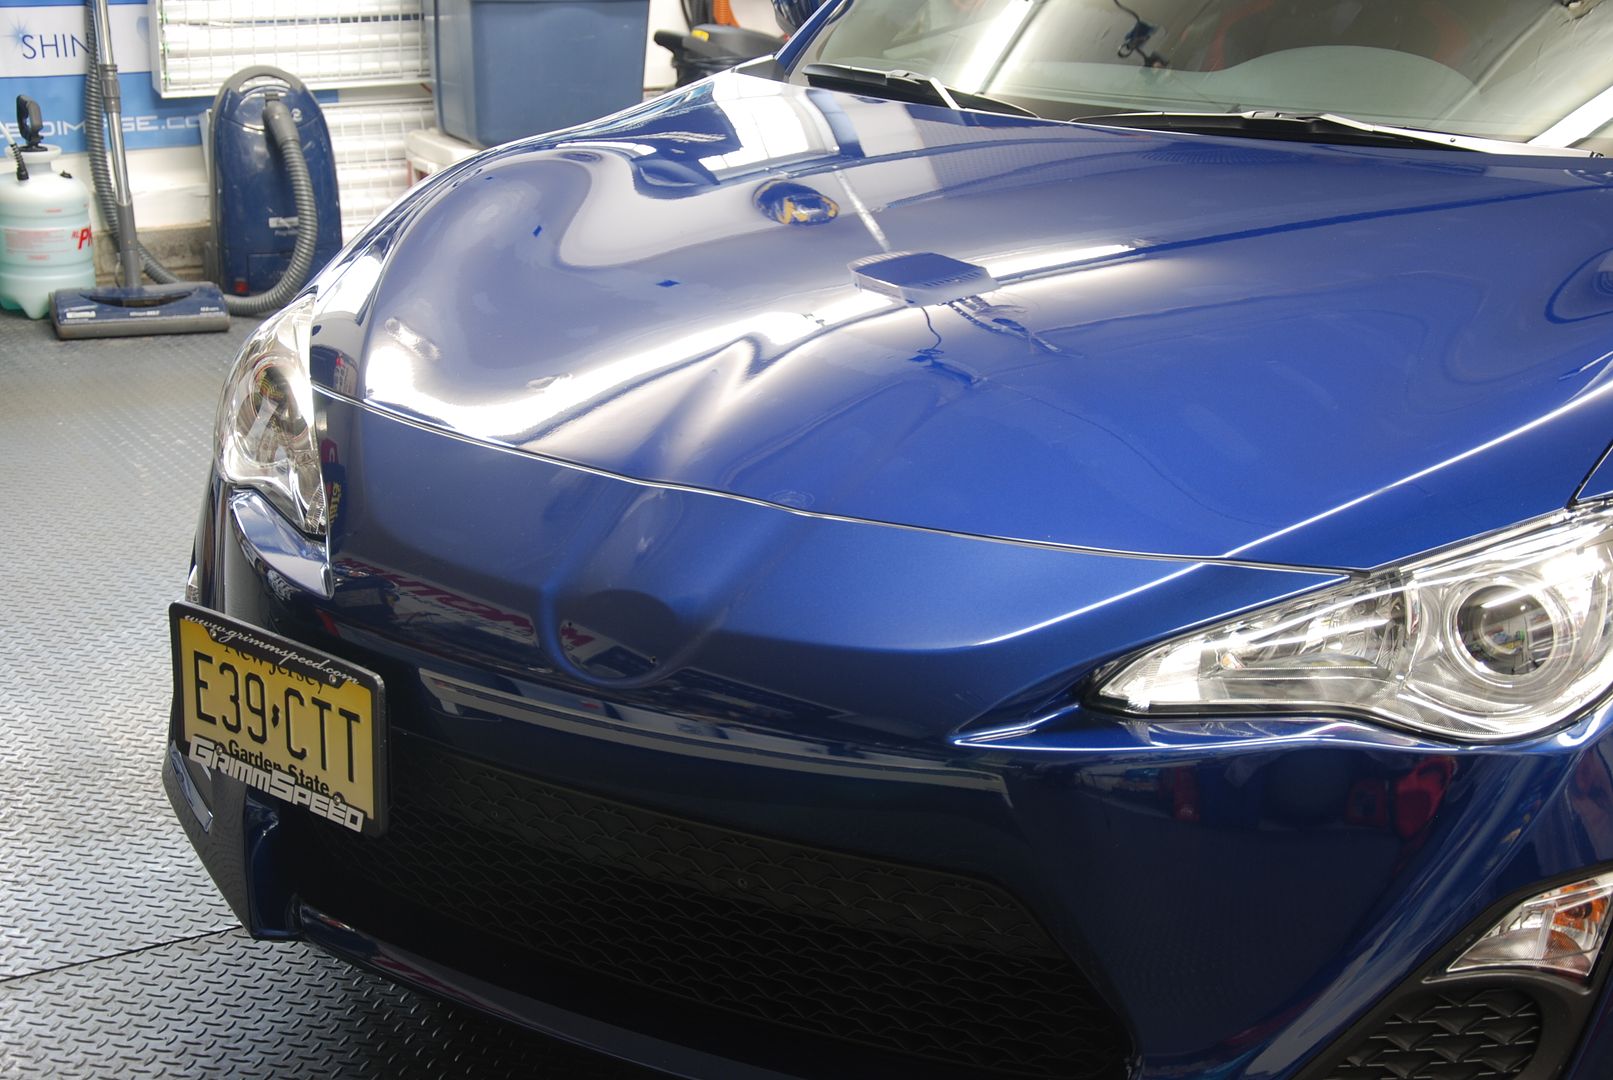
I was contacted to Opti-Coat this FRS. After discussing with the client we decided a 1 step polish would be great to add gloss and remove any swirling that may be on the paint. I was able to get amazing correction using just a 1 step polish. This is always a good idea when doing a coating in the case that there are any defects left in the paint, they will get trapped under the coating.
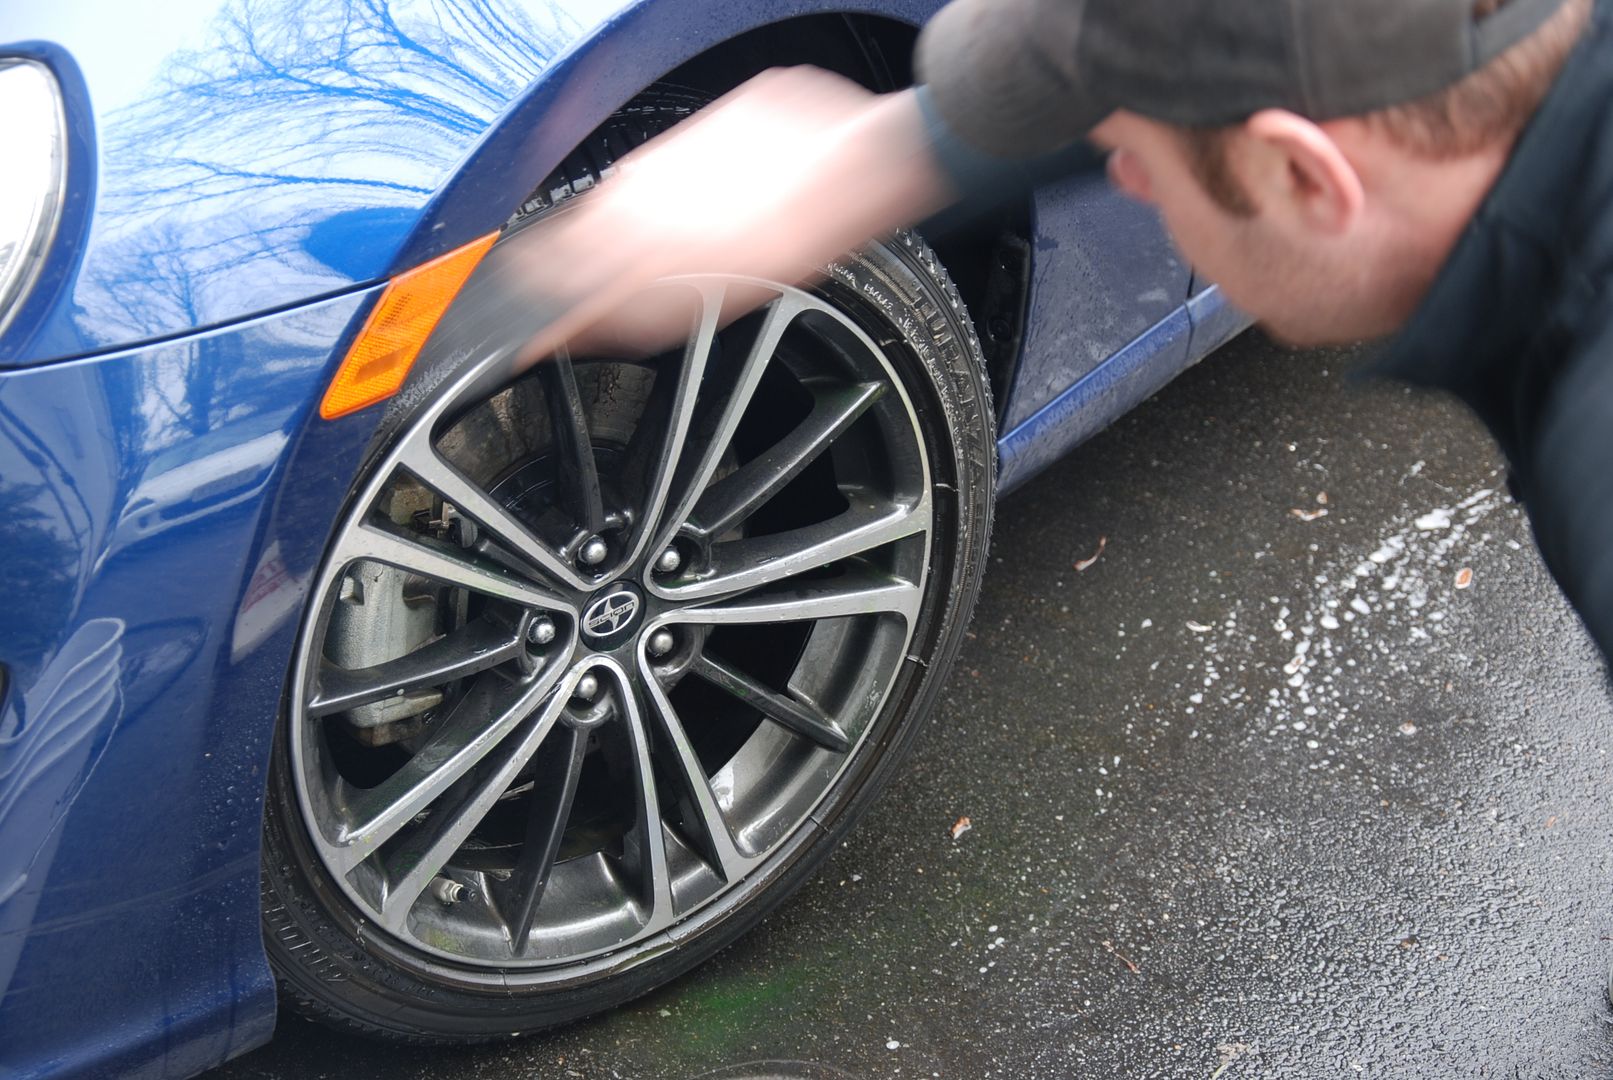
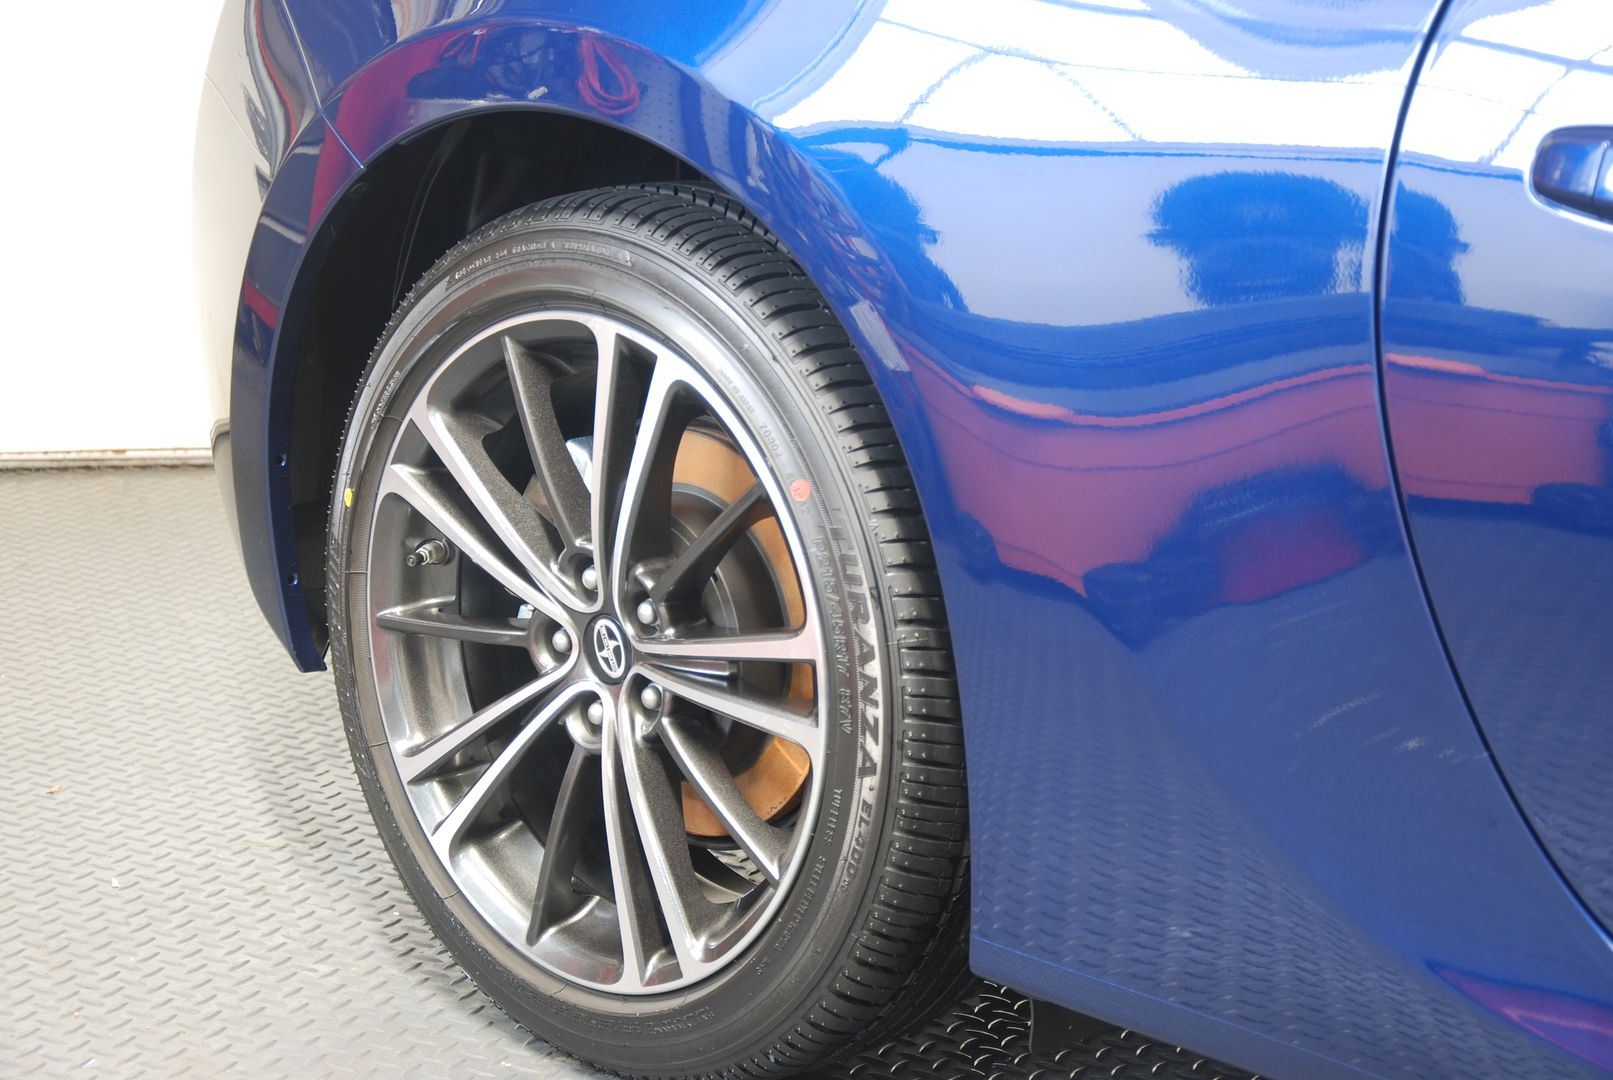
I started with the wheels. I do them first so the ground is dryer, and so as not to splash and dirt from the wheels onto a washed car.
For the lug nuts I used a boars hair to clean lugs.
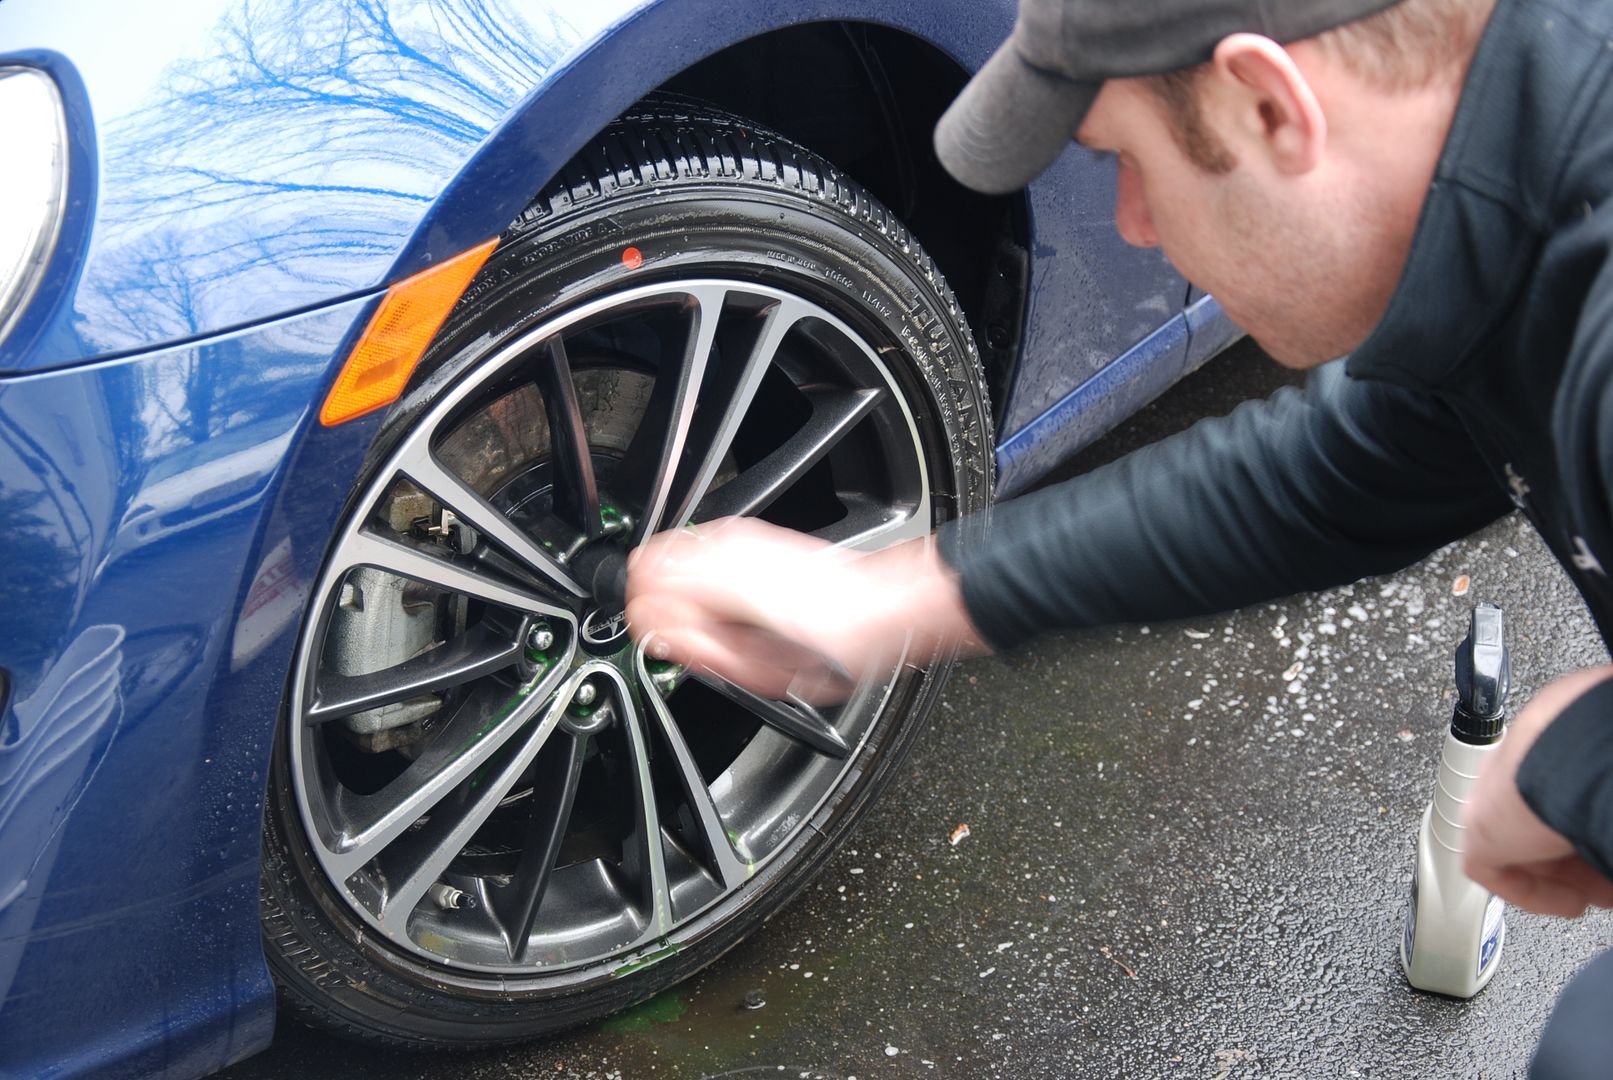
The tires got scrubbed using the Tuff Shine tire cleaner. As usual three scrubbings were needed until all the dirt was removed.
Here is a spot of tar that was quickly taken care of using some Stoners Tarminator.

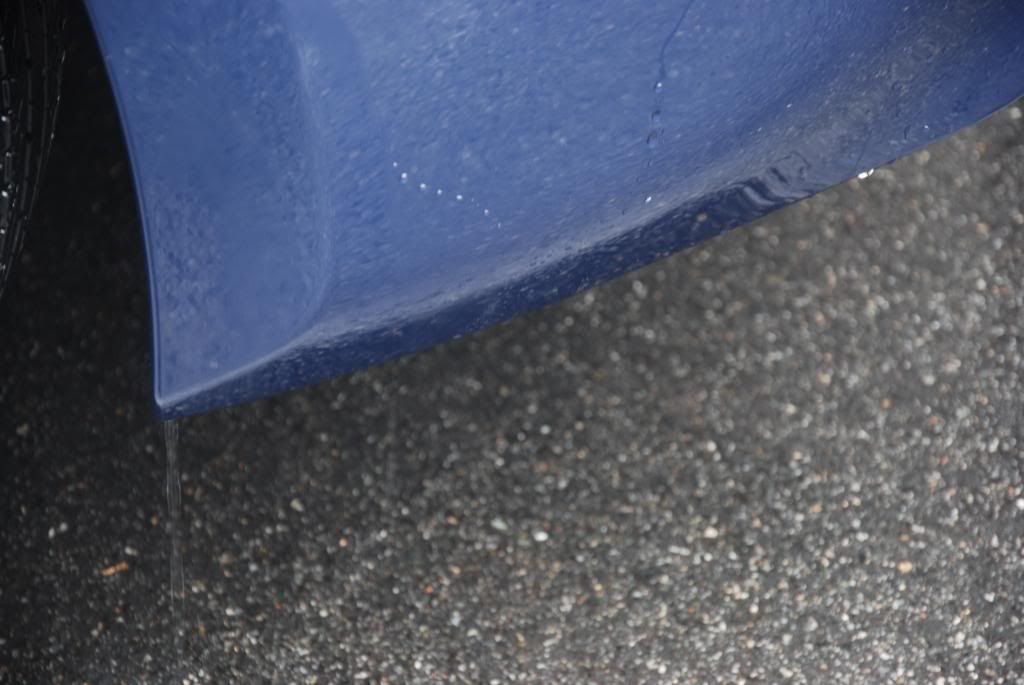
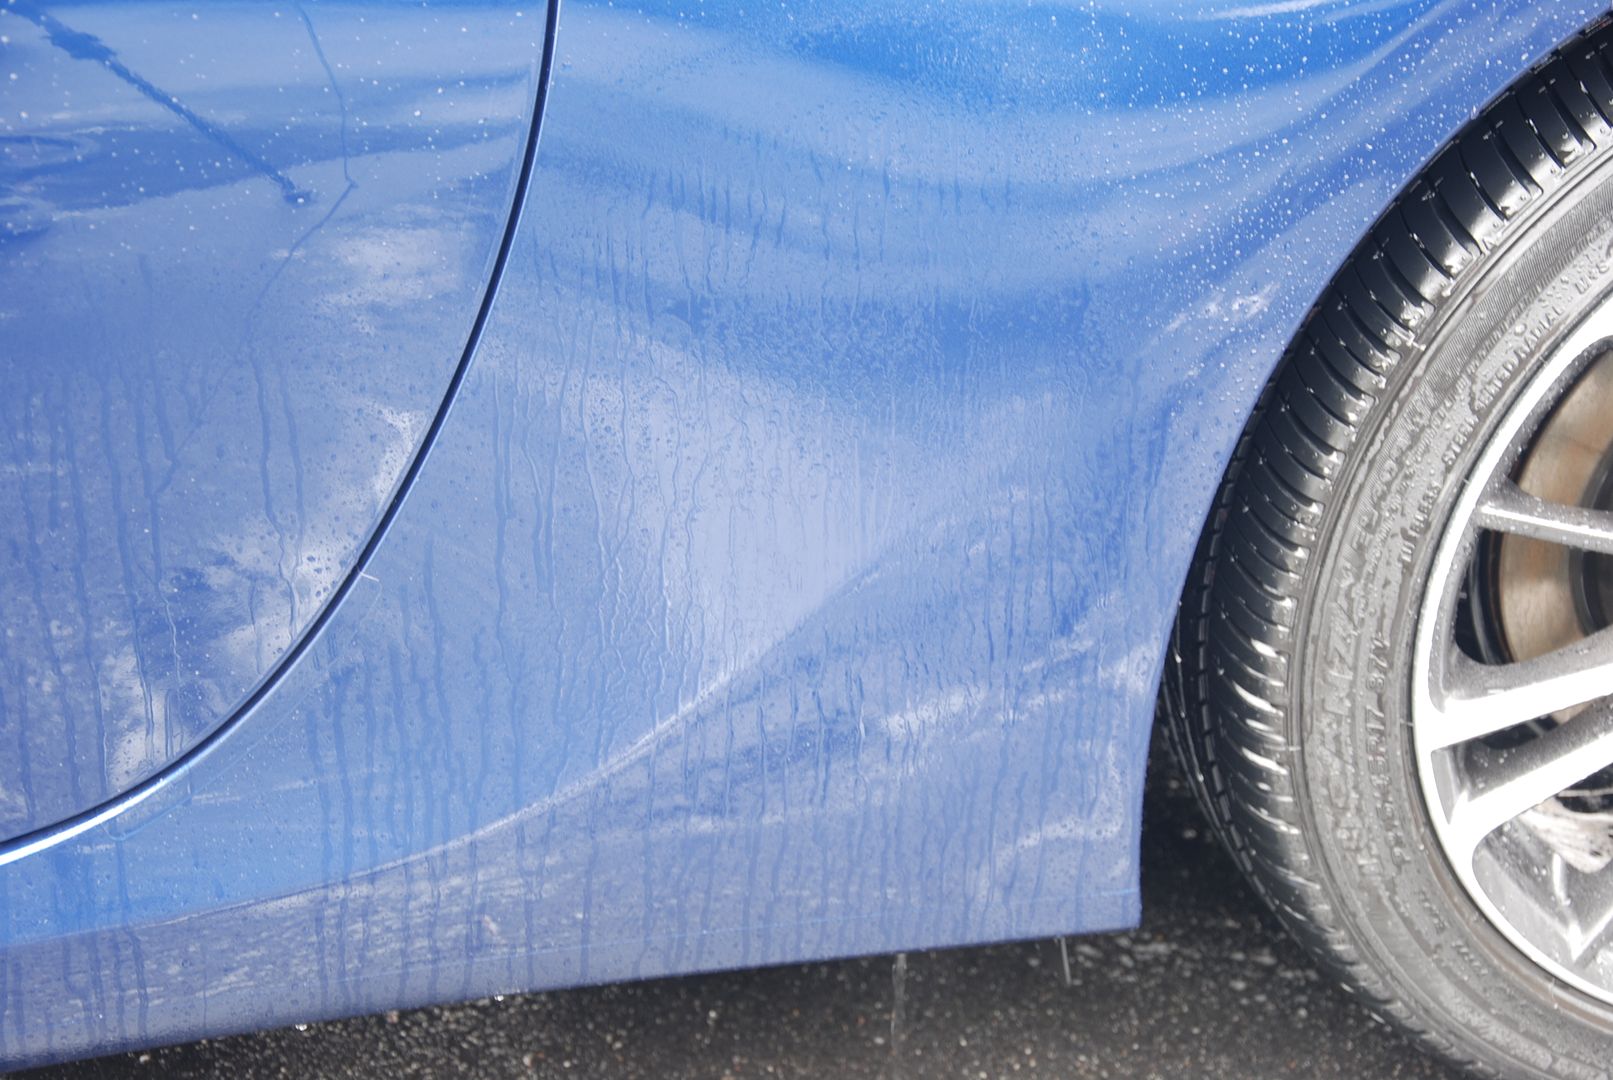
I started with a pre-soak using P21S Total auto wash. It's a nice citrus based cleaner and will allow for an easier wash procedure.
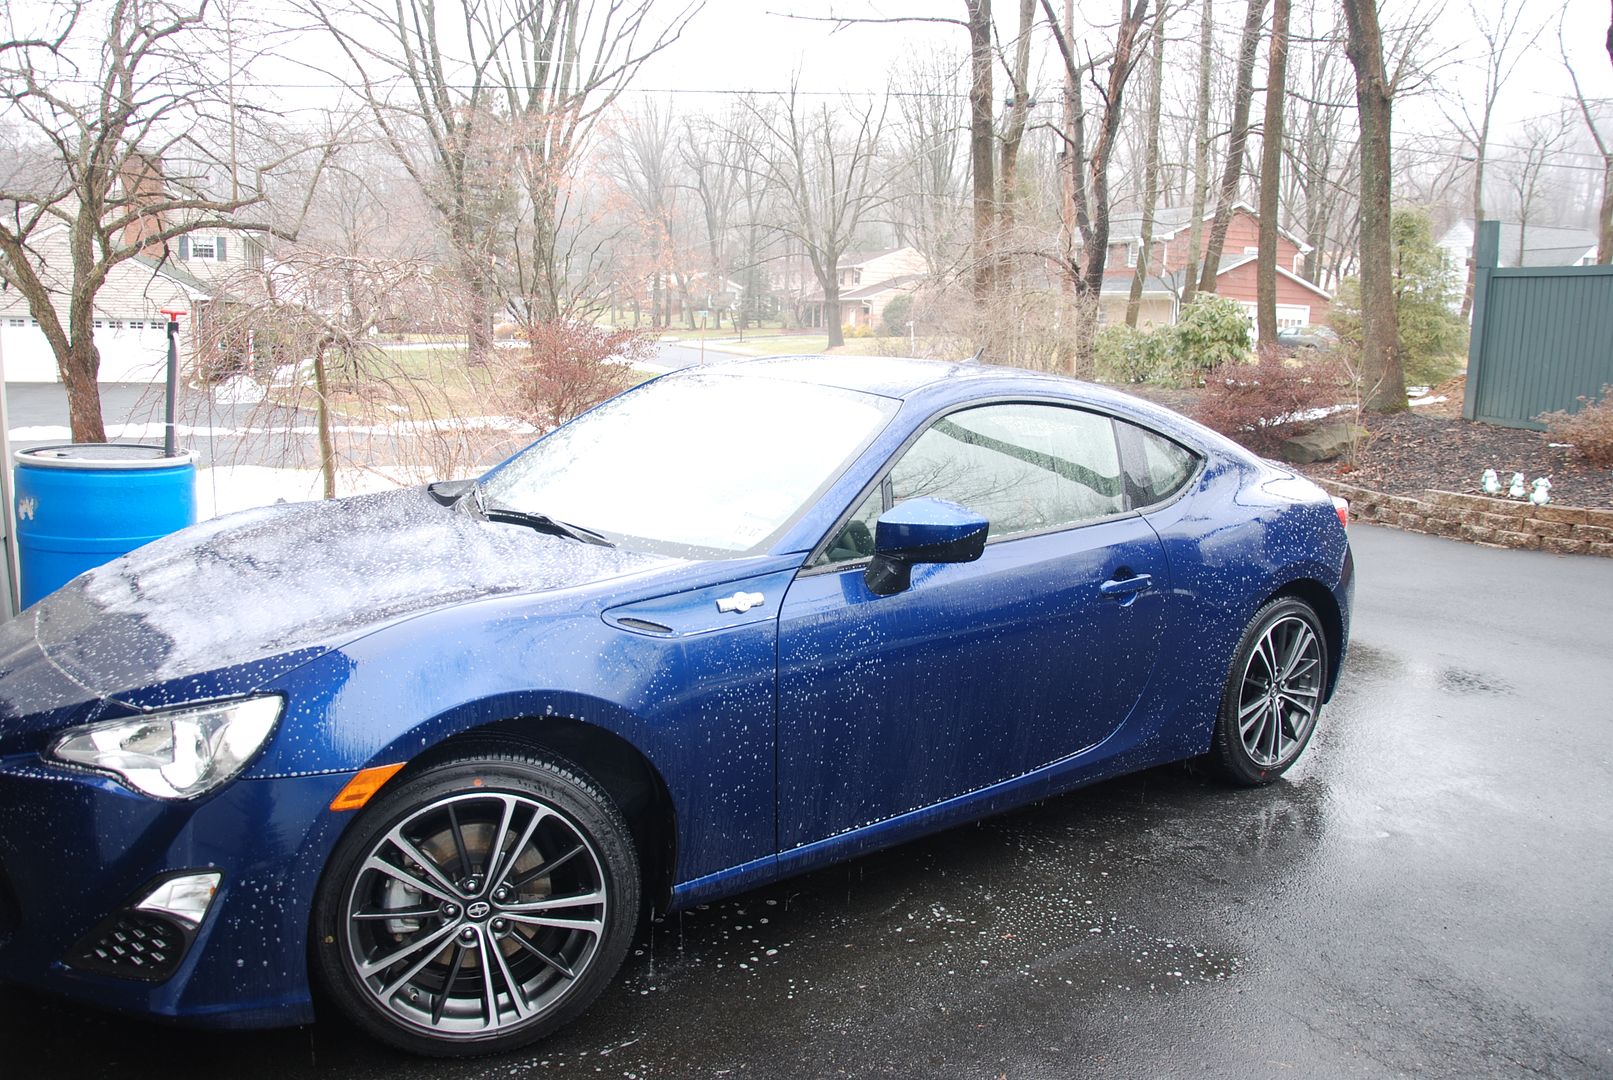
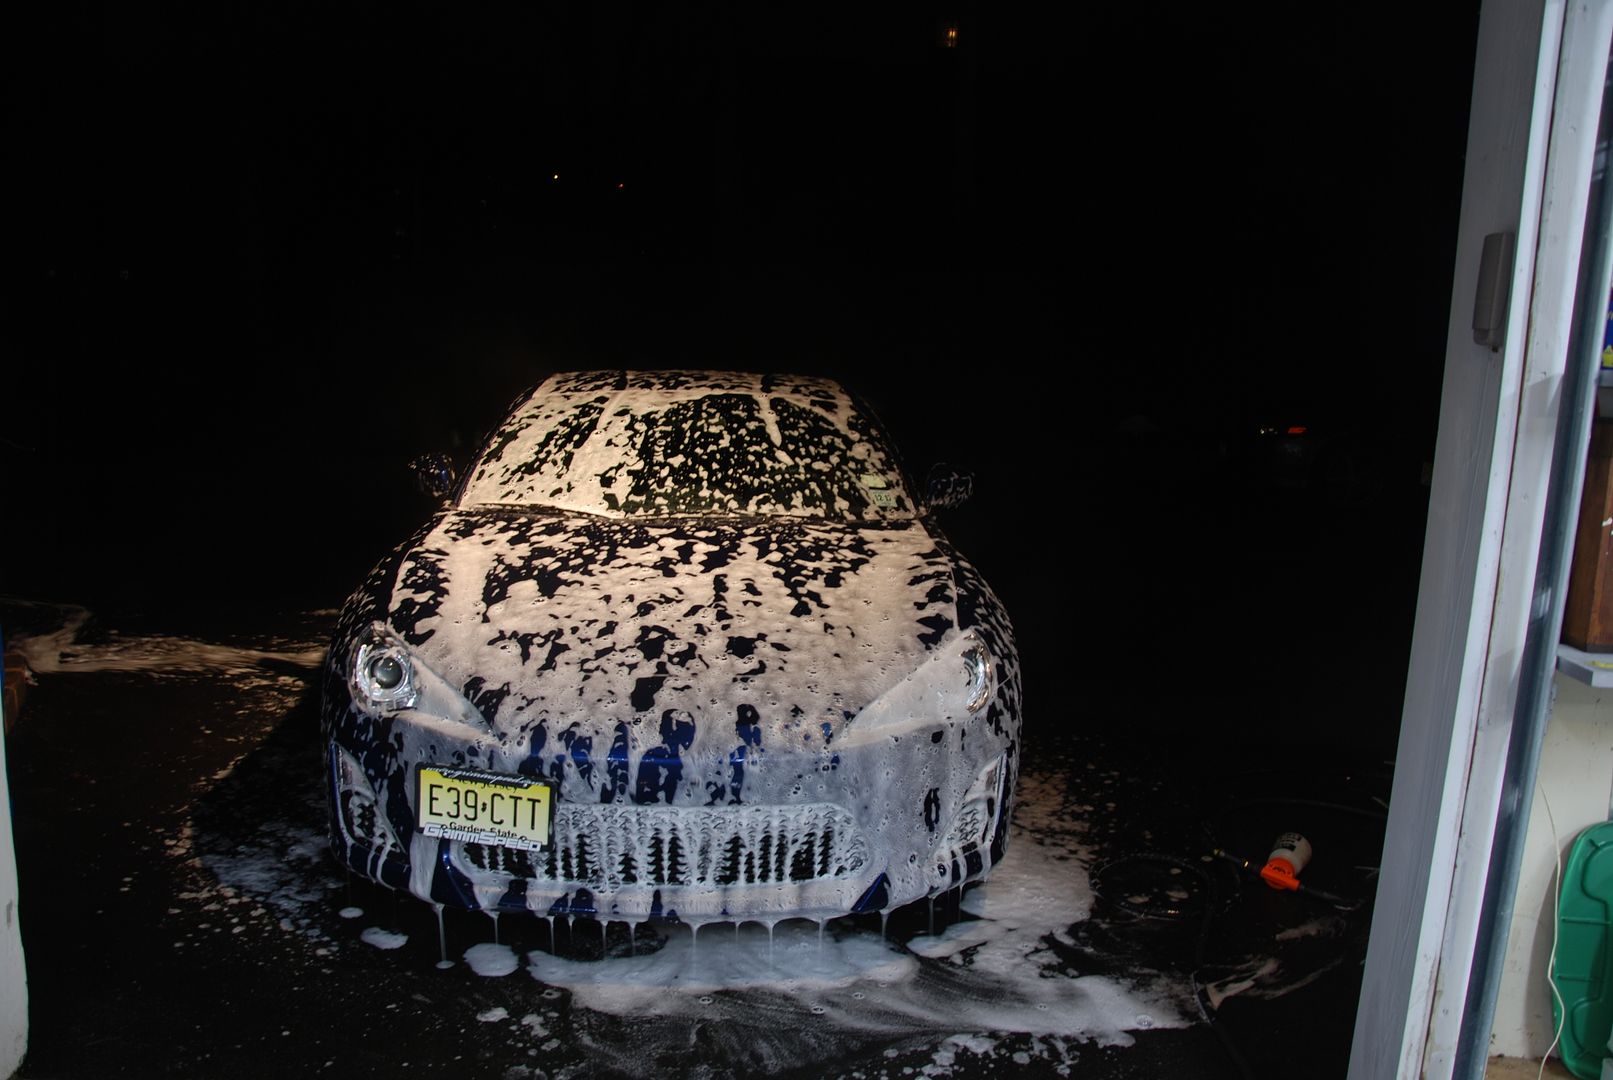
I moved on to the actual wash using the two bucket method and my foam gun, with a mixture of 50% dawn and 50% CG Citrus Wash and Clear.

While the car was still wet, I moved on to Nanoskin Autoscrub to remove any particles that may be on the surface. Although the surface felt smooth I still decided to Iron X the car. Sure enough I didn't see any reaction to the Iron-X.
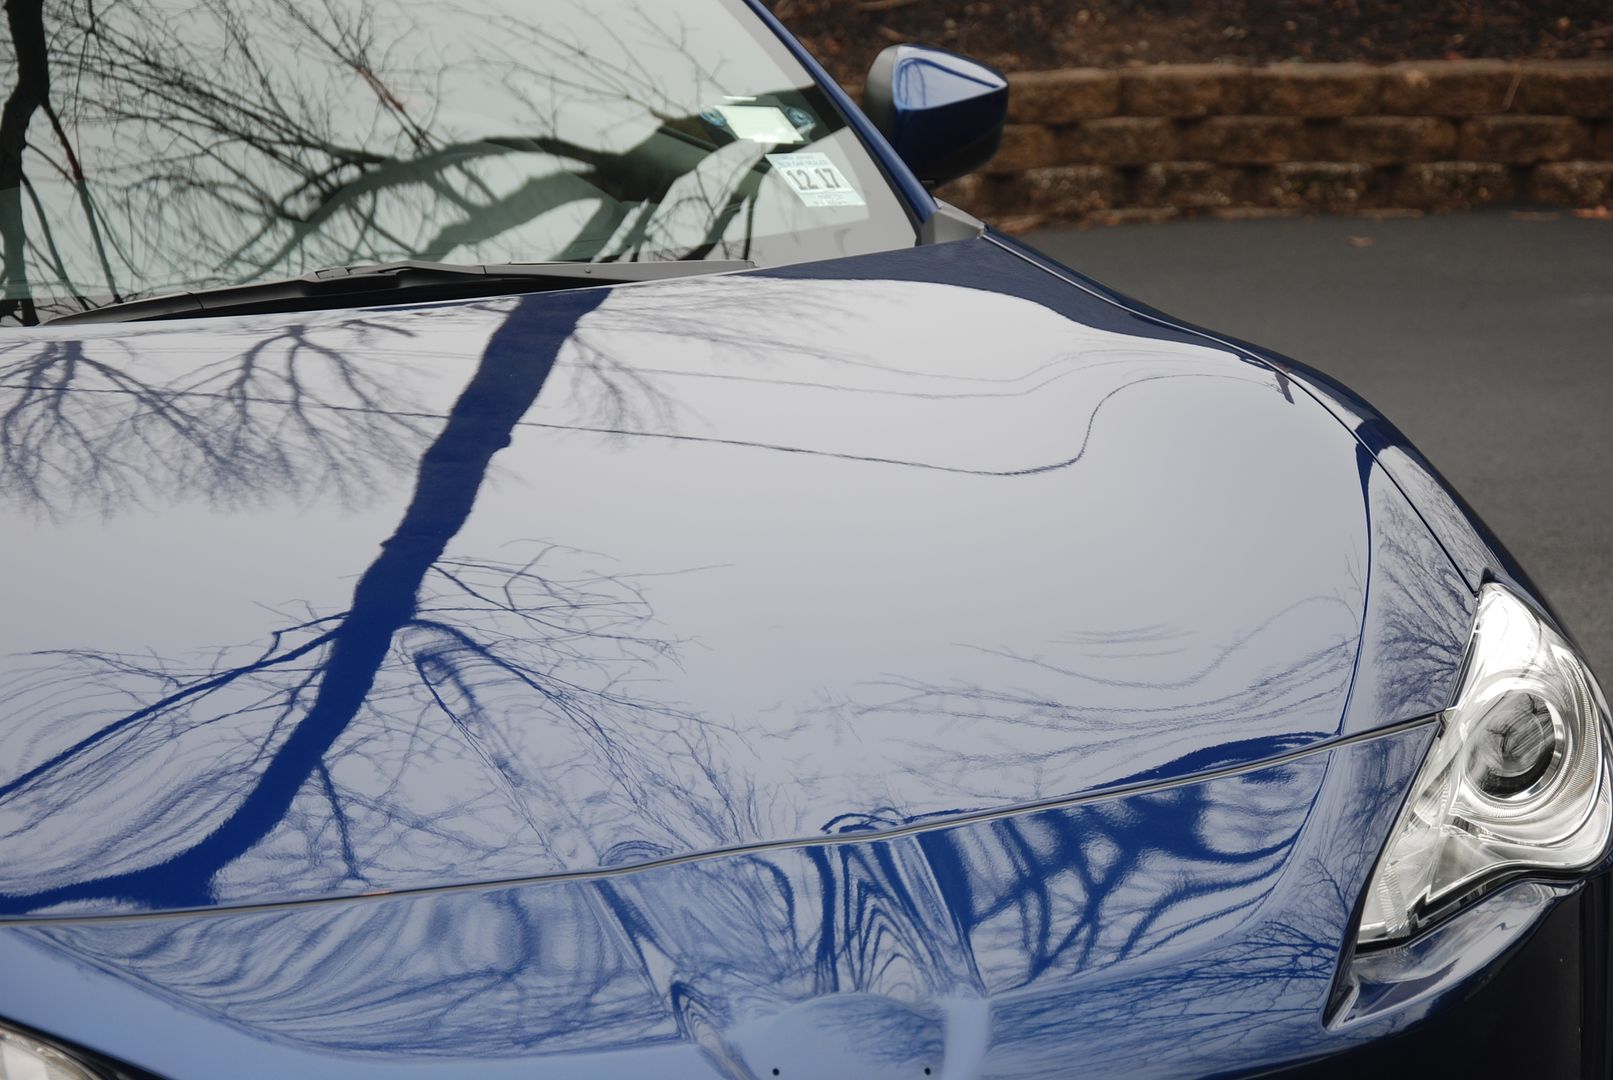
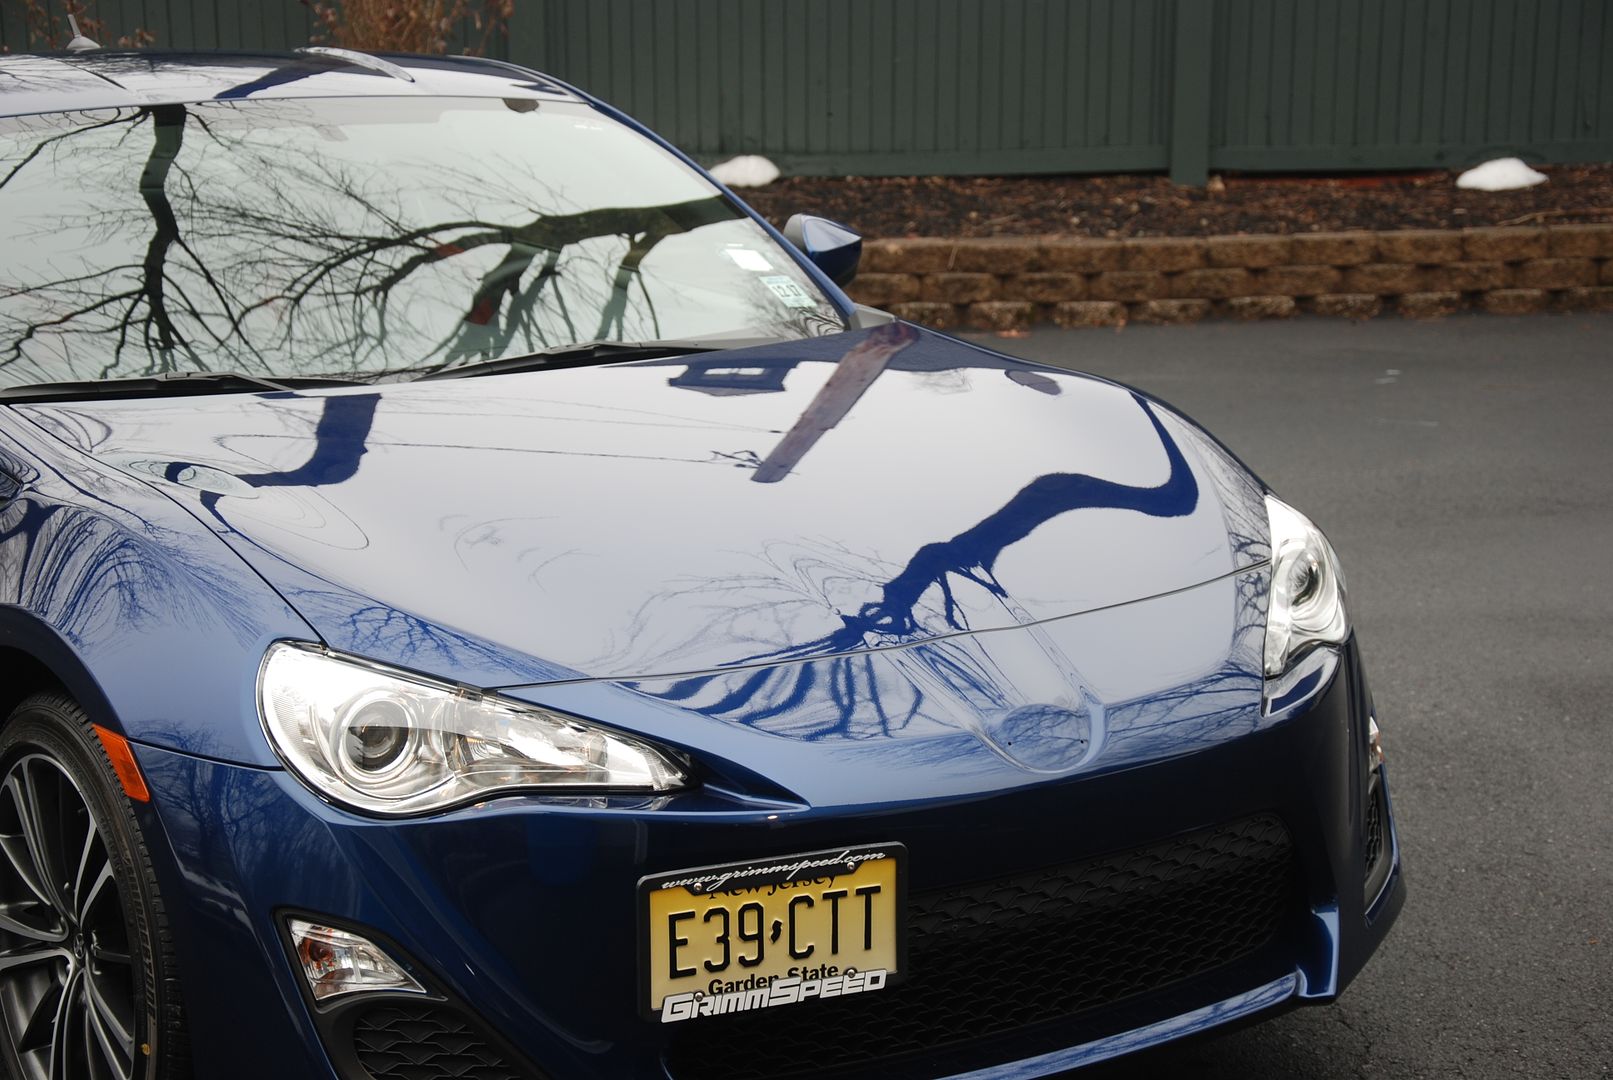
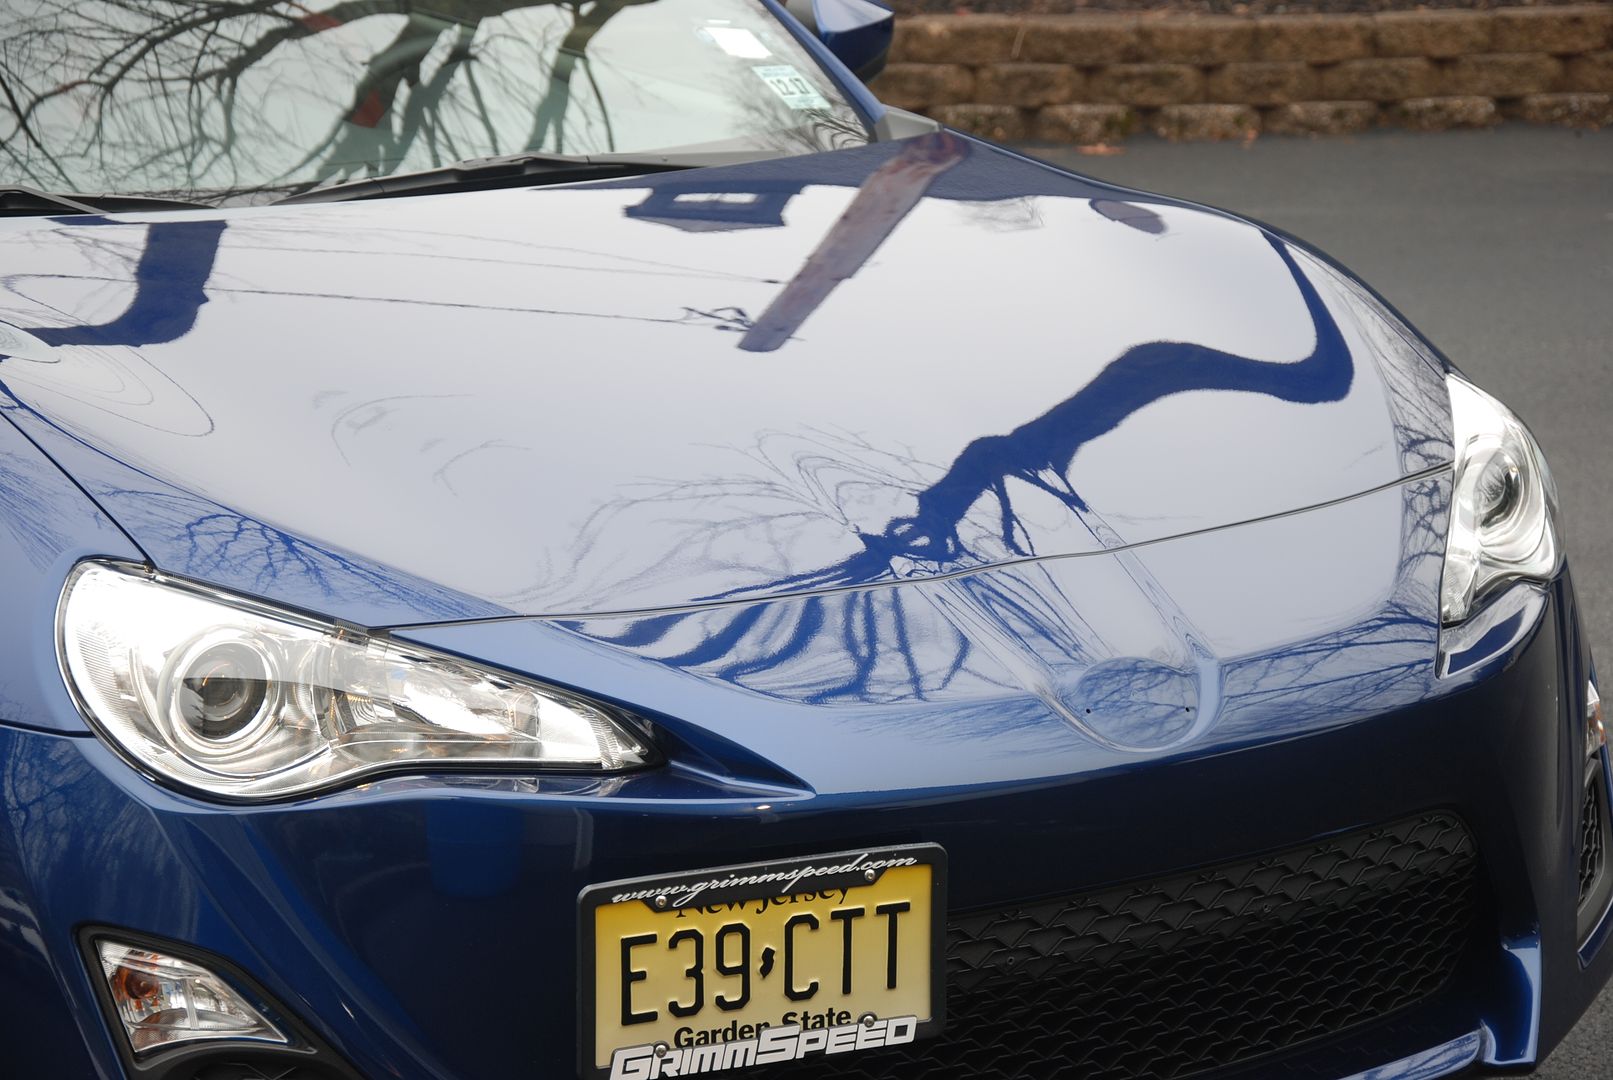
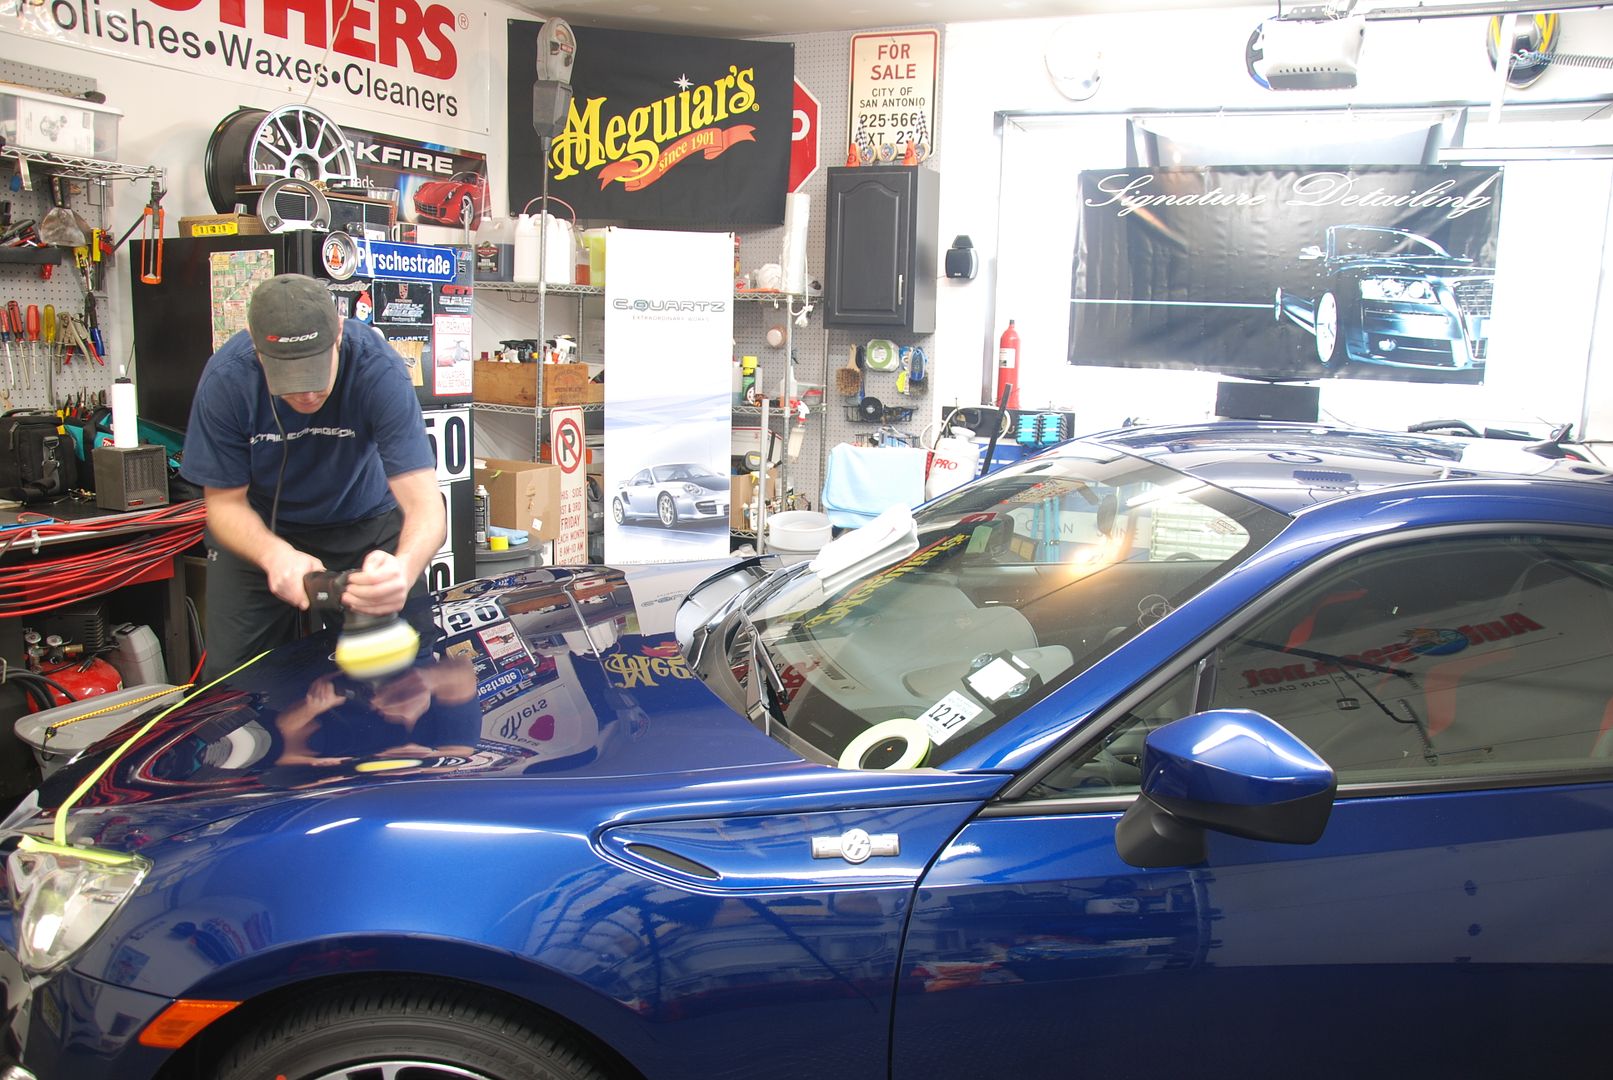
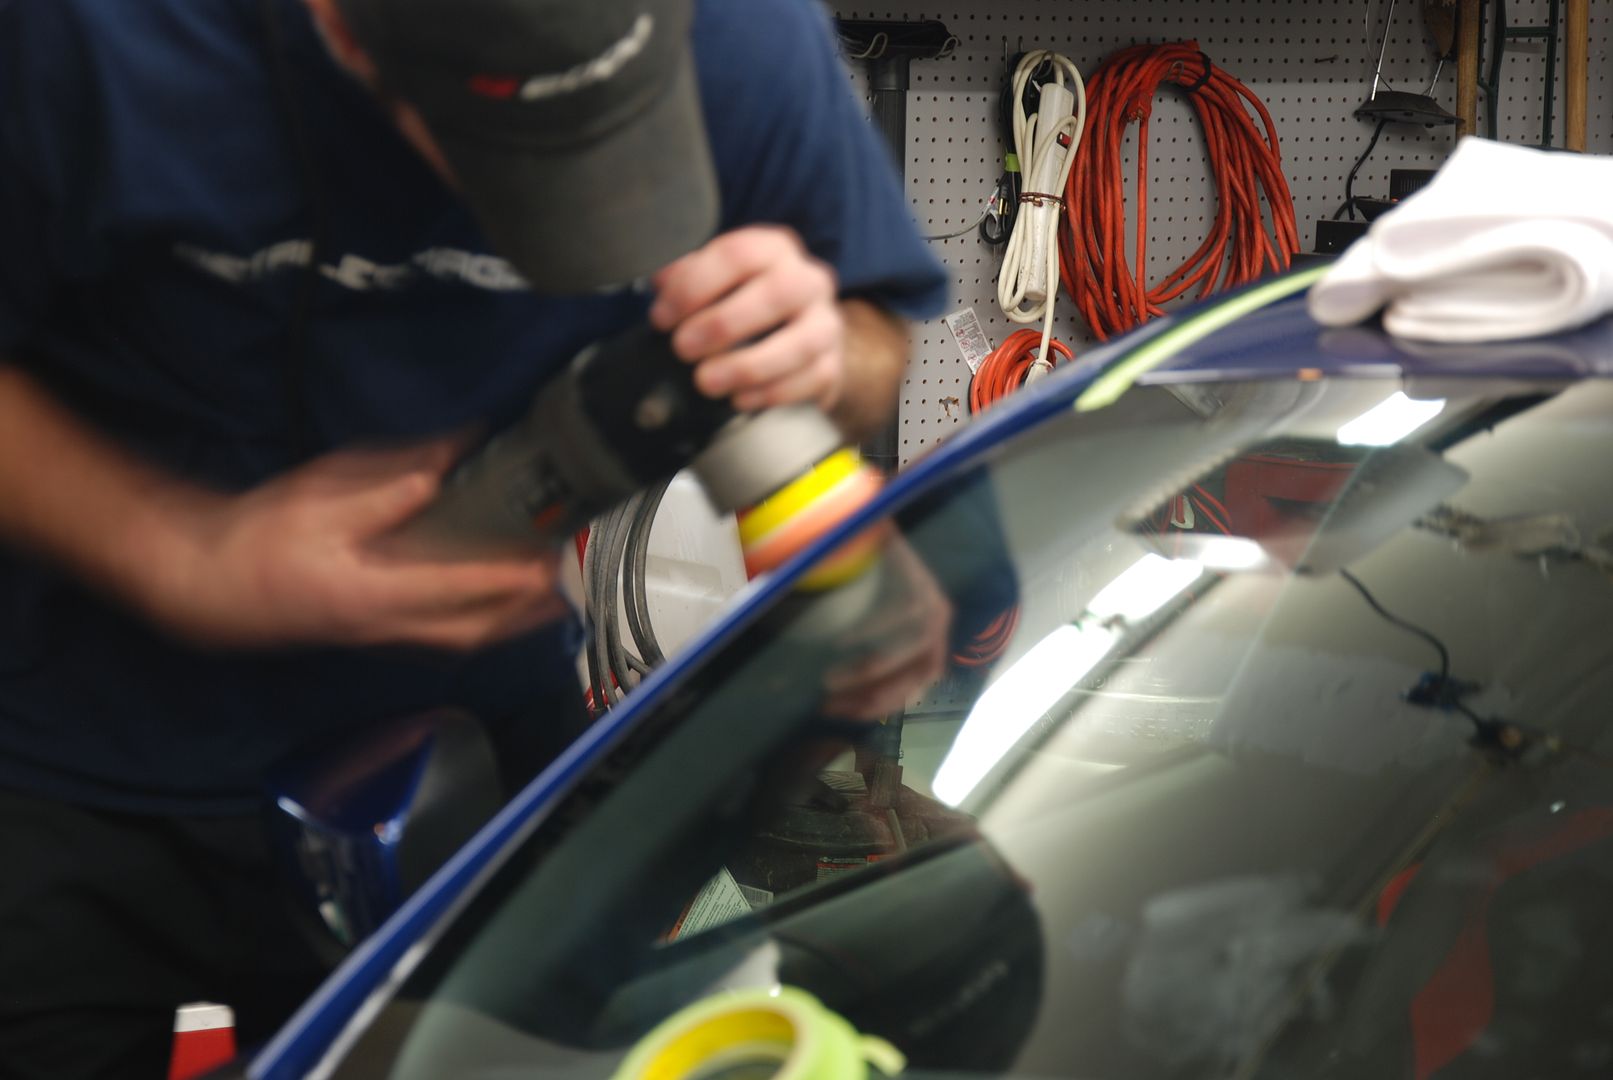
After pulling it inside and drying it with a WW MF and my blower to get any water out of the seams, I went ahead and started polishing. For a 1 step polish I go for as much correction and gloss that I can achieve. After a test spot, I found that using a Rupes Yellow pad and Sonax Perfect Finish left an amazingly glossy finish with great correction.
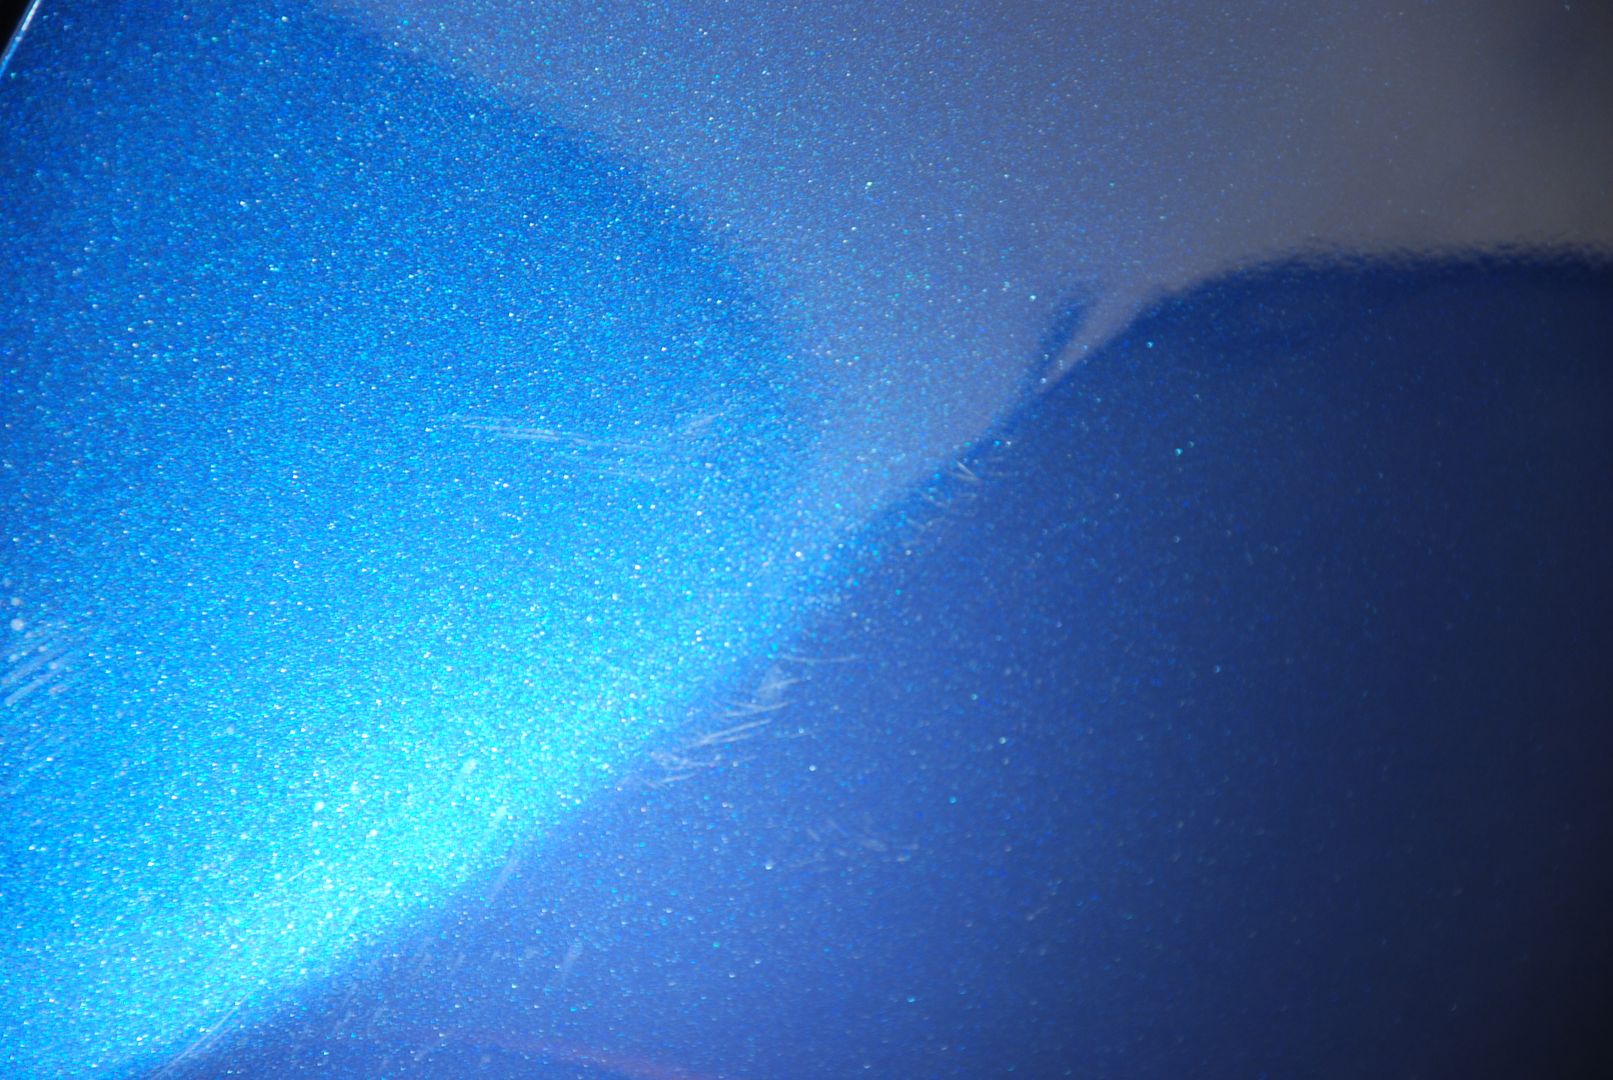
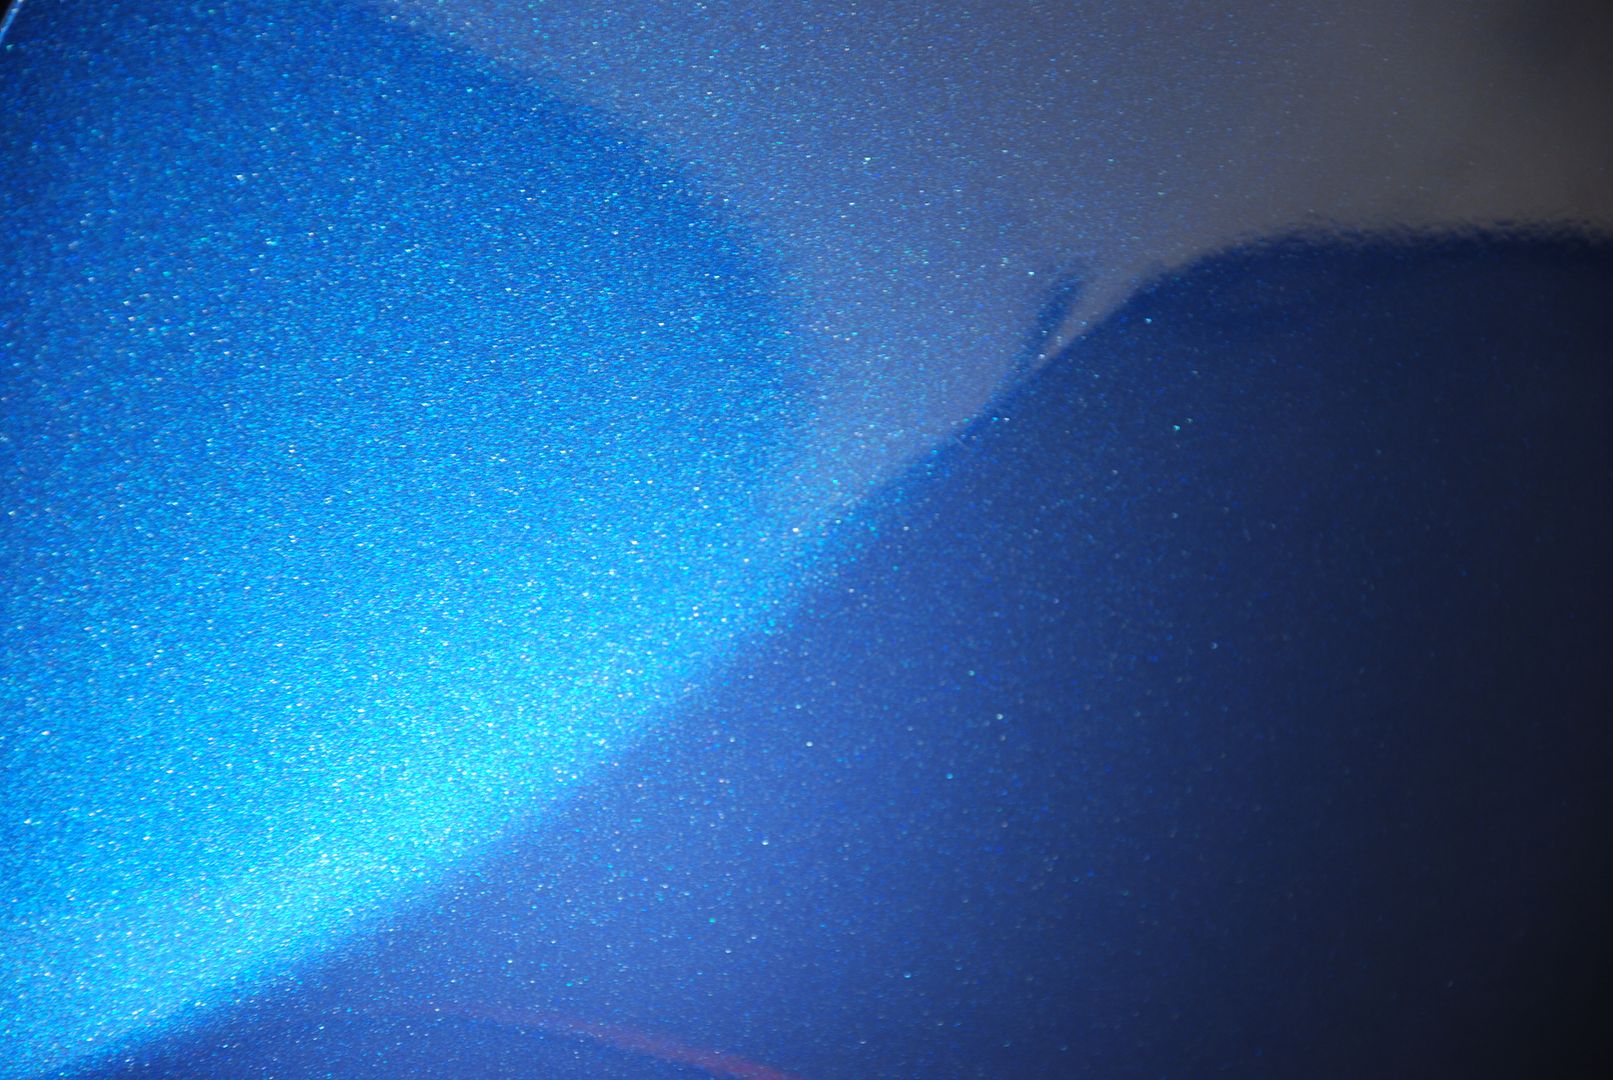
How much correction was I able to achieve?
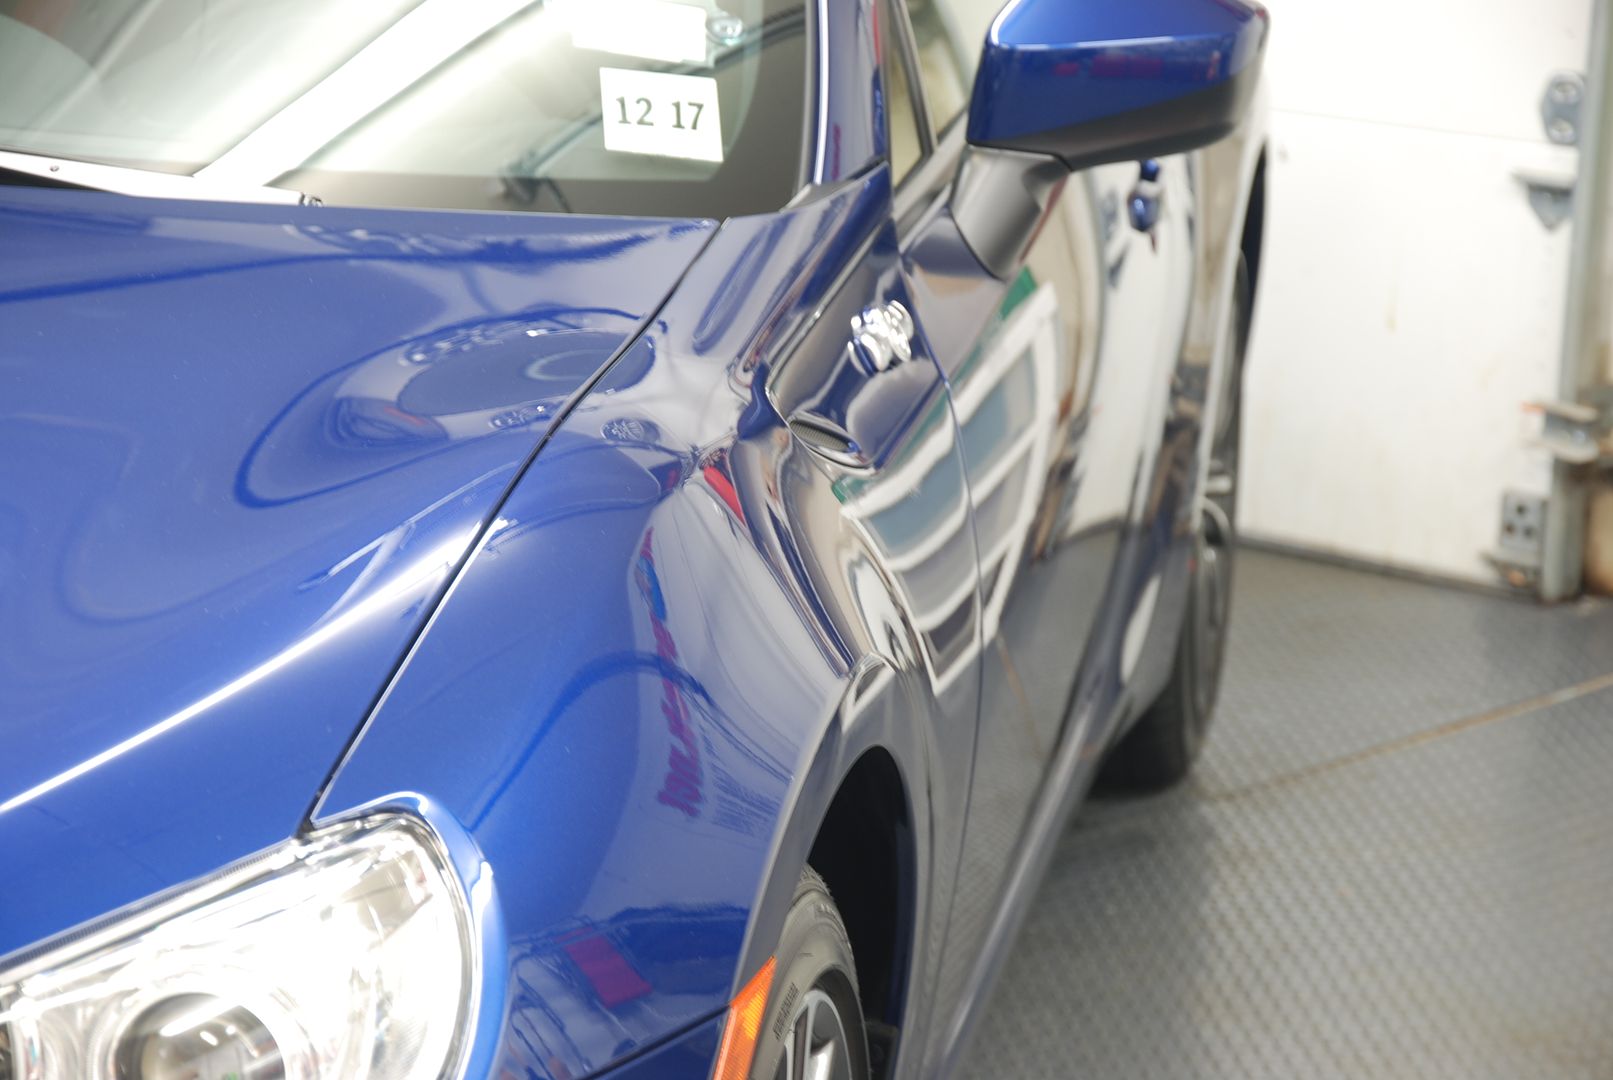
There were some deeper scuffs in the rear quarter panel that needed to be addressed.
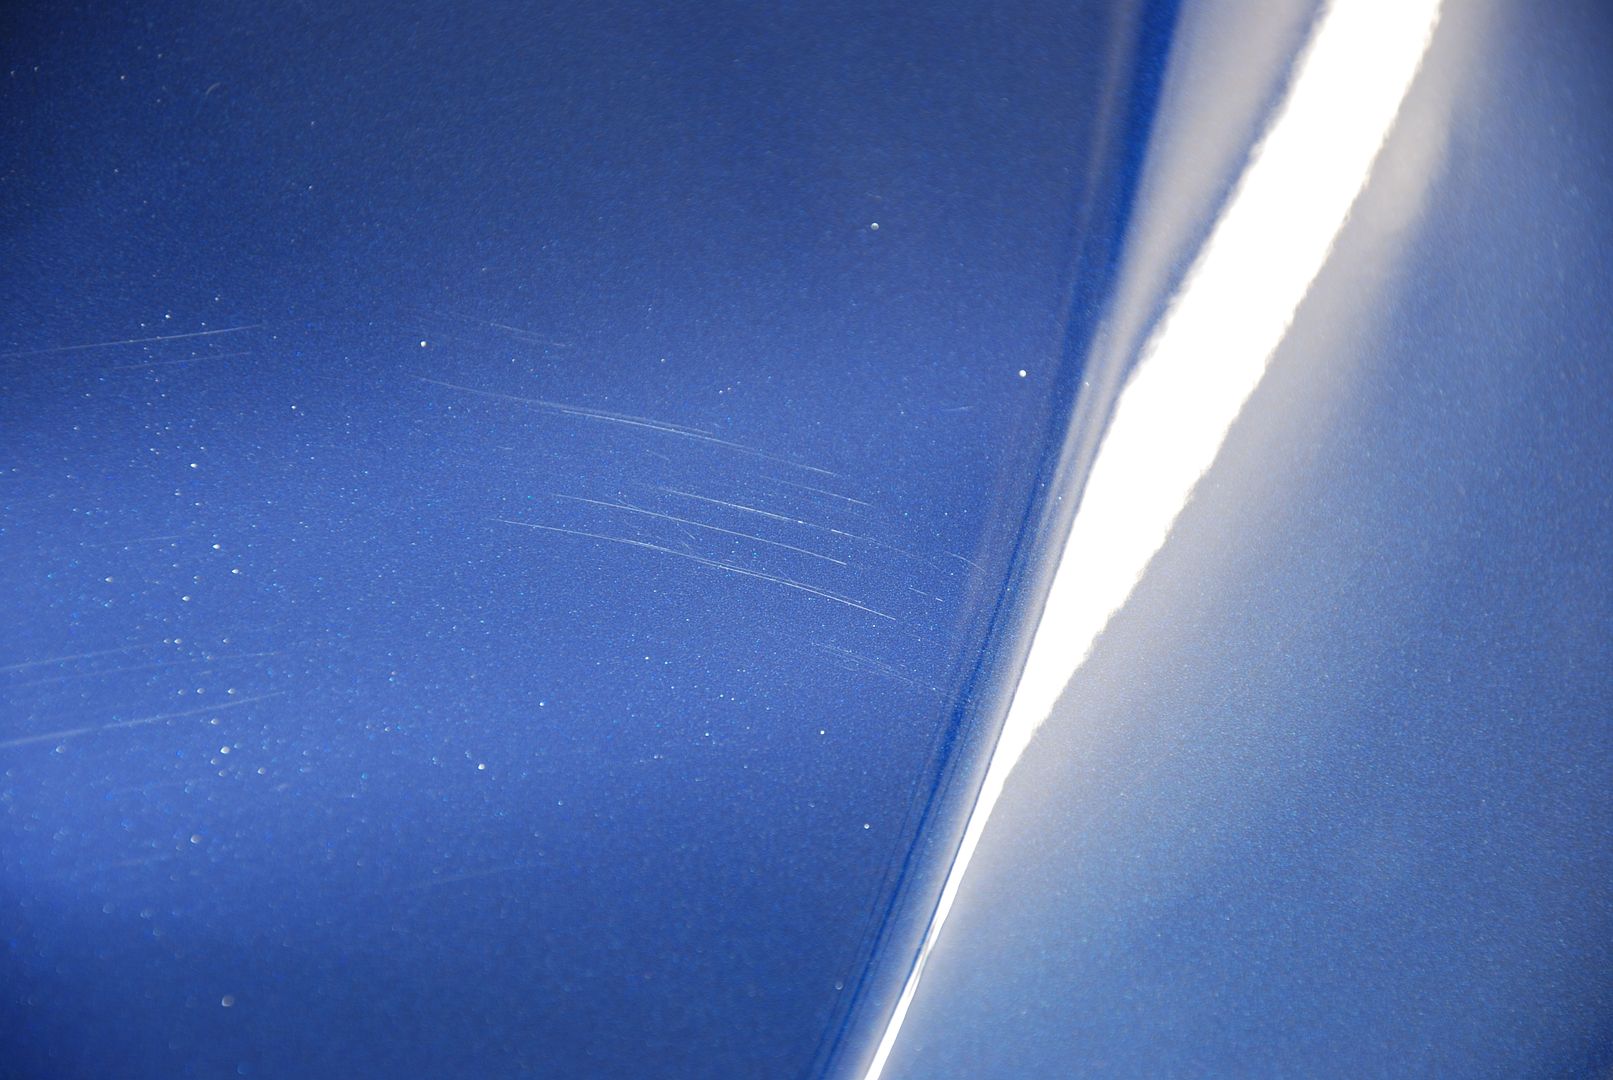
The trunk also had some sweeping scratches that were pretty deep and needed special attention.
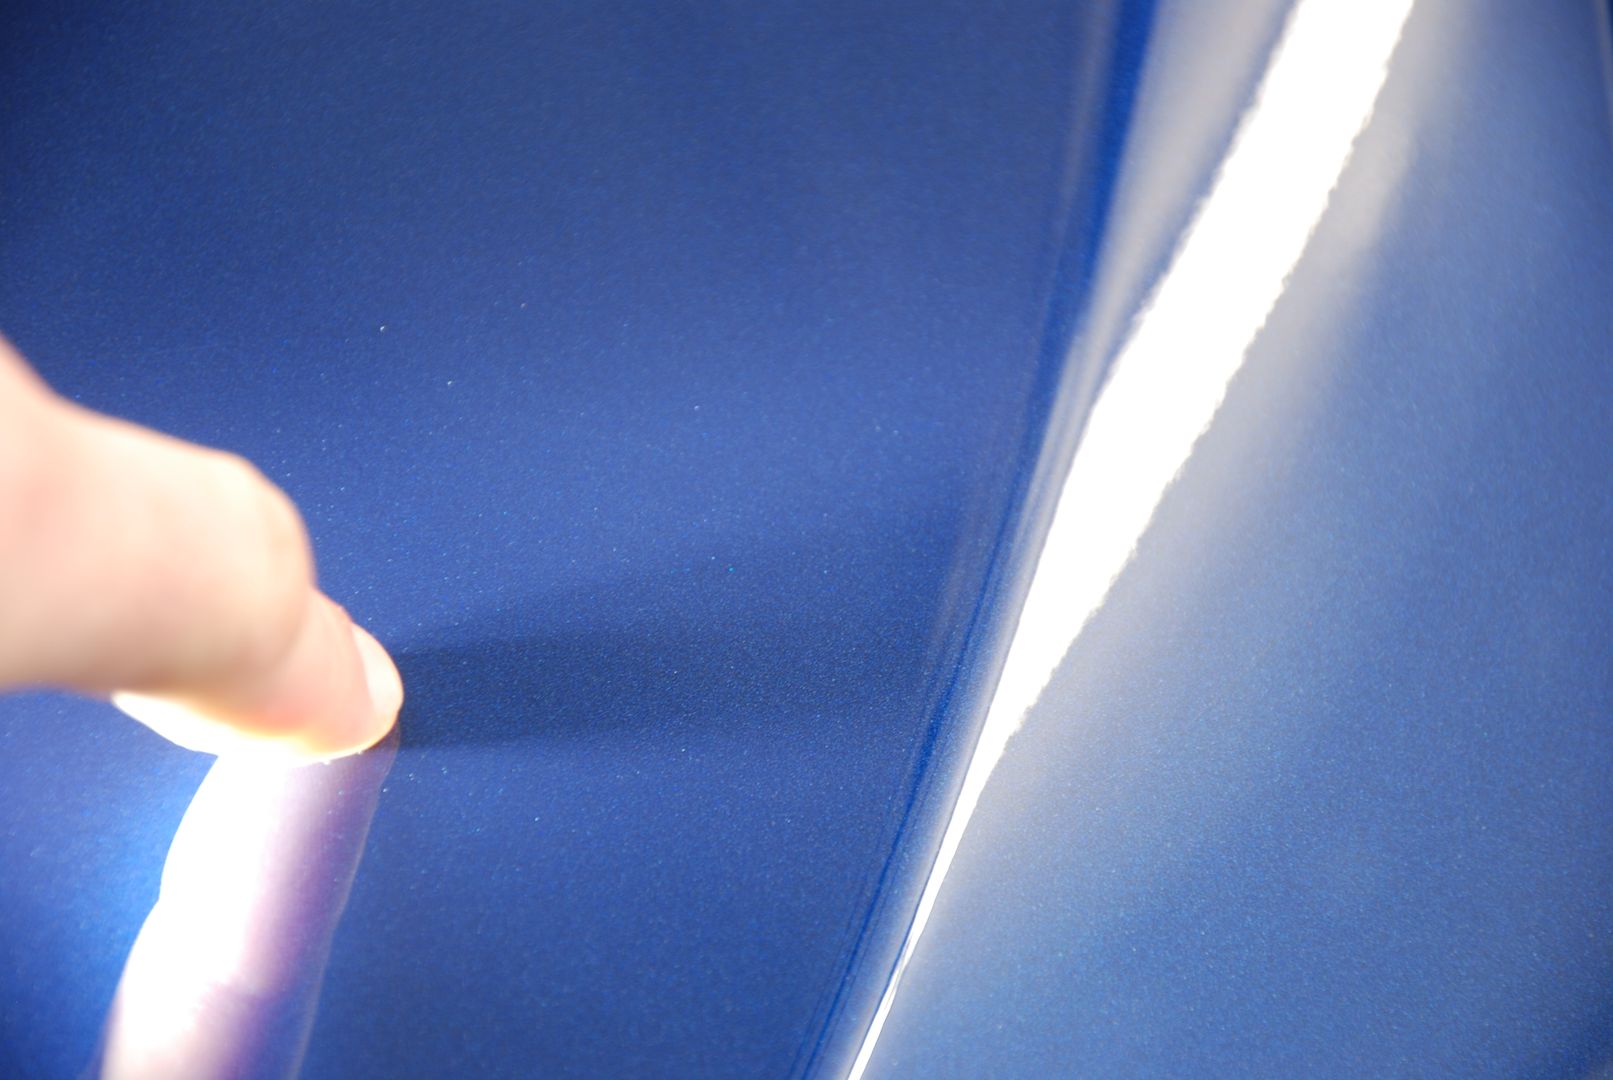
I'm only pointing so I could focus on the panel")
Tight areas were taken care of with a 3" pad and PC.
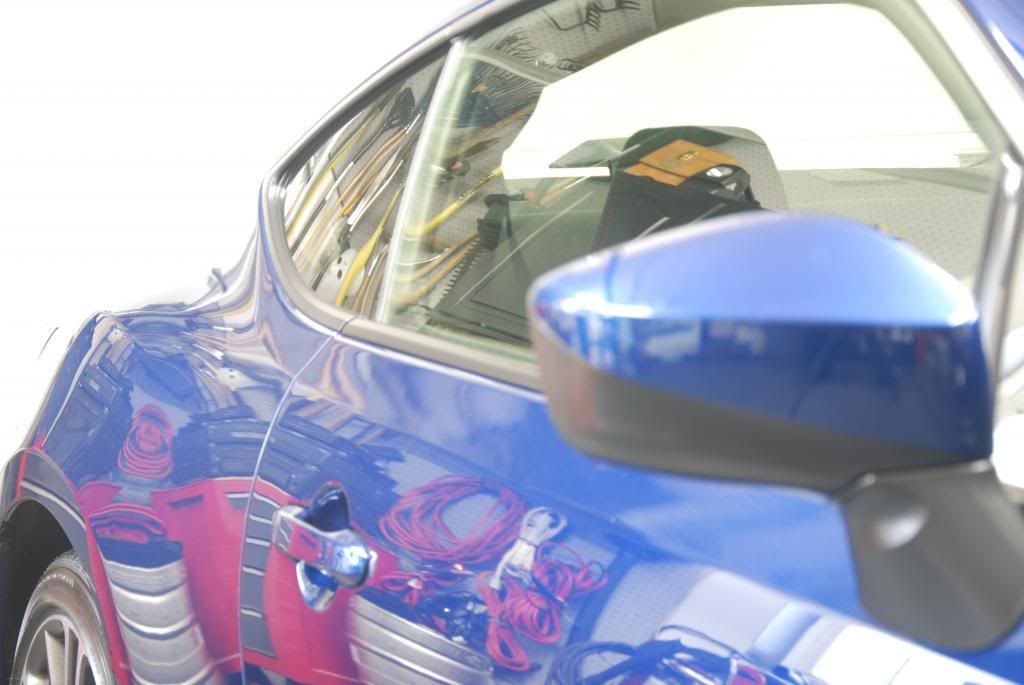
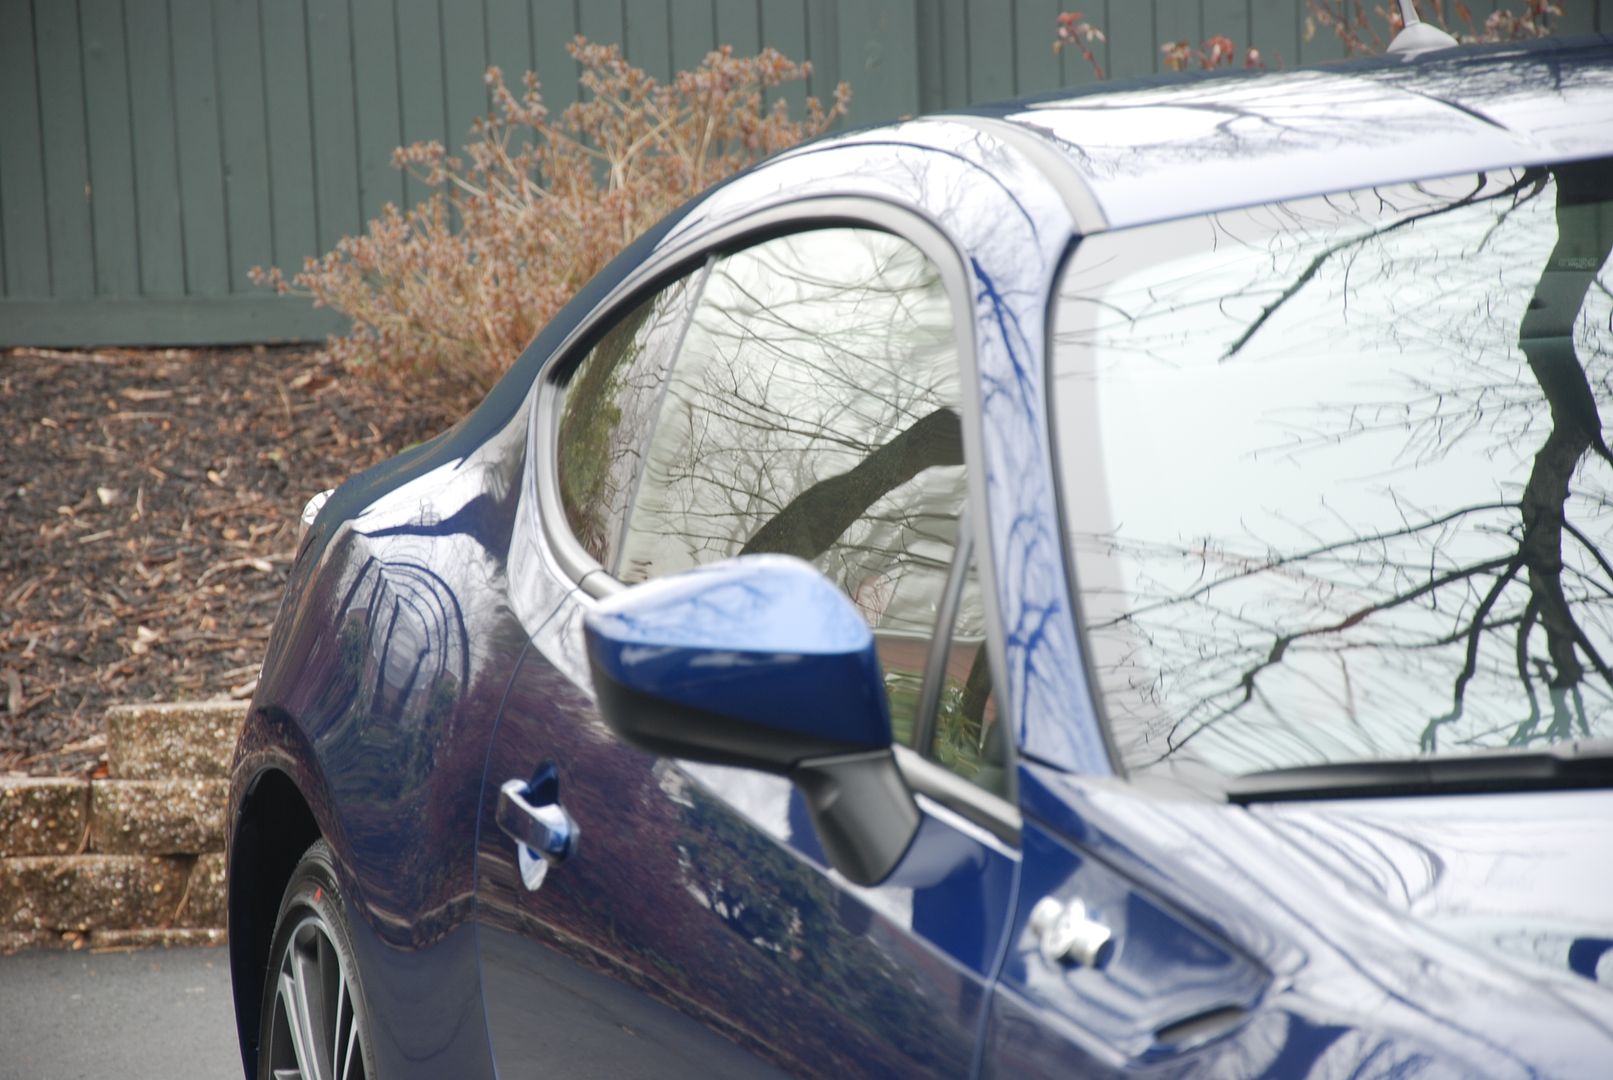
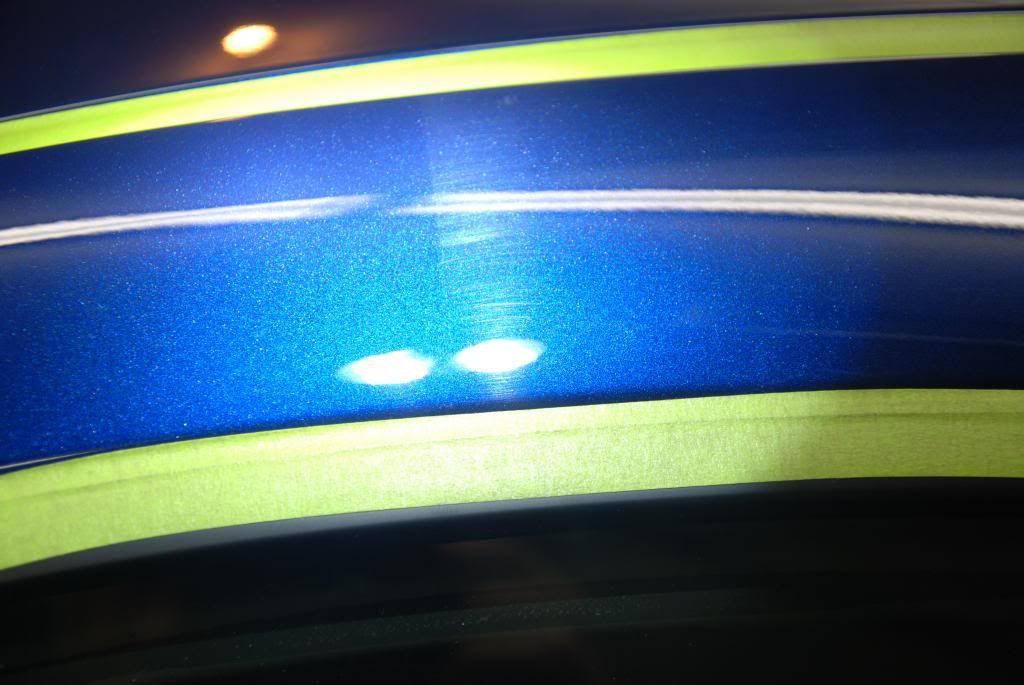
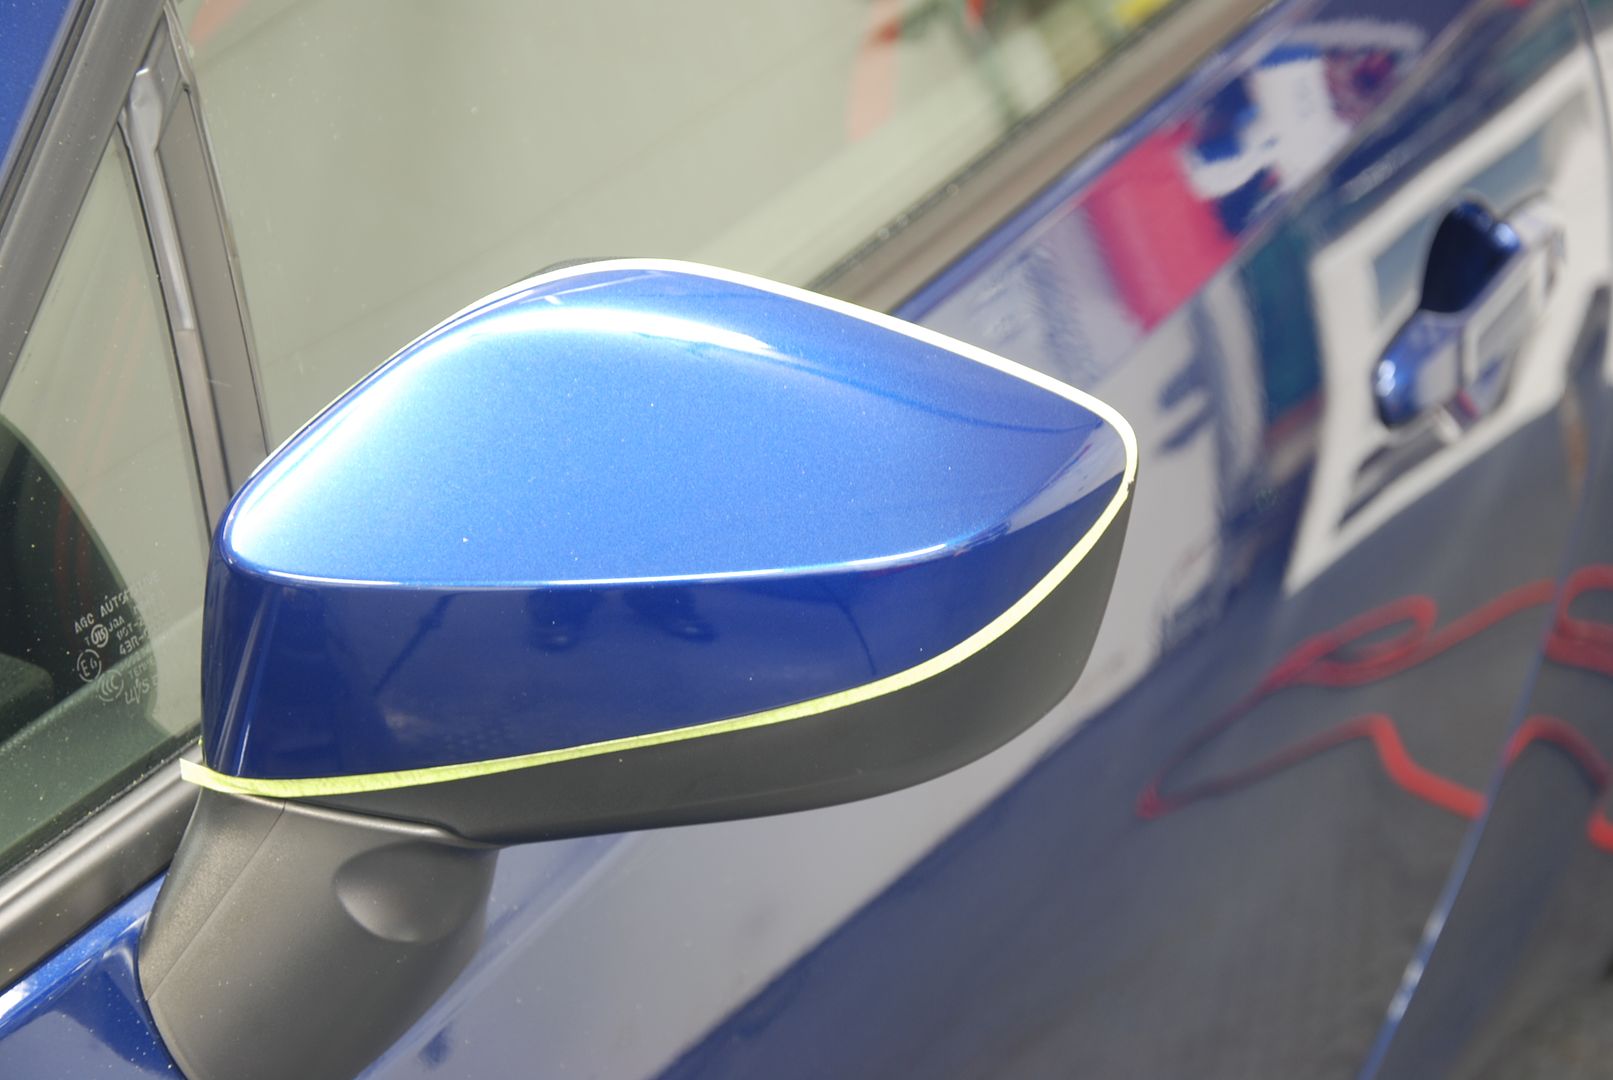
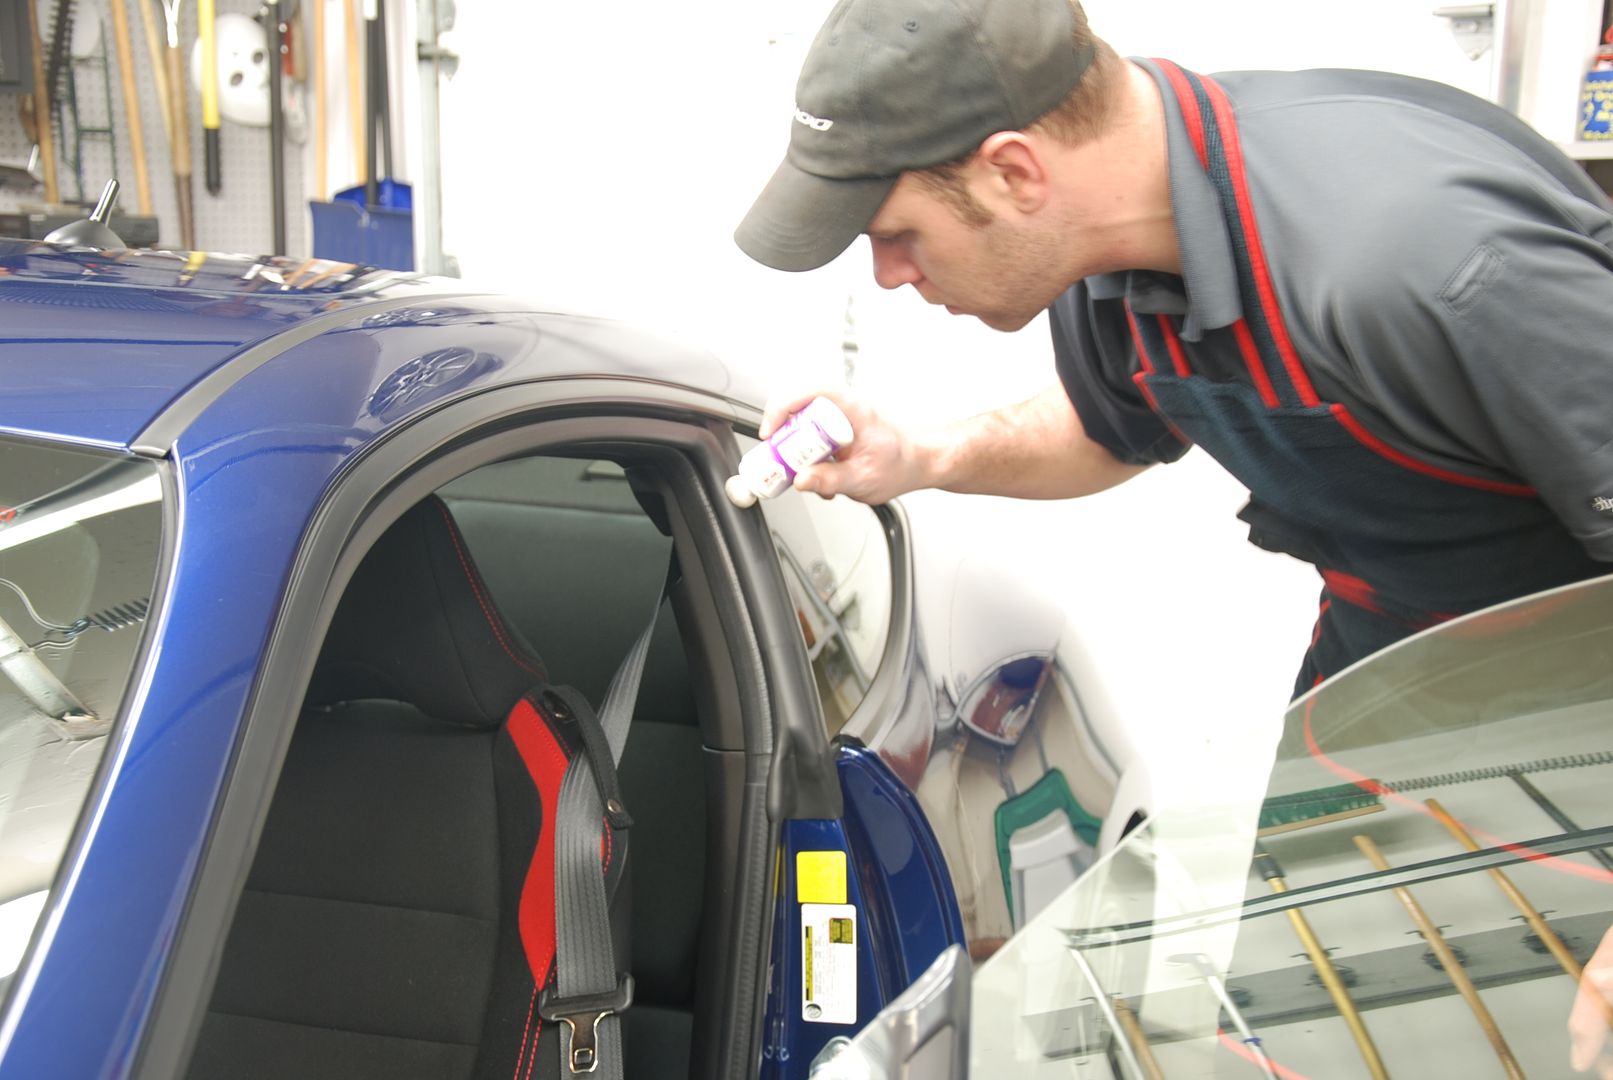
Without 6mm tape it would have been quite difficult to tape the trim on this mirror.
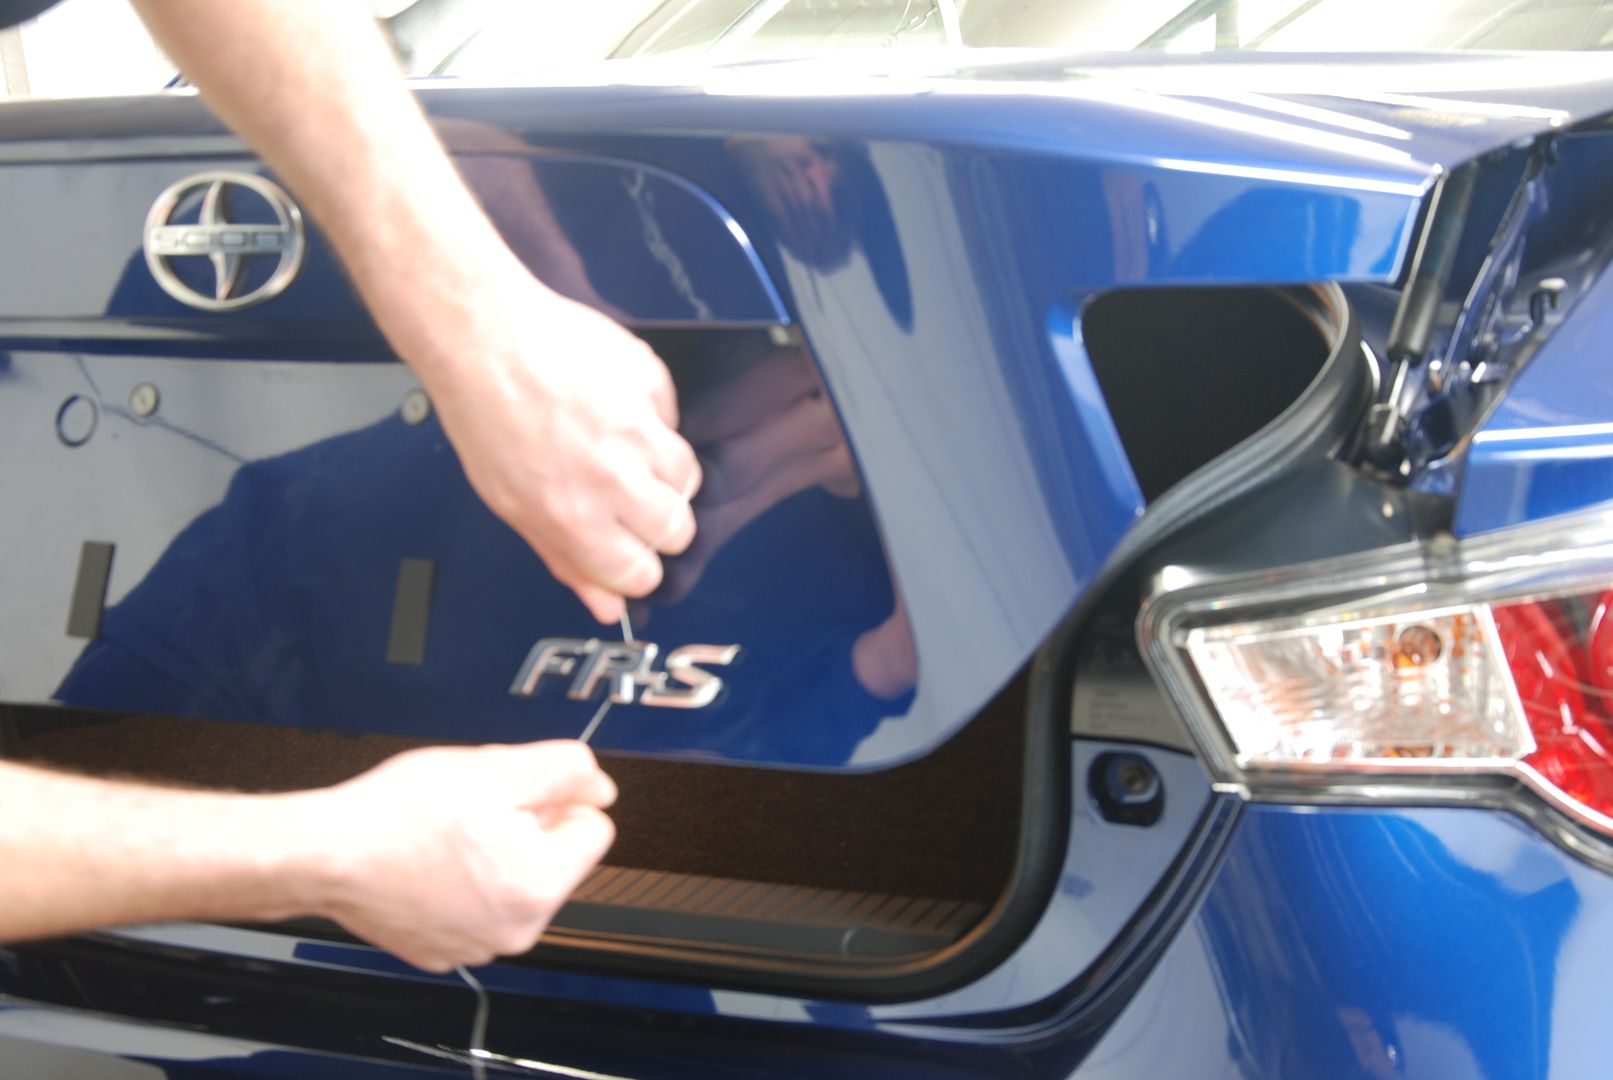
The client also asked that I DeBadge the car. This was done using dental floss. I used 3 strands so it was stronger and wouldn't break.
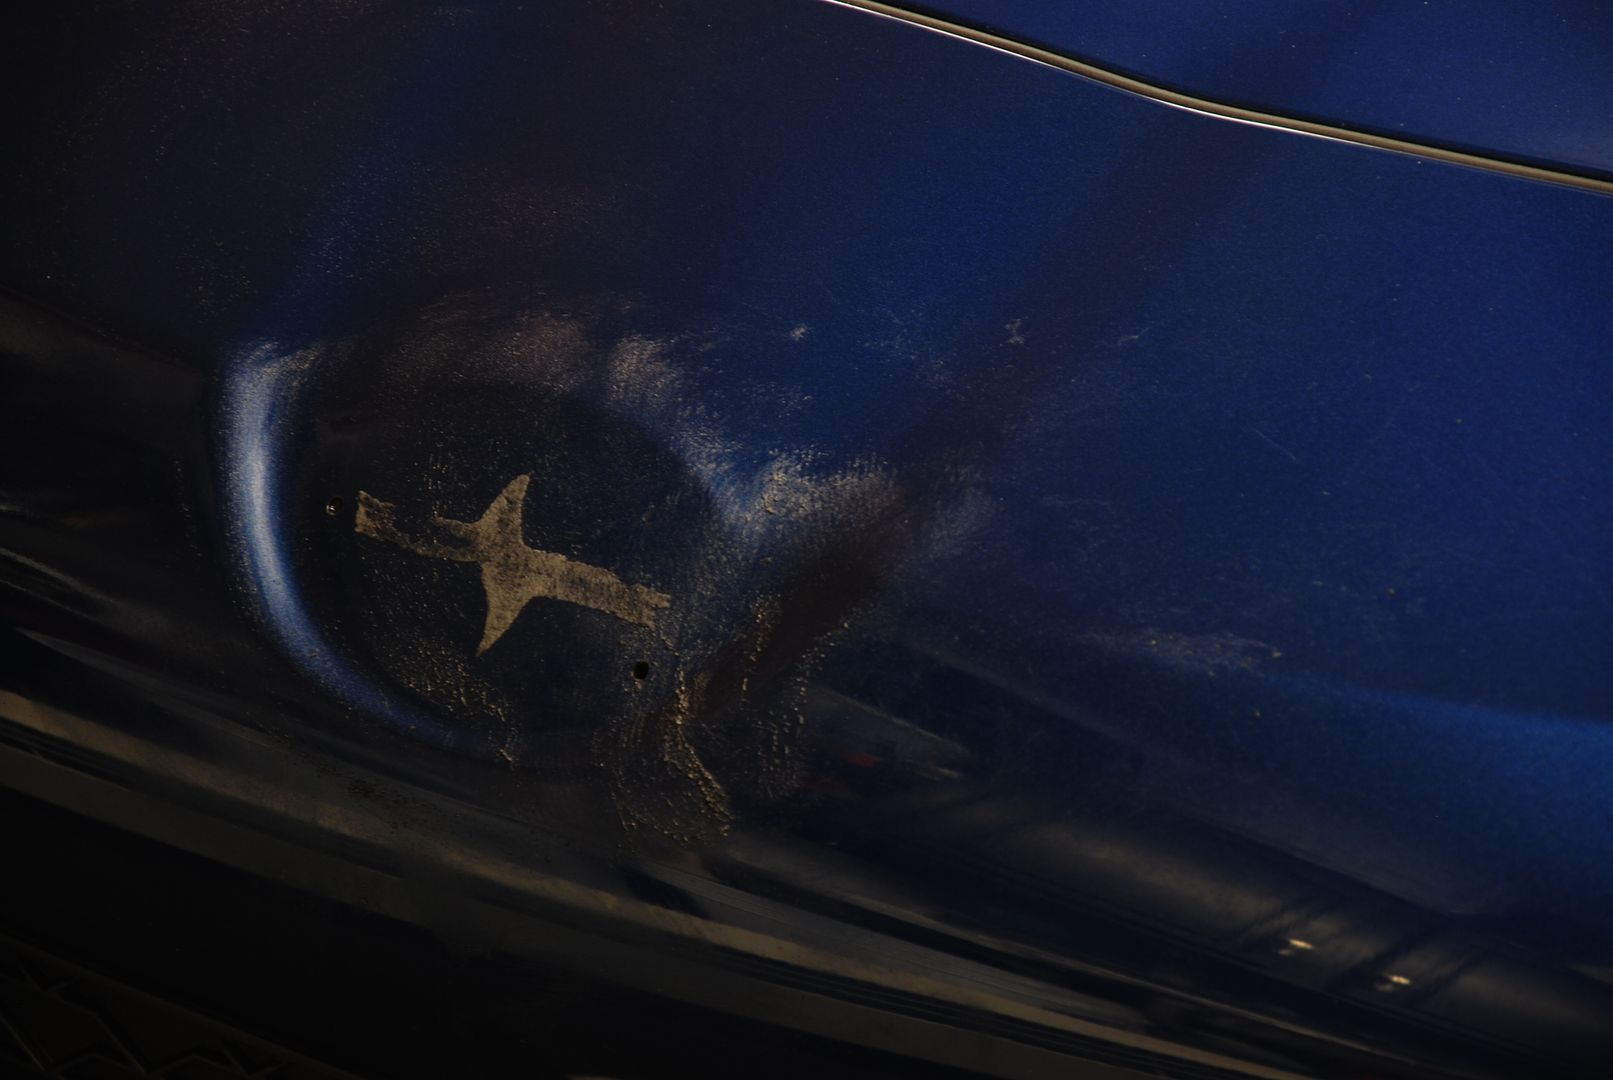
I got very lucky in that very little residue was left on the two rear badges.
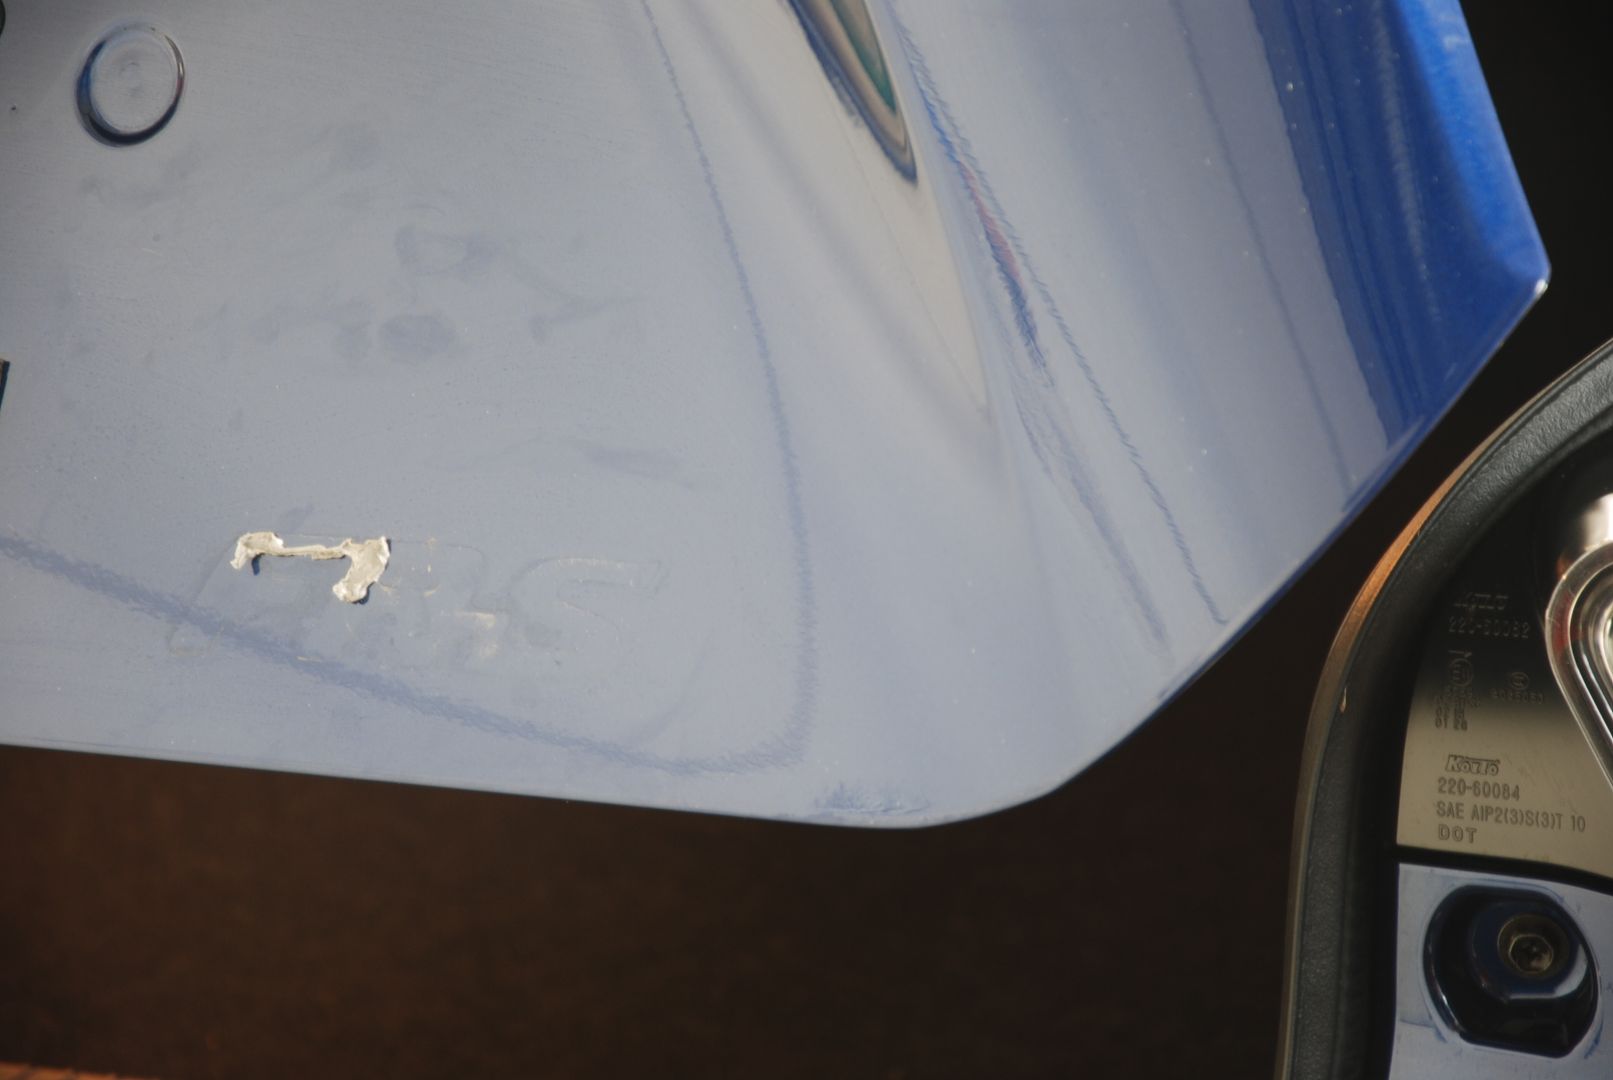
I didn't get so lucky with the front badge. To remove the residue I rolled it onto itself and cleaned it up using tarminator, then the areas were polished clear.
After polishing, I had to get any oils that may be left removed. Proper preparation is key when doing any coating. I pre-soaked with Optimum Power clean, and followed up with CG Citrus wash and Clear.
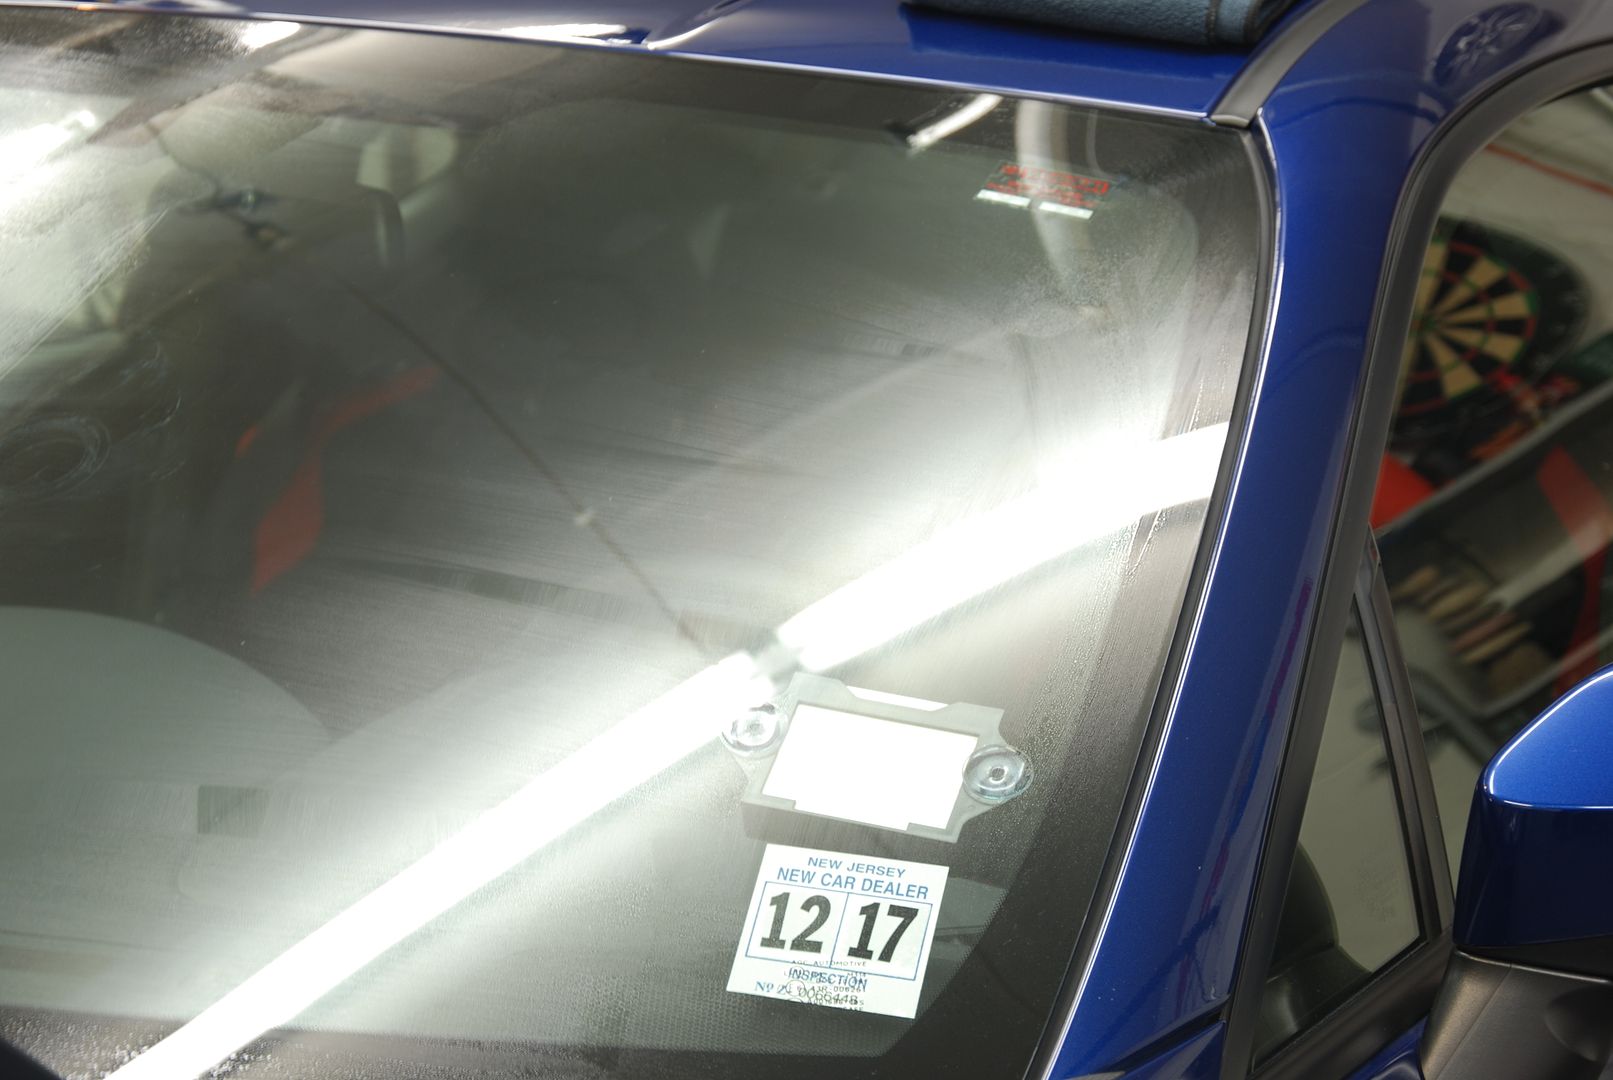
I brought the car back in and thoroughly dried it. You don't want any water dripping when you apply Opti-Coat. I went around an applied Opti-Coat to all the paint, trim, and wheels. Now it was time to protect the windshield as well. I went ahead and polished the windshield, and then followed up with 3 IPA wipe downs. I was using FlyBy30. It's a newly released windshield coating that makes water fly off the windshield between 30-35MPH.
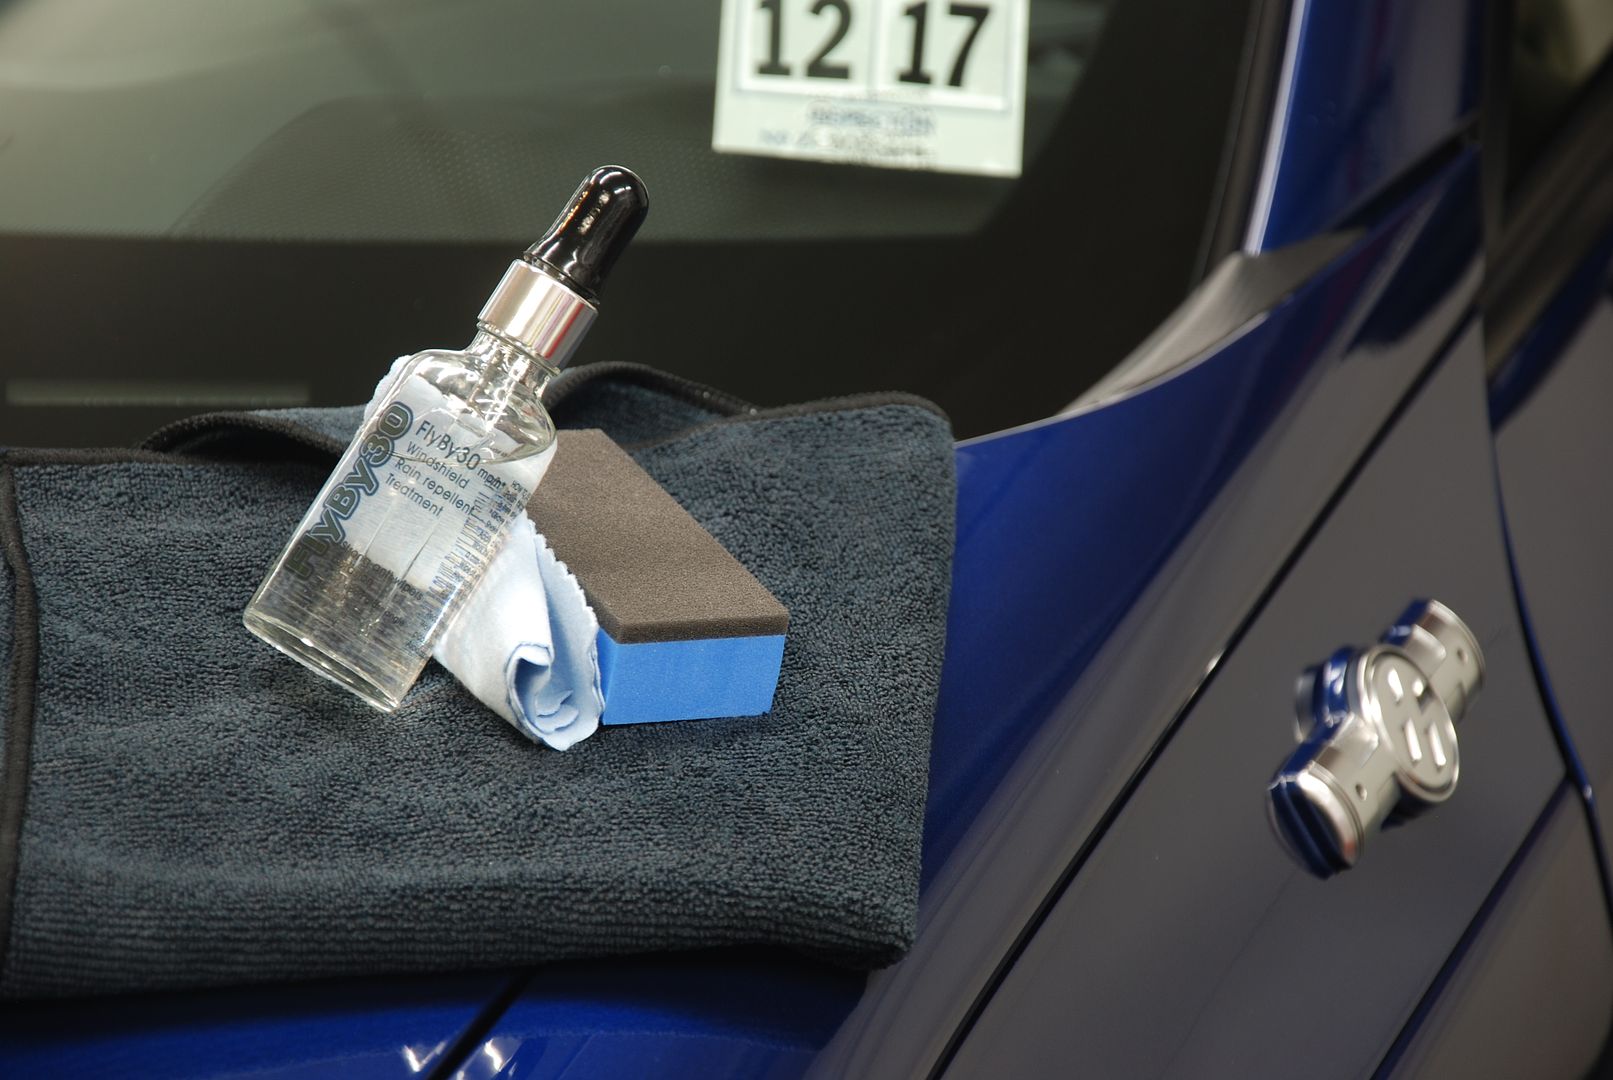
Application is done in a criss cross pattern, overlapping your strokes. Let is sit on the screen for 2 minutes, and them buff off with a couple of MF towels. I can't wait to hear feedback from the owner.
The tires got coated with Tuff Shine Tire coating, this leaves a nice matte finish that is semi-permanent.
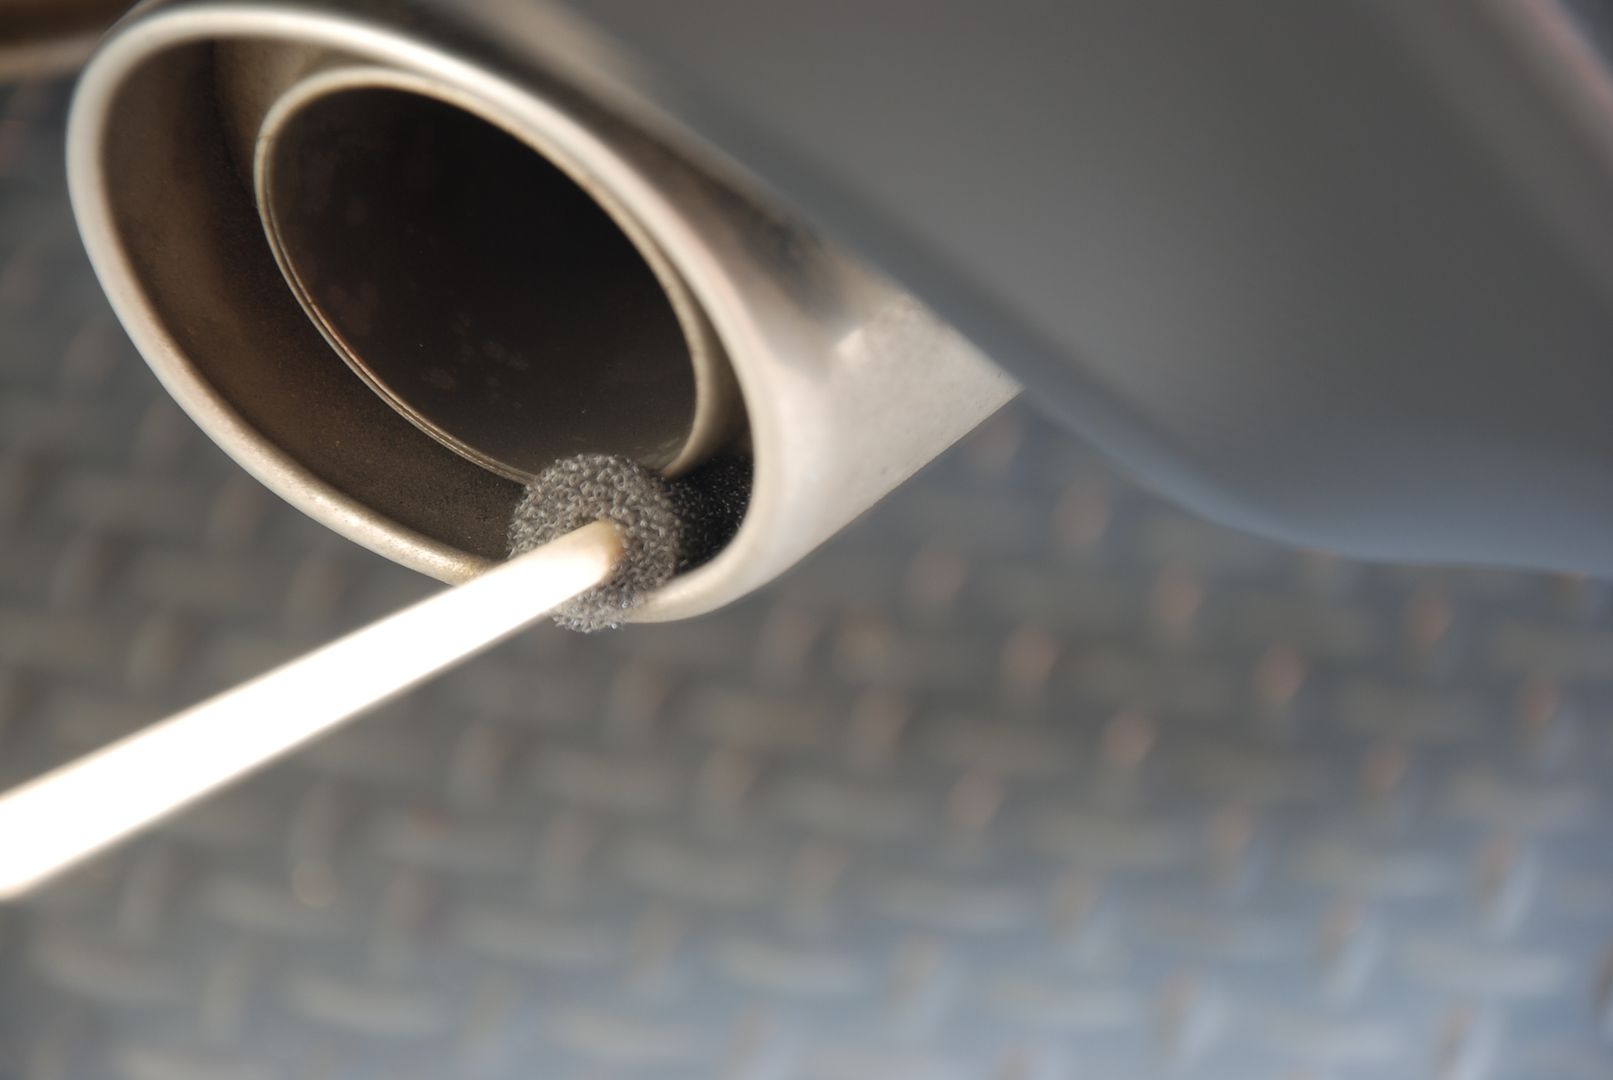
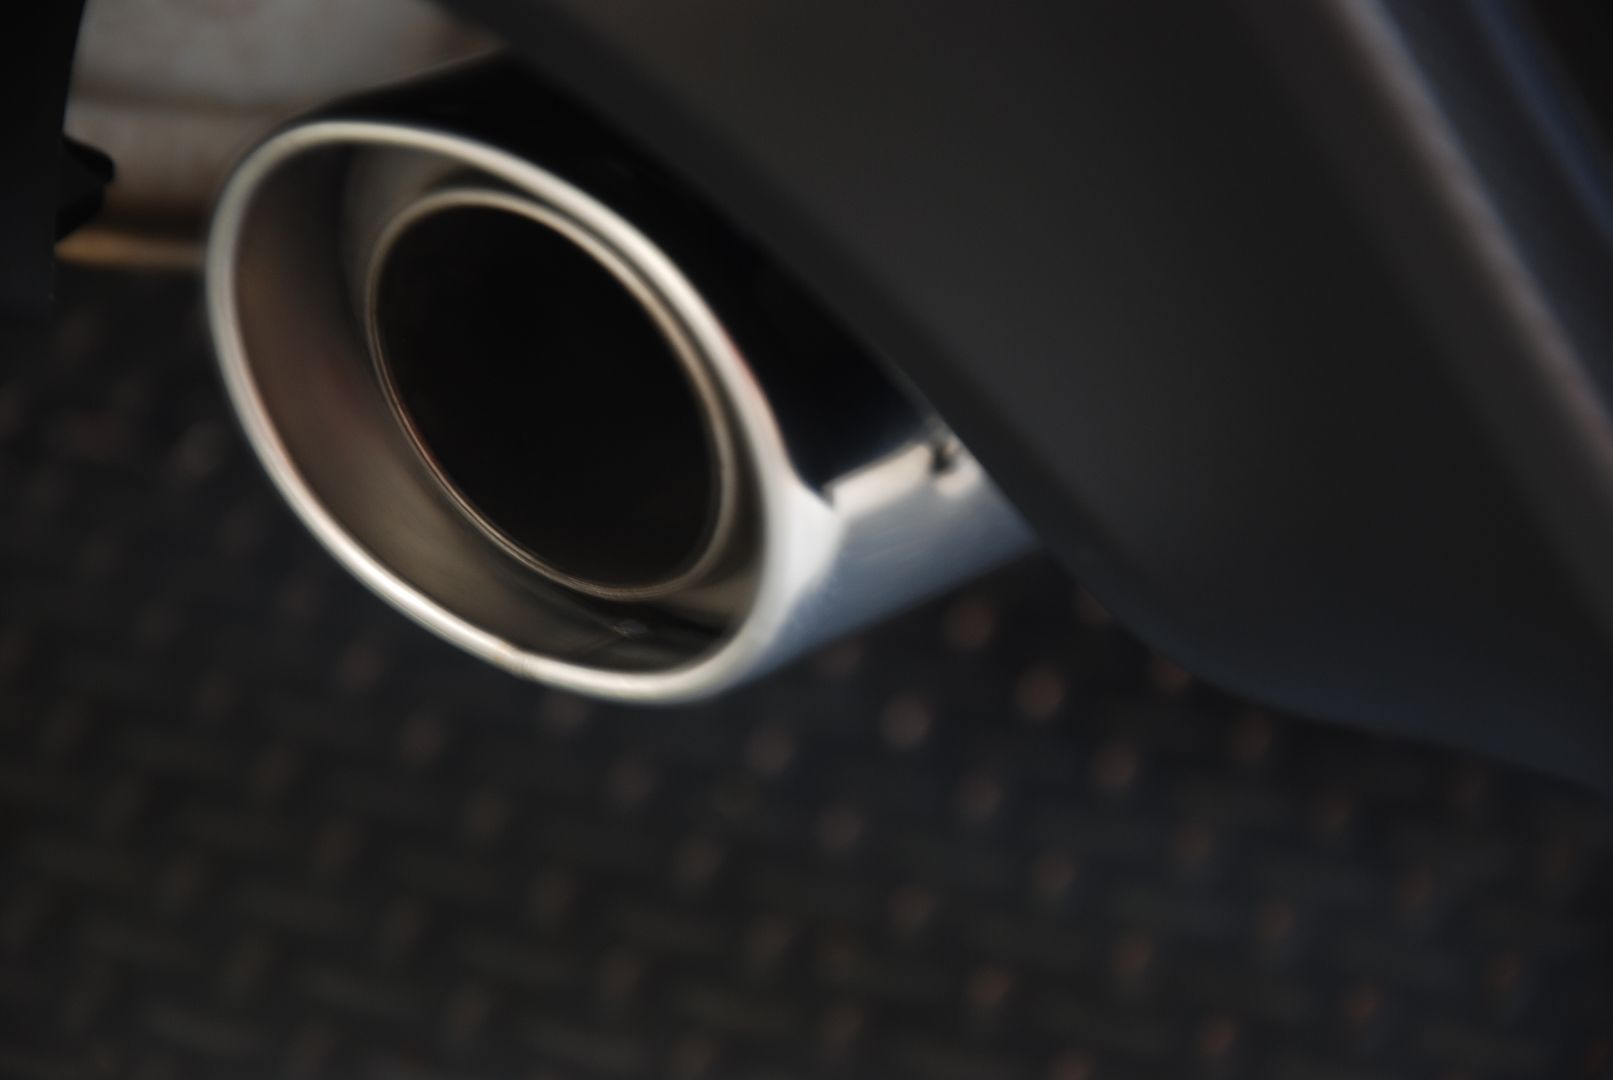
Tight areas of exhaust tips. were cleaned up using optimum Metal polish and a foam detailing stick.
Trim was treated with Einszett Gummi Pflege Stift Rubber Care Stick. It adds UV protection, and provides for less sticking of the door moldings in cold weather.
I started with the wheels. I do them first so the ground is dryer, and so as not to splash and dirt from the wheels onto a washed car.
For the lug nuts I used a boars hair to clean lugs.
The tires got scrubbed using the Tuff Shine tire cleaner. As usual three scrubbings were needed until all the dirt was removed.
Here is a spot of tar that was quickly taken care of using some Stoners Tarminator.
I started with a pre-soak using P21S Total auto wash. It's a nice citrus based cleaner and will allow for an easier wash procedure.
I moved on to the actual wash using the two bucket method and my foam gun, with a mixture of 50% dawn and 50% CG Citrus Wash and Clear.
While the car was still wet, I moved on to Nanoskin Autoscrub to remove any particles that may be on the surface. Although the surface felt smooth I still decided to Iron X the car. Sure enough I didn't see any reaction to the Iron-X.
After pulling it inside and drying it with a WW MF and my blower to get any water out of the seams, I went ahead and started polishing. For a 1 step polish I go for as much correction and gloss that I can achieve. After a test spot, I found that using a Rupes Yellow pad and Sonax Perfect Finish left an amazingly glossy finish with great correction.
How much correction was I able to achieve?
There were some deeper scuffs in the rear quarter panel that needed to be addressed.
The trunk also had some sweeping scratches that were pretty deep and needed special attention.
I'm only pointing so I could focus on the panel
Tight areas were taken care of with a 3" pad and PC.
Without 6mm tape it would have been quite difficult to tape the trim on this mirror.
The client also asked that I DeBadge the car. This was done using dental floss. I used 3 strands so it was stronger and wouldn't break.
I got very lucky in that very little residue was left on the two rear badges.
I didn't get so lucky with the front badge. To remove the residue I rolled it onto itself and cleaned it up using tarminator, then the areas were polished clear.
After polishing, I had to get any oils that may be left removed. Proper preparation is key when doing any coating. I pre-soaked with Optimum Power clean, and followed up with CG Citrus wash and Clear.
I brought the car back in and thoroughly dried it. You don't want any water dripping when you apply Opti-Coat. I went around an applied Opti-Coat to all the paint, trim, and wheels. Now it was time to protect the windshield as well. I went ahead and polished the windshield, and then followed up with 3 IPA wipe downs. I was using FlyBy30. It's a newly released windshield coating that makes water fly off the windshield between 30-35MPH.
Application is done in a criss cross pattern, overlapping your strokes. Let is sit on the screen for 2 minutes, and them buff off with a couple of MF towels. I can't wait to hear feedback from the owner.
The tires got coated with Tuff Shine Tire coating, this leaves a nice matte finish that is semi-permanent.
Tight areas of exhaust tips. were cleaned up using optimum Metal polish and a foam detailing stick.
Trim was treated with Einszett Gummi Pflege Stift Rubber Care Stick. It adds UV protection, and provides for less sticking of the door moldings in cold weather.