Greg Gellas
I'm Greg :)
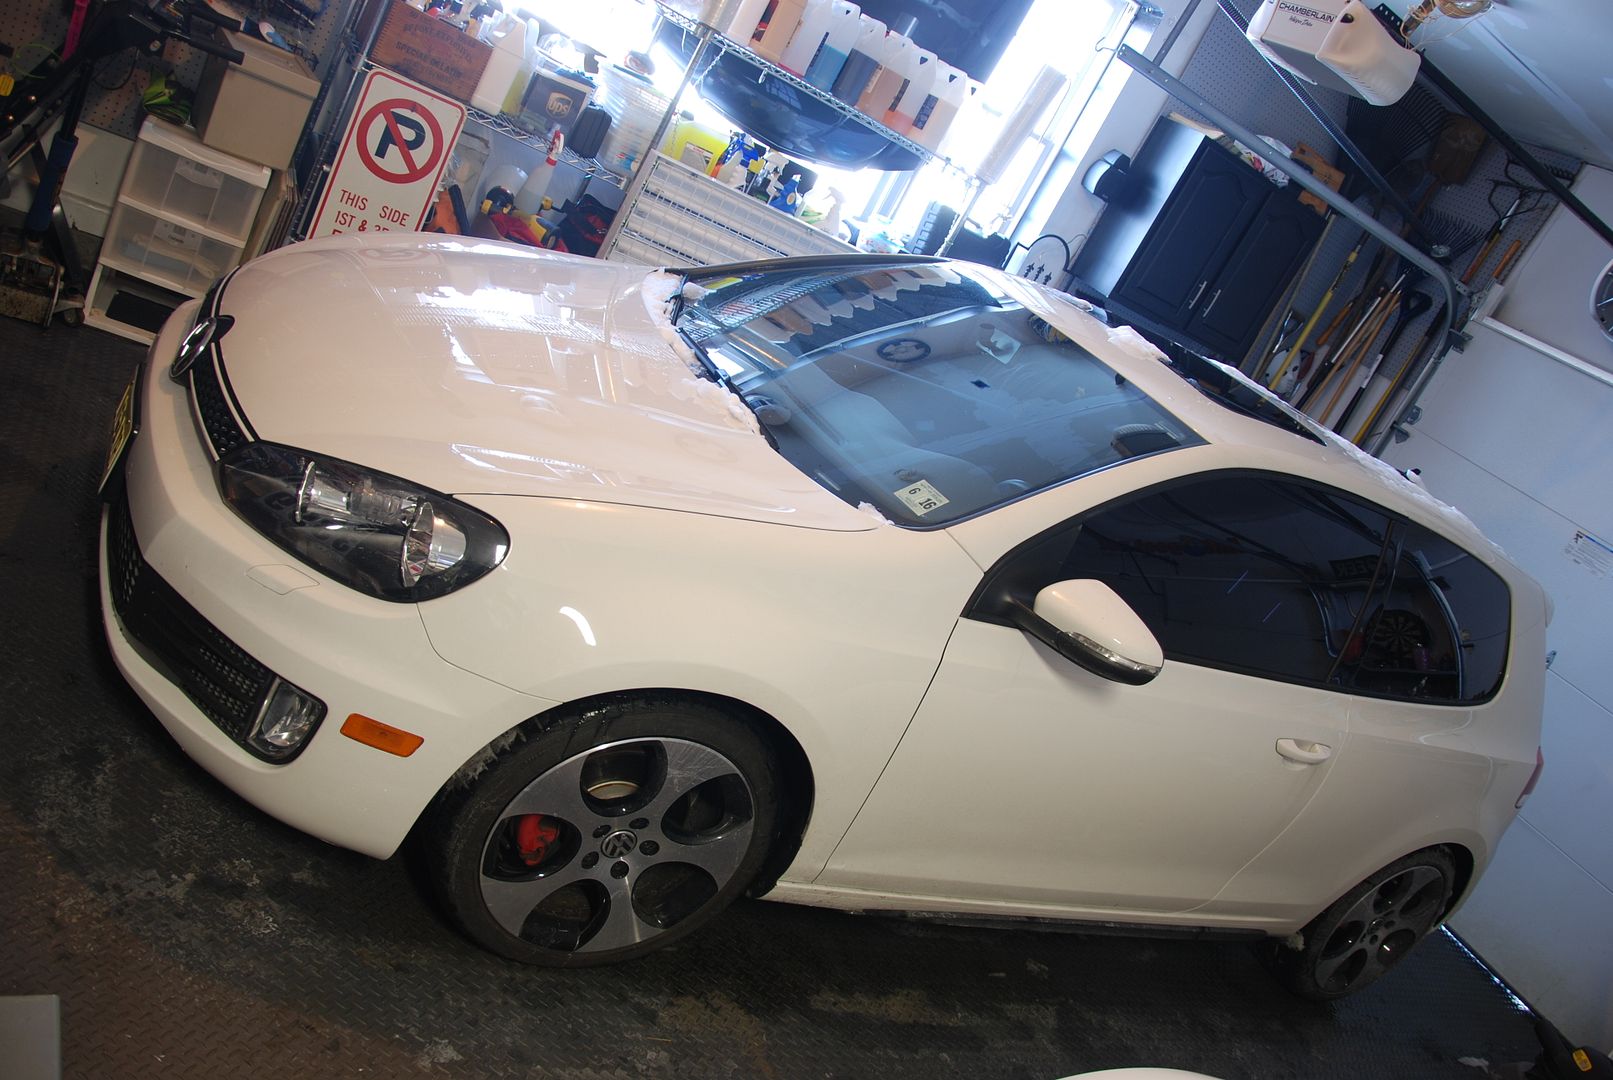
Really it was a two day detail that I finished up on New Year's Eve ") A VW GTI to 1 step correct and Opti-Coat. Sure enough the day before it snowed, and on top of that it was about 25 degrees outside. I decided to pull the car in and wait for the snow on it to melt
A VW GTI to 1 step correct and Opti-Coat. Sure enough the day before it snowed, and on top of that it was about 25 degrees outside. I decided to pull the car in and wait for the snow on it to melt 
Once all melted I then proceeded with a two bucket ONR wash. It was just too cold outside and I knew the water would freeze to the surface.
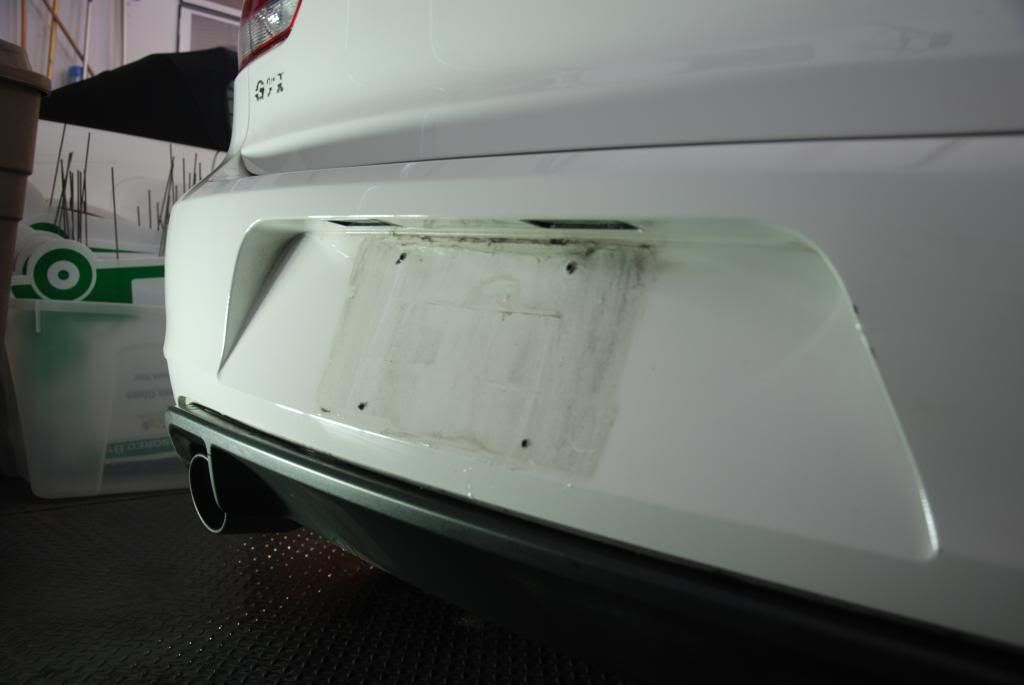
I pulled the license plate as I always do. It was not pretty under there.
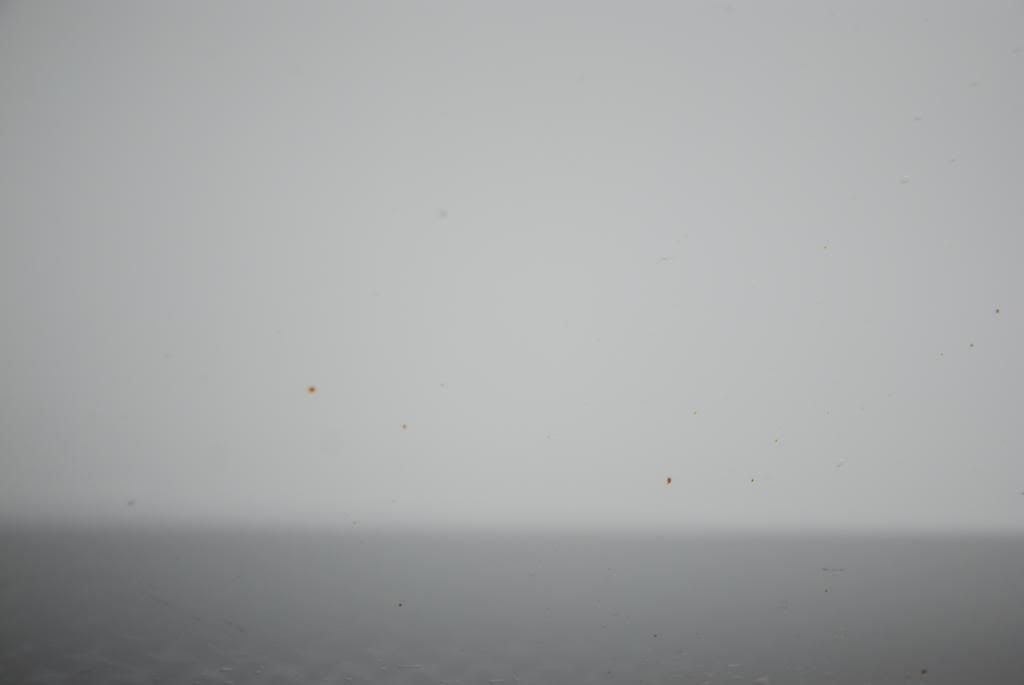
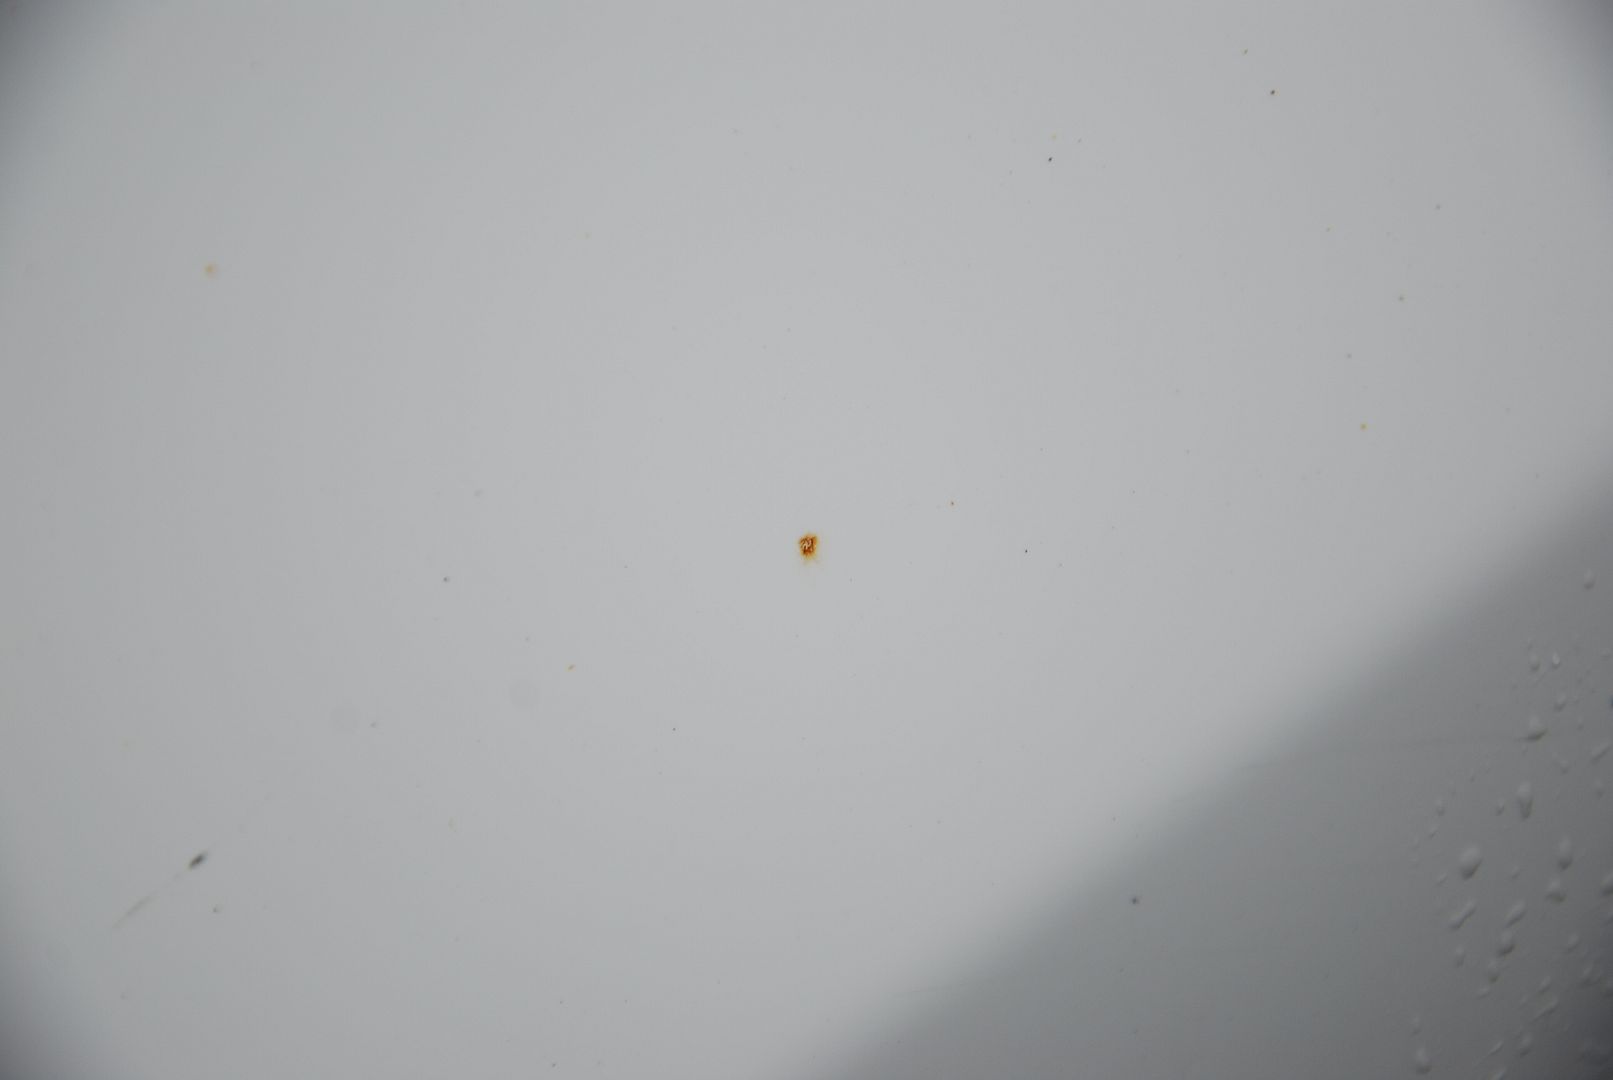
Once washed I was able to see the true condition of the paint. Sure enough it was cover in rail dust. I slowly moved around the entire car with a Nanoskin auto scrub wash mitt. Some of the deeper contamination took a few wipes, but most came off with 1 or 2 quick light passes.
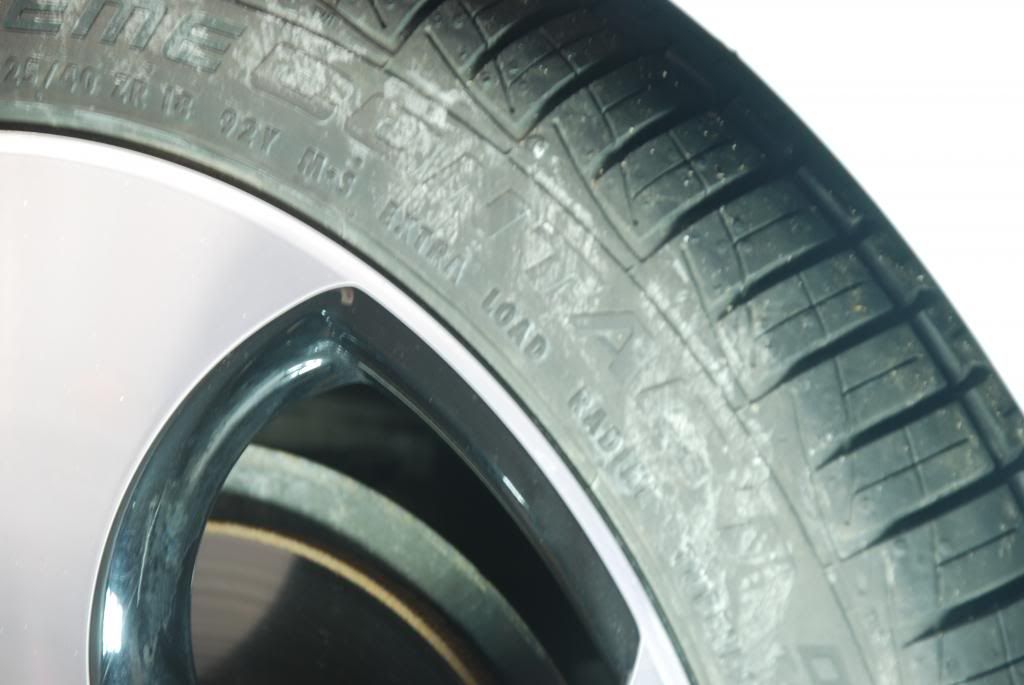
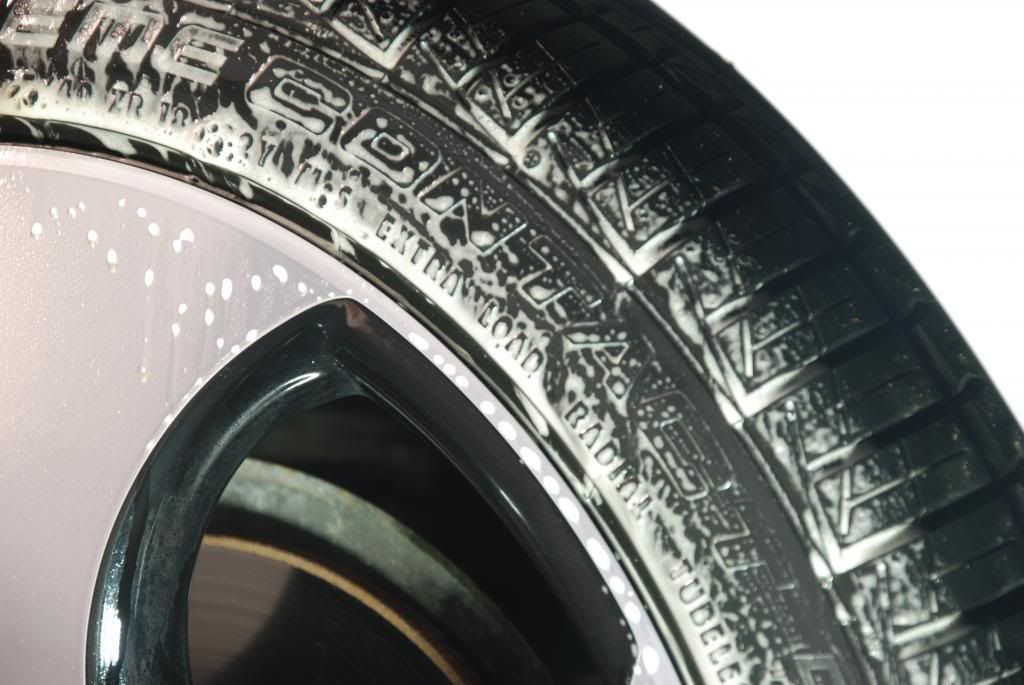
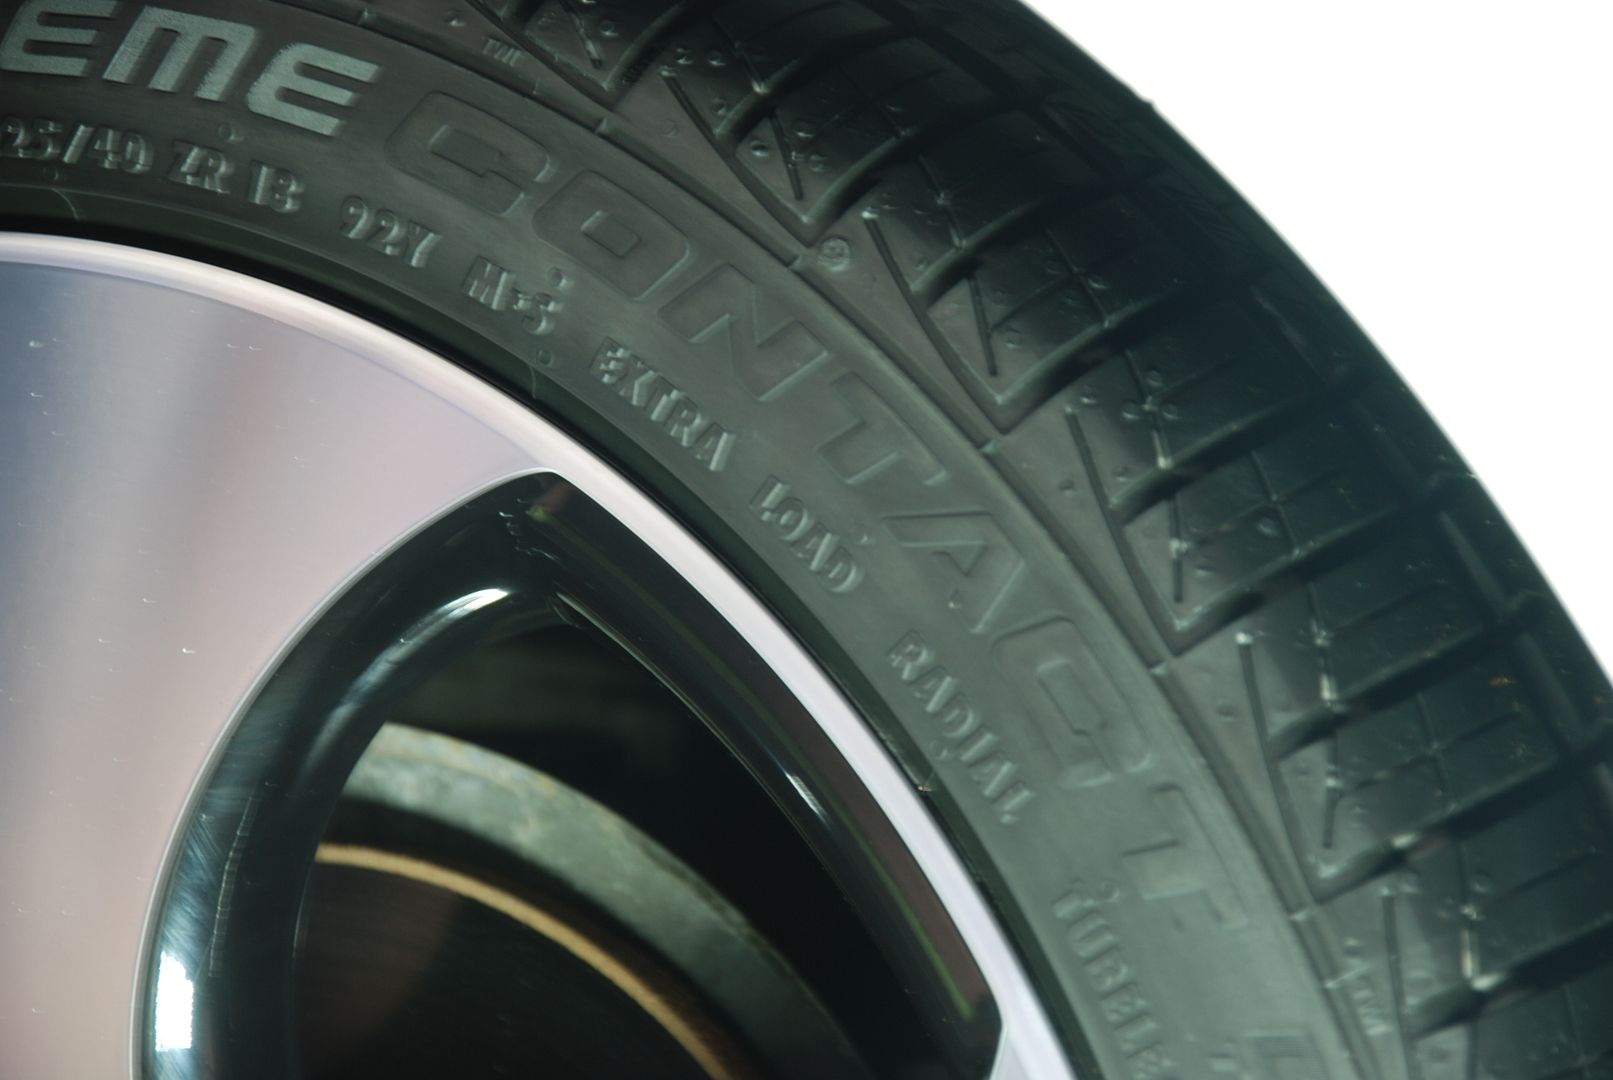
I then scrubbed the tires. They needed 3 separate cleaning until they came clean. Why so particular about the tires. They were getting the Tuff Shine Permanent Tire coating. It leaves a nice Matte finish and lasts. You can make it glossier by adding additional layer of the coating but I prefer the Matte finish.
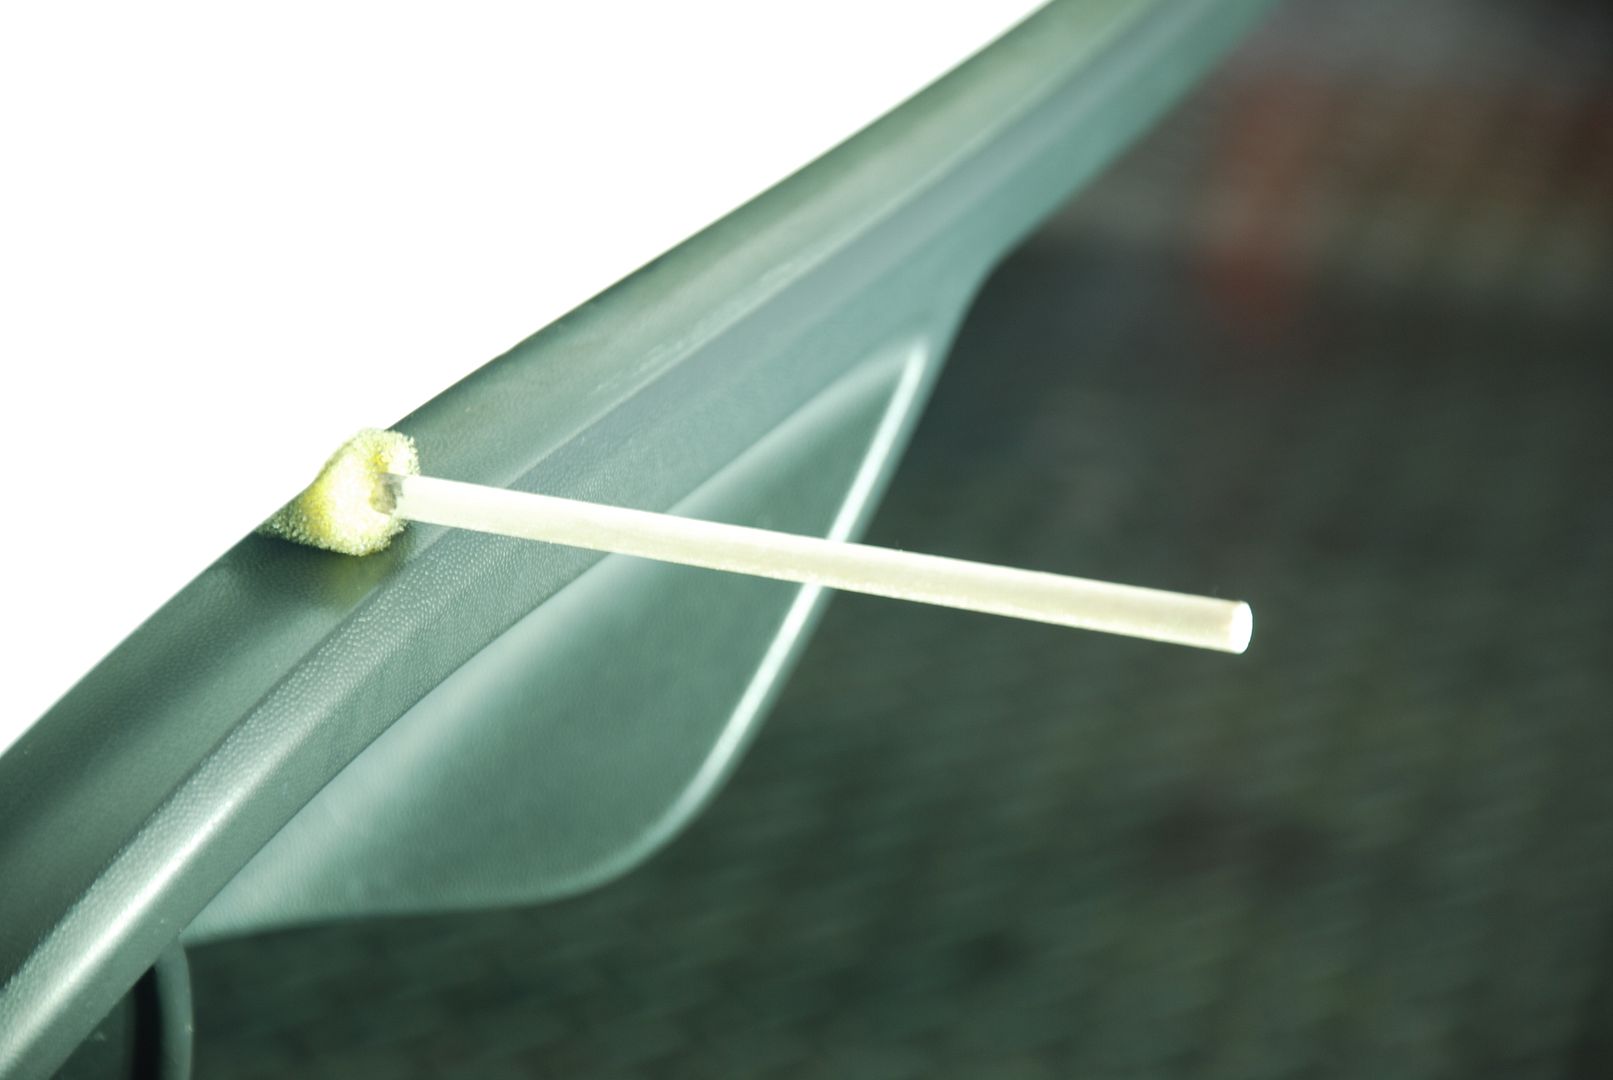
Since I did and ONR wash, I couldn't forget to get every crack and crevice cleaned. I dipped my swab in the ONR mixture and began to attack the tight areas.
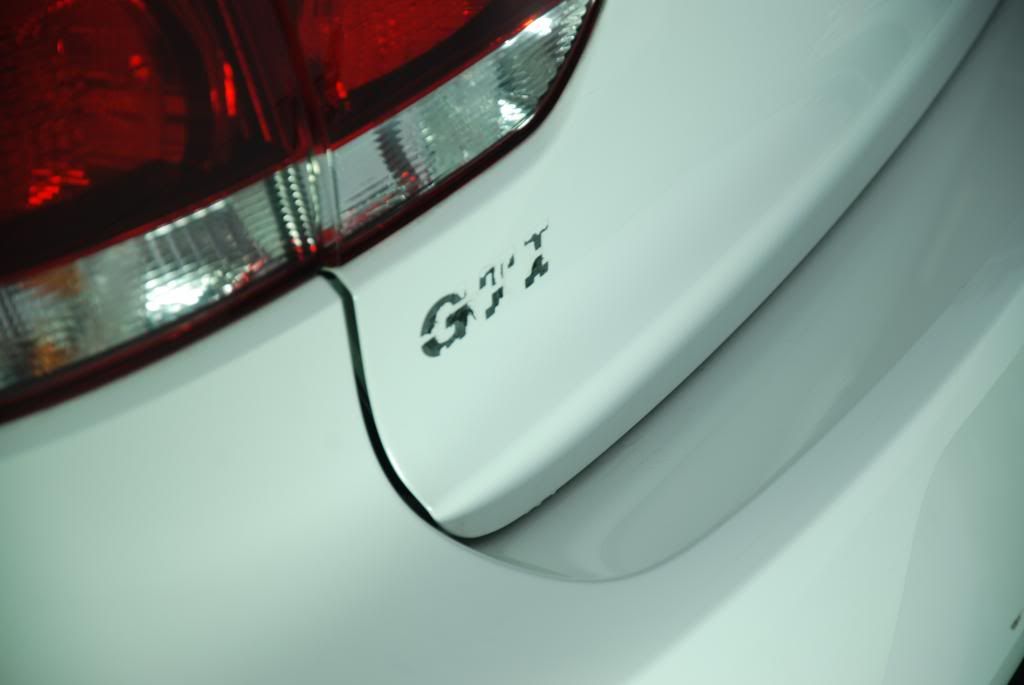
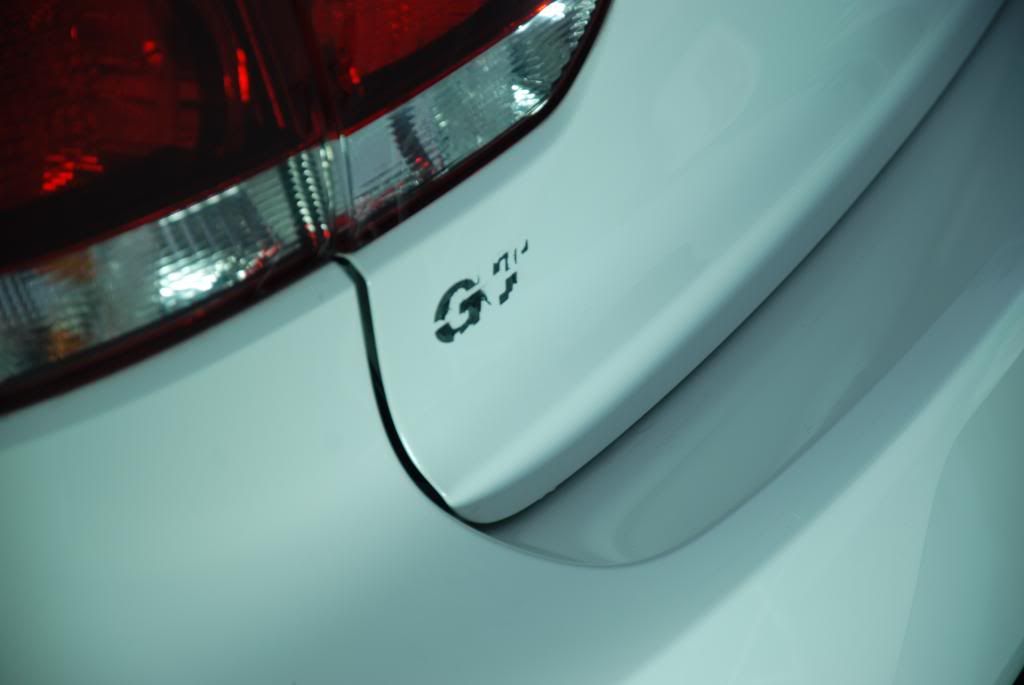
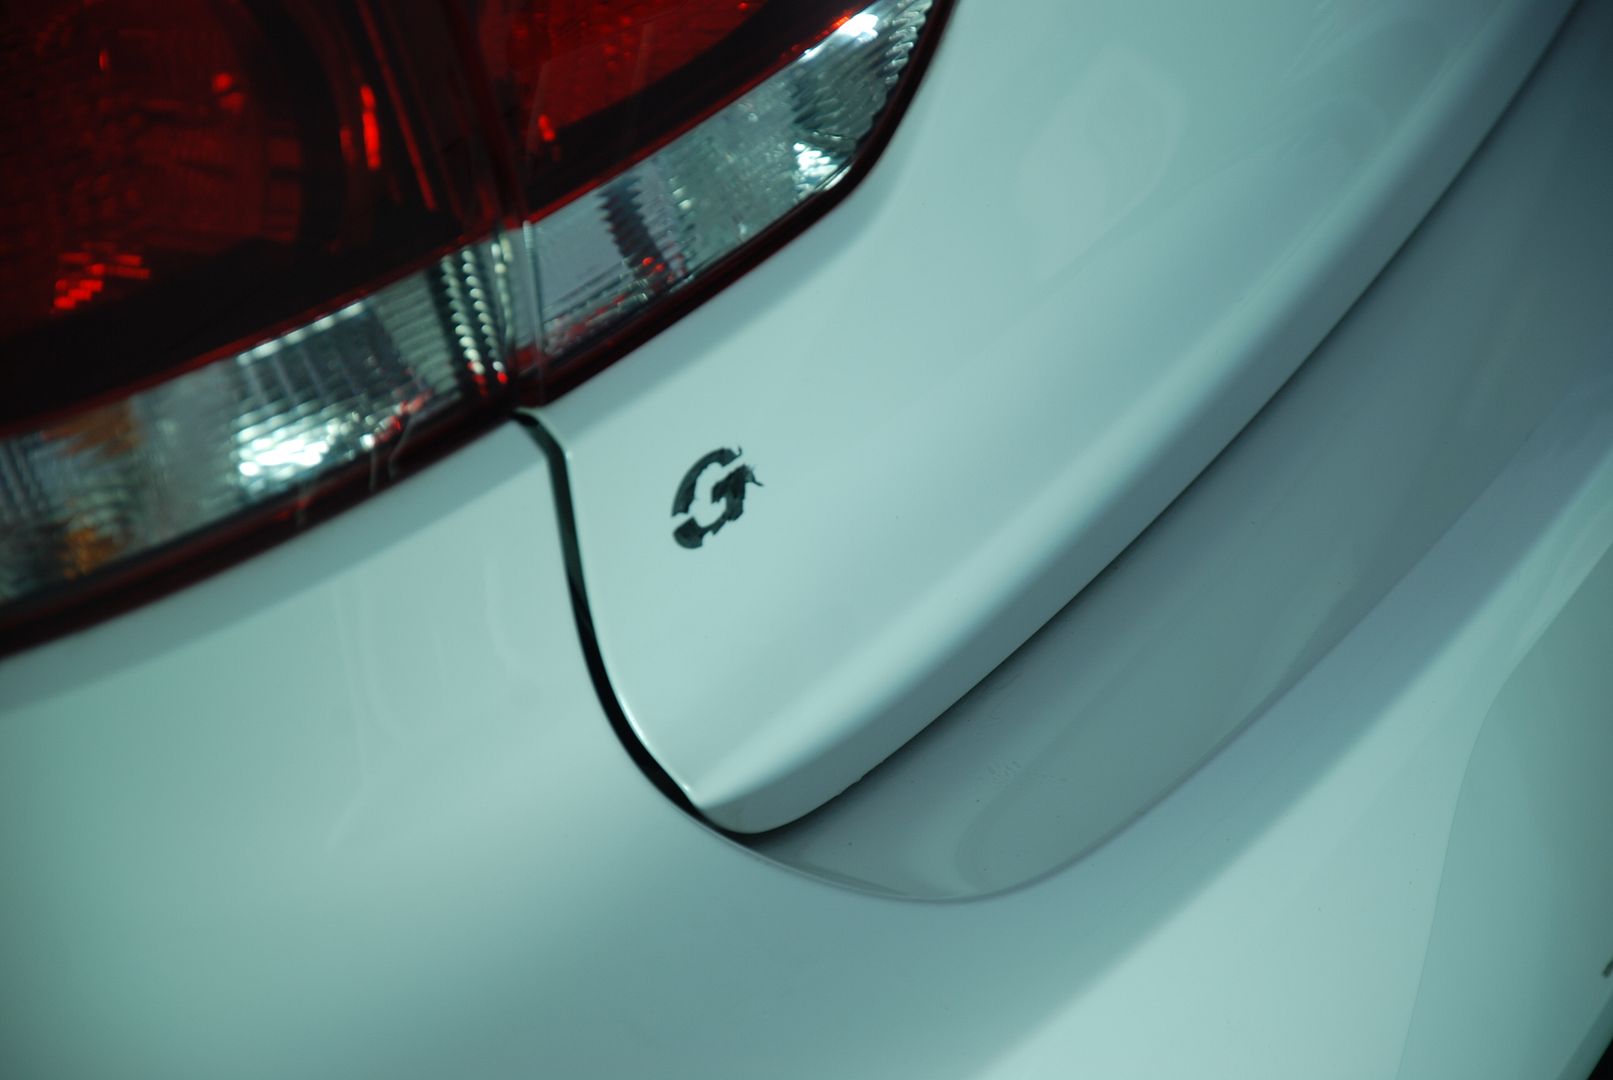
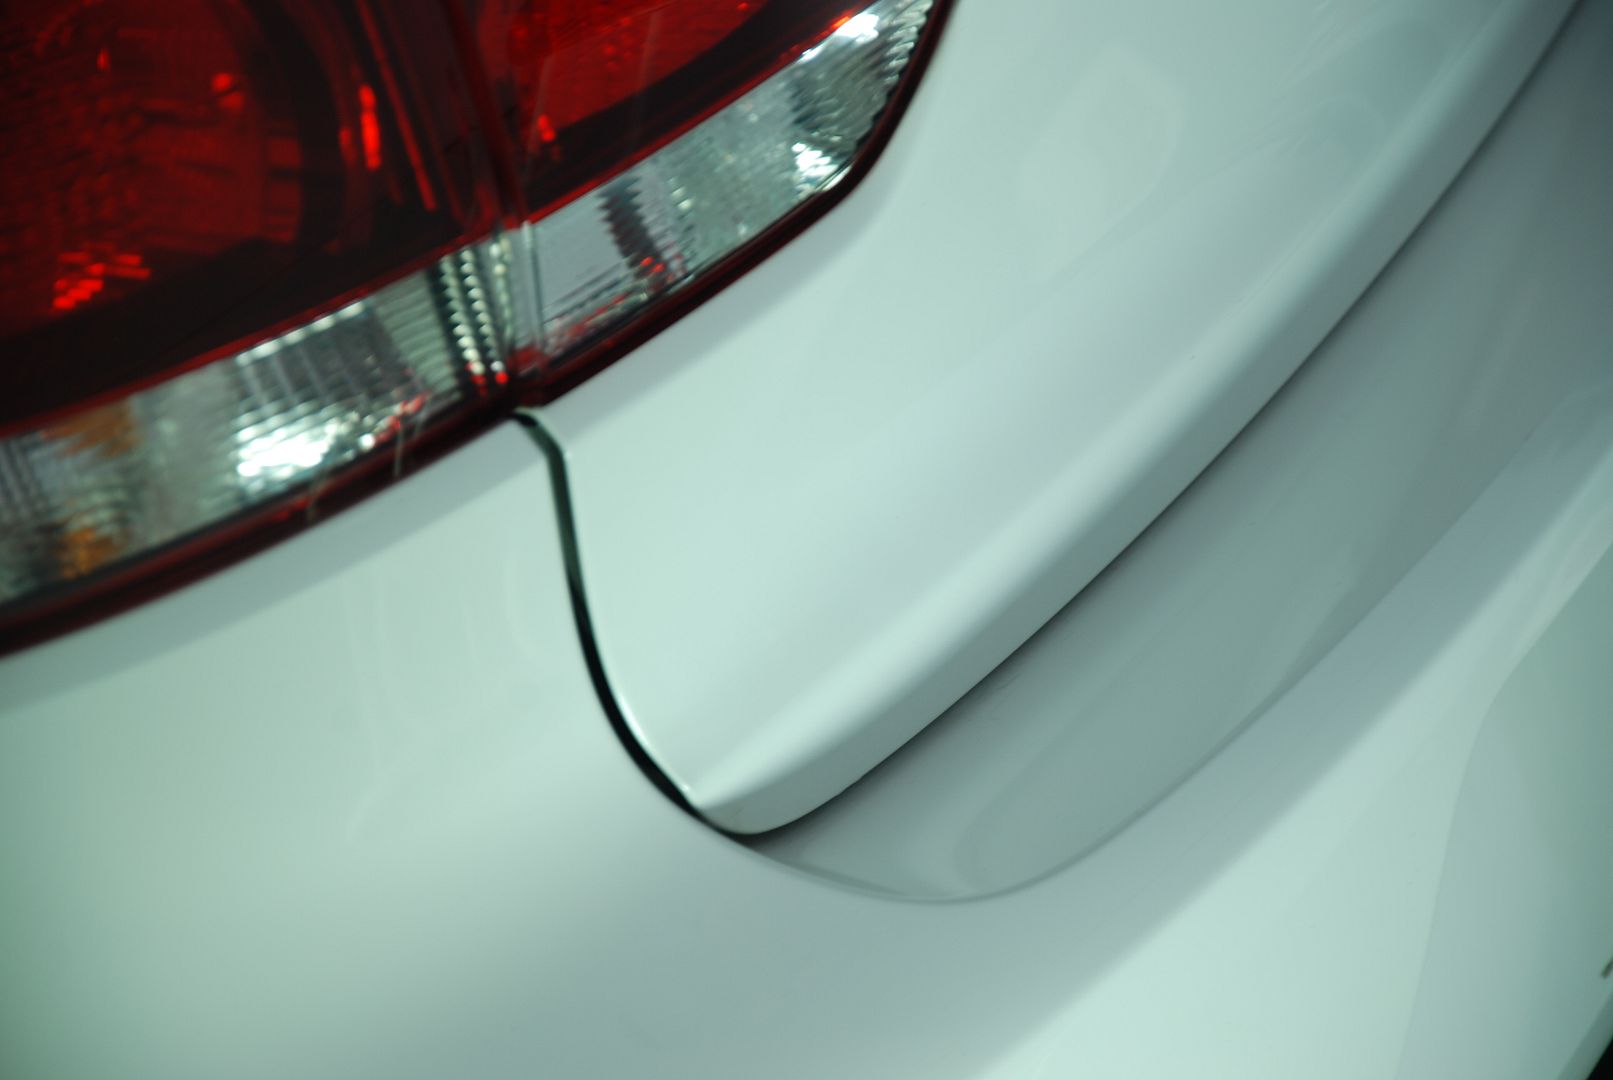
Before bringing me the car the owner asked about badge removal. I told him to go ahead and take it off I will remove the residue left. The blue hue to the pictures is from the type of Led lights I was using for inspection.
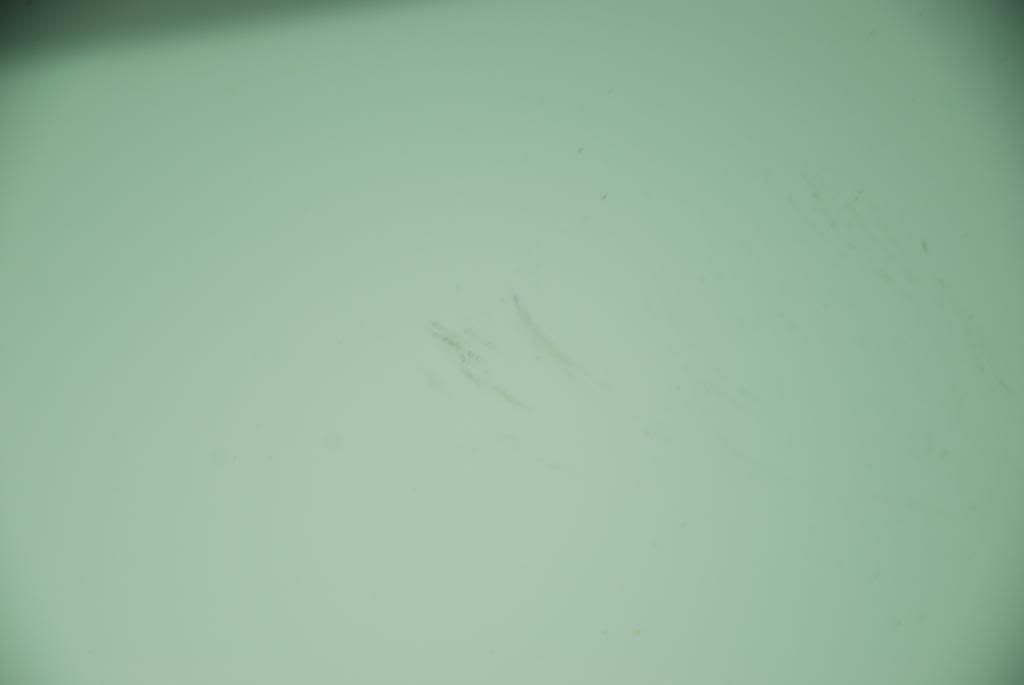
After, the wash and decon, its time for inspection of the paint. Seeing that it was a white car it was very difficult to capture any issues with the paint. Here is one big scuff on the rear bumper that could be corrected.
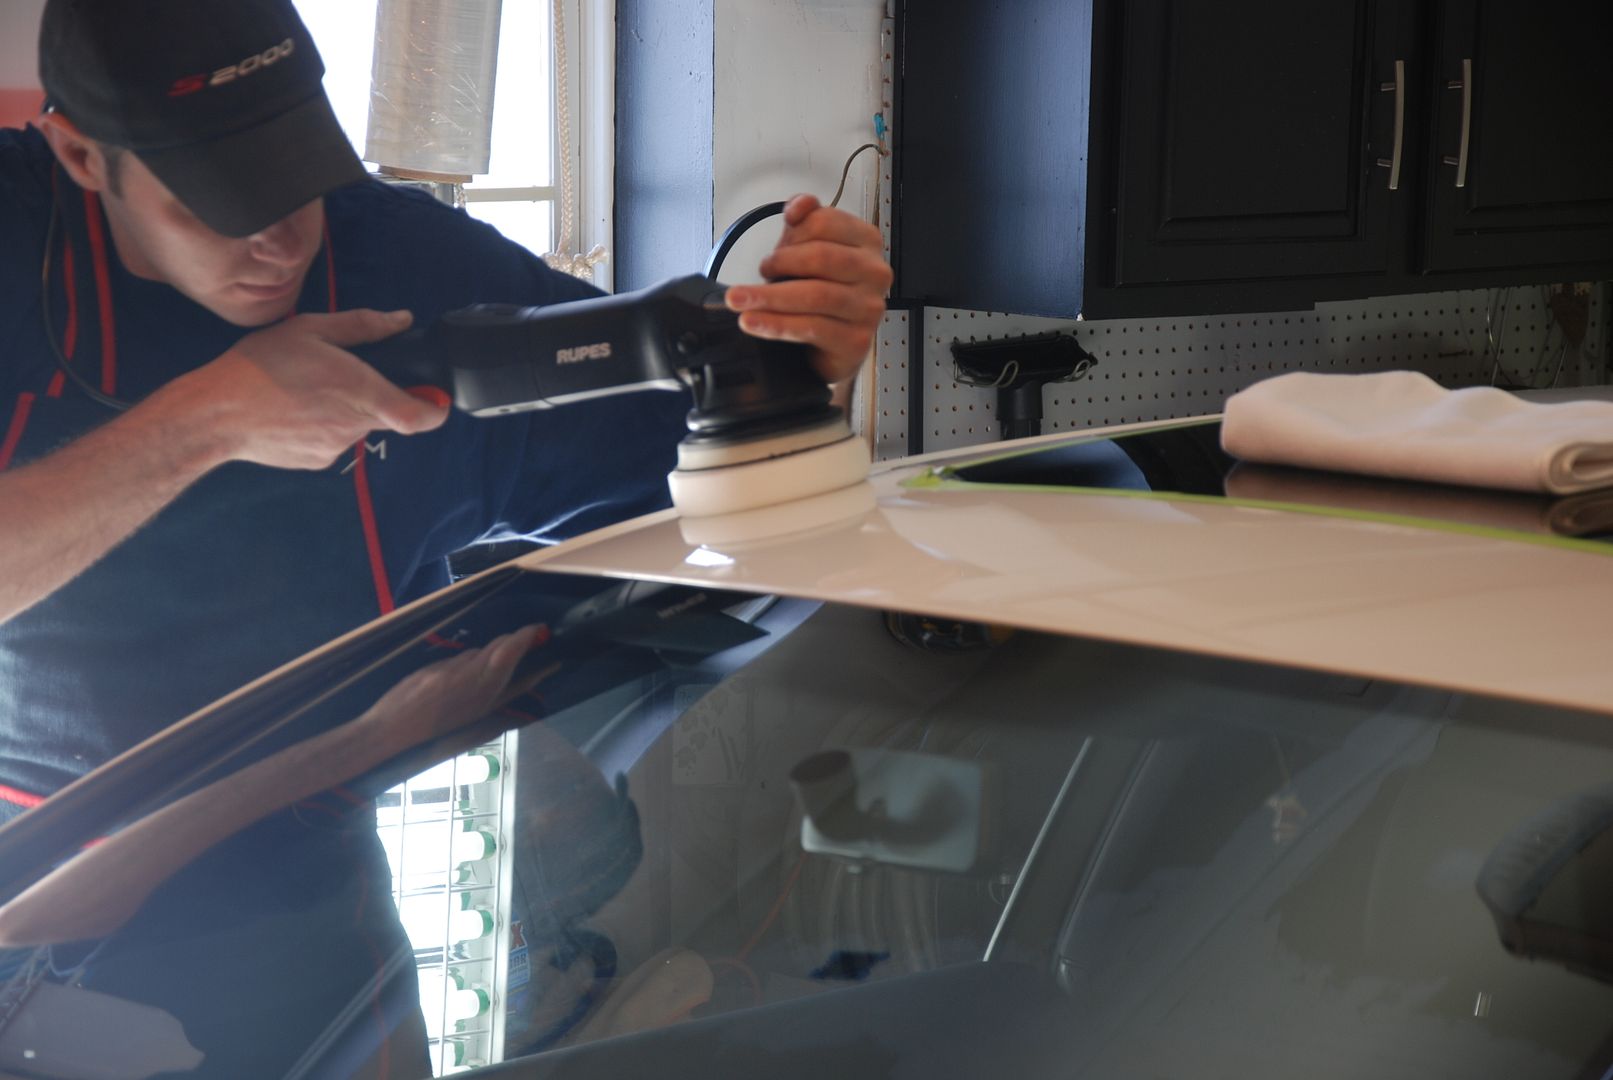
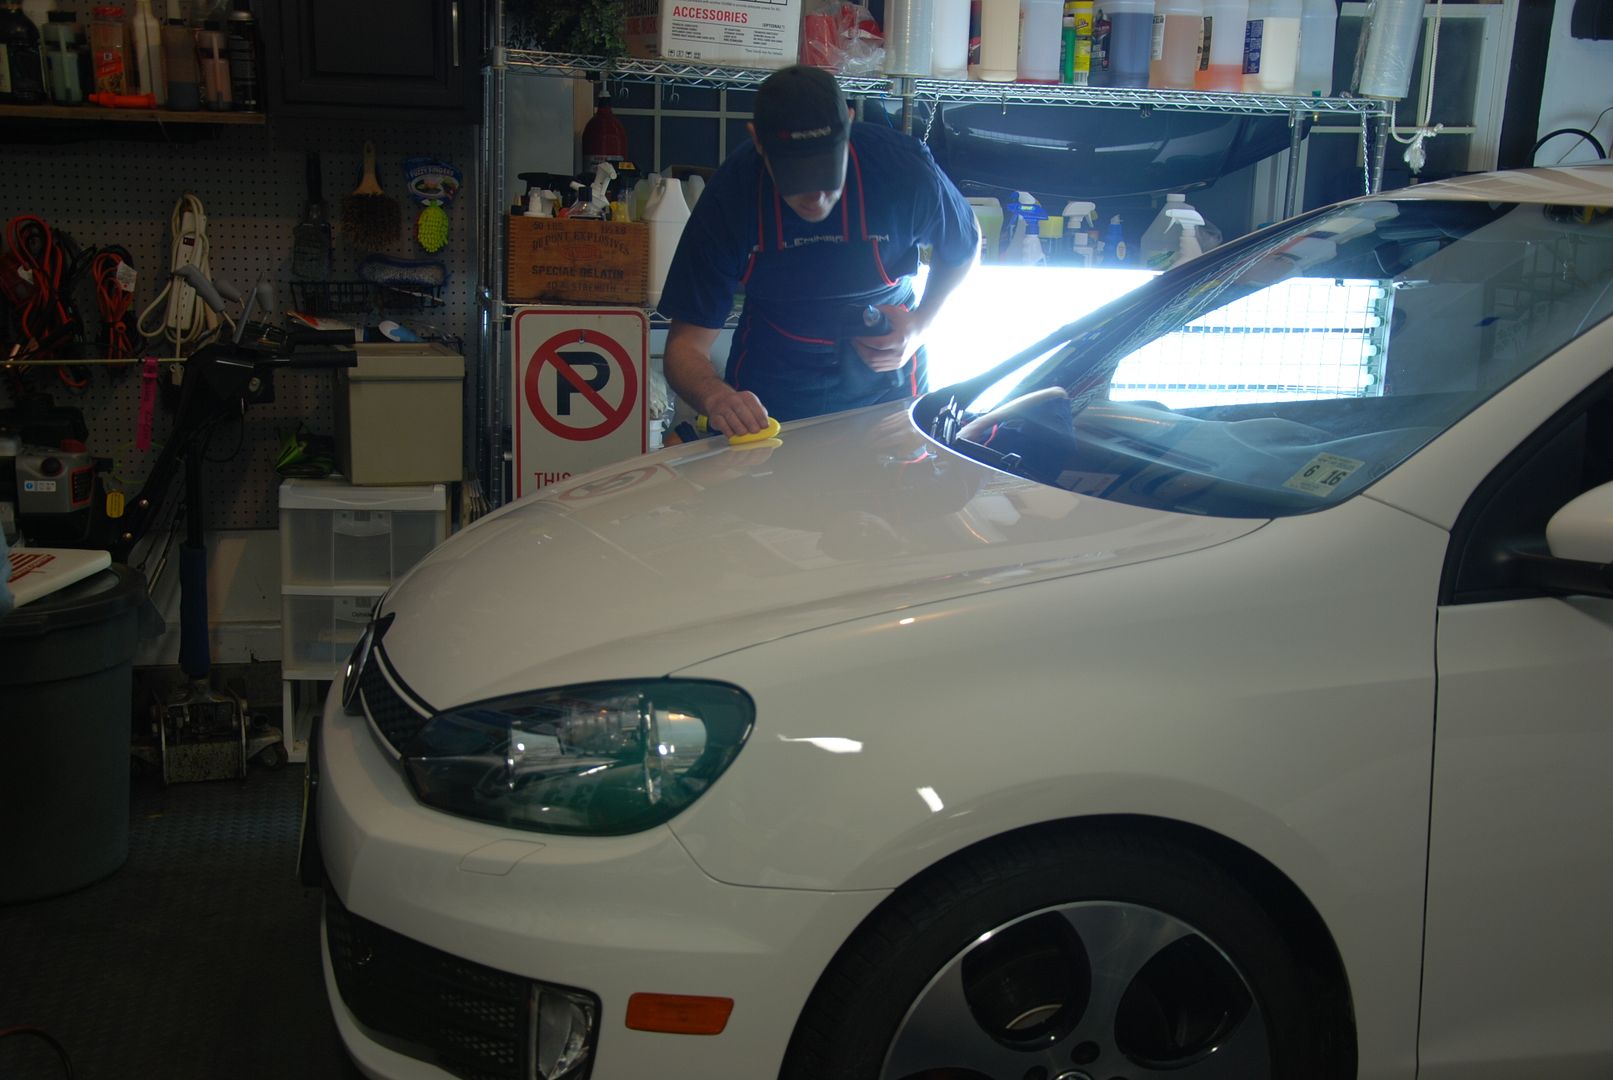
It may have been 25 Degrees outside, but I was sweating in my garage, I had to turn down the heat. I went over the entire car using my Rupes LHR15E, Sonax Perfect Finish, and a white pad. I found this combination to be perfect for the minor defect removal needed, and it just amped up the gloss of the paint so much, I was amazed at the results.
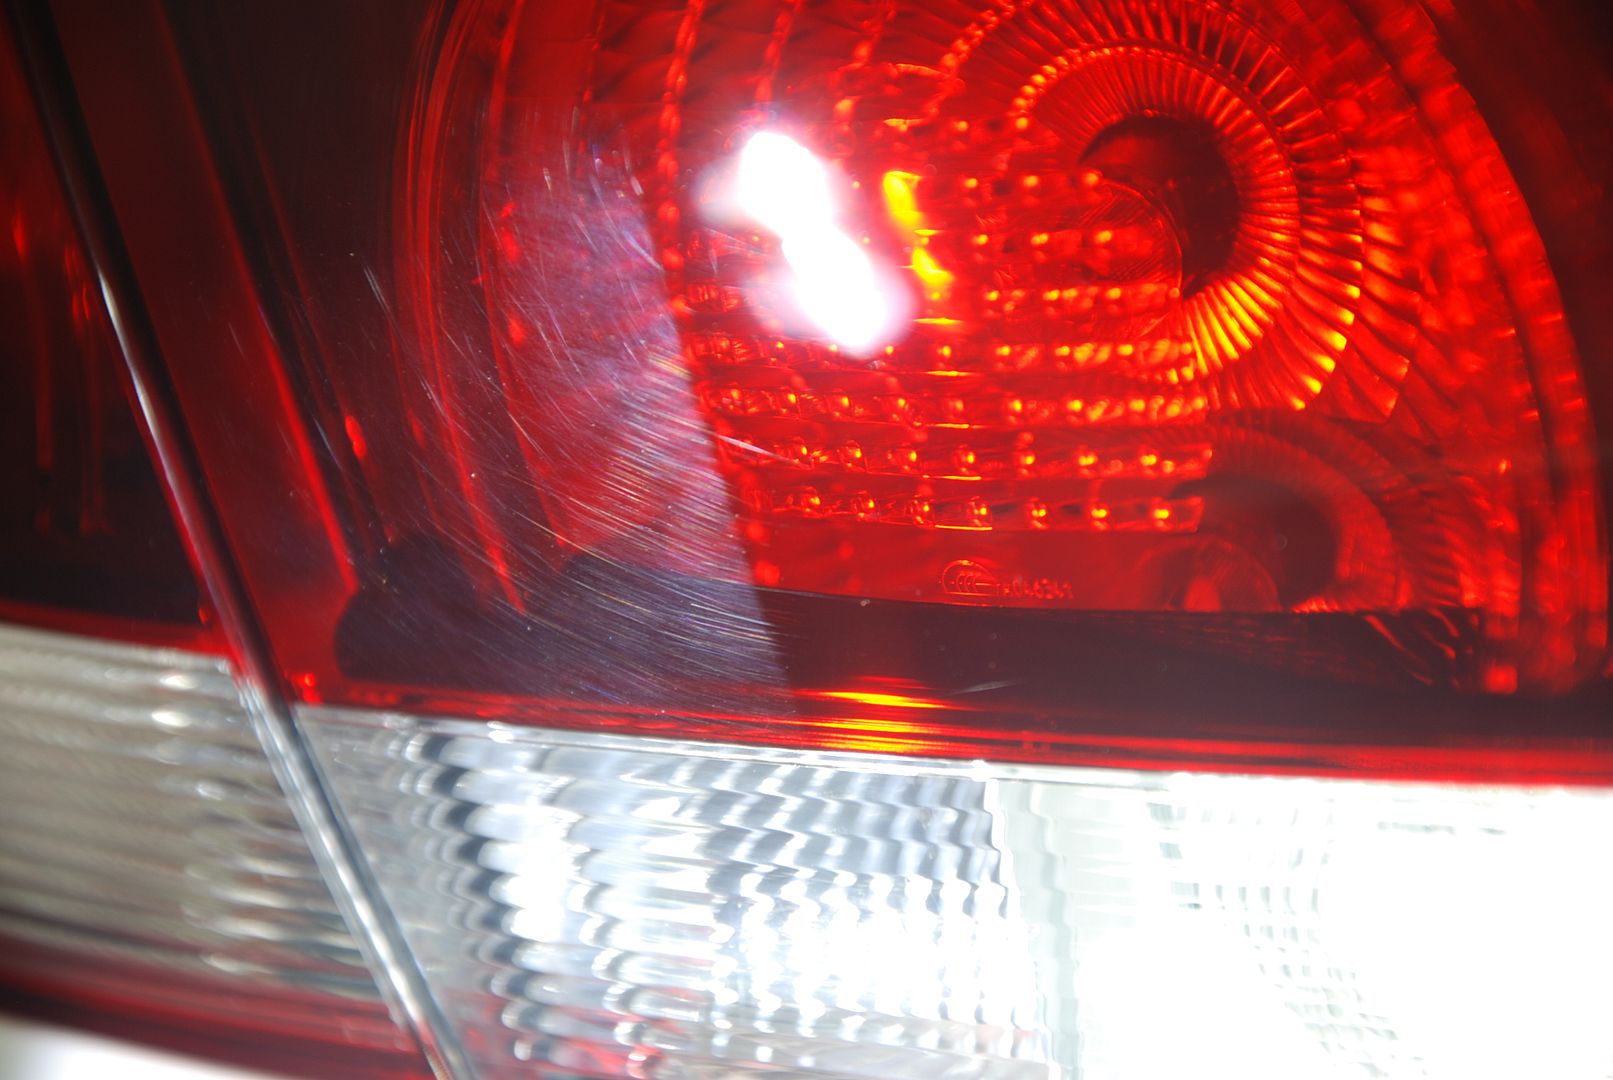
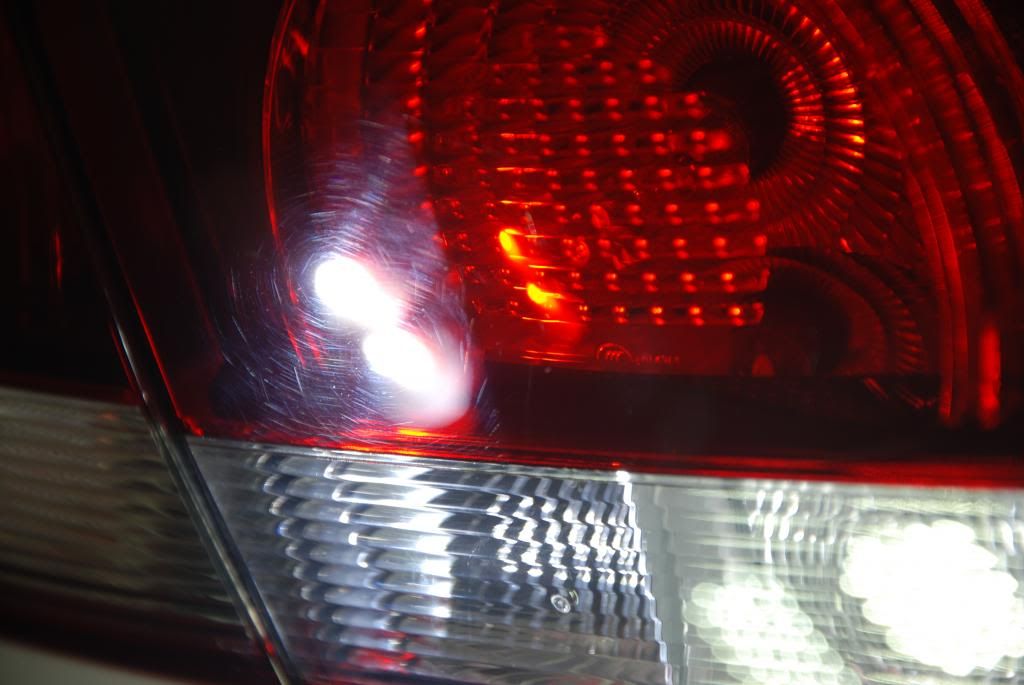
I moved on to using my PC with a 3" LC pad and Sonax Perfect Finish. As you can see this was ideal to remove the damage on the taillights.
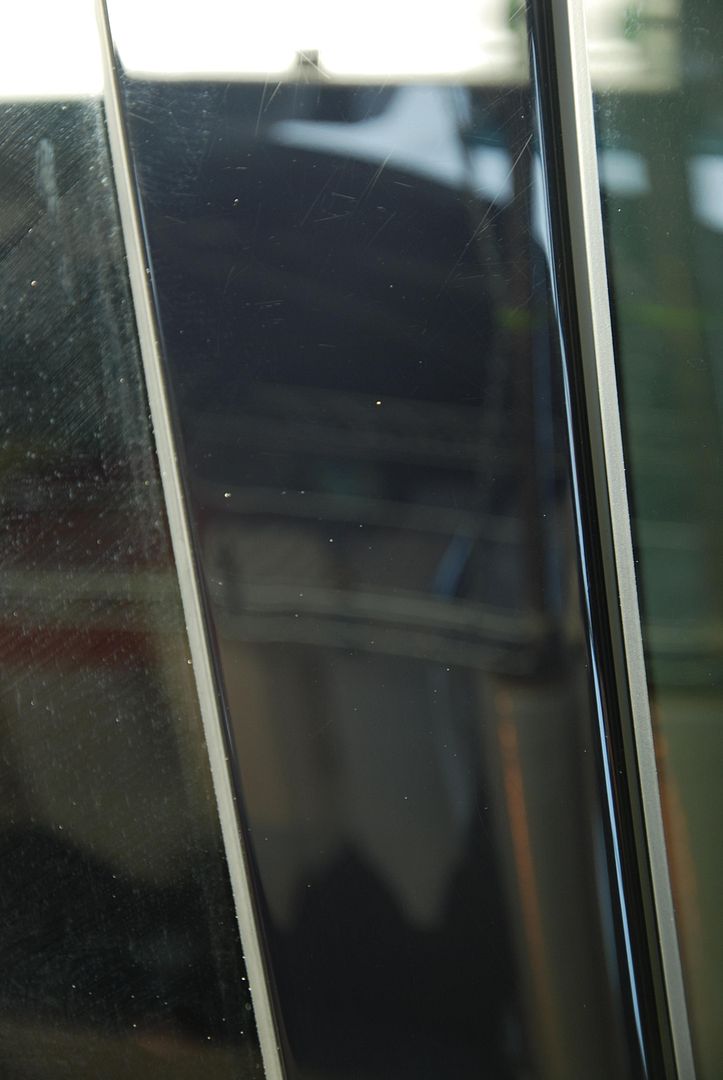
The B pillars were pretty much trashed, I got great correction. The following correction picture shows after just 1 pass, I was able to get 90%+ correction on these.

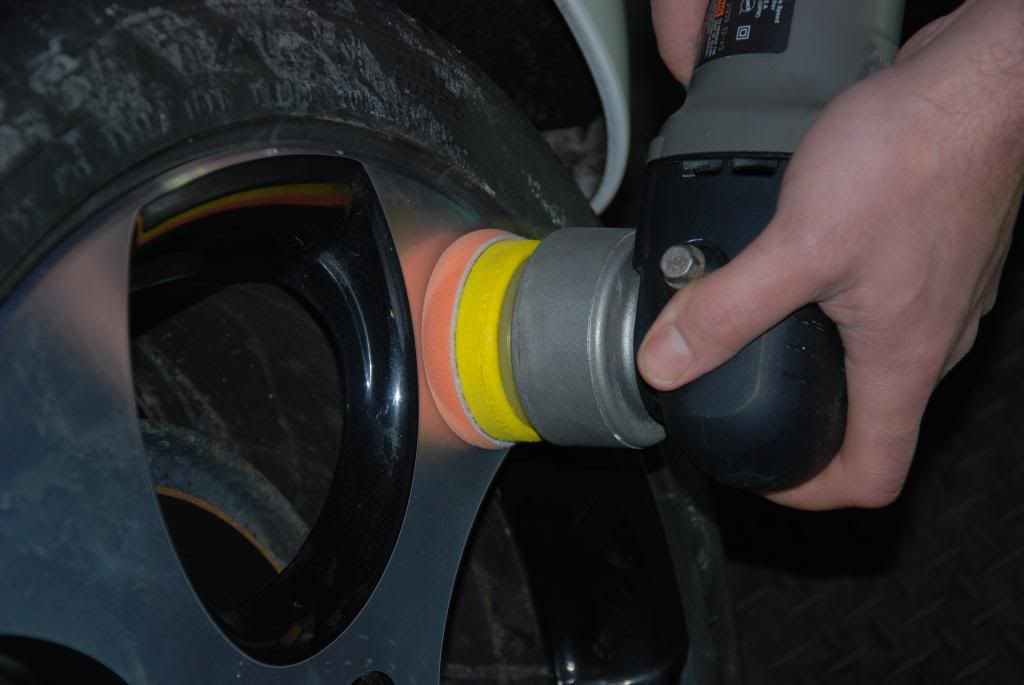
The faces of the wheels were also polished, I took this picture before tire cleaning, just to make sure my 3" pad would work. Otherwise it would have been quite a bit of hand polishing.
So the paint and wheels are all corrected now. I moved on to a complete IPA wipe down of everything! Trim, wheels, and paint. It was time to apply Opti-Coat.
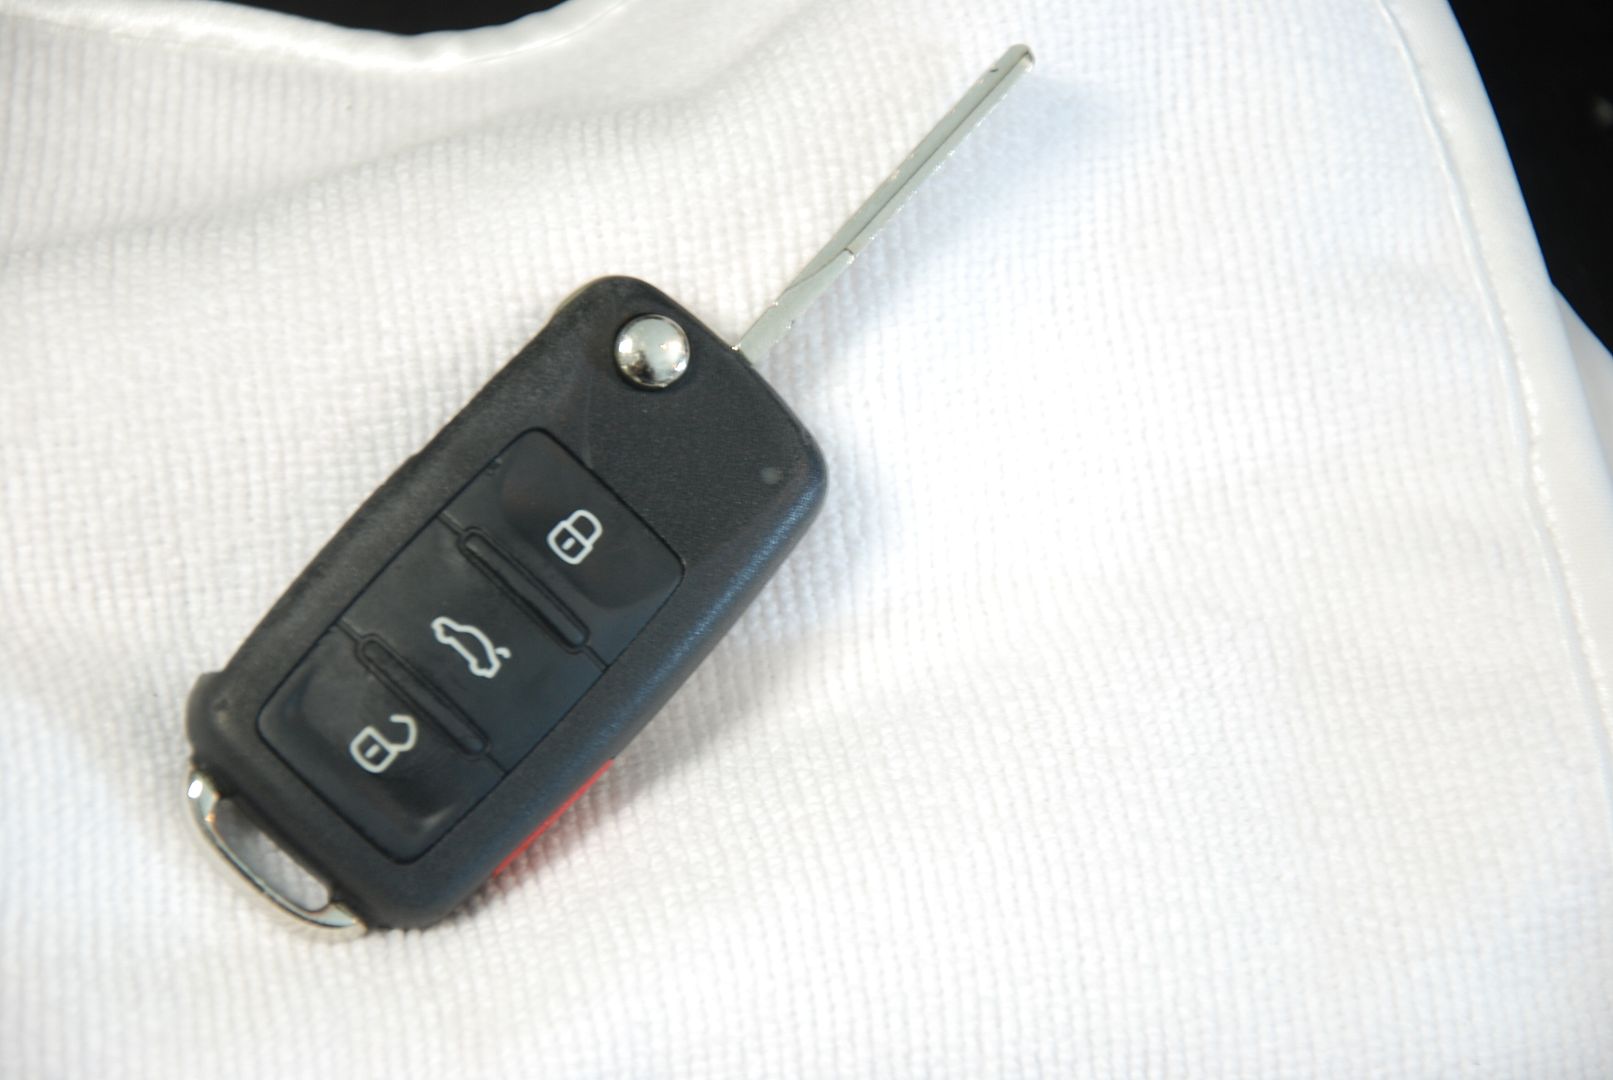
I went as far as Opti-Coating his key
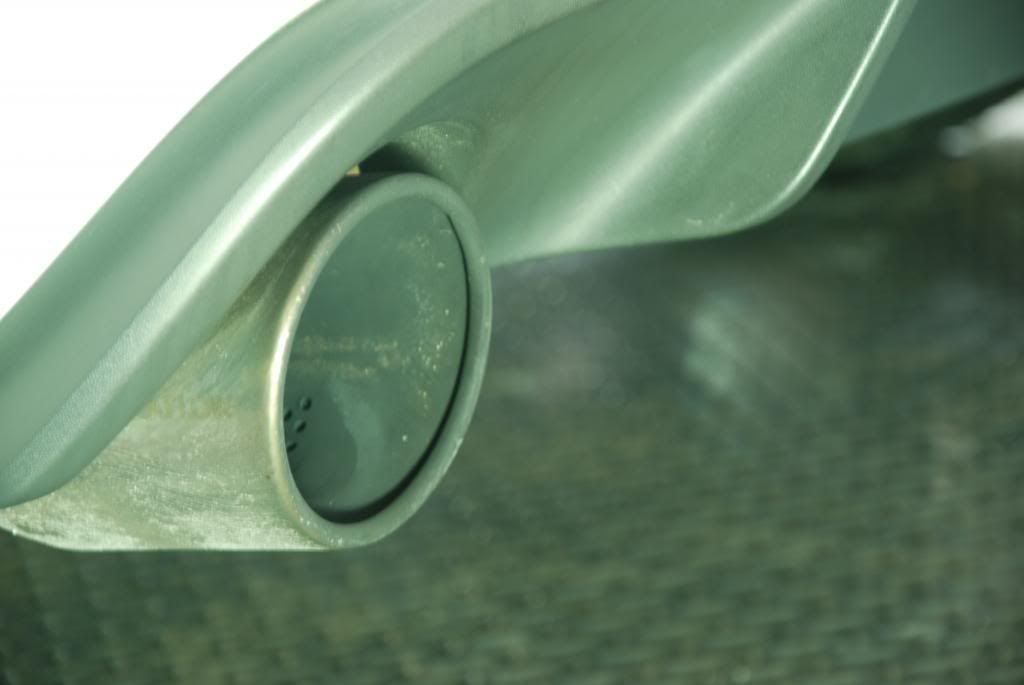
The exhaust tips got polished using Optimum Metal Polish and a MF towel.

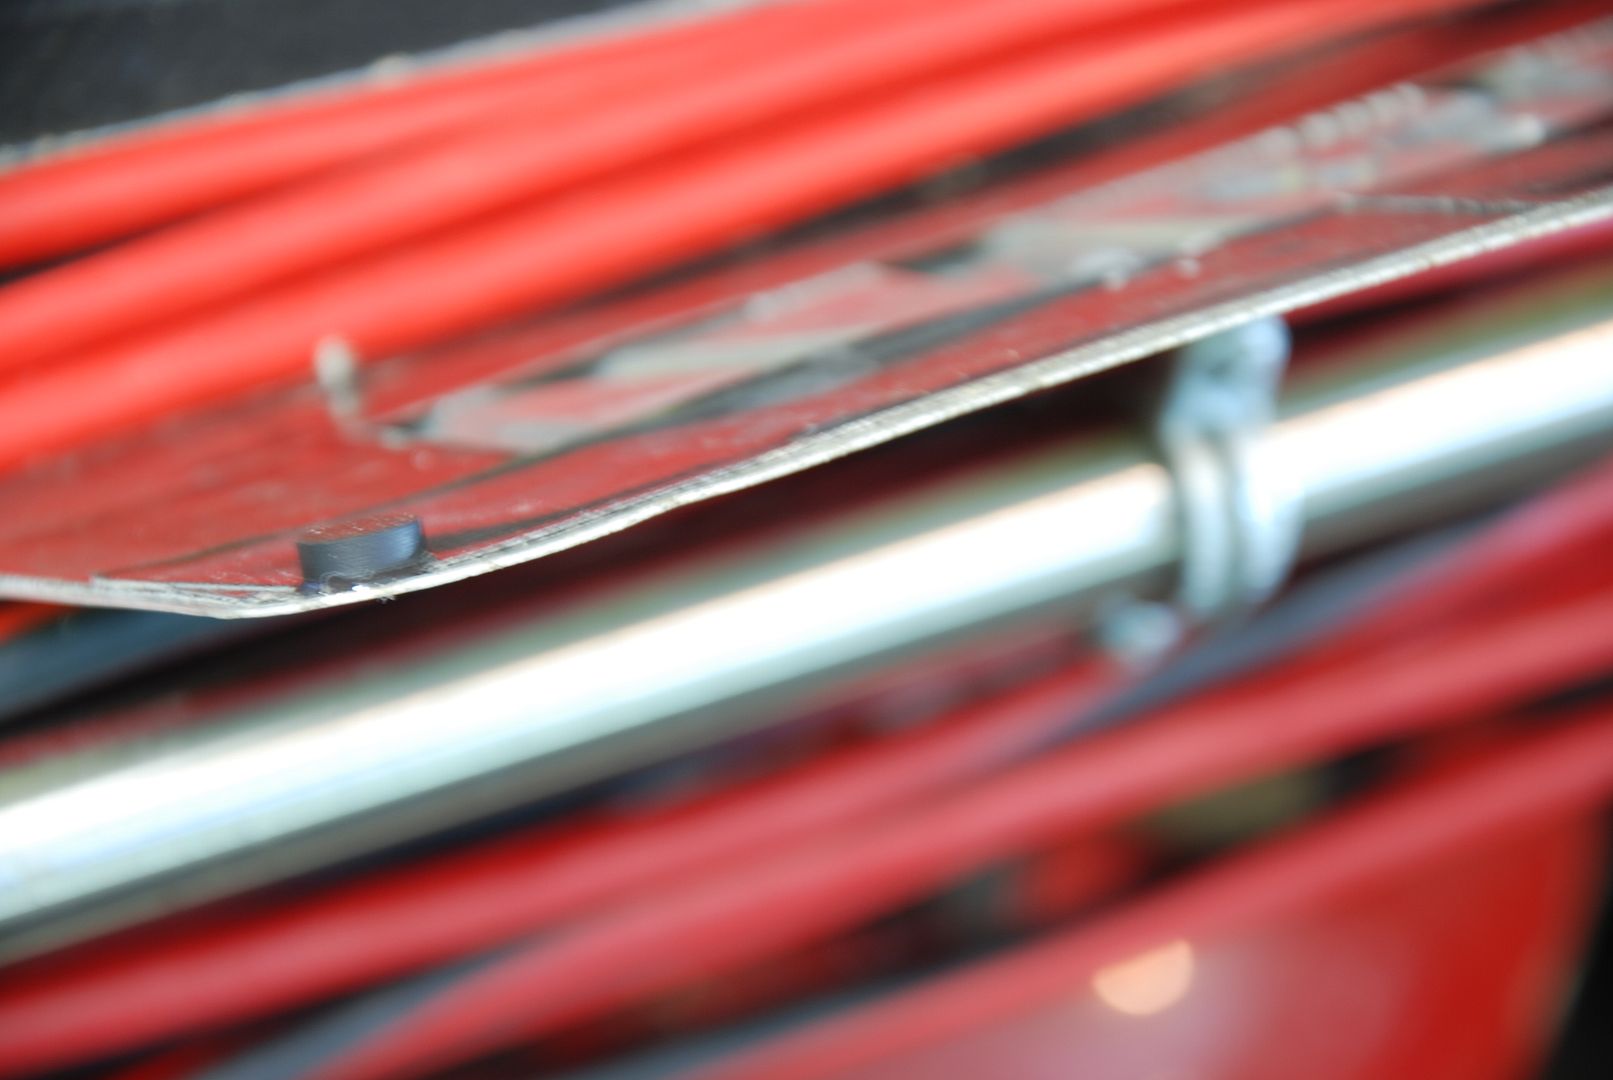
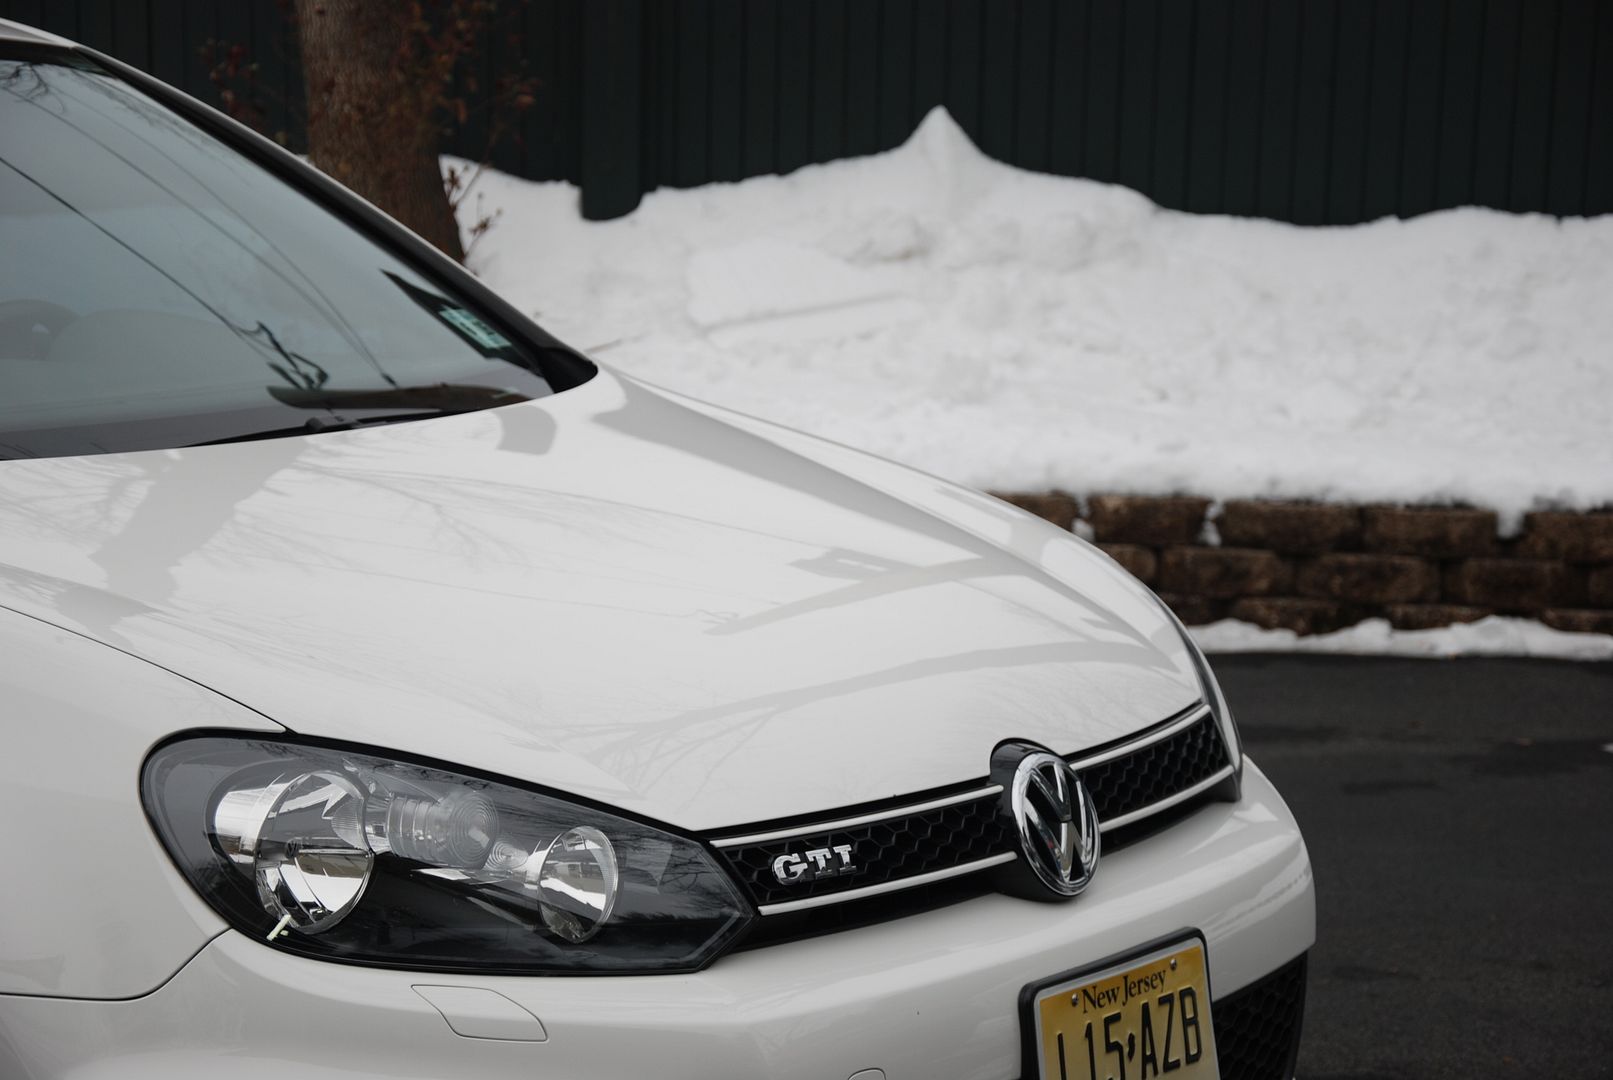
I was also asked for a solution to only having two license plate screws in. The plate was flapping in the wind causing damage to the paint. I secured two rubber feet, one to each corner, to the backside of the plate to ensure that it no longer causes any damage to the painted surface.
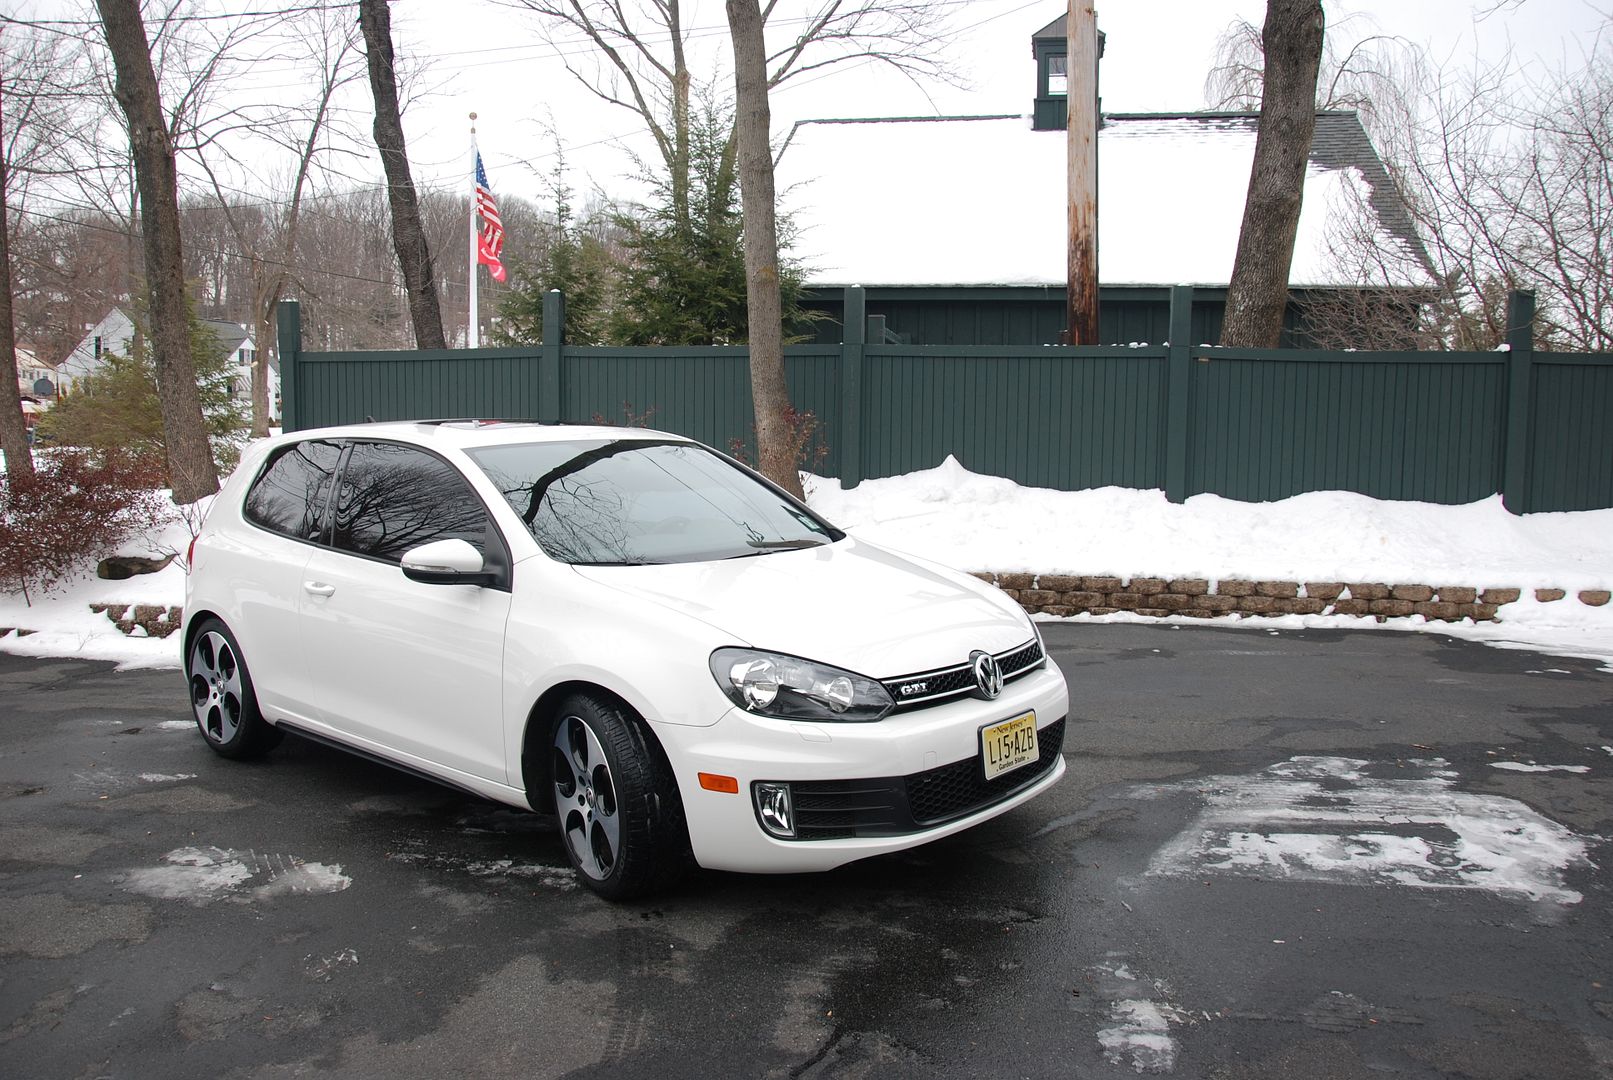
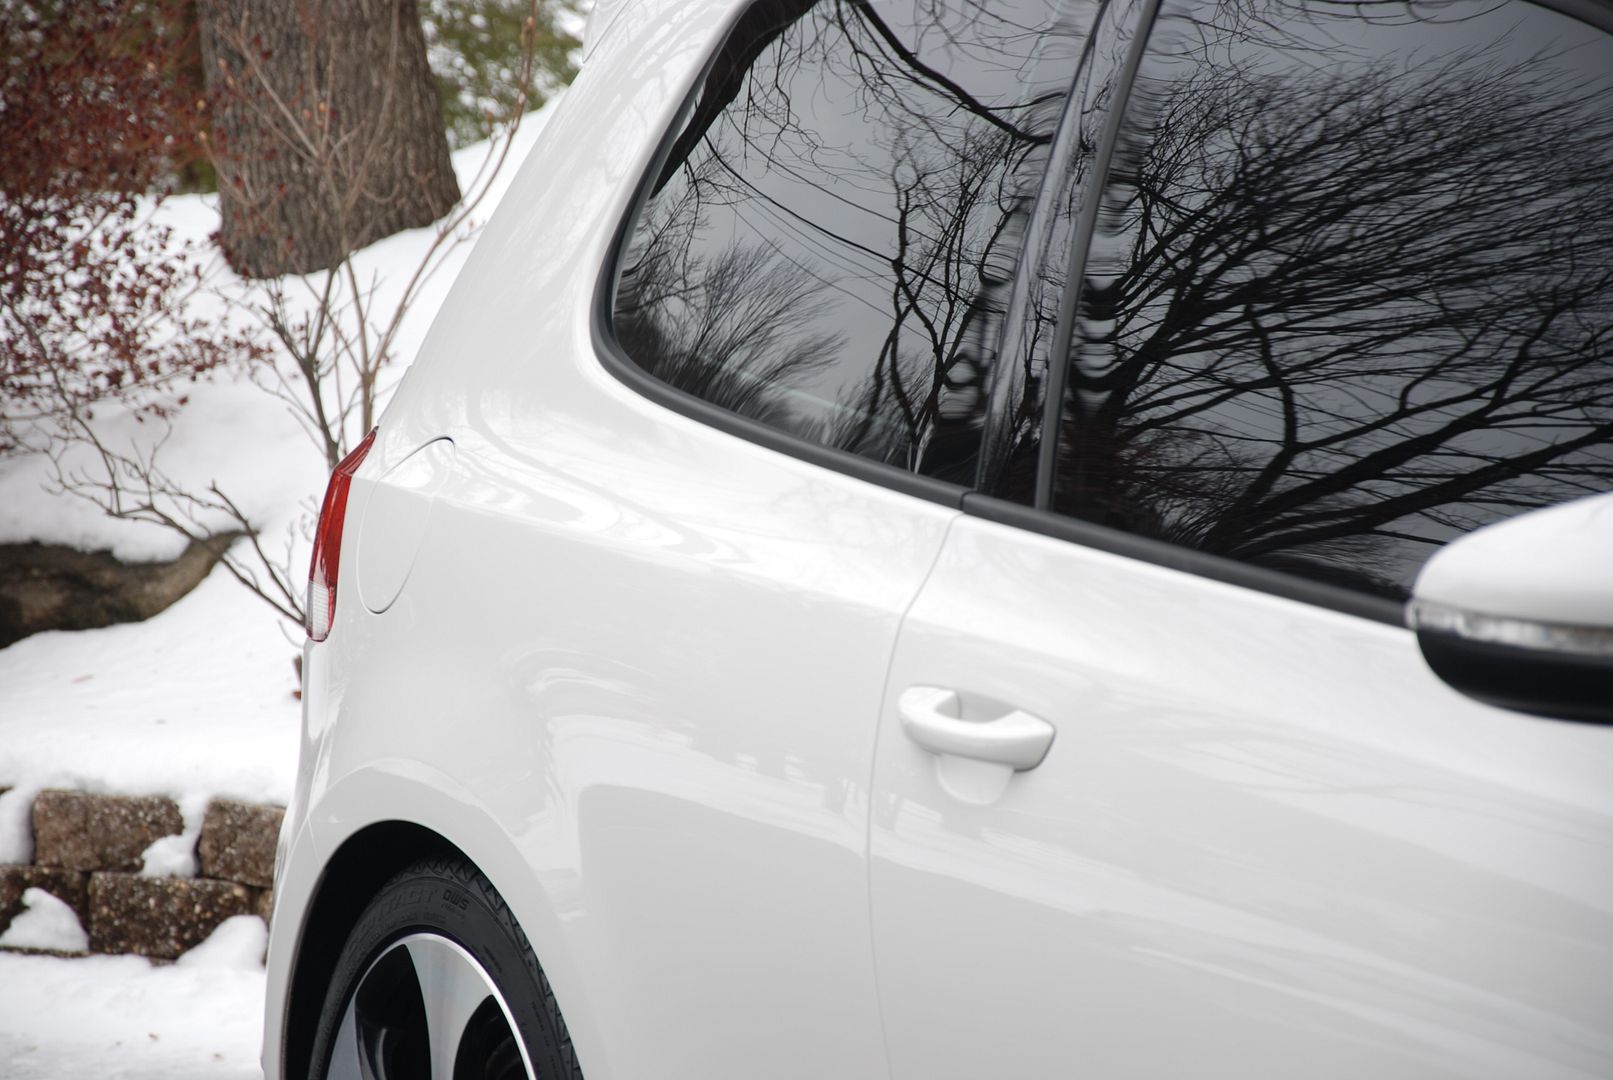
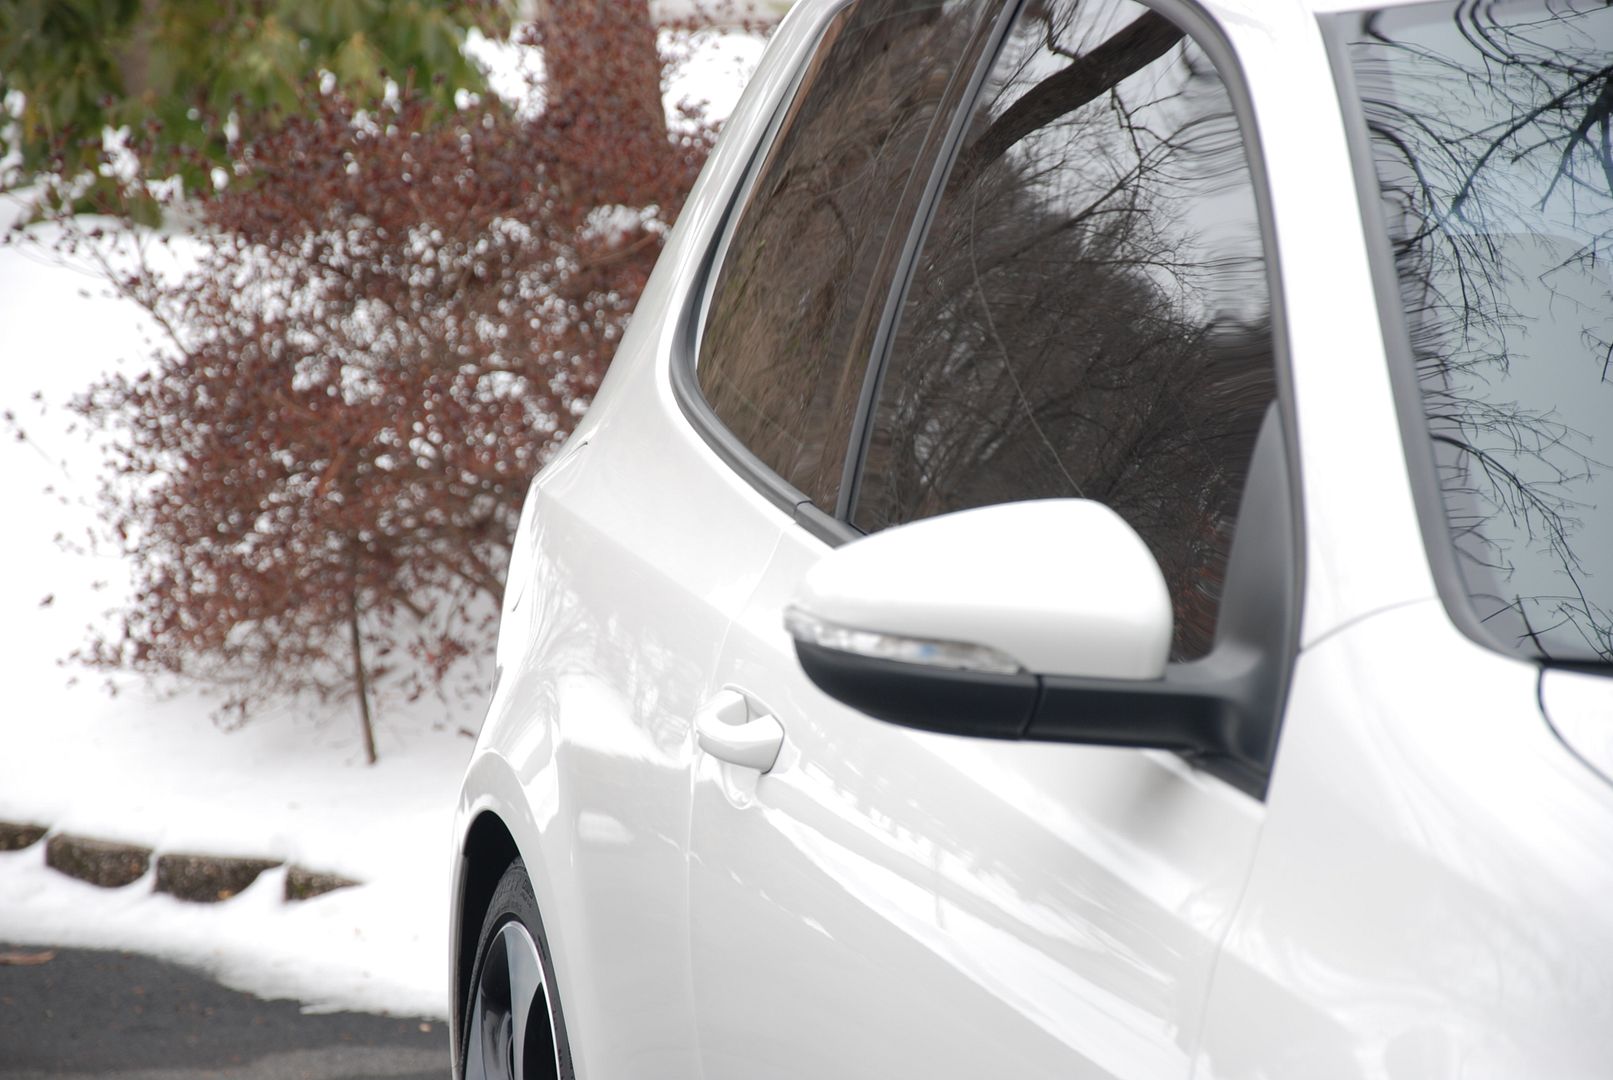
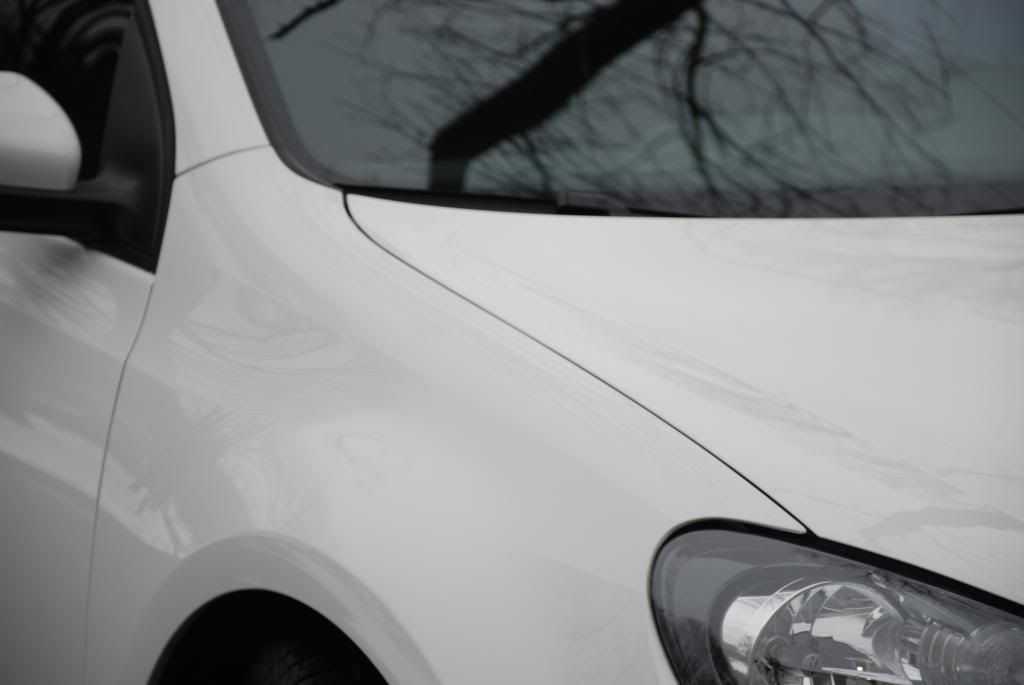
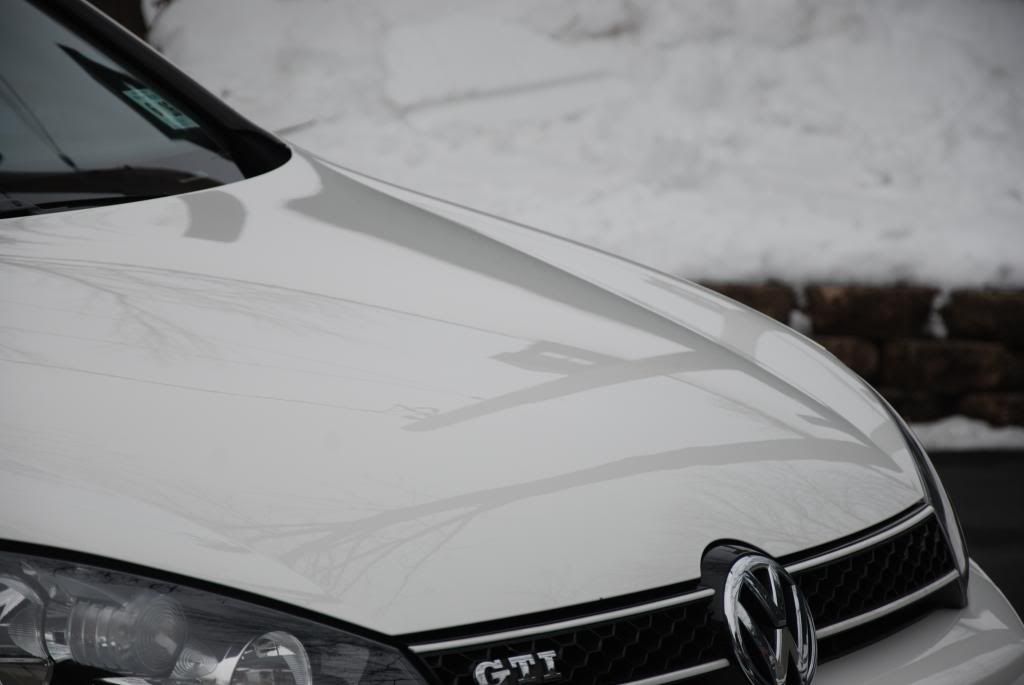
So....How did it turn out? Here are the after’s.
As always thanks for looking and Happy New Year!
Greg Gellas
A VW GTI to 1 step correct and Opti-Coat. Sure enough the day before it snowed, and on top of that it was about 25 degrees outside. I decided to pull the car in and wait for the snow on it to melt
Once all melted I then proceeded with a two bucket ONR wash. It was just too cold outside and I knew the water would freeze to the surface.
I pulled the license plate as I always do. It was not pretty under there.
Once washed I was able to see the true condition of the paint. Sure enough it was cover in rail dust. I slowly moved around the entire car with a Nanoskin auto scrub wash mitt. Some of the deeper contamination took a few wipes, but most came off with 1 or 2 quick light passes.
I then scrubbed the tires. They needed 3 separate cleaning until they came clean. Why so particular about the tires. They were getting the Tuff Shine Permanent Tire coating. It leaves a nice Matte finish and lasts. You can make it glossier by adding additional layer of the coating but I prefer the Matte finish.
Since I did and ONR wash, I couldn't forget to get every crack and crevice cleaned. I dipped my swab in the ONR mixture and began to attack the tight areas.
Before bringing me the car the owner asked about badge removal. I told him to go ahead and take it off I will remove the residue left. The blue hue to the pictures is from the type of Led lights I was using for inspection.
After, the wash and decon, its time for inspection of the paint. Seeing that it was a white car it was very difficult to capture any issues with the paint. Here is one big scuff on the rear bumper that could be corrected.
It may have been 25 Degrees outside, but I was sweating in my garage, I had to turn down the heat. I went over the entire car using my Rupes LHR15E, Sonax Perfect Finish, and a white pad. I found this combination to be perfect for the minor defect removal needed, and it just amped up the gloss of the paint so much, I was amazed at the results.
I moved on to using my PC with a 3" LC pad and Sonax Perfect Finish. As you can see this was ideal to remove the damage on the taillights.
The B pillars were pretty much trashed, I got great correction. The following correction picture shows after just 1 pass, I was able to get 90%+ correction on these.
The faces of the wheels were also polished, I took this picture before tire cleaning, just to make sure my 3" pad would work. Otherwise it would have been quite a bit of hand polishing.
So the paint and wheels are all corrected now. I moved on to a complete IPA wipe down of everything! Trim, wheels, and paint. It was time to apply Opti-Coat.
I went as far as Opti-Coating his key
The exhaust tips got polished using Optimum Metal Polish and a MF towel.
I was also asked for a solution to only having two license plate screws in. The plate was flapping in the wind causing damage to the paint. I secured two rubber feet, one to each corner, to the backside of the plate to ensure that it no longer causes any damage to the painted surface.
So....How did it turn out? Here are the after’s.
As always thanks for looking and Happy New Year!
Greg Gellas