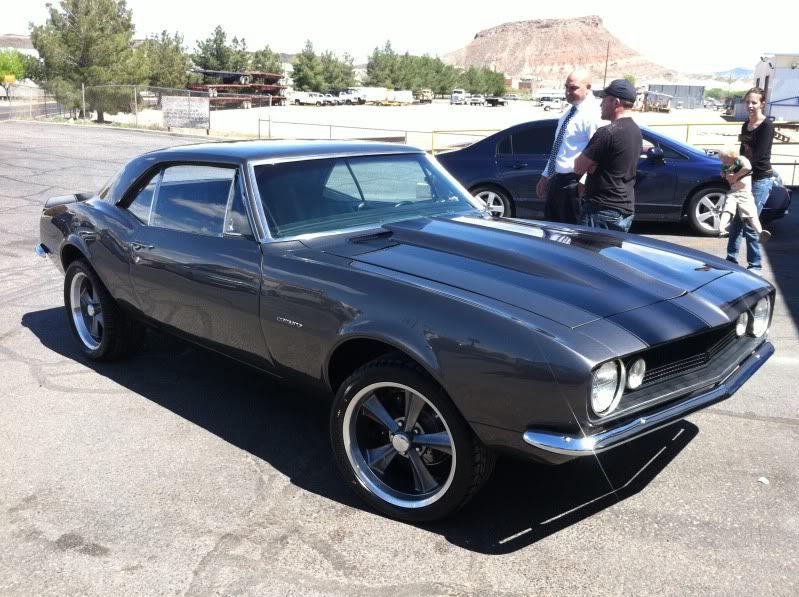
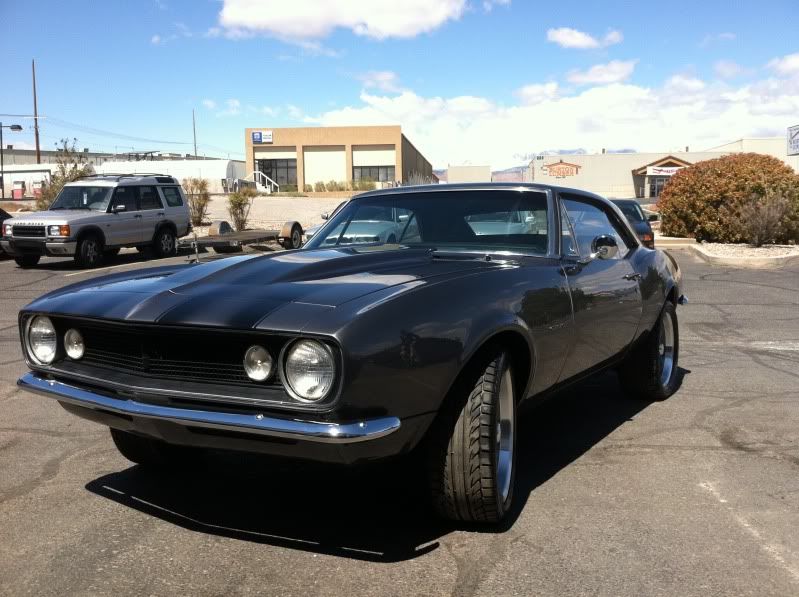
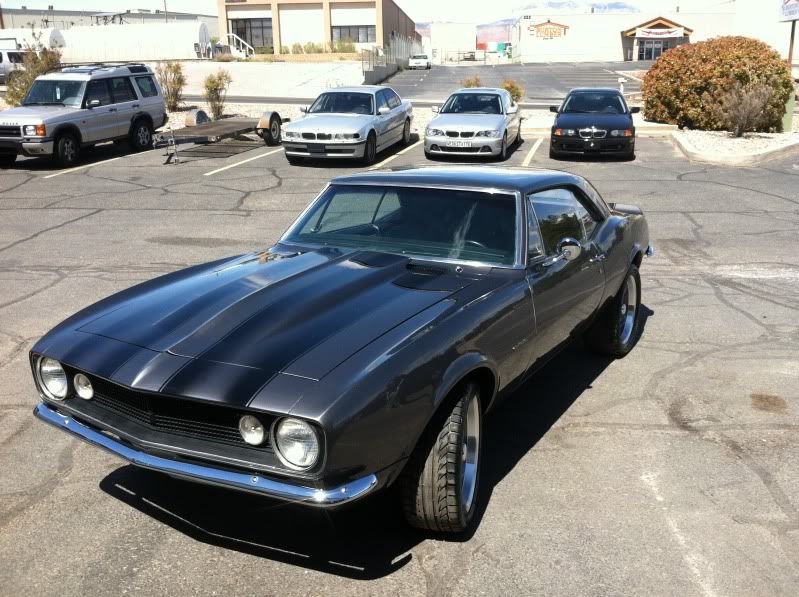
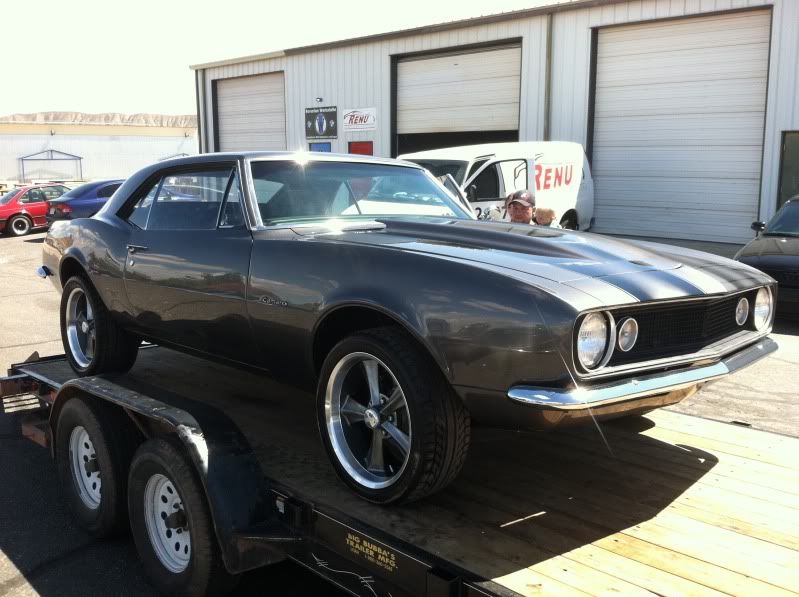
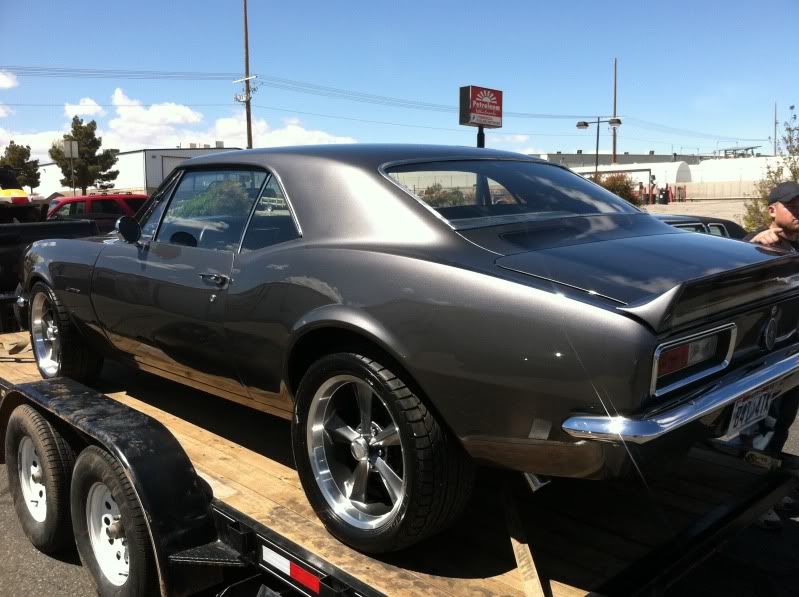
What a project to be a part of! Over 40 hours of unwavering focus, precision refining and paint correction really brought this special father-son project to a the level of beauty that it deserved ")
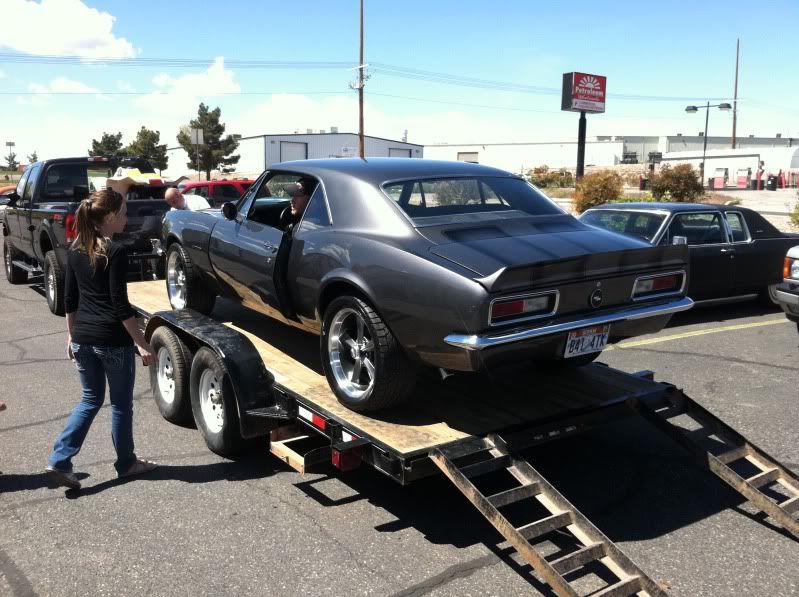
This customer had a bad experience with a painter that left his father-son project 67' Camaro with a finish that had more issues to work out than a court-date with Lindsy Lohan. The car was riddled with dust nibs, dramatic amounts of orange peel, and clear-coat hazing that had the car looking like a "7" instead of the "10" that it had the potential to be.
The best part of the two-week experience working with this car was that the client REALLY had an eye for proper paint work and knew the in's and outs of what a true wet-sand/polish was capable of, so it was one of the few times I really felt that every extra ounce of effort put into the restoration would really result in something that was truly appreciated.
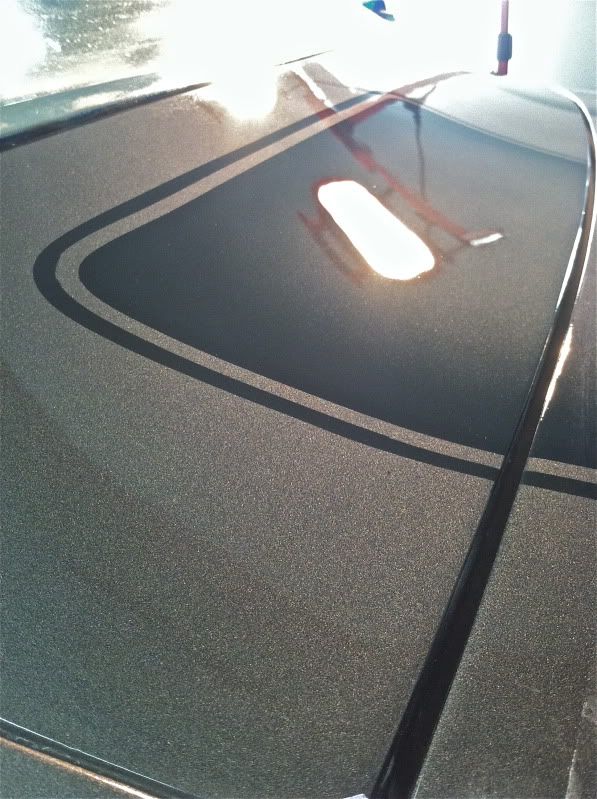
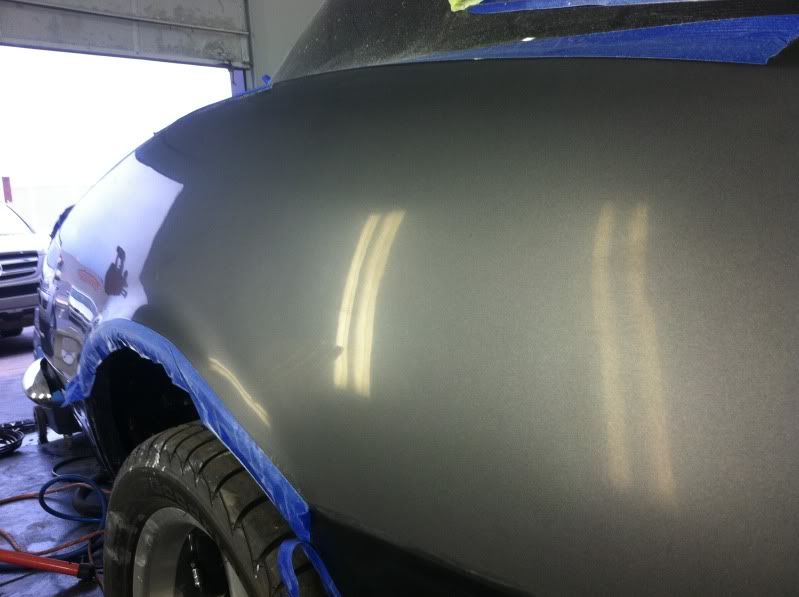
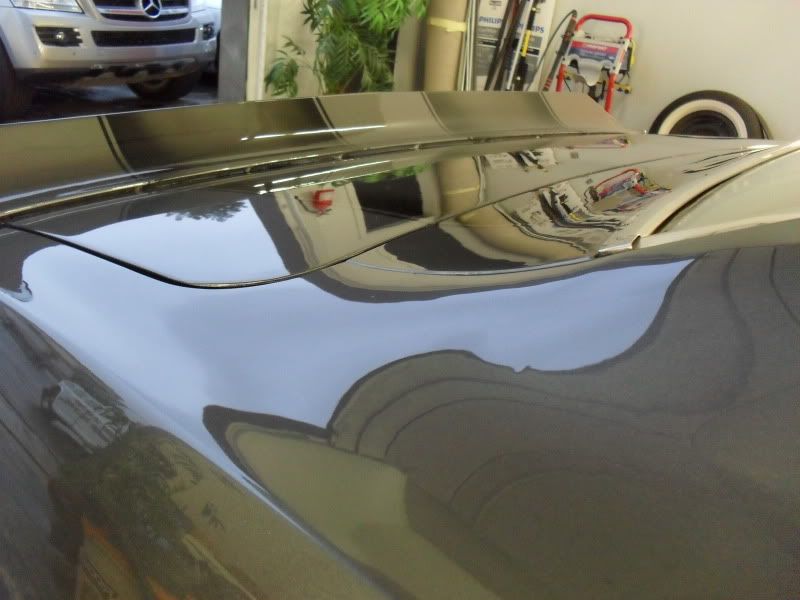
When the car was dropped off, we started with the roof, as it seemed to have some of the deepest craters in the clear, would be a great place to get some 50/50's and would really give us an idea of what was possible with the rest of the paint work on the car.
An example of a 50/50 of the roof section:

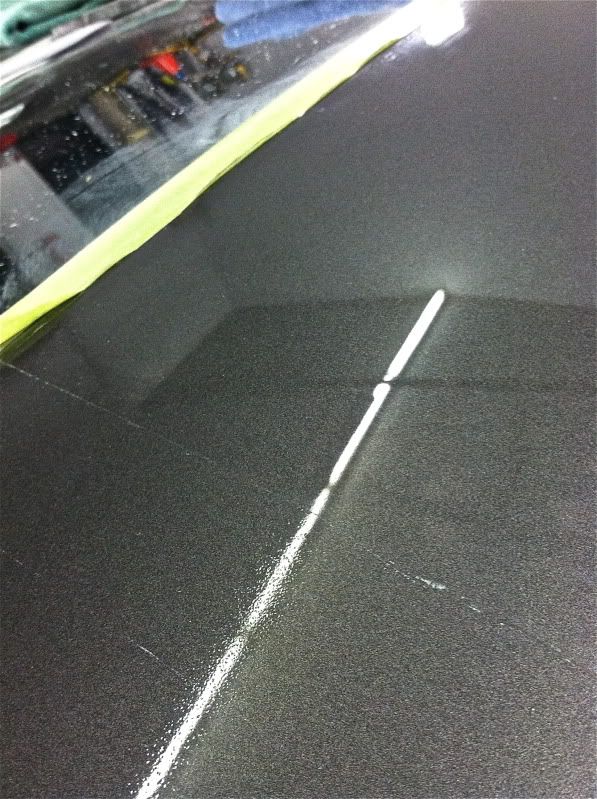
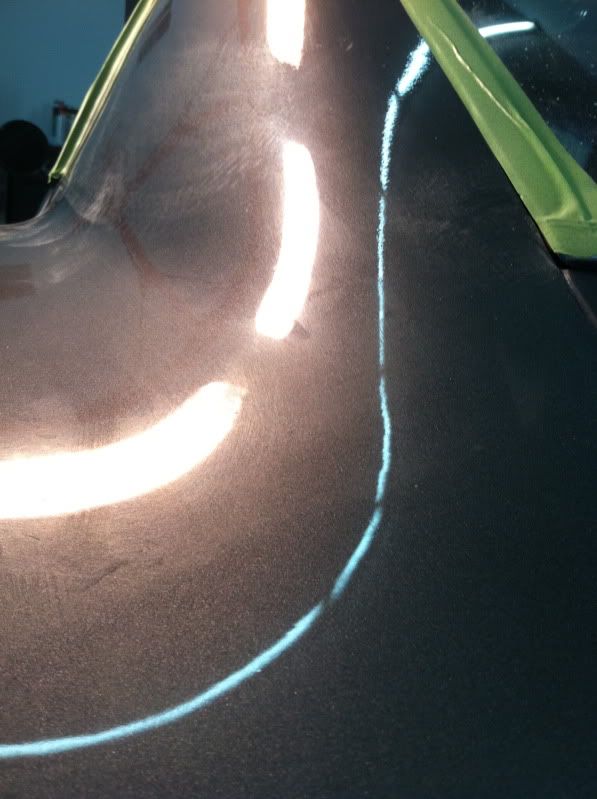
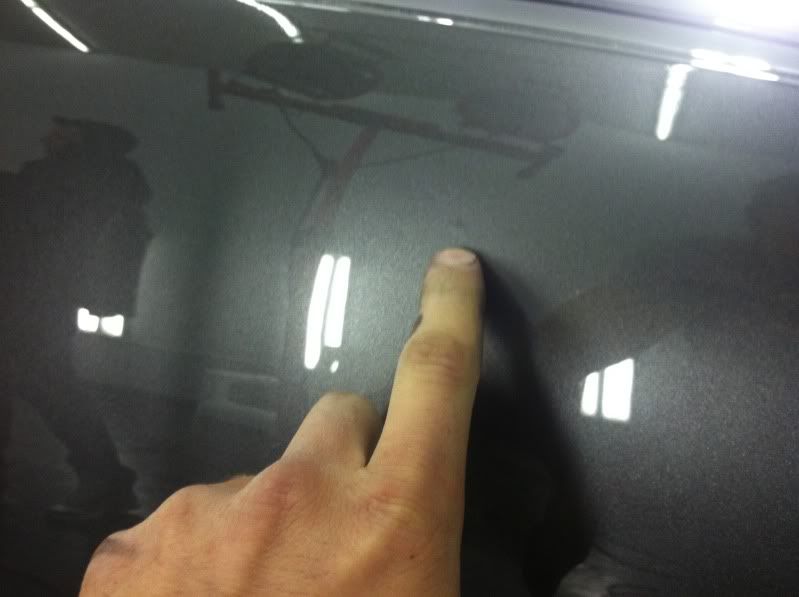
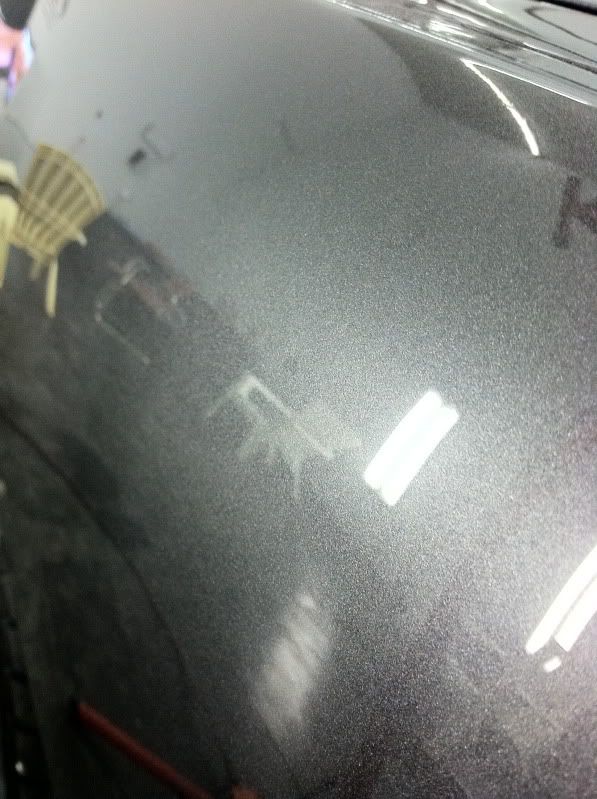
Orange peel:
This quick vid shows the bottom section un-touched while the top part has been corrected:
<iframe src="http://player.vimeo.com/video/21652941?title=0&byline=0&portrait=0" width="400" height="300" frameborder="0"></iframe>
Untitled from Renu Auto on Vimeo.
The defects in the paint work were really hiding some true beauty hiding underneath:
Before:
After:


After several different tests I ended up with a plan of attack that consisted of sanding with 1000 grit, and refining down through 1500, 2000, 2500 and 3000 with the dA. Some may think going down to 3000 (and even 4000 in some areas) is a little ridiculous, but I like the way the following compound a polish steps progress after refining the sanding that much. I went through with the Kevin Brown Method on Surbuf with M105 and then LC Orange M105 followed by LC White M205 after that. Every part of the car was different though as I found block sanding necessary in some areas and compounding with wool in others.
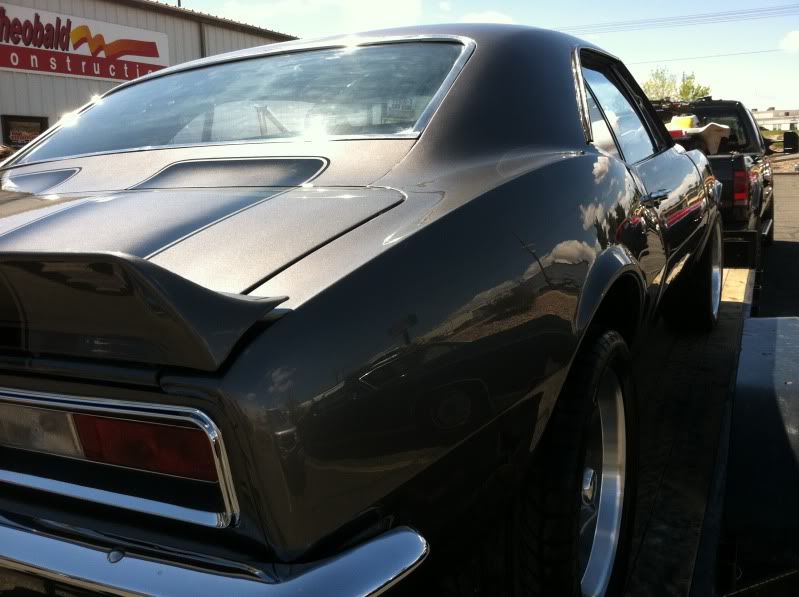
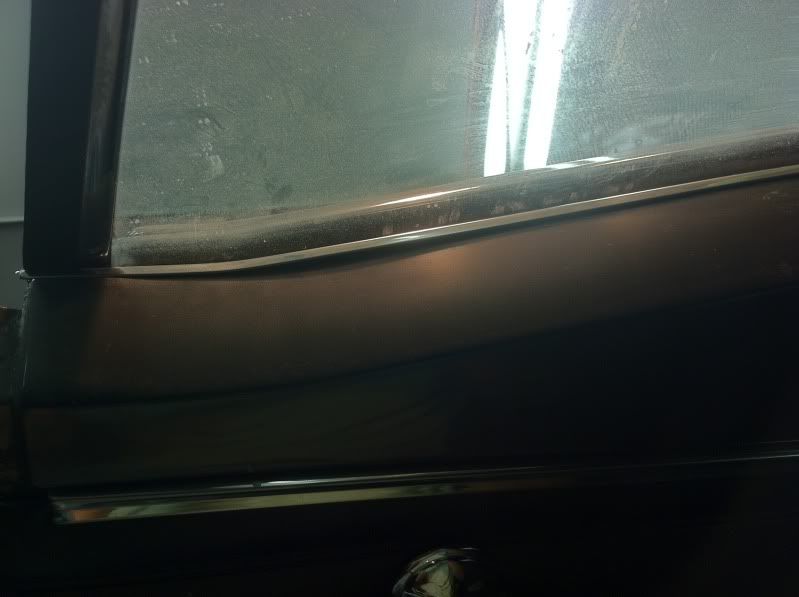
The back cowl had all kinds of issues:

But nothing that wasn't tackle-able.
One of my favorite before/afters:
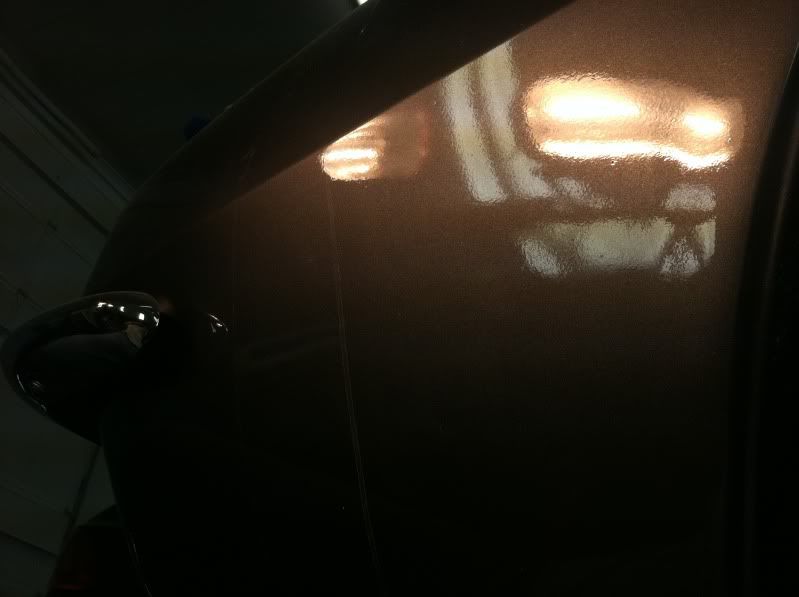
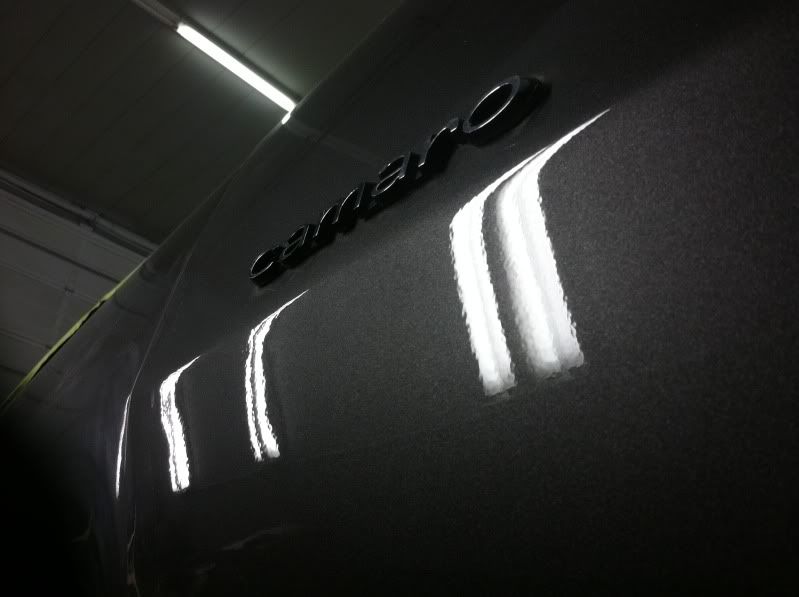
The front clip had also been re-shot by another paint shop due to some issues with the stripes, and even though their work was LIGHT YEARS better than the previous painters', there was still a myriad of holograms and other issues to correct as well:
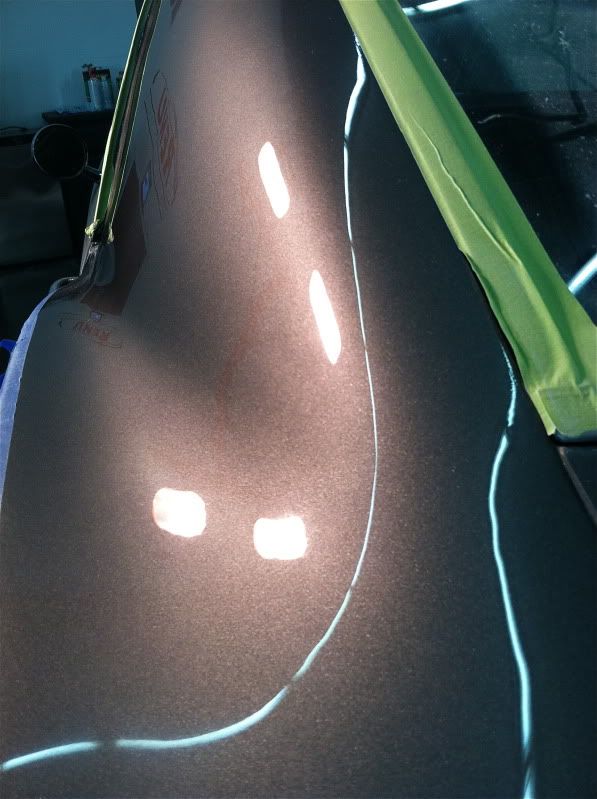
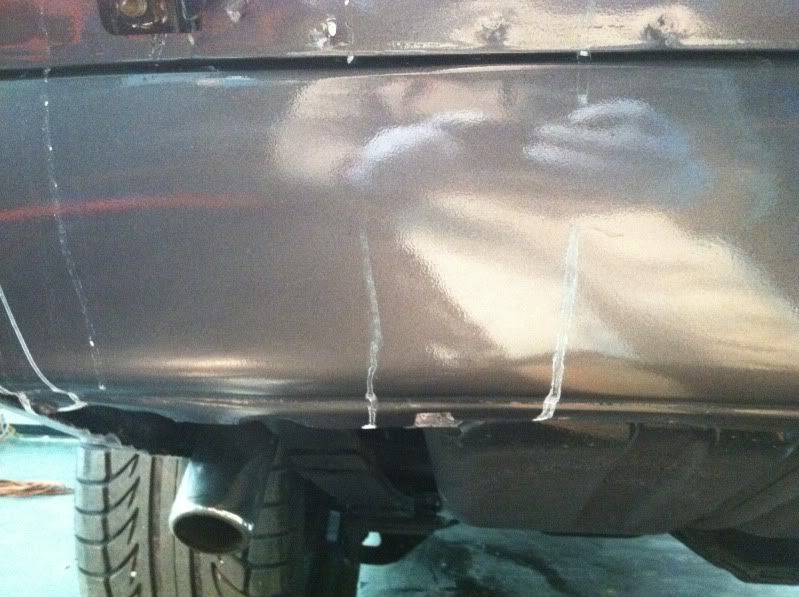
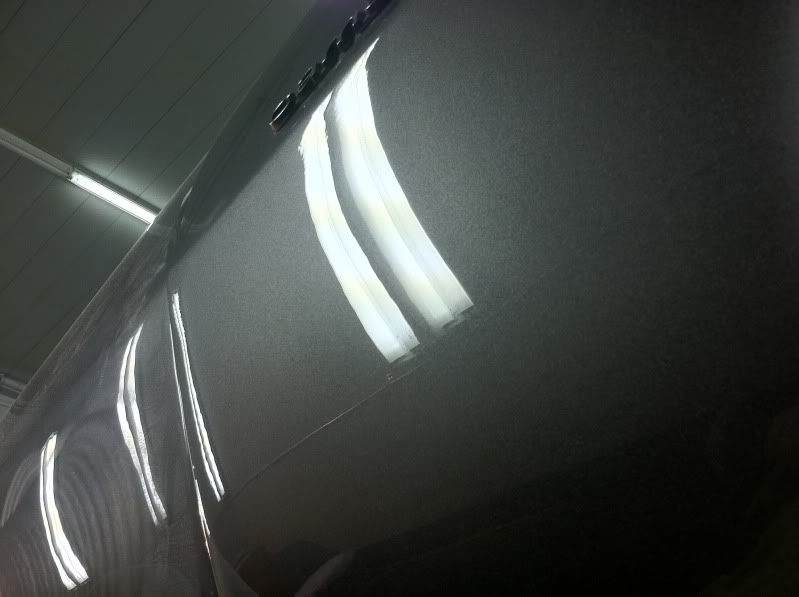
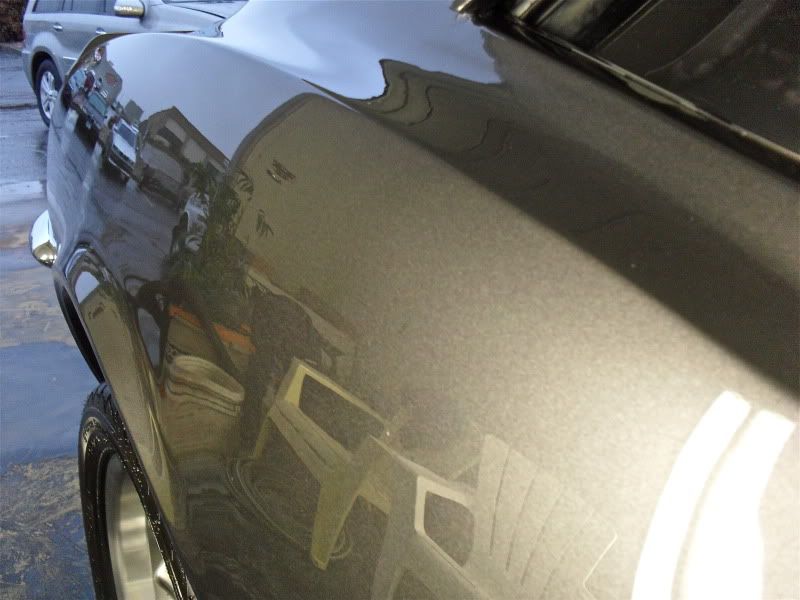
The lower sections had lots of gloss and reflection being hidden by orange peel:
After:
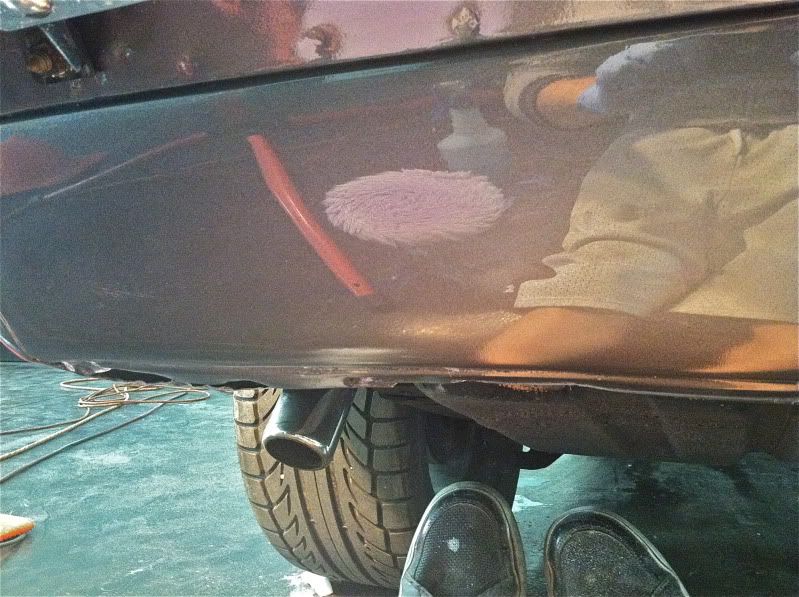
3000 grit on the dA with the right technique leaves things finished out quite nicely:
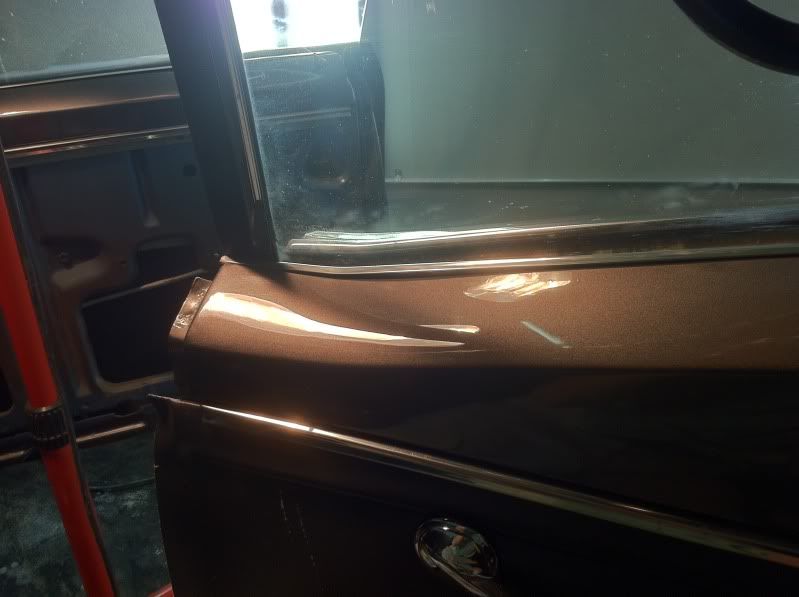
Even the interior suffered from areas that needed to be corrected:
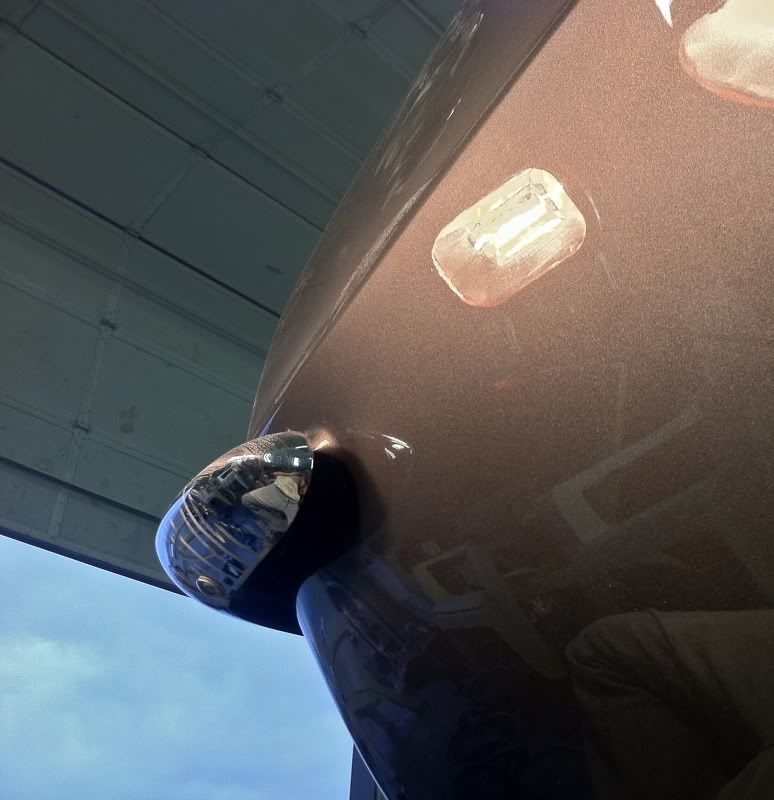
There was a paint chip that needed to be addressed as well. I wish I had taken some before photo's of it, as the chip went down to the metal. I actually ended up air brushing the paint into the chip, layer after layer after layer, until it was built up to the surrounding height of the paint besides it (or at least as close as possible) and then M205/LC White the remaining paint off (the fresh paint came off relatively easy and I didn't want to get aggressive enough to rip paint out of the chip)
Finishing up:
This customer had a bad experience with a painter that left his father-son project 67' Camaro with a finish that had more issues to work out than a court-date with Lindsy Lohan. The car was riddled with dust nibs, dramatic amounts of orange peel, and clear-coat hazing that had the car looking like a "7" instead of the "10" that it had the potential to be.
The best part of the two-week experience working with this car was that the client REALLY had an eye for proper paint work and knew the in's and outs of what a true wet-sand/polish was capable of, so it was one of the few times I really felt that every extra ounce of effort put into the restoration would really result in something that was truly appreciated.
When the car was dropped off, we started with the roof, as it seemed to have some of the deepest craters in the clear, would be a great place to get some 50/50's and would really give us an idea of what was possible with the rest of the paint work on the car.
An example of a 50/50 of the roof section:
Orange peel:
This quick vid shows the bottom section un-touched while the top part has been corrected:
<iframe src="http://player.vimeo.com/video/21652941?title=0&byline=0&portrait=0" width="400" height="300" frameborder="0"></iframe>
Untitled from Renu Auto on Vimeo.
The defects in the paint work were really hiding some true beauty hiding underneath:
Before:
After:
After several different tests I ended up with a plan of attack that consisted of sanding with 1000 grit, and refining down through 1500, 2000, 2500 and 3000 with the dA. Some may think going down to 3000 (and even 4000 in some areas) is a little ridiculous, but I like the way the following compound a polish steps progress after refining the sanding that much. I went through with the Kevin Brown Method on Surbuf with M105 and then LC Orange M105 followed by LC White M205 after that. Every part of the car was different though as I found block sanding necessary in some areas and compounding with wool in others.
The back cowl had all kinds of issues:
But nothing that wasn't tackle-able.
One of my favorite before/afters:
The front clip had also been re-shot by another paint shop due to some issues with the stripes, and even though their work was LIGHT YEARS better than the previous painters', there was still a myriad of holograms and other issues to correct as well:
The lower sections had lots of gloss and reflection being hidden by orange peel:
After:
3000 grit on the dA with the right technique leaves things finished out quite nicely:
Even the interior suffered from areas that needed to be corrected:
There was a paint chip that needed to be addressed as well. I wish I had taken some before photo's of it, as the chip went down to the metal. I actually ended up air brushing the paint into the chip, layer after layer after layer, until it was built up to the surrounding height of the paint besides it (or at least as close as possible) and then M205/LC White the remaining paint off (the fresh paint came off relatively easy and I didn't want to get aggressive enough to rip paint out of the chip)
Finishing up: