OakesDetail
New member
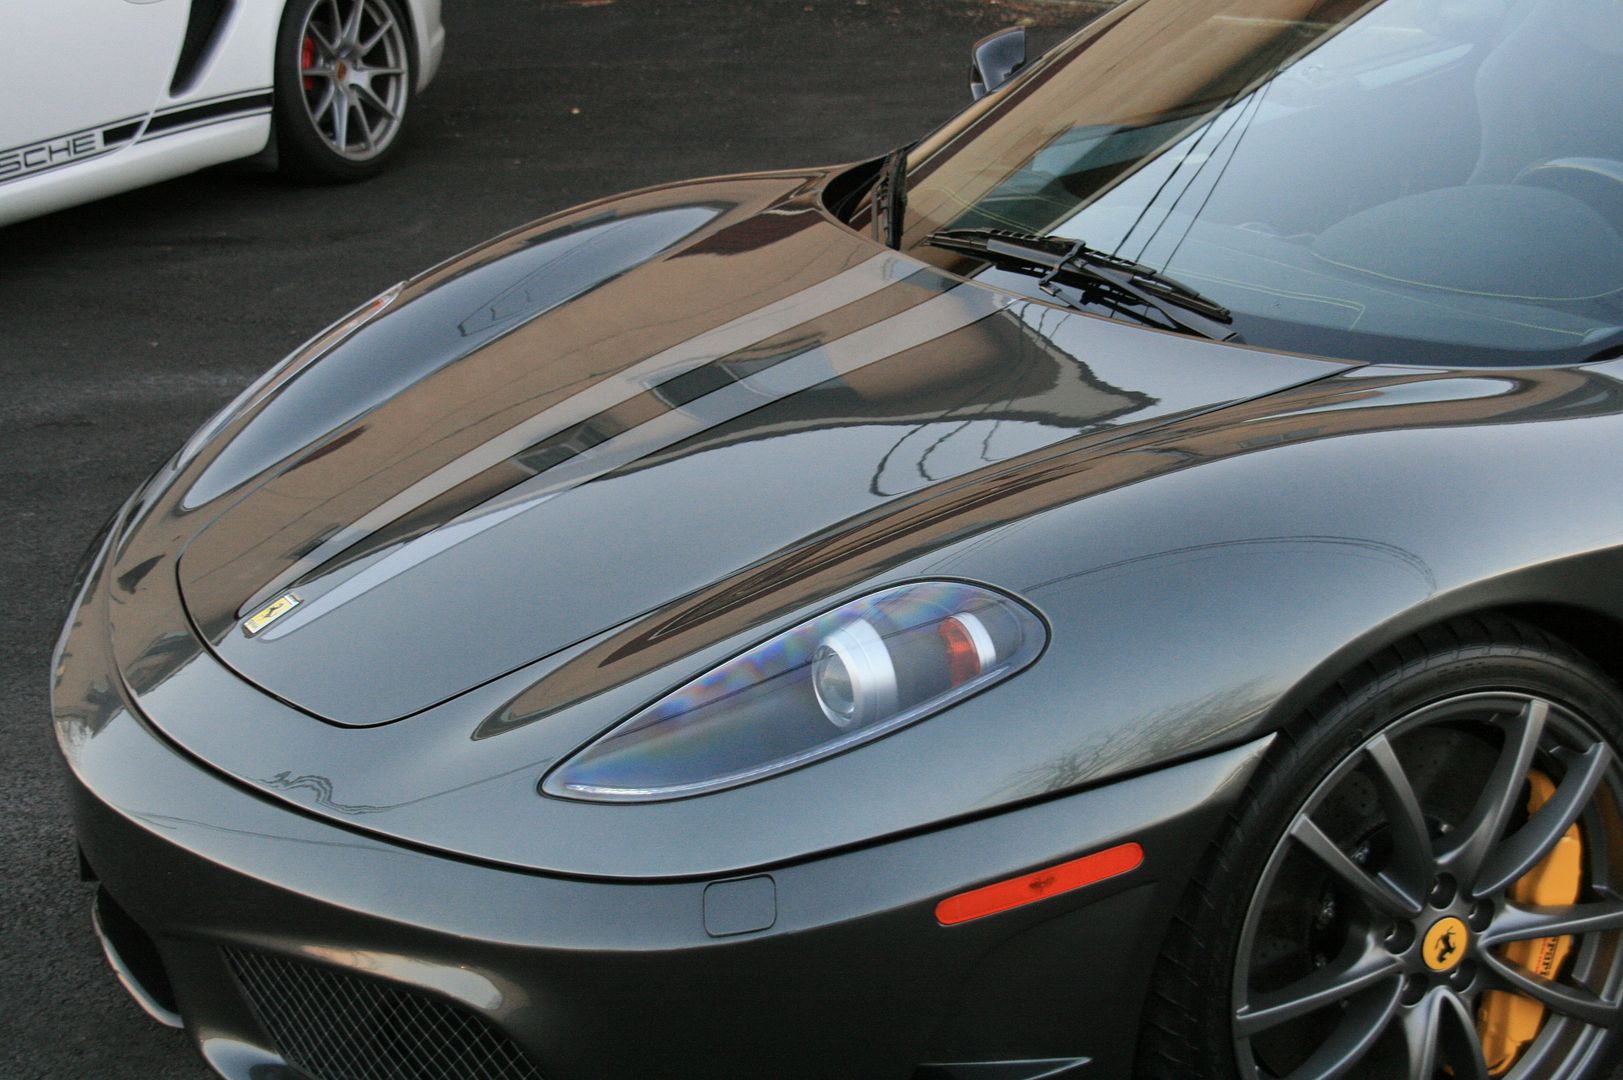
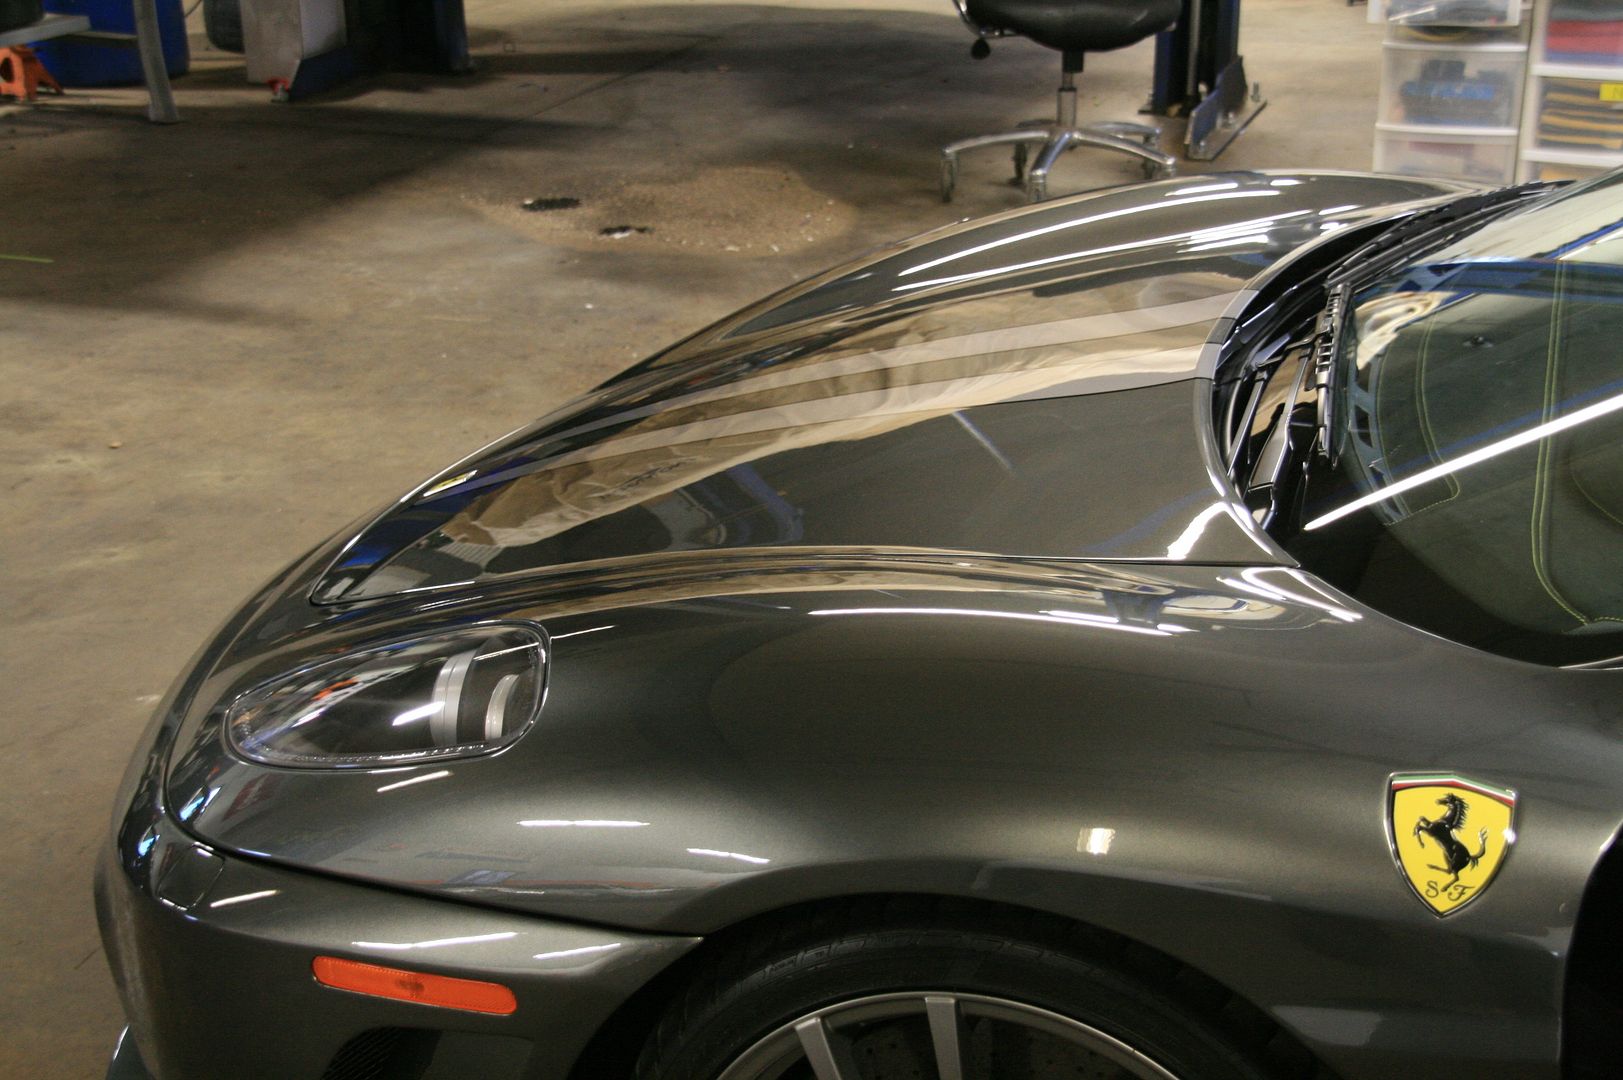
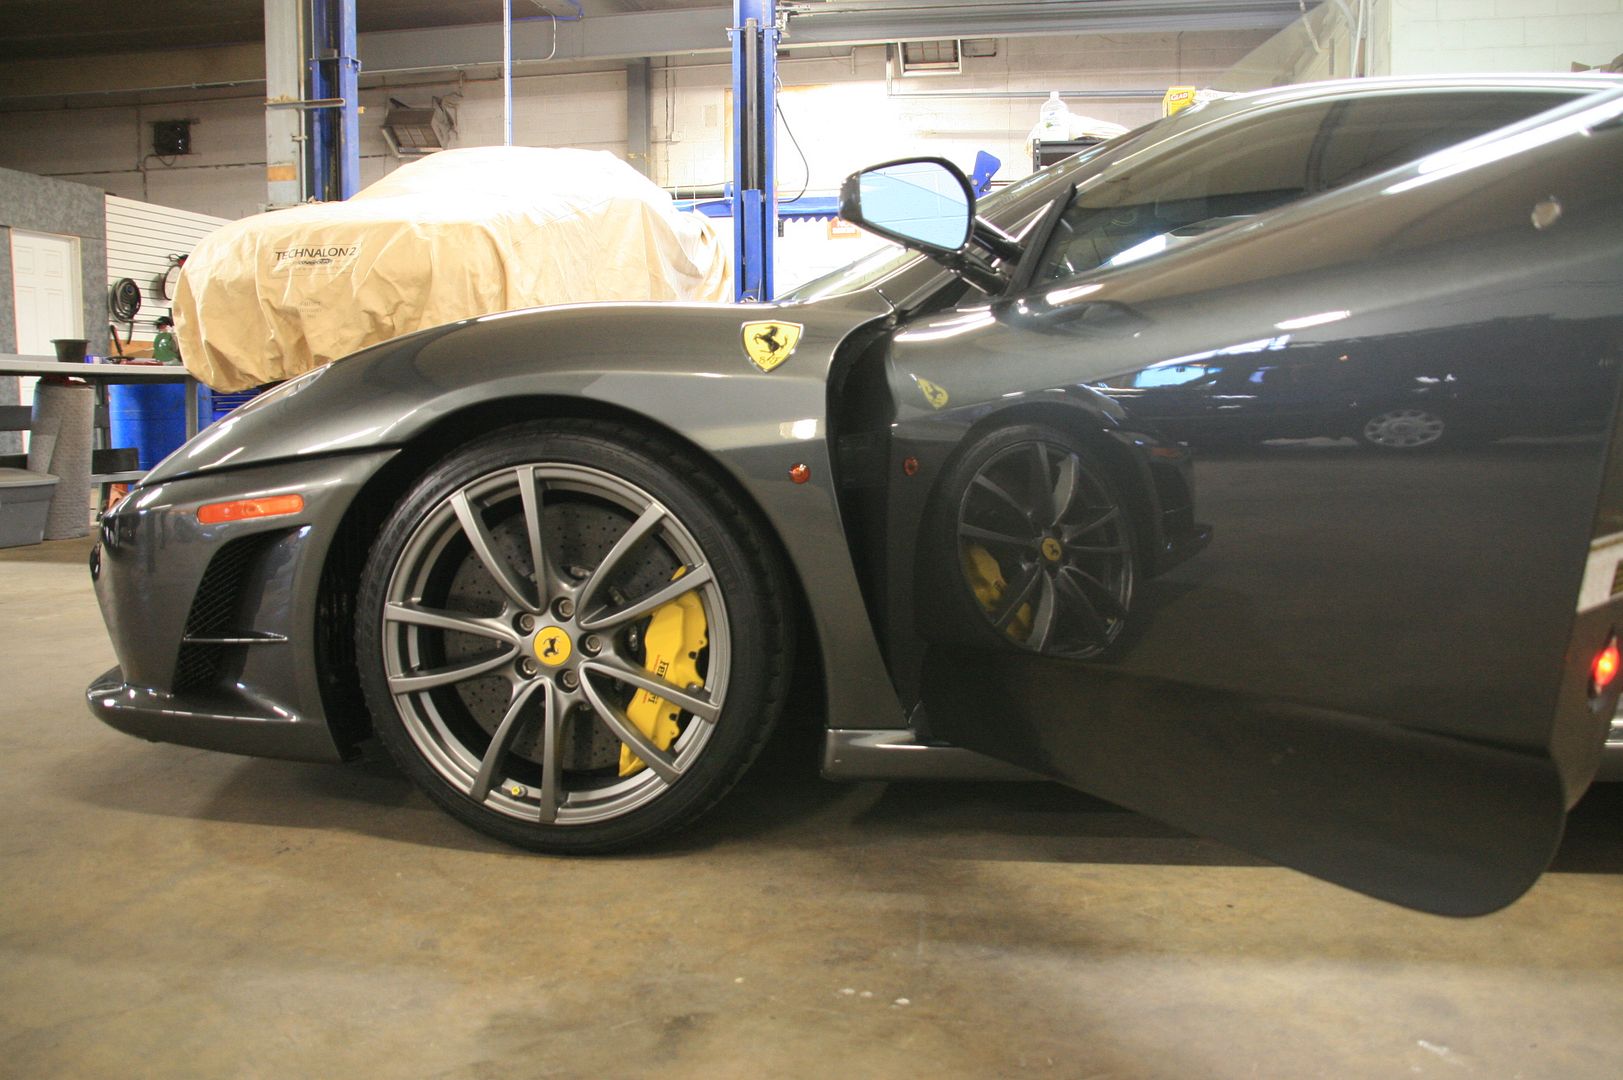
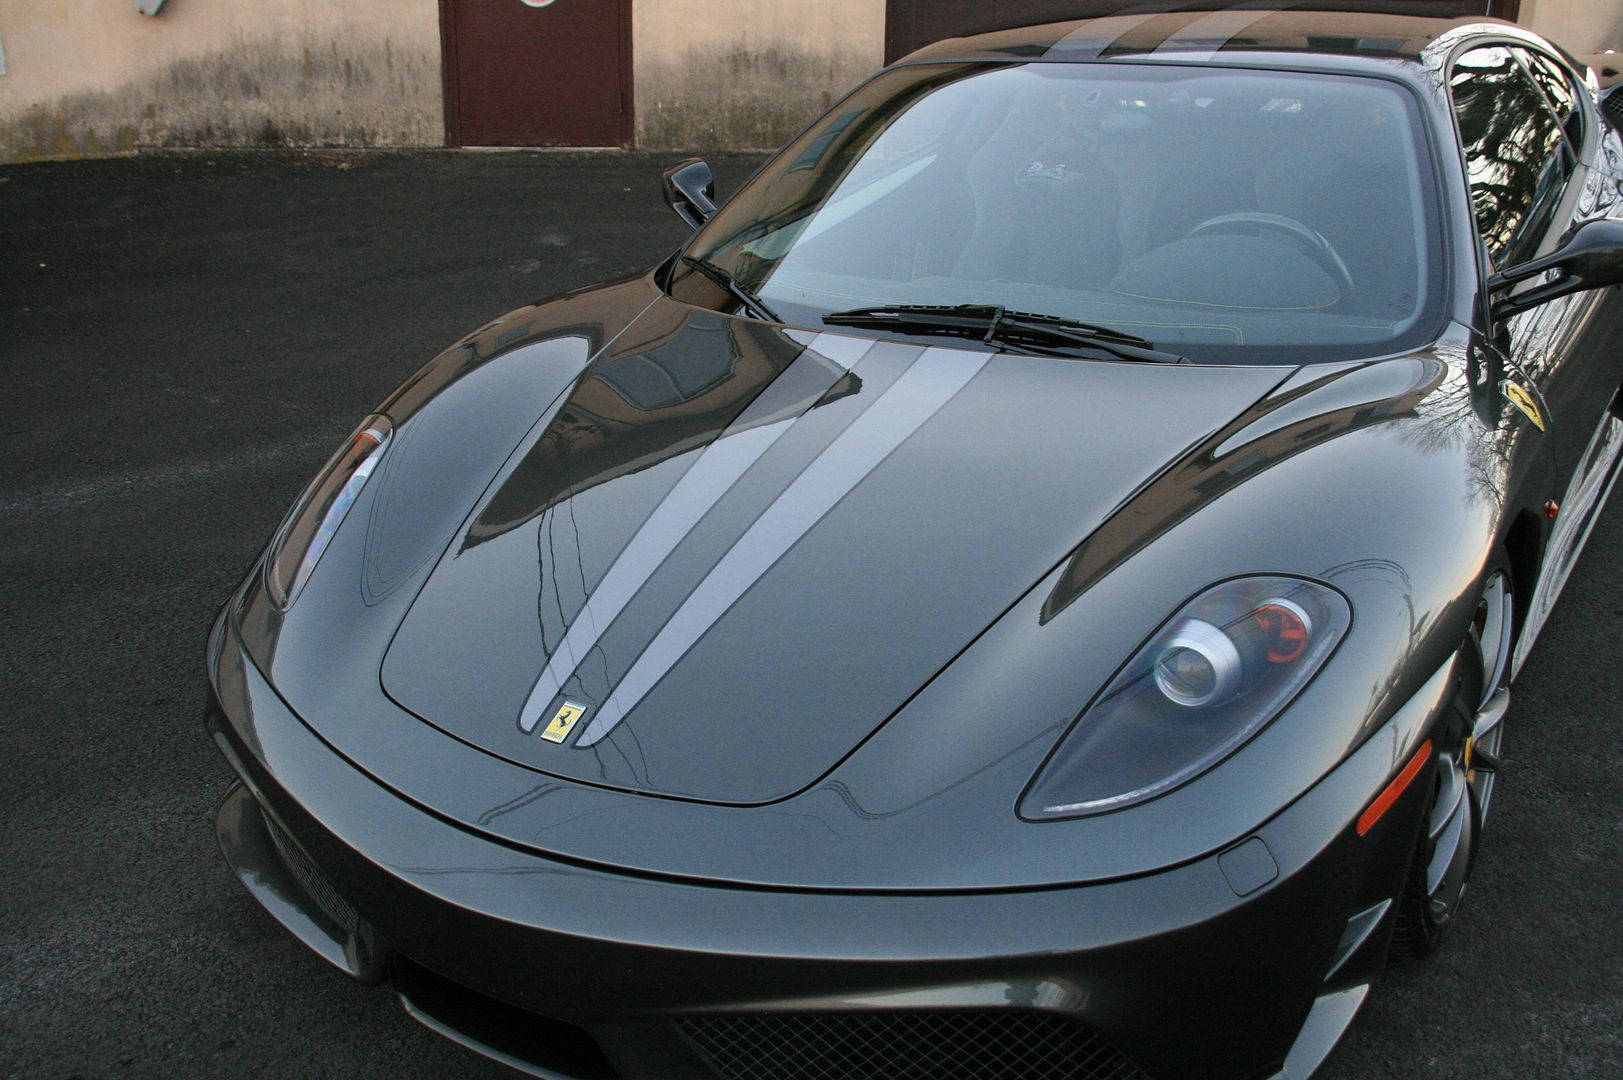
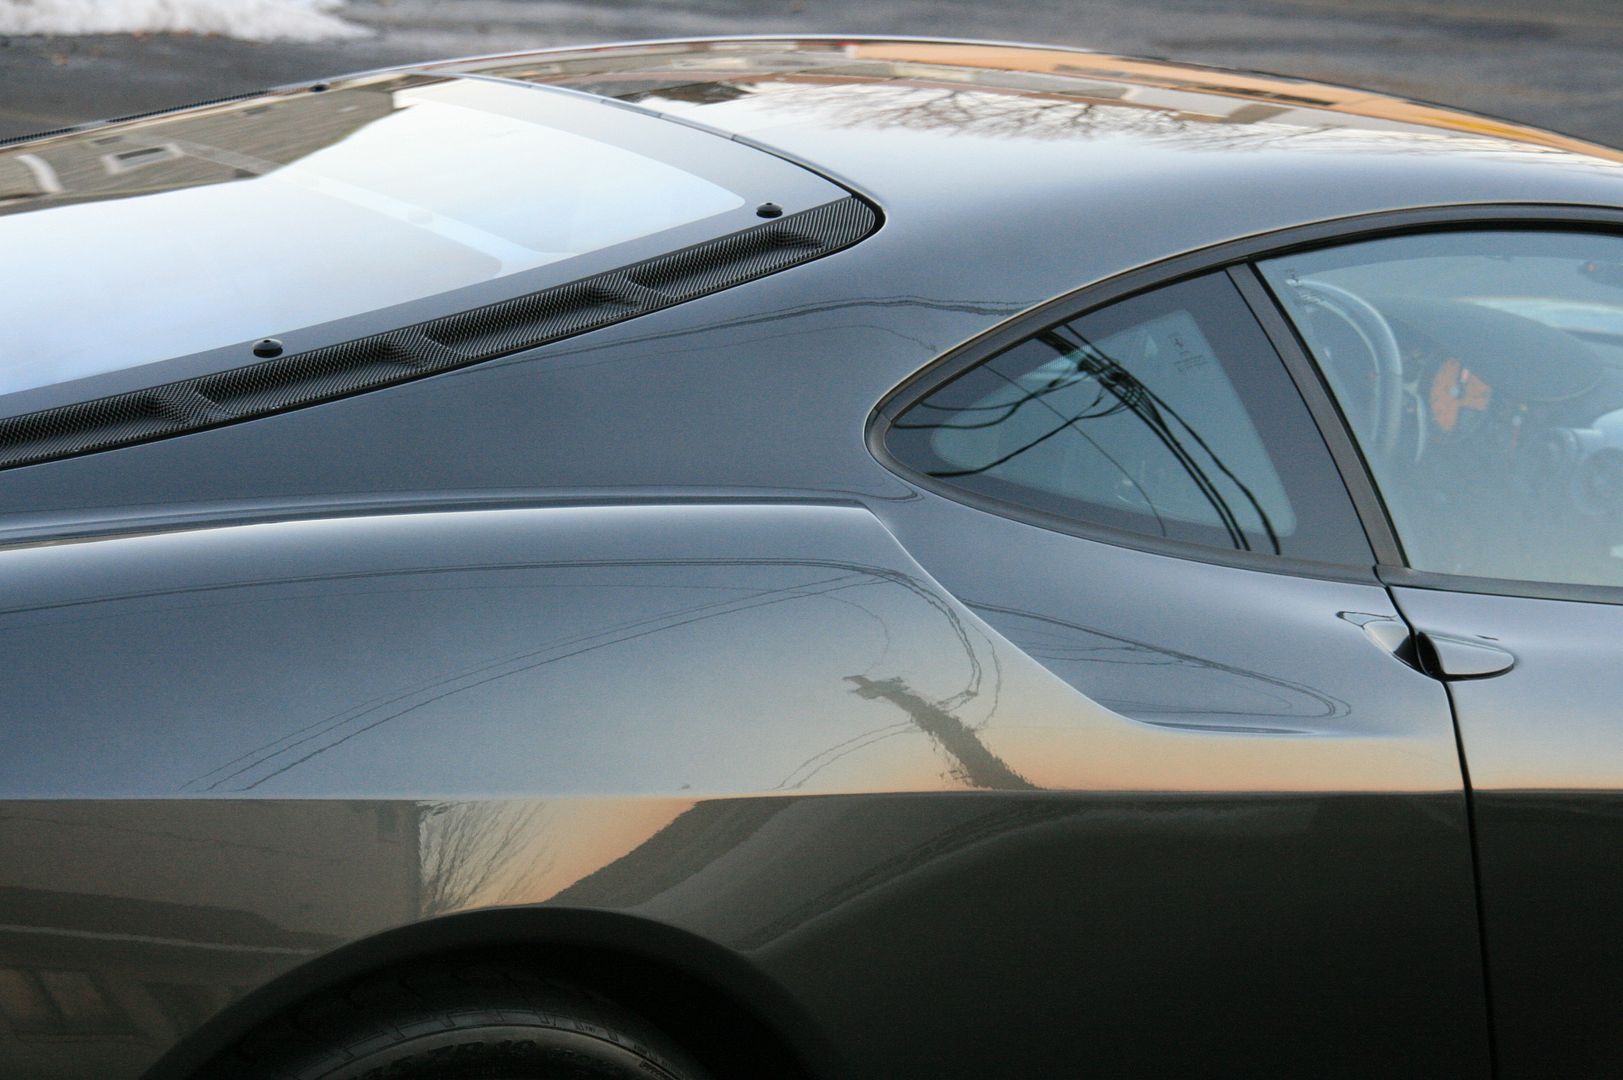
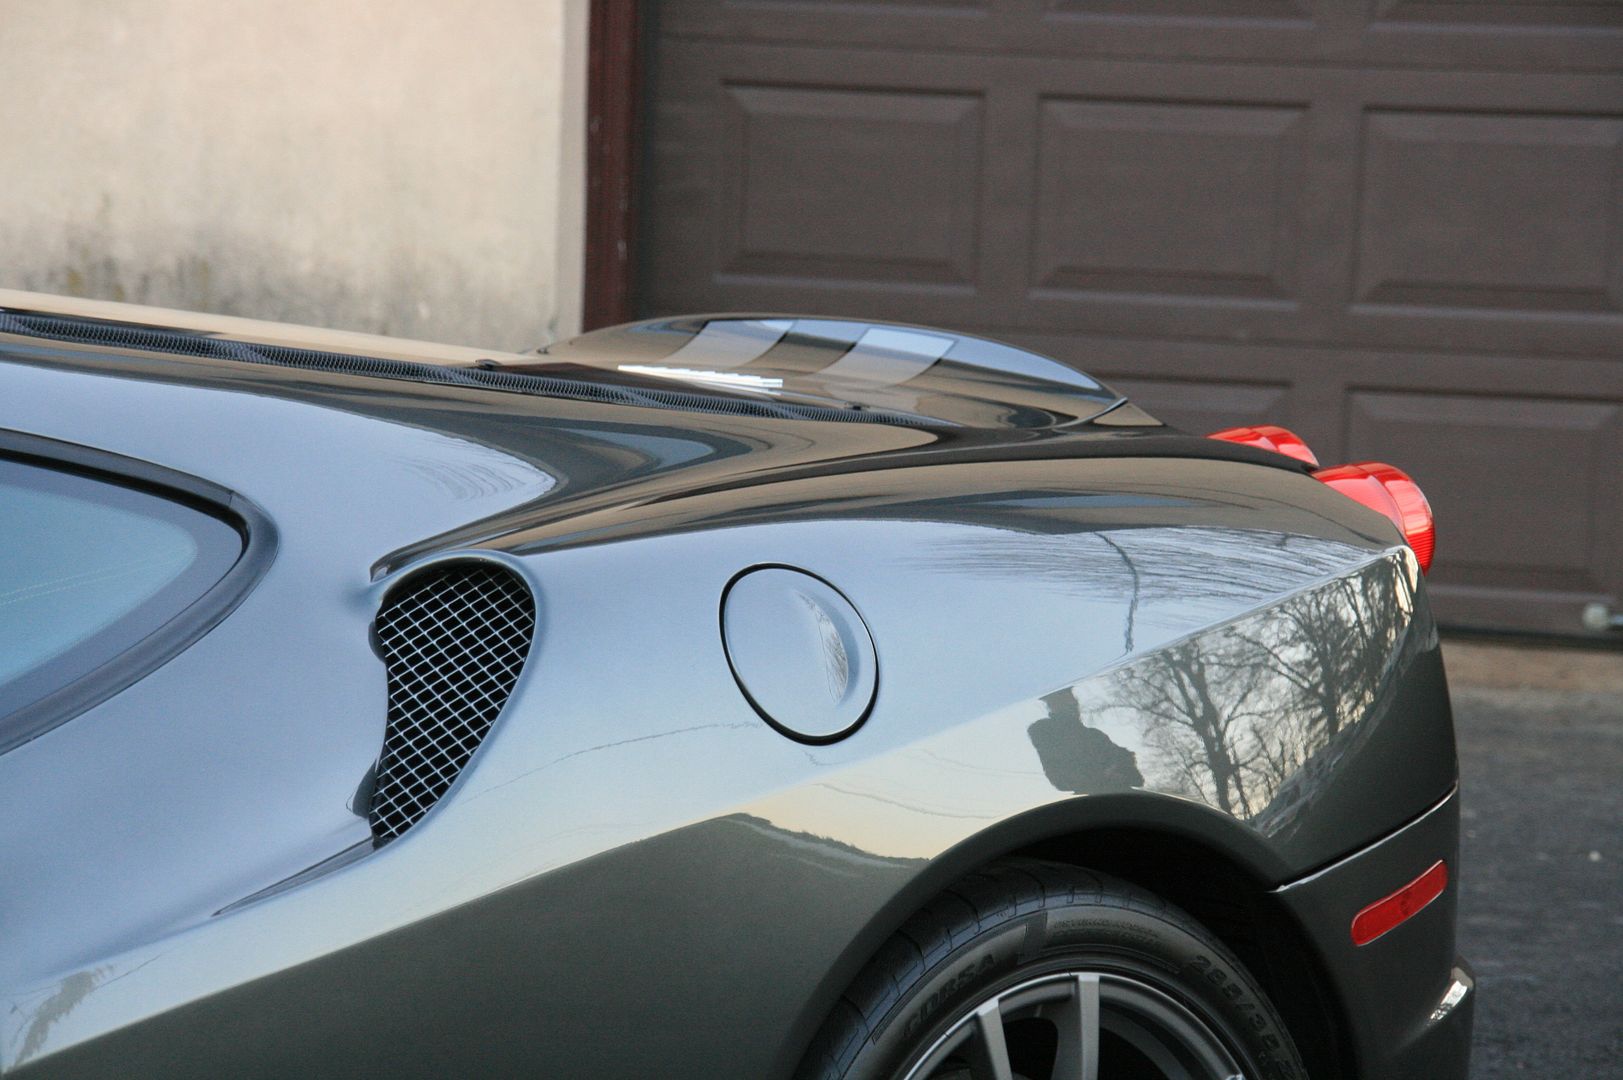
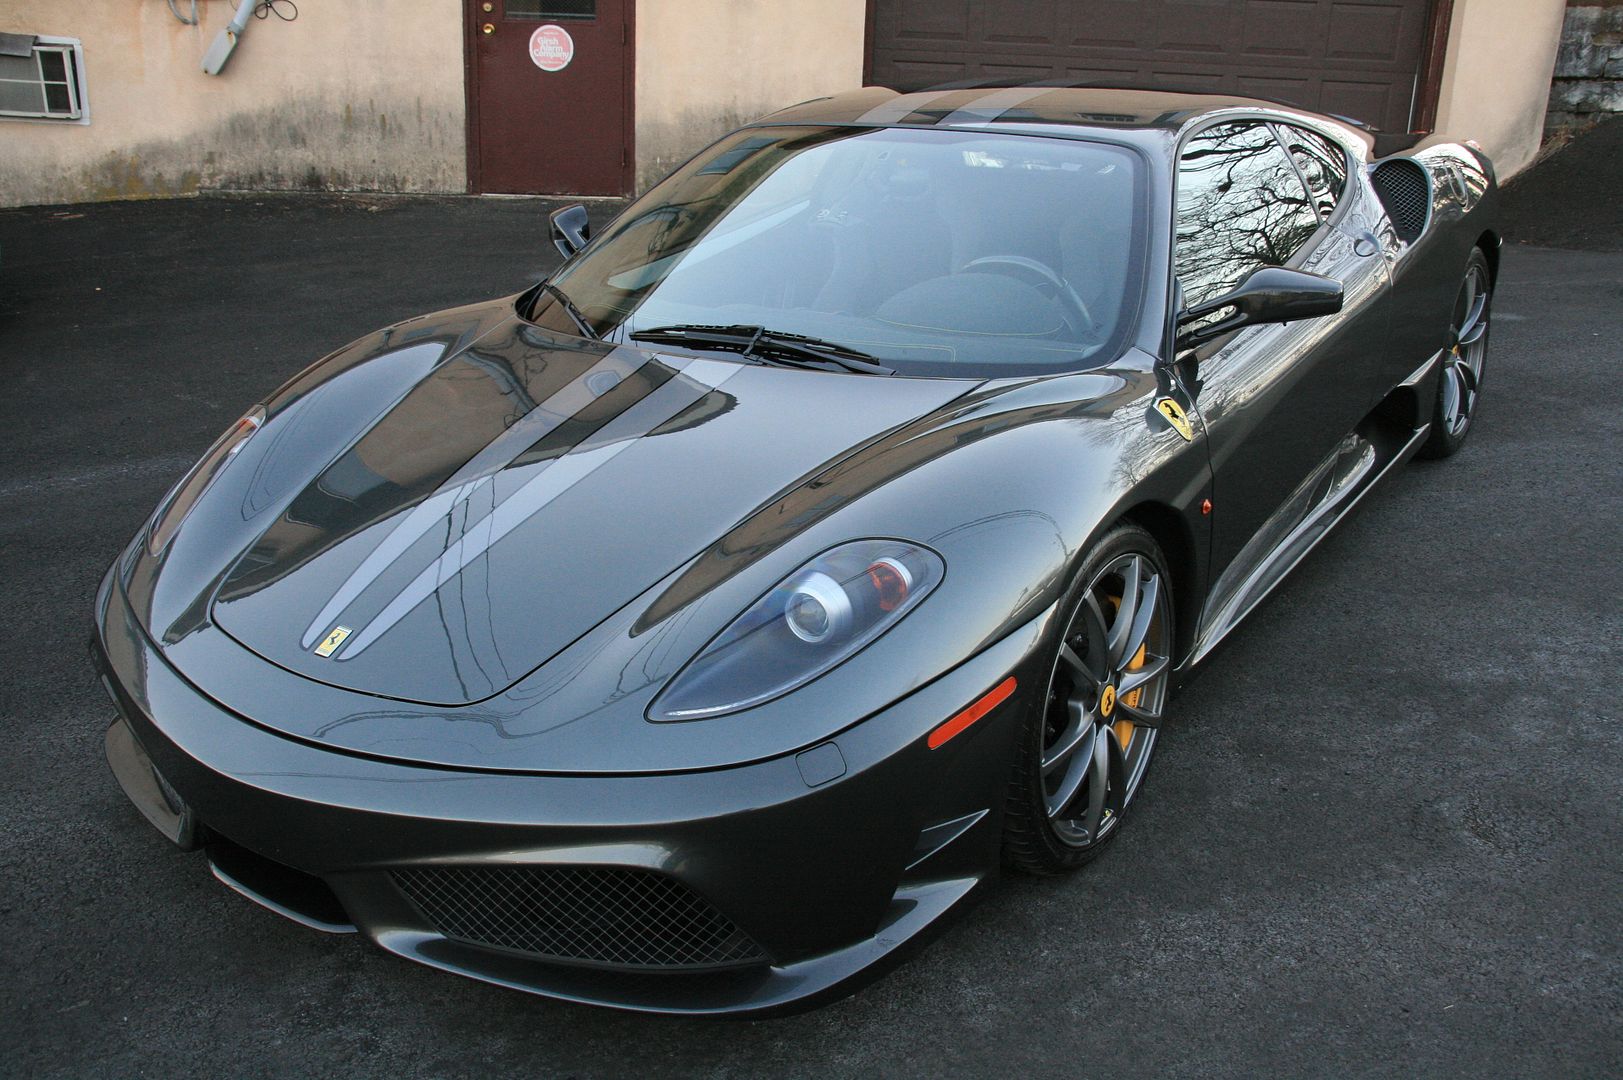
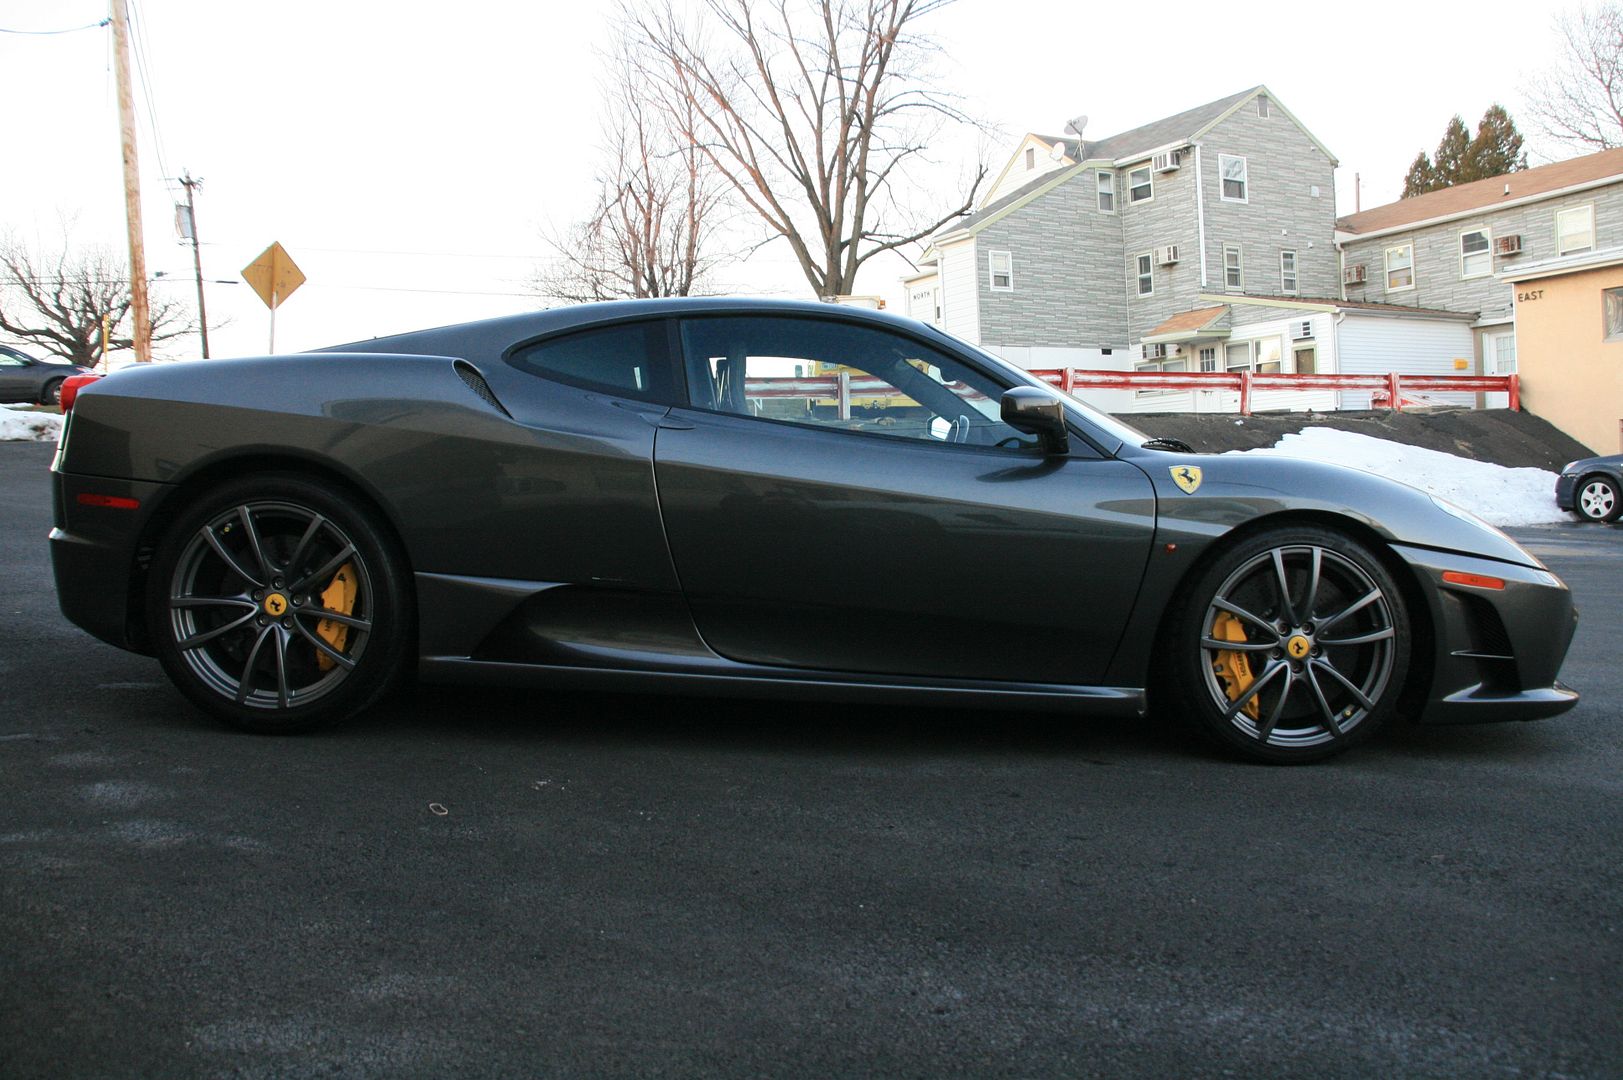
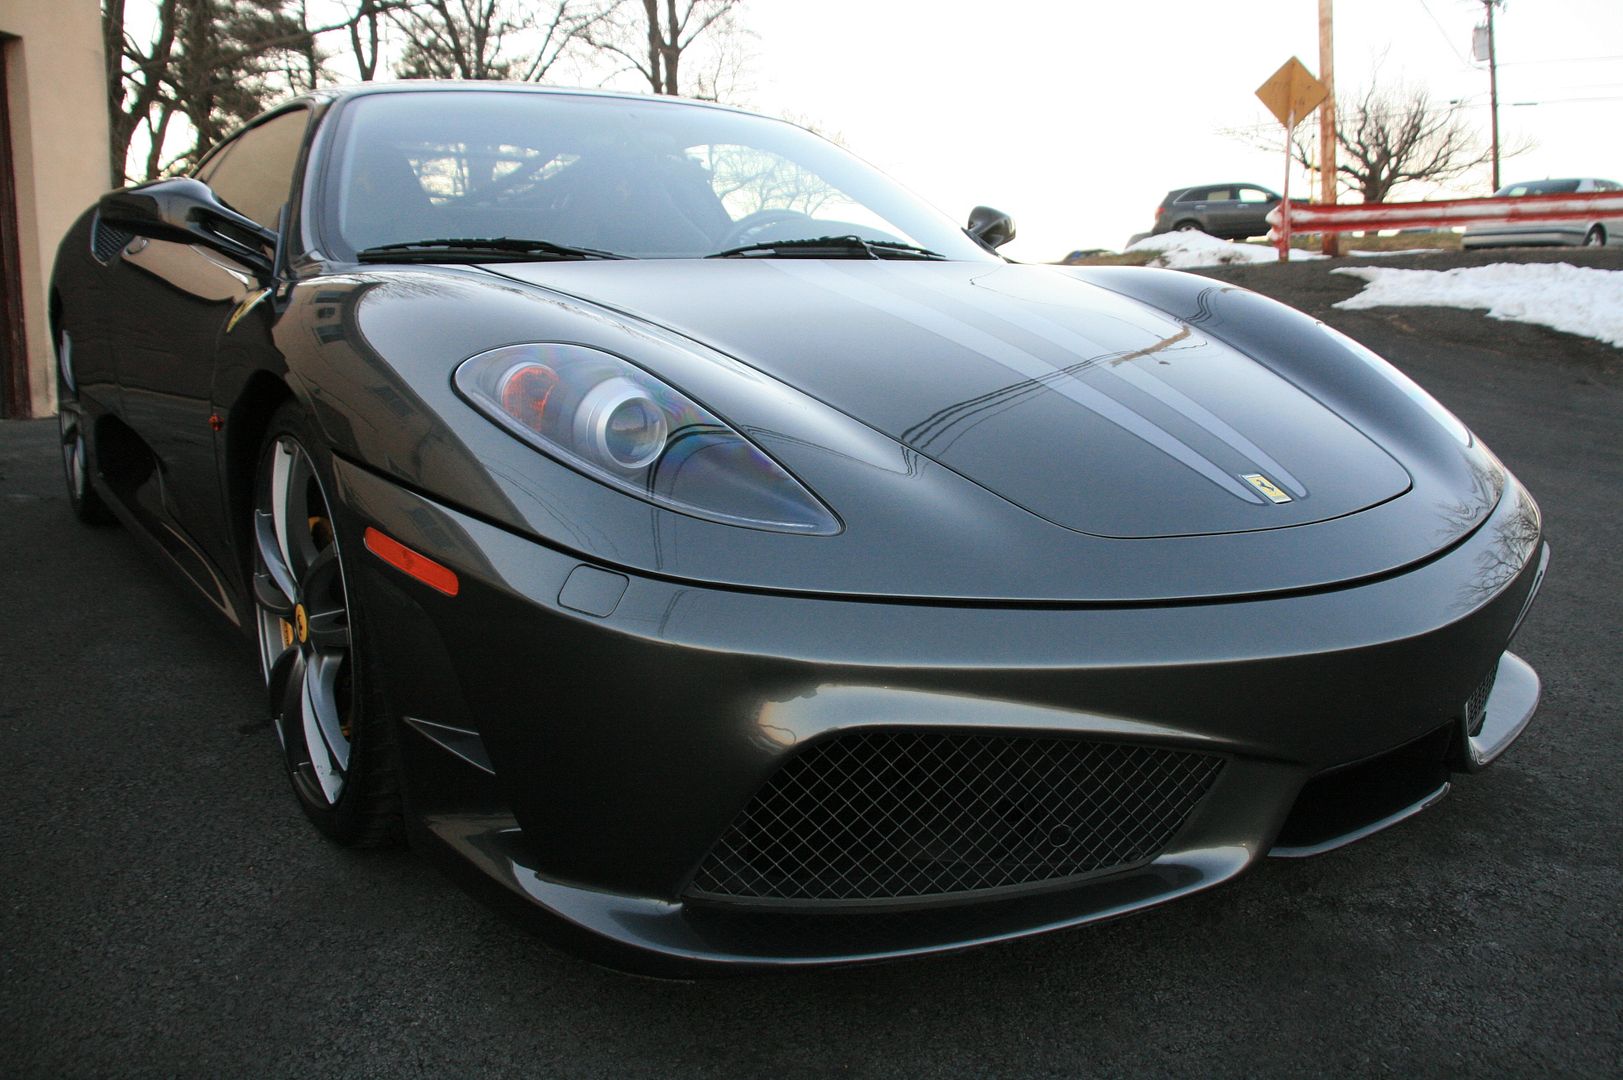
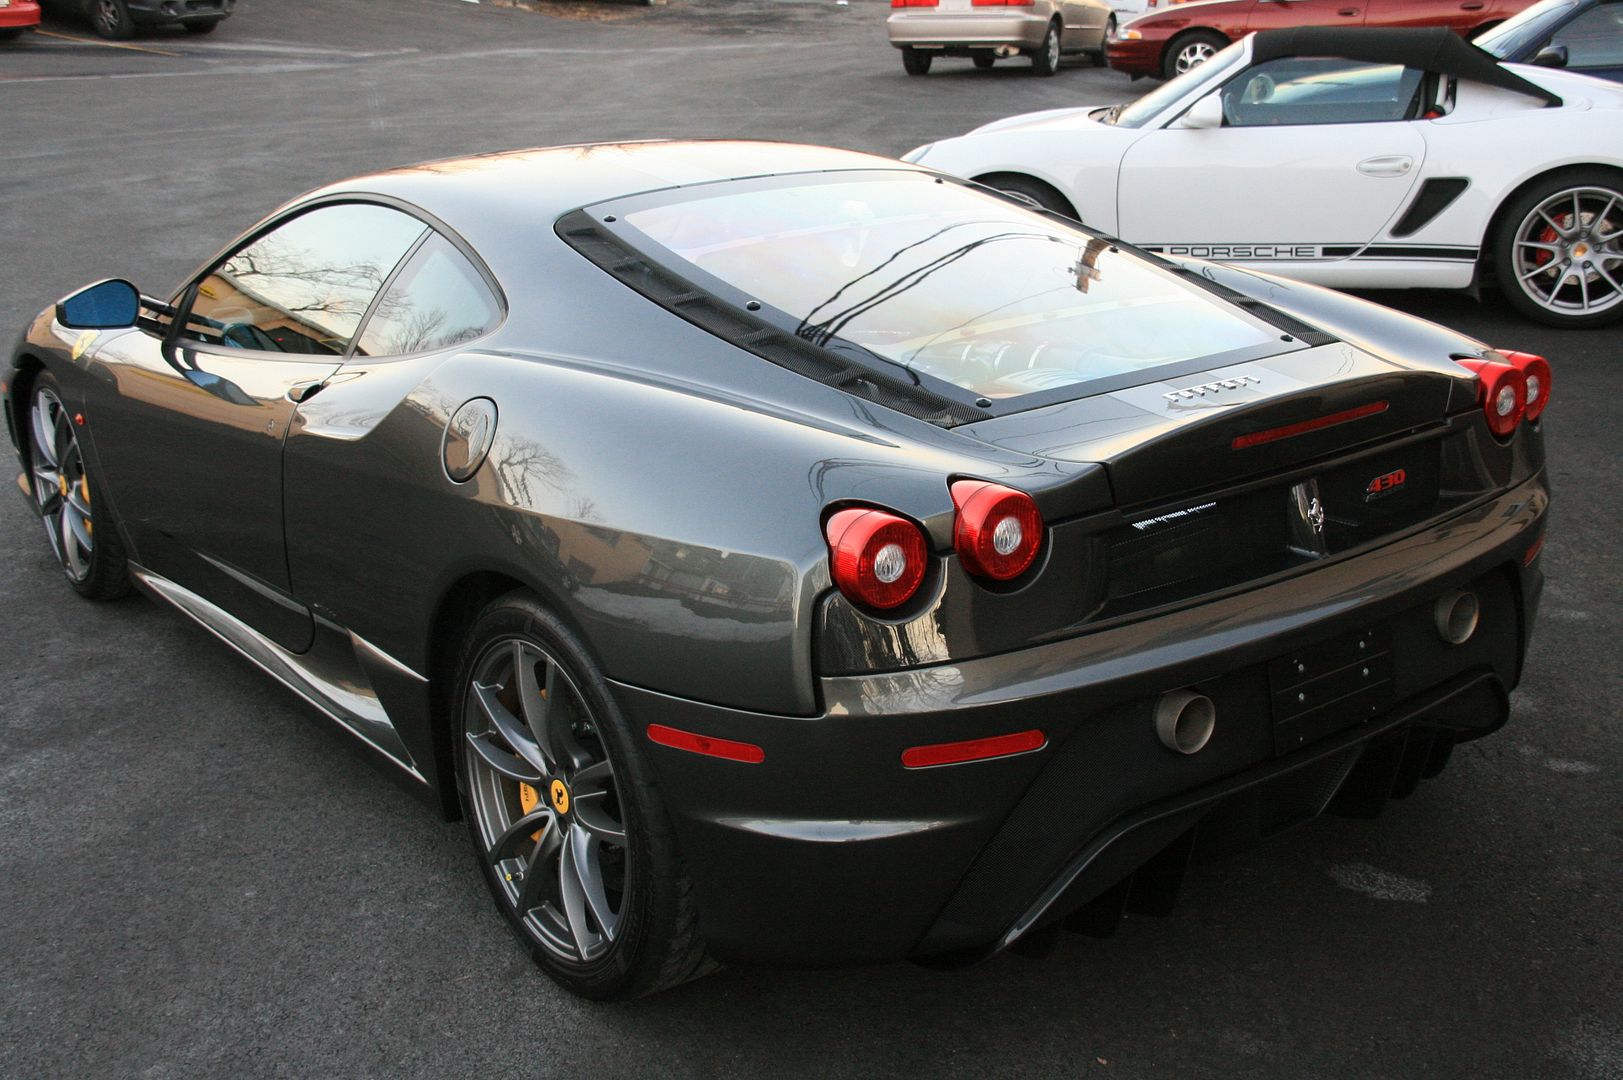
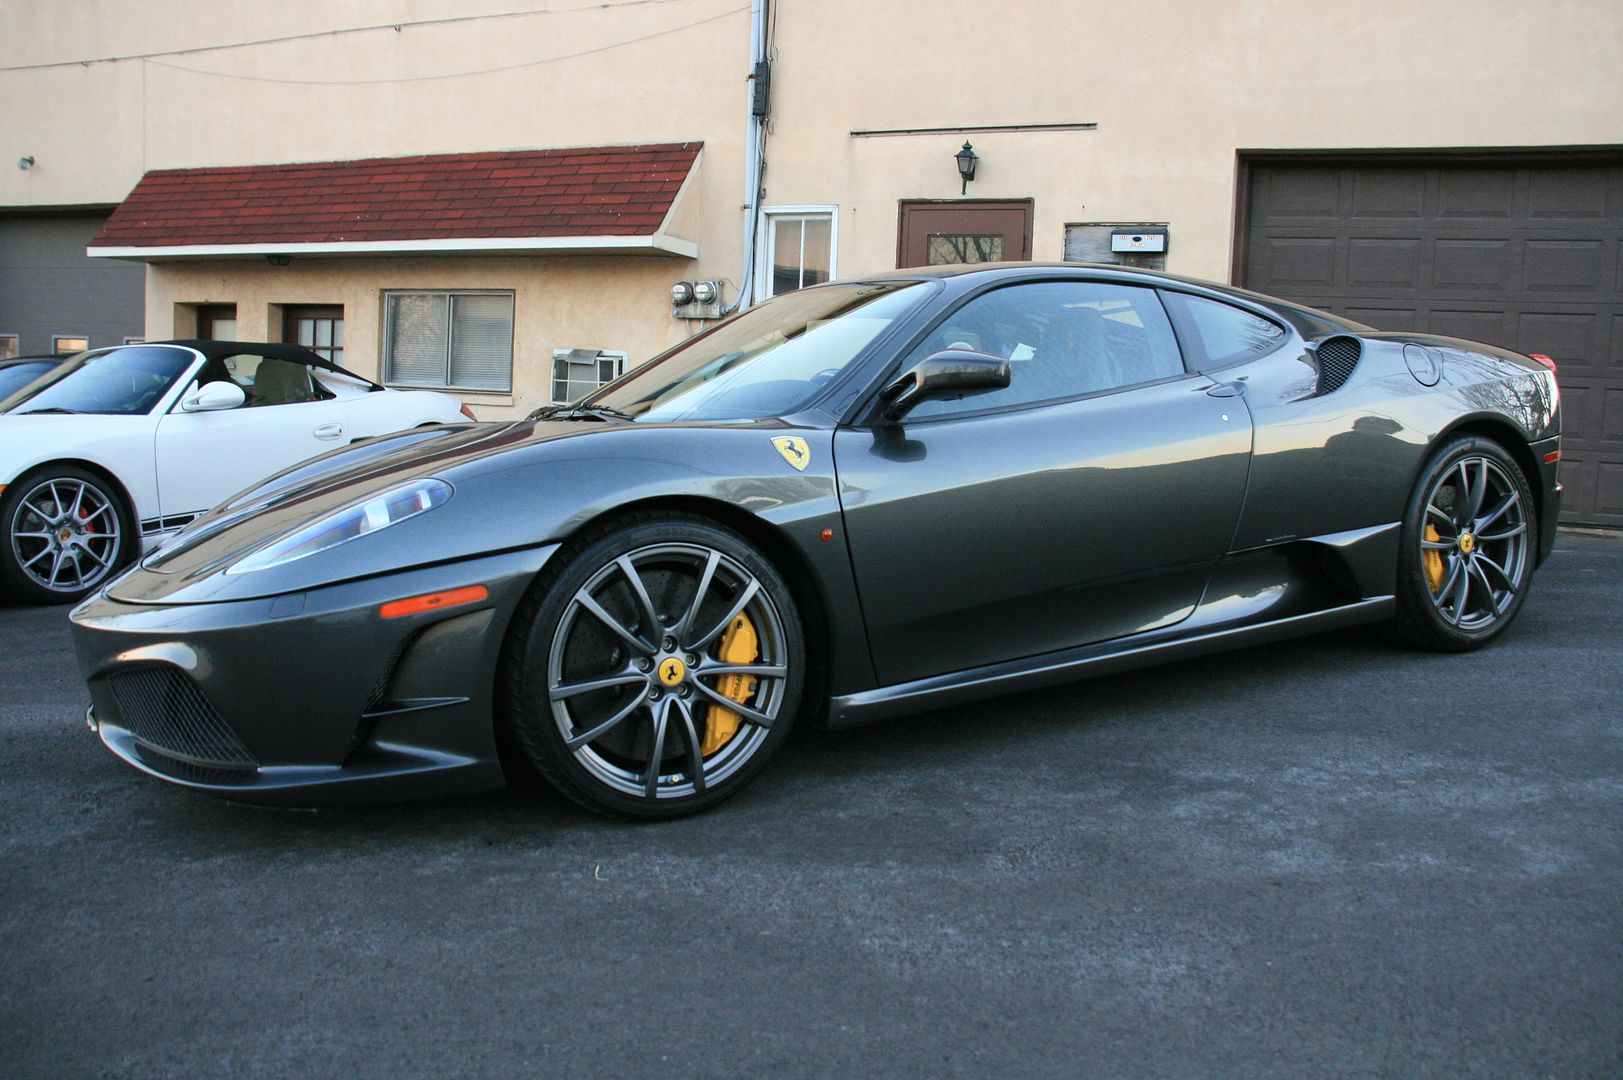
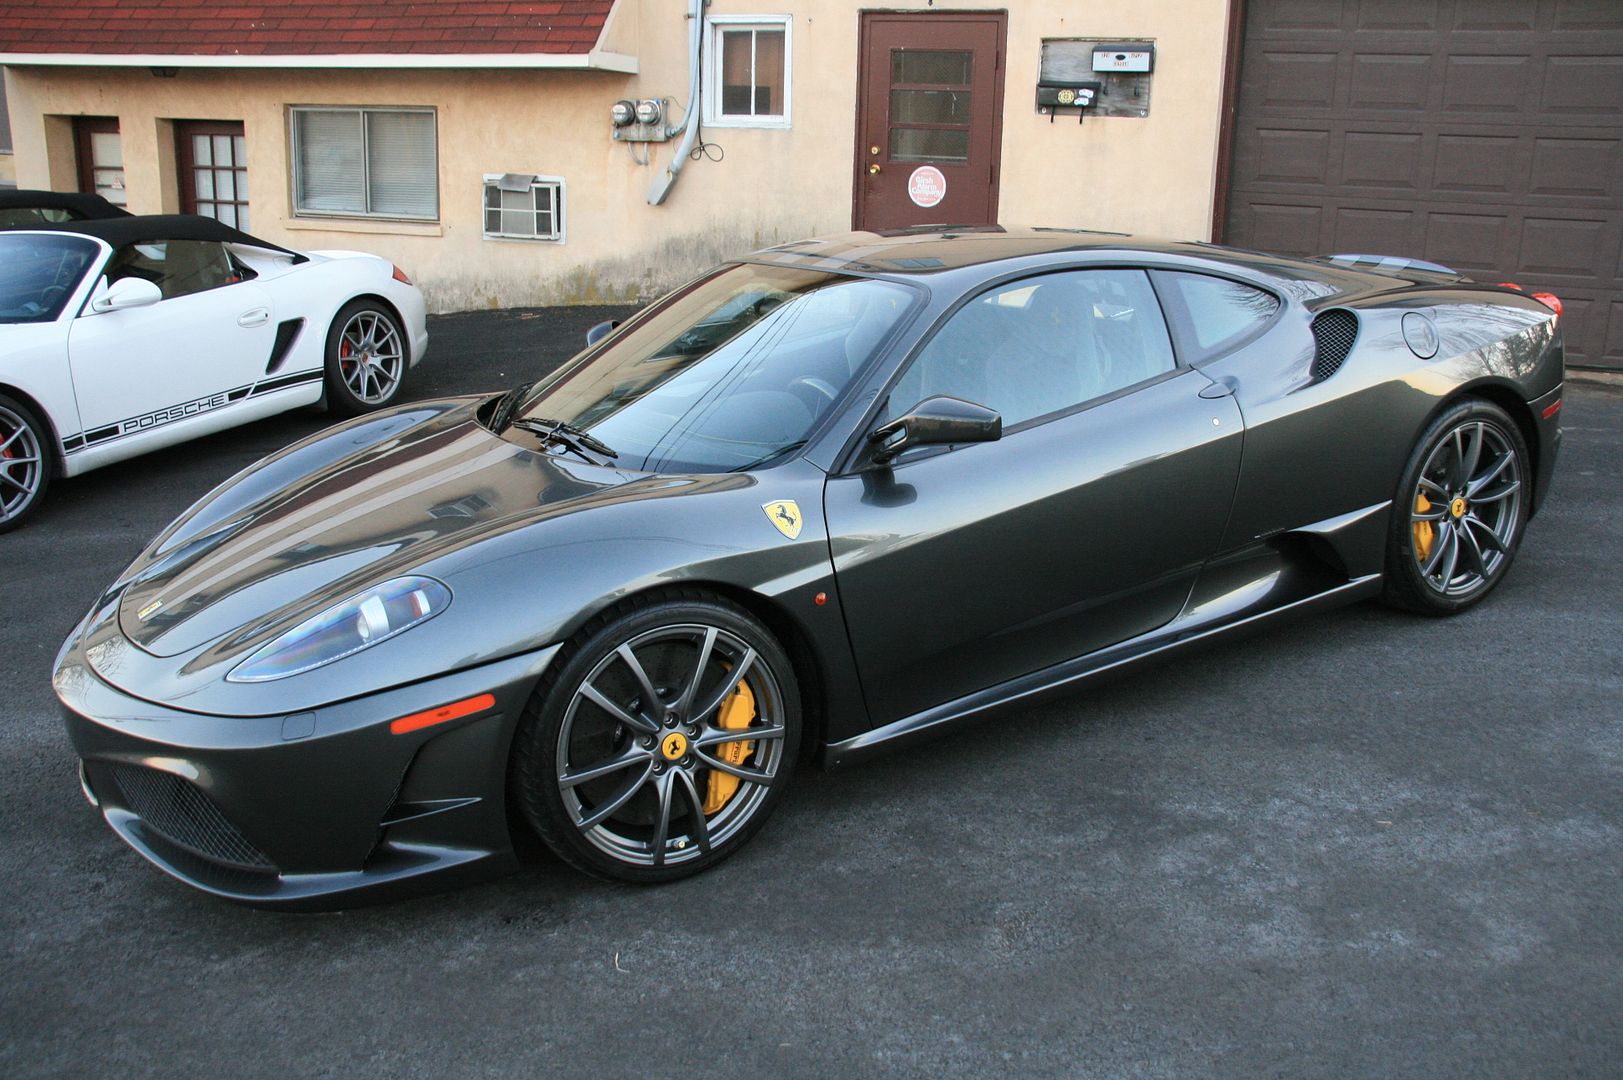
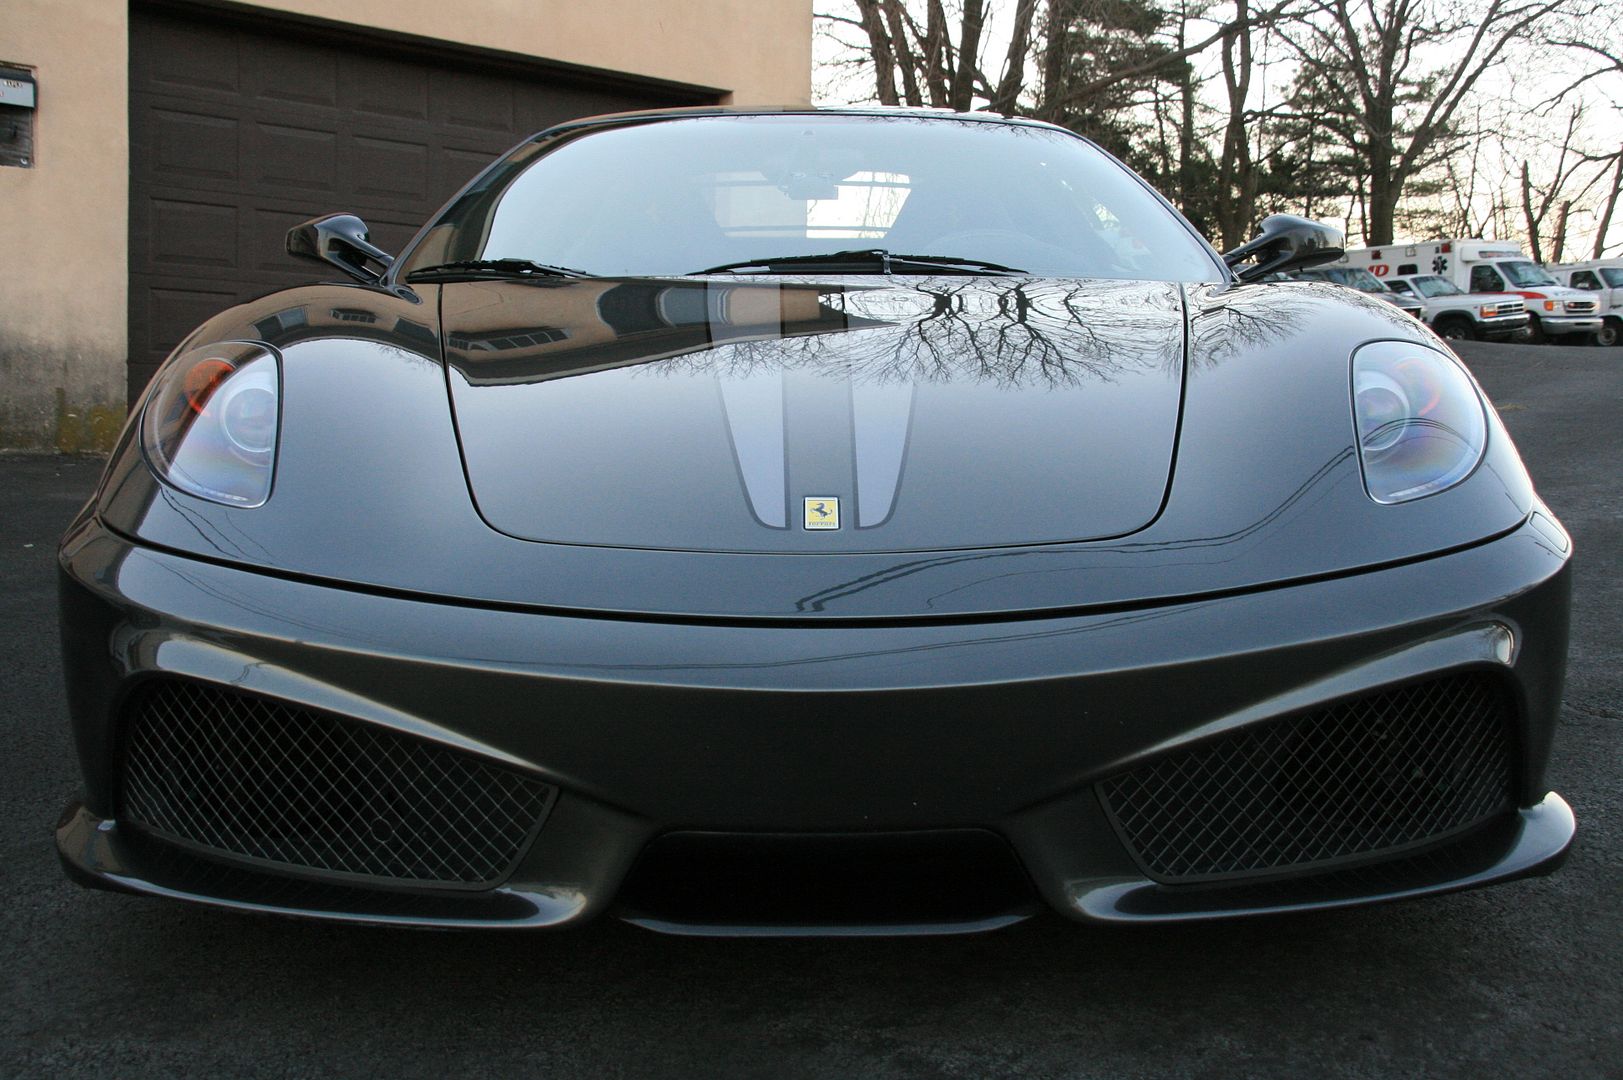
A six day, concourse preparation, full paint corrective detail performed by myself on this 2009 Ferrari F430 Scuderia, dressed in Grigio Silverstone.
A frequently driven vehicle, seeing almost 5,000 miles in the warm months of 2010 alone, was in need of a proper refreshing detail. We took on this car as a double project: being a full paint corrective, concours ready detail, as well as filming the process. This added a great deal of time to the whole task, but that was expected and most of it's purpose.
With that said, the video results should be shared in the near future as it is all being pieced together. For the time being, the photo documentation will serve as a perfectly fine example of the work done.
The list of products used on these level details is rather immense, for those interested, I'd be more than happy to share! I will hint at the products used in the descriptions of the pictures below, so be sure to pay attention!
Without further aideu!
The Scuderia as it arrived, after our trailer pick up.
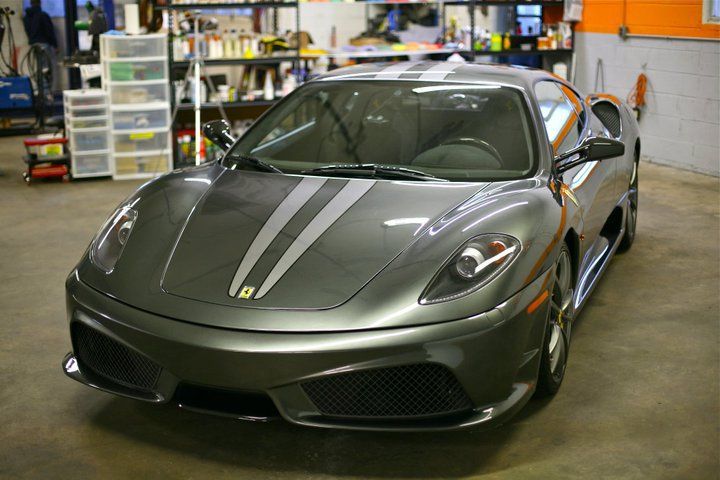
The car was not by any means dirty, or appearing in desperate shape, so the pre-prep/wash pictures serve little purpose this time around. While driven frequently, it is kept exceptionally well!
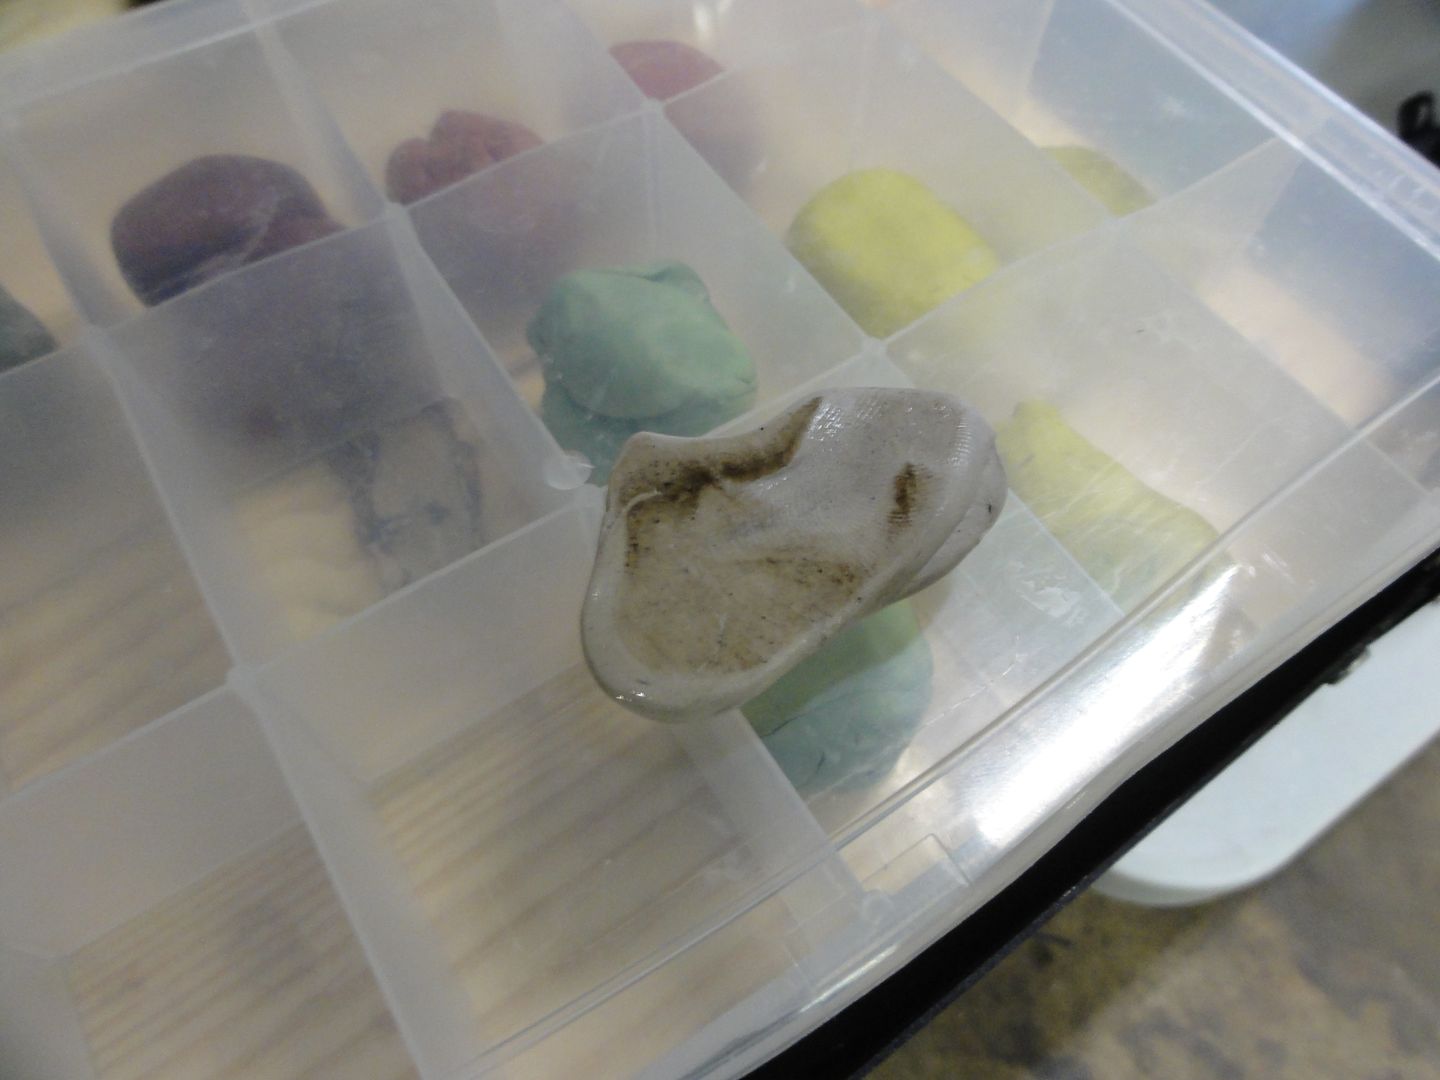
As with any driven vehicle, contaminents make their way onto the paint. Clay after prepping the vehicle
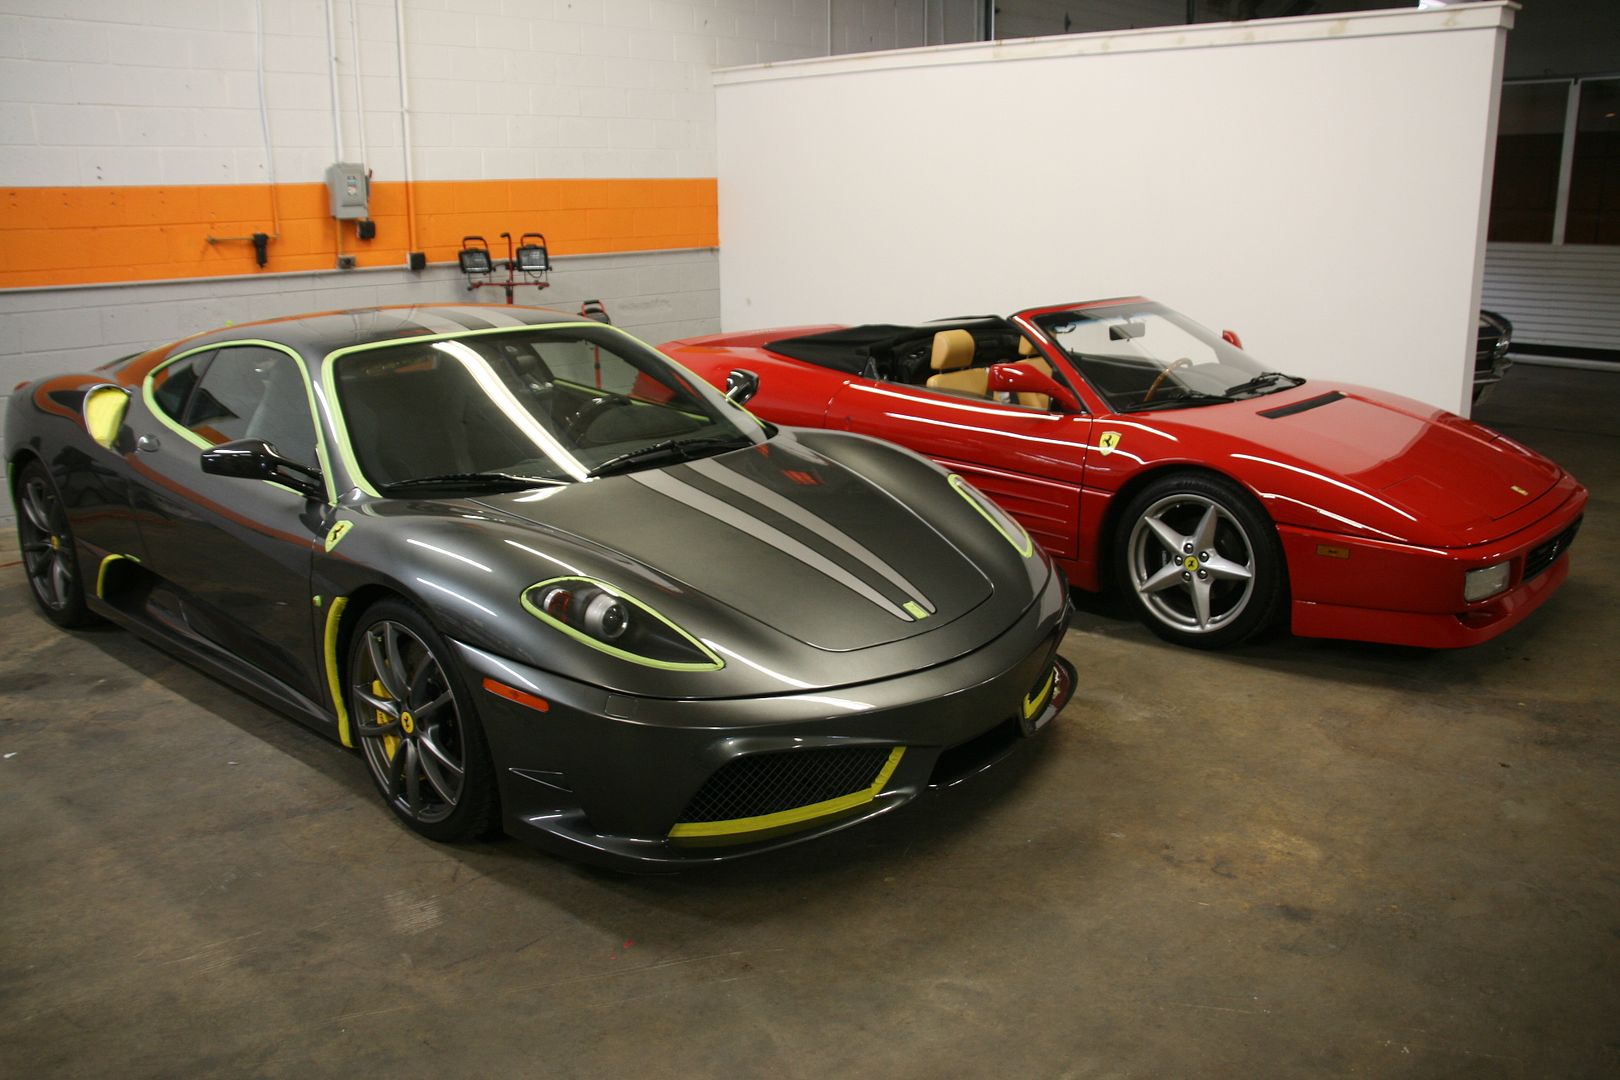
Once the vehicle was dry, after using pressurized air and microfiber drying towels, it was masked off with protective tape on all non-painted surfaces. In this photo, seen with an older brother!
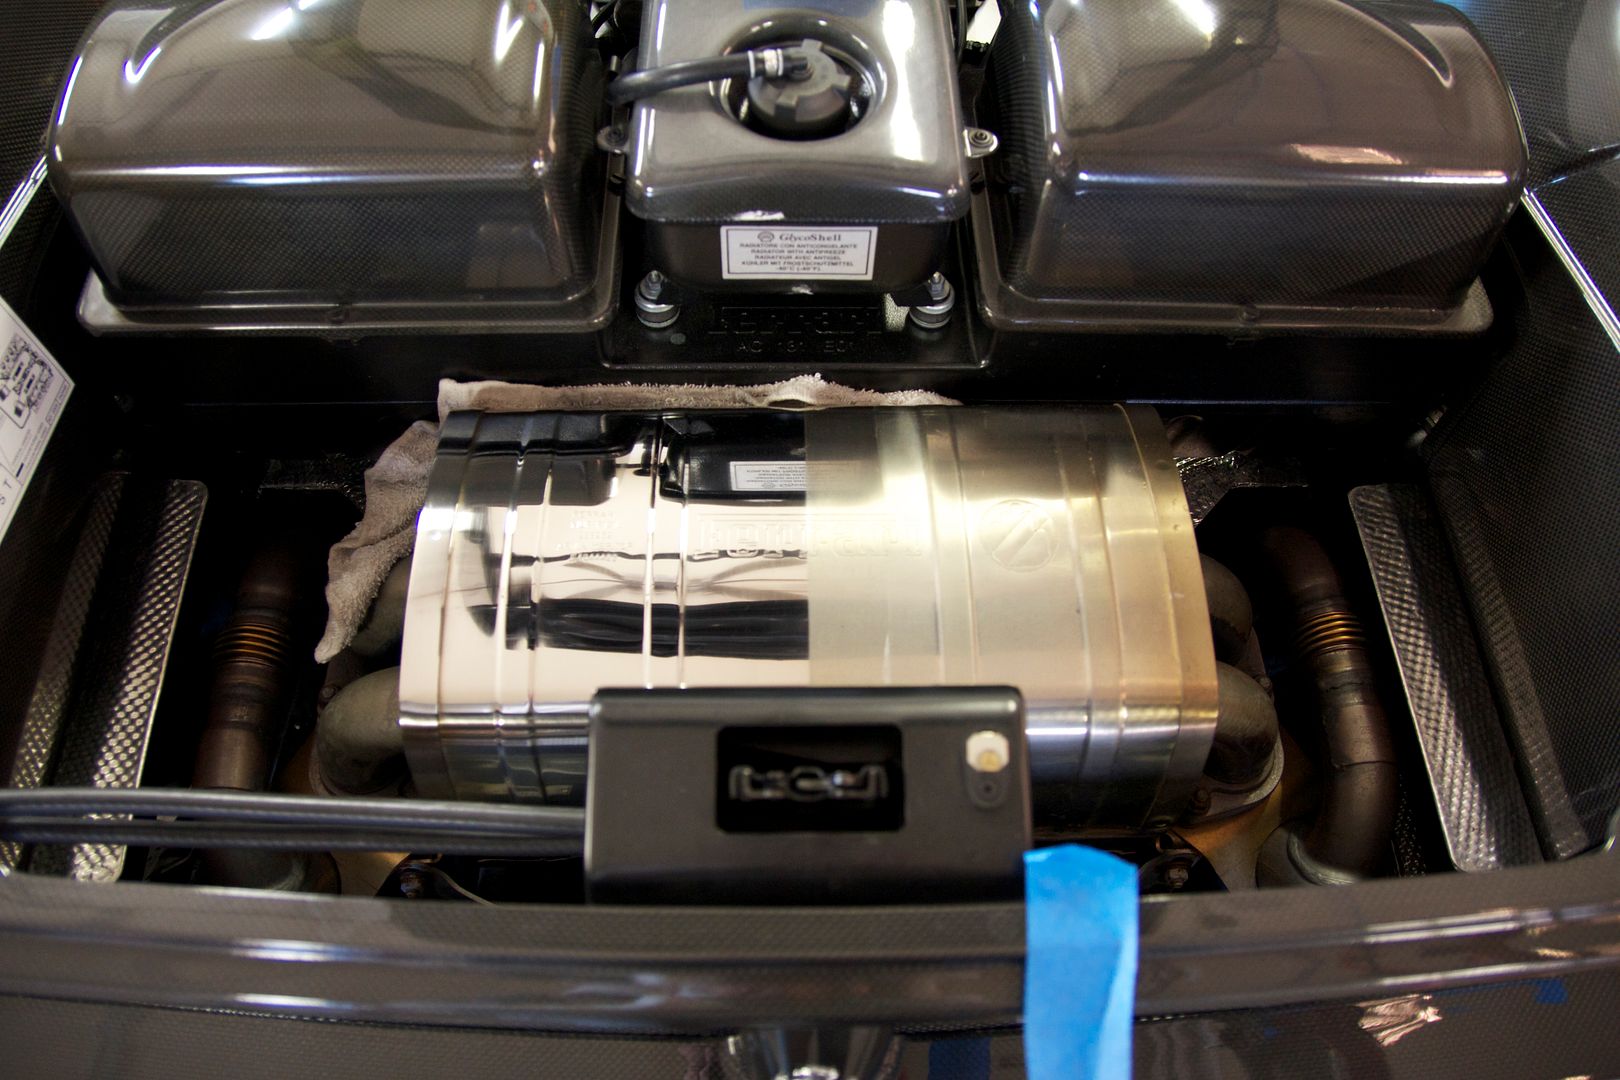
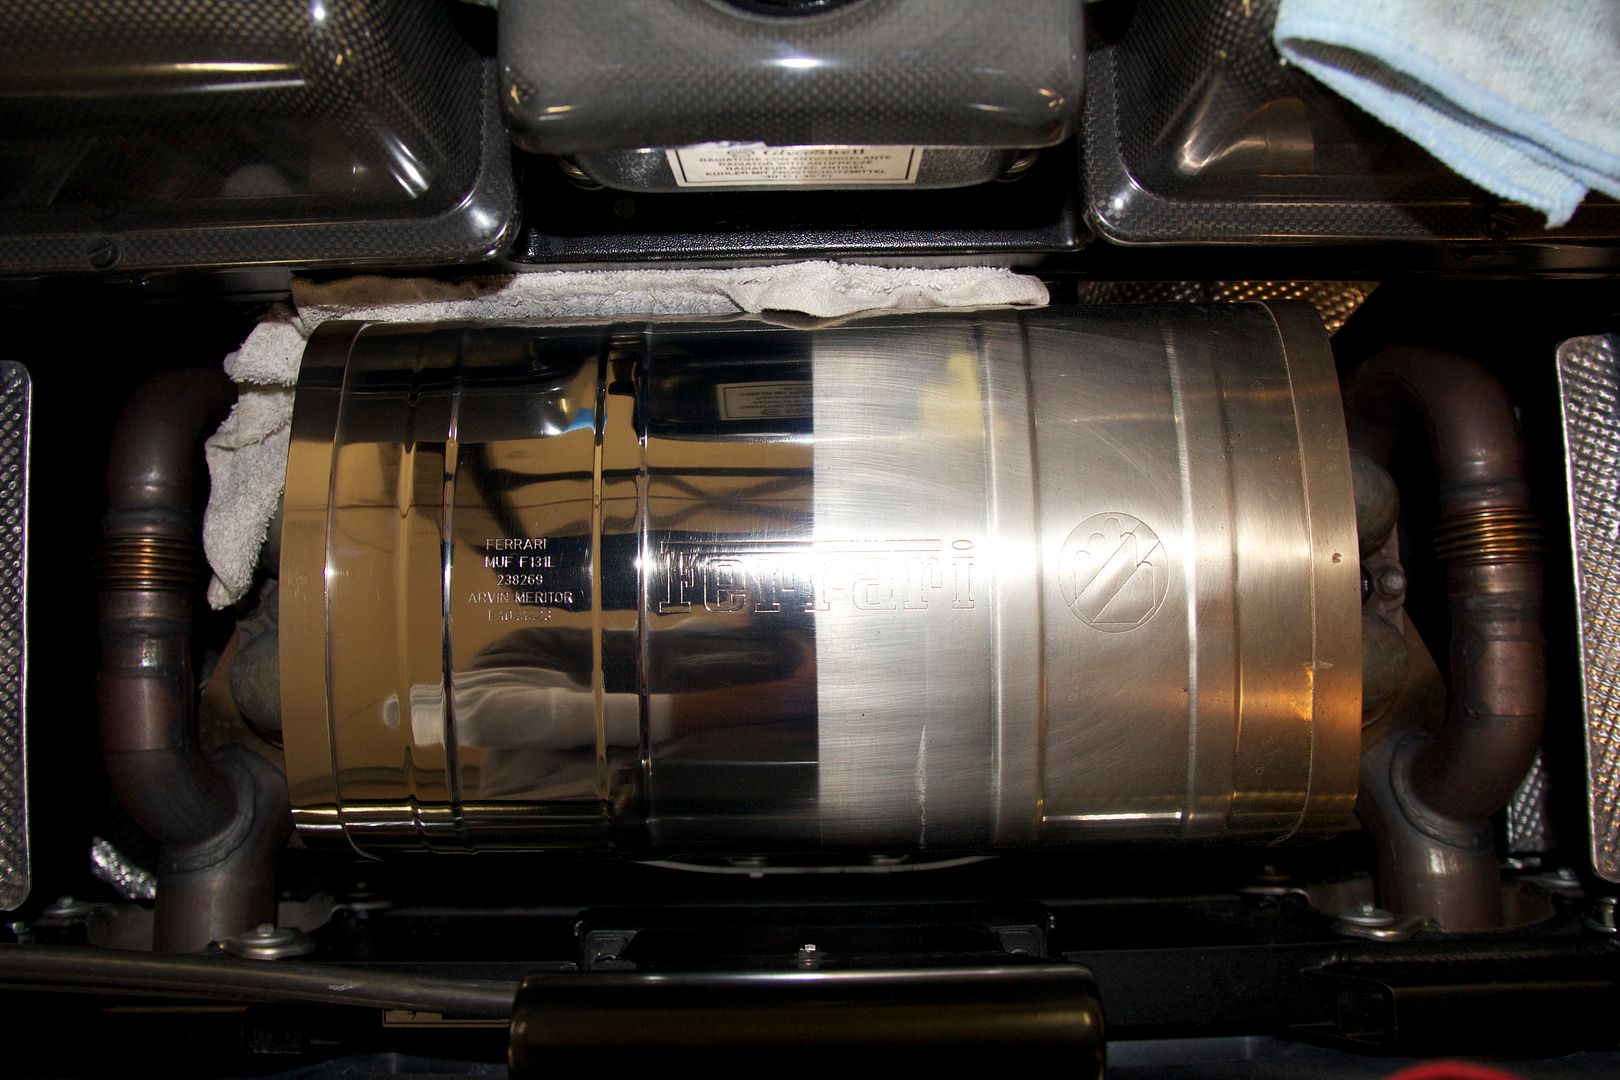
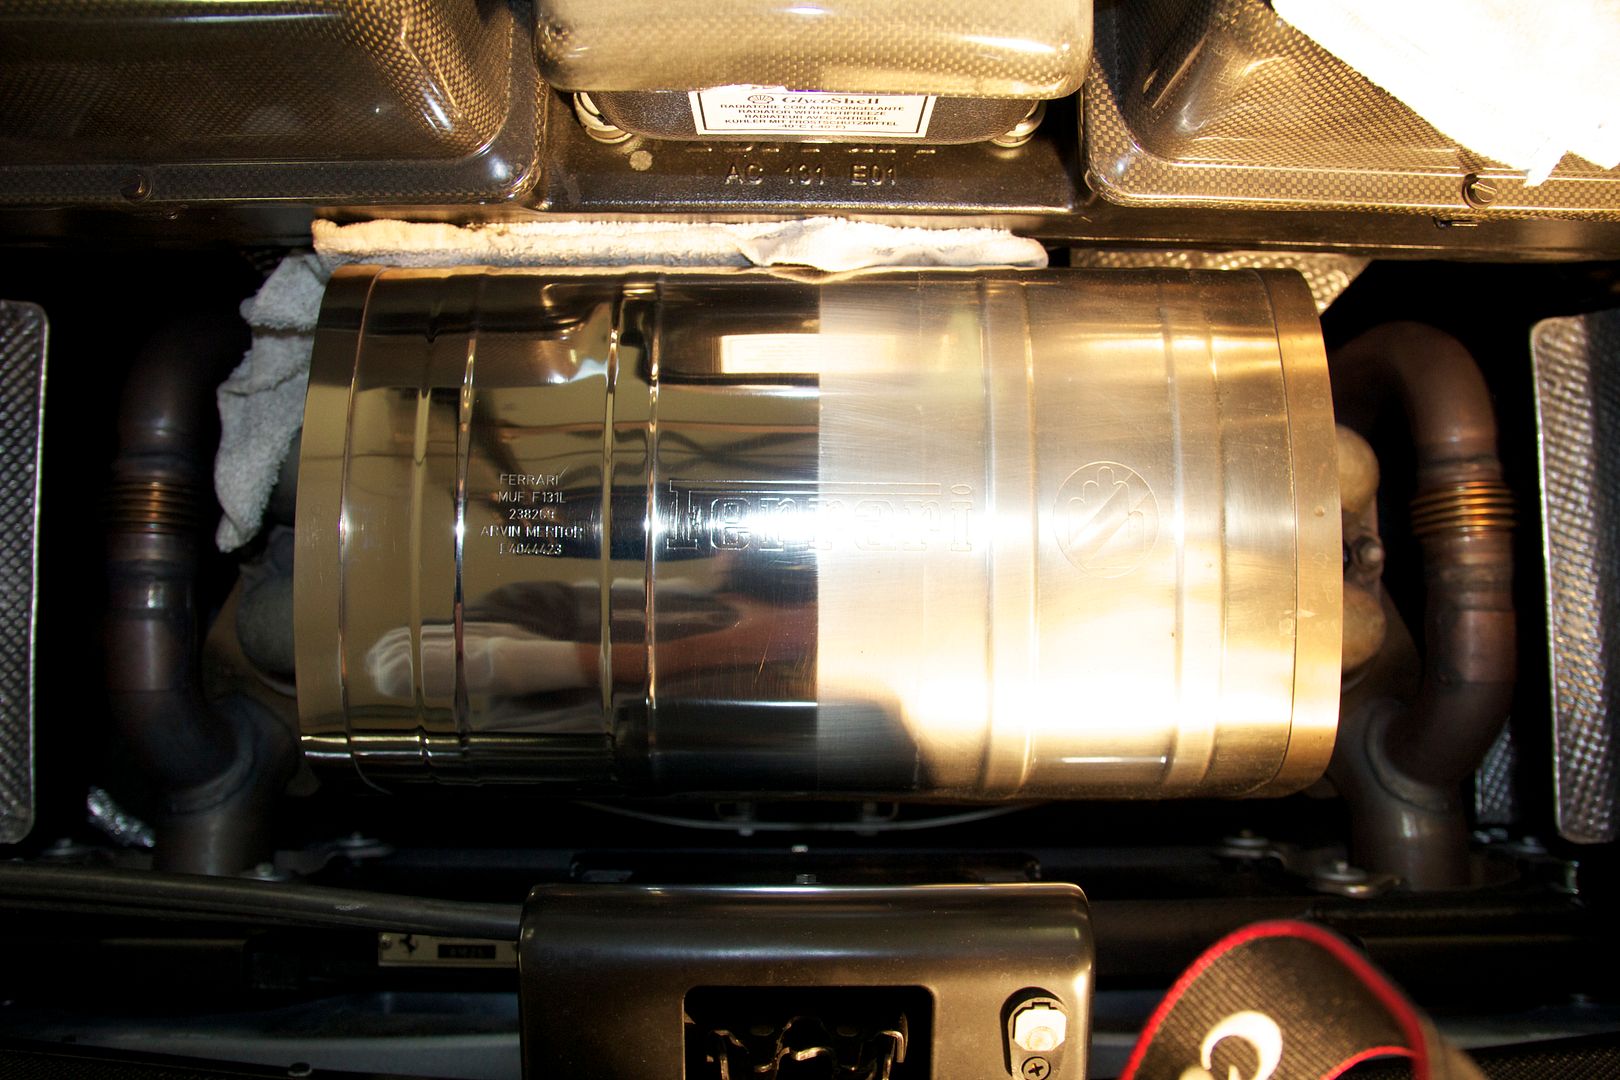
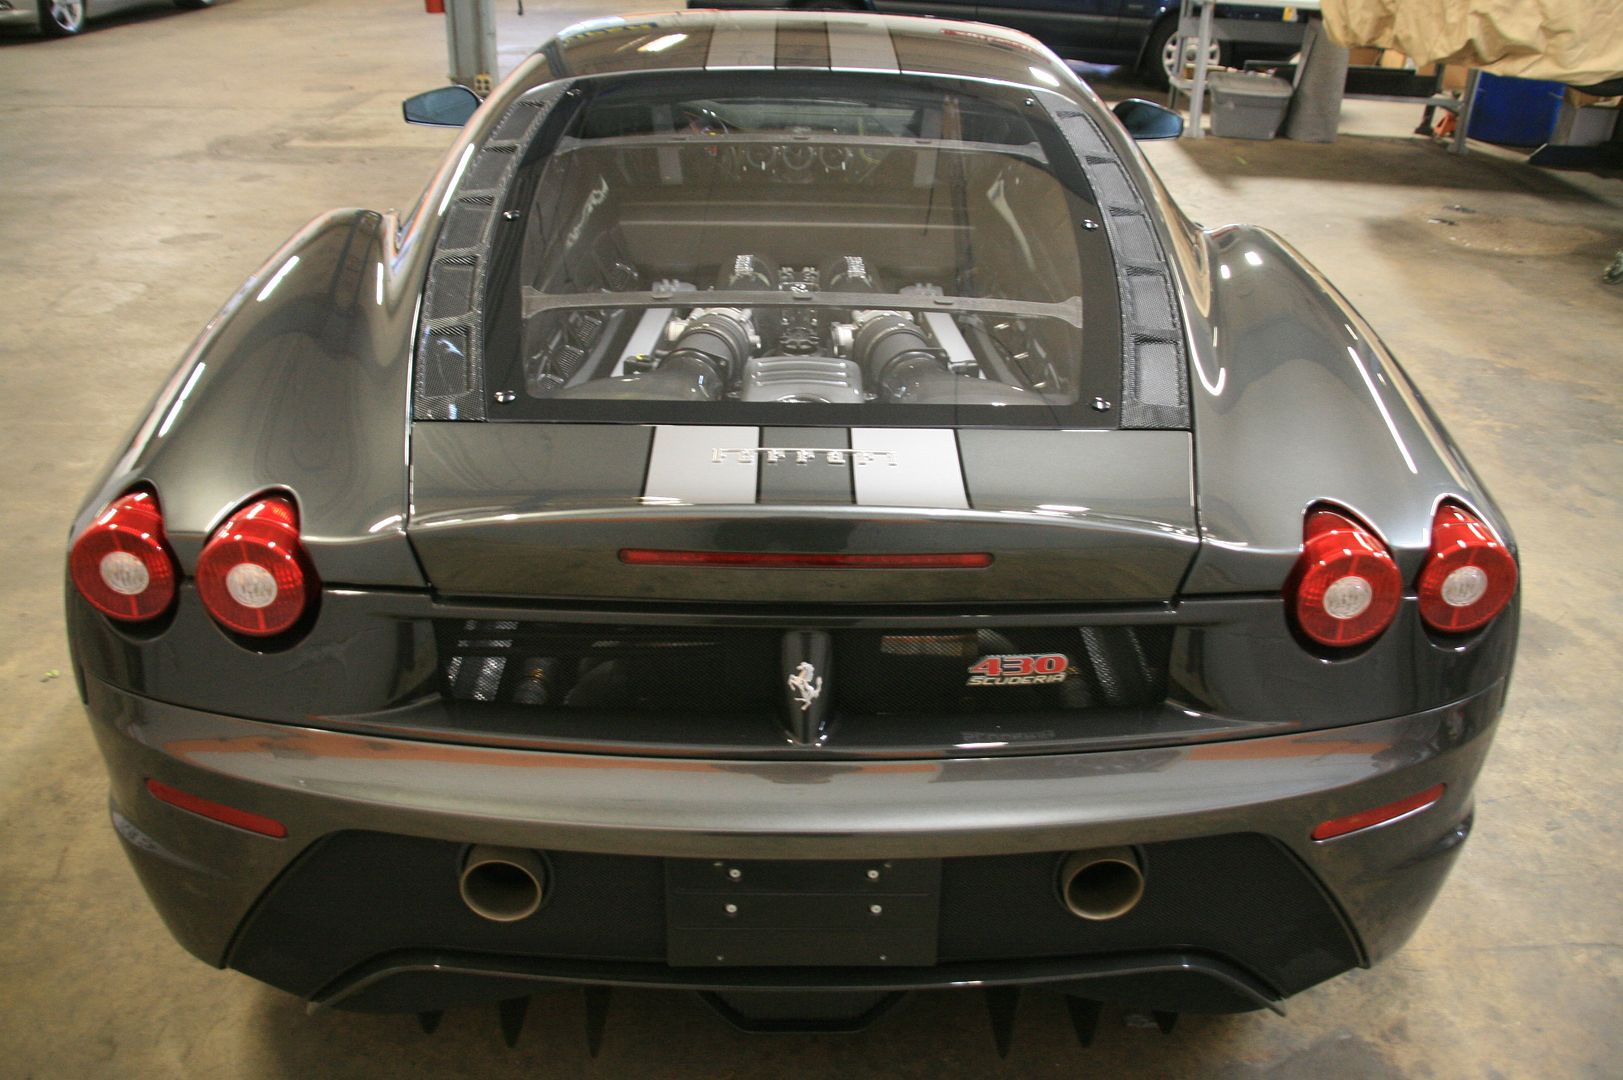
We started with the engine bay work, which you will see the results of in the next group of photos, all metal and carbon fiber pieces were polished and sealed using appropriate products. Here you will see the Exhaust Muffler polishing both before, and it's 50/50 progress.
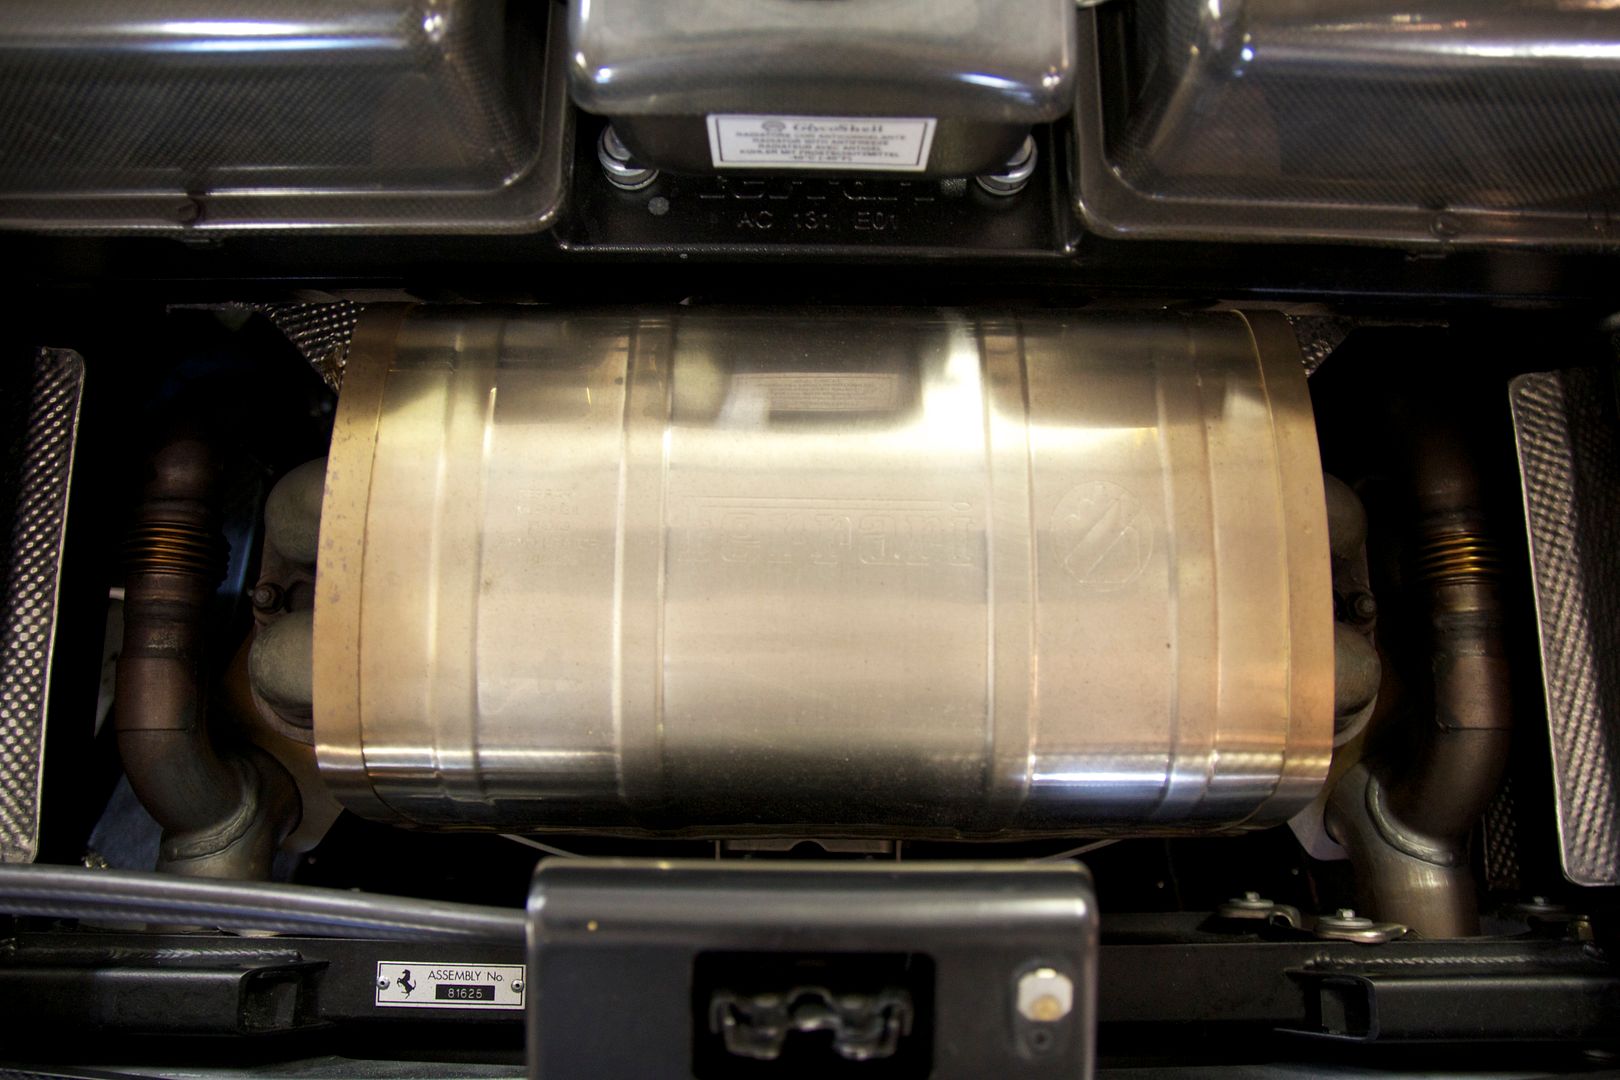
5.
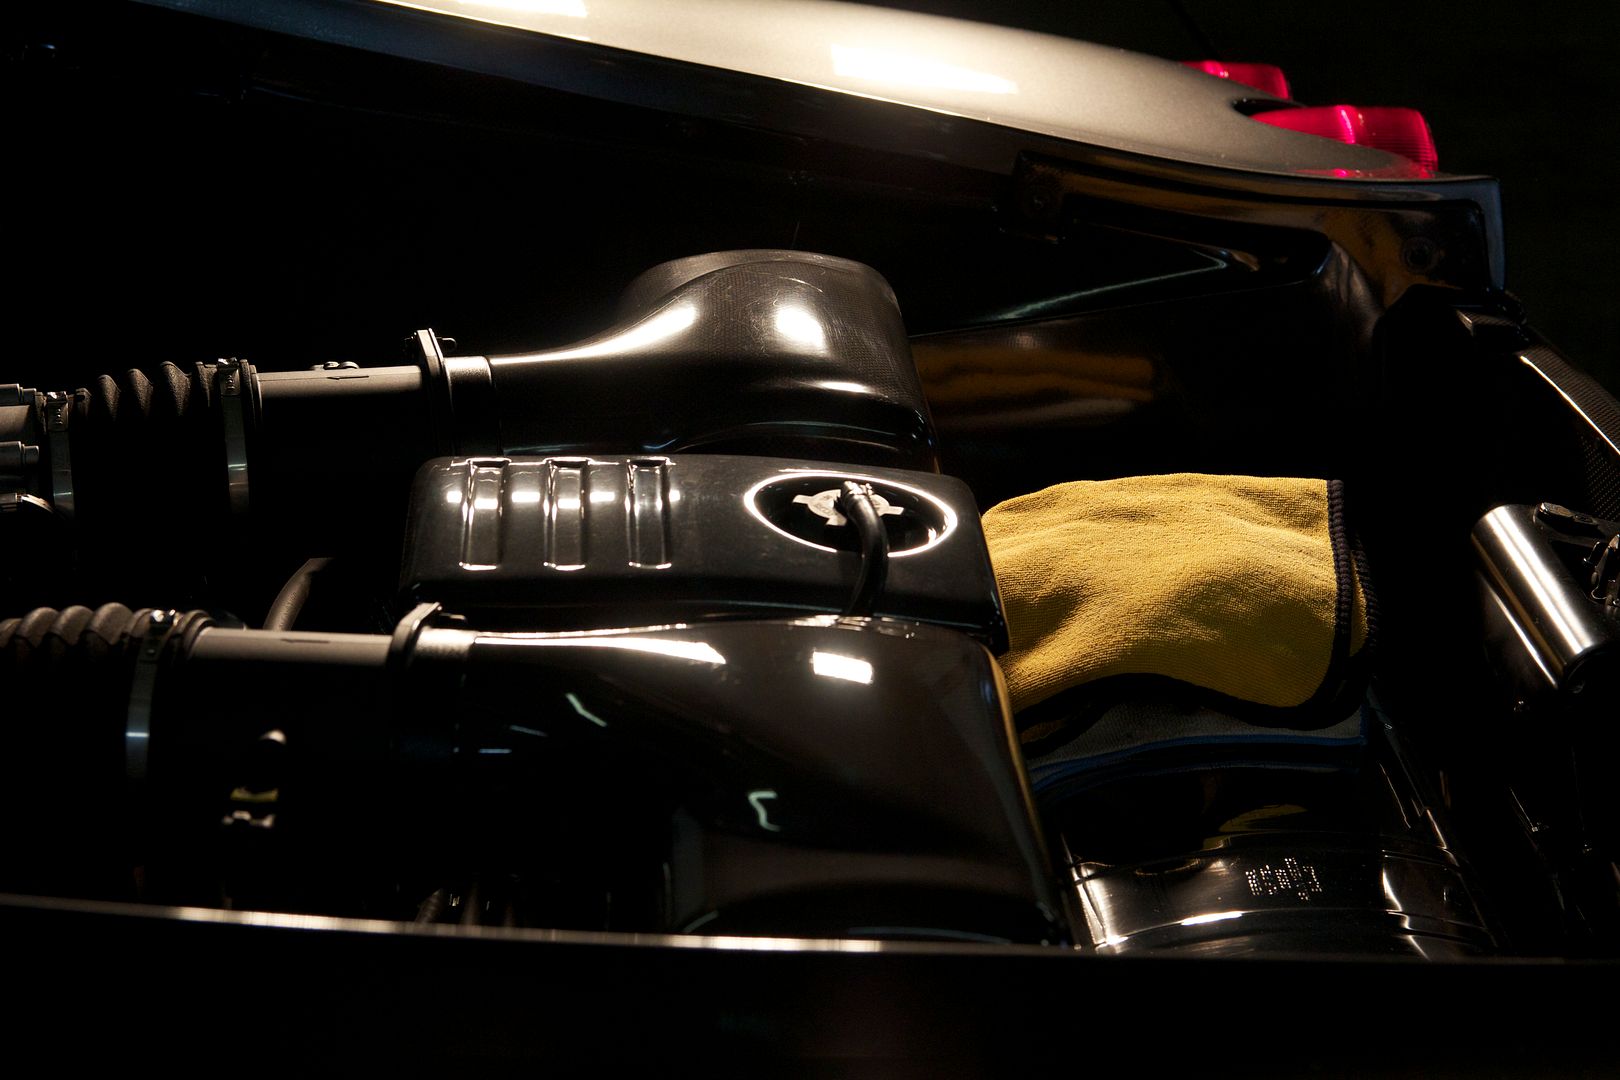
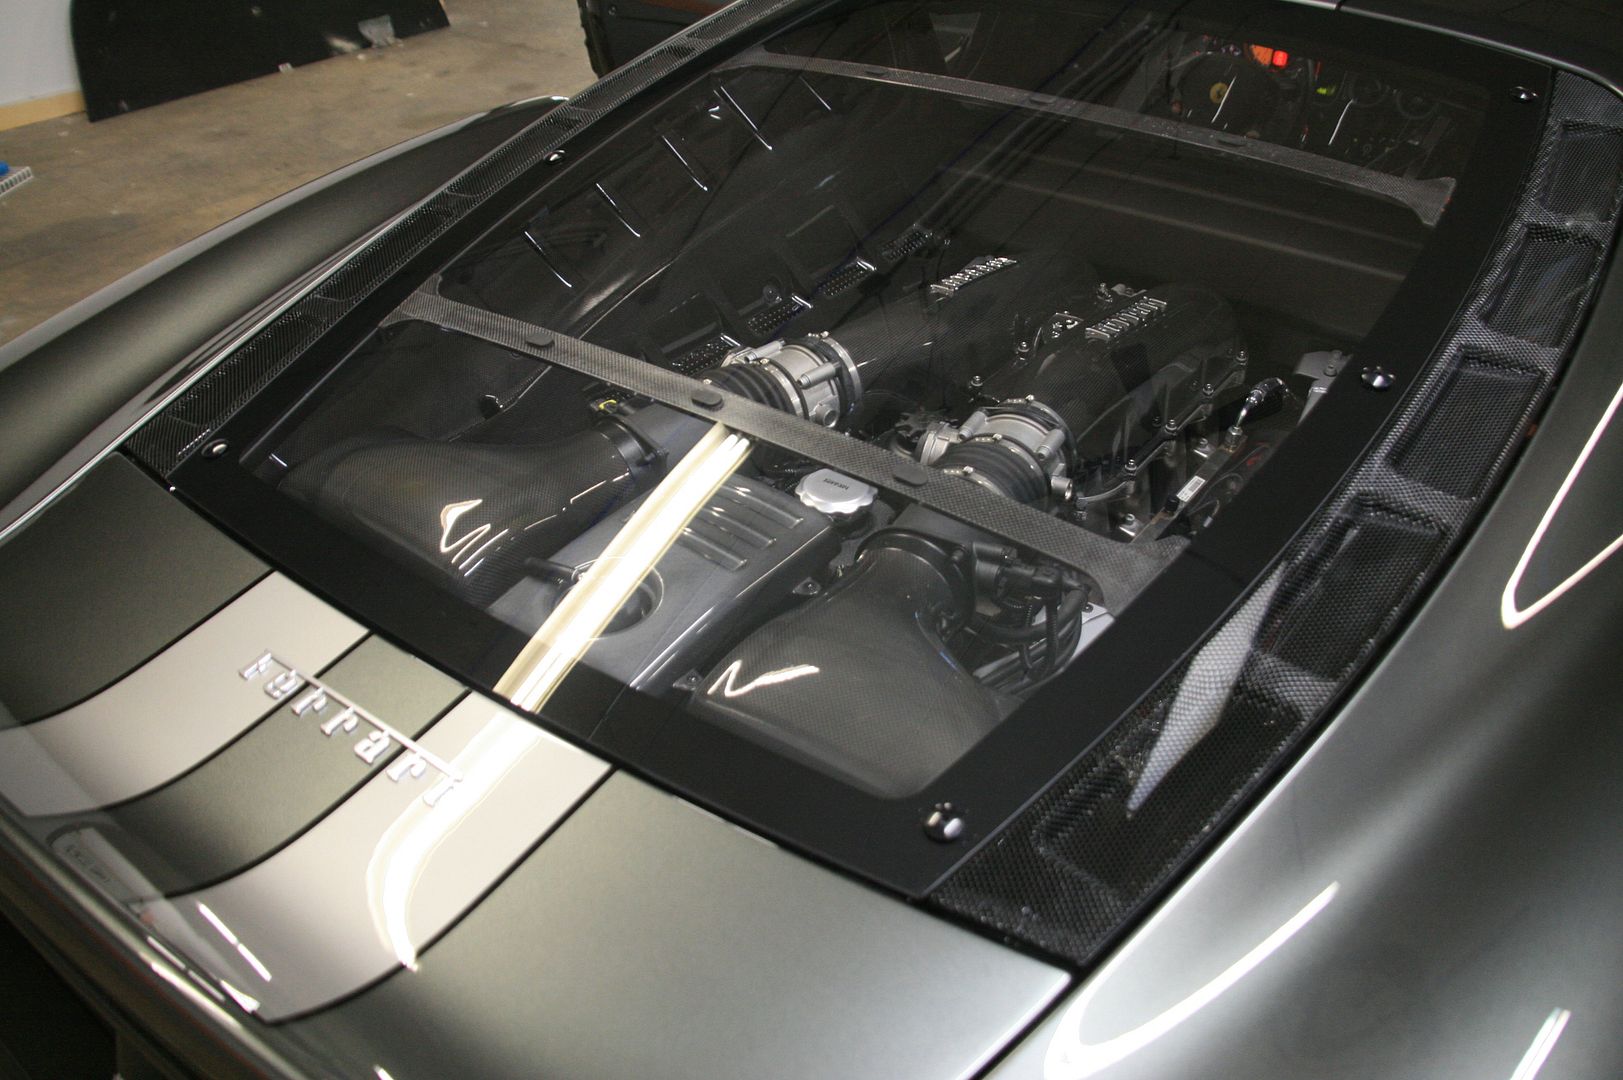
Driver side air box polished, passenger side airbox unpolished
Finished Engine bay photos
Hard water spots on rear engine divider glass before/after
10.

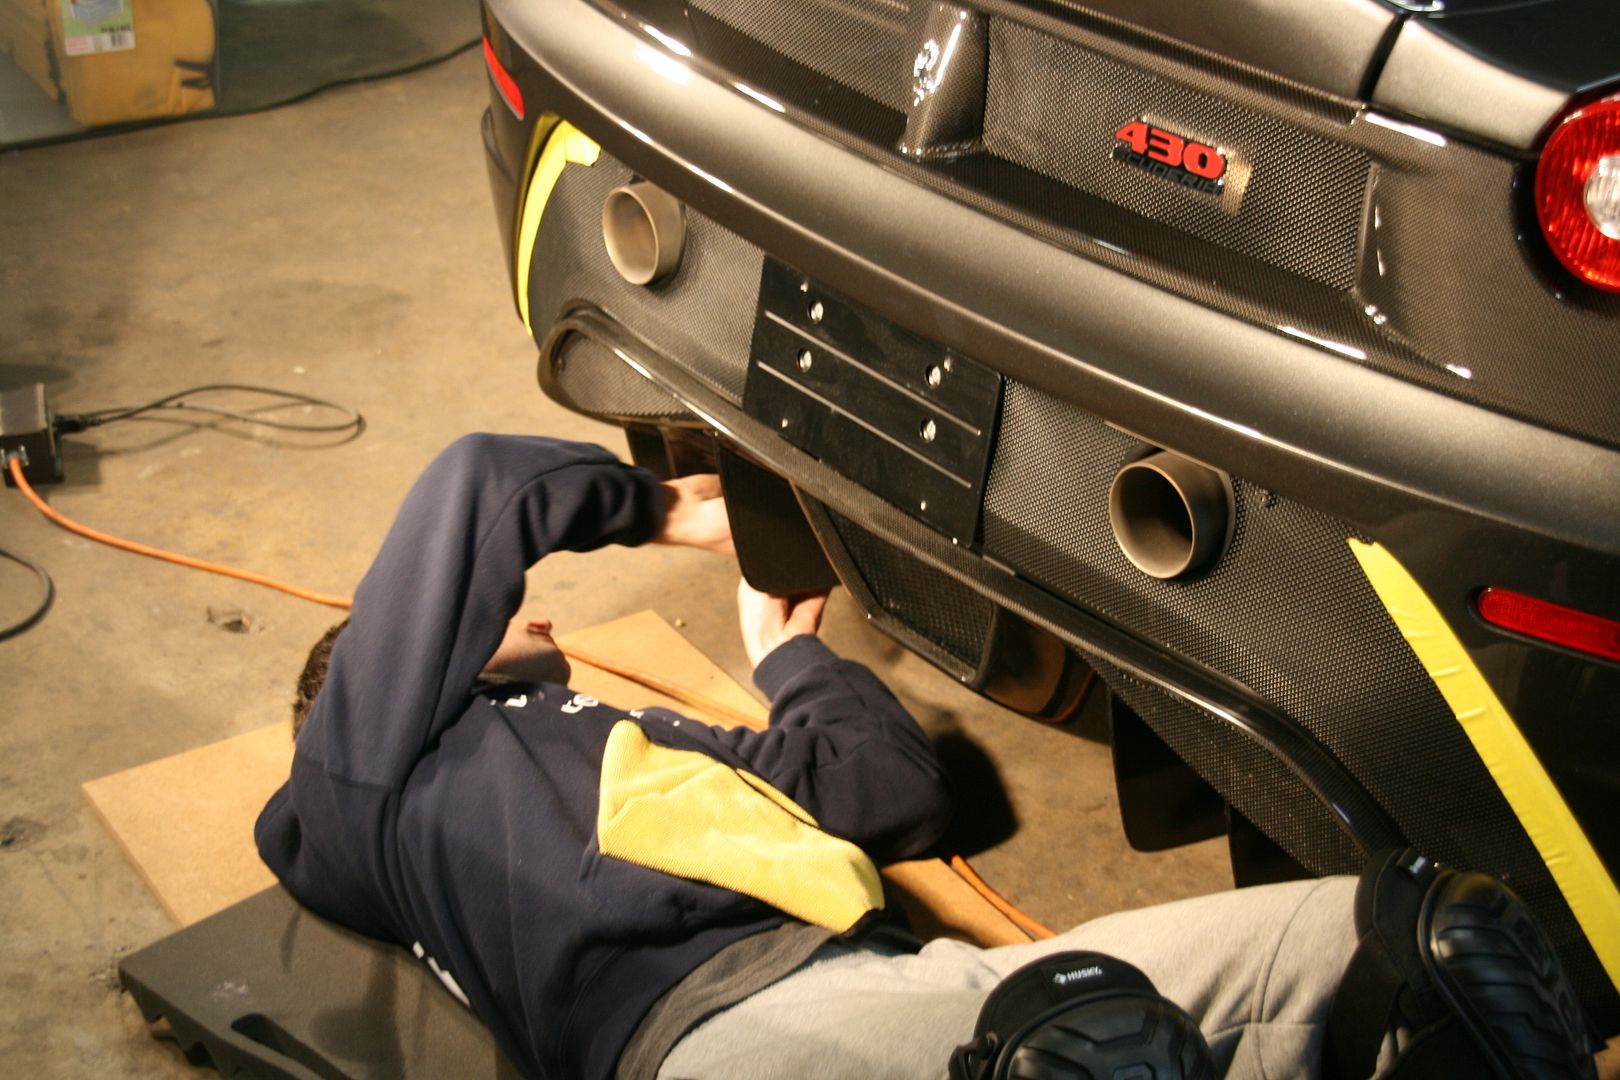
Hand polishing and sealing the rear underbody diffuser
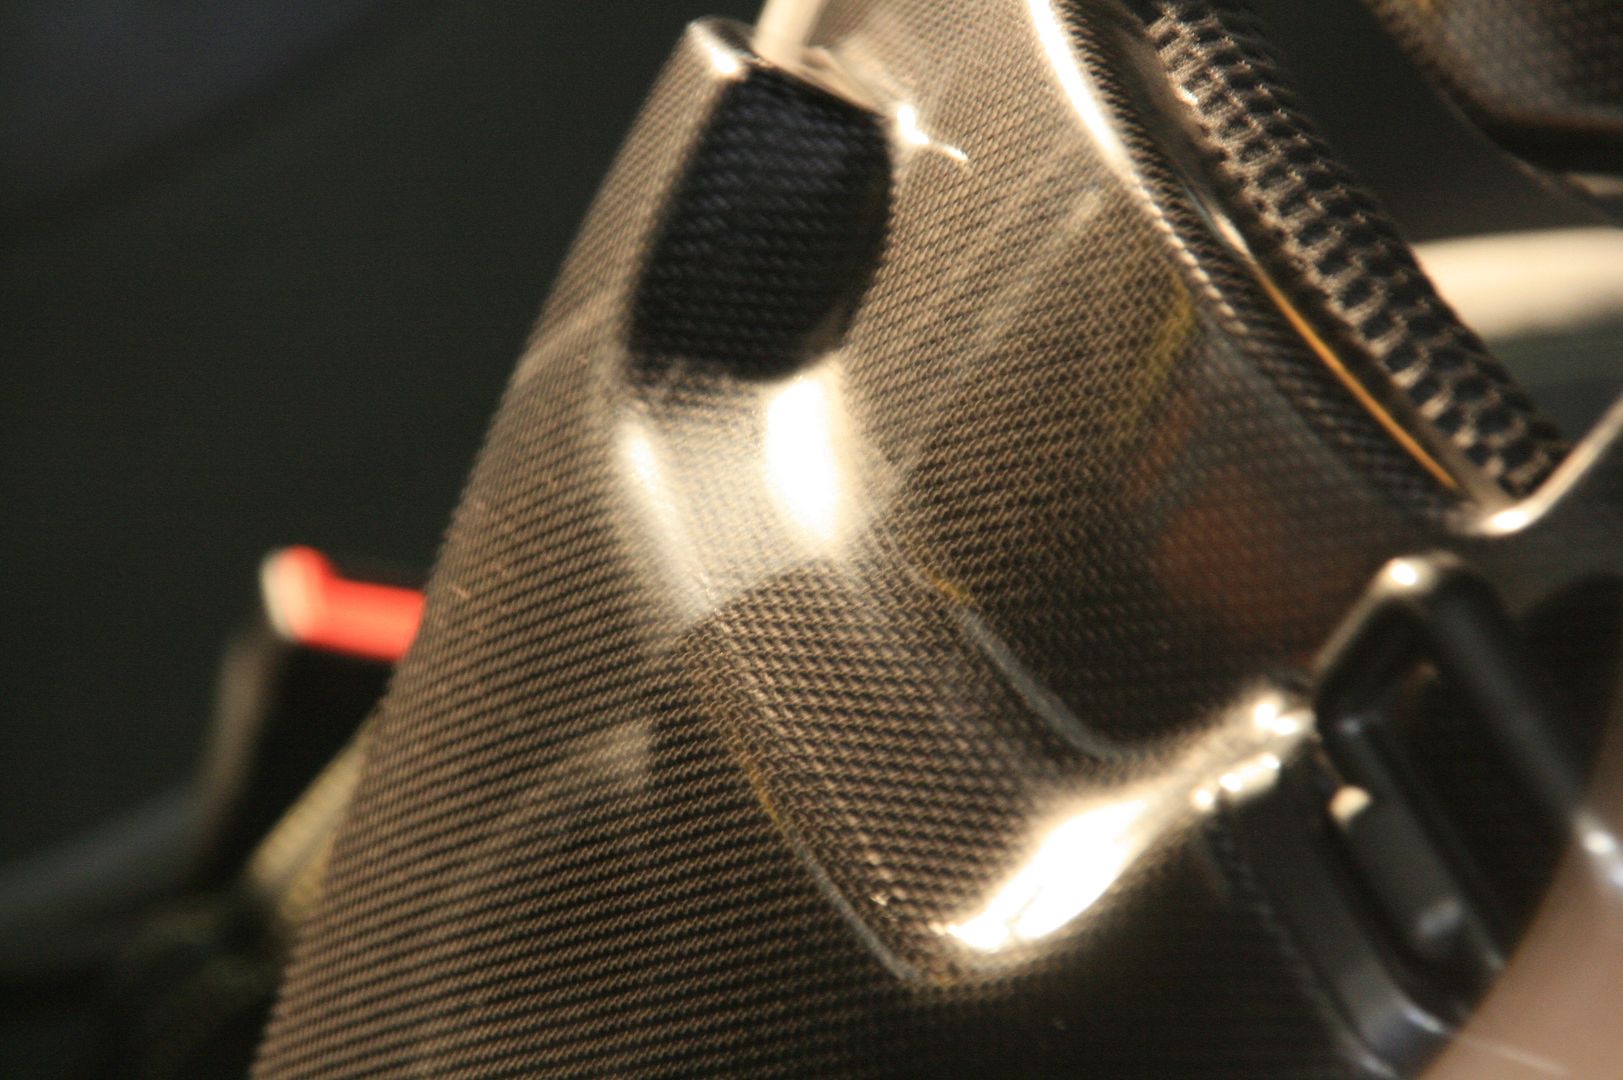
Shortly after completing the engine bay, the interior was tended to, in the same fashion in regards to the carbon fiber pieces, which are abundant in the Scuderia.
Carbon fiber seat back, Before and After polishing.
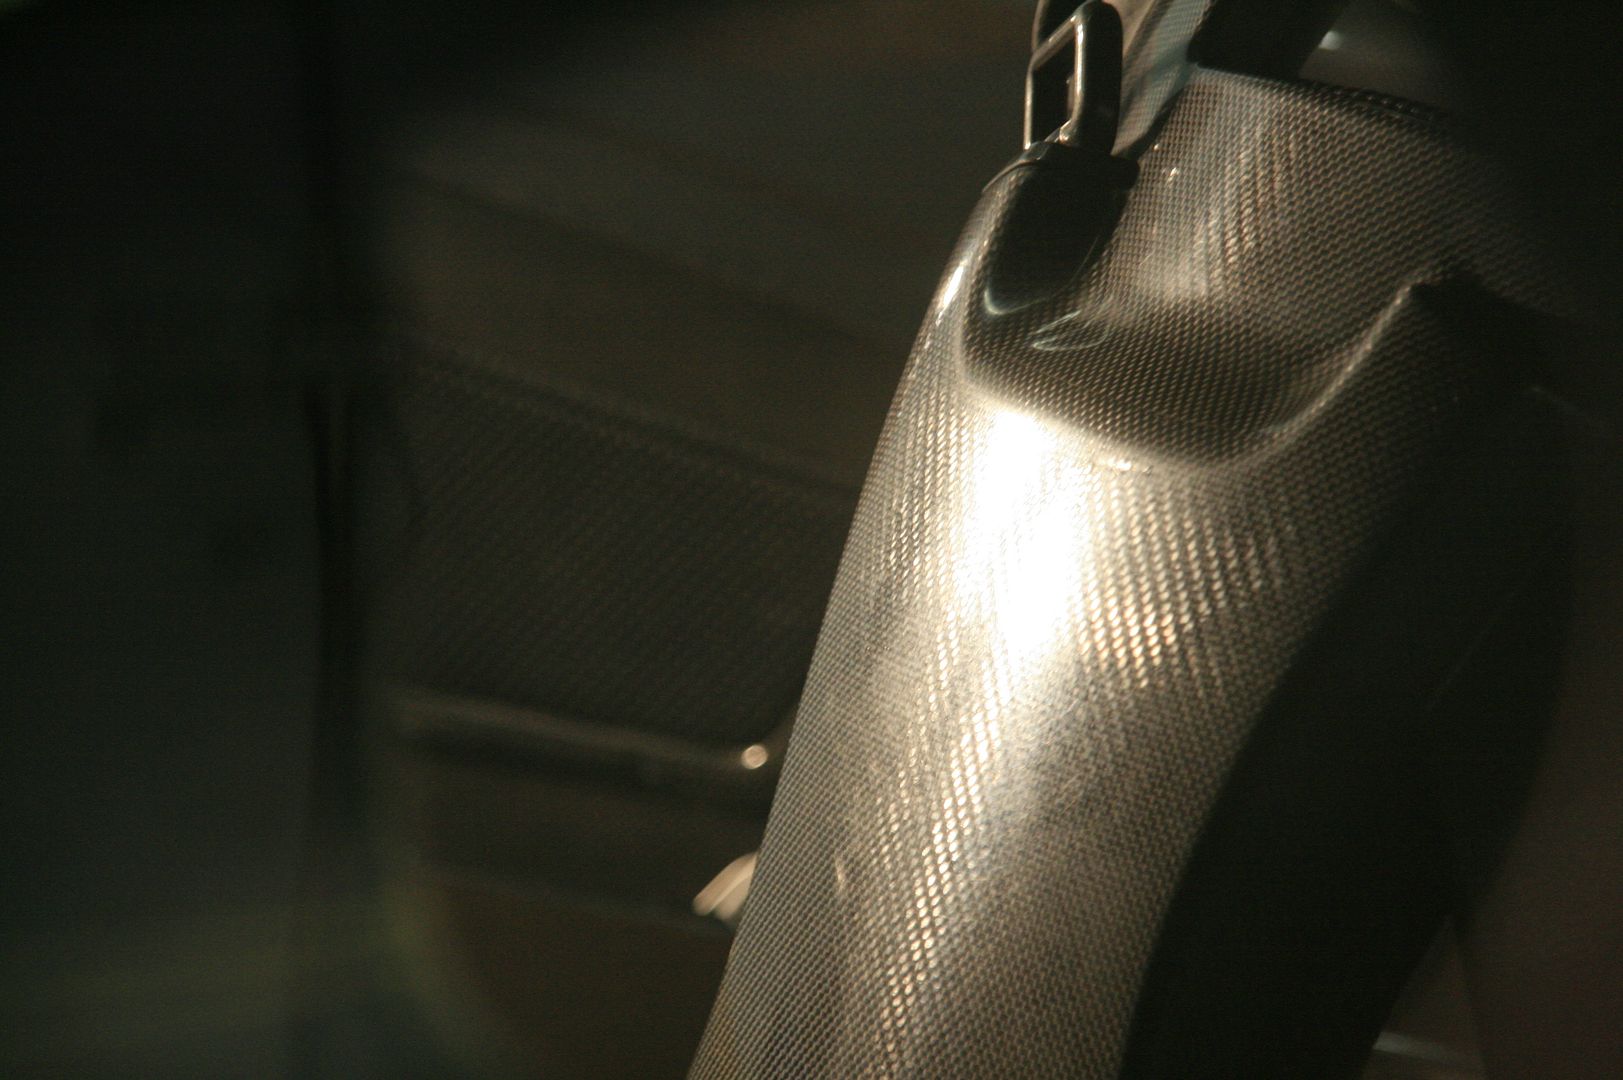
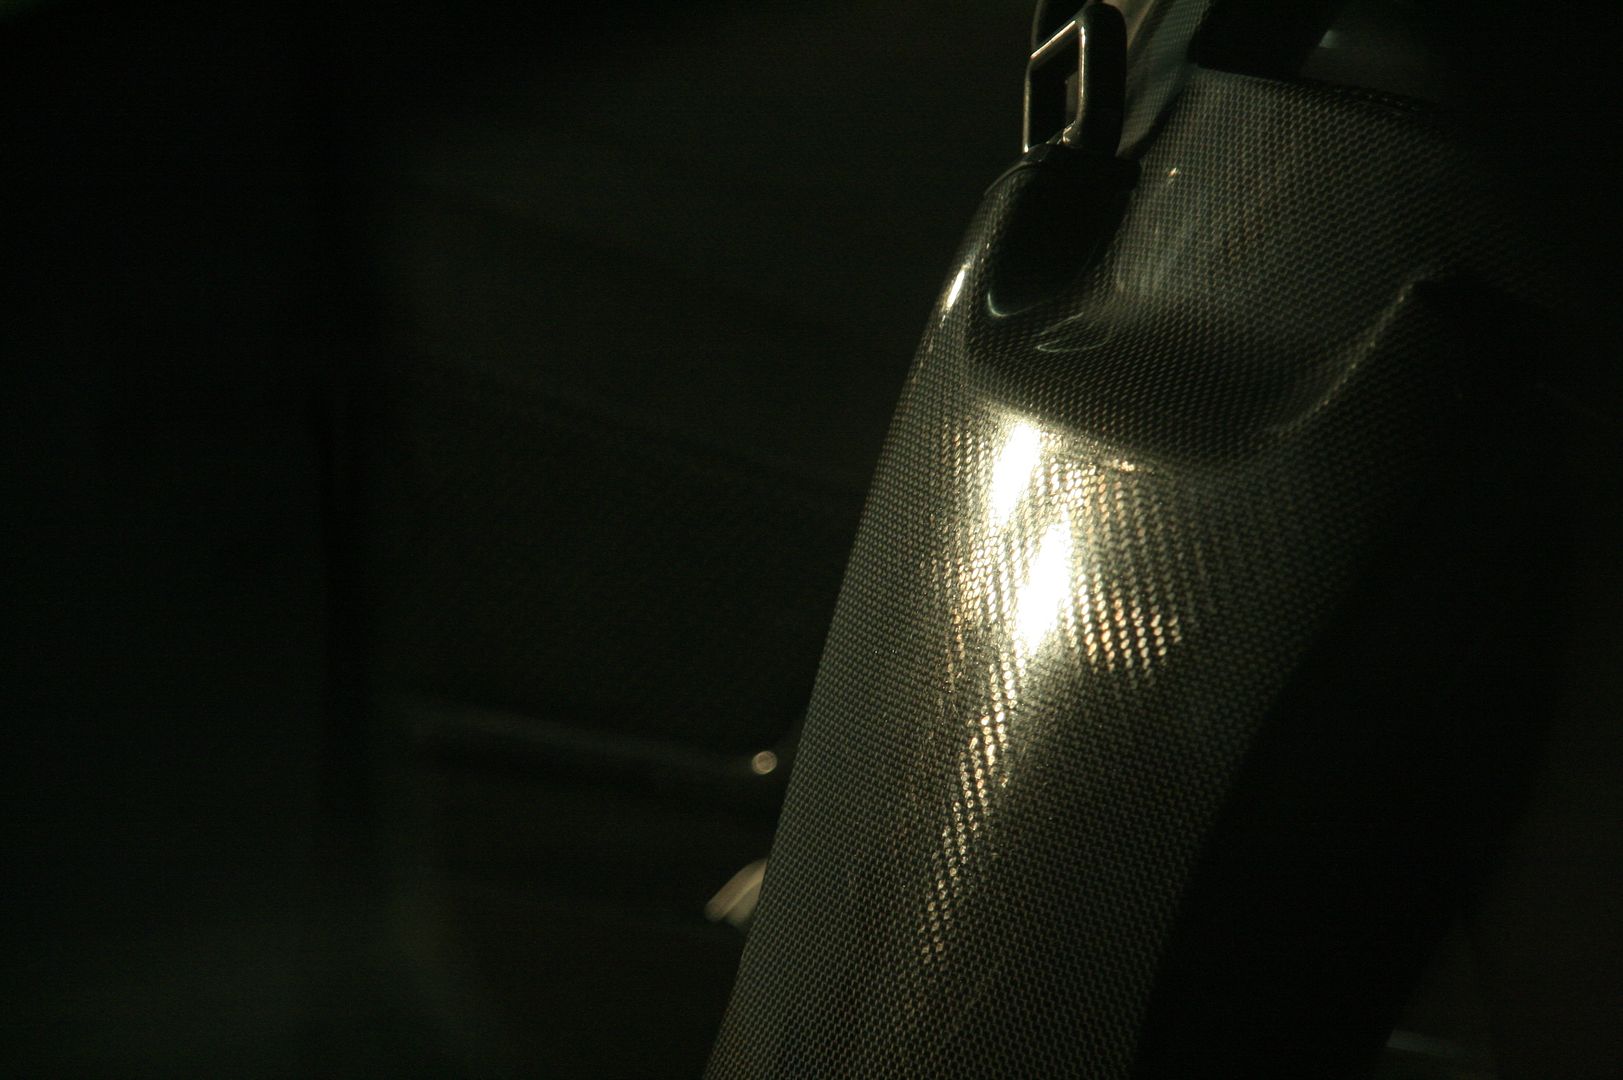
Seat Back 50/50
15.
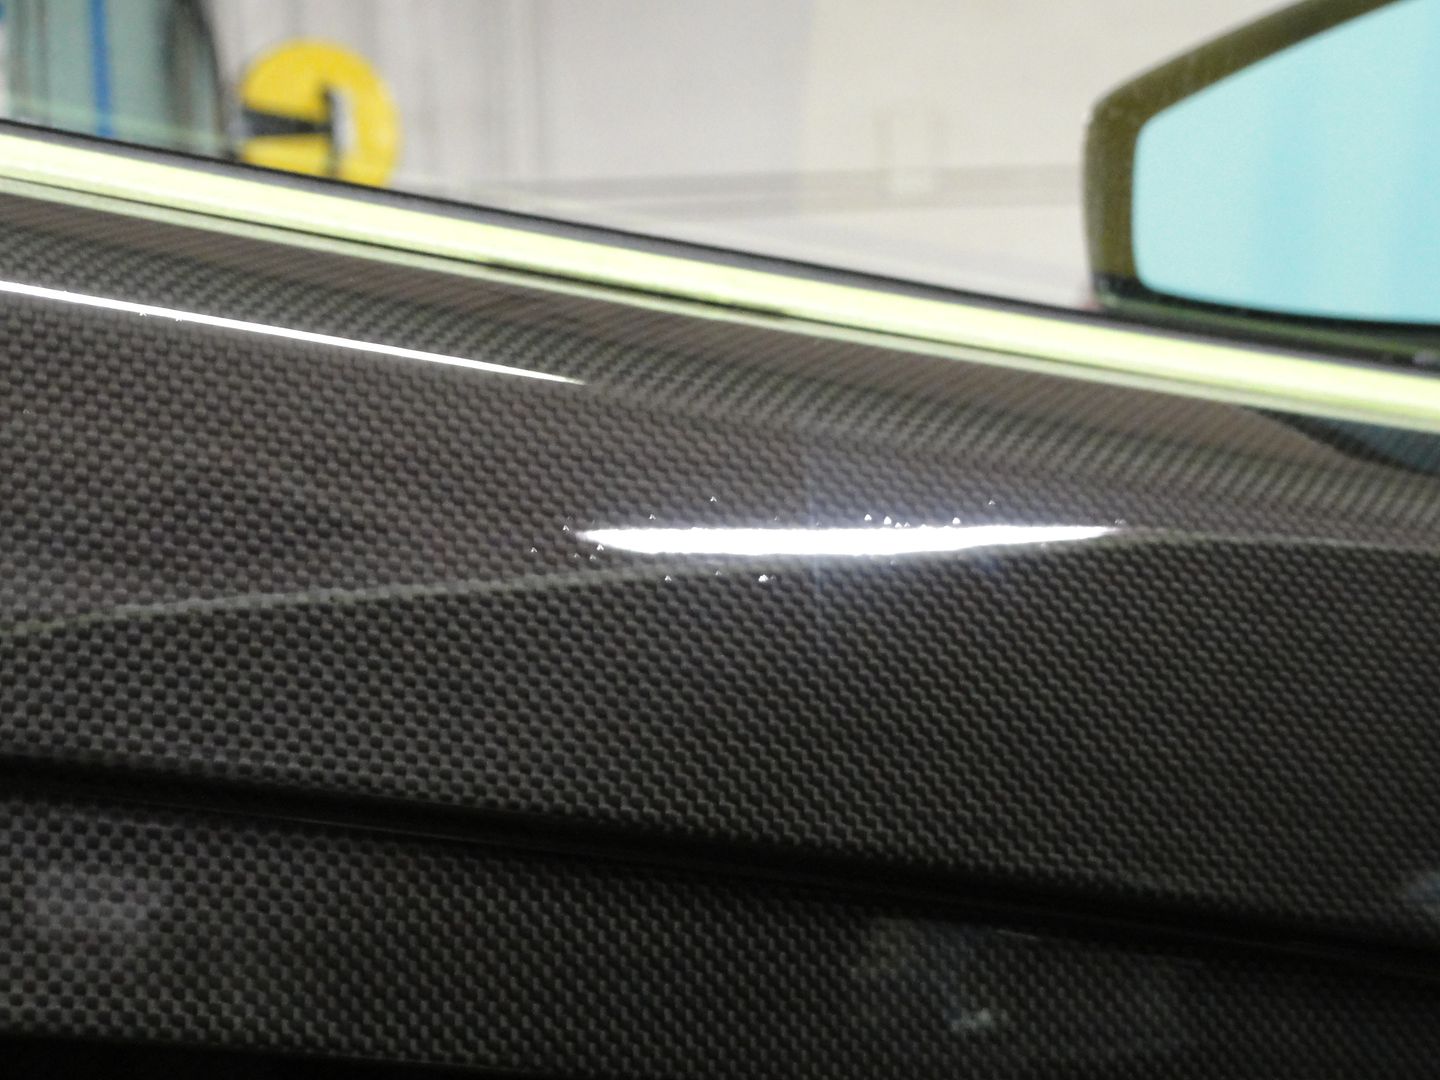
50/50 photo of carbon fiber door polishing
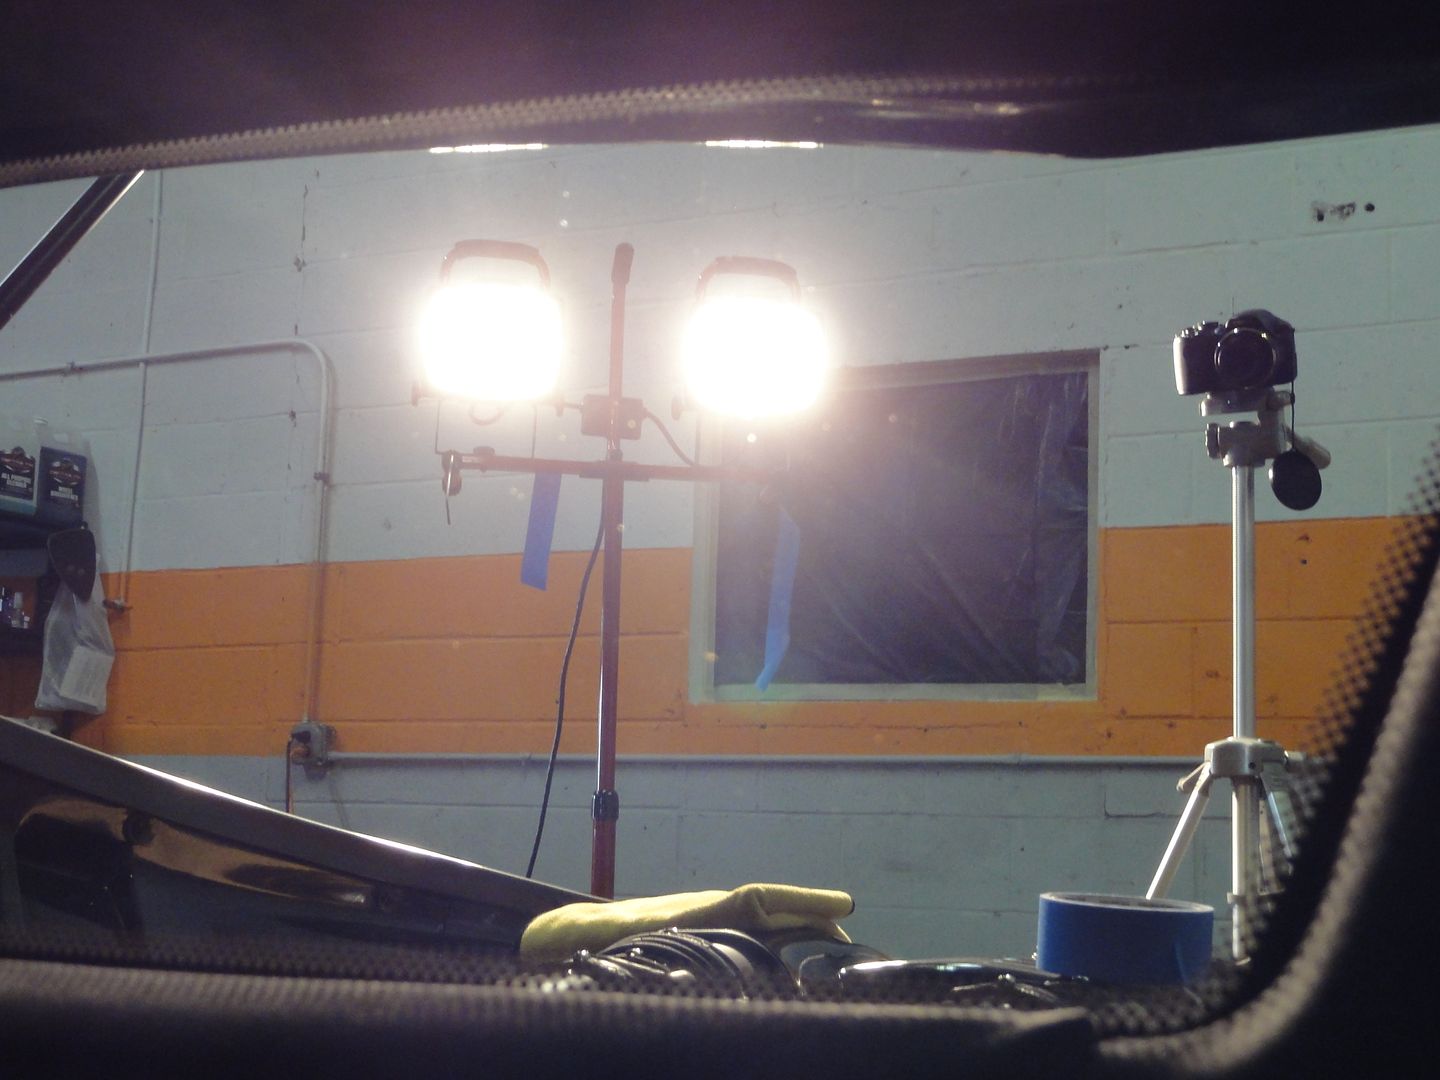
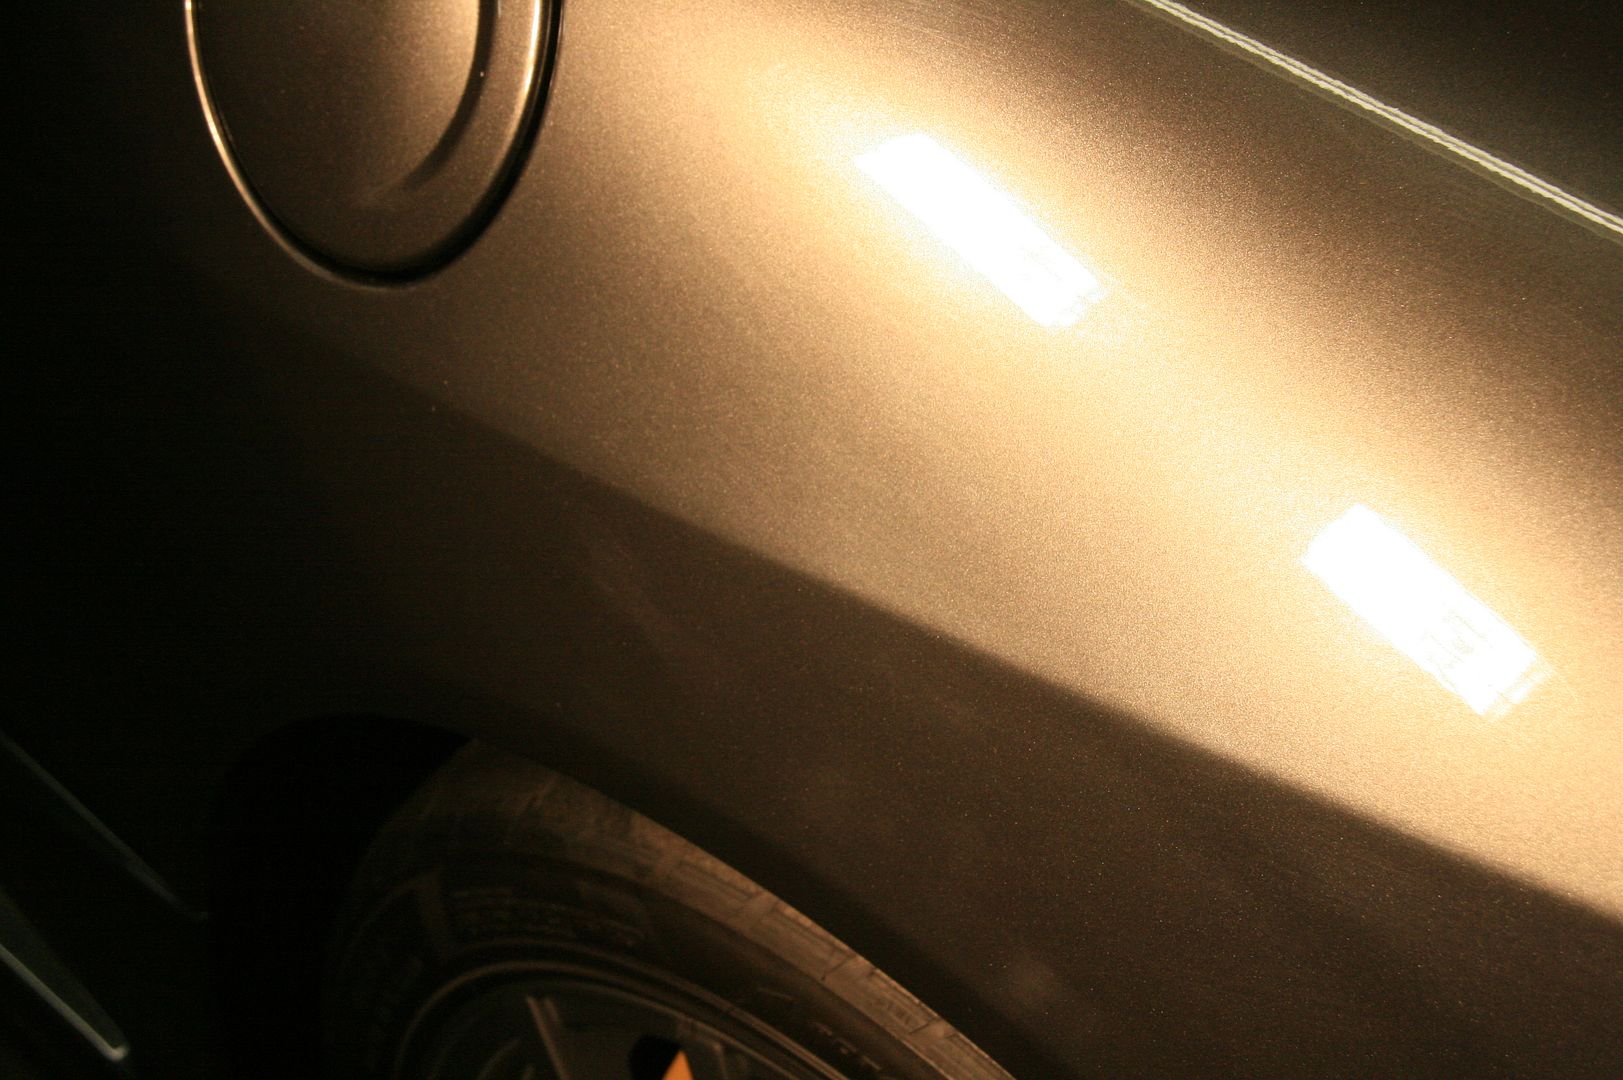
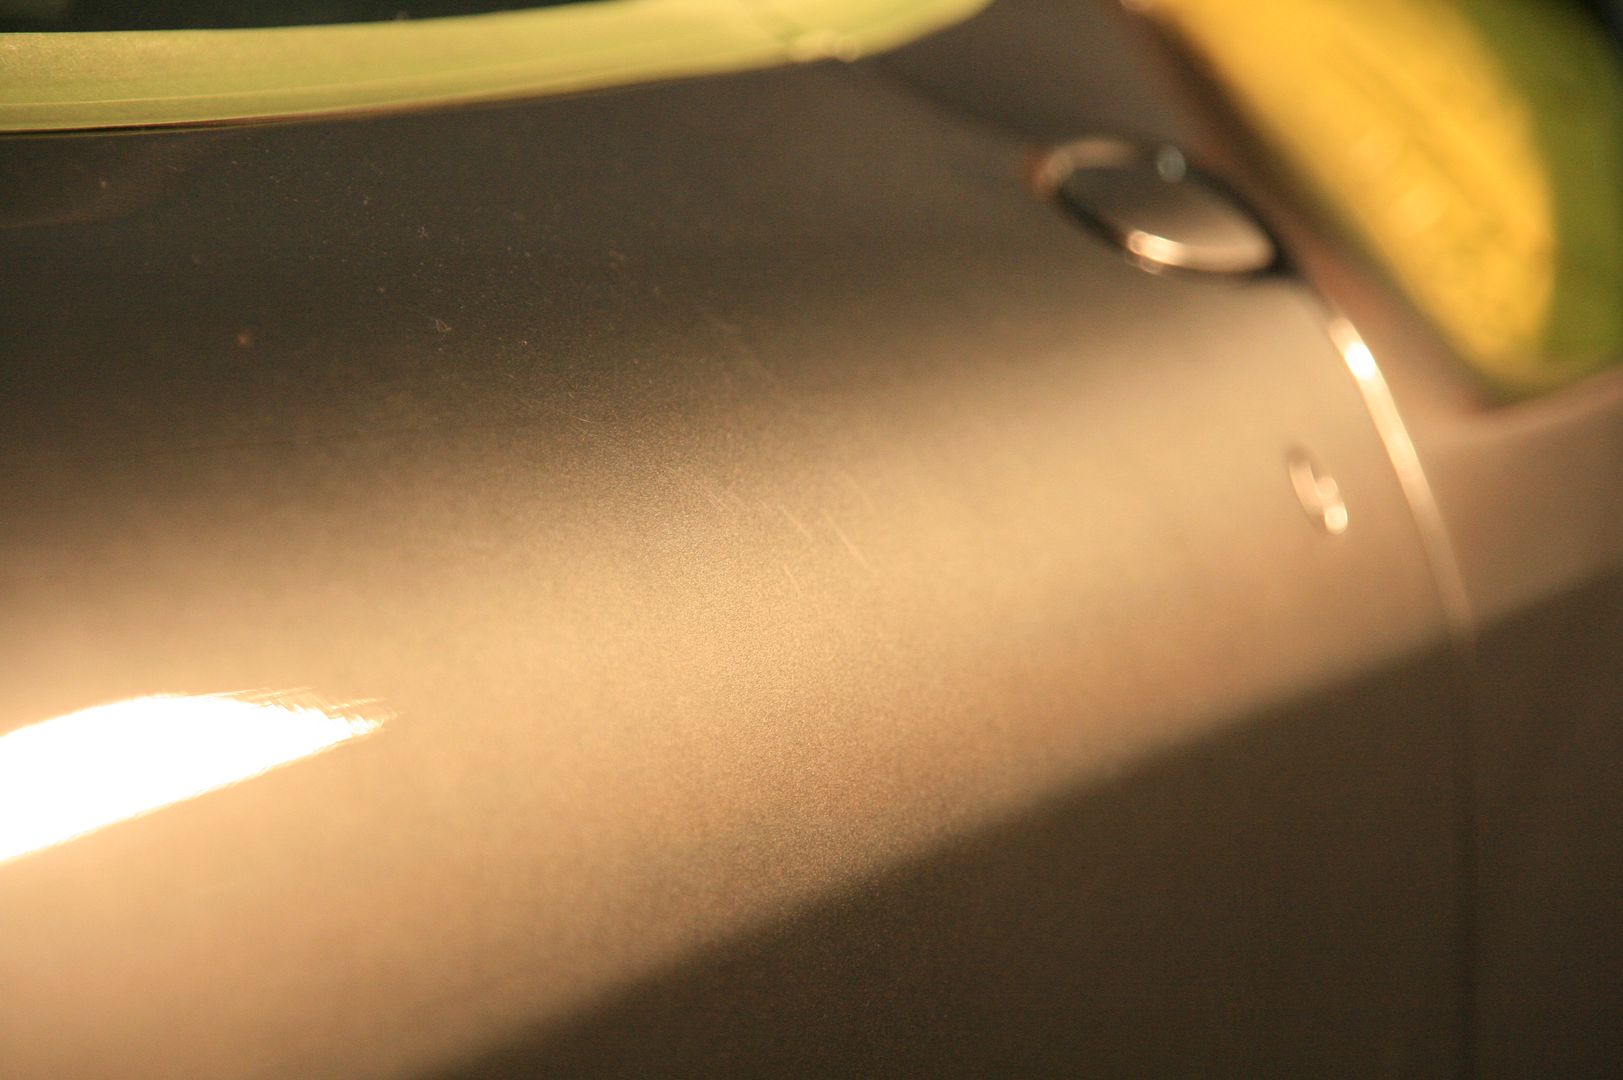
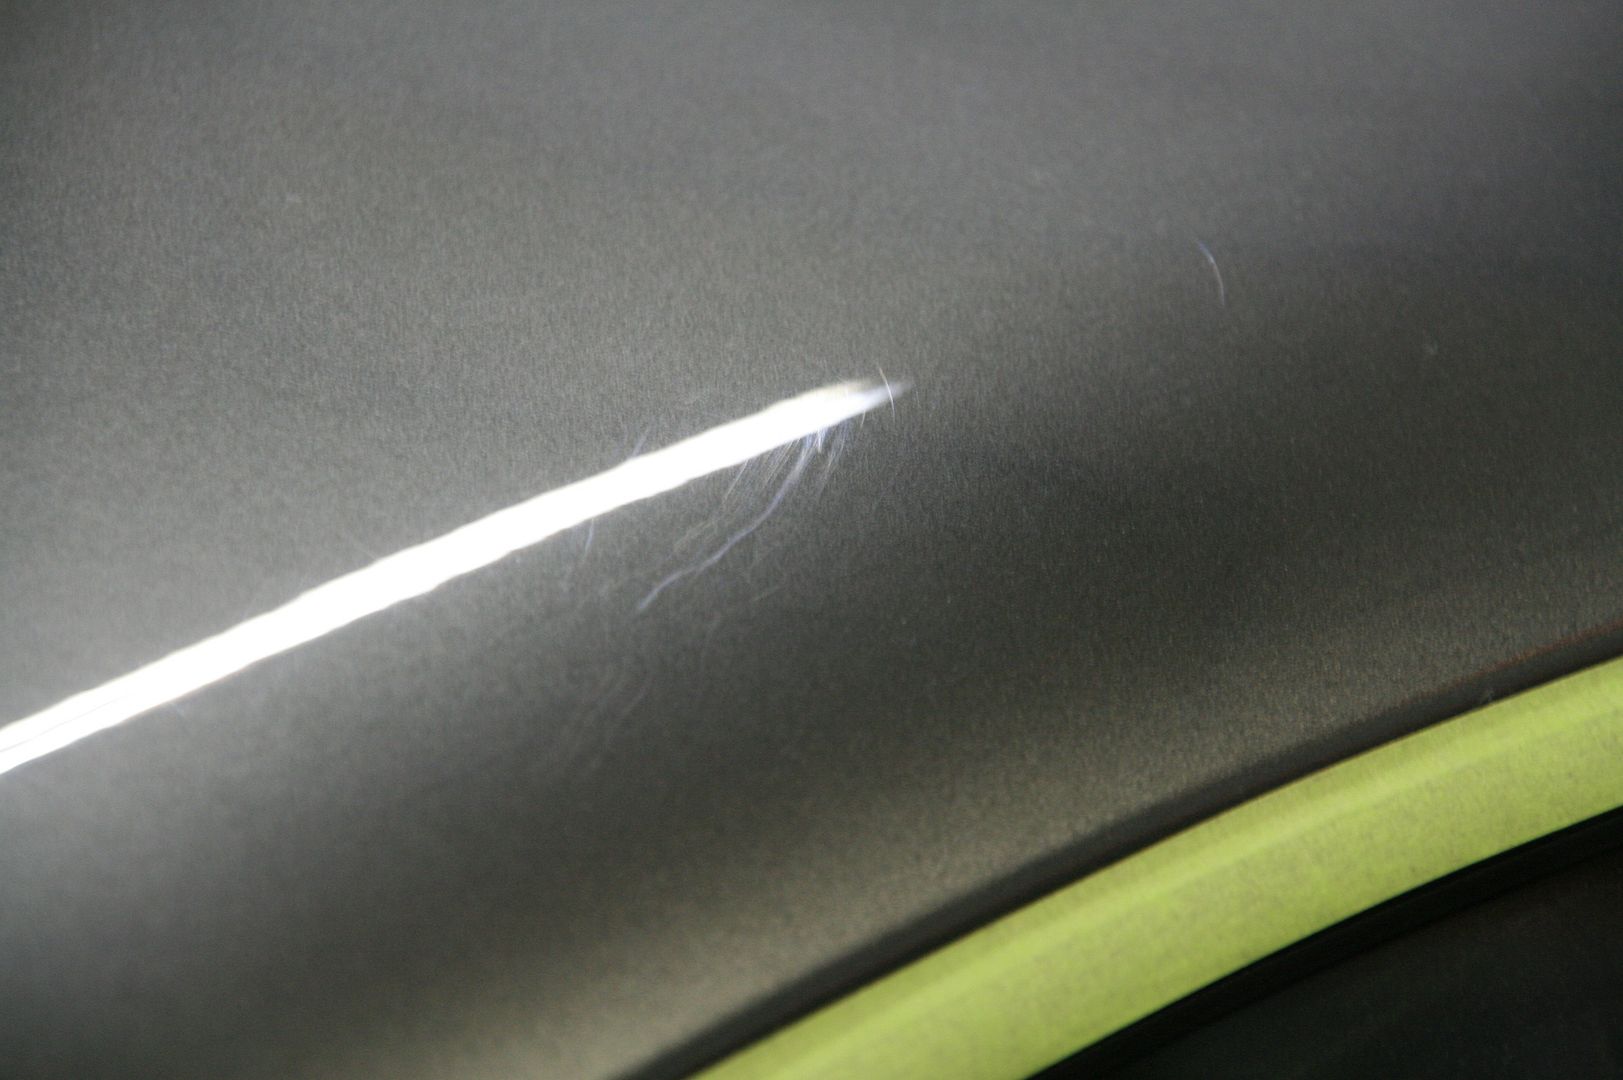
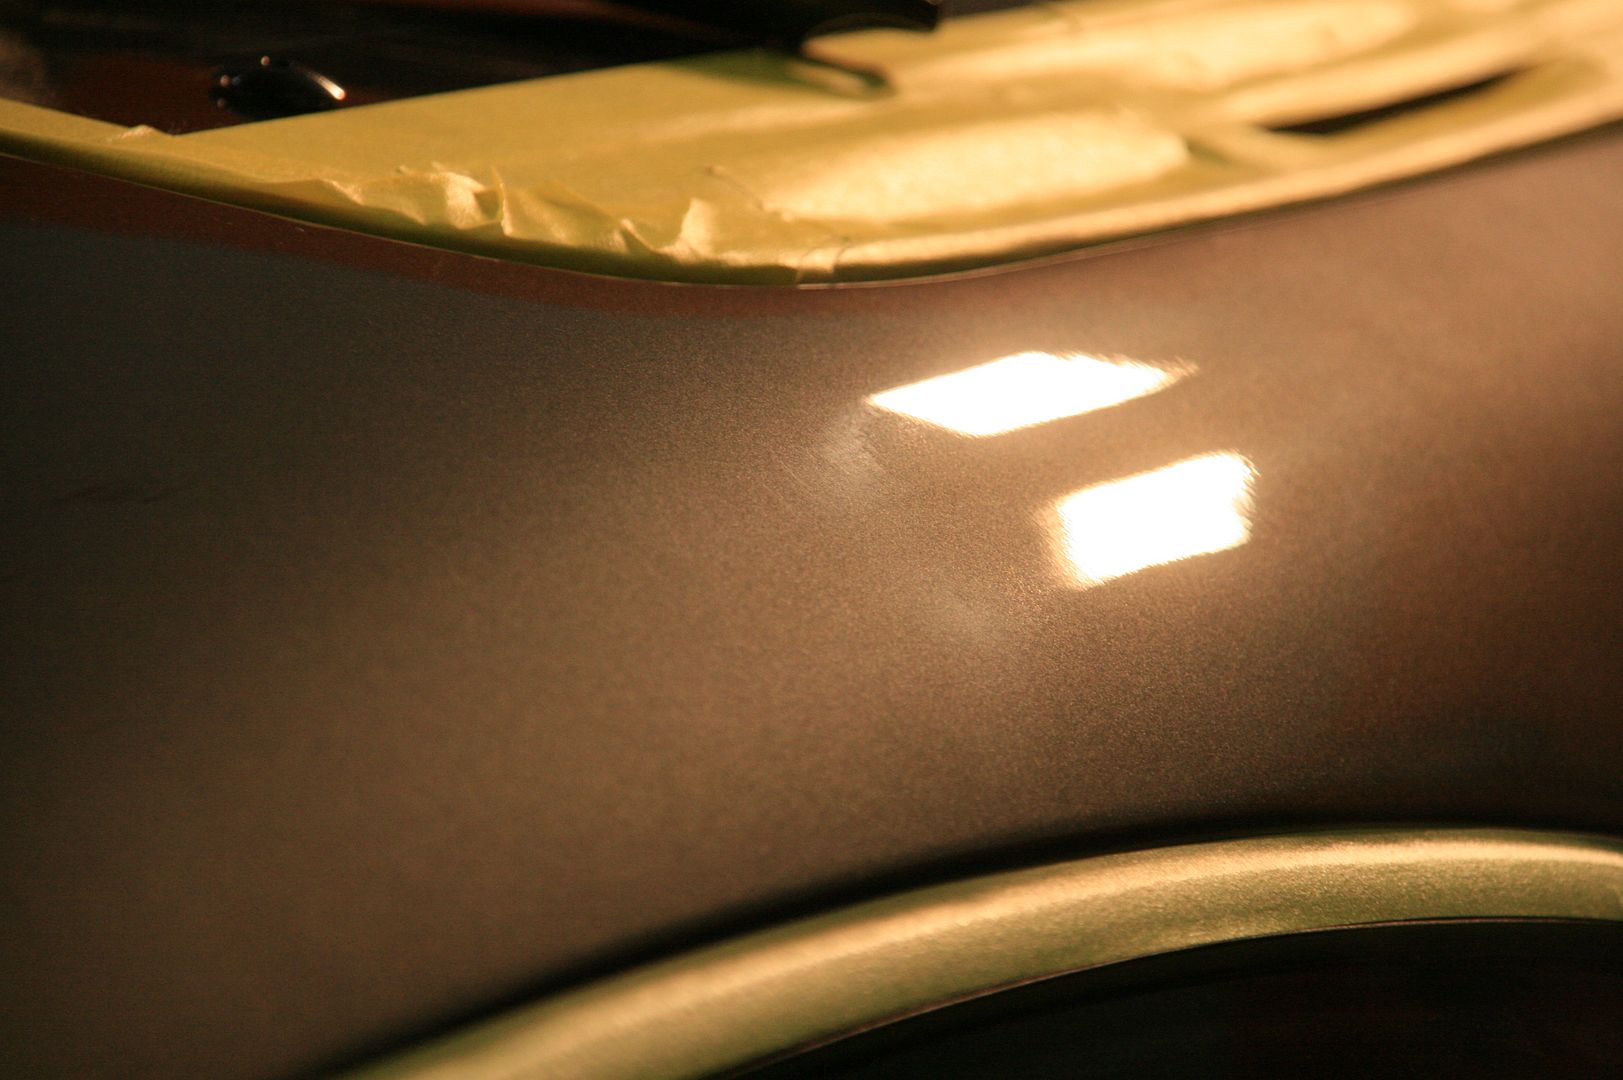
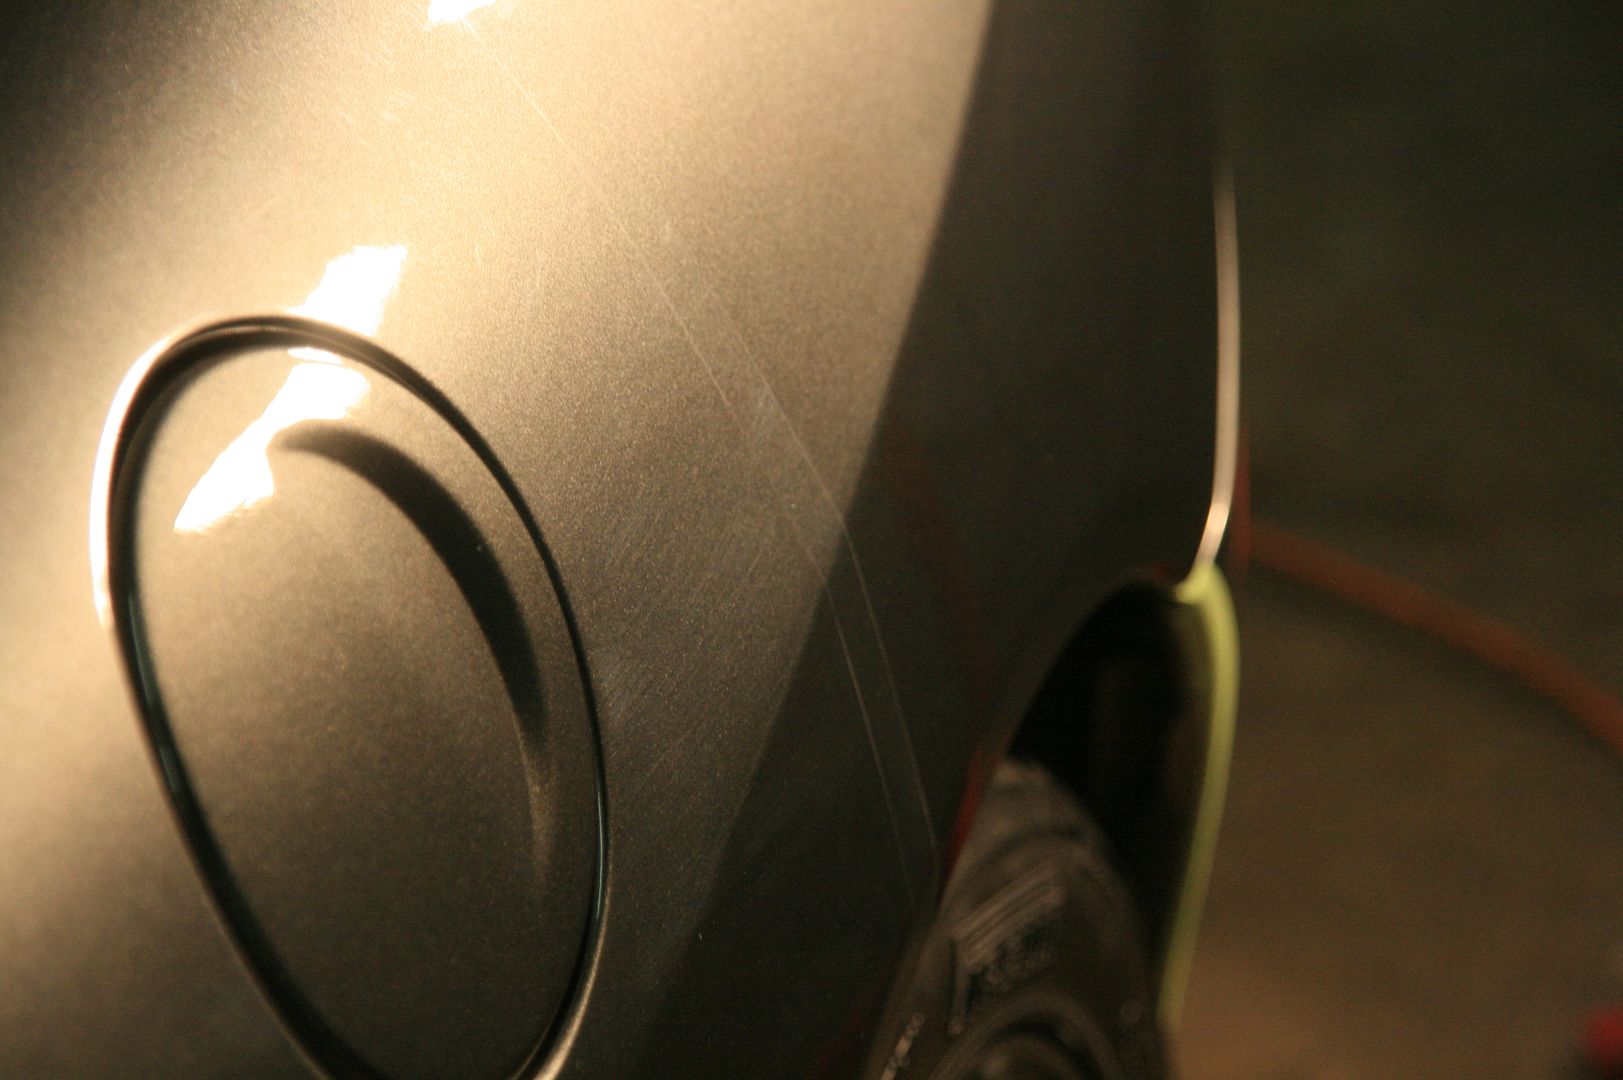
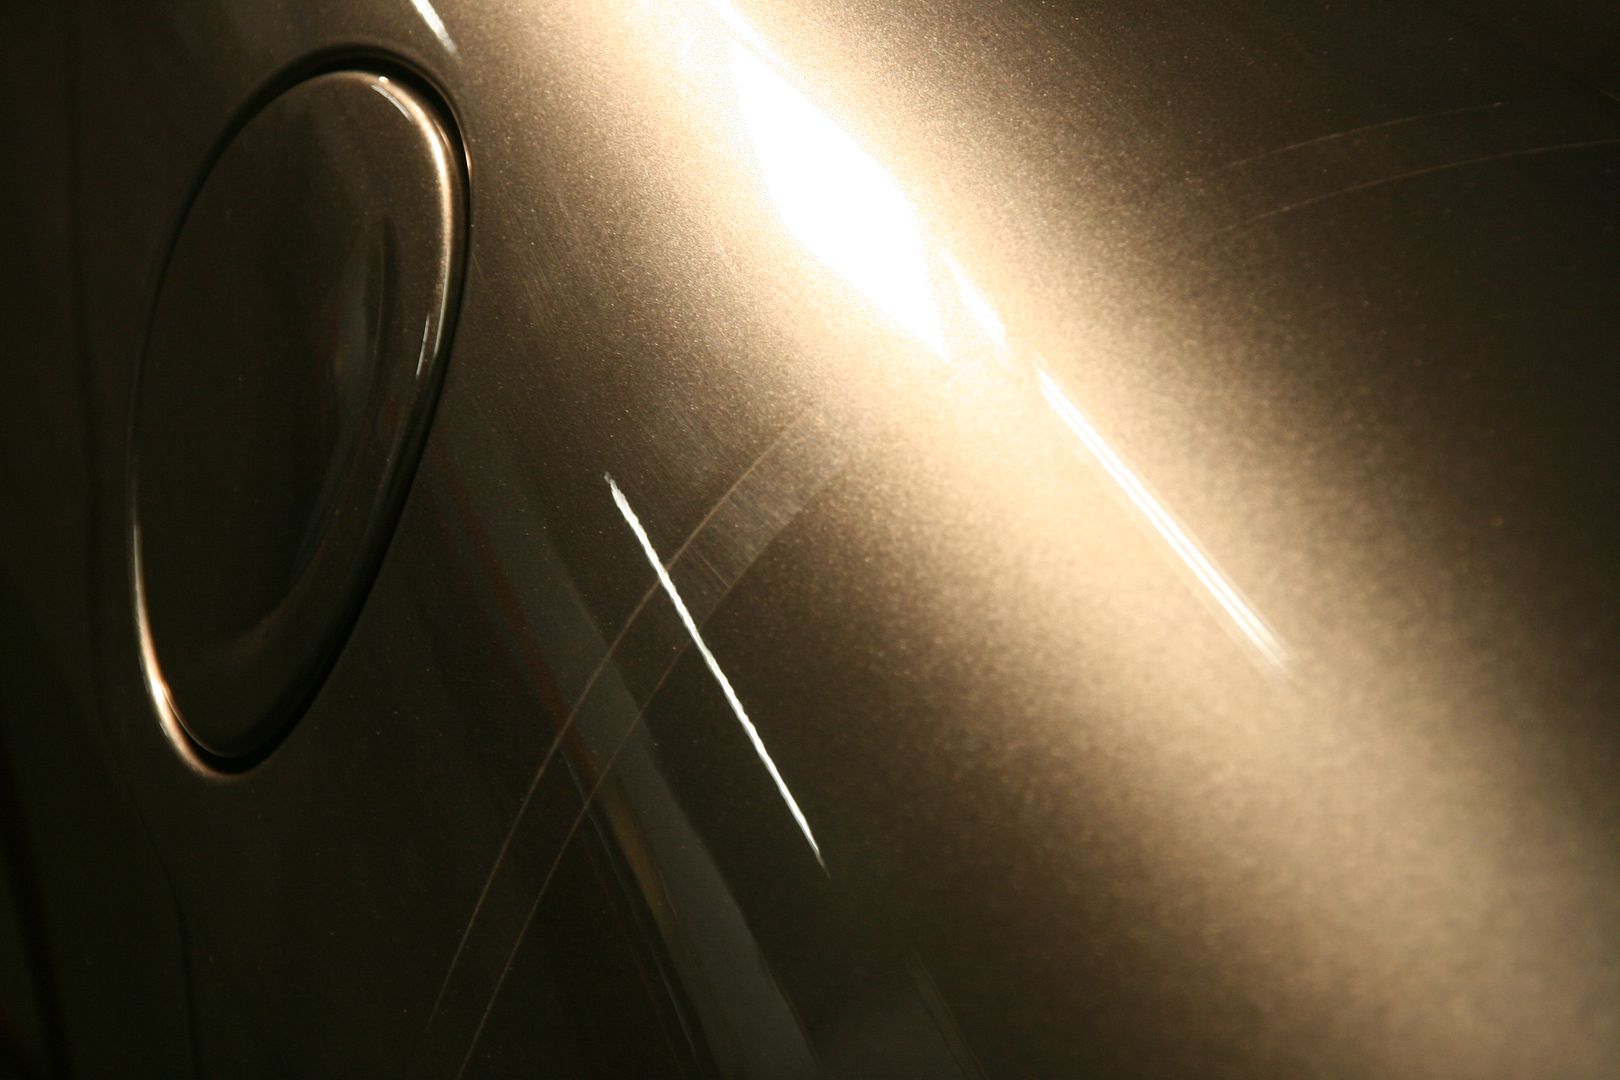
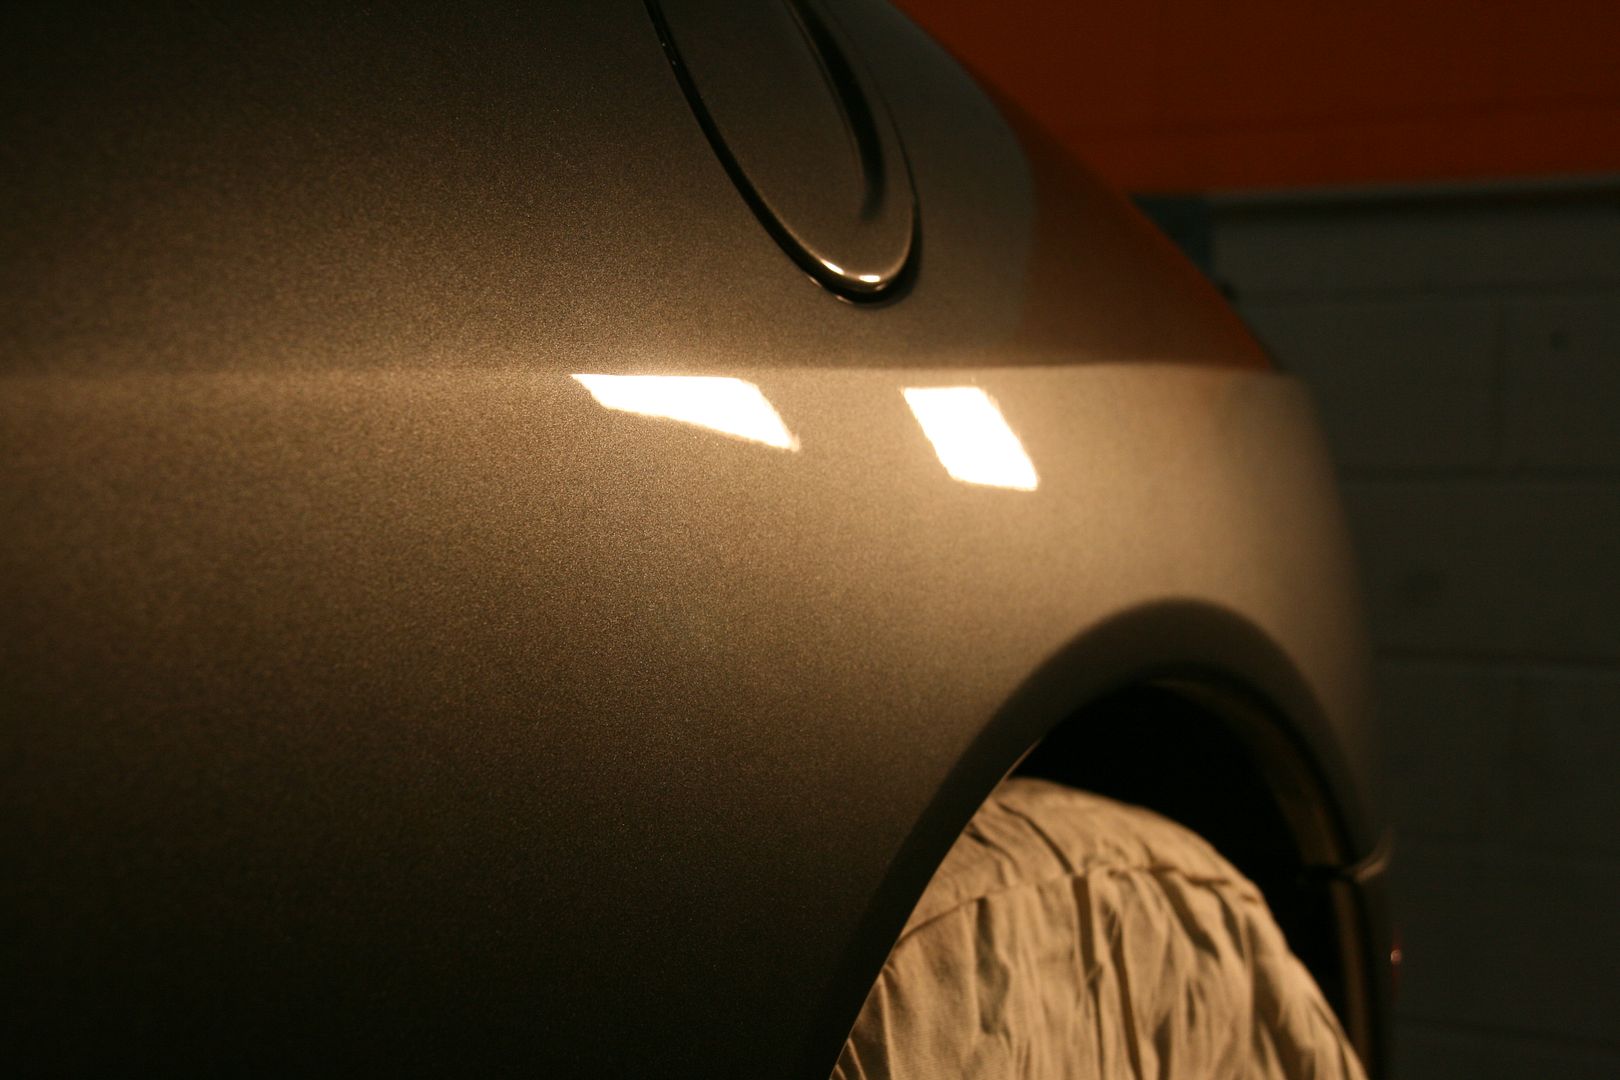
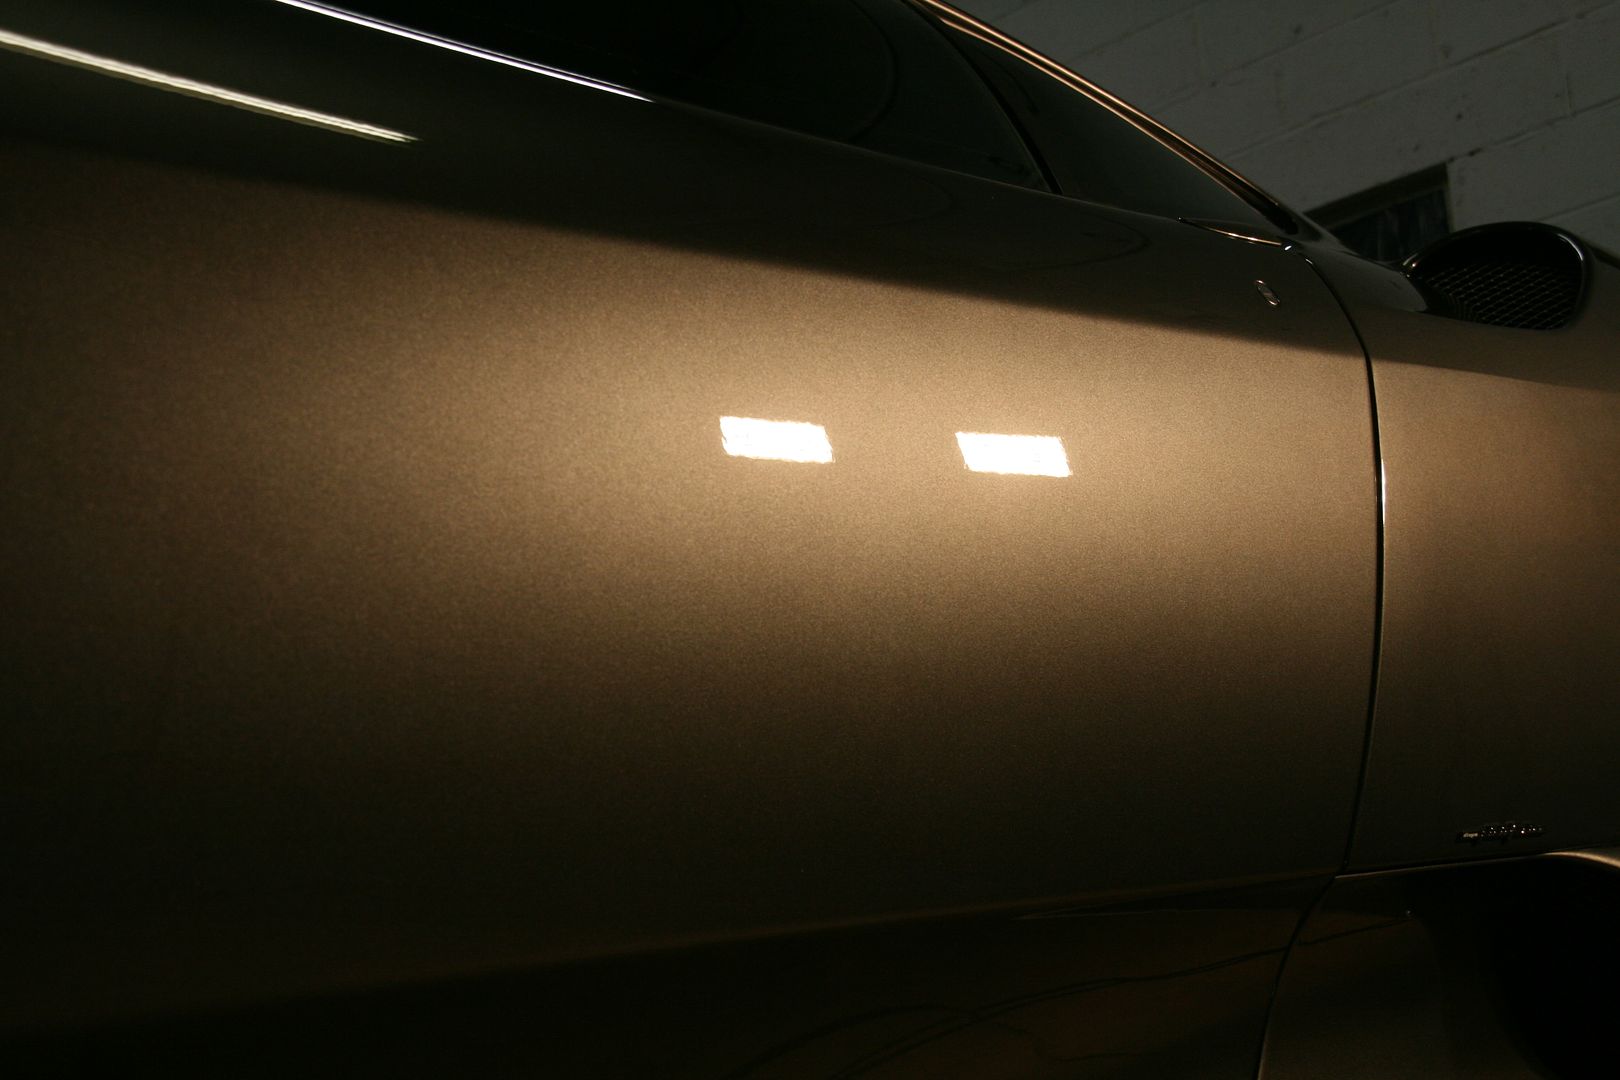
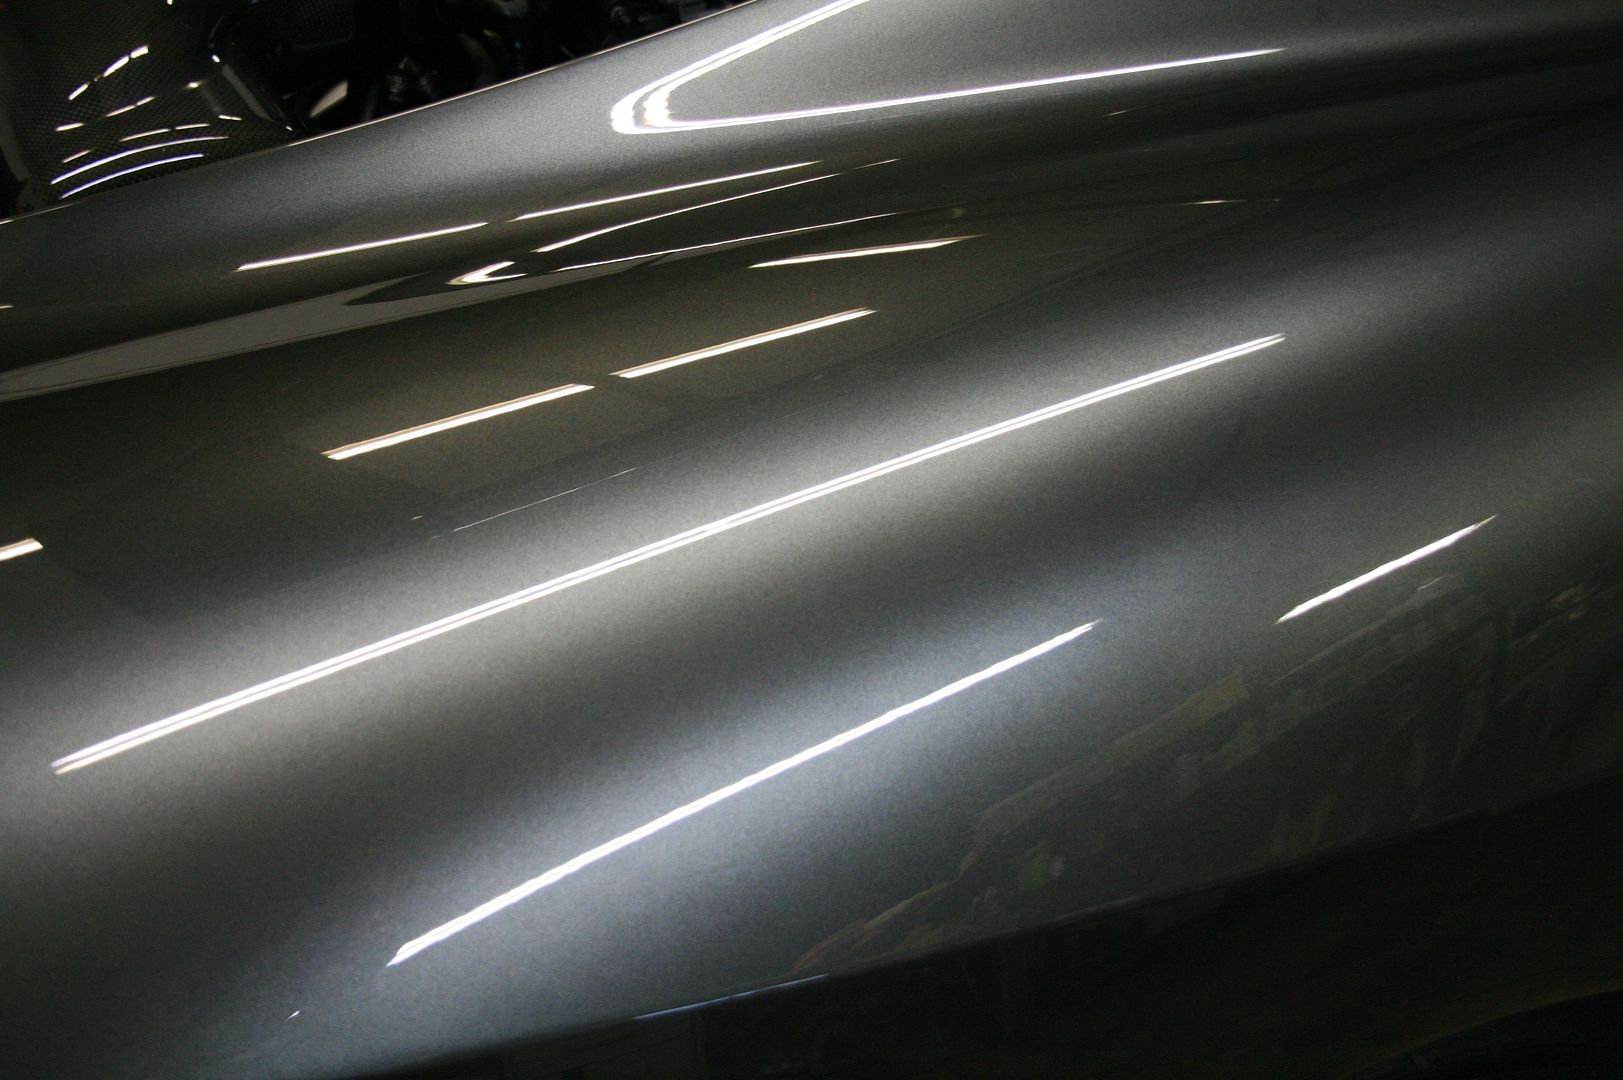
With the interior, engine bay and wheels tended to, we moved on to the biggest part of the project. The Paint Correction. After analyzing the paint with Halogen, LED and flourescent lighting, we "read" the vehicle in approximately 200 locations. A labeled image will be included in the videos to come of the exact readings throughout. Our findings are shown below:
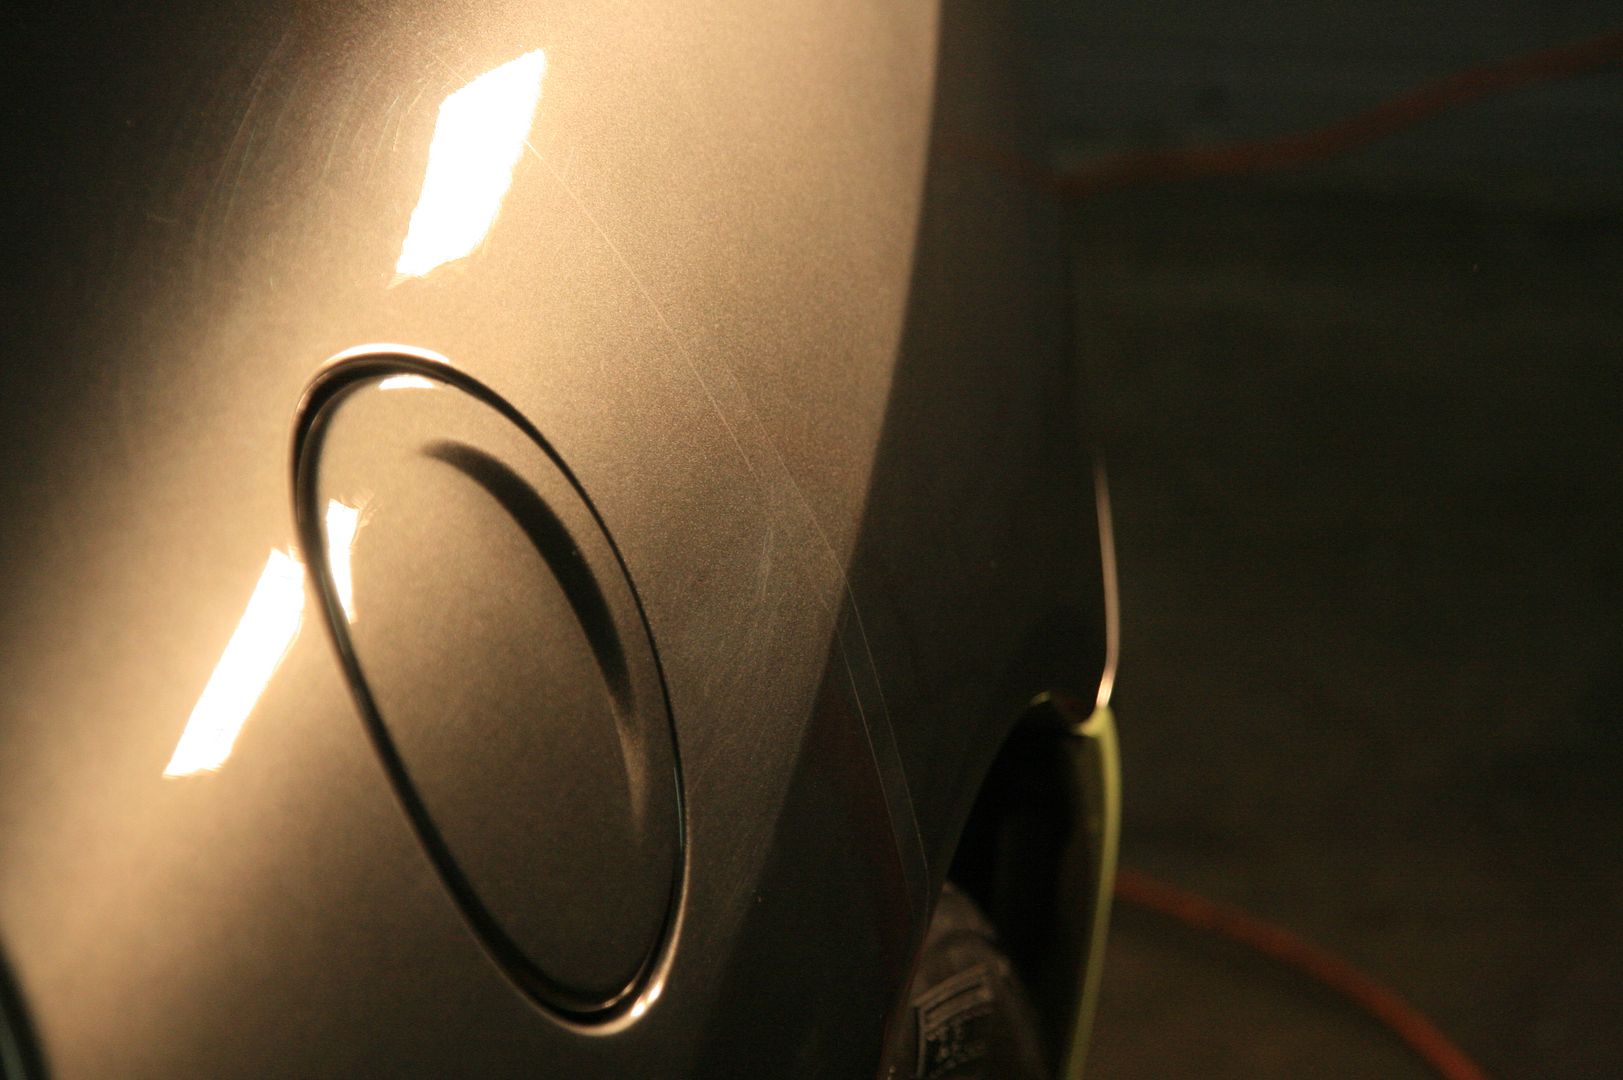
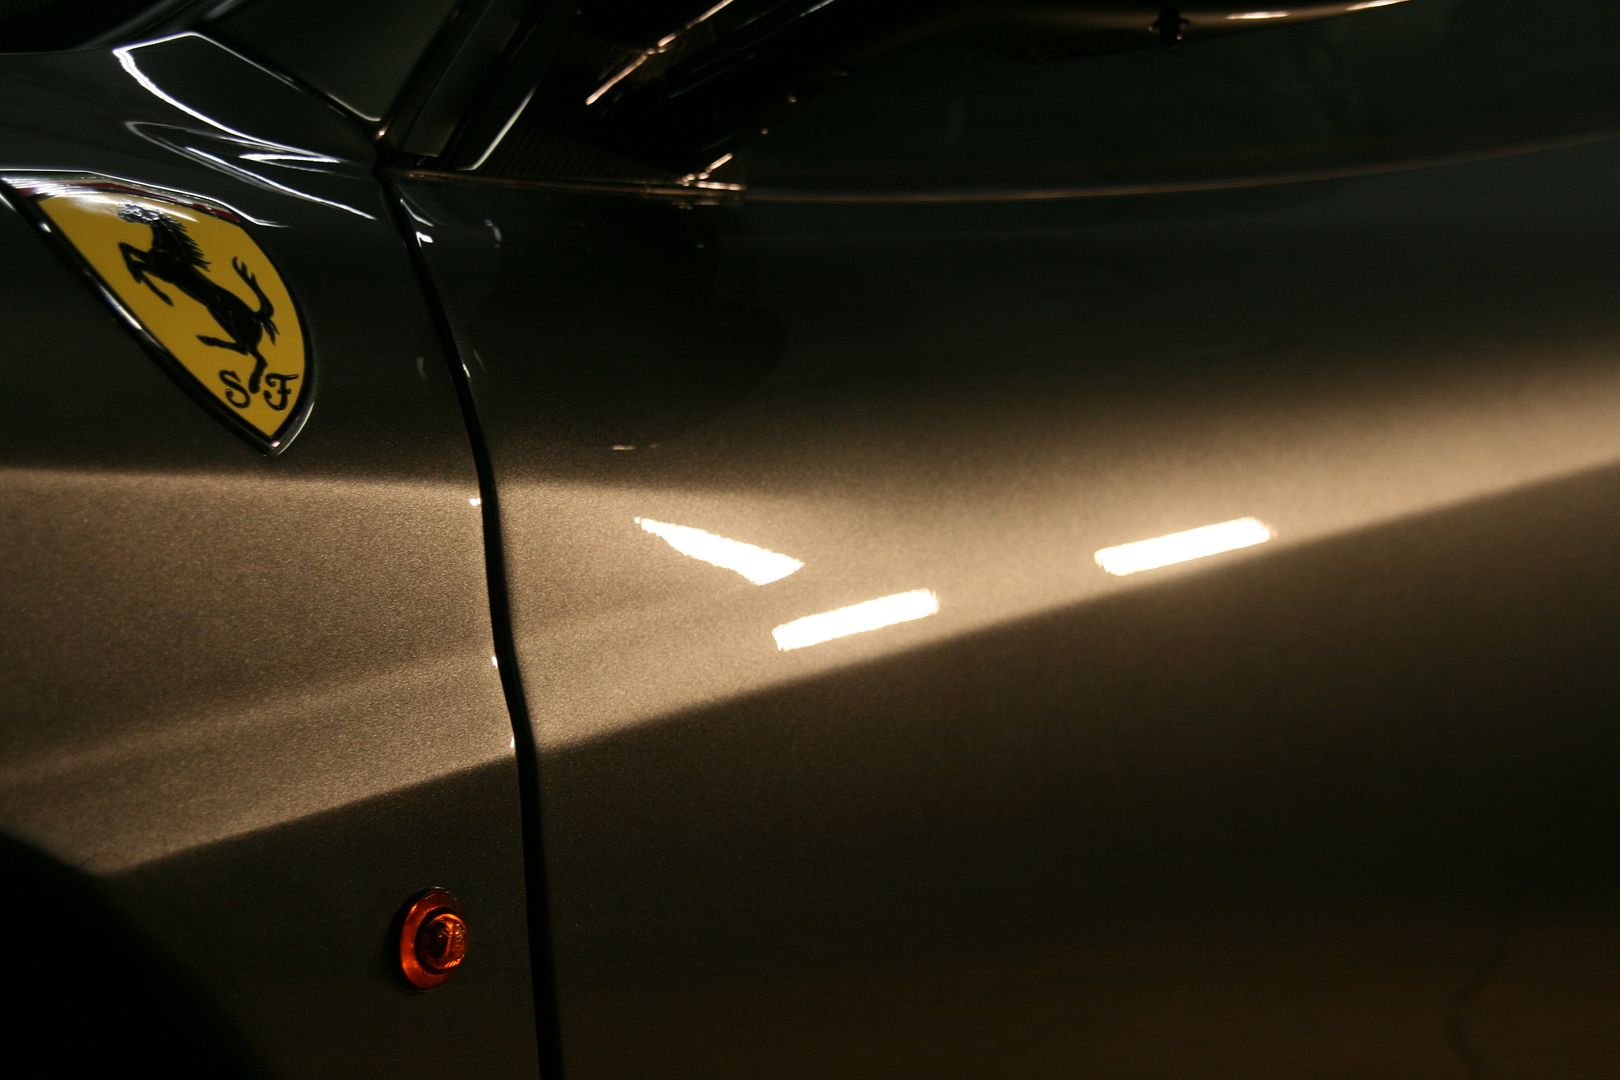
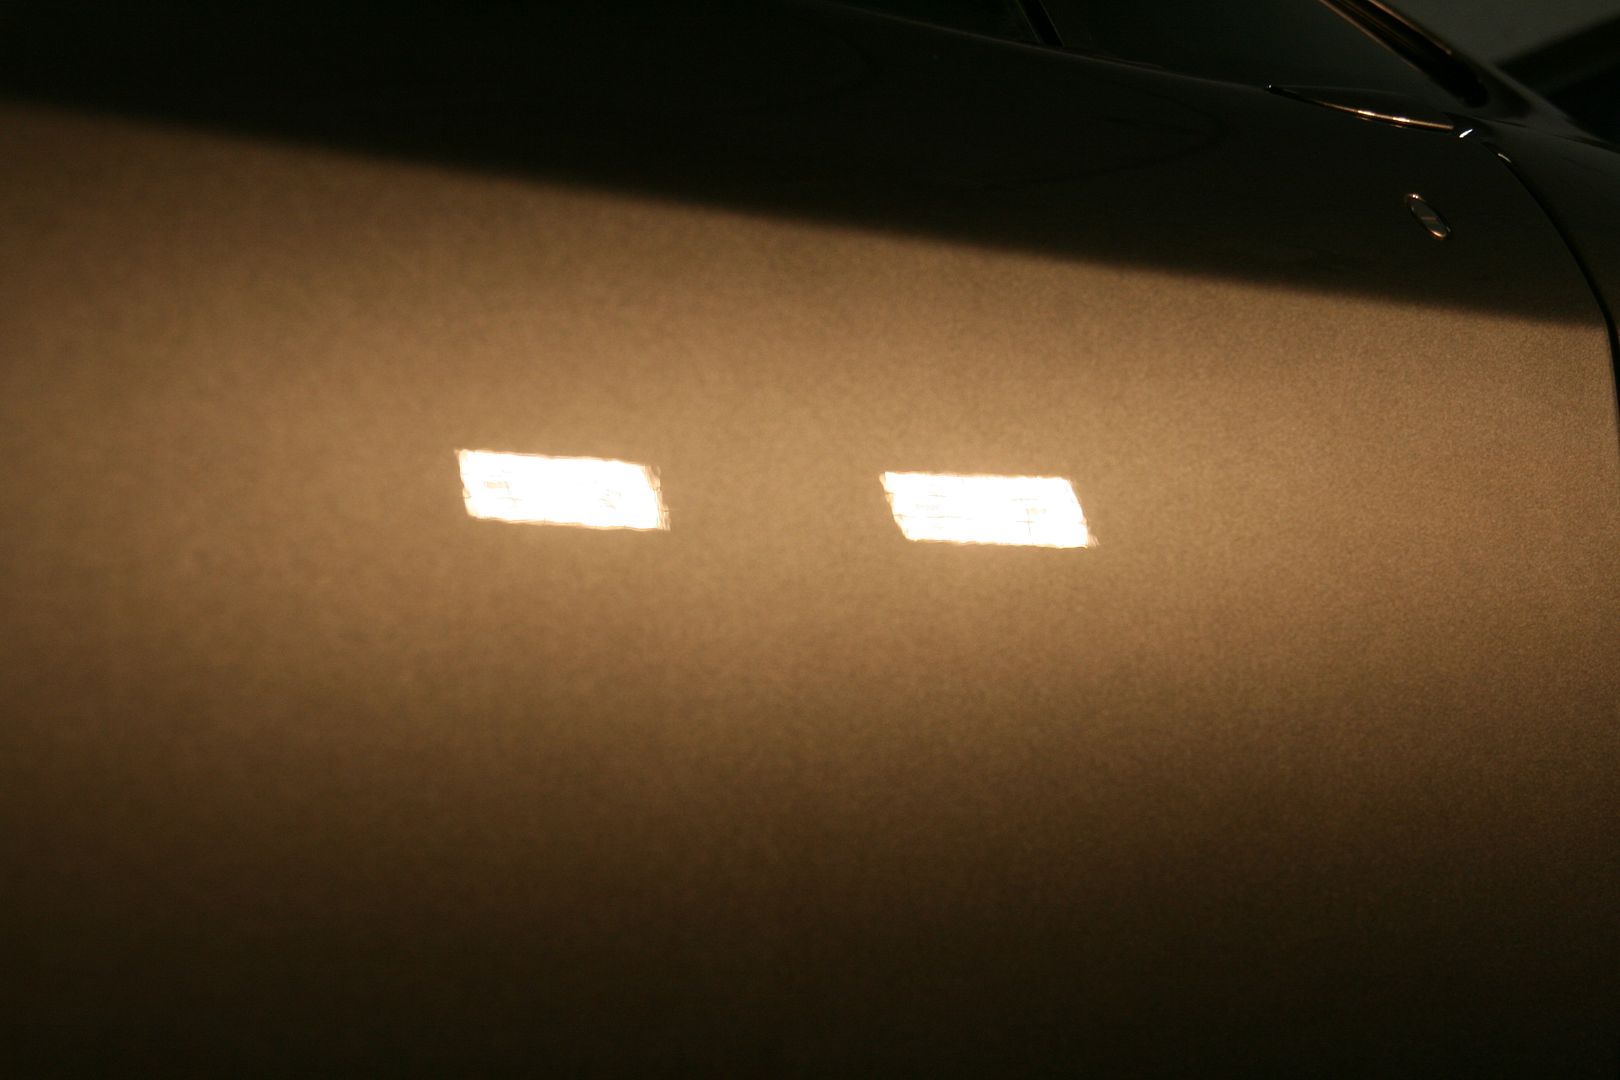
Inspection photos, before correction:
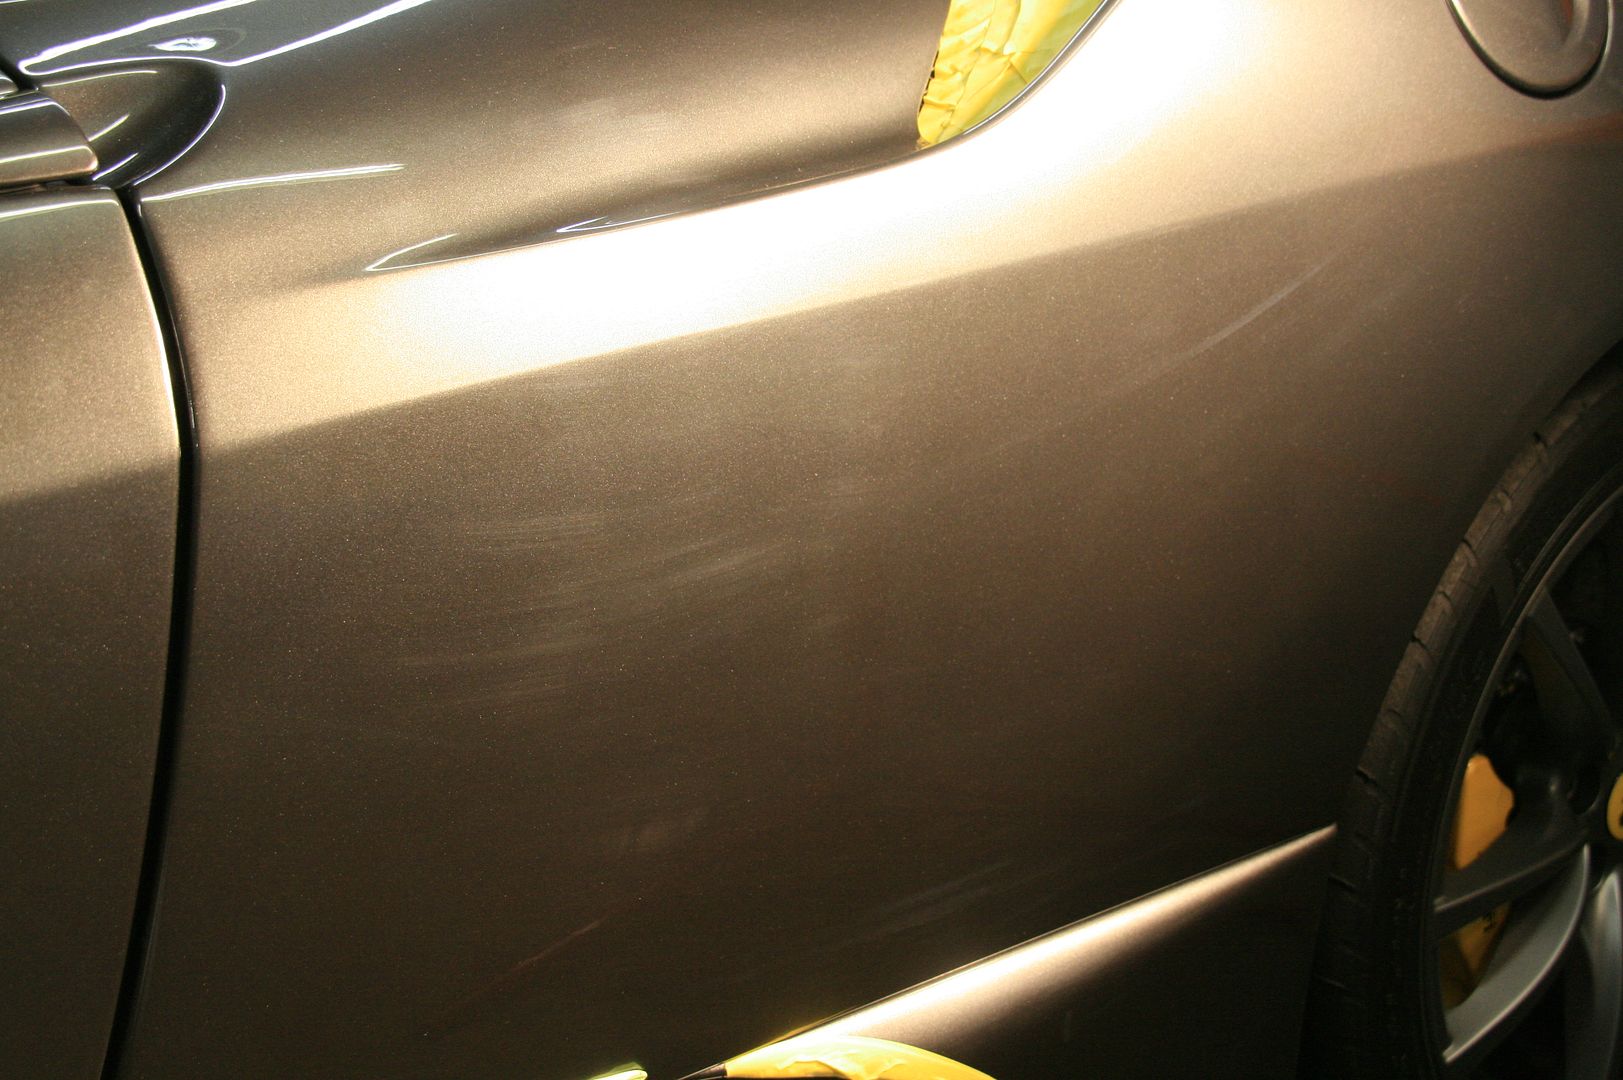
20.
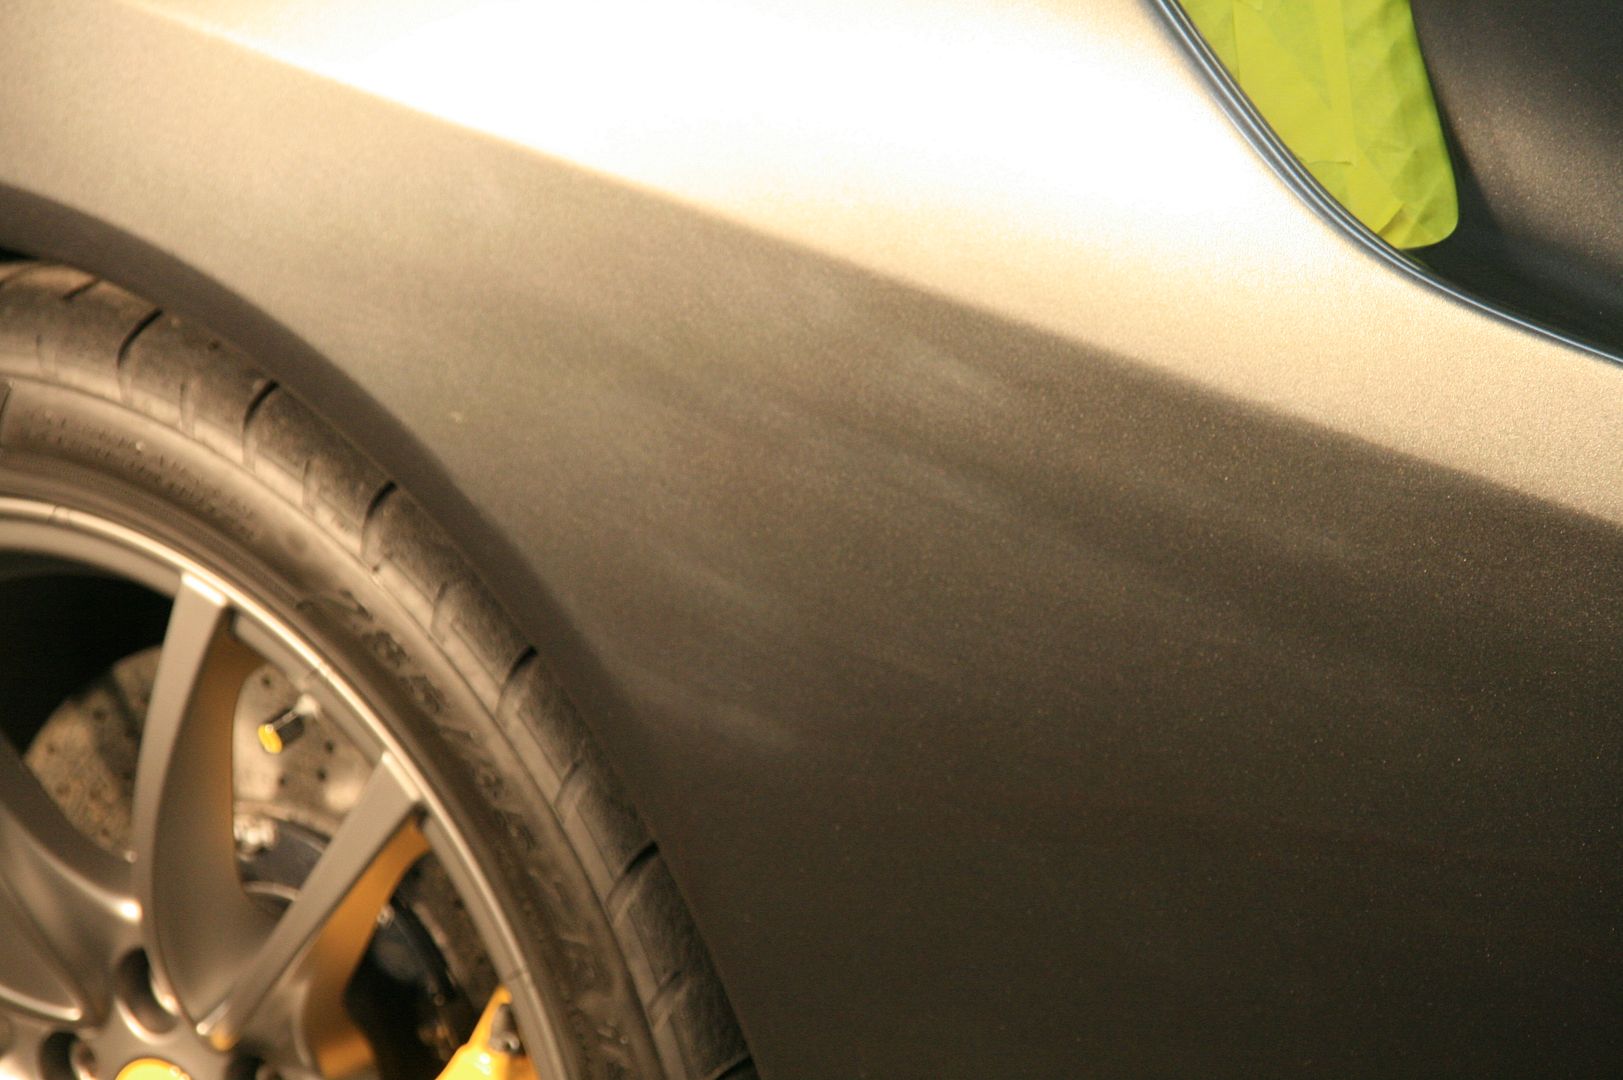
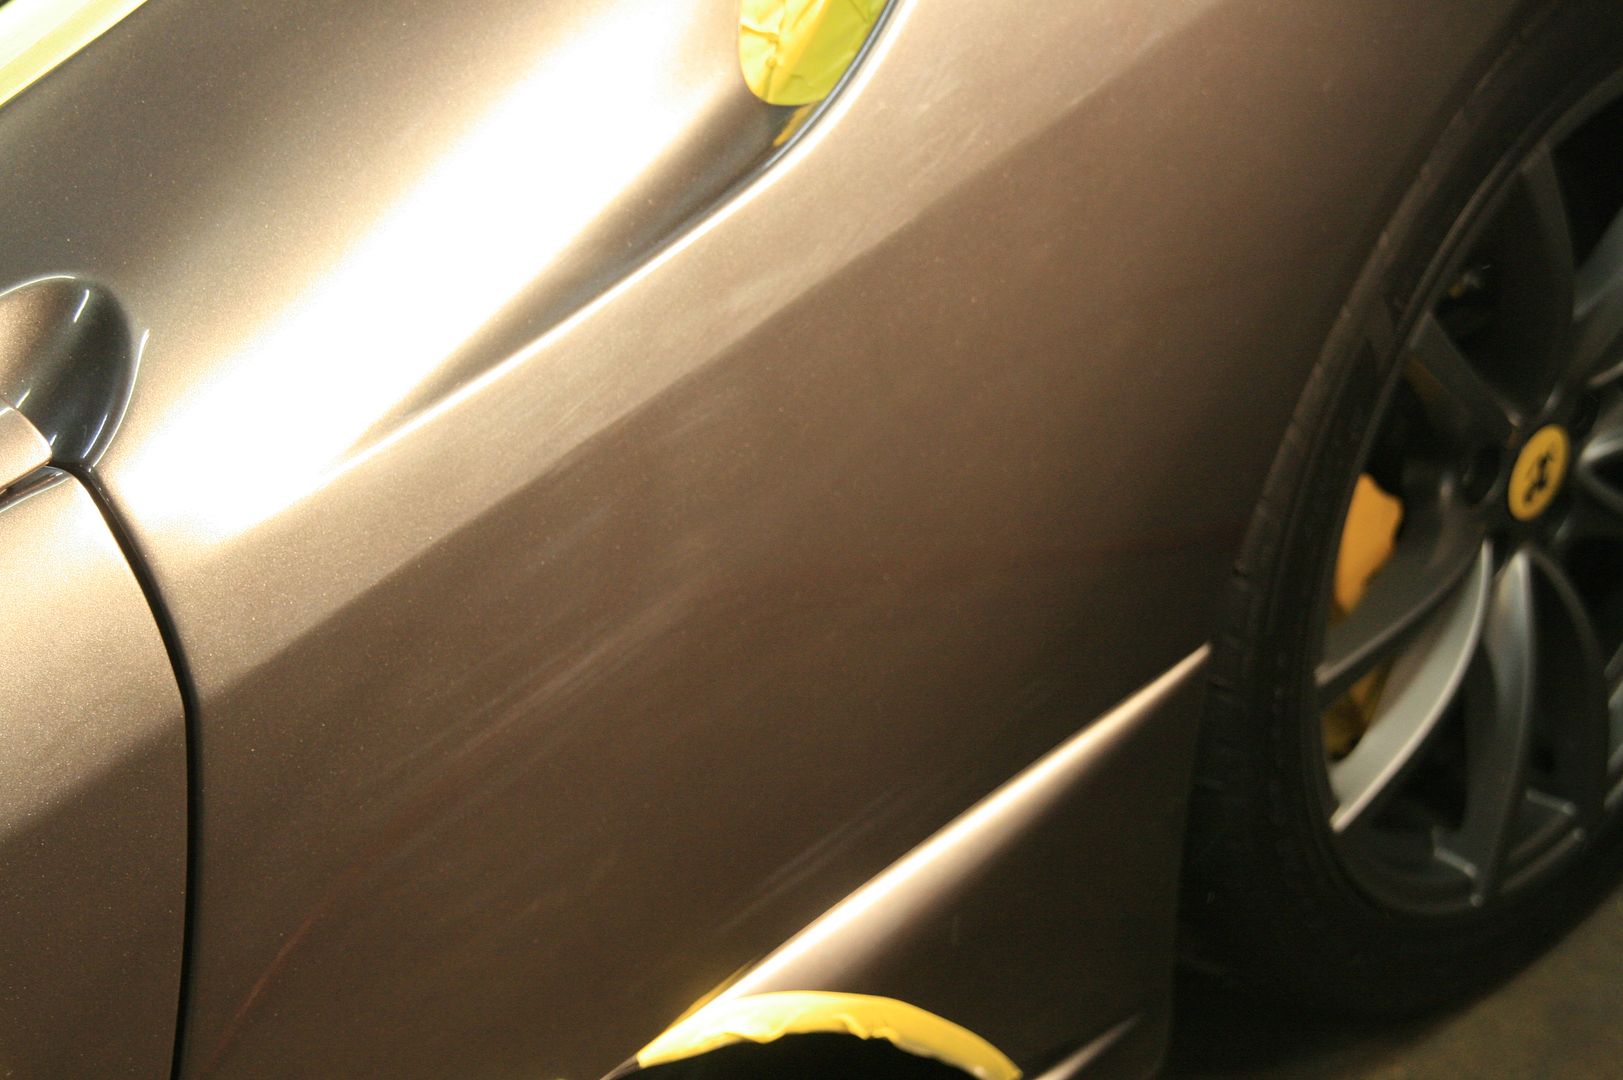
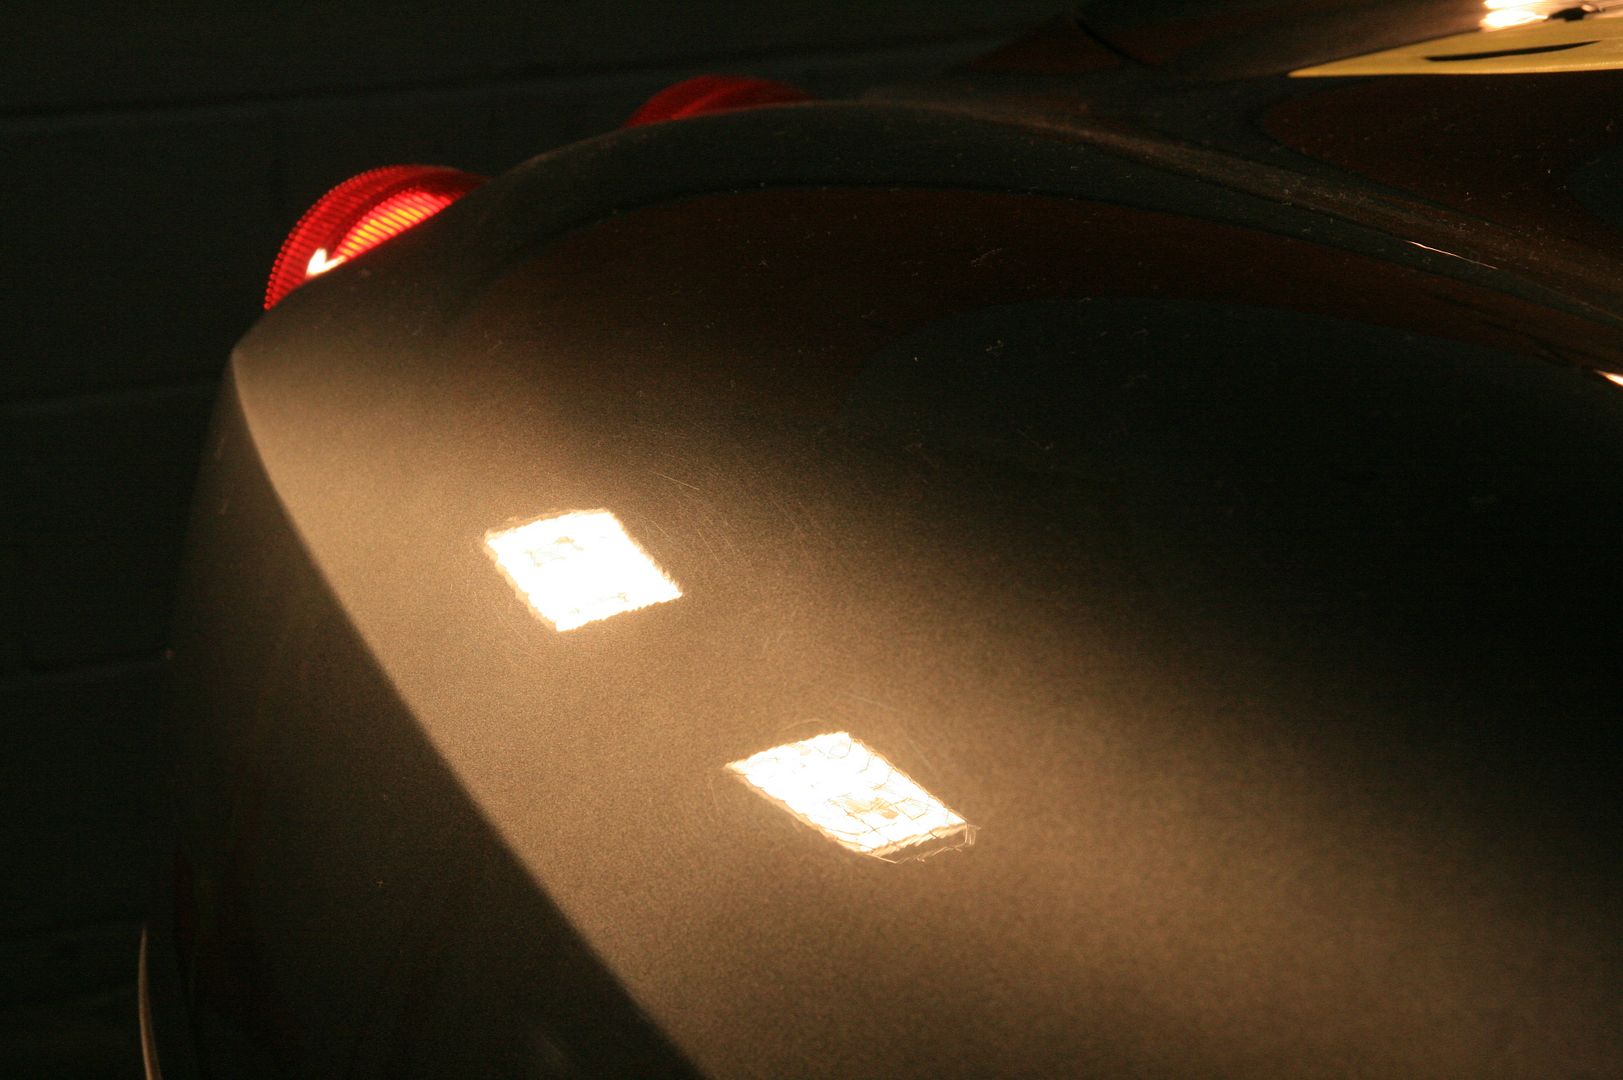
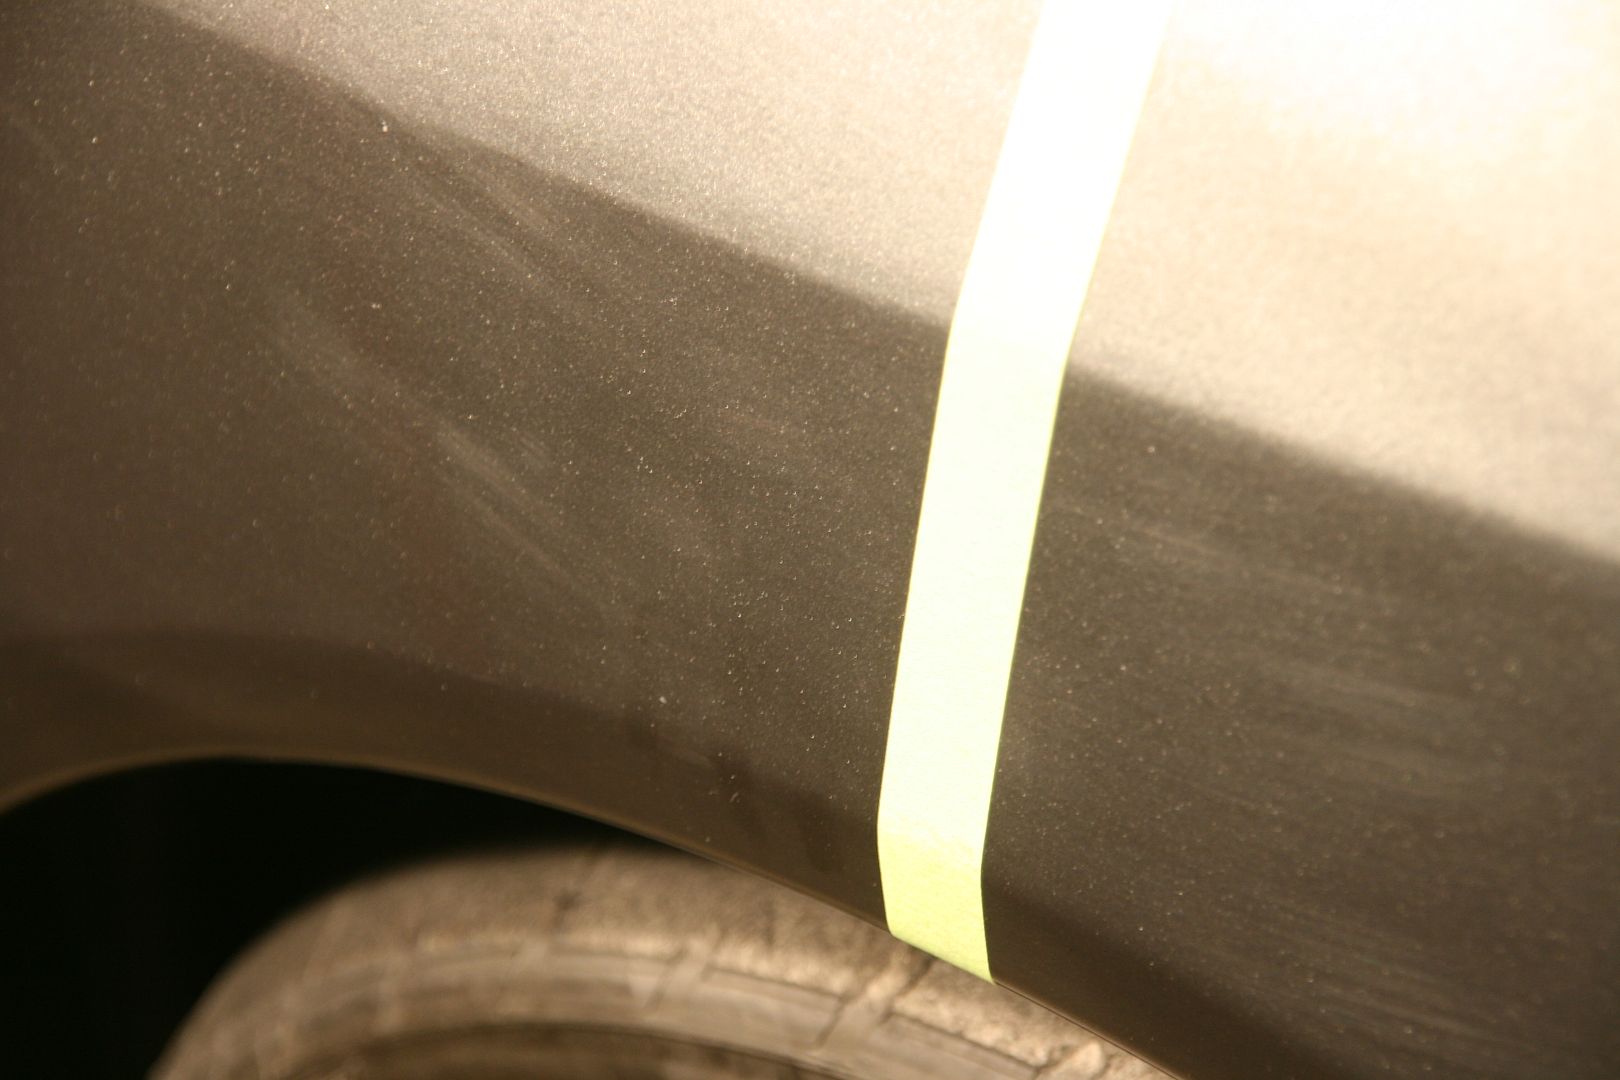
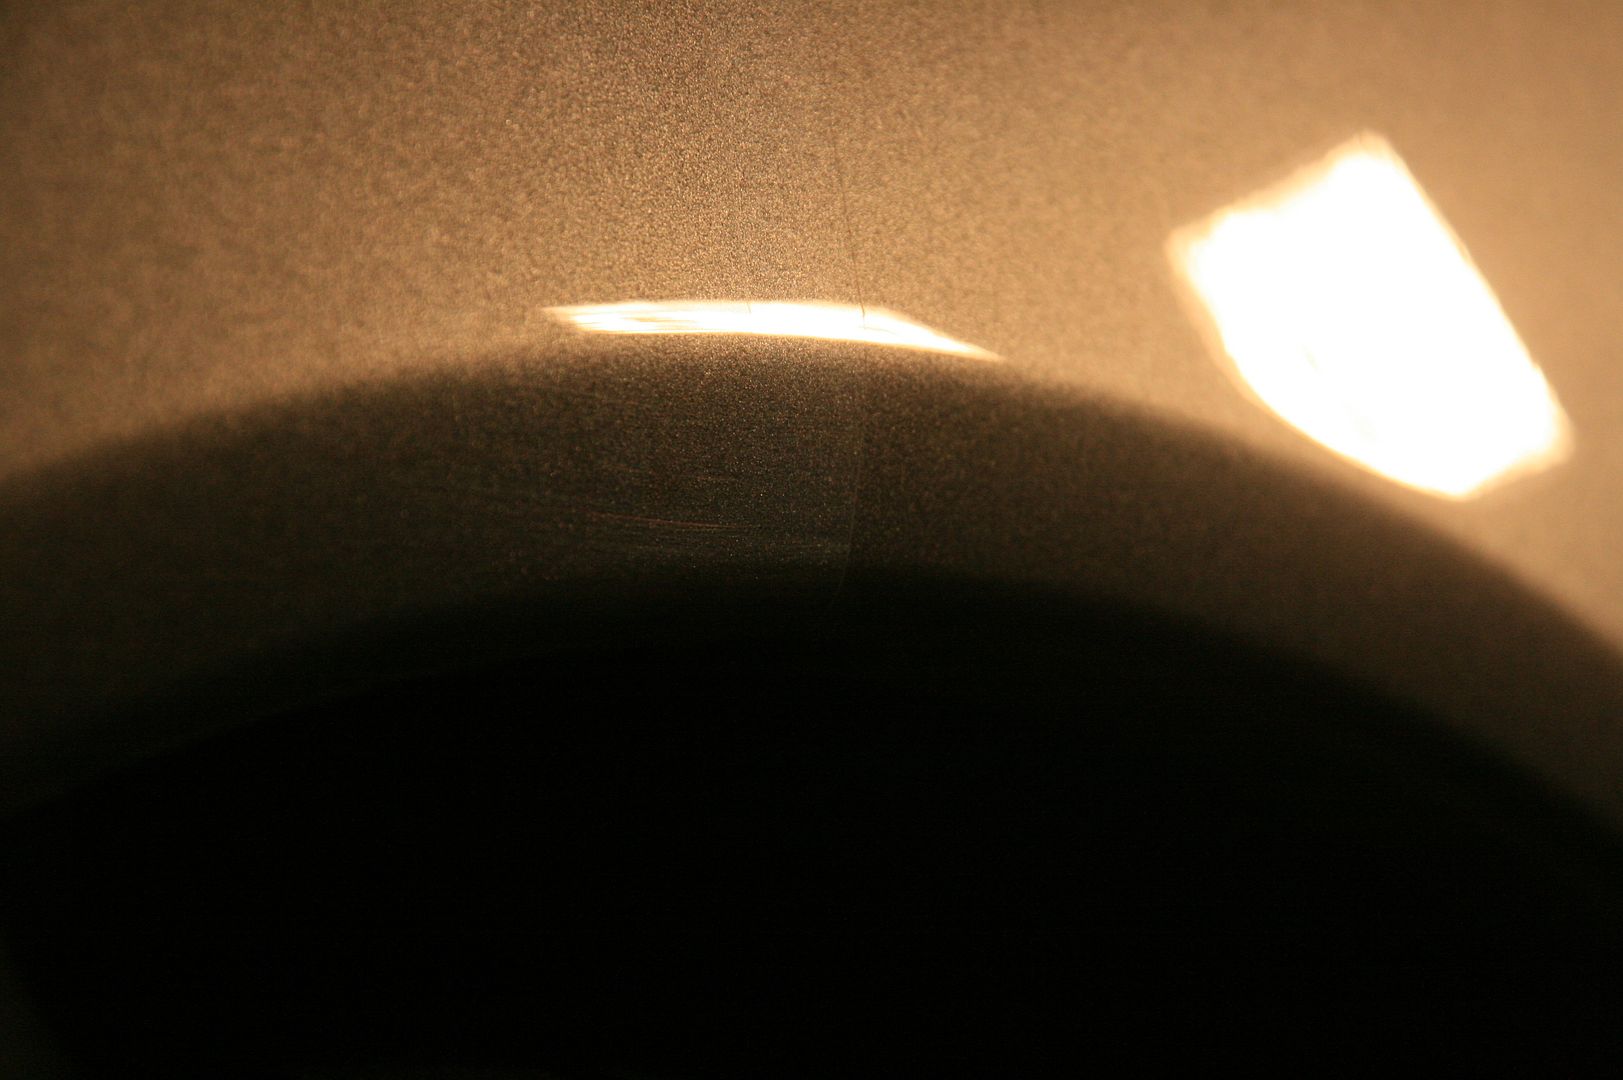
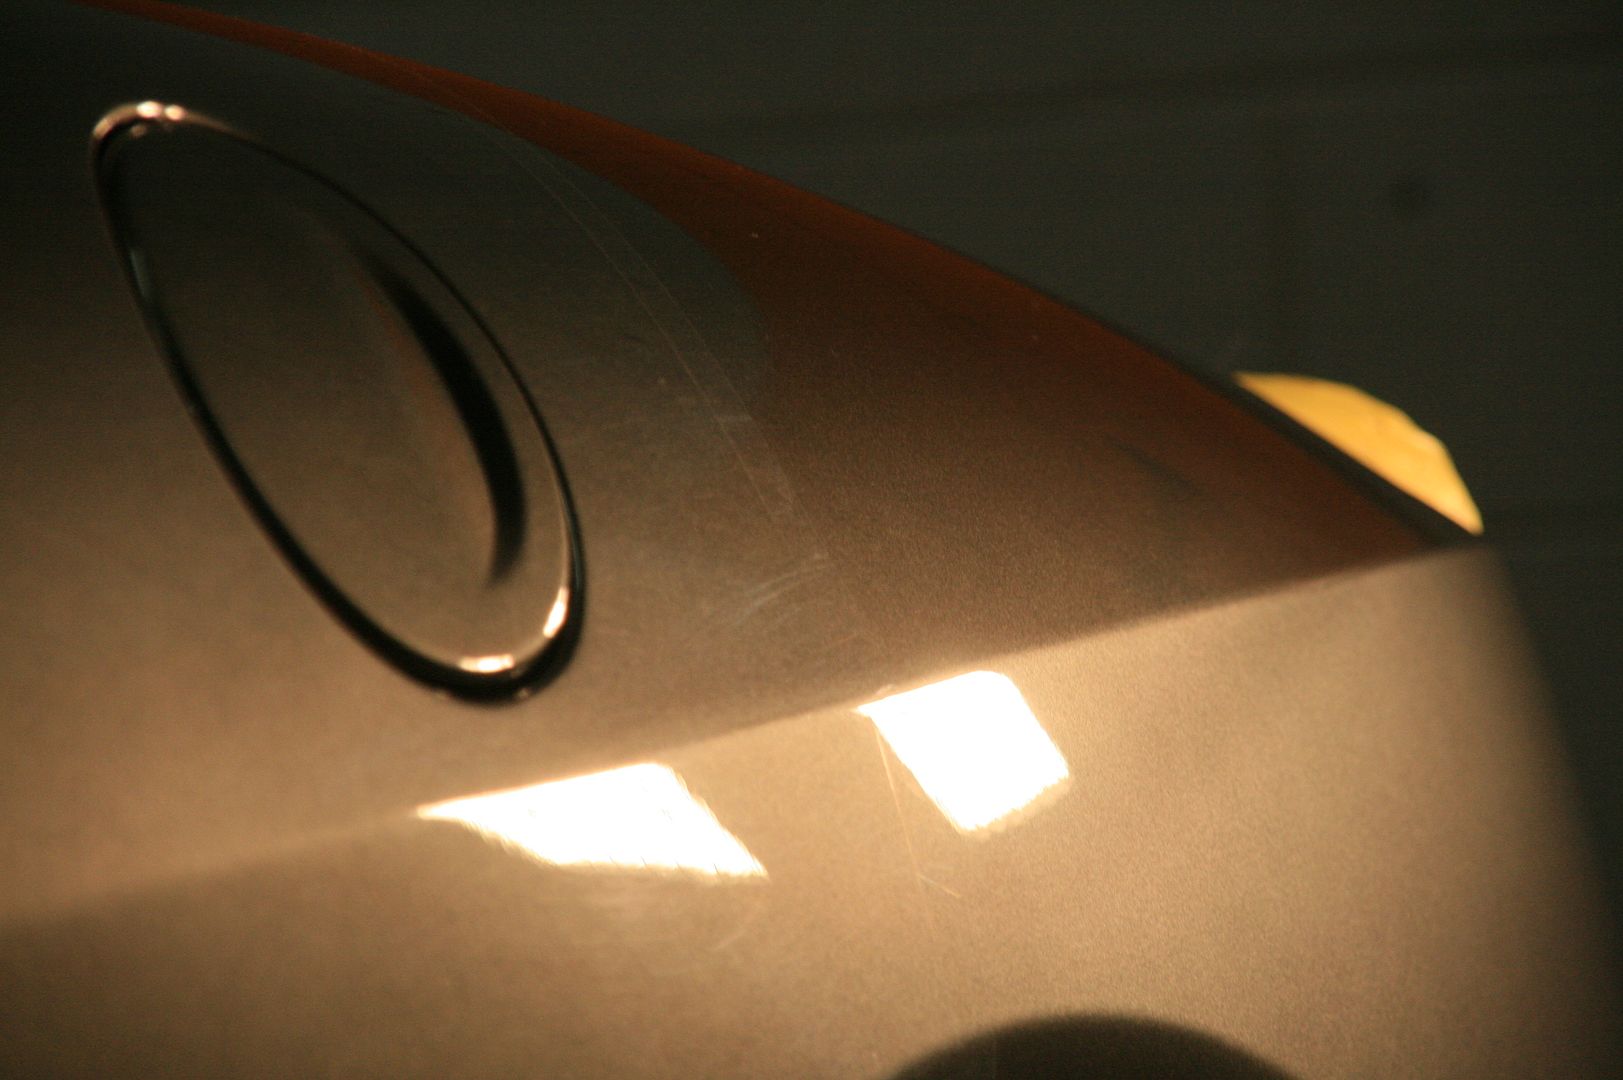
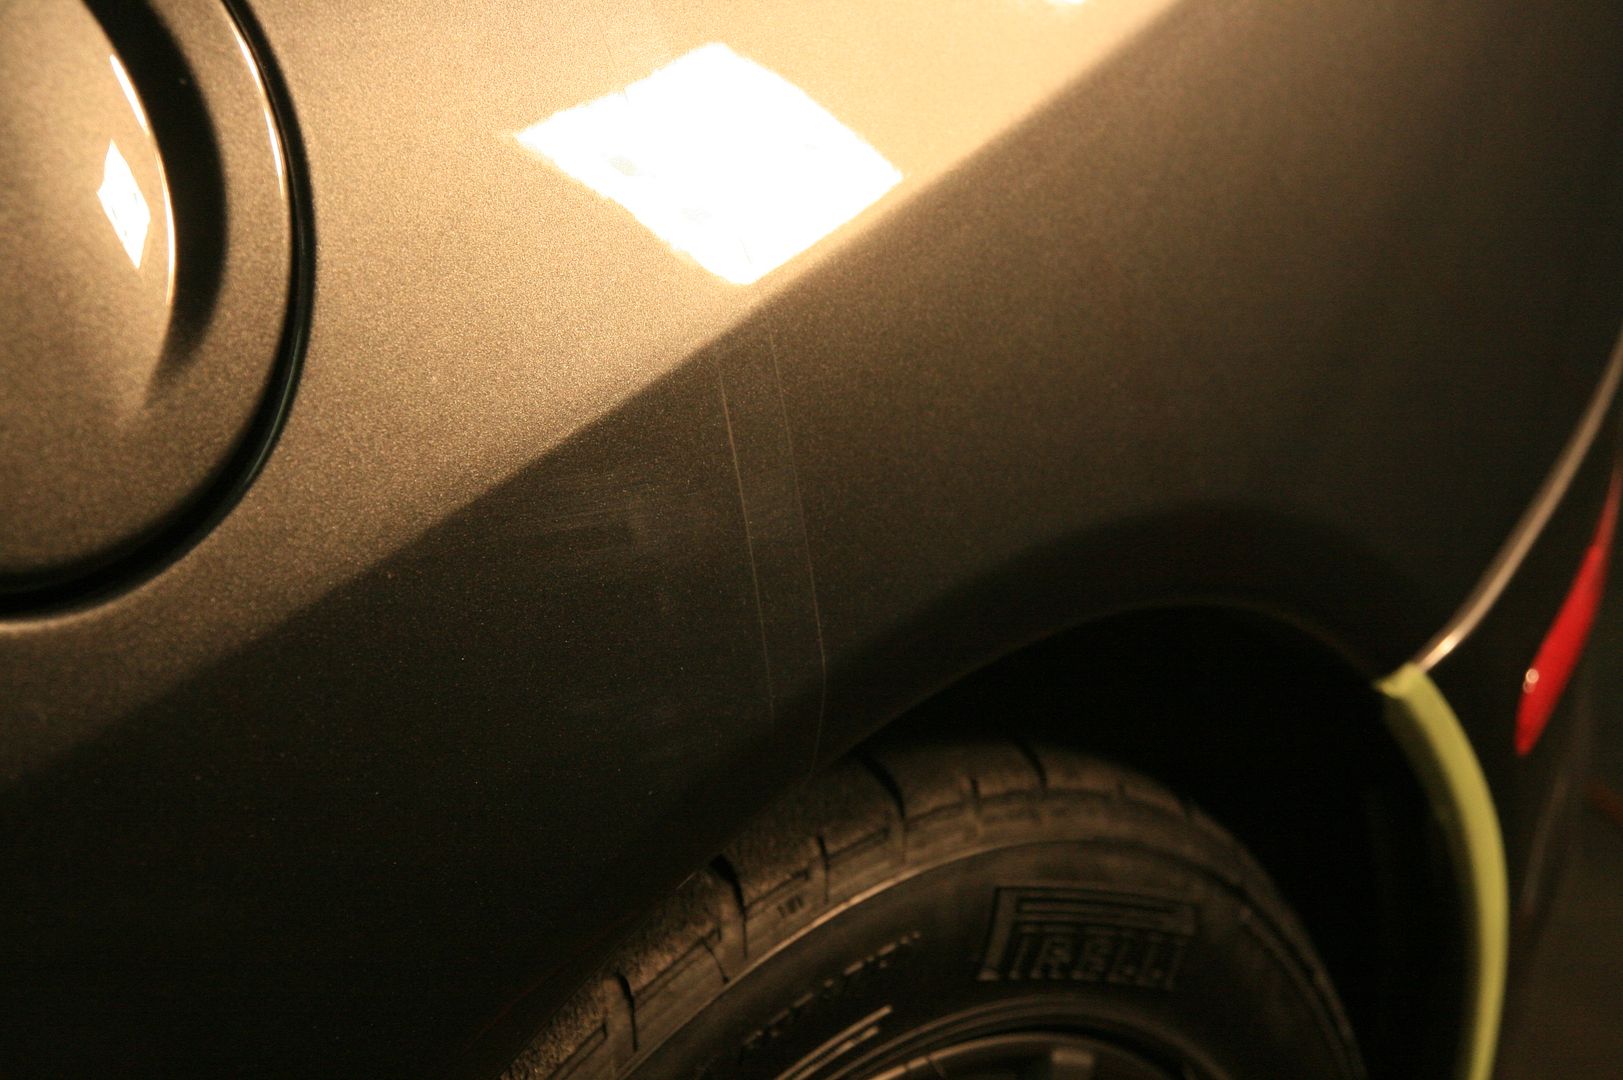
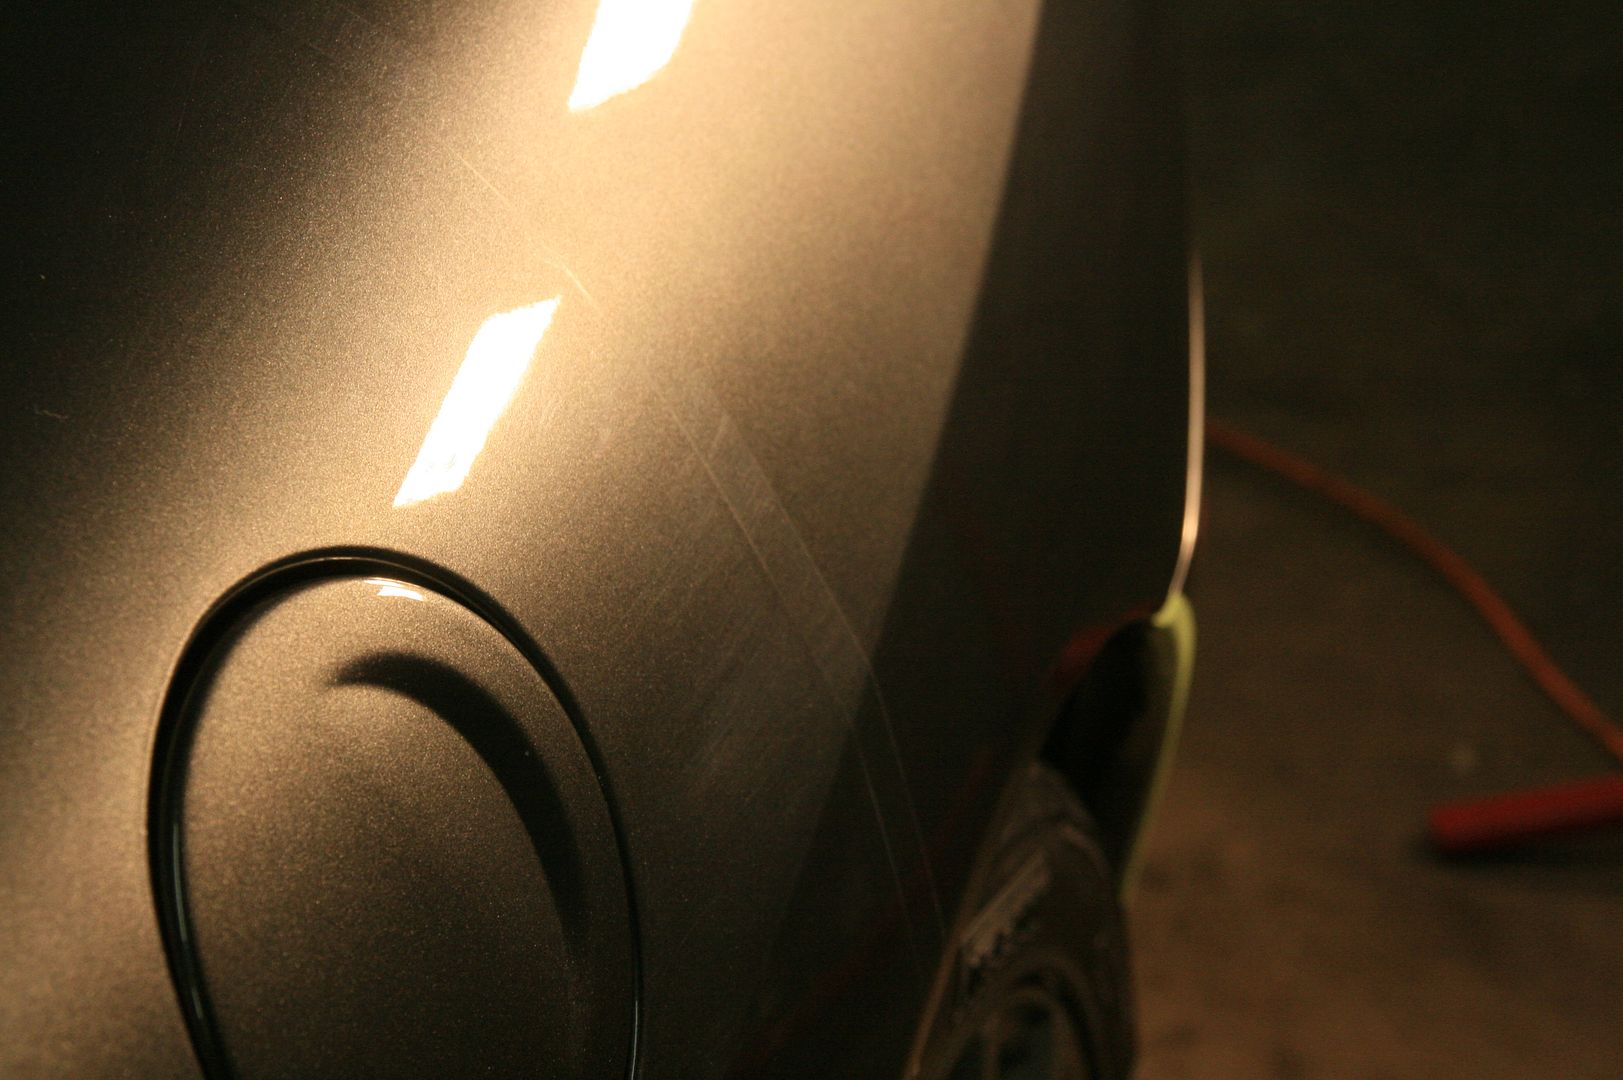
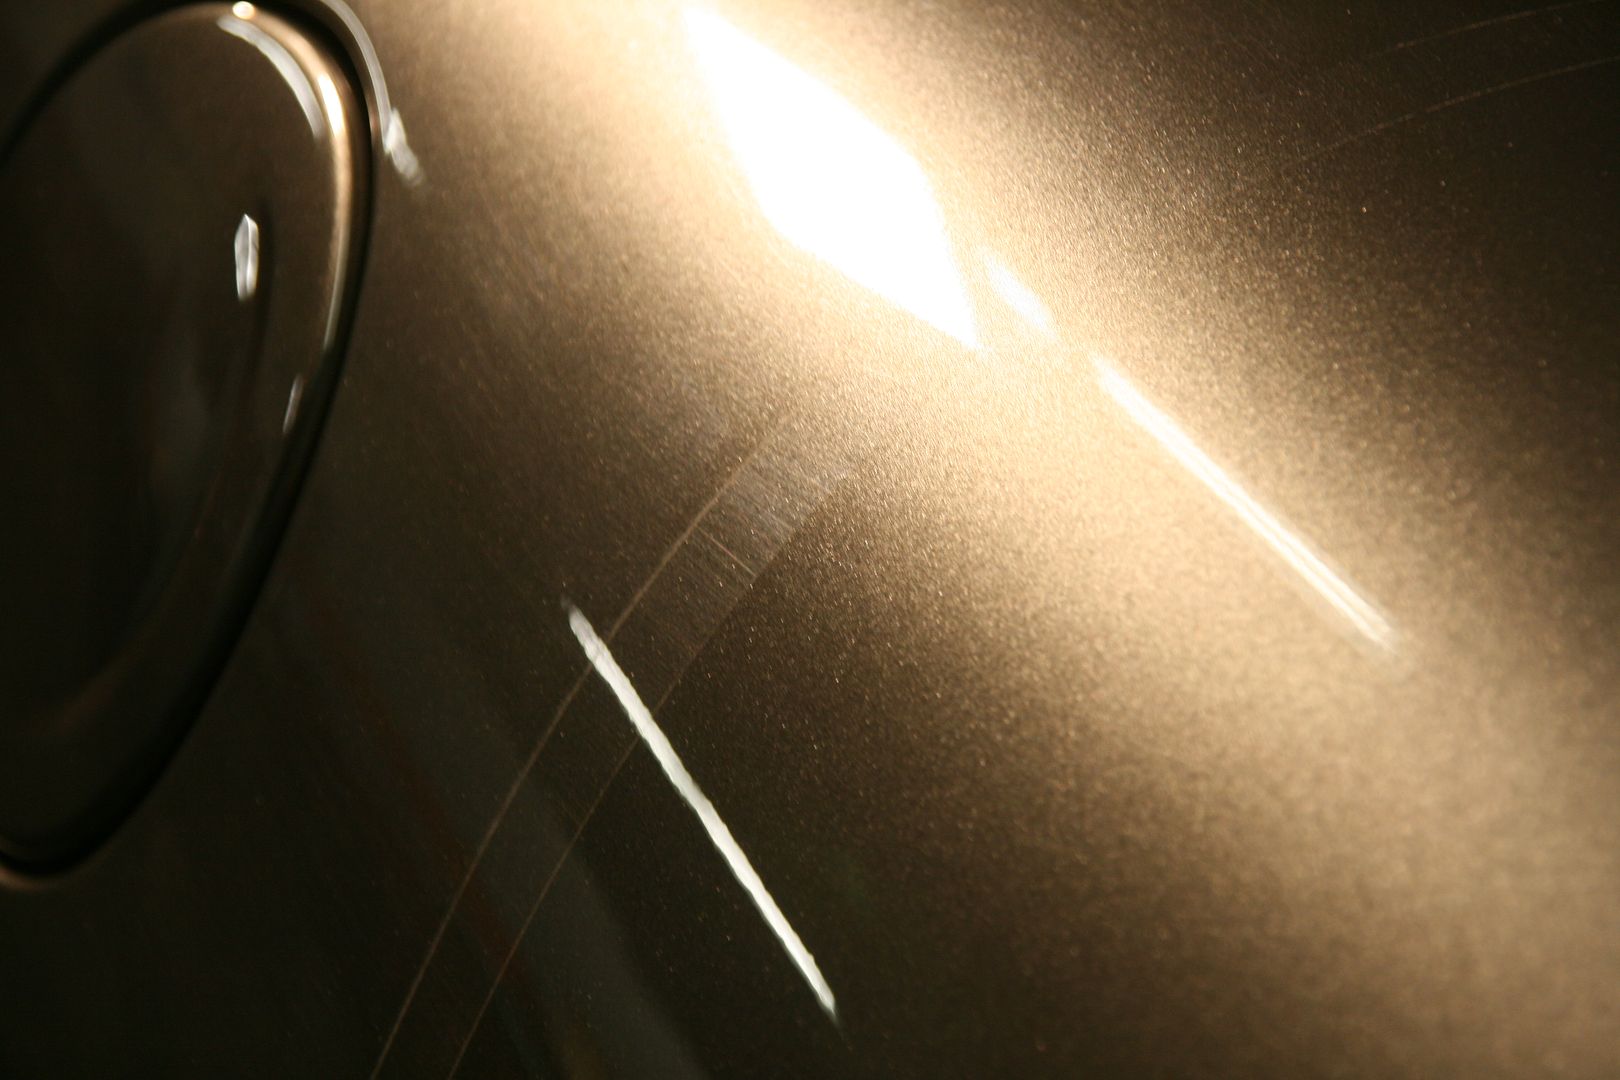
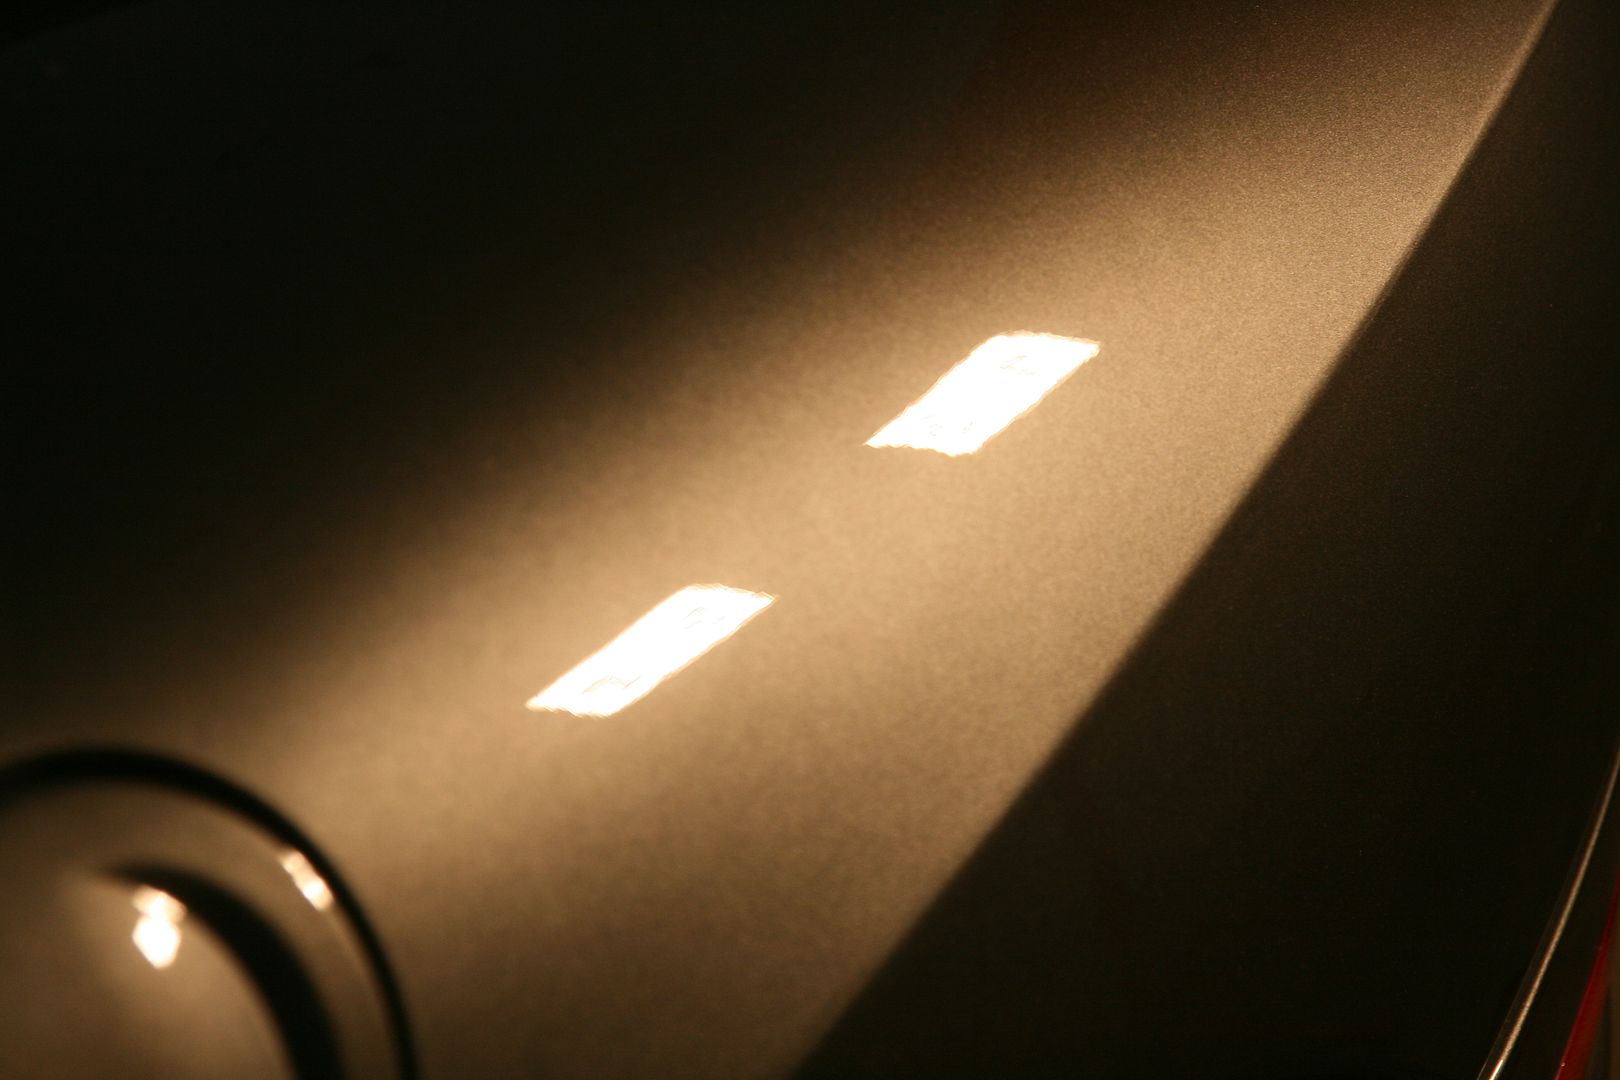
Our inspection concluded that a lot of light surface marring and swirling were evident, we also discovered some heavier damage, shown in the following images.
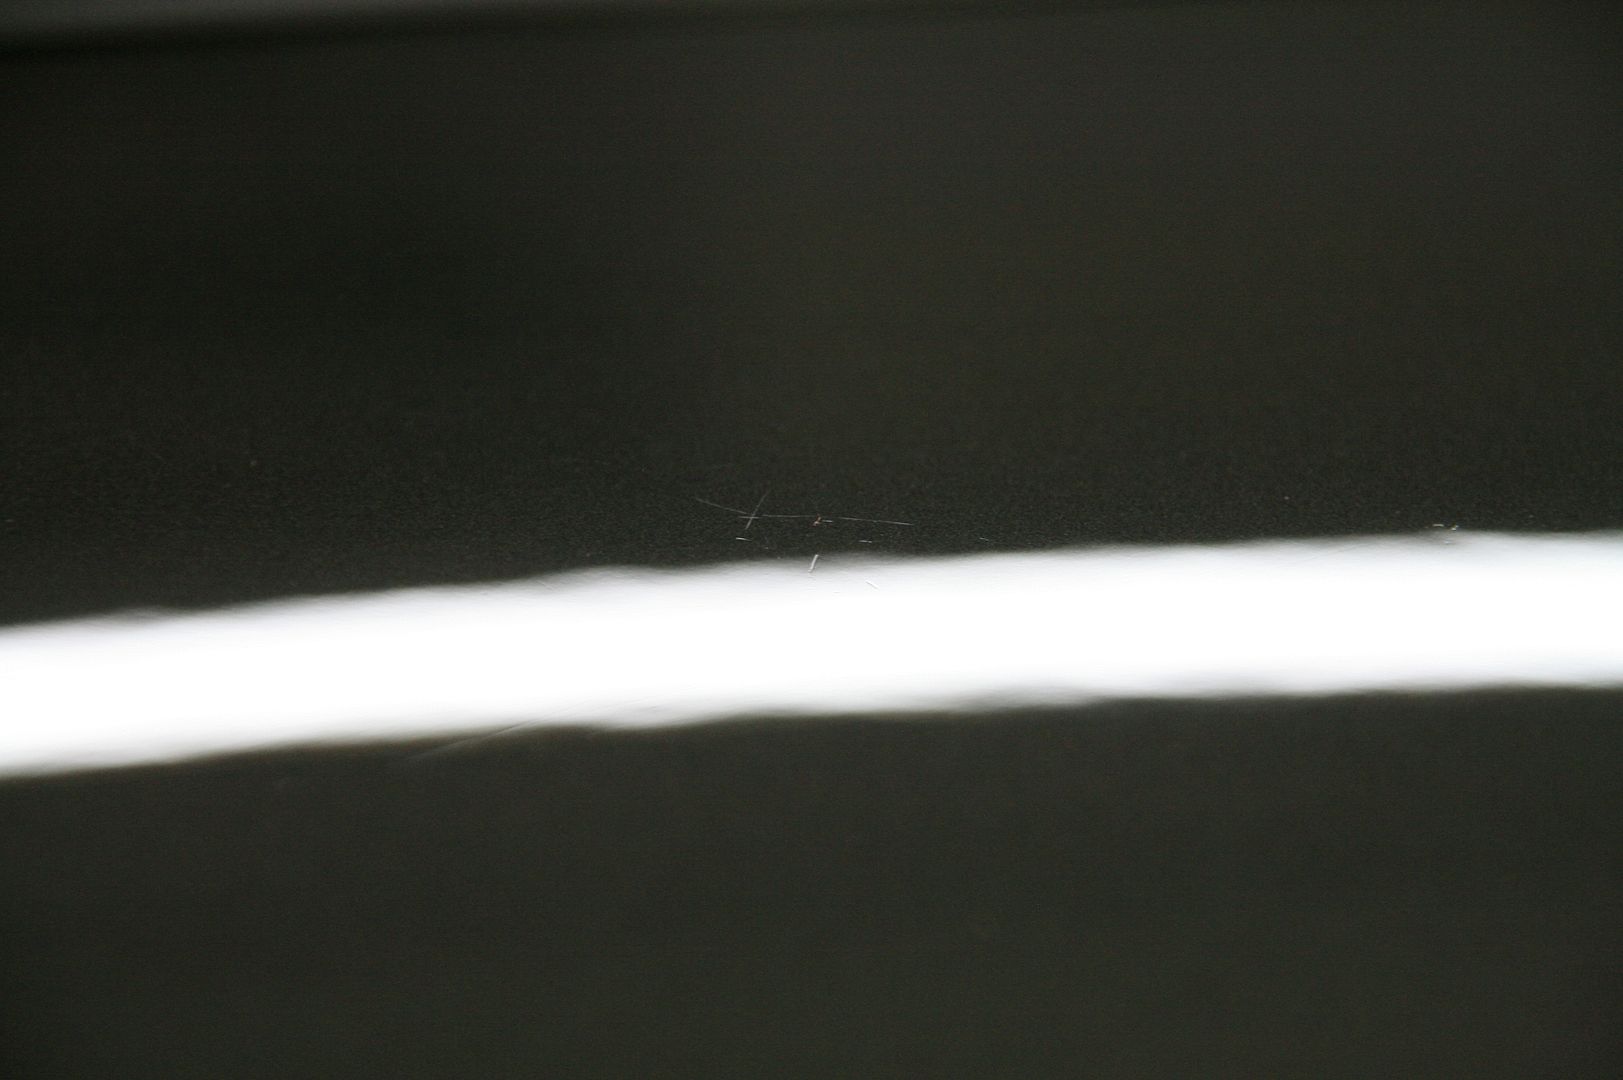
25.
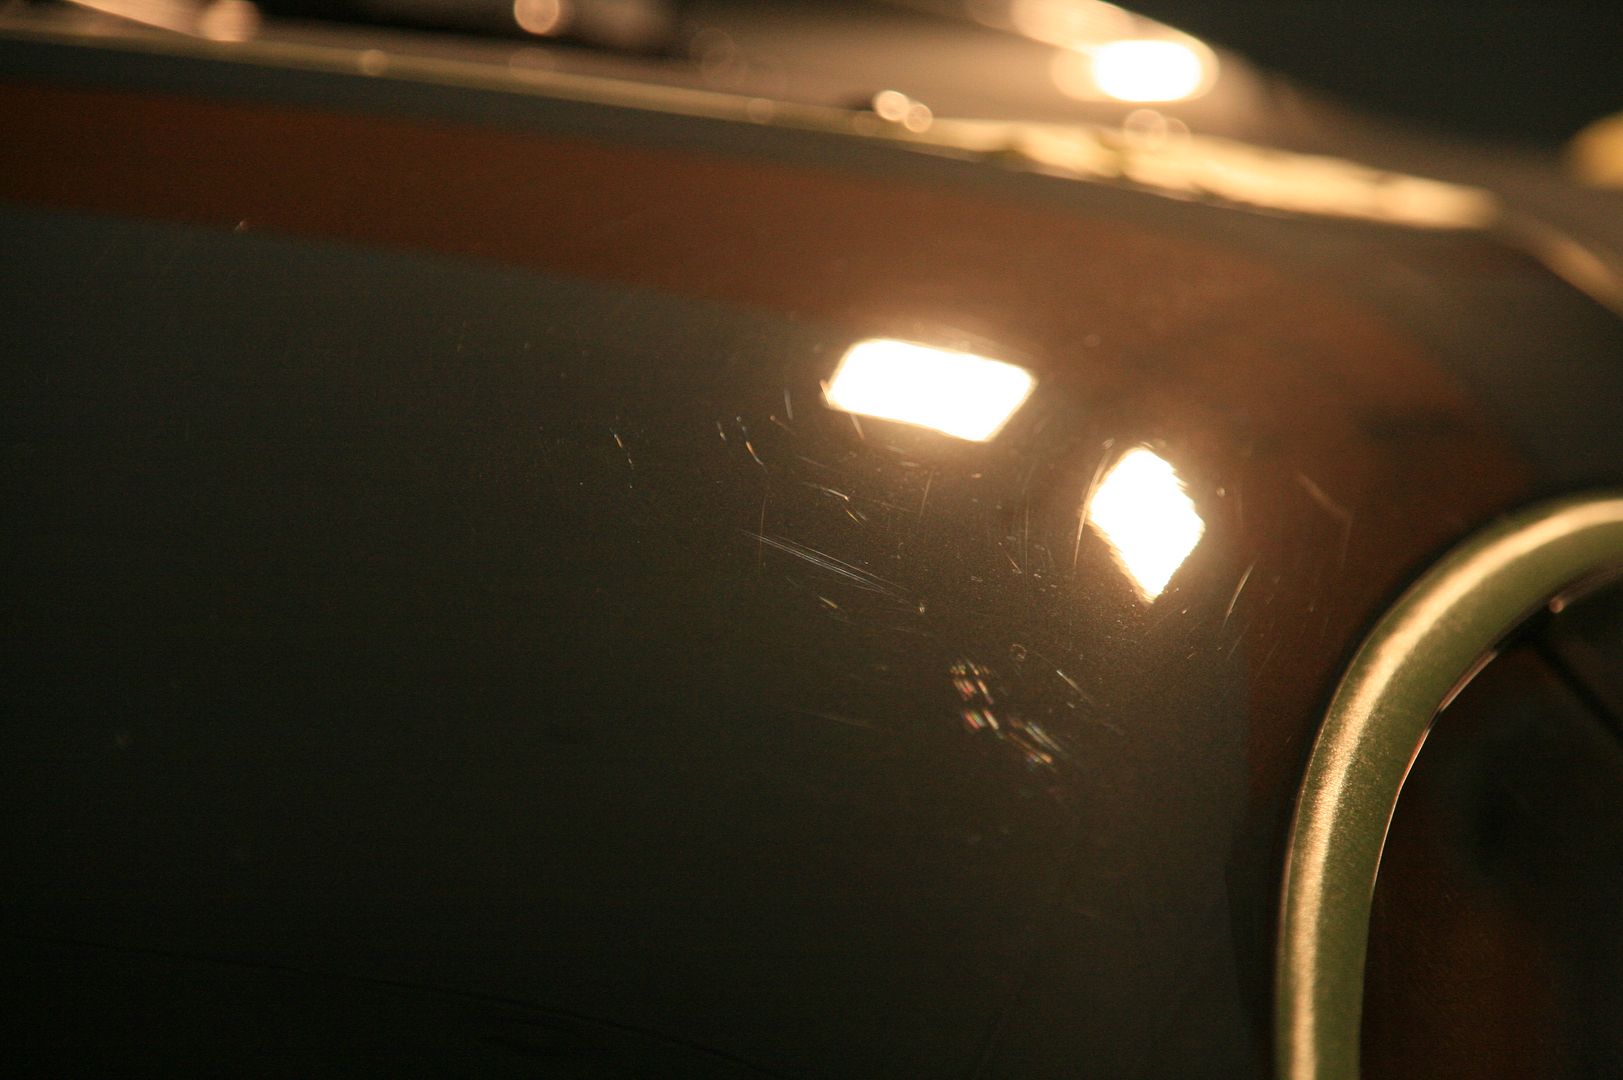
Unfinished Wetsand marks, most likely left by the factory
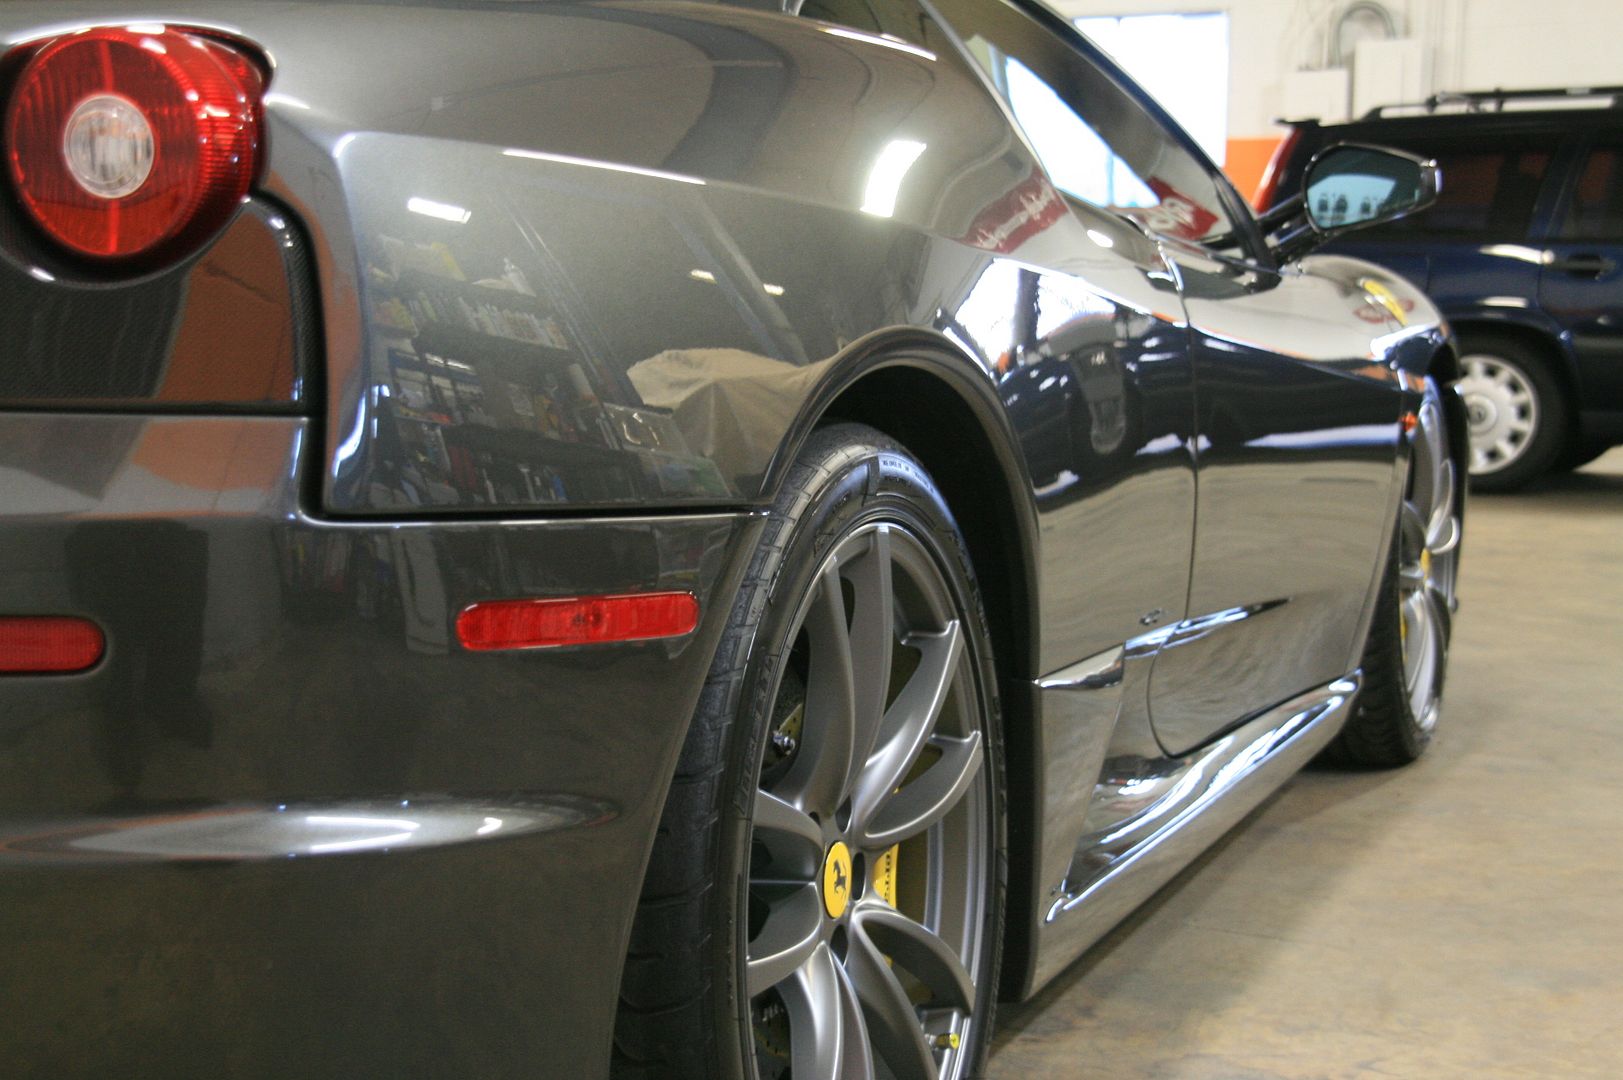
Preparation and inspection completed, the correction was underway, after our test panels with Menzerna polishes. From a very non-aggressive combo, we worked our way up until the desired results were achieved. Which we captured in the following group of photos, in a 50/50 format.
A frequently driven vehicle, seeing almost 5,000 miles in the warm months of 2010 alone, was in need of a proper refreshing detail. We took on this car as a double project: being a full paint corrective, concours ready detail, as well as filming the process. This added a great deal of time to the whole task, but that was expected and most of it's purpose.
With that said, the video results should be shared in the near future as it is all being pieced together. For the time being, the photo documentation will serve as a perfectly fine example of the work done.
The list of products used on these level details is rather immense, for those interested, I'd be more than happy to share! I will hint at the products used in the descriptions of the pictures below, so be sure to pay attention!
Without further aideu!
The Scuderia as it arrived, after our trailer pick up.
The car was not by any means dirty, or appearing in desperate shape, so the pre-prep/wash pictures serve little purpose this time around. While driven frequently, it is kept exceptionally well!
As with any driven vehicle, contaminents make their way onto the paint. Clay after prepping the vehicle
Once the vehicle was dry, after using pressurized air and microfiber drying towels, it was masked off with protective tape on all non-painted surfaces. In this photo, seen with an older brother!
We started with the engine bay work, which you will see the results of in the next group of photos, all metal and carbon fiber pieces were polished and sealed using appropriate products. Here you will see the Exhaust Muffler polishing both before, and it's 50/50 progress.
5.
Driver side air box polished, passenger side airbox unpolished
Finished Engine bay photos
Hard water spots on rear engine divider glass before/after
10.
Hand polishing and sealing the rear underbody diffuser
Shortly after completing the engine bay, the interior was tended to, in the same fashion in regards to the carbon fiber pieces, which are abundant in the Scuderia.
Carbon fiber seat back, Before and After polishing.
Seat Back 50/50
15.
50/50 photo of carbon fiber door polishing
With the interior, engine bay and wheels tended to, we moved on to the biggest part of the project. The Paint Correction. After analyzing the paint with Halogen, LED and flourescent lighting, we "read" the vehicle in approximately 200 locations. A labeled image will be included in the videos to come of the exact readings throughout. Our findings are shown below:
Inspection photos, before correction:
20.
Our inspection concluded that a lot of light surface marring and swirling were evident, we also discovered some heavier damage, shown in the following images.
25.
Unfinished Wetsand marks, most likely left by the factory
Preparation and inspection completed, the correction was underway, after our test panels with Menzerna polishes. From a very non-aggressive combo, we worked our way up until the desired results were achieved. Which we captured in the following group of photos, in a 50/50 format.


")