uniquedetailing
New member
Over the summer I got to work on two cars for this customer a R8 and his newly purchased F430. Both cars were scheduled for corrections. The car came from Florida and had some severe water etchings in several places and moderate swirls and previous hack work.

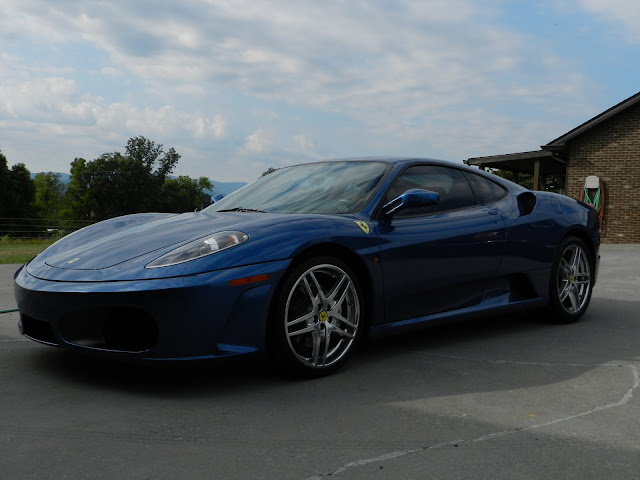


Ive always associated Ferrari wearing Red or Yellow but this was a nice change up. The pictures don't make the colour justice like it does in person. After the initial inspection i started on the wheels

The first job was to remove old adhesive from wheel weight, for this i used 3m adhesive remover. For the wheels i used P21 wheel cleaner

Several brushes were used to clean the wheels, i recently picked up some wheel woolies which are very delicate and will not scratch the surface.

All the dirt was then rinsed off

[FONT="Arial Black"To loosen any dirt, bugs etc i sprayed the whole car with P21 Auto Wash to let soften any contaminates.][/FONT]
[img]https://lh5.googleusercontent.com/-IqwX19DqkCY/TnlA7ONvPJI/AAAAAAAABh0/f_-NFJ2rkOs/s640/DSCN1303.JPG[/img]
[FONT="Arial Black"]That was left to sit for a few minutes then i foamed the car down with a mixture of Dawn and GG Citrus Wash[/FONT]

The foam was left for 5 minutes to break down and the dirt then 2 bucket method was used to wash the car

Then again it was rinsed off ready to clay

[FONT="Arial Black"The car was clayed with Zaino and DoDo juice born slippy was used as lube. After the car was clayed i dried it off and began to tape off the clear bra and trim pieces/][/FONT]
[img]https://lh3.googleusercontent.com/-THhs_SzBMZ4/TnlBAcq0O3I/AAAAAAAABiQ/Er1AjUYhK2I/s640/DSCN1310.JPG[/img]
[img]https://lh3.googleusercontent.com/-4HNo3aZT8ck/TnlBBFxZVbI/AAAAAAAABiU/HDn8j6PdJpQ/s640/DSCN1311.JPG[/img]
[img]https://lh5.googleusercontent.com/-SPrbxdcaSNk/TnlBBwvkdtI/AAAAAAAABiY/SxeiJf586Fg/s640/DSCN1312.JPG[/img]
[FONT="Arial Black"]Here's a few pics of the defects i was working with.[/FONT]


I tried a few different combo's but i choose the MF system and surbuf on some of the heavier defects.

this was a section of the hood, i was able to remove the defects but over the entire car there was piting.


After the initial compounded was done i switched to LC Tang pad and M205

I then sealed the paint with Blackfire Wet Paint Sealant

While the sealant was curing, I went over the interior vacuum, wipedown

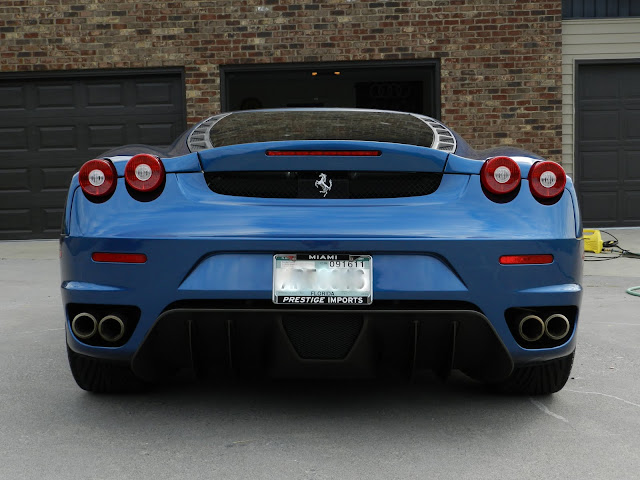
I then wiped off the Blackfire, sealed the tires, windows and brought her outside.


Again Thanks for viewing
Ive always associated Ferrari wearing Red or Yellow but this was a nice change up. The pictures don't make the colour justice like it does in person. After the initial inspection i started on the wheels
The first job was to remove old adhesive from wheel weight, for this i used 3m adhesive remover. For the wheels i used P21 wheel cleaner
Several brushes were used to clean the wheels, i recently picked up some wheel woolies which are very delicate and will not scratch the surface.
All the dirt was then rinsed off
[FONT="Arial Black"To loosen any dirt, bugs etc i sprayed the whole car with P21 Auto Wash to let soften any contaminates.][/FONT]
[img]https://lh5.googleusercontent.com/-IqwX19DqkCY/TnlA7ONvPJI/AAAAAAAABh0/f_-NFJ2rkOs/s640/DSCN1303.JPG[/img]
[FONT="Arial Black"]That was left to sit for a few minutes then i foamed the car down with a mixture of Dawn and GG Citrus Wash[/FONT]
The foam was left for 5 minutes to break down and the dirt then 2 bucket method was used to wash the car
Then again it was rinsed off ready to clay
[FONT="Arial Black"The car was clayed with Zaino and DoDo juice born slippy was used as lube. After the car was clayed i dried it off and began to tape off the clear bra and trim pieces/][/FONT]
[img]https://lh3.googleusercontent.com/-THhs_SzBMZ4/TnlBAcq0O3I/AAAAAAAABiQ/Er1AjUYhK2I/s640/DSCN1310.JPG[/img]
[img]https://lh3.googleusercontent.com/-4HNo3aZT8ck/TnlBBFxZVbI/AAAAAAAABiU/HDn8j6PdJpQ/s640/DSCN1311.JPG[/img]
[img]https://lh5.googleusercontent.com/-SPrbxdcaSNk/TnlBBwvkdtI/AAAAAAAABiY/SxeiJf586Fg/s640/DSCN1312.JPG[/img]
[FONT="Arial Black"]Here's a few pics of the defects i was working with.[/FONT]
I tried a few different combo's but i choose the MF system and surbuf on some of the heavier defects.
this was a section of the hood, i was able to remove the defects but over the entire car there was piting.
After the initial compounded was done i switched to LC Tang pad and M205
I then sealed the paint with Blackfire Wet Paint Sealant
While the sealant was curing, I went over the interior vacuum, wipedown
I then wiped off the Blackfire, sealed the tires, windows and brought her outside.
Again Thanks for viewing