Ferrari F355- Full Correction Detail with my fellow detailing fanatic, KC.

seech

New member
After my Porsche 930 Turbo detail was featured on the MOL Newsletter, I met up with another Porsche owner at a hillclimb event who also happened to have a Ferrari F355.


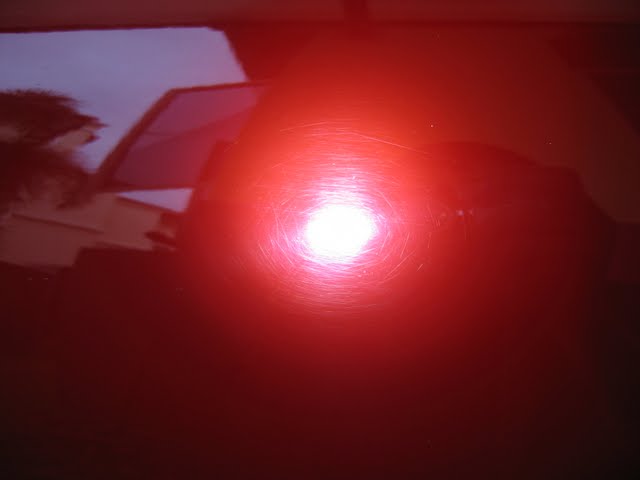
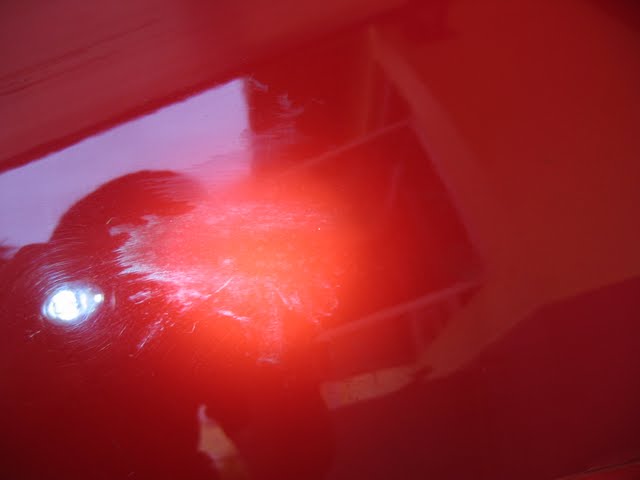
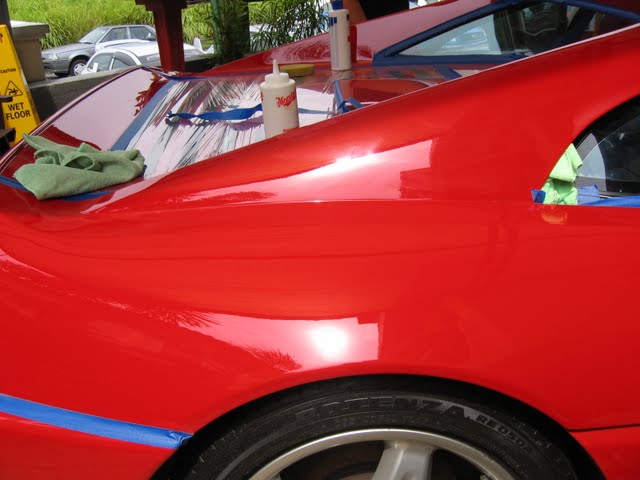
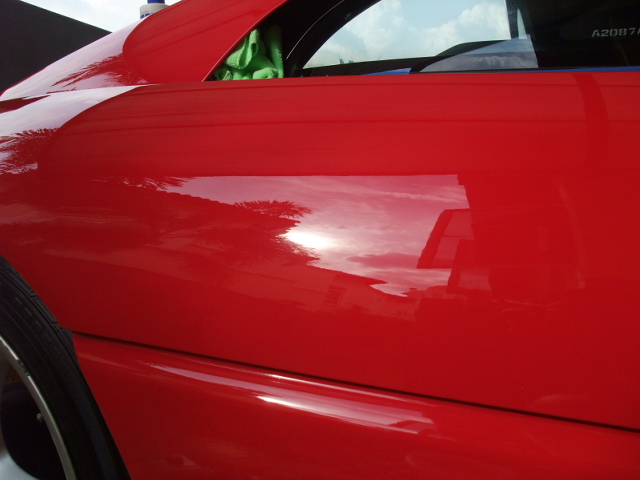
Some pictures of the Ferrari paint taken during the hillclimb. Noticeable swirls around the car.

<div class="separator" style="clear: both; text-align: center;">


After some discussion, a date was set for a full detail for the Ferrari.


I contacted my good friend and fellow detailing fanatic KC to assist me in this detail as the job had to be completed within a day. Many thanks to KC for his extremely valuable assistance in what turned out to be a very long detail.
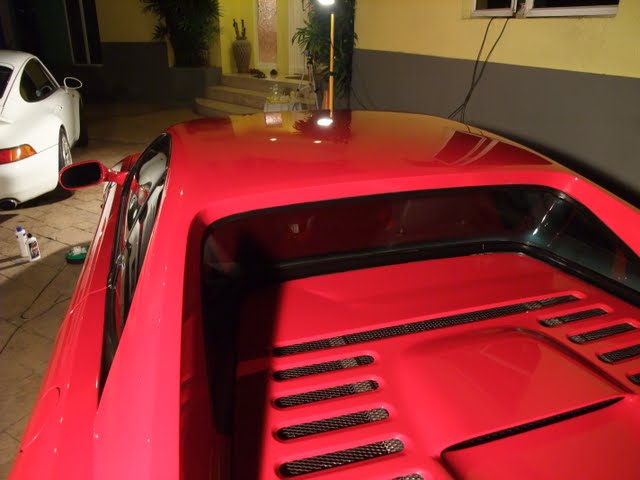


On with the show...


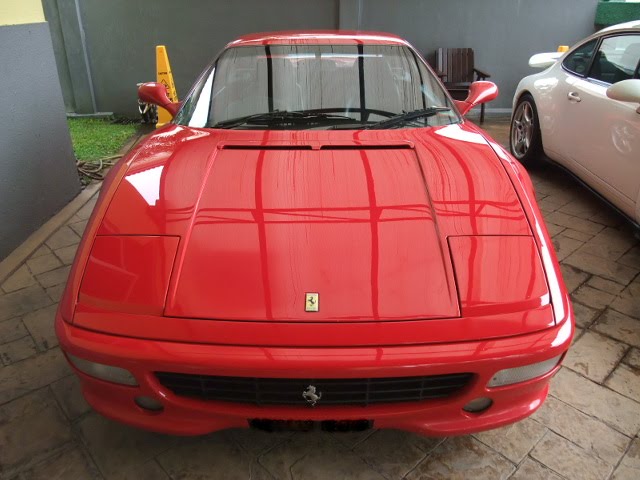
We arrived at the owners house on a cool and wet morning after some overnight rainfall. It was a good day to detail a Ferrari.

<div class="separator" style="clear: both; text-align: center;">


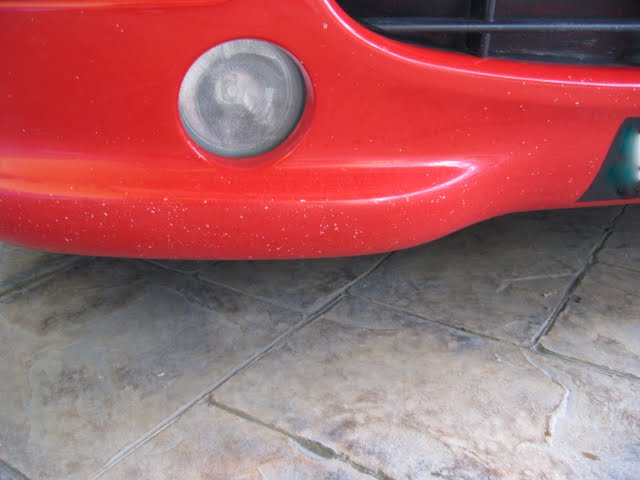
Plenty of stone chips evident in the front of the car. The foglights also looked like they had been sandblasted. Some wax residue present on the foglights.

<div class="separator" style="clear: both; text-align: center;">


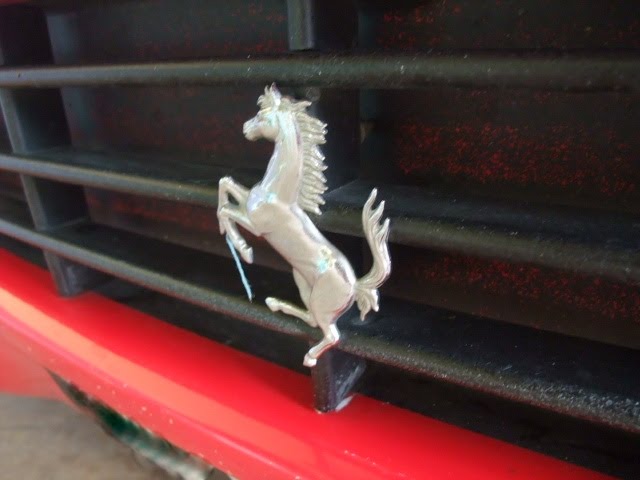
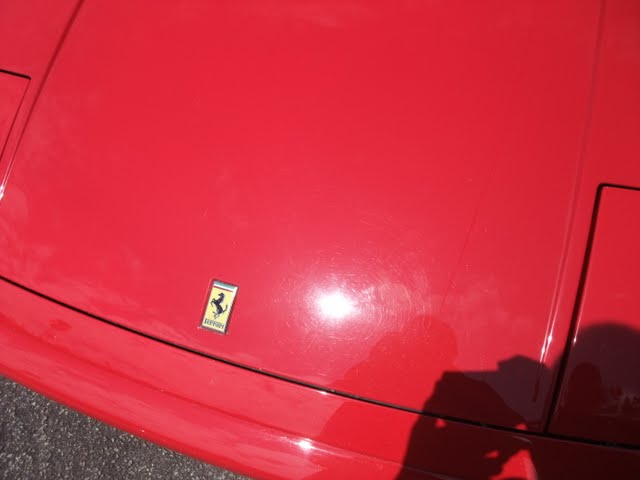
The Ferrari badge also had a stone chip on it.

<div class="separator" style="clear: both; text-align: center;">


There was a piece string stuck on the front prancing horse, looks a bit like a unicorn after the horn fell off.

<div class="separator" style="clear: both; text-align: center;">


KC and I started off by cleaning all of the detailed areas with APC.

<div class="separator" style="clear: both; text-align: center;">


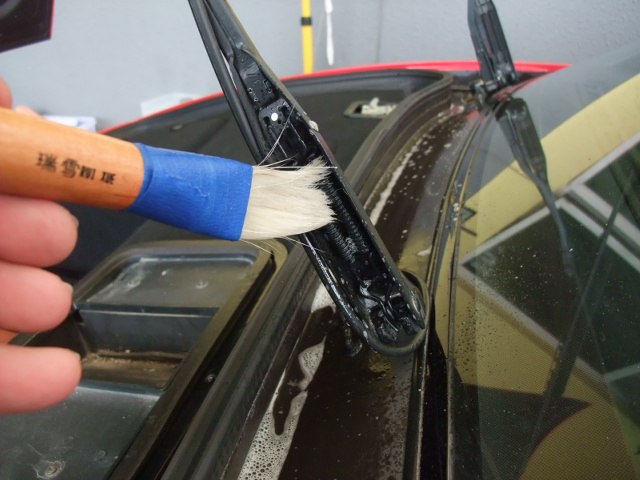
Some wax residue on the wipers.

<div class="separator" style="clear: both; text-align: center;">


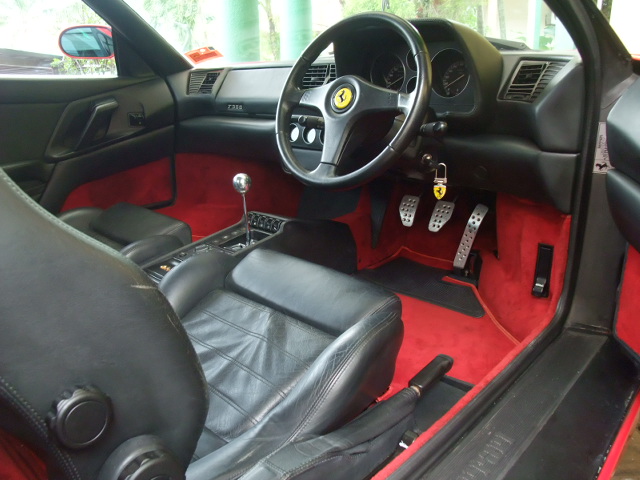
The heart of the beast. This F355 is fitted with a Capristo exhaust and it sounds awesome! Much better than the newer stock 360's and 430's. Didn't detail the engine this time around.

<div class="separator" style="clear: both; text-align: center;">


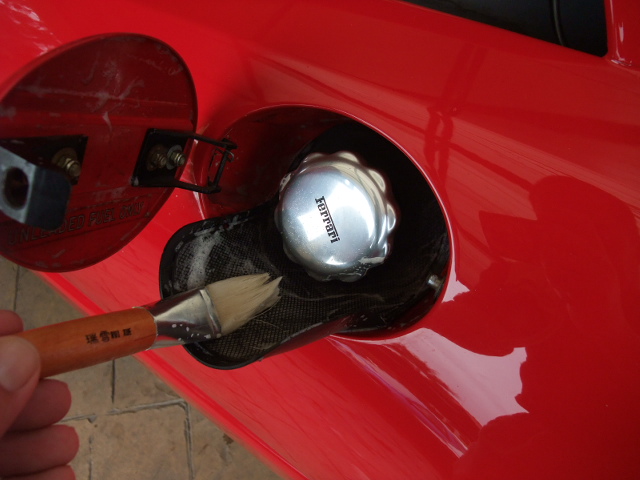
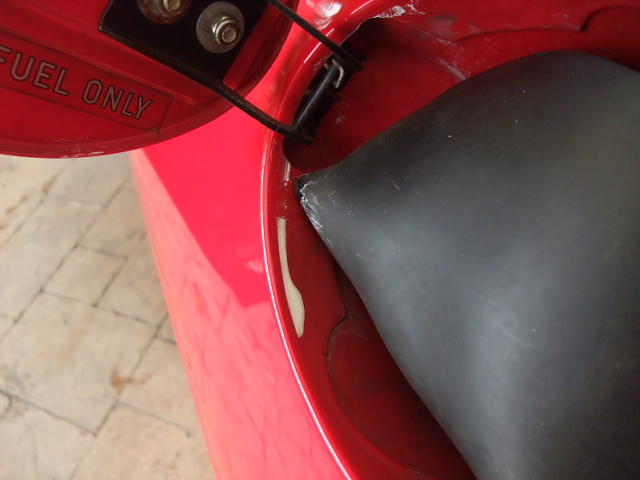
More wax residue inside the fuel filler cap.

<div class="separator" style="clear: both; text-align: center;">


More wax! Before and after under the wing mirrors.

<div class="separator" style="clear: both; text-align: center;">


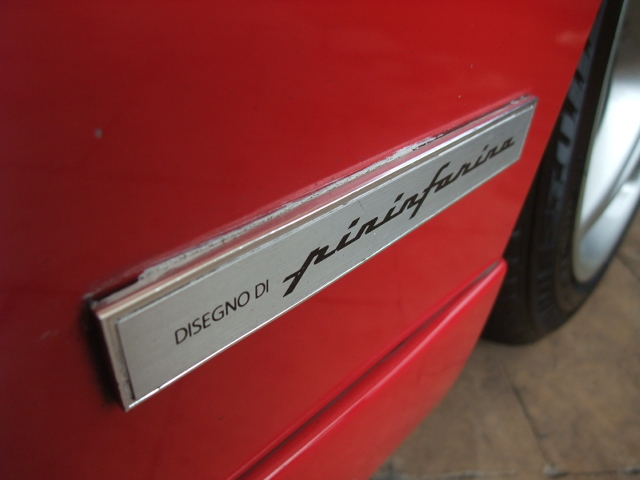
More wax residue at the Pininfarina badge. Before and after.

<div class="separator" style="clear: both; text-align: center;">


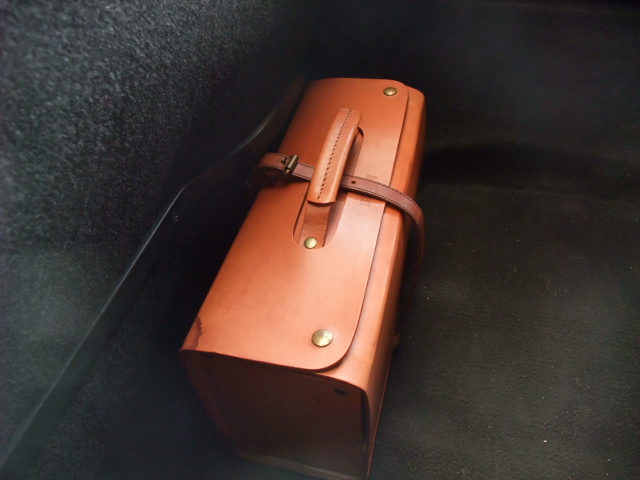
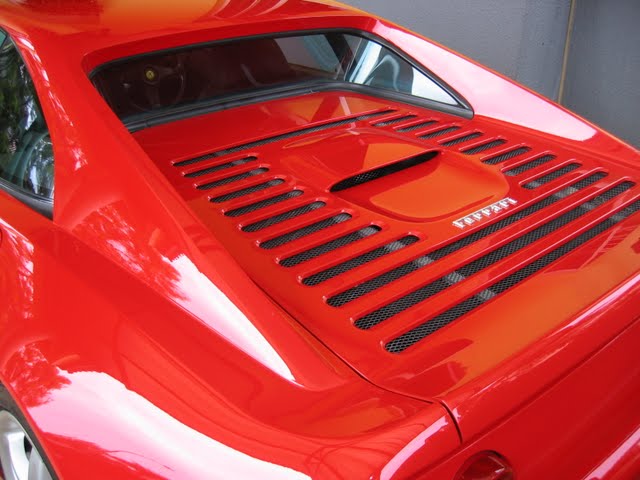
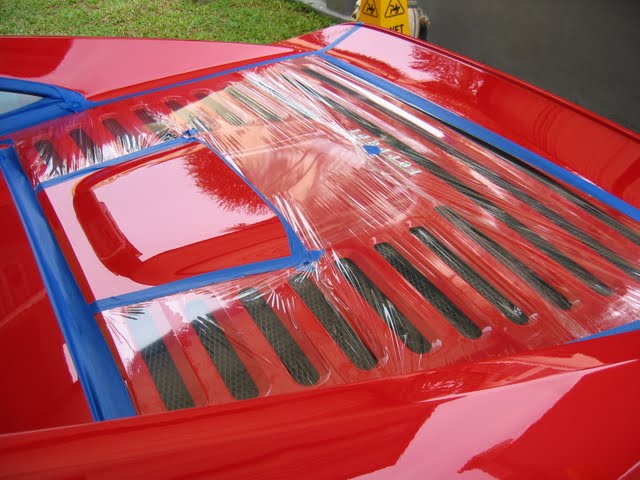
Lots of sand and dust where the bonnet air inlet enters the car. Note the customized Ferrari leather tool bag in the luggage compartment. (Fully detailed by KC in his blog: http://thedetailers.blogspot.com/2009/10/exotic-detailing.html.)

<div class="separator" style="clear: both; text-align: center;">


<div class="separator" style="clear: both; text-align: center;">

 
The rear prancing horse detailed by KC.

<div class="separator" style="clear: both; text-align: center;">


<div class="separator" style="clear: both; text-align: center;">


After.

<div class="separator" style="clear: both; text-align: center;">


I worked on the Ferrari wording on the engine cover.

<div class="separator" style="clear: both; text-align: center;">


Using some M105 applied with cotton buds.

<div class="separator" style="clear: both; text-align: center;">


Afters.

<div class="separator" style="clear: both; text-align: center;">


<div style="margin-bottom: 0px; margin-left: 0px; margin-right: 0px; margin-top: 0px;">

Picture of KC working on the wheels thought one of the many vents on the F355. The wheels were a big challenge with lots of caked on brake dust, etc. KC did a great job on them.


<div class="separator" style="clear: both; text-align: center;">


Before and afters on the doors.

<div class="separator" style="clear: both; text-align: center;">


<div class="separator" style="clear: both; text-align: center;">


Before and after.

<div class="separator" style="clear: both; text-align: center;">


Air vents cleaned with APC and dressed with NXT Tech Protect.

<div class="separator" style="clear: both; text-align: center;">


On with the interior. Leather everywhere. The Ferrari leather was very soft and also smelled quite good.


Some whitish residue on the leather. Removed with APC and conditioned with Gold Class Aloe Leather Conditioner.

<div class="separator" style="clear: both; text-align: center;">


Before and after on the center console. Whiteness removed.

<div class="separator" style="clear: both; text-align: center;">


More horses.

<div class="separator" style="clear: both; text-align: center;">


<div class="separator" style="clear: both; text-align: center;">


NXT Metal Polish on the gear knob and kick plate.

<div class="separator" style="clear: both; text-align: center;">


<div class="separator" style="clear: both; text-align: center;">

 
On to the paint correction....


Taping up by KC.

<div class="separator" style="clear: both; text-align: center;">


Vents on the engine covered with cling wrap and taped off to prevent any polish residue from entering the engine bay.

<div class="separator" style="clear: both; text-align: center;">


Some pictures of the swirls on the paint taken by KC. Pretty bad swirls and random isolated deep scratches (RIDS).

<div class="separator" style="clear: both; text-align: center;">


<div class="separator" style="clear: both; text-align: center;">


Wash with ONR using a Meguiar's Microfiber Washmitt followed by clay with ONR lube. Demonstrated here by KC.

<div class="separator" style="clear: both; text-align: center;">


Test area on the hood. If you look closely under the halogen lights, some swirls visible.

<div class="separator" style="clear: both; text-align: center;">


Various products were tried out and we finally settled on M105/Wool followed by M205/W8006. Swirl free with a nice depth to the paint.

<div class="separator" style="clear: both; text-align: center;">


Another test area, before and after.

<div class="separator" style="clear: both; text-align: center;">


KC did the compounding with M105 while I followed up with the M205/W8006 combo.

<div class="separator" style="clear: both; text-align: center;">


Some nice afters on the hood. The red really stood out with some depth to the paint and a nice glossy wet appearance.

<div class="separator" style="clear: both; text-align: center;">


Door mirrors were badly faded and looked different from the rest of the car. Corrected with multiple passes of M205/W8006. There was some paint transfer after polishing so either the door mirrors were painted with a single stage paint or perhaps the clear coat had failed.


The top of the door mirrors were corrected while the lower half was still dull and uncorrected.

<div class="separator" style="clear: both; text-align: center;">


Some great pictures and correction work by KC with M105 on the rear of the car.

<div class="separator" style="clear: both; text-align: center;">


Note the swirls still visible on the top portion of the car and the finish on the bottom portion after being compounded by KC with M105.

<div class="separator" style="clear: both; text-align: center;">


Some pictures after I followed up with M205/W8006. This was the only area of the car with some direct sunlight so it was good that we were able to capture some sun shots. Gotta love that glossy wet look to the red Ferrari paint.

<div class="separator" style="clear: both; text-align: center;">


<div class="separator" style="clear: both; text-align: center;">

 
All done after 20+ hours from KC and myself. LSP was NXT Tech Wax 2.0 followed by a coat of Opti-Seal and UQD on the glass.

<div class="separator" style="clear: both; text-align: center;">


Blurry area on the front of the hood is from the reflection off the roof.

<div class="separator" style="clear: both; text-align: center;">


Please excuse the 'pink' color. This isn't a picture of another pink Ferrari. Couldn't get the white balance right shooting under the halogens.

<div class="separator" style="clear: both; text-align: center;">


KC applying UQD to the glass area.

<div class="separator" style="clear: both; text-align: center;">


<div class="separator" style="clear: both; text-align: center;">


<div class="separator" style="clear: both; text-align: center;">


<div class="separator" style="clear: both; text-align: center;">


Some final shots.

<div class="separator" style="clear: both; text-align: center;">


<div class="separator" style="clear: both; text-align: center;">


<div class="separator" style="clear: both; text-align: center;">


I must thank my good buddy KC for all of his assistance. It was great working on our first Ferrari with him. Without his help there would have been no way to complete the Ferrari in the allocated time. Cheers KC!
 
Thanks. Probably around 20 to 22. The paint was a lot worse than we thought so it required multiple passes to correct to a level we were happy with.
 
When you mask off the car like that, how do you get that bit of paint under the tape as good as the rest of the car?
 
In this case we did it by hand but you could also remove the tape after compounding and touch up those areas with a polish.
 
Ok, next question, why do you mask like that. Or I think I can guess why, I just havent seen masking like that before :D
 
Möller said:
Ok, next question, why do you mask like that. Or I think I can guess why, I just havent seen masking like that before :D


Just to make sure dust and excess polishing residue doesn't get into the bodywork gaps, stain the rubber and plastics AND most importantly in this detail that it doesn't enter the engine bay. That WOULD be a PITA to clean out after.
 
nice work - really love the side by side before and after shots. Hope the owner enjoyed the great turn around you brought to him!
 
Thanks. The paint was in pretty bad shape. Currently in the process of getting the owner some products to take care of his cars. Have recommended ONR to all of the owners as an easy way to wash the car without causing more swirls.
 
You guys did a great job on that Ferarri. I bet the owner was thrilled to get his car back looking flawless. Great team :hifive:
 
seech said:
Vents on the engine covered with cling wrap and taped off to prevent any polish residue from entering the engine bay.

<div class="separator" style="clear: both; text-align: center;">


Car looks great. Here's a suggestion/food for thought......If you cover the engine compartment with plastic or towels, you can(although tedious) buff each gill in the engine cover without fear of getting splatter on your clean engine compartment (or do the engine after the correction). The splatter/residue that gets on the black mesh will remove easily during your post correction wash after it gets wet and you aggitate with a soft brush. This way the entire engine cover can be corrected. :2thumbs:
 
Back
Top