RaysWay
Autopia Specialist
(This write-up is dedicated to Angus. ") )
)
This was a detail I performed on my former daily driver as a way to test multiple products. Whenever I get a chance, I try and test as many products as possible.
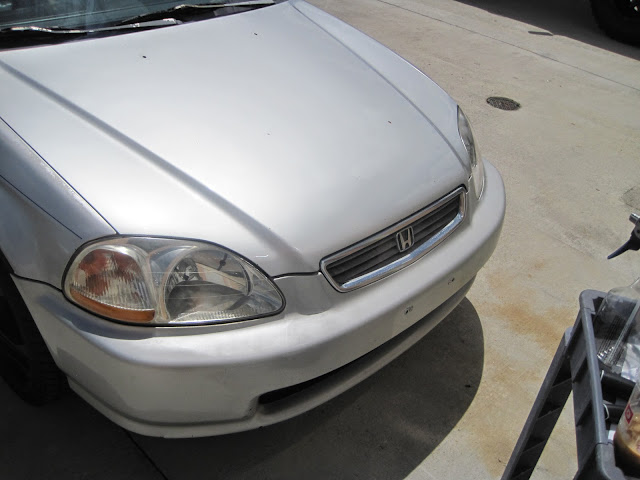
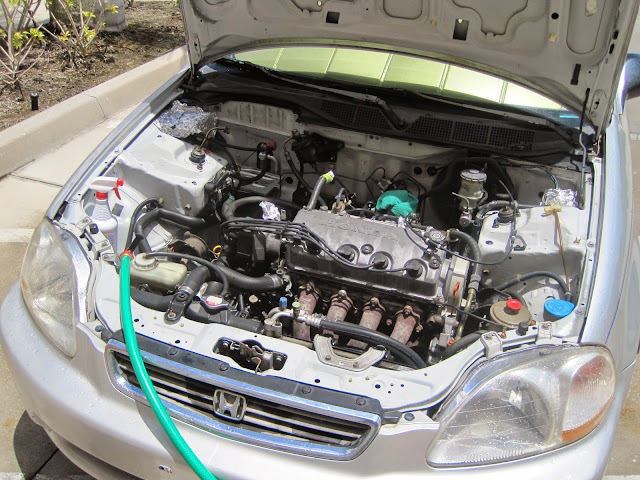
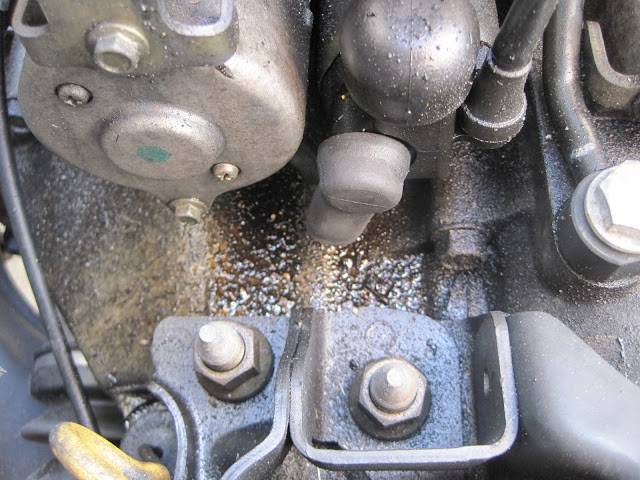
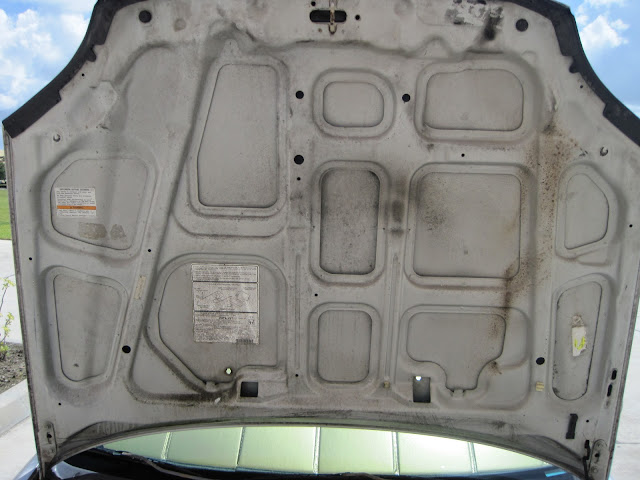
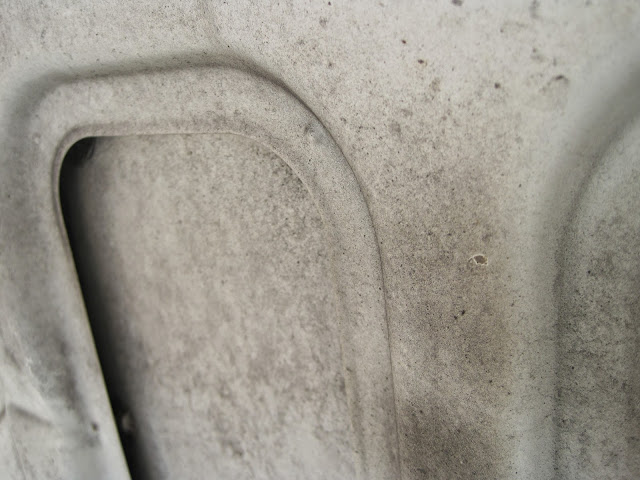
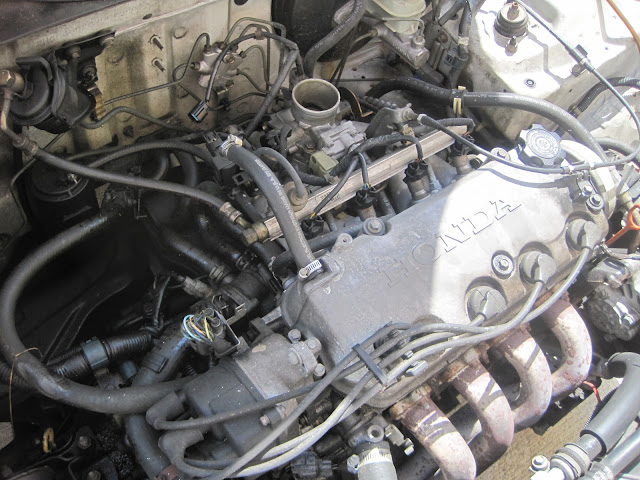
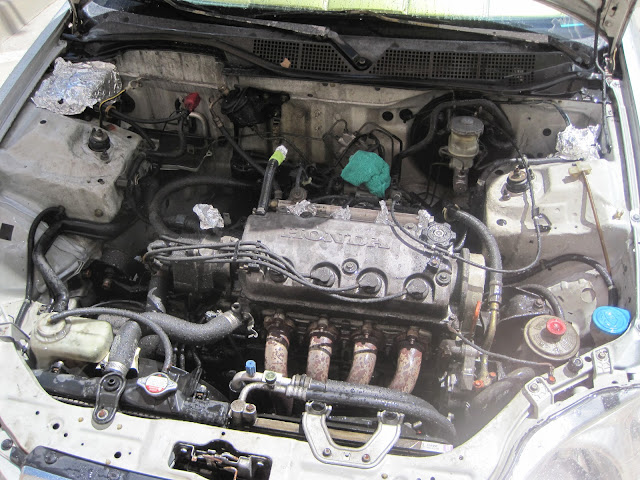
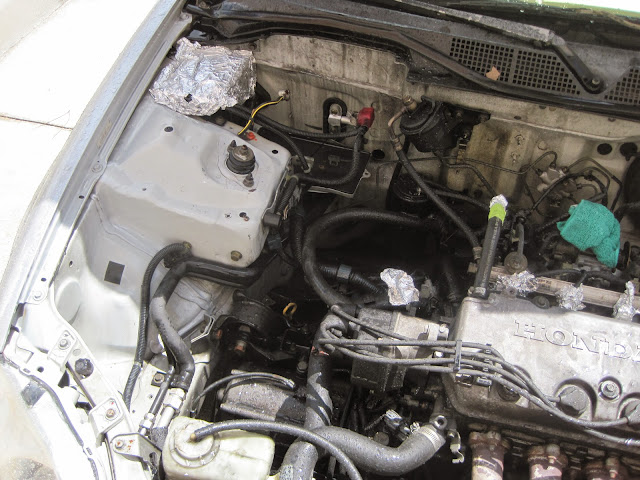
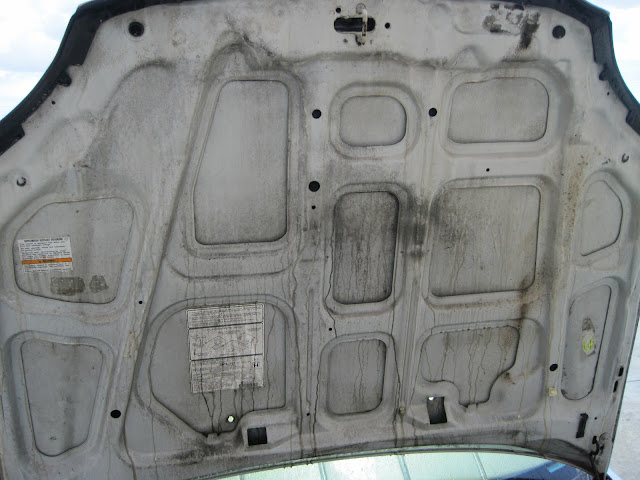
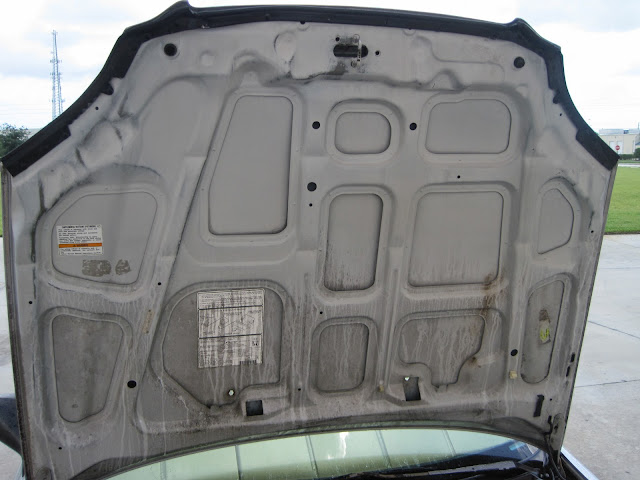
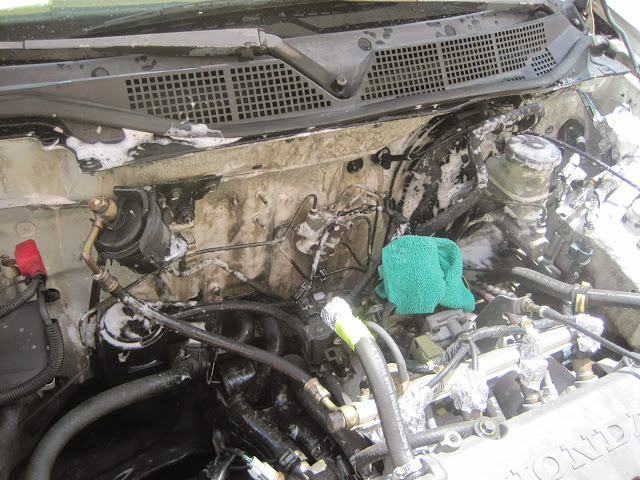
When I first picked up the Civic, the valve cover was leaking oil pretty bad so there was plenty of grease and grime under the hood...
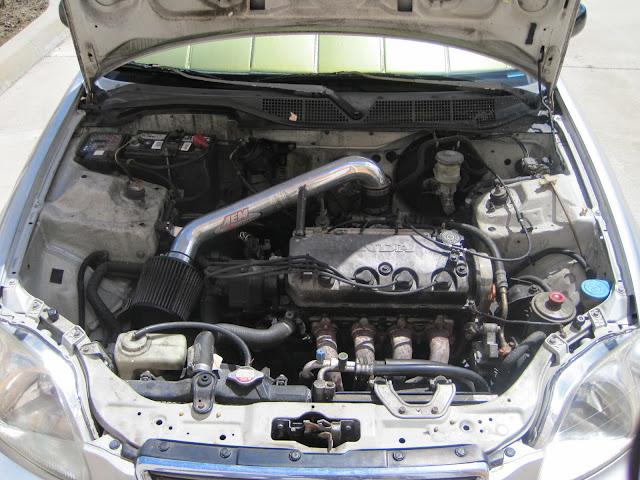


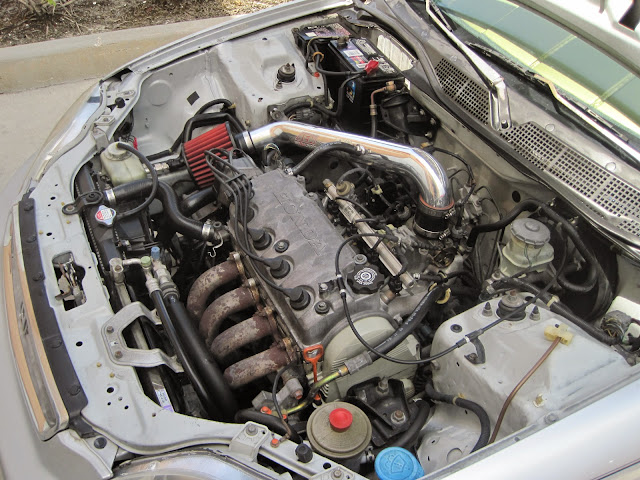
I ordered a new air filter, so this would be a good chance to replace the filter.

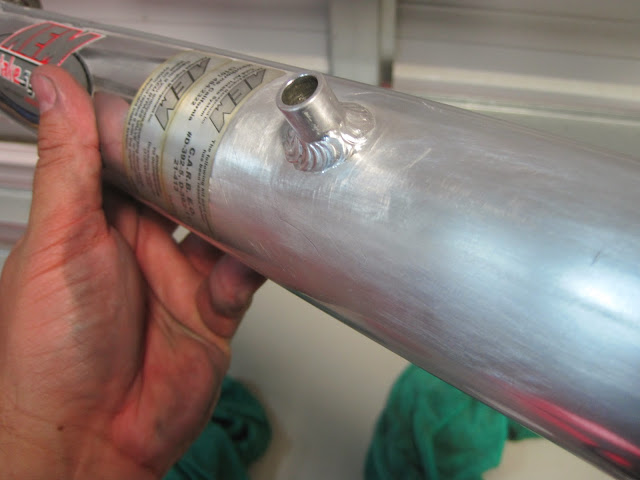
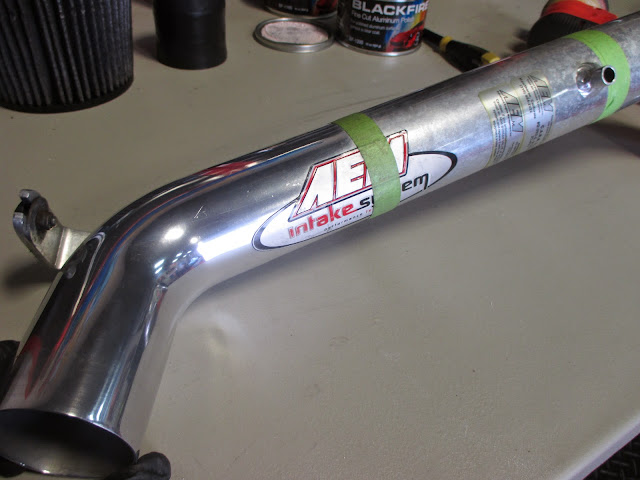
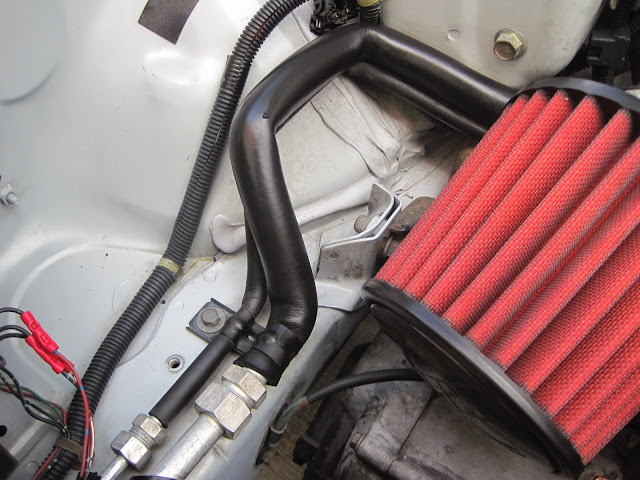
I started by removing the air intake. This would give me more access to hard to reach areas and I wanted to polish the intake.

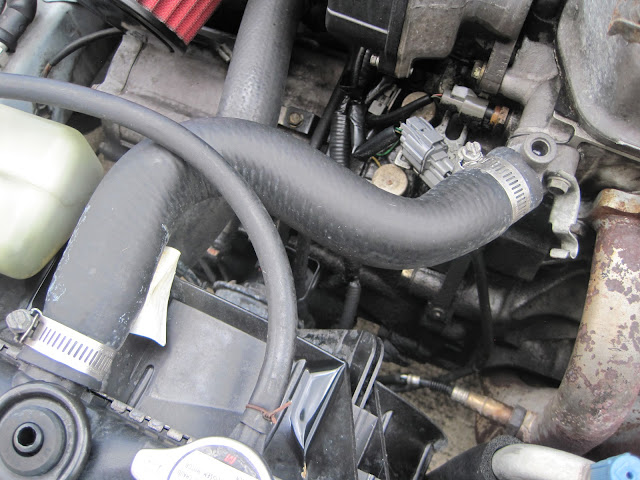
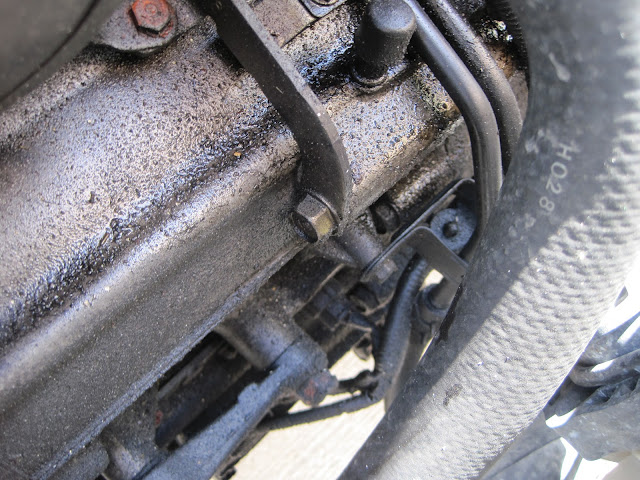
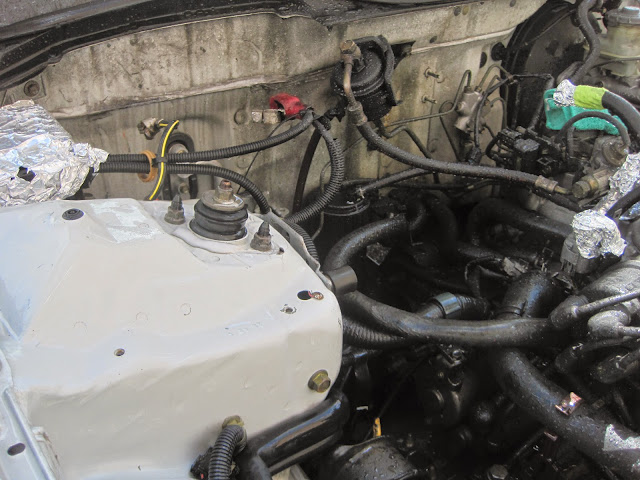
Now that the intake is out of the way, I have more access to the extra oily areas.
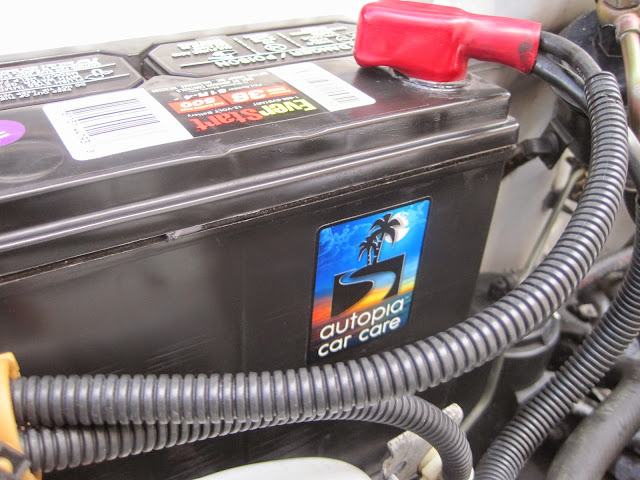
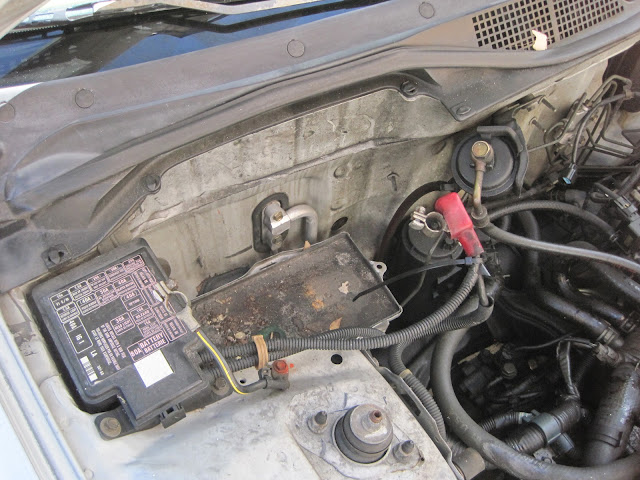
Next, I decided to remove the battery. It would give me more access to the greasy firewall and prevent any serious electrical damage. (Disclaimer: Keep in mind on newer cars, a lot of the programmed electronics will be reset.)
Next, I wanted to protect any electronics. I used aluminium foil to create a barrier around any exposed harnesses or fuse blocks.
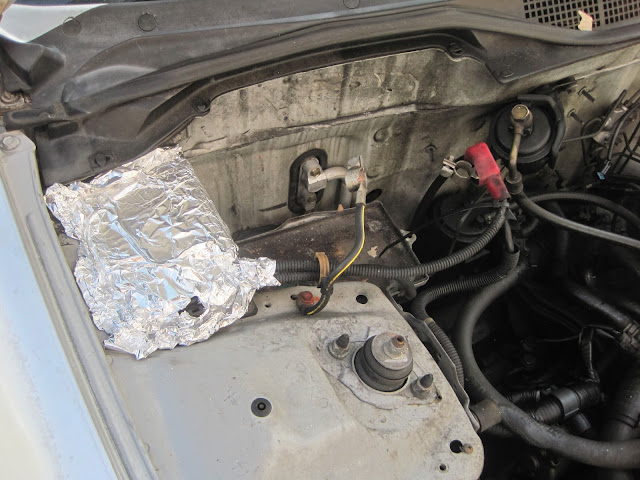
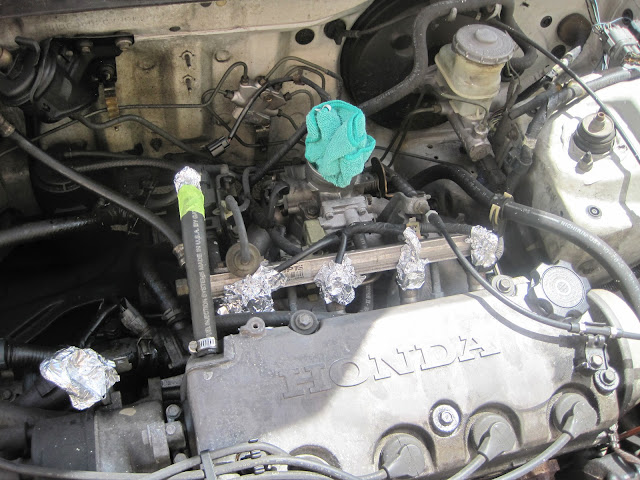
All protected! Better safe than sorry.
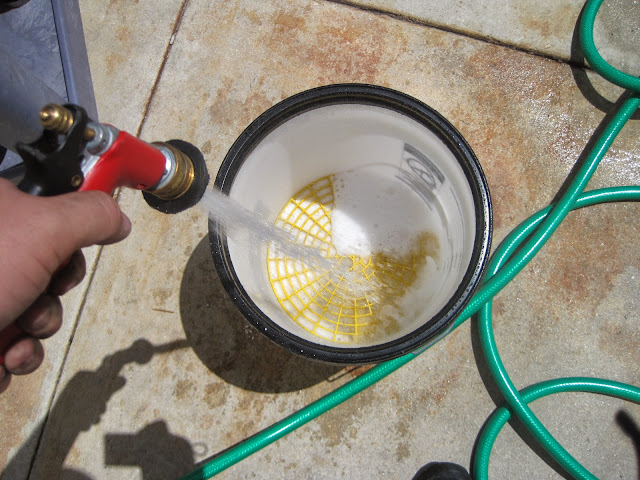
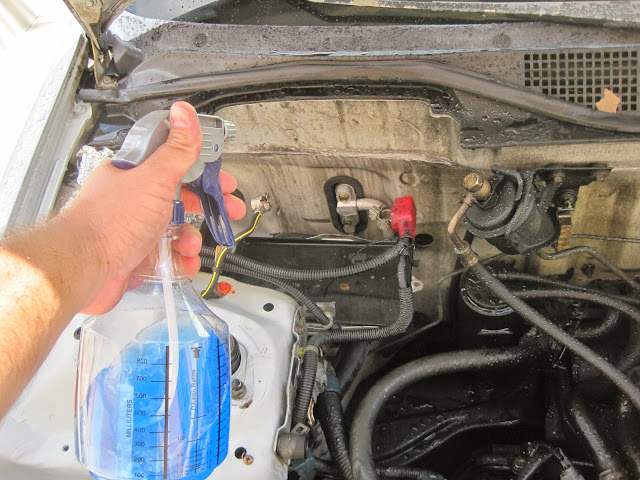
I filled a bucket with an APC dilution to presoak all of my brushes. This would give me an "APC Bath" to clean my tools as I'm using them.
The first product I used would be Amazing Roll-Off. I was already very familiar with this product so I used it as my "experimental control". I first used a product I'm familiar with, to compare the results with other products. This would give me a benchmark to compare the other products with.

I gave the product a minute to work its magic.

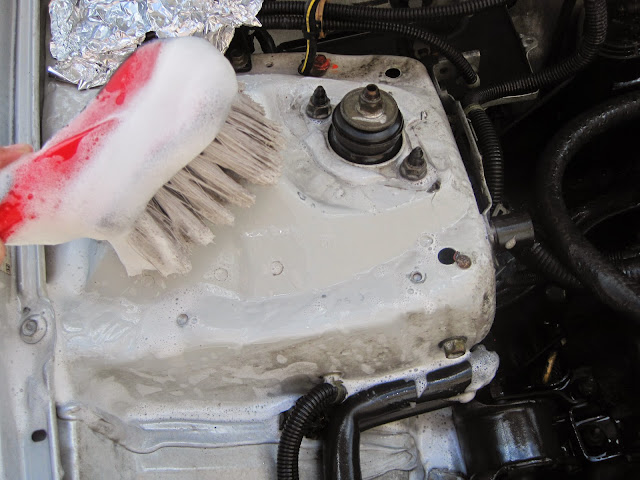
I used a Mothers Wheel Brush to lightly agitate the surface. It didn't take much to start to see all of the grease slide off.
Lug Nut Brush for the tight spots.

Amazing Roll-Off undiluted worked amazing.
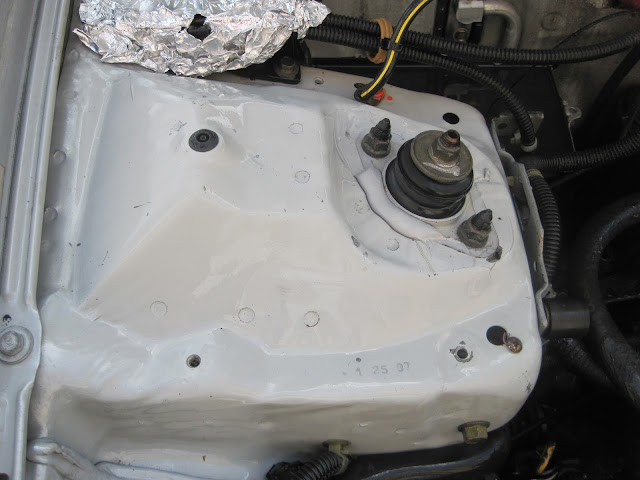
Check out the contrast between the clean panel and the rest of the engine.
Next, I tried Amazing Roll-Off diluted 1:1.

For this much grease, 1:1 wasn't strong enough.

Next up - DP Engine Degreaser
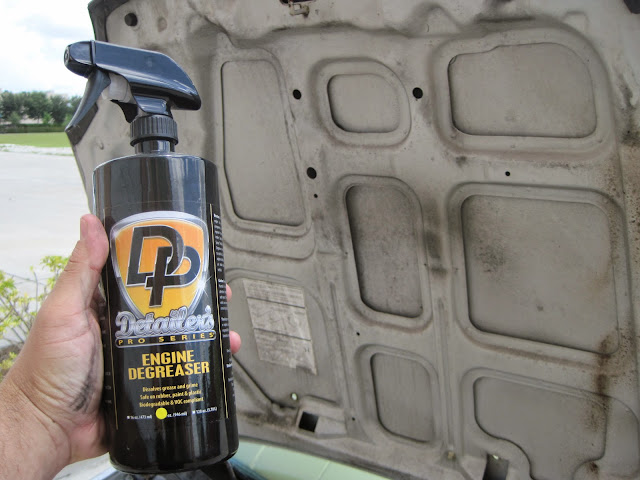
I've used DP Engine Degreaser many times before and it's hands down one of my favorites but I've always wanted to see how it stacked up against other Degreasers head-to-head.
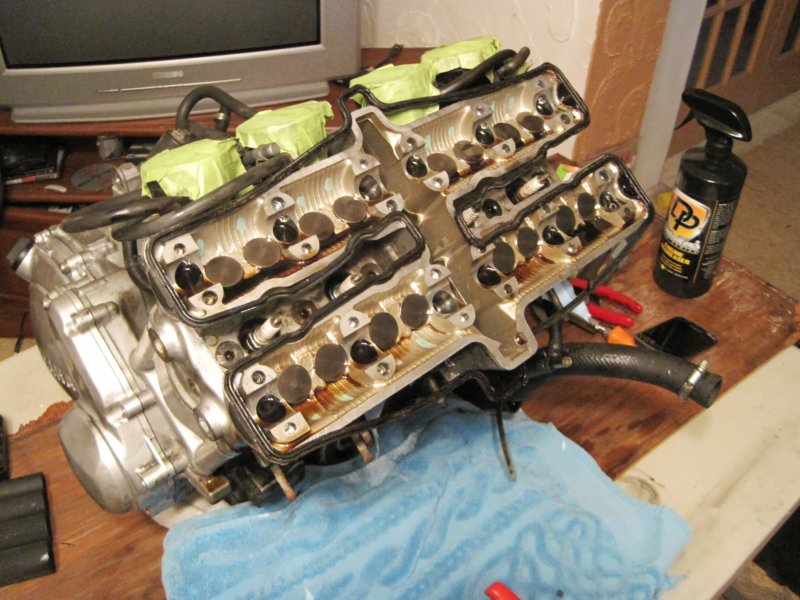
I've used it when rebuilding my motorcycle engine and on multiple different projects. I have a gallon of it at the shop I work at and it gets used regularly. I have pics of the projects, but no pics of the DP Engine Degreaser displayed with the projects :/. I usually dilute it 1:1. I think it's stronger than your average degreaser.
Before.
After a few sprays.
After a couple minutes. No agitation.
Next would be an aerosol degreaser. Wurth Engine Degreaser Foam.
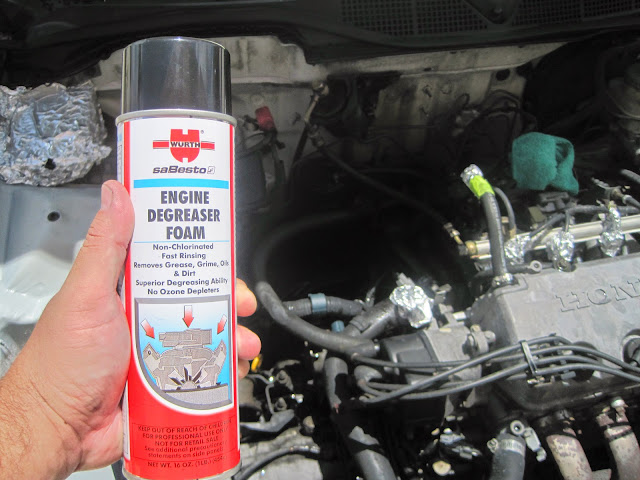
It was great being able to spray into the tight nooks and crannies.

It worked great, but I ended up using a large portion of the can.
I wanted to switch gears, so I turned my attention to the intake.

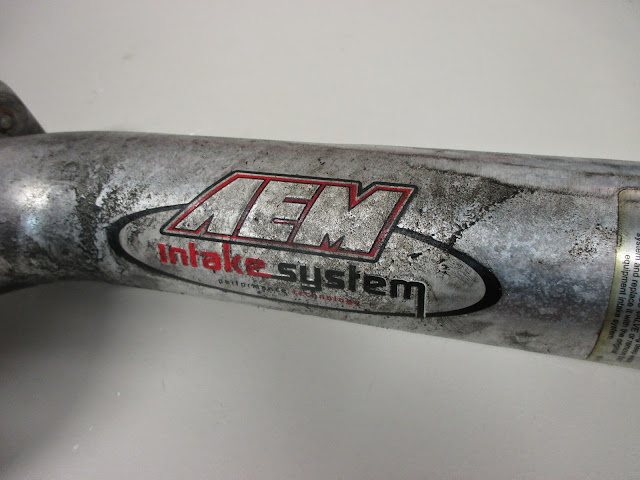
There was some slight pitting so I decided to wet sand first before compounding and polishing.

)This was a detail I performed on my former daily driver as a way to test multiple products. Whenever I get a chance, I try and test as many products as possible.
When I first picked up the Civic, the valve cover was leaking oil pretty bad so there was plenty of grease and grime under the hood...
I ordered a new air filter, so this would be a good chance to replace the filter.
I started by removing the air intake. This would give me more access to hard to reach areas and I wanted to polish the intake.
Now that the intake is out of the way, I have more access to the extra oily areas.
Next, I decided to remove the battery. It would give me more access to the greasy firewall and prevent any serious electrical damage. (Disclaimer: Keep in mind on newer cars, a lot of the programmed electronics will be reset.)
Next, I wanted to protect any electronics. I used aluminium foil to create a barrier around any exposed harnesses or fuse blocks.
All protected! Better safe than sorry.
I filled a bucket with an APC dilution to presoak all of my brushes. This would give me an "APC Bath" to clean my tools as I'm using them.
The first product I used would be Amazing Roll-Off. I was already very familiar with this product so I used it as my "experimental control". I first used a product I'm familiar with, to compare the results with other products. This would give me a benchmark to compare the other products with.
I gave the product a minute to work its magic.
I used a Mothers Wheel Brush to lightly agitate the surface. It didn't take much to start to see all of the grease slide off.
Lug Nut Brush for the tight spots.
Amazing Roll-Off undiluted worked amazing.
Check out the contrast between the clean panel and the rest of the engine.
Next, I tried Amazing Roll-Off diluted 1:1.
For this much grease, 1:1 wasn't strong enough.
Next up - DP Engine Degreaser
I've used DP Engine Degreaser many times before and it's hands down one of my favorites but I've always wanted to see how it stacked up against other Degreasers head-to-head.
I've used it when rebuilding my motorcycle engine and on multiple different projects. I have a gallon of it at the shop I work at and it gets used regularly. I have pics of the projects, but no pics of the DP Engine Degreaser displayed with the projects :/. I usually dilute it 1:1. I think it's stronger than your average degreaser.
Before.
After a few sprays.
After a couple minutes. No agitation.
Next would be an aerosol degreaser. Wurth Engine Degreaser Foam.
It was great being able to spray into the tight nooks and crannies.
It worked great, but I ended up using a large portion of the can.
I wanted to switch gears, so I turned my attention to the intake.
There was some slight pitting so I decided to wet sand first before compounding and polishing.