PAR Detailing
New member
Before I get going I want to thank Kevin Brown for taking the time to work with me via phone and sending me backing plates to try out. He is a real class act and one of the most genuinely nice guys in this industry. He was always willing to help and take my calls and answer my questions. He went above and beyond anything he needed to do for me. Also I want to thank Nick Chapman for mentioning his technique and piquing my interest enough to follow up with it more. I would also like the thank Dana (Asphalt Rocket) for reading it over for me.
This thread has been a work in progress for a semi-long period of time. It started with reading a review of the MF system by Nick Chapman. He mentioned a special technique he used with the system to get better cut.
He said
This really intrigued me so I would dabble with it here and there. I would occasionally run into a scratch where I would try the “edging” and it would literally vanish before my eyes.
Later on I would reach out to Kevin Brown. I was reading his stuff and on one car I wasn’t getting the system to finish out. Kevin was nice enough to work with me via phone to try and trouble-shoot the issues.
I then started to ask Kevin more and more questions and mention the edging technique. So we talk about that for a while and Kevin asked if I would do a write up about it. Most don’t know this technique because we are always taught to keep the pad flat with a traditional DA. This might not be new to some of you but others like me it was/will be a game changer thus why I wanted to share it with others.
The science behind it:
As I was discussing it with Kevin he put it very simply and really sums it up best. He said it boils down to pressure and area. If you think about it when you edge the pad you cut the area of the pad doing the work down drastically and then you increase the pressure so you have a concentrated swirl killing machine. Kevin could go much more in-depth than I could in this but this is a quick short version.
Implementation:
How I do it is when I come across a scratch or RIDS that needs a little more than the correction I am getting from the normal pass I edge the pad. I properly prime the pad (Very Important IMO) and then start to work. I apply compound to my pad like normal and start to work and I would on a normal section doing a normal pass. Now that I have the product over the paint I lift or tilt my pad concentrating it on the scratch. I work back and forth keeping the pad moving (arm speed) slow but always moving. I keep an eye on the defect and most of the time I can see it practically vanish in front of my eyes. As far as speed, sometimes I leave it at the normal setting but on tougher defects I crank the speed up to 6 on my G110 and use more pressure. I don’t have a hard fast rule on when I alter the speed I just do it by feel. After the defect is removed I take the DA back to the normal working speed and finish the section with a few traditional passes to remove any hazing from the edging.
Now here is where Kevin came in (again) and was talking about taking the backing plate all the way to the edge of the pad. This will create even pressure across the entire pad which should produce more consistent results and also increase the effectiveness of the pad and liquid. Kevin was nice enough to send me the backing plate that he personally cut down to the exact size of the pad. This was a blessing for me because I could never cut a backing plate down and have it look as nice as he made it.
Below in the various cars you will see both the “normal” backing plate and the “cut down” backing plate so I will also be comparing these in this write-up.
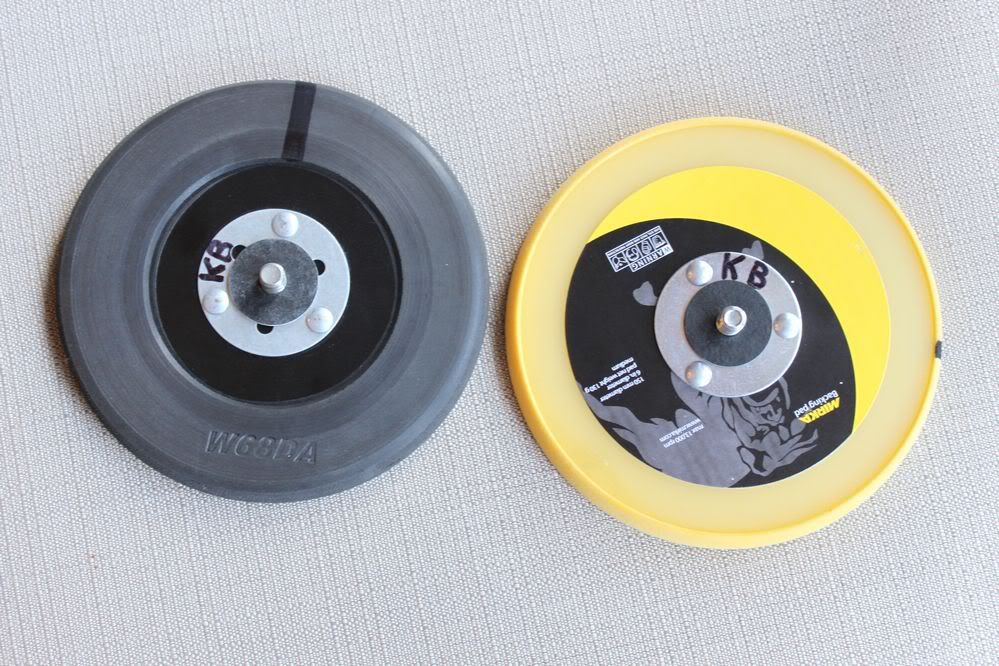
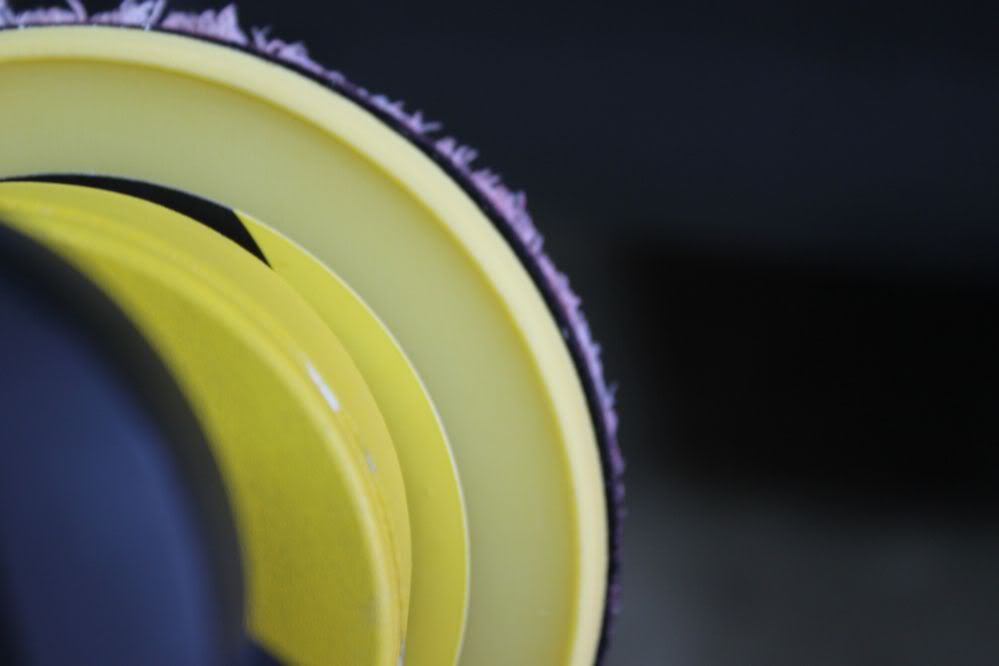
The Mirka BP is very firm
The Megs BP is more flexible

Here is the Mirka on a MF cutting disc
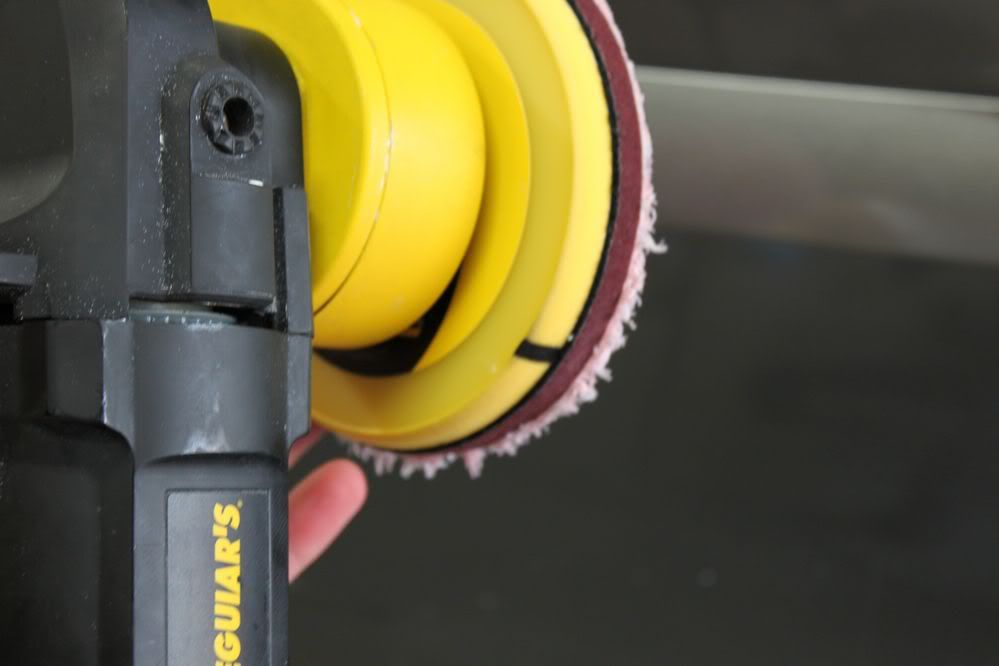
It was about 4pm on a Friday and the mail man (oh how I love the mail man these days… Santa is losing his job) dropped off a package with two backing plates Kevin sent me. You can see the difference between the two. By 5:30 that night I had the sanding discs on a car and testing the new backing plates.
You will see I was working on a suburban that had the whole passenger side repainted. The body shop didn’t do the best at finishing it… I don’t think they did anything at all. The orange peel was bad and the reflection was just poor so out comes the sand paper and MF system.
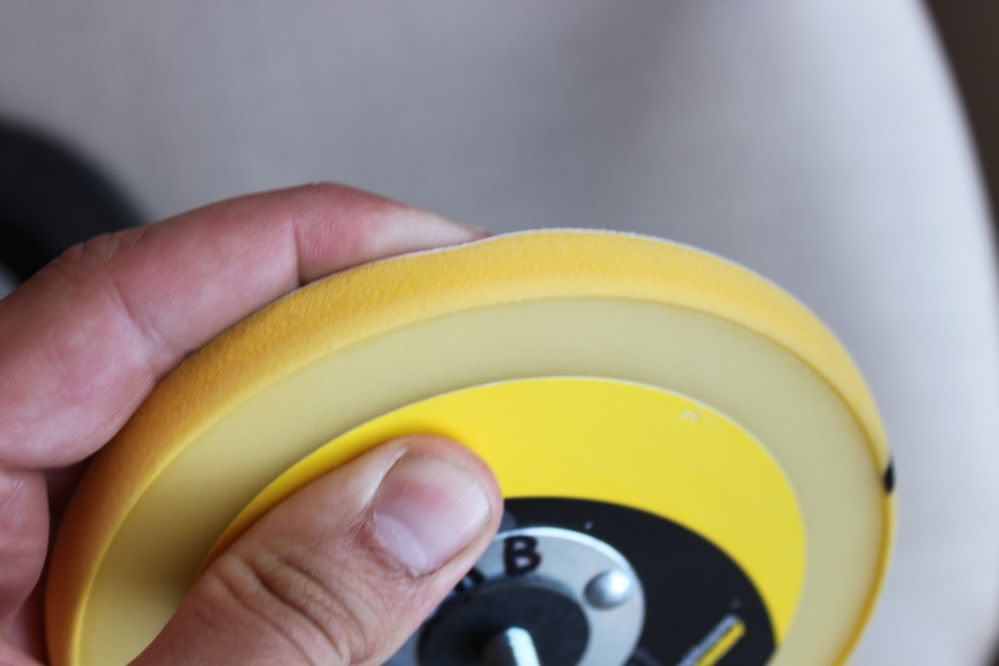
The Mirka BP that Kevin cut goes right to the edge of the pad and is very firm. This promotes even pressure and firm pressure on the discs giving the pads more cut and better finishing. I could absolutely tell a difference between the “recommended” backing plate and the one that goes to the edge.
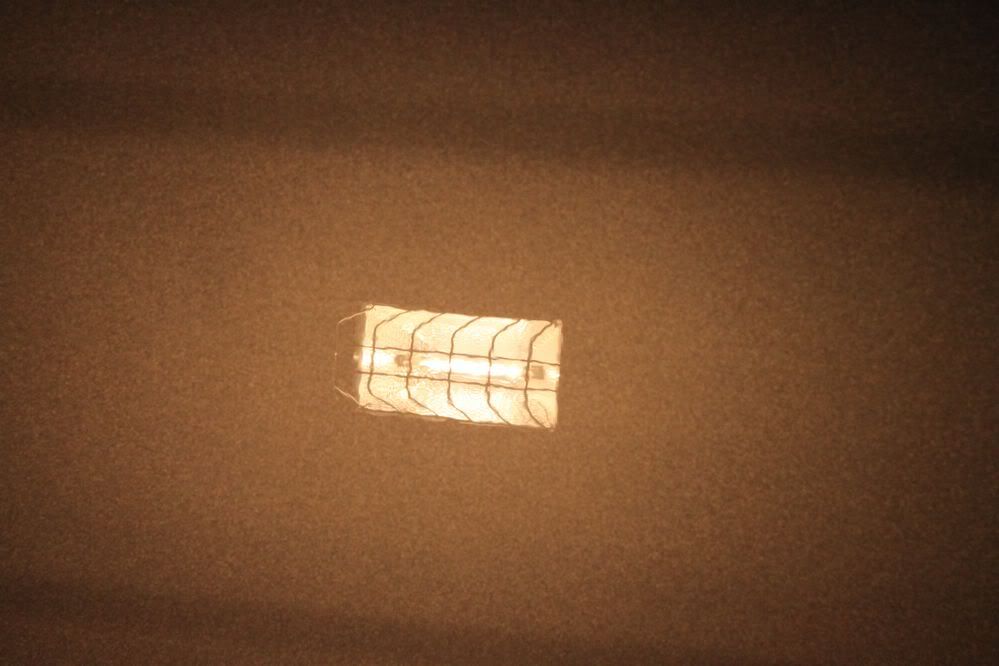
Orange Peel before:
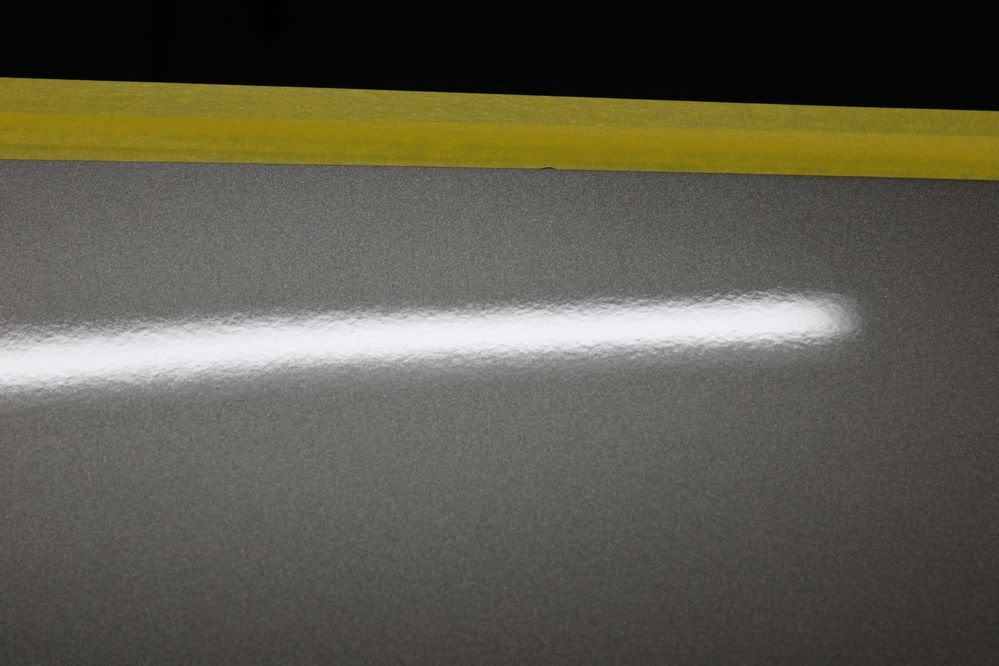
During (with only 1500 grit discs and removed via MF system:
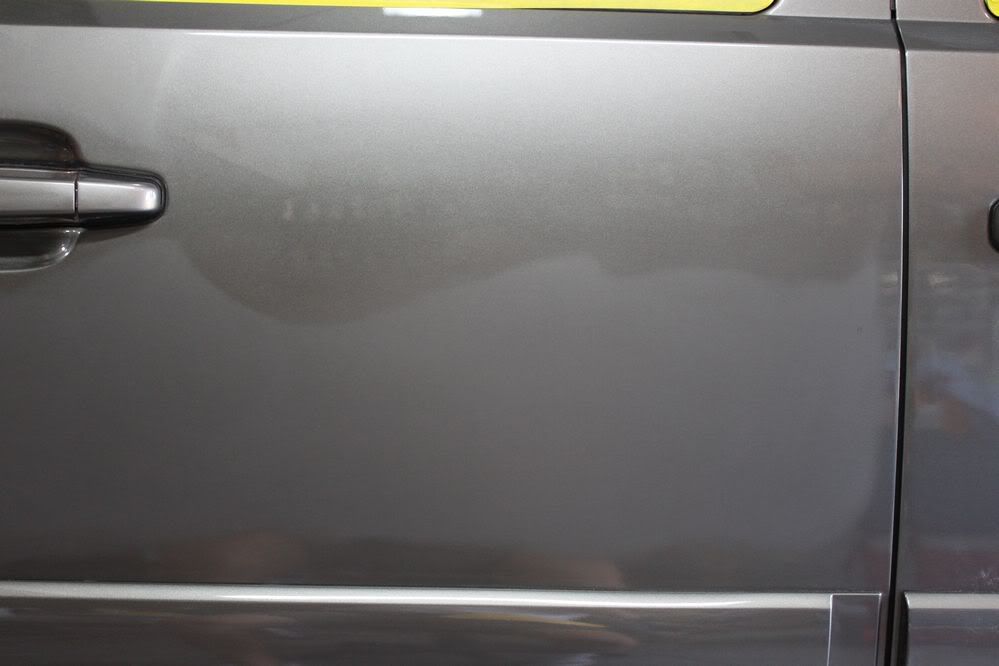
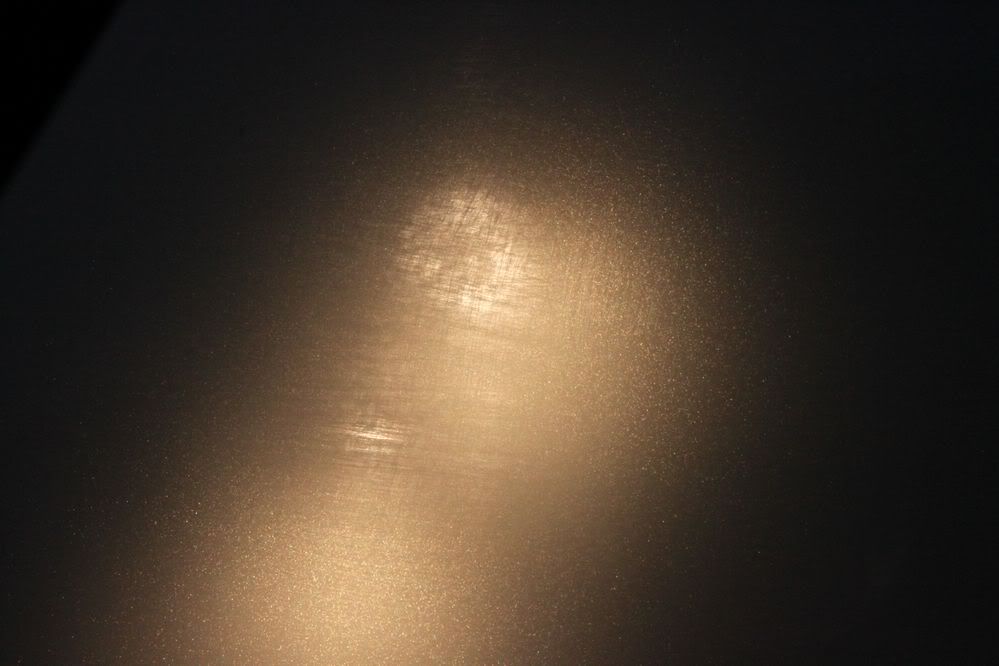
After Sanding and Compounding:
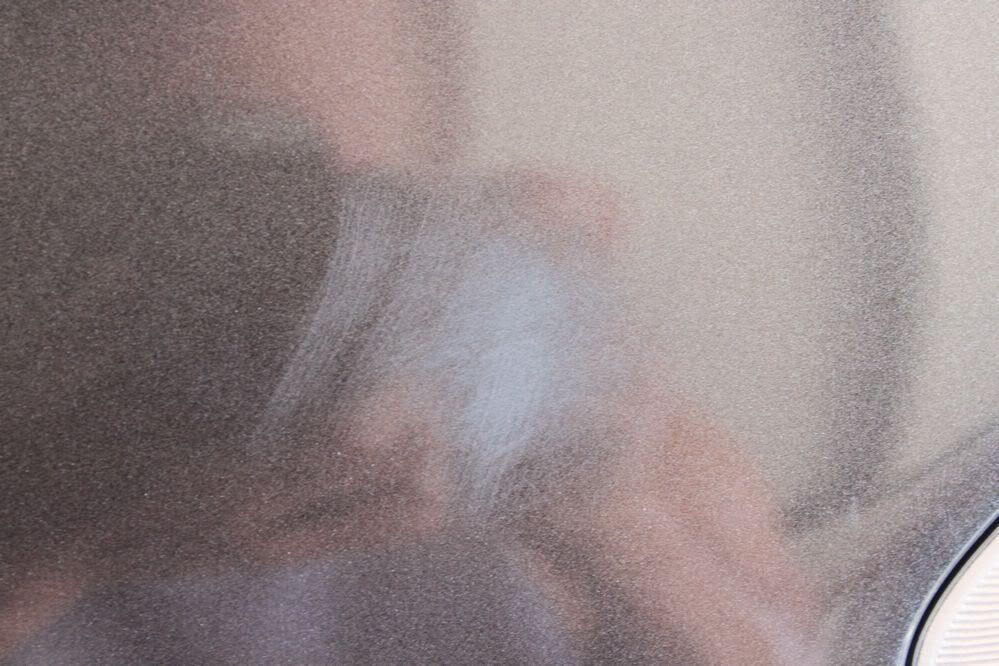
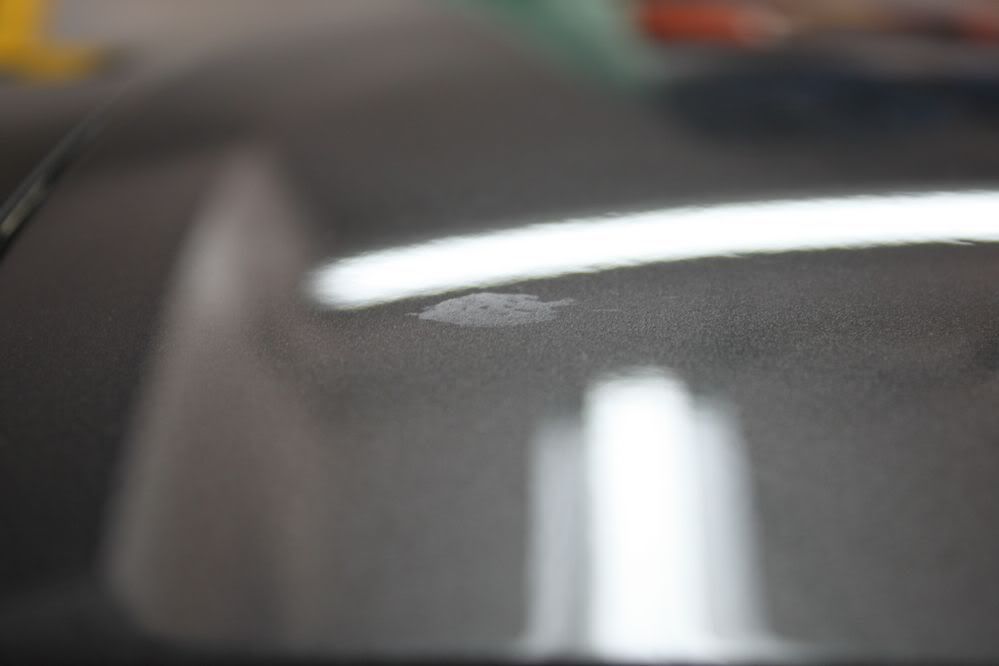
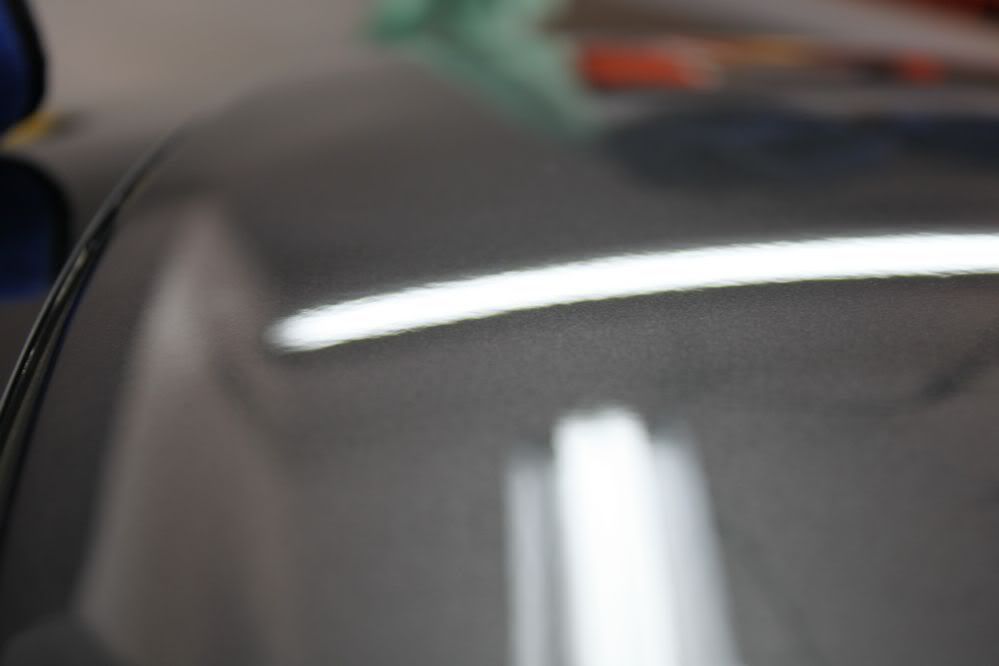
The next test subject is a White Lincoln MKX. I took paint readings of the car and it had healthy amounts of clear on it so I knew I would be safe to scrape the hood with some 800 grit sand paper.
Before:


Now Afters:
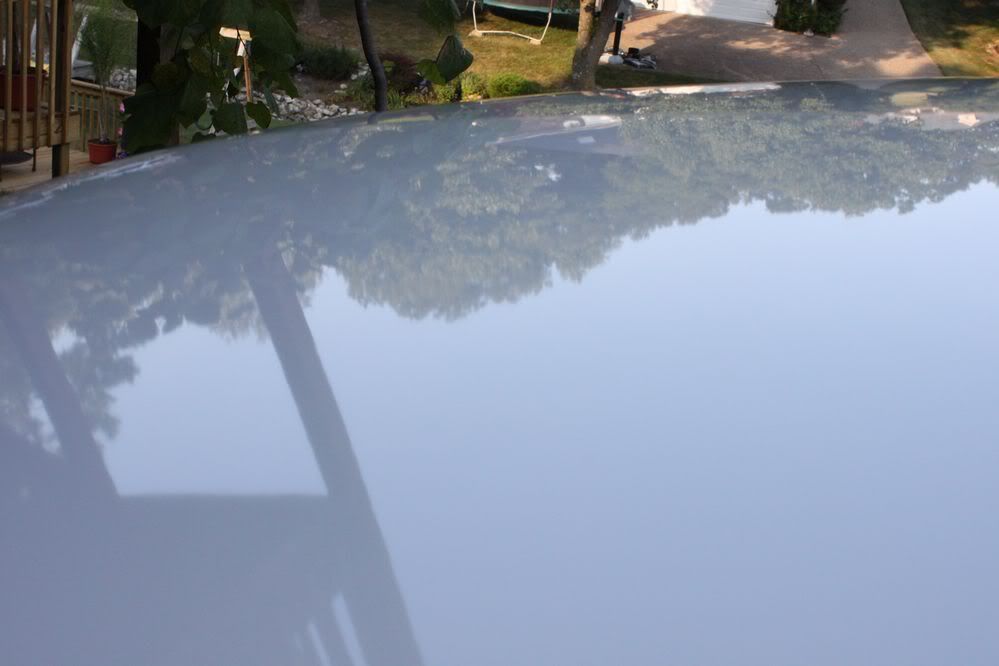
It was really hard to get pictures on the white paint but I assure you they came out. 85% of the defects came out in the first pass, but there was just a little residual marking left which required a second pass.
1000 grit dry sand marks on Toyota Highlander:

After Removal:
Bird Poop Etching on Lexus:
Gone:
In conclusion, this new technique IMO can really narrow the correction gap between the DA and the Rotary. I have had amazing success with this and think that most with polishing experience can quickly learn this as well. I also think that changing up the buffing between D300 and 105 can really help maximize the cutting potential. I strongly urge those with the MF System to try this and see for yourself. I know I was amazed with it and I think you will be too.
If you have any questions, comments, or criticisms please throw them out there. I know this paper isn’t perfect, there are many things that I would have liked to have in here but I will try to update it as more things come across my path. I want as much feedback as possible from everyone here.
This thread has been a work in progress for a semi-long period of time. It started with reading a review of the MF system by Nick Chapman. He mentioned a special technique he used with the system to get better cut.
He said
“I'm a bit different then most detailers out there. I don't work an area x amount of passes, then move onto the next area. I tend to work things inch by inch, using the outer edge of the pads surface. Then when I'm satisfied with the cutting results, I'll lay the pad flat and do a couple of light passes across the area I just worked, without using anymore product.”
This really intrigued me so I would dabble with it here and there. I would occasionally run into a scratch where I would try the “edging” and it would literally vanish before my eyes.
Later on I would reach out to Kevin Brown. I was reading his stuff and on one car I wasn’t getting the system to finish out. Kevin was nice enough to work with me via phone to try and trouble-shoot the issues.
I then started to ask Kevin more and more questions and mention the edging technique. So we talk about that for a while and Kevin asked if I would do a write up about it. Most don’t know this technique because we are always taught to keep the pad flat with a traditional DA. This might not be new to some of you but others like me it was/will be a game changer thus why I wanted to share it with others.
The science behind it:
As I was discussing it with Kevin he put it very simply and really sums it up best. He said it boils down to pressure and area. If you think about it when you edge the pad you cut the area of the pad doing the work down drastically and then you increase the pressure so you have a concentrated swirl killing machine. Kevin could go much more in-depth than I could in this but this is a quick short version.
Implementation:
How I do it is when I come across a scratch or RIDS that needs a little more than the correction I am getting from the normal pass I edge the pad. I properly prime the pad (Very Important IMO) and then start to work. I apply compound to my pad like normal and start to work and I would on a normal section doing a normal pass. Now that I have the product over the paint I lift or tilt my pad concentrating it on the scratch. I work back and forth keeping the pad moving (arm speed) slow but always moving. I keep an eye on the defect and most of the time I can see it practically vanish in front of my eyes. As far as speed, sometimes I leave it at the normal setting but on tougher defects I crank the speed up to 6 on my G110 and use more pressure. I don’t have a hard fast rule on when I alter the speed I just do it by feel. After the defect is removed I take the DA back to the normal working speed and finish the section with a few traditional passes to remove any hazing from the edging.
Now here is where Kevin came in (again) and was talking about taking the backing plate all the way to the edge of the pad. This will create even pressure across the entire pad which should produce more consistent results and also increase the effectiveness of the pad and liquid. Kevin was nice enough to send me the backing plate that he personally cut down to the exact size of the pad. This was a blessing for me because I could never cut a backing plate down and have it look as nice as he made it.
Below in the various cars you will see both the “normal” backing plate and the “cut down” backing plate so I will also be comparing these in this write-up.
The Mirka BP is very firm
The Megs BP is more flexible
Here is the Mirka on a MF cutting disc
It was about 4pm on a Friday and the mail man (oh how I love the mail man these days… Santa is losing his job) dropped off a package with two backing plates Kevin sent me. You can see the difference between the two. By 5:30 that night I had the sanding discs on a car and testing the new backing plates.
You will see I was working on a suburban that had the whole passenger side repainted. The body shop didn’t do the best at finishing it… I don’t think they did anything at all. The orange peel was bad and the reflection was just poor so out comes the sand paper and MF system.
The Mirka BP that Kevin cut goes right to the edge of the pad and is very firm. This promotes even pressure and firm pressure on the discs giving the pads more cut and better finishing. I could absolutely tell a difference between the “recommended” backing plate and the one that goes to the edge.
Orange Peel before:
During (with only 1500 grit discs and removed via MF system:
After Sanding and Compounding:
The next test subject is a White Lincoln MKX. I took paint readings of the car and it had healthy amounts of clear on it so I knew I would be safe to scrape the hood with some 800 grit sand paper.
Before:
Now Afters:
It was really hard to get pictures on the white paint but I assure you they came out. 85% of the defects came out in the first pass, but there was just a little residual marking left which required a second pass.
1000 grit dry sand marks on Toyota Highlander:
After Removal:
Bird Poop Etching on Lexus:
Gone:
In conclusion, this new technique IMO can really narrow the correction gap between the DA and the Rotary. I have had amazing success with this and think that most with polishing experience can quickly learn this as well. I also think that changing up the buffing between D300 and 105 can really help maximize the cutting potential. I strongly urge those with the MF System to try this and see for yourself. I know I was amazed with it and I think you will be too.
If you have any questions, comments, or criticisms please throw them out there. I know this paper isn’t perfect, there are many things that I would have liked to have in here but I will try to update it as more things come across my path. I want as much feedback as possible from everyone here.
 ray: as long as you wear safety glasses,
  and hold onto the knife tightly. :yikes: