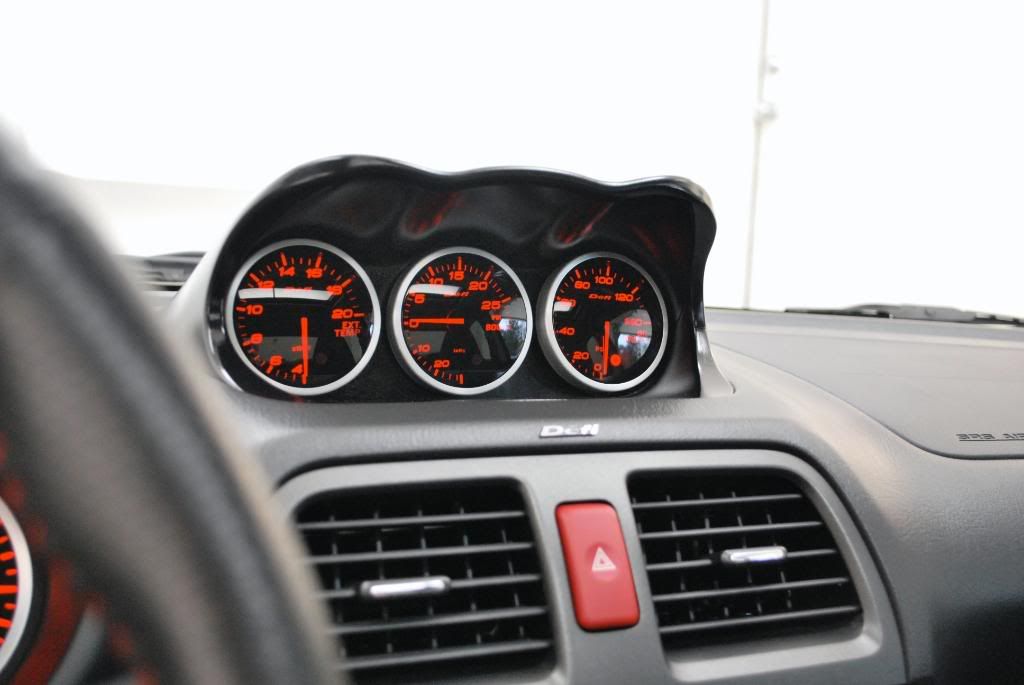
Finished this little rocket this morning. Booked for a 1 step correction detail and a late winter seal.
On with the detail...
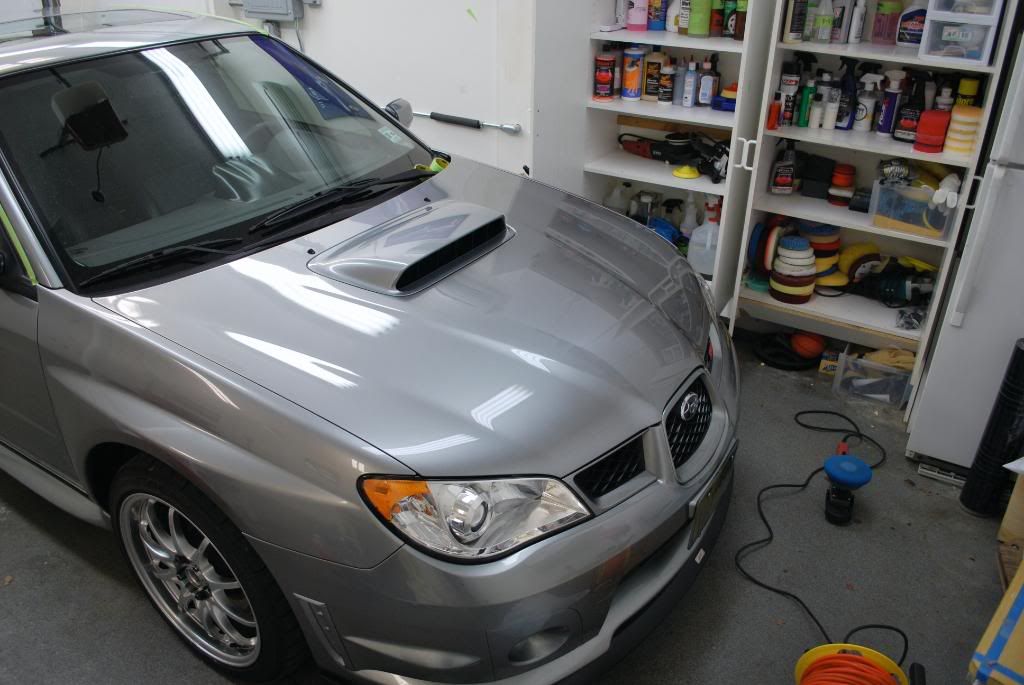
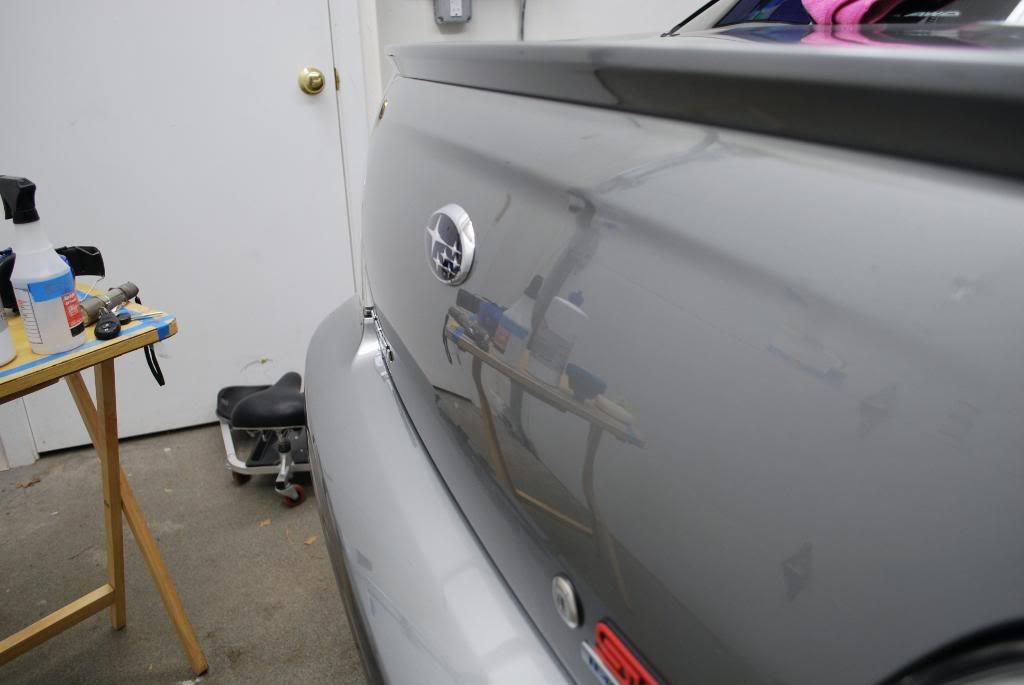
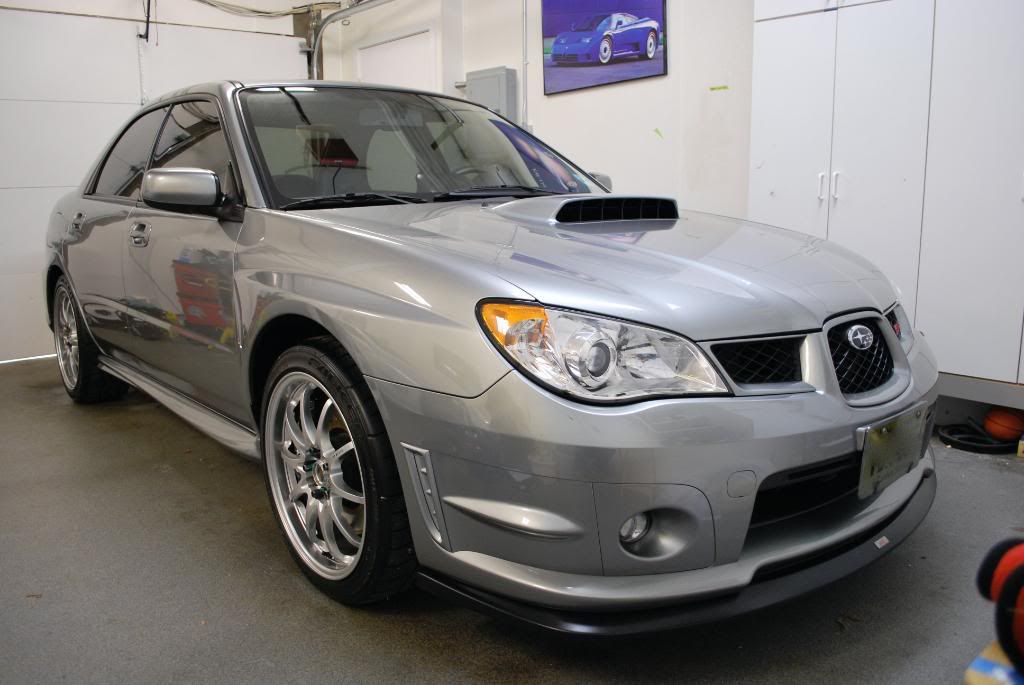
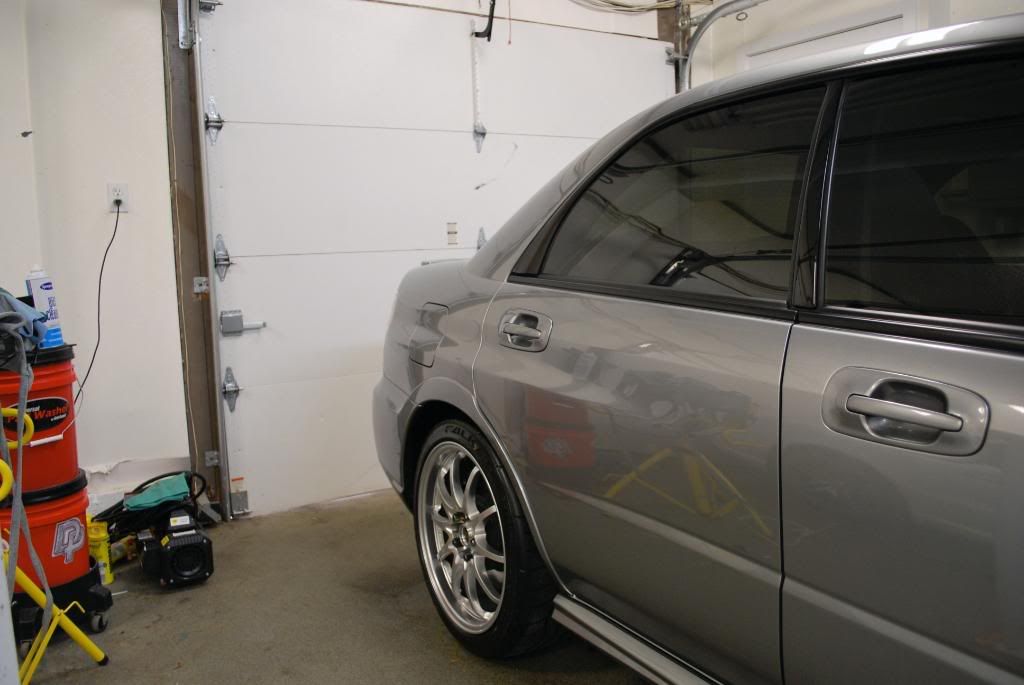
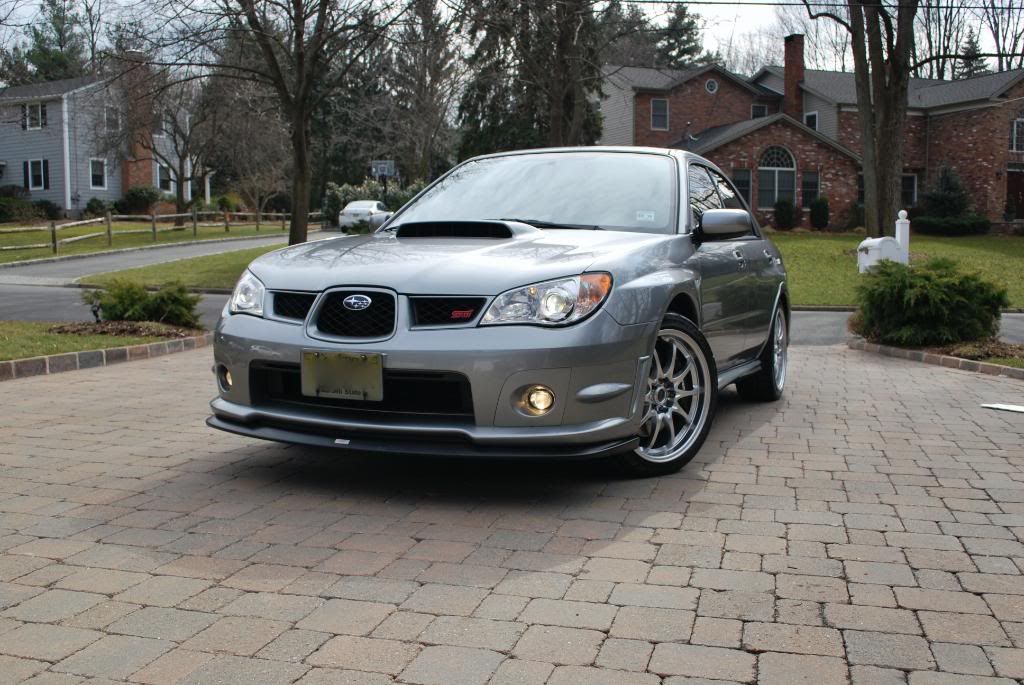
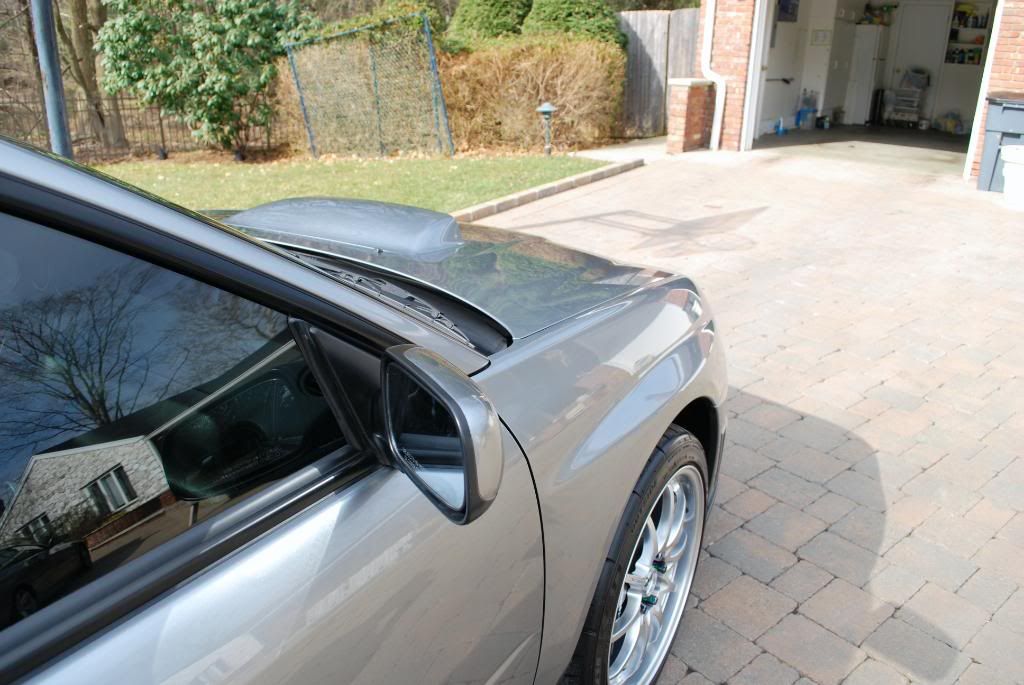
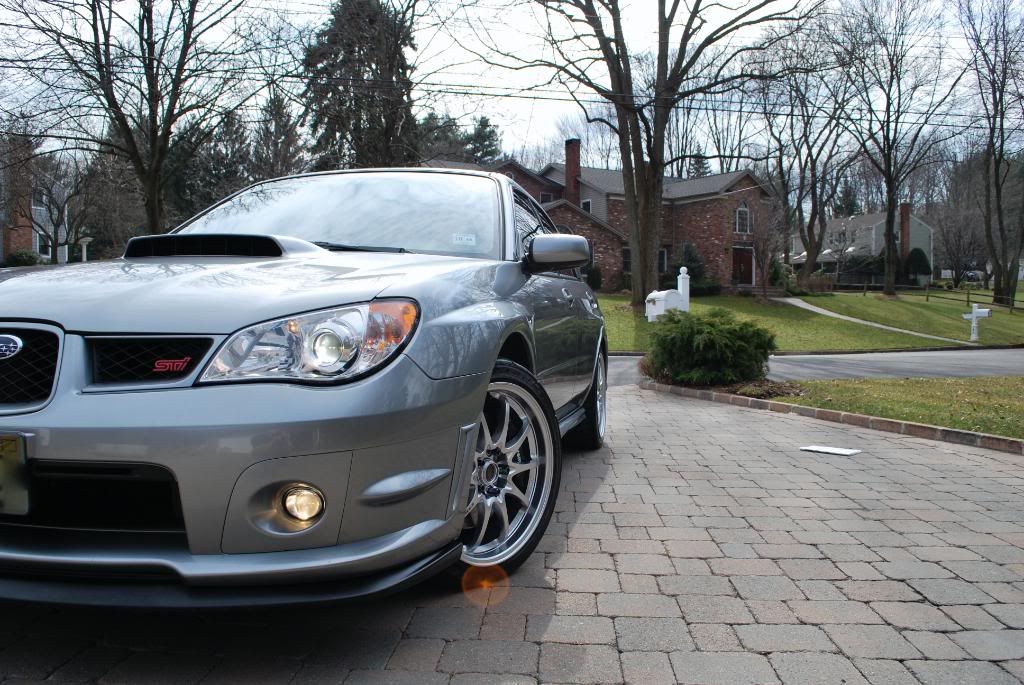
Arrival
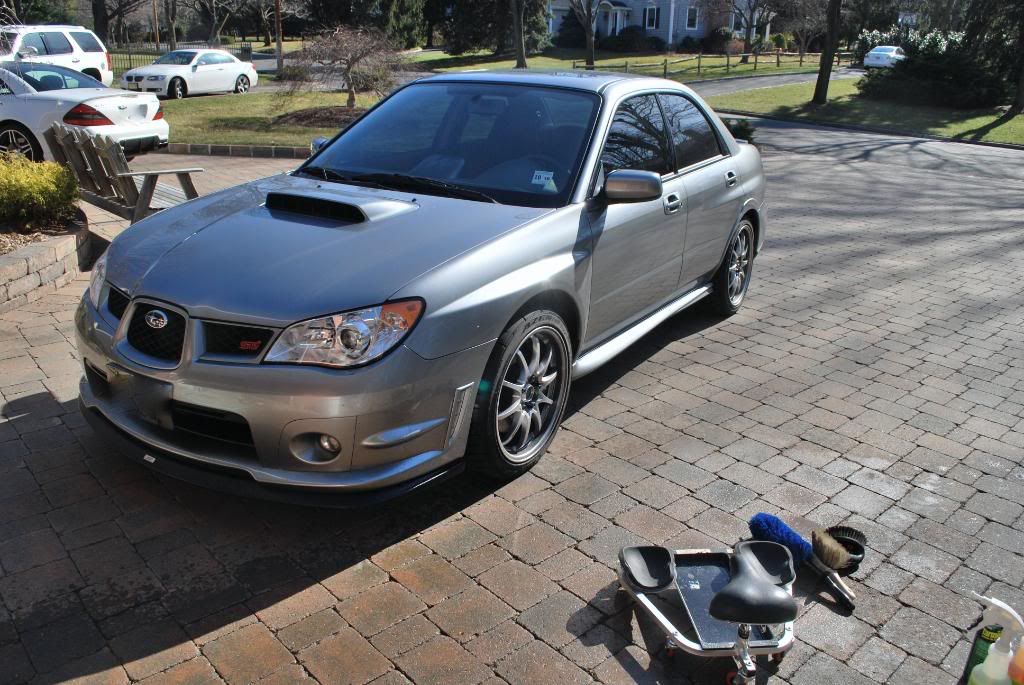
This STi is kept in excellent condition, some recent snow however dirtied the car up before the detail but it was really nothing major.
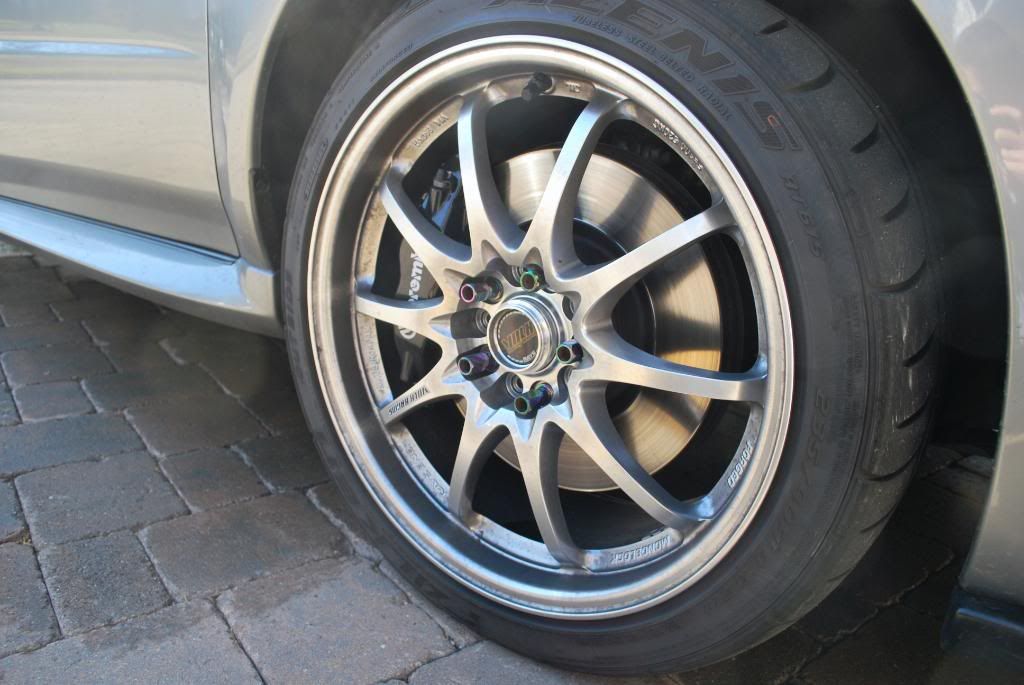
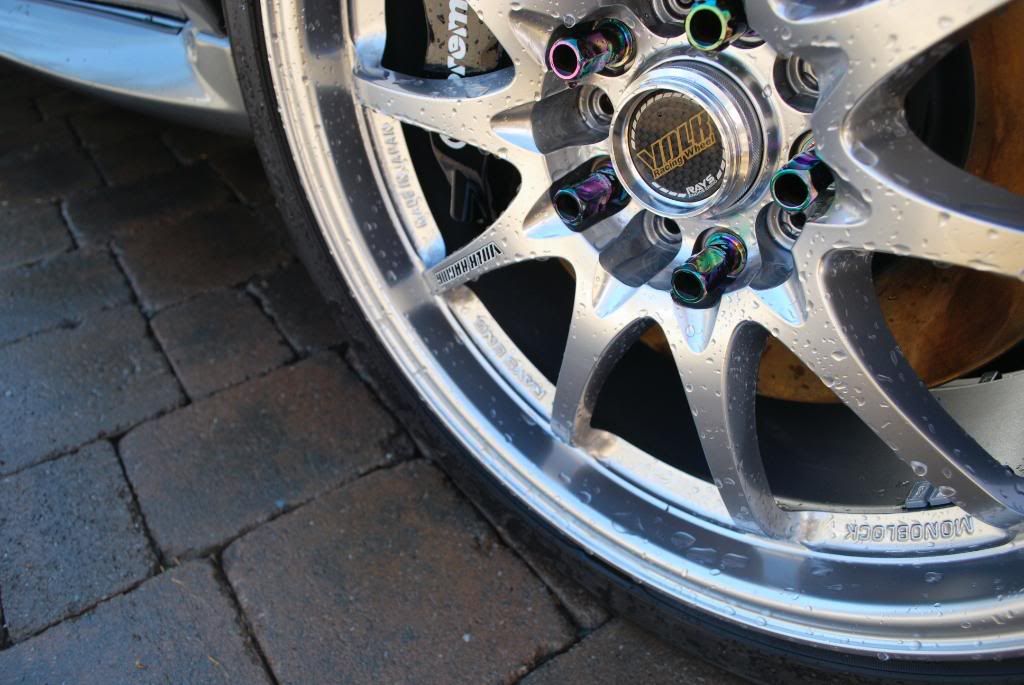
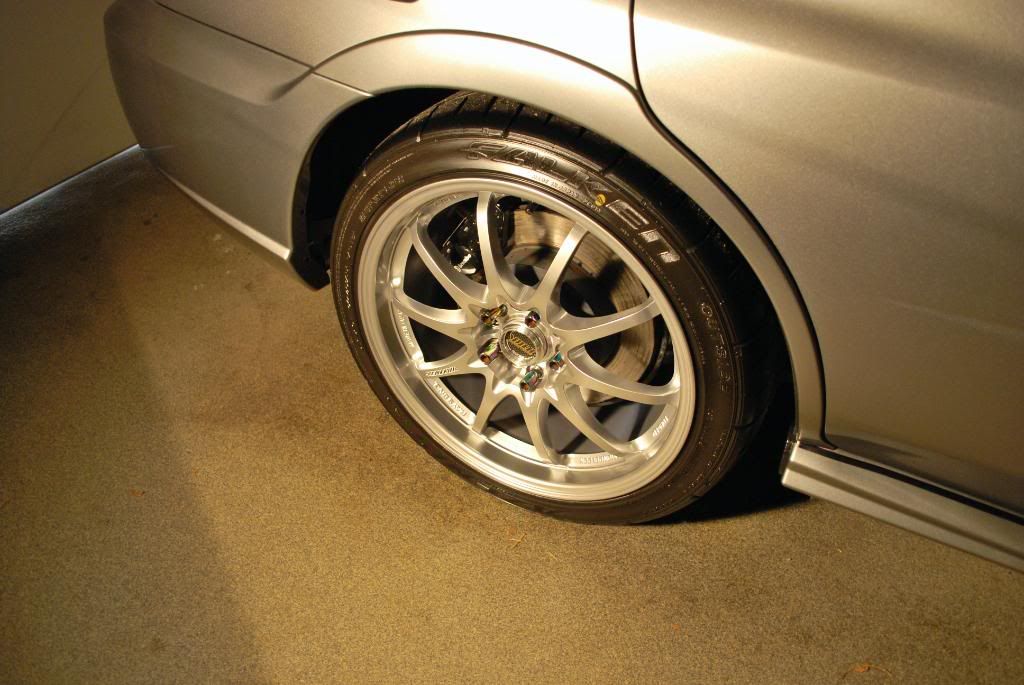
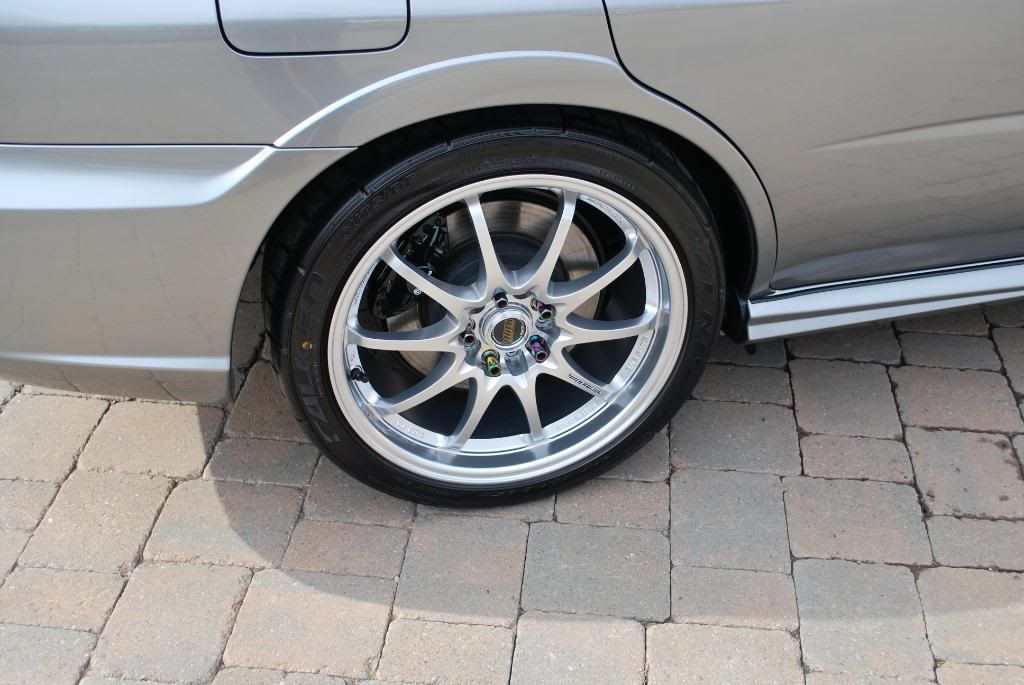
Wheels first, some very classy Volk CE28's were throughly pressure washed before cleaning. The process was as follows:
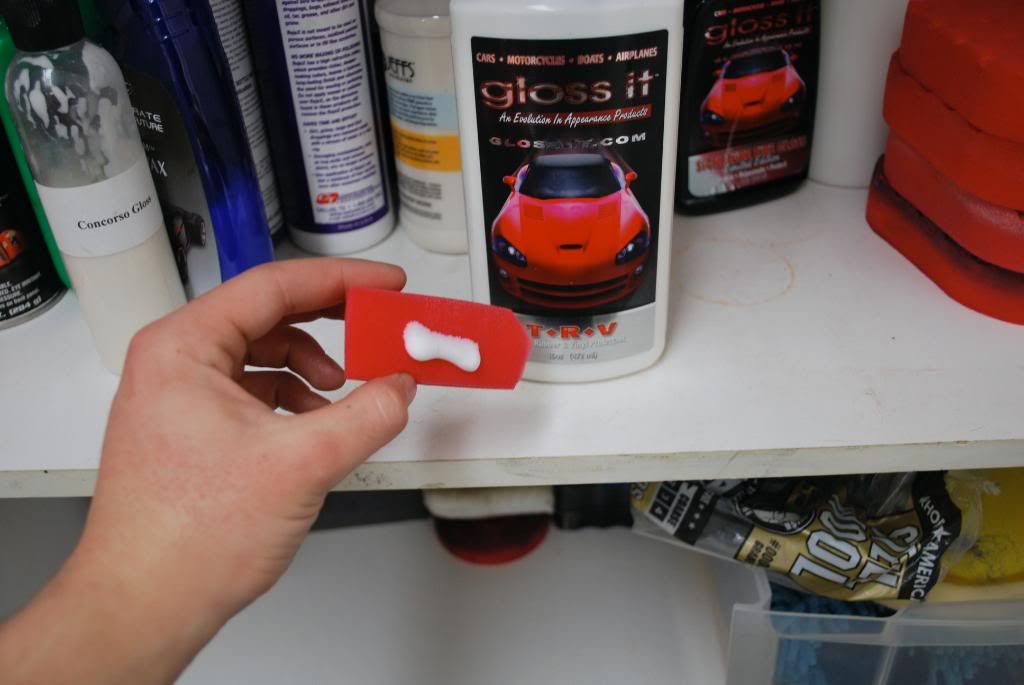
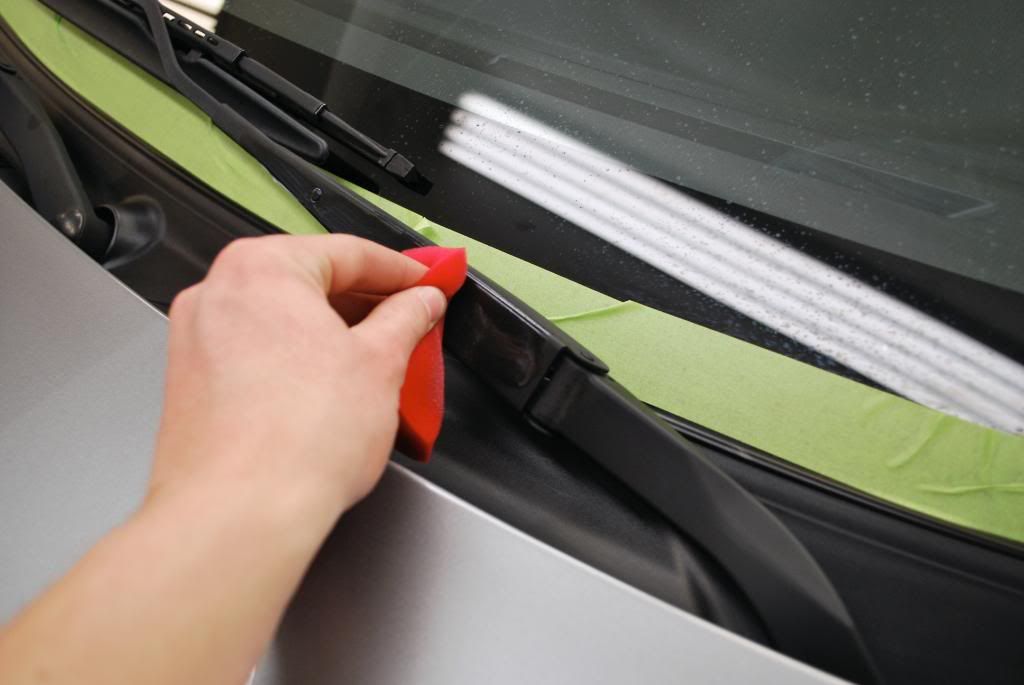
-Gloss It wheel gel using the EZ and swissvax brushes
-APC 3:1 for tires
-Stoners Tarminator (tires again)
-Autosmart Tardis to dissolve some light tar spots on the inners
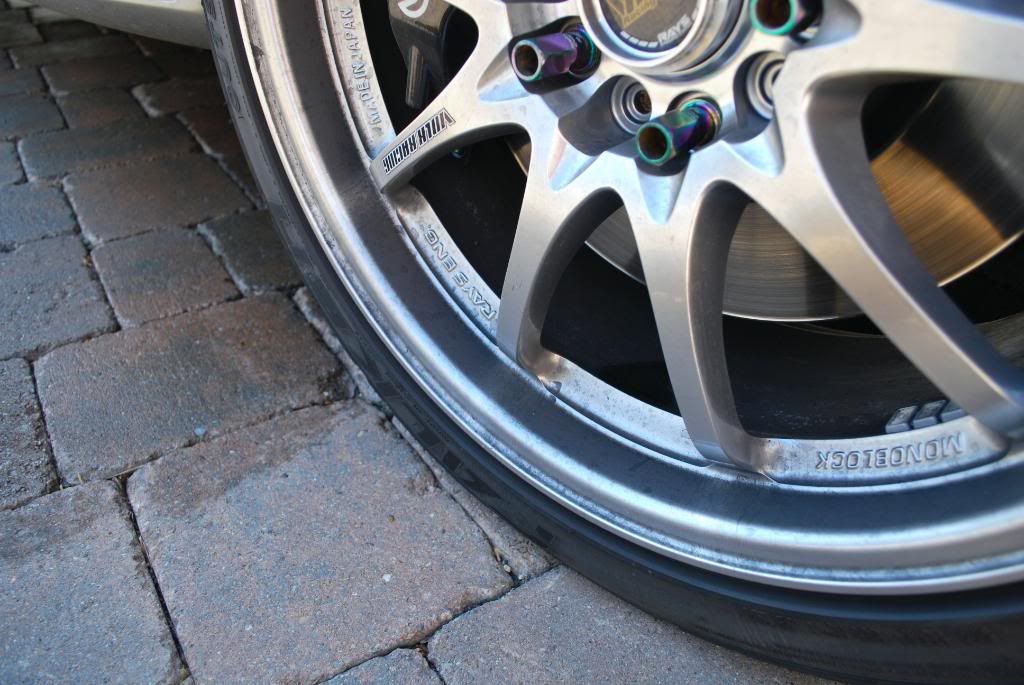
Before
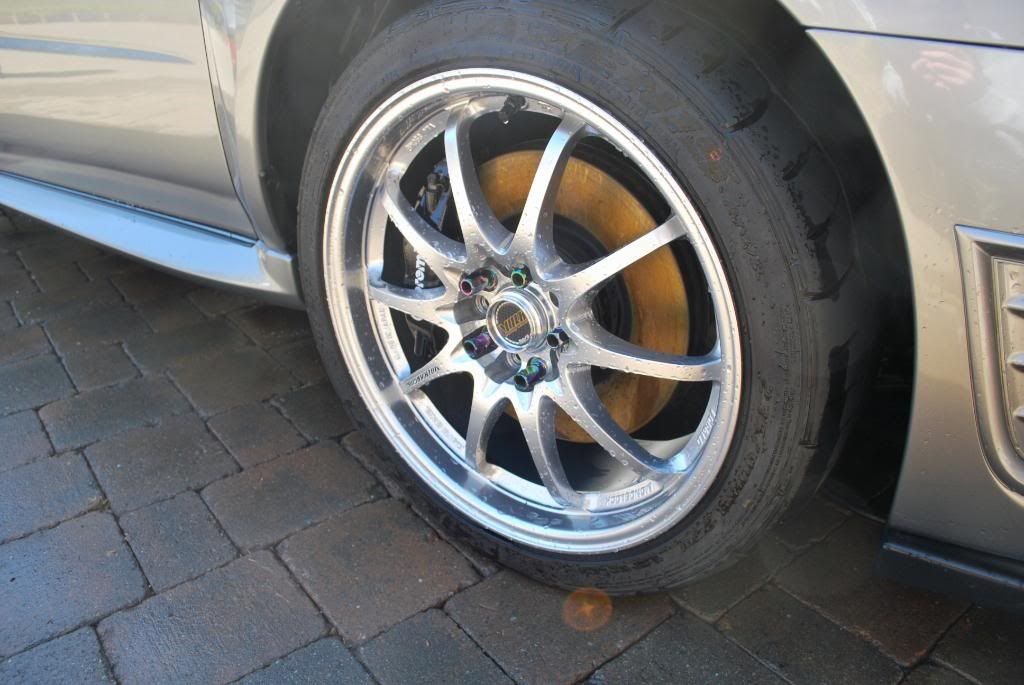
Before
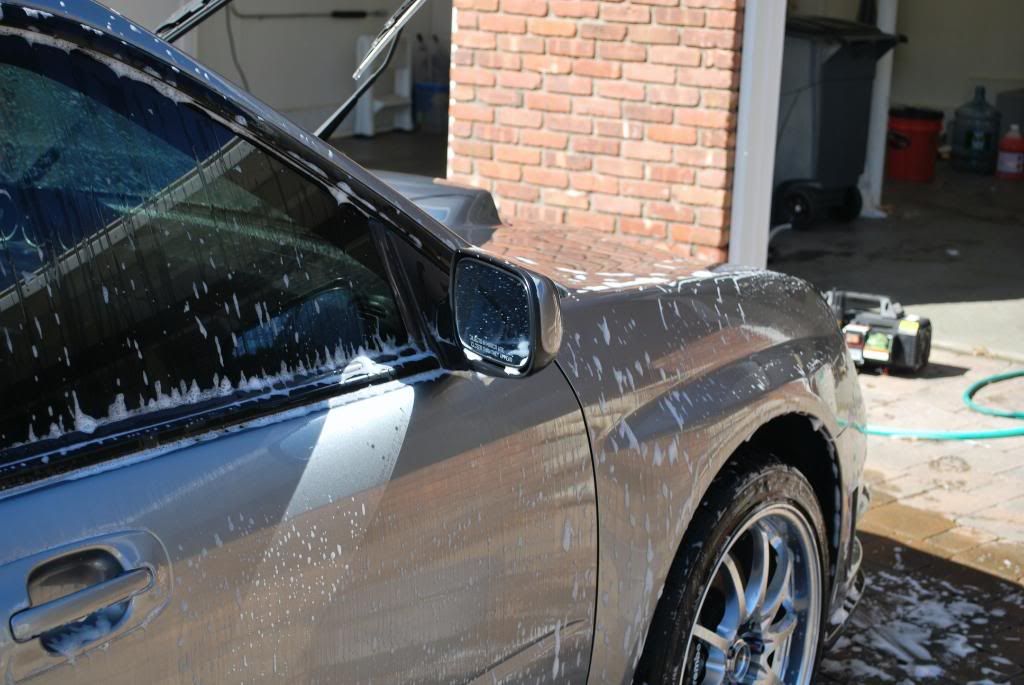
Next I did a quick foam with maxi suds while preparing 2 buckets with CG CWG.
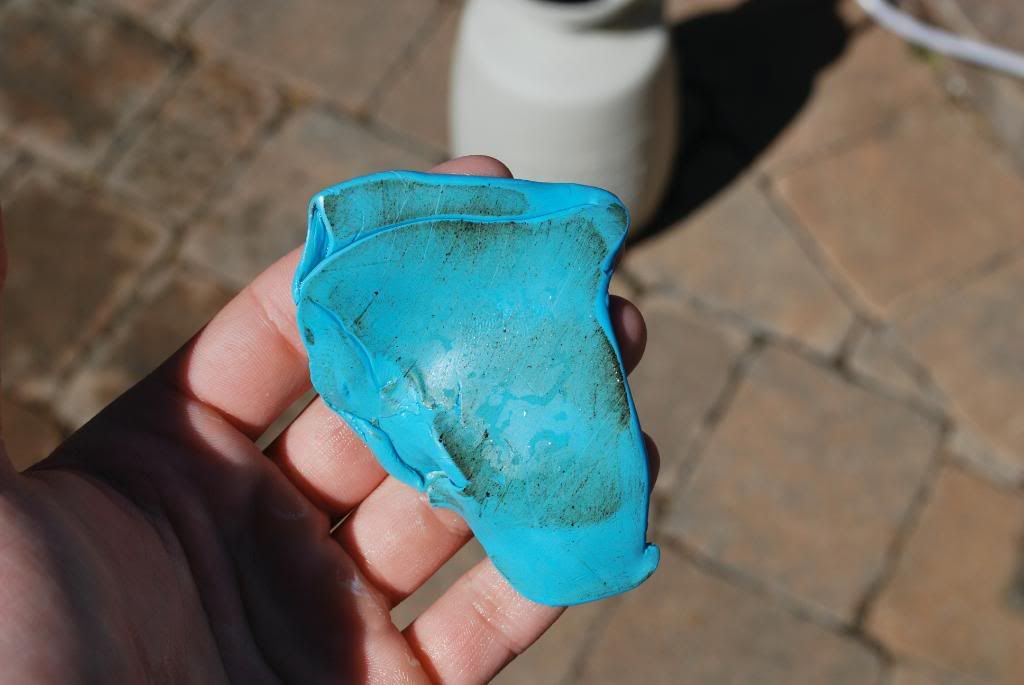
While washing I felt a ton of friction between the sponge and the paint, lots of bonded contamination:gasp:
Although I felt I would have done better using an aggressive clay bar I opted for the Megs mild blue clay once again. Since the car was only booked for a 1 step correction and I planed on using a super mild combo when polishing I figured it would be best to use a mild clay bar as to not induce any extra marring. Luckily the paint was already is excellent condition with the exception of the bonded stuff, see below
After drivers door panel...
After trunk area...
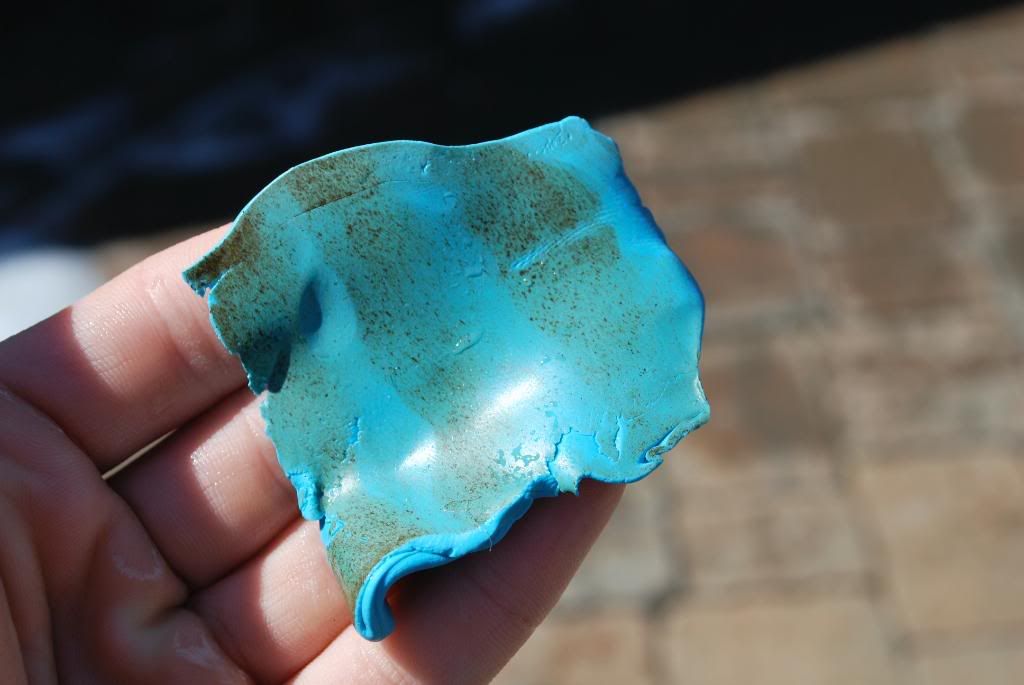
Far from the worst clay job I have seen but it was strange how the contaminants were heavy on every single panel high and low.
After claying another quick wash with the remaining CWG was done and the car was PW'ed throughly once more before drying.
The owner seemed very picky about his car and asked for me to remove the swirls he found, even in direct sunlight I found it very very difficult to spot the swirls because they were very faint. I brought the car in and re-checked it with standing halogens and the Fenix LED...again only fine spider webbing was found.
My original plan of using a medium grade polish with a polishing pad went out the window and I decided to go for a really fine finishing combo to work out the defects and bring up the gloss. Paint readings were very consistent at 5.5-6.0 mils
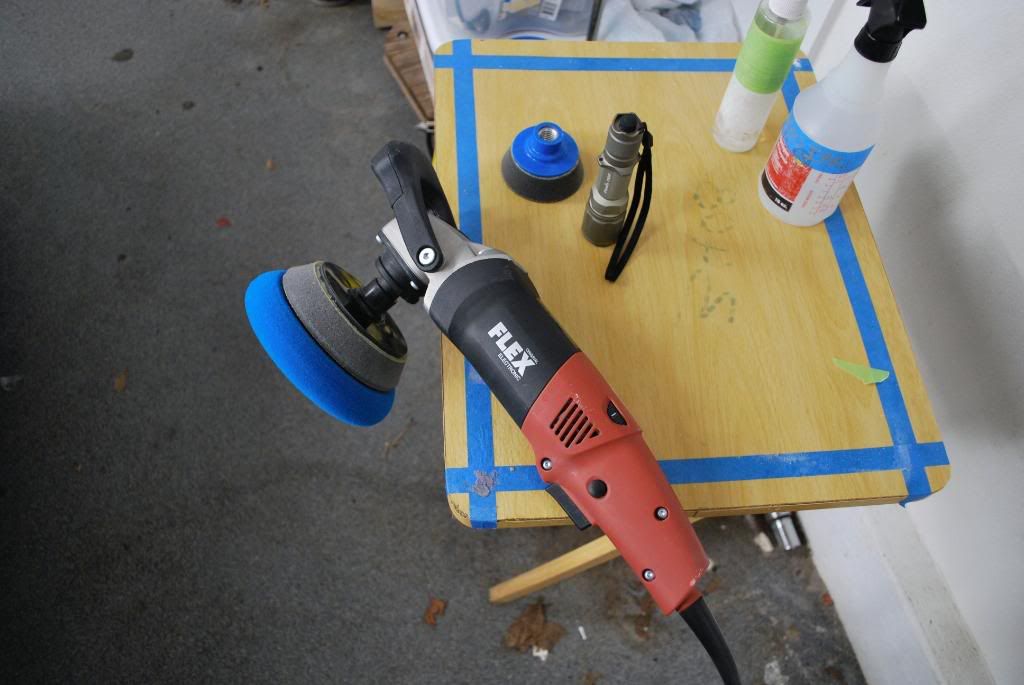
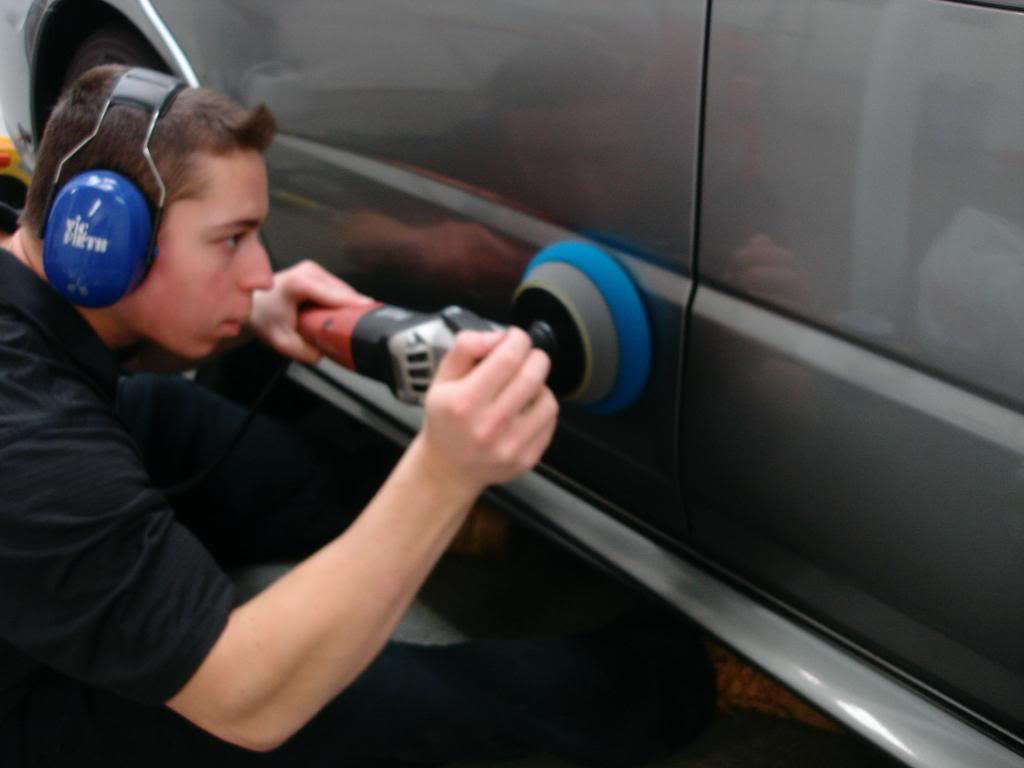
Weapon of choice, flex 3403 w/ Gloss It 5" BP
I went with Menzerna PO85rd and the GI beveled blue finishing pad. Th 85rd had enough bite to take out the light swirls and leave a great finish as well.
I used GI EVP pad primer on the GI finish pad as well, this help extend the work time of 85rd considerably so I could jewel it down very well.
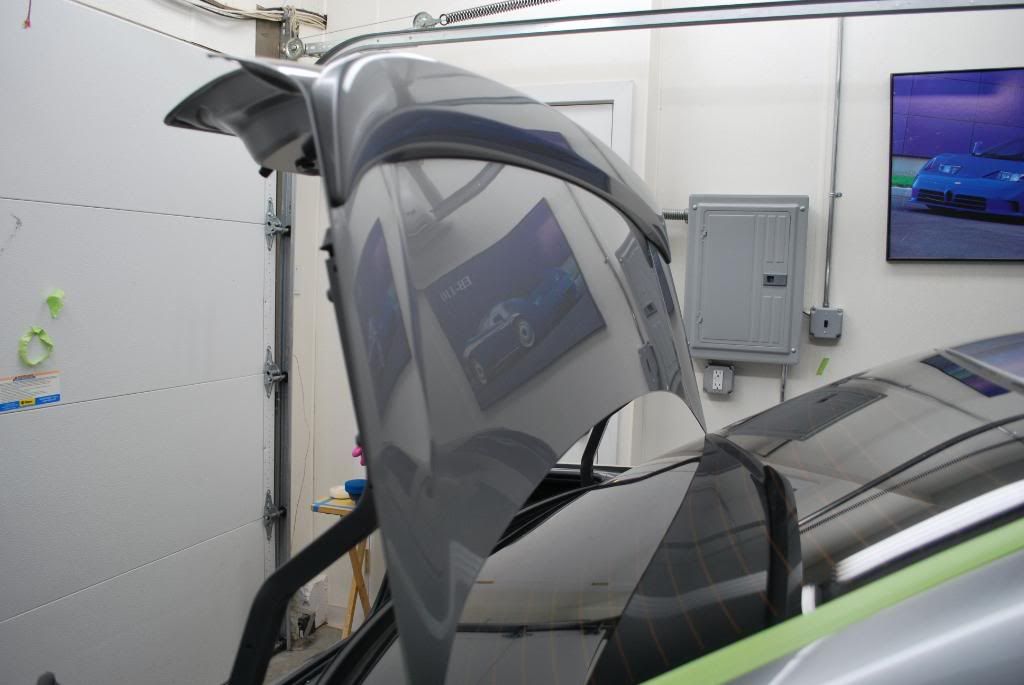
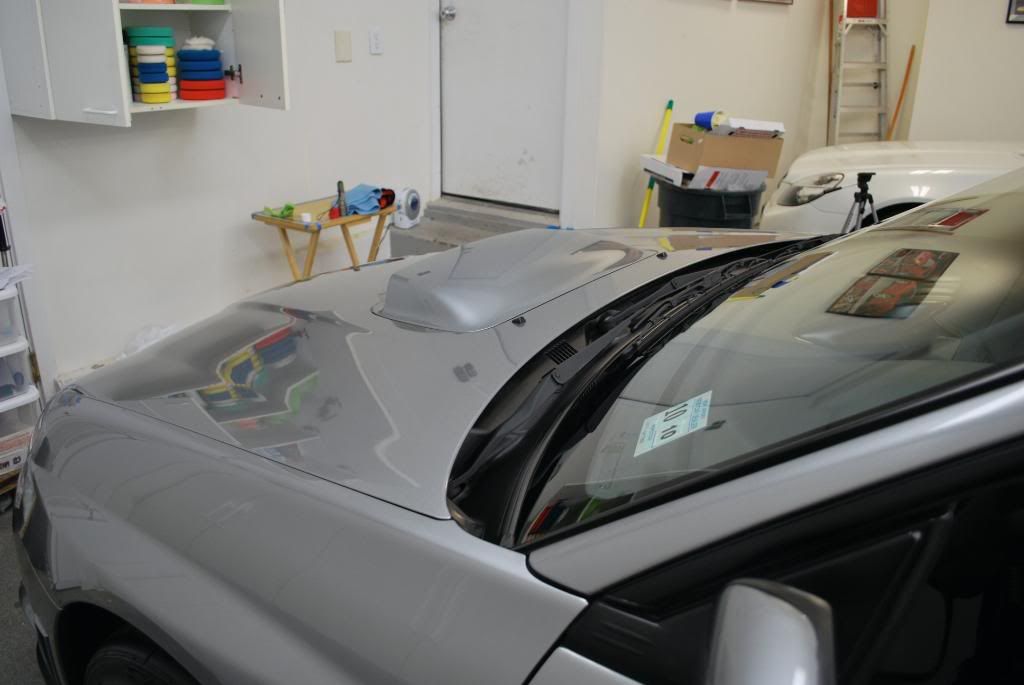
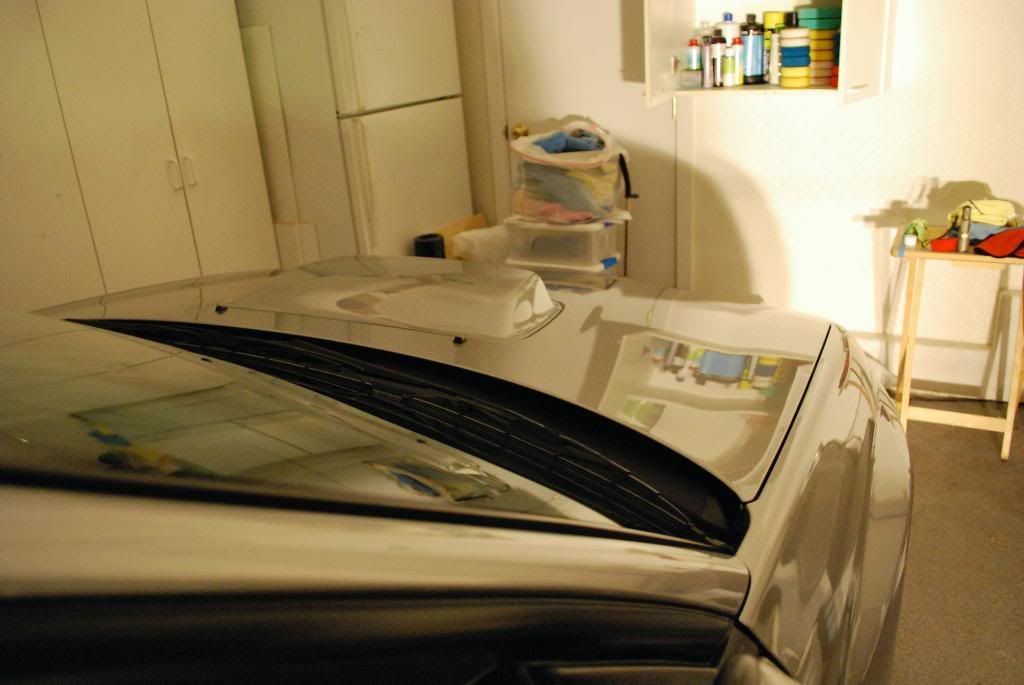
Here is the hood after polishing and a quick IPA, no LSP (I opened up the cabinets in hopes to get some colorful reflection shots)
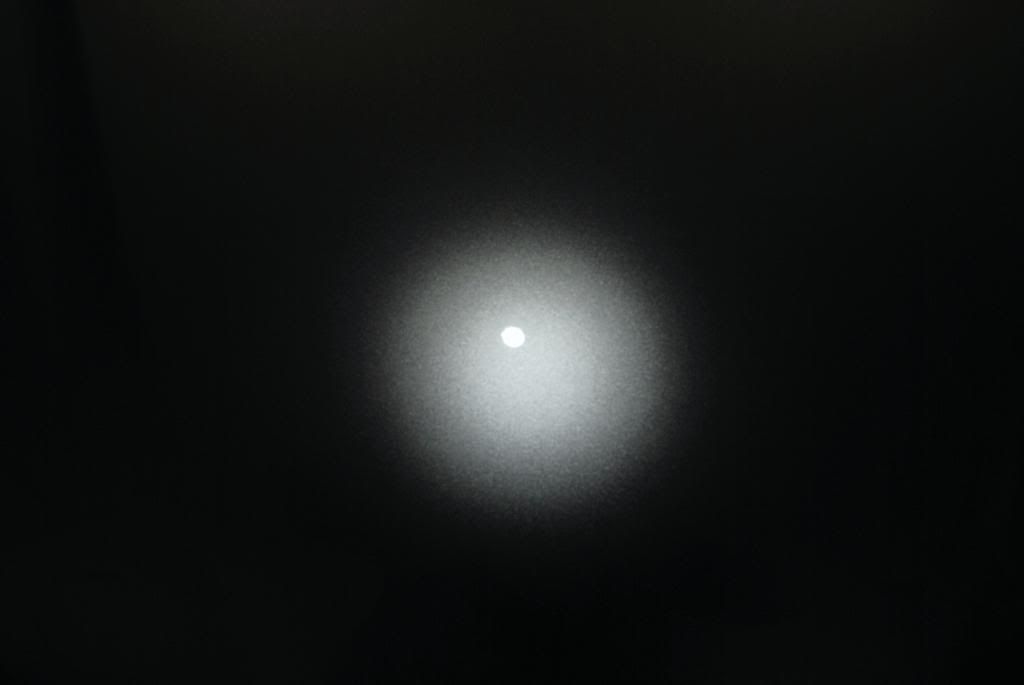
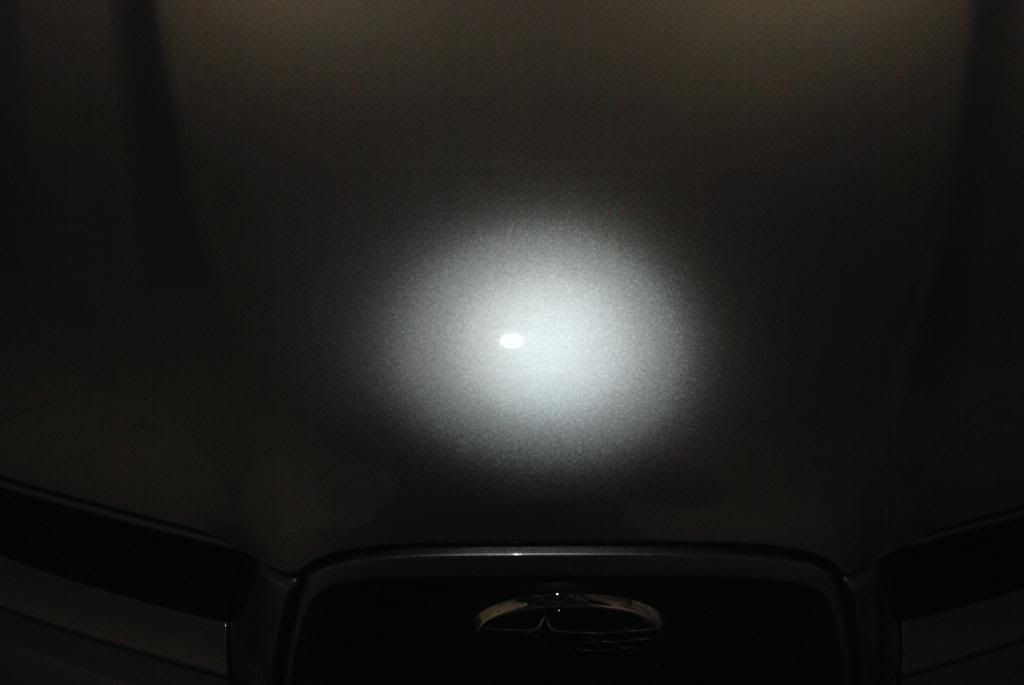
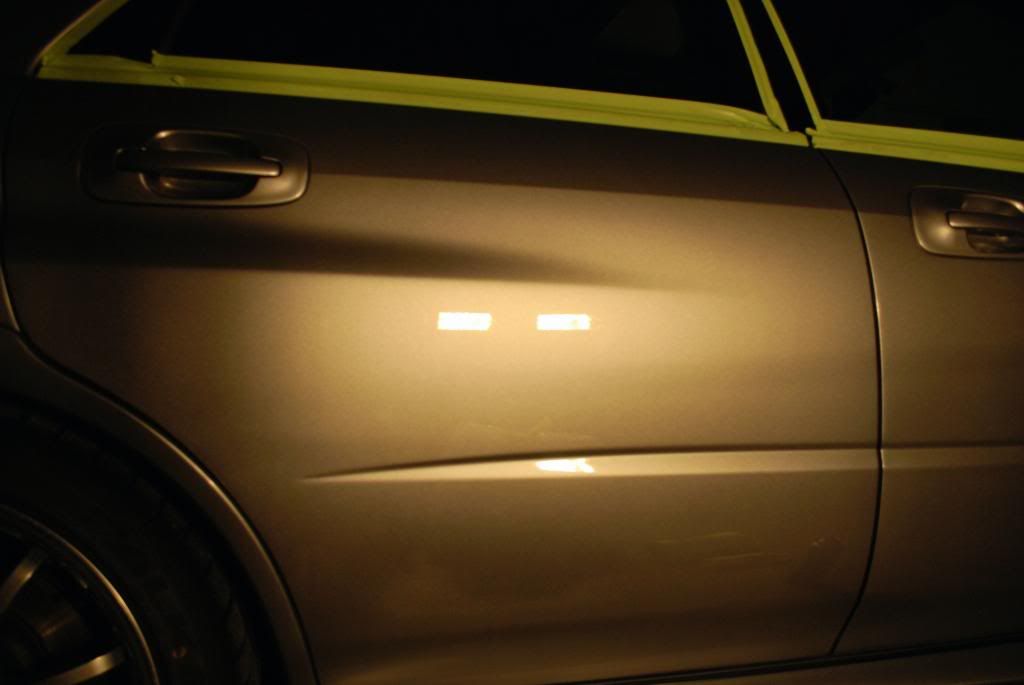
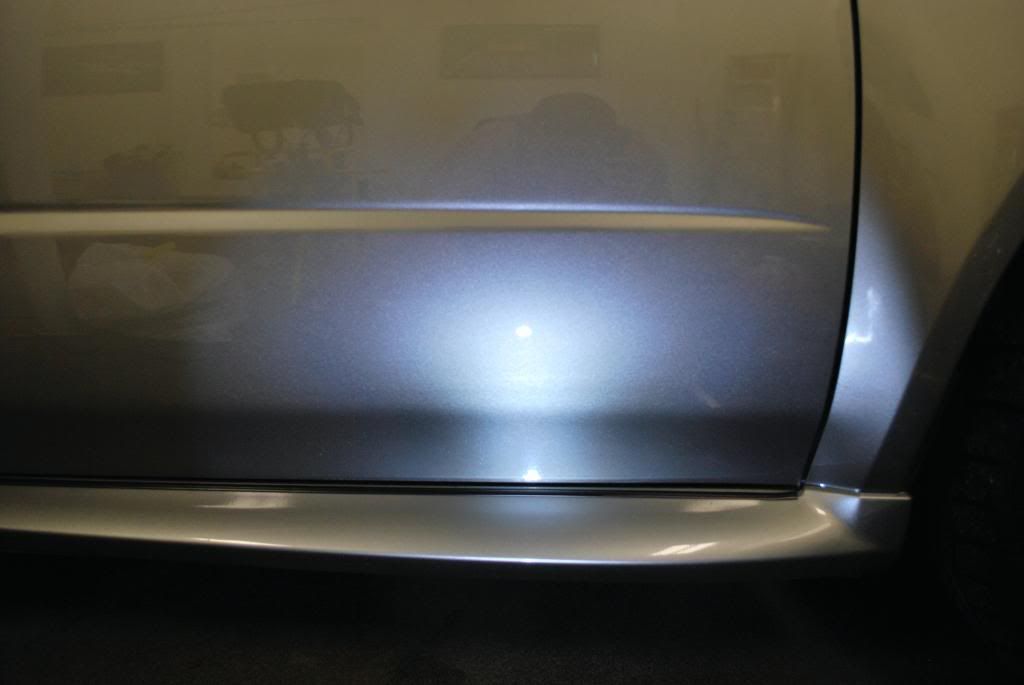
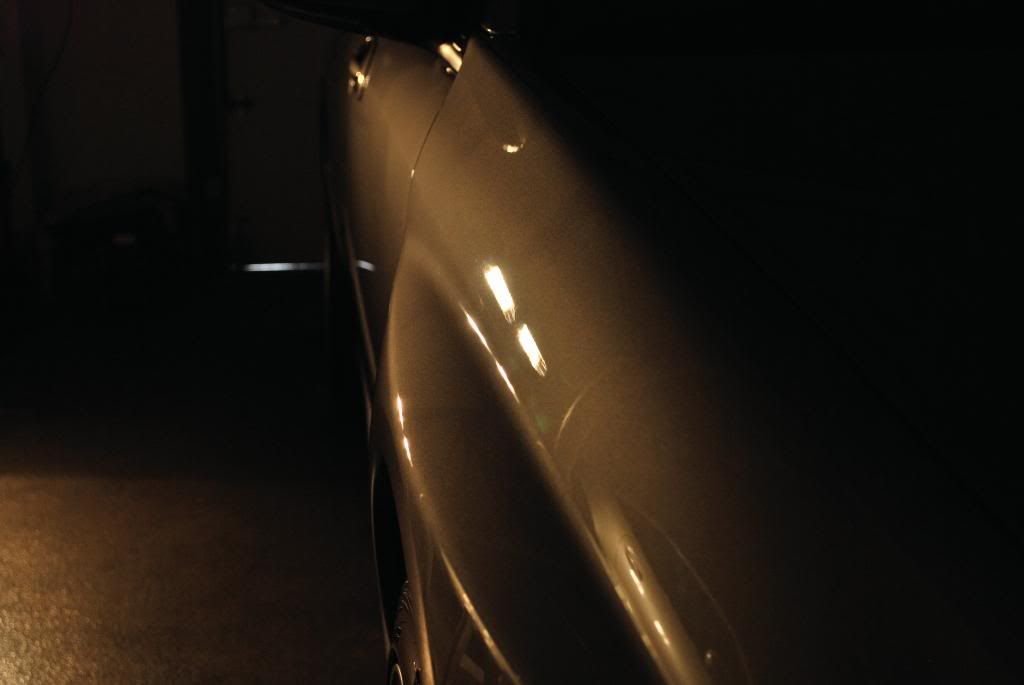
When working on light metallic paints I find turing all the lights off in my garage helps to spot swirls or check your work. Here is the hood under the Fenix LED after correction.
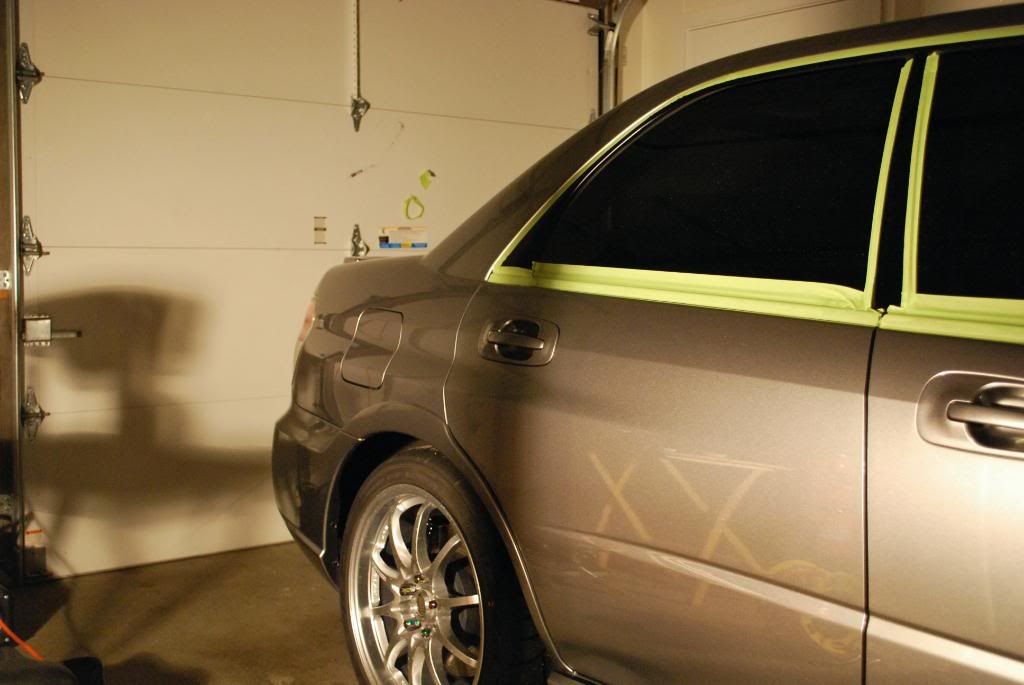
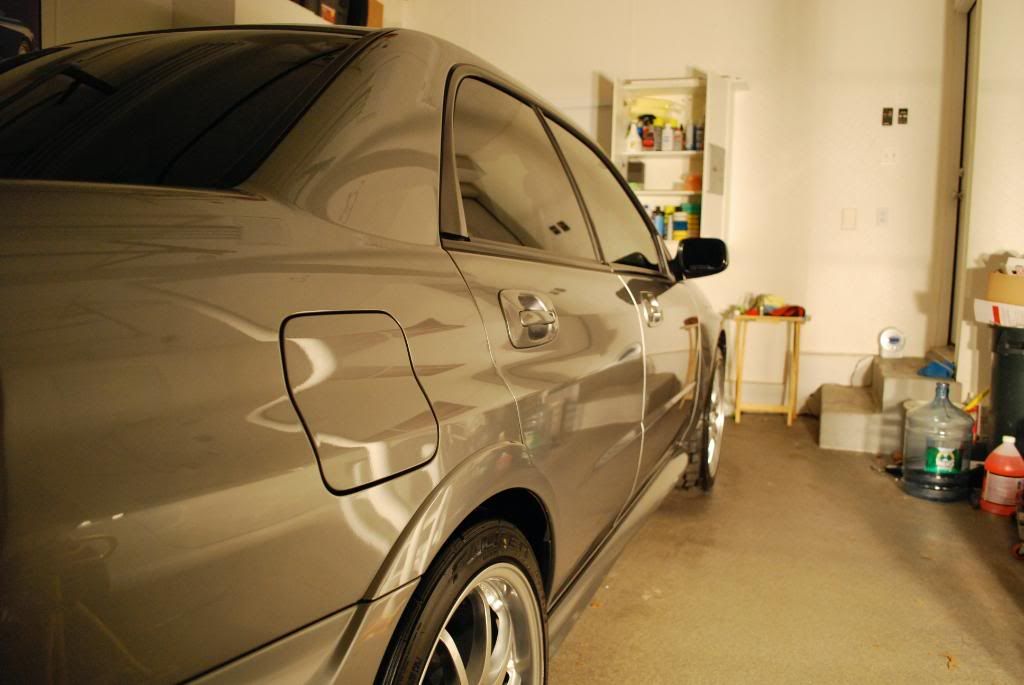
I worked my way around the car smoothly, I really enjoyed working on this paint. My main focus was really jeweling it to a high gloss as I knew the defects would come out right away. Heres a quick shot after finish the front fender and door, I was able to clearly distinguish between the polished and unpolished panels as the 85rd left behind great clarity.

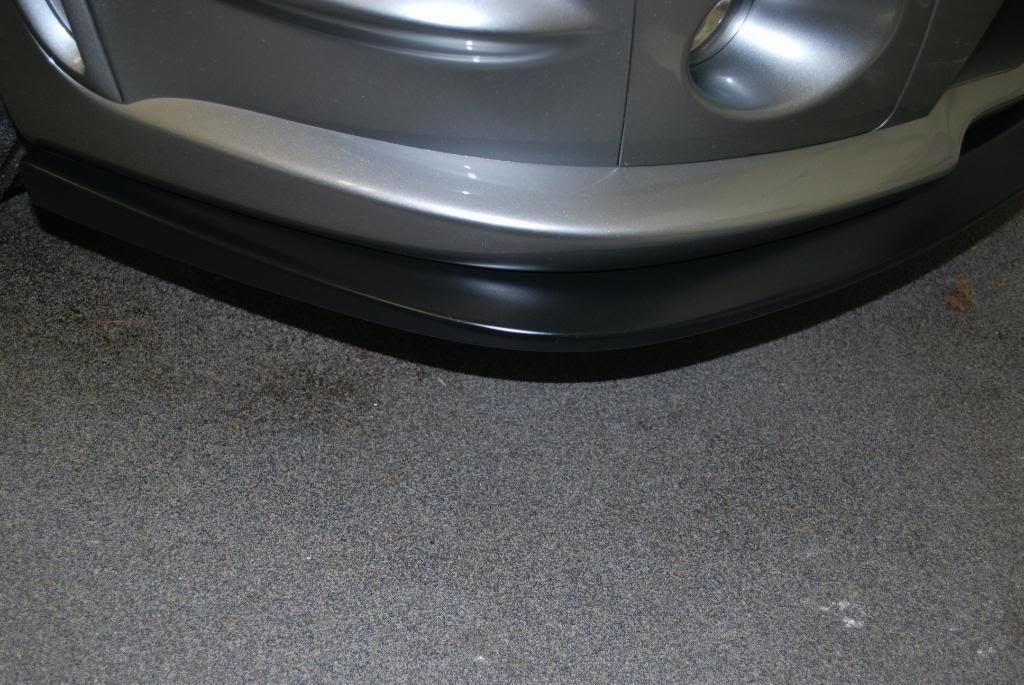
I spent a little extra time working the bumber area as I found most cars have excess scratches right in that area (mostly from loading things in and out of the trunk)
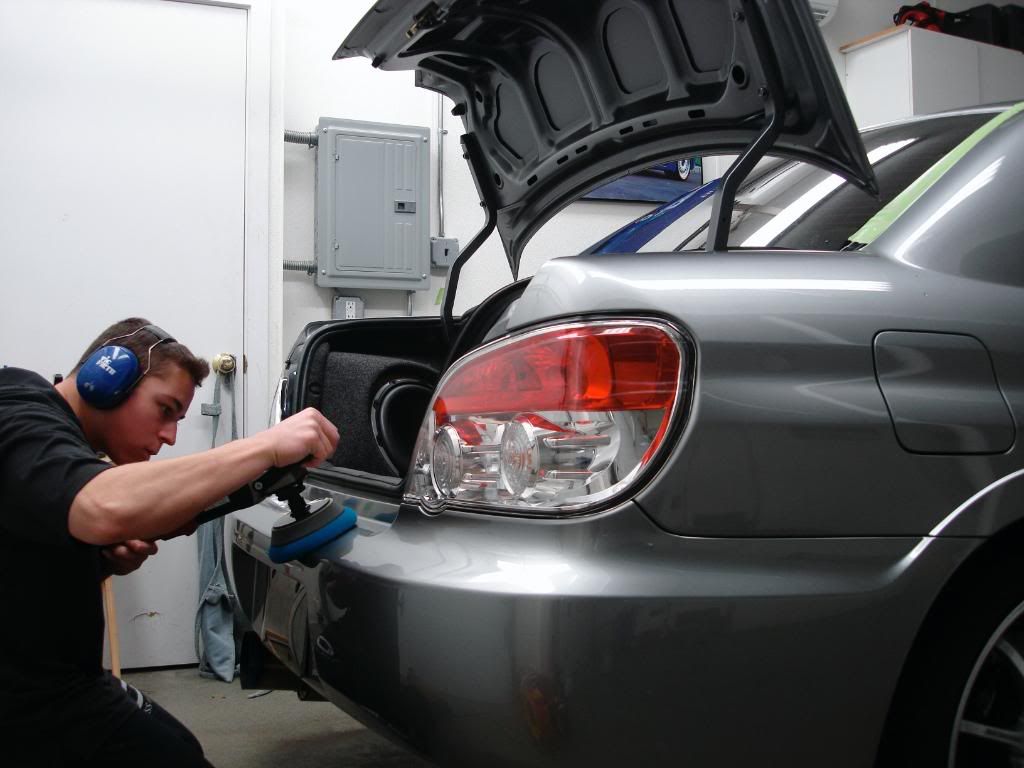
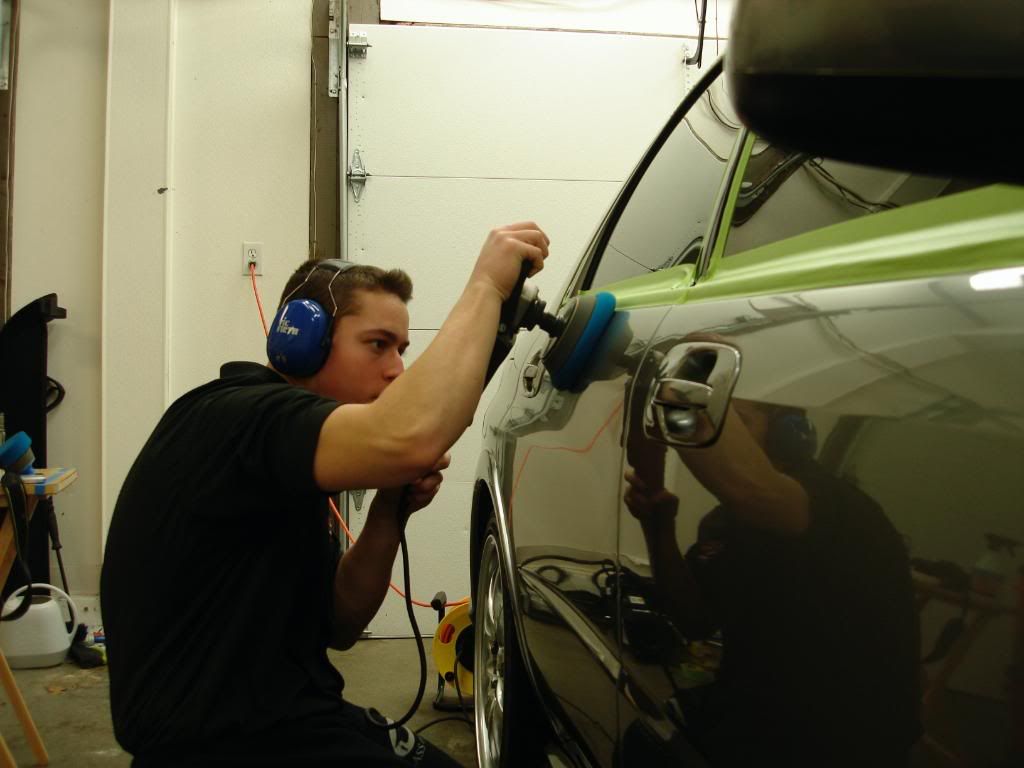
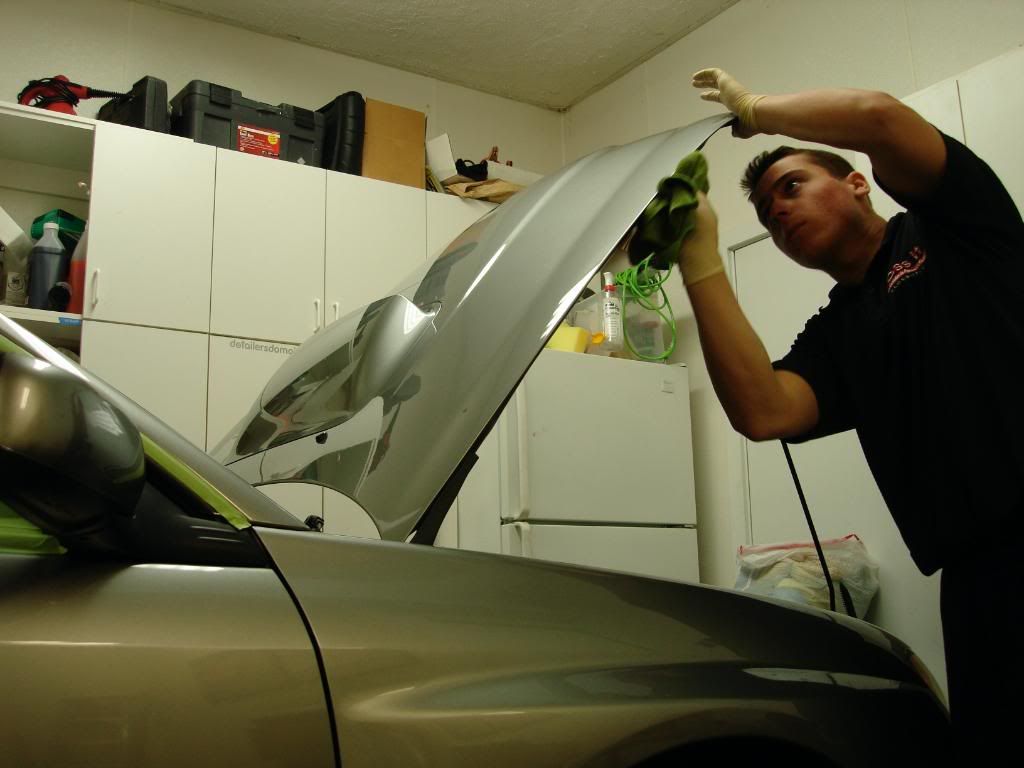
Me in my "concentrated polishing mindset" :waiting:
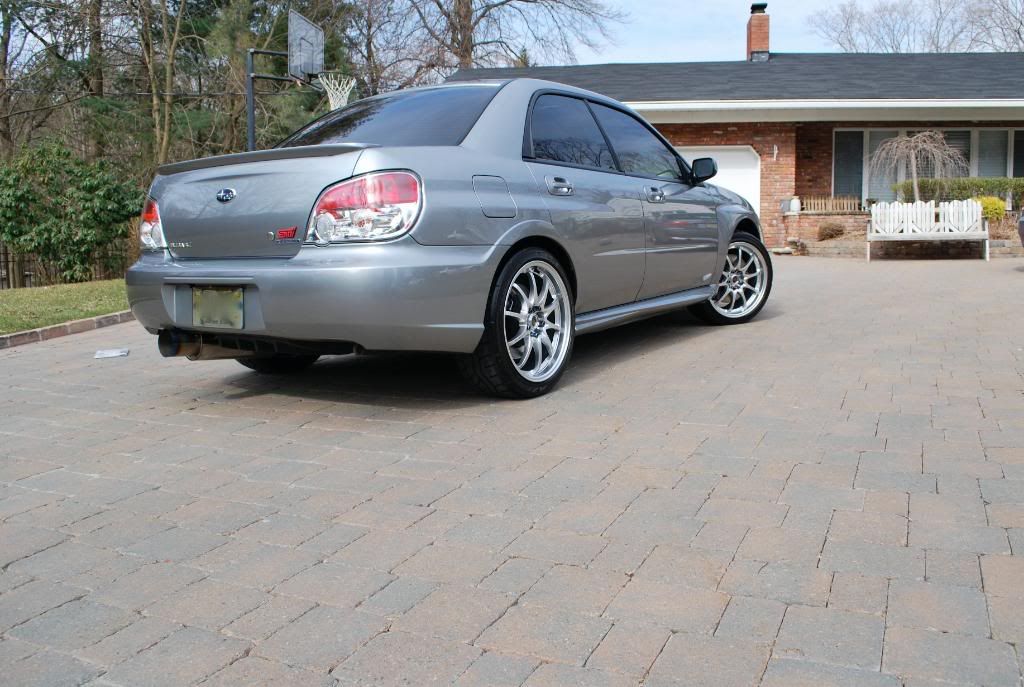
After polishing
Couple more trunk area shots post polishing and post IPA
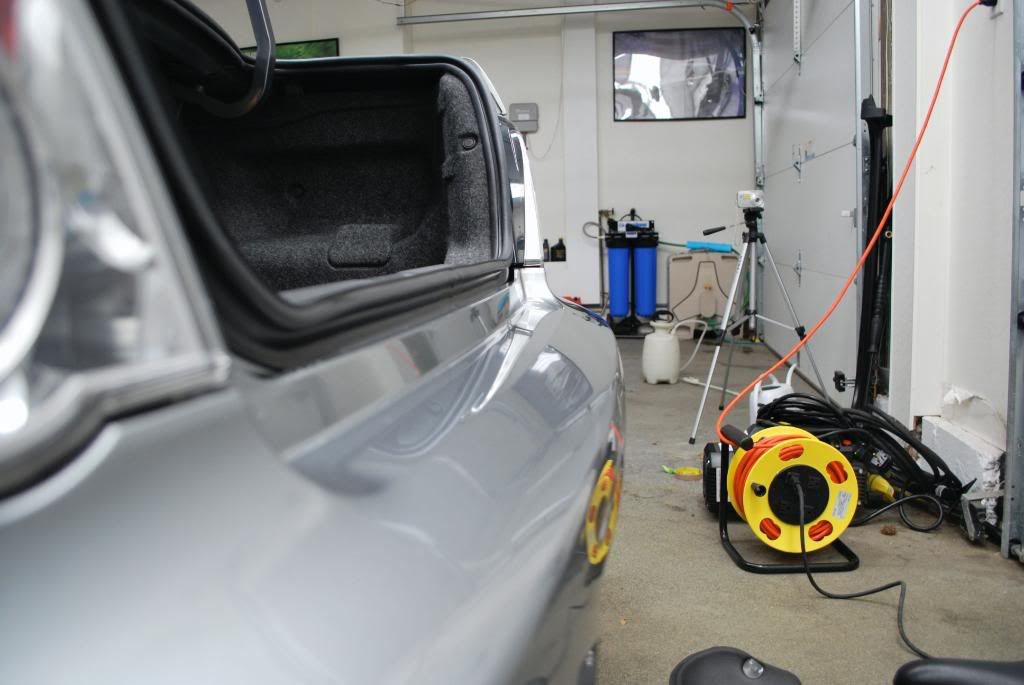
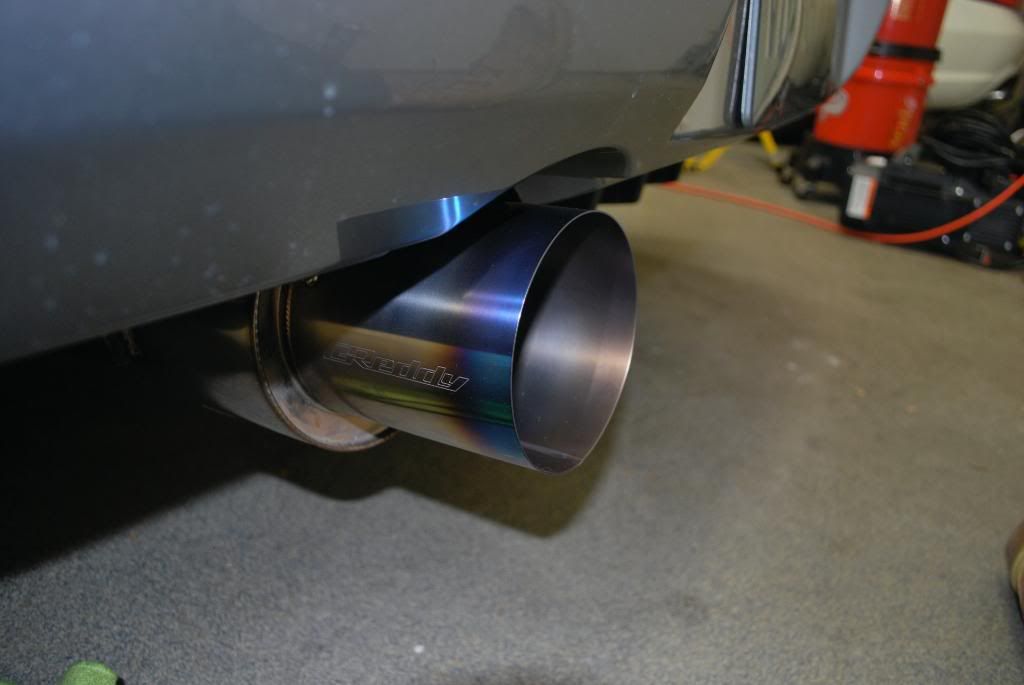
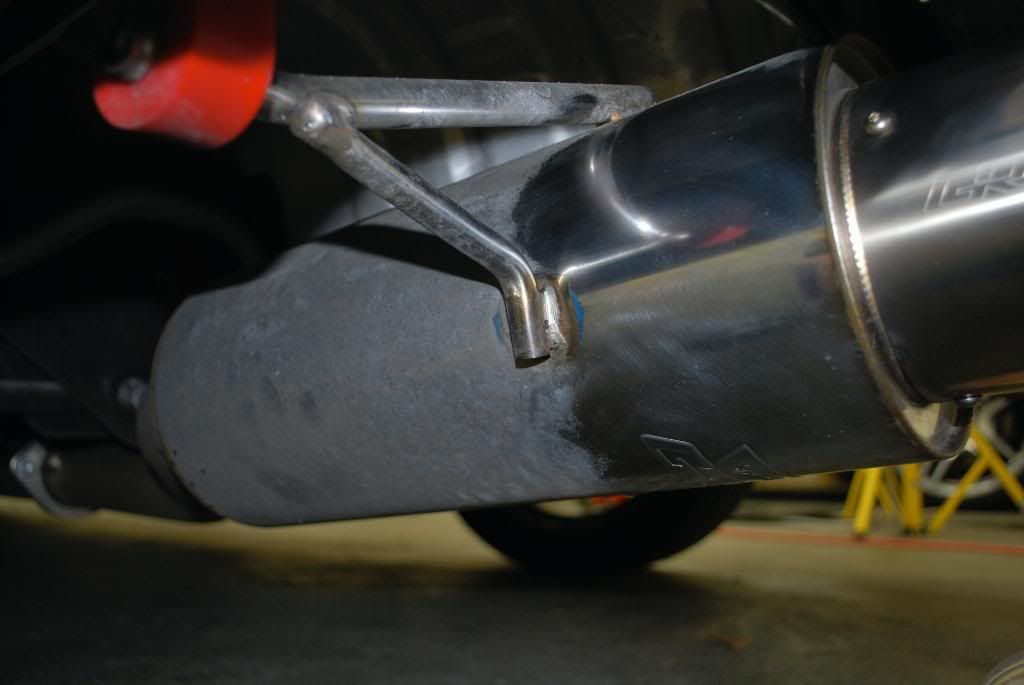
I liked this shot, completely unnecessary but I thought it would make for a cool photo:hippie:

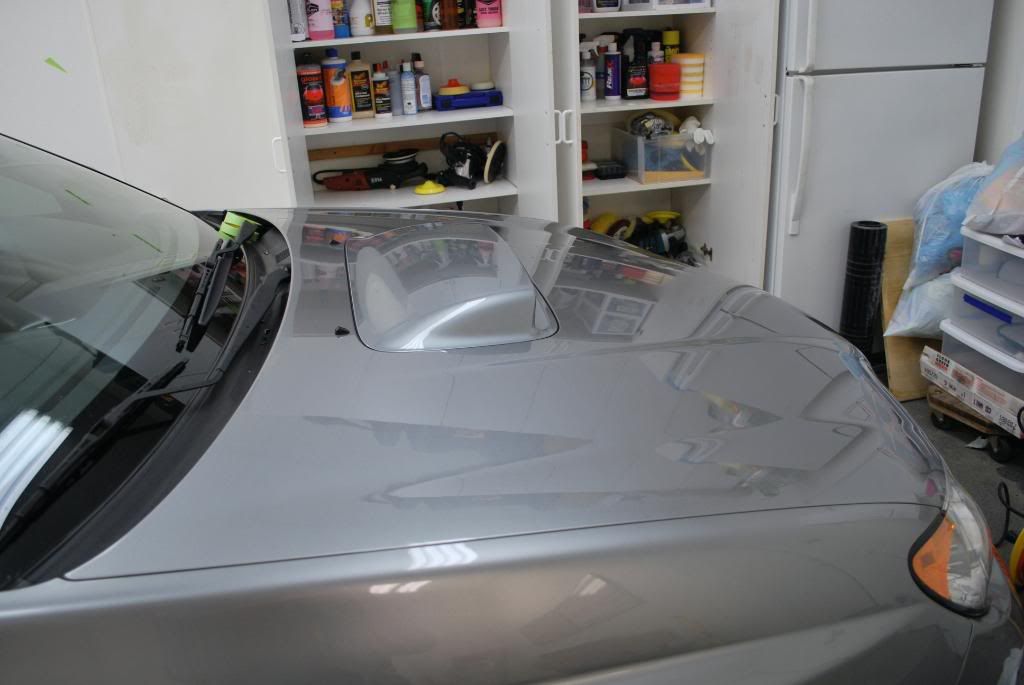
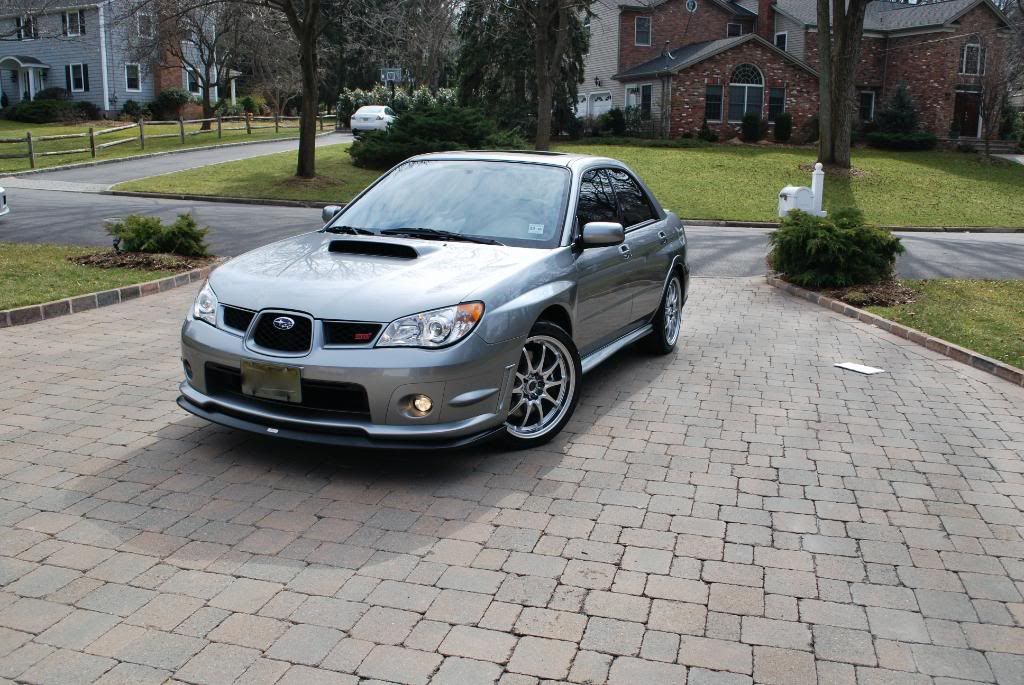
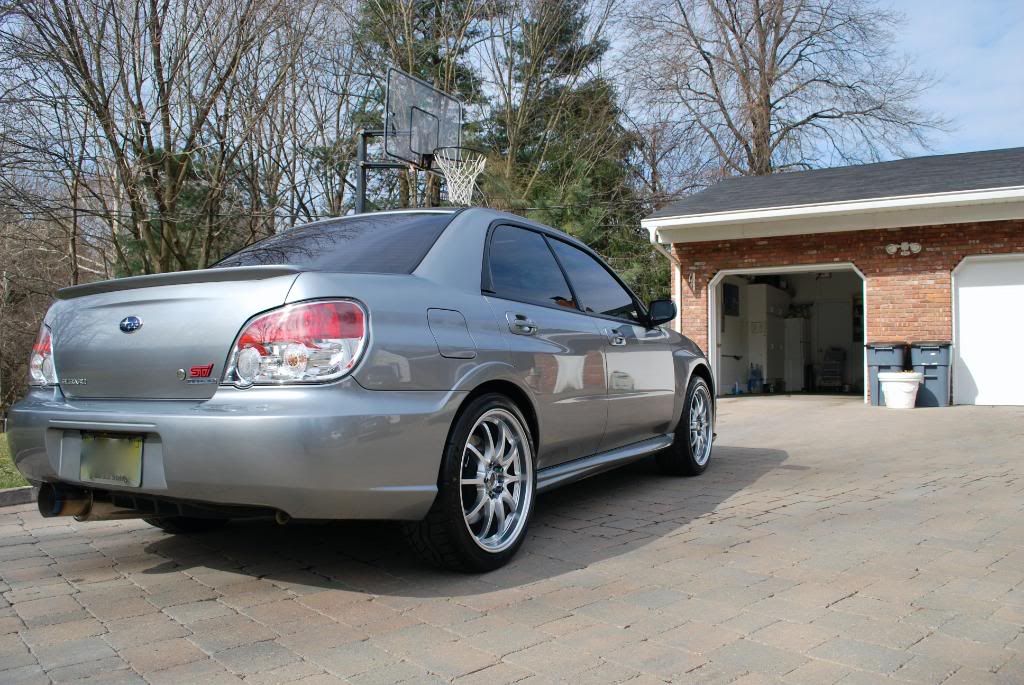
After correction
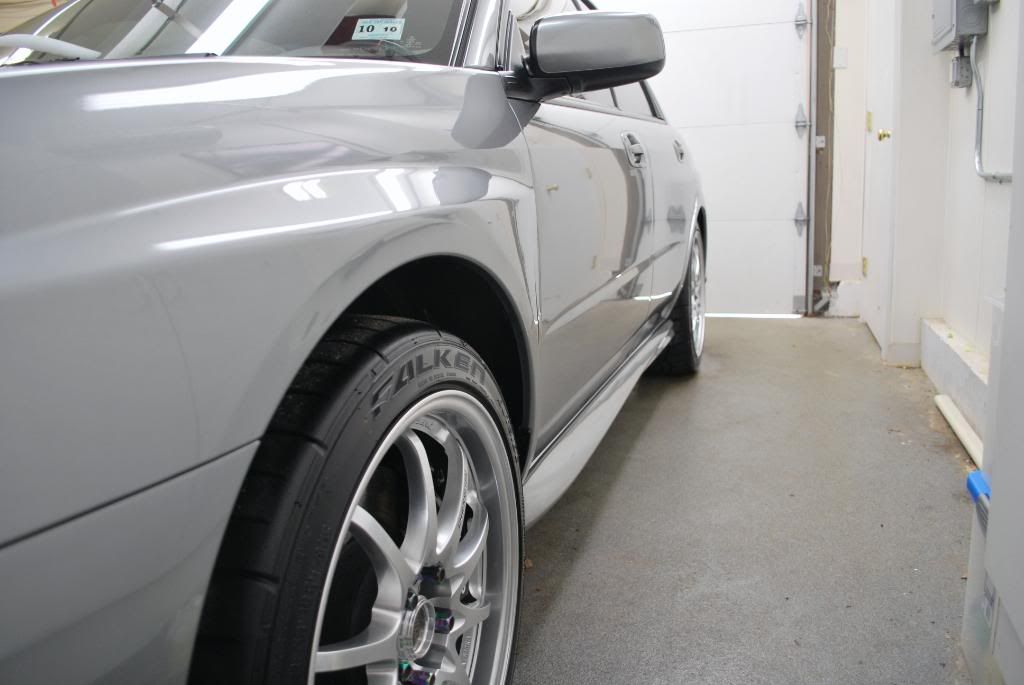
Nice thing about this model STi is its more boxed shaped panels, even down low it was smooth polishing
On with the detail...
Arrival
This STi is kept in excellent condition, some recent snow however dirtied the car up before the detail but it was really nothing major.
Wheels first, some very classy Volk CE28's were throughly pressure washed before cleaning. The process was as follows:
-Gloss It wheel gel using the EZ and swissvax brushes
-APC 3:1 for tires
-Stoners Tarminator (tires again)
-Autosmart Tardis to dissolve some light tar spots on the inners
Before
Before
Next I did a quick foam with maxi suds while preparing 2 buckets with CG CWG.
While washing I felt a ton of friction between the sponge and the paint, lots of bonded contamination:gasp:
Although I felt I would have done better using an aggressive clay bar I opted for the Megs mild blue clay once again. Since the car was only booked for a 1 step correction and I planed on using a super mild combo when polishing I figured it would be best to use a mild clay bar as to not induce any extra marring. Luckily the paint was already is excellent condition with the exception of the bonded stuff, see below
After drivers door panel...
After trunk area...
Far from the worst clay job I have seen but it was strange how the contaminants were heavy on every single panel high and low.
After claying another quick wash with the remaining CWG was done and the car was PW'ed throughly once more before drying.
The owner seemed very picky about his car and asked for me to remove the swirls he found, even in direct sunlight I found it very very difficult to spot the swirls because they were very faint. I brought the car in and re-checked it with standing halogens and the Fenix LED...again only fine spider webbing was found.
My original plan of using a medium grade polish with a polishing pad went out the window and I decided to go for a really fine finishing combo to work out the defects and bring up the gloss. Paint readings were very consistent at 5.5-6.0 mils
Weapon of choice, flex 3403 w/ Gloss It 5" BP
I went with Menzerna PO85rd and the GI beveled blue finishing pad. Th 85rd had enough bite to take out the light swirls and leave a great finish as well.
I used GI EVP pad primer on the GI finish pad as well, this help extend the work time of 85rd considerably so I could jewel it down very well.
Here is the hood after polishing and a quick IPA, no LSP (I opened up the cabinets in hopes to get some colorful reflection shots)
When working on light metallic paints I find turing all the lights off in my garage helps to spot swirls or check your work. Here is the hood under the Fenix LED after correction.
I worked my way around the car smoothly, I really enjoyed working on this paint. My main focus was really jeweling it to a high gloss as I knew the defects would come out right away. Heres a quick shot after finish the front fender and door, I was able to clearly distinguish between the polished and unpolished panels as the 85rd left behind great clarity.
I spent a little extra time working the bumber area as I found most cars have excess scratches right in that area (mostly from loading things in and out of the trunk)
Me in my "concentrated polishing mindset" :waiting:
After polishing
Couple more trunk area shots post polishing and post IPA
I liked this shot, completely unnecessary but I thought it would make for a cool photo:hippie:
After correction
Nice thing about this model STi is its more boxed shaped panels, even down low it was smooth polishing


")