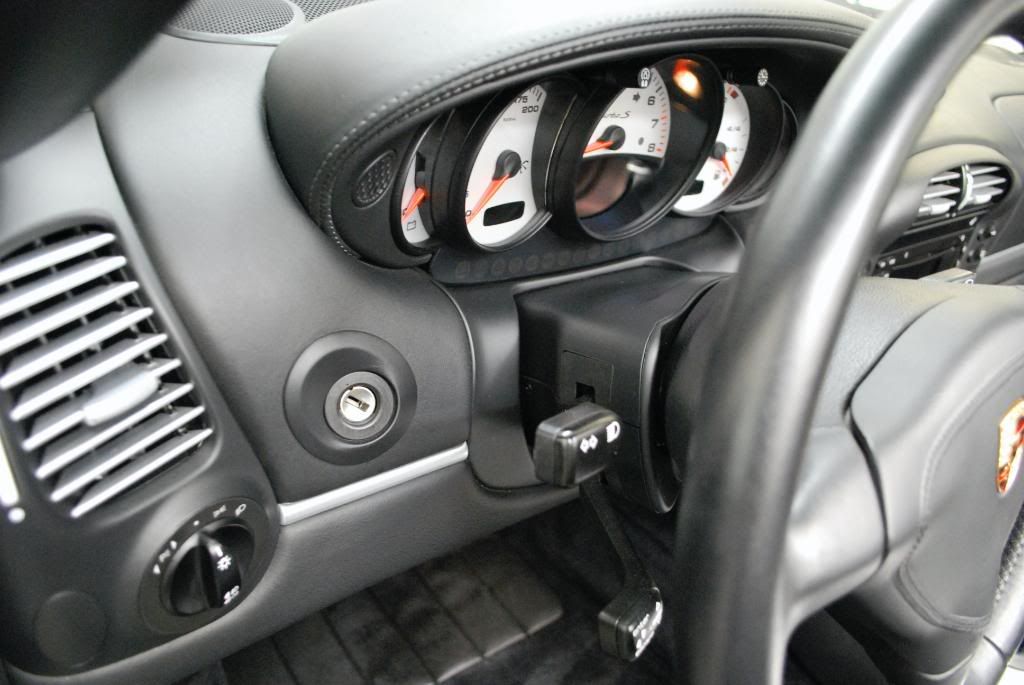
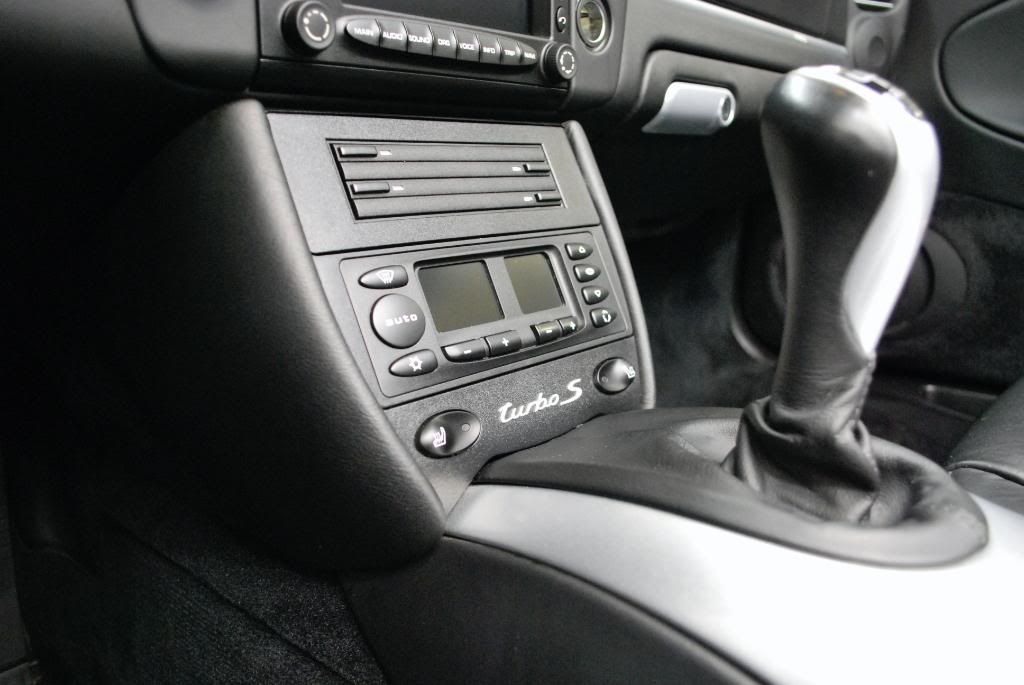
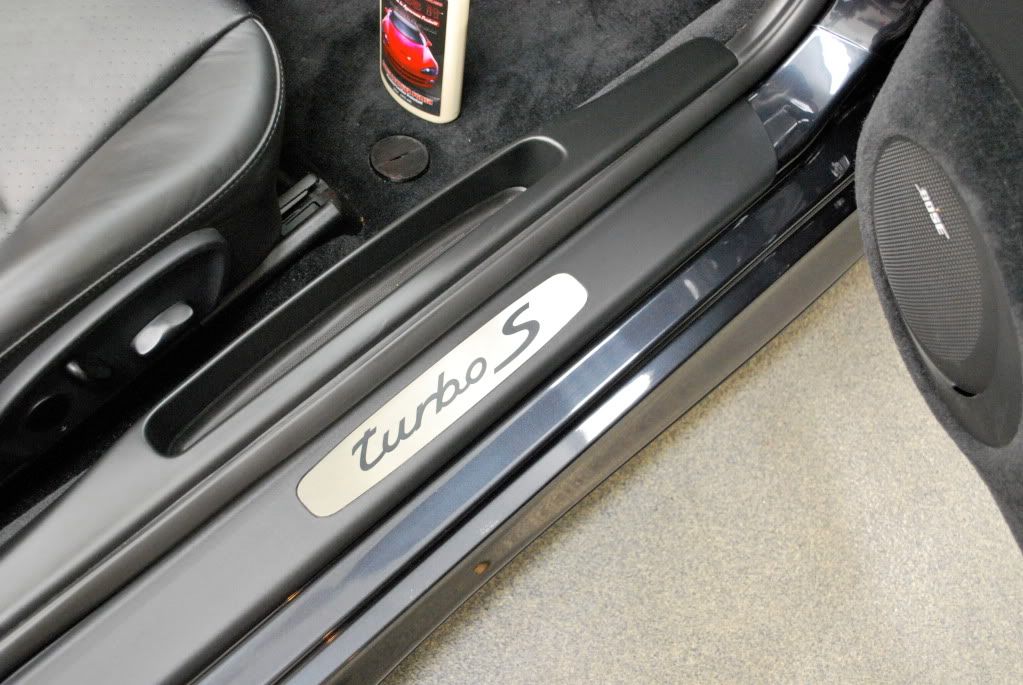
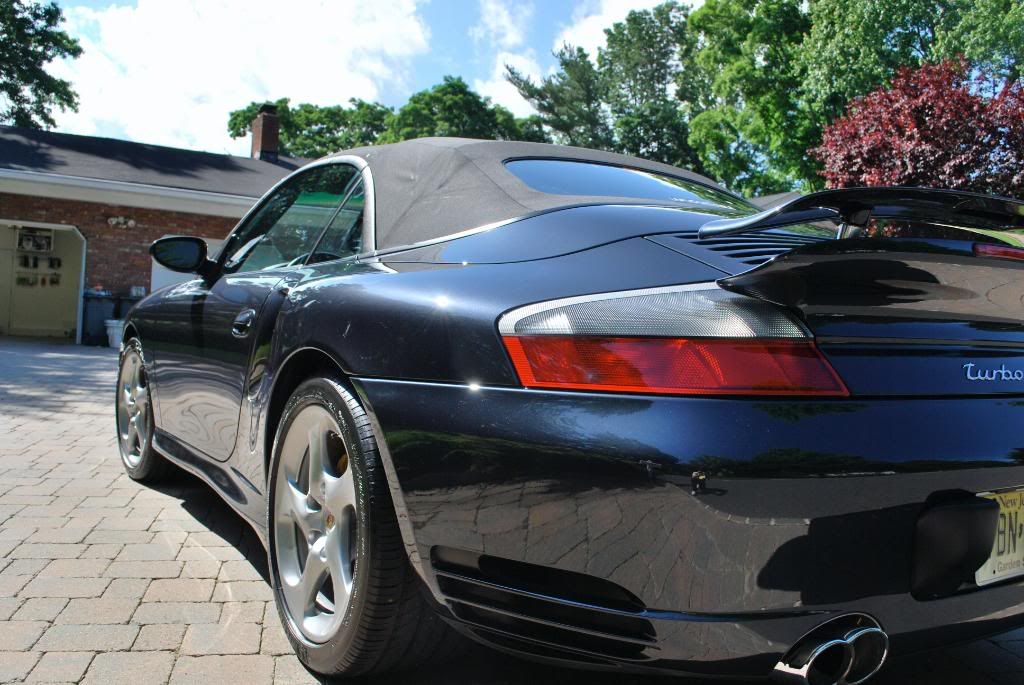
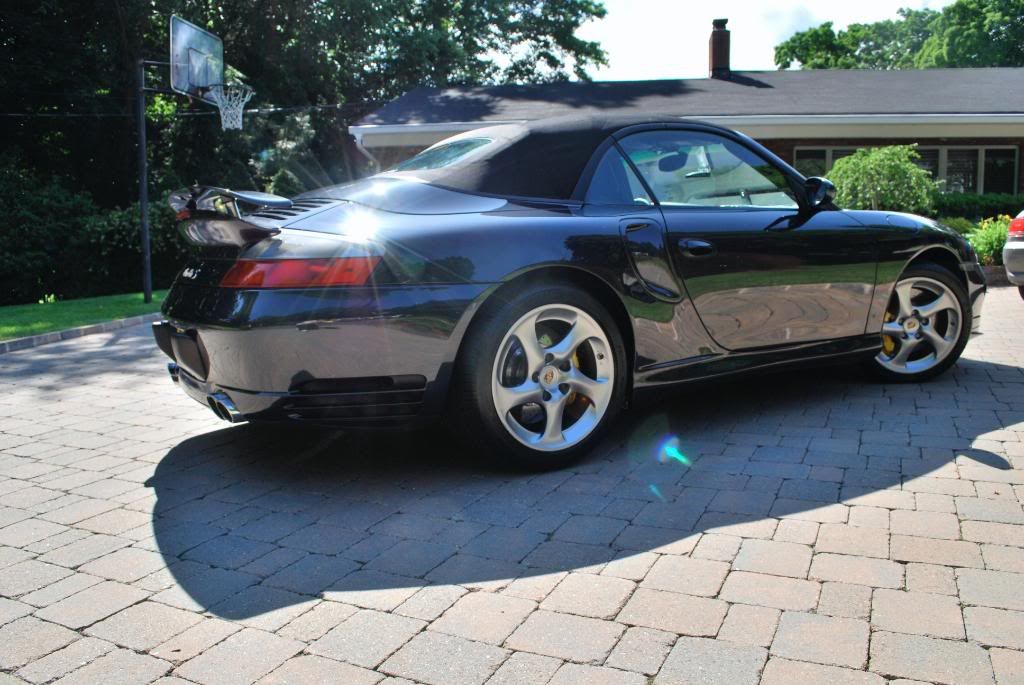
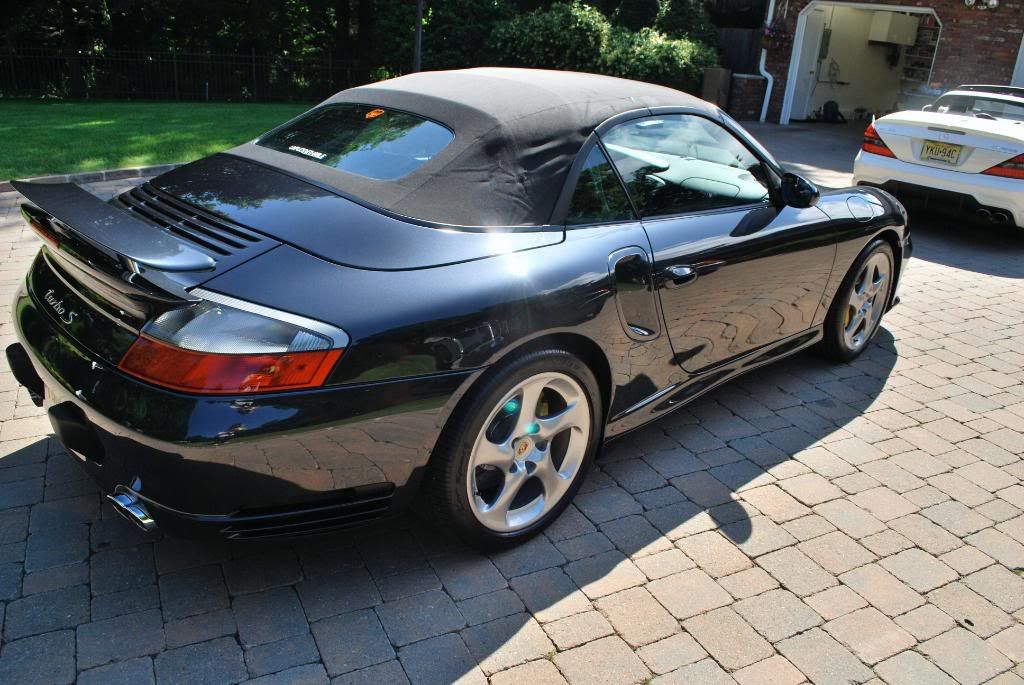
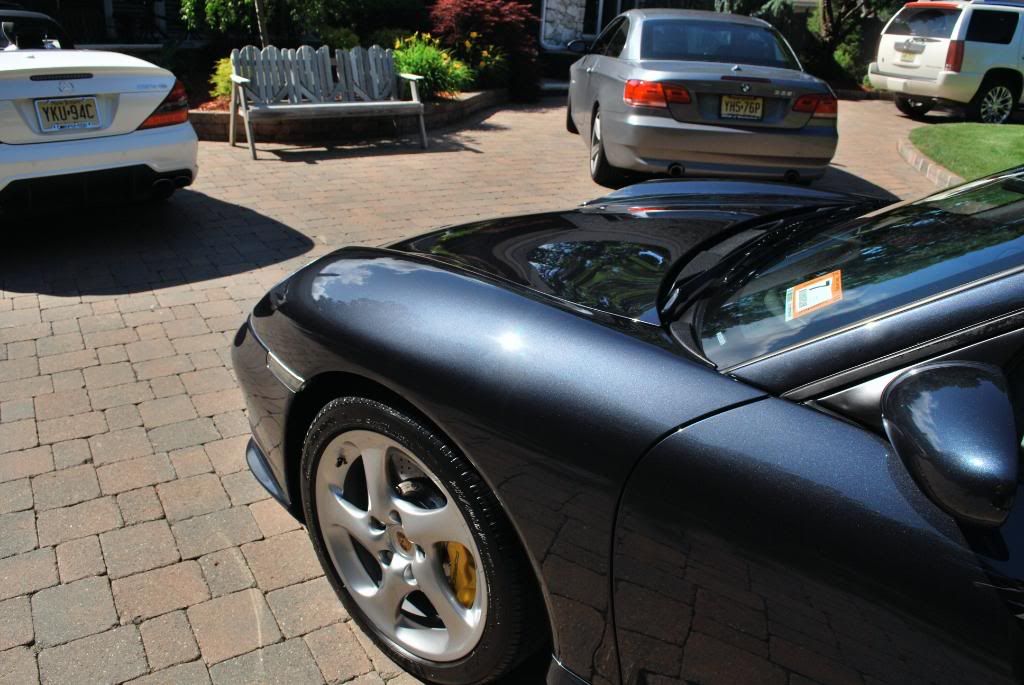
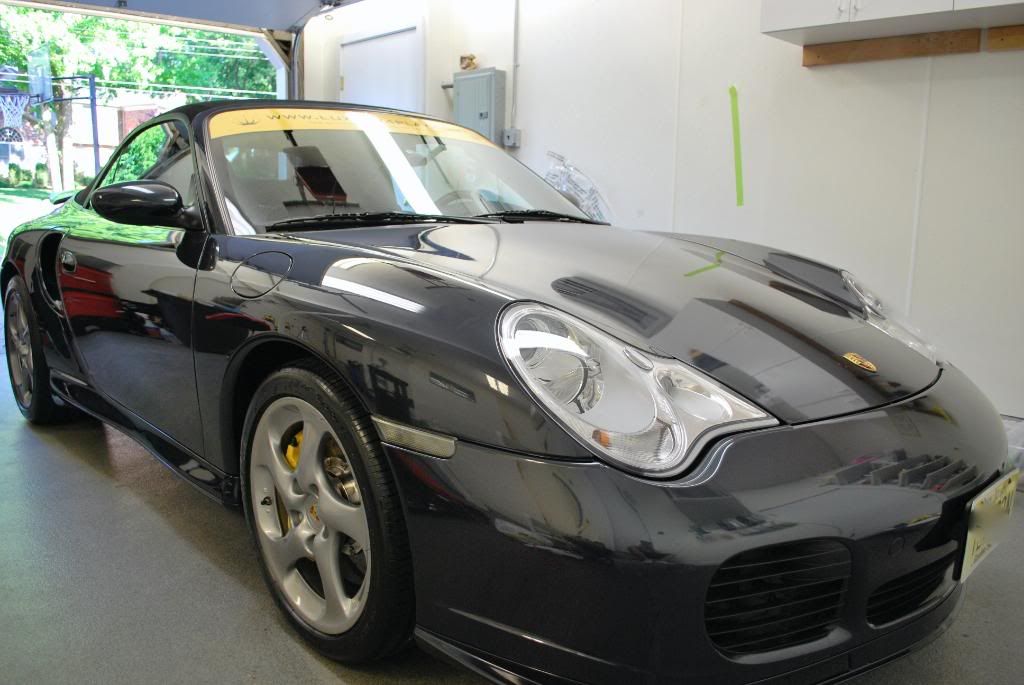
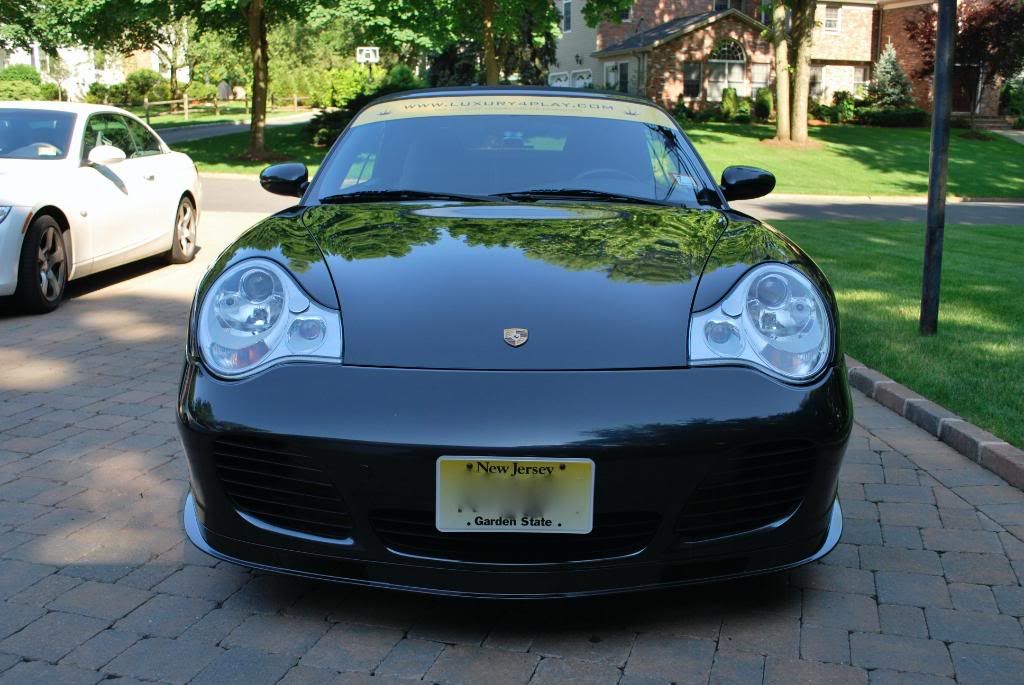
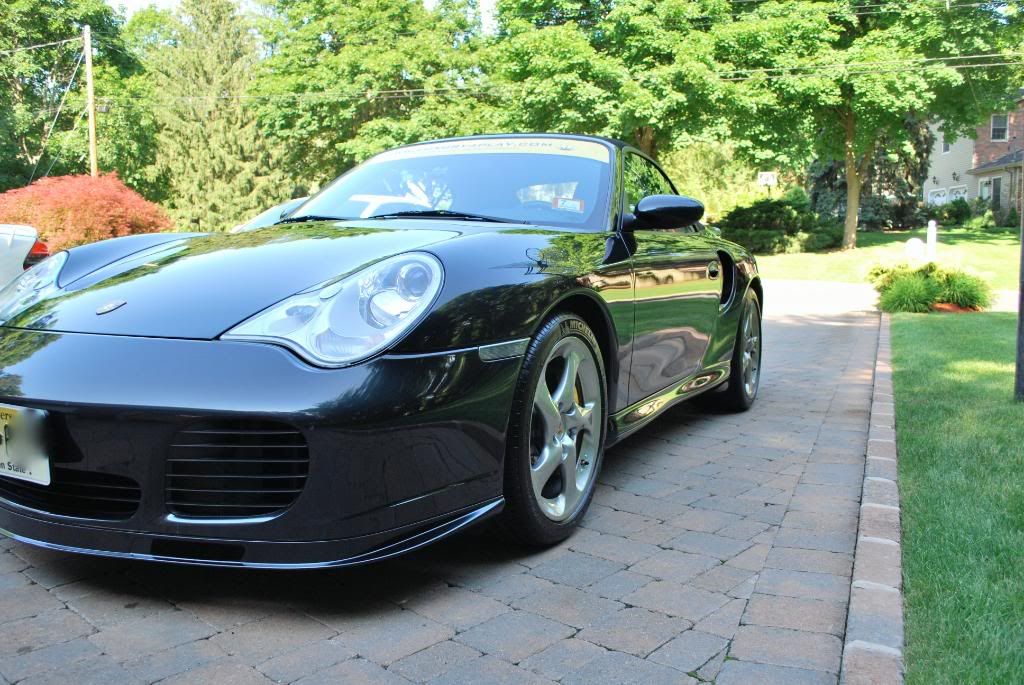
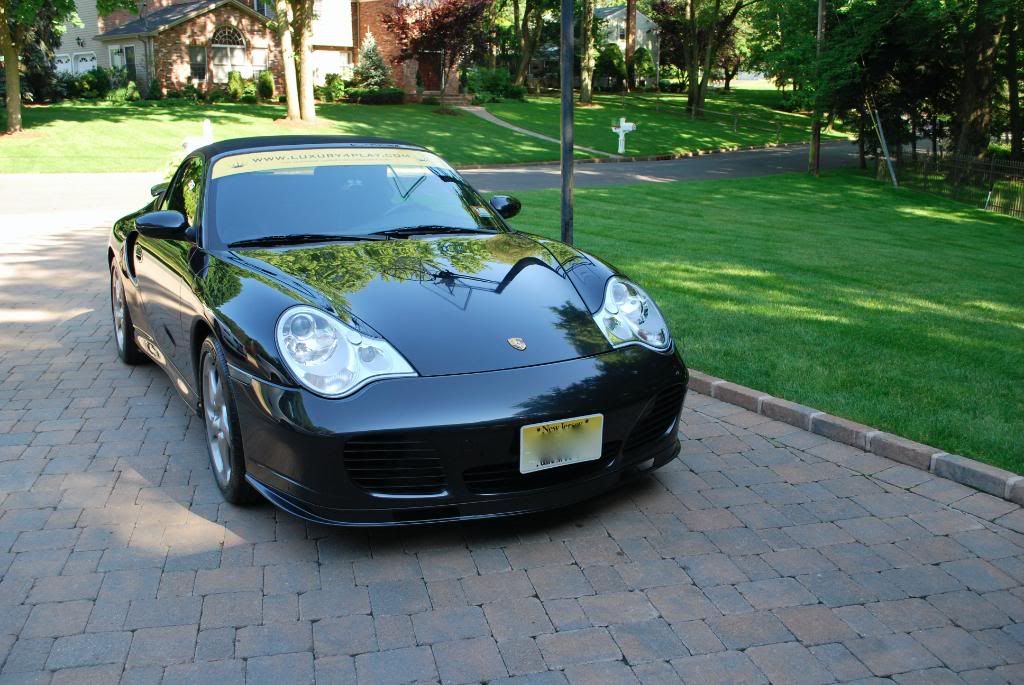
2005 atlas gray Turbo S booked for a 2 day full paint correction detail
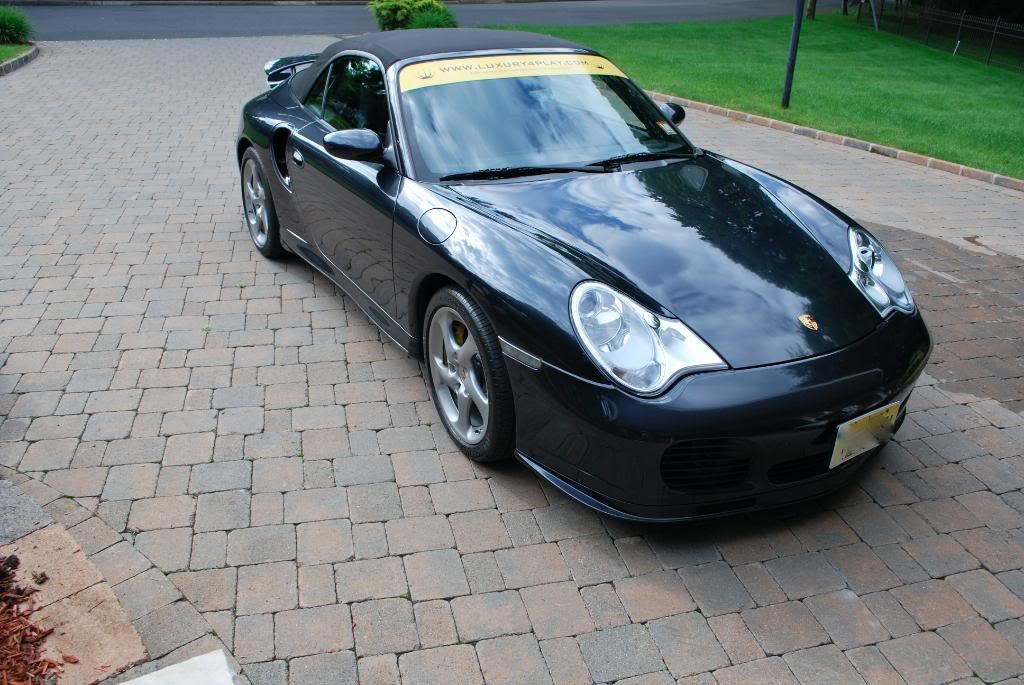
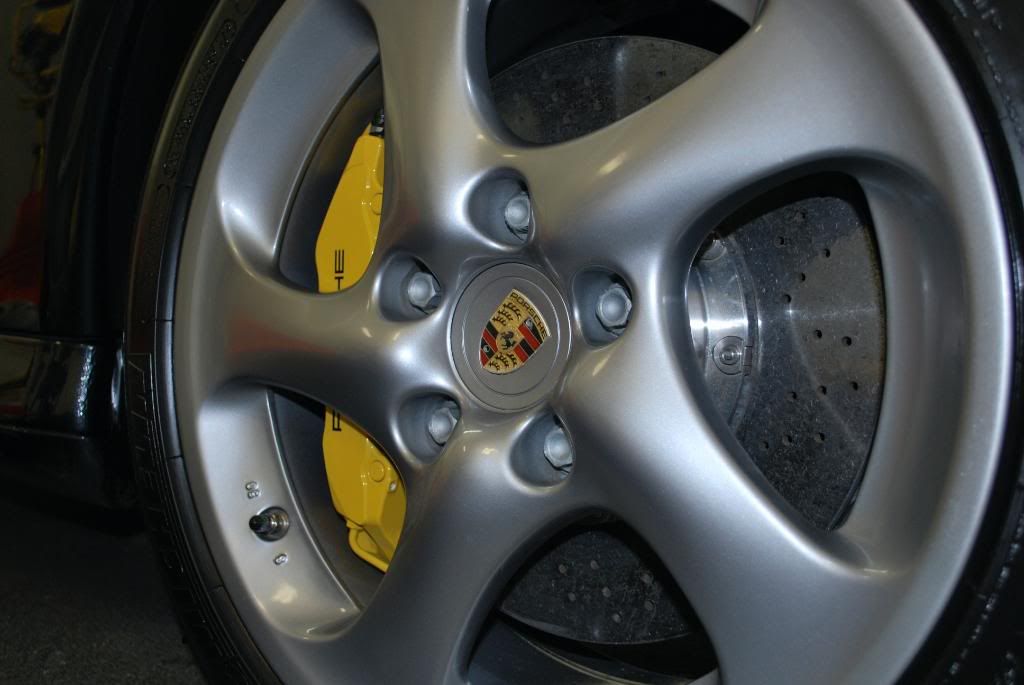
The car is kept very clean, first thing I noticed was the lack of brake dust on the wheels. Even still a full cleaning had to be done to ensure everything was up to the standard.
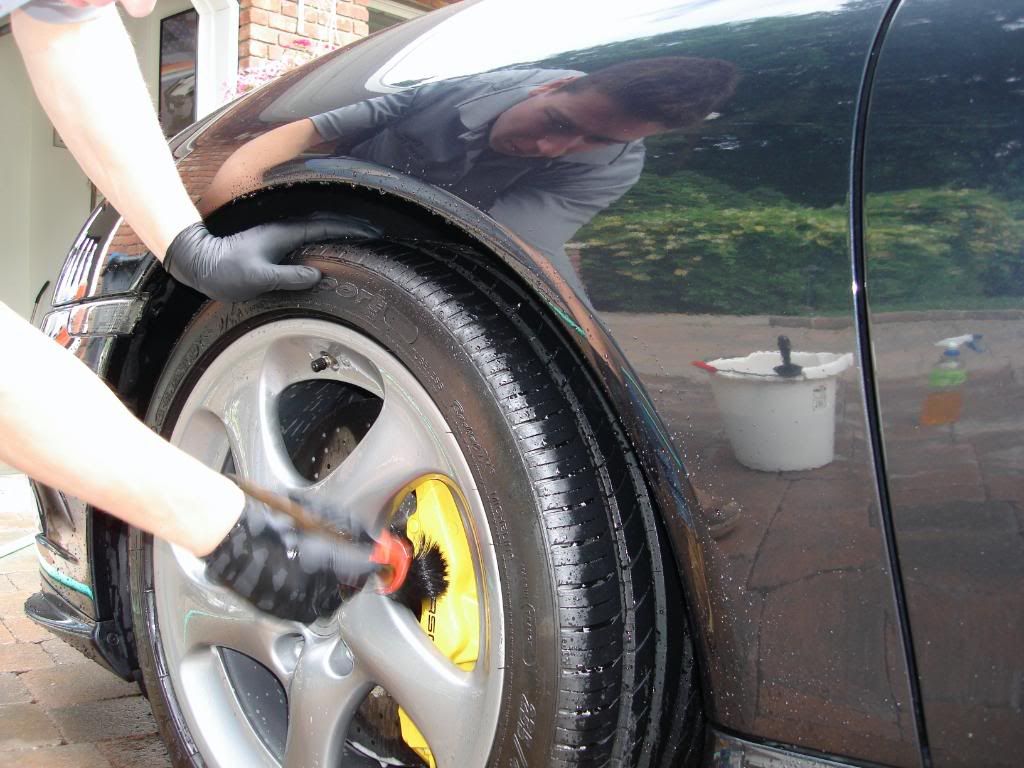
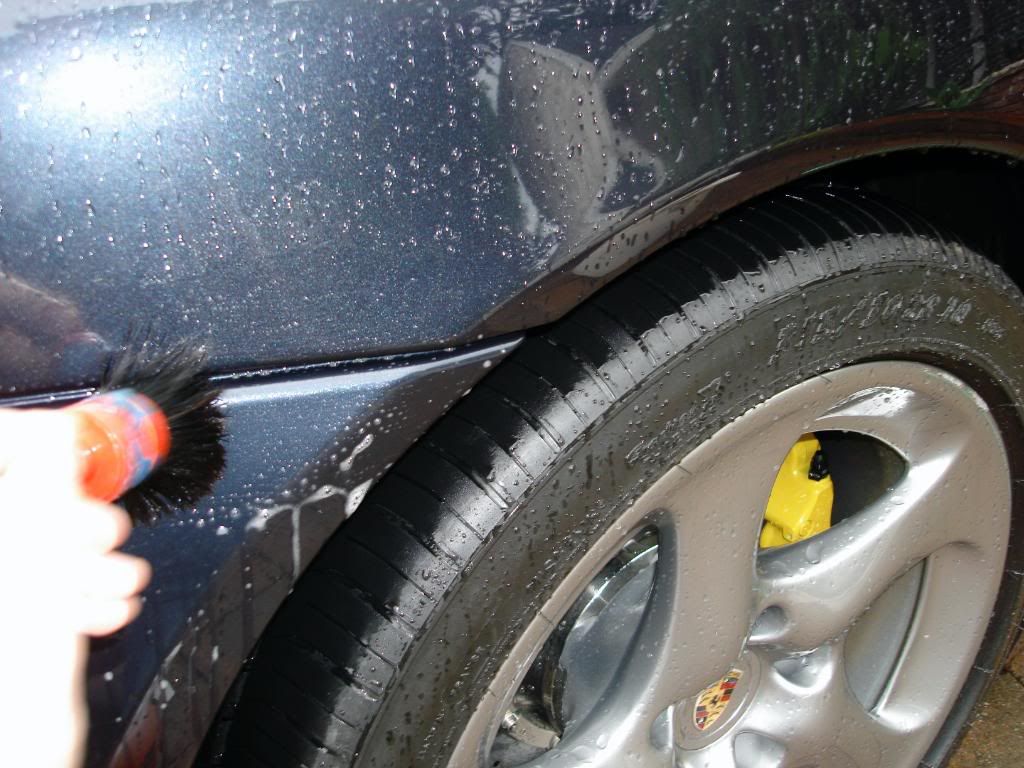
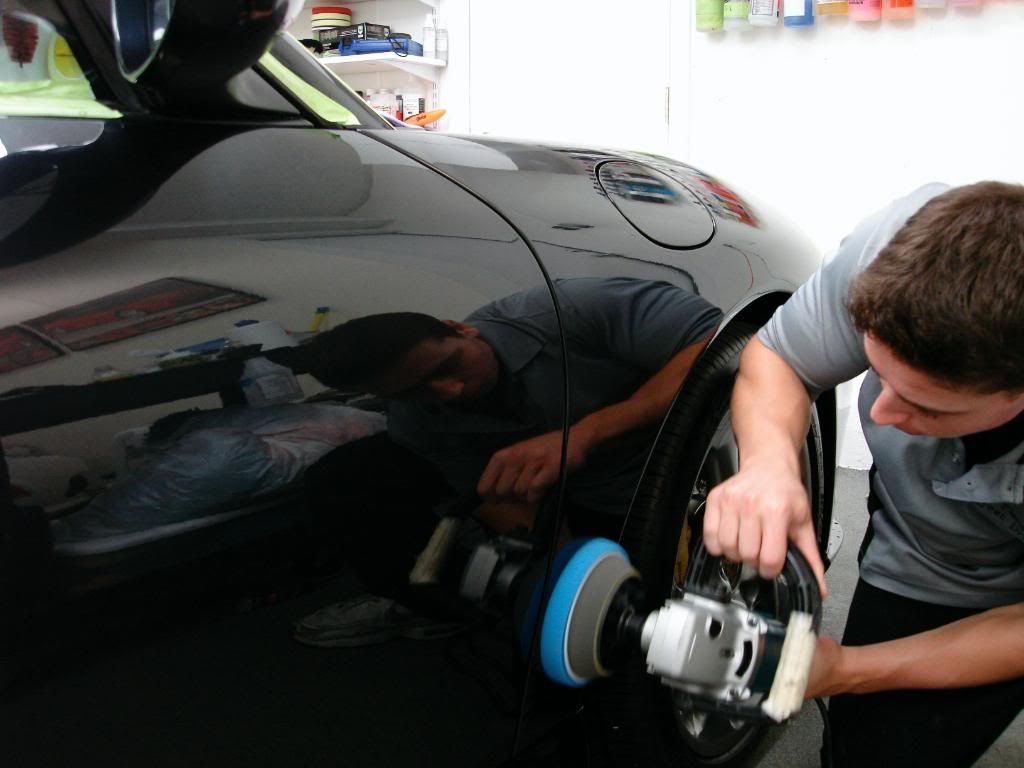
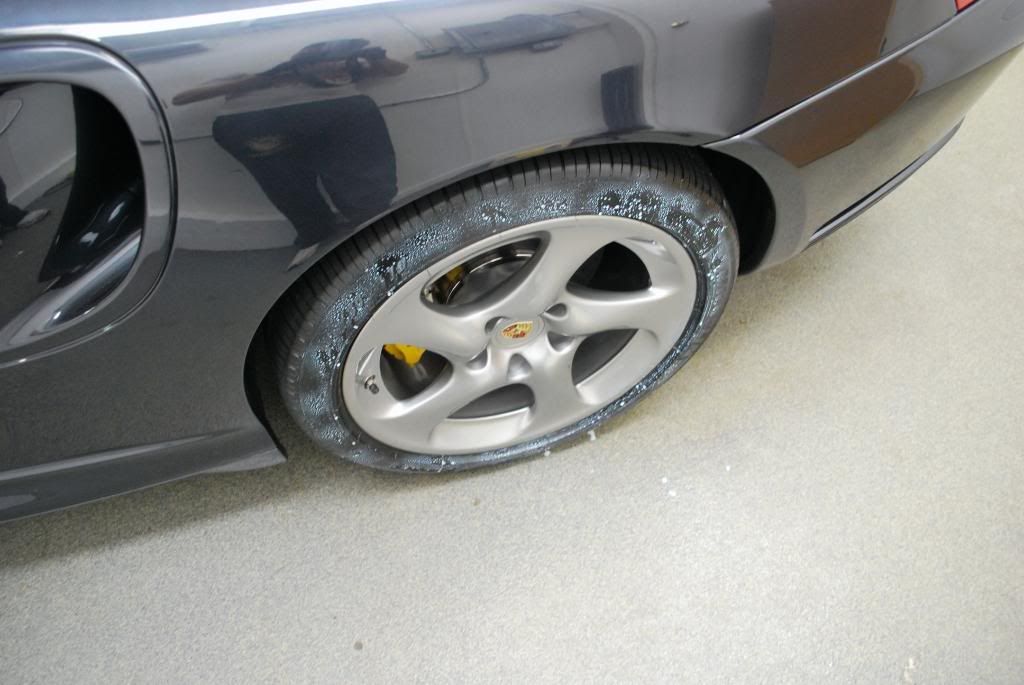
Gloss it wheel gel was used at 5:1 :wow: Yep even at 5:1 you still get solid cleaning ability. Me working the daytona brush on the inner barrels. This car had the porsche factory carbon ceramic brake kit as well.

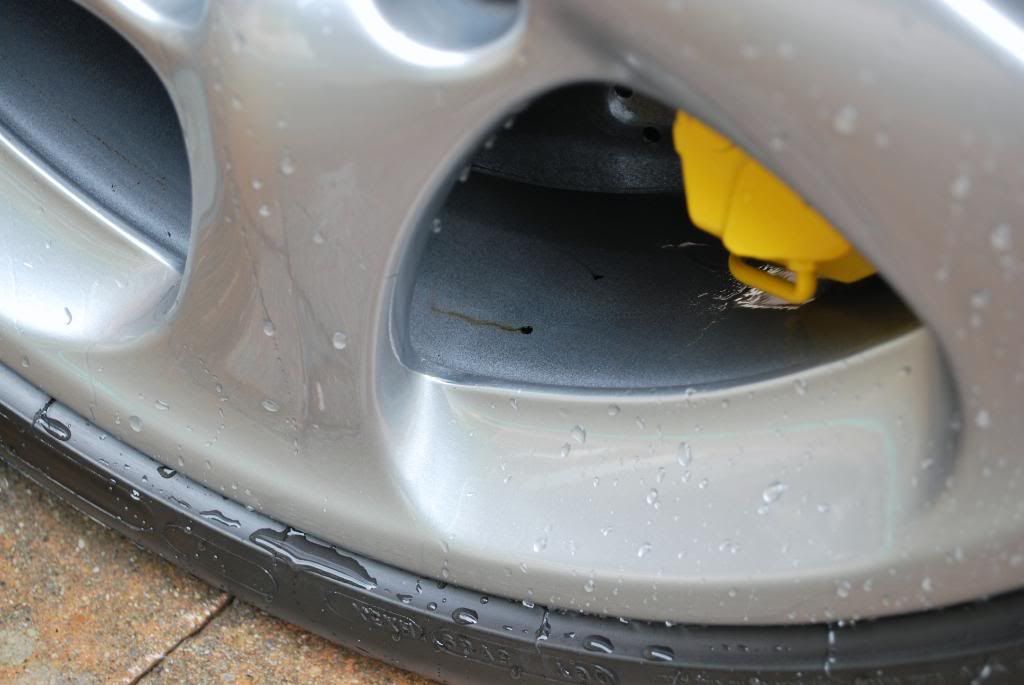
Some brake dust settled in the calipers, after a little agitation with the SV brush and wheel gel it lifted very easily.
The inner barrels had some tar deposits which were lifted using AS tardis. The tires were cleaned with ARO at full strength to remove the old tire dressing which was fairly thick. After that didnt remove it all i followed up with tarminator and scrubbed for a minute or so and the tires finally came clean.
Tardis doin' work...
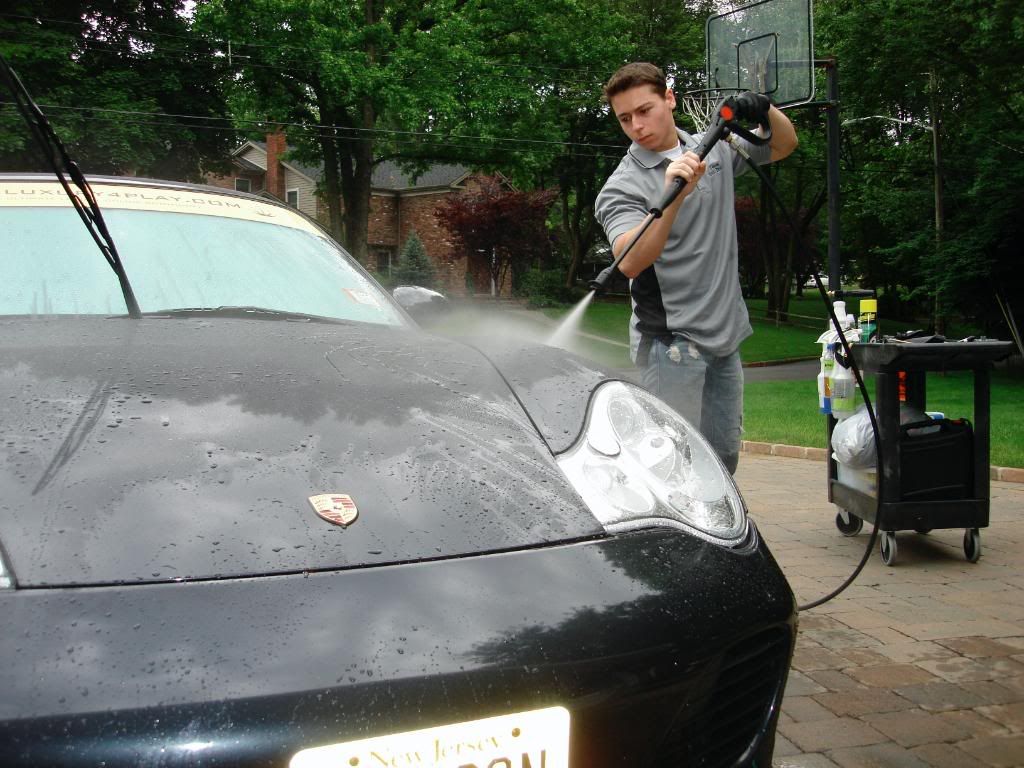
After the wheels the wash process began. The paint was pre reinsed at medium presure to remove as much surface dirt as possible, a lot of people like to quickly rinse and then foam but I like to rinse at pressure for a long time before foaming
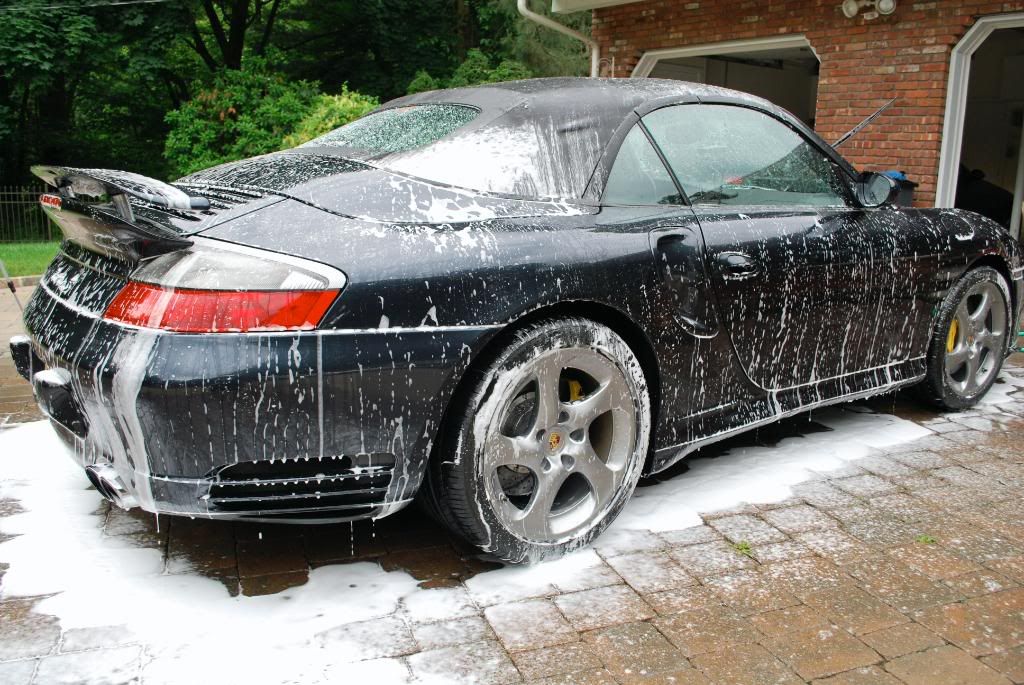
Foamed with the camspray at CG maxi suds mixed with CG citrus wash clear
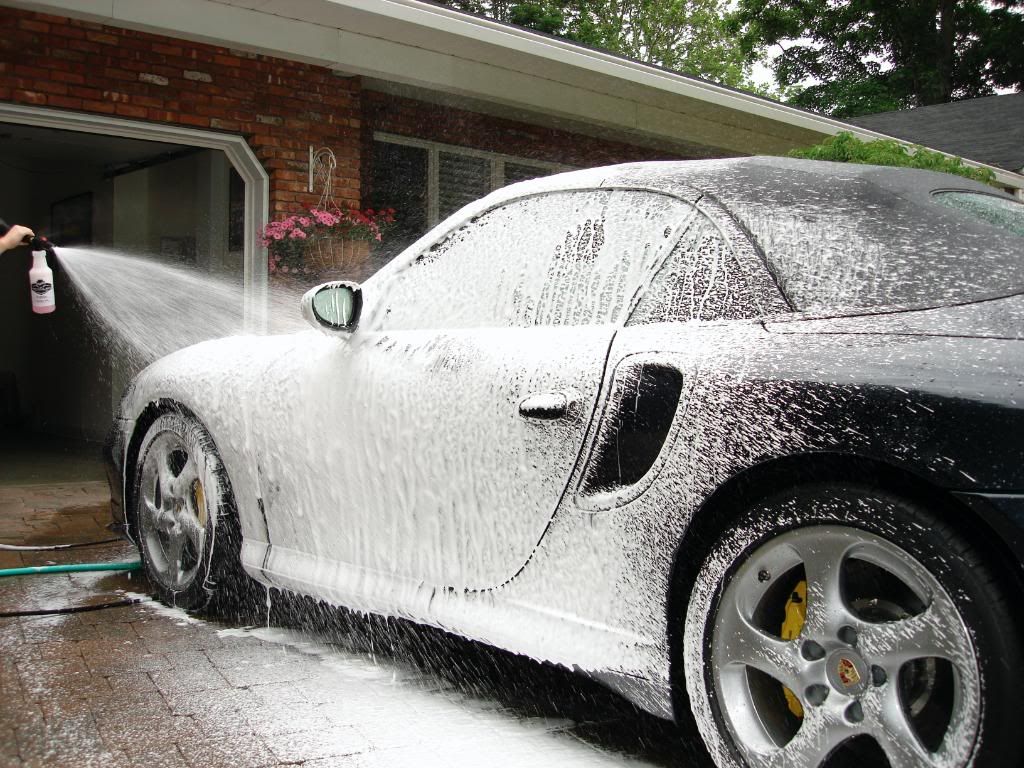
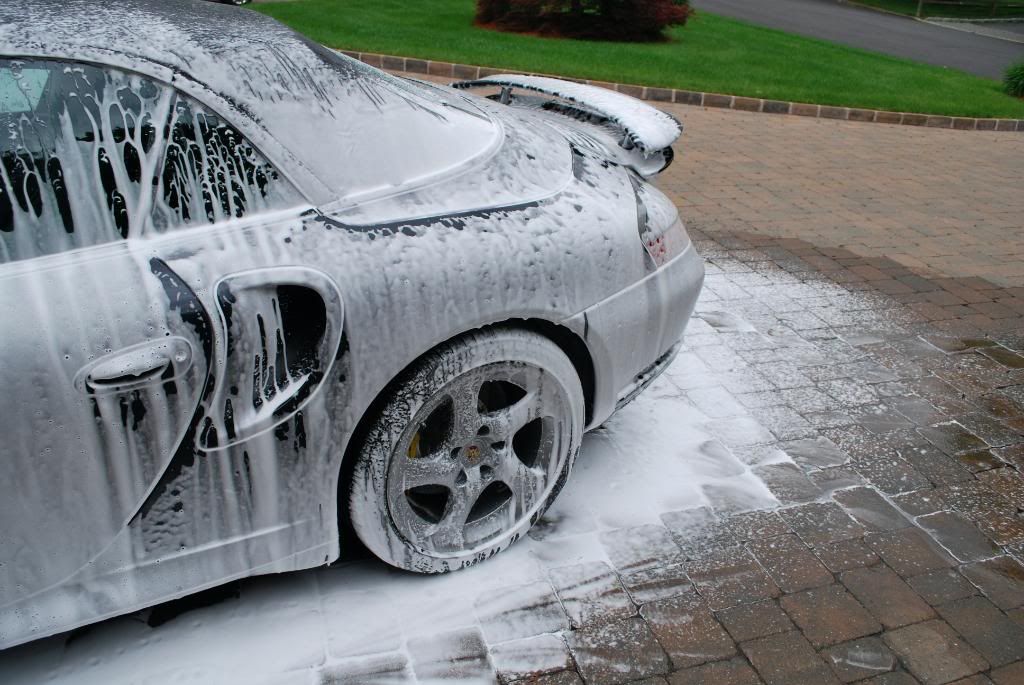
After 5 minutes or so, one last rinse of the foam and then the 2 bucket wash. The car was wearing some sort of protection (spray wax) so again CG citrus wash clear was used to help remove it.
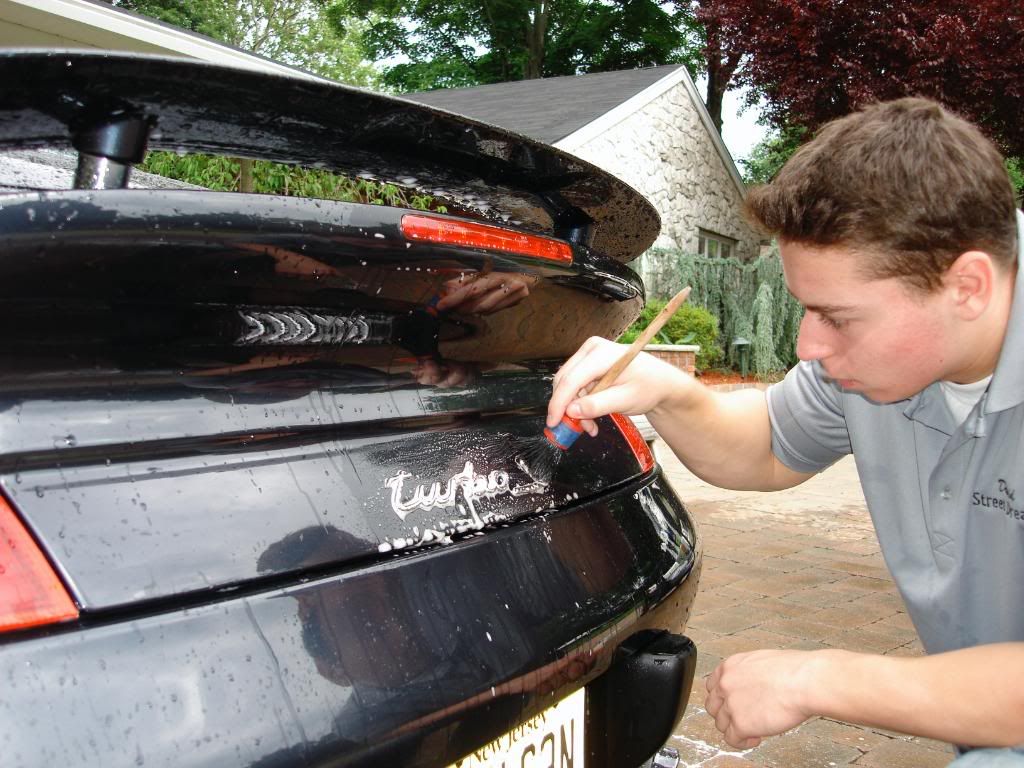
Before the 2 bucket wash all the crevices and emblems were agitated with APC 10:1. Trying to fully clean these areas after the car is dry is very difficult without marring the finish badly.")
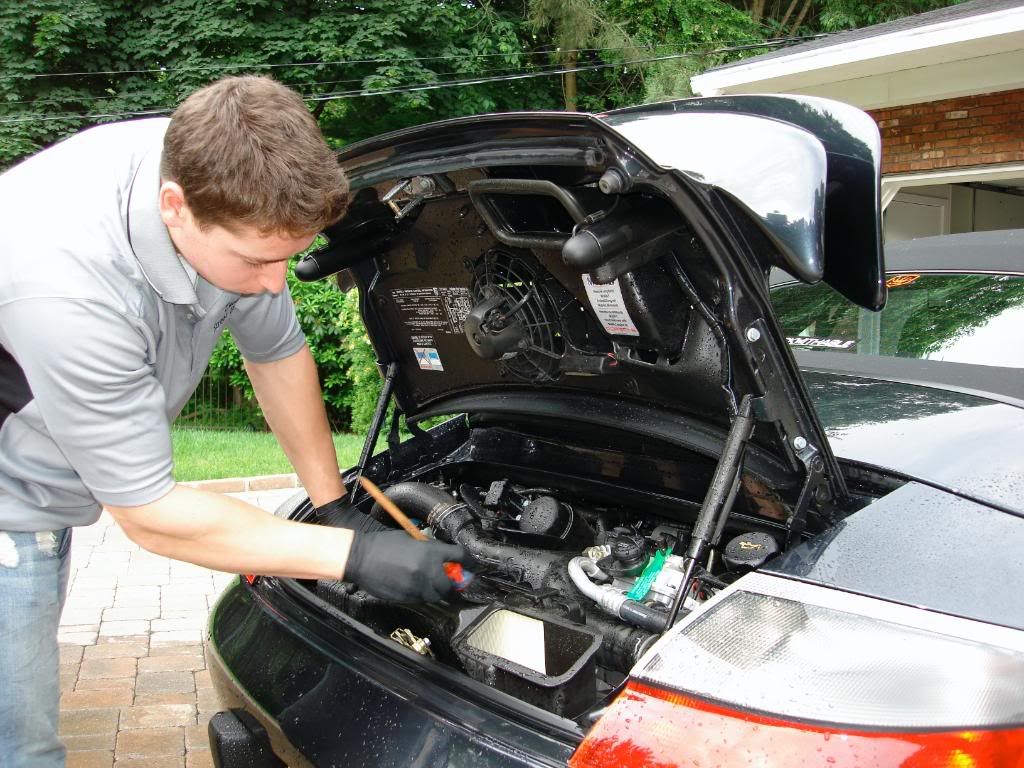
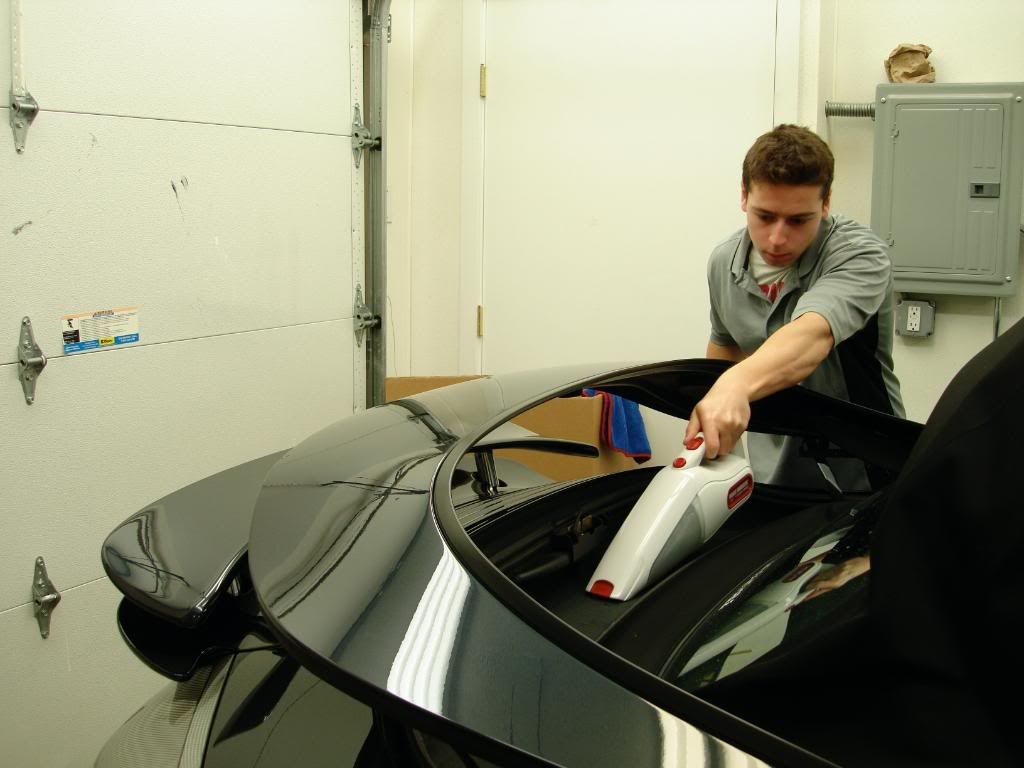
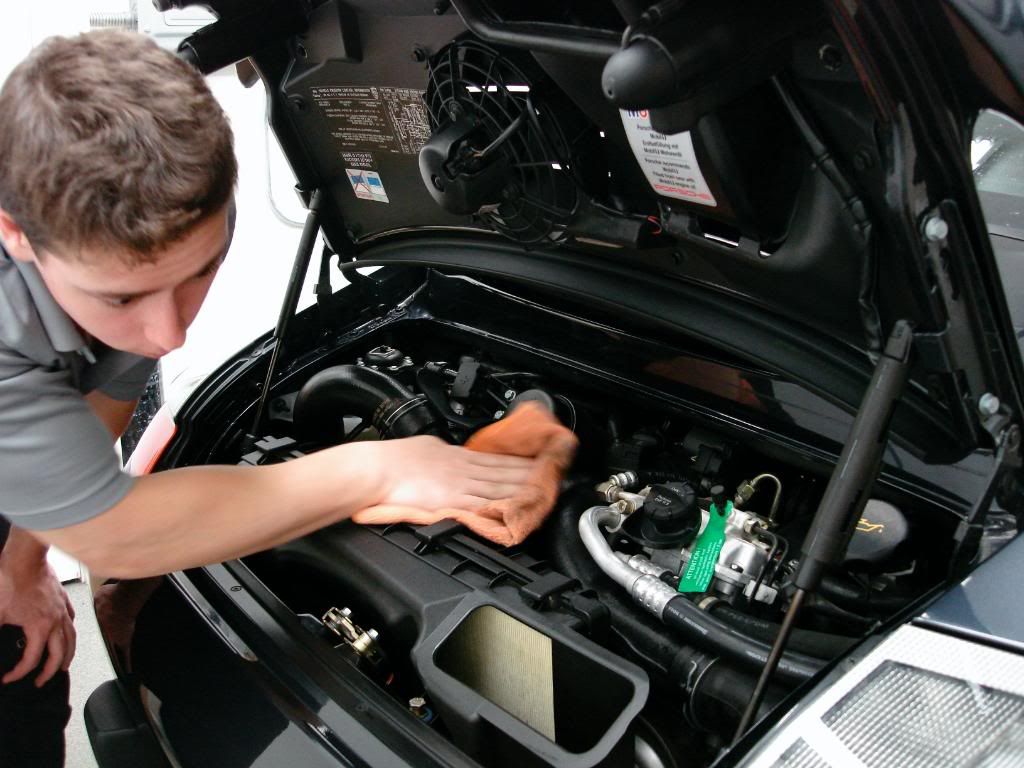
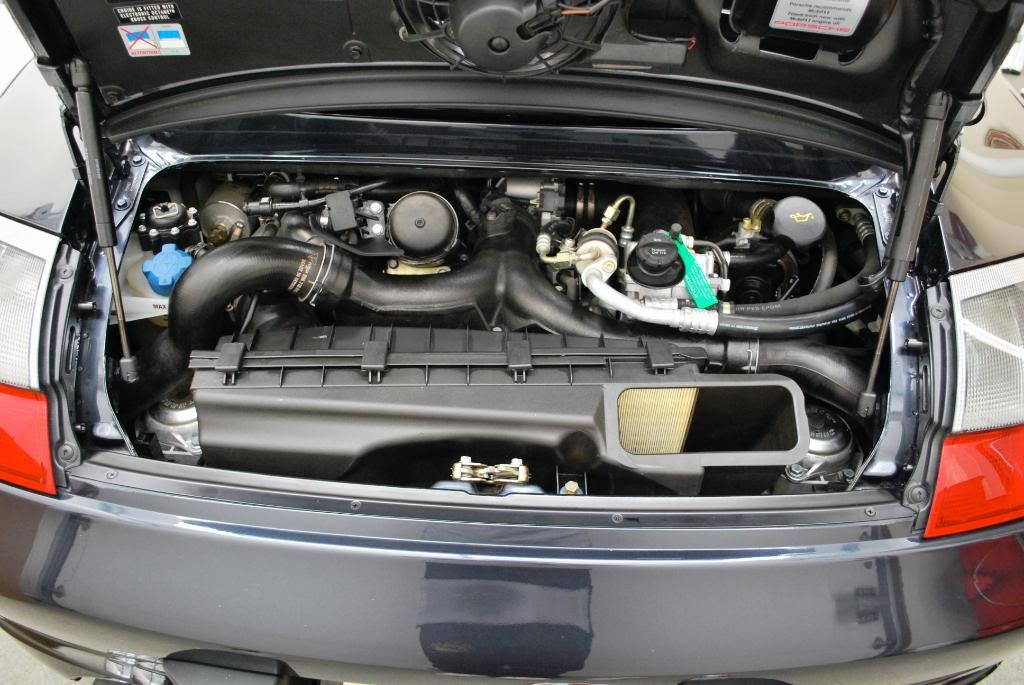
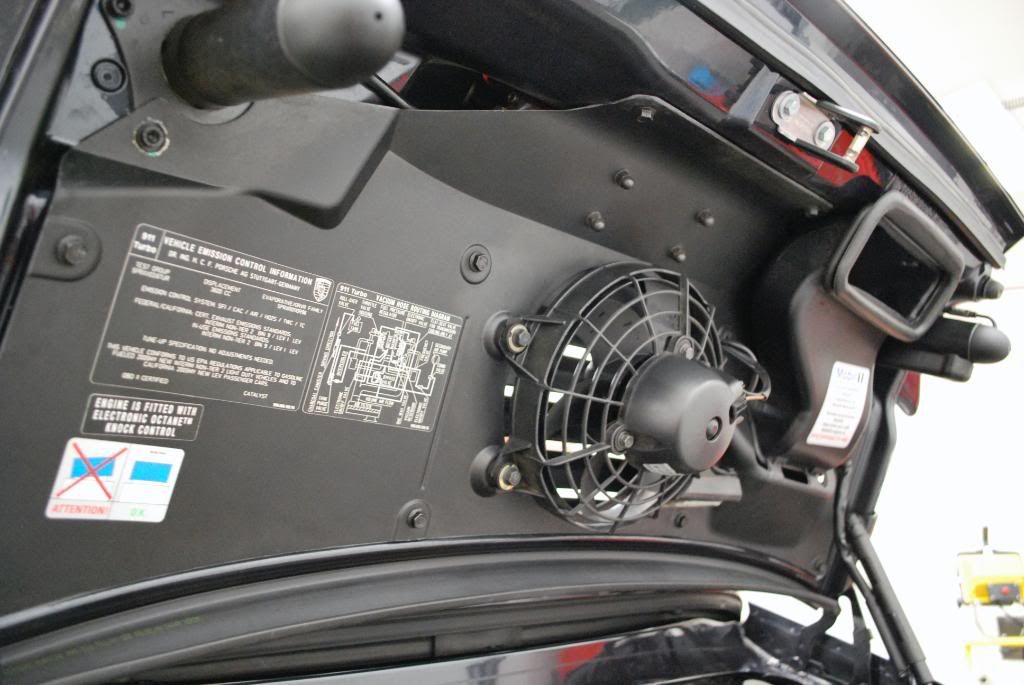
The engine was lightly cleaned using DI water in a pressurized sprayer, not a pressure washer. P-car engines have a lot of exposed wiring, intake etc so I'd rather not drench everything with water.
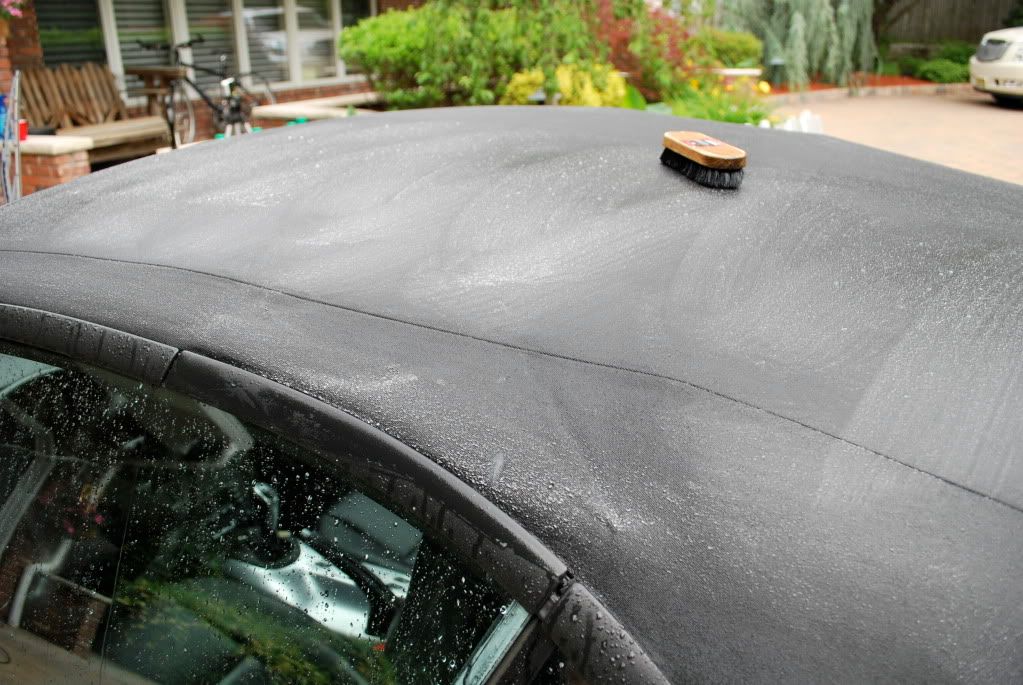
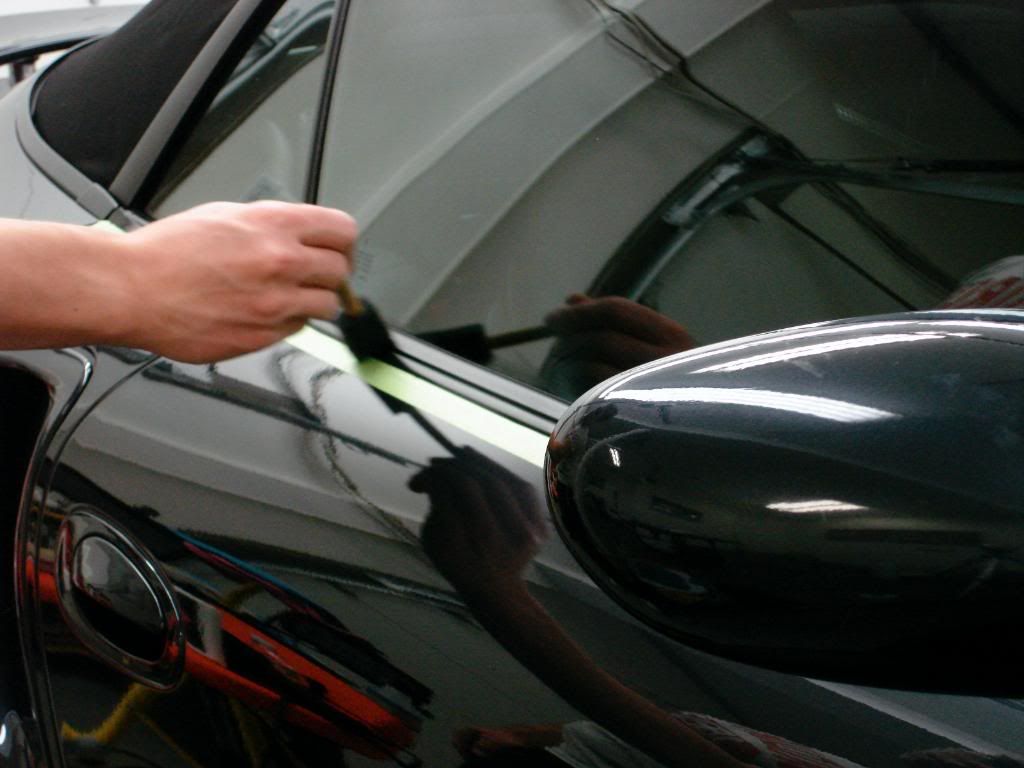
Before the final rinse I cleaned the ragtop with, uh... Raggtop:thumb: and a SV brush
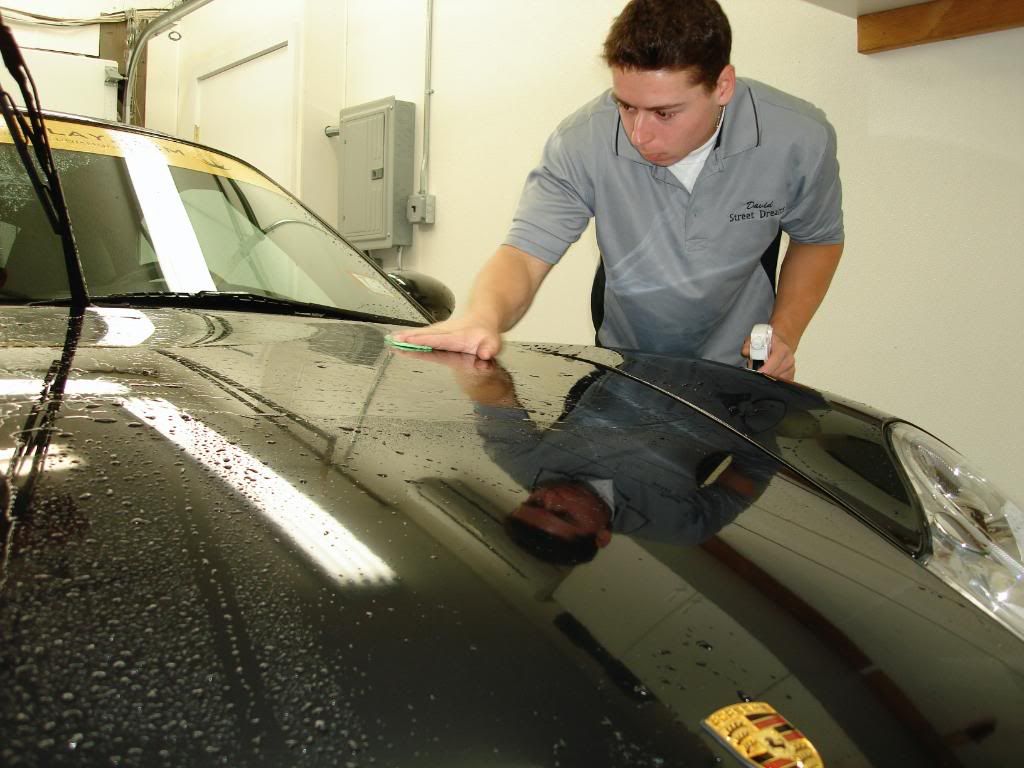
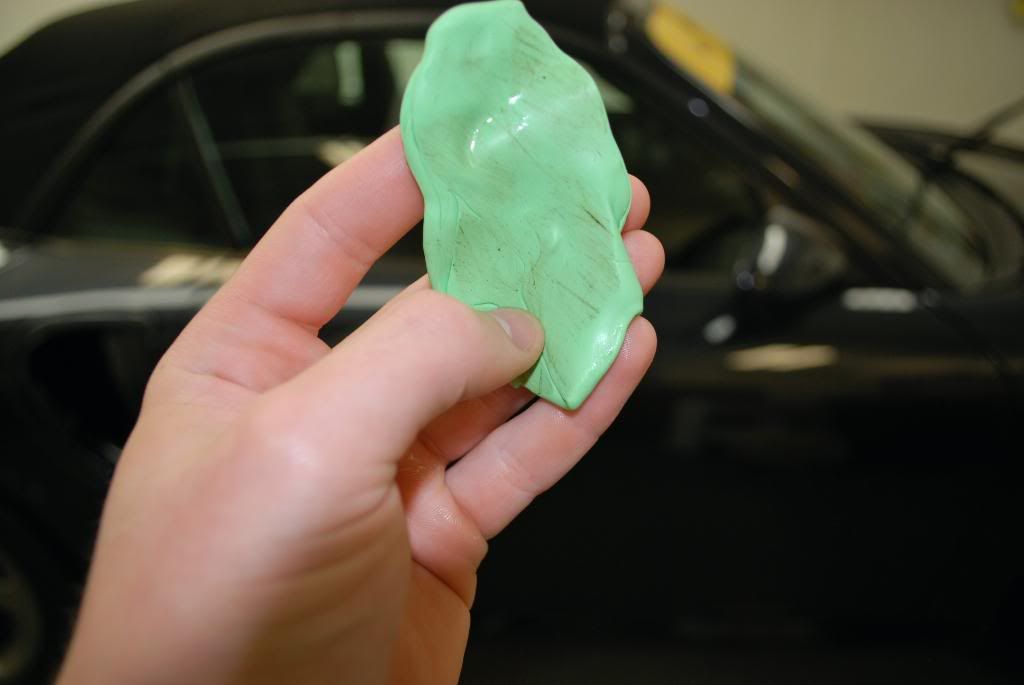
Before the rain came I pulled the car inside for claying. A very mild clay was needed for this one, Sonus fine green worked well using ONR 6:1 as lubrication
After 1/4 of the car
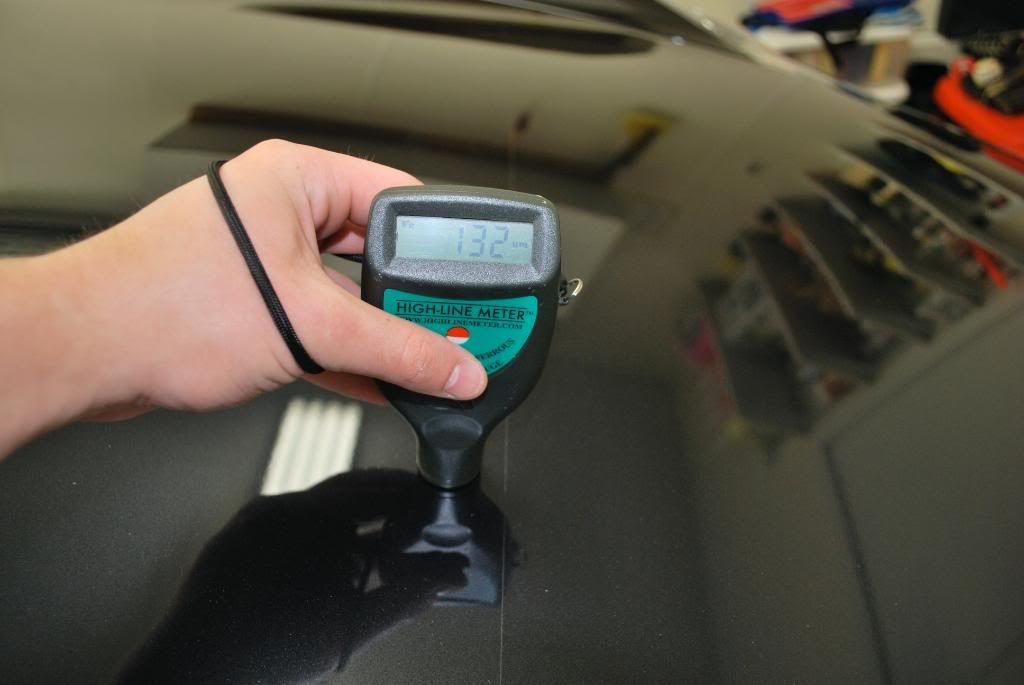
After claying I did 2 IPA wipedowns to prep the paint for polishing, just in case the citrus wash clear did not remove all the old wax protection. The I took my paint readings, a little inconsistent for a Porsche but nothing too bad
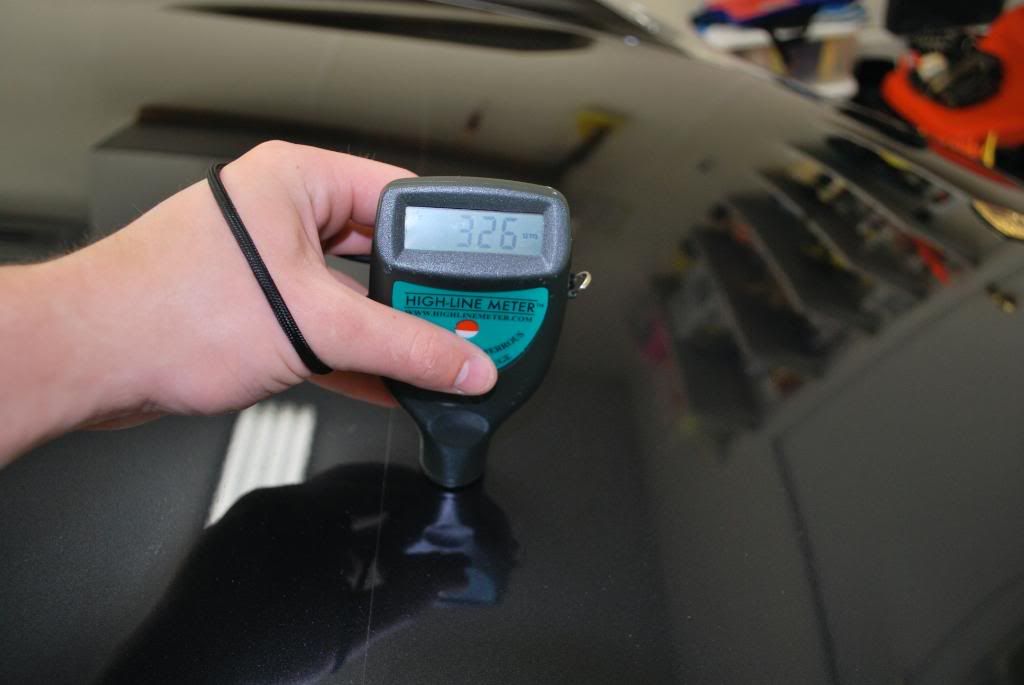
Just to show you the difference bewteen paint thickness and clearbra thickness...
Paint
Clearbra
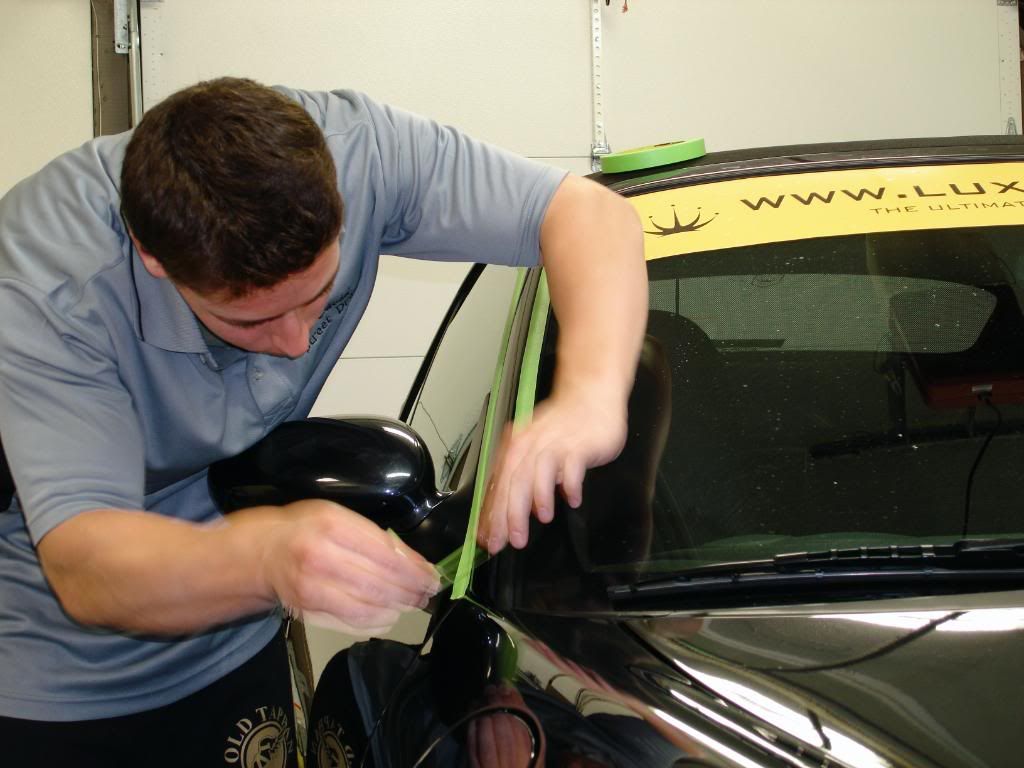
All trim areas were then taped off
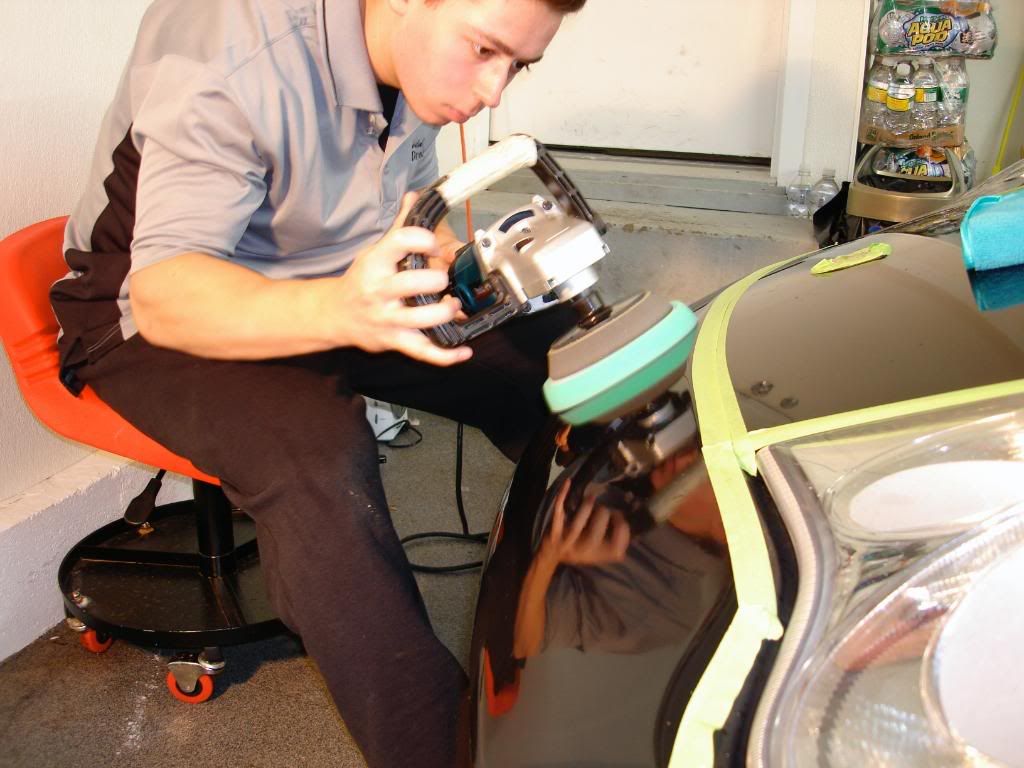
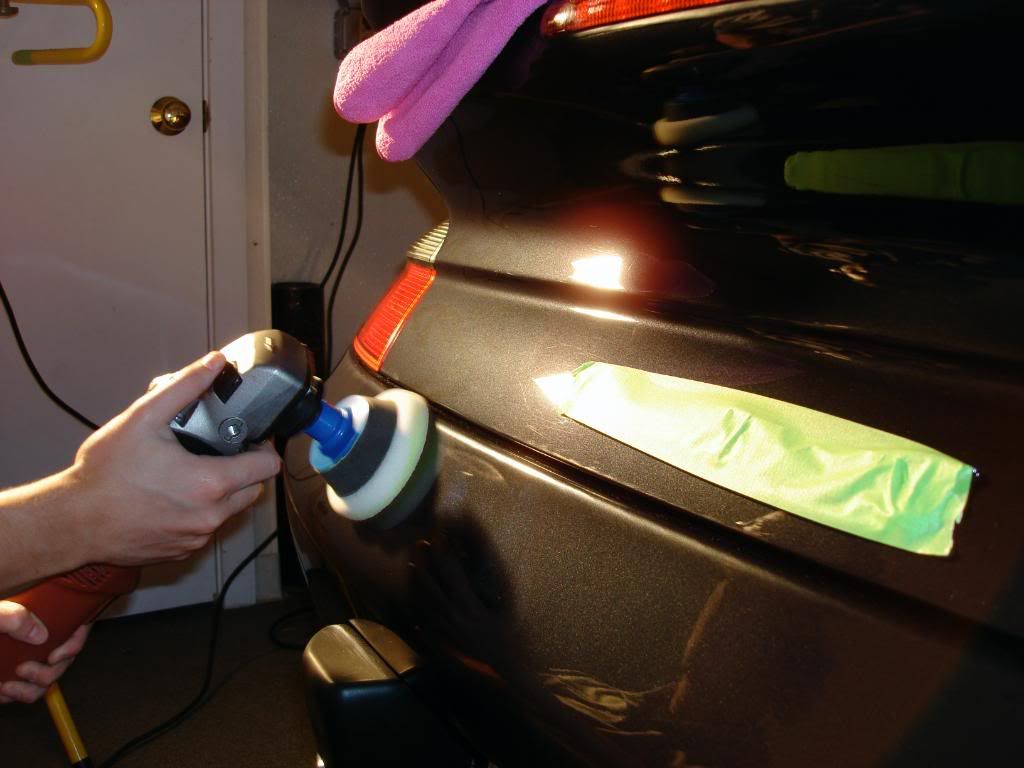
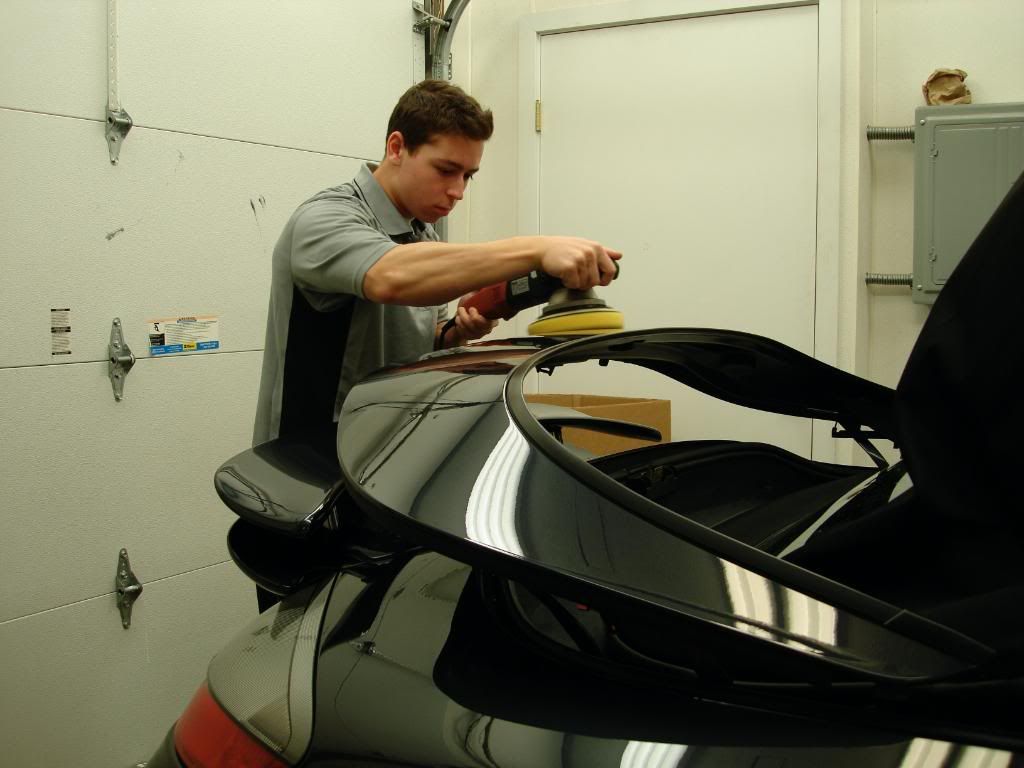
After a test spot I landed on a solid two step combo. The paint (as expected) was very sticky. First thing I grabbed for were my Gloss-It polishes and the Flex 3403... on the last 5 sticky paint porsches I have worked on the Gloss-it polishes have never failed me. I normally prefer to use the rotary but I was able to correct even the deeper defects on this one with the 3403 and a cutting pad, the rotary however was used for the finishing/jeweling stage in conjunction with EVP.
-Gloss-It Extreme cut w/ GI white fast cut foam pad (flex random)
-Gloss-It Evolution polish w/ DD blue finishing pad using Gloss-It EVP (makita/flex rotary)
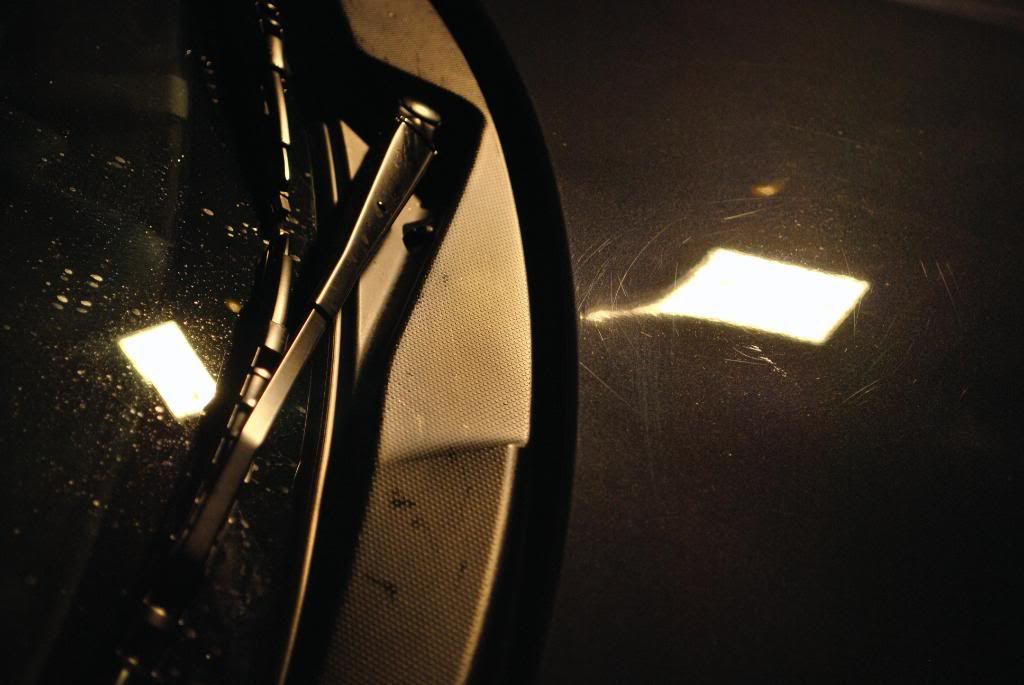
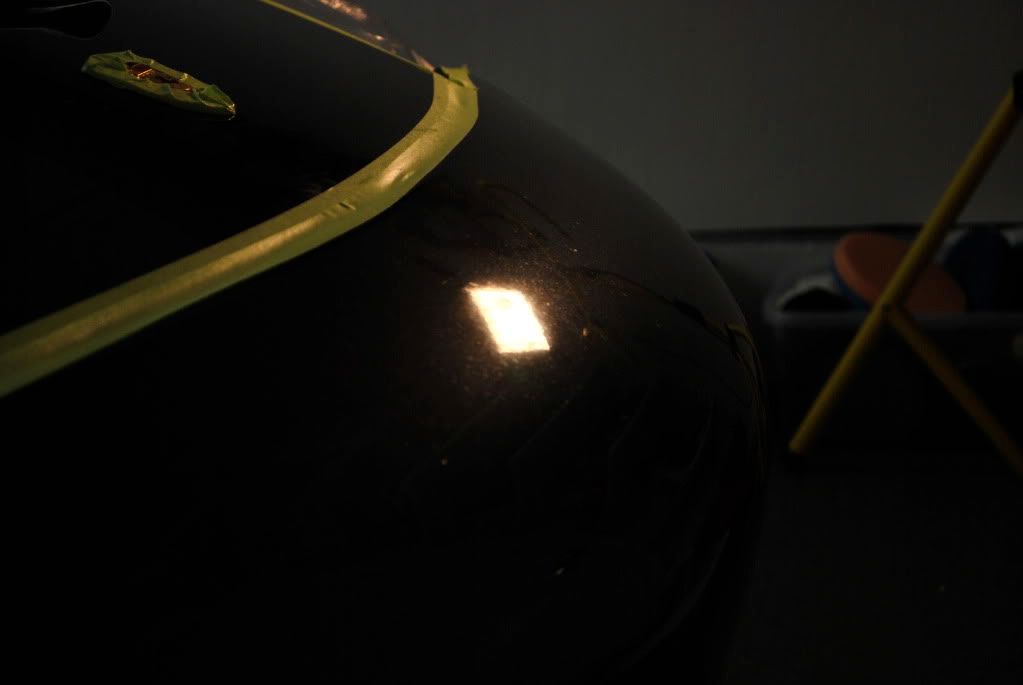
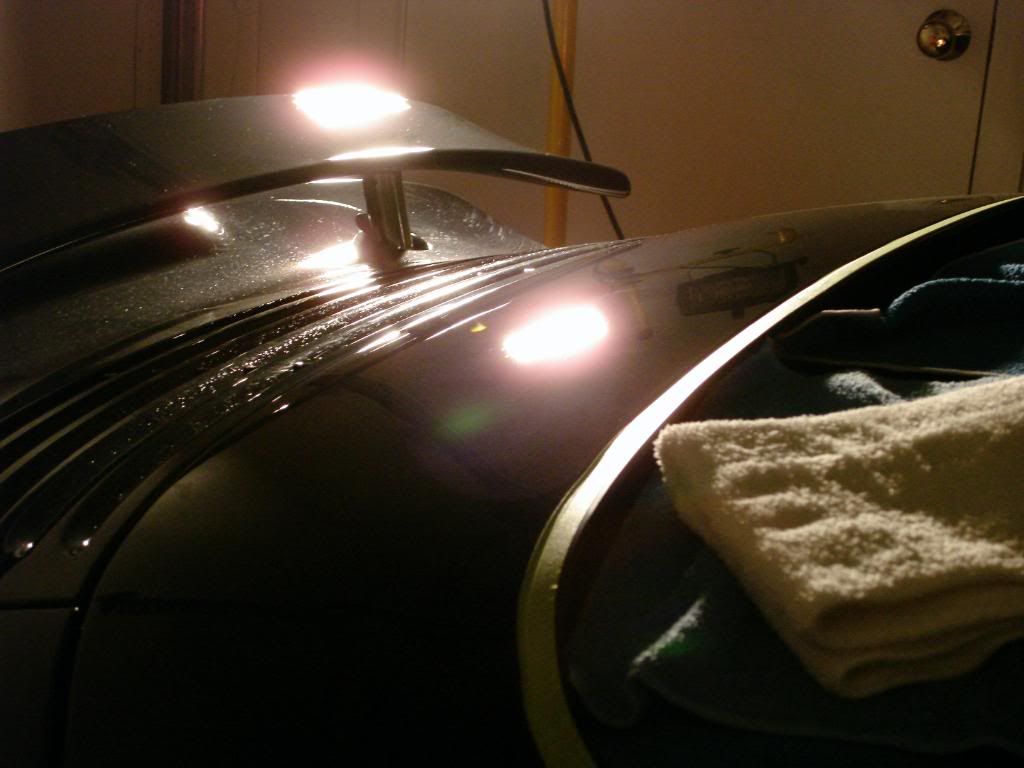
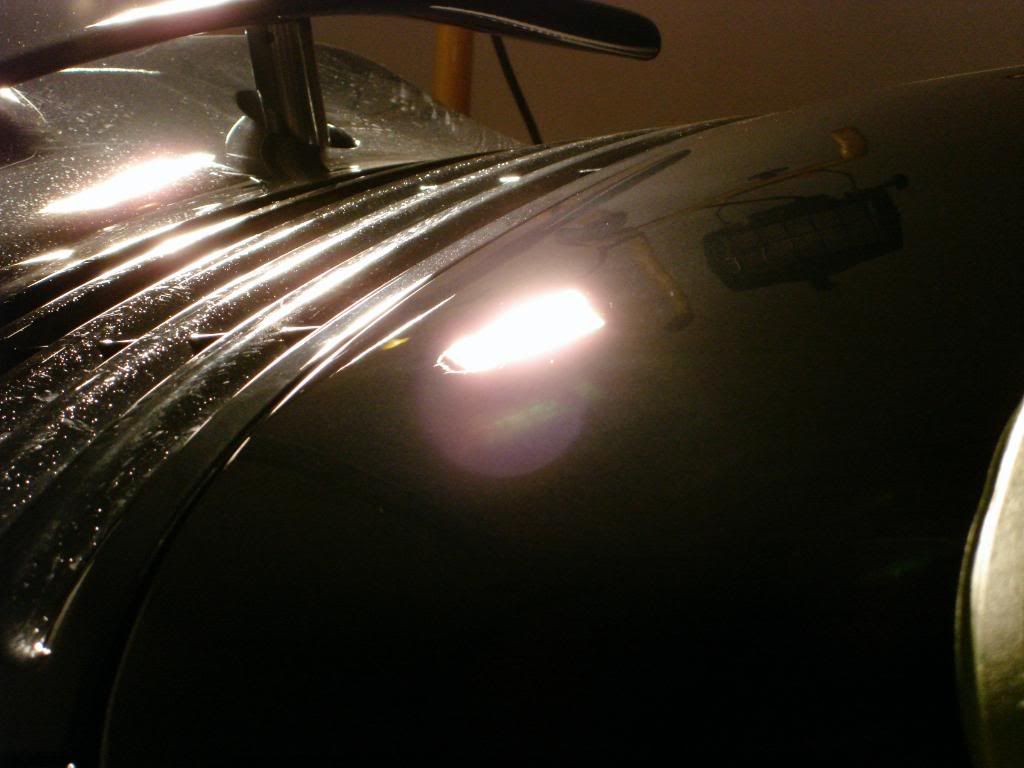
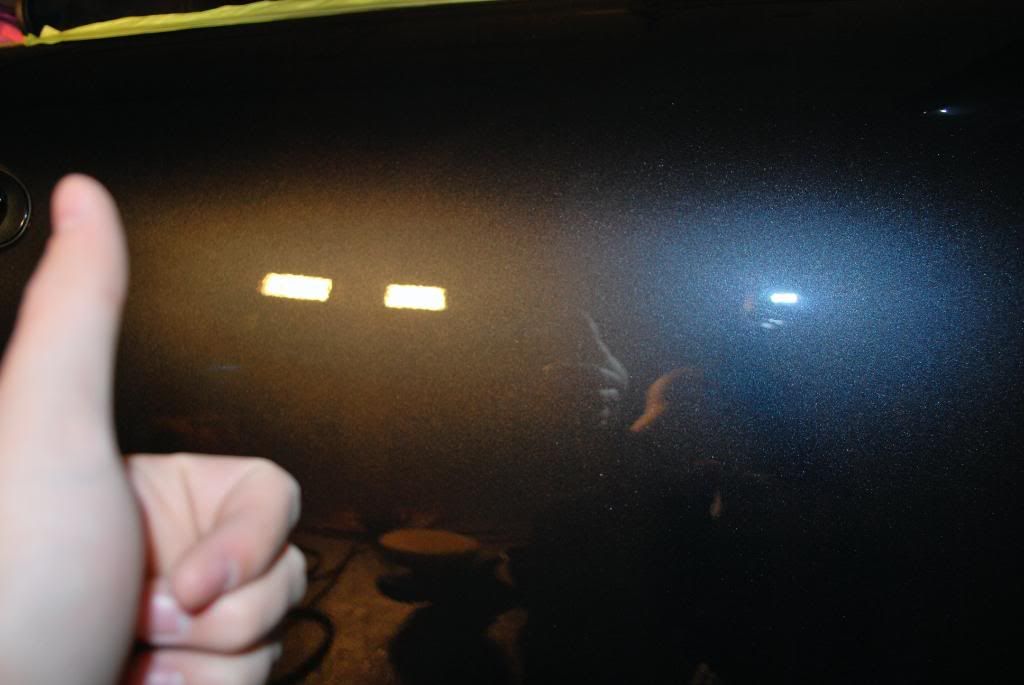
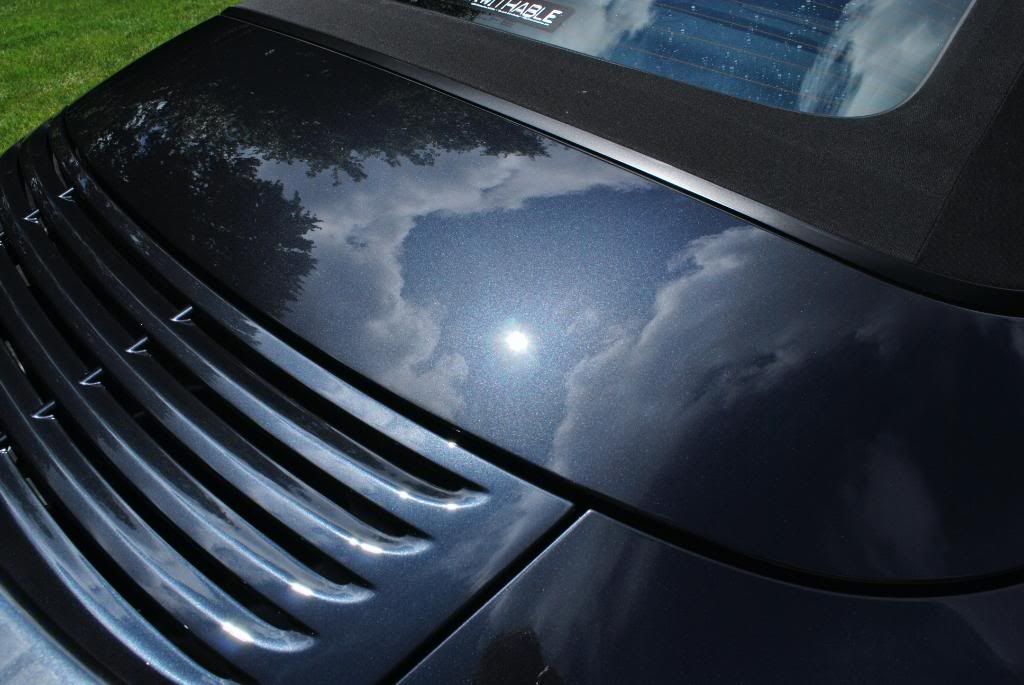
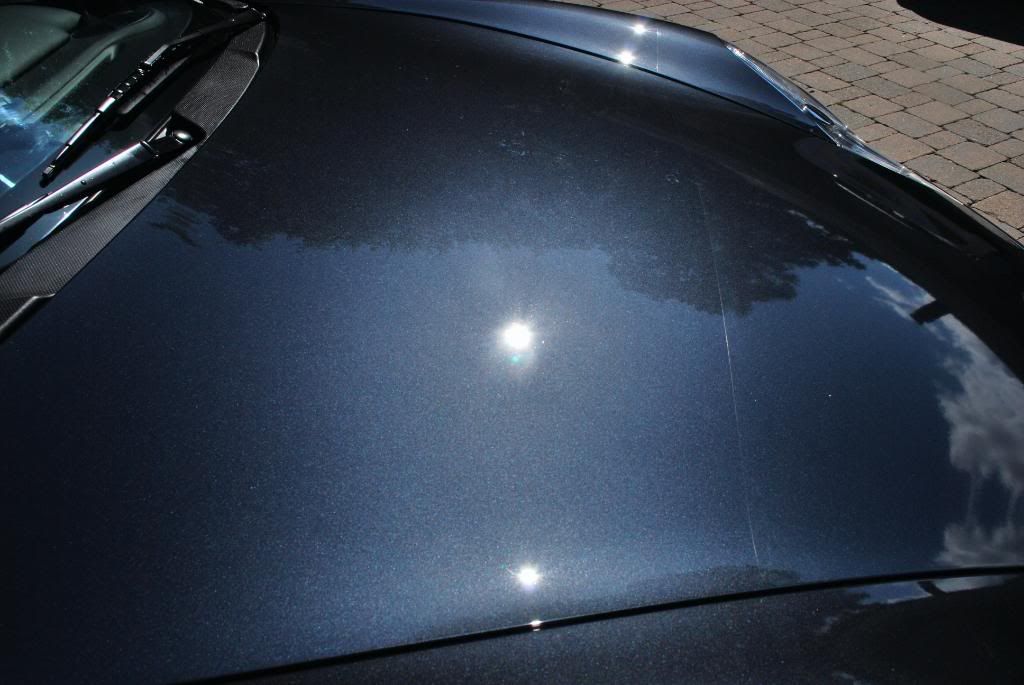
The hood under halogens, not much fine swirling but a lot of RID clusters
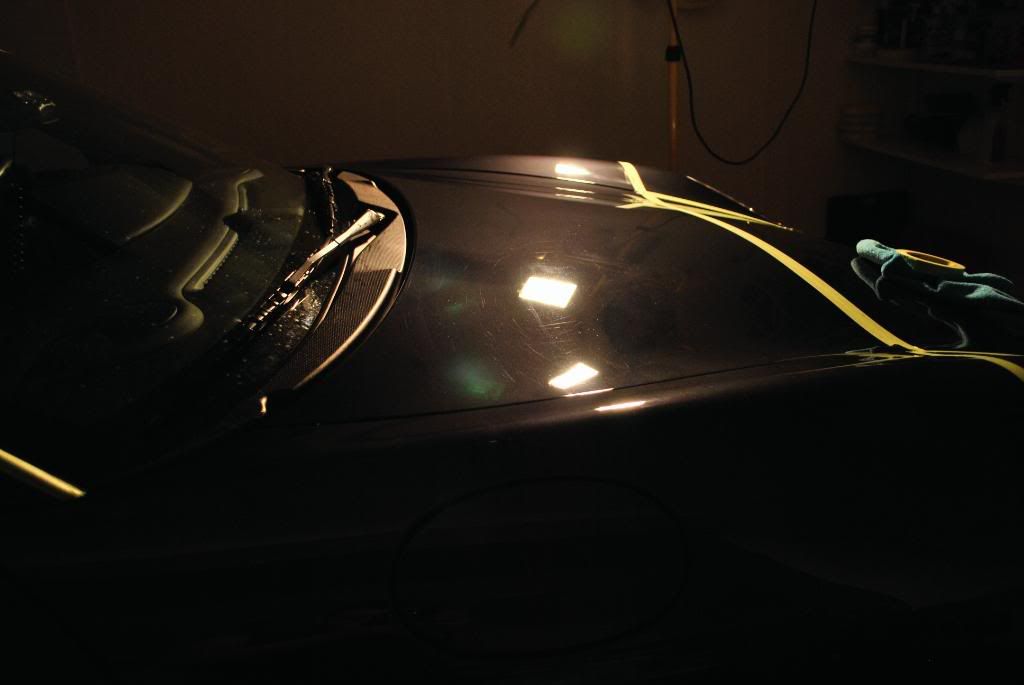
The hood required 2 hits with the extreme cut to remove all the defects
Before
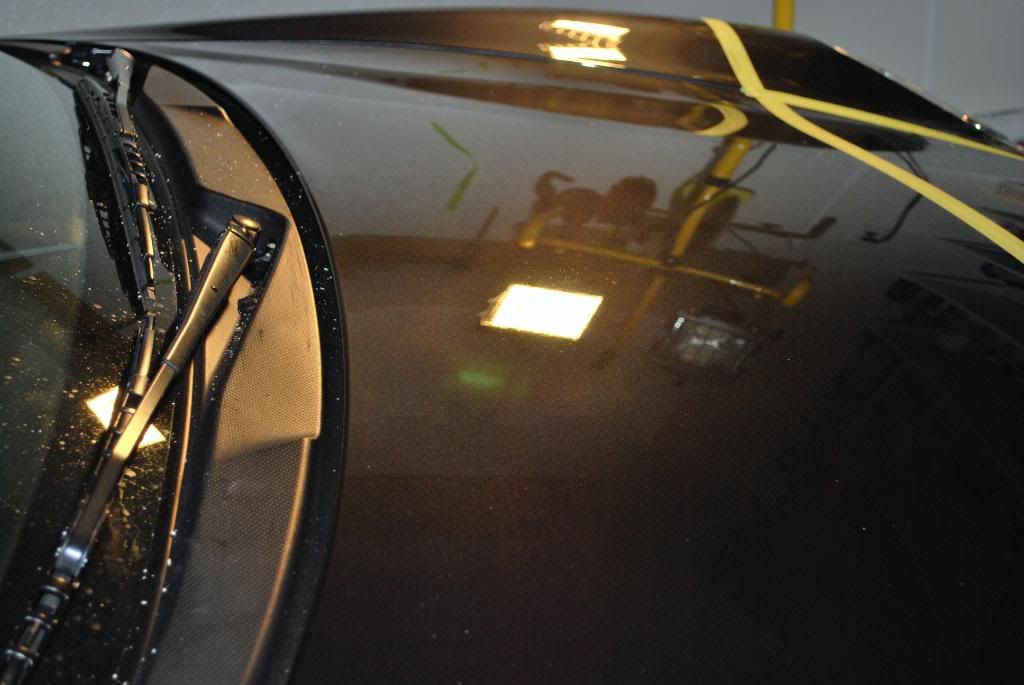
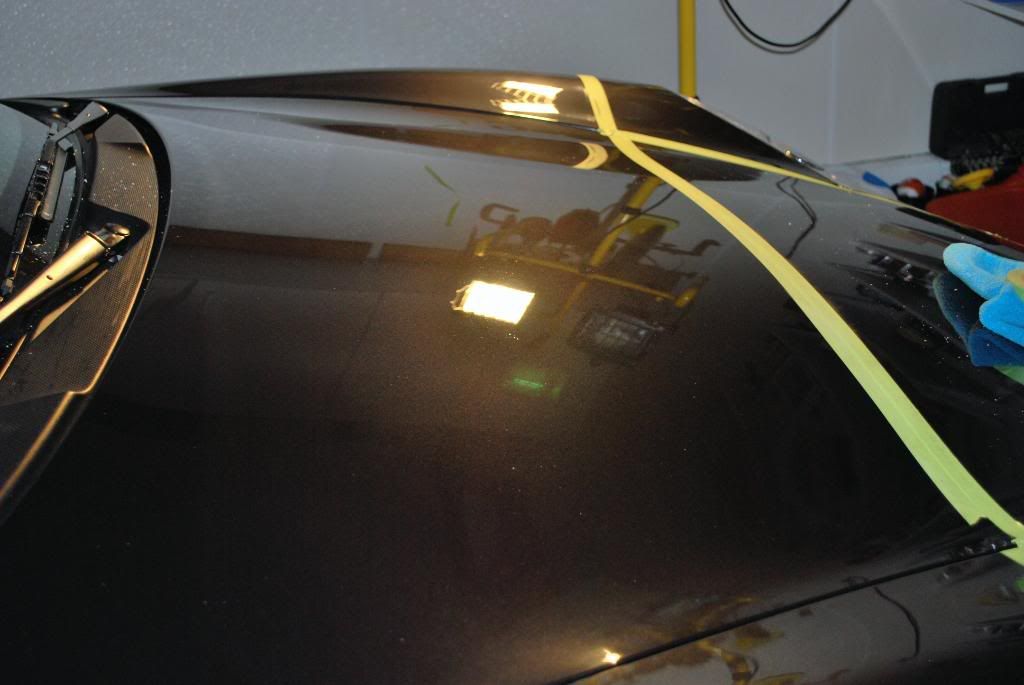
After
Closer up

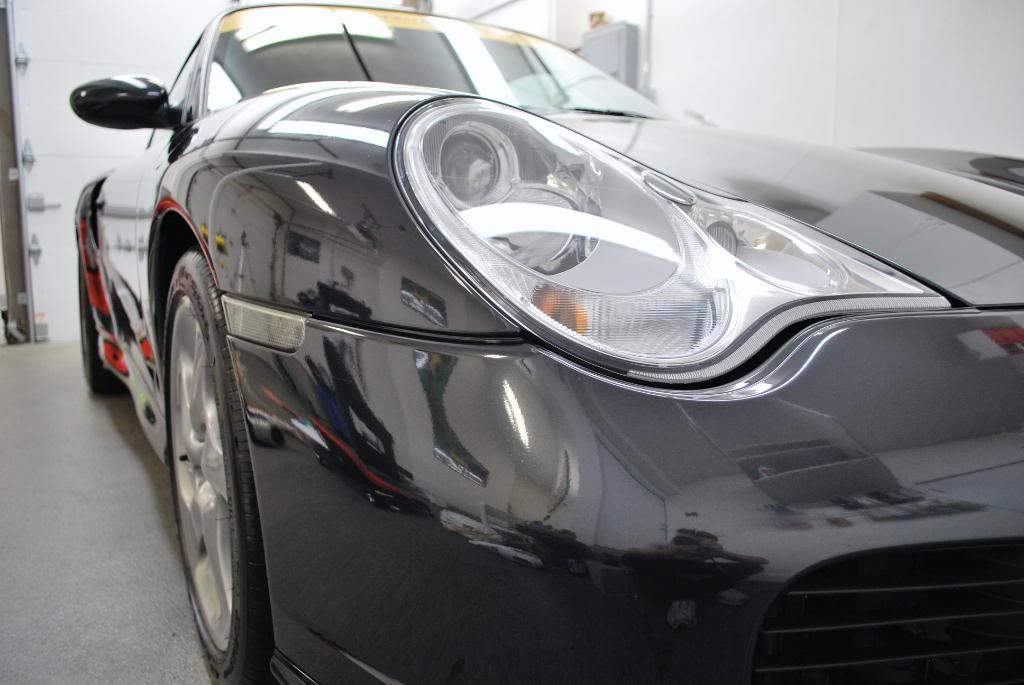
The entire front nose was protected with a clear bra. I started out with a very gentle polish and pad and moved up in aggressiveness as I found the deeper scratches were not being removed.
Here, using the makita, DD green med. polishing pad and evolution cut w/ a little extra GI EVP to keep the heat way down on the clear bra
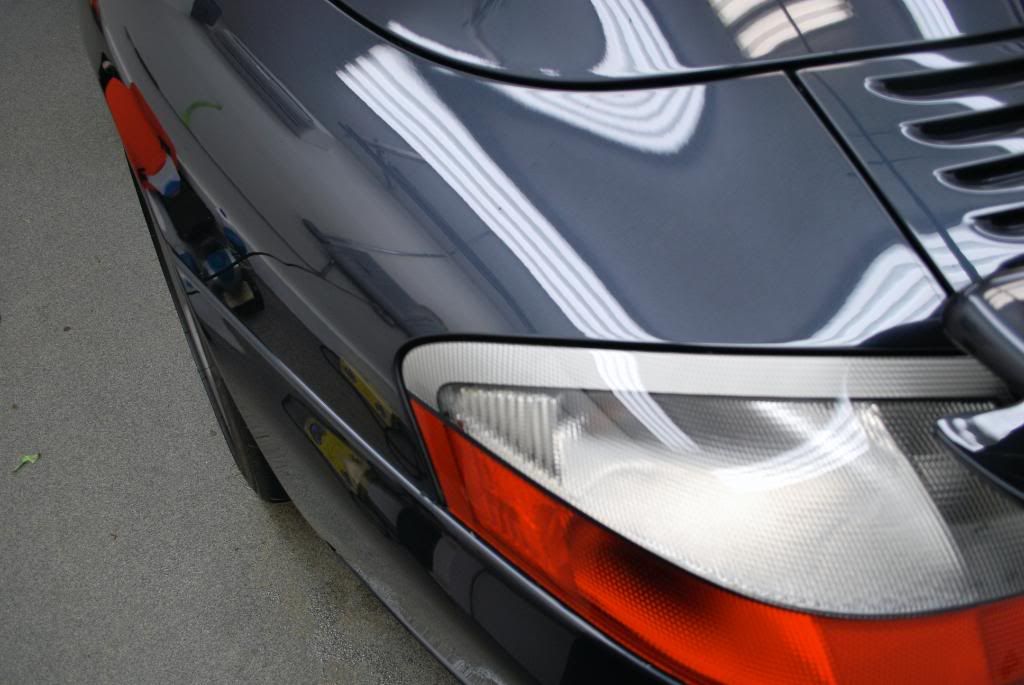
Clear bra after polishing
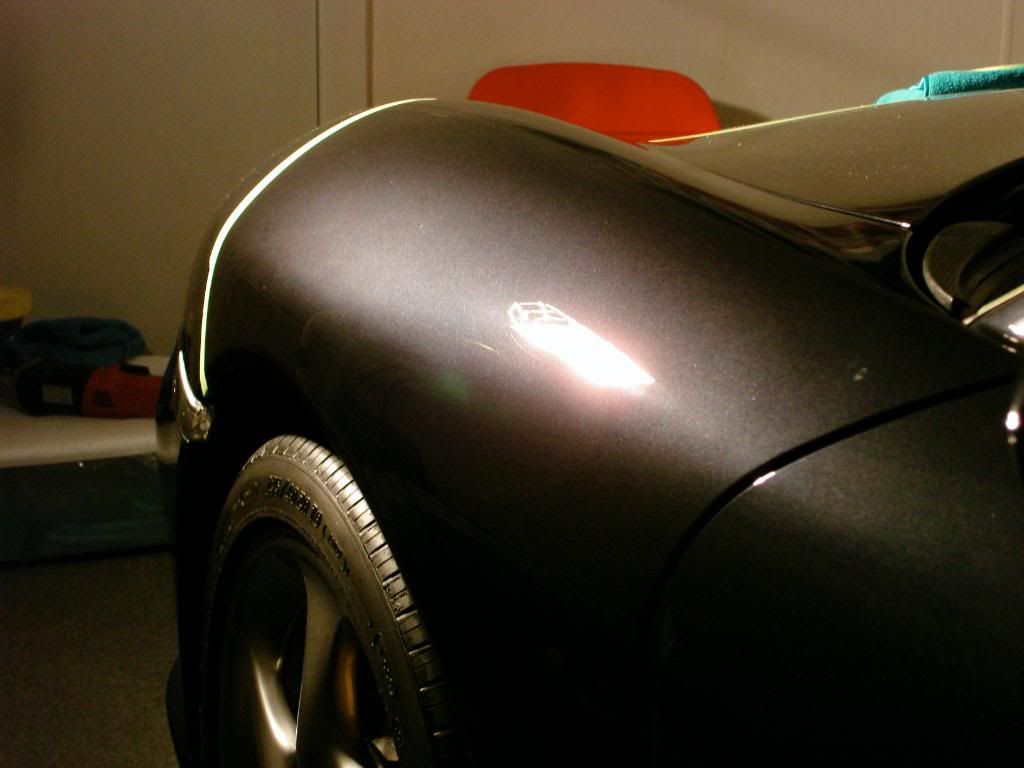
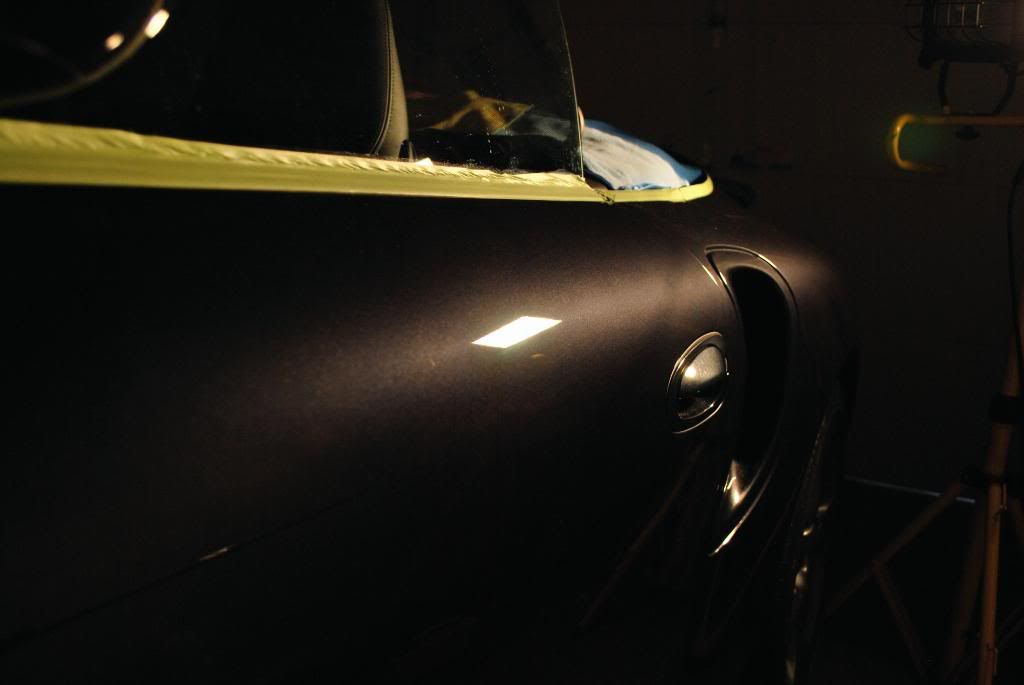
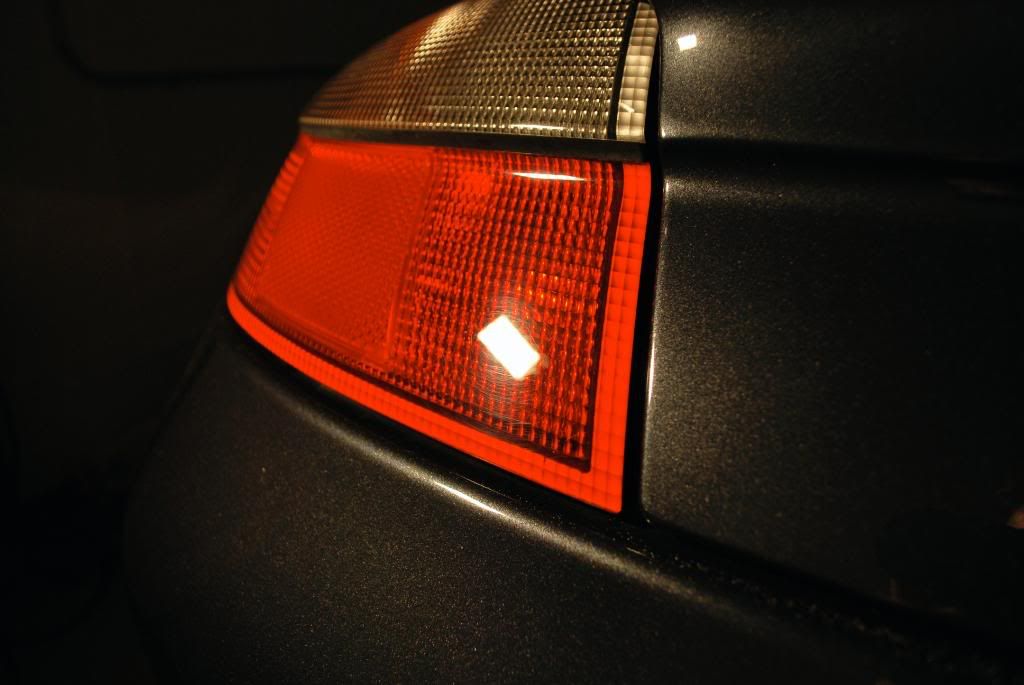
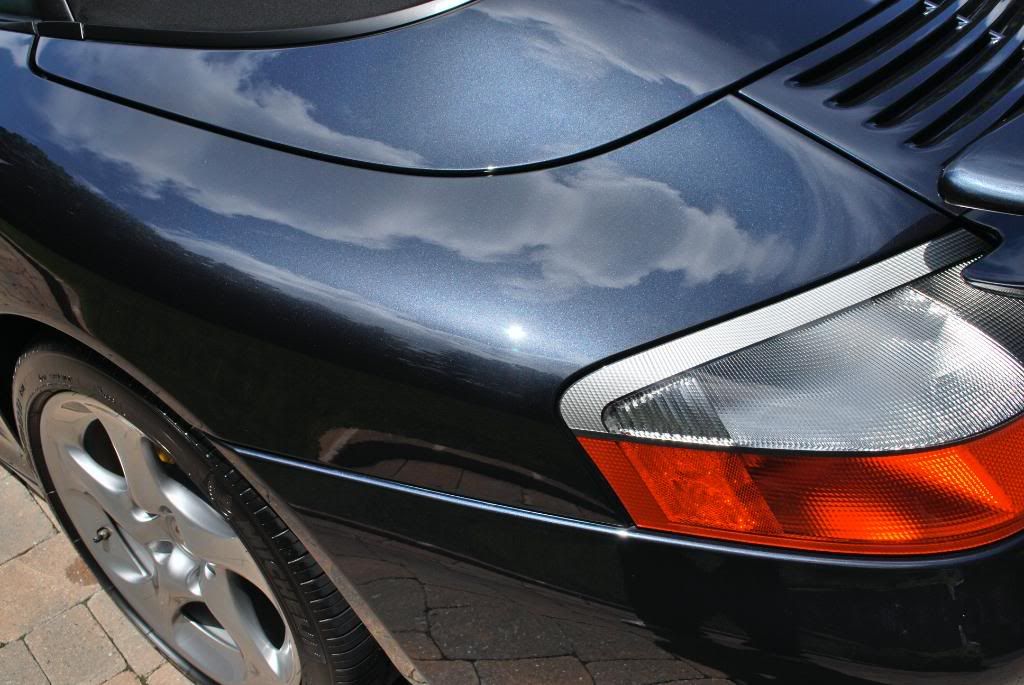
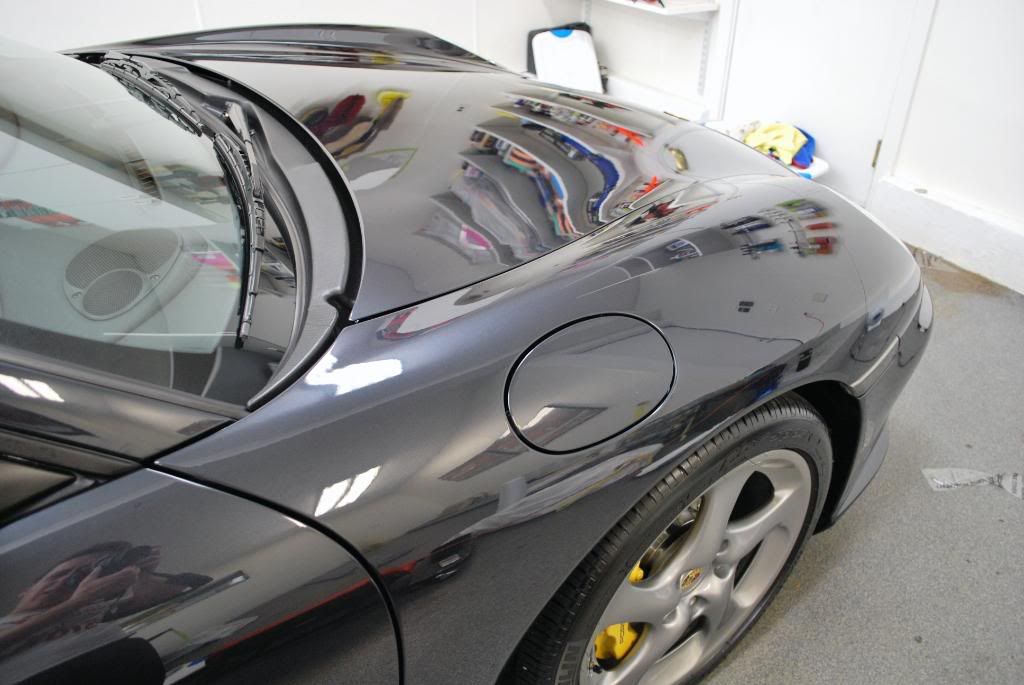
Moving around the rest of the car, front fender before correction

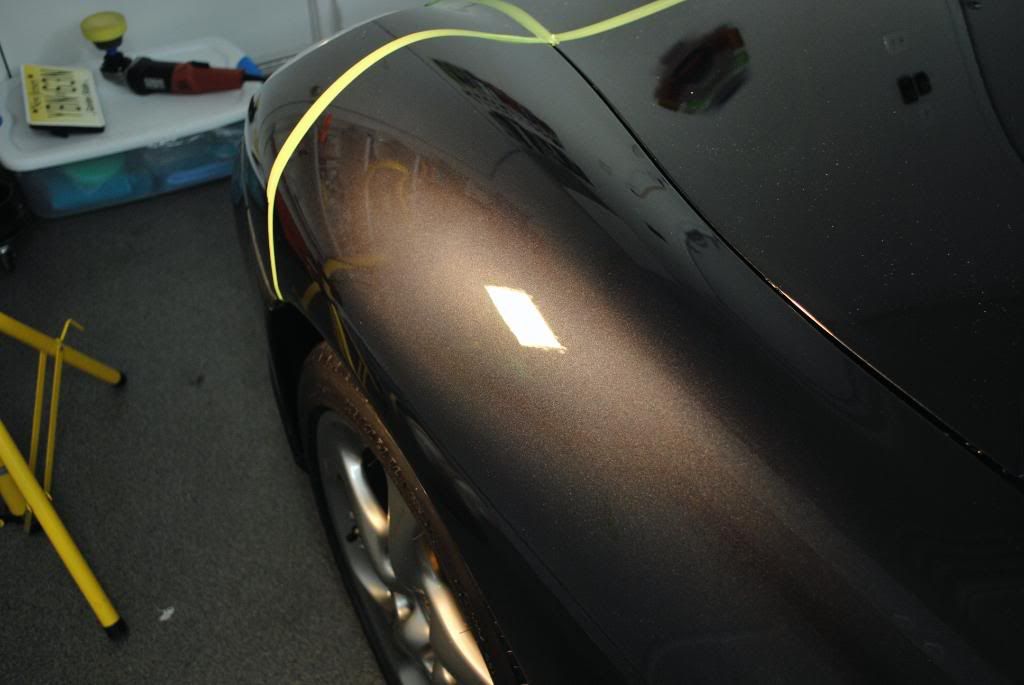
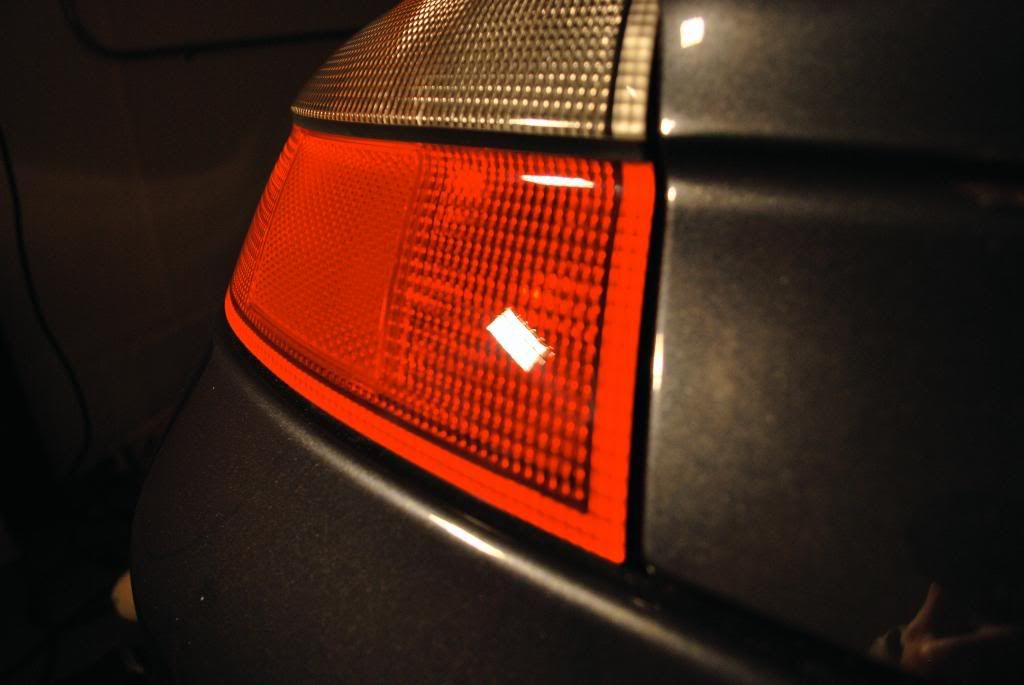
After 2 hits with GI extreme cut
50/50

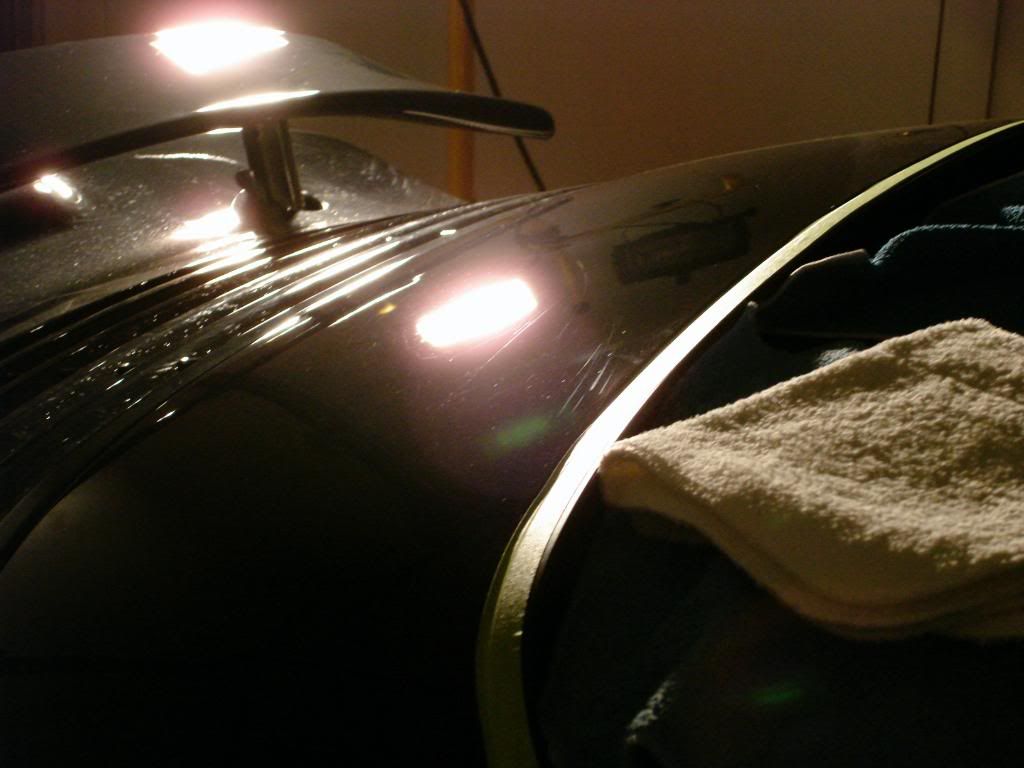
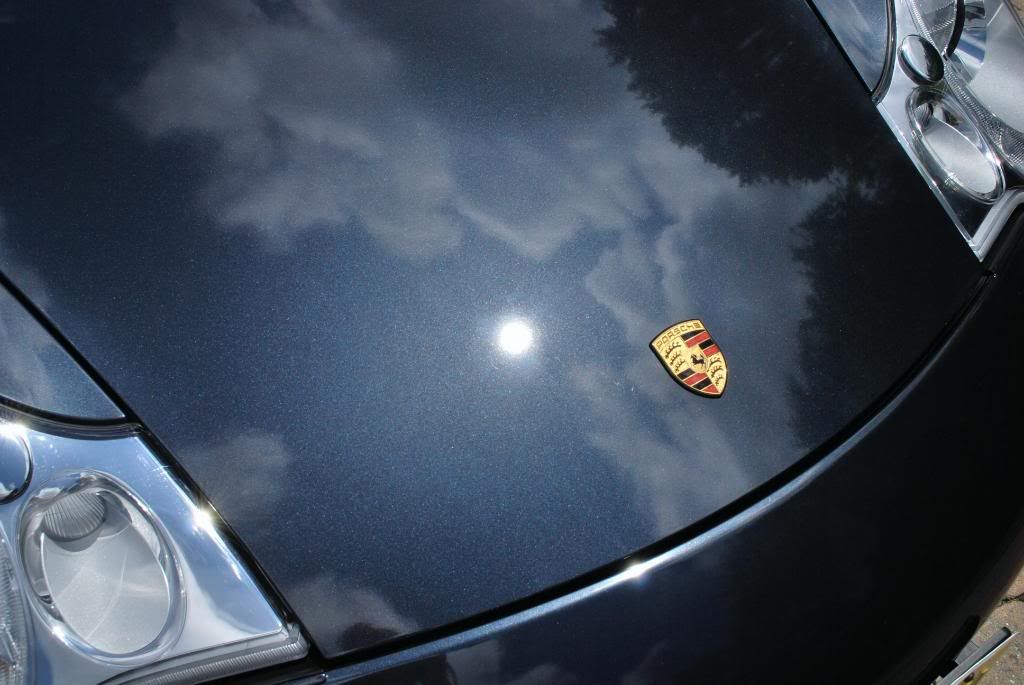
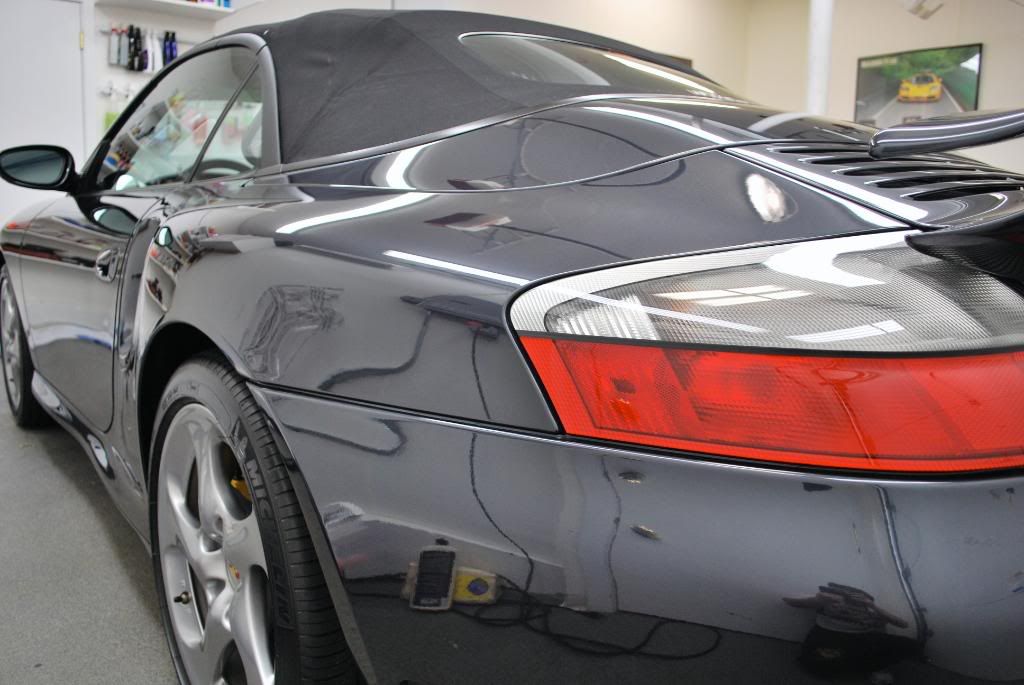
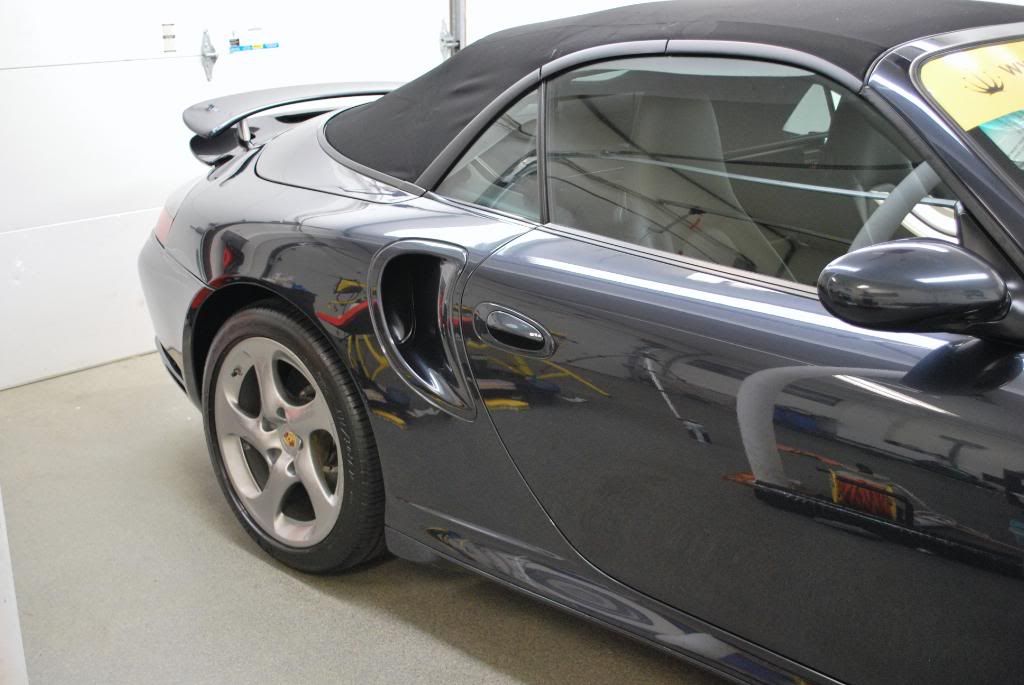
And after jeweling...
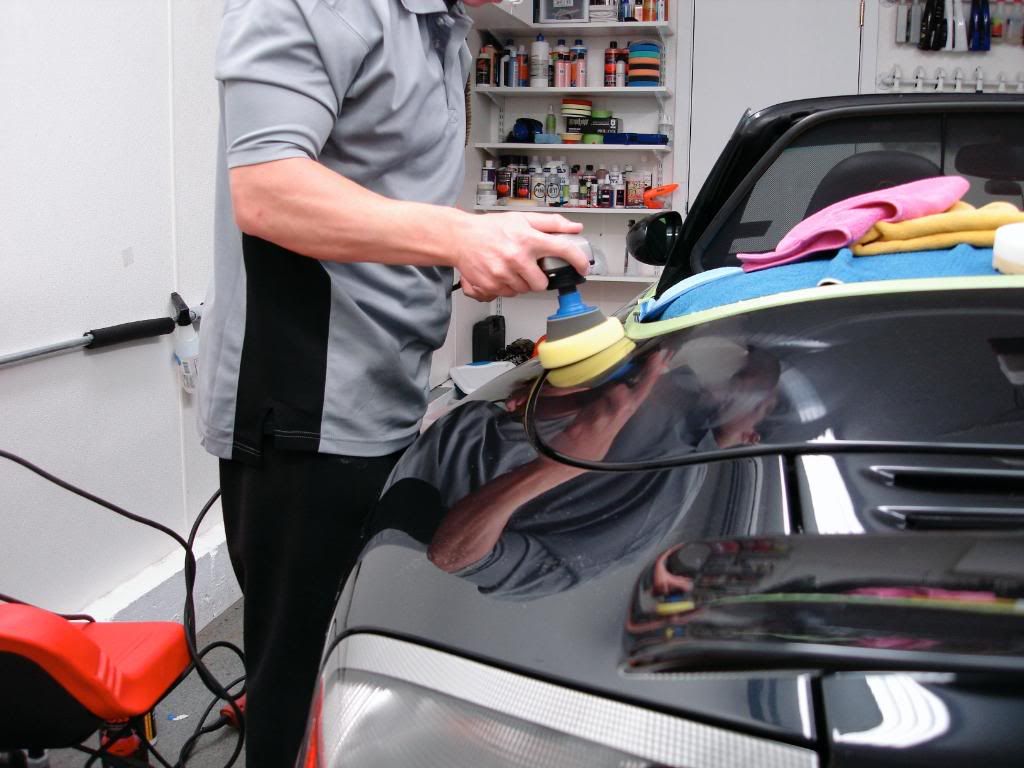
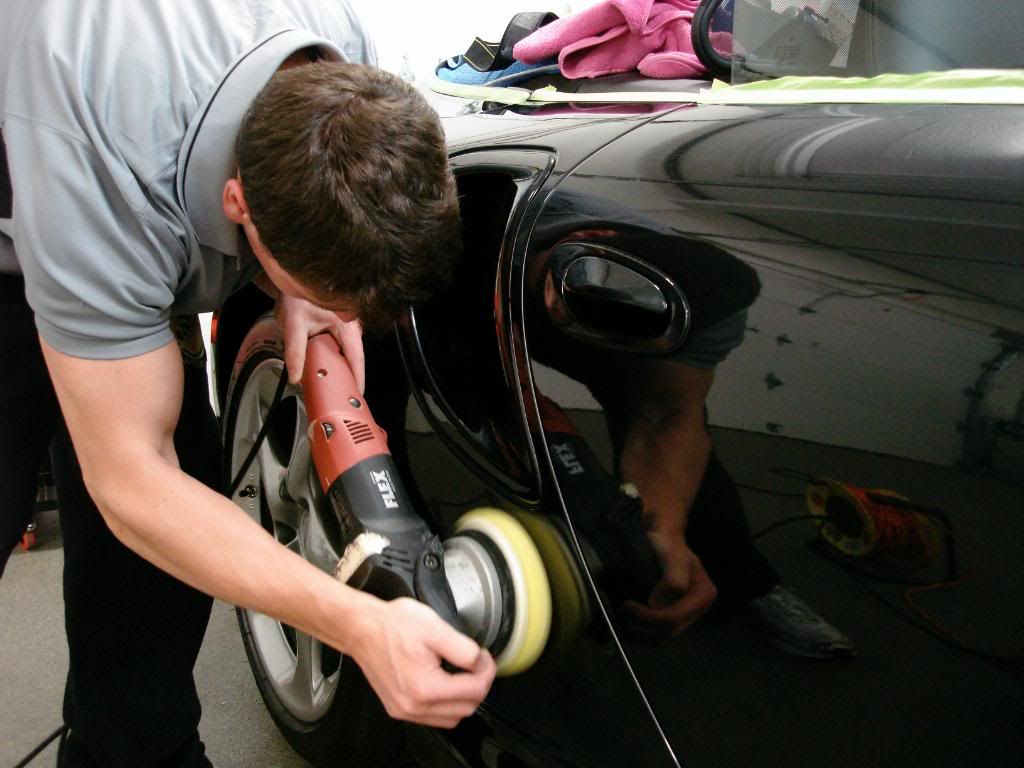
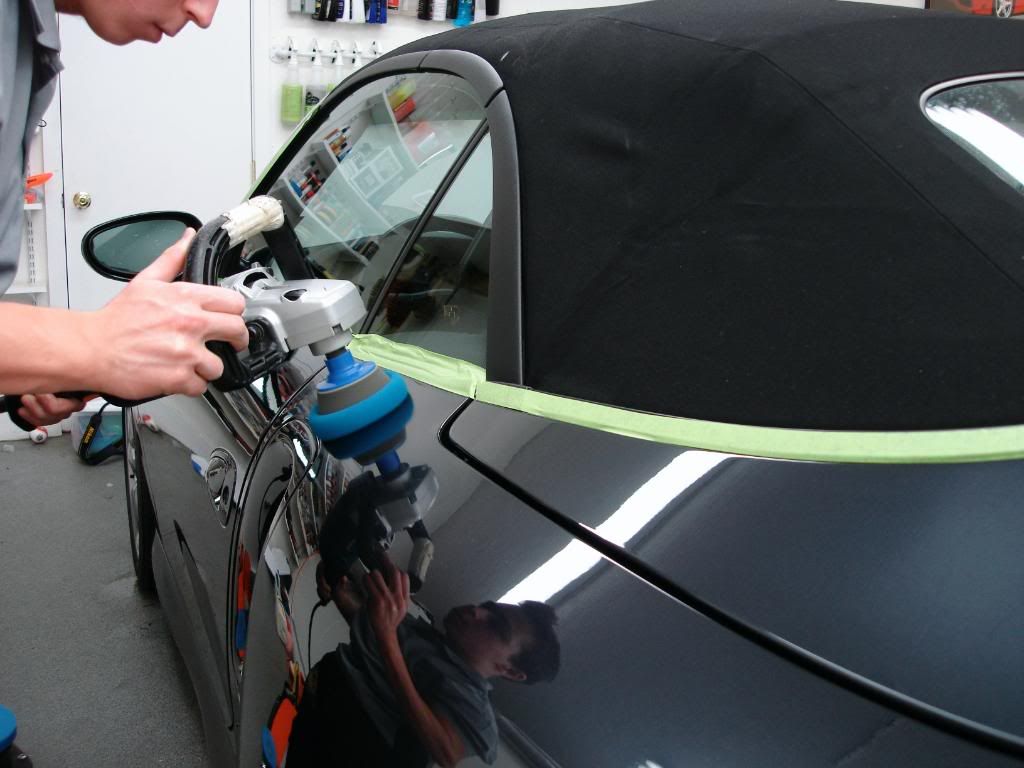
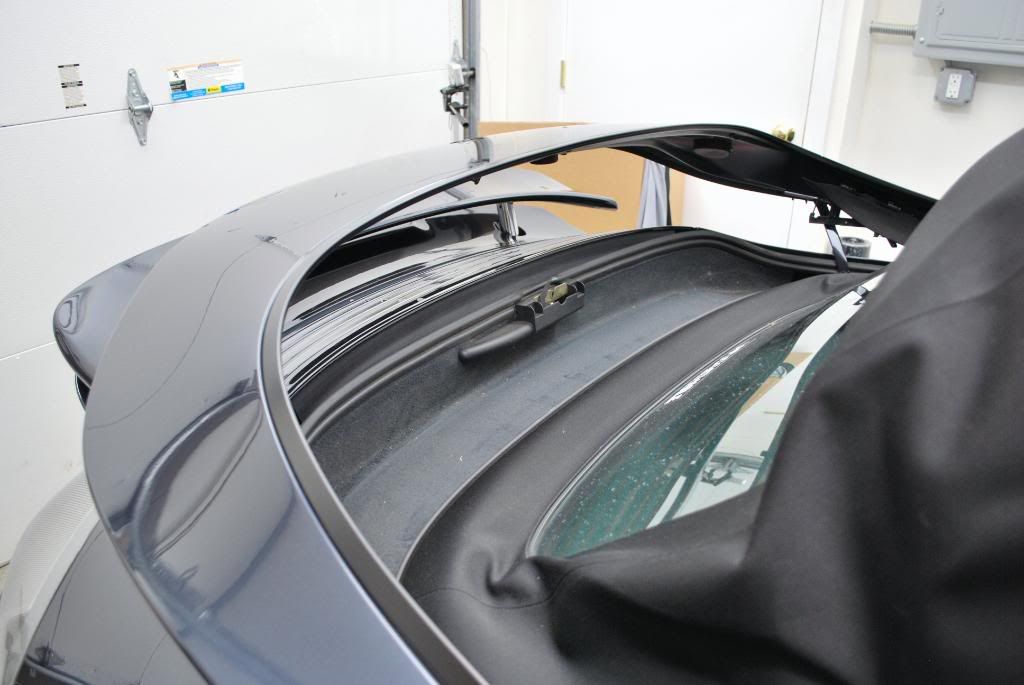
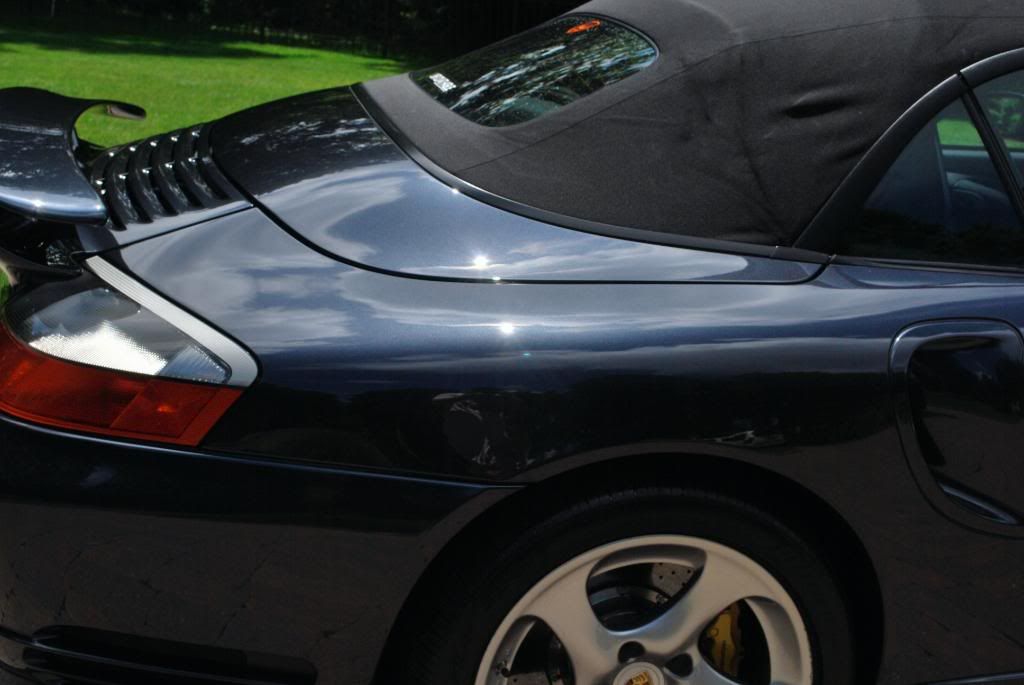
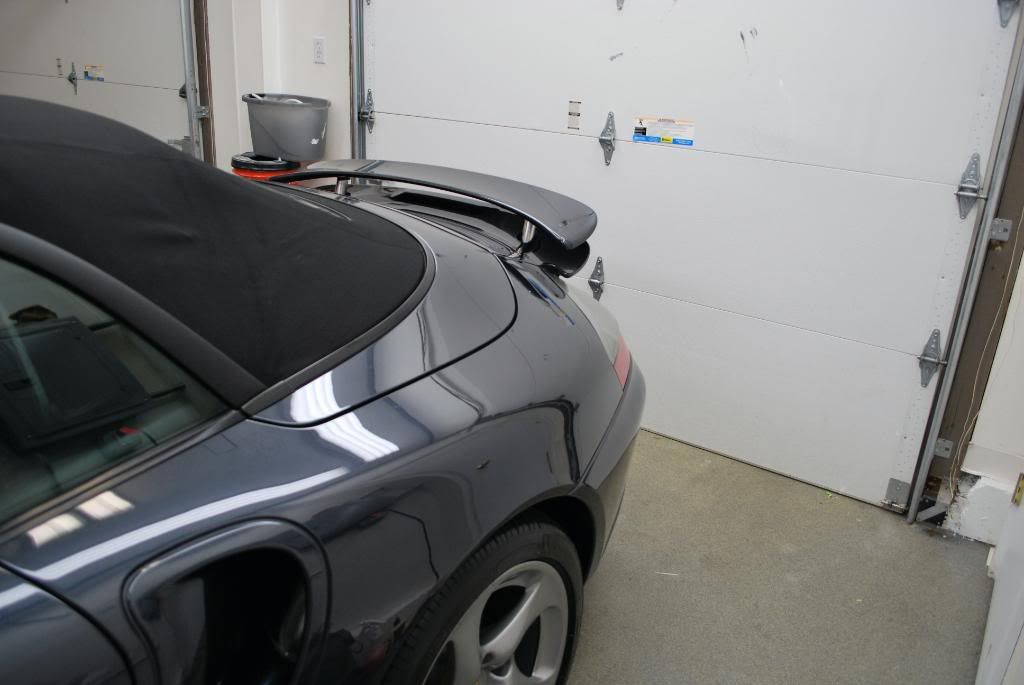
The area by the convertible top had some more severe defects, I immediately broke out the Flex rotary and 3" GI BP... the flex 3401 would not have fit in this area at all
The car is kept very clean, first thing I noticed was the lack of brake dust on the wheels. Even still a full cleaning had to be done to ensure everything was up to the standard.
Gloss it wheel gel was used at 5:1 :wow: Yep even at 5:1 you still get solid cleaning ability. Me working the daytona brush on the inner barrels. This car had the porsche factory carbon ceramic brake kit as well.
Some brake dust settled in the calipers, after a little agitation with the SV brush and wheel gel it lifted very easily.
The inner barrels had some tar deposits which were lifted using AS tardis. The tires were cleaned with ARO at full strength to remove the old tire dressing which was fairly thick. After that didnt remove it all i followed up with tarminator and scrubbed for a minute or so and the tires finally came clean.
Tardis doin' work...
After the wheels the wash process began. The paint was pre reinsed at medium presure to remove as much surface dirt as possible, a lot of people like to quickly rinse and then foam but I like to rinse at pressure for a long time before foaming
Foamed with the camspray at CG maxi suds mixed with CG citrus wash clear
After 5 minutes or so, one last rinse of the foam and then the 2 bucket wash. The car was wearing some sort of protection (spray wax) so again CG citrus wash clear was used to help remove it.
Before the 2 bucket wash all the crevices and emblems were agitated with APC 10:1. Trying to fully clean these areas after the car is dry is very difficult without marring the finish badly.
The engine was lightly cleaned using DI water in a pressurized sprayer, not a pressure washer. P-car engines have a lot of exposed wiring, intake etc so I'd rather not drench everything with water.
Before the final rinse I cleaned the ragtop with, uh... Raggtop:thumb: and a SV brush
Before the rain came I pulled the car inside for claying. A very mild clay was needed for this one, Sonus fine green worked well using ONR 6:1 as lubrication
After 1/4 of the car
After claying I did 2 IPA wipedowns to prep the paint for polishing, just in case the citrus wash clear did not remove all the old wax protection. The I took my paint readings, a little inconsistent for a Porsche but nothing too bad
Just to show you the difference bewteen paint thickness and clearbra thickness...
Paint
Clearbra
All trim areas were then taped off
After a test spot I landed on a solid two step combo. The paint (as expected) was very sticky. First thing I grabbed for were my Gloss-It polishes and the Flex 3403... on the last 5 sticky paint porsches I have worked on the Gloss-it polishes have never failed me. I normally prefer to use the rotary but I was able to correct even the deeper defects on this one with the 3403 and a cutting pad, the rotary however was used for the finishing/jeweling stage in conjunction with EVP.
-Gloss-It Extreme cut w/ GI white fast cut foam pad (flex random)
-Gloss-It Evolution polish w/ DD blue finishing pad using Gloss-It EVP (makita/flex rotary)
The hood under halogens, not much fine swirling but a lot of RID clusters
The hood required 2 hits with the extreme cut to remove all the defects
Before
After
Closer up
The entire front nose was protected with a clear bra. I started out with a very gentle polish and pad and moved up in aggressiveness as I found the deeper scratches were not being removed.
Here, using the makita, DD green med. polishing pad and evolution cut w/ a little extra GI EVP to keep the heat way down on the clear bra
Clear bra after polishing
Moving around the rest of the car, front fender before correction
After 2 hits with GI extreme cut
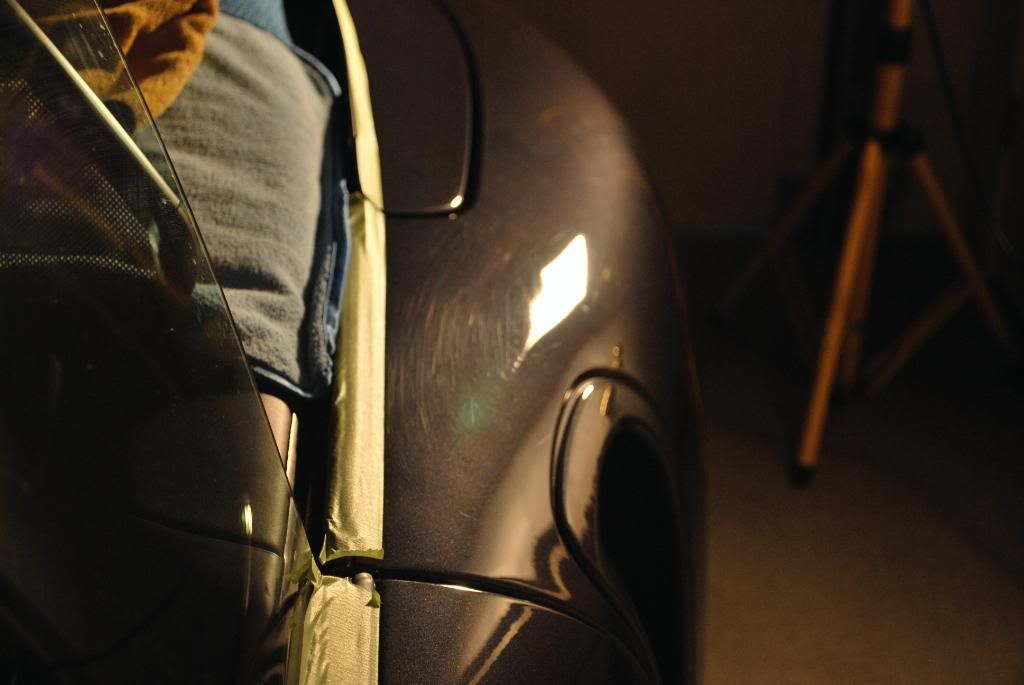
50/50
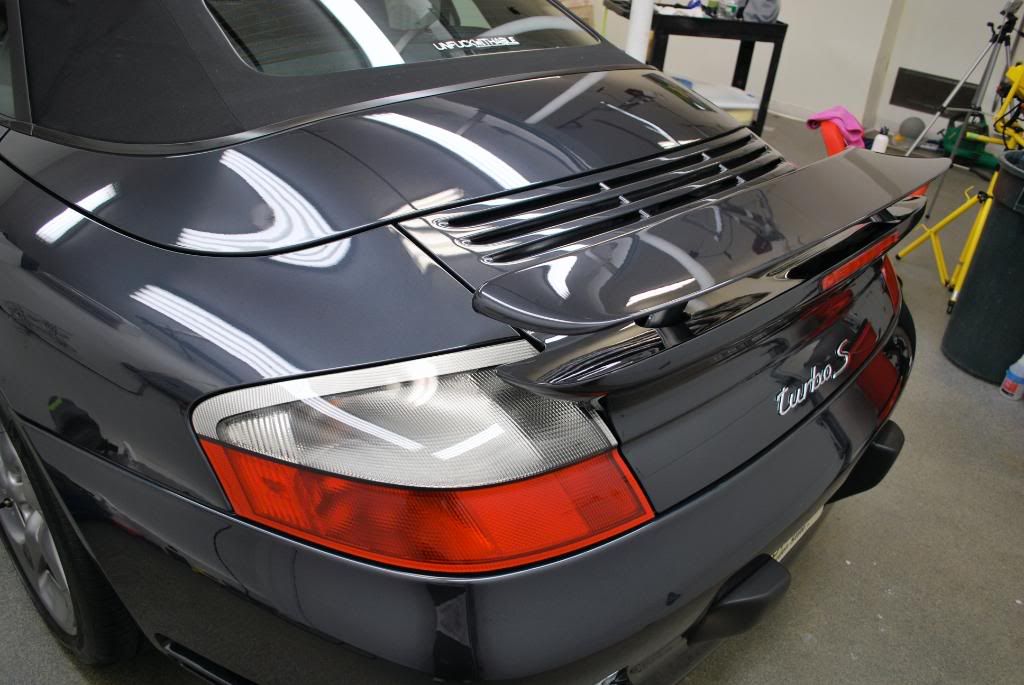
And after jeweling...
The area by the convertible top had some more severe defects, I immediately broke out the Flex rotary and 3" GI BP... the flex 3401 would not have fit in this area at all


")