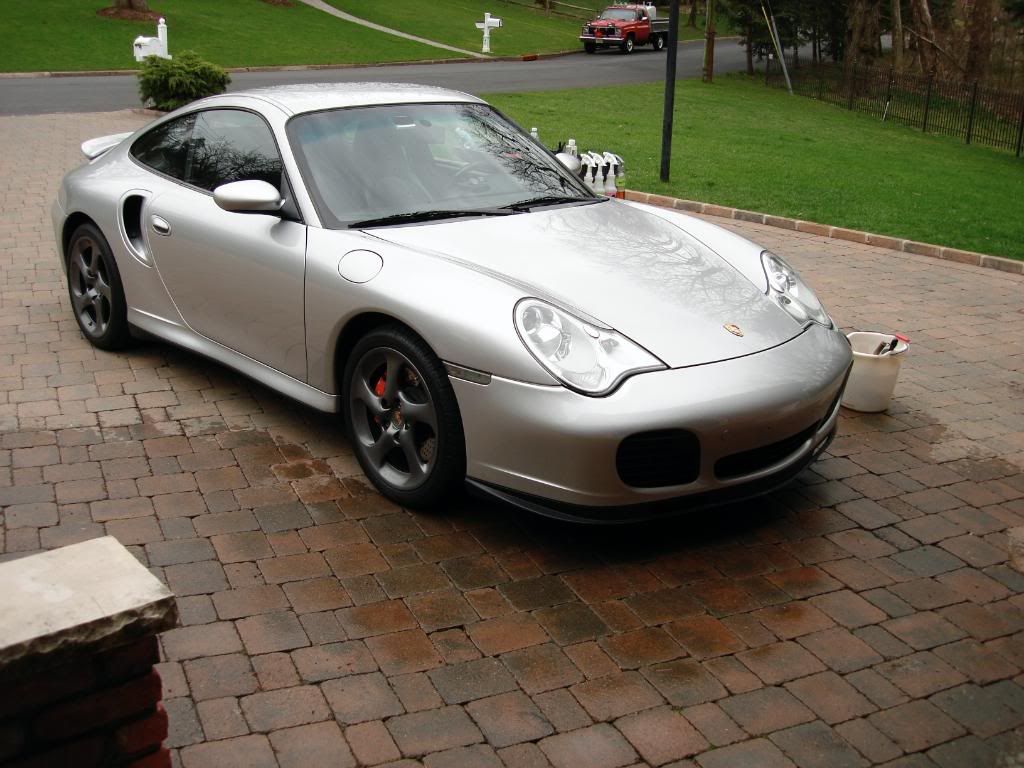
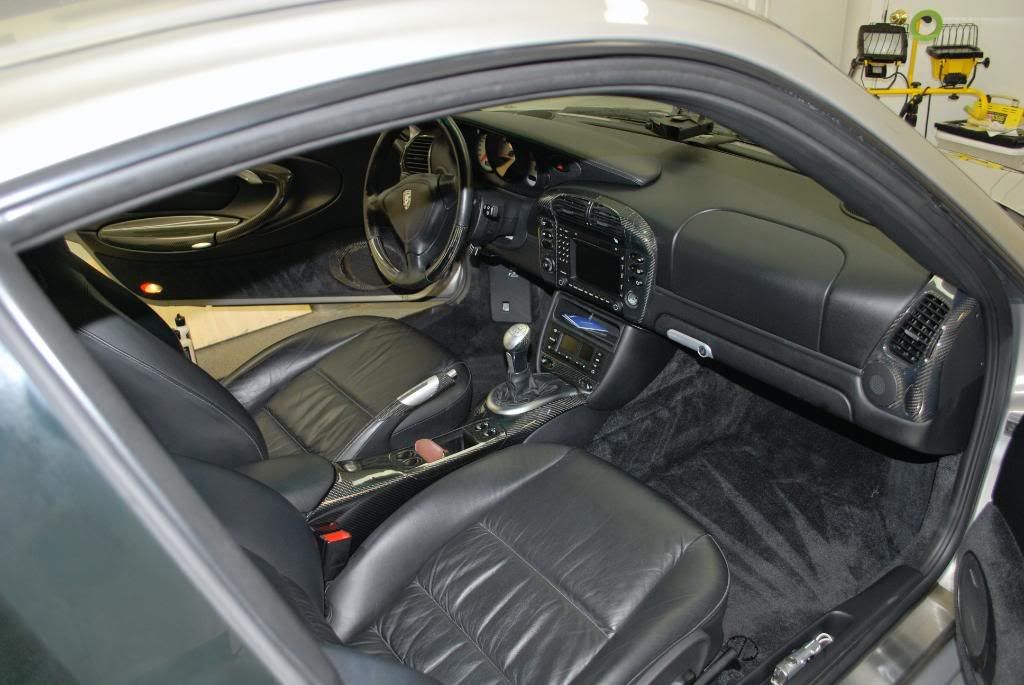
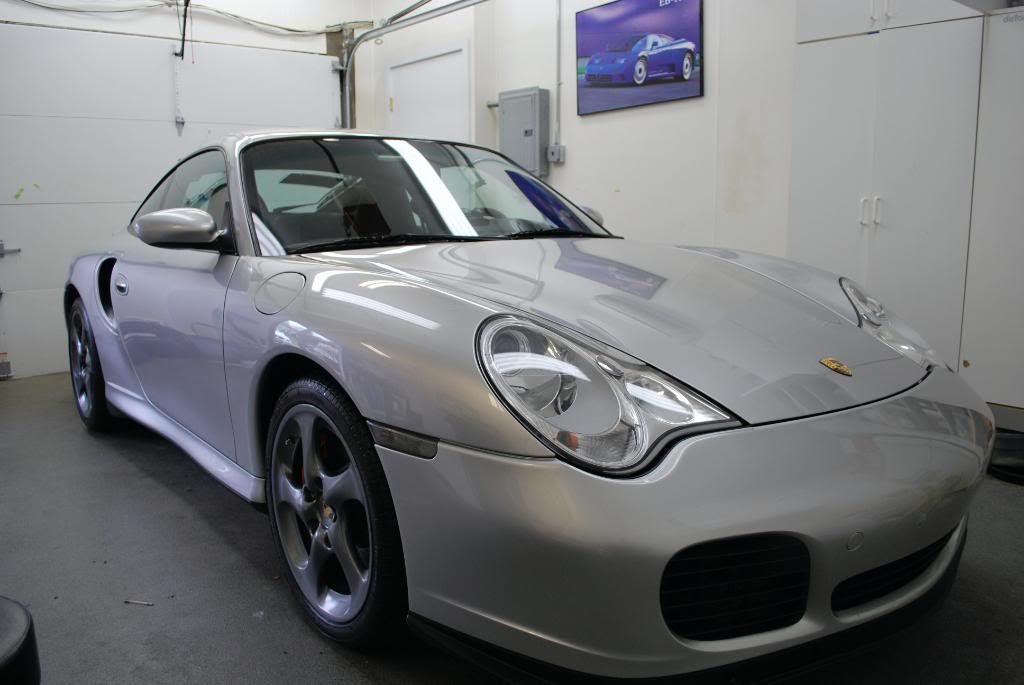
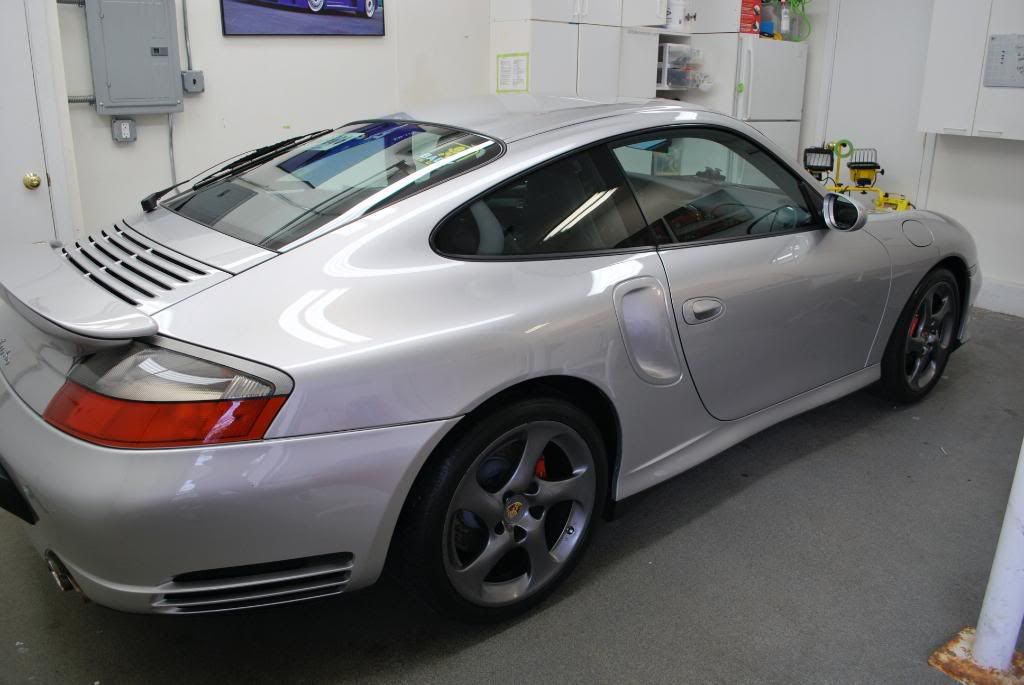
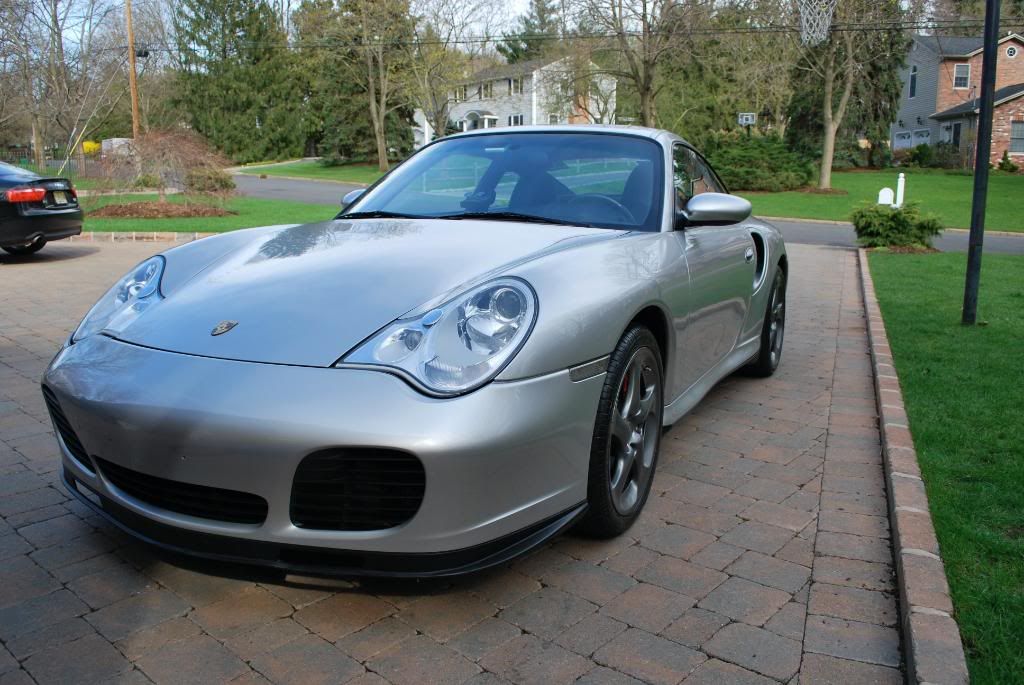
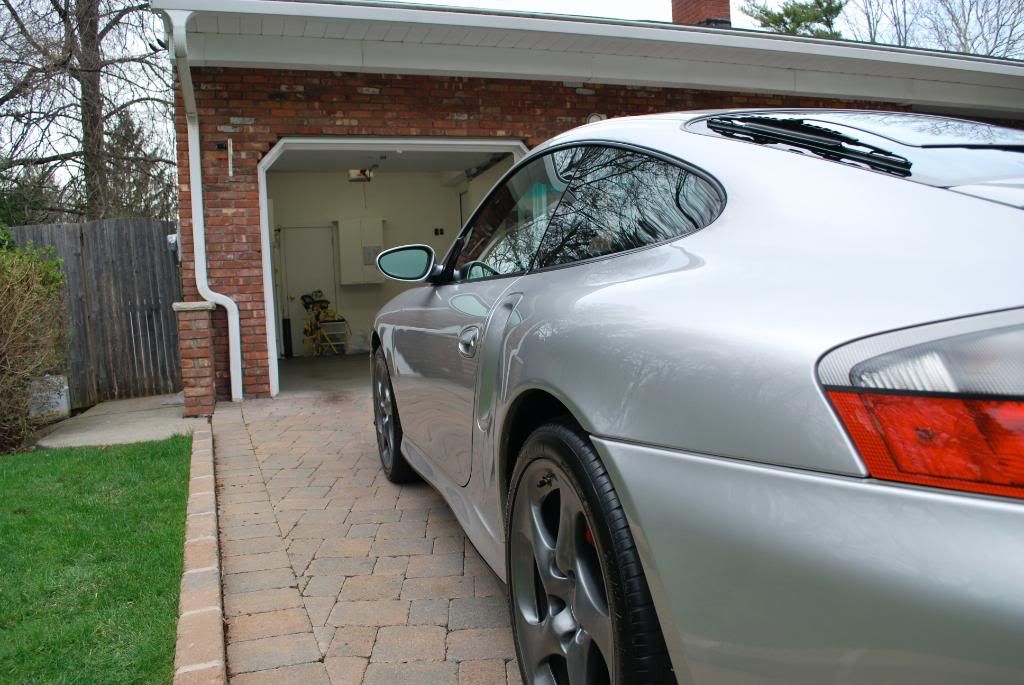
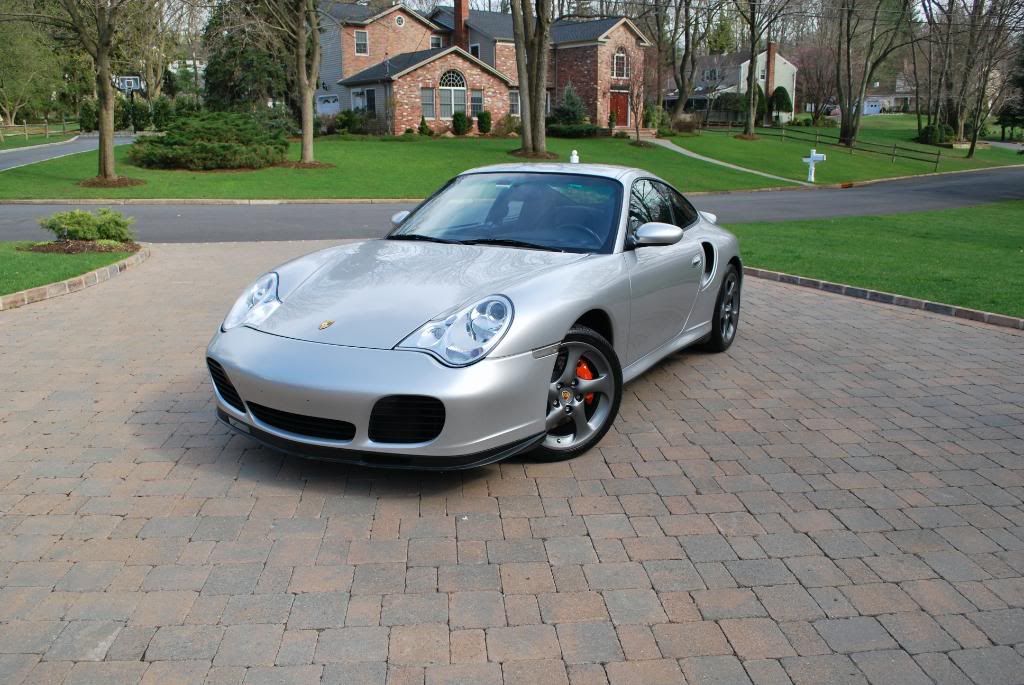
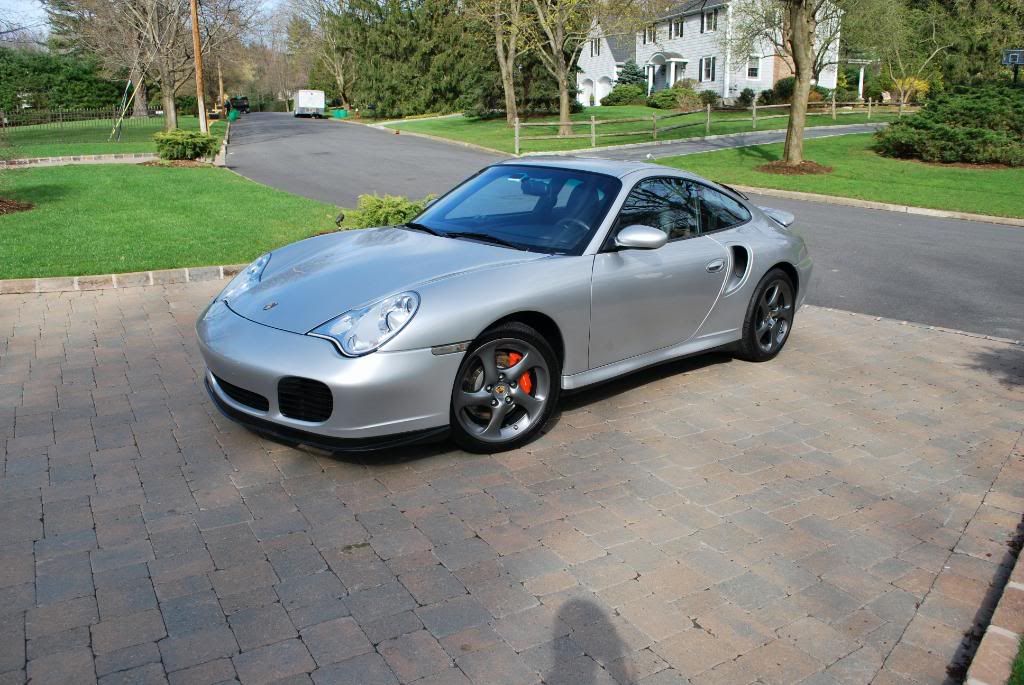
2003 996 turbo booked for a 2 day extensive detail
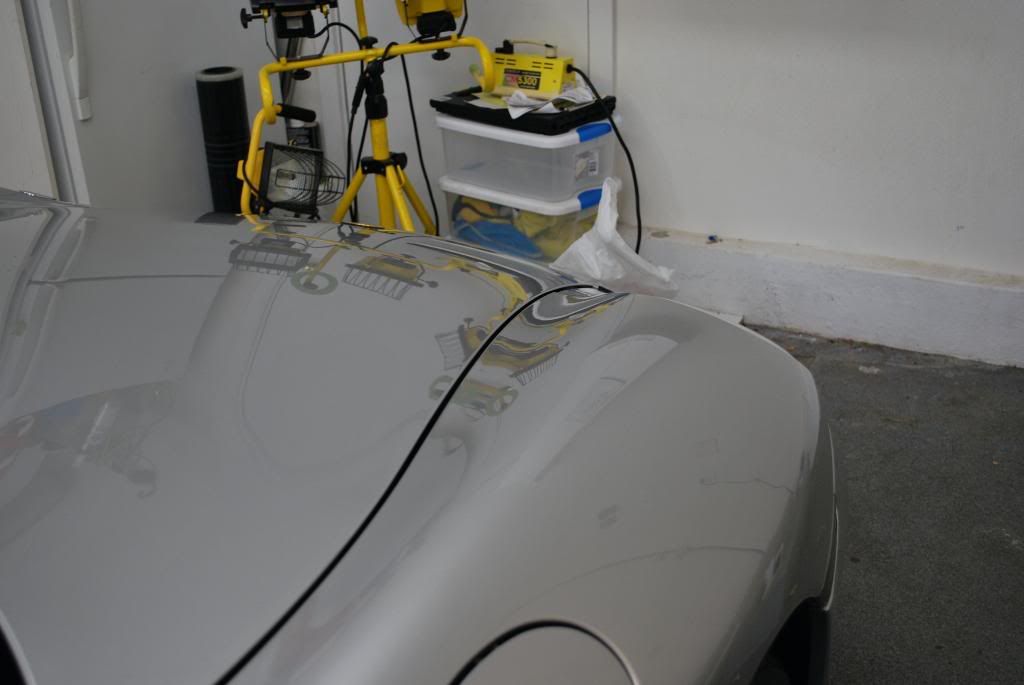
Upon arrival: no wash process pics sorry
Maxi suds foam
CWC 2BM
Gloss-It green mild clay
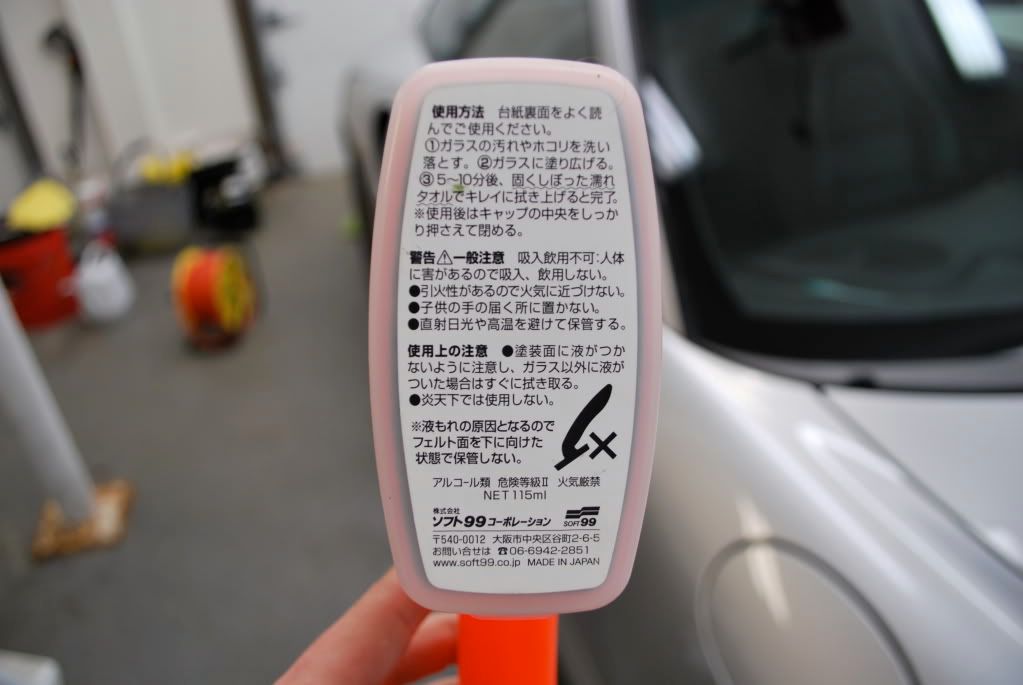
Gloss-It wheel gel 1:1
Megs APC 3:1
Stoners Tarminator (tires)
Autosmart Tardis
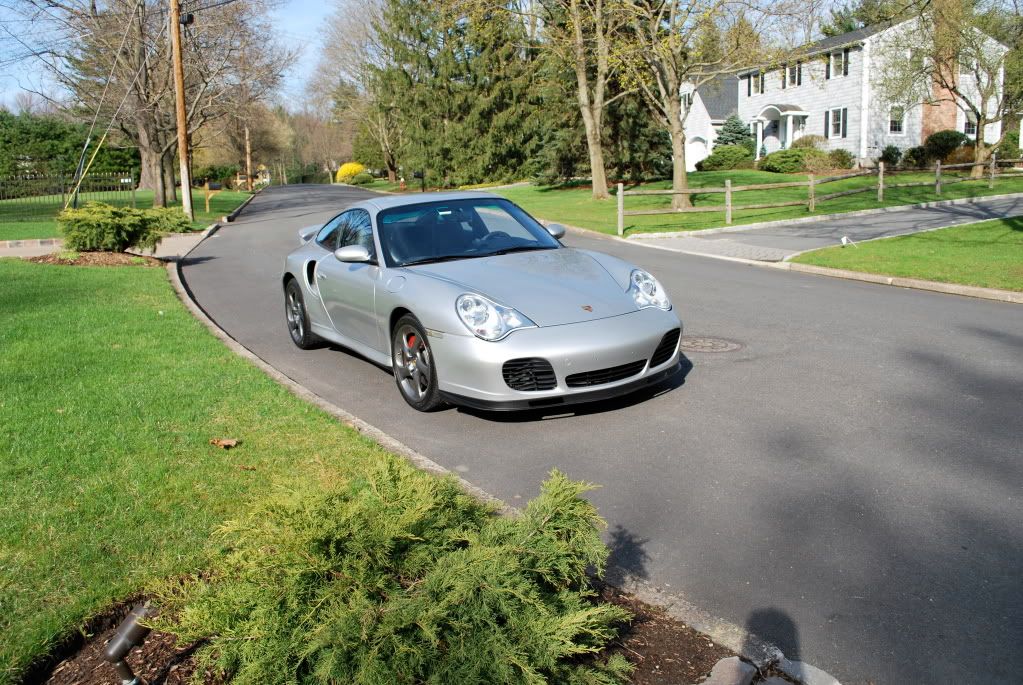
The owner wanted everything perfect and I was happy to go all out on a silver car for a change and not do the usual "1 step"
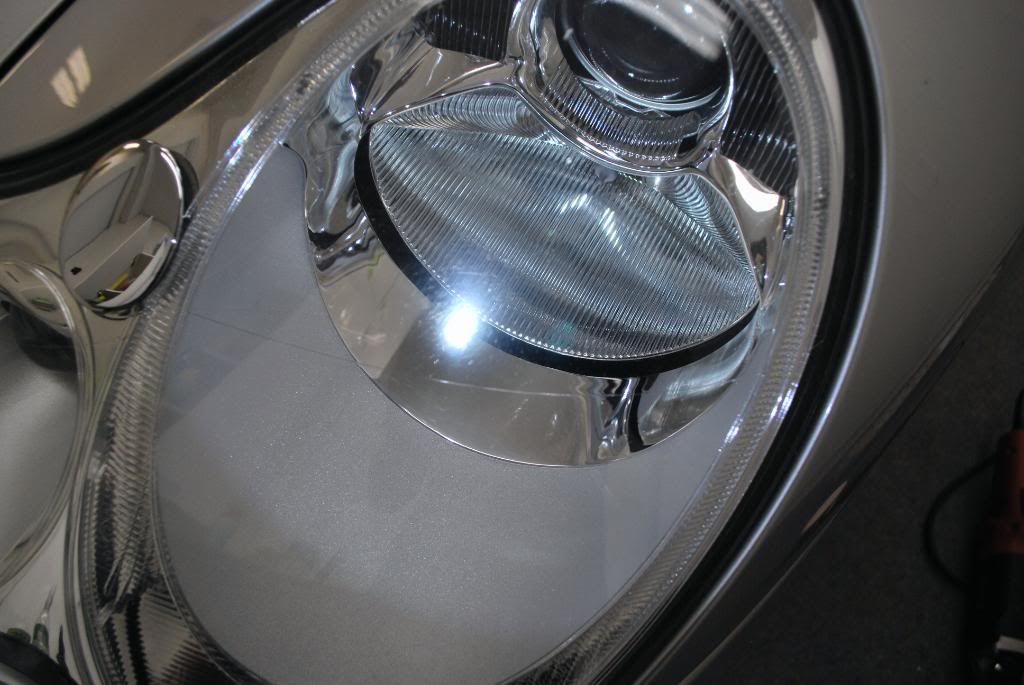
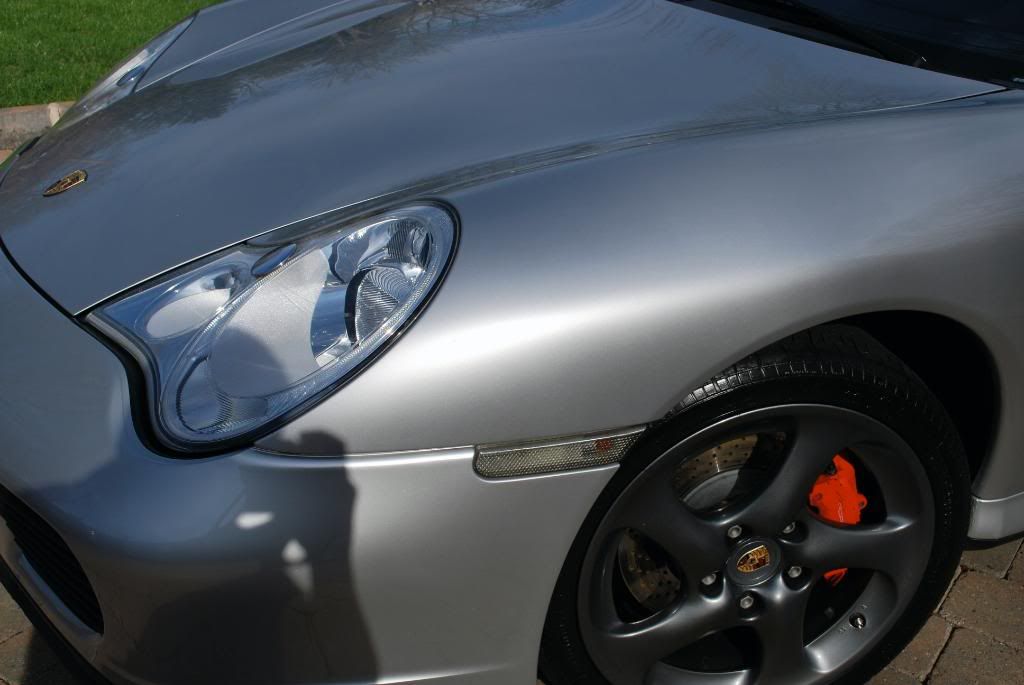
Starting with the headlights and Gloss It one step machine gloss w/ a compounding pad and followed up once more with a finishing pad
Drivers side before

After
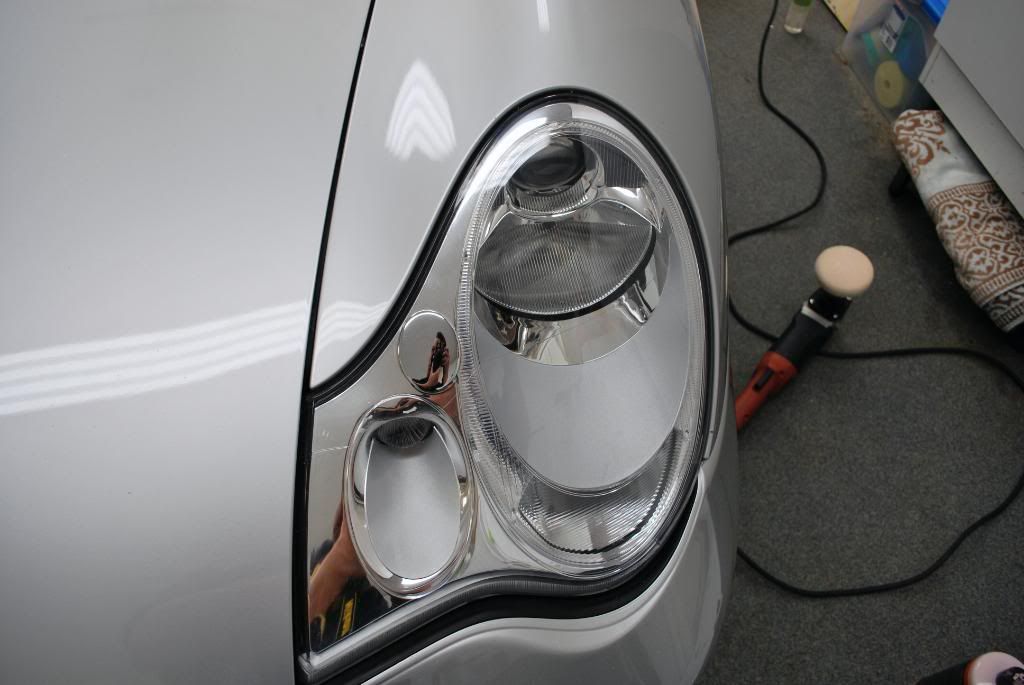
Passenger side headlight under the LED

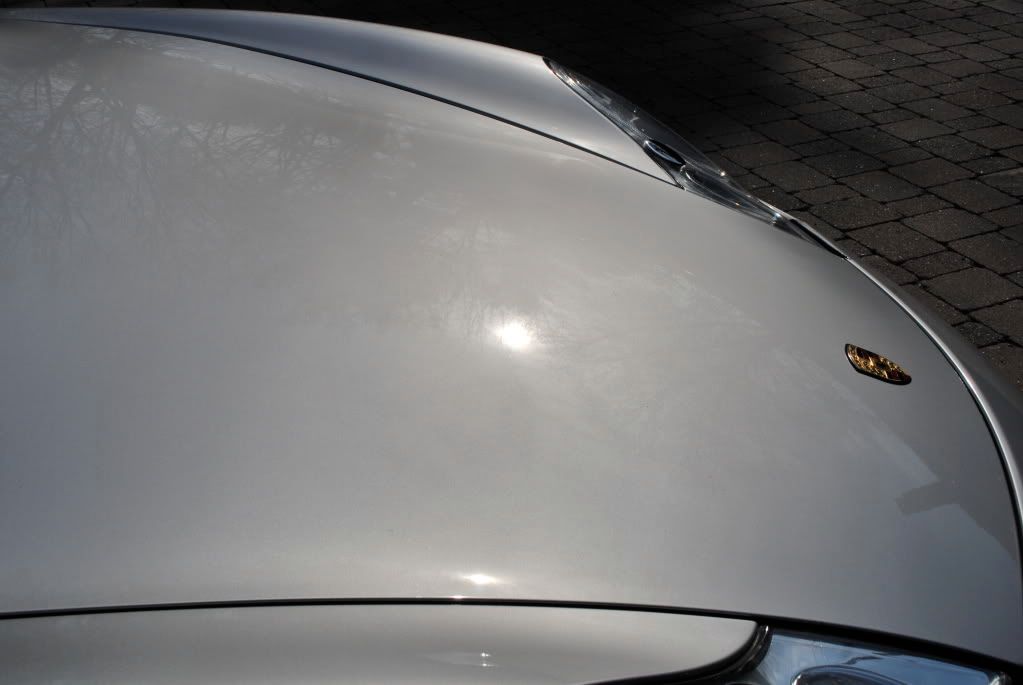
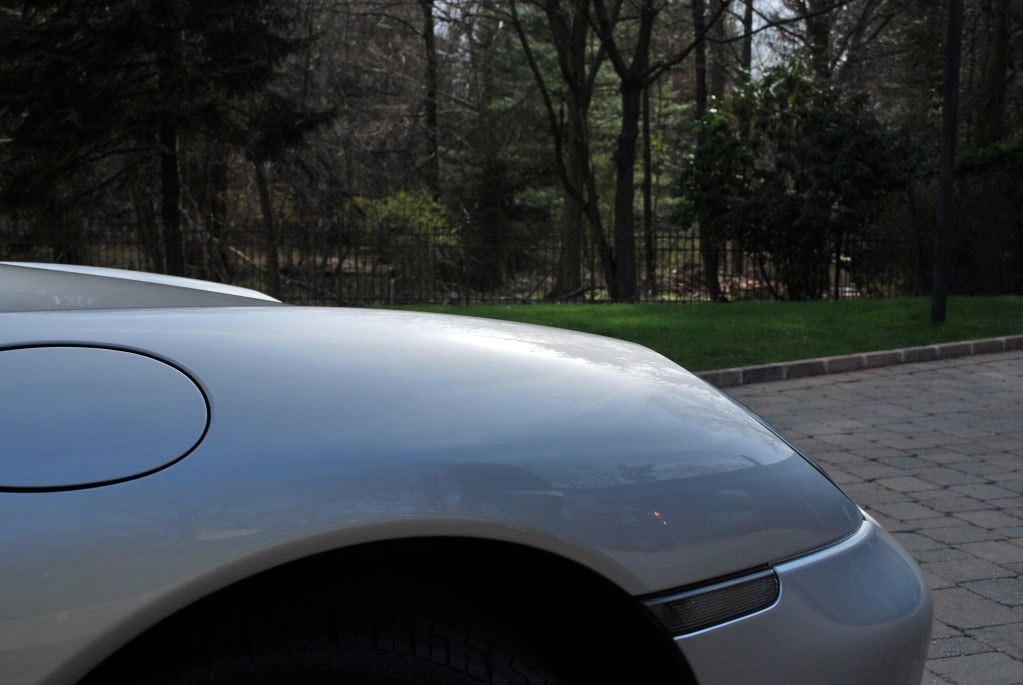
Even with 3 or 4 different light sources it was pretty difficult to pick up the defects on camera, the car had a lot of wash induced stuff and some deeper RIDS (the hood needed some wetsand attention)
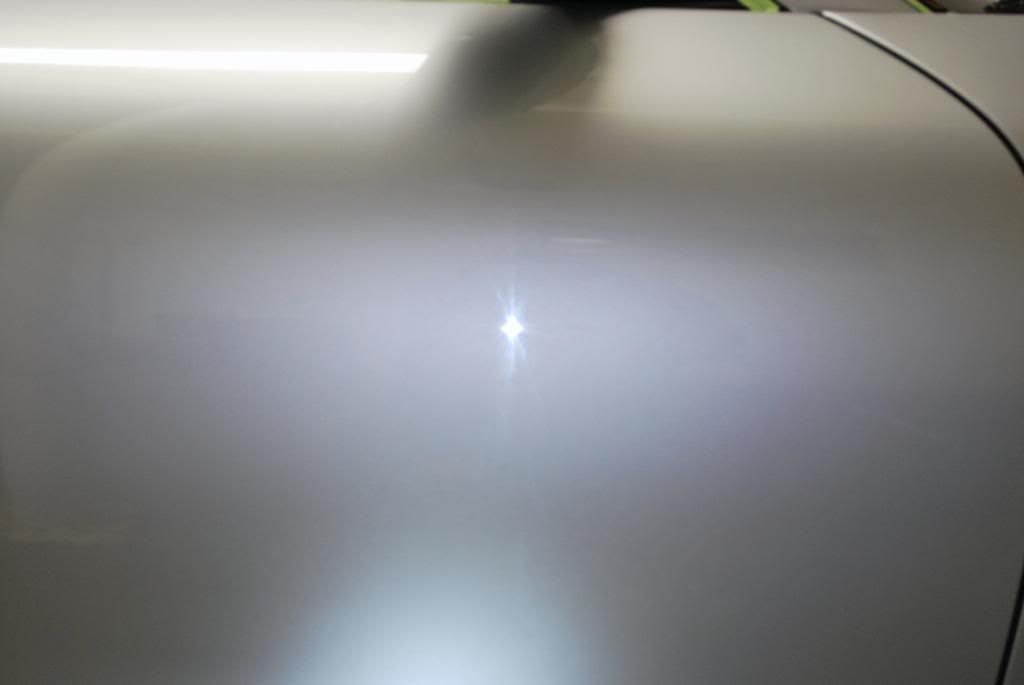
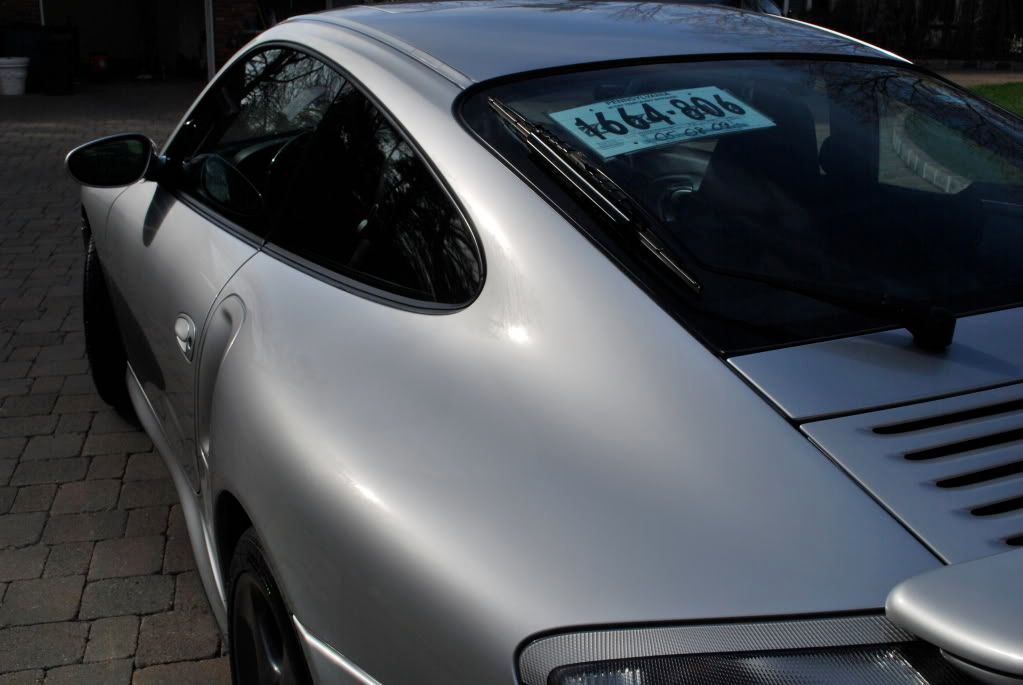
Door under the LED... light being refracted in a million directions
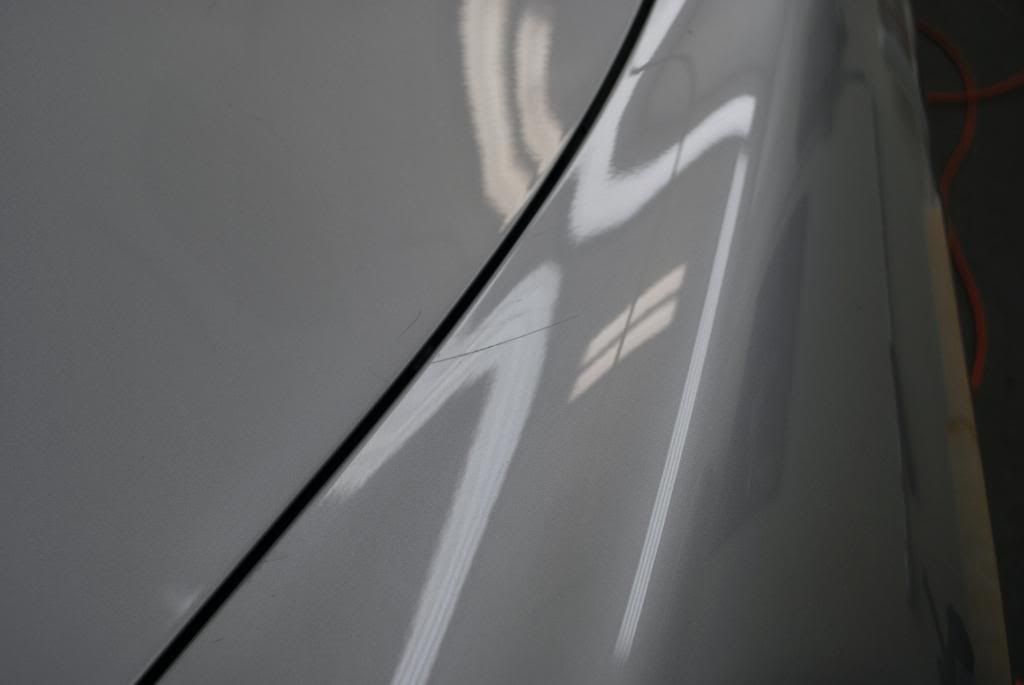
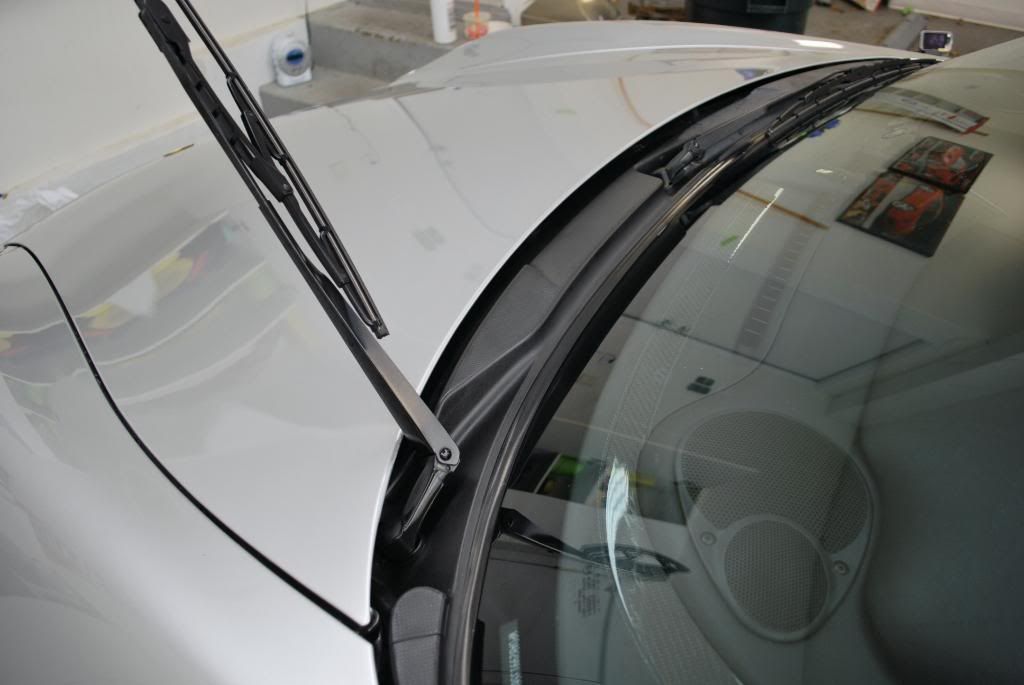
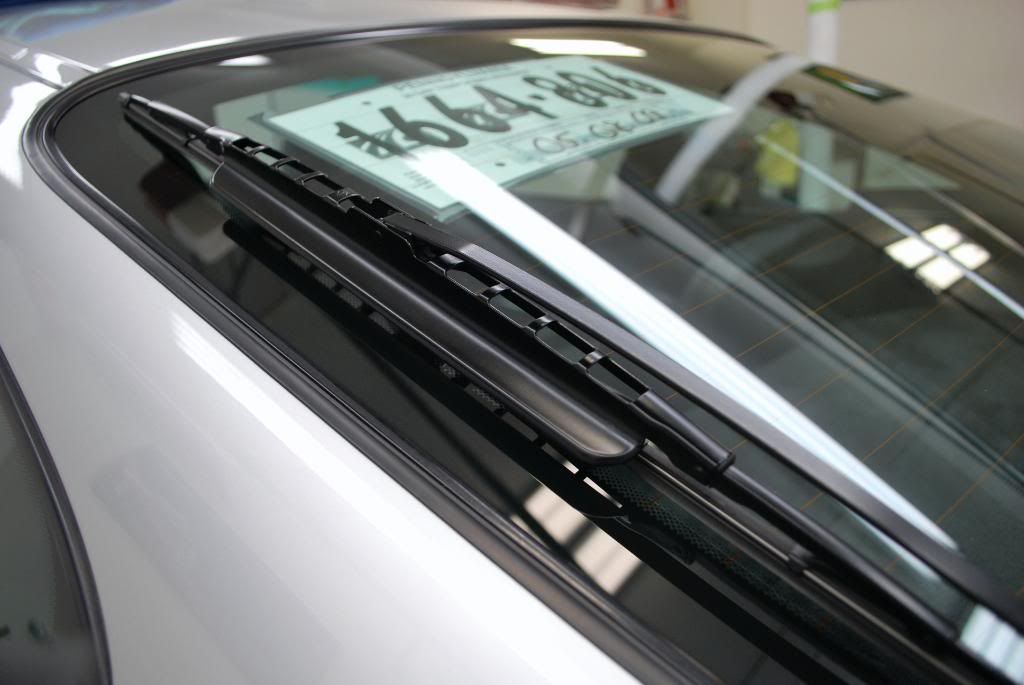
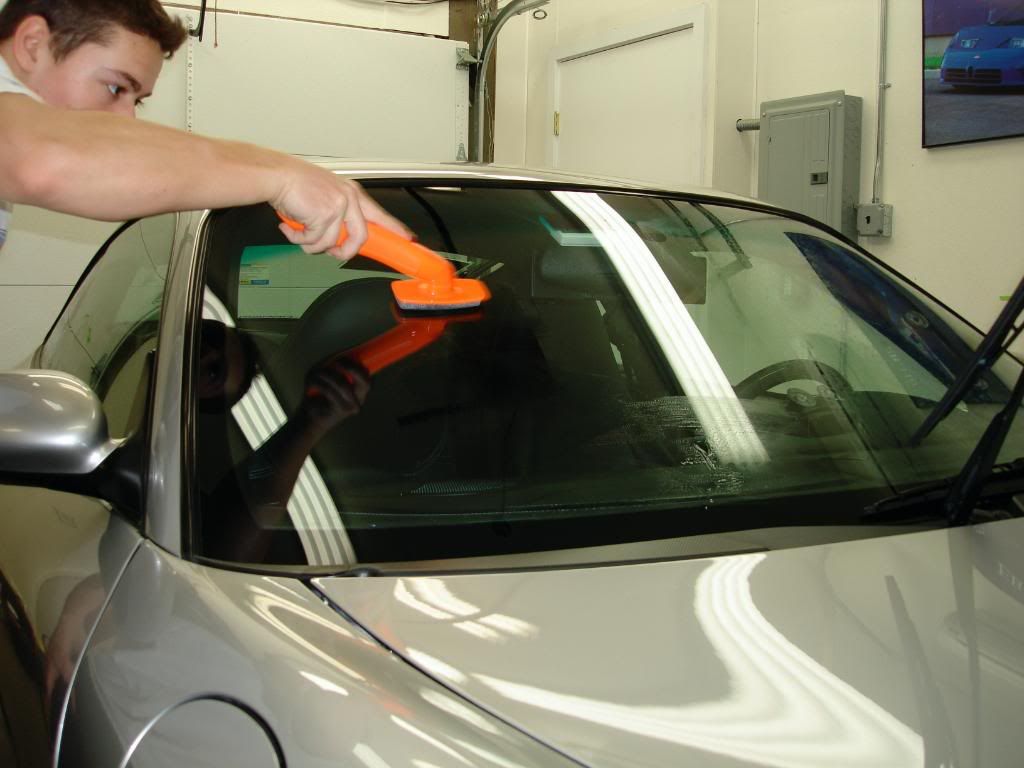
A cluster of scratches by the drivers side windshield had to be wetsanded, as usual I picked one scratch to test
Before 2000grit
After
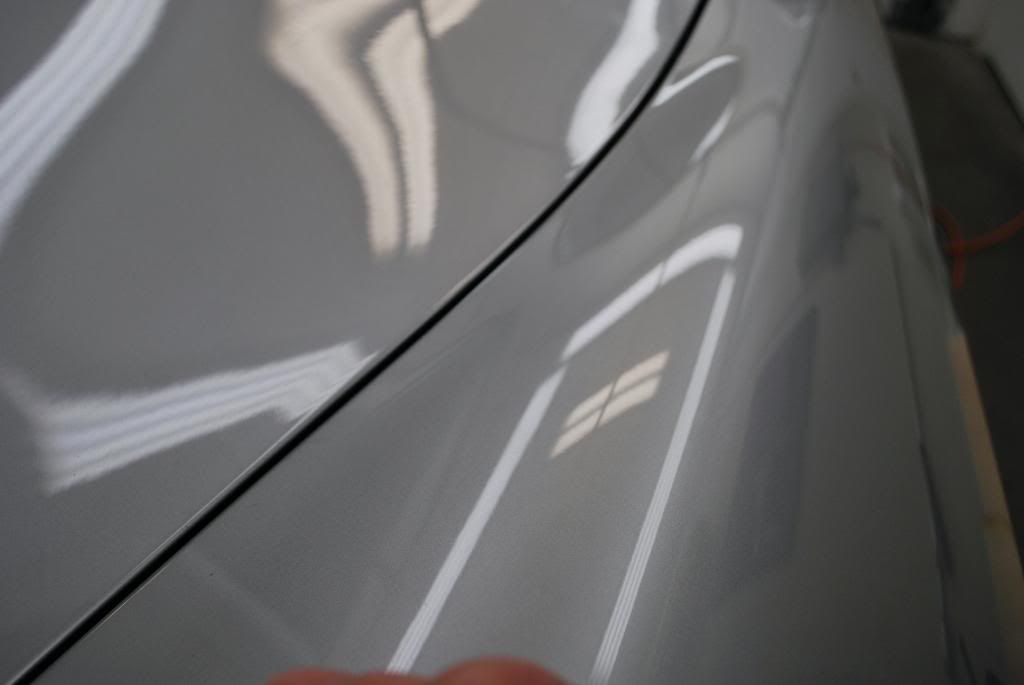
2000grit compounded out with Gloss It extreme cut worked well on the test scracth so I proceeded to take care of the rest of the cluster with 5 or 6 more
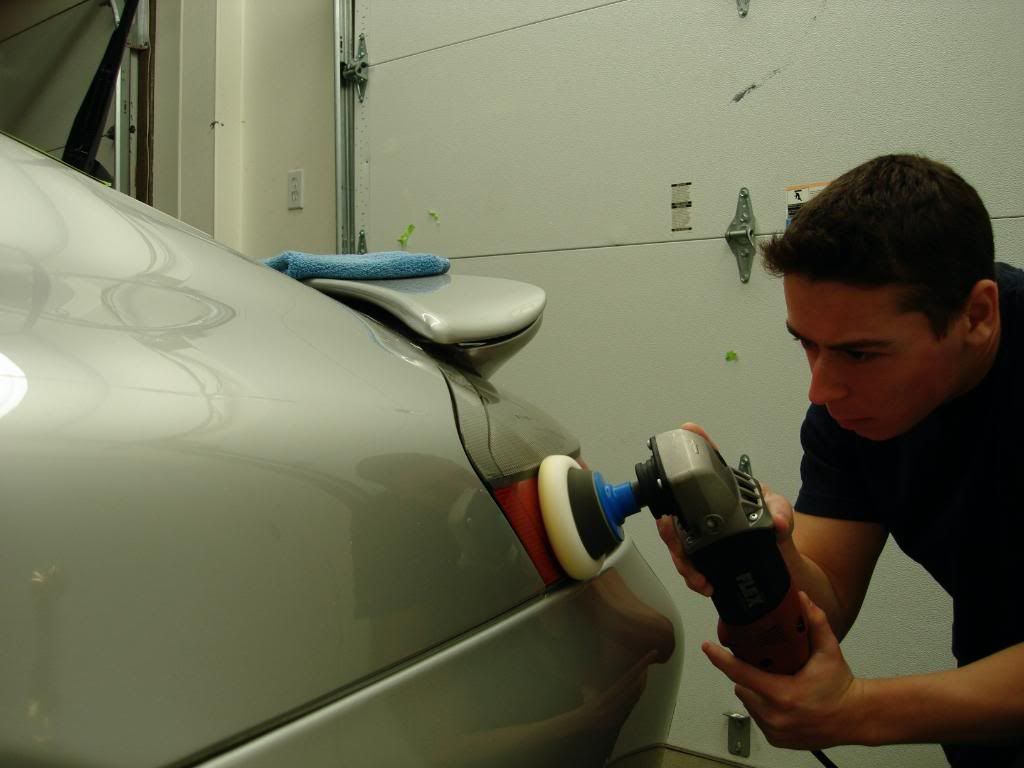
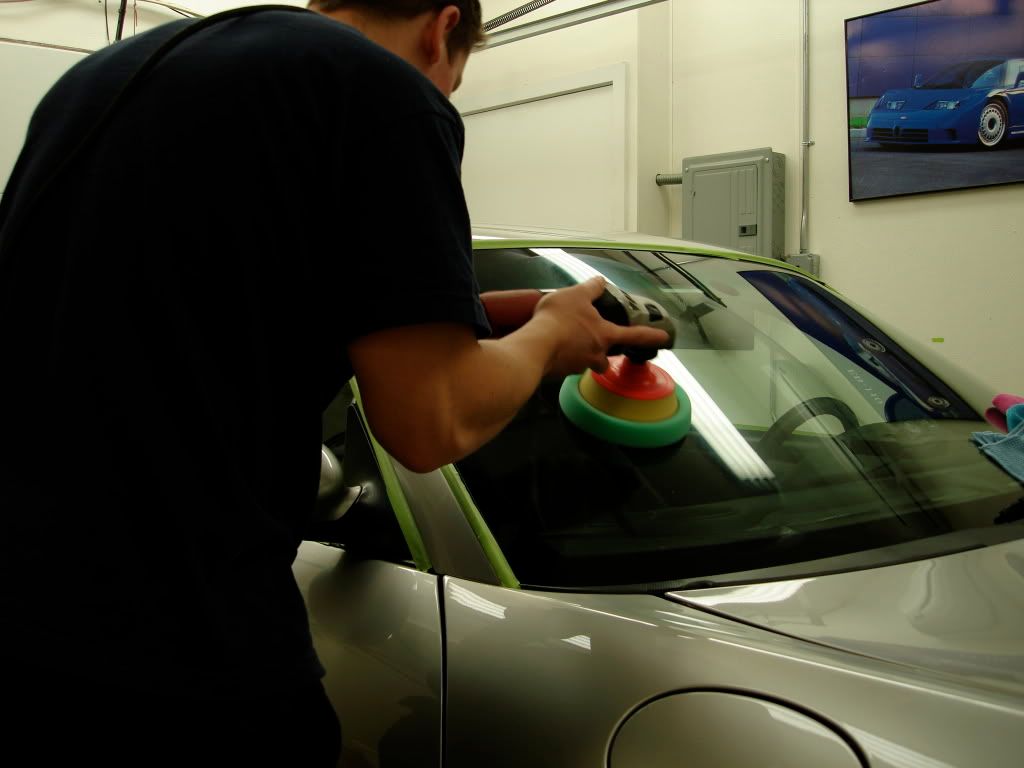
After spot compunding the sanded areas the rest of the car recieved a 2 step process. The paint was a little stickier than expected so I broke out the Flex DA for the first time in 6months and I wondered why I left it collecting dust for so long:shead:
Gloss-It Evolution cut w. GI green/yellow polishing pad Flex 3401
Gloss-it Evolution polish w. GI blue finishing pad Flex 3403
Gloss-it EVP pad primer
Even though the flex random did an excellent job on the first part of correction I still broke out the rotary for jeweling as I find I can refine the finish a bit more working slow passes at low RPM. The GI polishes are a no brainer for sticky paints btw!
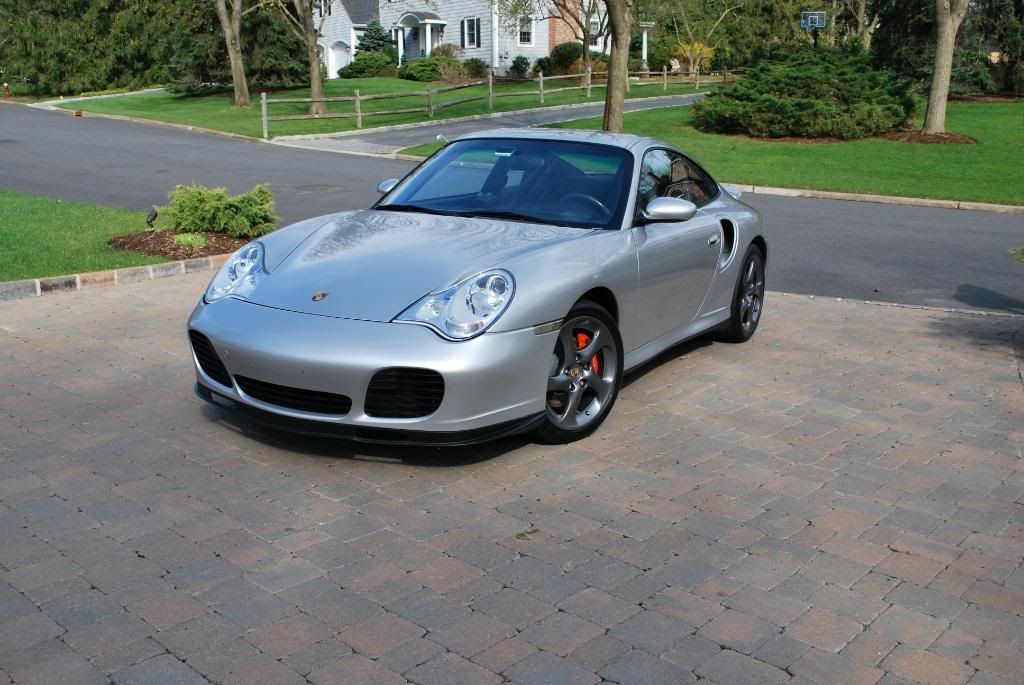
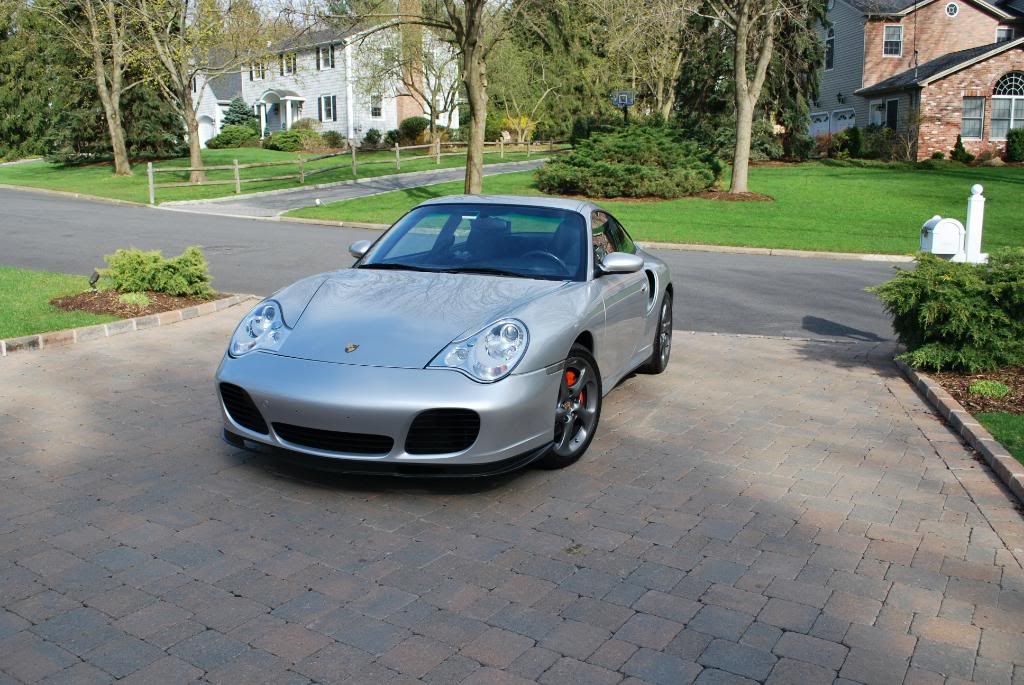
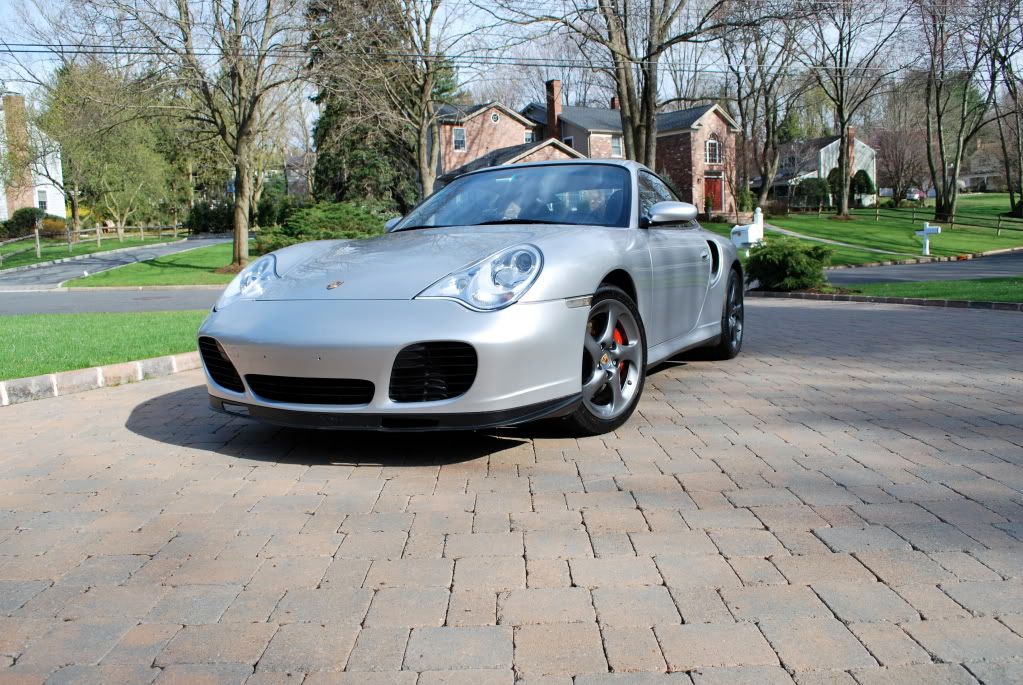
I rarely get the chance to go for 100% correction on silver or white cars but this car is very special to the owner as he wanted everything to restored to as close to new condition as possible.
Working evolution cut (some areas needed the little flex rotary as the flex random was too big)
jeweling

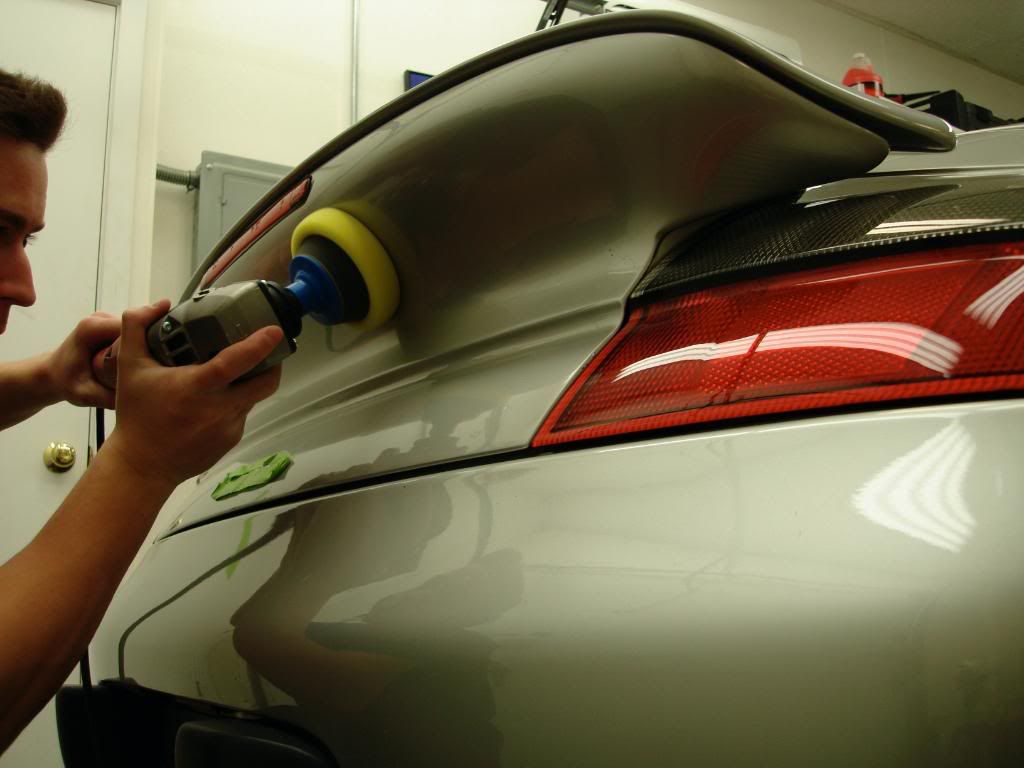
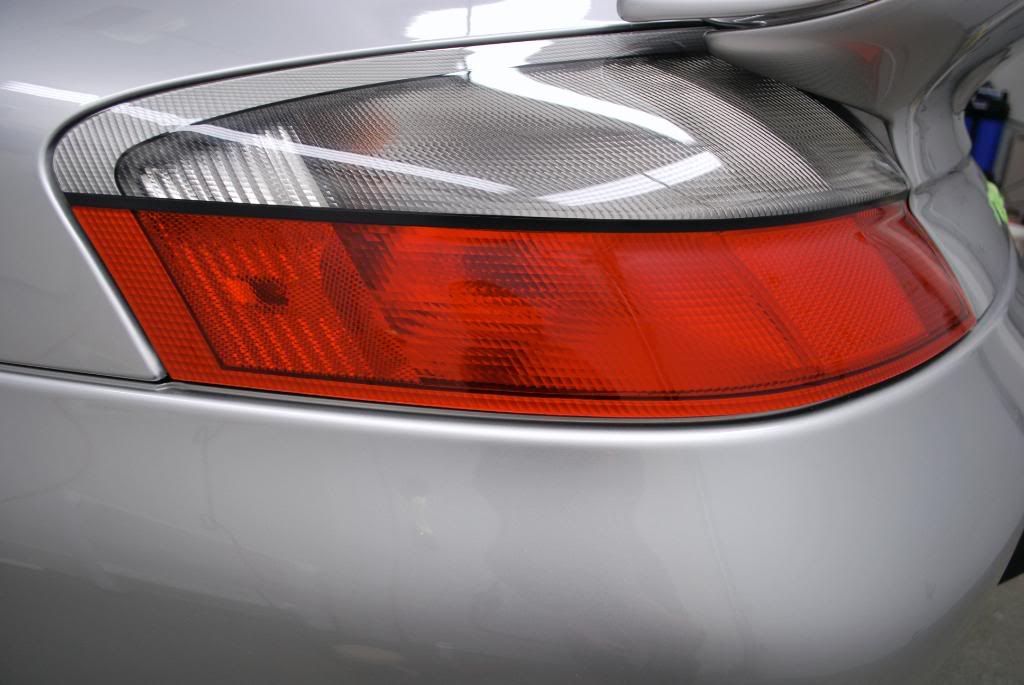
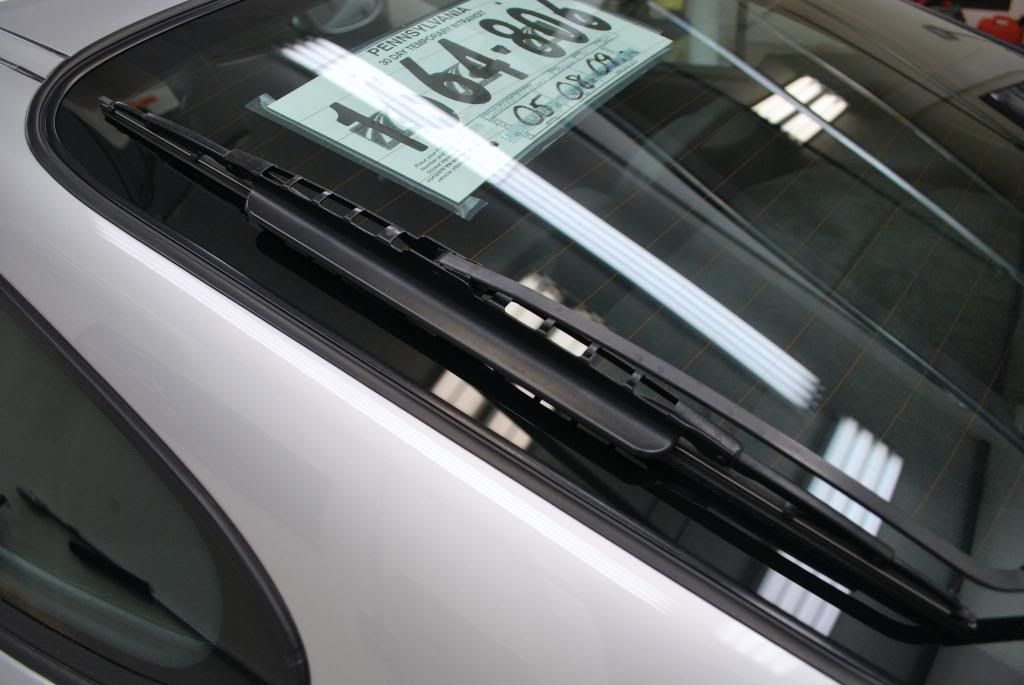
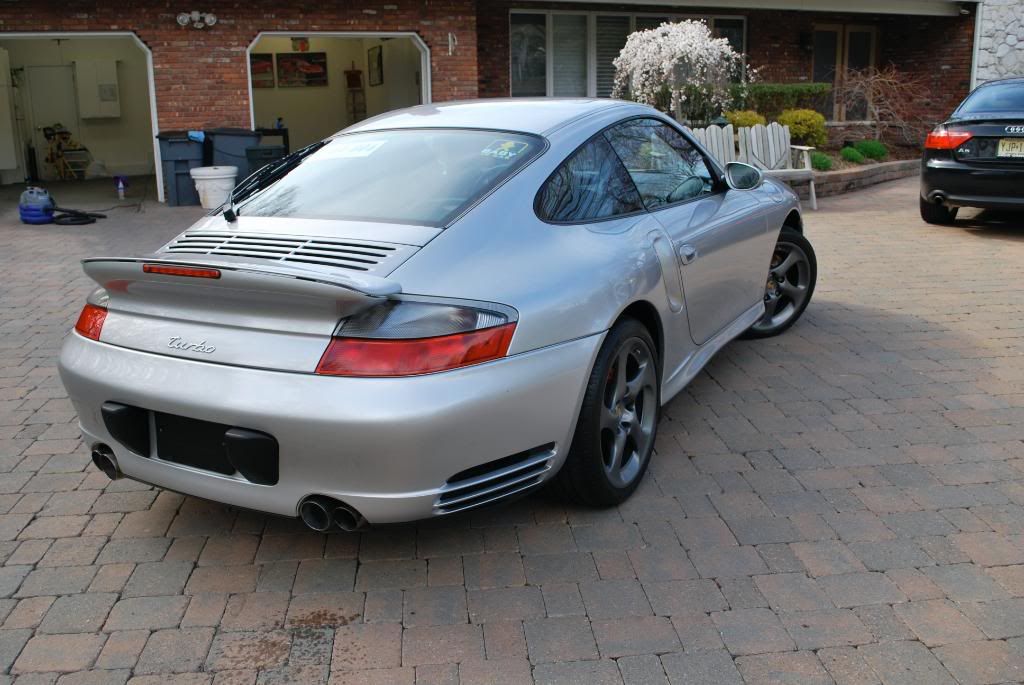
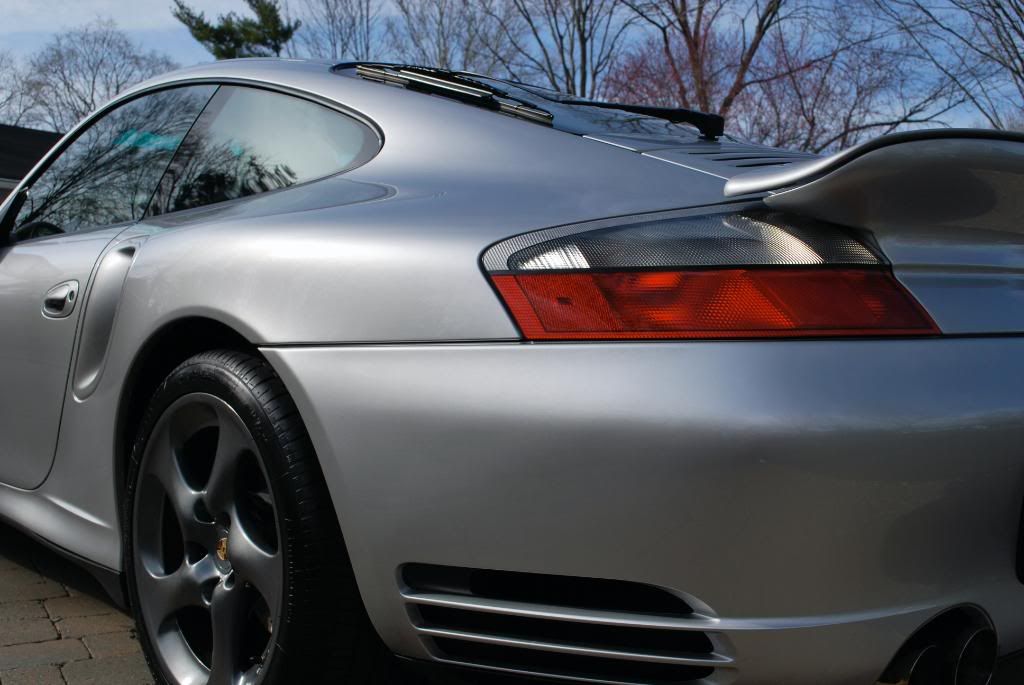
The taillights were a bit faded w/ some moderate swriling as well so the saem 2 step process as before was carried out
After
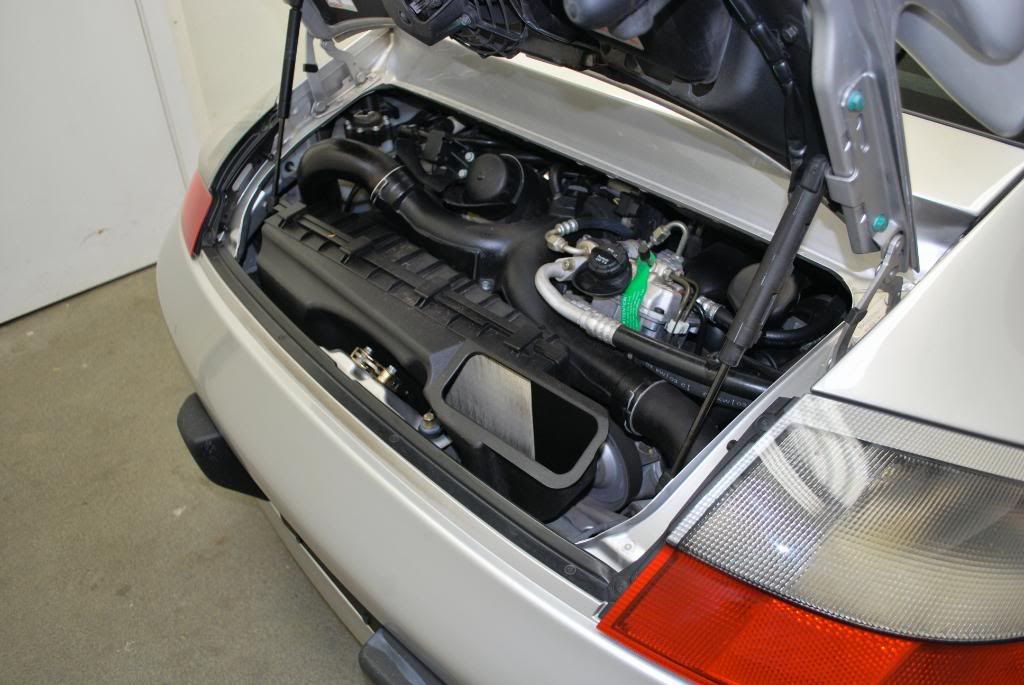
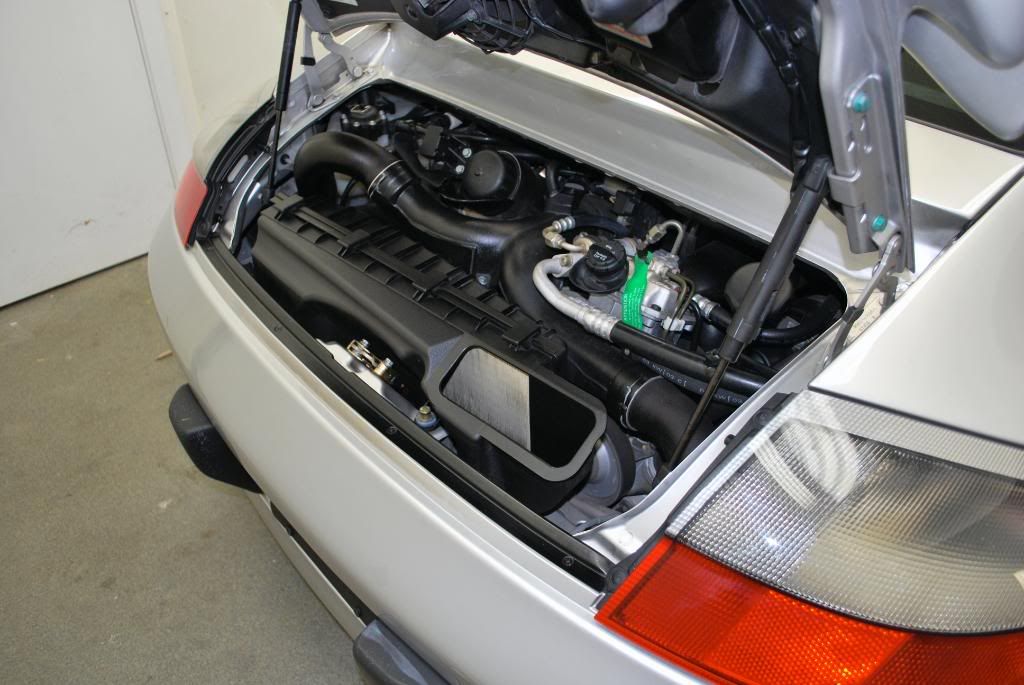
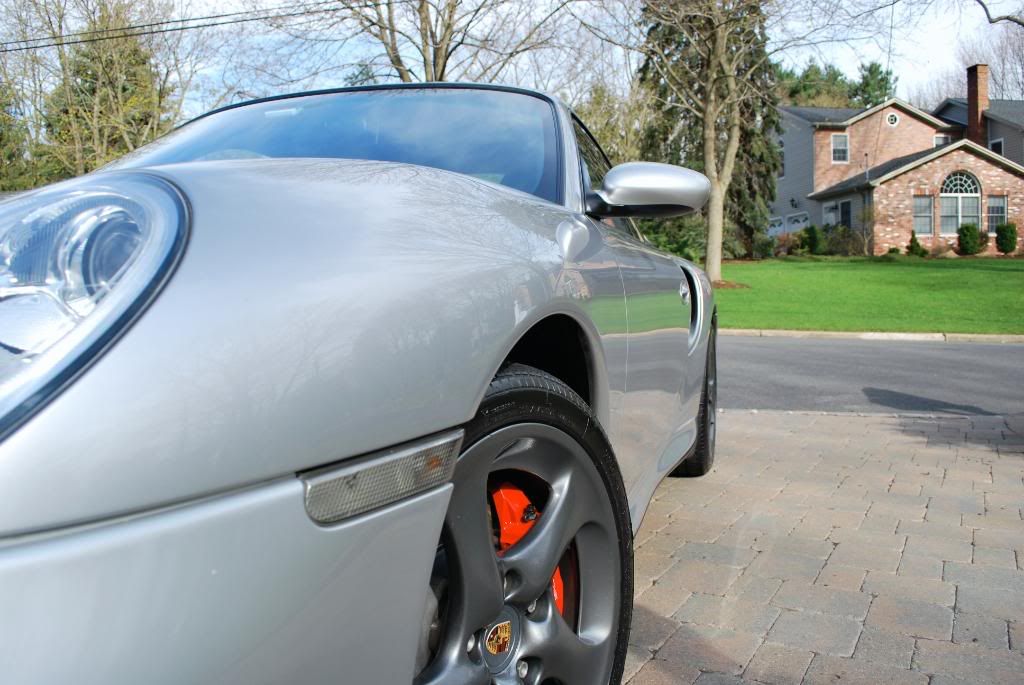
The "mystery" exhaust system on the turbo took about 40minutes of hand cleaning and polishing to get back to a presentable state
Noxon metal polish
#00 steel wool (inside the tailpipes only)
#0000 steel wool (outside tailpipes)
re-polished w/ Noxon using a finger pad
Before
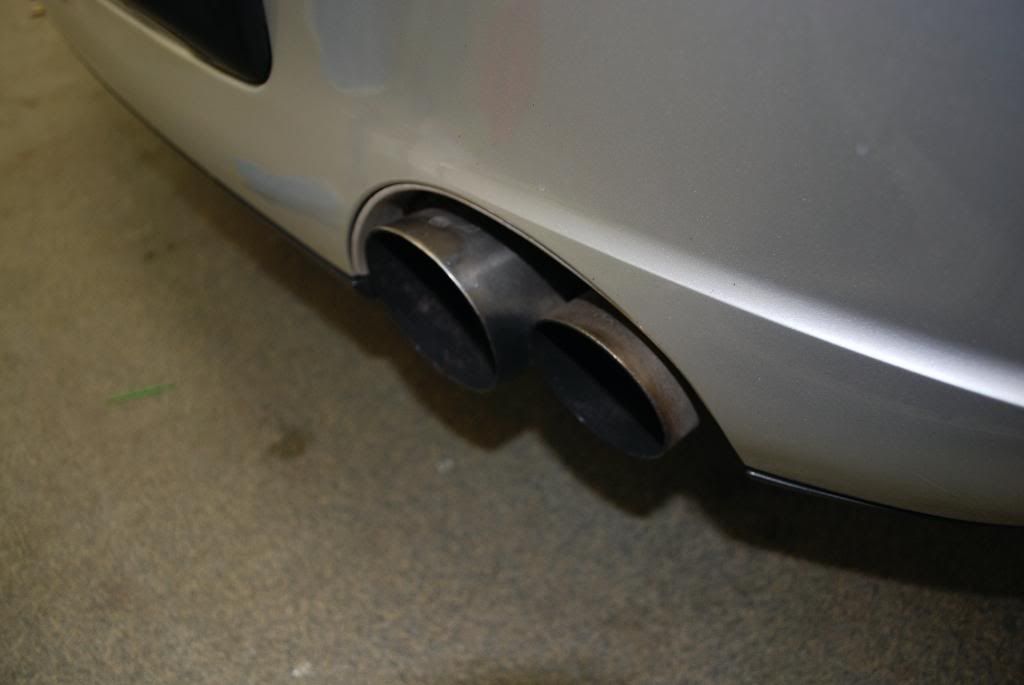
After

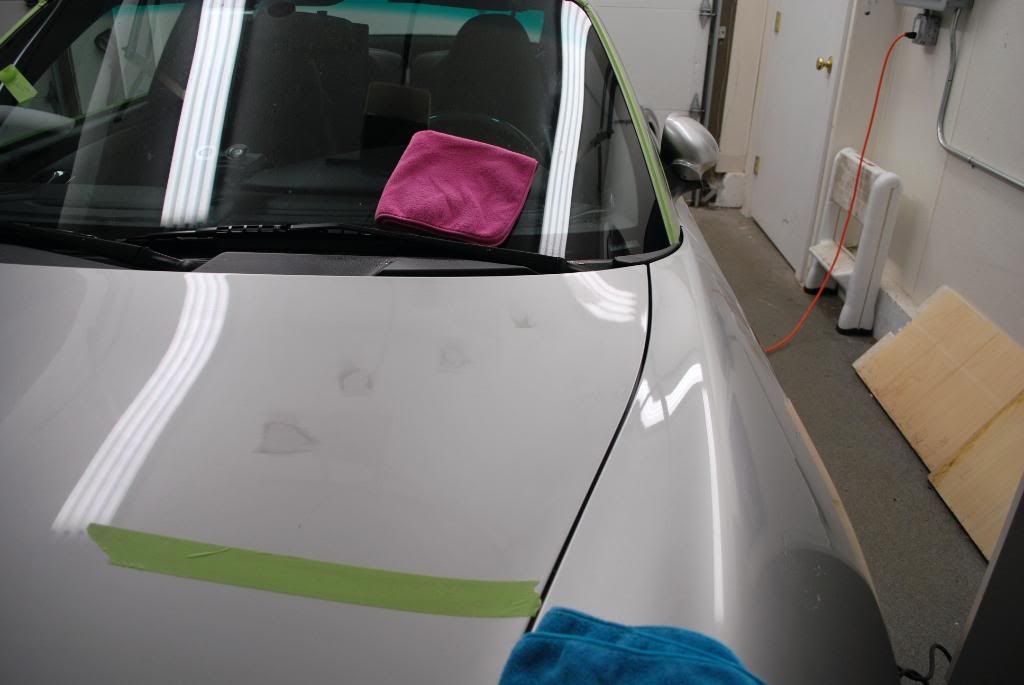
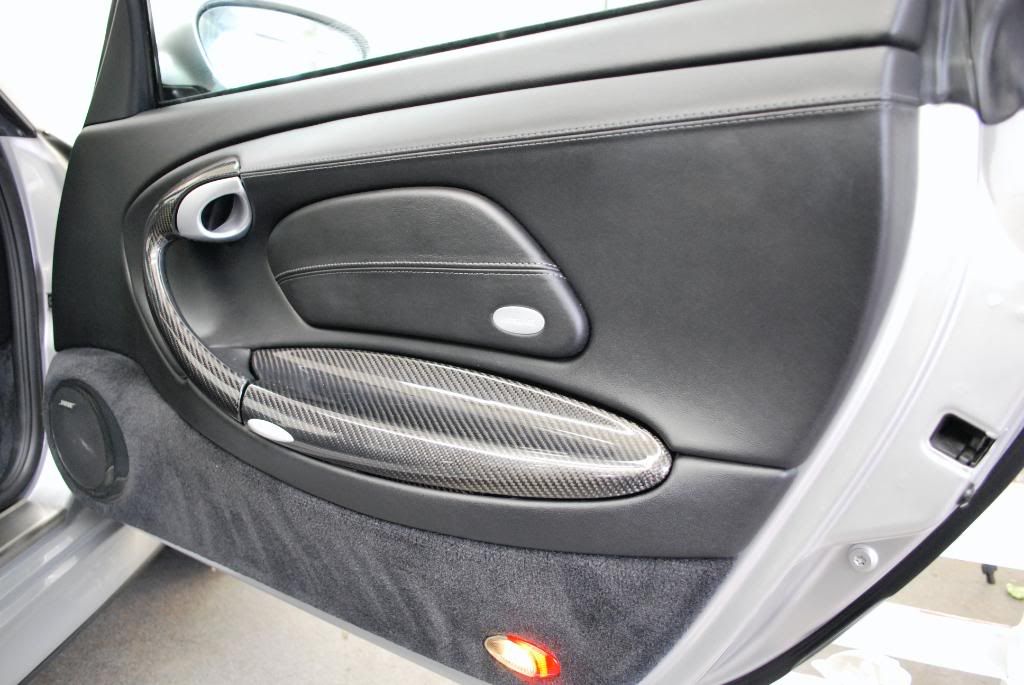
The trim was well dried out, first I did a thorough cleaning with IPA and then applied Gloss It TRV dressing using a foam stick (pictured later and works great for applying any exterior dressing)
Before
I find the foam tipped stick is much more accurate for applying dressing in small areas (especially those areas next to paint)
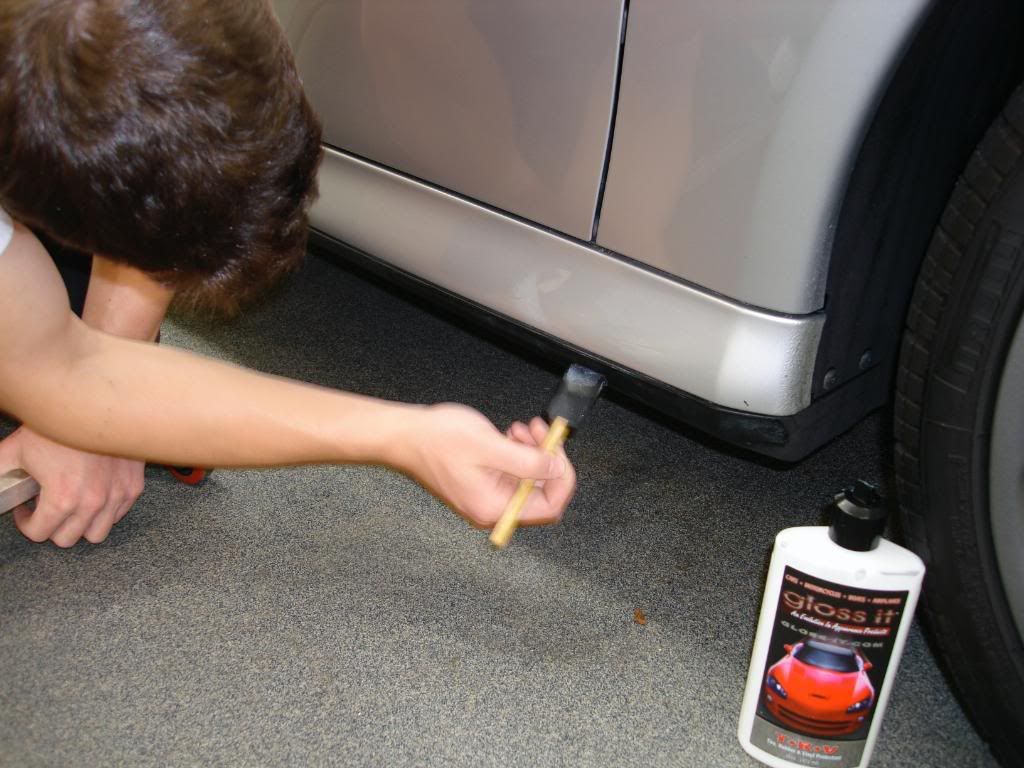
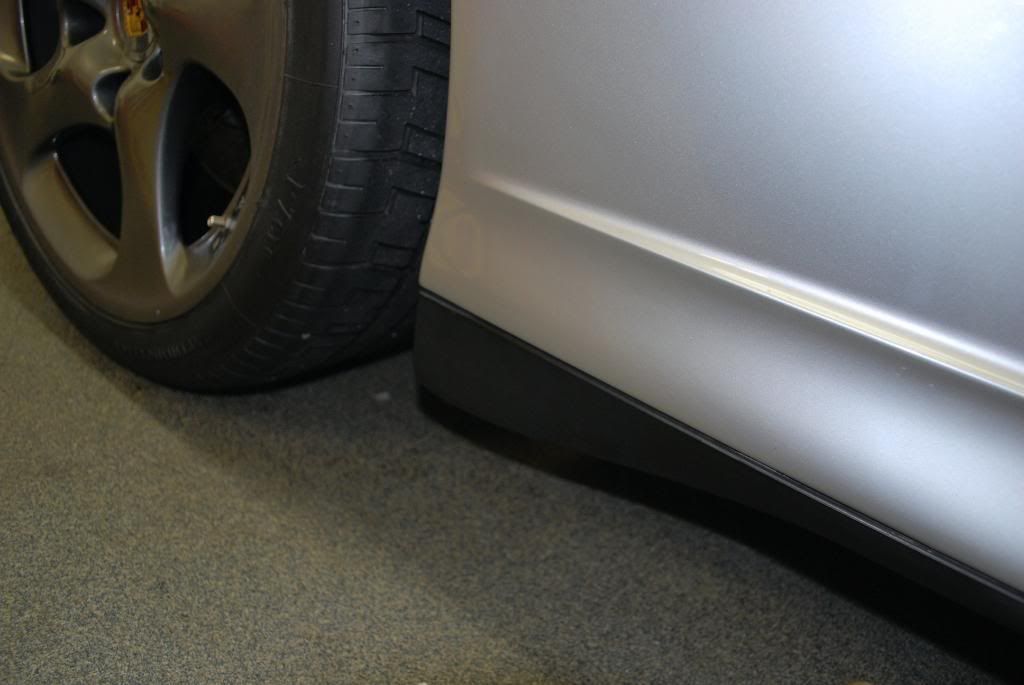
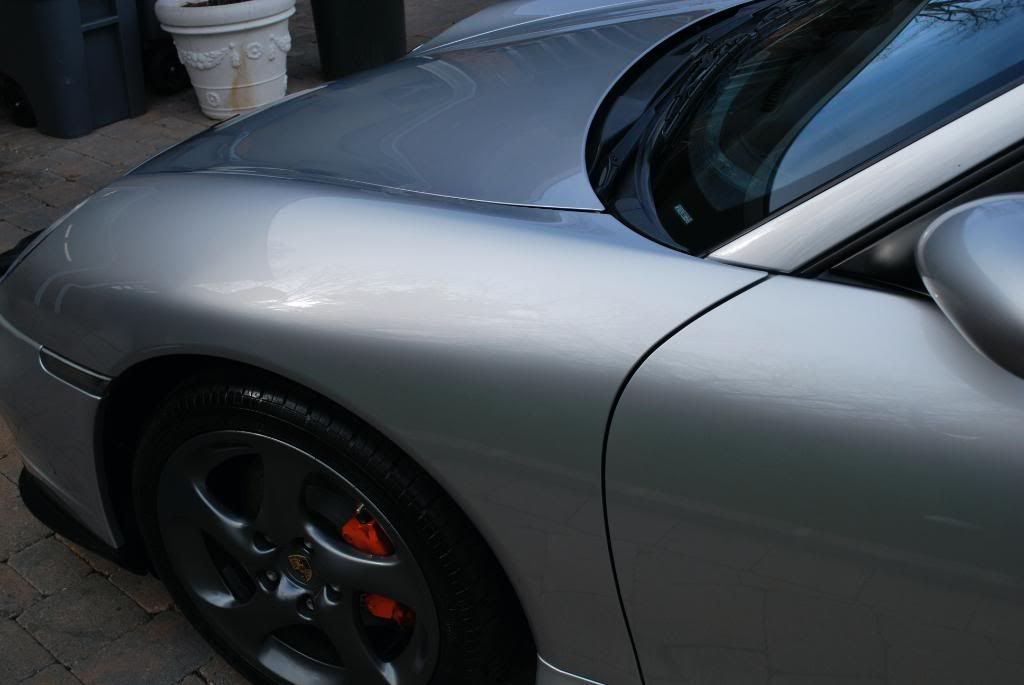
Lower rocker panels finished
Before
After
Upon arrival: no wash process pics sorry
Maxi suds foam
CWC 2BM
Gloss-It green mild clay
Gloss-It wheel gel 1:1
Megs APC 3:1
Stoners Tarminator (tires)
Autosmart Tardis
The owner wanted everything perfect and I was happy to go all out on a silver car for a change and not do the usual "1 step"
Starting with the headlights and Gloss It one step machine gloss w/ a compounding pad and followed up once more with a finishing pad
Drivers side before
After
Passenger side headlight under the LED
Even with 3 or 4 different light sources it was pretty difficult to pick up the defects on camera, the car had a lot of wash induced stuff and some deeper RIDS (the hood needed some wetsand attention)
Door under the LED... light being refracted in a million directions
A cluster of scratches by the drivers side windshield had to be wetsanded, as usual I picked one scratch to test
Before 2000grit
After
2000grit compounded out with Gloss It extreme cut worked well on the test scracth so I proceeded to take care of the rest of the cluster with 5 or 6 more
After spot compunding the sanded areas the rest of the car recieved a 2 step process. The paint was a little stickier than expected so I broke out the Flex DA for the first time in 6months and I wondered why I left it collecting dust for so long:shead:
Gloss-It Evolution cut w. GI green/yellow polishing pad Flex 3401
Gloss-it Evolution polish w. GI blue finishing pad Flex 3403
Gloss-it EVP pad primer
Even though the flex random did an excellent job on the first part of correction I still broke out the rotary for jeweling as I find I can refine the finish a bit more working slow passes at low RPM. The GI polishes are a no brainer for sticky paints btw!
I rarely get the chance to go for 100% correction on silver or white cars but this car is very special to the owner as he wanted everything to restored to as close to new condition as possible.
Working evolution cut (some areas needed the little flex rotary as the flex random was too big)
jeweling
The taillights were a bit faded w/ some moderate swriling as well so the saem 2 step process as before was carried out
After
The "mystery" exhaust system on the turbo took about 40minutes of hand cleaning and polishing to get back to a presentable state
Noxon metal polish
#00 steel wool (inside the tailpipes only)
#0000 steel wool (outside tailpipes)
re-polished w/ Noxon using a finger pad
Before
After
The trim was well dried out, first I did a thorough cleaning with IPA and then applied Gloss It TRV dressing using a foam stick (pictured later and works great for applying any exterior dressing)
Before
I find the foam tipped stick is much more accurate for applying dressing in small areas (especially those areas next to paint)
Lower rocker panels finished
Before
After


 yikes
yikes
")