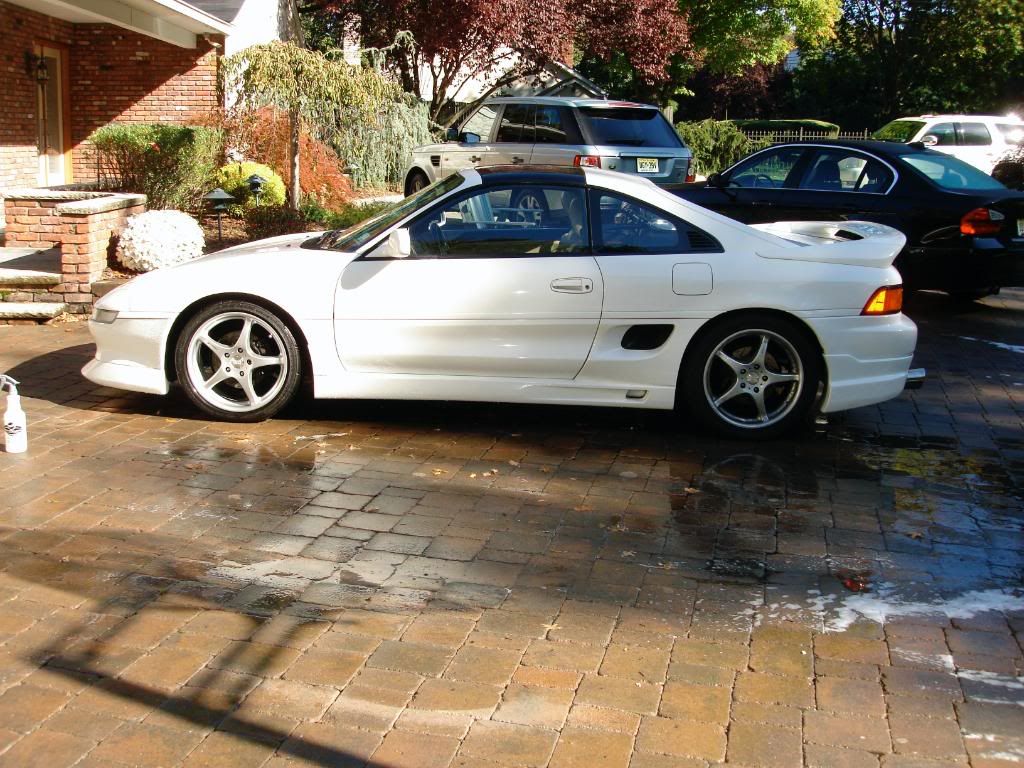
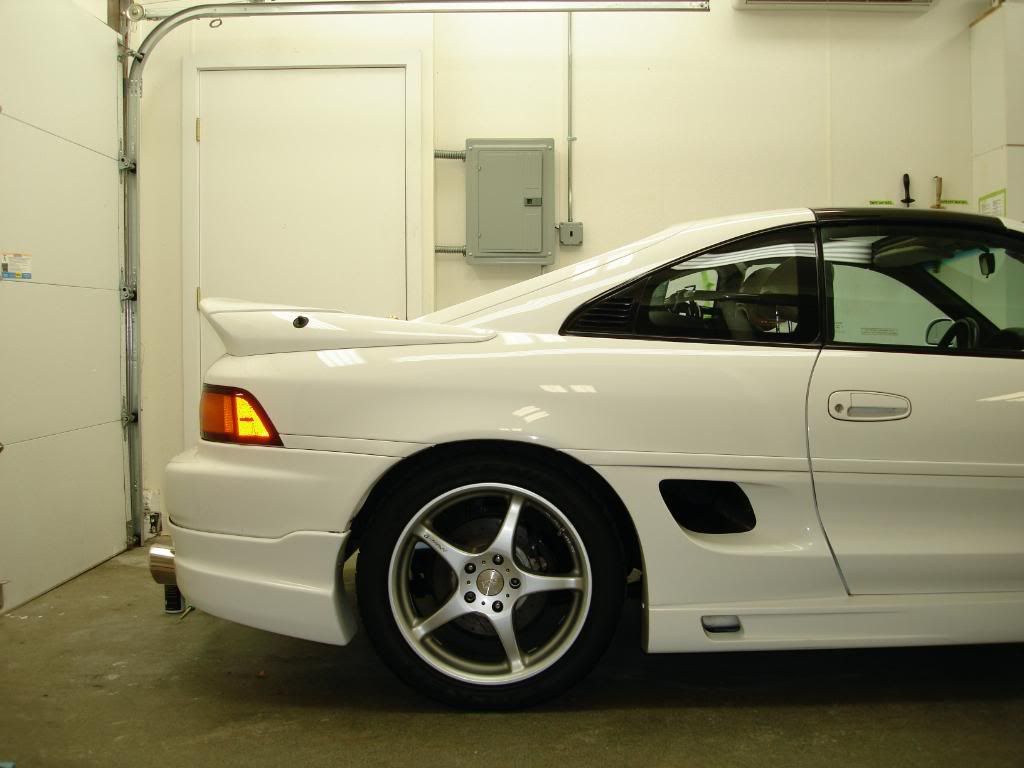
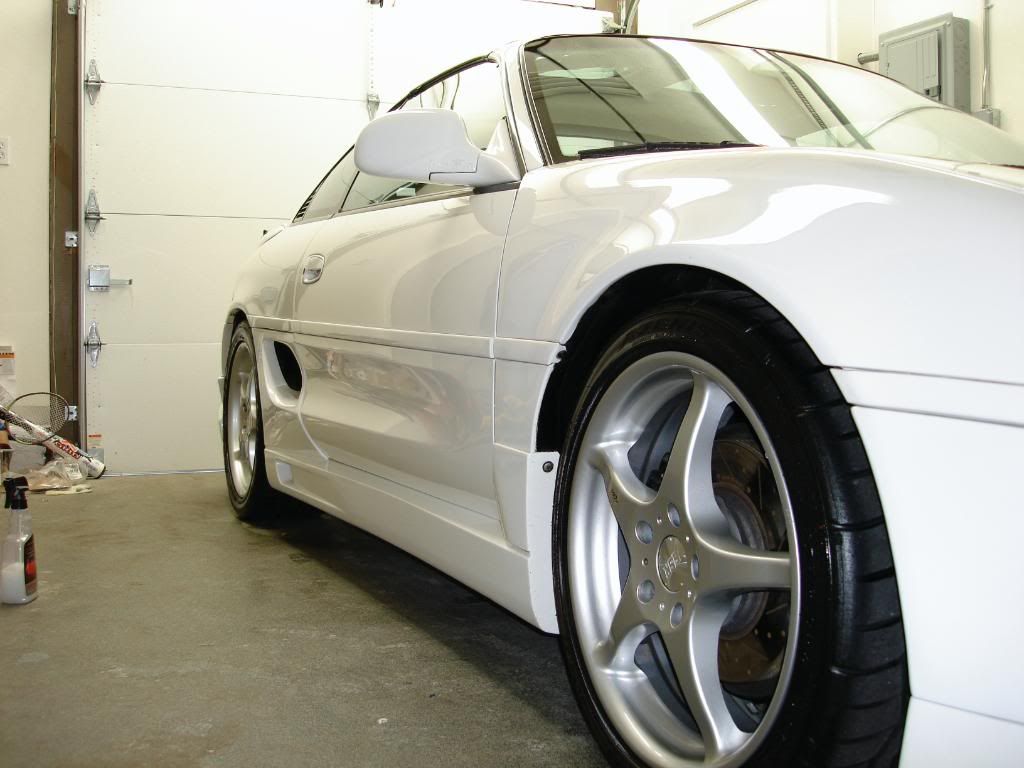
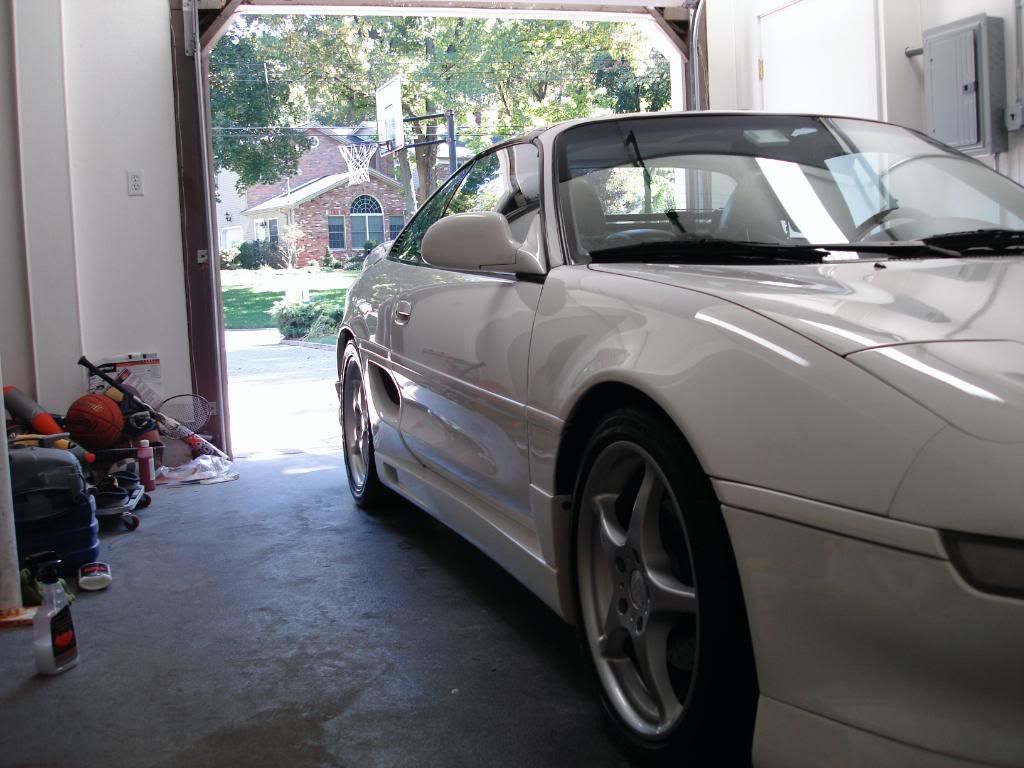
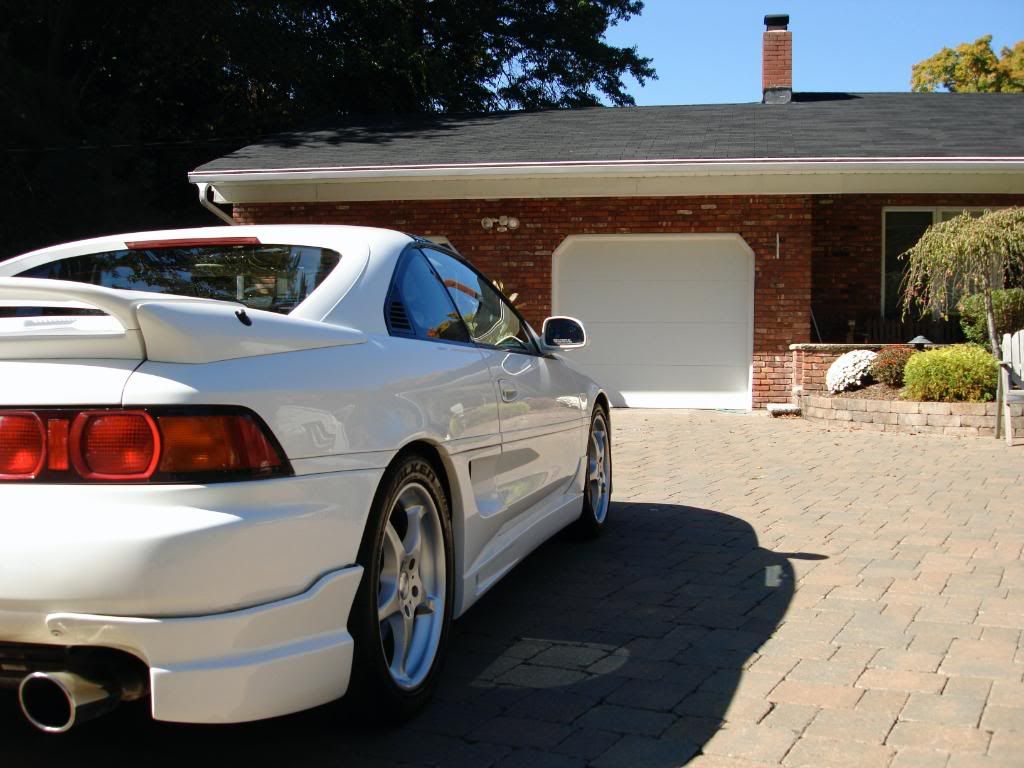
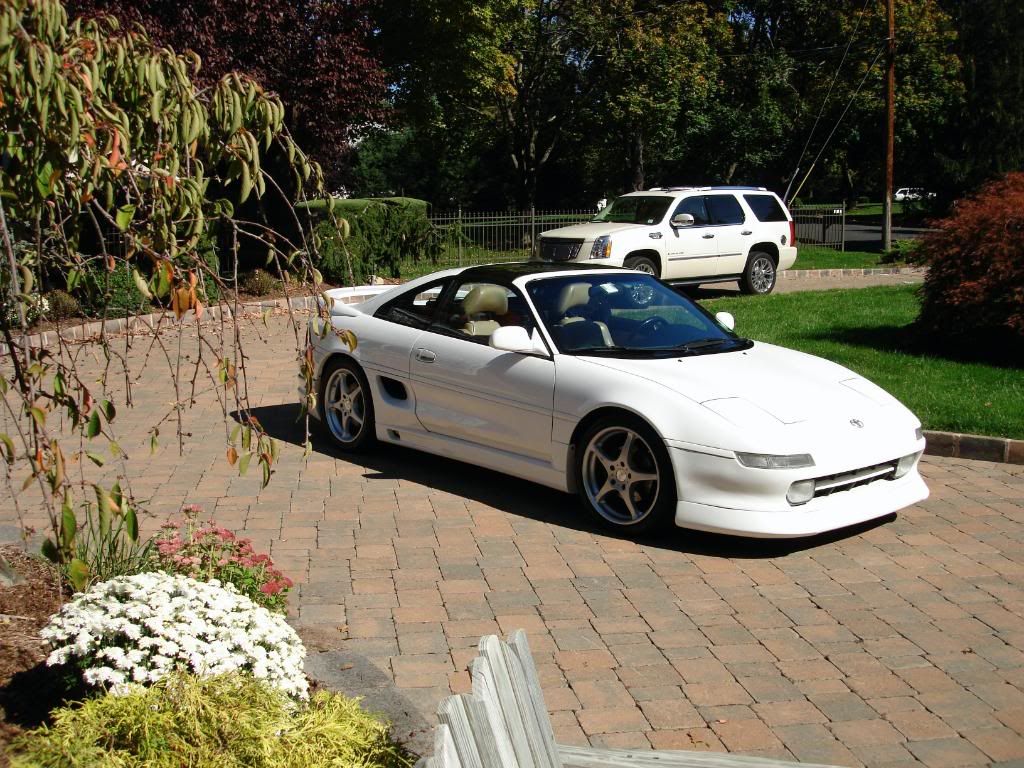
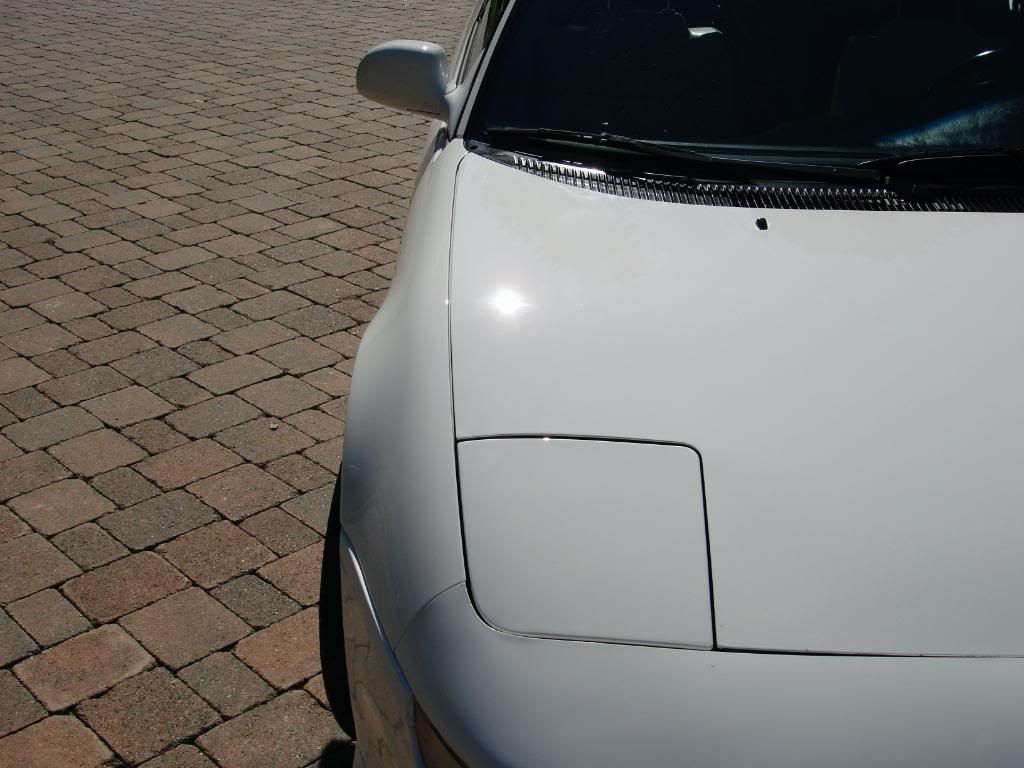
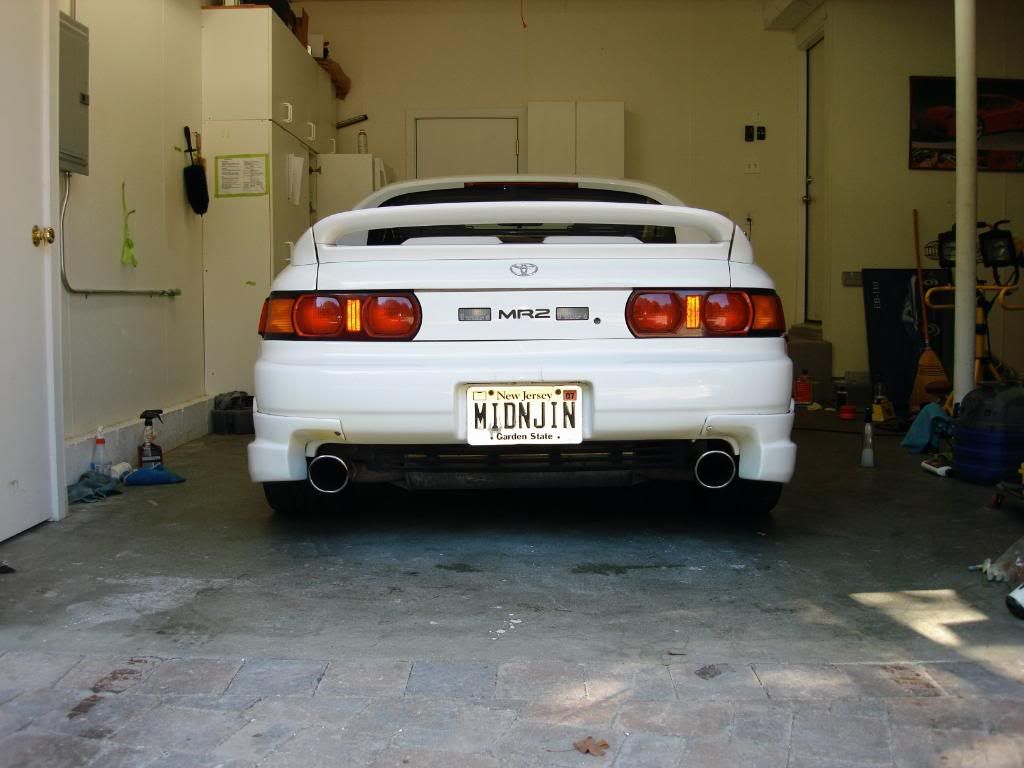
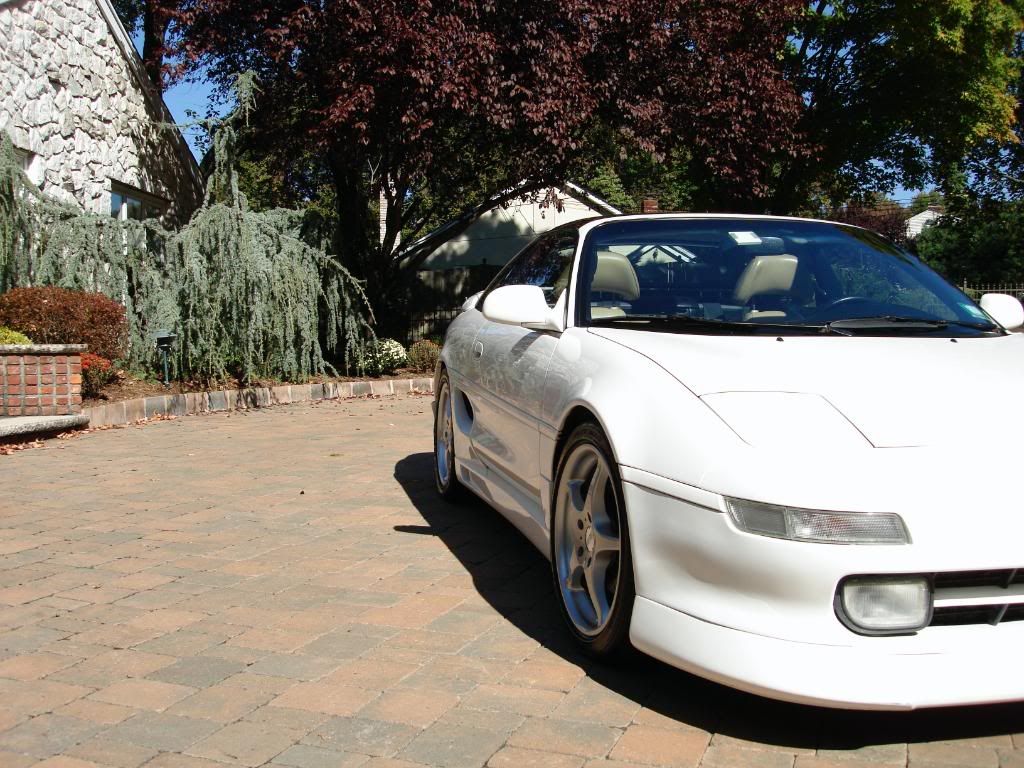
Always had a thing for the MR2, this one isnt my style in particular but it's still a terrific car and quite the bandit around a race track. This MR2 in not a DD at the moment and usually spends it time in a garage, but it being over 15 years old it has its share or wear and tear.
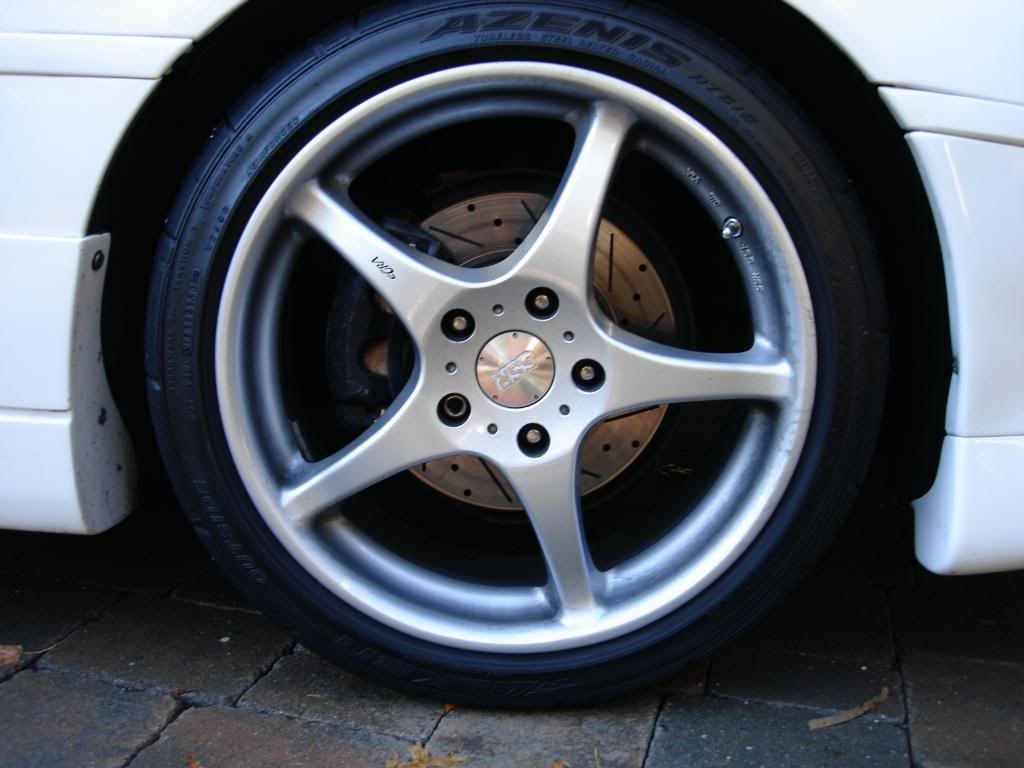
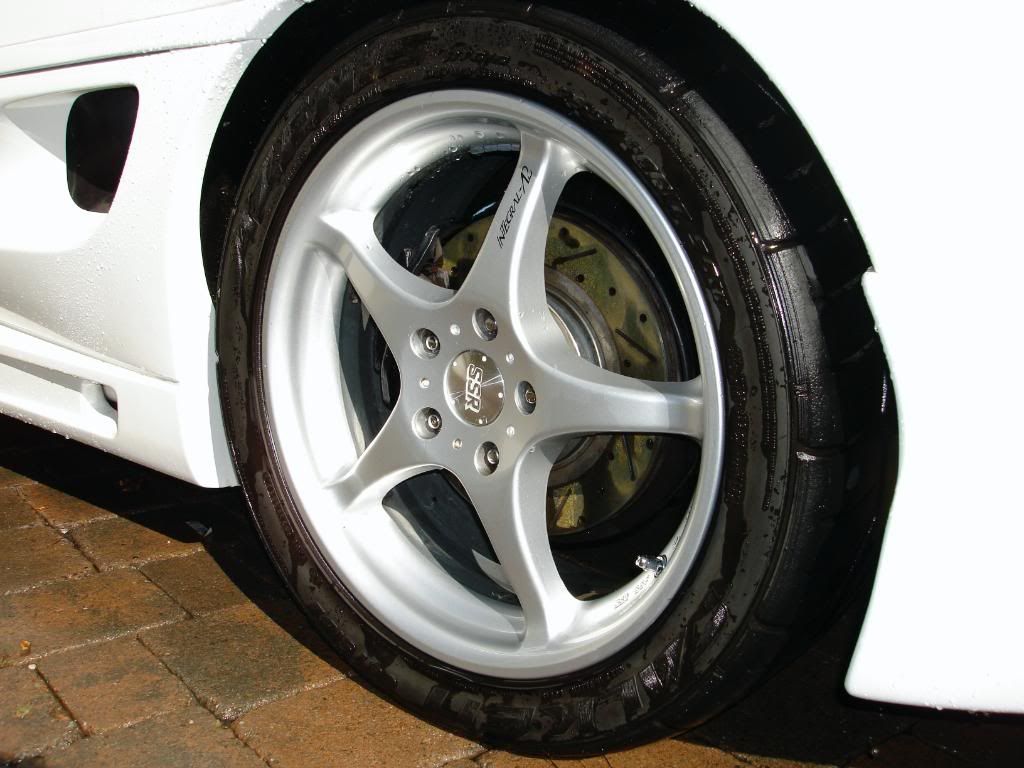
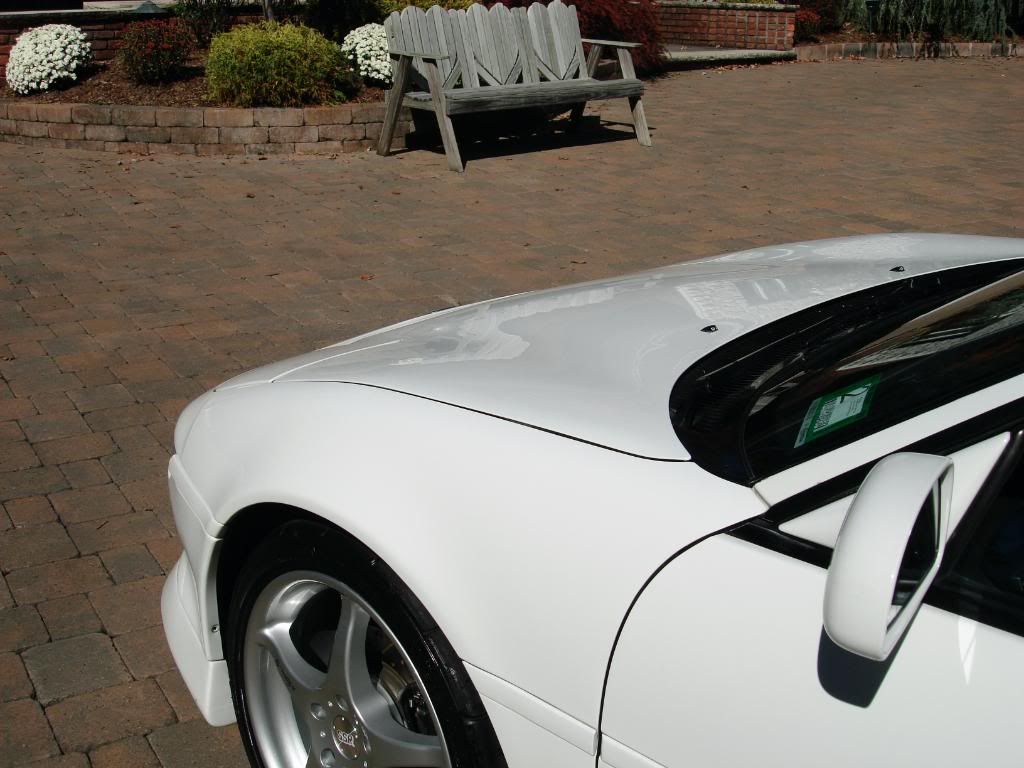
One with the detail...
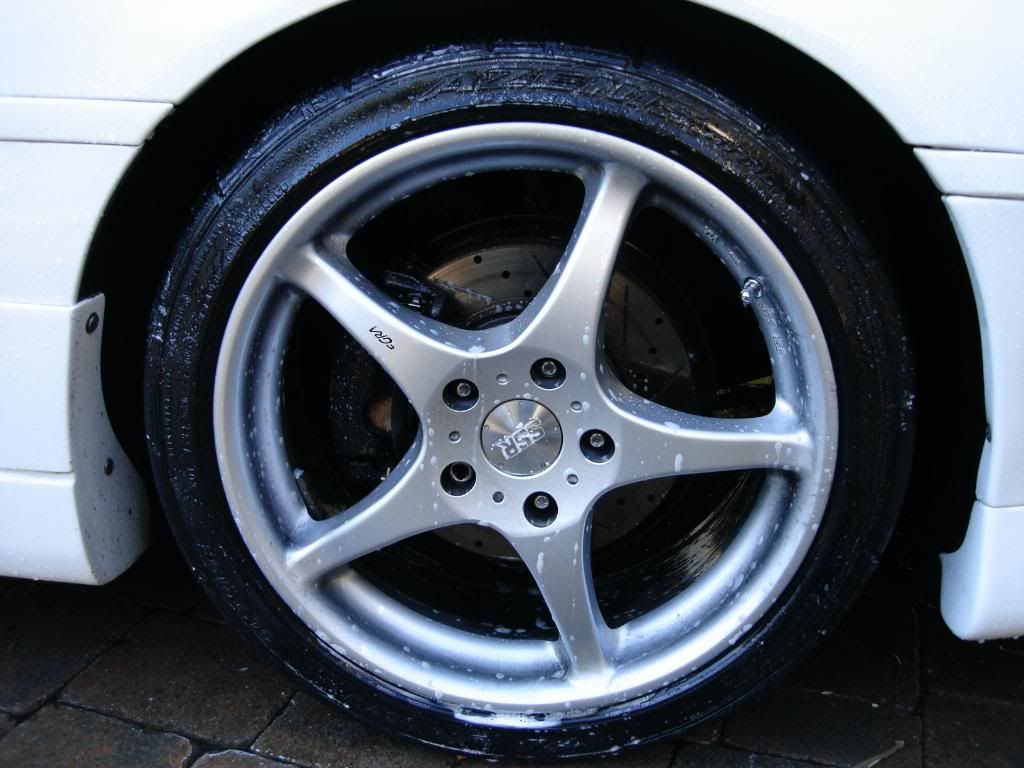
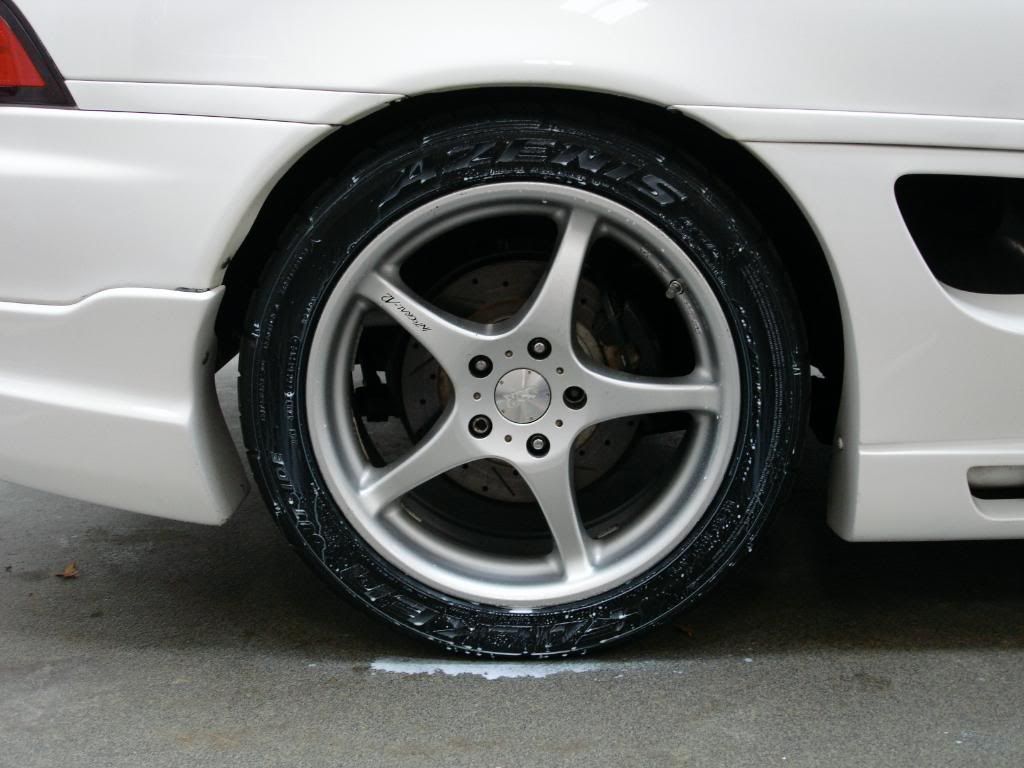
During the wheel cleaning process, a bit of a 50/50 picture if you will. The front wheel is cleaned and the rear isnt.
Now a more in depth look at the process on the wheels
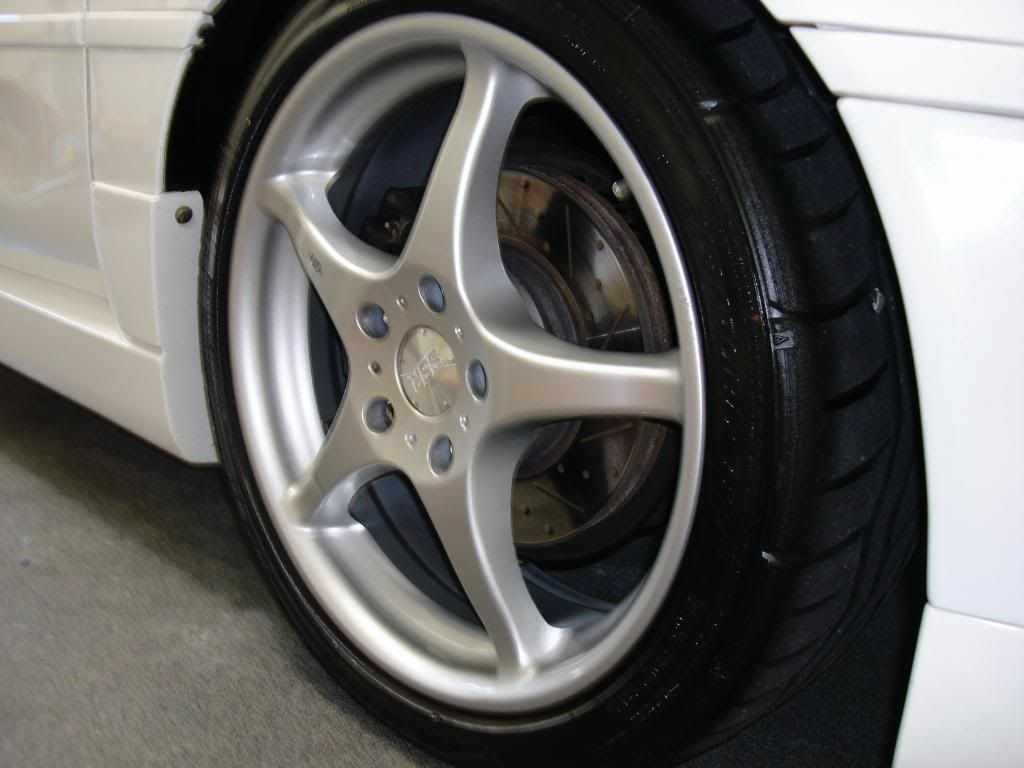
Starting point, overall not bad. A bit of caked on brake dust but the wide openings between the spokes and tiny calipers made for easy access to clean the wheel inners all the way through (a very important thing to me)
After applying the Kleenol APC to both the wheels and tires, big plus about the Kleenol is its ability to be used on both tires and wheels safely. The cleaning power is pretty good but not excellent.
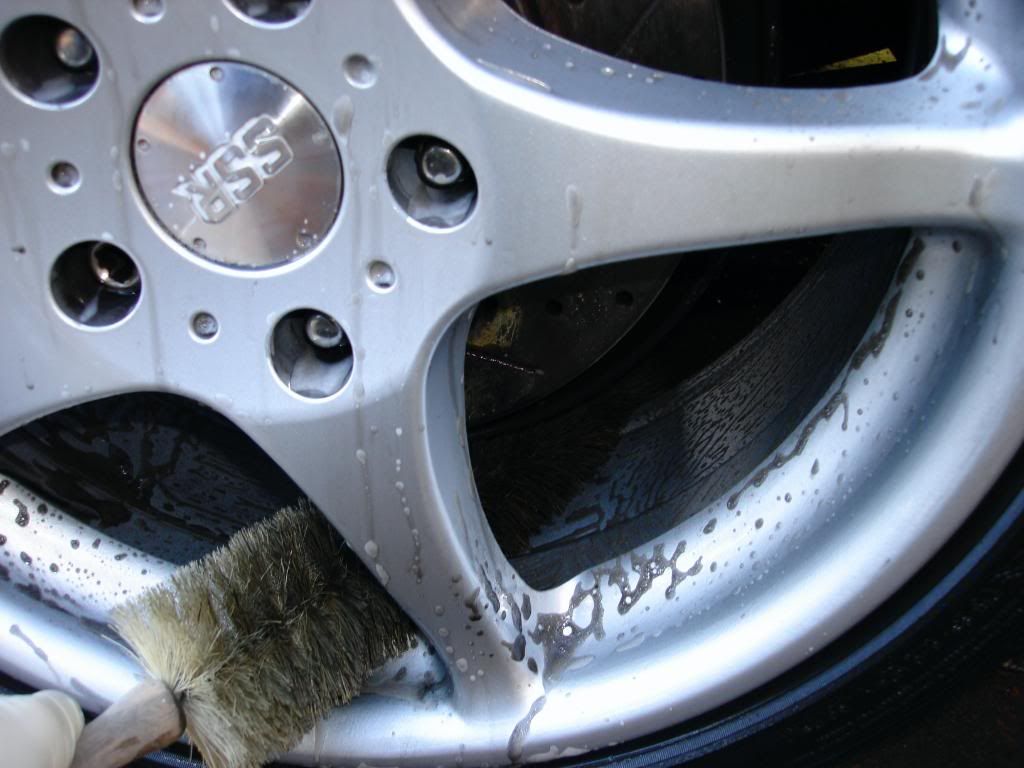
Using the swissvax brush to agitate the dirt on the wheel face, im still on my first swissvax brush since I bought it about 45 cars ago. Im really happy I found this brush, its gotten me though a lot of messy wheels:clap:
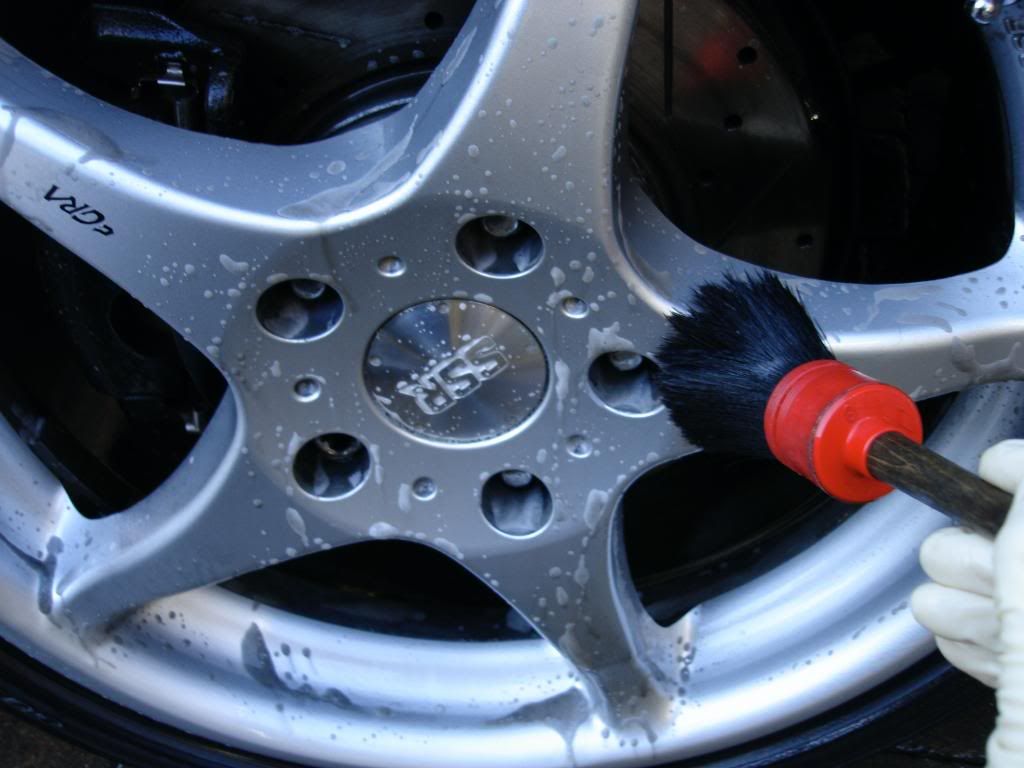
Then onto cleaning the inner wheel area using the spoke brush which is great for heavy scrubbing, an area where the EZ brush lacks big time.
Now scrubbing the tires
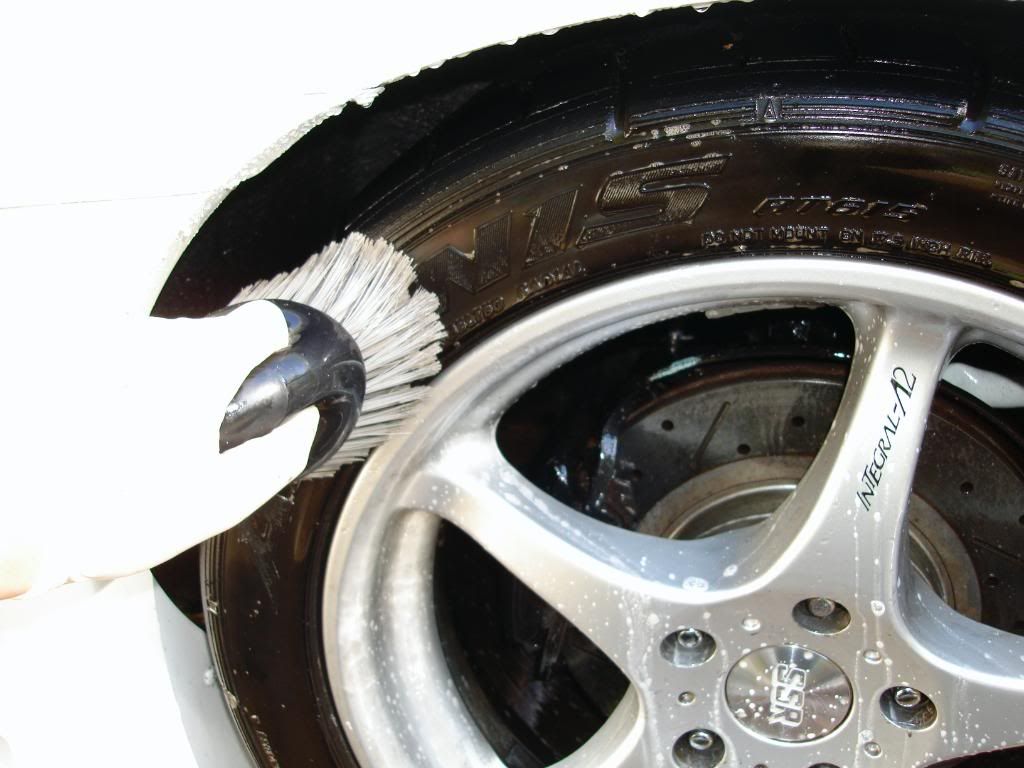
And finished off with the EZ brush which helped to agitate the brake dust behind the spokes, its flexible handle allows for easy cleaning in tighter areas like behind the spokes and brake calipers
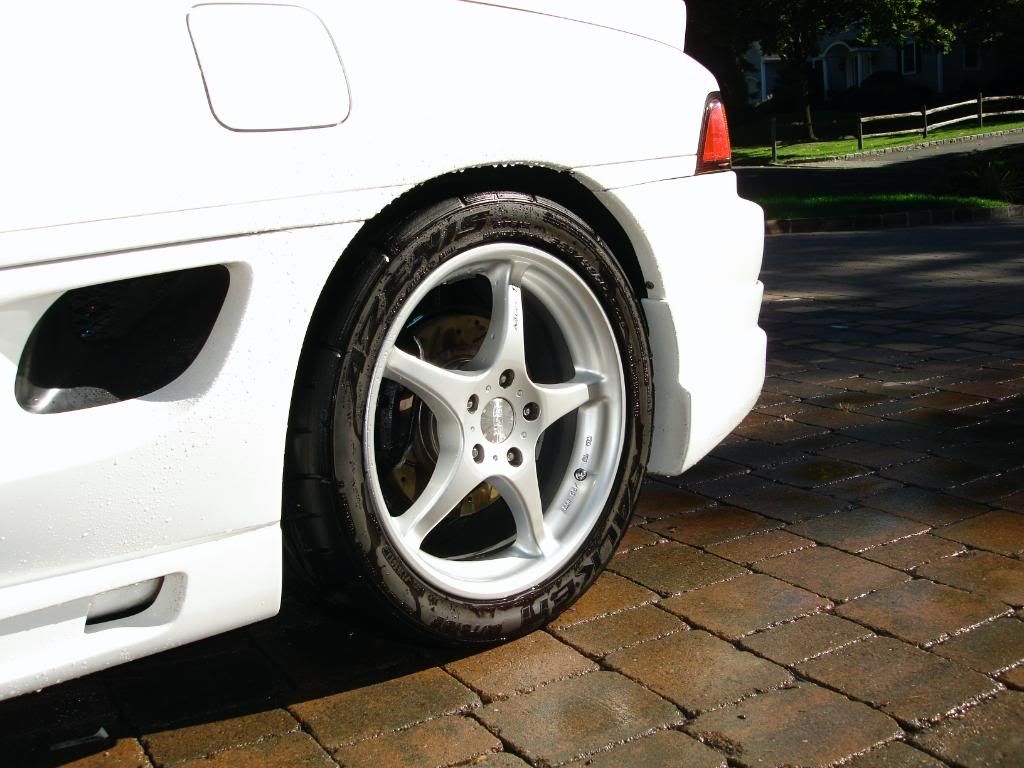
Rear wheel before...
Rear wheel after...
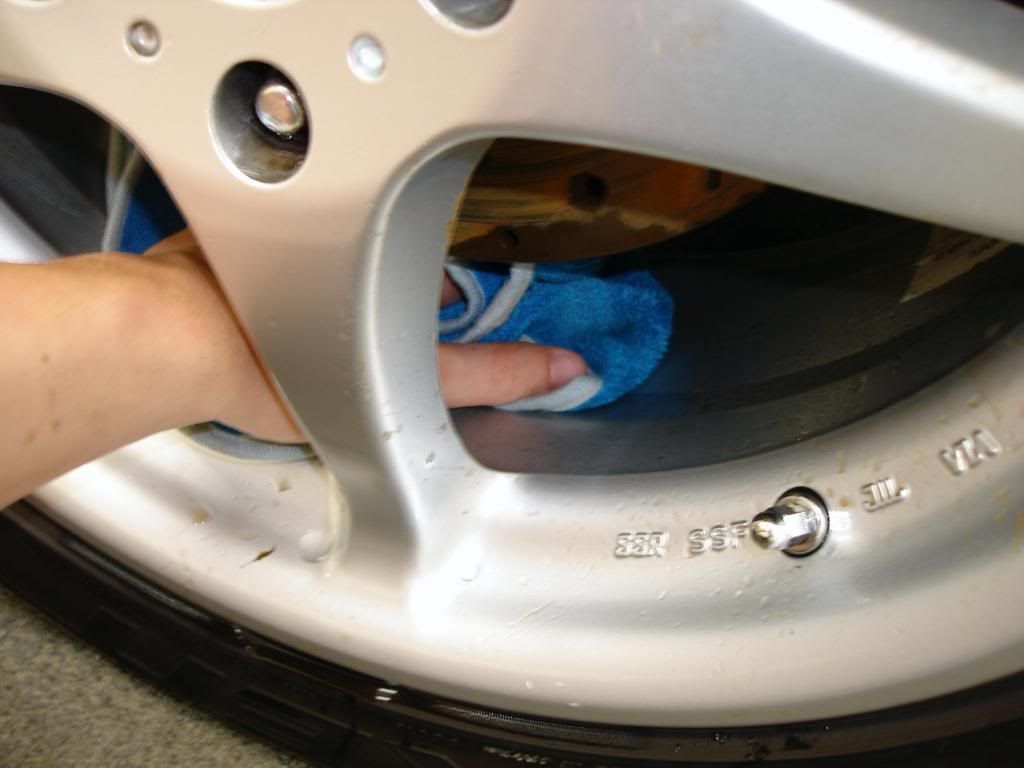
I then dried the inside of the wheels and removed any excess loose dirt with an old MF towel
Now moving onto to wash process. The MR2 was given a thoroughh rinse, after seeing that there was no prior LPS still on the car I did not need to focus on stripping it. I used the P21s TAW as a quick pre wash and also I used the Surf City road grime destroyer to loosen up some light tree sap and road tar from the ower panels and hood, specifially by the wheel arches... a popular spot for slung tar etc.
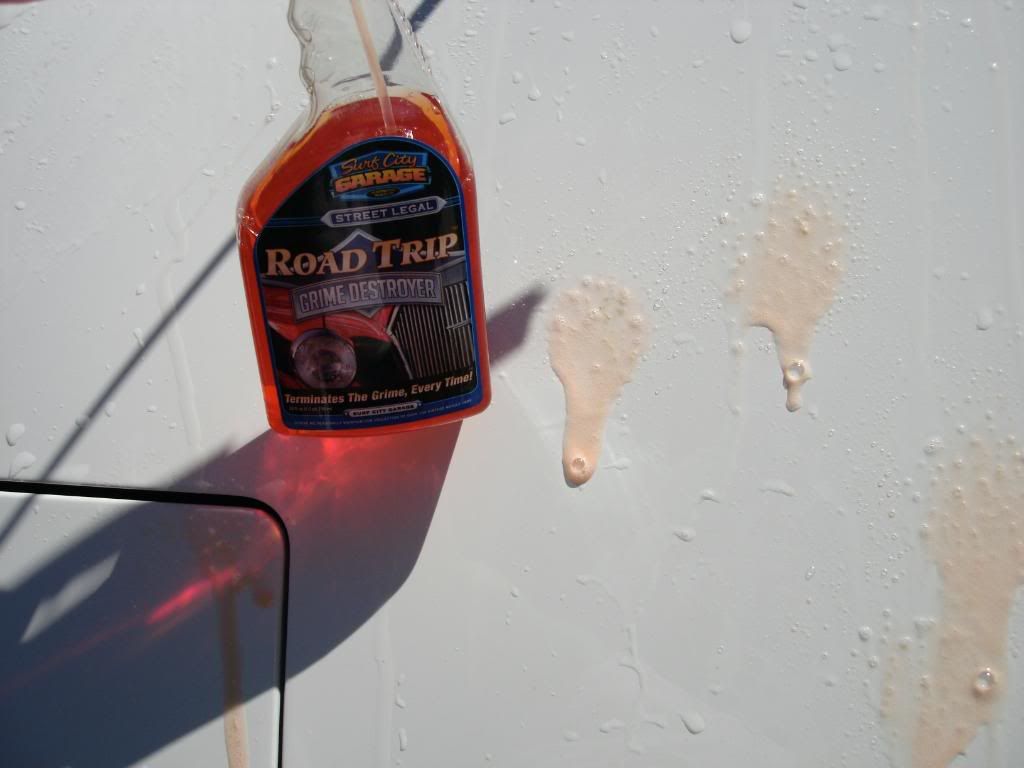
The grime destroyer is really a fantastic product!
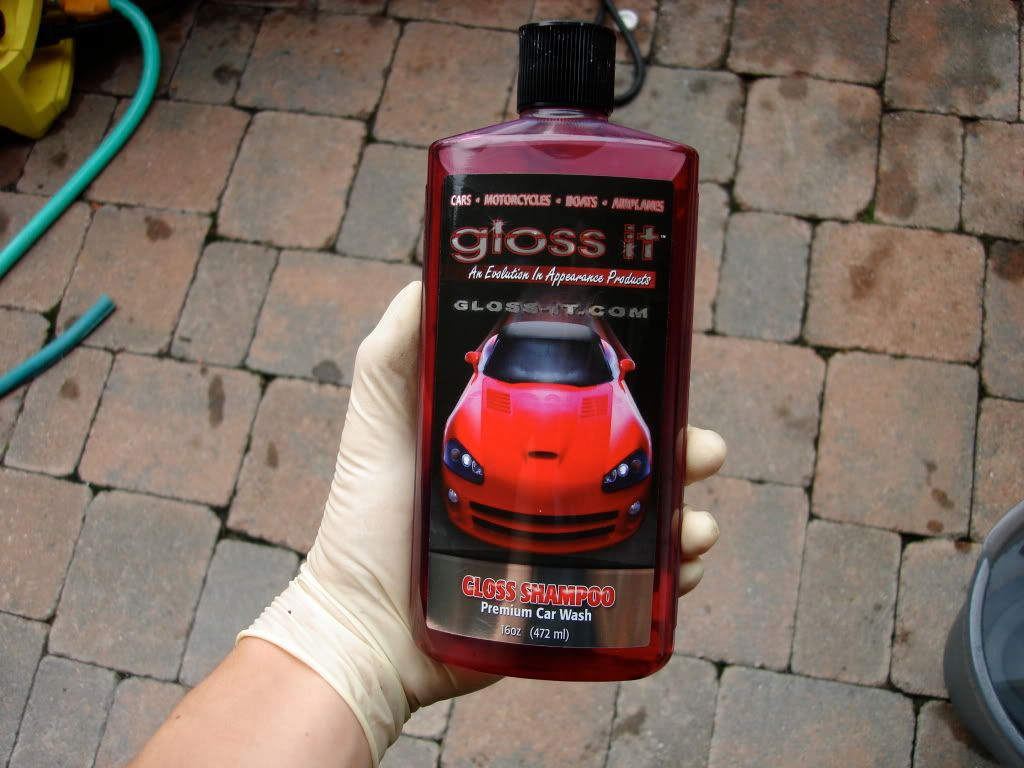
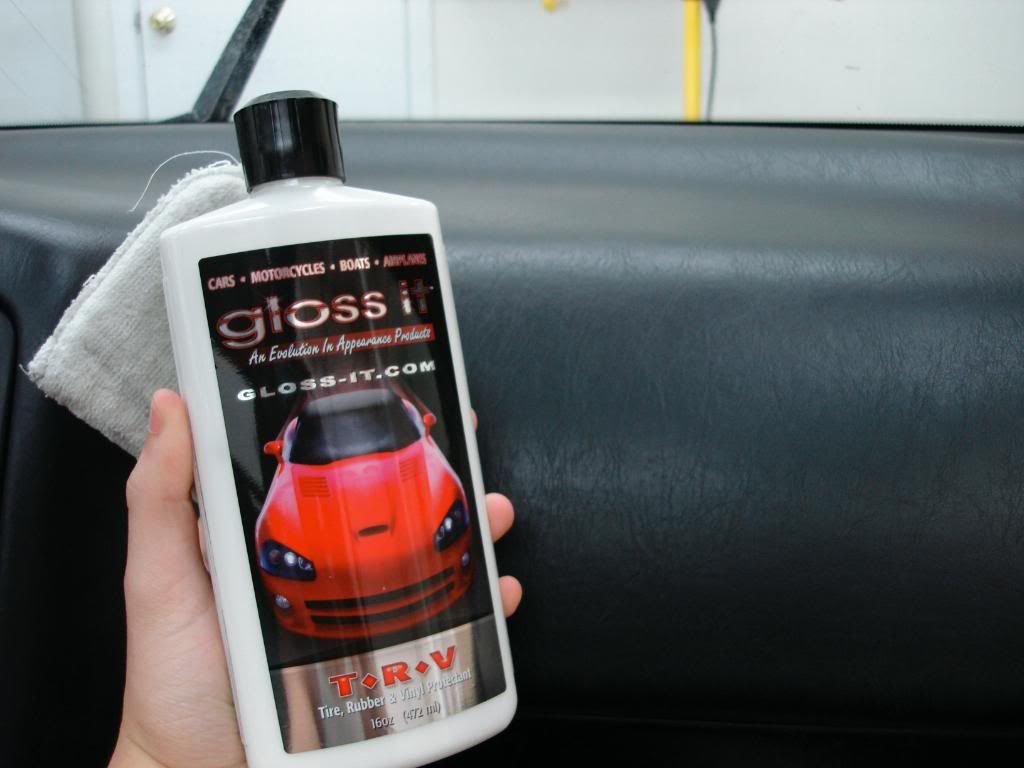
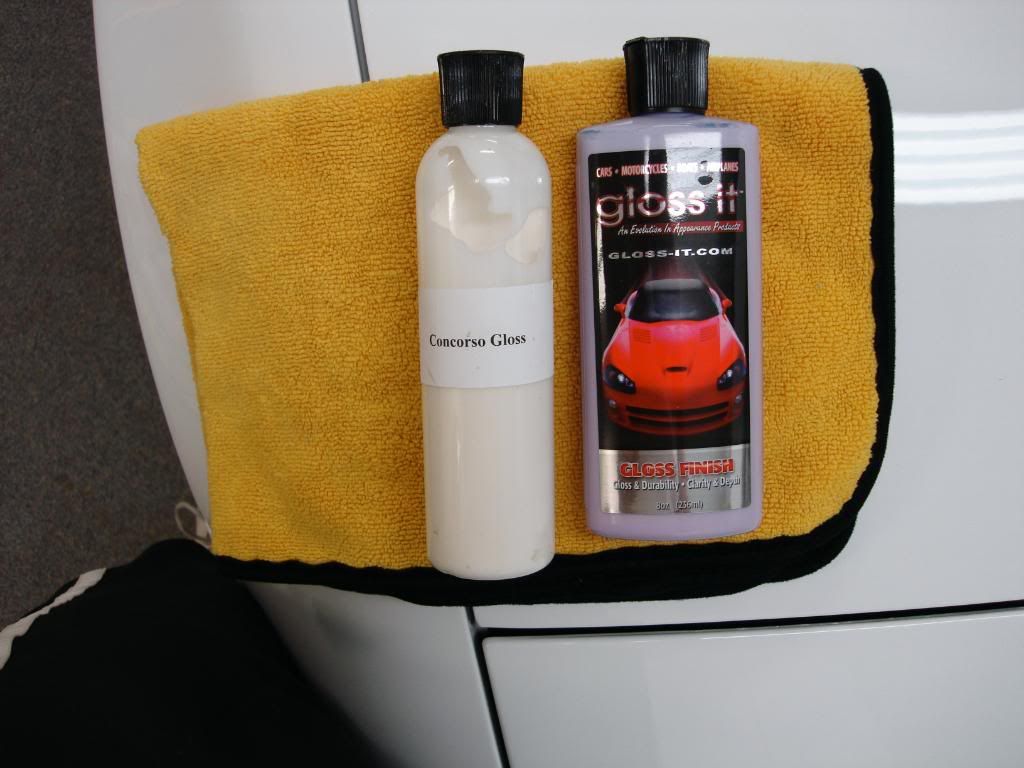
I then used the 2 bucket method with grit guards to wash the MR2. My shampoo choice was Gloss It Gloss shampoo and 2 foam shmitts. The Gloss Shampoo suds up very well and is super slick.
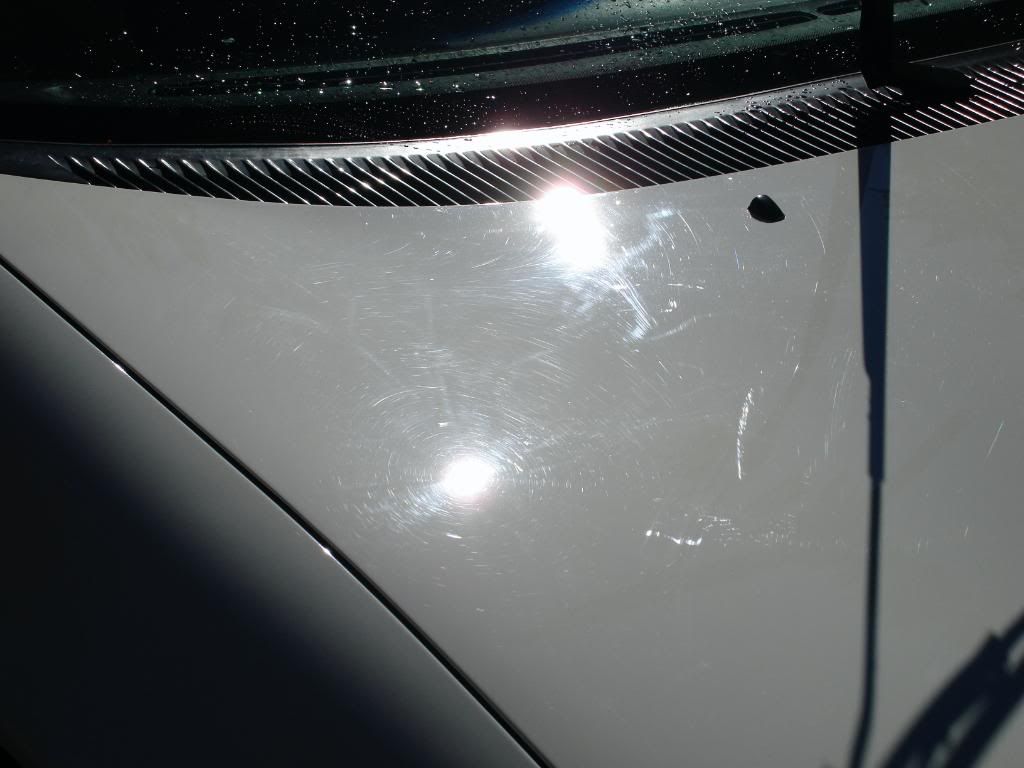
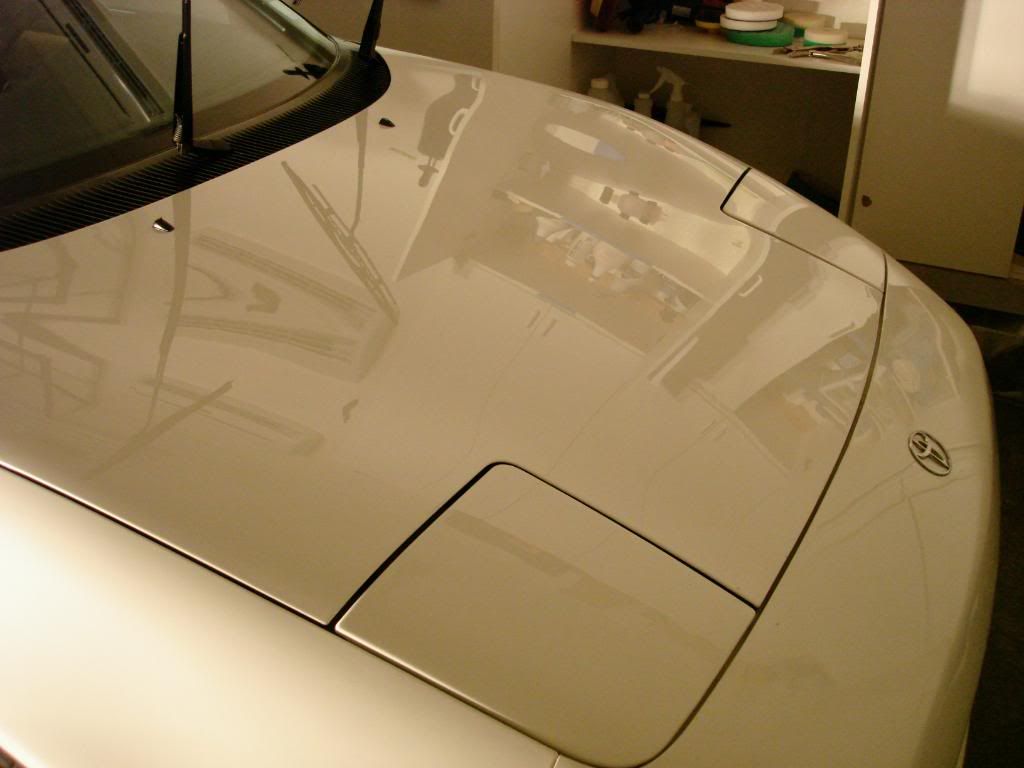
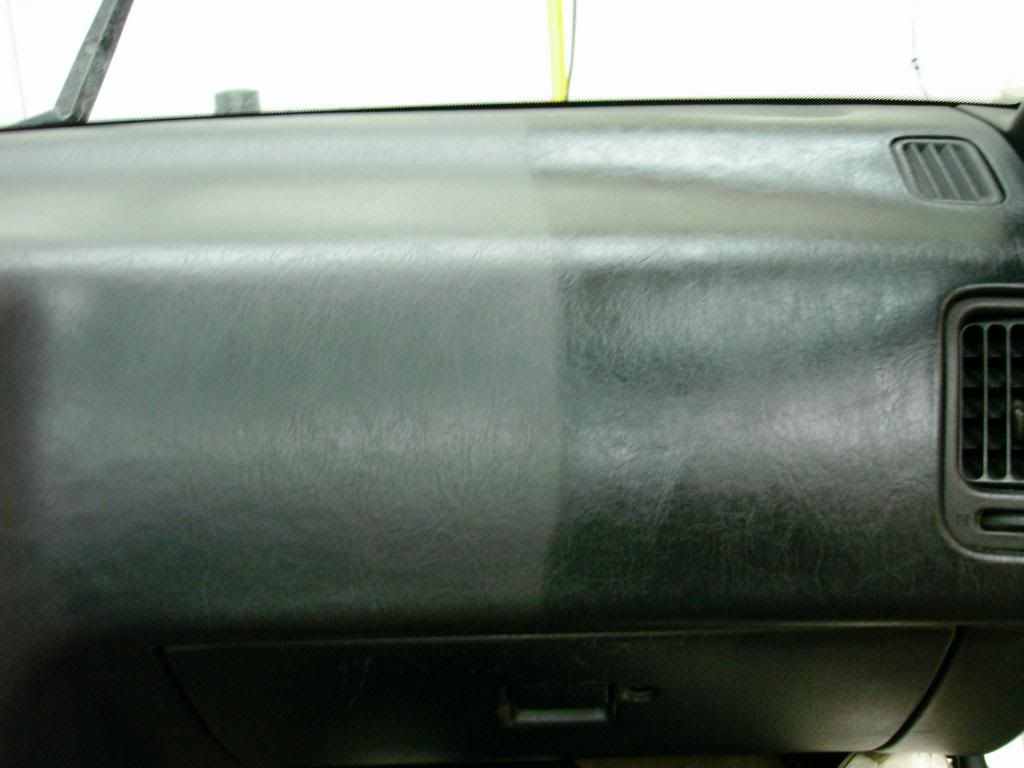
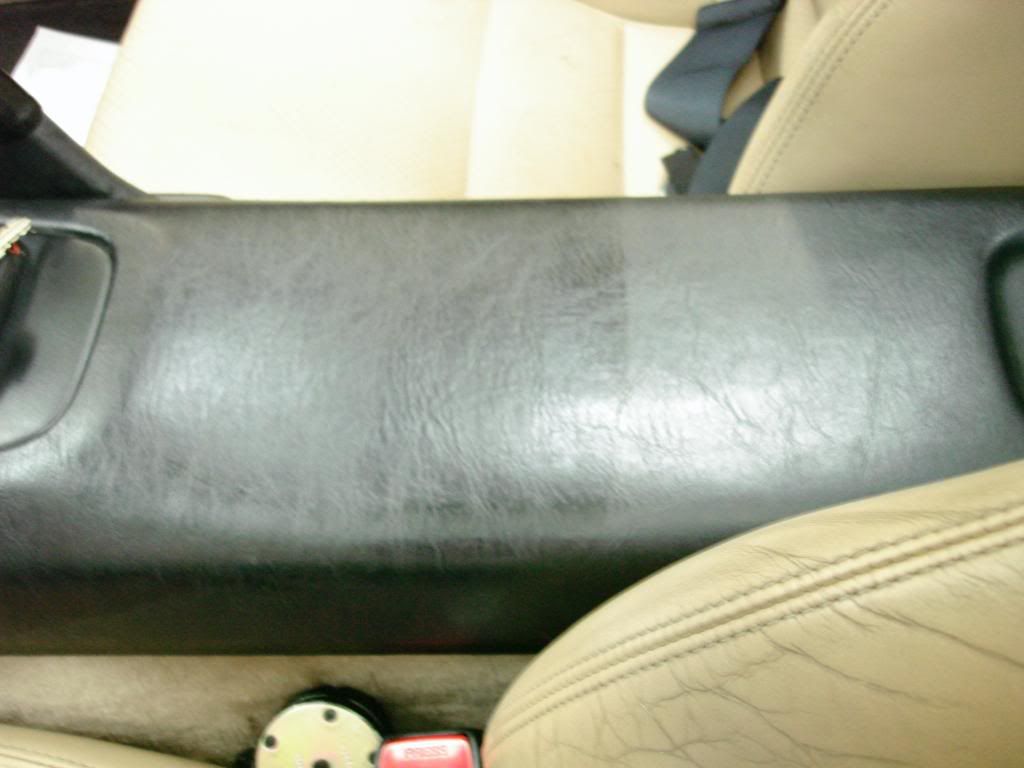
After washing and drying the car I inspected the finish in direct sunlight to determine the type of correction work which would be needed. Under the time constraints a 100% full correction detail could not be provided but instead the owner aksed for my 2 step polish/correction job.
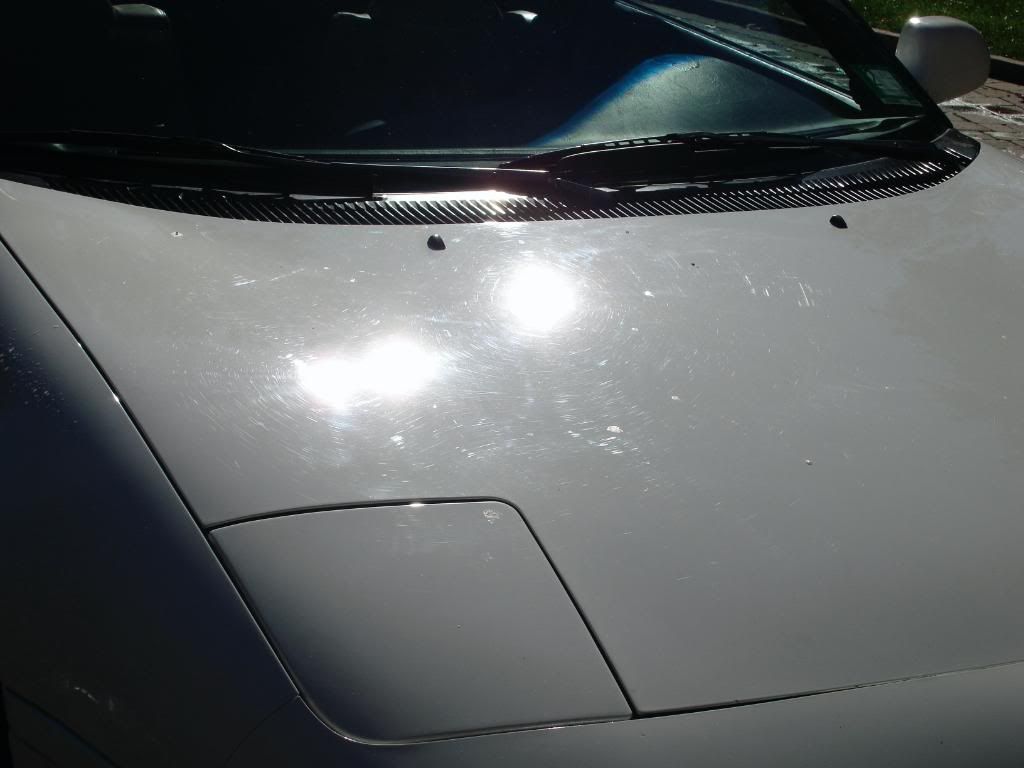
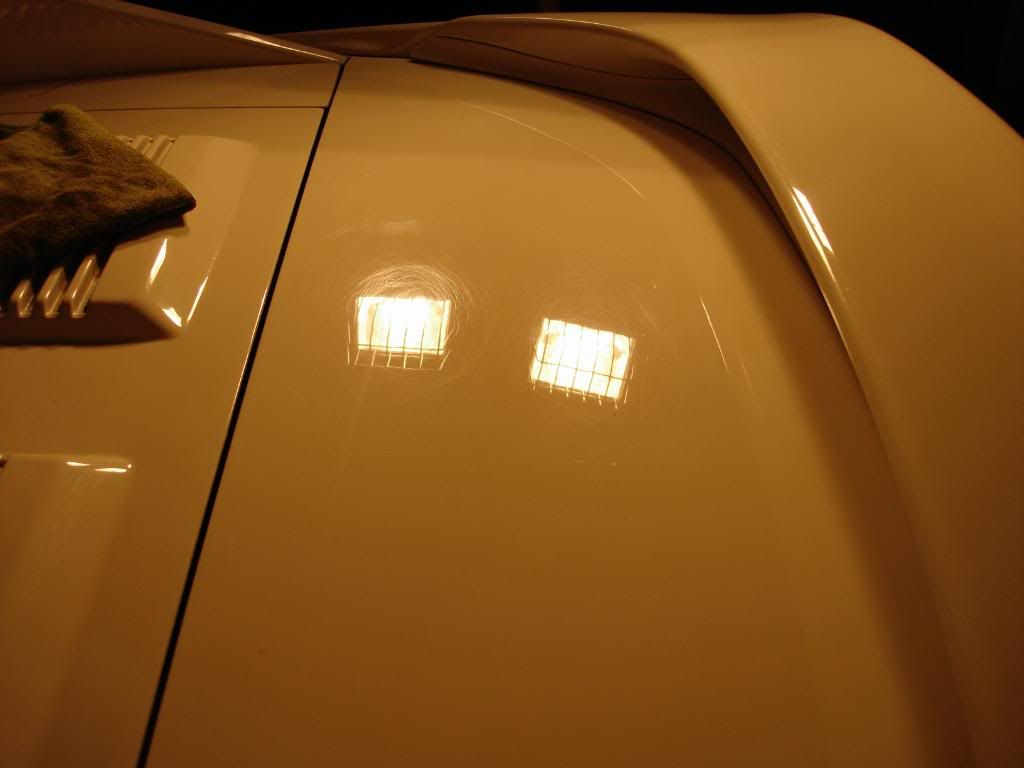
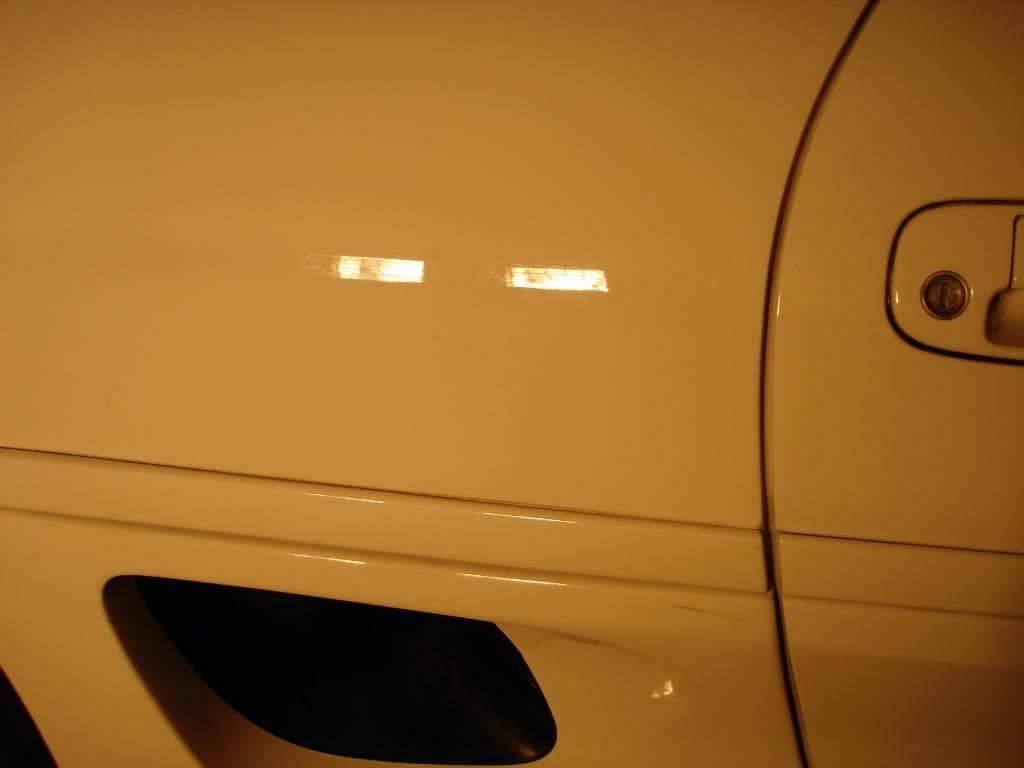
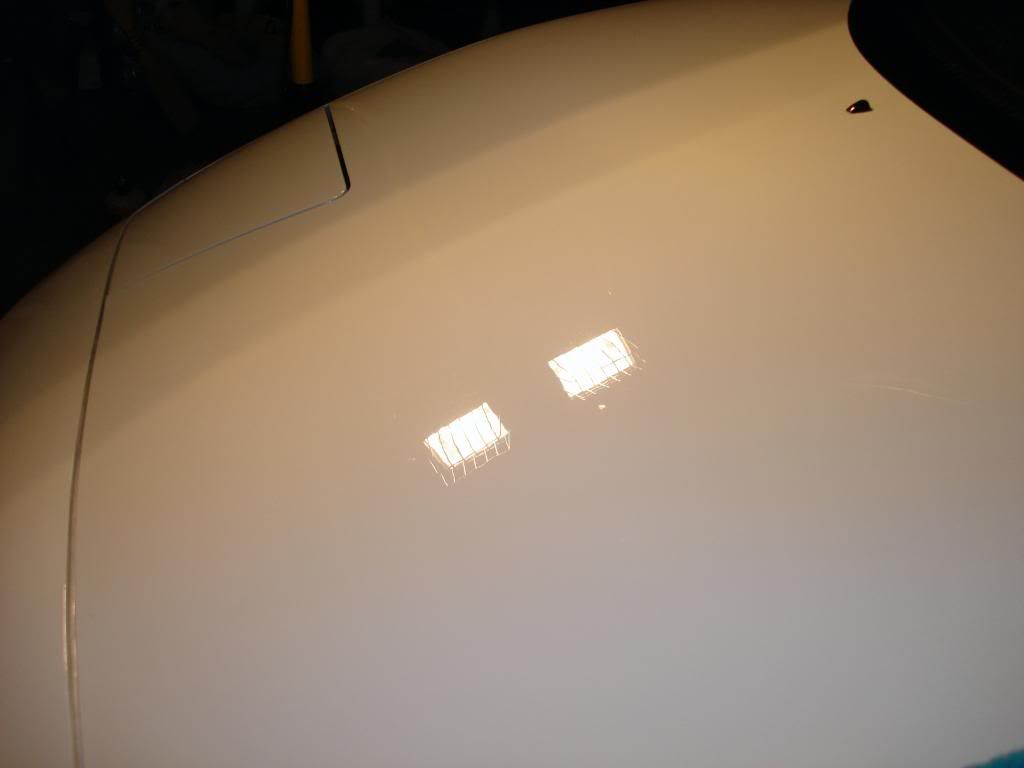
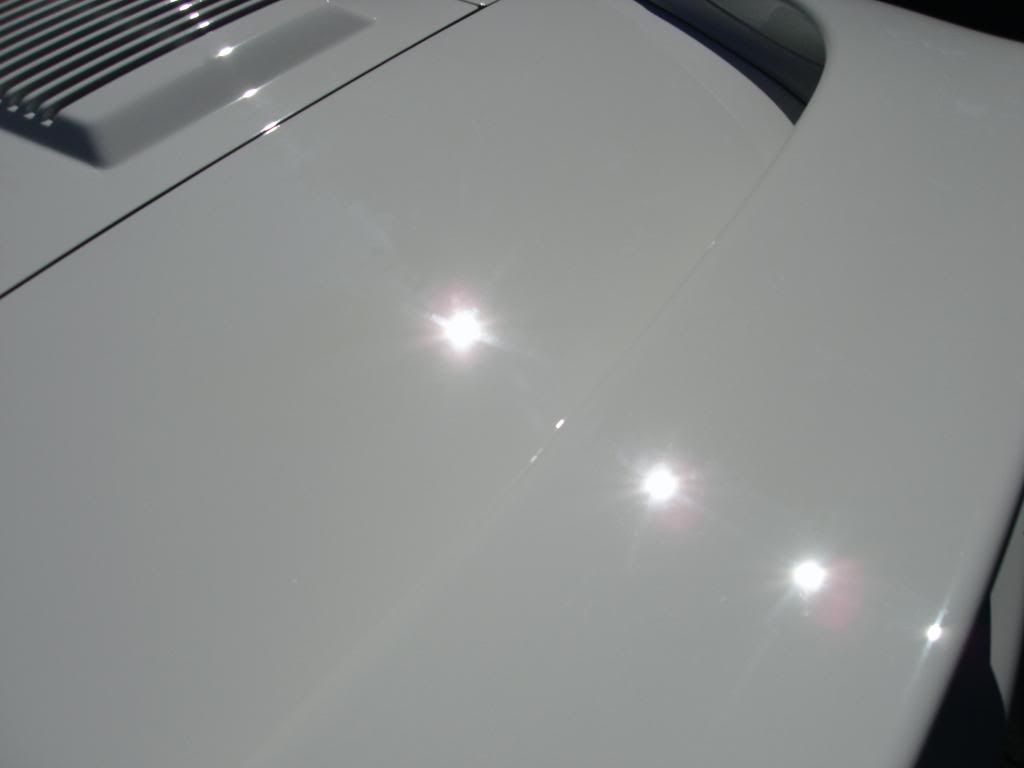
Here is the damage...:yikes:
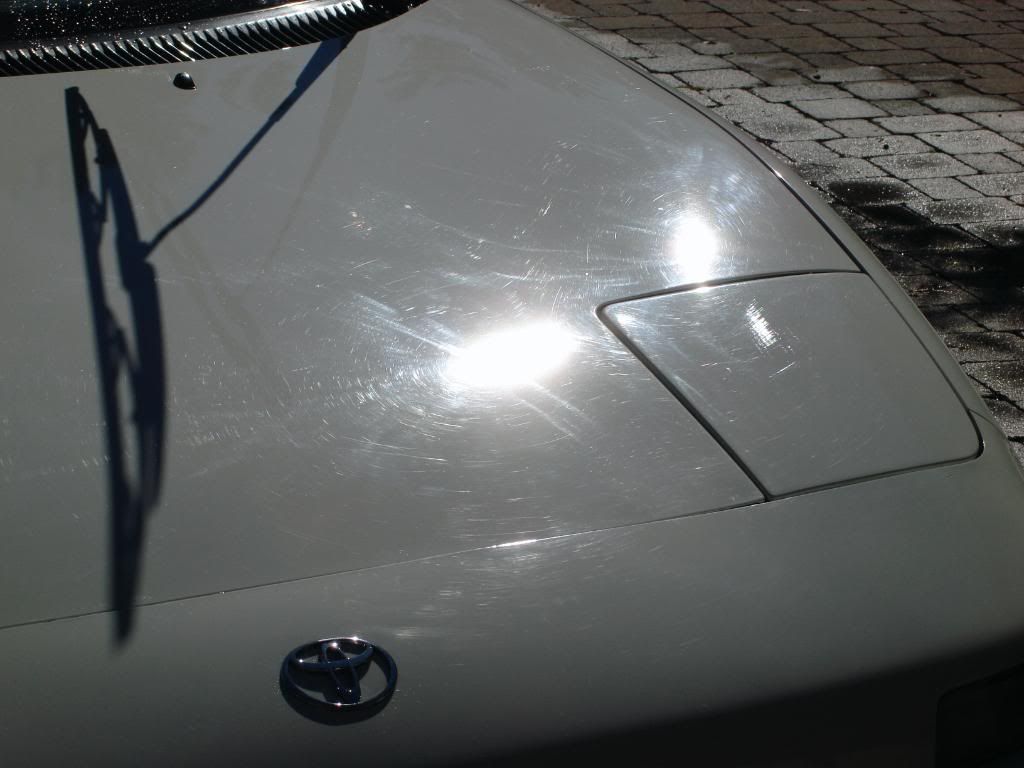
I wasnt too concerned with the finish, I assumed that is was the standard Toyota clear coat but the owner informed me that the car was repainted about 3 years ago and it does have clear on it. Judging by the flatness in the finish the re-spray was not very high quality.
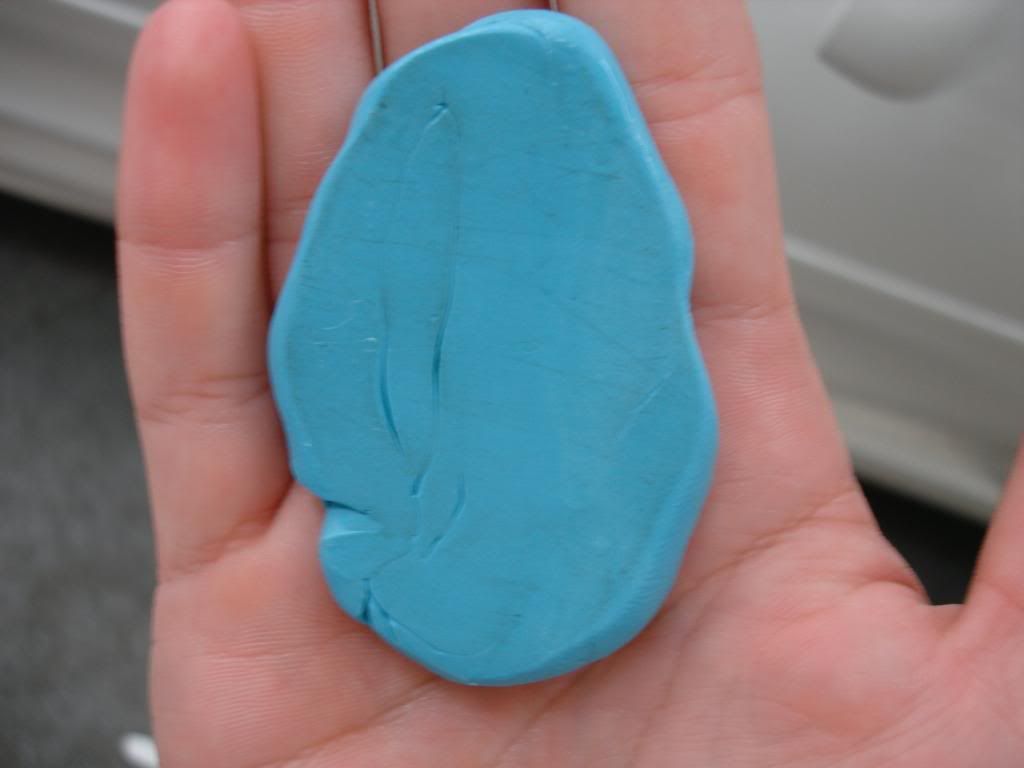
I pulled the car in my garage and proceeded with claying, Meguiars mild blue was used in conjunction with the meguiars last touch QD at 1:1. The car was suprisingly un contaminated. I used about 1/4 of a claybar.
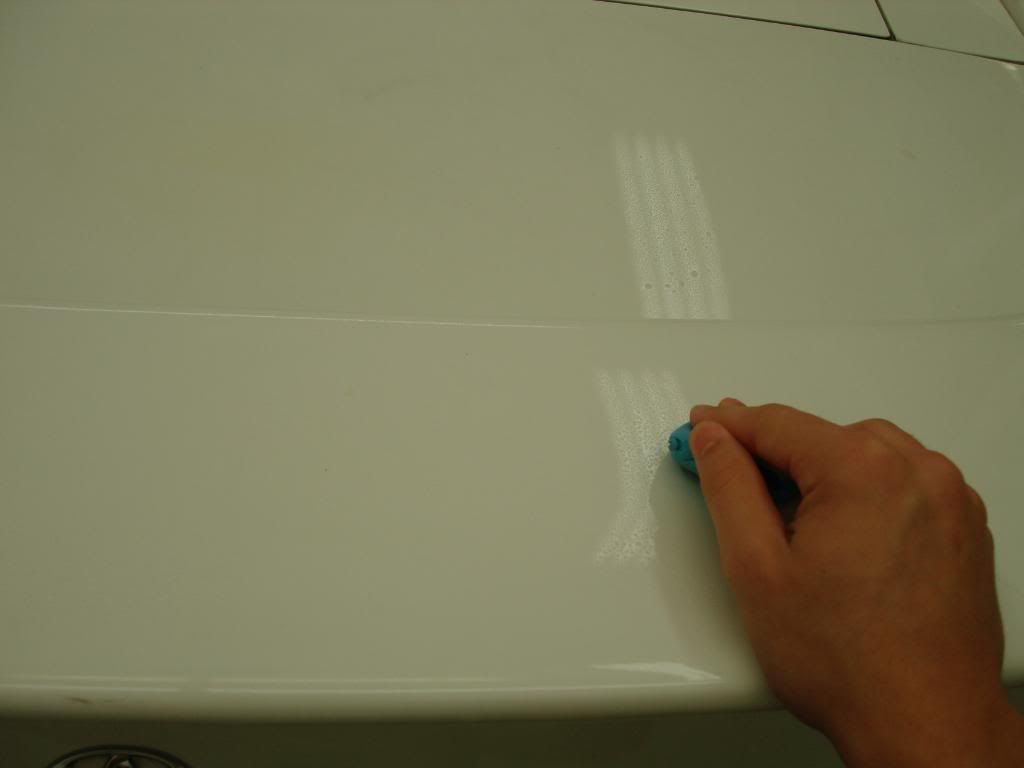
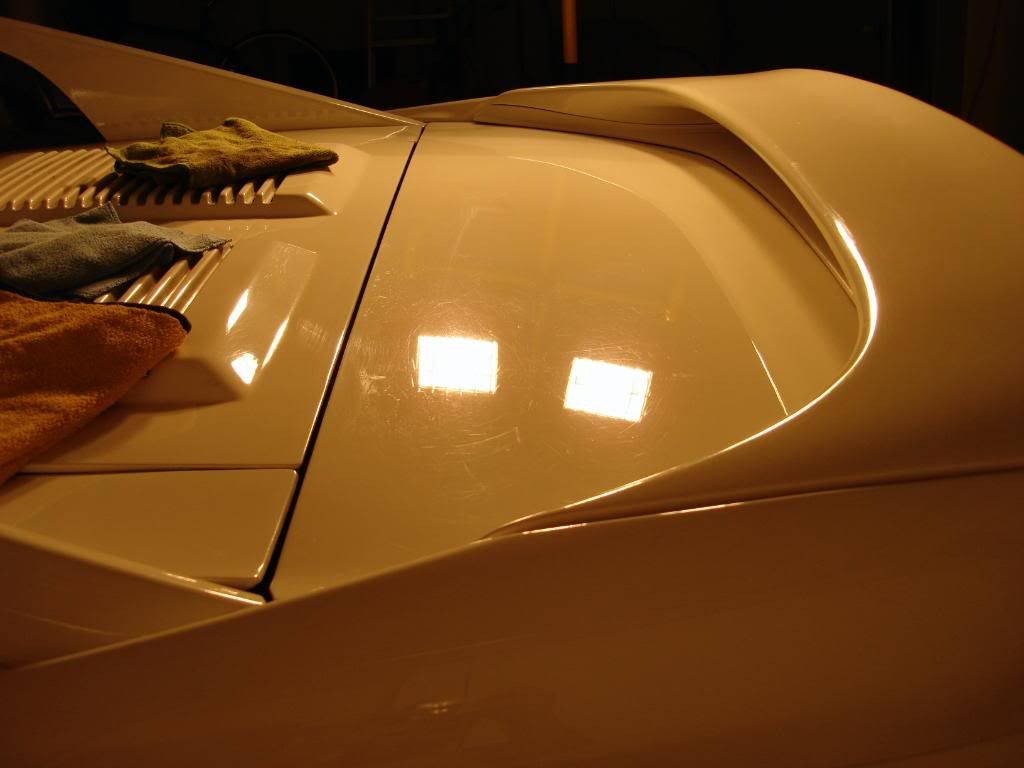
After the hood section was clayed...
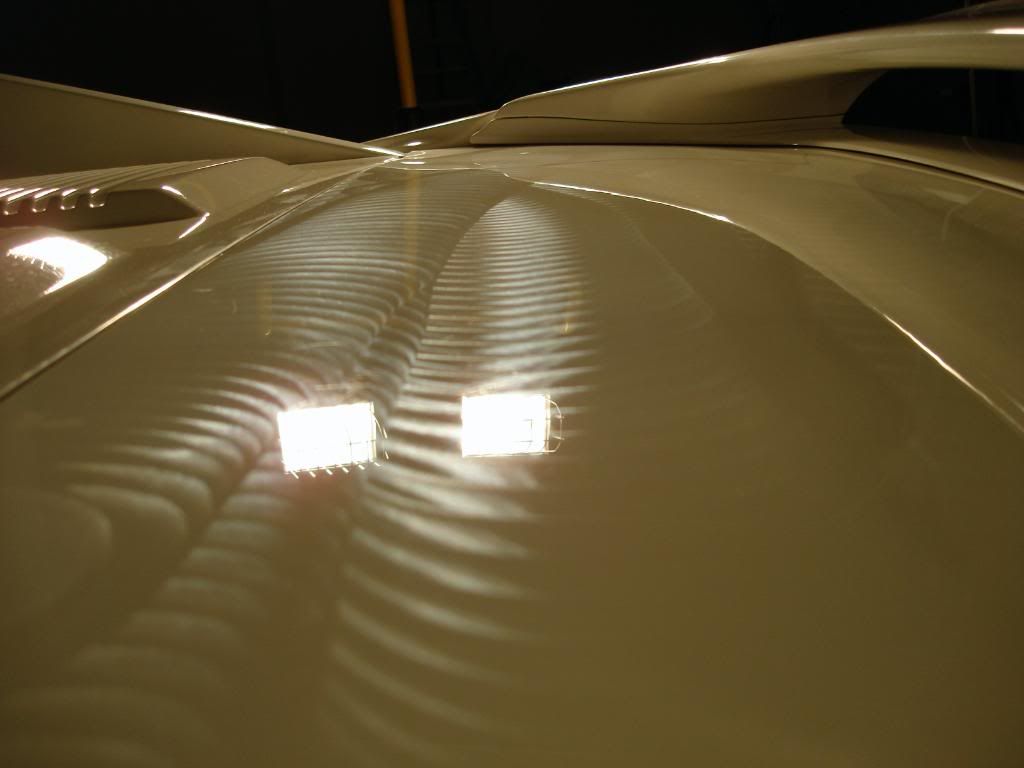
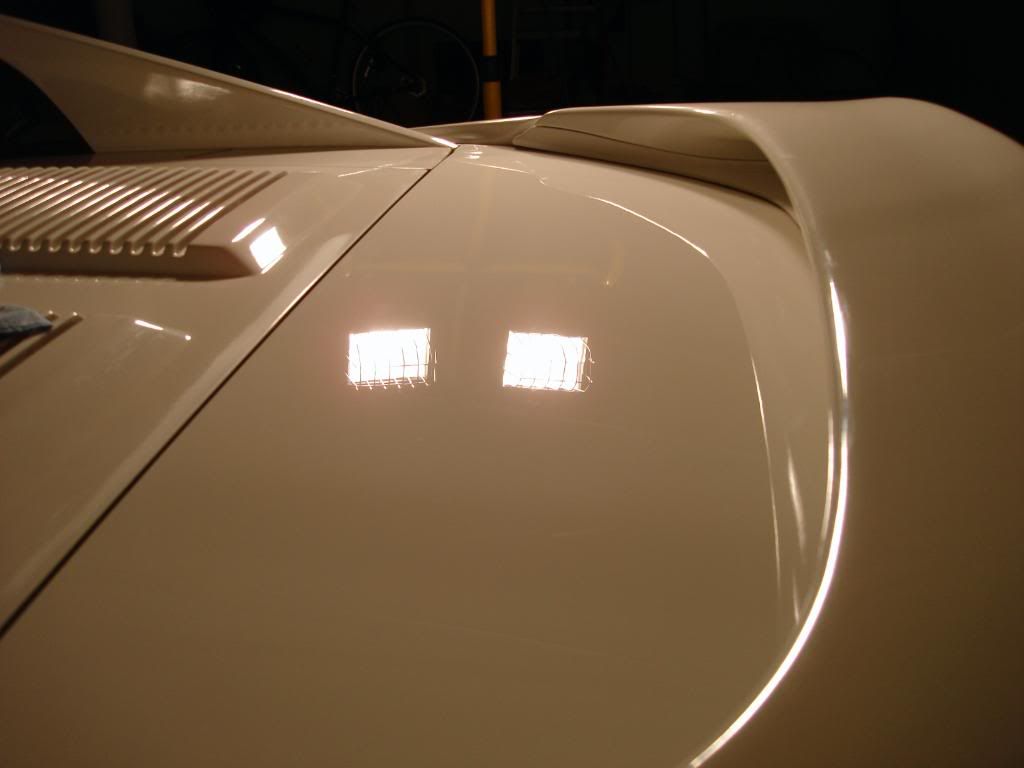
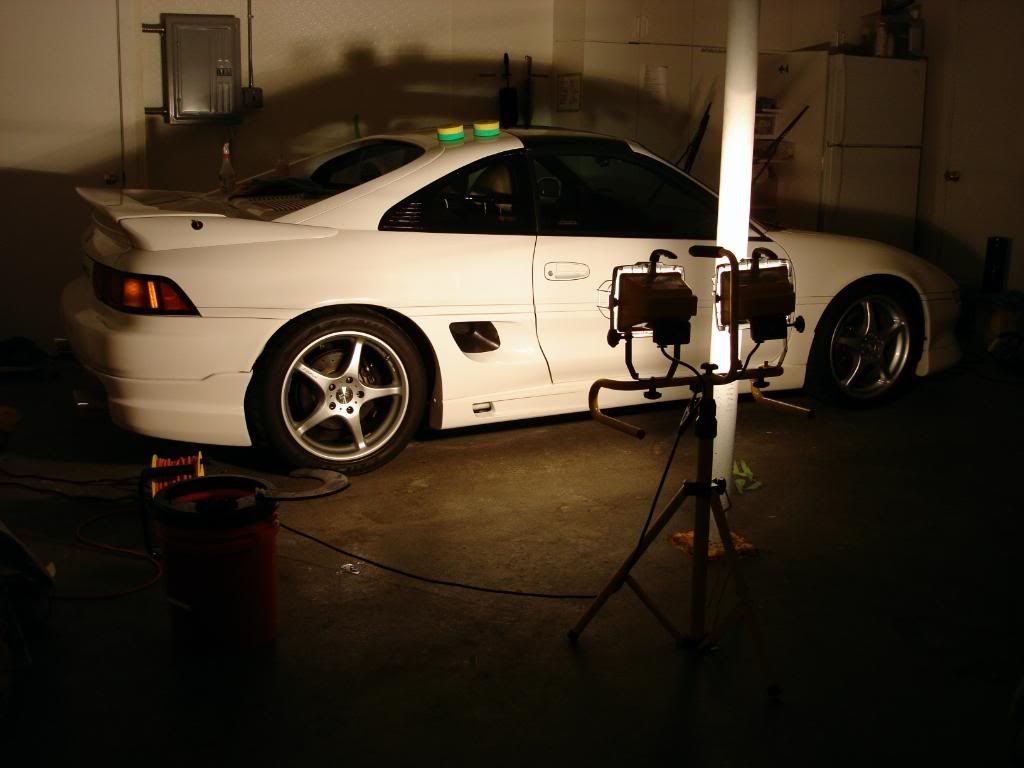
Now it was time for the correction work, I inspected the finish under dual 500w halogens and the Infratech CM5300 hand held inspection light.
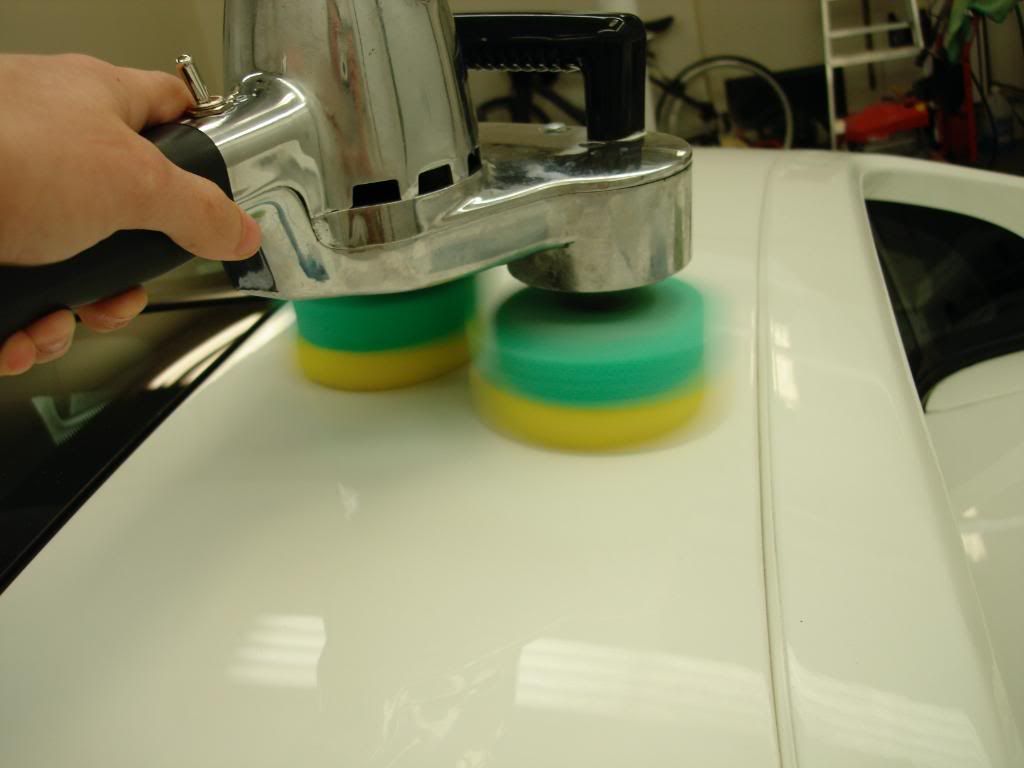
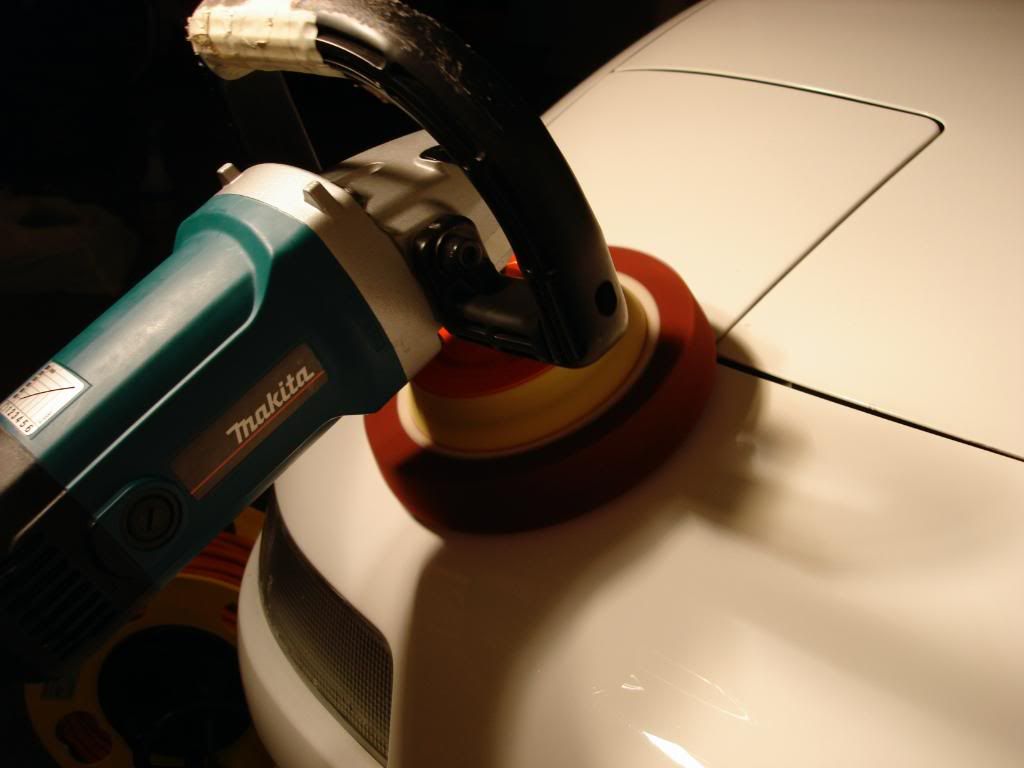
As I have been doing lately I grabbed the Cyclo orbital polisher to see if it was up for the job...after doing some spot sections I found the Cyclo was correcting very nicely so I stuck with it for 90% of the car.
The car was re-sprayed and the paint avergaed about 225microns
The correction process was as follows:
Gloss It extreme cut compound on orange cutting pads with the cyclo
Gloss It Evolution cut on yellow cutting pads with the cyclo
Gloss It One step machine polish on yellow polishing pads with the cyclo
Some before and after shots of correction
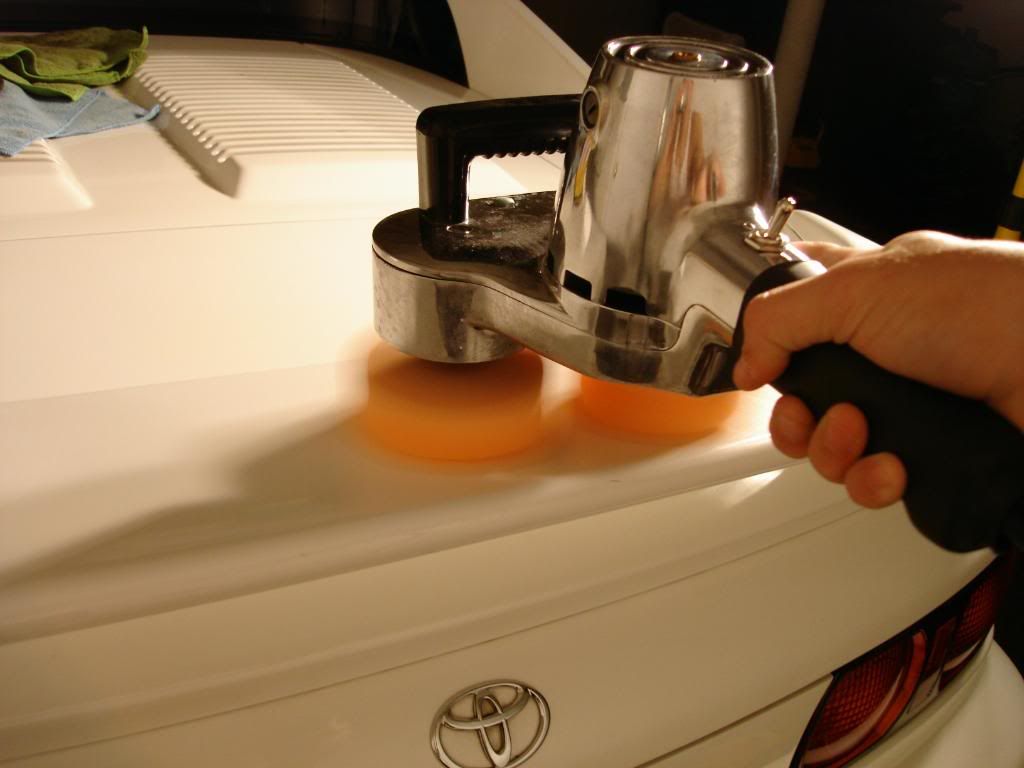
The engine (not trunk) area needed compounding, the extreme cut on orange pads worked very well after 2 passes the finish was about 95% perfect. The beauty of the cyclo is that you can really lay on the pressure to polish out those deeper defects, I worked the hell out of the polishes with this thing:headbang:
after spreading with the cyclo
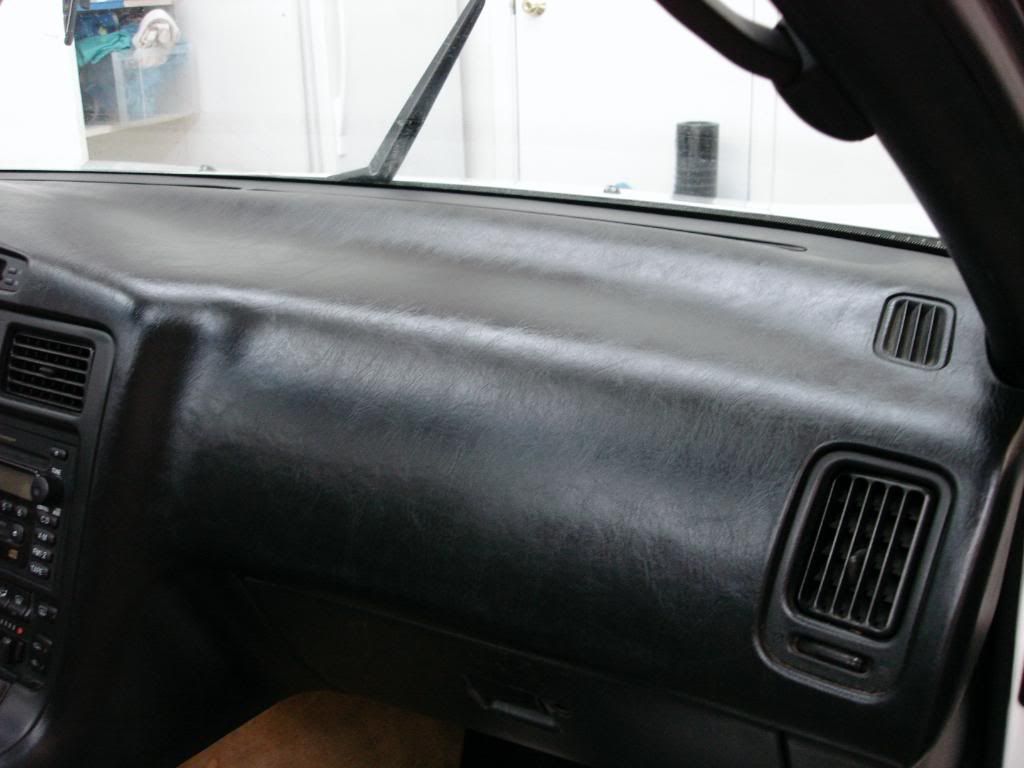
And after full correction
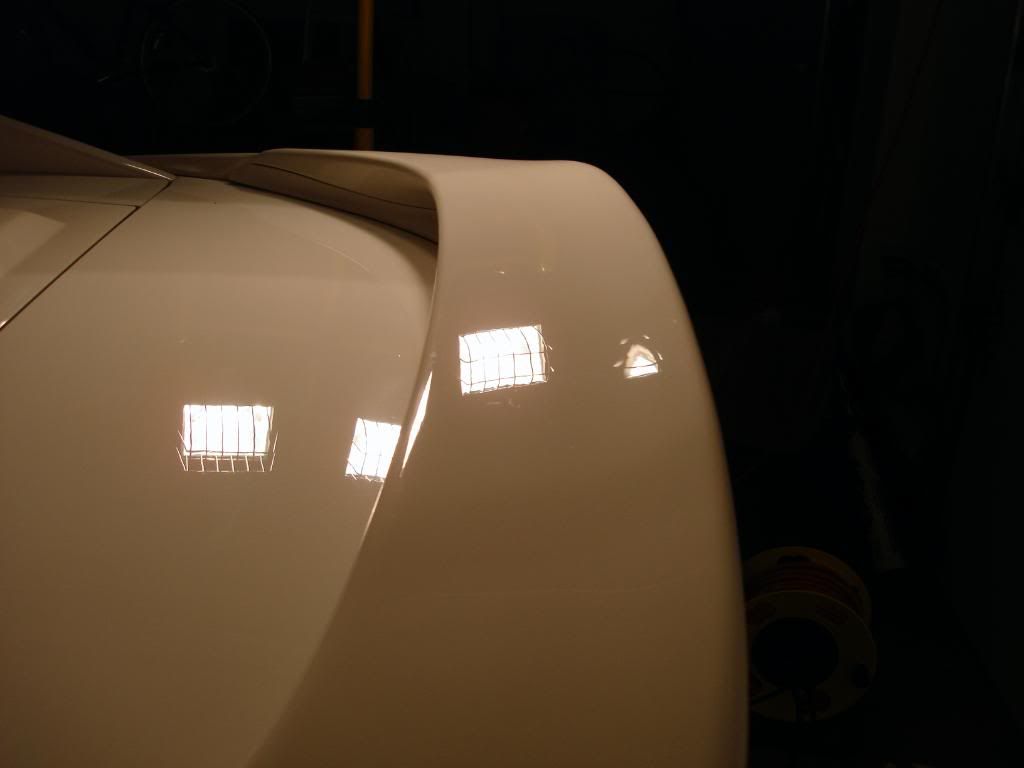
Here is the engine section after polishing with no LSP, the clarity and depth was brought back at this stage
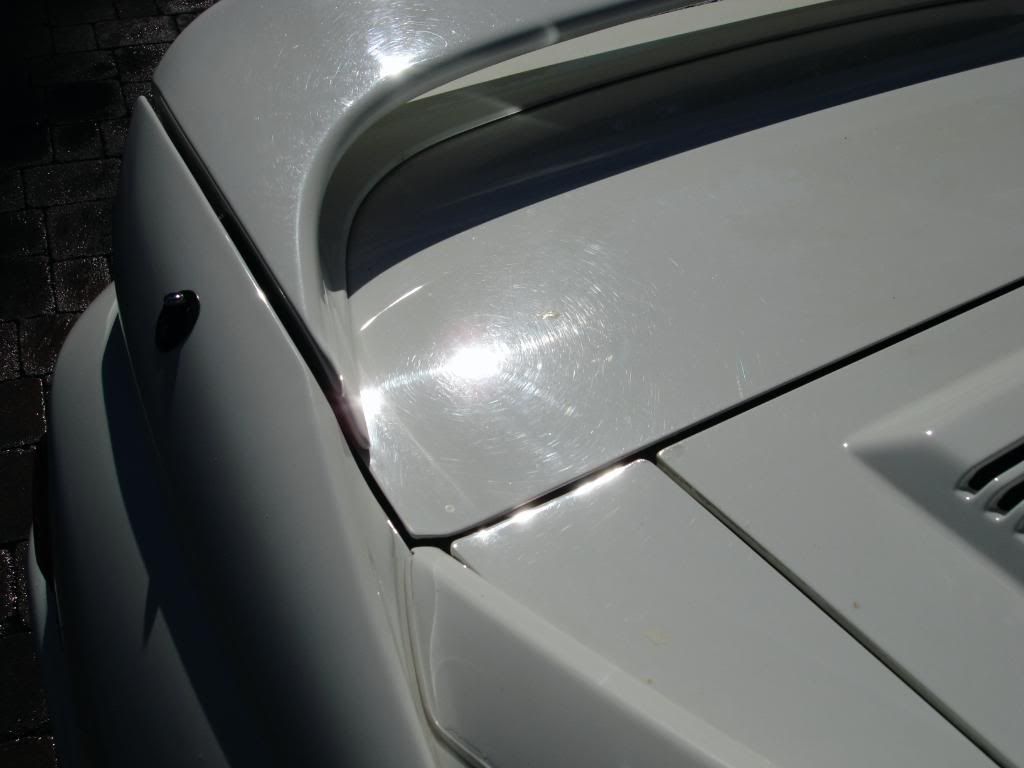
This is my favorite picture of this detail, I dont know why maybe its the lighting. Anyway here are the halogens inspecting the side panels. I keep them further away to see swirls on a larger scale.
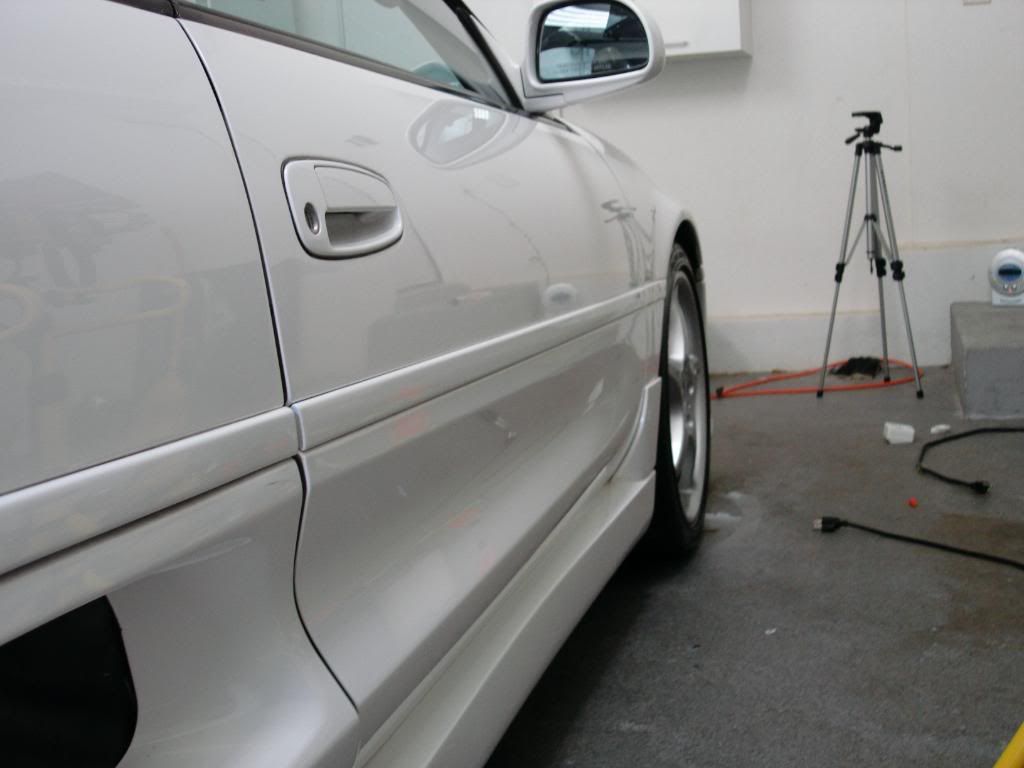
The sides of the car did not need heavy correction work so I only used the gloss it machine polish and yellow pads, then followed up with green pads to finish it out
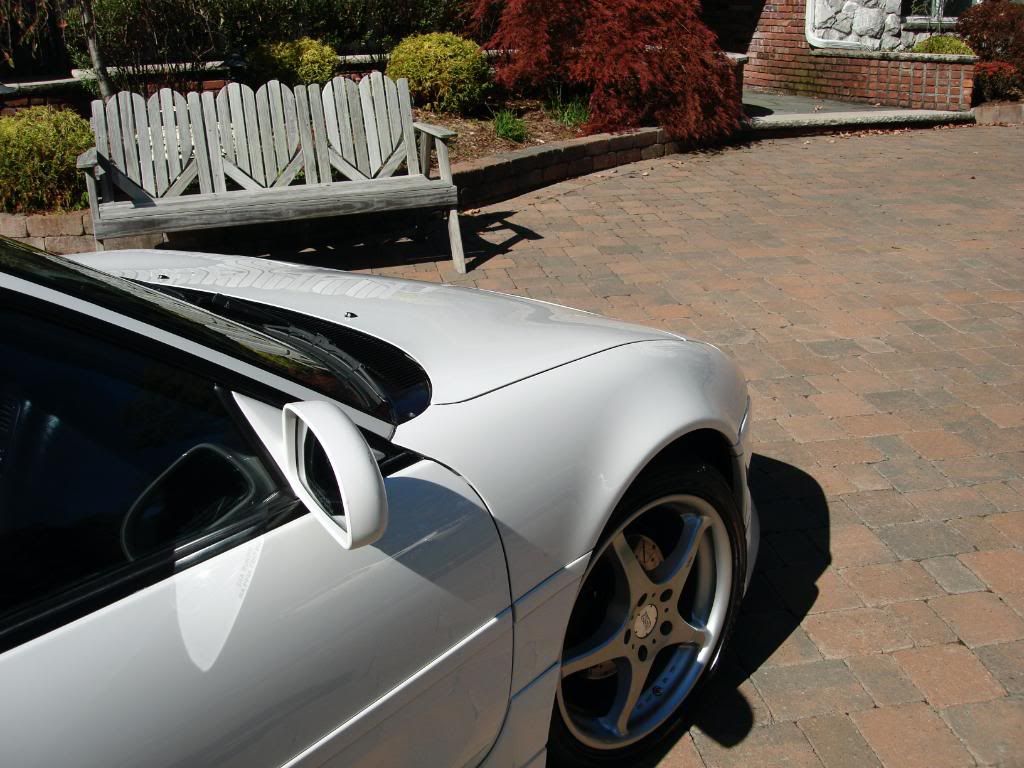
One with the detail...
During the wheel cleaning process, a bit of a 50/50 picture if you will. The front wheel is cleaned and the rear isnt.
Now a more in depth look at the process on the wheels
Starting point, overall not bad. A bit of caked on brake dust but the wide openings between the spokes and tiny calipers made for easy access to clean the wheel inners all the way through (a very important thing to me)
After applying the Kleenol APC to both the wheels and tires, big plus about the Kleenol is its ability to be used on both tires and wheels safely. The cleaning power is pretty good but not excellent.
Using the swissvax brush to agitate the dirt on the wheel face, im still on my first swissvax brush since I bought it about 45 cars ago. Im really happy I found this brush, its gotten me though a lot of messy wheels:clap:
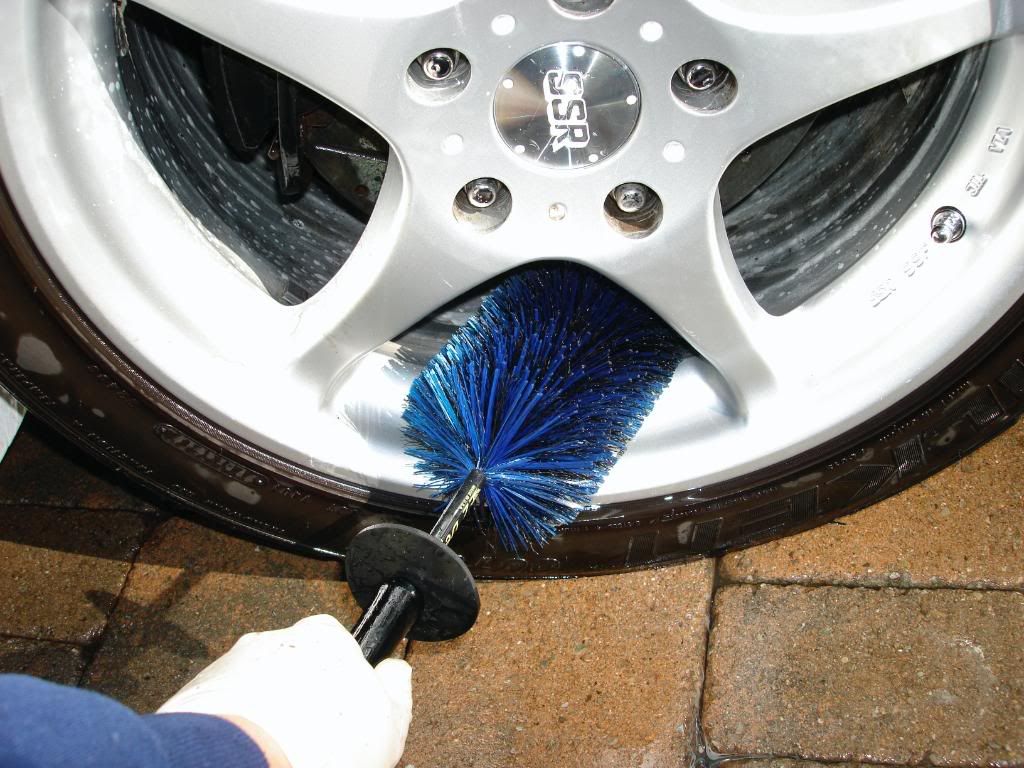
Then onto cleaning the inner wheel area using the spoke brush which is great for heavy scrubbing, an area where the EZ brush lacks big time.
Now scrubbing the tires
And finished off with the EZ brush which helped to agitate the brake dust behind the spokes, its flexible handle allows for easy cleaning in tighter areas like behind the spokes and brake calipers
Rear wheel before...
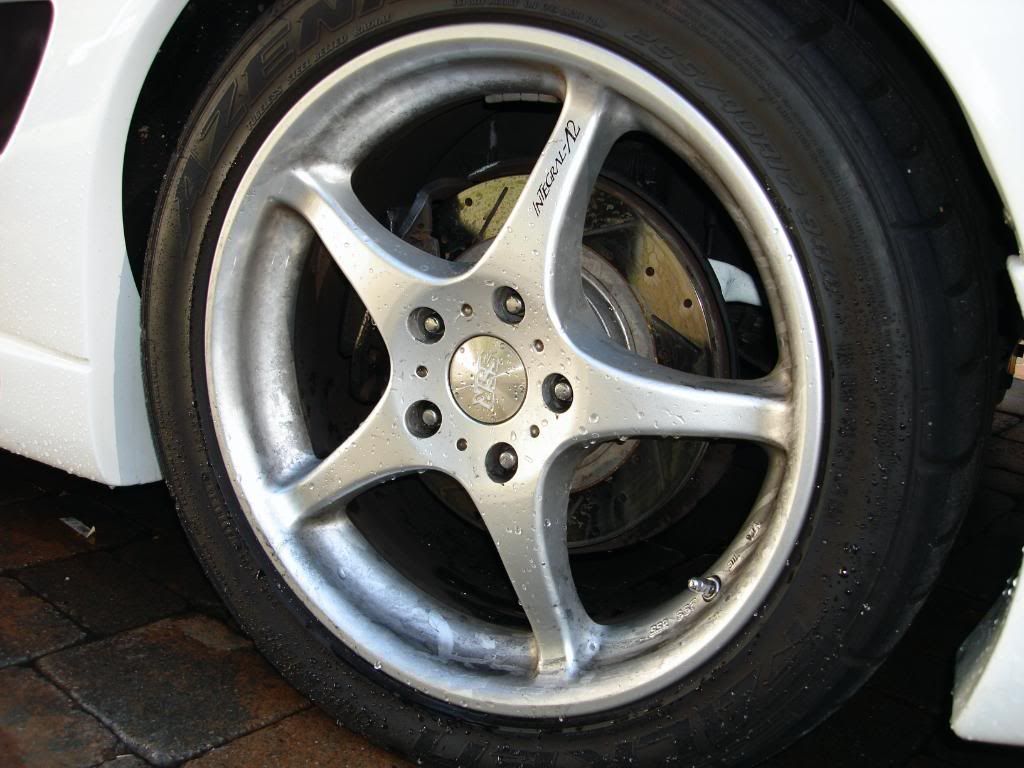
Rear wheel after...
I then dried the inside of the wheels and removed any excess loose dirt with an old MF towel
Now moving onto to wash process. The MR2 was given a thoroughh rinse, after seeing that there was no prior LPS still on the car I did not need to focus on stripping it. I used the P21s TAW as a quick pre wash and also I used the Surf City road grime destroyer to loosen up some light tree sap and road tar from the ower panels and hood, specifially by the wheel arches... a popular spot for slung tar etc.
The grime destroyer is really a fantastic product!
I then used the 2 bucket method with grit guards to wash the MR2. My shampoo choice was Gloss It Gloss shampoo and 2 foam shmitts. The Gloss Shampoo suds up very well and is super slick.
After washing and drying the car I inspected the finish in direct sunlight to determine the type of correction work which would be needed. Under the time constraints a 100% full correction detail could not be provided but instead the owner aksed for my 2 step polish/correction job.
Here is the damage...:yikes:
I wasnt too concerned with the finish, I assumed that is was the standard Toyota clear coat but the owner informed me that the car was repainted about 3 years ago and it does have clear on it. Judging by the flatness in the finish the re-spray was not very high quality.
I pulled the car in my garage and proceeded with claying, Meguiars mild blue was used in conjunction with the meguiars last touch QD at 1:1. The car was suprisingly un contaminated. I used about 1/4 of a claybar.
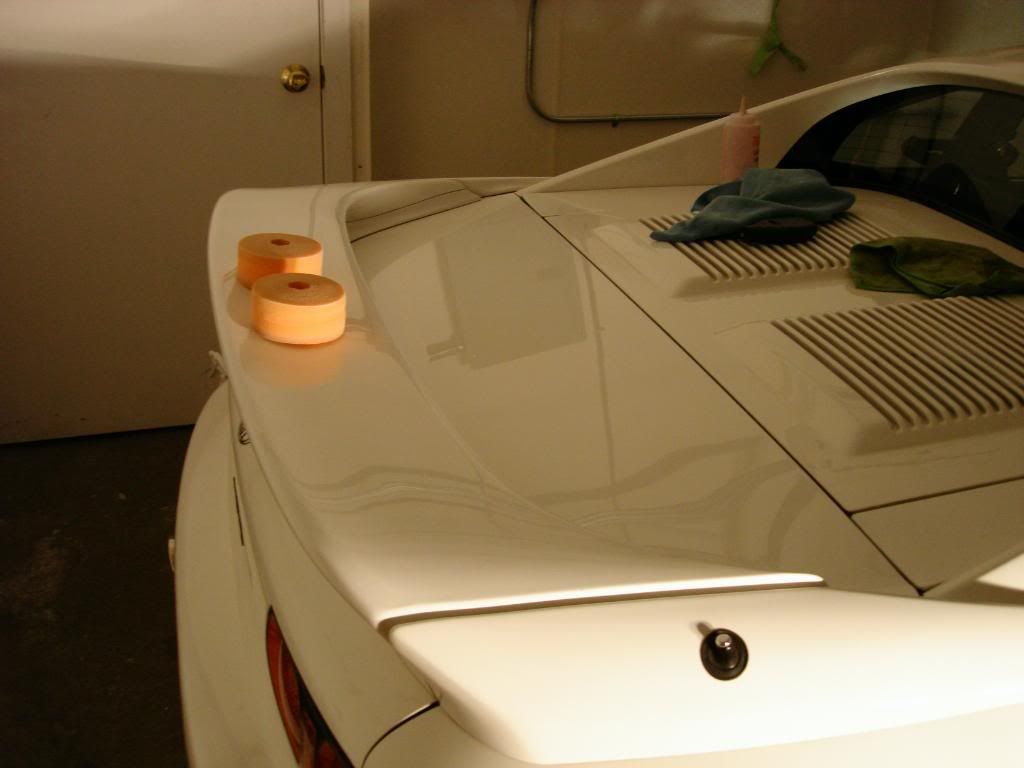
After the hood section was clayed...
Now it was time for the correction work, I inspected the finish under dual 500w halogens and the Infratech CM5300 hand held inspection light.
As I have been doing lately I grabbed the Cyclo orbital polisher to see if it was up for the job...after doing some spot sections I found the Cyclo was correcting very nicely so I stuck with it for 90% of the car.
The car was re-sprayed and the paint avergaed about 225microns
The correction process was as follows:
Gloss It extreme cut compound on orange cutting pads with the cyclo
Gloss It Evolution cut on yellow cutting pads with the cyclo
Gloss It One step machine polish on yellow polishing pads with the cyclo
Some before and after shots of correction
The engine (not trunk) area needed compounding, the extreme cut on orange pads worked very well after 2 passes the finish was about 95% perfect. The beauty of the cyclo is that you can really lay on the pressure to polish out those deeper defects, I worked the hell out of the polishes with this thing:headbang:
after spreading with the cyclo
And after full correction
Here is the engine section after polishing with no LSP, the clarity and depth was brought back at this stage
This is my favorite picture of this detail, I dont know why maybe its the lighting. Anyway here are the halogens inspecting the side panels. I keep them further away to see swirls on a larger scale.
The sides of the car did not need heavy correction work so I only used the gloss it machine polish and yellow pads, then followed up with green pads to finish it out

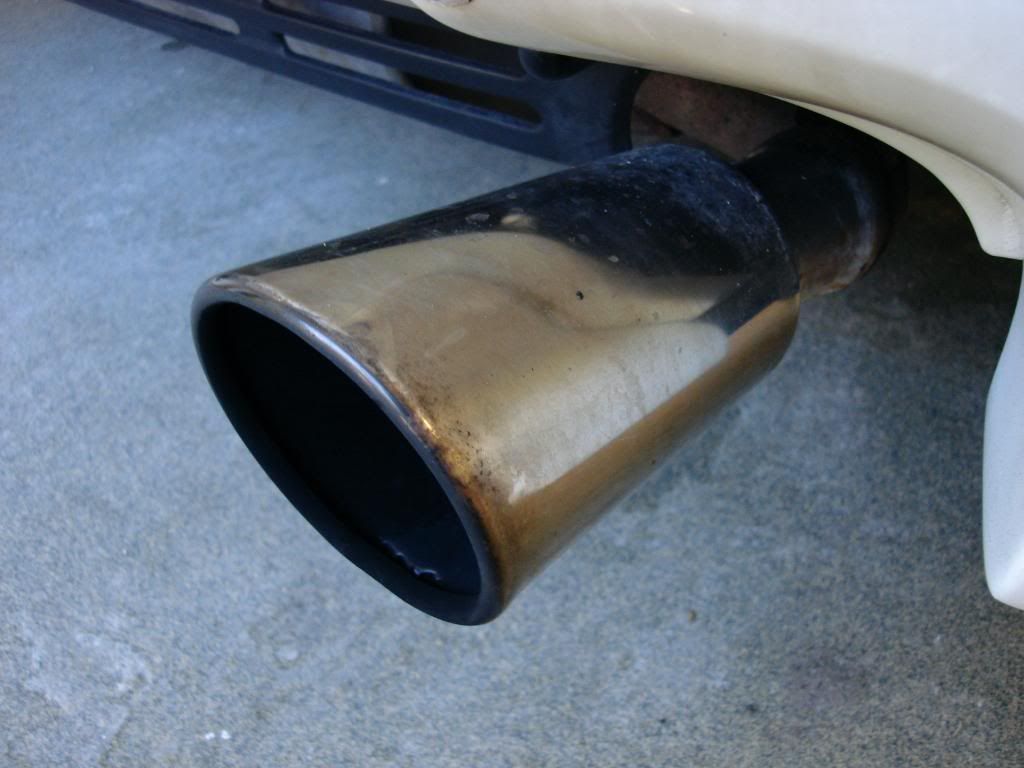
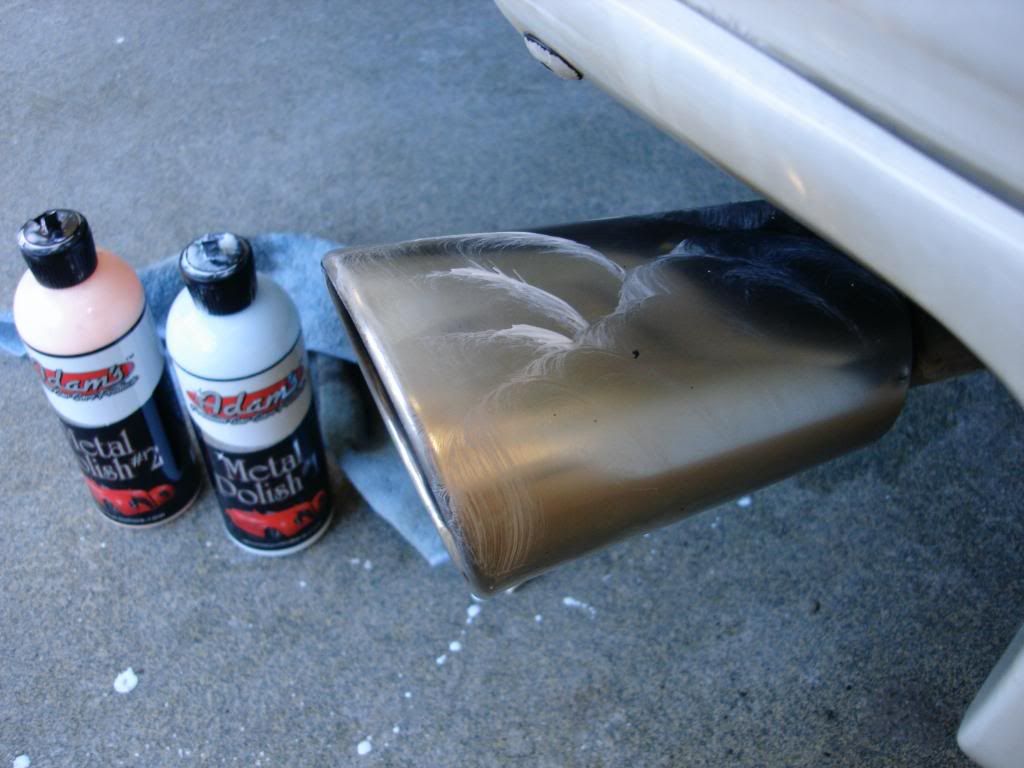

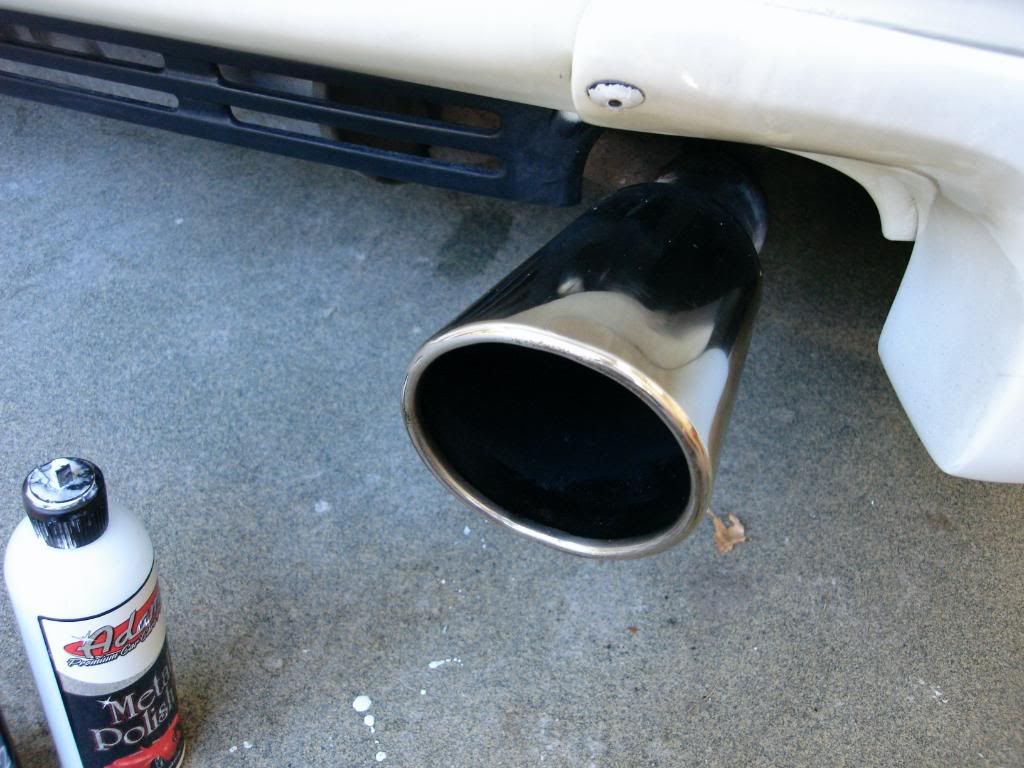


 tried several brands and they all did it unfortunately.