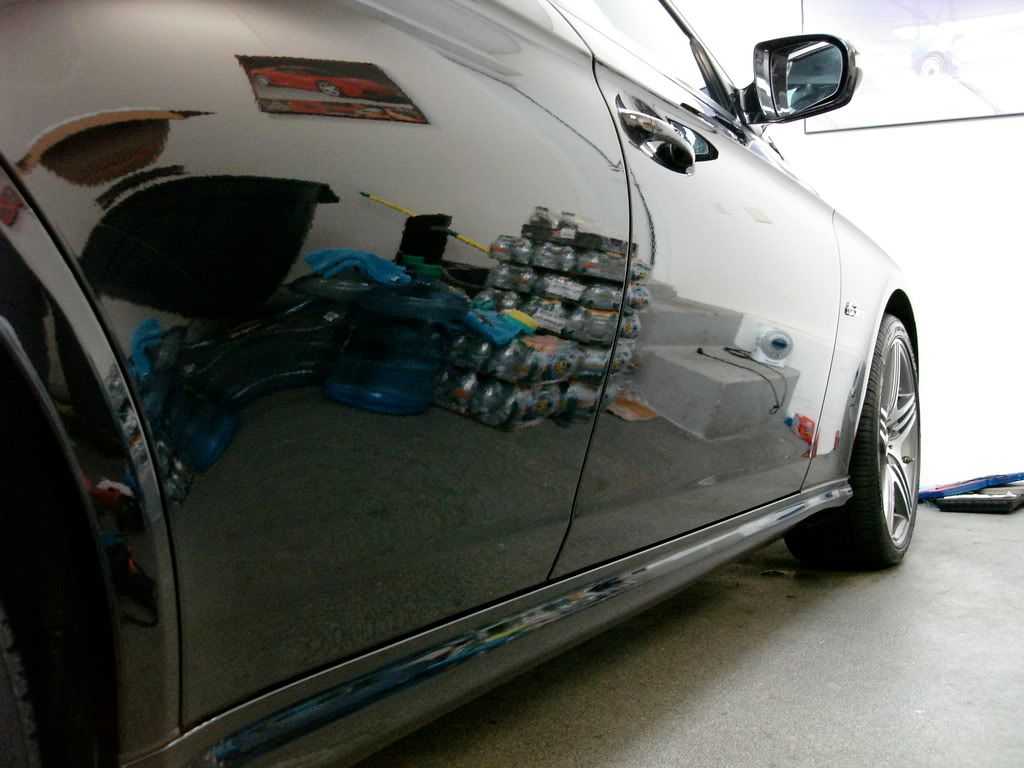
This car was originally booked for a full wash and seal but upon picking it up at the owners house I saw that it was going to need some correction work. Having this beauty sitting in direct sunlight is the perfect way to show the owner its absolute need for polishing attention.
I drove the car back to my house and let me say that the 6.2L (no its not a full 6.3litre) V8 sounds incredible. Mercedes did away with the superchargers and turbos when devolpoing the new 63's and IMO it gives the car the perfect throaty, resonant sound, then again im a sucker for naturally aspiritaed engines:headbang:... but dont we all love the sound of a McLaren F1 or a Carrera GT? Anyway I will say that in driving this car for a good 20minutes throughtout the day back and fourth from the owners house that its low end torque is a bit weak. Having spent tons of time behind the wheel of a 2006 SL55 (with the supercharger) I find that it really does make a difference below 4k rpm. I think you need to really push this car to expericnce its true potential but in all honesty I cant say, I didnt go faster than 40mph even on a main road, You cant be too careful with other peoples vehicles. When I returned the car later that night (around 11pm) I spent a good 20mins talking with the owner about the car, he was a very cool guy to work with.
Anyways on with the detail, sorry but I didnt take a lot of before pictures.
The car was fairly new with only about 4k on the odo. With that knowledge I figured whatever "dealership prep" that was done on the car (ie. heavy glazes and wax) would still be on the paint, and I was right.
After initial inspection I thought a light corrective polish would take care of the swirls but after stripping off all the old wax and whatever else may have been used i saw the true finish.
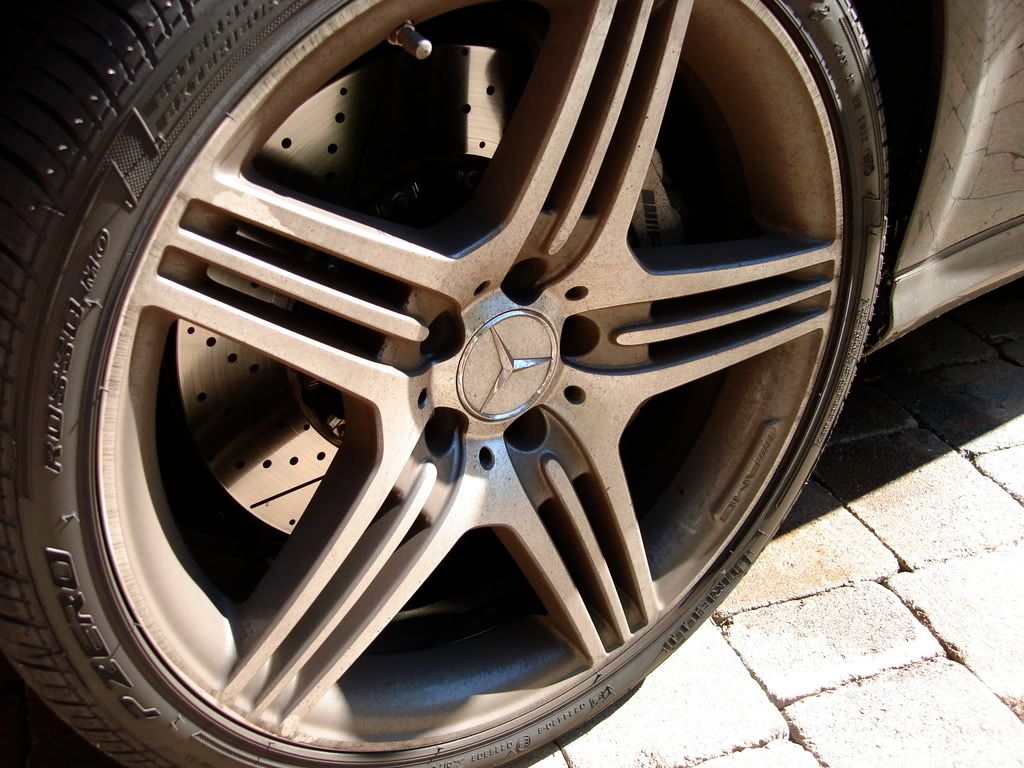
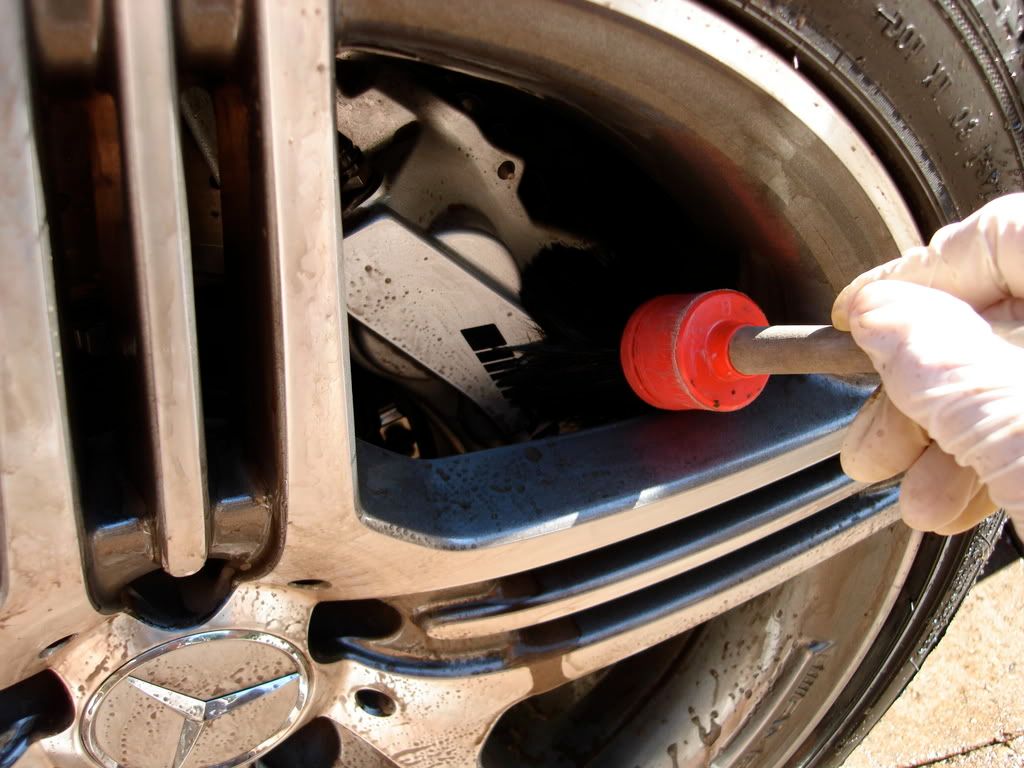
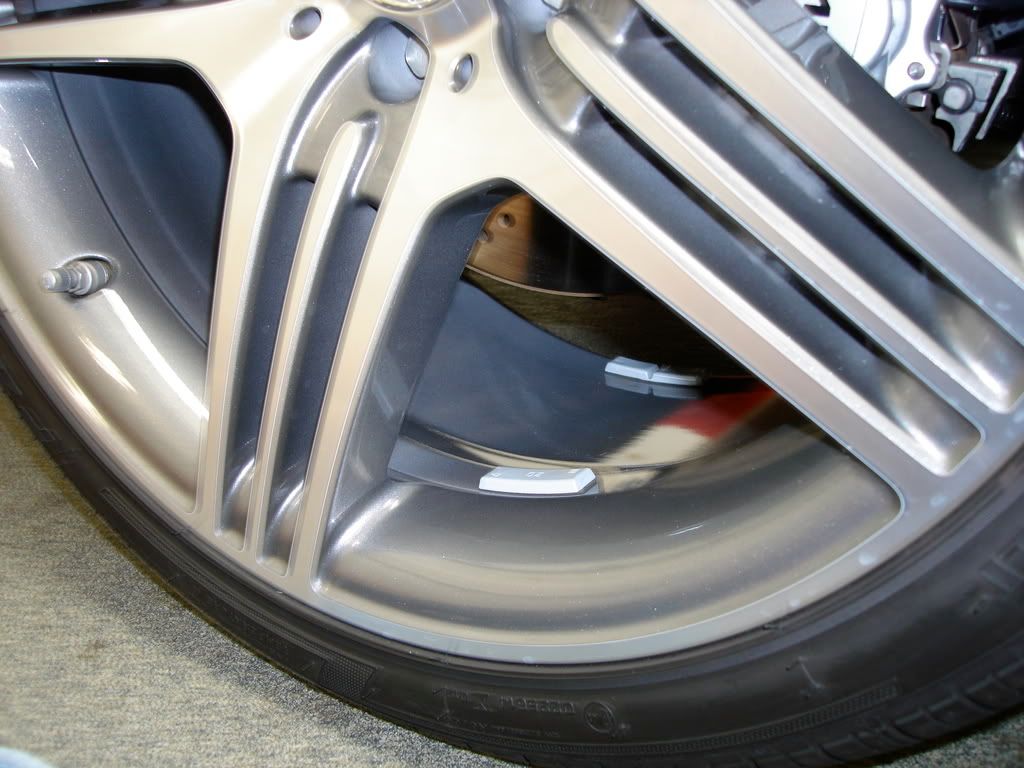
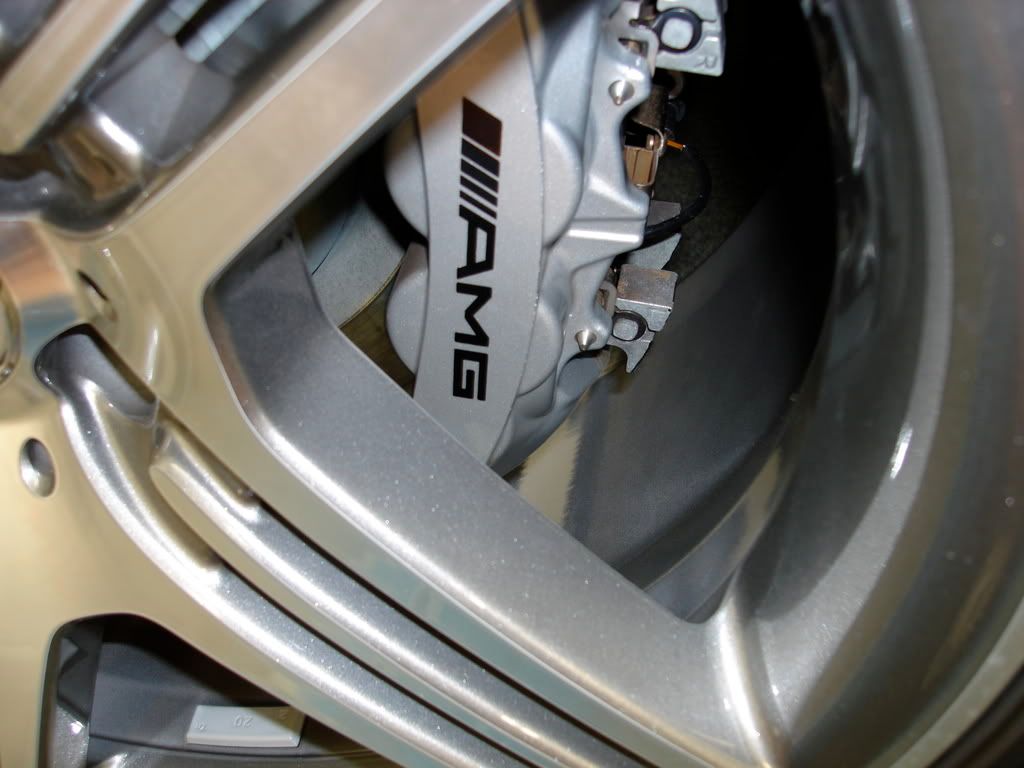
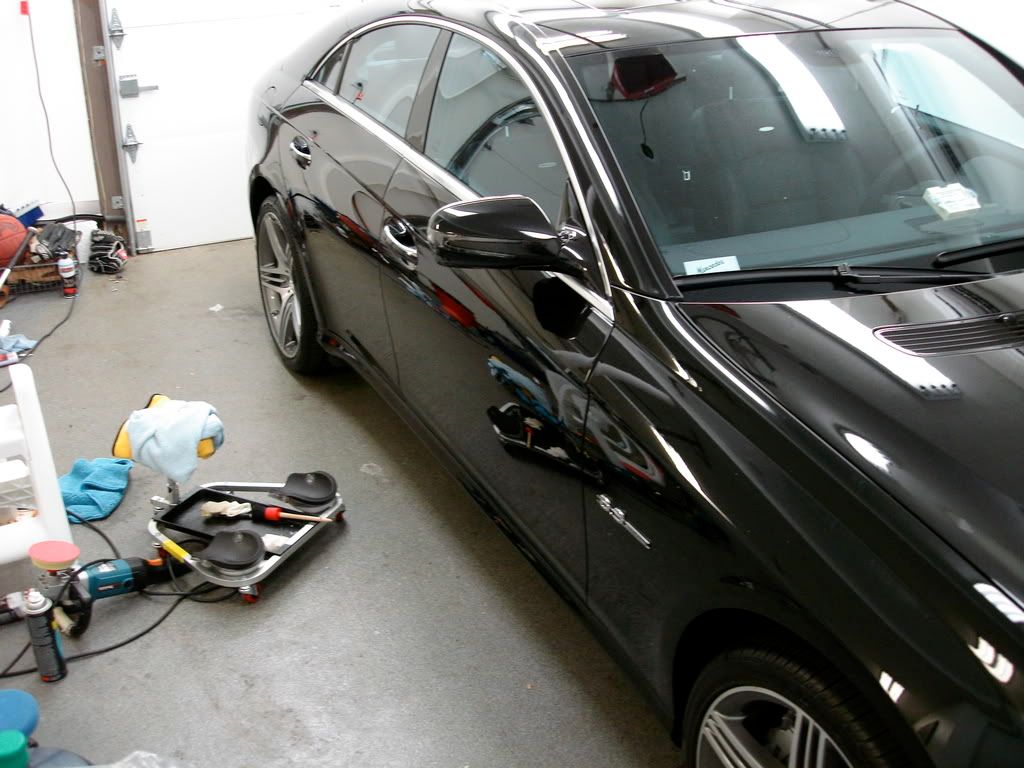
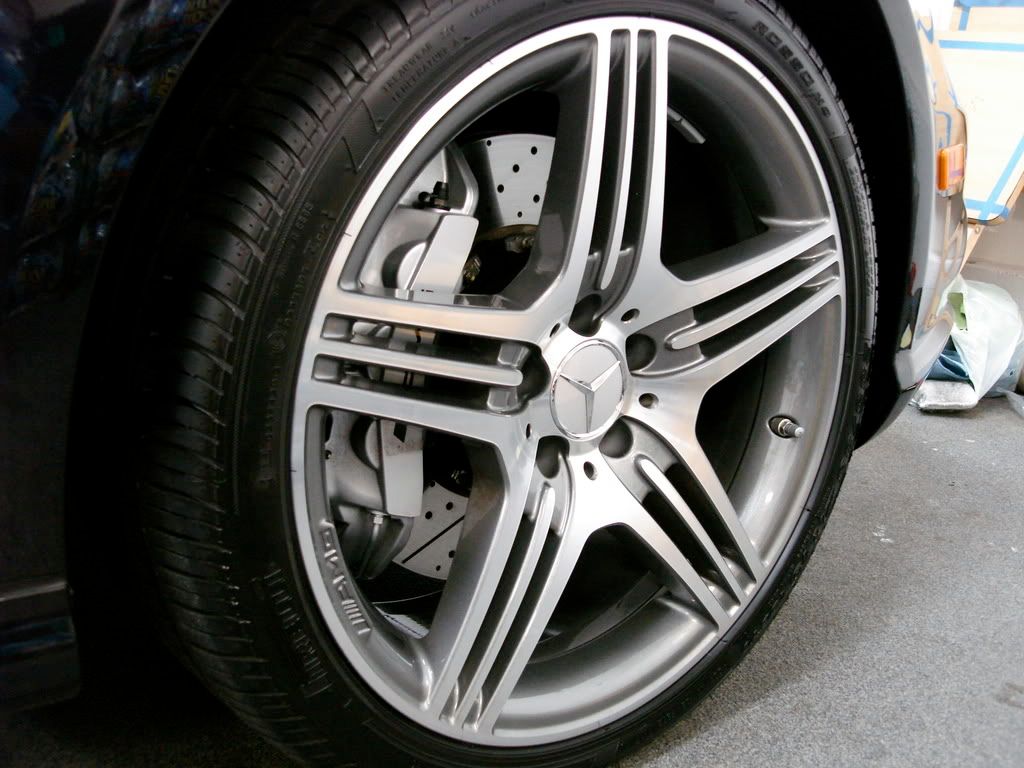
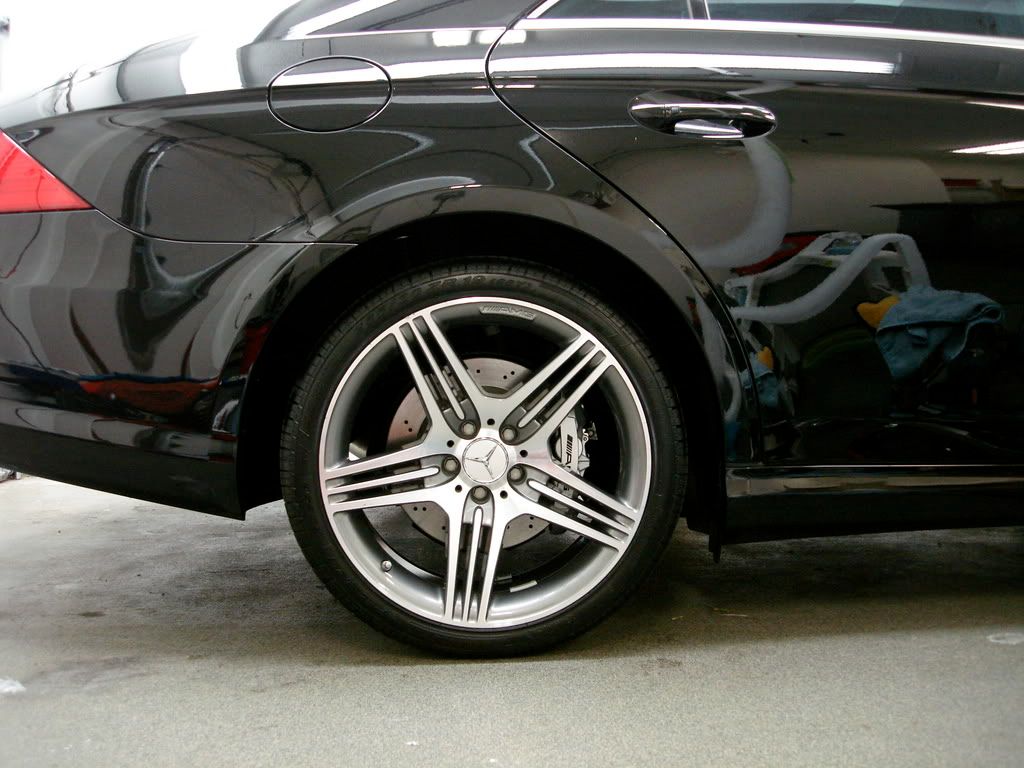
I started with the wheels, as usual massive AMG brakes have a tendancy to cook up quite a bit of brake dust. After a thorough pressure wash of the wheels, tires and wheel wells I then sprayed a liberal amount of the P21s wheel gel to the rims and let it sit for about 10minutes. I always grab the P21s gel for delicate wheel finishes and cars with high performance braking systems to ensure no damage is done to either the wheels or brakes.
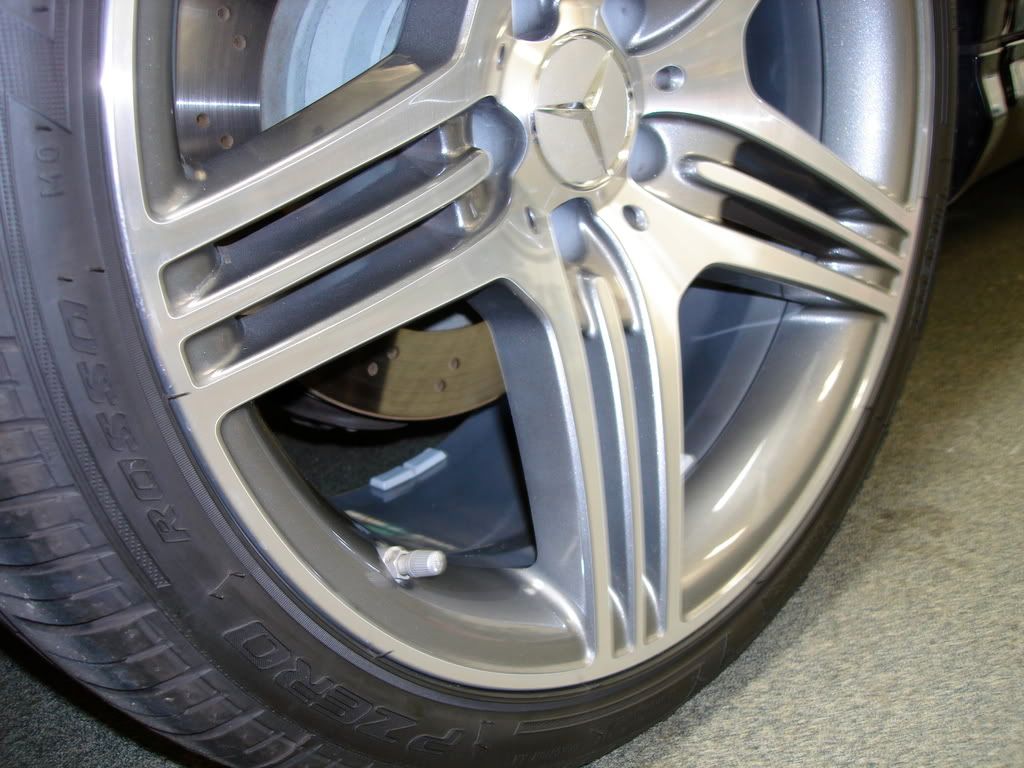
The tires were scrubbed with the E-Shine APC and so were the wheel wells. Later I dressed the wheels with Adams Invisible undercarrige and the wheels with CG liquid dressing
Heres a quick before shot
The after
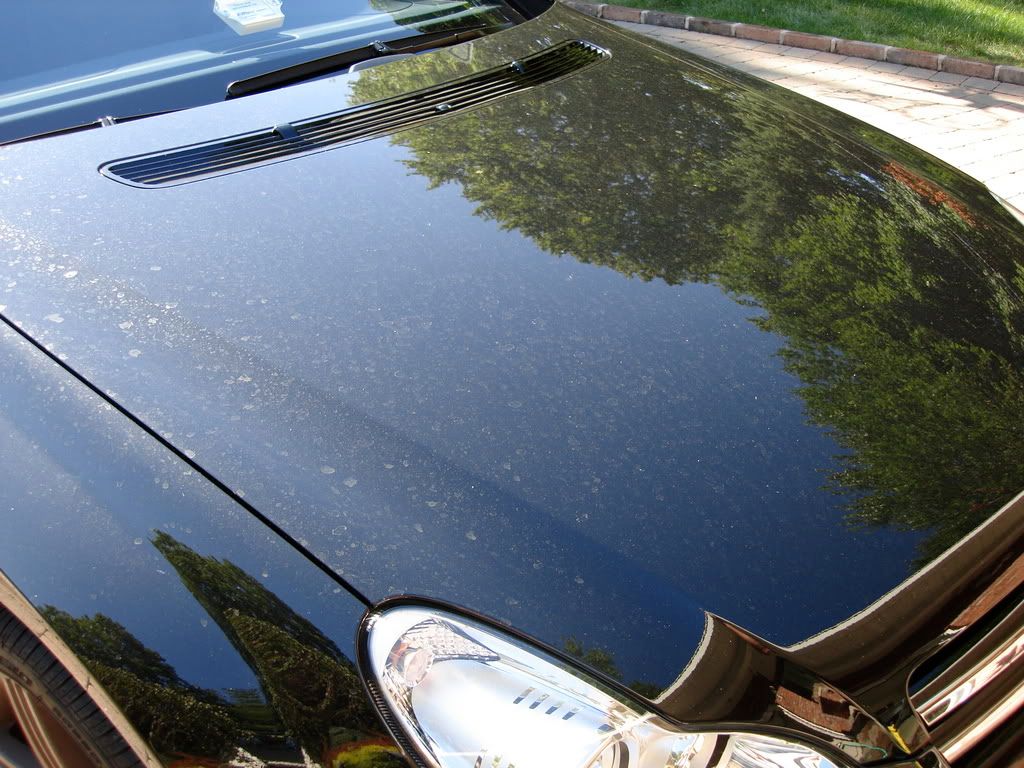
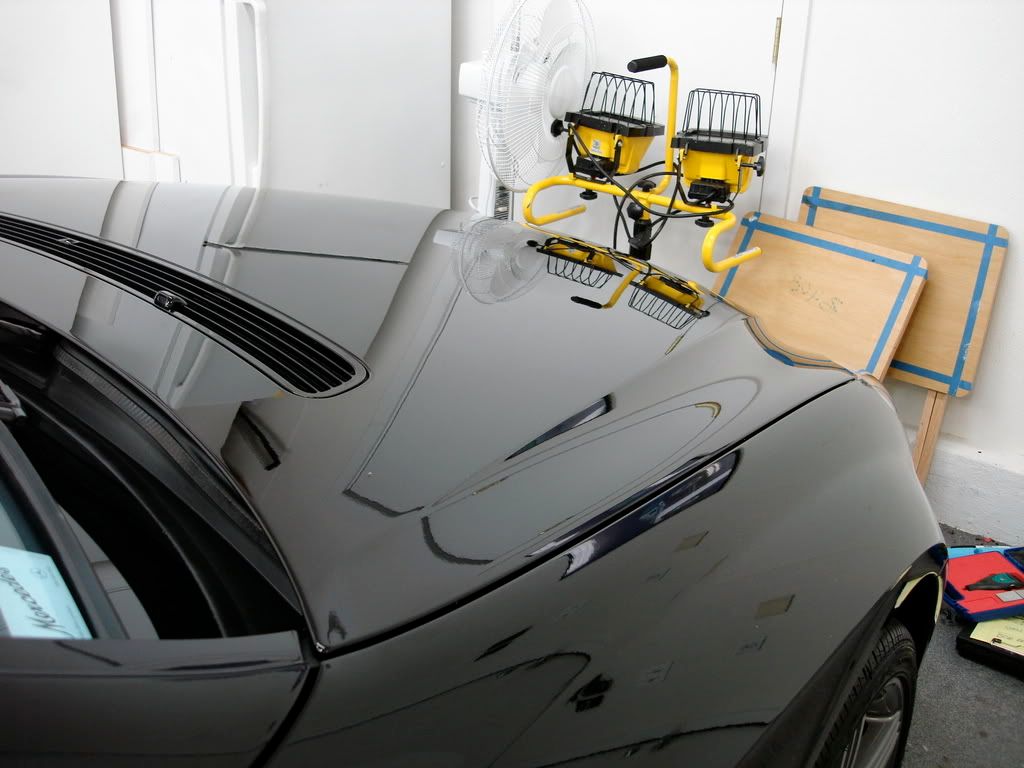
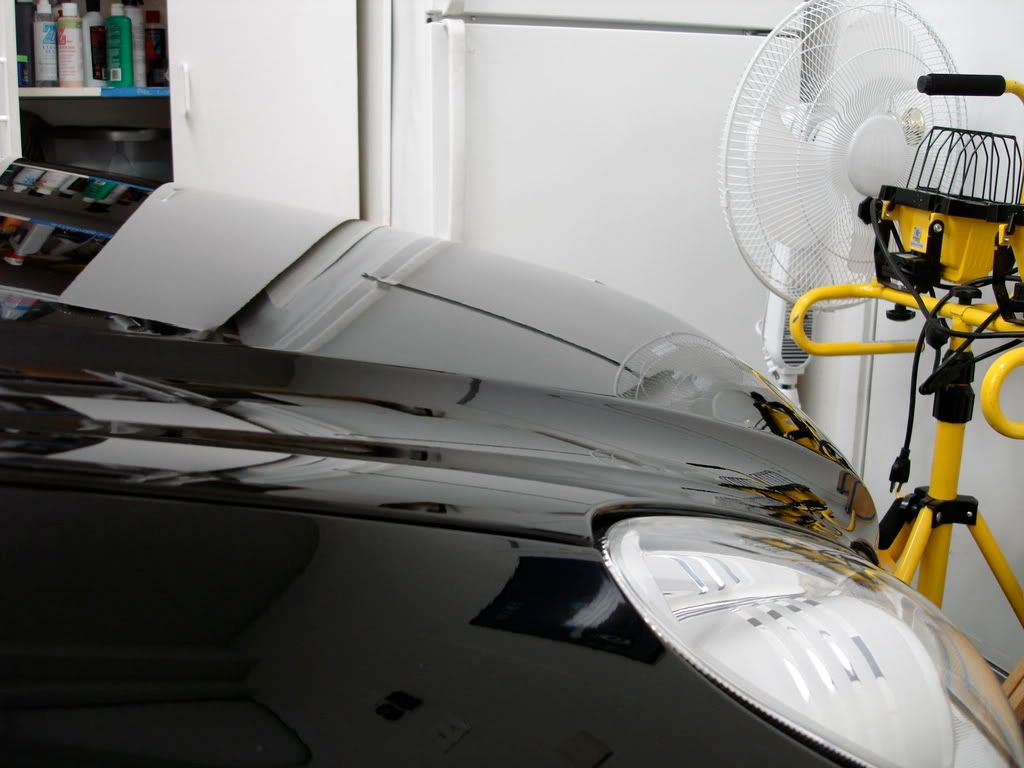
Here is the hood before, you can see the hardened water spots left on the finish, good thing the owner opt'ed for my polishing services on this one!
Now onto prepping the finish
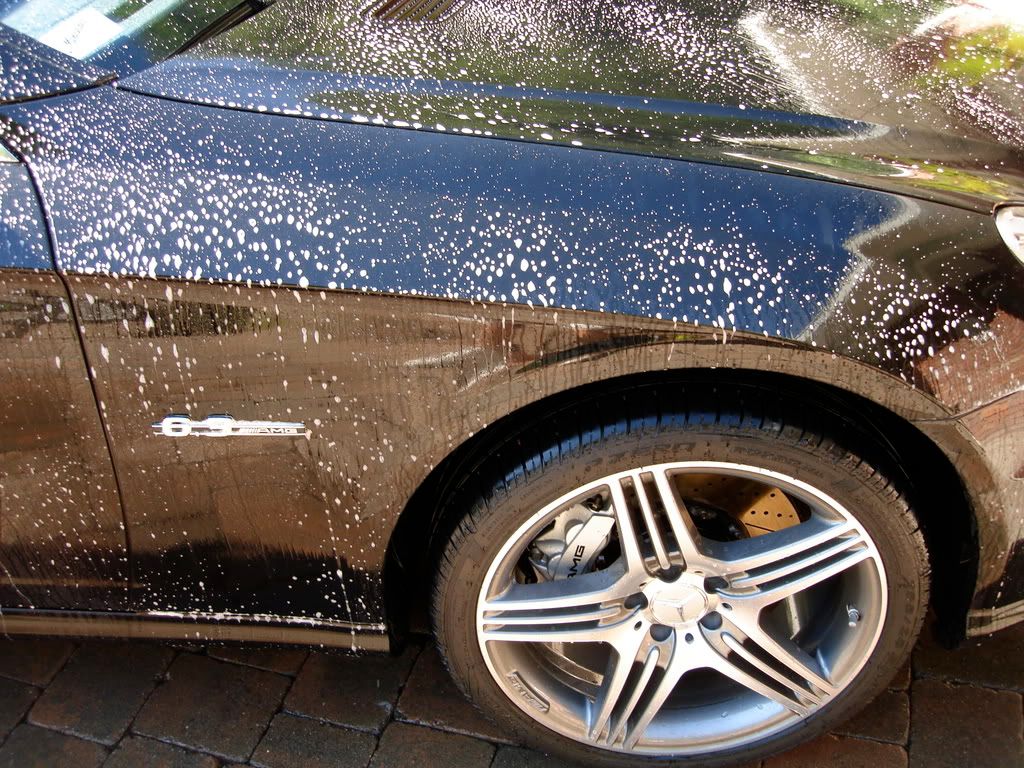
I started out qith a P21s Total Auto Wash pre-soak to strip off all prior wax/glaze applied by the dealer
Here is the p21s TAW dwelling
After that came the wash. 2 buckets, 2 shmitts and Zaino Z7 were used, followed by claying and then drying. I like to dry the car using a slick QD product in between to prevent streaking, in this case it was again Megs Last Touch.
Then I took dozens of PTG readings, plenty of CC to work with. It was a new car so I wasnt expecting to many suprises. The car averaged 130-160 microns.
Now it was time for the correction work. The process was as follows
Gloss It Evolution Cut with yellow cutting pads on the Cyclo (x2 in some areas)
Gloss It 1step Machine polish with white finishing pads on the cyclo (jeweling step)
followed by an IPA wipedwon to ensure no filling and then inspection
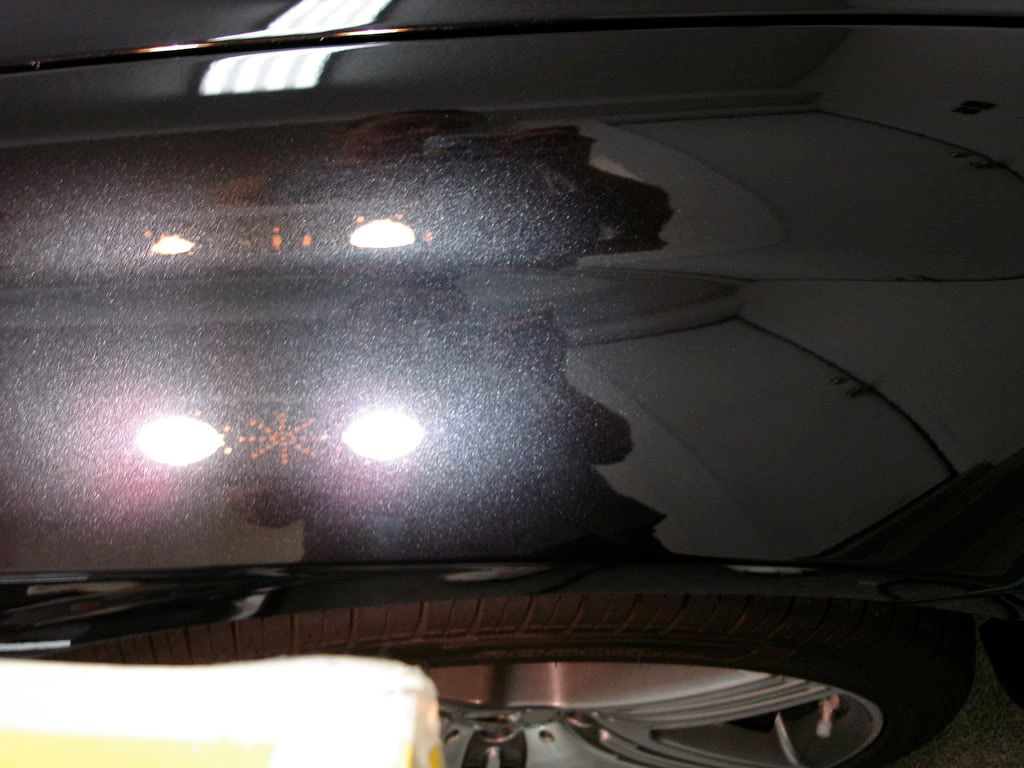
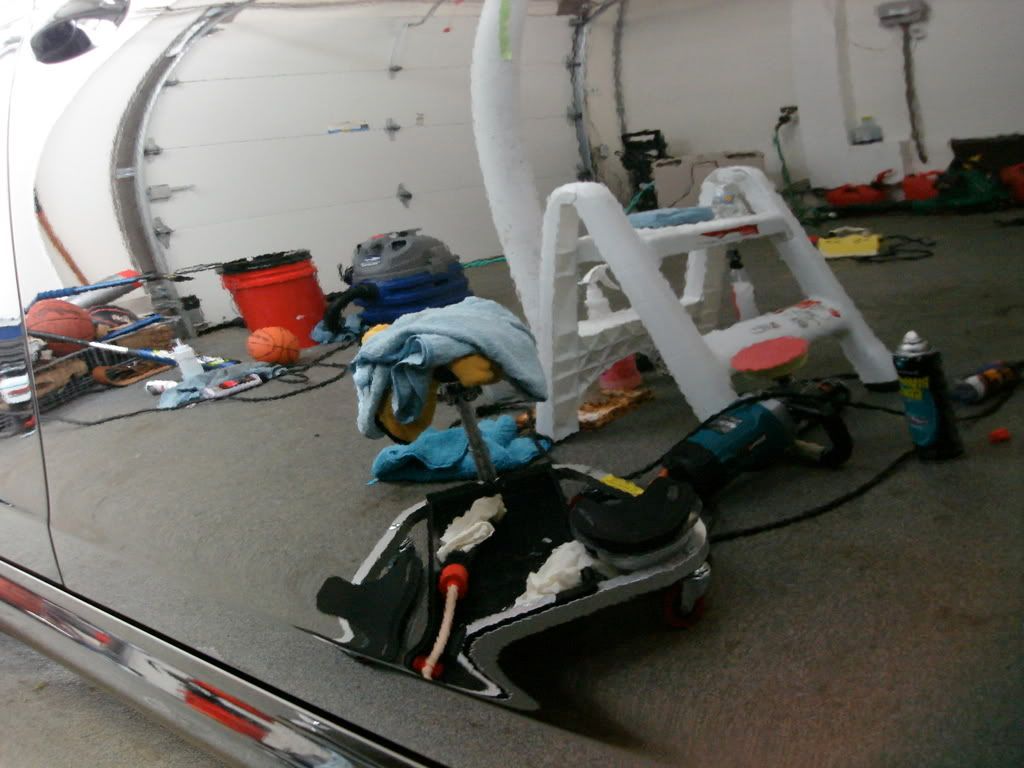
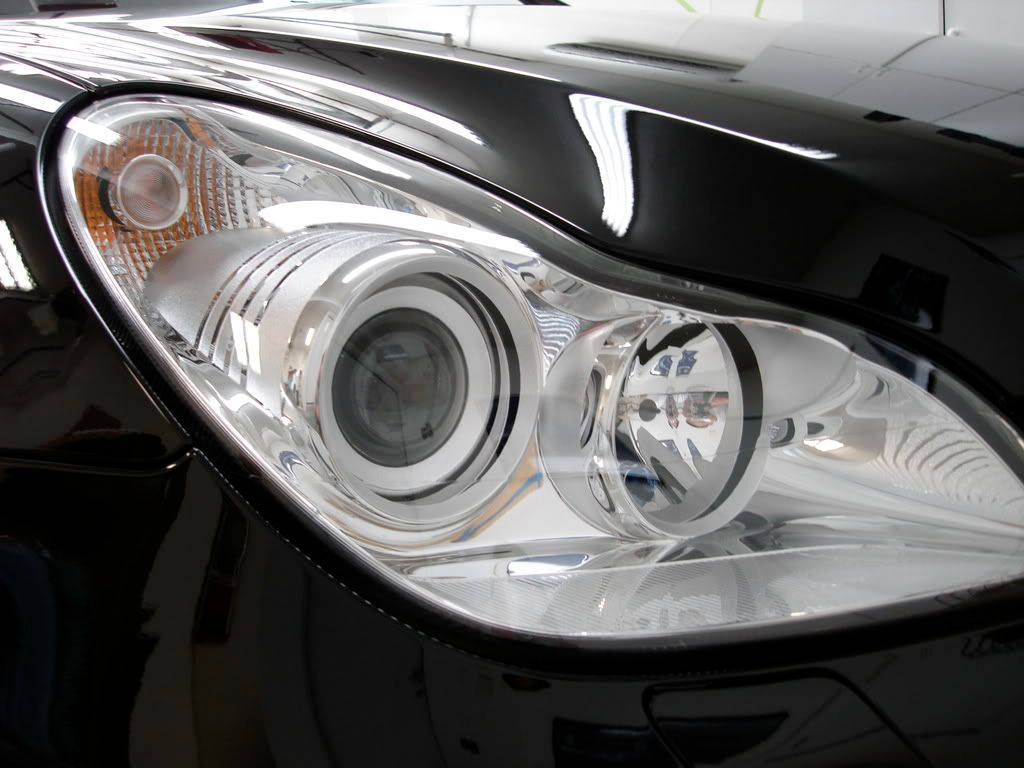
Here is the finish under the CM5300, the flake really began to show
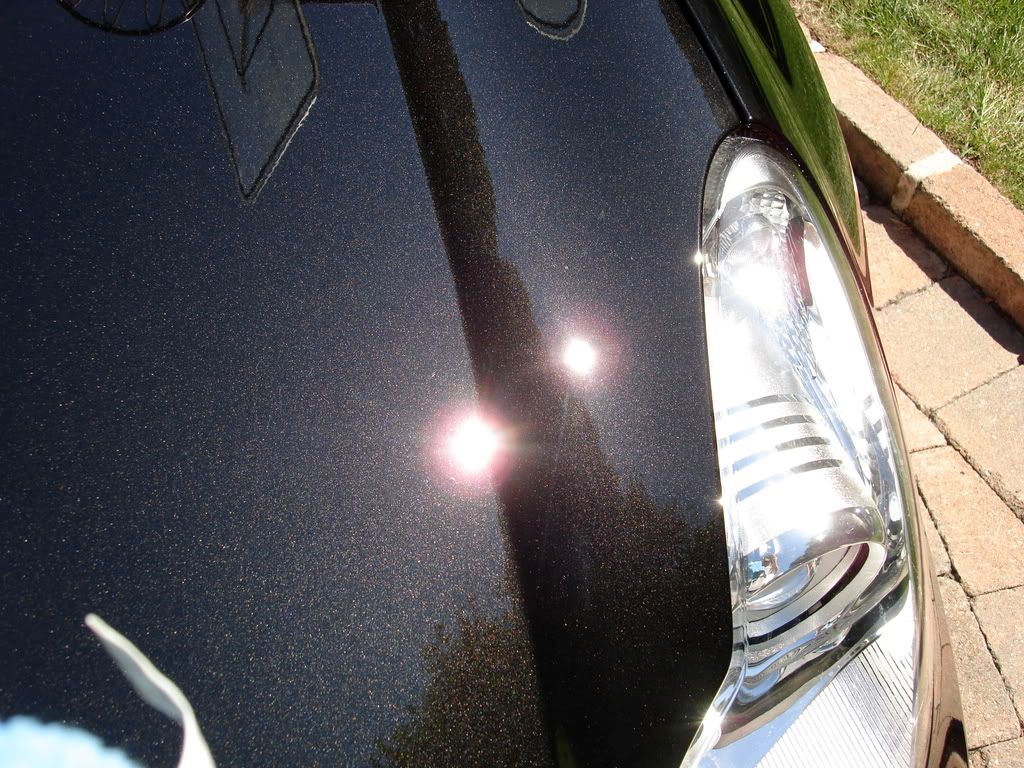
I then brought the car out into the sun to make sure no holograms were left after polishing, sometimes I find garage lighting isnt enough to thoroughly inspect a finish
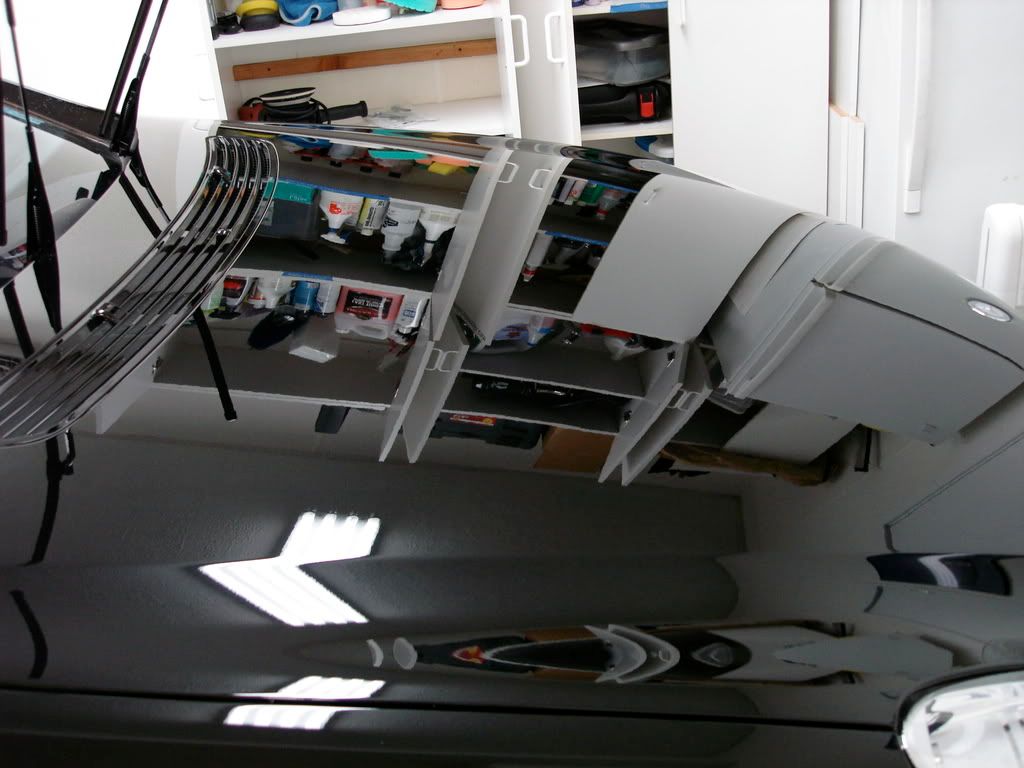
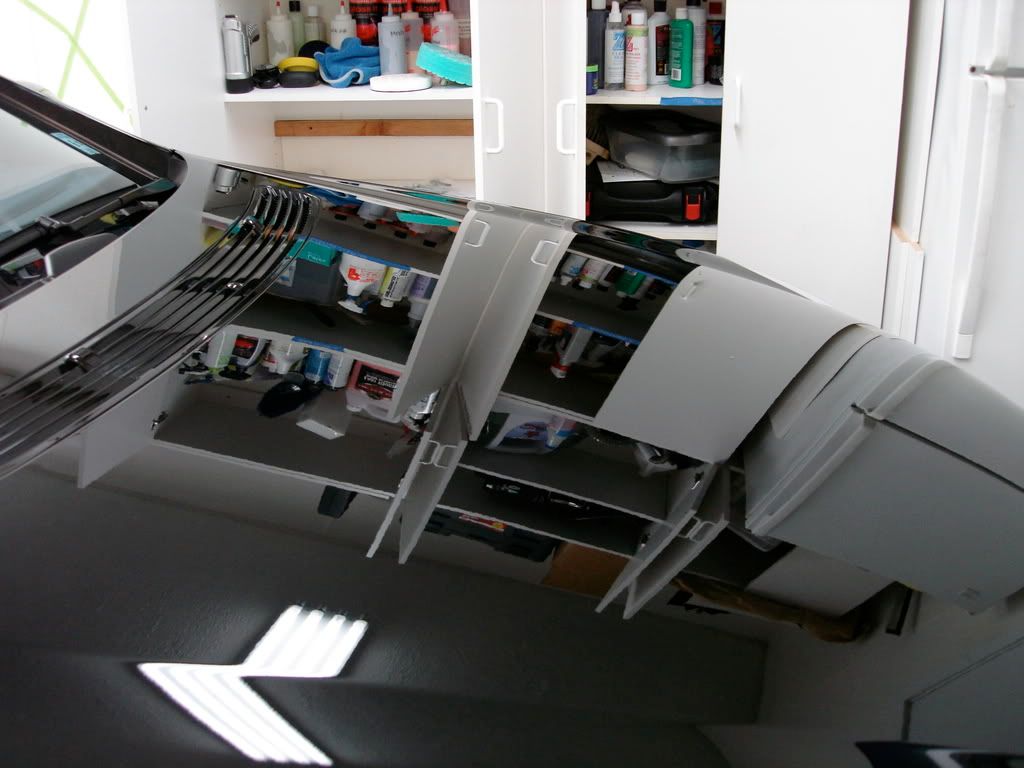
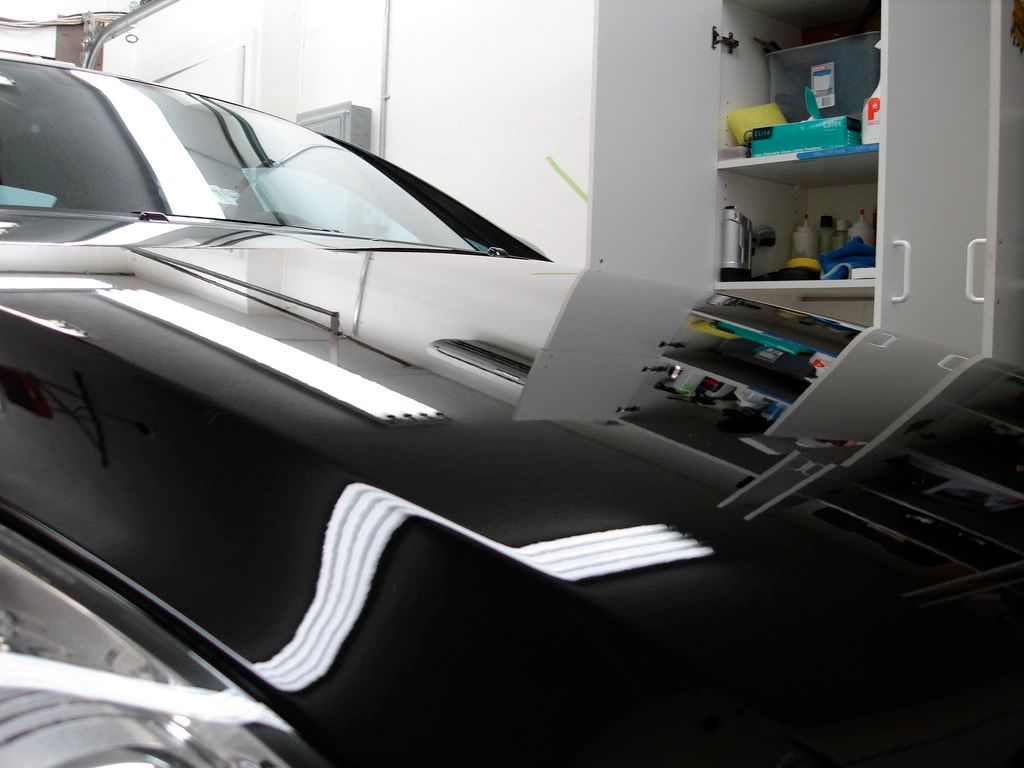
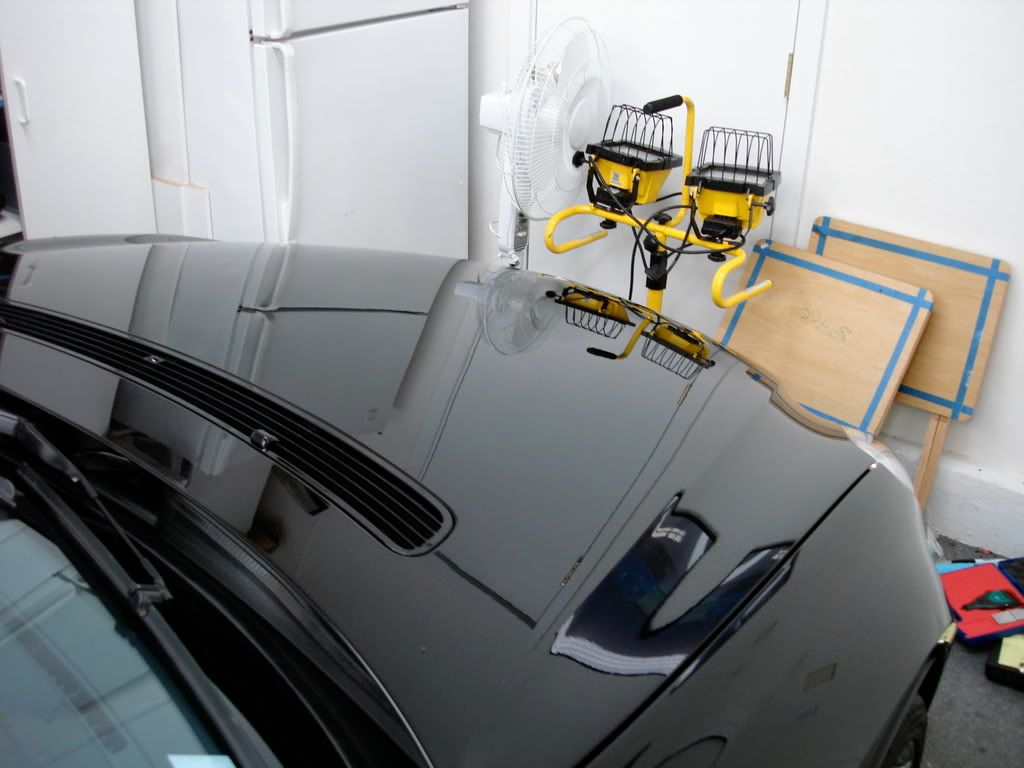
Here is the hood in direct sun post polishing, No wax or sealant was applied
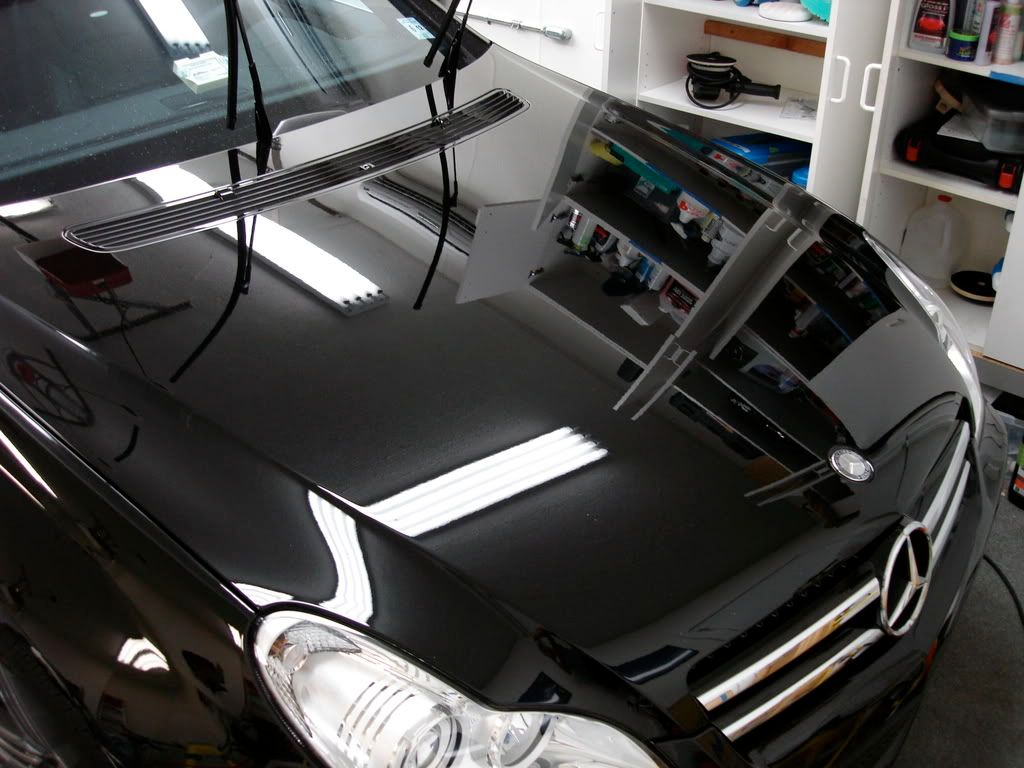
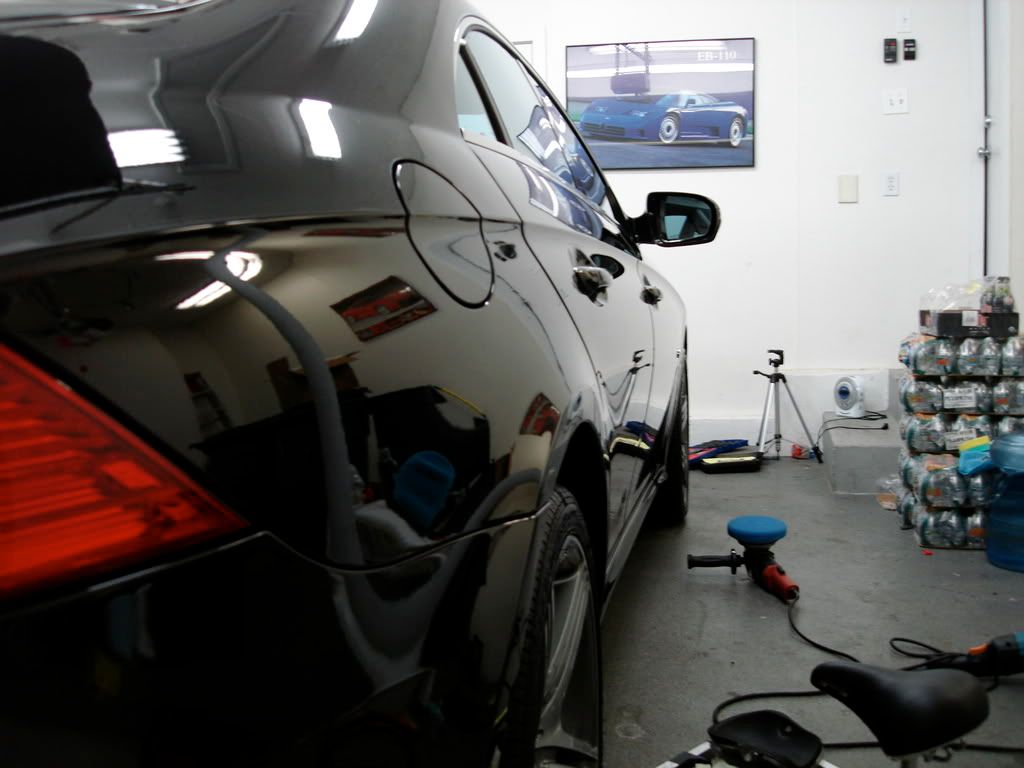
I then rinsed the car to remove any polishing dust and carefully dried it.
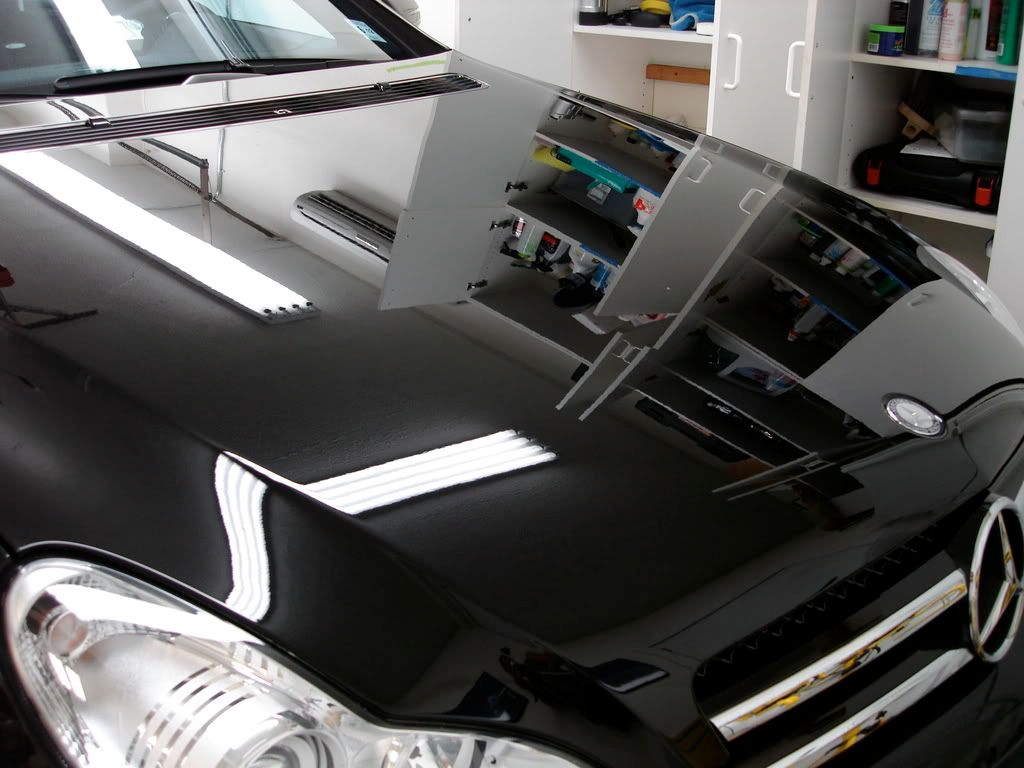
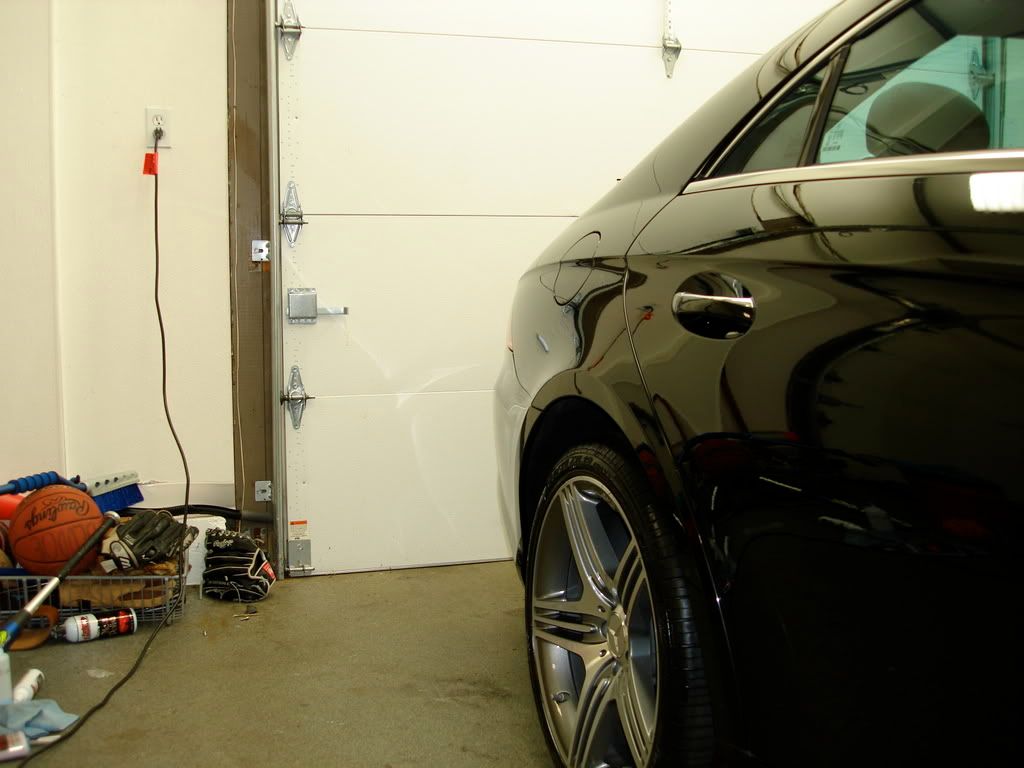
Here is the car back in my garage after the rinse. Again there is no wax or sealant on it yet.
Now onto the interior which btw has some of the best seats around, thick bolstering ftw!
Before
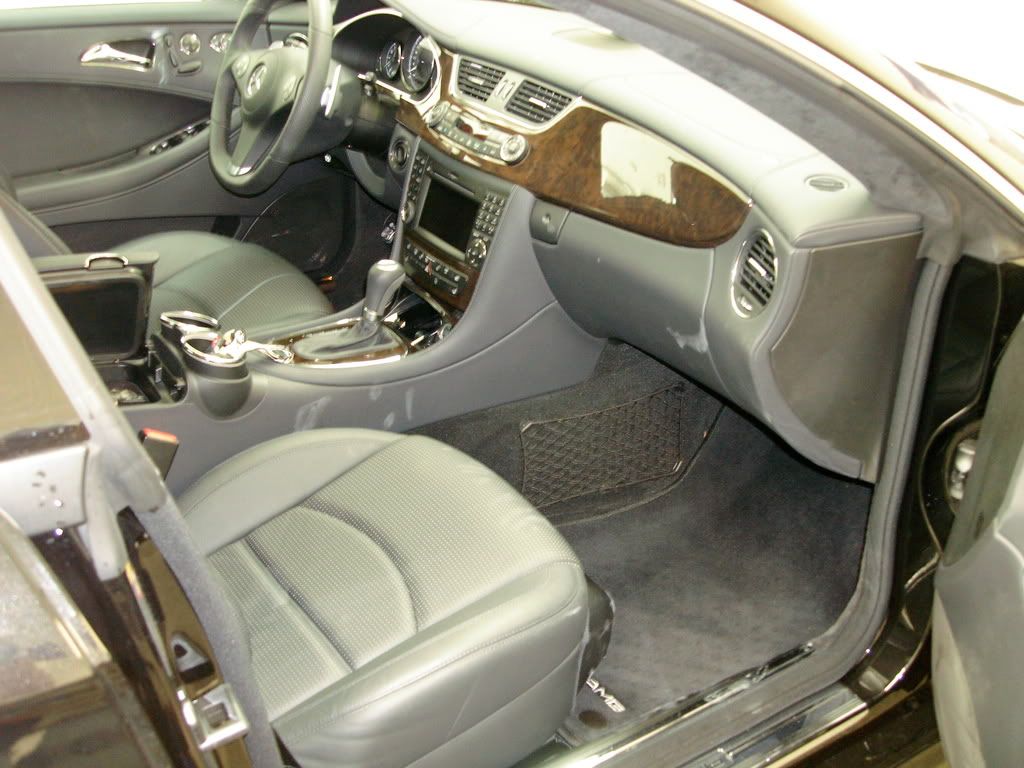
After
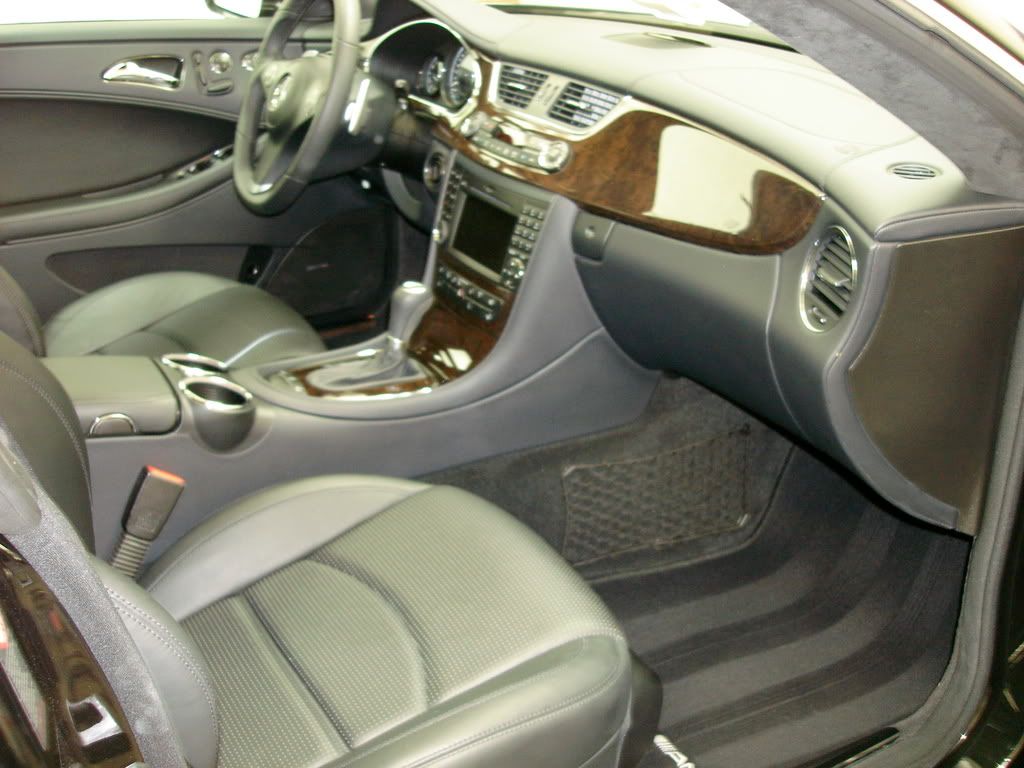
After
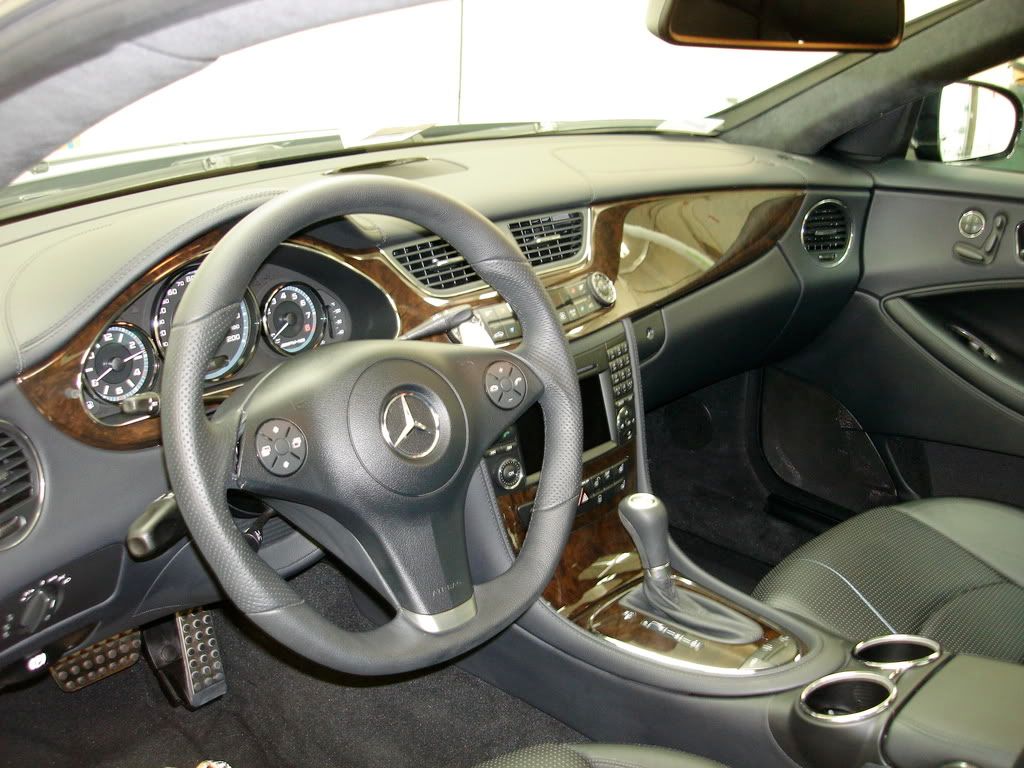
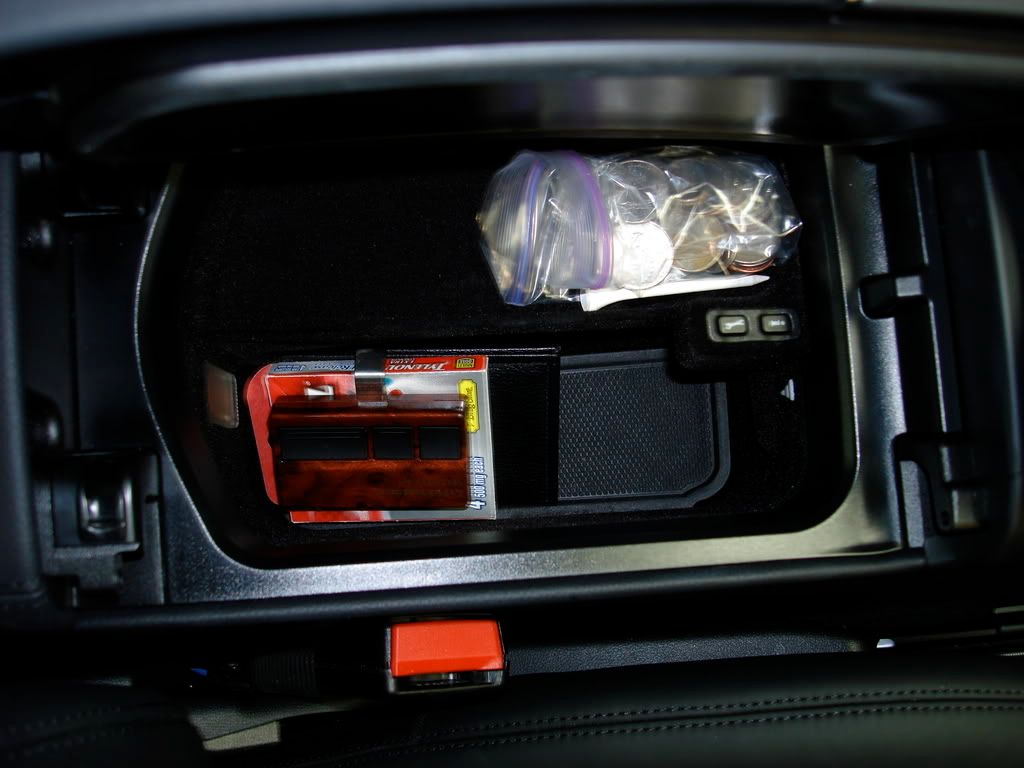
Center comsole re-organized
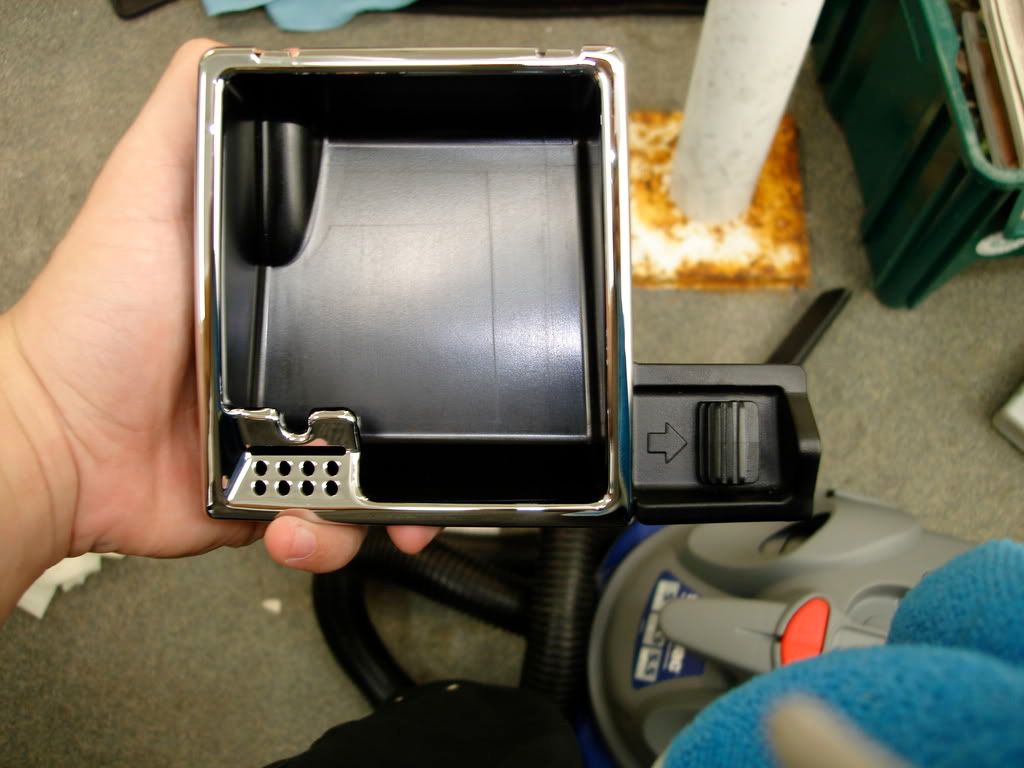
All plastics removed and properly cleaned using 1Z CP
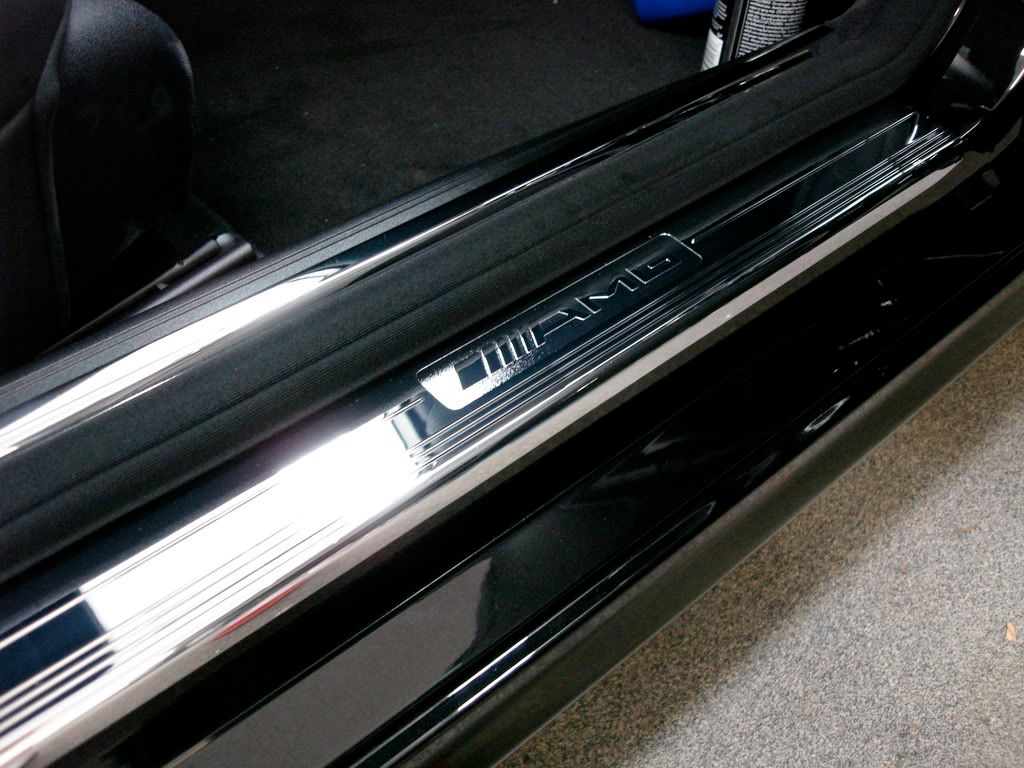
door jambs cleaned and polished
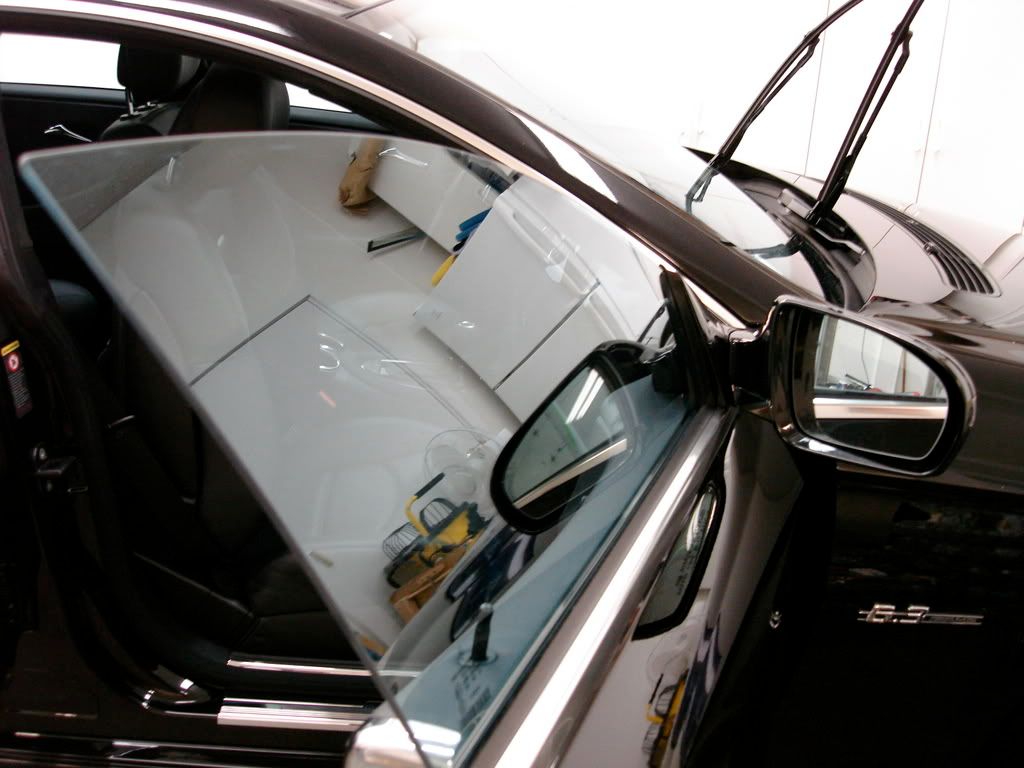
windows/chrome trim polished using 1Z glas polish and adams metal polishes
The LSP of choice was Gloss It Signature Gloss, applied via cyclo with white finishing pads followed by a gloss enhancer QD wipedown
Now for the final finish
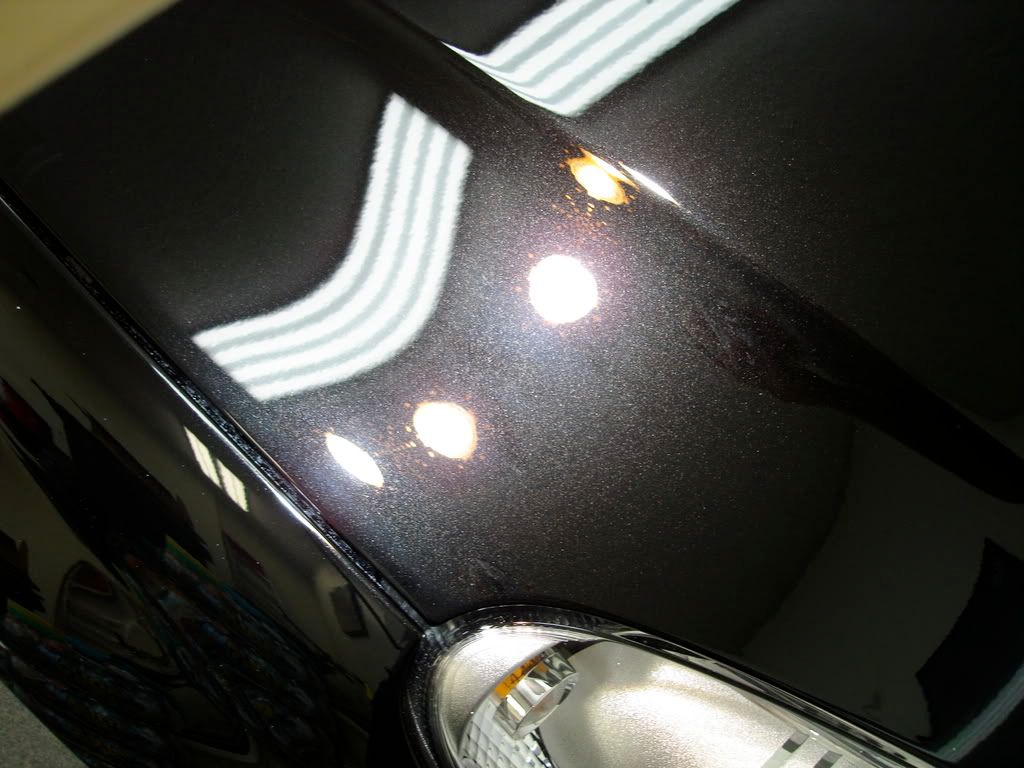
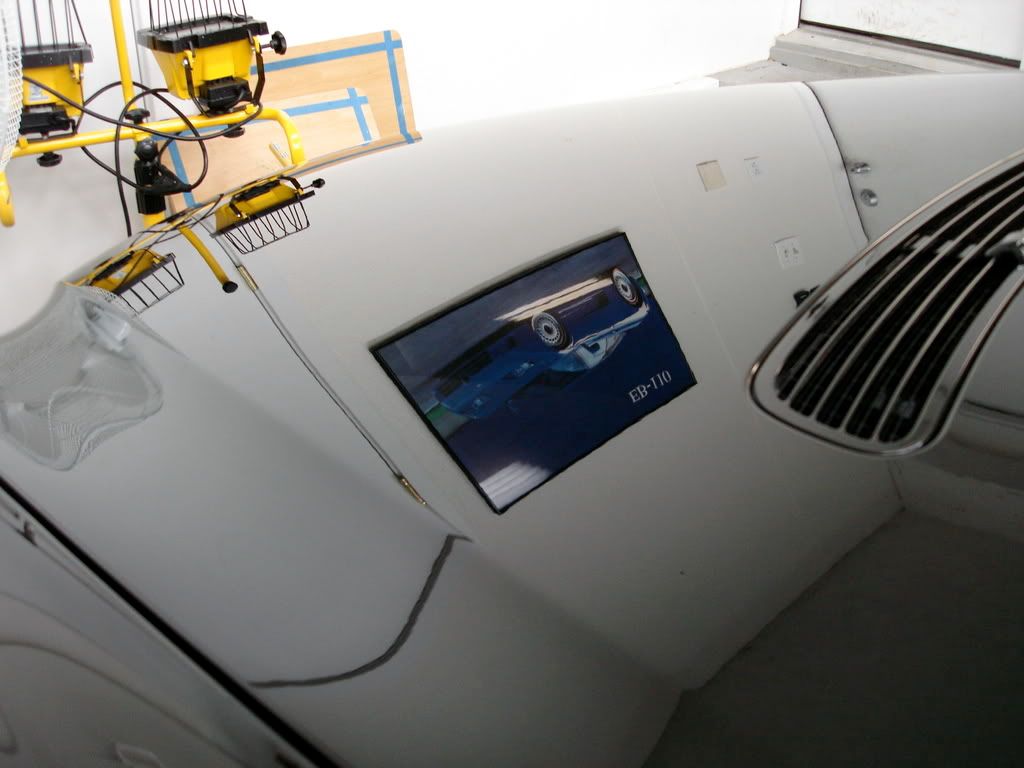
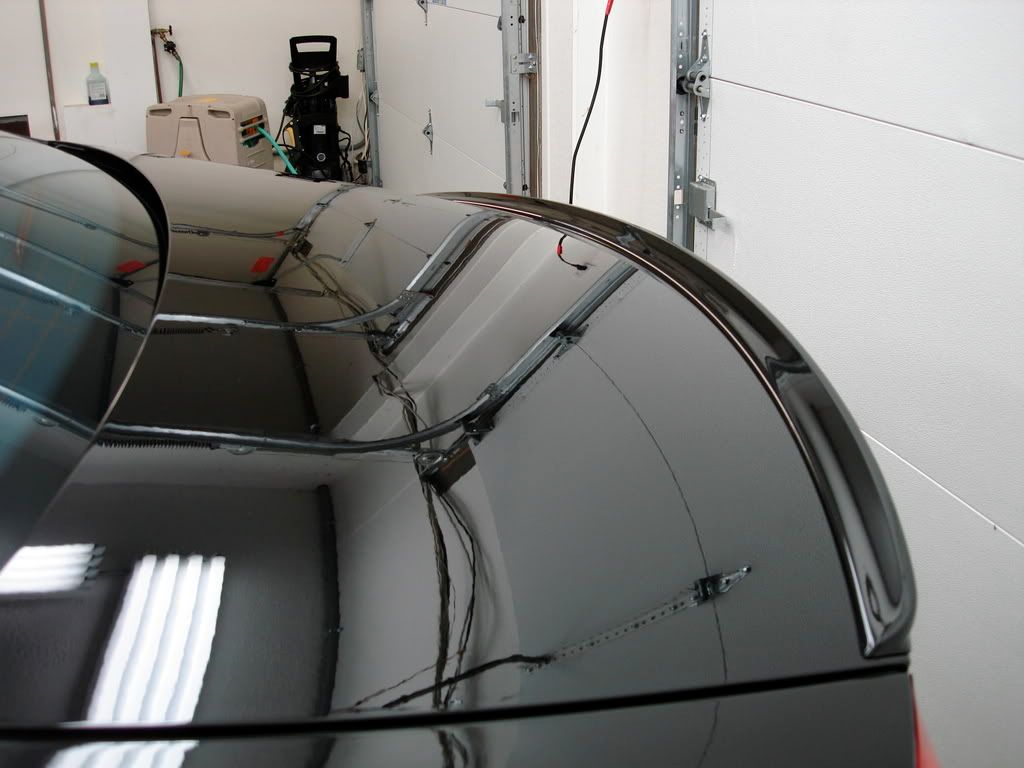
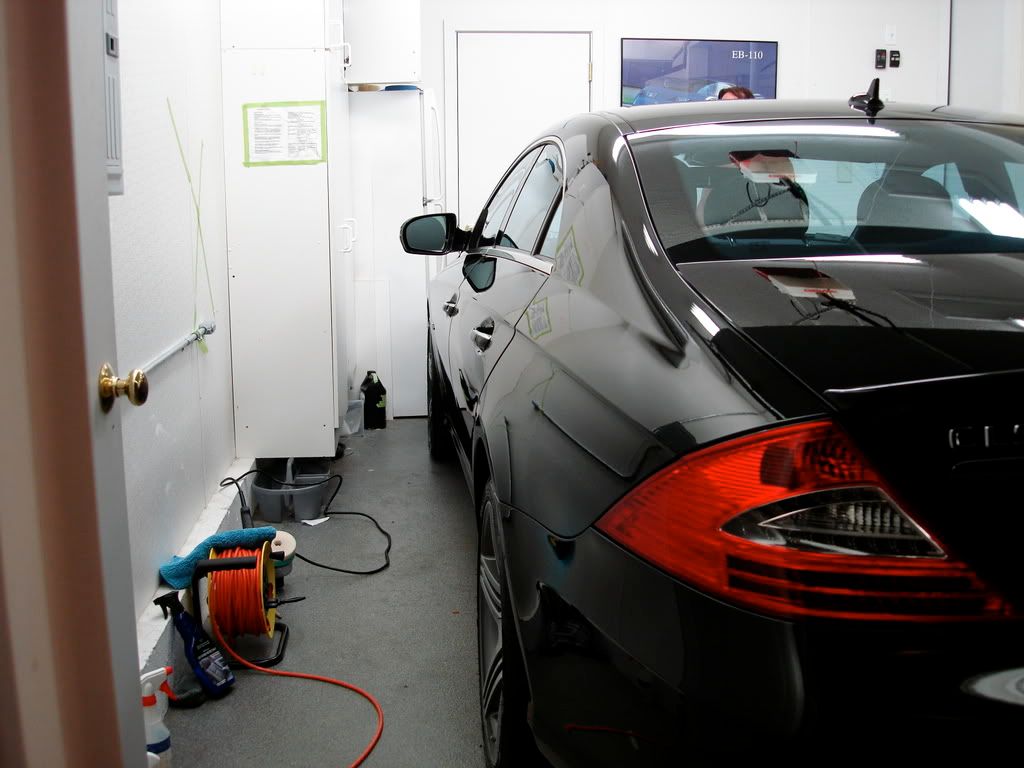
This is the same picture I took post polishing only this time the LSP was applied. The finish now has more clarity and depth than before, you can see the P21s TAW label in the reflection from the shelf above
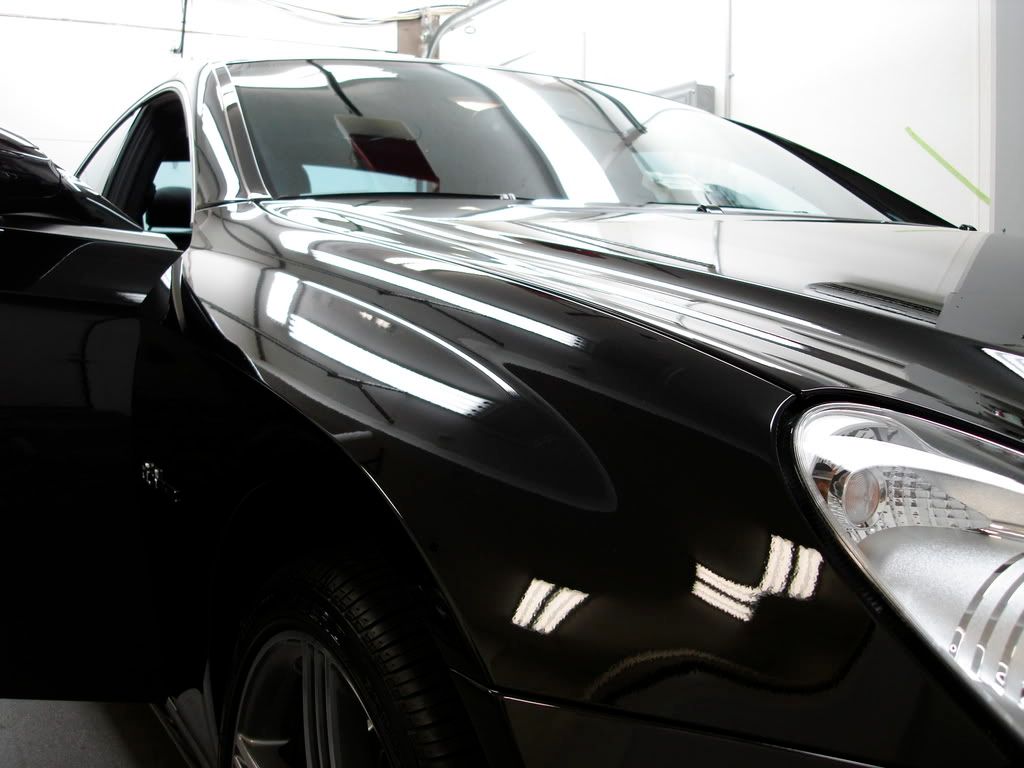
Taken down by the lower panel near the clear bra
I drove the car back to my house and let me say that the 6.2L (no its not a full 6.3litre) V8 sounds incredible. Mercedes did away with the superchargers and turbos when devolpoing the new 63's and IMO it gives the car the perfect throaty, resonant sound, then again im a sucker for naturally aspiritaed engines:headbang:... but dont we all love the sound of a McLaren F1 or a Carrera GT? Anyway I will say that in driving this car for a good 20minutes throughtout the day back and fourth from the owners house that its low end torque is a bit weak. Having spent tons of time behind the wheel of a 2006 SL55 (with the supercharger) I find that it really does make a difference below 4k rpm. I think you need to really push this car to expericnce its true potential but in all honesty I cant say, I didnt go faster than 40mph even on a main road, You cant be too careful with other peoples vehicles. When I returned the car later that night (around 11pm) I spent a good 20mins talking with the owner about the car, he was a very cool guy to work with.
Anyways on with the detail, sorry but I didnt take a lot of before pictures.
The car was fairly new with only about 4k on the odo. With that knowledge I figured whatever "dealership prep" that was done on the car (ie. heavy glazes and wax) would still be on the paint, and I was right.
After initial inspection I thought a light corrective polish would take care of the swirls but after stripping off all the old wax and whatever else may have been used i saw the true finish.
I started with the wheels, as usual massive AMG brakes have a tendancy to cook up quite a bit of brake dust. After a thorough pressure wash of the wheels, tires and wheel wells I then sprayed a liberal amount of the P21s wheel gel to the rims and let it sit for about 10minutes. I always grab the P21s gel for delicate wheel finishes and cars with high performance braking systems to ensure no damage is done to either the wheels or brakes.
The tires were scrubbed with the E-Shine APC and so were the wheel wells. Later I dressed the wheels with Adams Invisible undercarrige and the wheels with CG liquid dressing
Heres a quick before shot
The after
Here is the hood before, you can see the hardened water spots left on the finish, good thing the owner opt'ed for my polishing services on this one!
Now onto prepping the finish
I started out qith a P21s Total Auto Wash pre-soak to strip off all prior wax/glaze applied by the dealer
Here is the p21s TAW dwelling
After that came the wash. 2 buckets, 2 shmitts and Zaino Z7 were used, followed by claying and then drying. I like to dry the car using a slick QD product in between to prevent streaking, in this case it was again Megs Last Touch.
Then I took dozens of PTG readings, plenty of CC to work with. It was a new car so I wasnt expecting to many suprises. The car averaged 130-160 microns.
Now it was time for the correction work. The process was as follows
Gloss It Evolution Cut with yellow cutting pads on the Cyclo (x2 in some areas)
Gloss It 1step Machine polish with white finishing pads on the cyclo (jeweling step)
followed by an IPA wipedwon to ensure no filling and then inspection
Here is the finish under the CM5300, the flake really began to show
I then brought the car out into the sun to make sure no holograms were left after polishing, sometimes I find garage lighting isnt enough to thoroughly inspect a finish
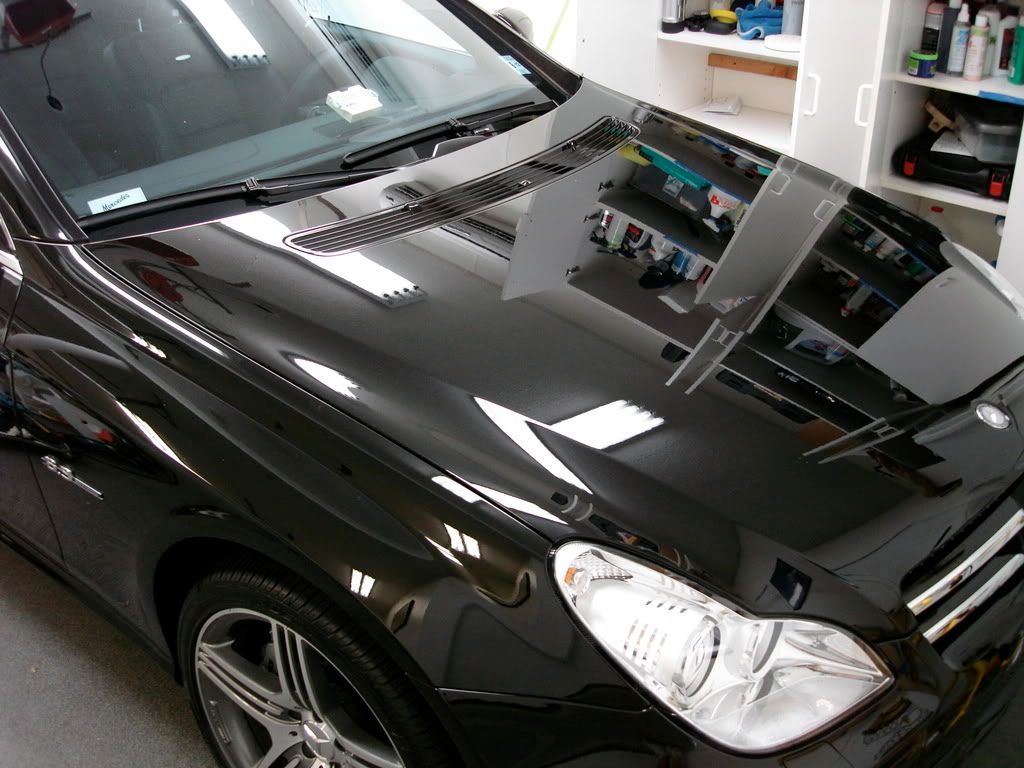
Here is the hood in direct sun post polishing, No wax or sealant was applied
I then rinsed the car to remove any polishing dust and carefully dried it.
Here is the car back in my garage after the rinse. Again there is no wax or sealant on it yet.
Now onto the interior which btw has some of the best seats around, thick bolstering ftw!
Before
After
After
Center comsole re-organized
All plastics removed and properly cleaned using 1Z CP
door jambs cleaned and polished
windows/chrome trim polished using 1Z glas polish and adams metal polishes
The LSP of choice was Gloss It Signature Gloss, applied via cyclo with white finishing pads followed by a gloss enhancer QD wipedown
Now for the final finish
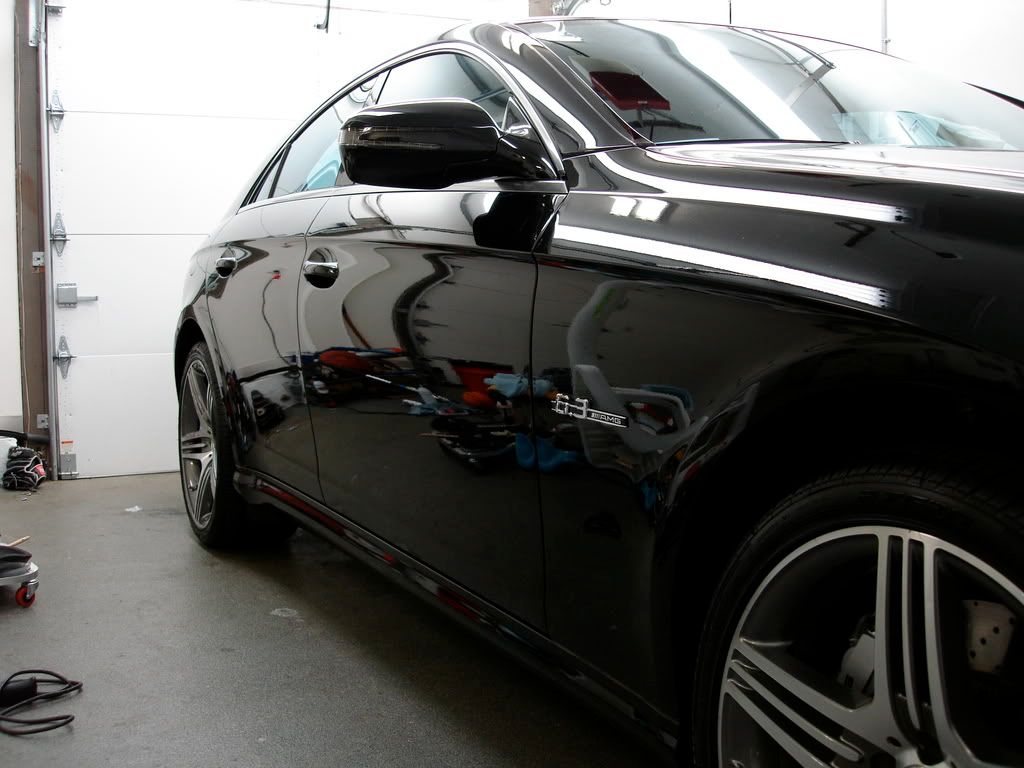
This is the same picture I took post polishing only this time the LSP was applied. The finish now has more clarity and depth than before, you can see the P21s TAW label in the reflection from the shelf above
Taken down by the lower panel near the clear bra

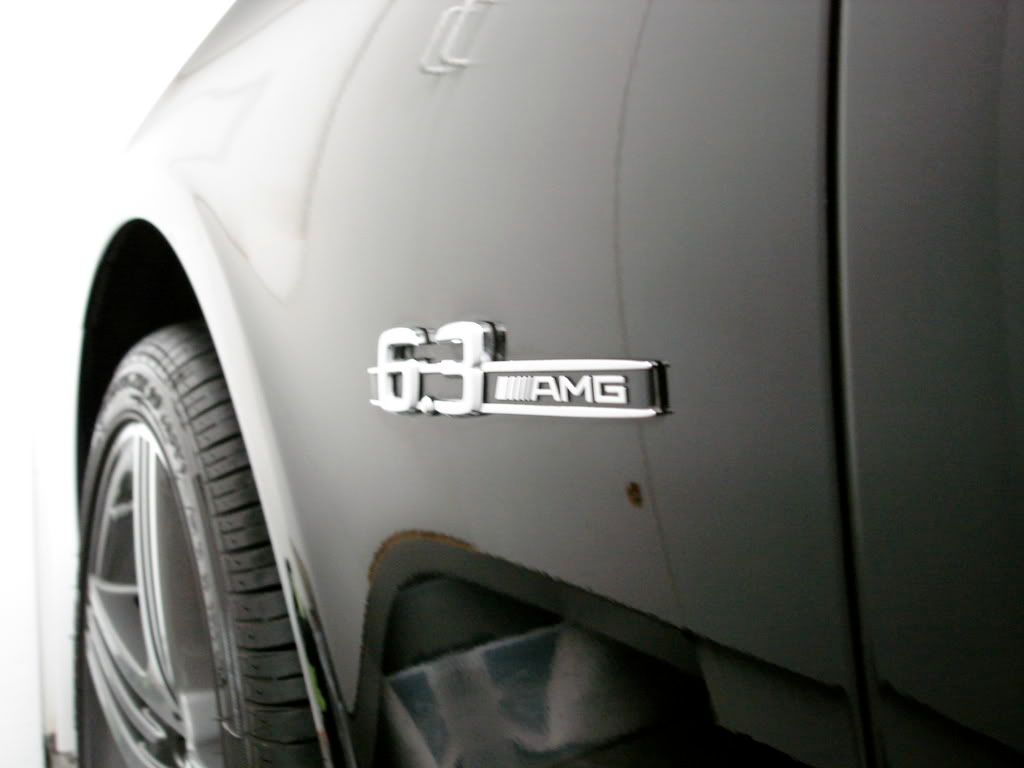


") . those are hands down one of these best looking sedans out on the road today... :up
. those are hands down one of these best looking sedans out on the road today... :up