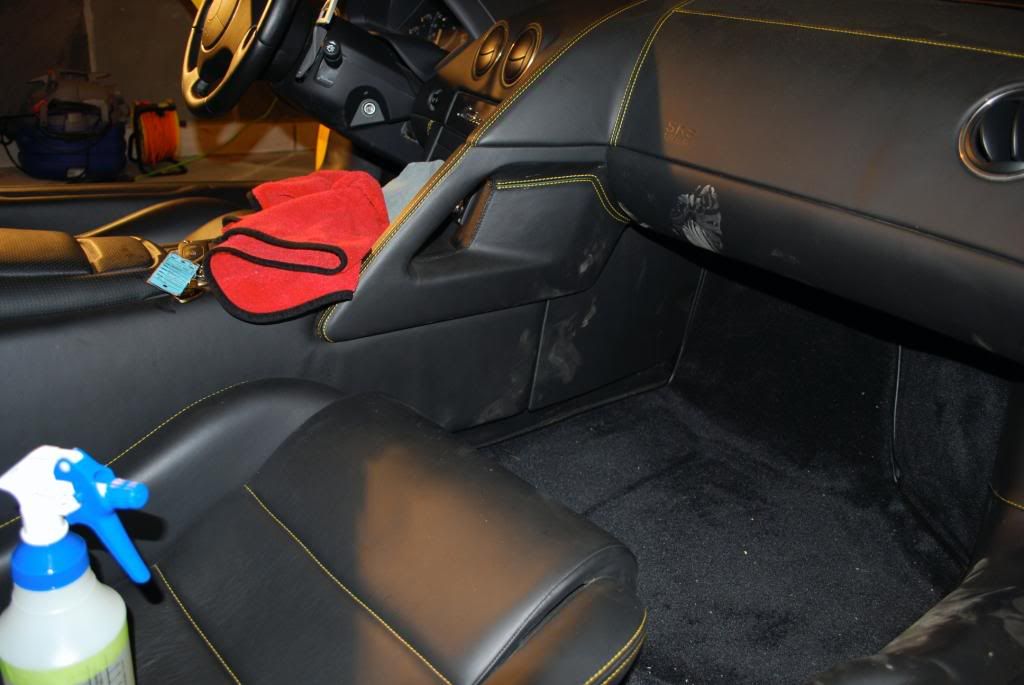
Due to inclement weather and the Lamborghini not having its top on (it actually has never had the top leave the trunk) this car was done entirely inside the owners garage. Perfect work space with AC and heating.
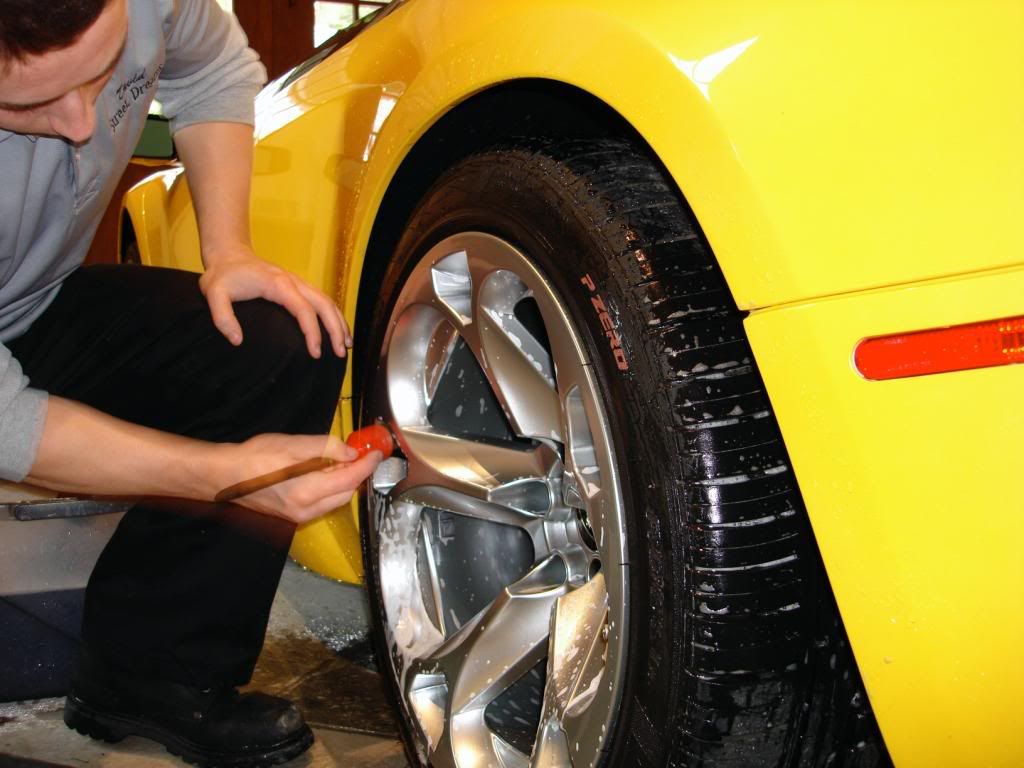
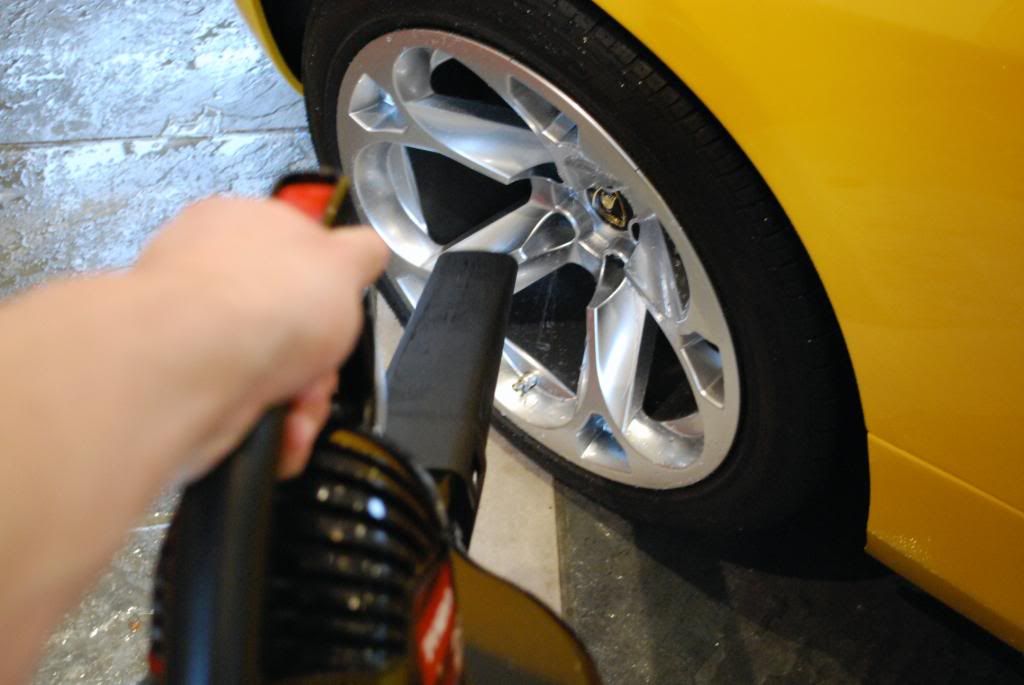
Started with the wheels, P&S brake buster with various brushes. Tires scrubbed with APC 4:1 as well as the wheel wells. The arches were de-tarred using Tardis on a MF pad.
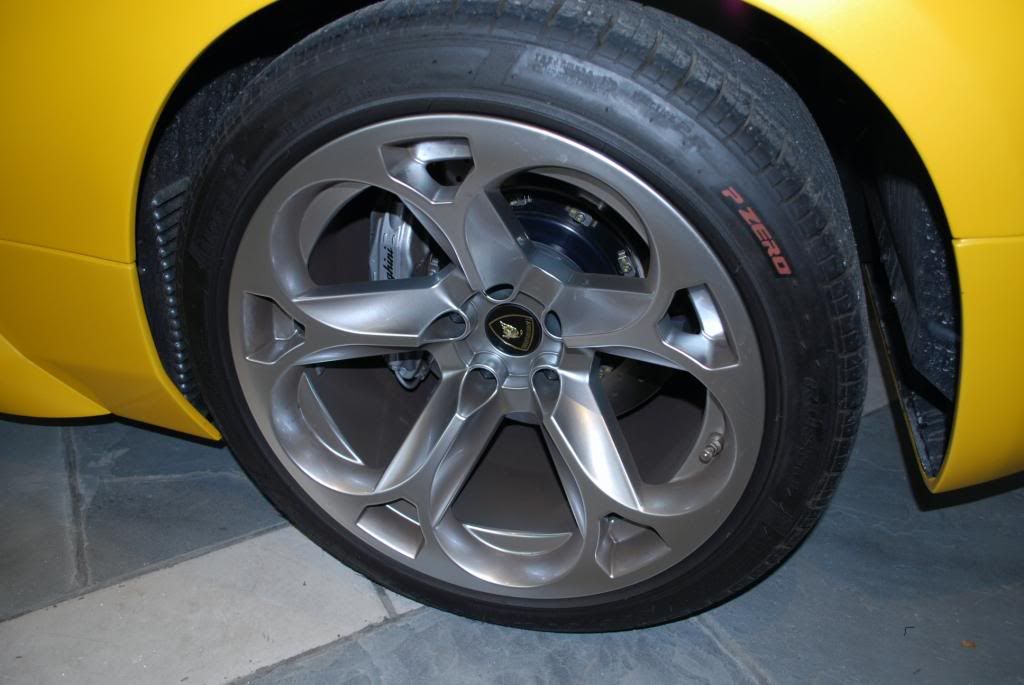
After cleaning, wheels yet to be polished and sealed.
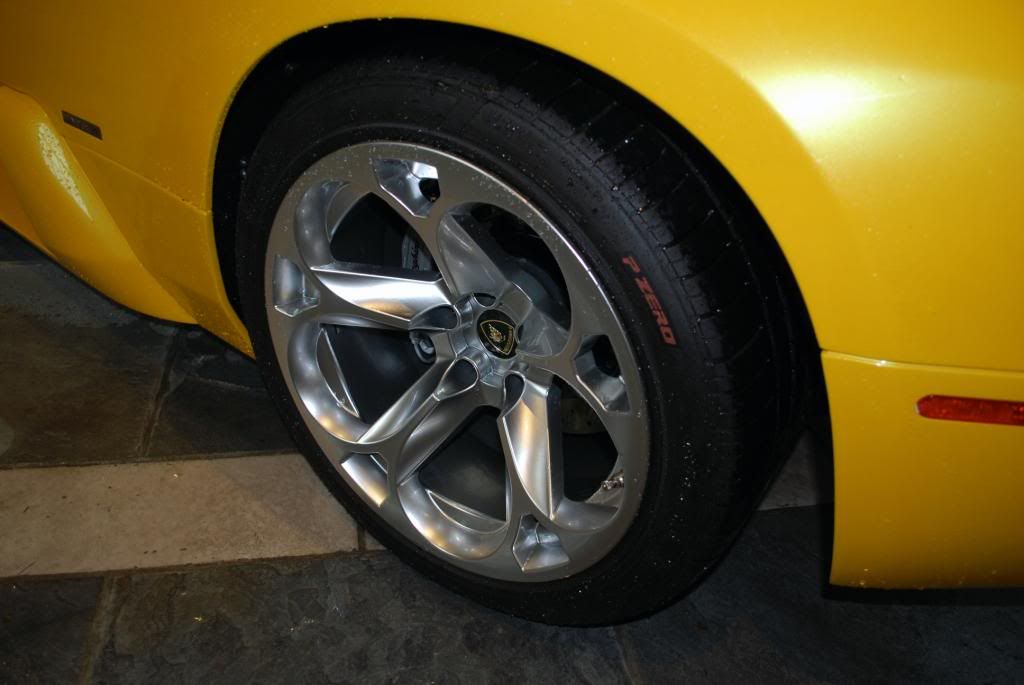
All the wheels were blowed dried, I didnt use my CR spotless so I didnt want the water to spot
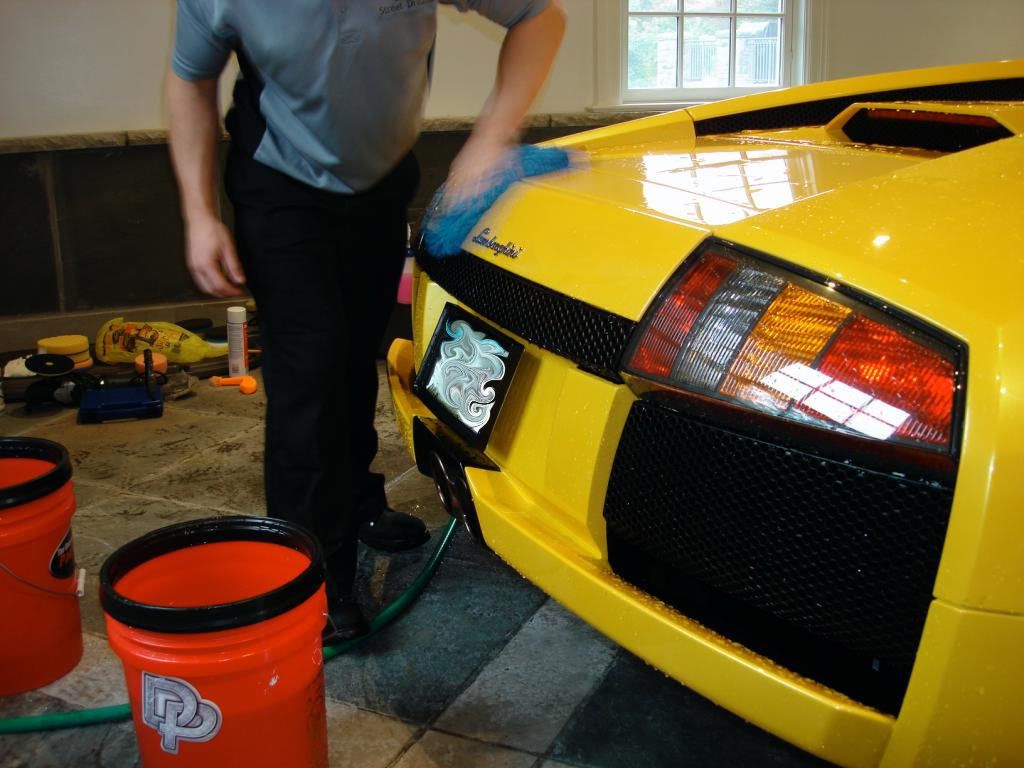
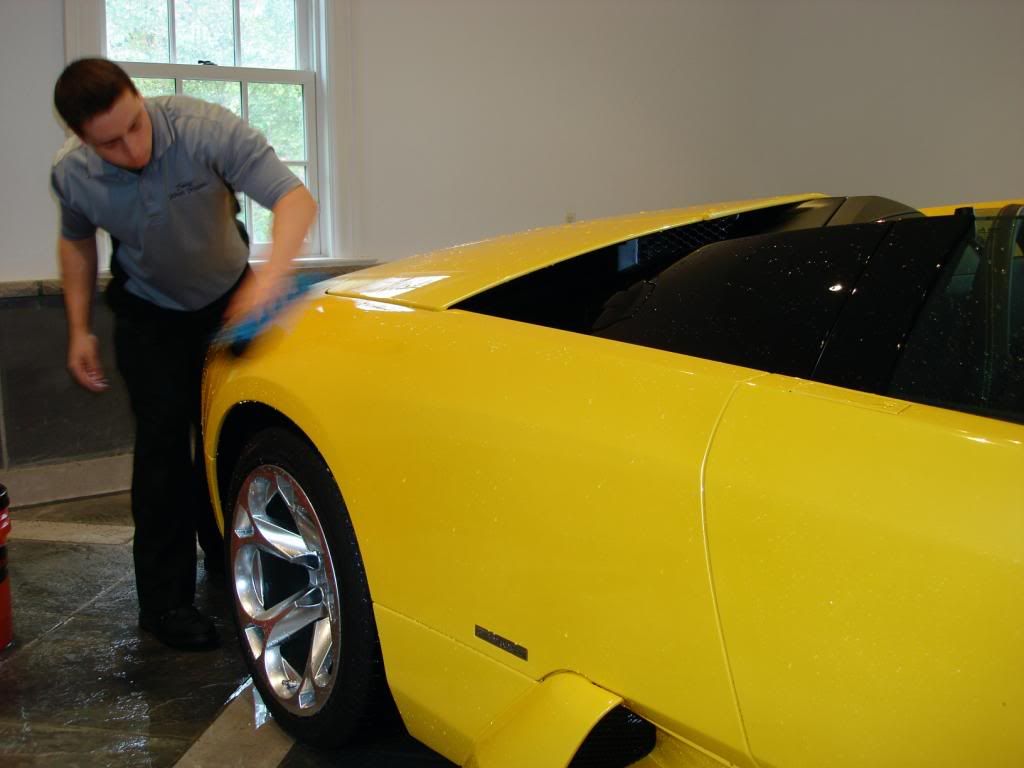
The finish was was alread protected with Zaino, so I gave the car a quick pre-soak with a biodegradeable APC (5:1) and rinsed it off before begining the wash which was done with ONR.
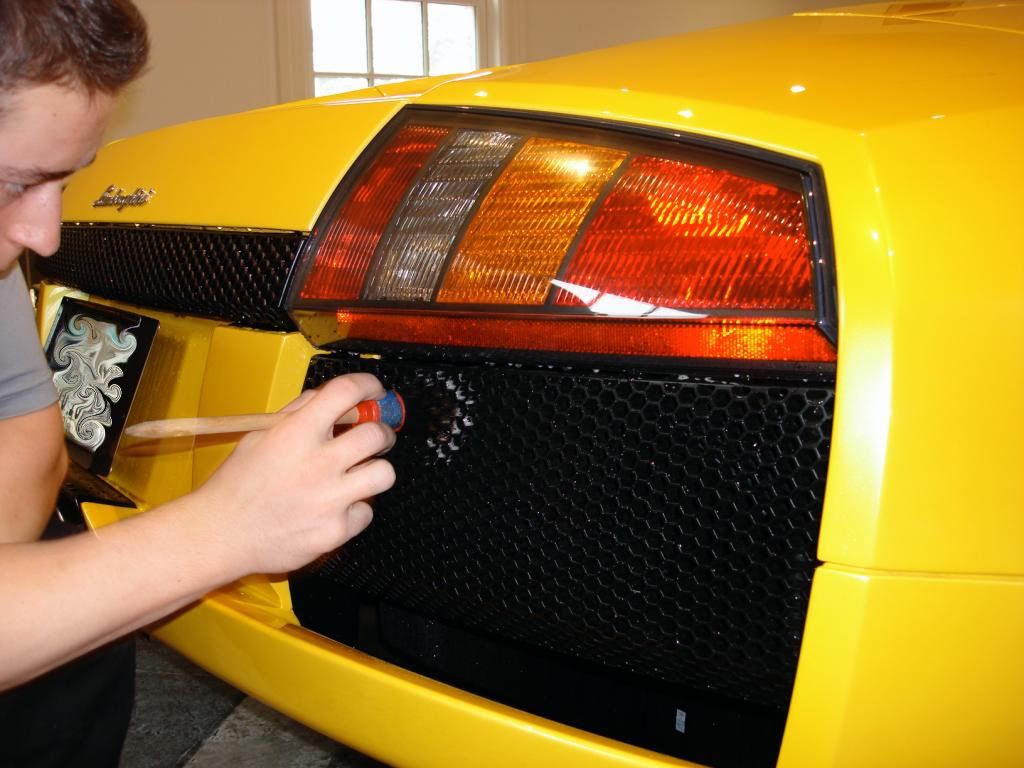
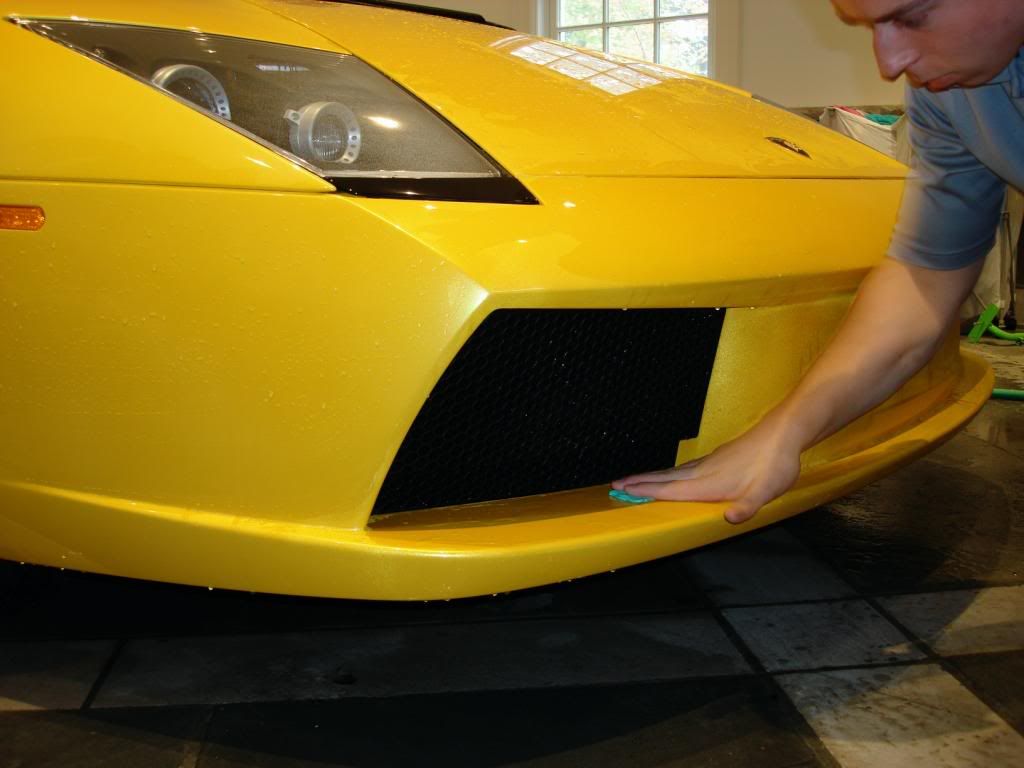
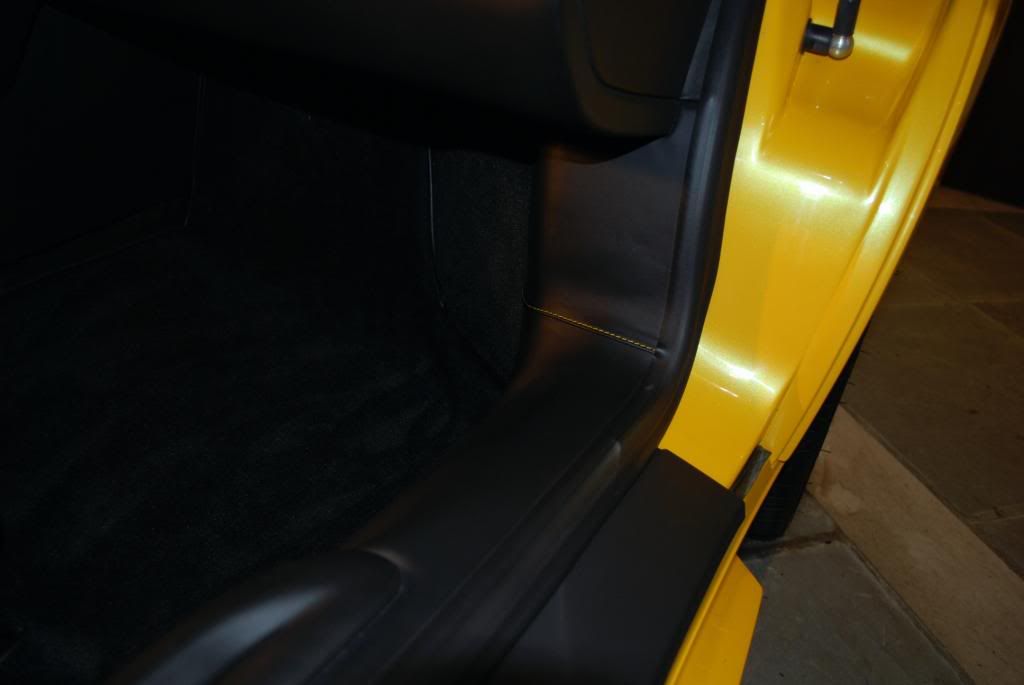
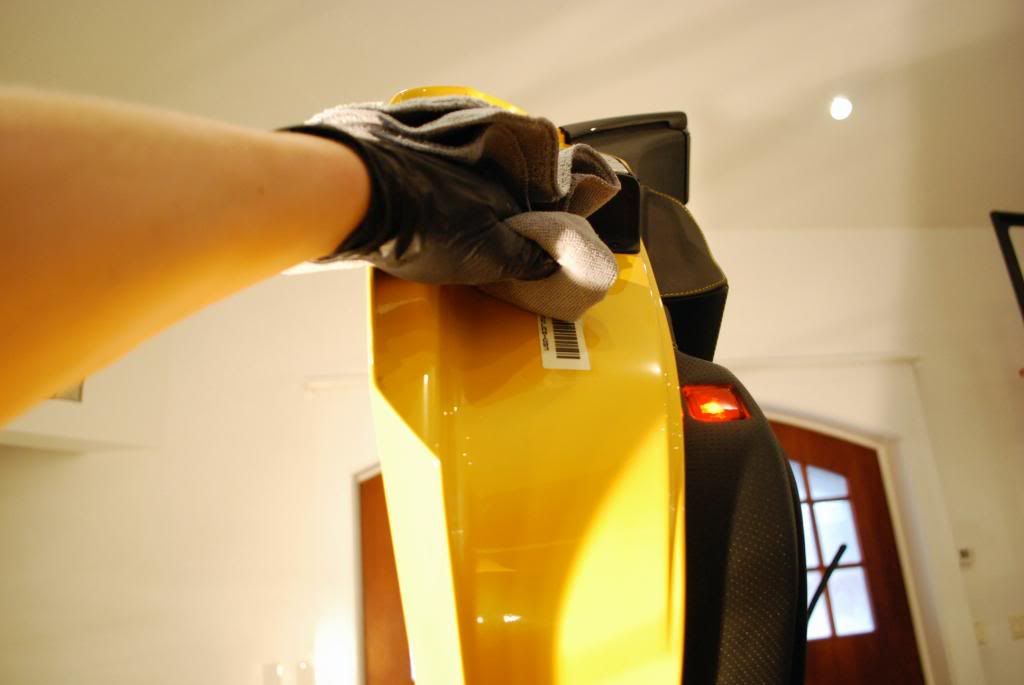
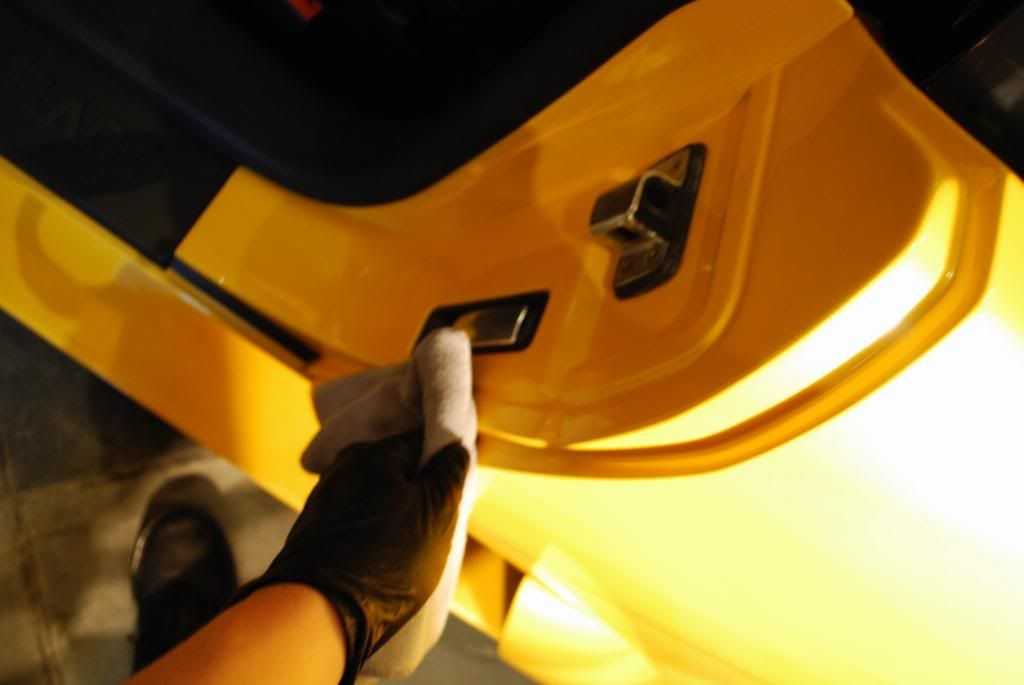
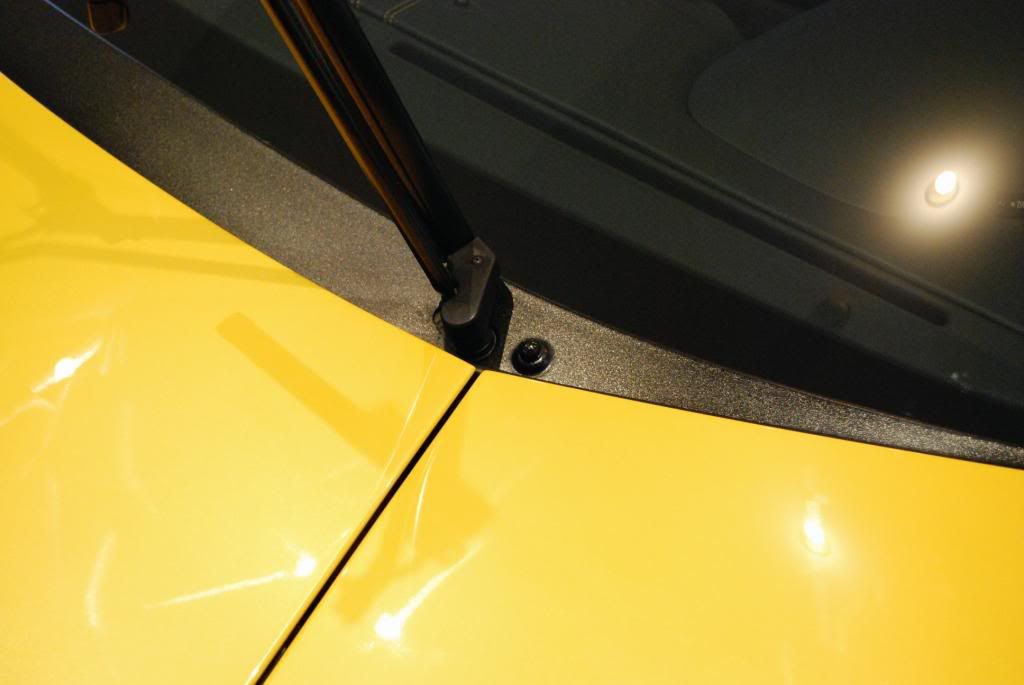
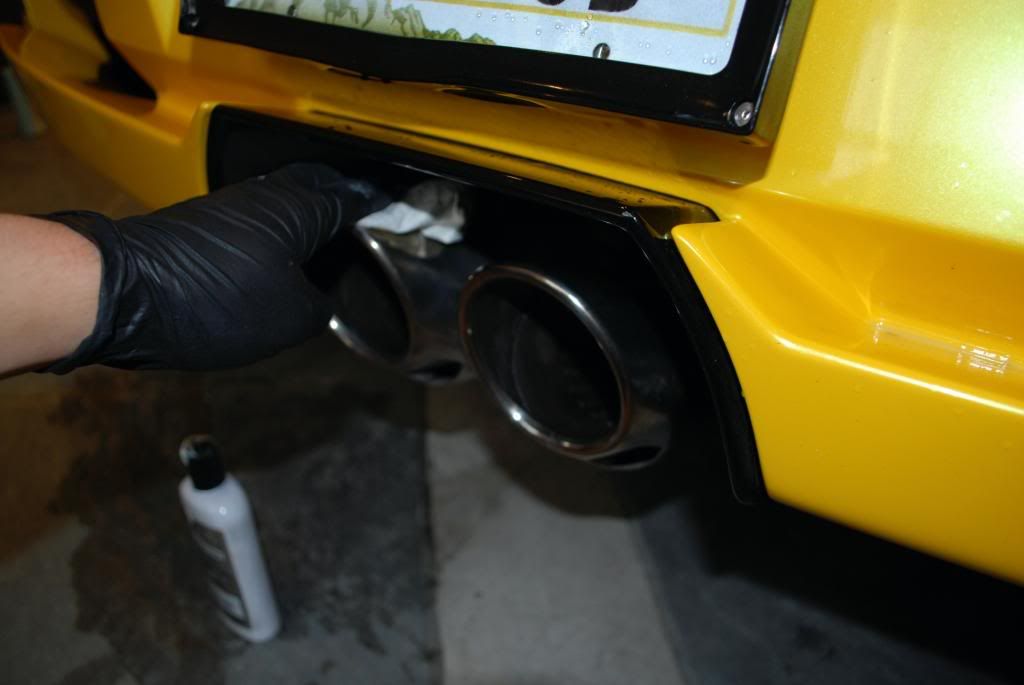
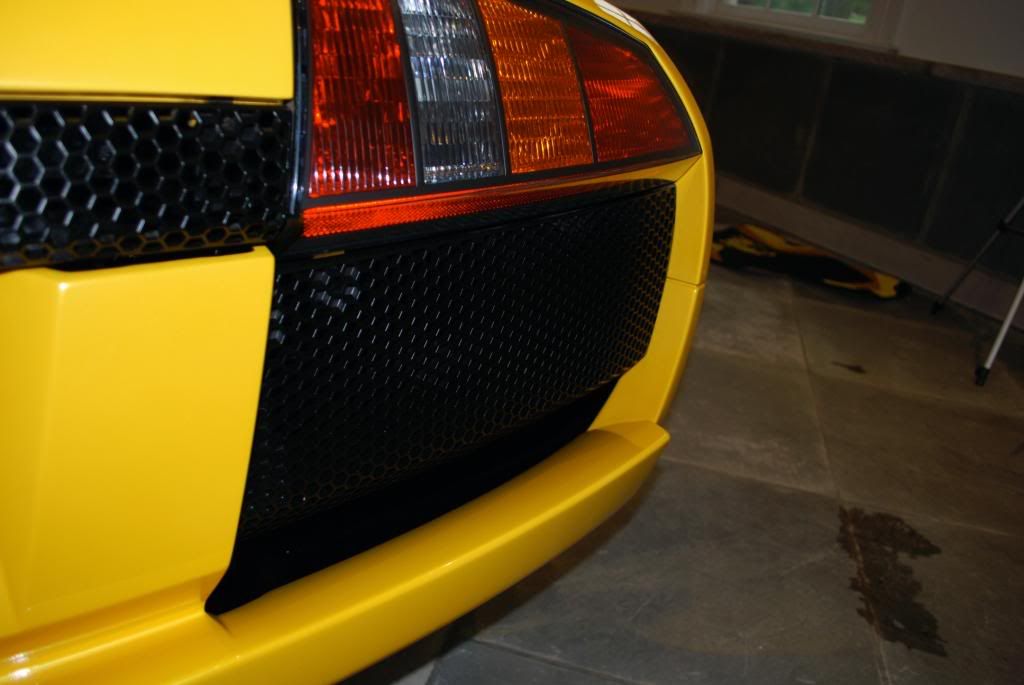
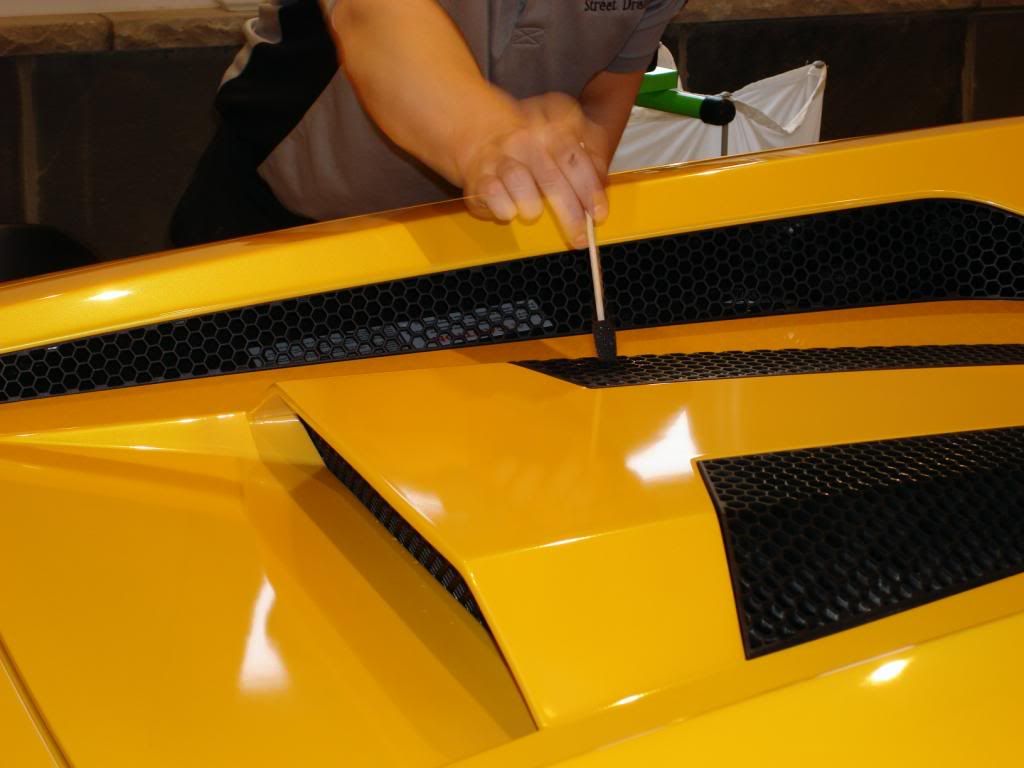
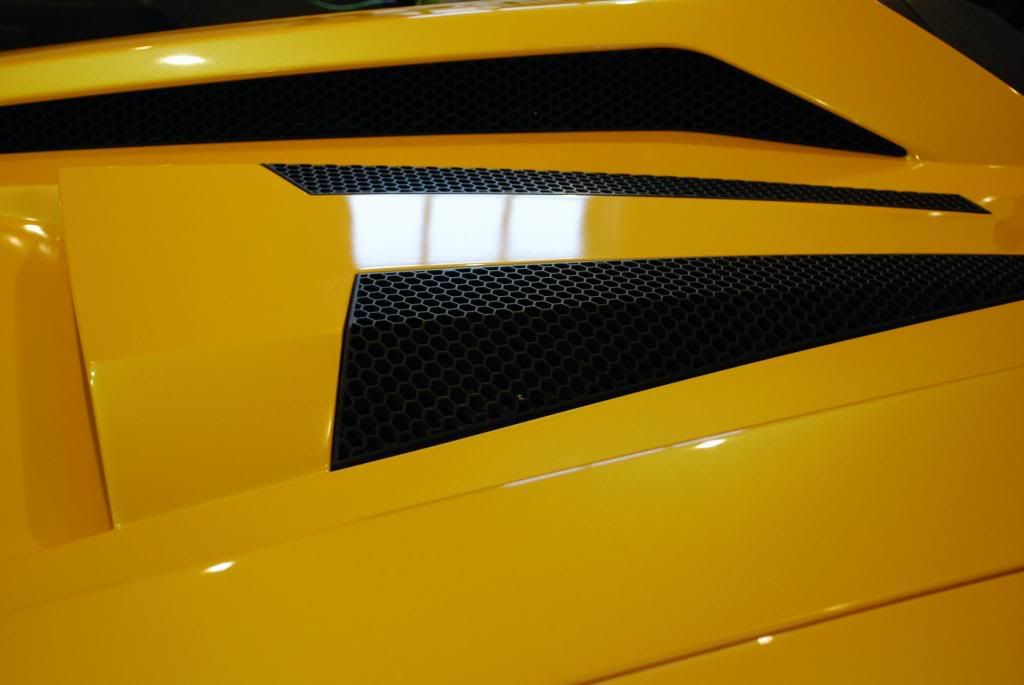
With the pre-soak all trim and honeycomb grills were cleaned as well
The finish was clayed with Sonus green clay using diluted last touch as lube
Little tar strip, some tarminator on a MF did the trick
Rest of the car clayed
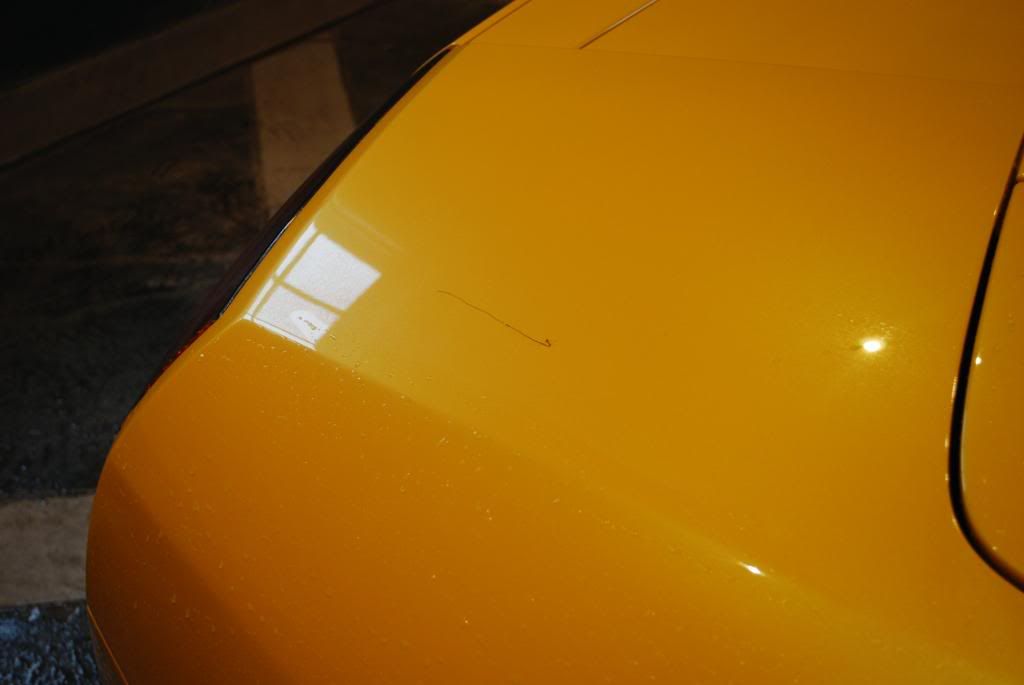
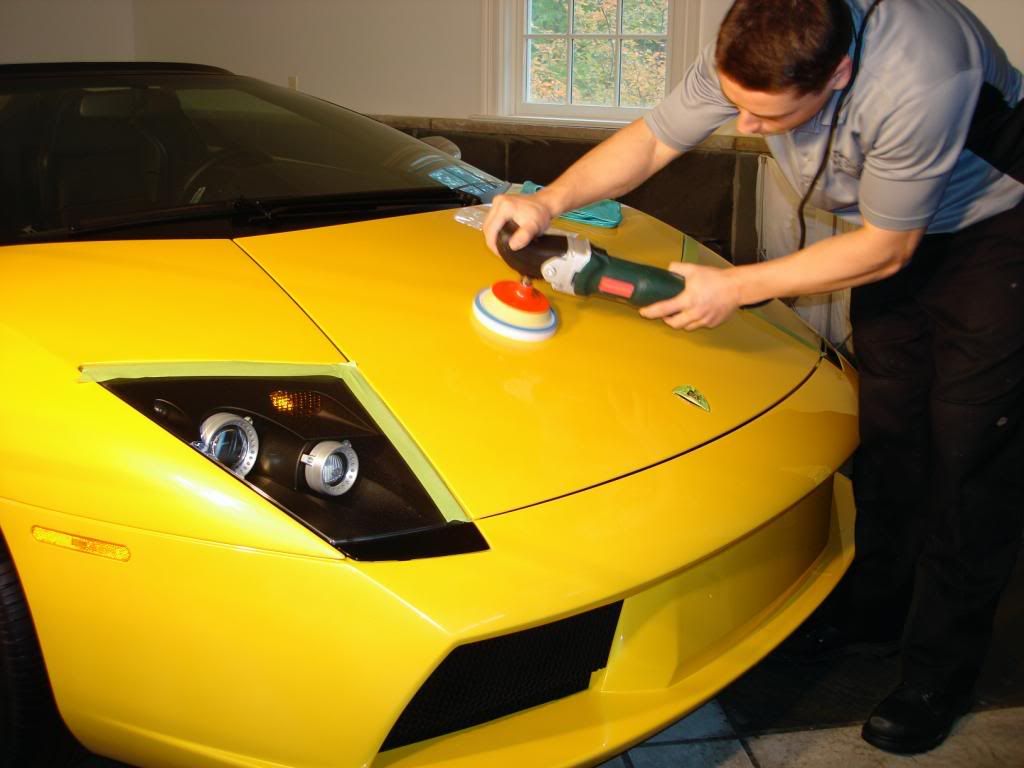
The finish was in pretty good shape, the biggest problem area was the hood. Something was dragged across it and left a small cluster of RIDS

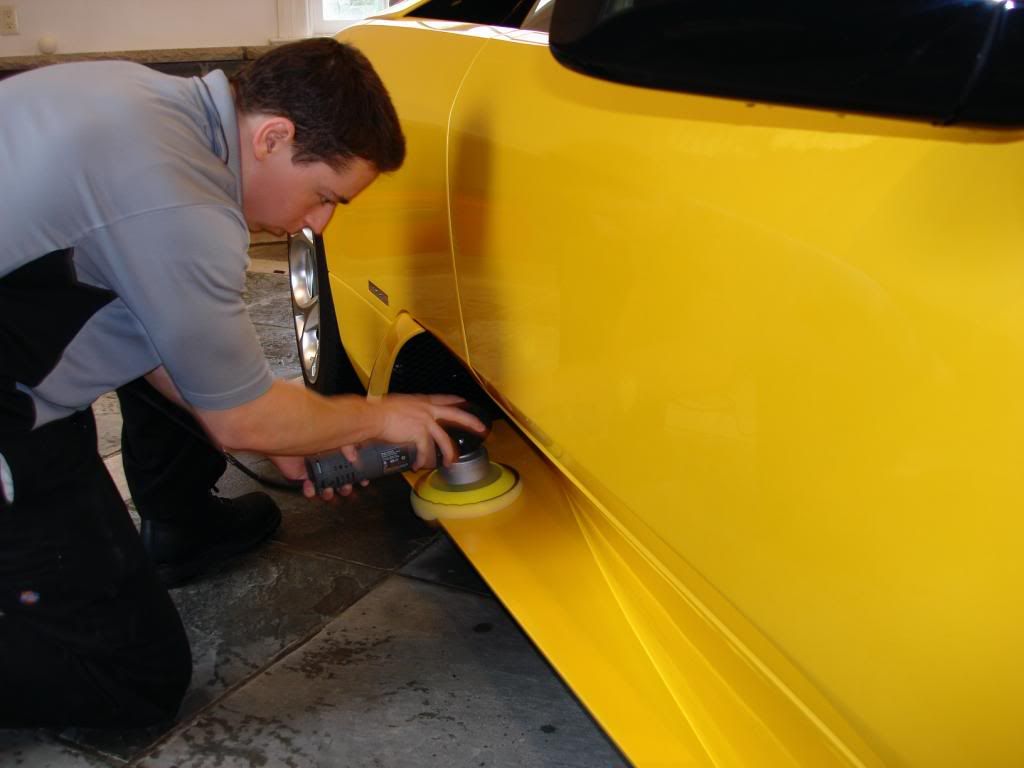
After a few combos, I settled on using M105 with a LC orange pad (primed) with the new porter cable. This was an extremely hard clear so I worked slower passes with more pressure

M105 all broken down
After
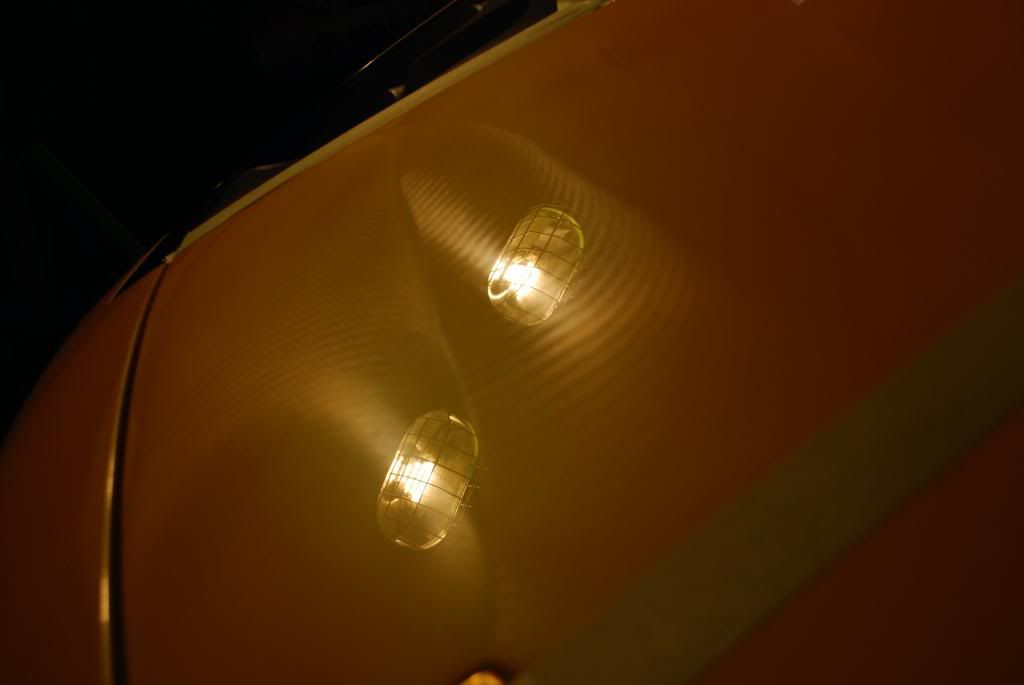
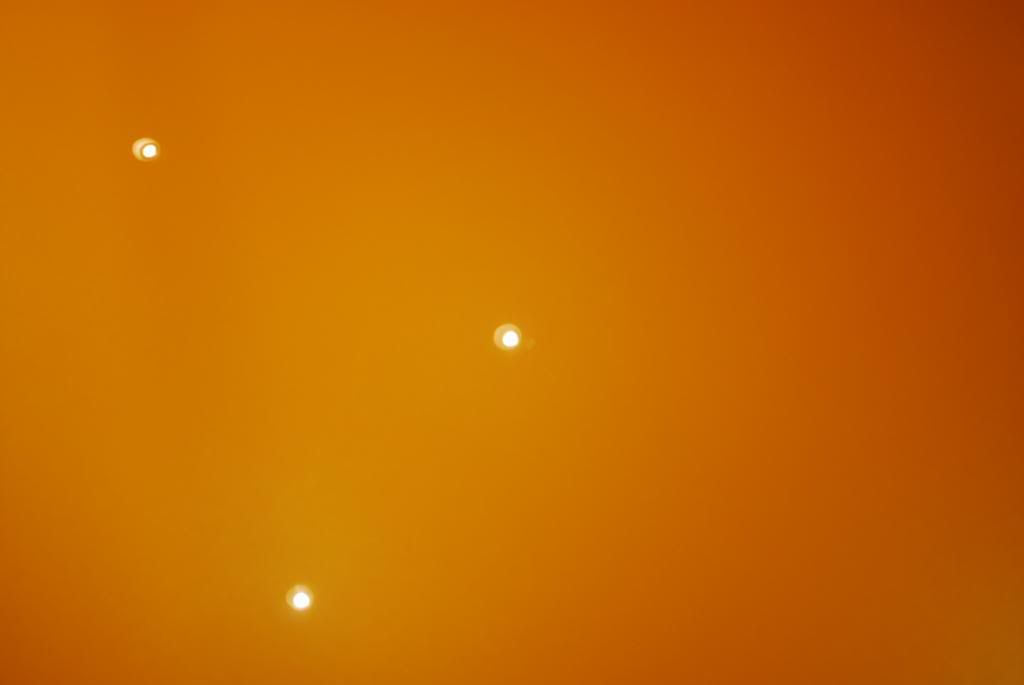
I unfortunately could not get a completely dark garage under my halogens as the windows did not have blinds but using the recessed lighting above you can see the haziness and swirls
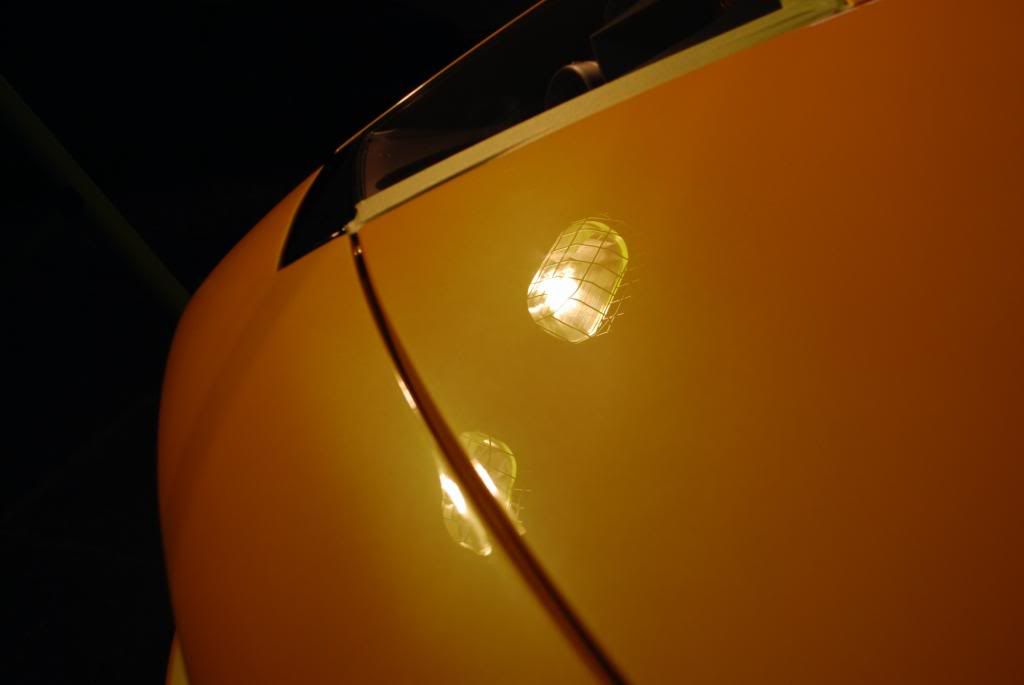
Before, light refracted in all directions
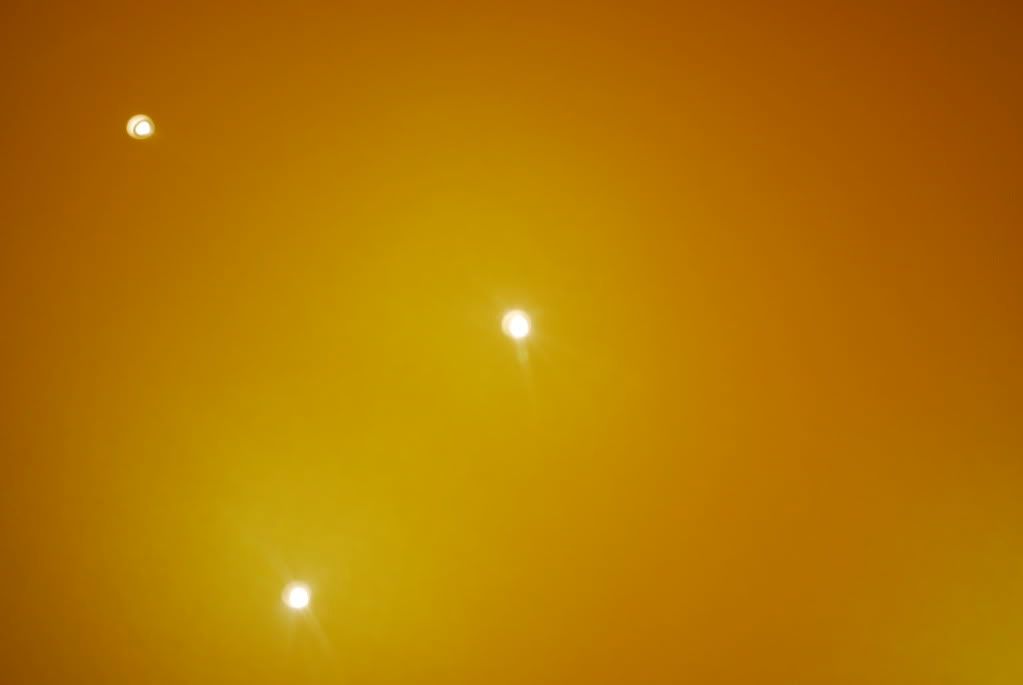
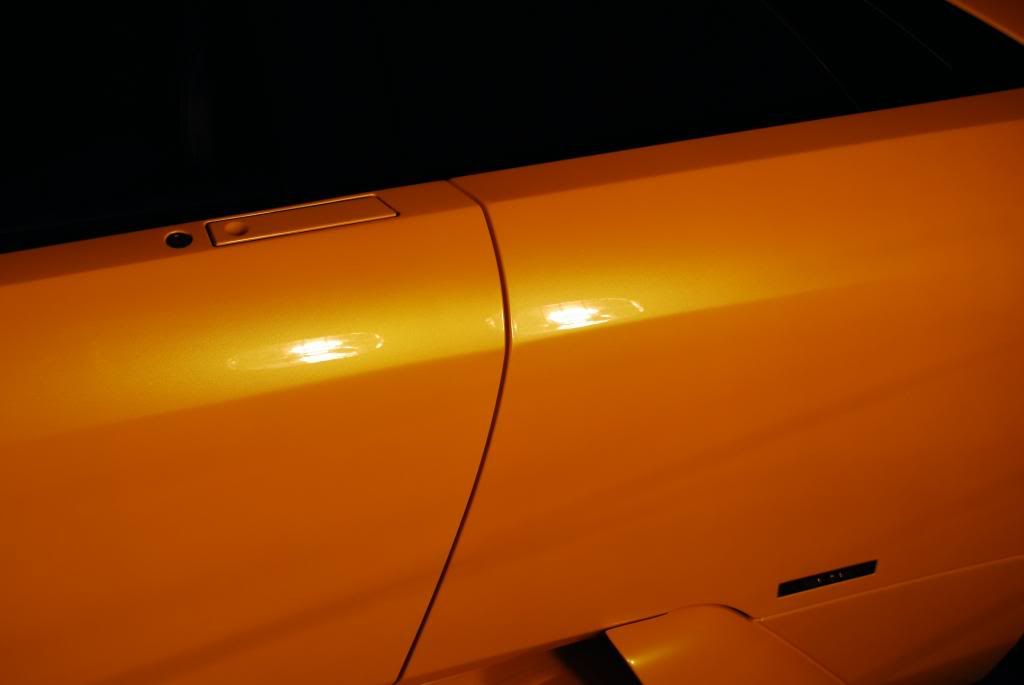
After 3 stages of correction (M105, 106FA and 85rd). Swirls removed, clarity brought back
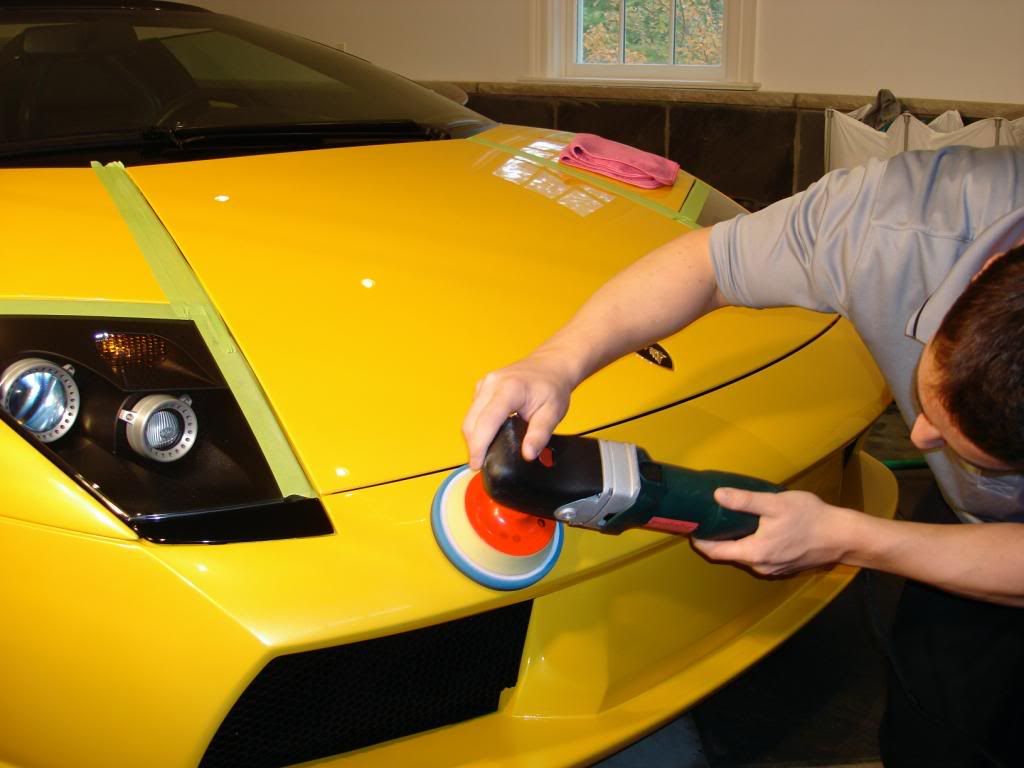
Some shots during correction
Working 106FA, took this up to about 1900rpm with moderate pressure due to the hard paint. Got 106FA to finish down just about perfect before moving onto jeweling
Jeweling
Final polishing video with the new 5.5 inch high gloss pads (love these)

Started with the wheels, P&S brake buster with various brushes. Tires scrubbed with APC 4:1 as well as the wheel wells. The arches were de-tarred using Tardis on a MF pad.
After cleaning, wheels yet to be polished and sealed.
All the wheels were blowed dried, I didnt use my CR spotless so I didnt want the water to spot
The finish was was alread protected with Zaino, so I gave the car a quick pre-soak with a biodegradeable APC (5:1) and rinsed it off before begining the wash which was done with ONR.
With the pre-soak all trim and honeycomb grills were cleaned as well
The finish was clayed with Sonus green clay using diluted last touch as lube
Little tar strip, some tarminator on a MF did the trick
Rest of the car clayed
The finish was in pretty good shape, the biggest problem area was the hood. Something was dragged across it and left a small cluster of RIDS
After a few combos, I settled on using M105 with a LC orange pad (primed) with the new porter cable. This was an extremely hard clear so I worked slower passes with more pressure
M105 all broken down
After
I unfortunately could not get a completely dark garage under my halogens as the windows did not have blinds but using the recessed lighting above you can see the haziness and swirls
Before, light refracted in all directions
After 3 stages of correction (M105, 106FA and 85rd). Swirls removed, clarity brought back
Some shots during correction
Working 106FA, took this up to about 1900rpm with moderate pressure due to the hard paint. Got 106FA to finish down just about perfect before moving onto jeweling
Jeweling
Final polishing video with the new 5.5 inch high gloss pads (love these)


")