UPDATED
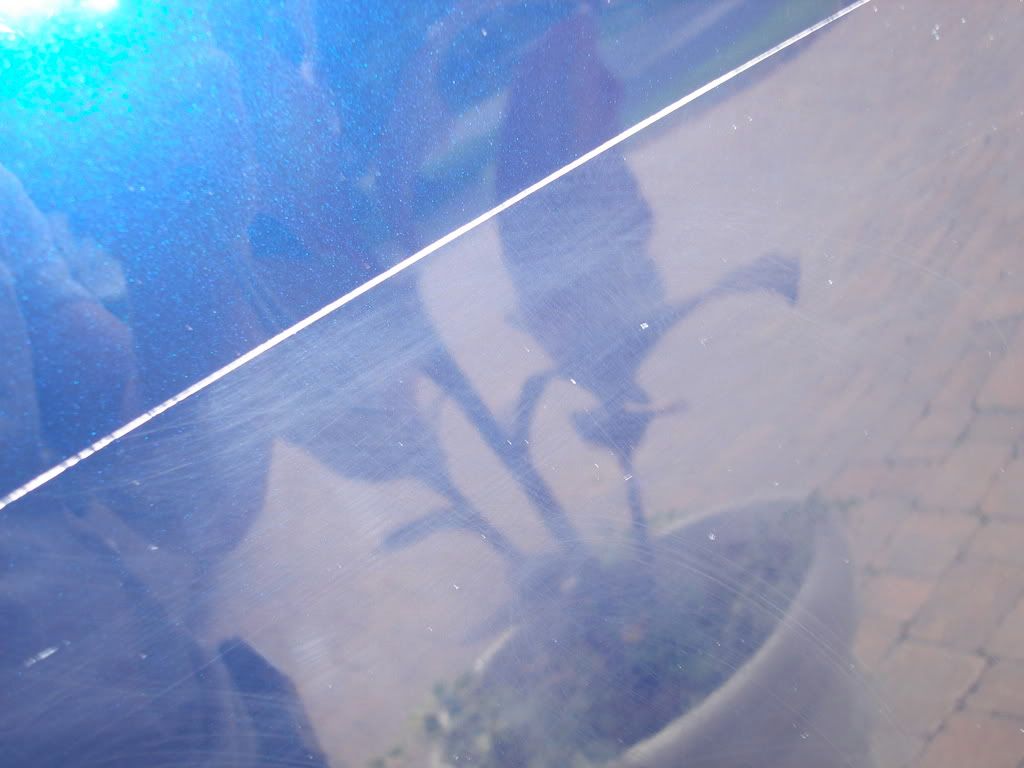
I started with a scrap hood that I use to test products on. The finish was already clean so I used fine grade steel wool followed by a stiff bristle carpet brush to induce heavy swirls marks, marring and some fine scratches.
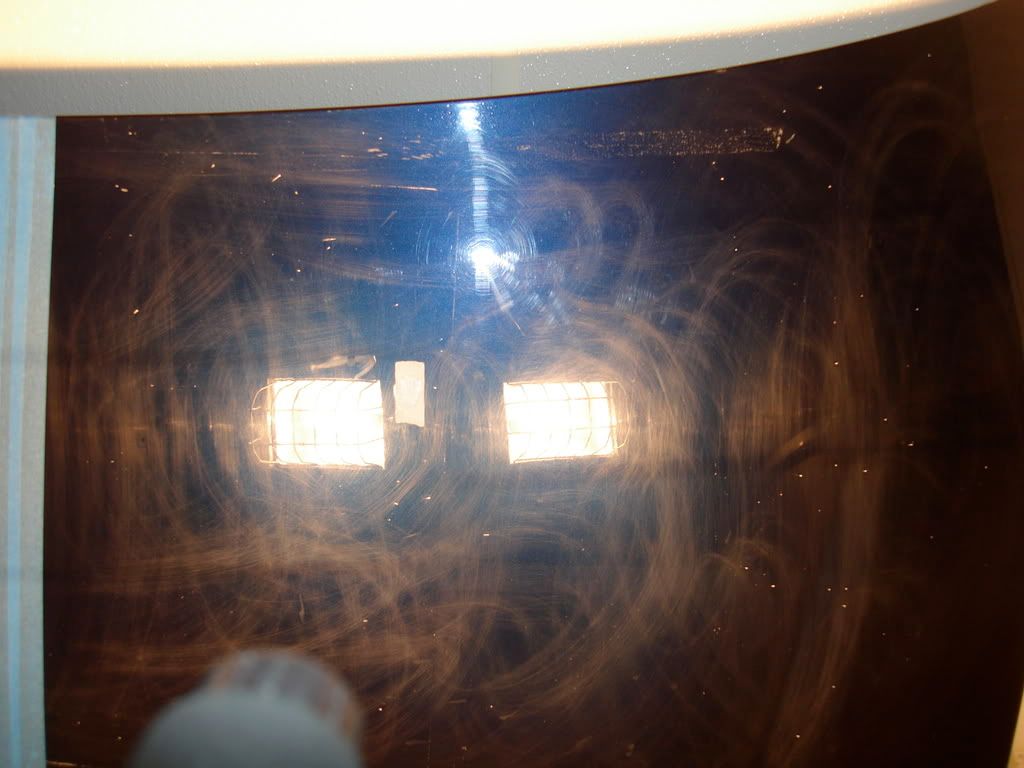
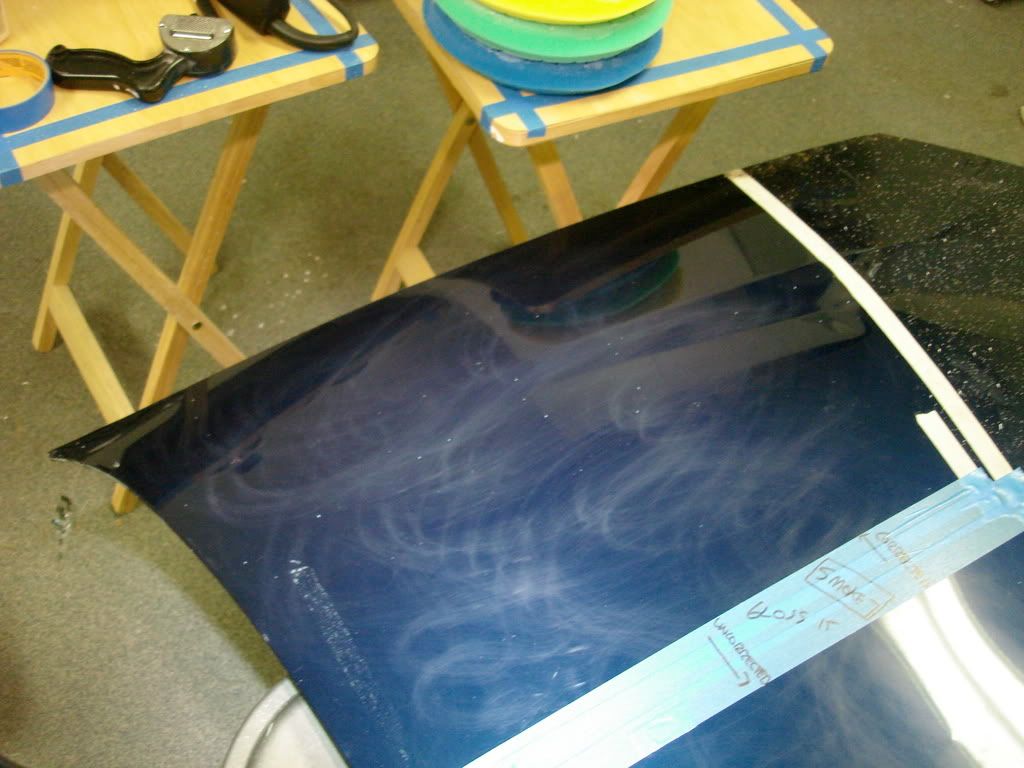
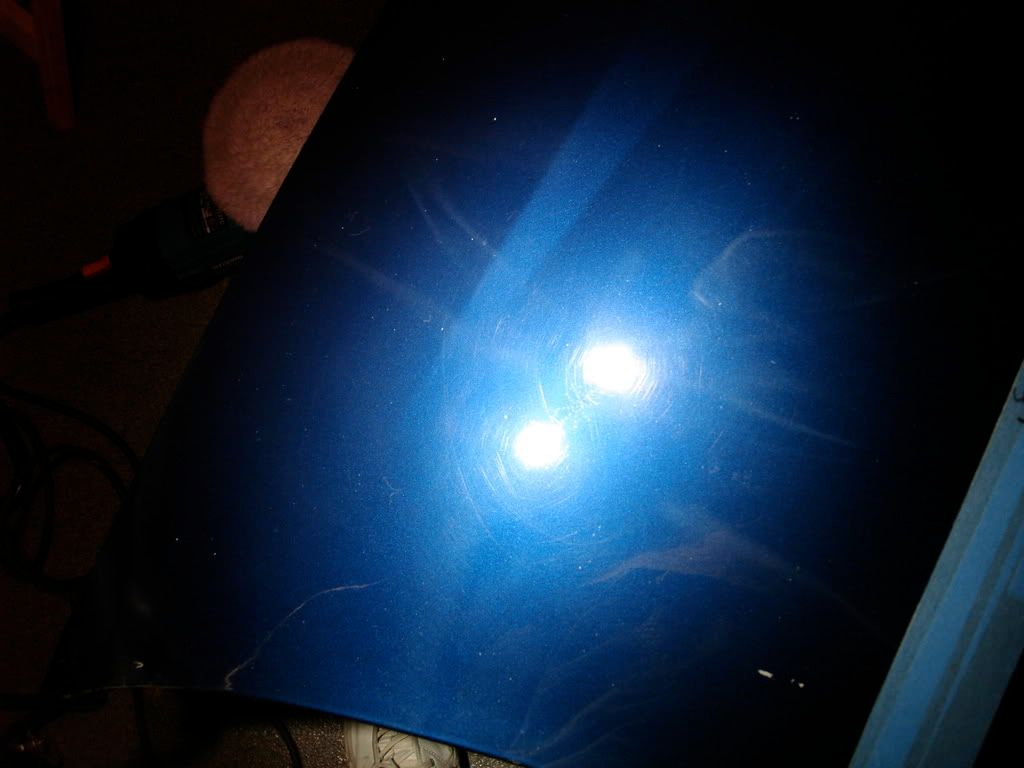
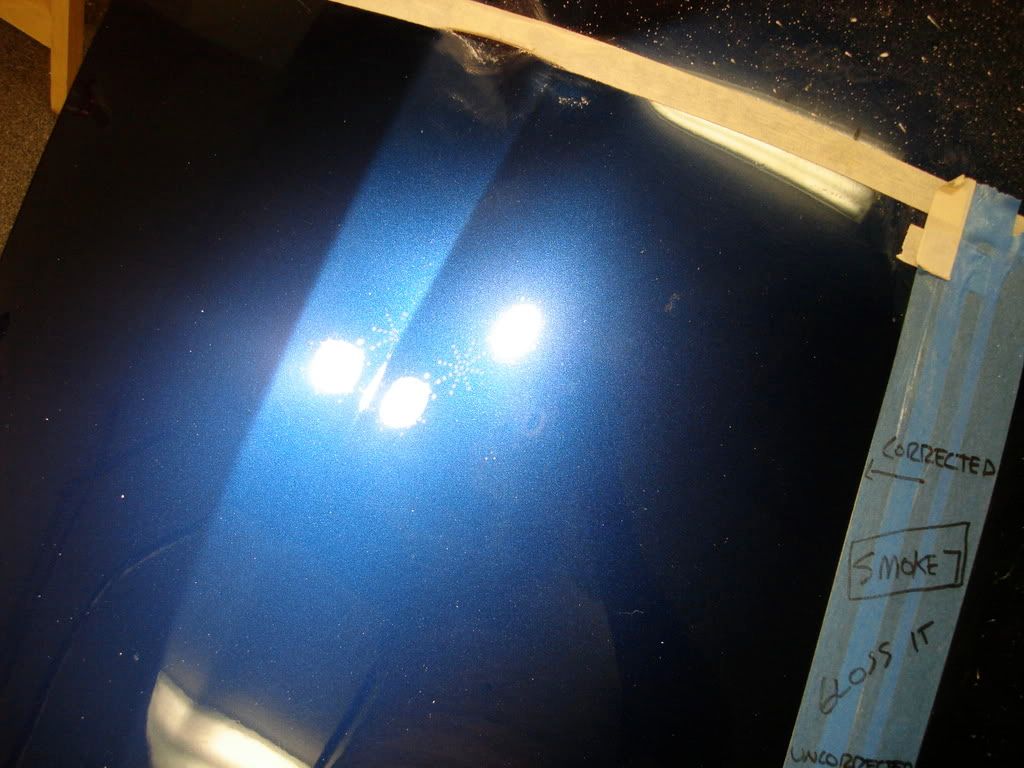
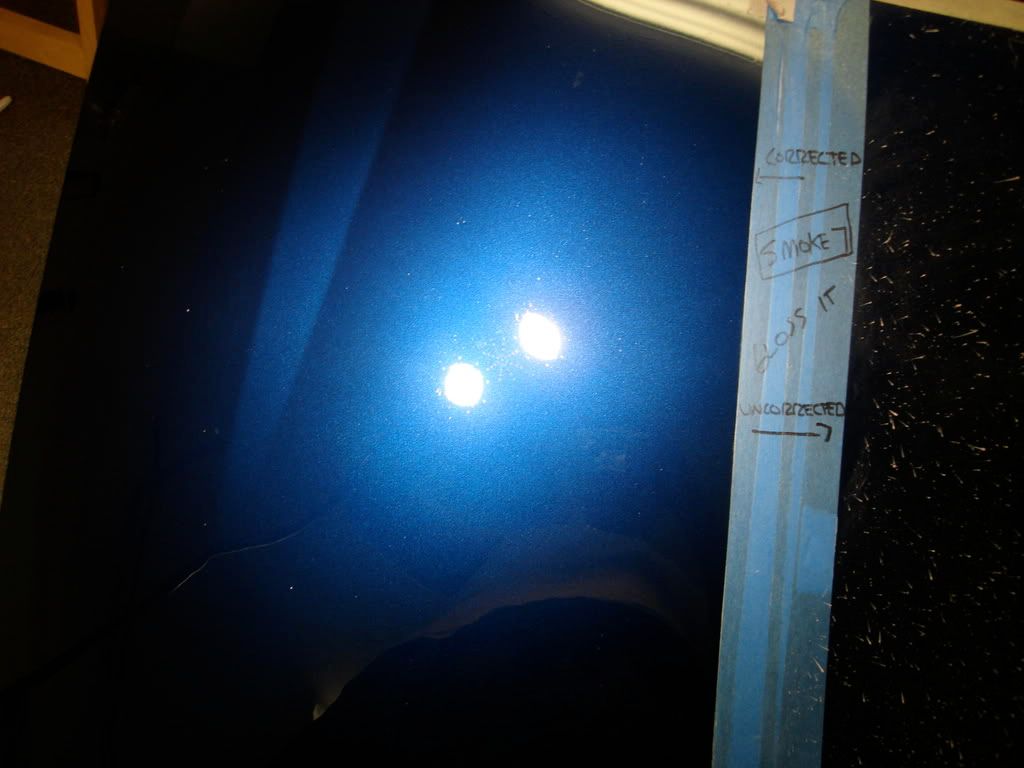
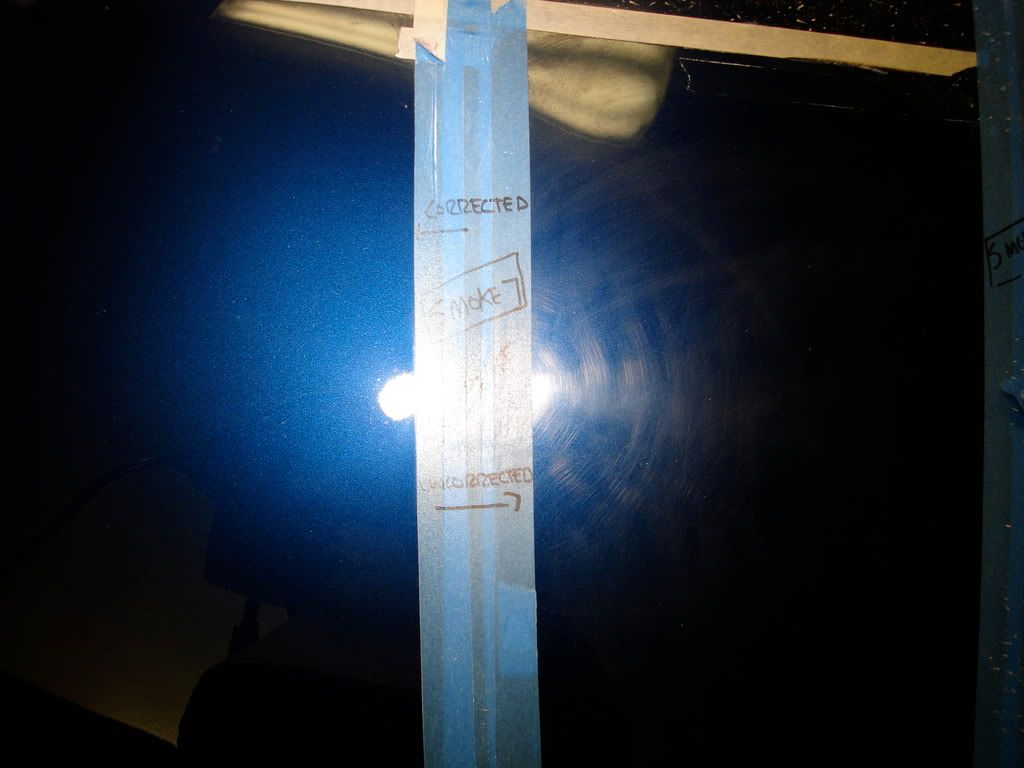
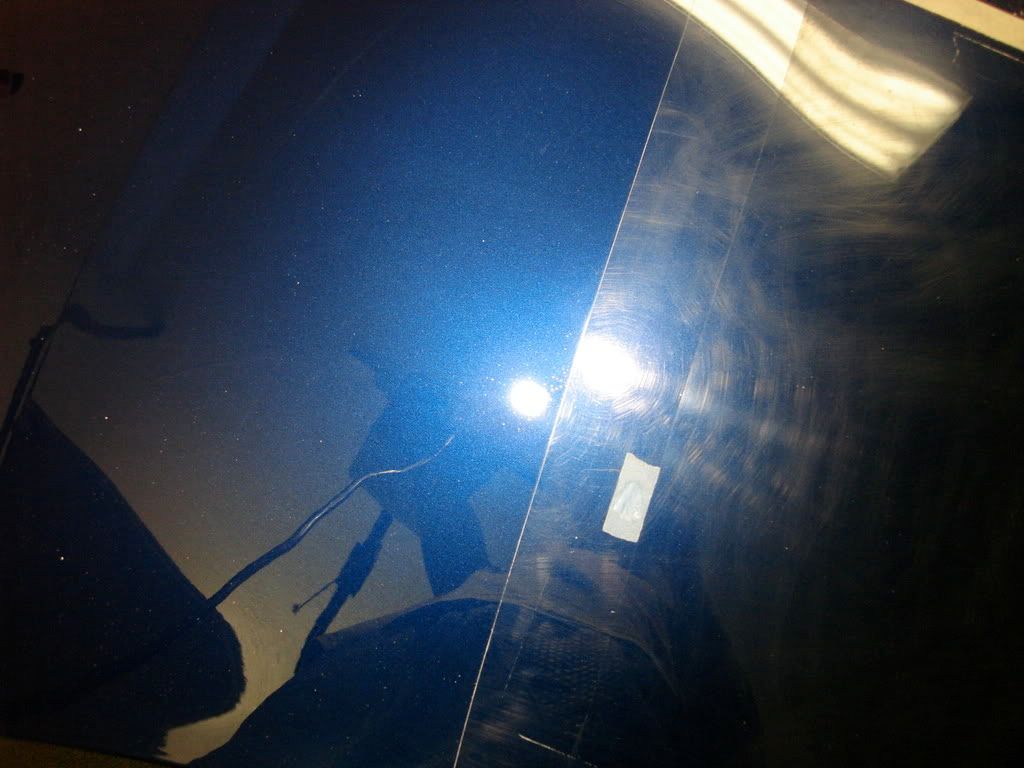
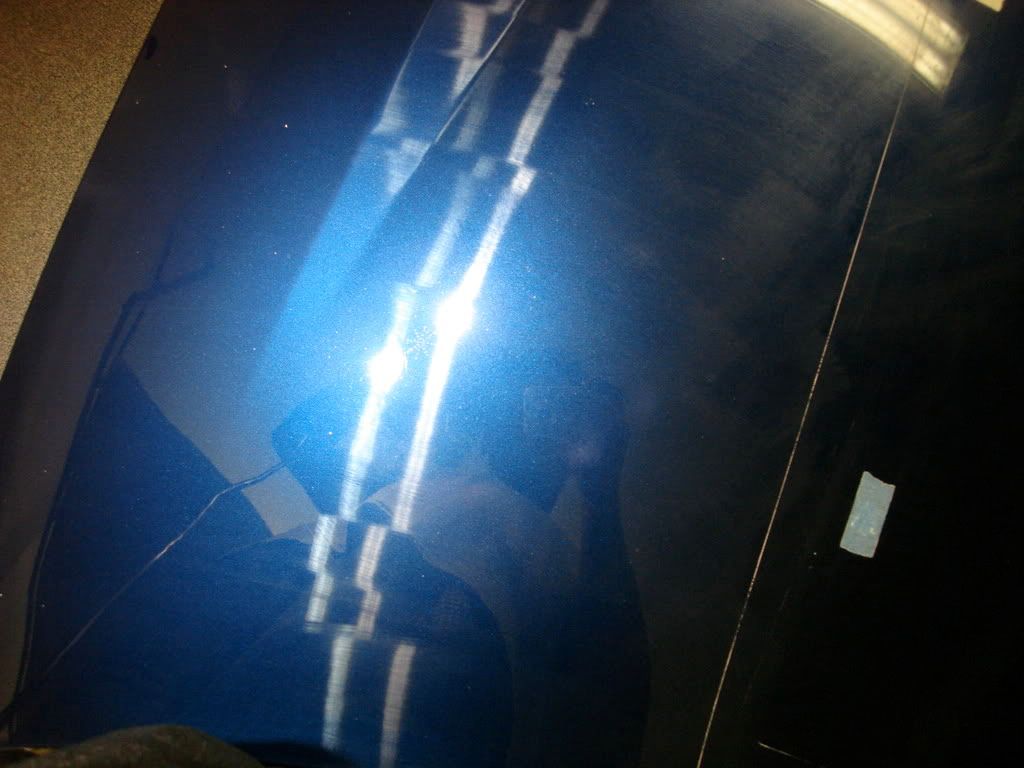
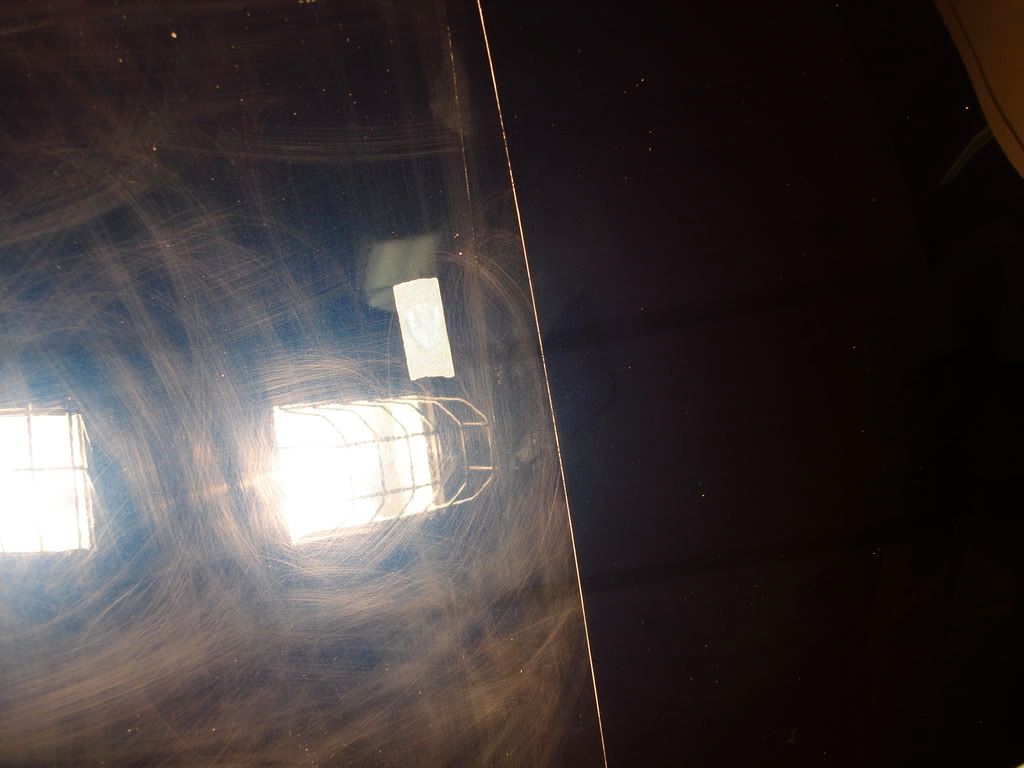
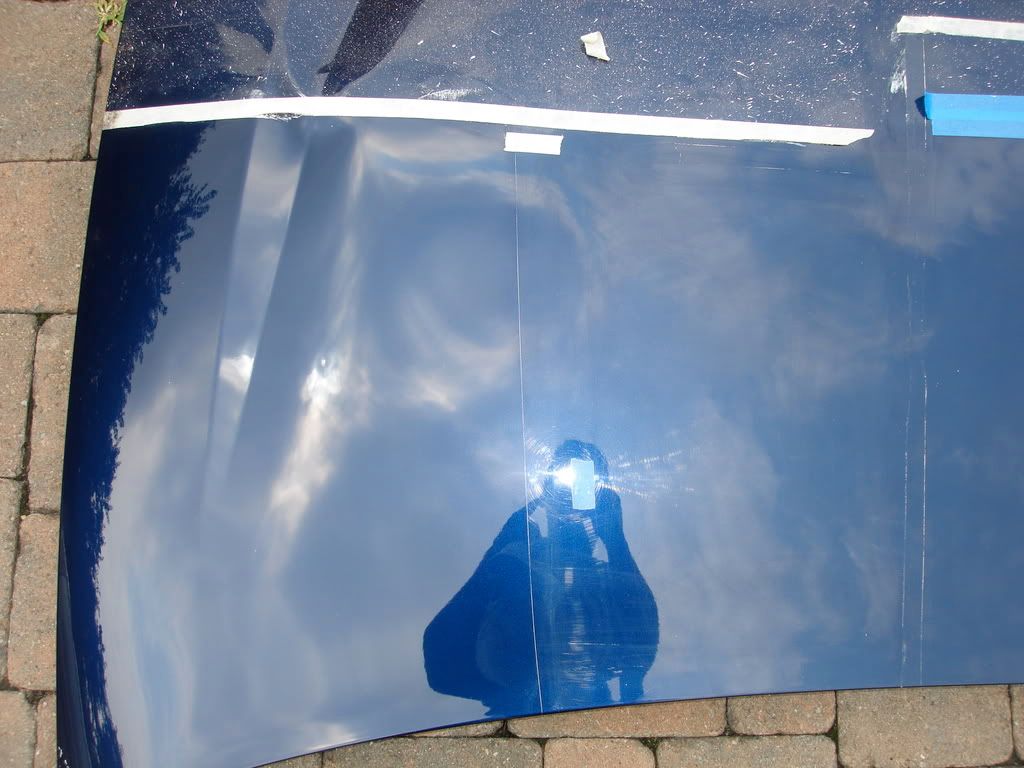
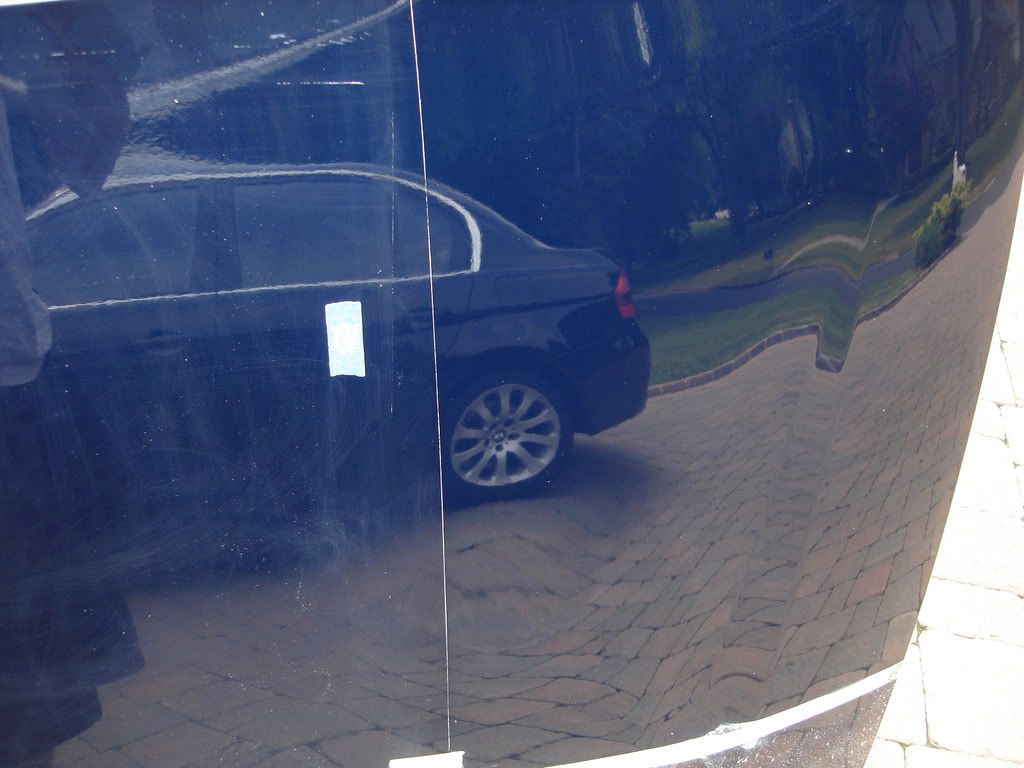
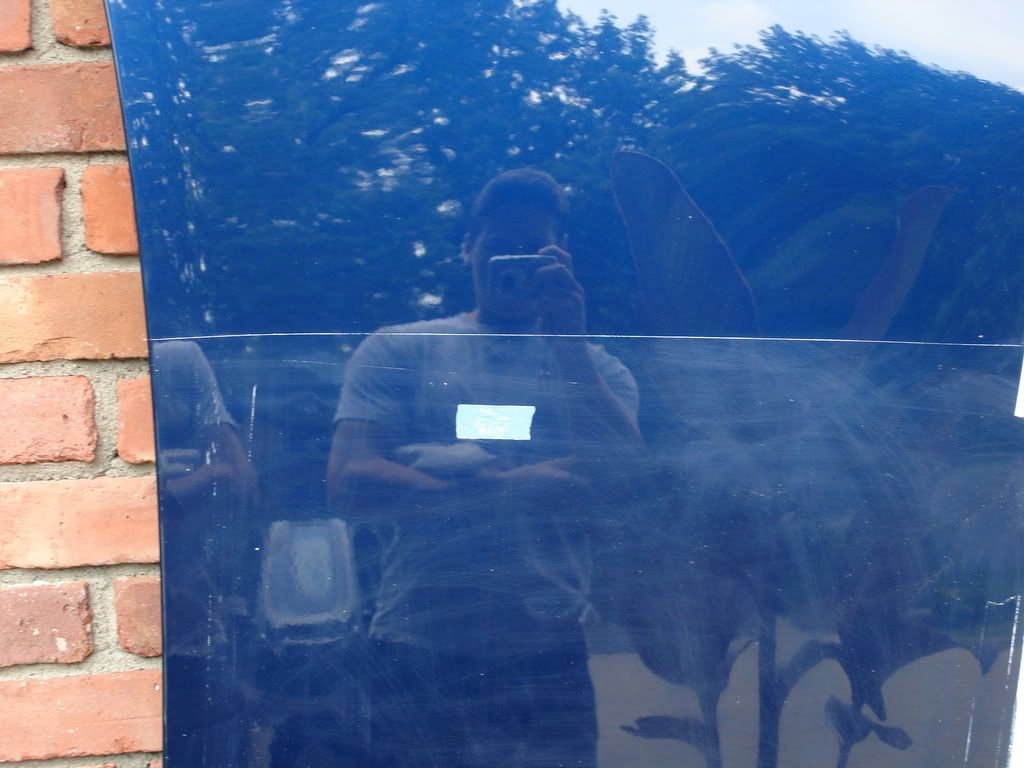
The finish looked like this after. (I labled the center tape w/ sharpie in my handwriting to show that the side I corrected was in fact as trashed as the other)
Left side will be corrected Right side will not
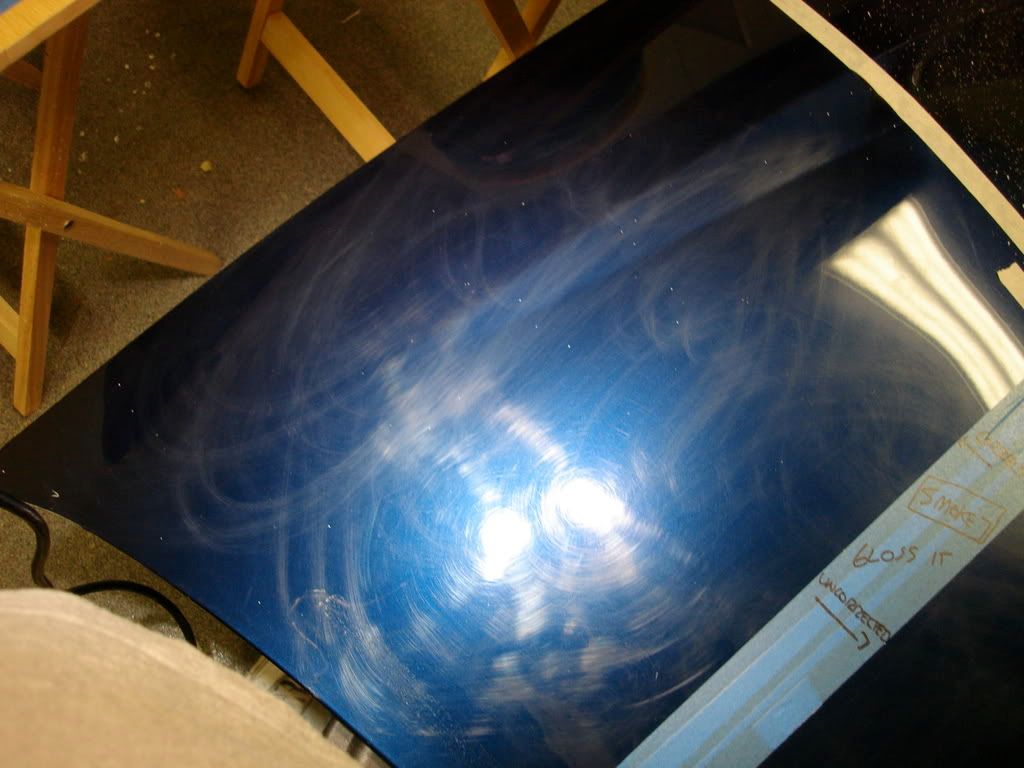
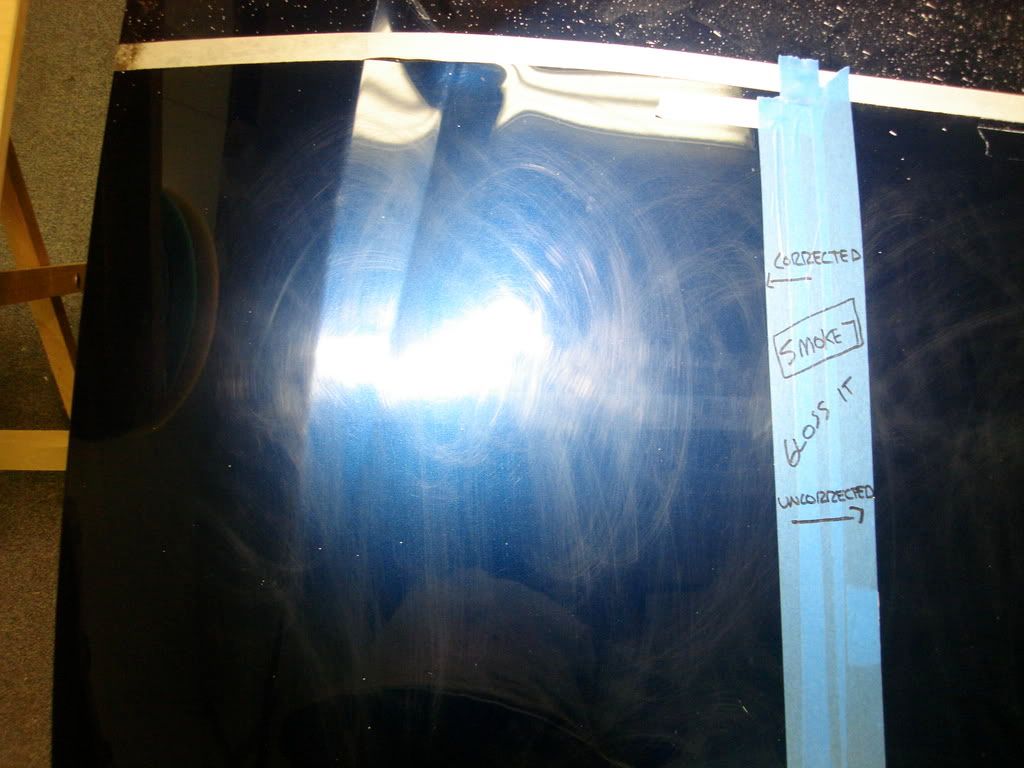
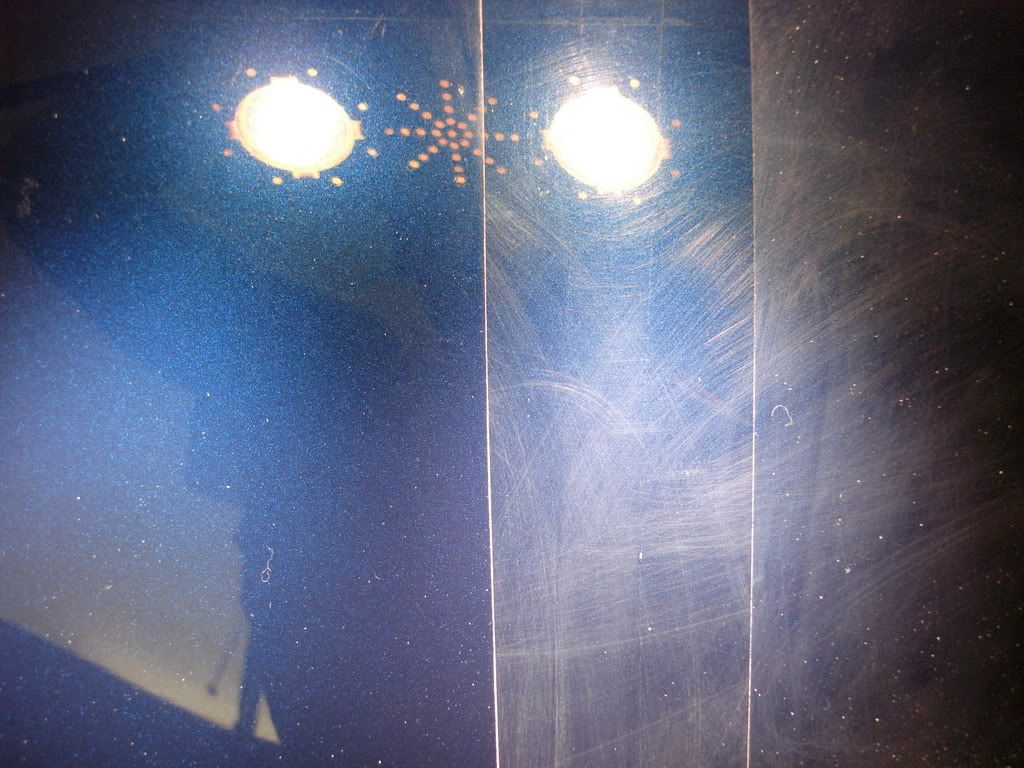
You get the idea of how bad the finish was
I took a quick reading to make sure I had enough clear to work with
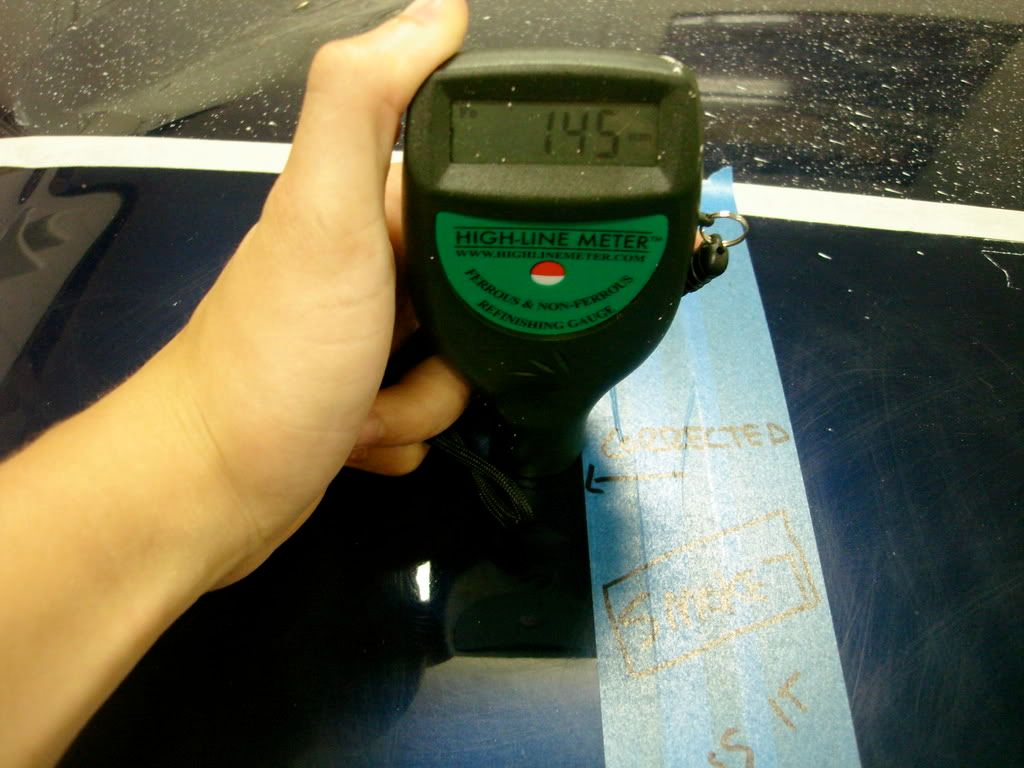
After a thourugh IPA wipedown and inspection with the Infratech I thought I may have been a little to "aggressive" in marring the finish and that it would need more than machine corretion, perhaps wetsdaning.
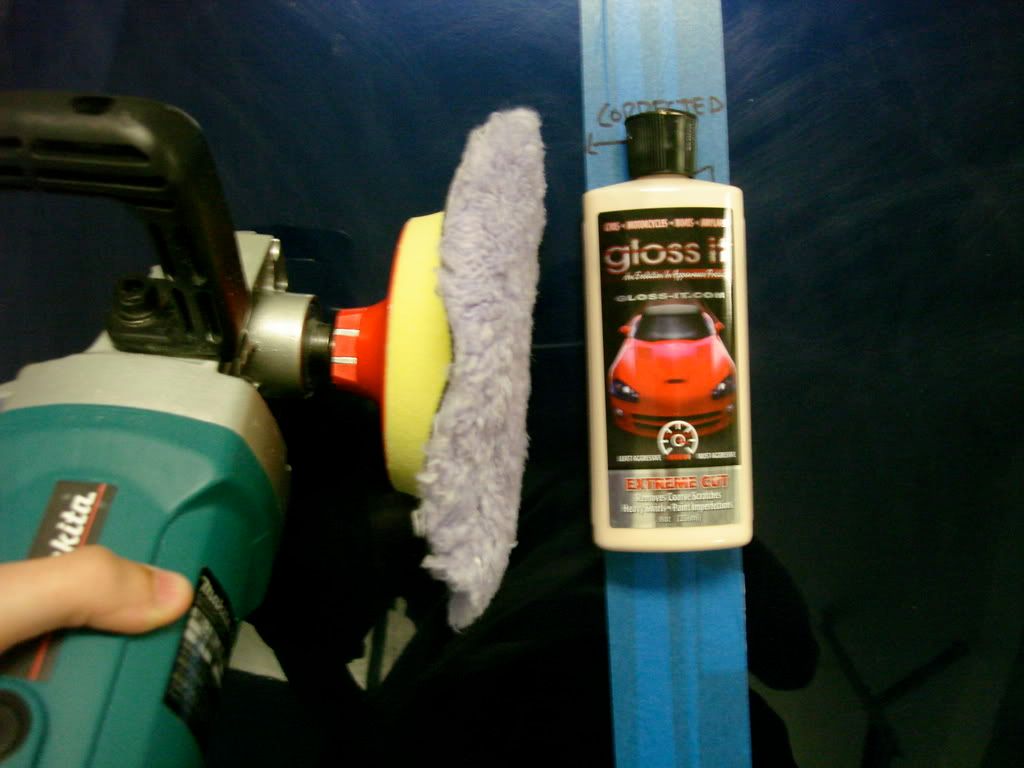
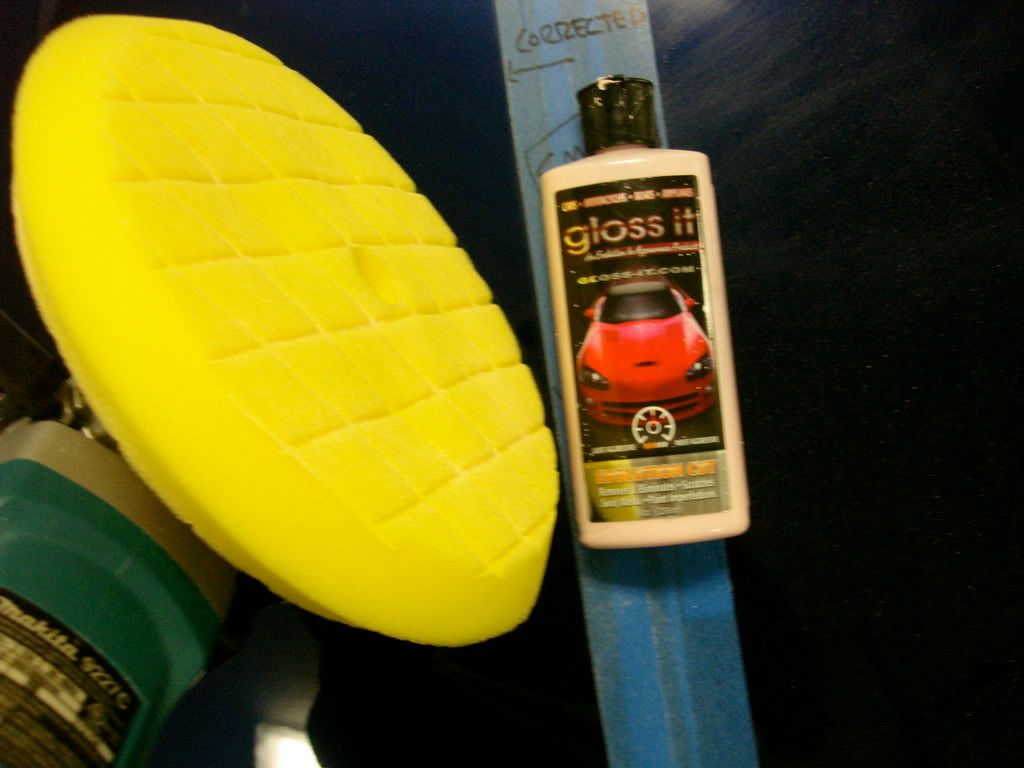
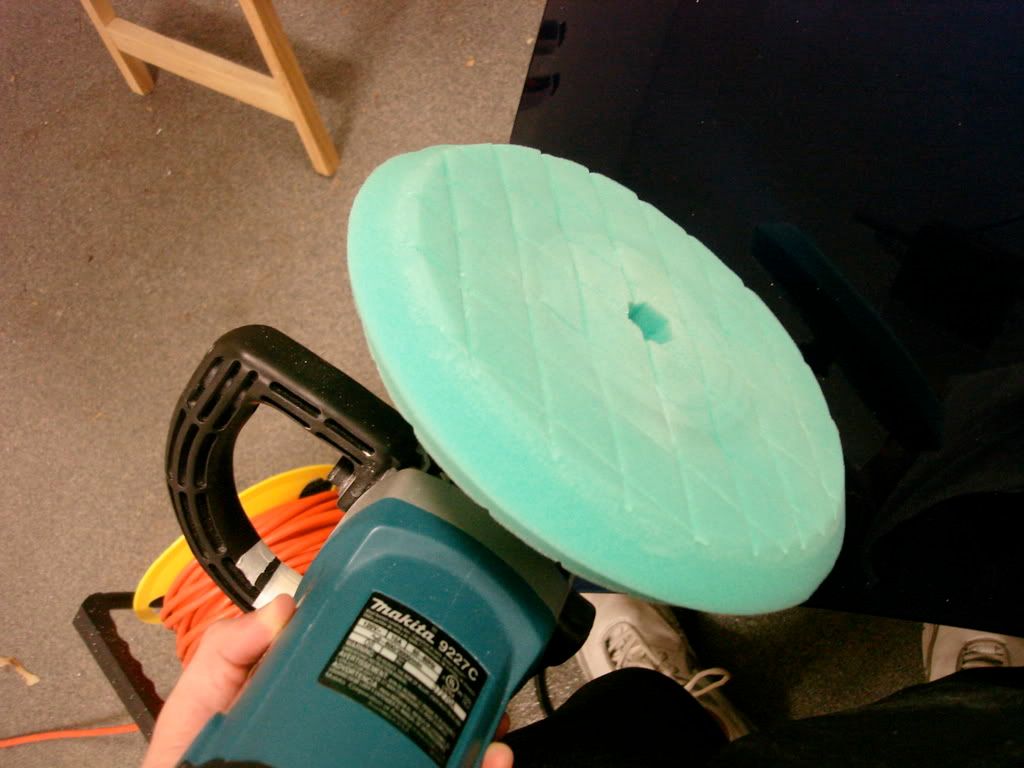
I decided to begin with Gloss It Extreme Cut on a 6.5inch Lake Country purple foamed wool
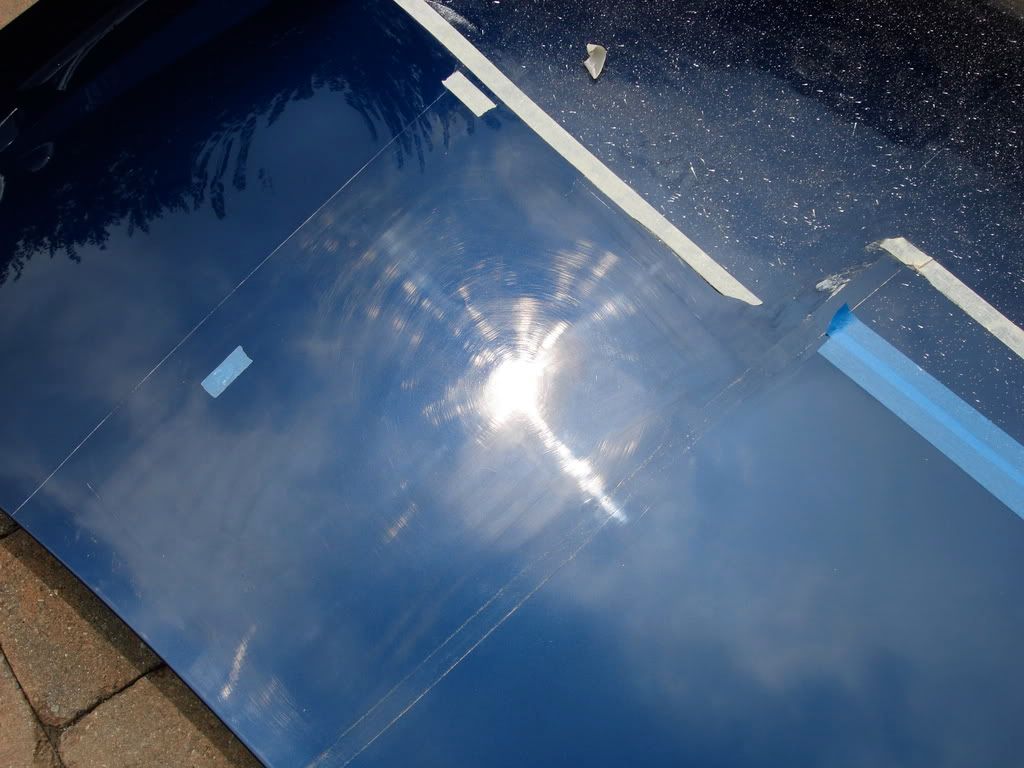
After working the panel with slow passes at 1500rpm to my suprise the finish looked like this, a very good amount of defect was removed but some deep swirls and RIDS still remained along with holograms
I used Extreme Cut one more time, this time bumping the speed up to about 1700 on the Makita hoping to work out those deeper RIDS with teh PFW. After this step the majority of defect was gone and it was time to move to a less aggressive pad and polish.
I used Gloss It Evolution cut( a milder cutting polish) with a new Edge 3K CCX 8" cutting pad)
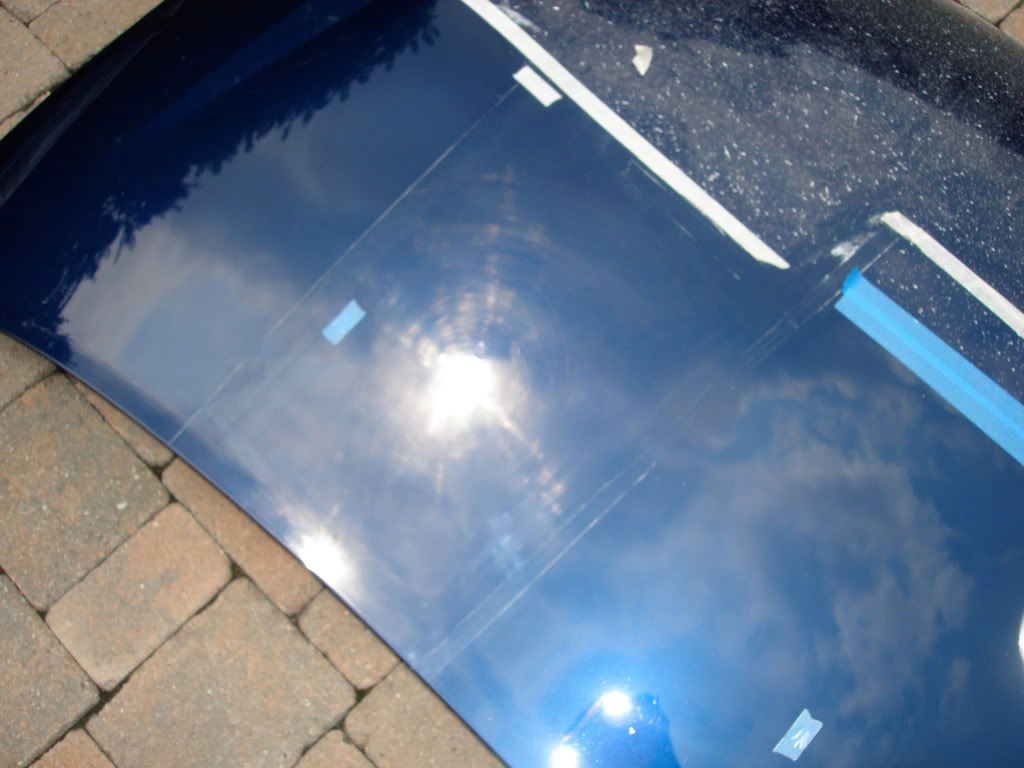
After this stage the finish looked like this
Just about all the defect was gone at this point, now onto refining the finish and polishing out any last fine swrils
I chose to use Evolution cut with a green CCX 8" polishing pad from edge for this
The result after Evolution cut and an edge green pad and an IPA wipedown, at this pint I was very happy with teh correction and finished achieved. The panel was LSP ready..but I decided to go one more step to make sure it was really perfect before applying Gloss Finish
I used a LC white polishing pad and Evolution polish at no more than about 1000rpm to refine the finish further and to bring out maximum gloss while removing any slight holograms which may have remained after the correction
Evoution polish working
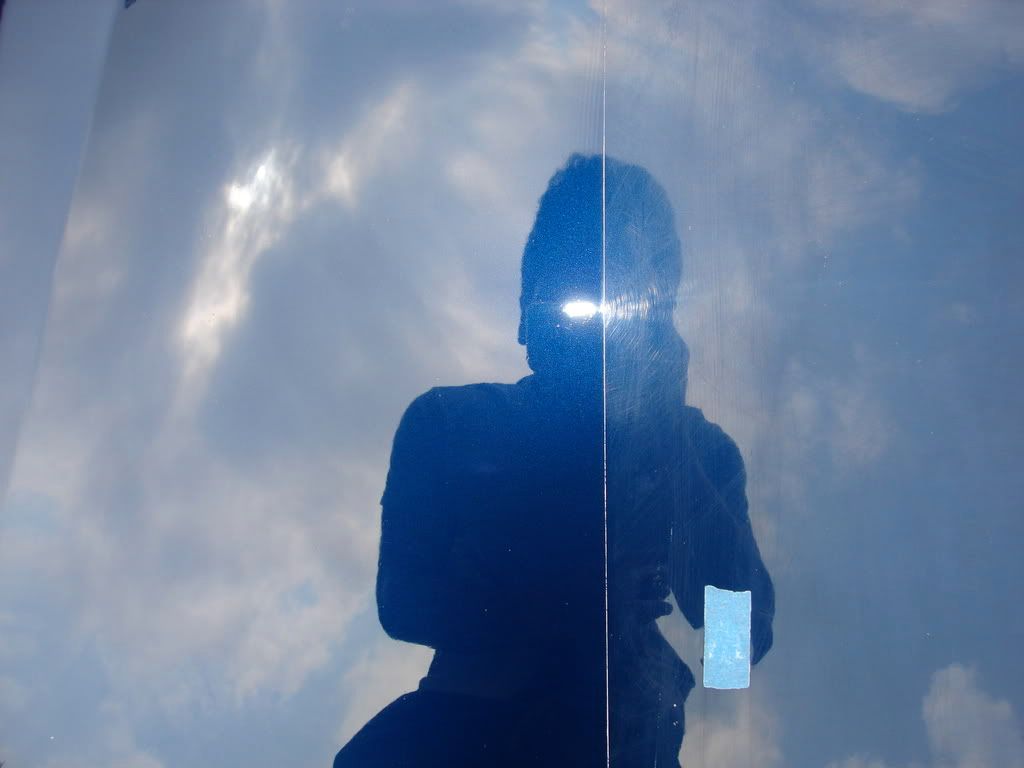
The result after an IPA wipedown with no LSP.
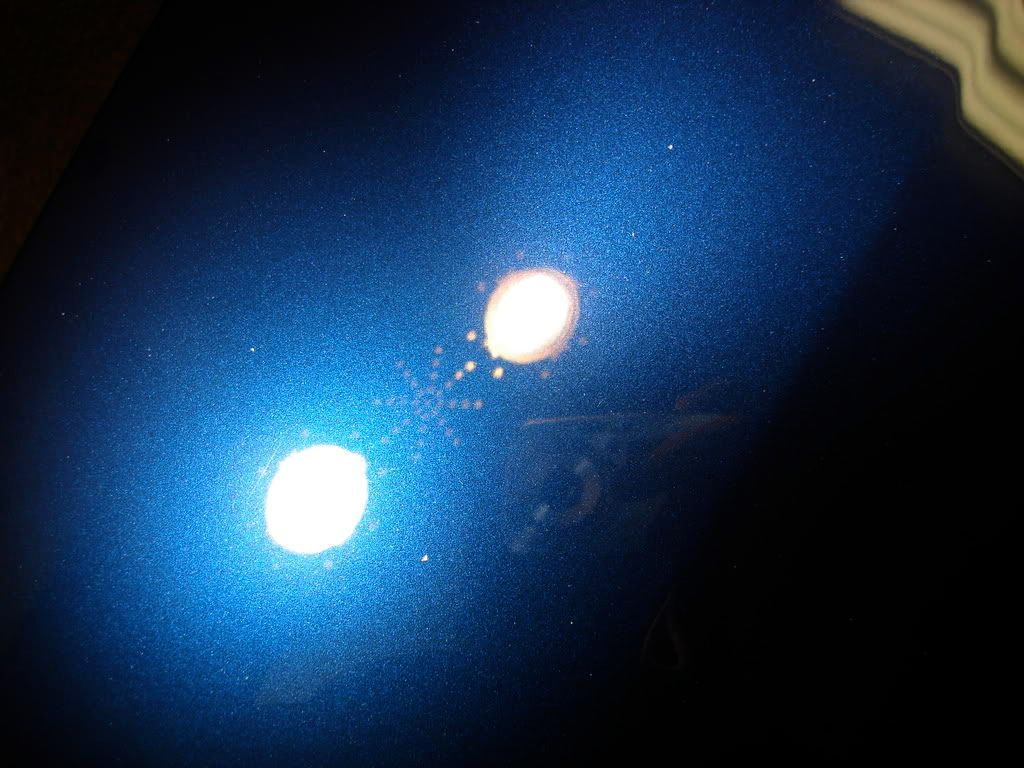
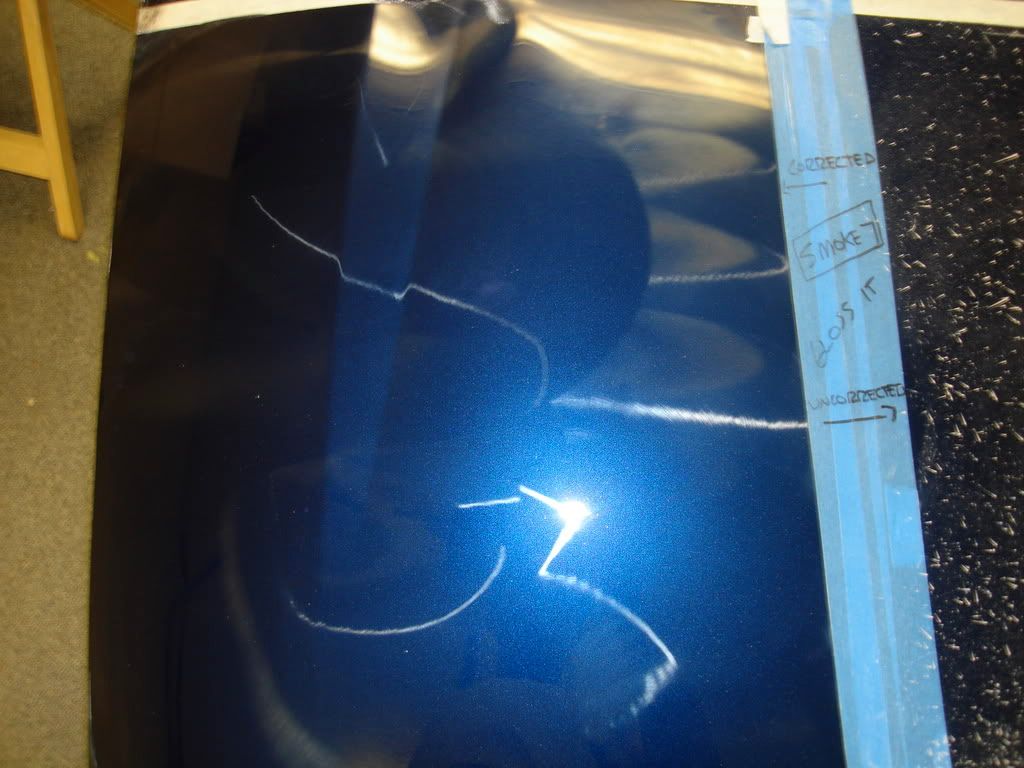
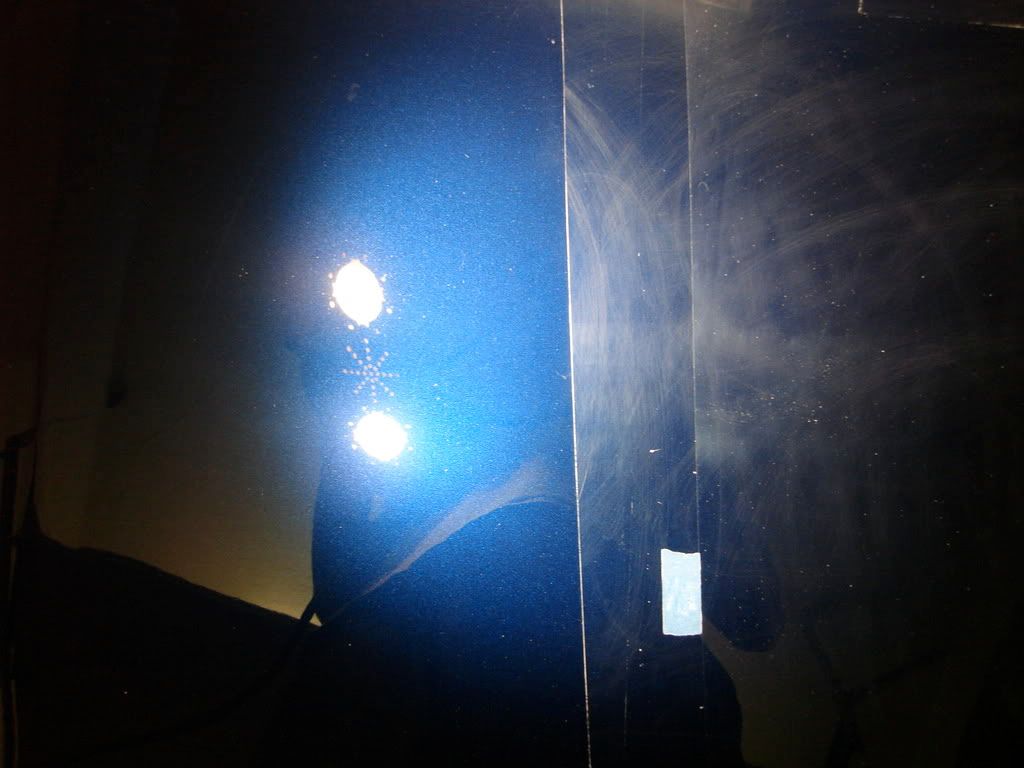
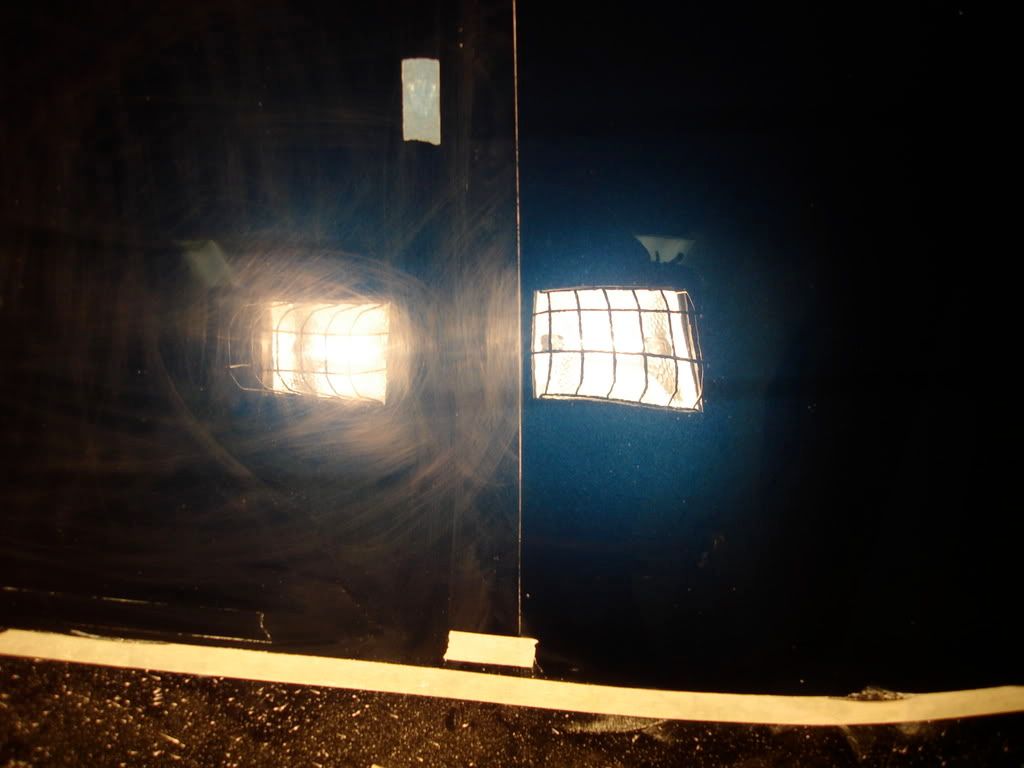
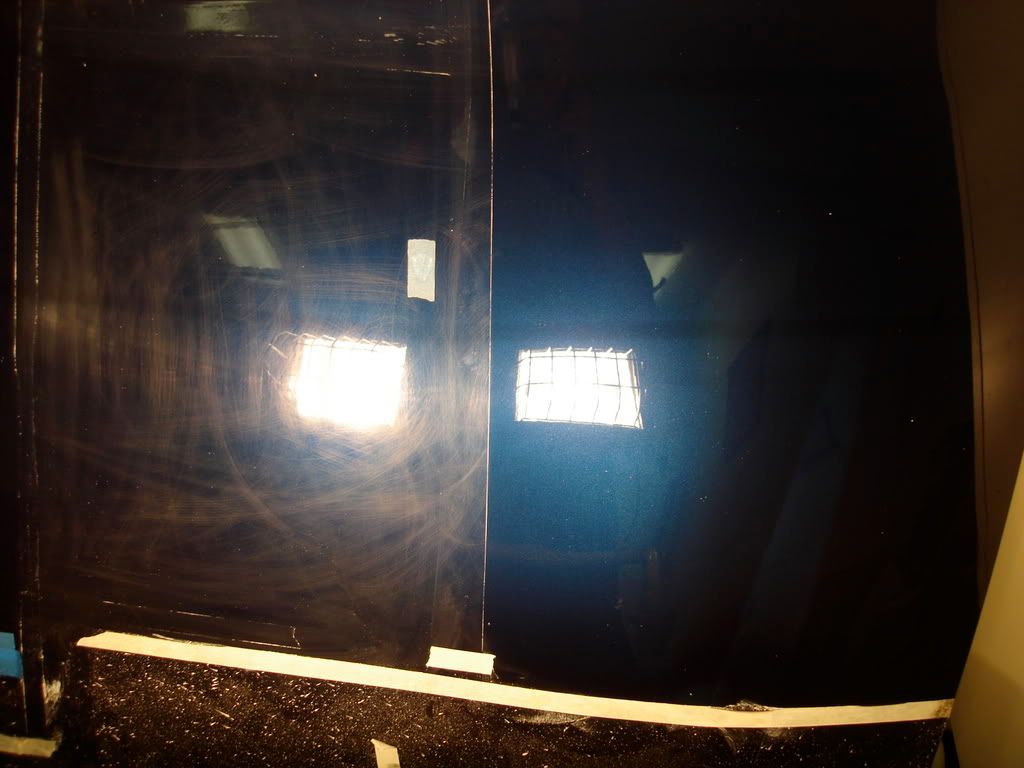
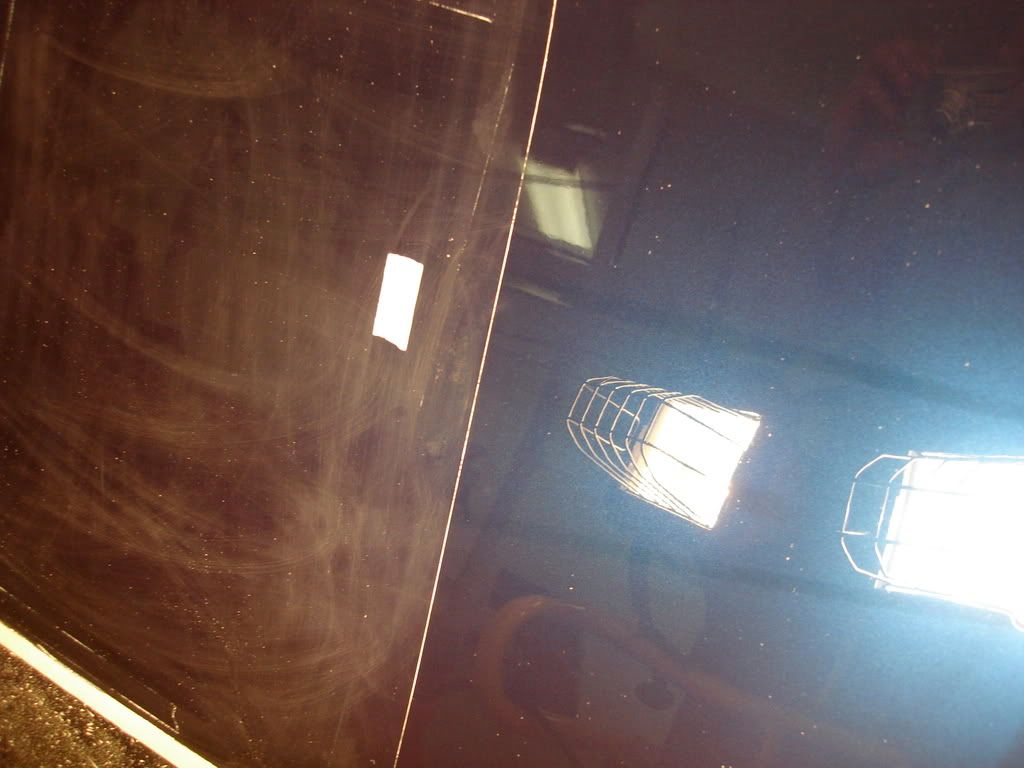
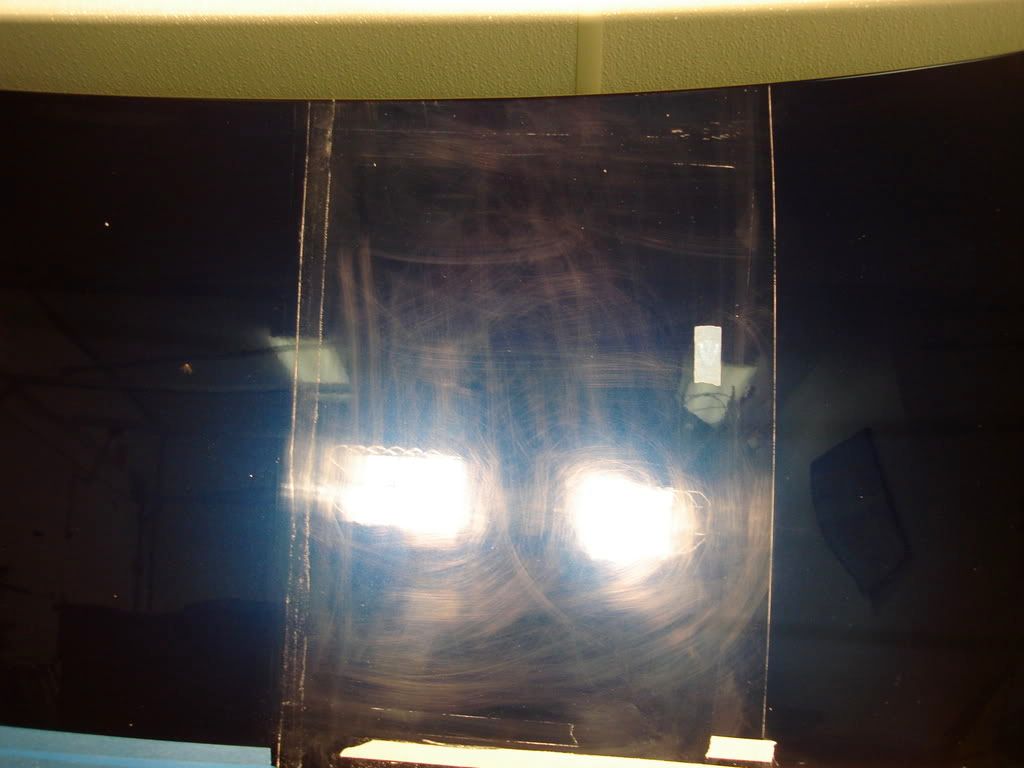
some 50/50 shots

Mind the lights cord in this picture
Now that the panel was fully corrected and finished it was time to apply Gloss It Gloss Finish.
I sprayed the panel with Gloss It Gloss Enhancer QD spray as prep (similar to Zaino Z6) and then appied a dime size amount of Gloss Finish to a hand applicator and spread evenly across the panel, a little goes a long way with this stuff!
I then buffed the panel, Gloss Finish doesnt need to cure for a very long time and no additives are needed. It buffs off super easy with no streaking at all.
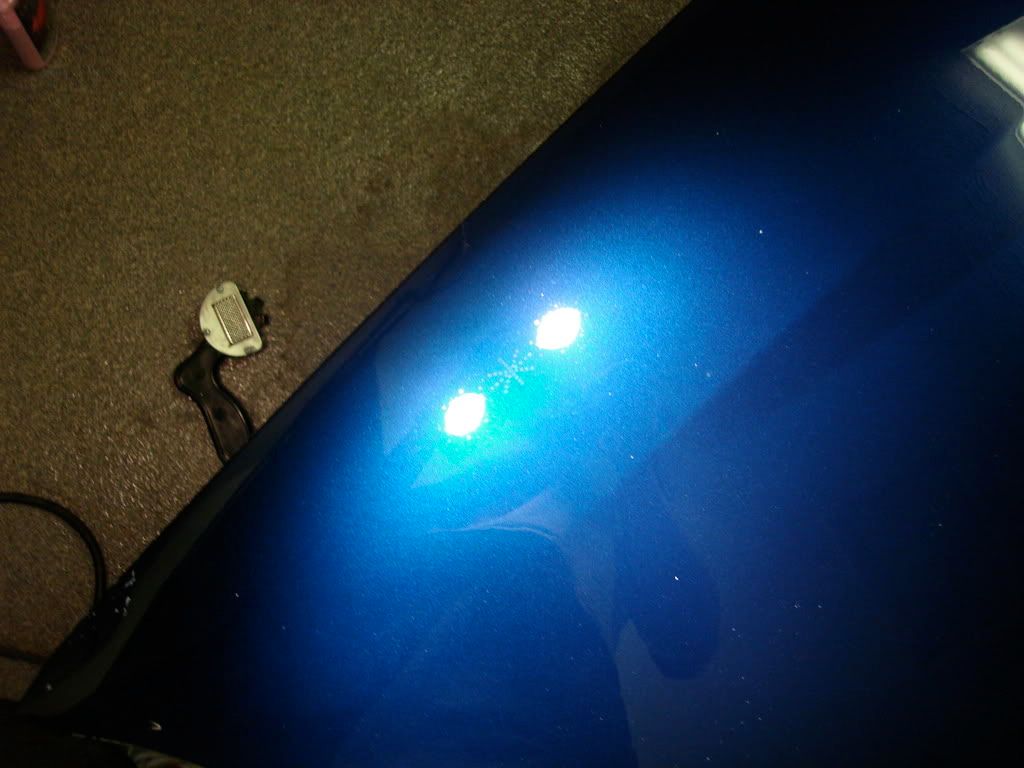
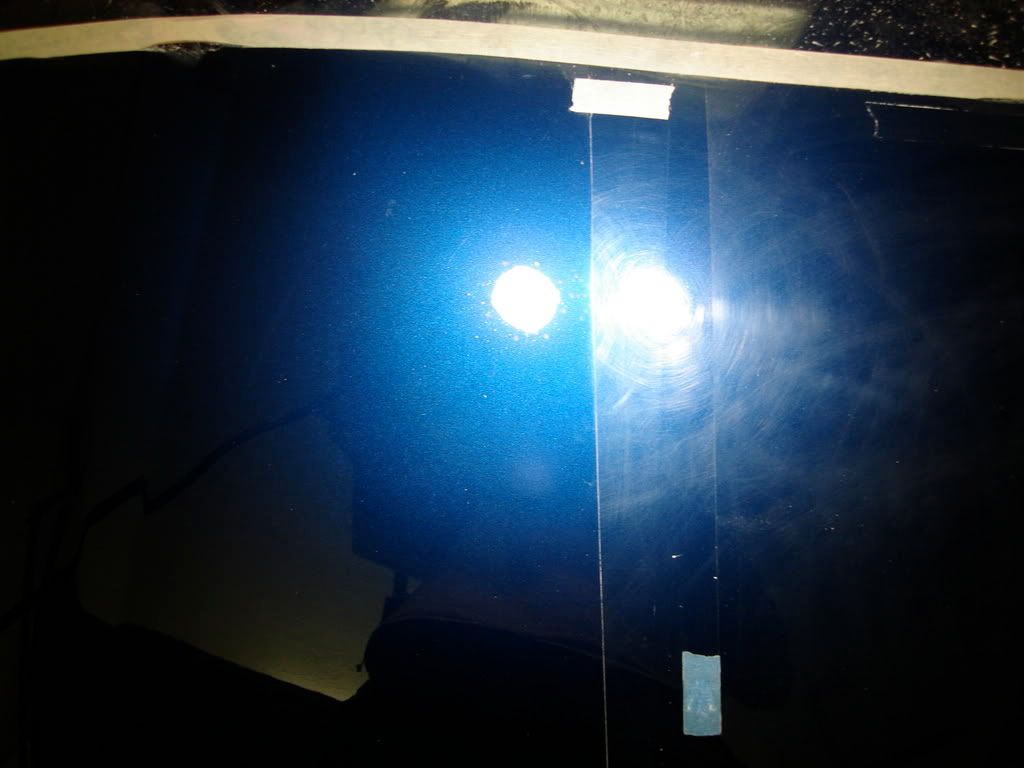
This is a 50/50 in my dark garage after 1 coat of gloss finish and then a quick Gloss Enhancer QD wipedown. I fliped the panel upside down so I could take some photos thats why the corrected side is now on the right.
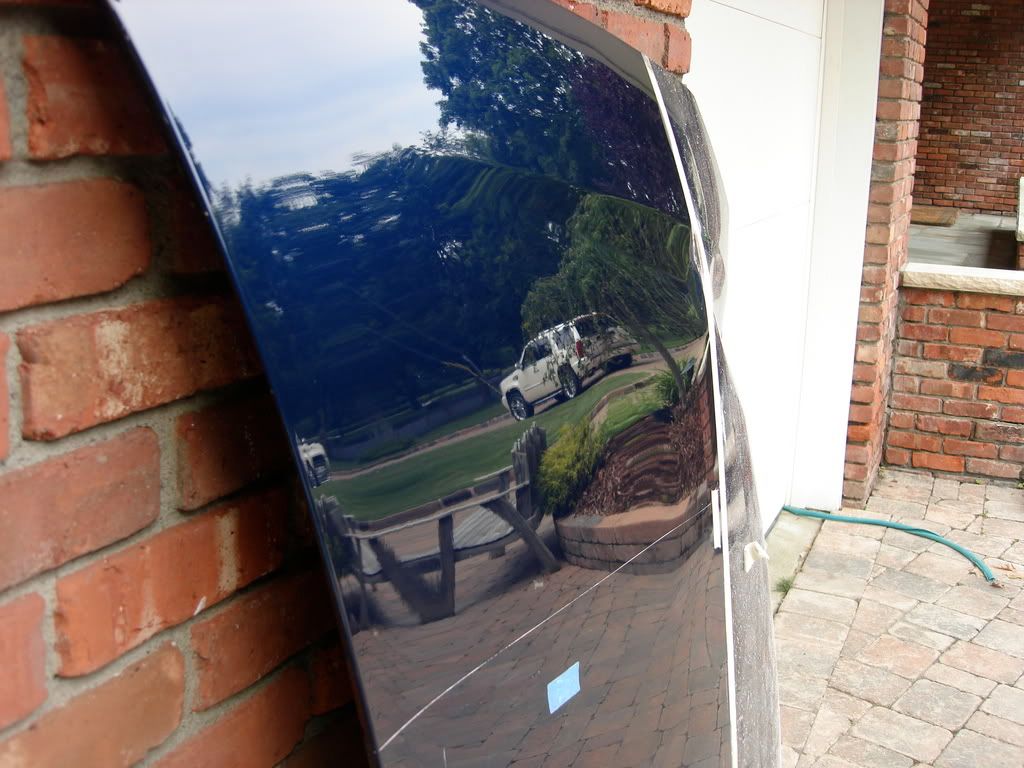
The before
The after
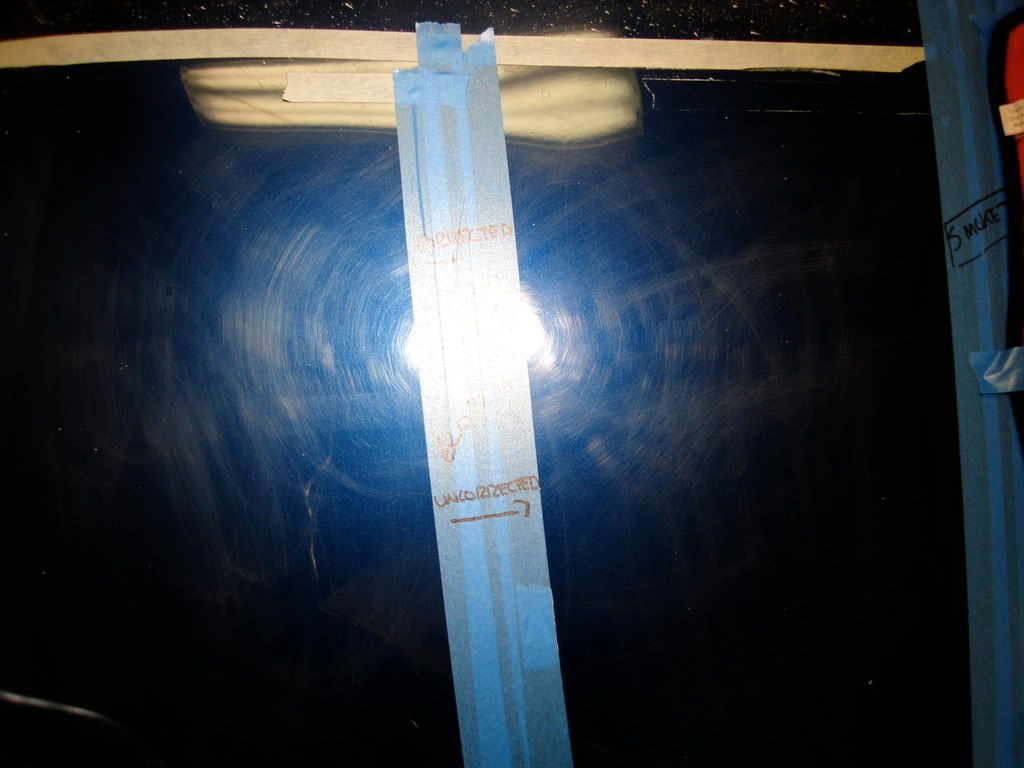
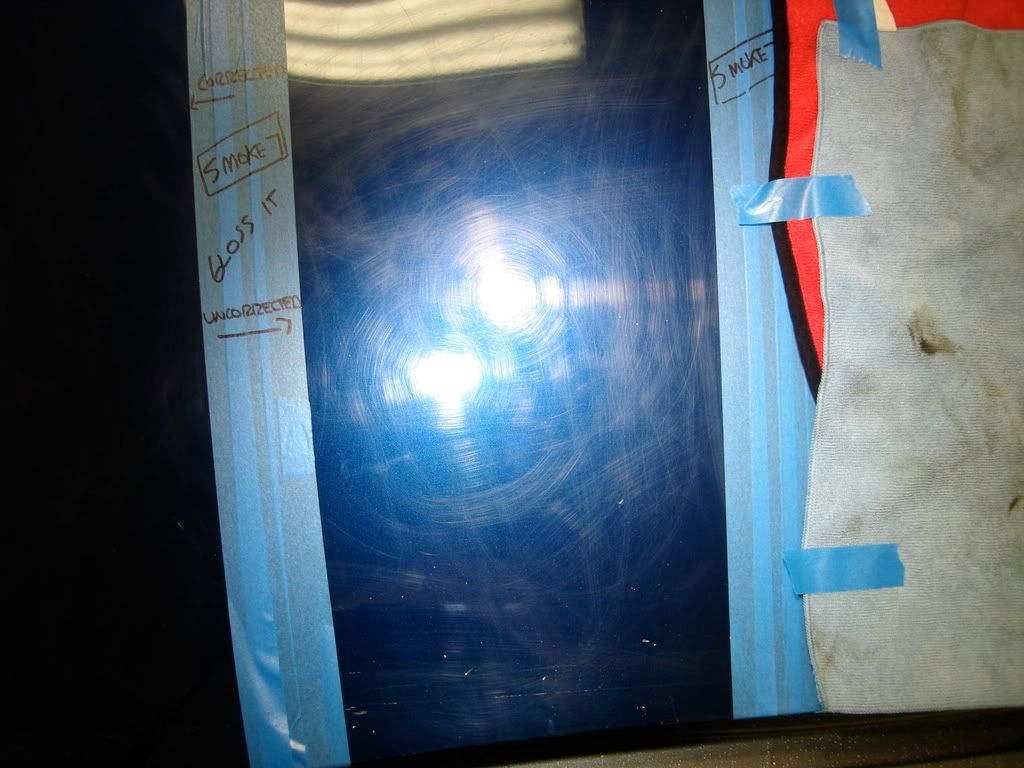
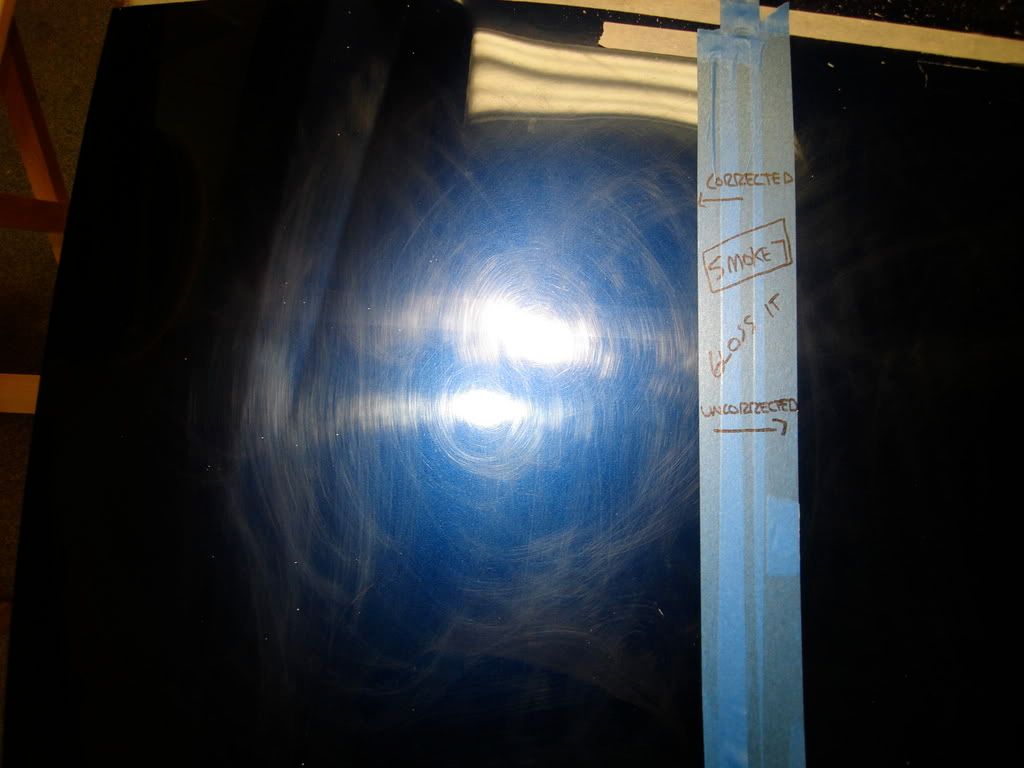
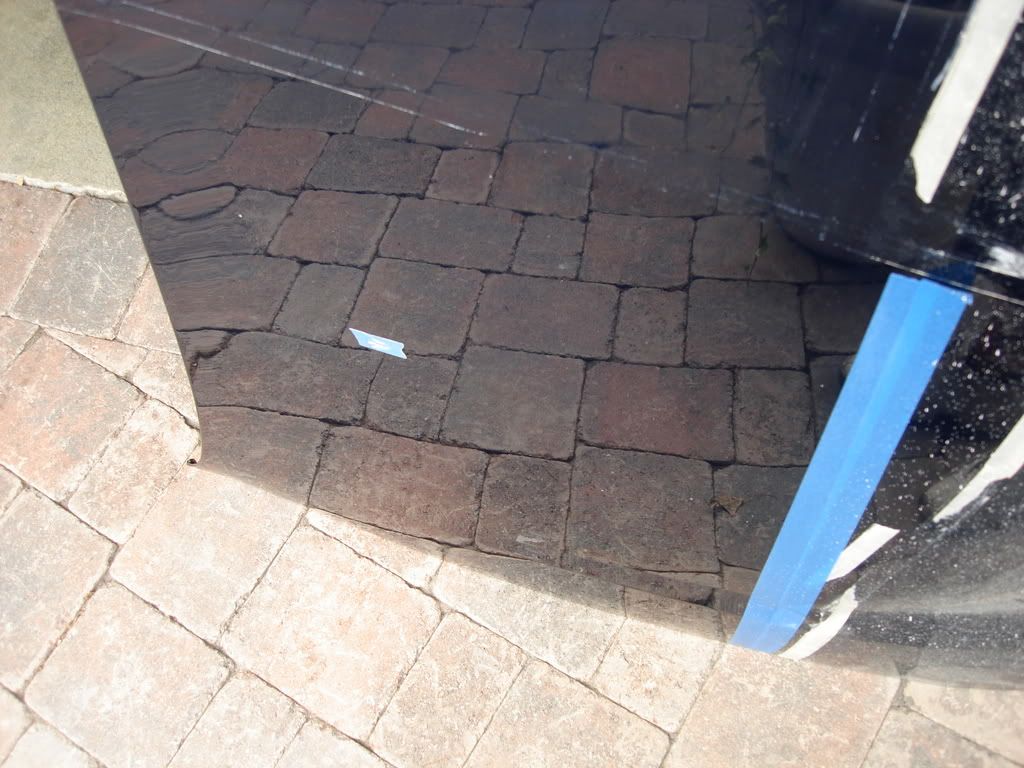
I ended up correcting both sides and leaving the center piece of the panel uncorrected, you can see how dull the finish is and the light is refracted all over the place
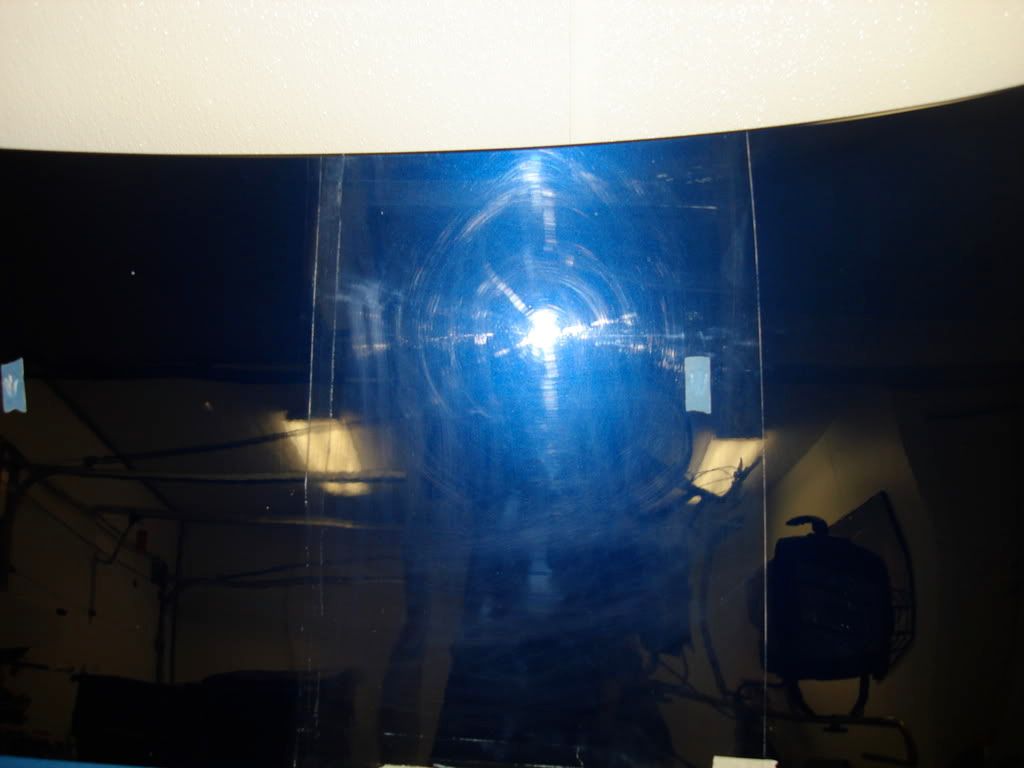
Gloss finish really brought out the flake


")