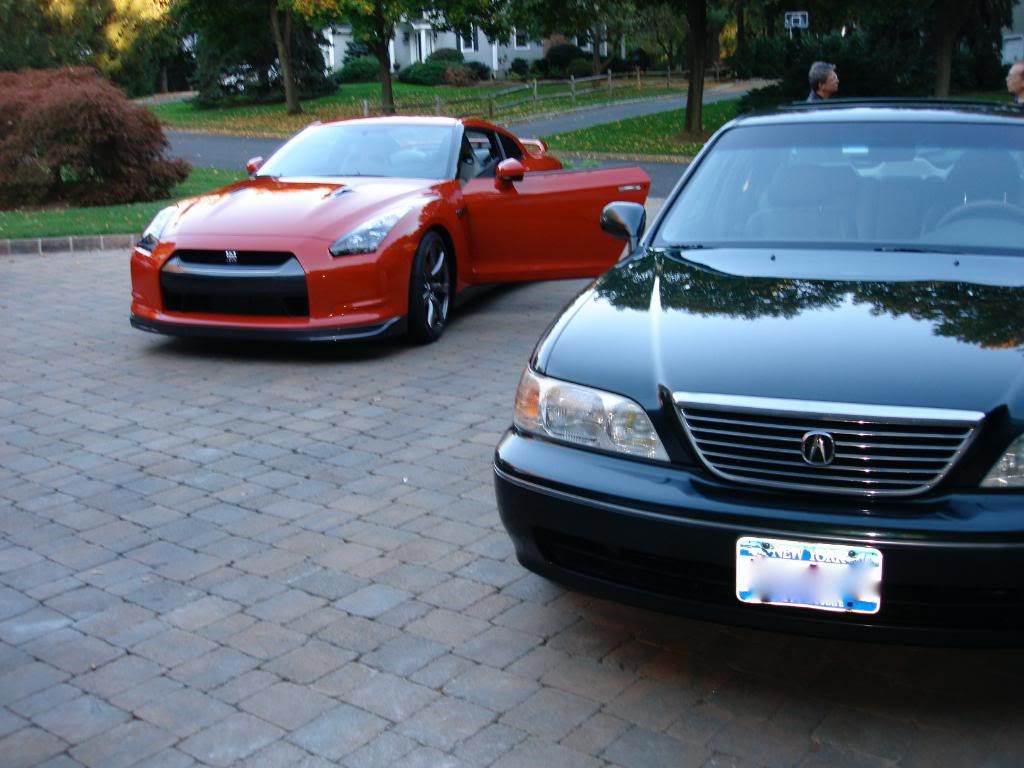
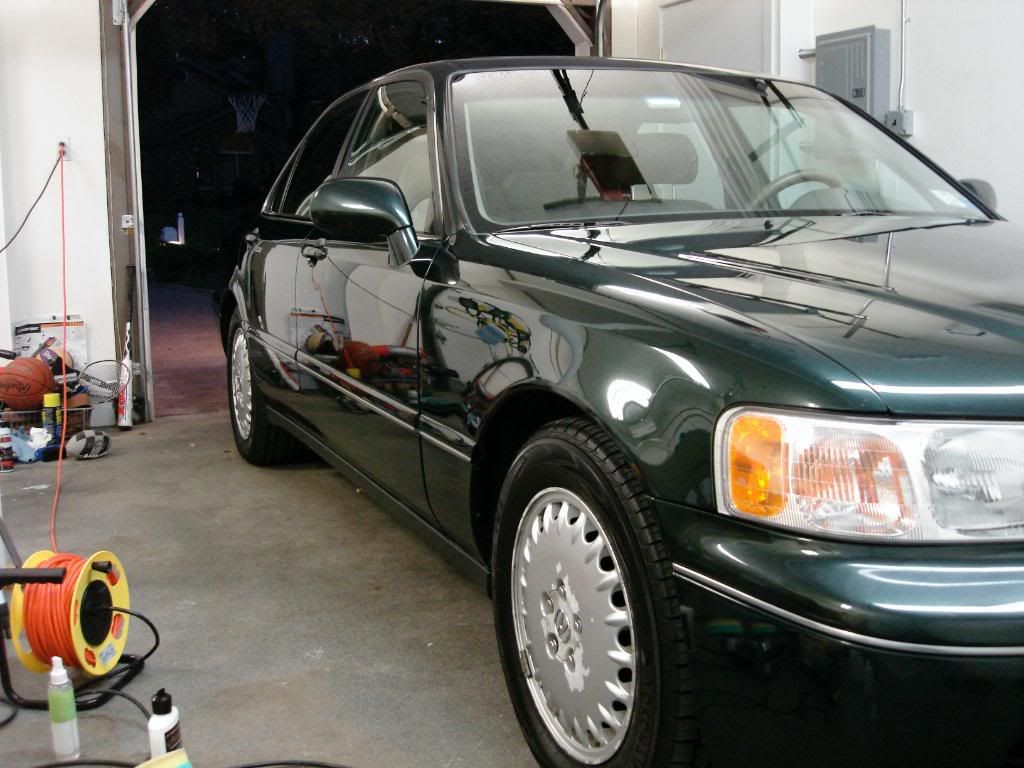
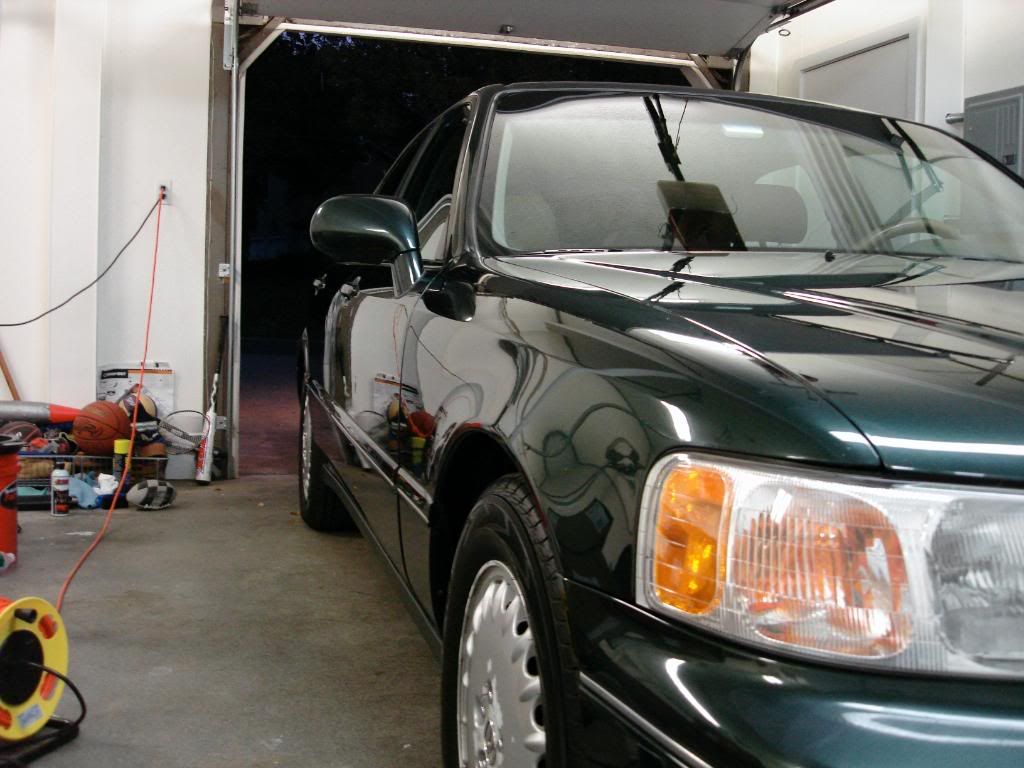
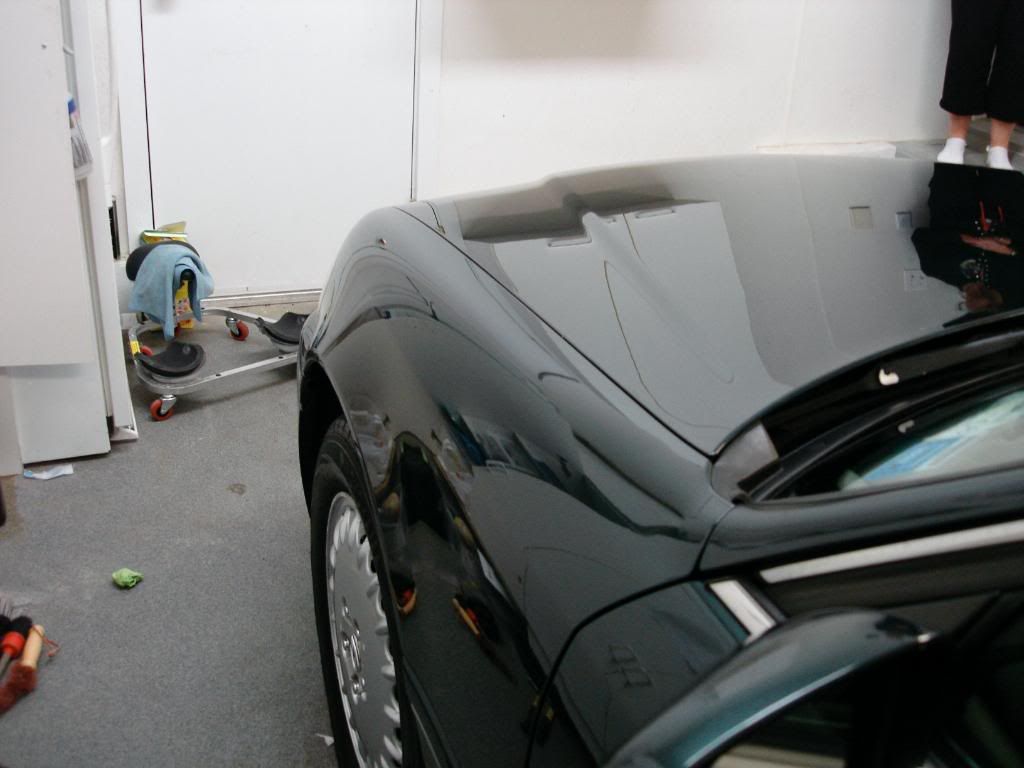
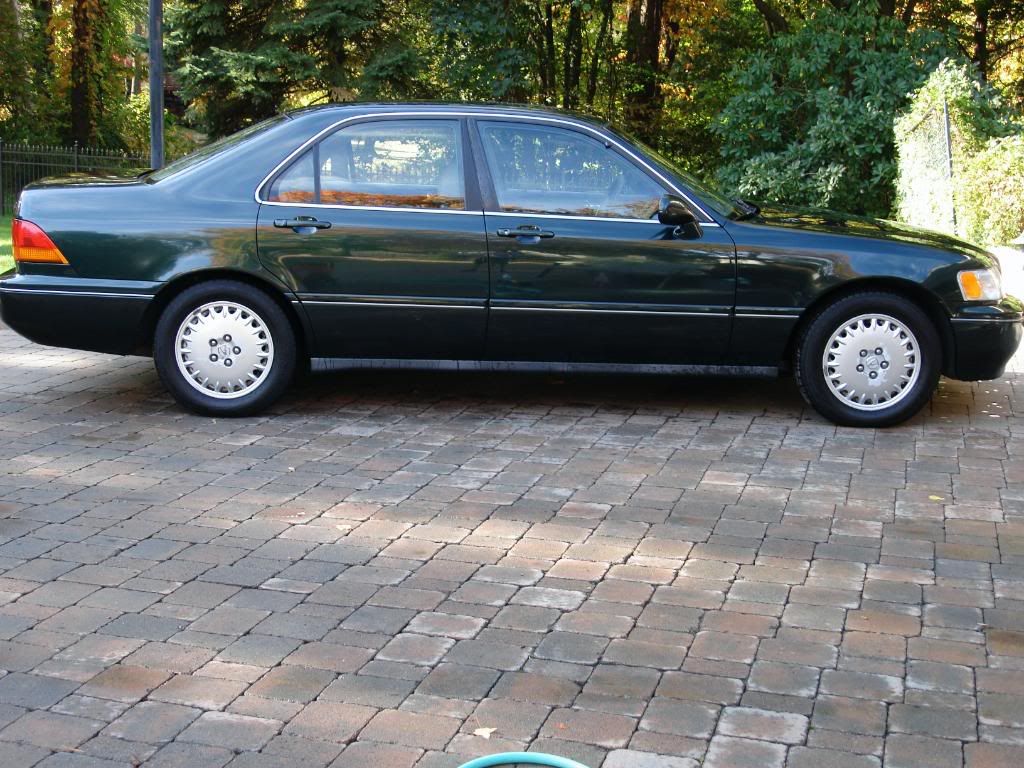
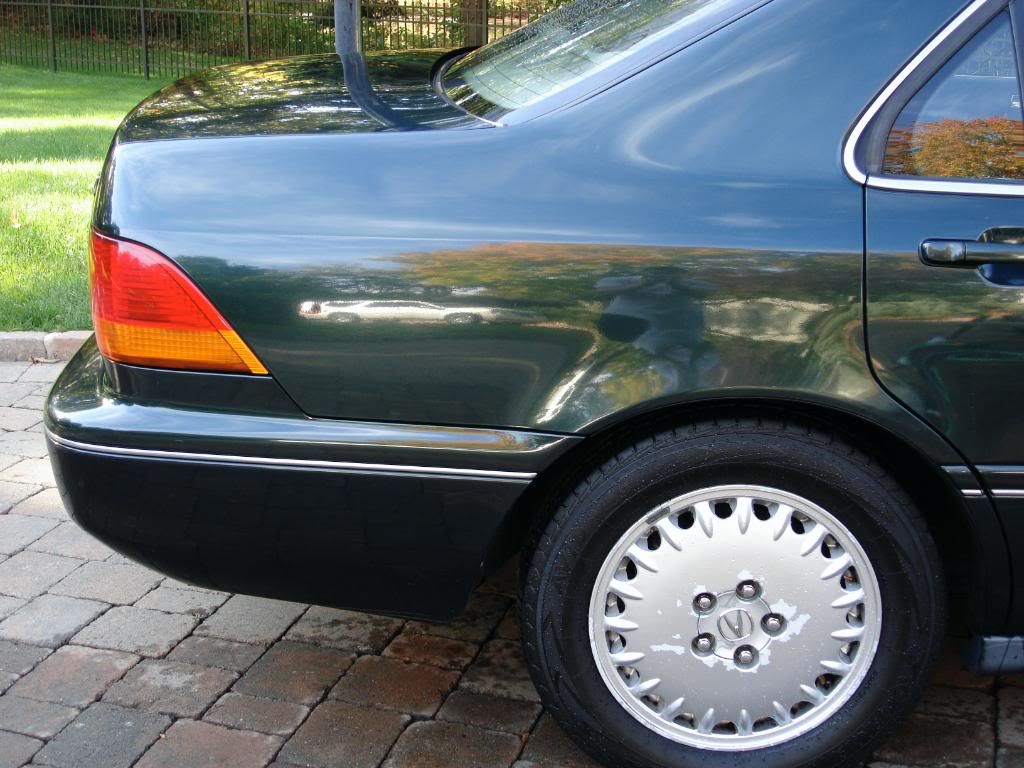
This one was in pretty bad shape. The owner called me and said his paint was "dull" and asked if I could bring back the shine. I said the only way to fix dull paint is with machine polishing and that no wax or sealant will bring back the true finish of the paint unless its fully corrected and polished properly, he wanted this car fixed up so he could sell it. Upon getting the car I saw it needed some extensive correction work.
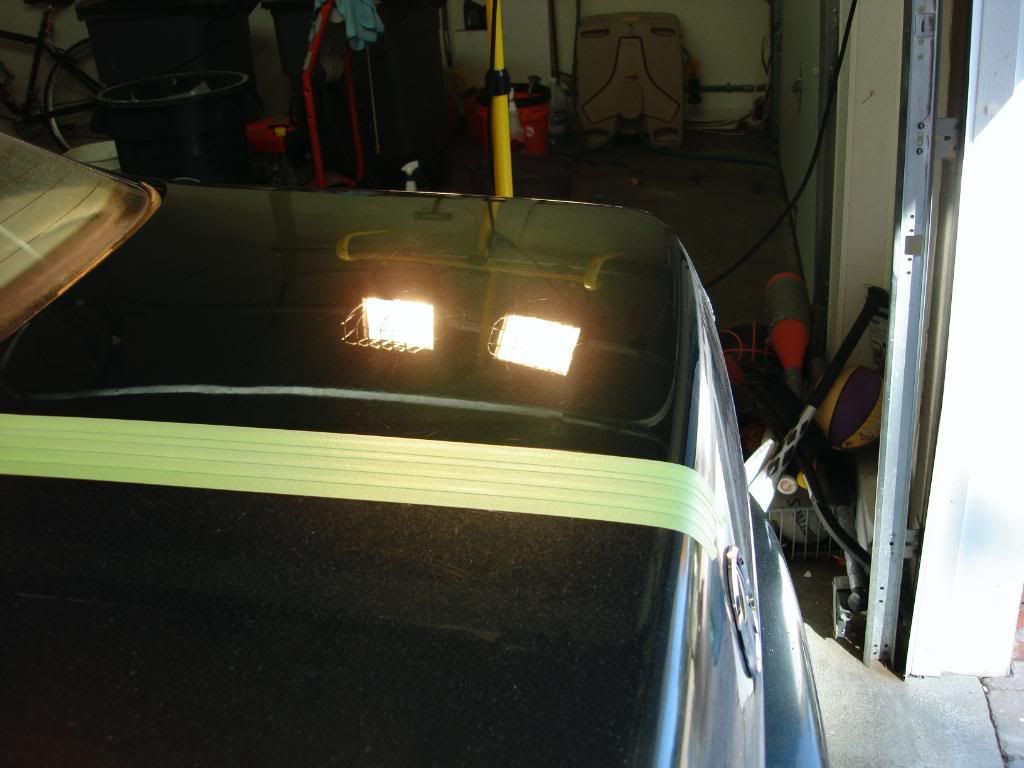
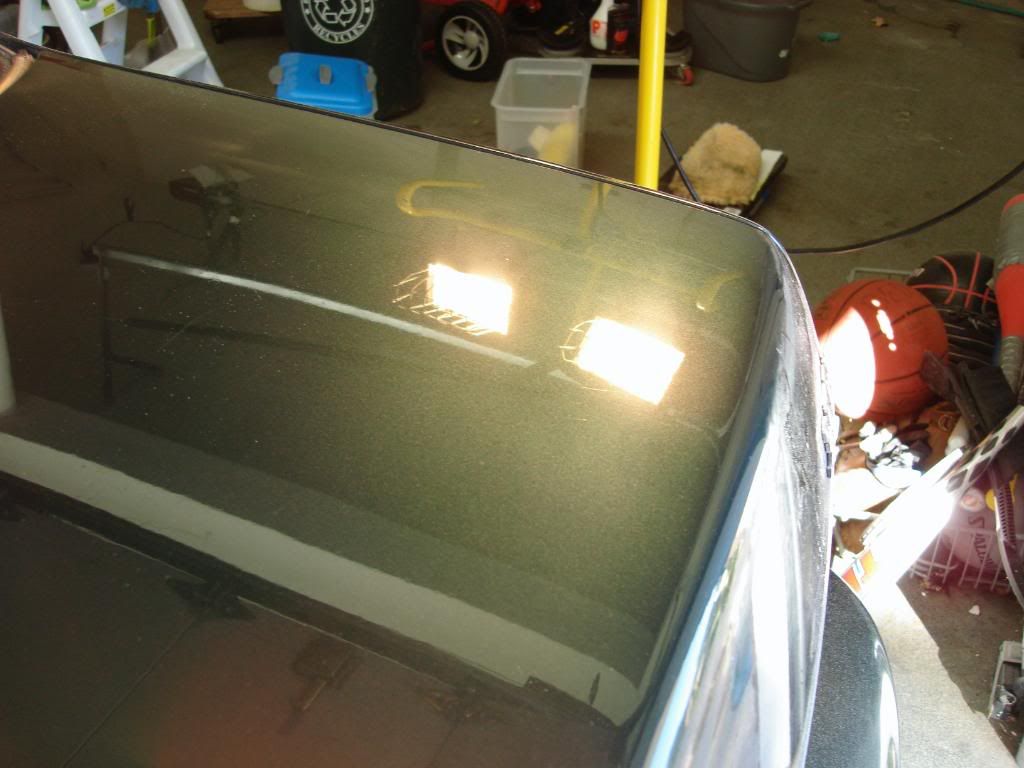
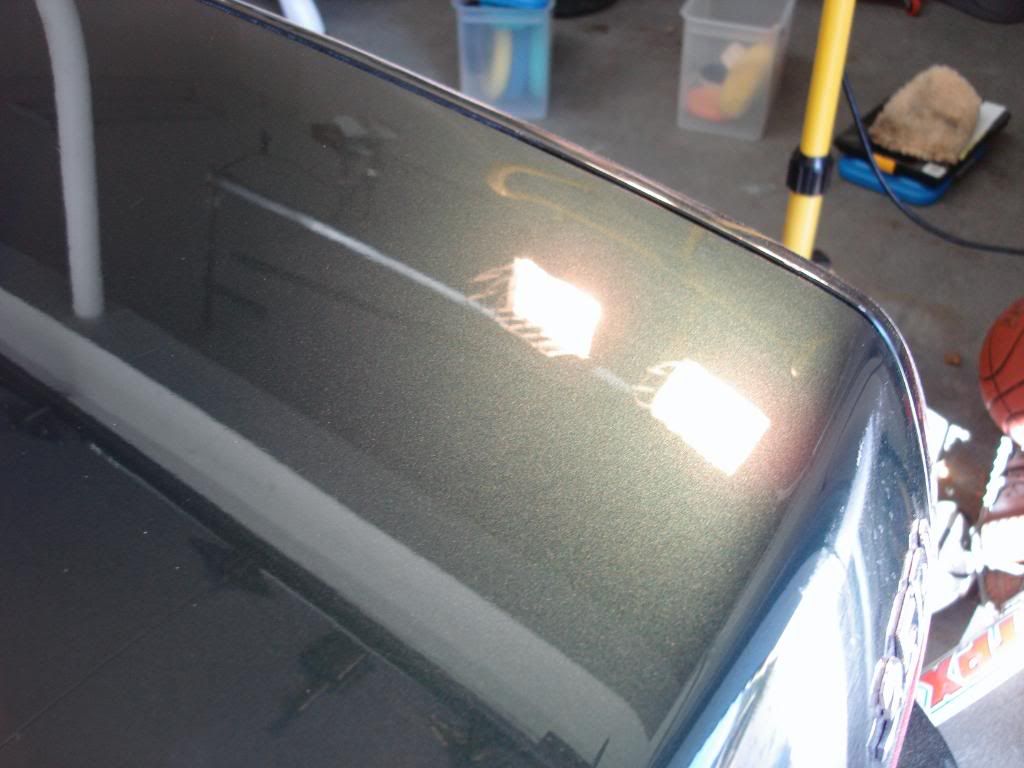
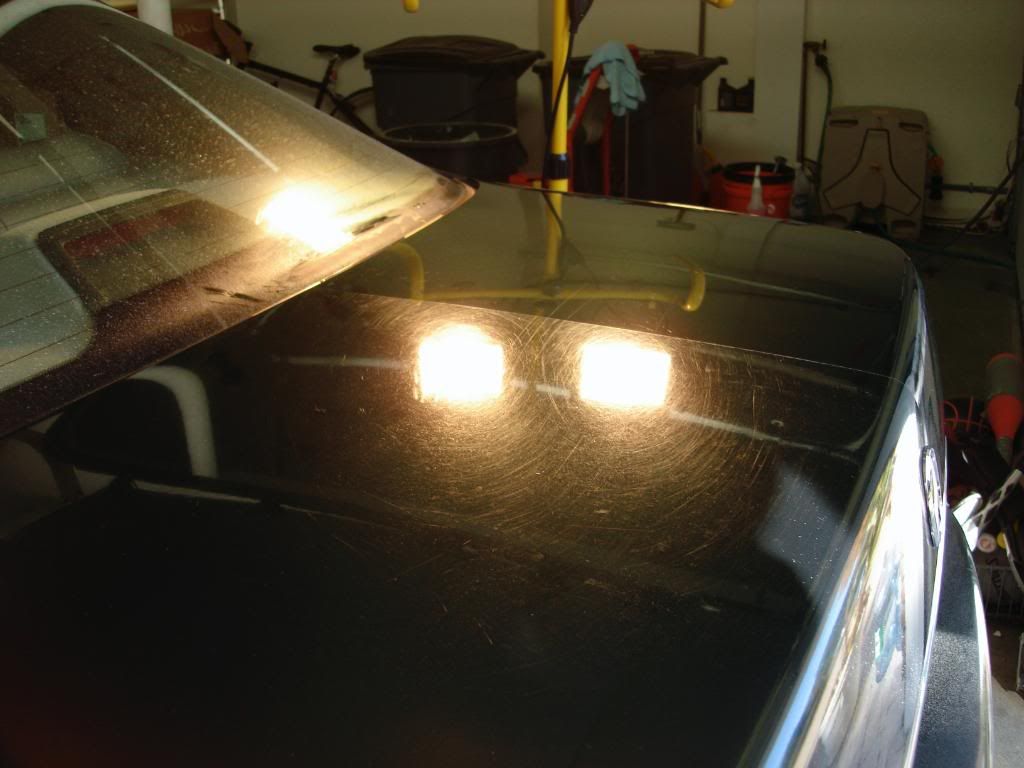
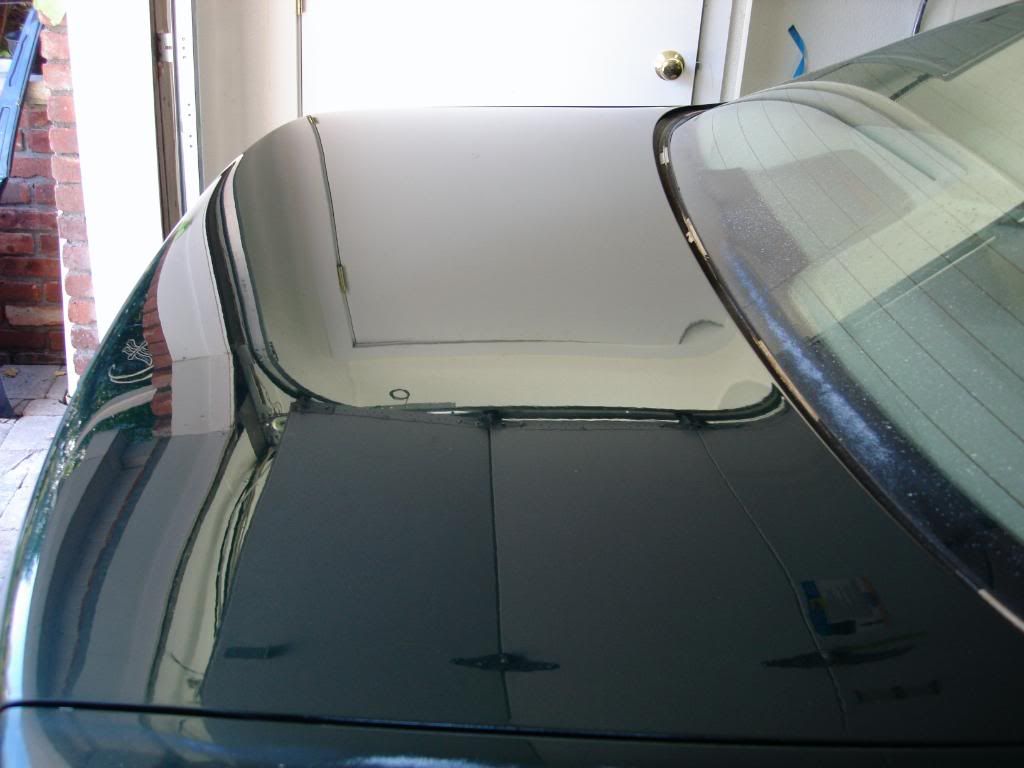
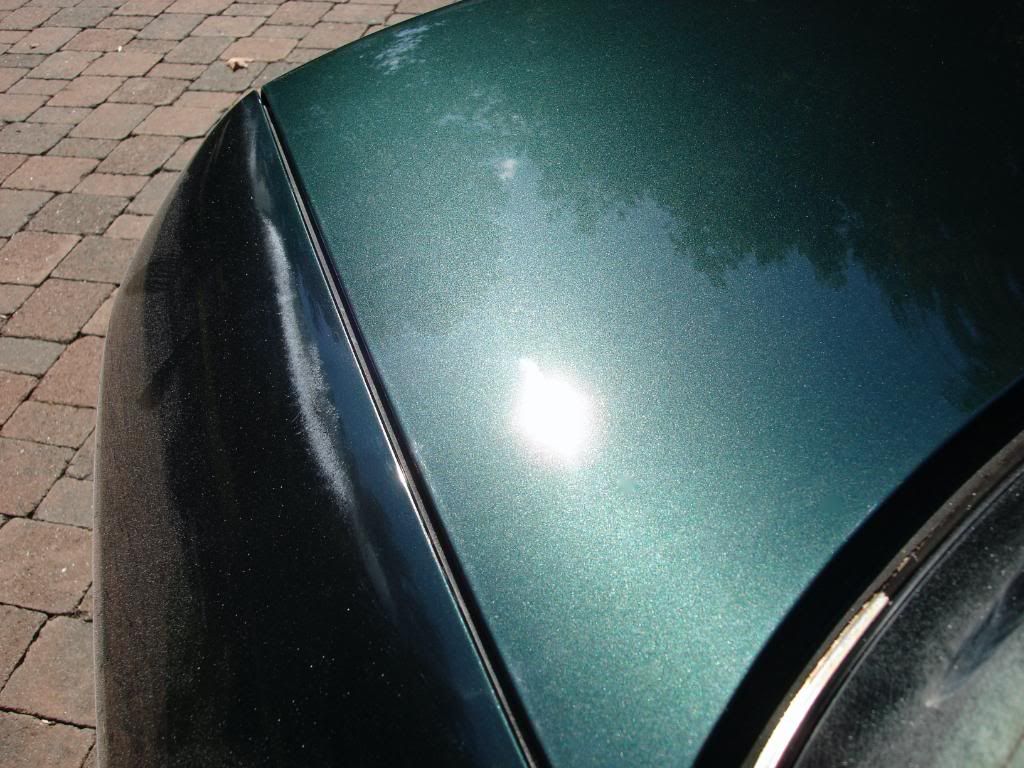
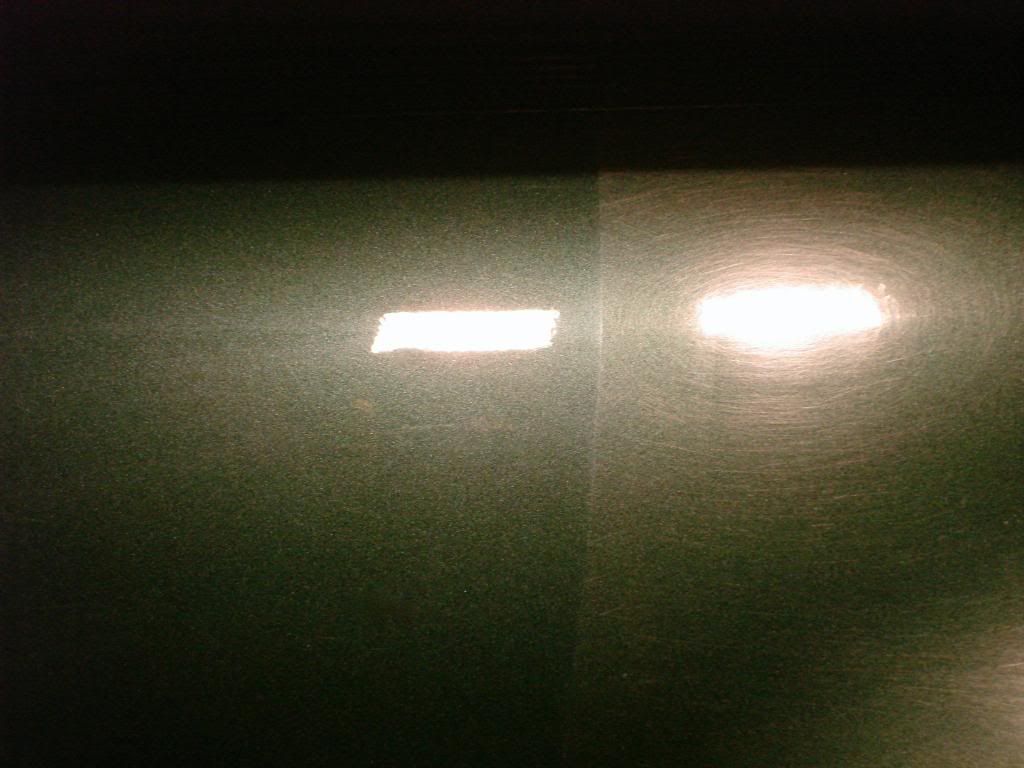
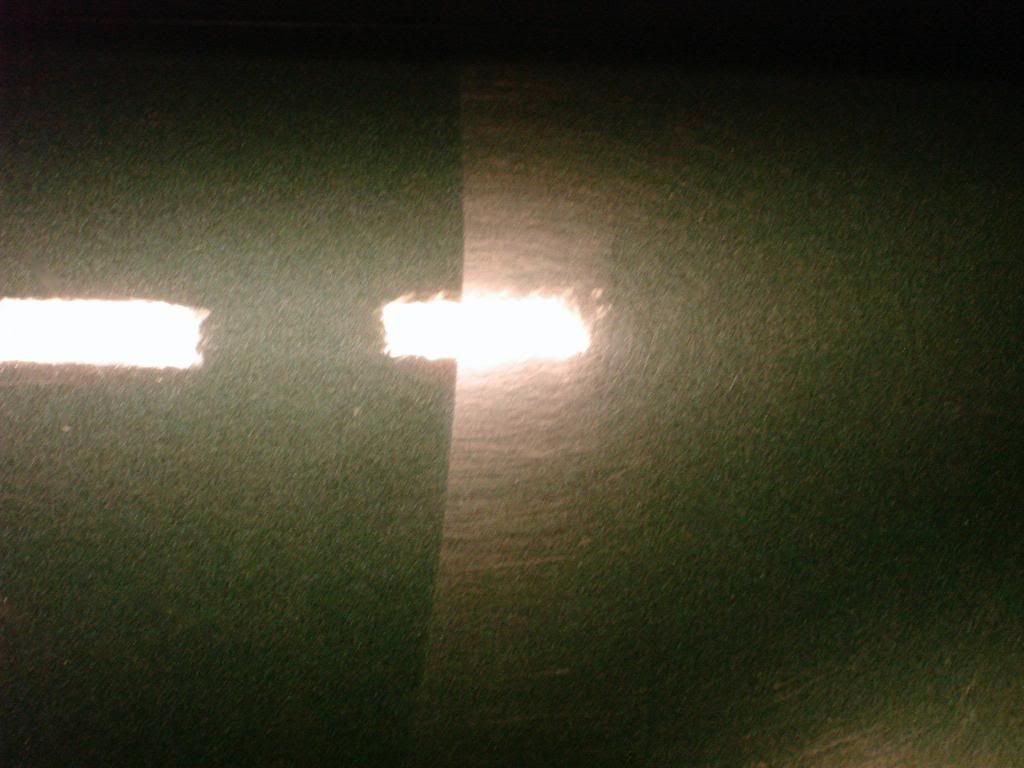
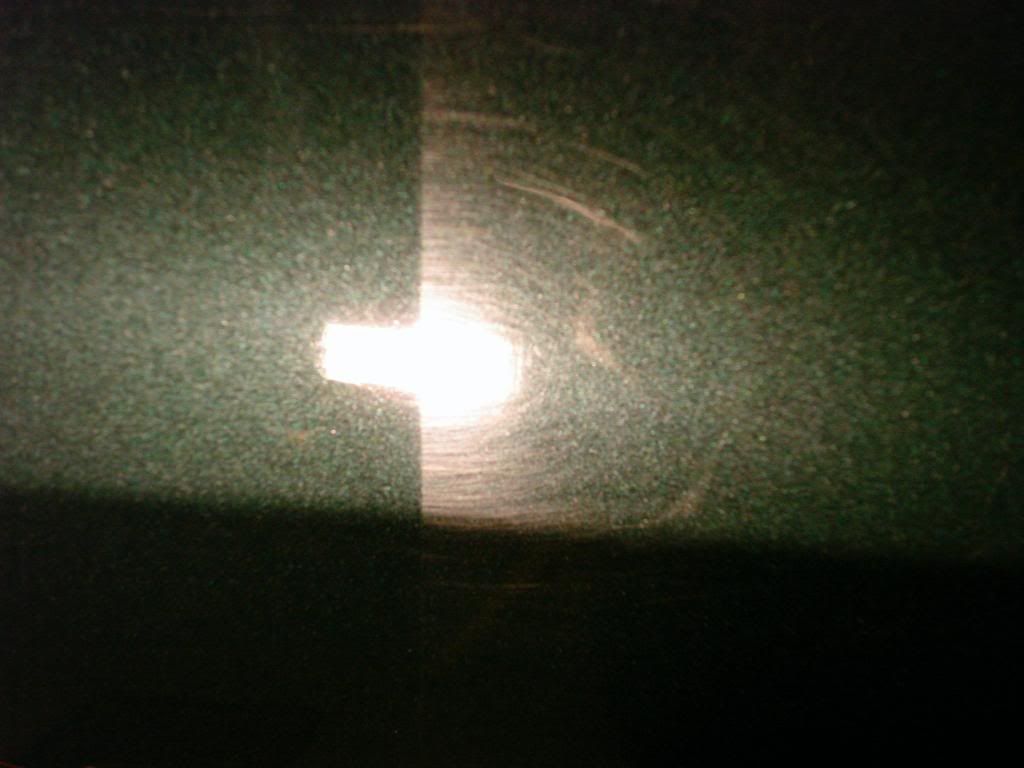
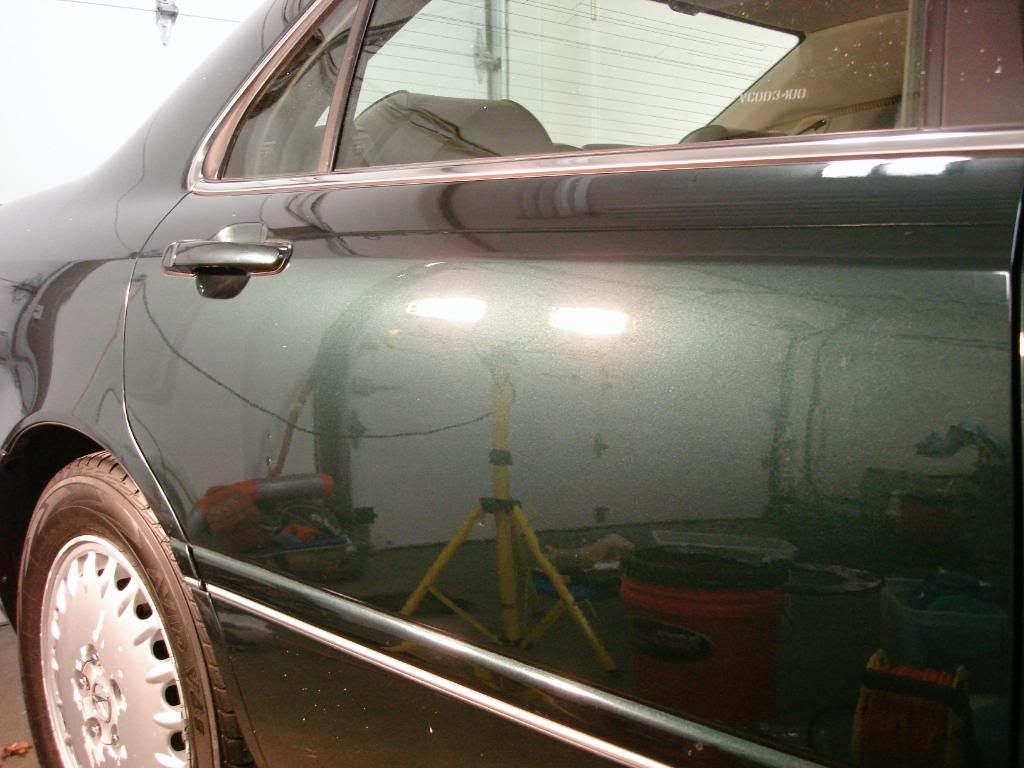
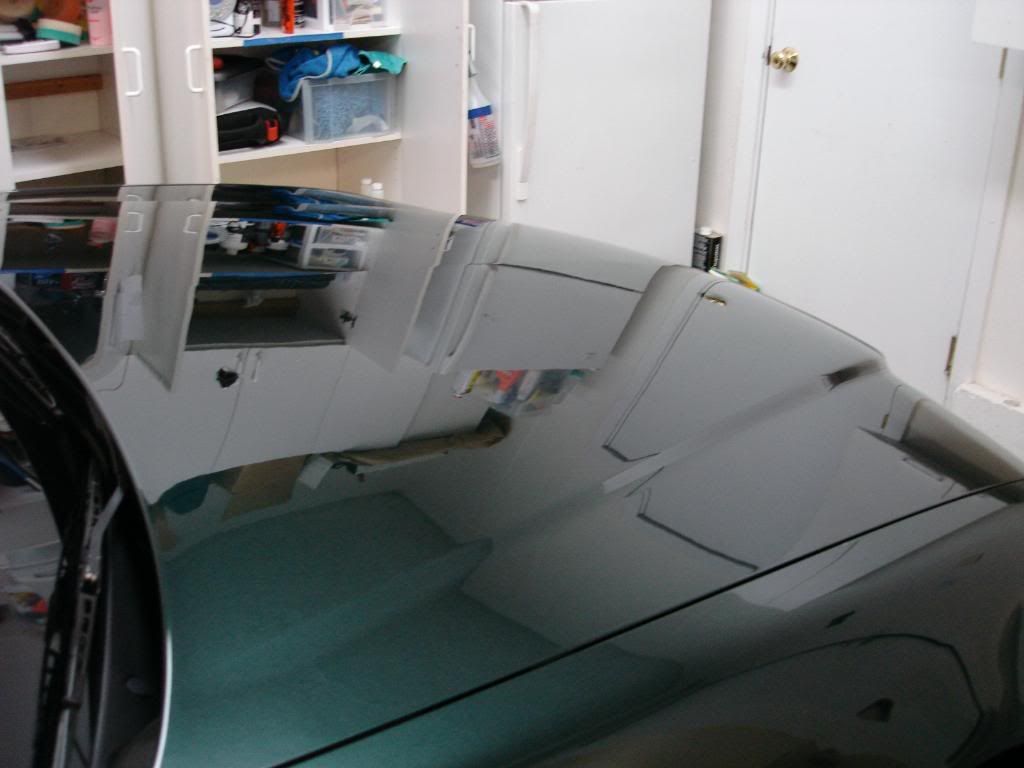
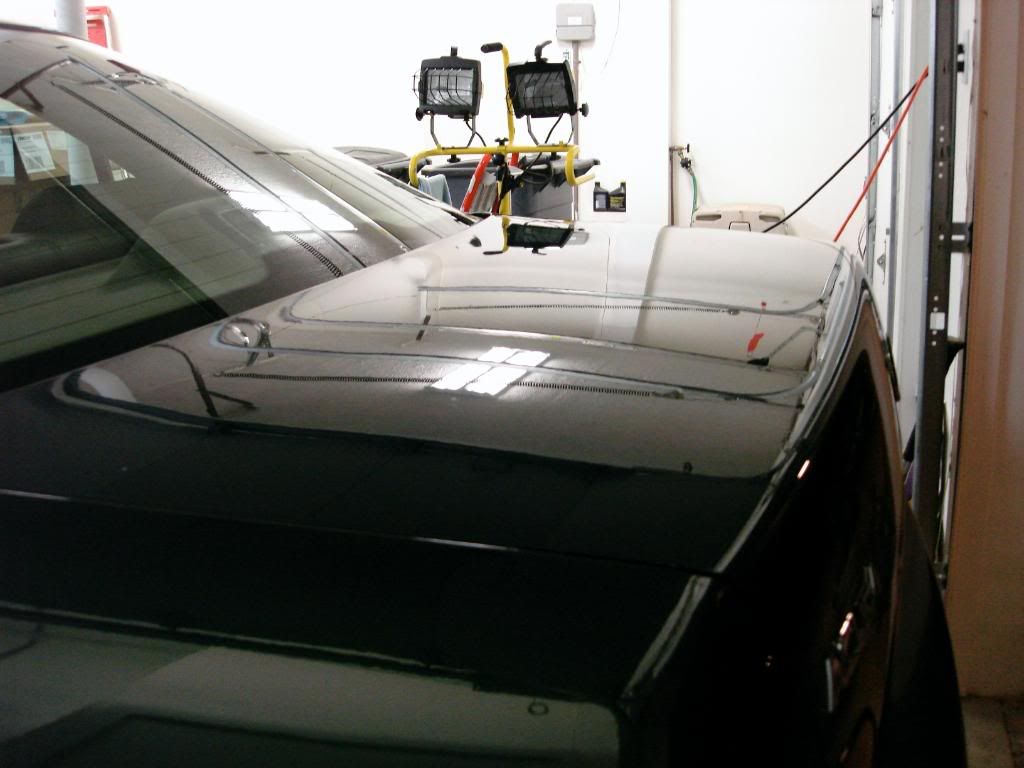
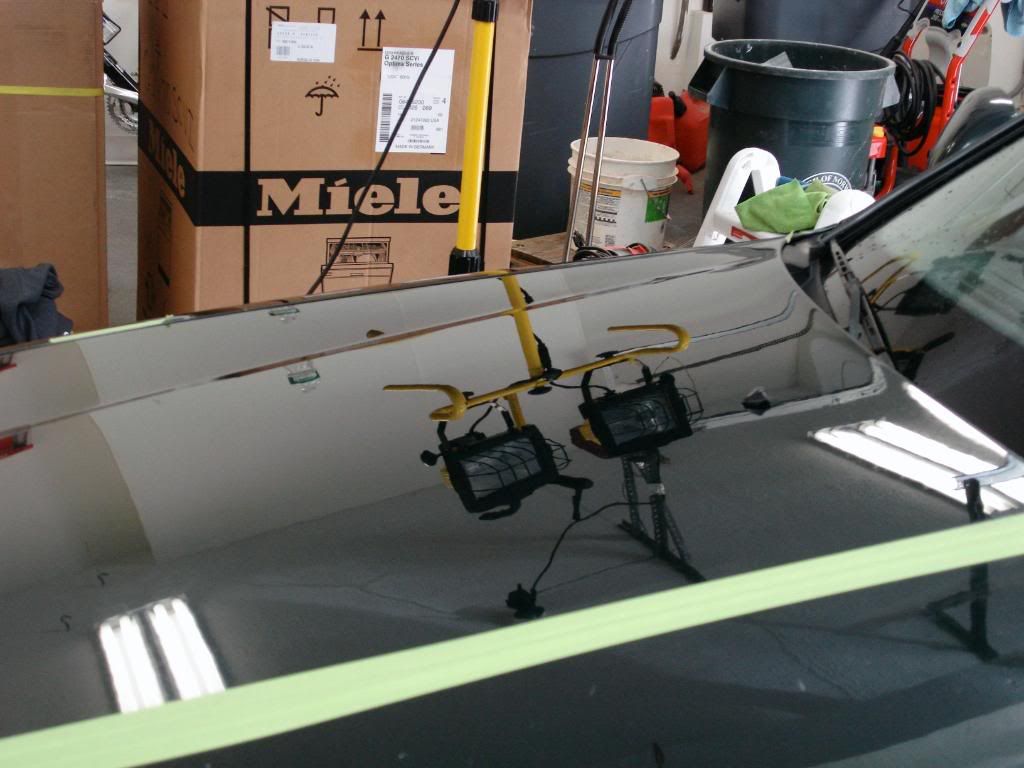
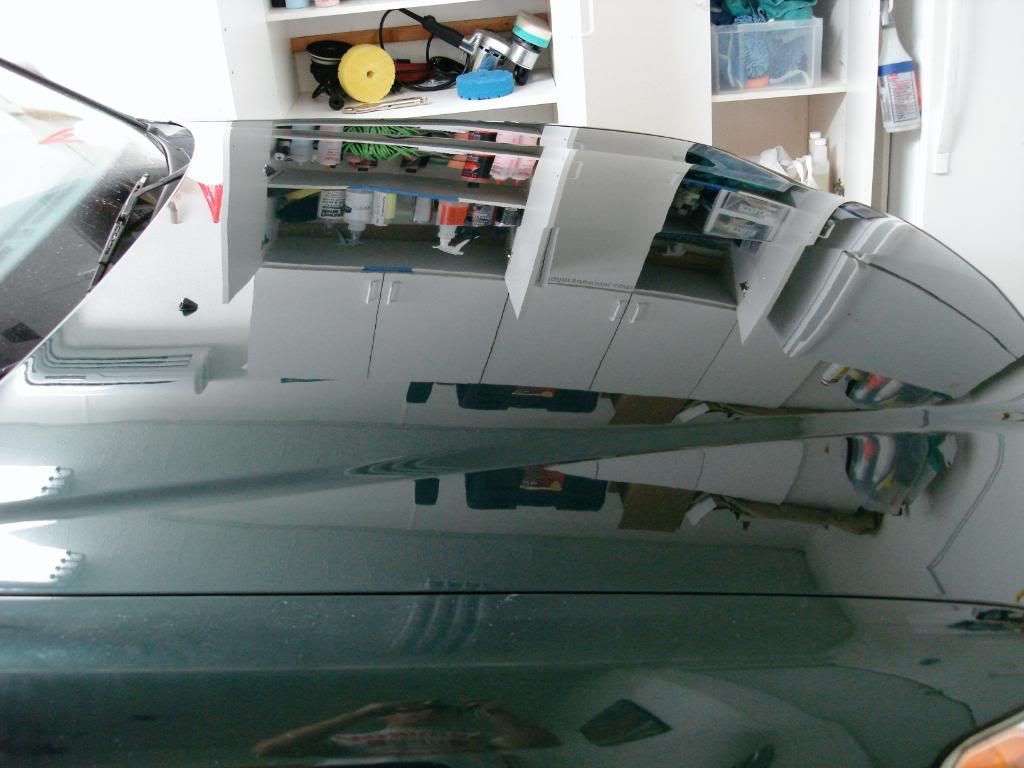
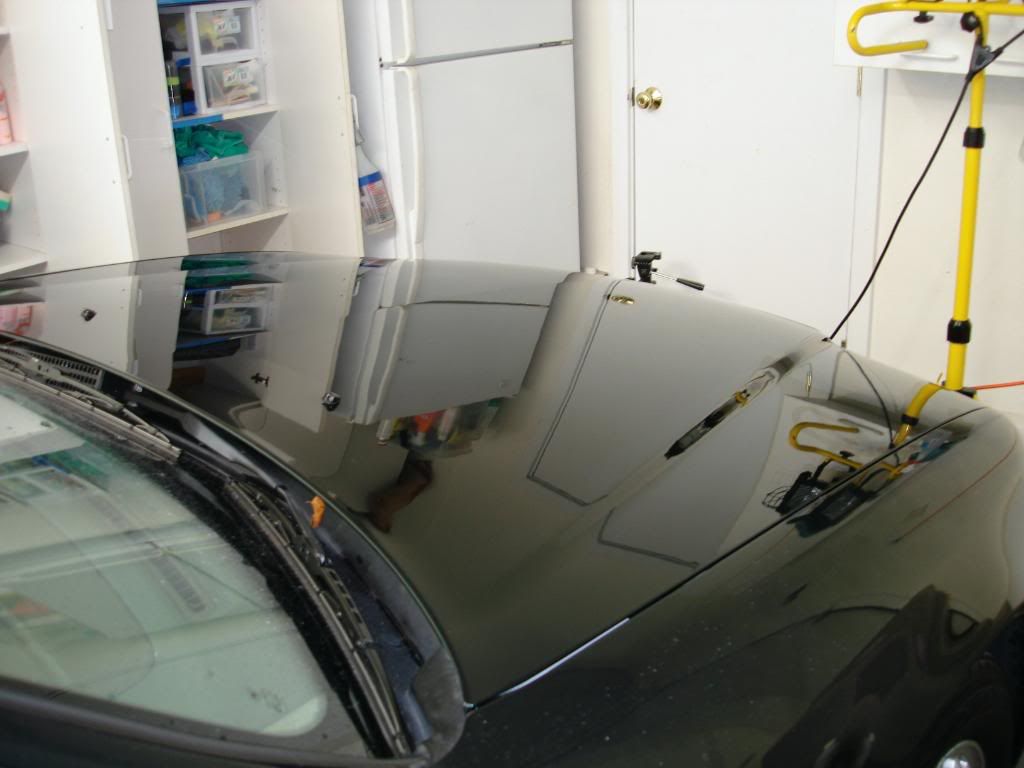
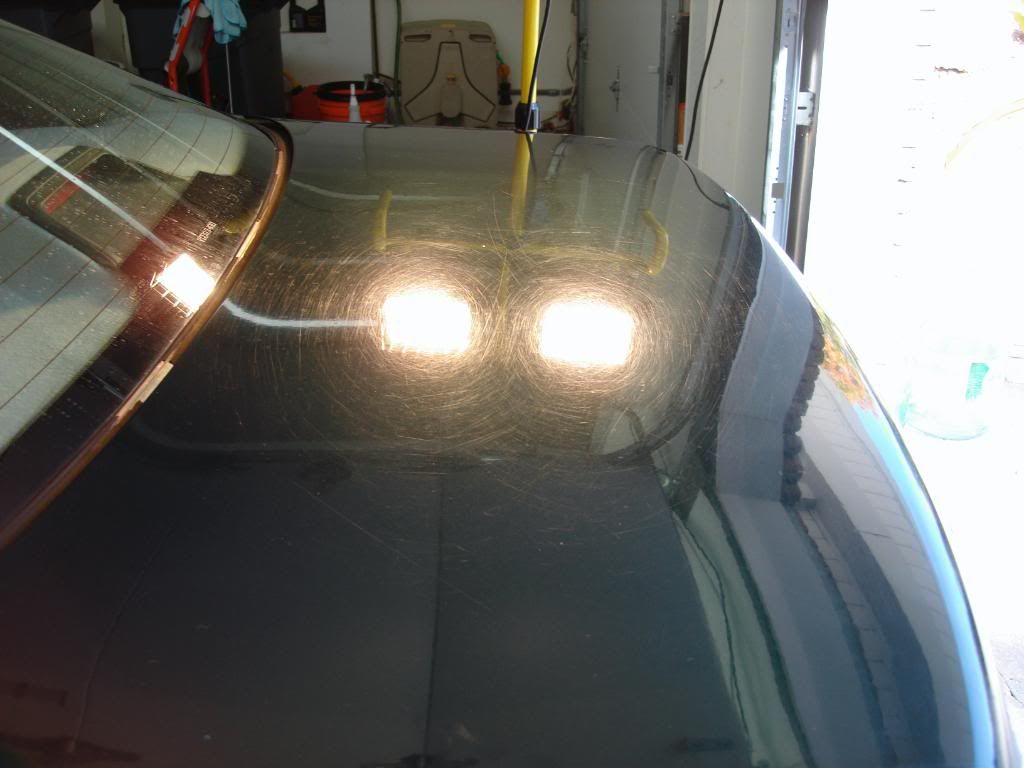
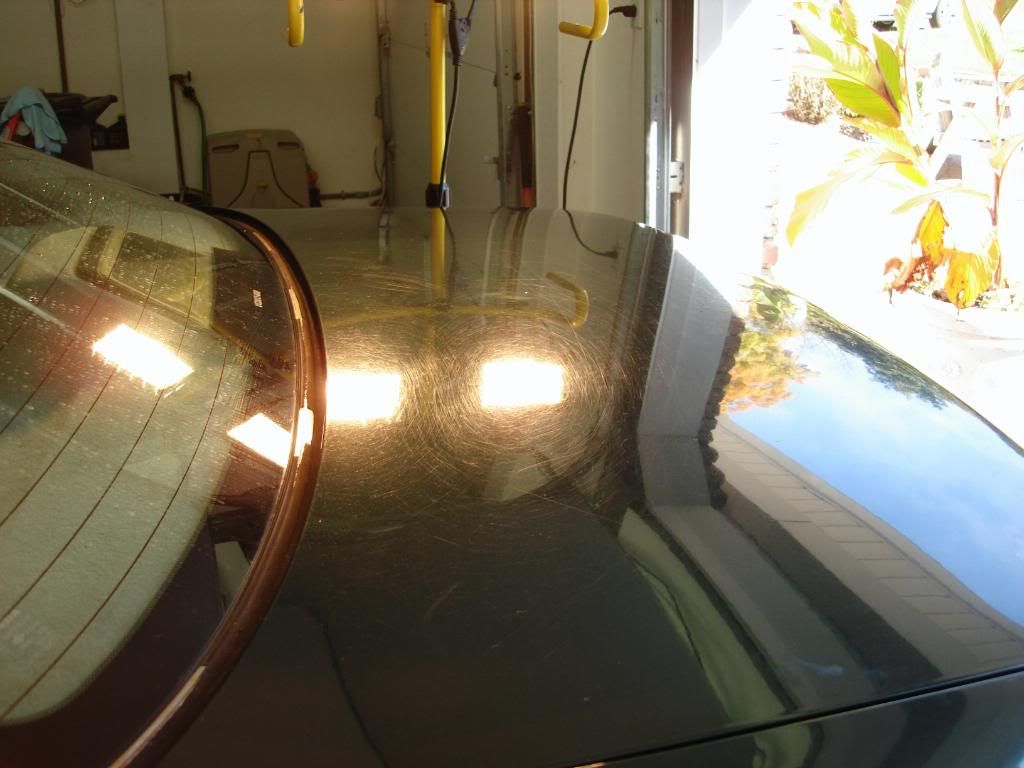
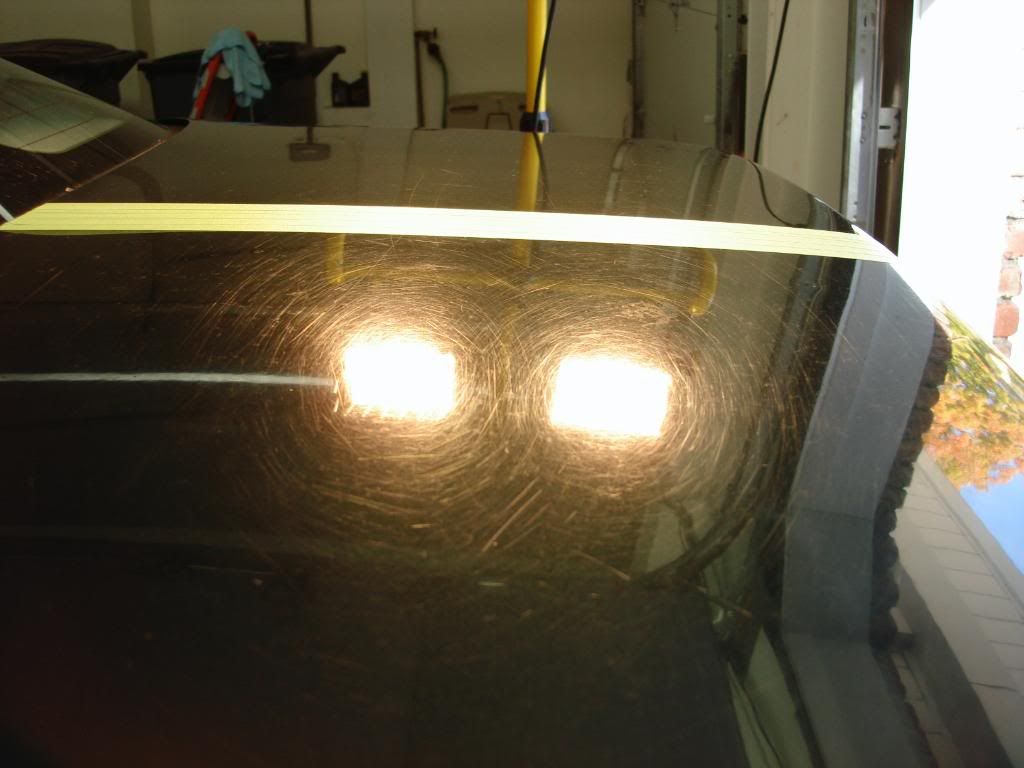
The sun was just coming out so I tried to catch some swirls while I could
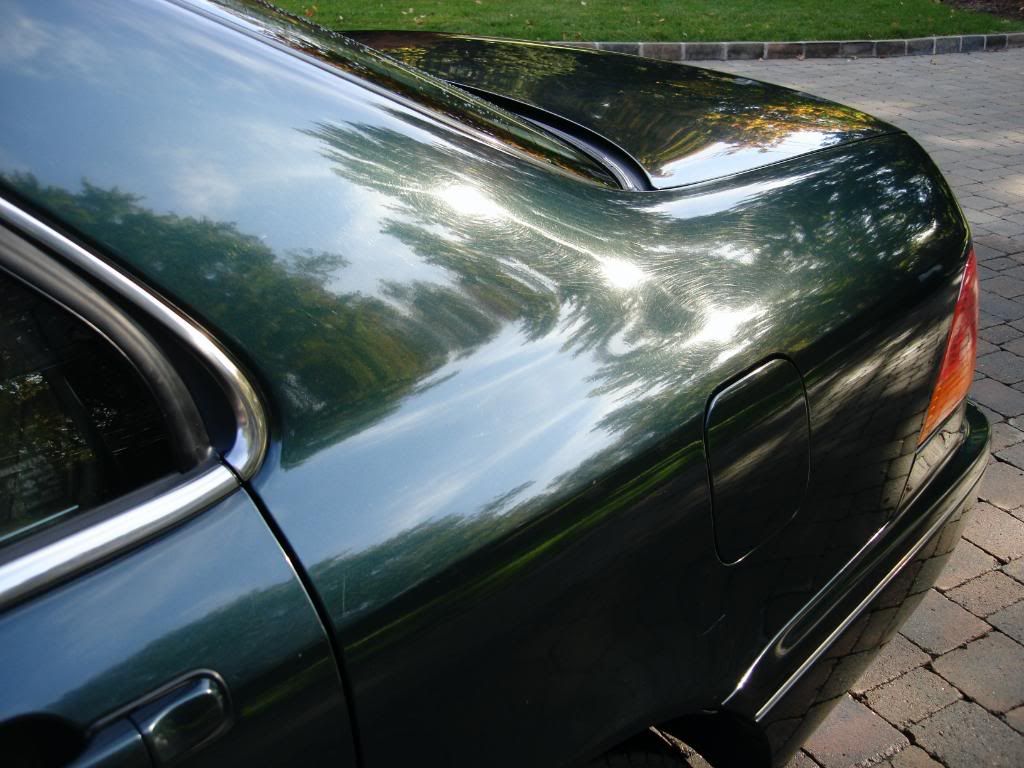
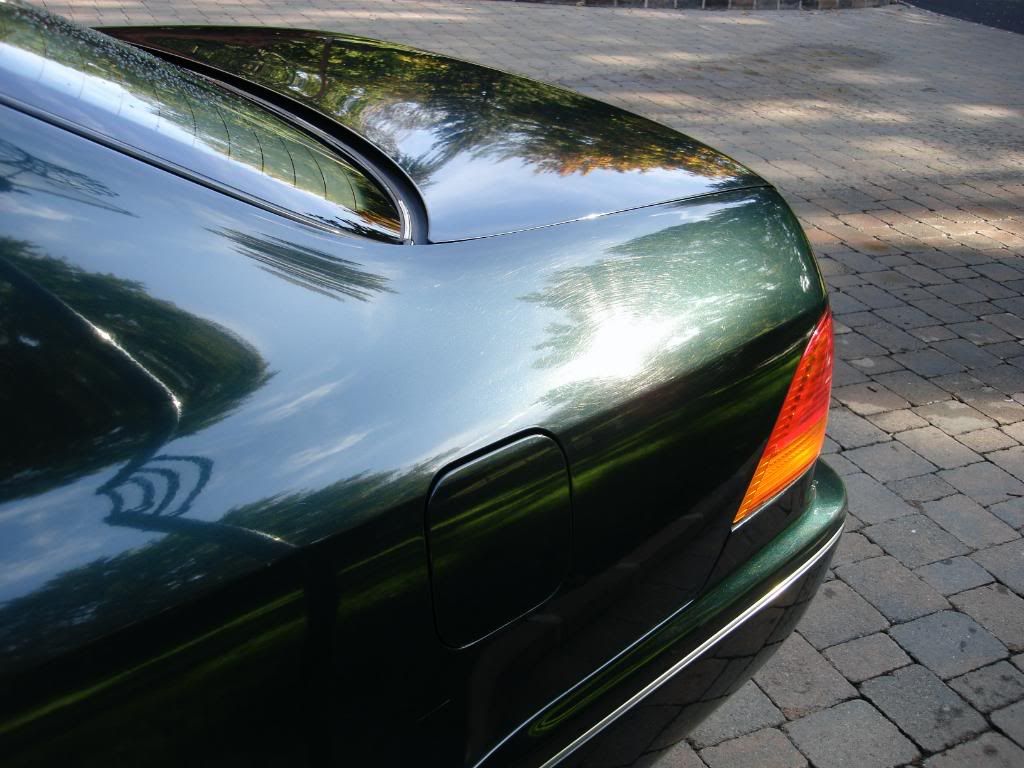
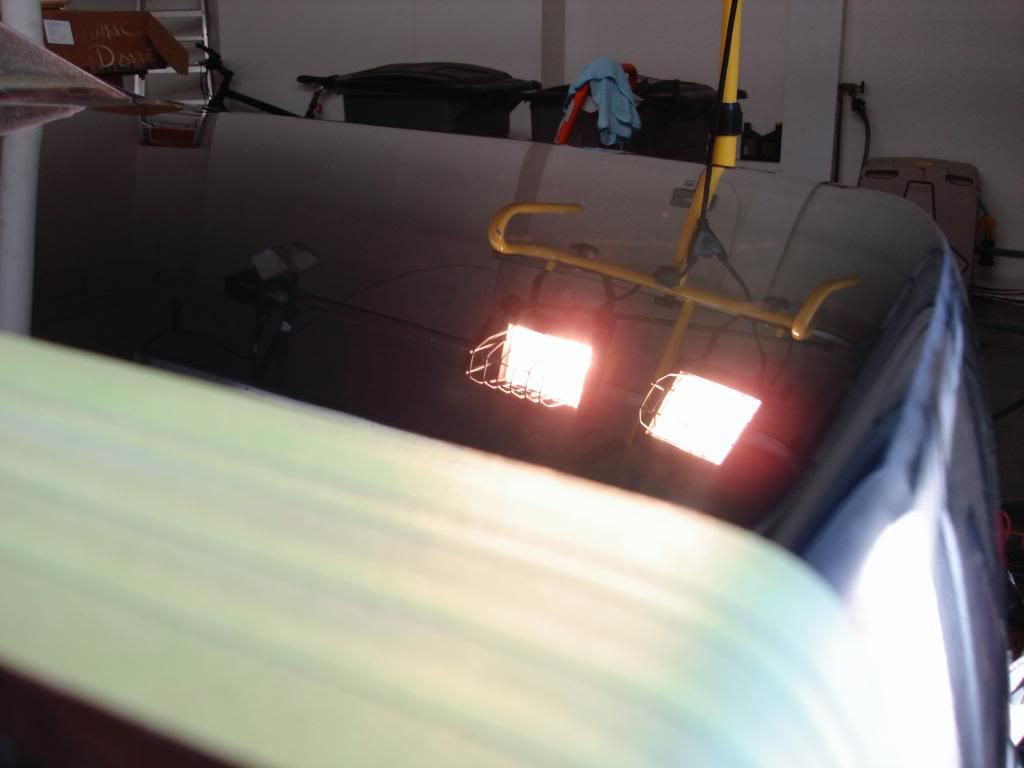
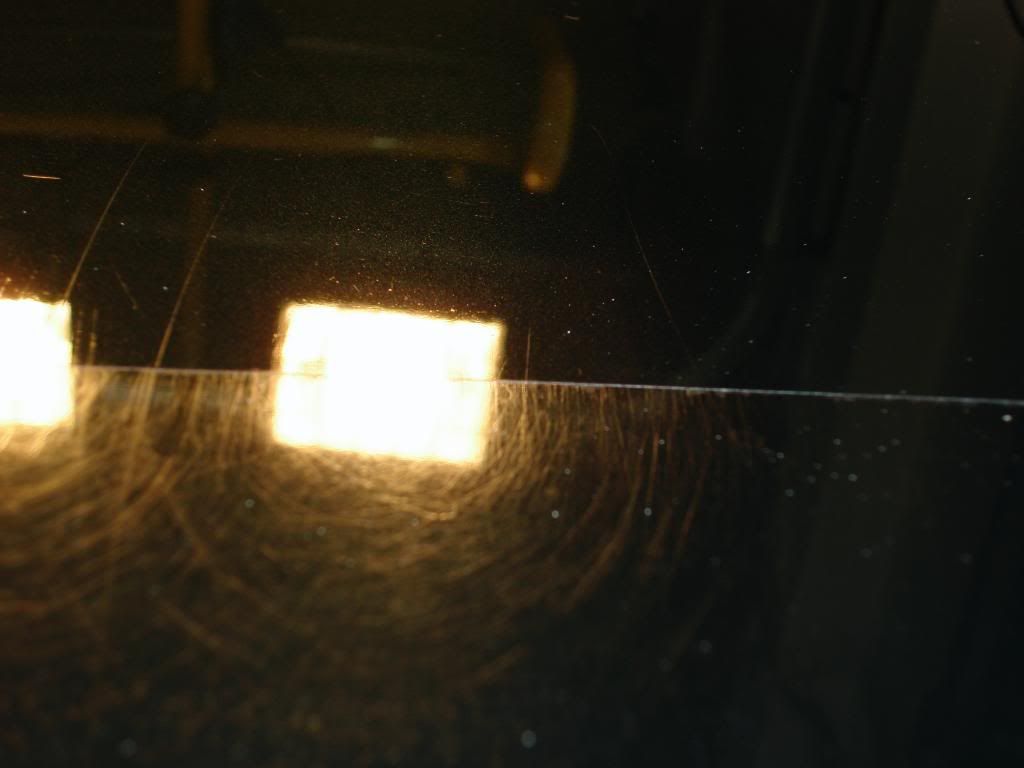
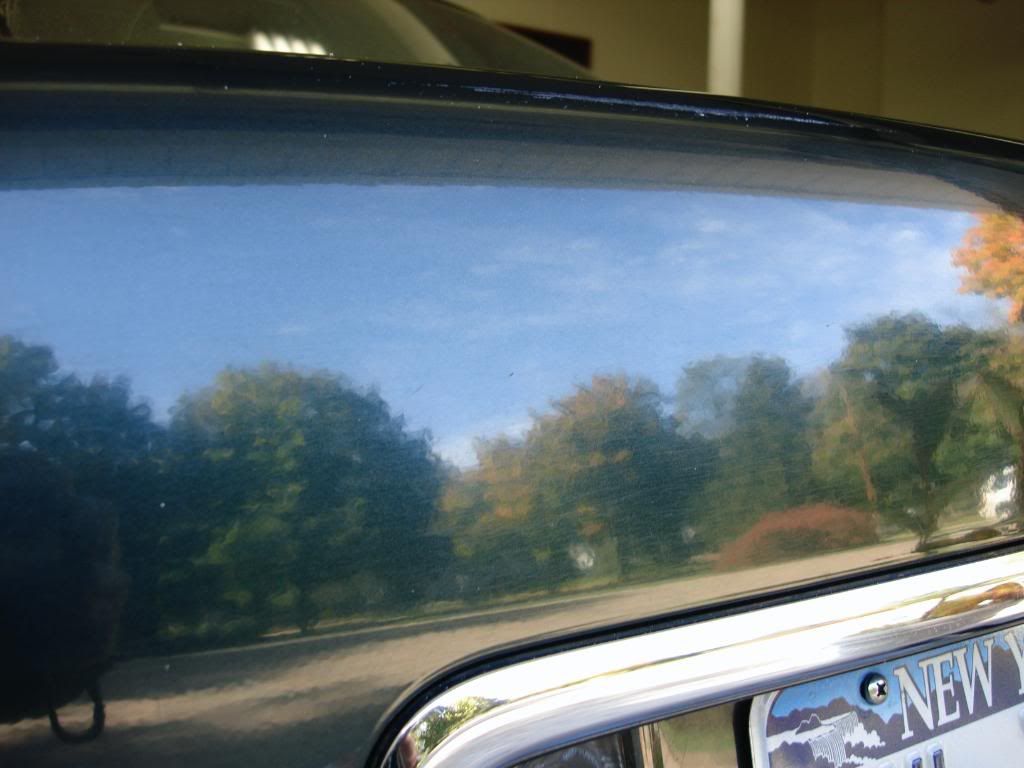
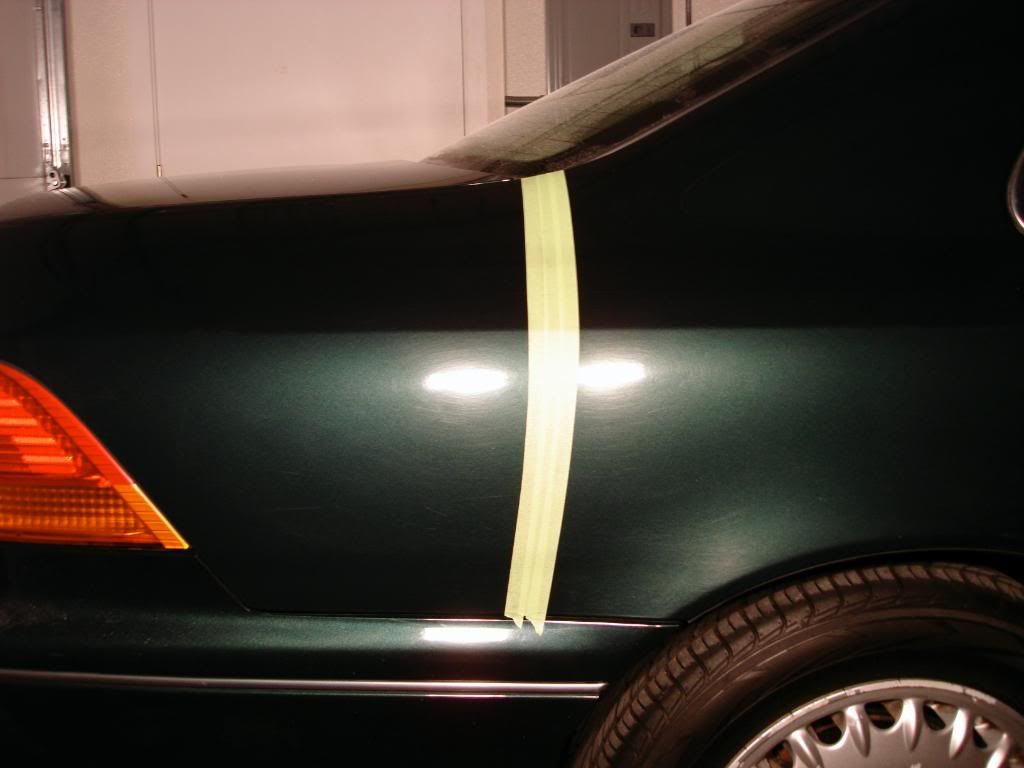
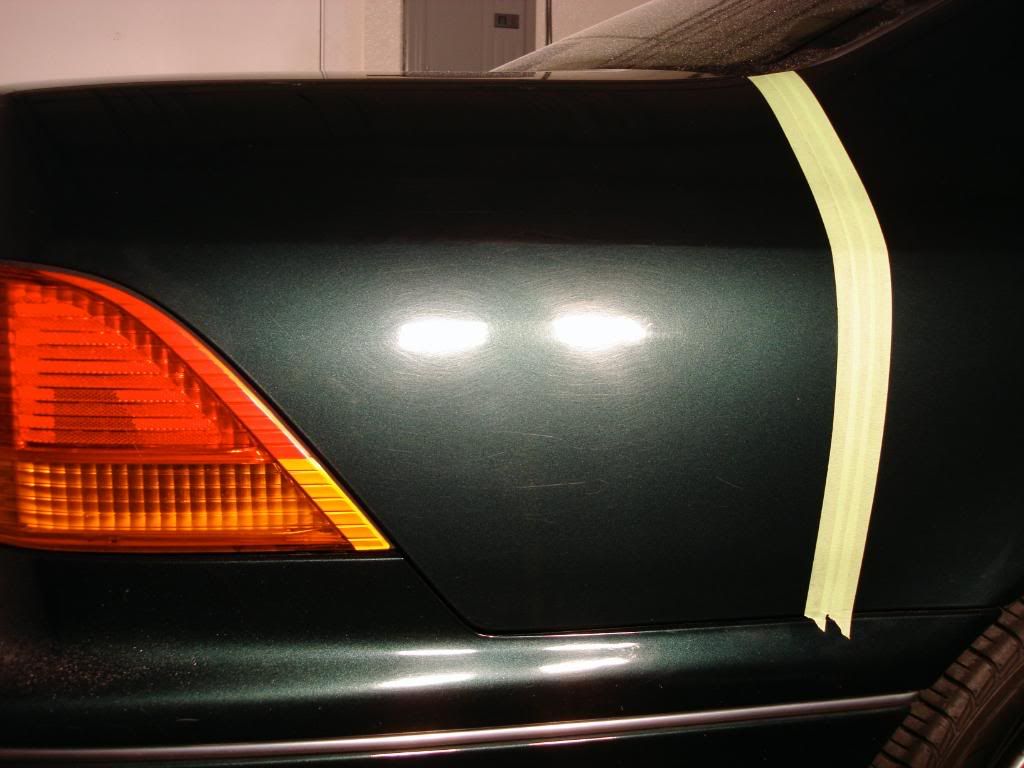
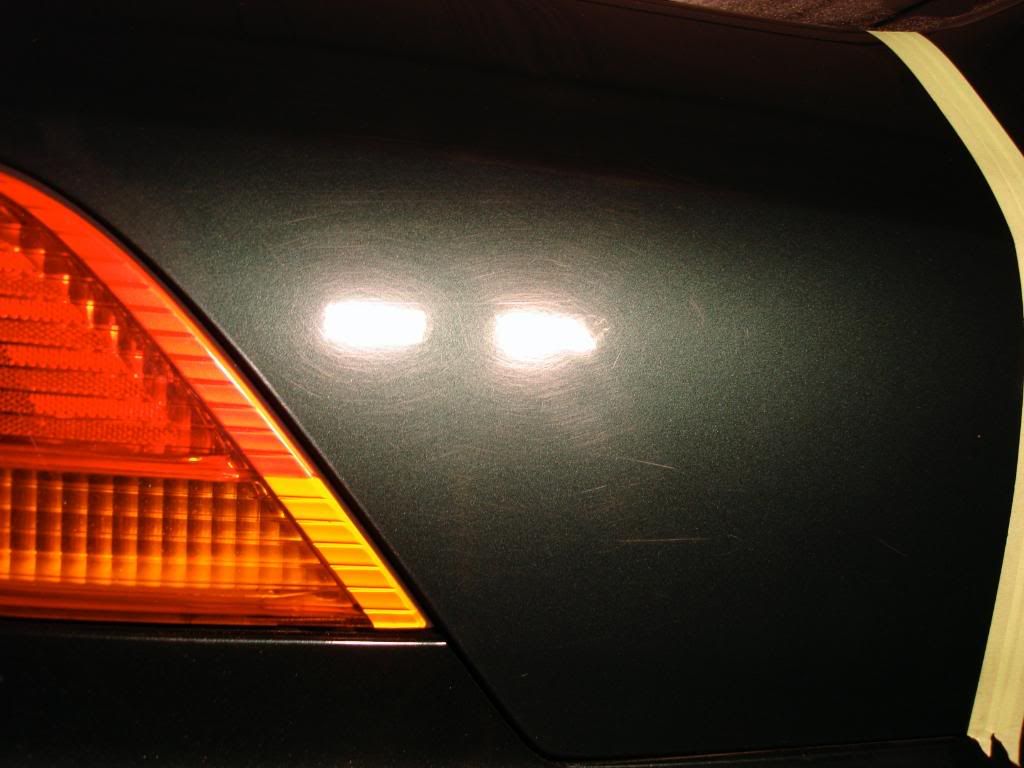
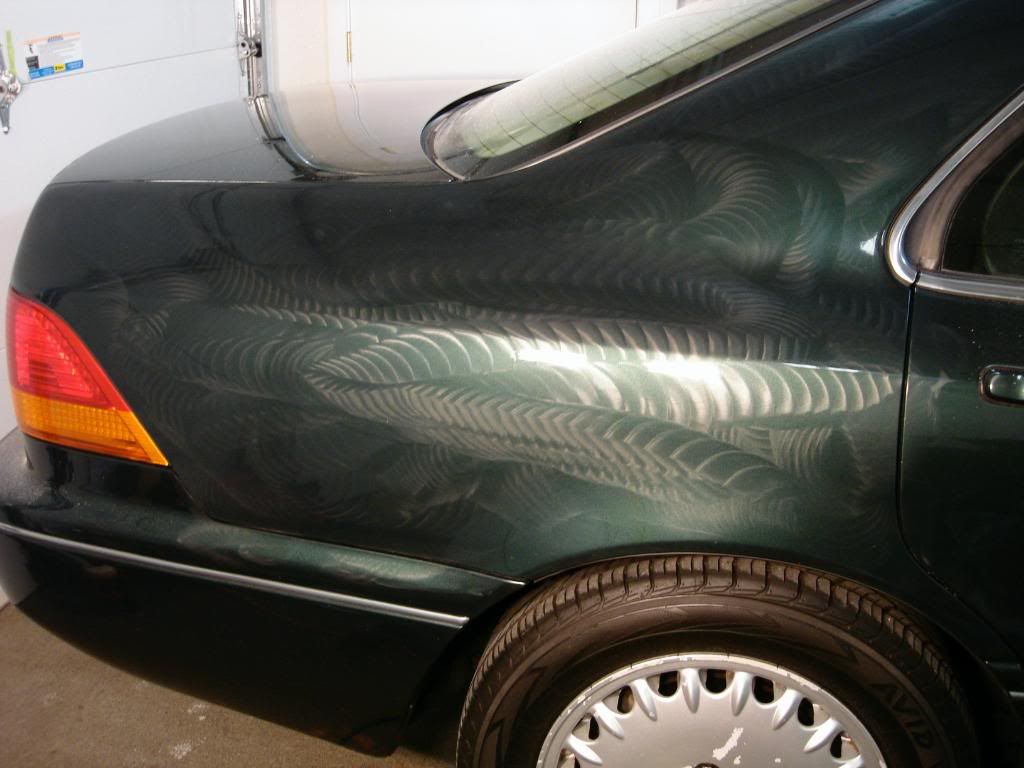
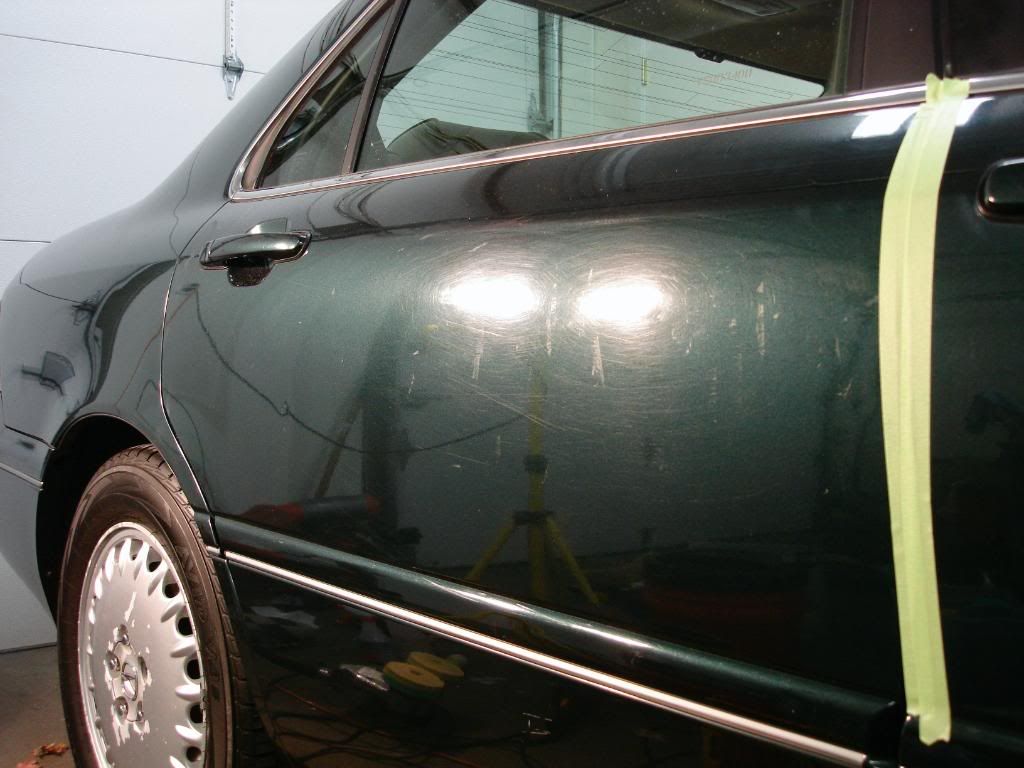
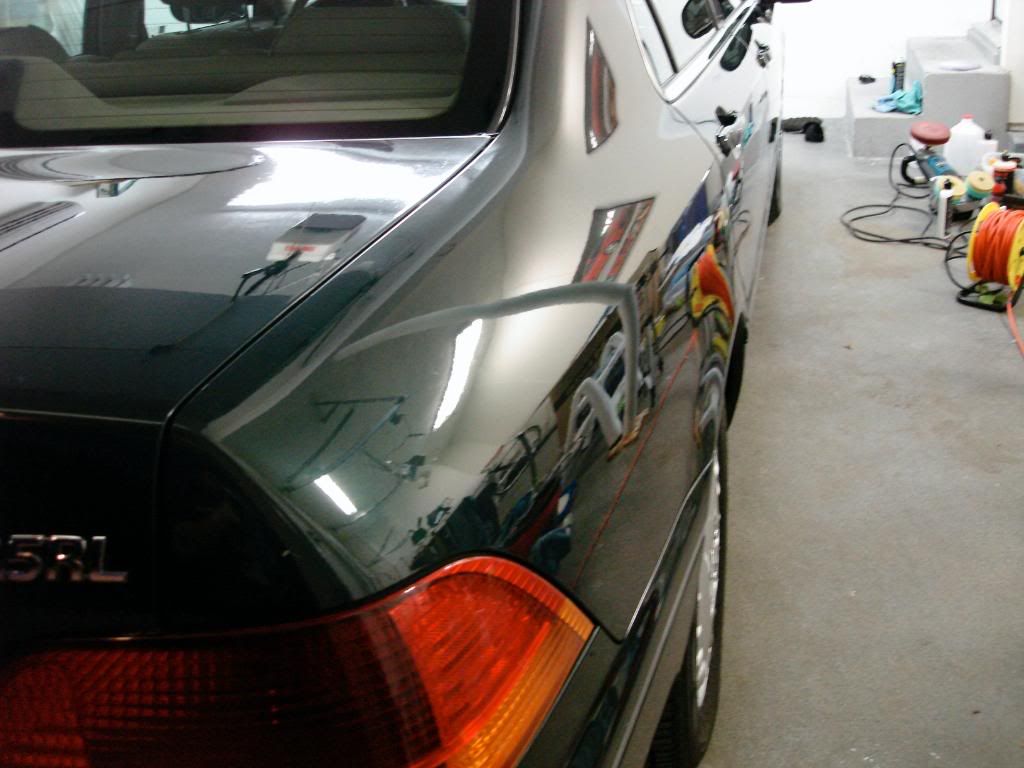
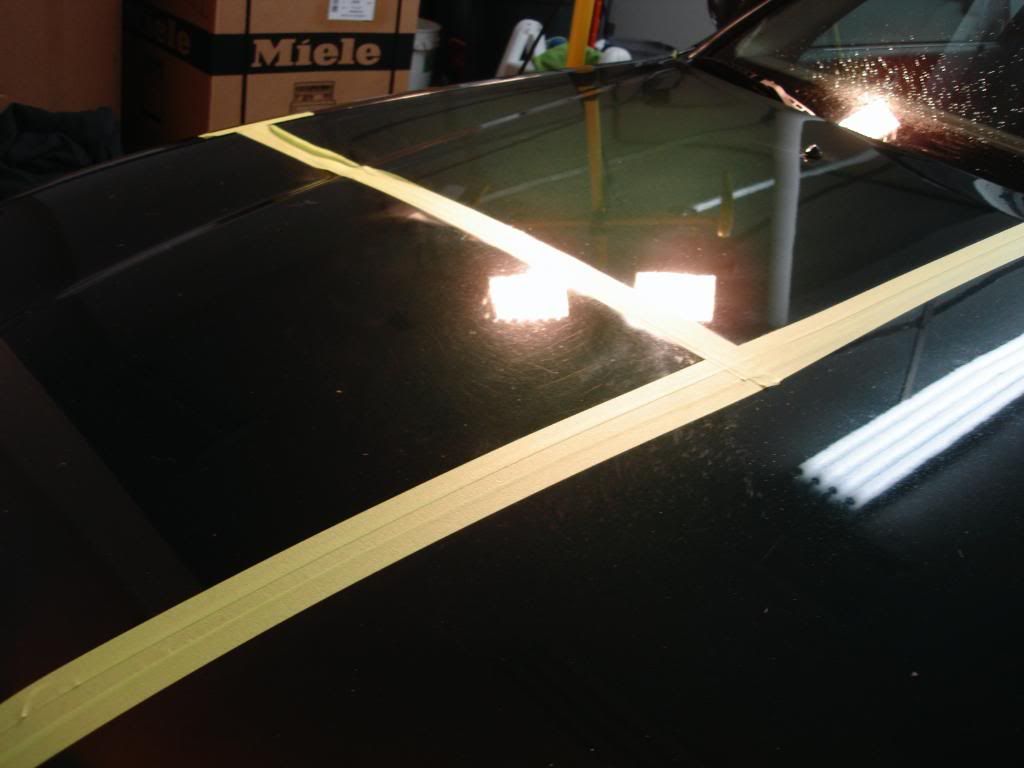
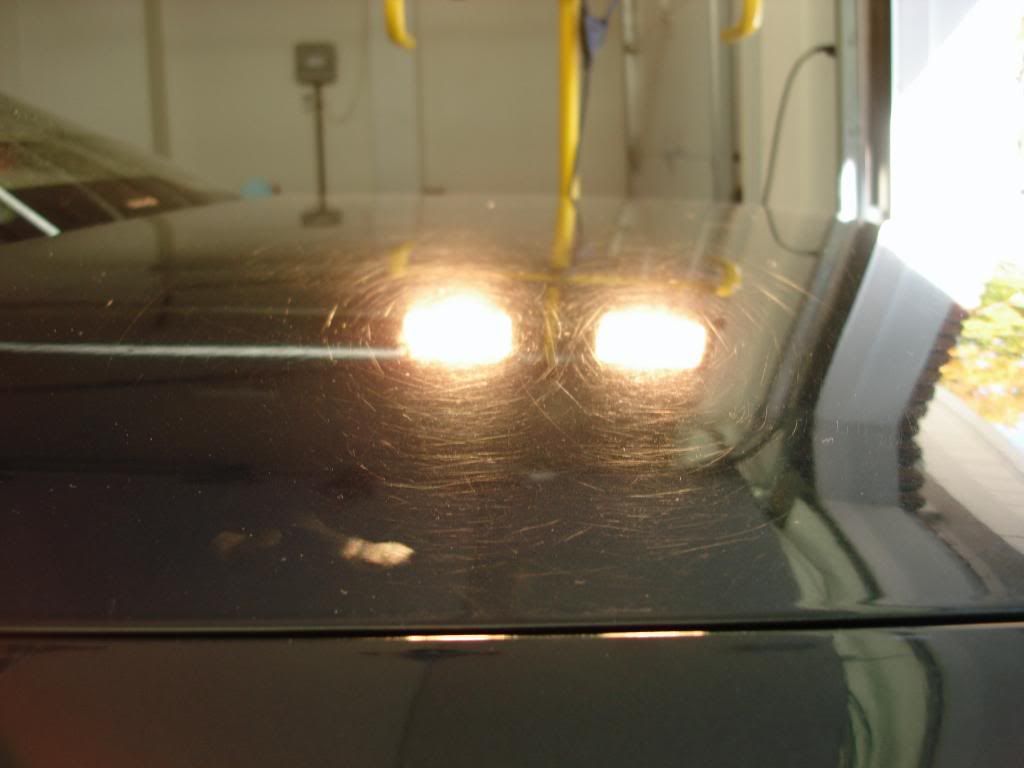
The trunk was by far the worst part, ater under the halogens you will se the amount of deep RIDS
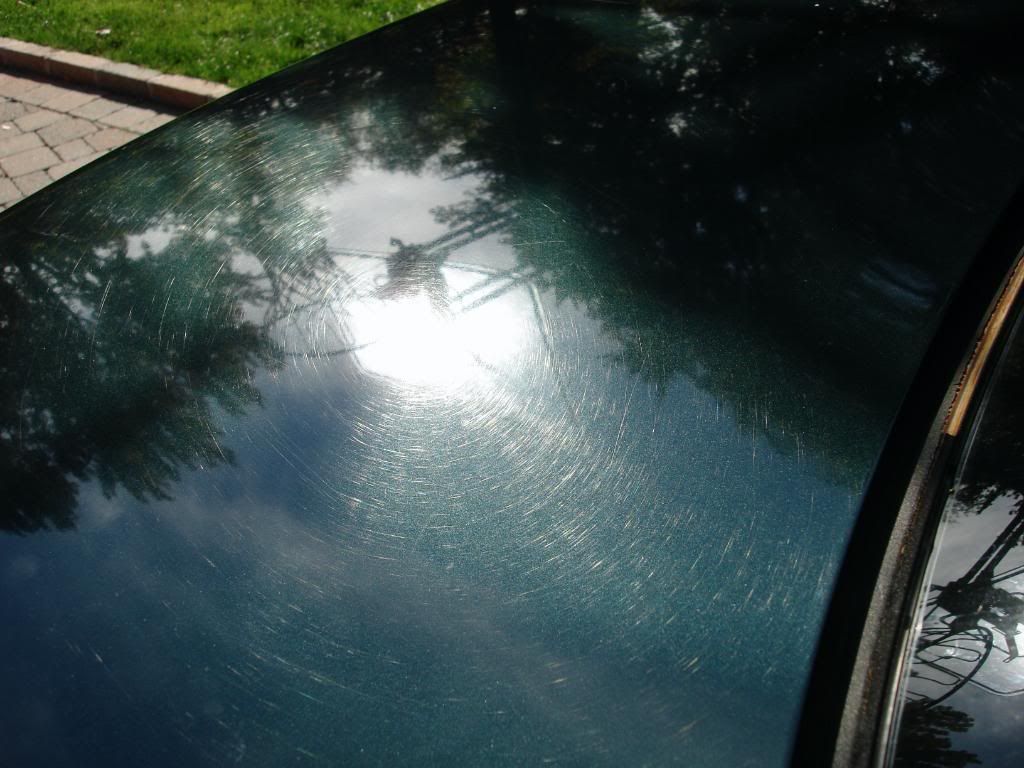
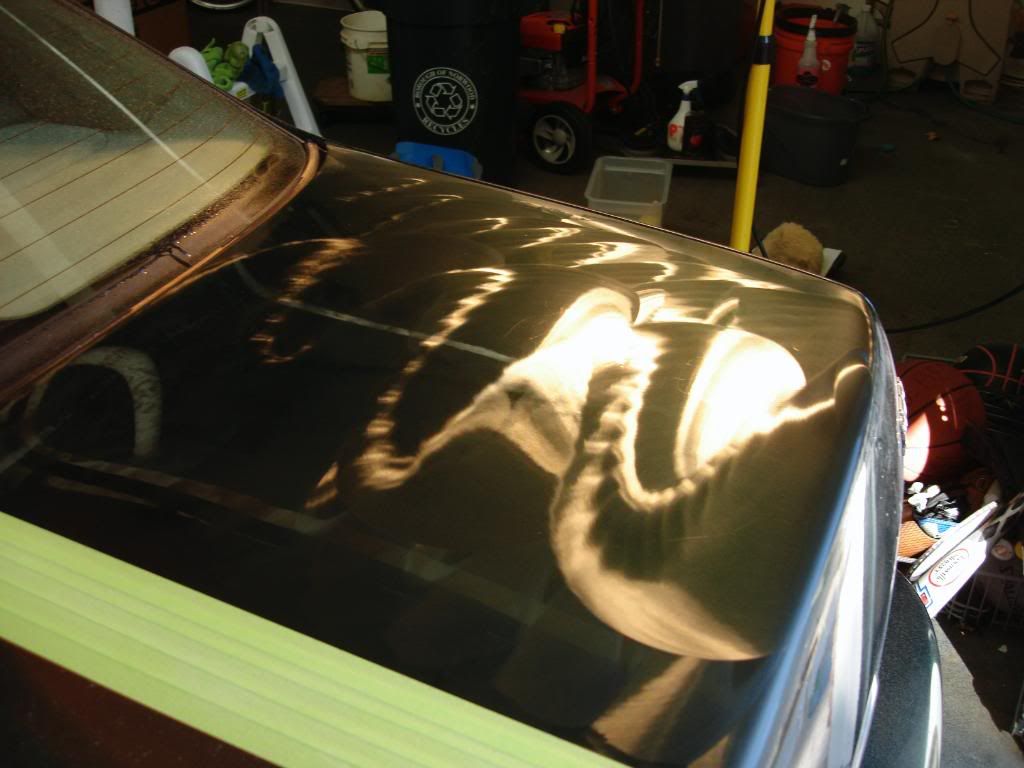
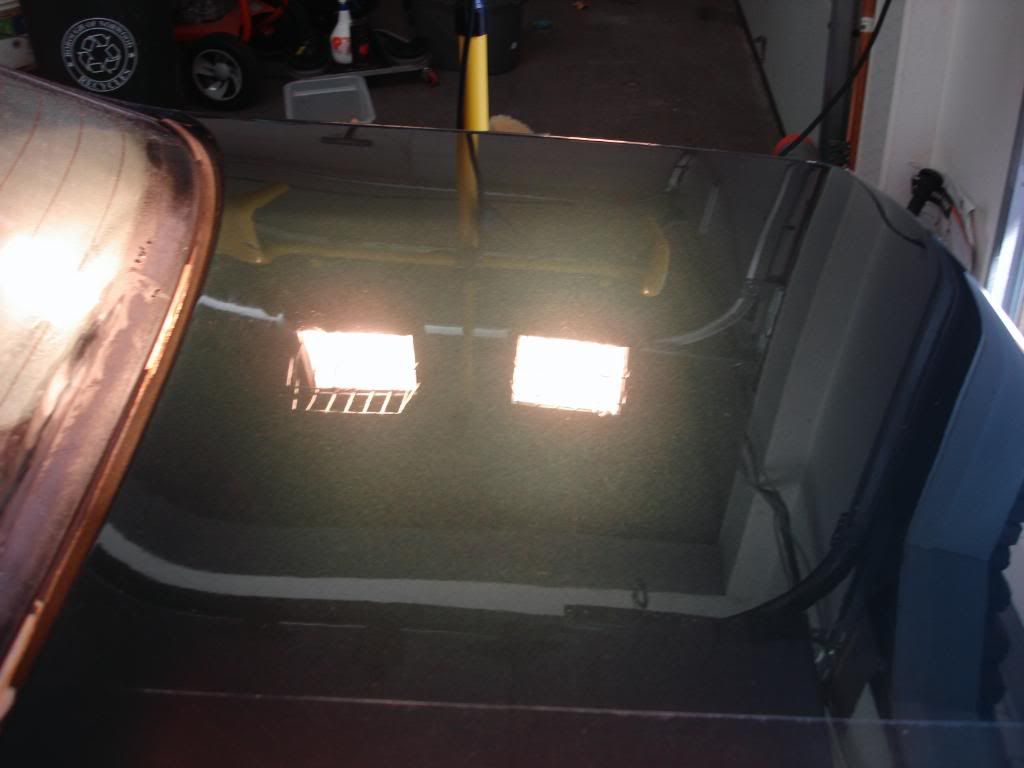
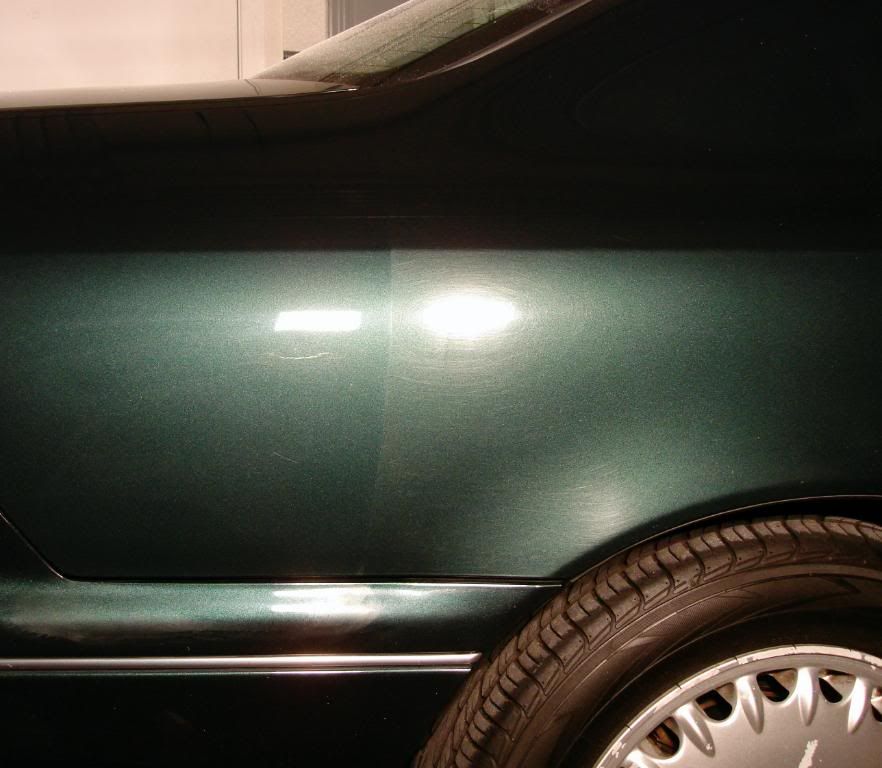
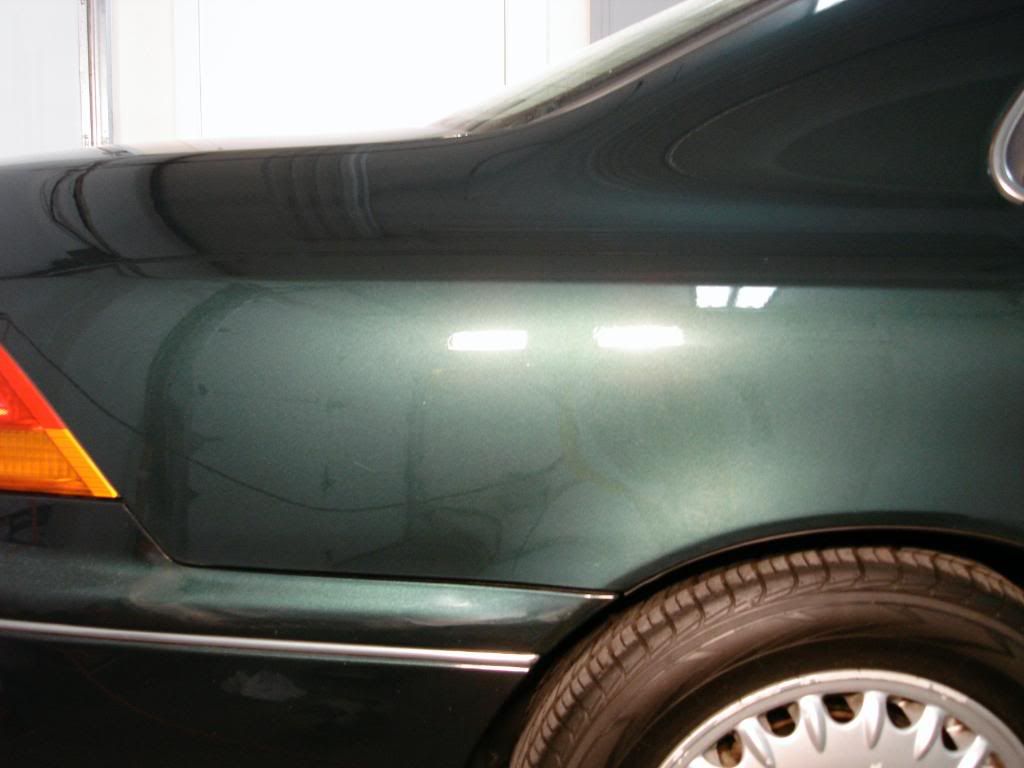
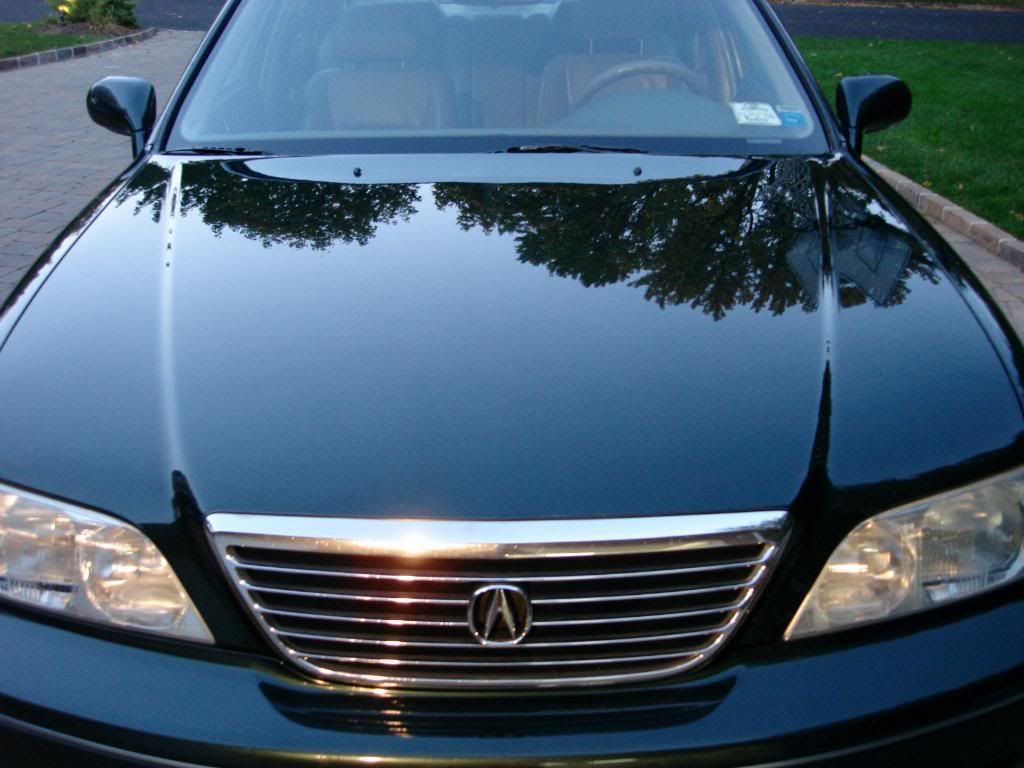
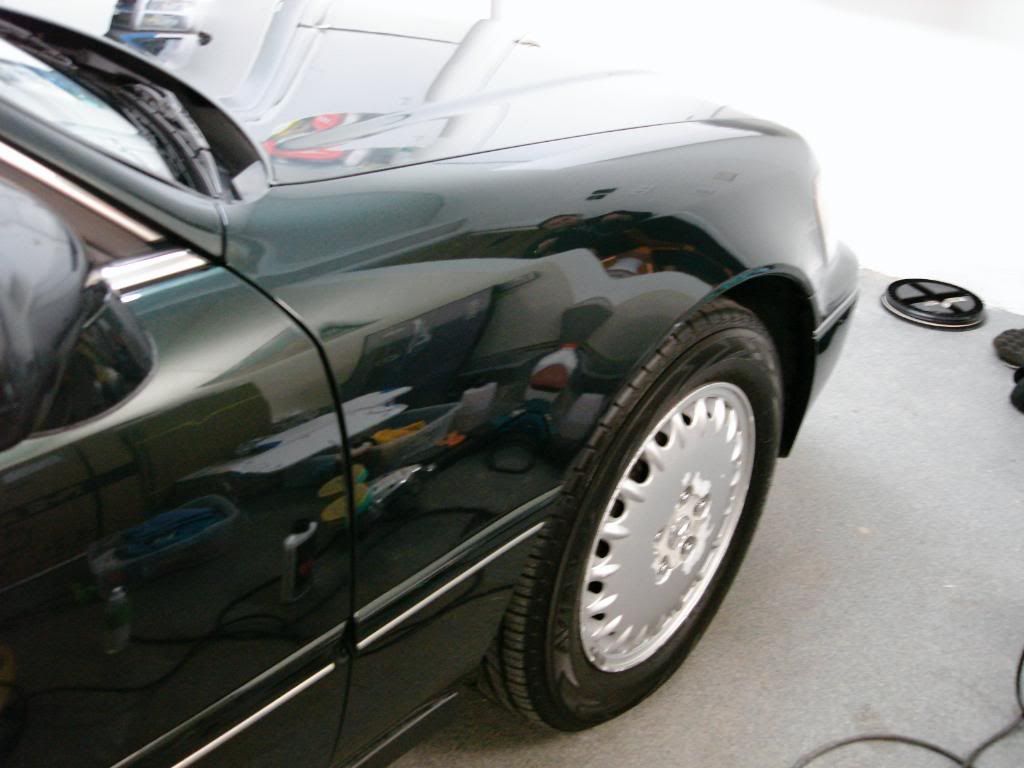
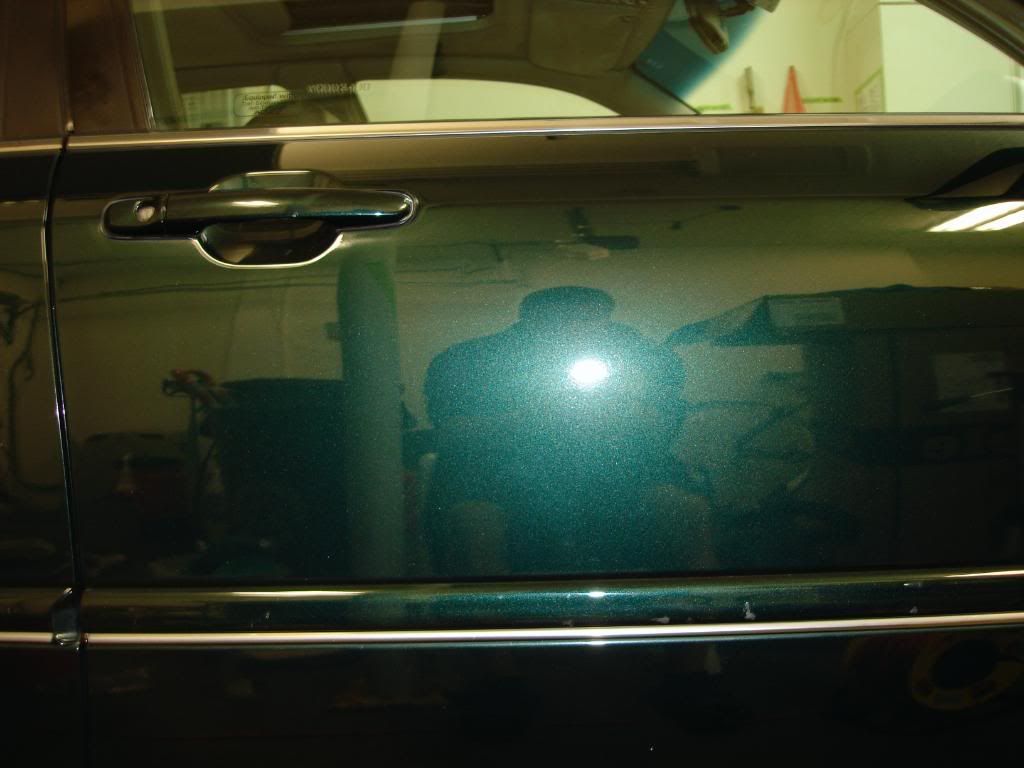
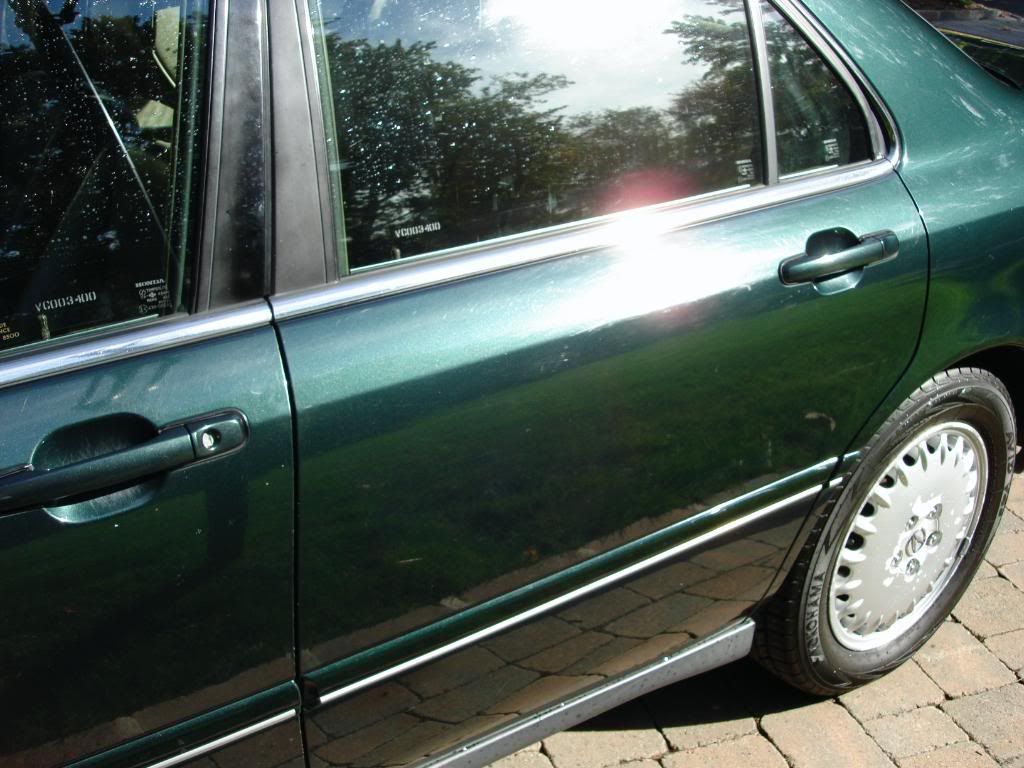
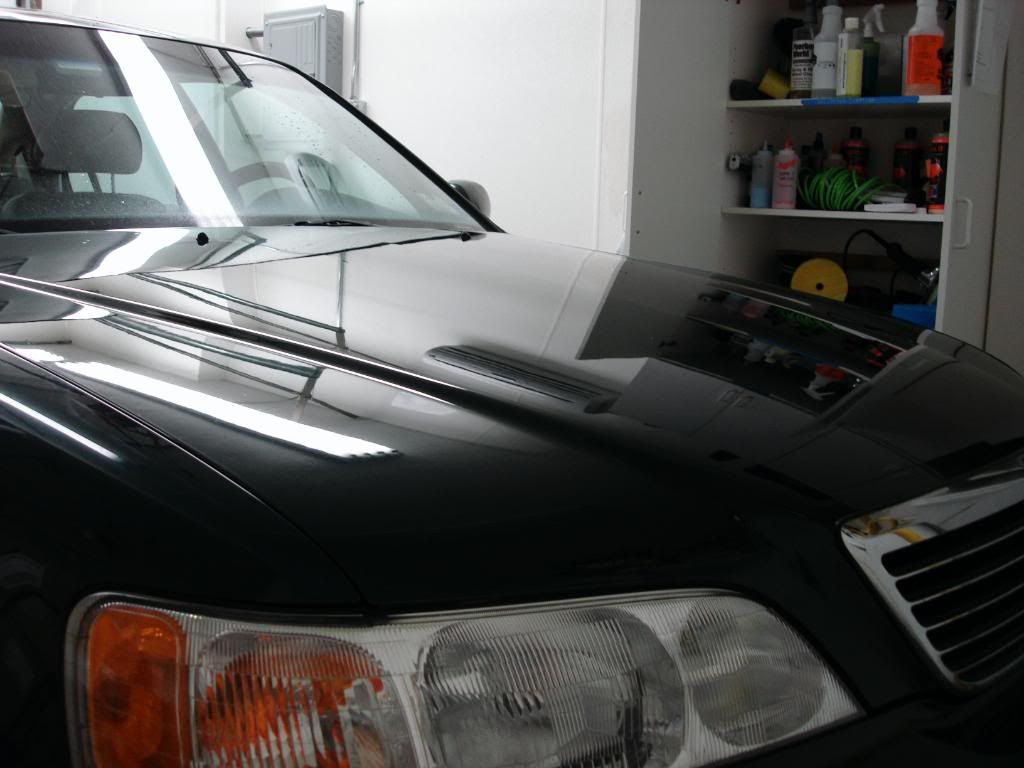
When I say "dull" this is what I mean, the car needed the gloss brought back in a big way
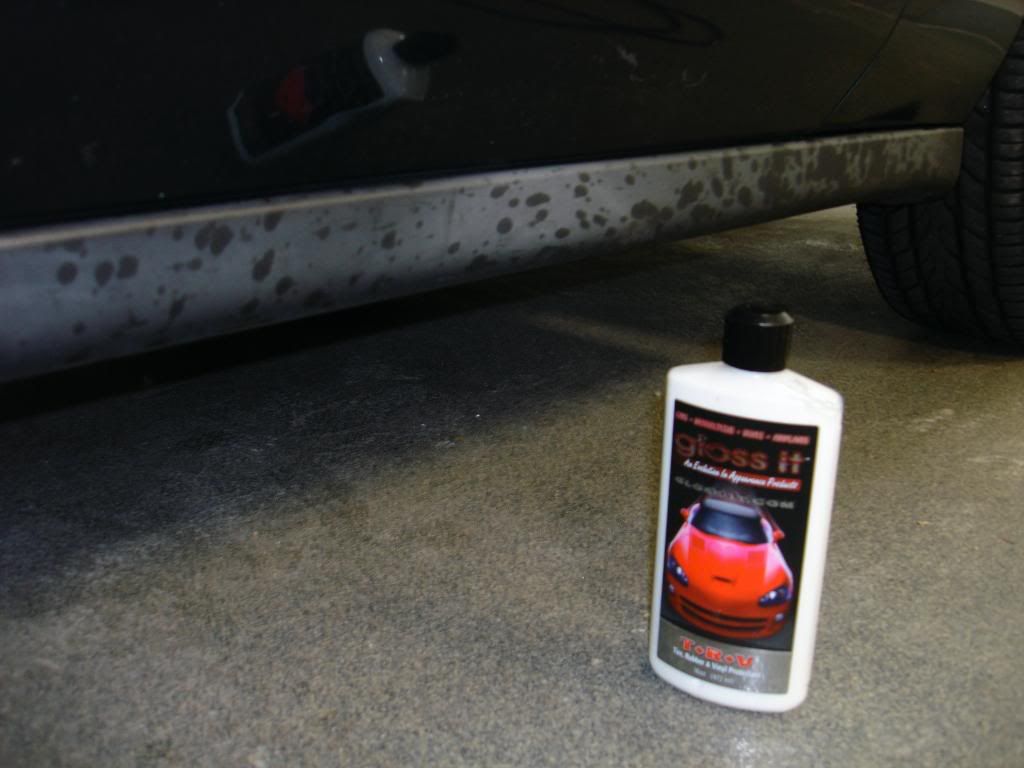
After cleaning the wheels, I washed the car using the 2BM and 2 white foam shmitts with Gloss Shampoo. The gloss shampoo is very mild and wont strip an LSP, since this car had no LSP anyway there was no need for a citrus based shampoo.
After washing I clayed the car with gloss it lavender clay (agressive) using Meguiars last touch 1:1 as lube. The car was mildly contaminated.
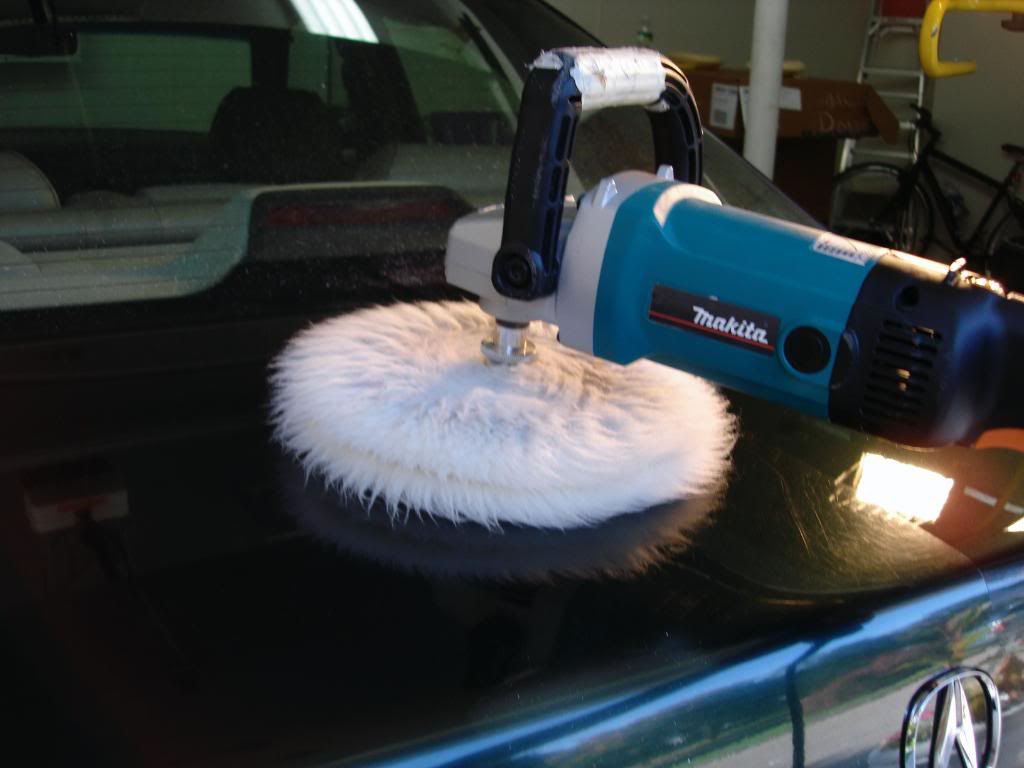
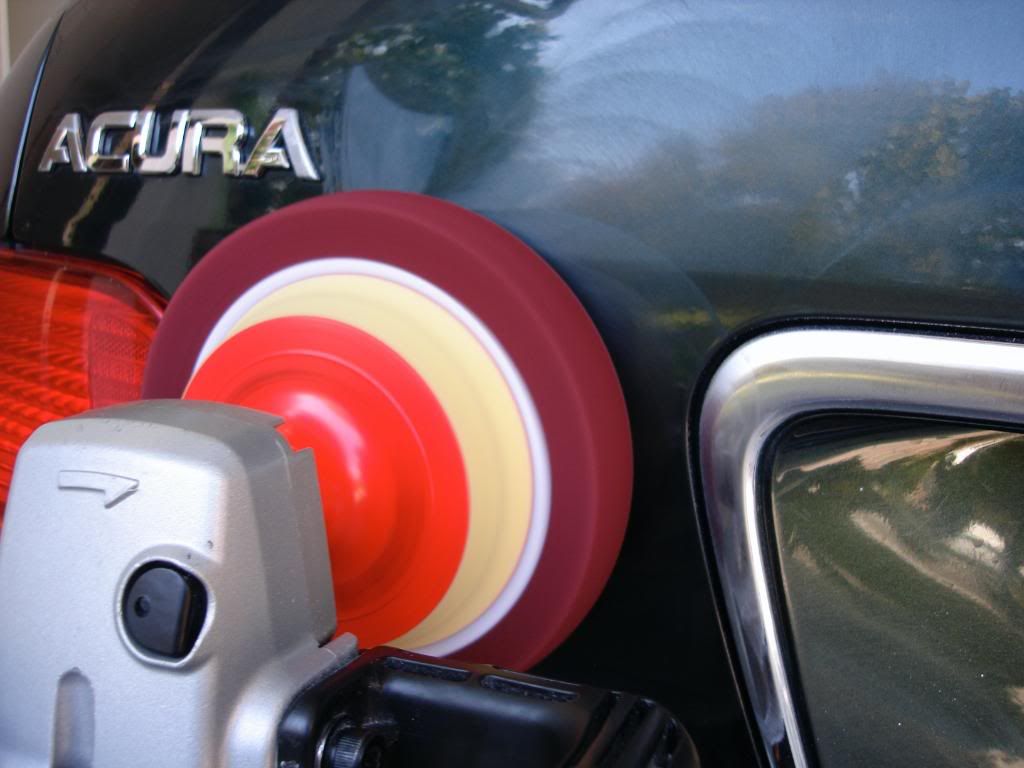
Now for the correction work. I worked a small portion of the hood as a test panel using the Makita at about 1500rpm with a Meguiars cutting pad using the Gloss It 1 step polish. This yielded about 70% correction but the deeper scratches werent touched so I stepped up to the gloss it 8" lambswool pad and gloss it extreme cut compound. I worked it at 1500rpm and jeweled it down to about 1000, I then followed that up with the gloss it 1 step machine polish on a foam polishing pad.
The 8" lambswool pad, I like it because it has enough cut to polish out deeper defects but its not as coarse as some of blended wools out there. The hologramming was very minimal after jeweling down the extreme cut to about 1000rpm, I added some of the gloss it QD during the polishing stages to get more work time out of the compounds and polishes.
Here is a 50/50
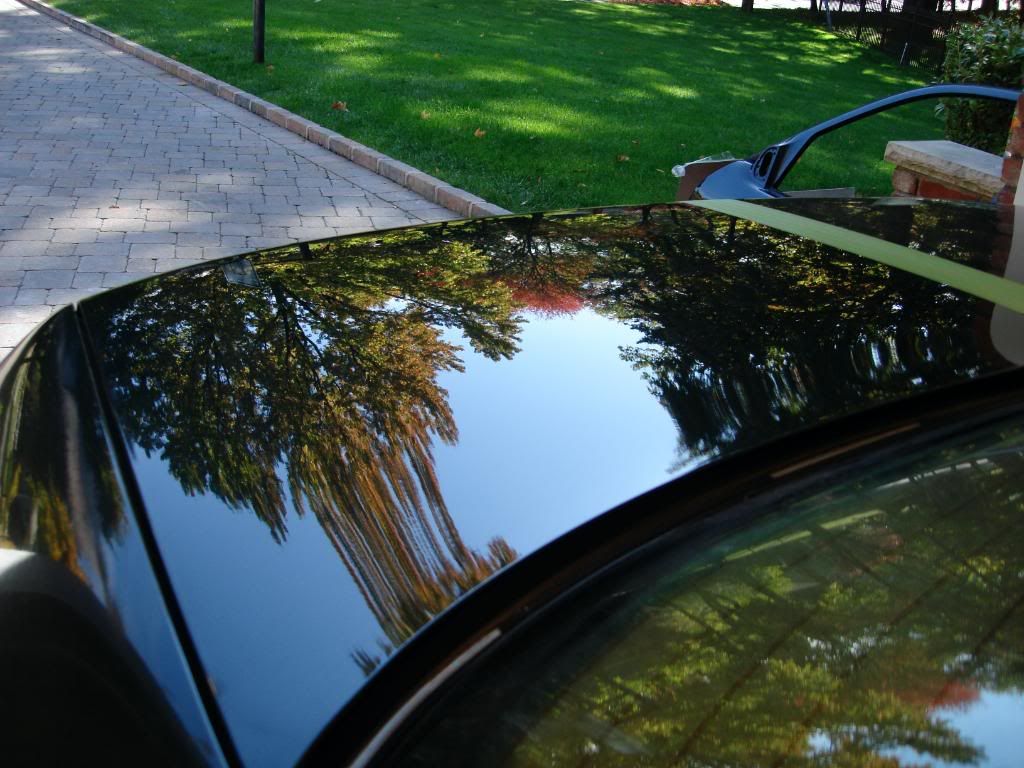
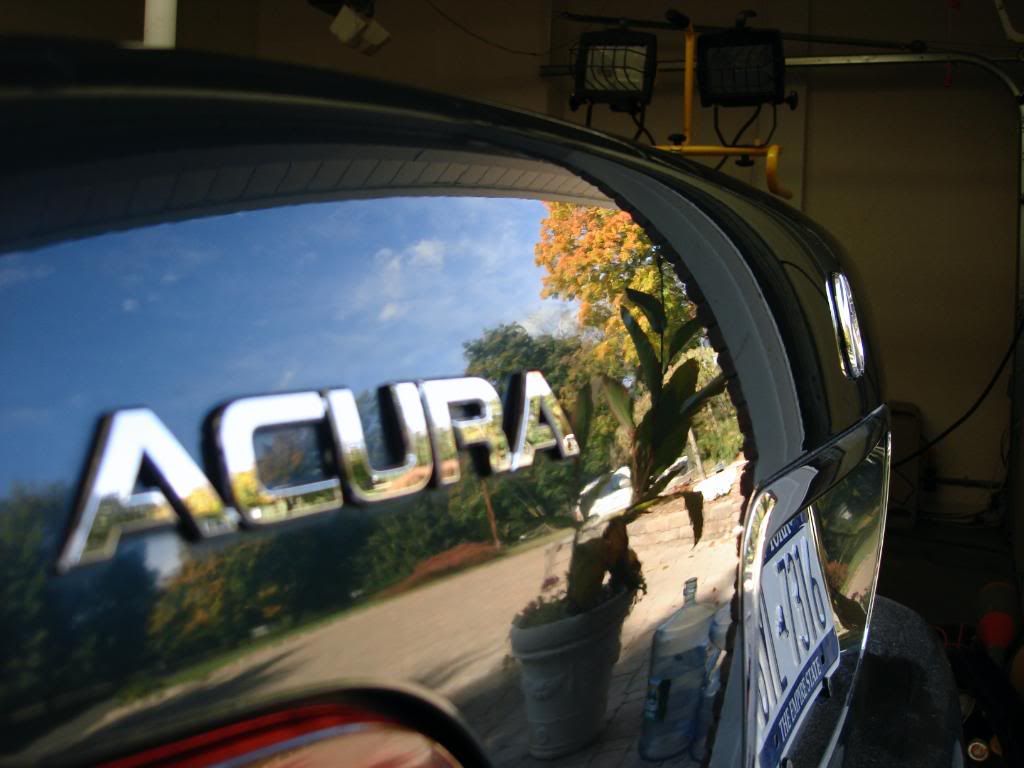
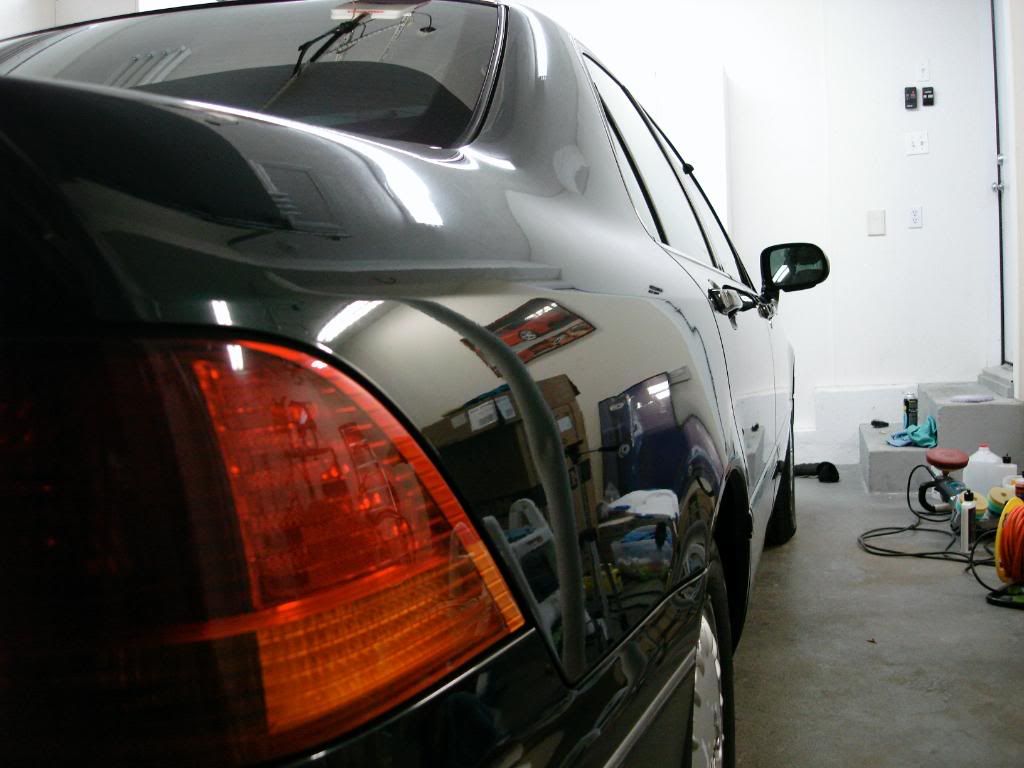
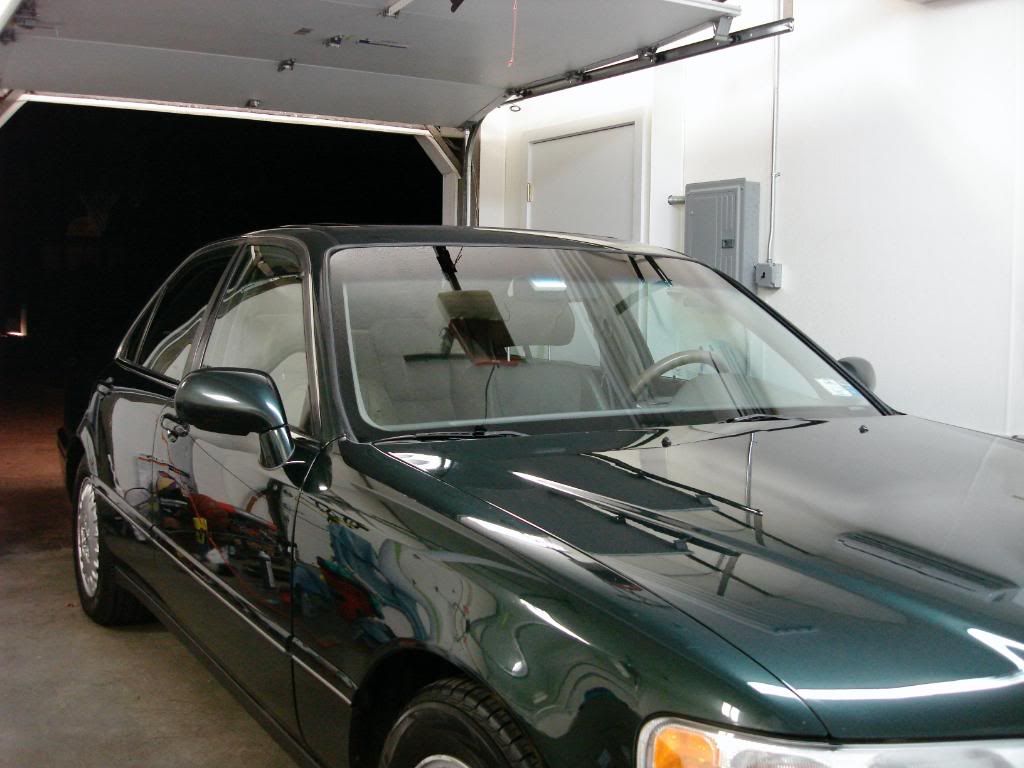
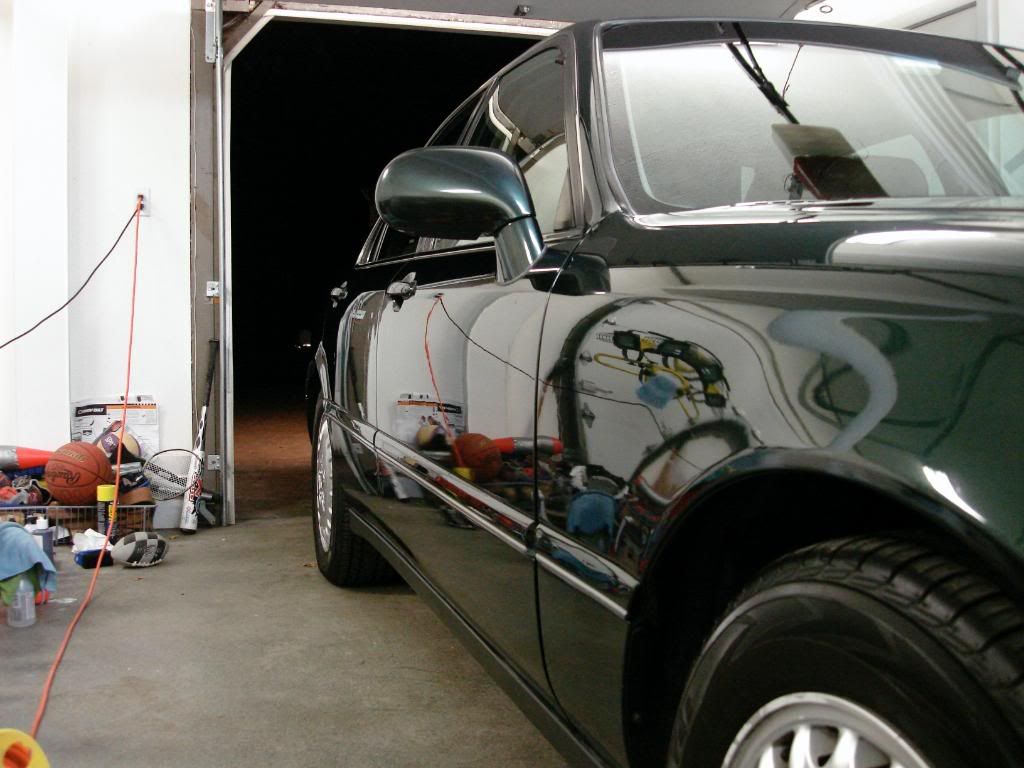
Some finished shots after polsihing at the IPA wipedown...
After polsihing only, no LSP
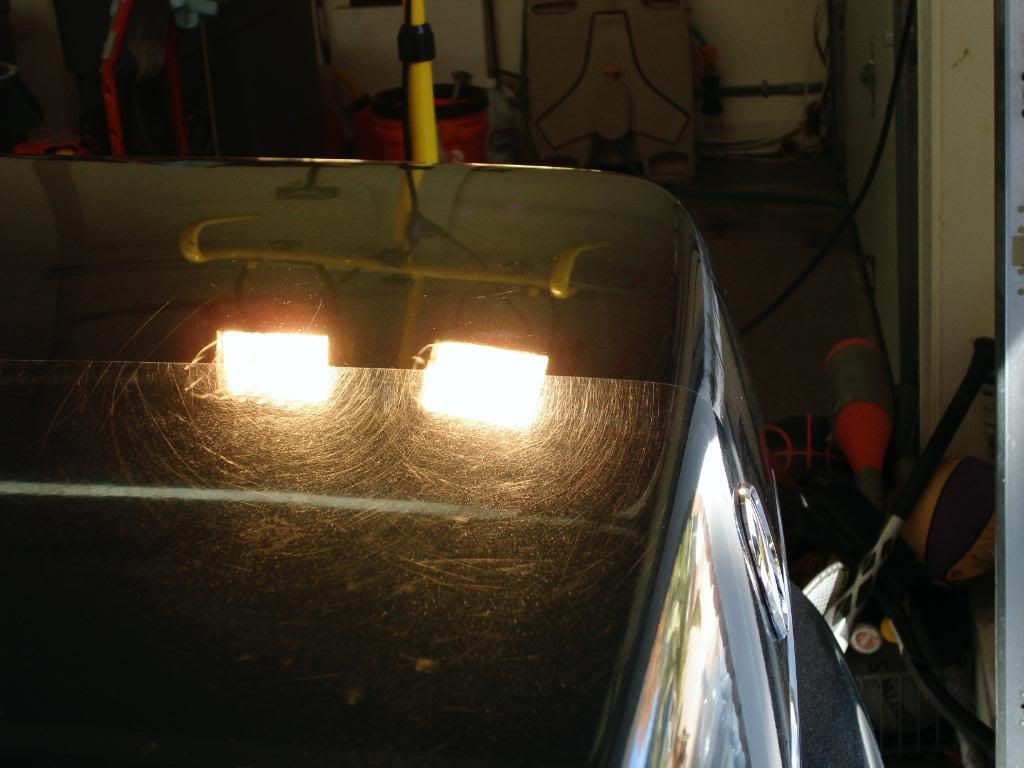
Now onto the biggest problem area...
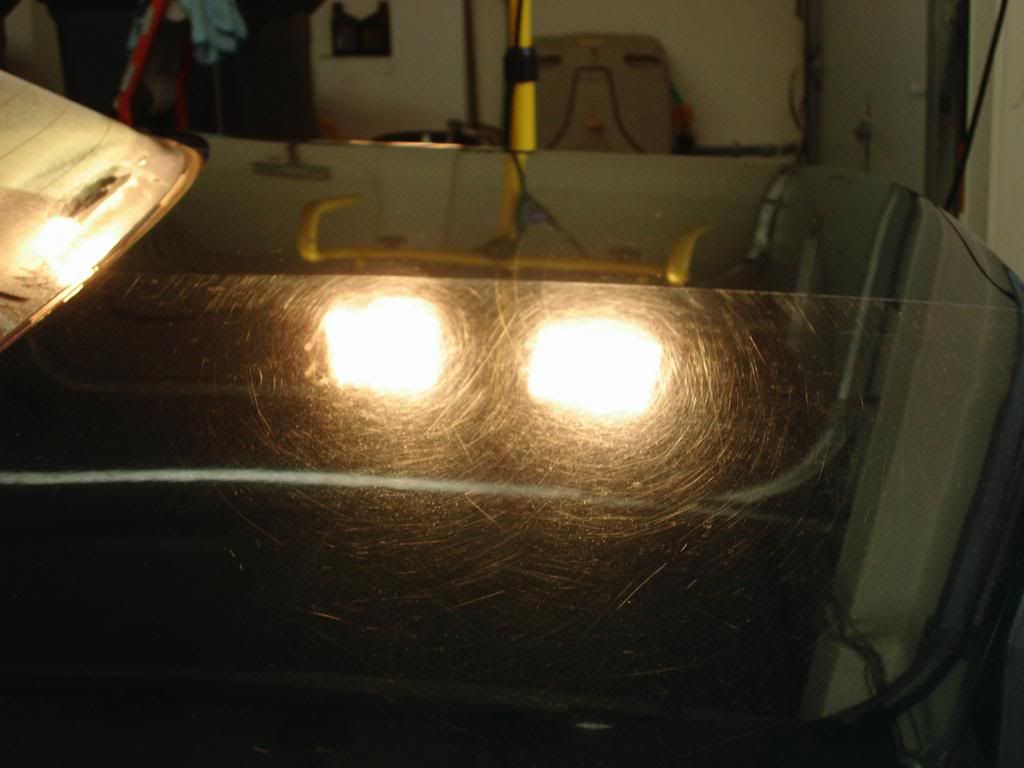
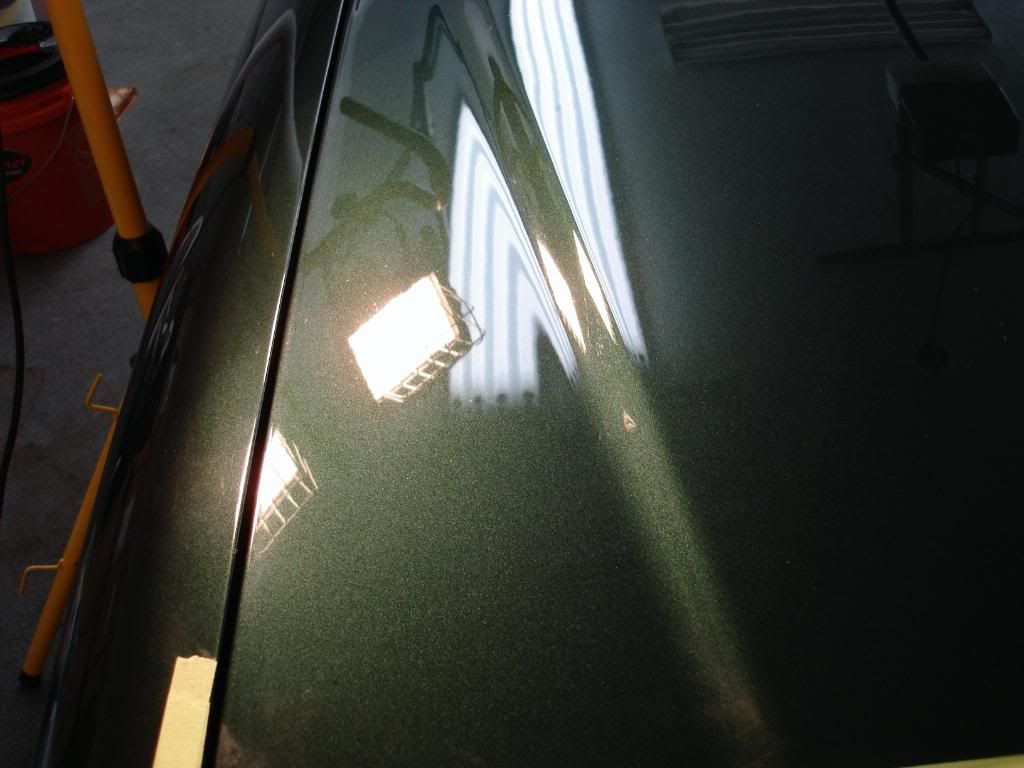
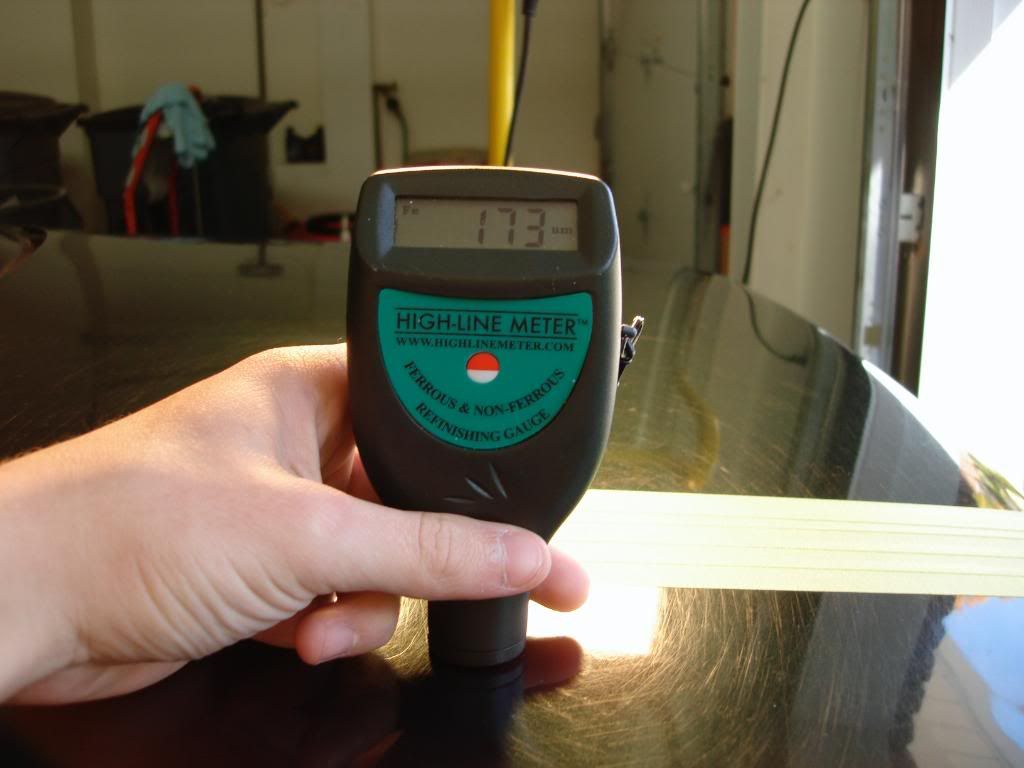
Some very deep RIDS and coarse swirls, i measured the paint with the PTG to see how much clear I had to play with...averaged 170-185microns which was plenty.
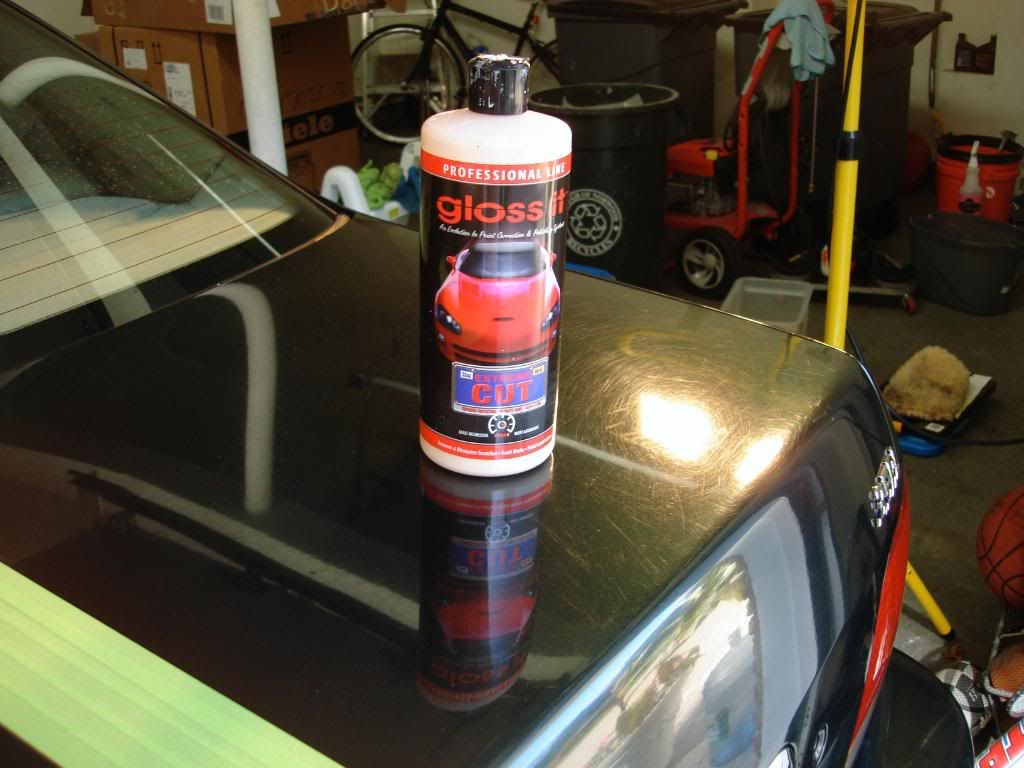
I went for the extreme cut right away
The sun was just coming out so I tried to catch some swirls while I could
The trunk was by far the worst part, ater under the halogens you will se the amount of deep RIDS
When I say "dull" this is what I mean, the car needed the gloss brought back in a big way
After cleaning the wheels, I washed the car using the 2BM and 2 white foam shmitts with Gloss Shampoo. The gloss shampoo is very mild and wont strip an LSP, since this car had no LSP anyway there was no need for a citrus based shampoo.
After washing I clayed the car with gloss it lavender clay (agressive) using Meguiars last touch 1:1 as lube. The car was mildly contaminated.
Now for the correction work. I worked a small portion of the hood as a test panel using the Makita at about 1500rpm with a Meguiars cutting pad using the Gloss It 1 step polish. This yielded about 70% correction but the deeper scratches werent touched so I stepped up to the gloss it 8" lambswool pad and gloss it extreme cut compound. I worked it at 1500rpm and jeweled it down to about 1000, I then followed that up with the gloss it 1 step machine polish on a foam polishing pad.
The 8" lambswool pad, I like it because it has enough cut to polish out deeper defects but its not as coarse as some of blended wools out there. The hologramming was very minimal after jeweling down the extreme cut to about 1000rpm, I added some of the gloss it QD during the polishing stages to get more work time out of the compounds and polishes.
Here is a 50/50
Some finished shots after polsihing at the IPA wipedown...
After polsihing only, no LSP
Now onto the biggest problem area...
Some very deep RIDS and coarse swirls, i measured the paint with the PTG to see how much clear I had to play with...averaged 170-185microns which was plenty.
I went for the extreme cut right away