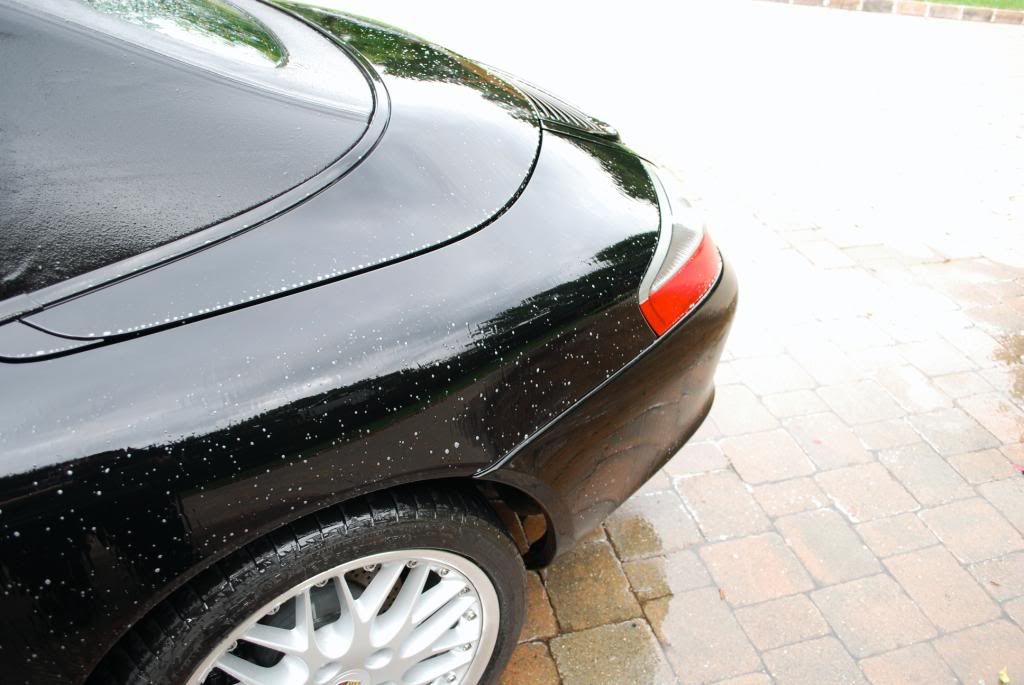
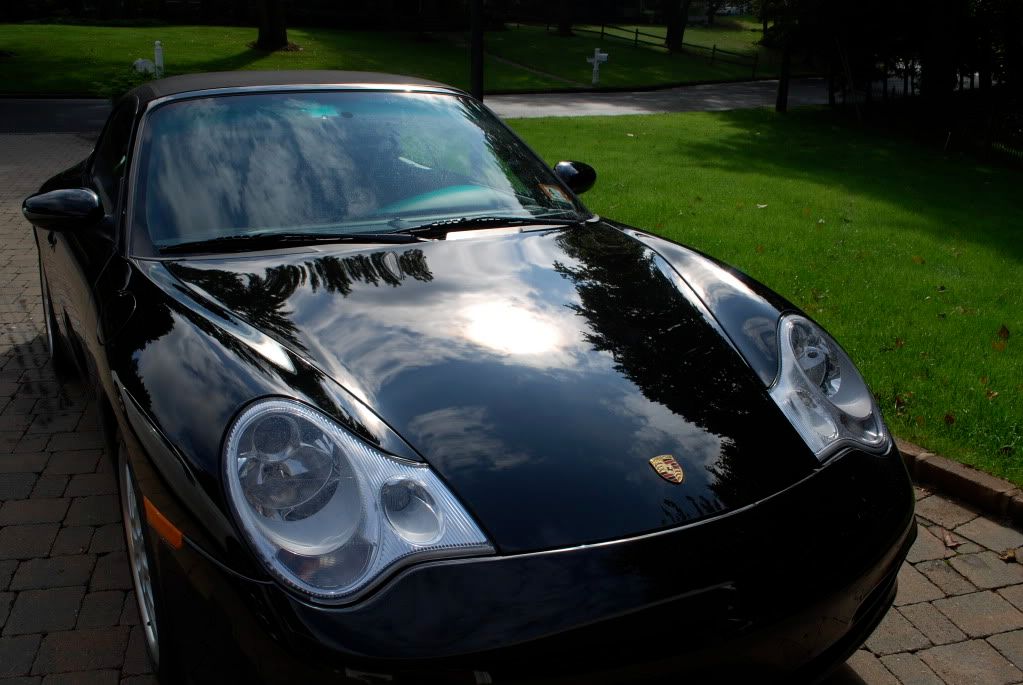
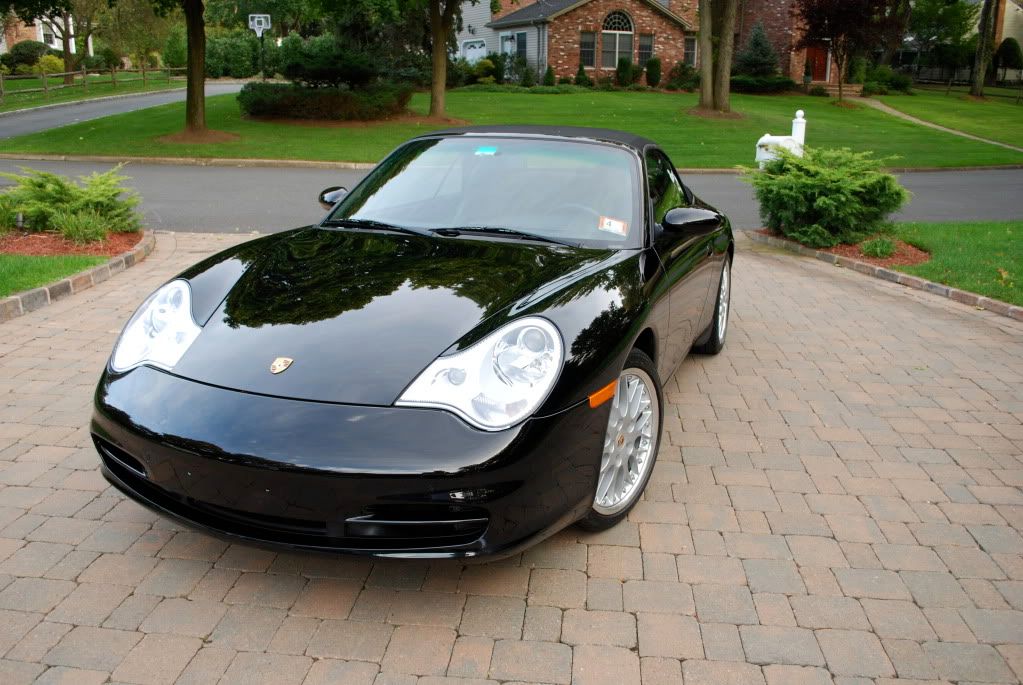
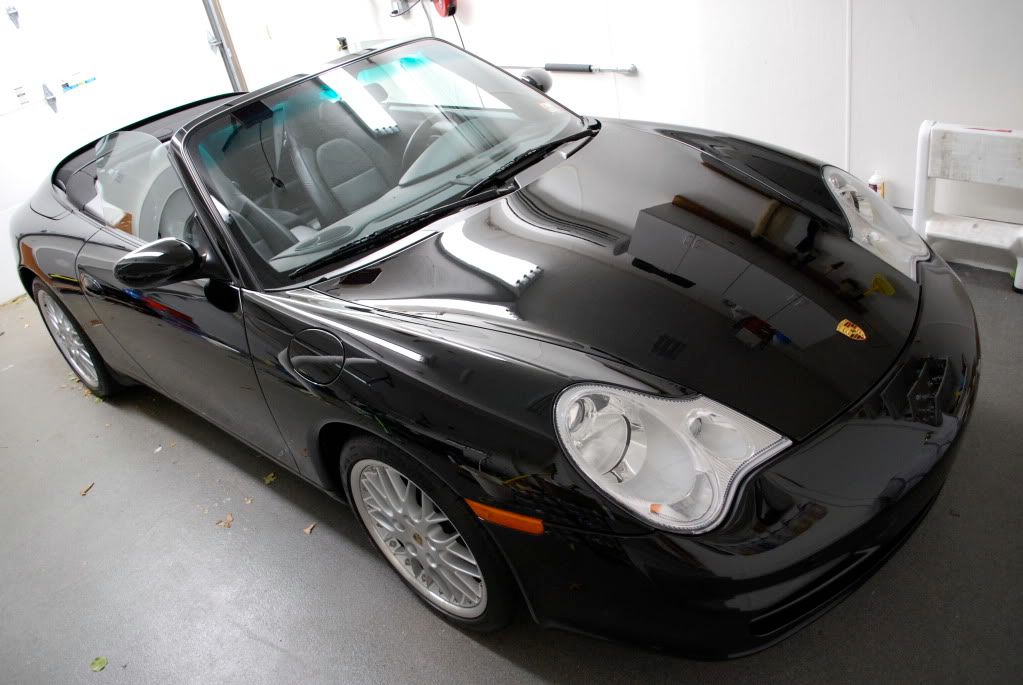
Black Porsche 911, hands down the swirliest car I have corrected to date.
I did this car well over a month ago, just haven’t had the time to sort through all the pictures and put a write-up together.
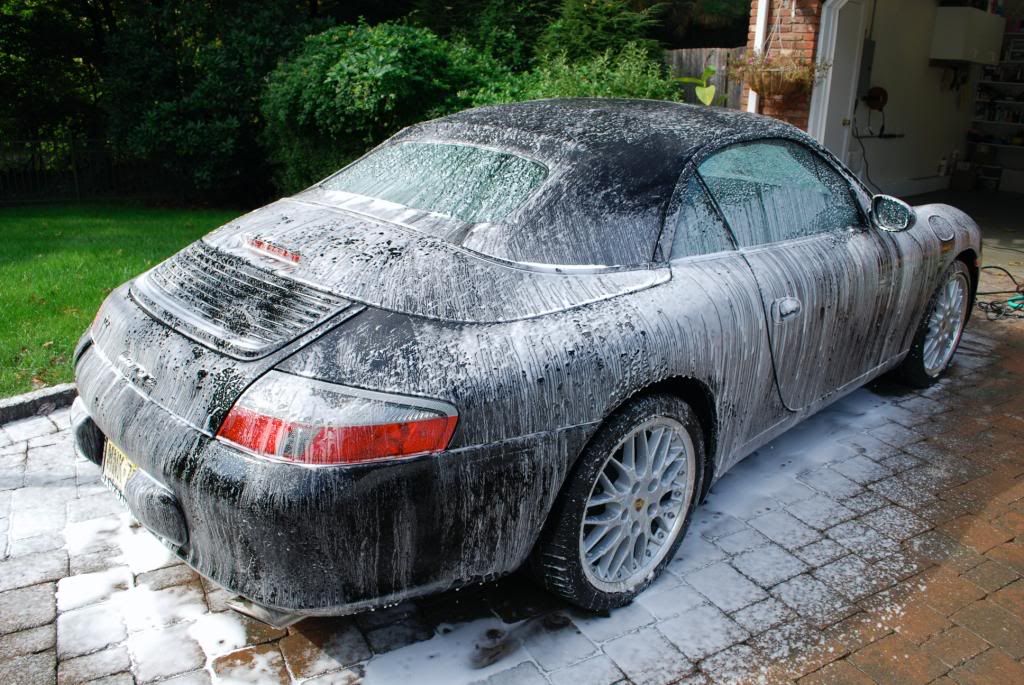
Started off with the wash process. Did the wheels first, various wheel cleaners and brushes used. De-tarred the inner barrels Tires and wheel wells scrubbed.
Ragtop pressure washed and cleaned first.

Pre-soaked the finish with a biodegradable APC, needed the finish fully stripped before correction.
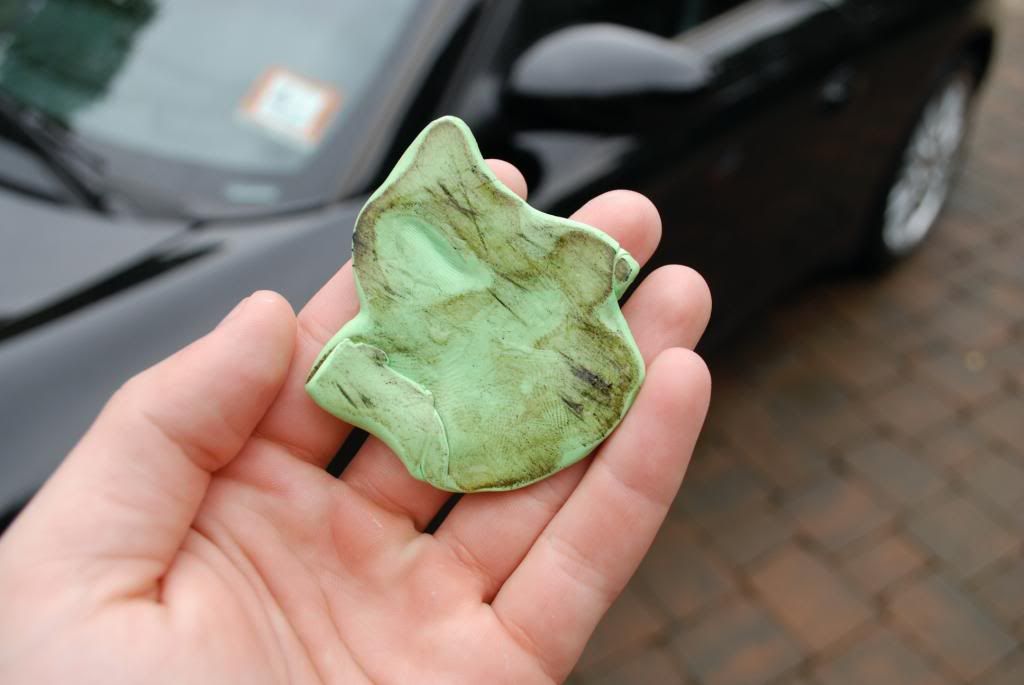
2BM using concentrated shampoo/degreaser and MF mitts. I then clayed the car, used up 90% of a bar unfortunately.
Clay after some of the hood...
I dried the car with some DetailersDomain waffles and gave the paint an IPA wipedown to prep it for correction. All emblems and edging were taped off after the alcohol prep.
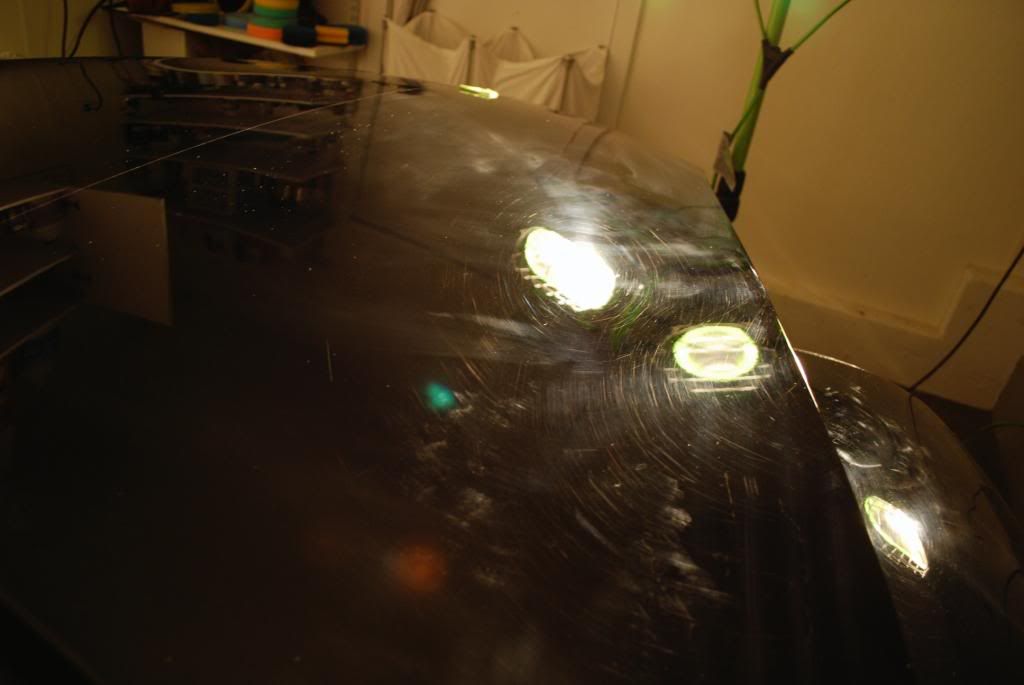
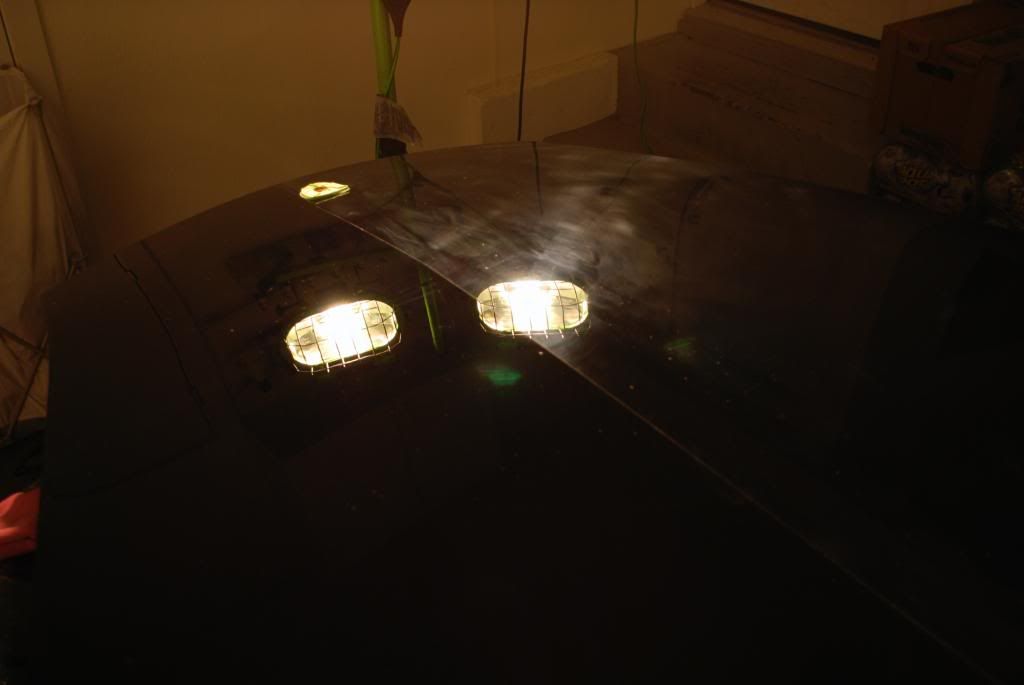
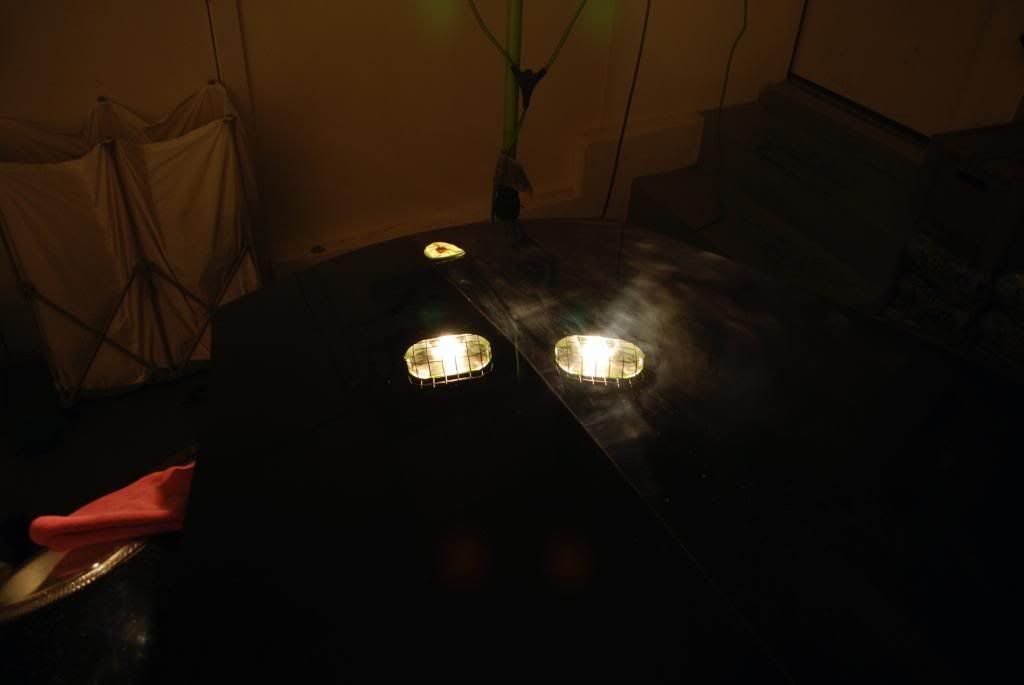
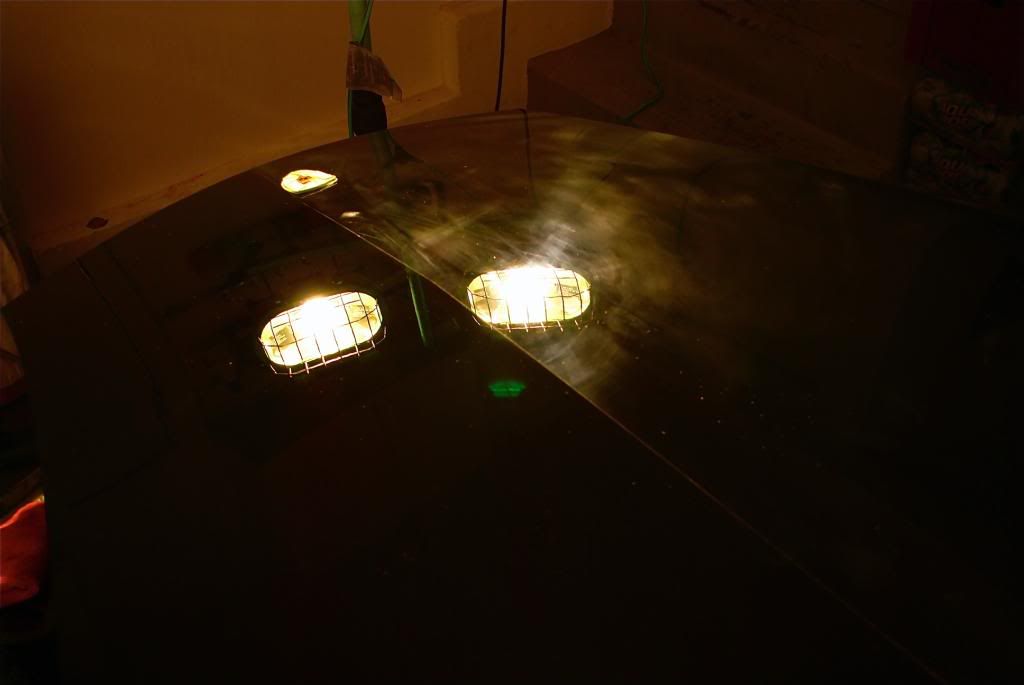
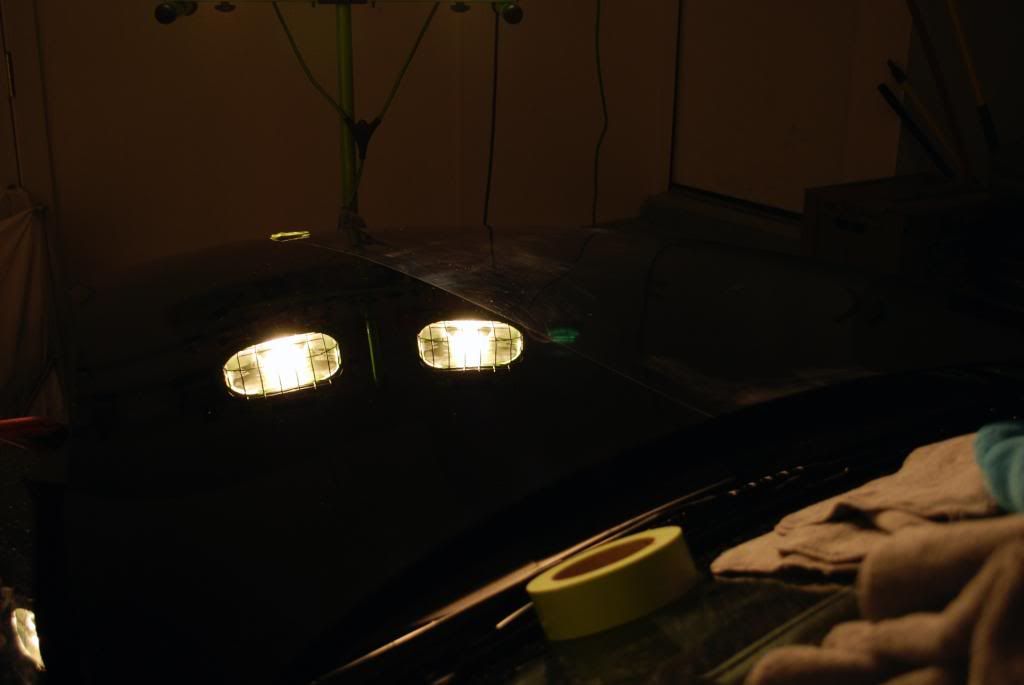
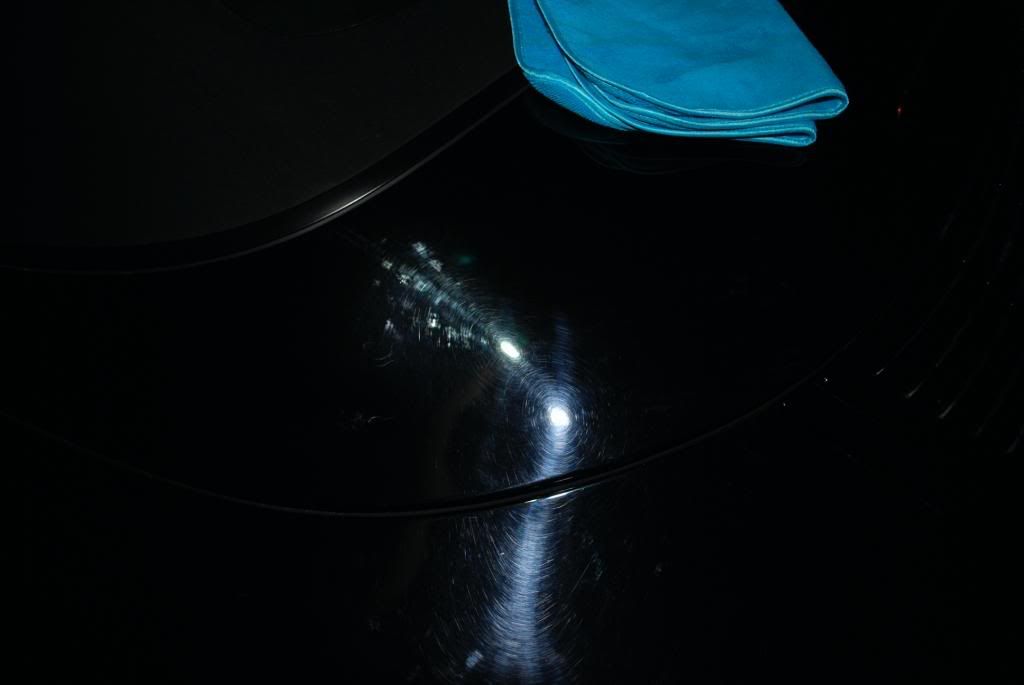
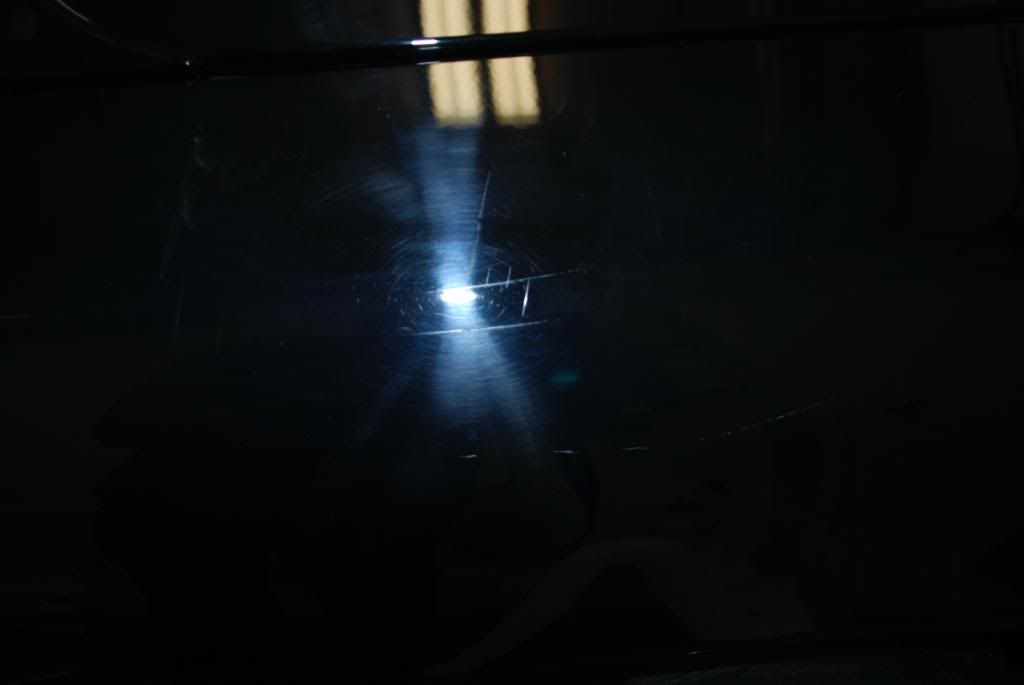
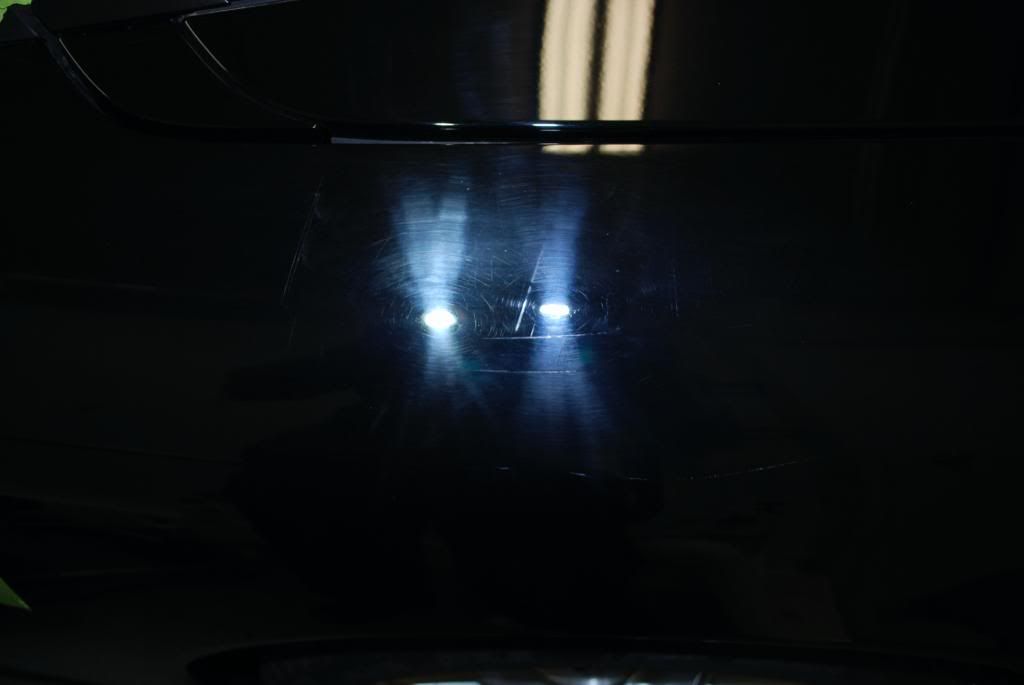
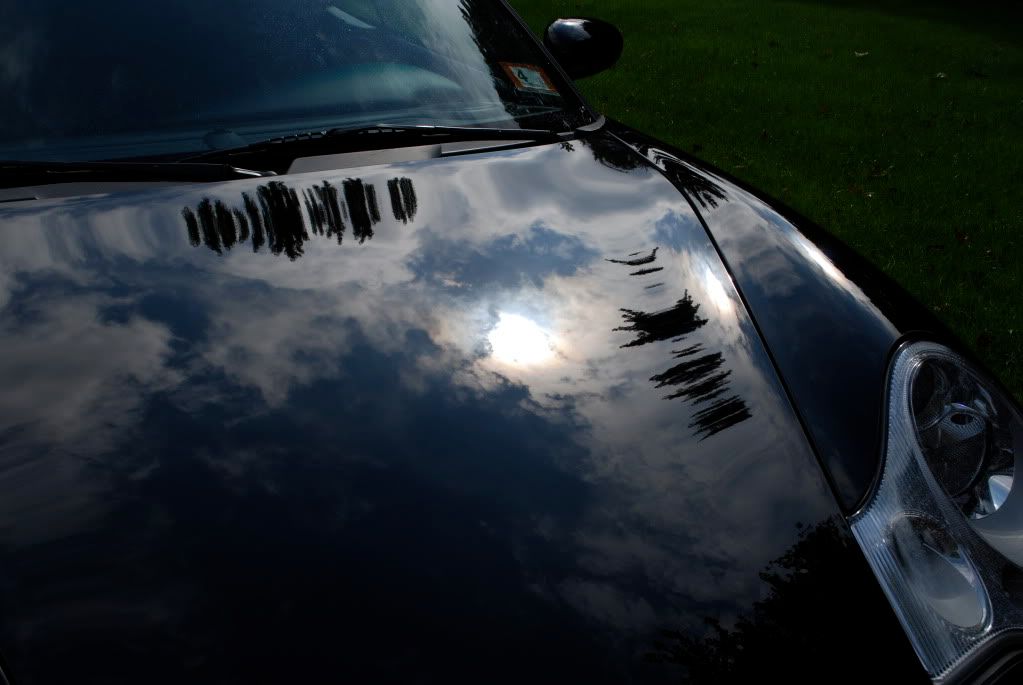
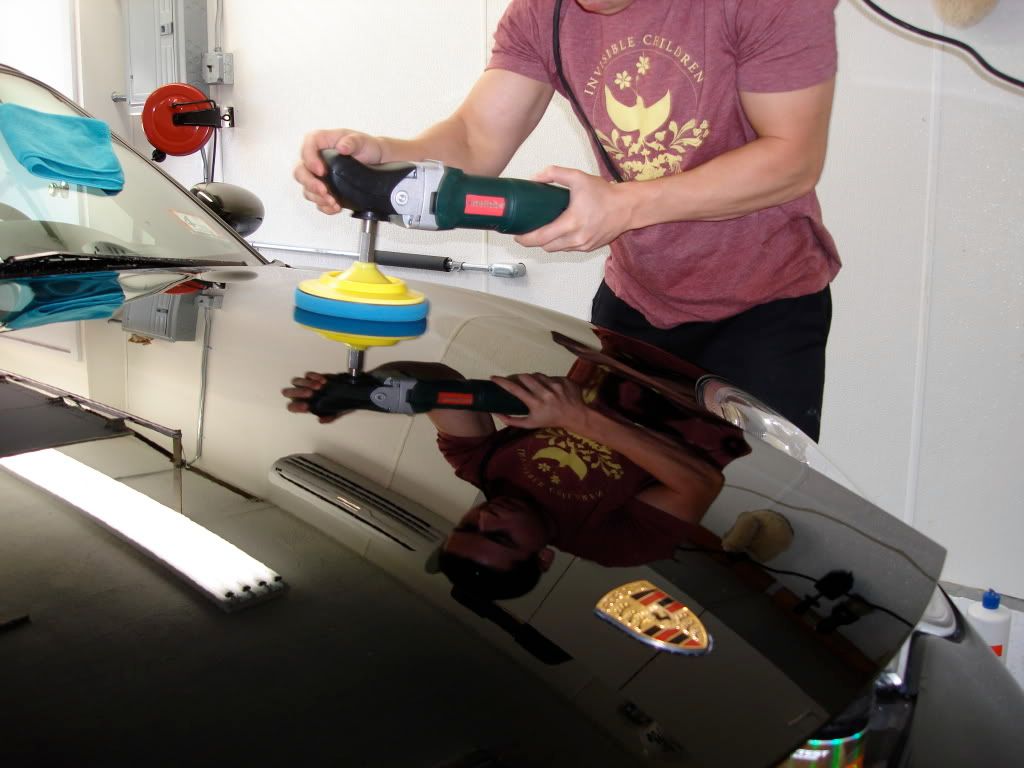
Onto correction, paint had some issues ...
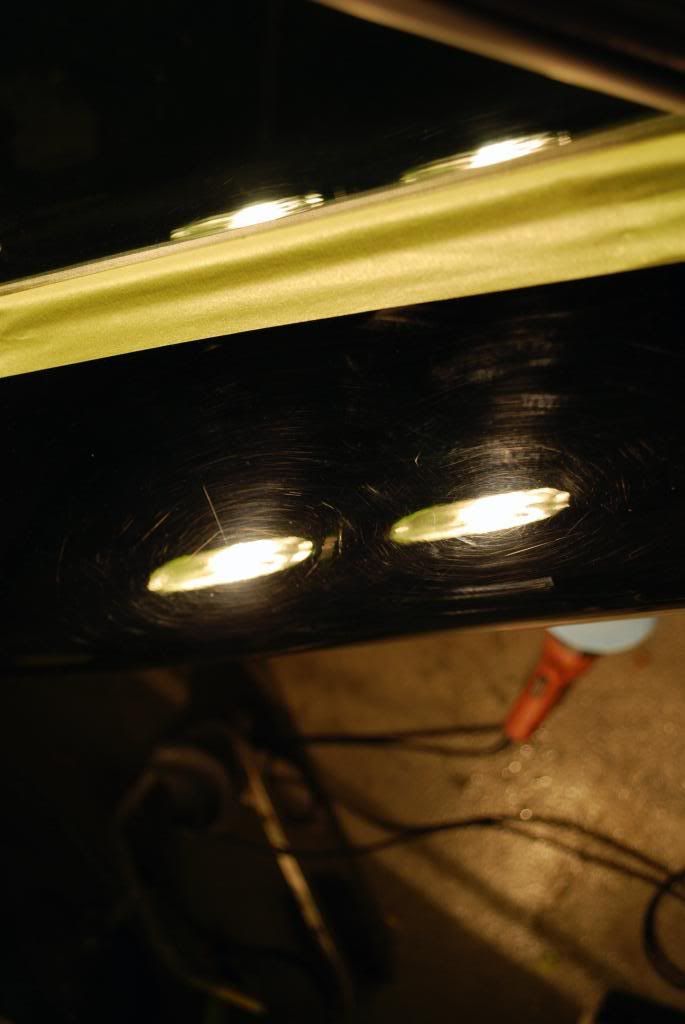
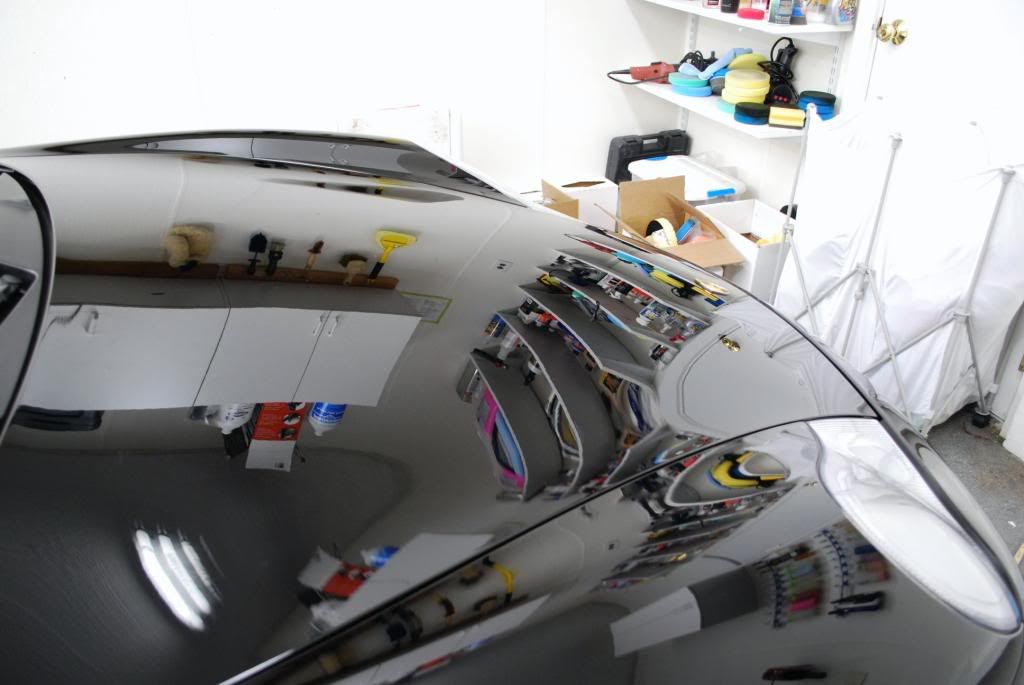
The finish had a very hazed look, almost gray. Lost of rids, marring and some water etching.
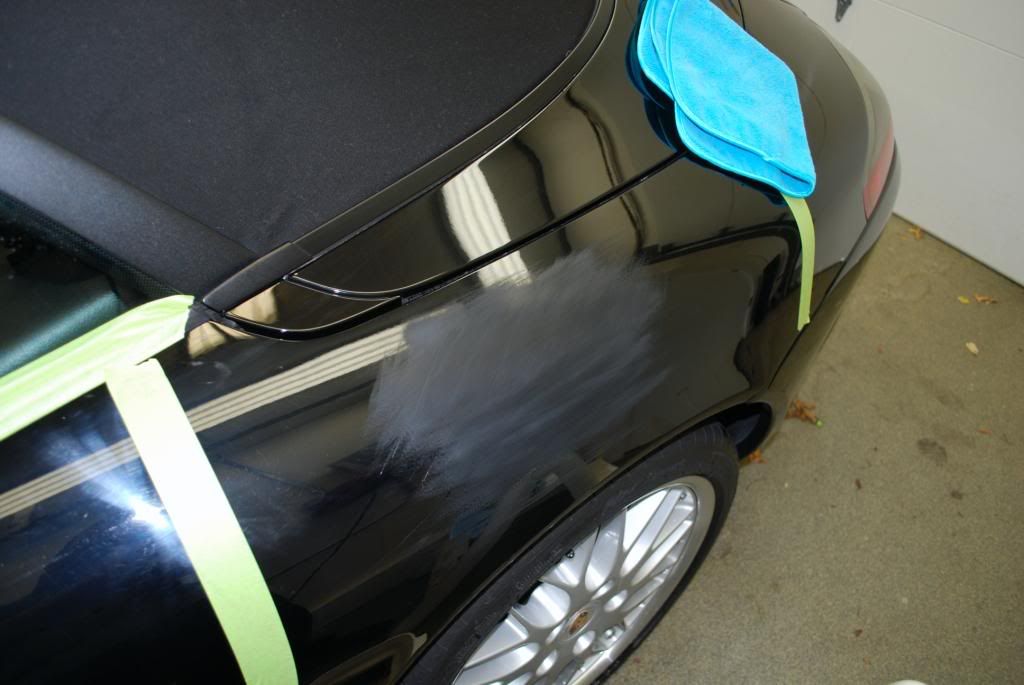
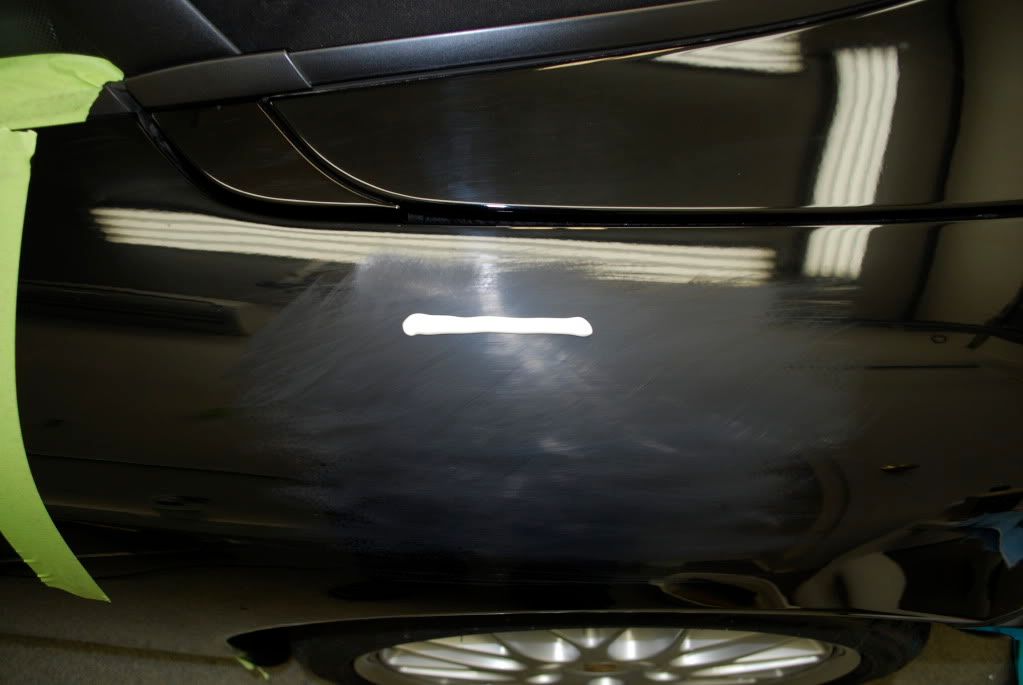
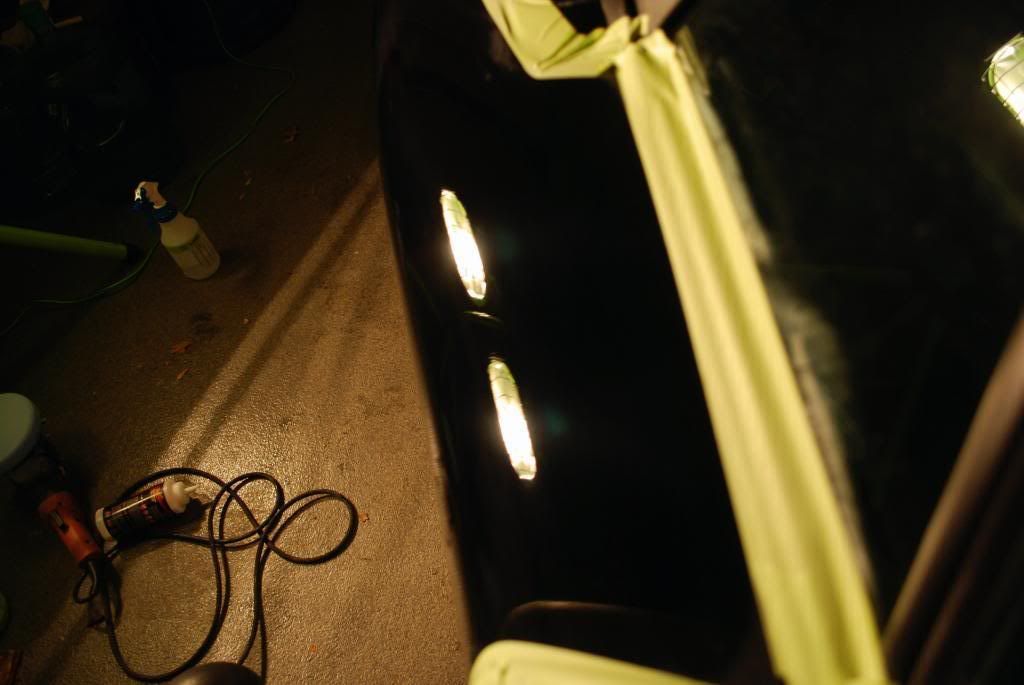
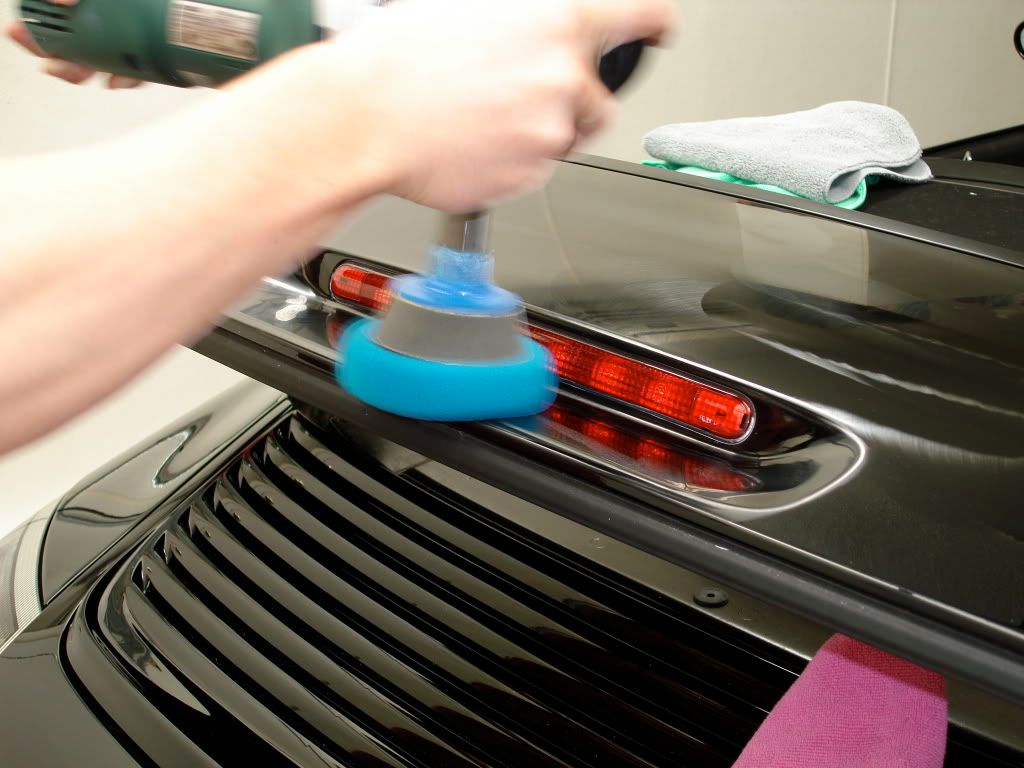
50/50 after the first 3 stages of correction, a total of 4 correction stages were needed to get the car to a 98-100% level. I waited to finish the car down completely until I did the final wash on it after all the compounding… lots of wetsanding combined with some wool correction makes for a very messy car with some splatter and residue.
Much easier to just gently re-wash the car rather than continually doing alcohol wipedowns, less friction in trying to remove polish dots and residue when you use a slick soap and proper wash.
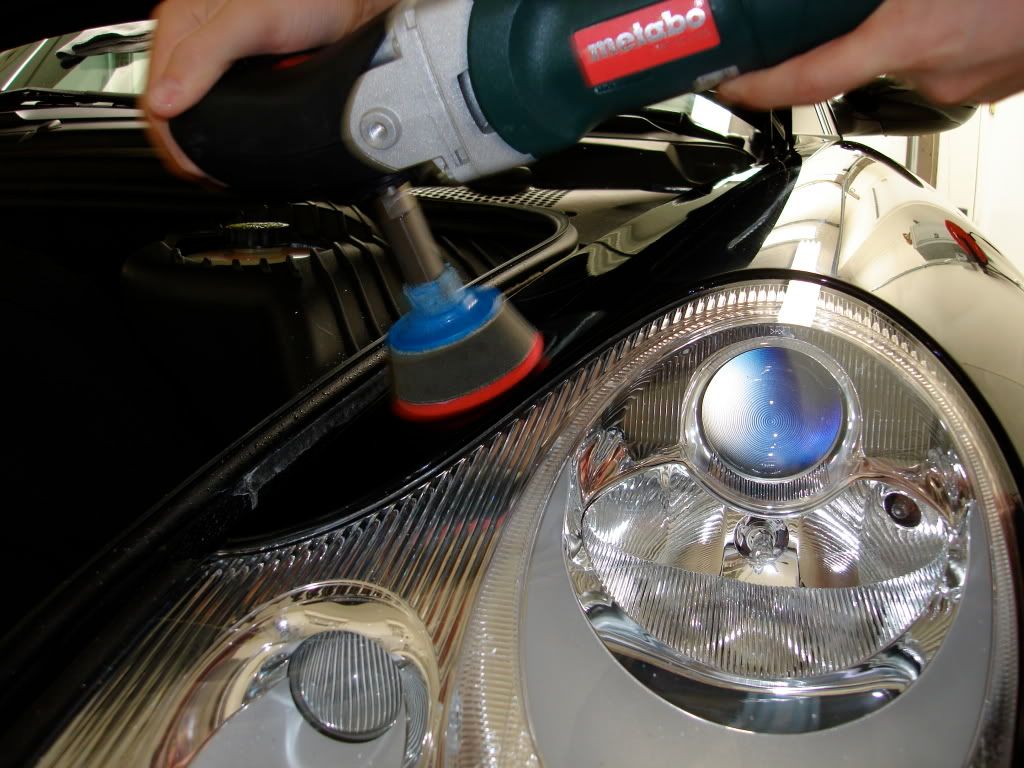
In compounding with a very very aggressive method, 3-4 hits were needed to get out the very heavy defects.
Video 50/50 of the hood
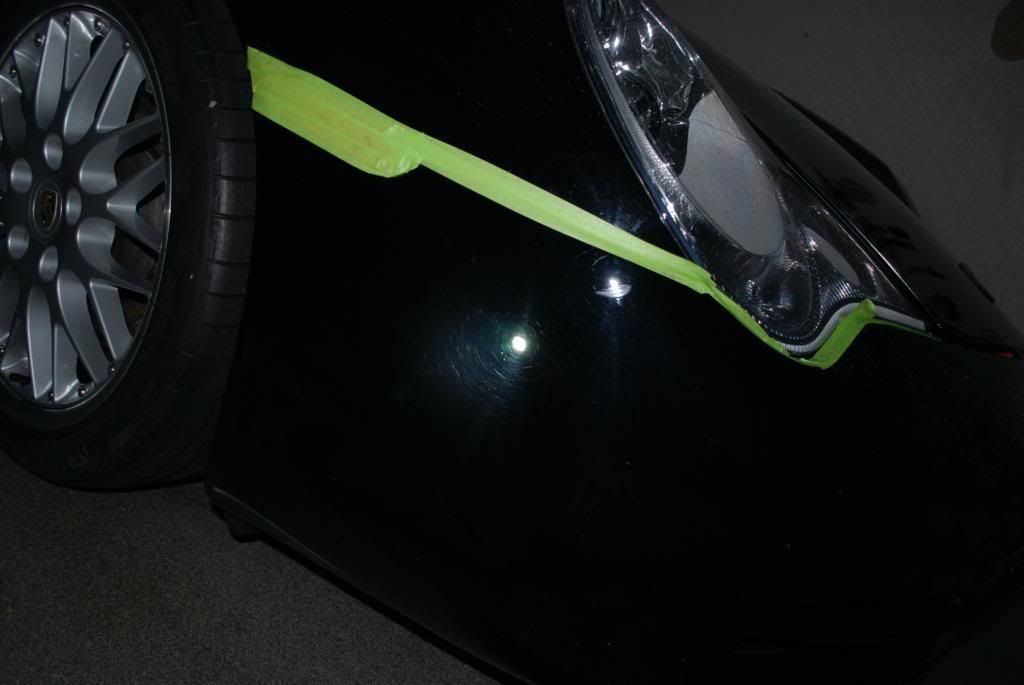
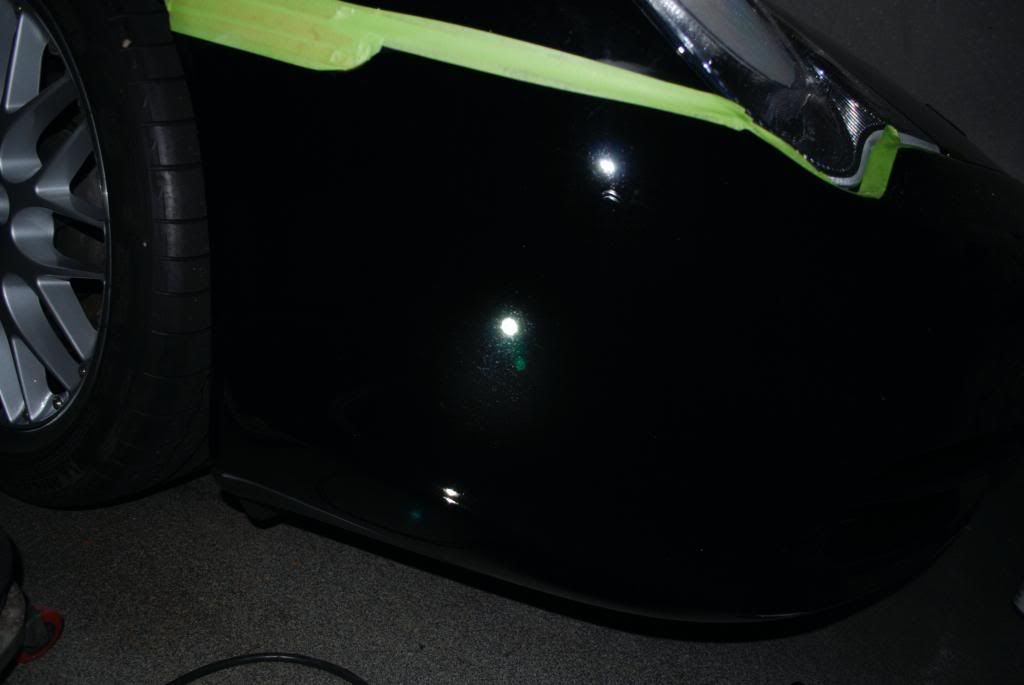
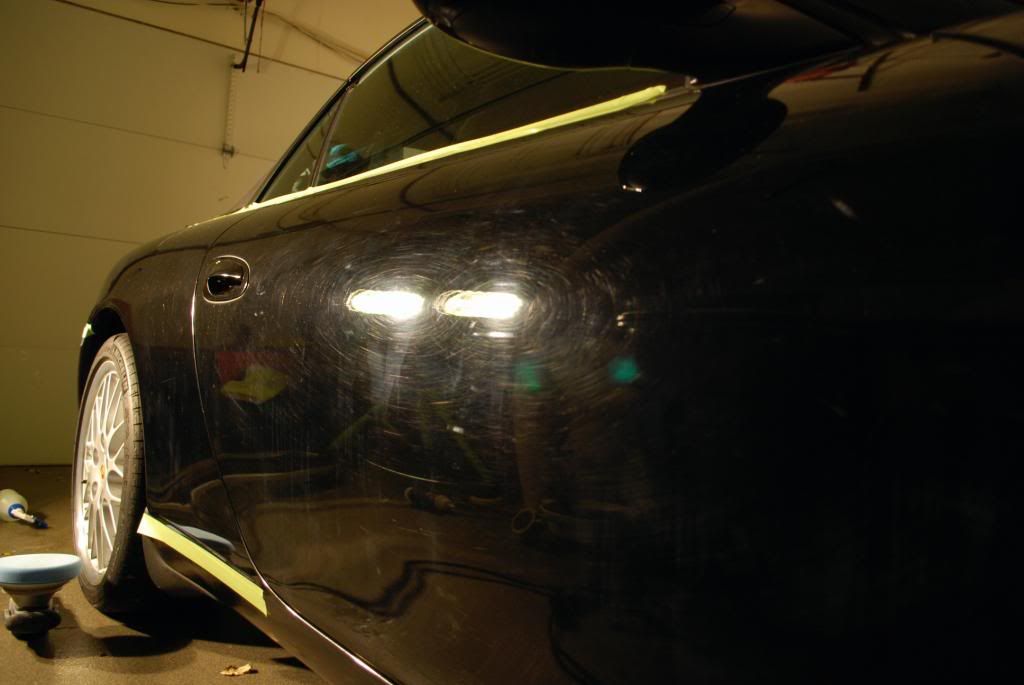
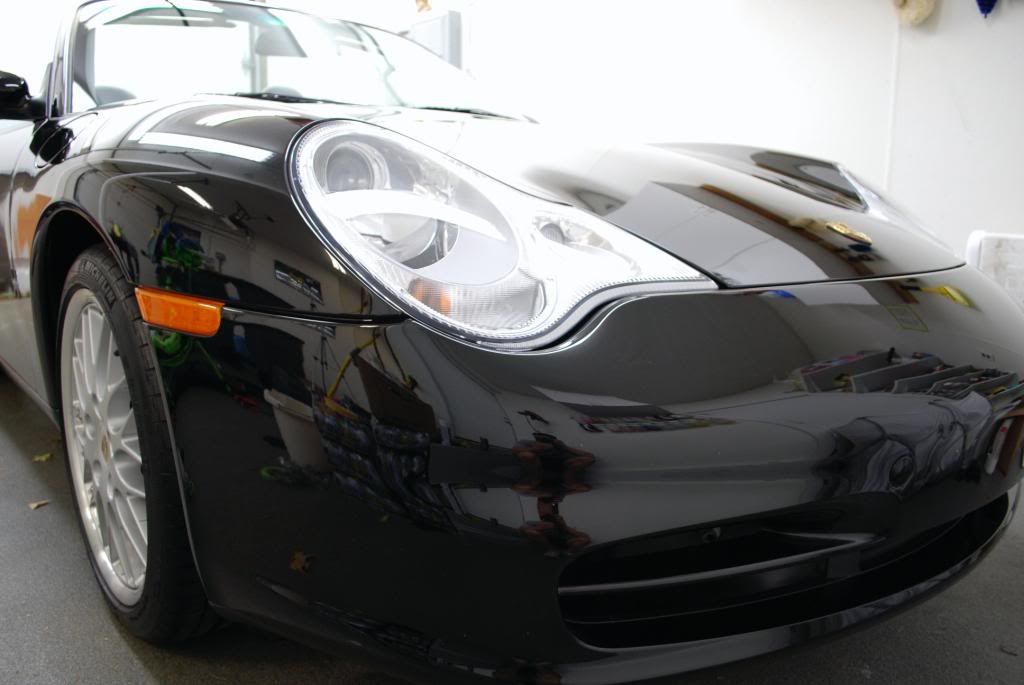
Front bumper before
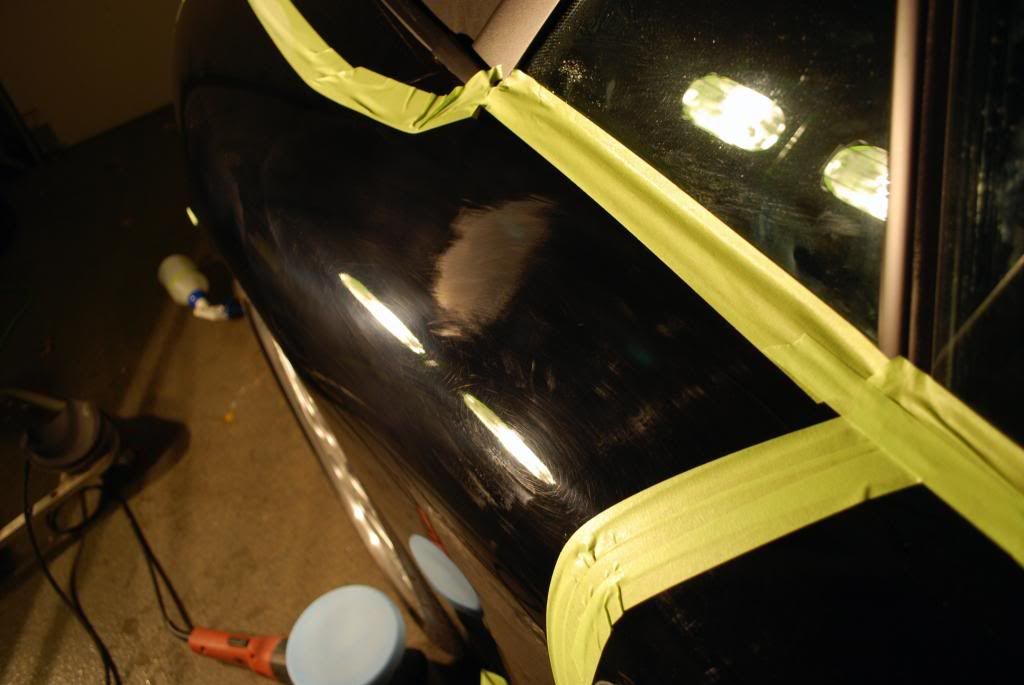
Making progress...
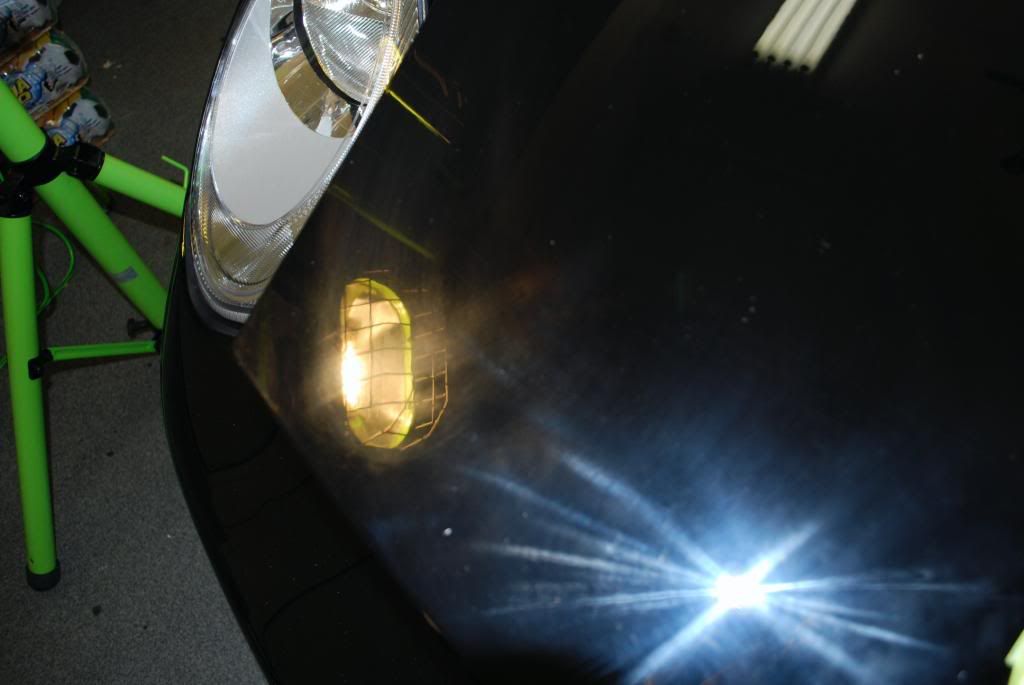
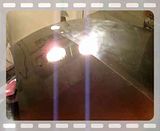
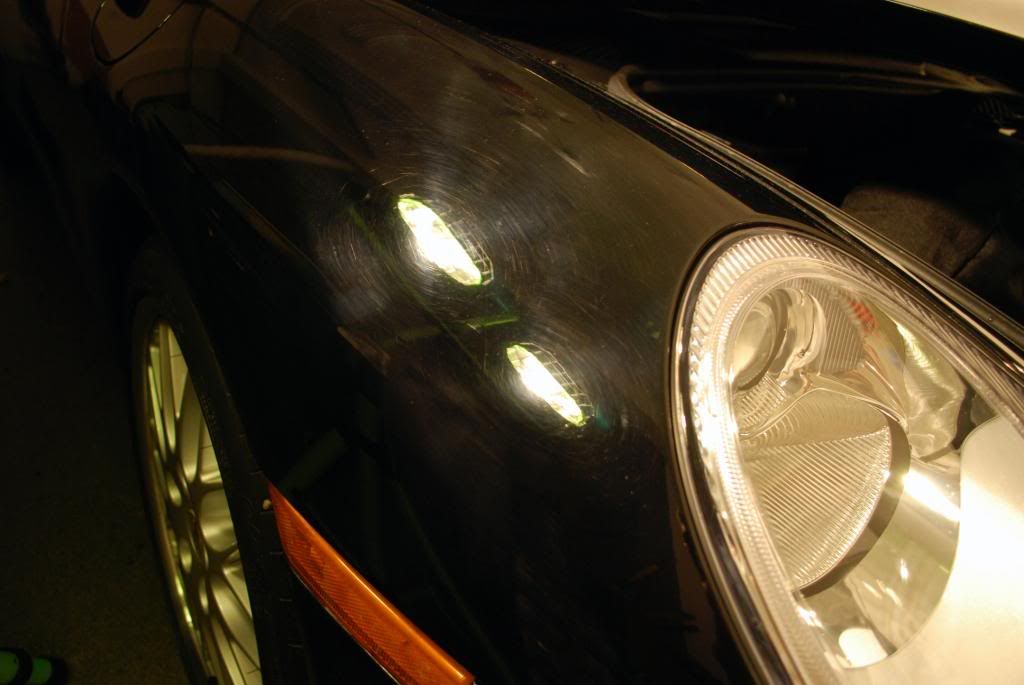
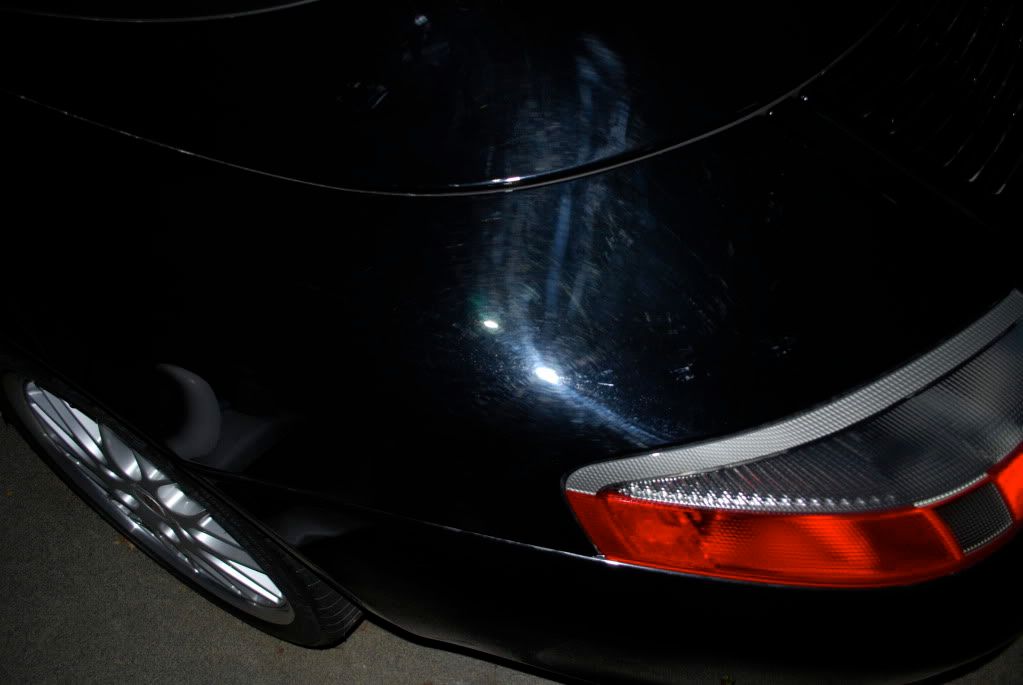
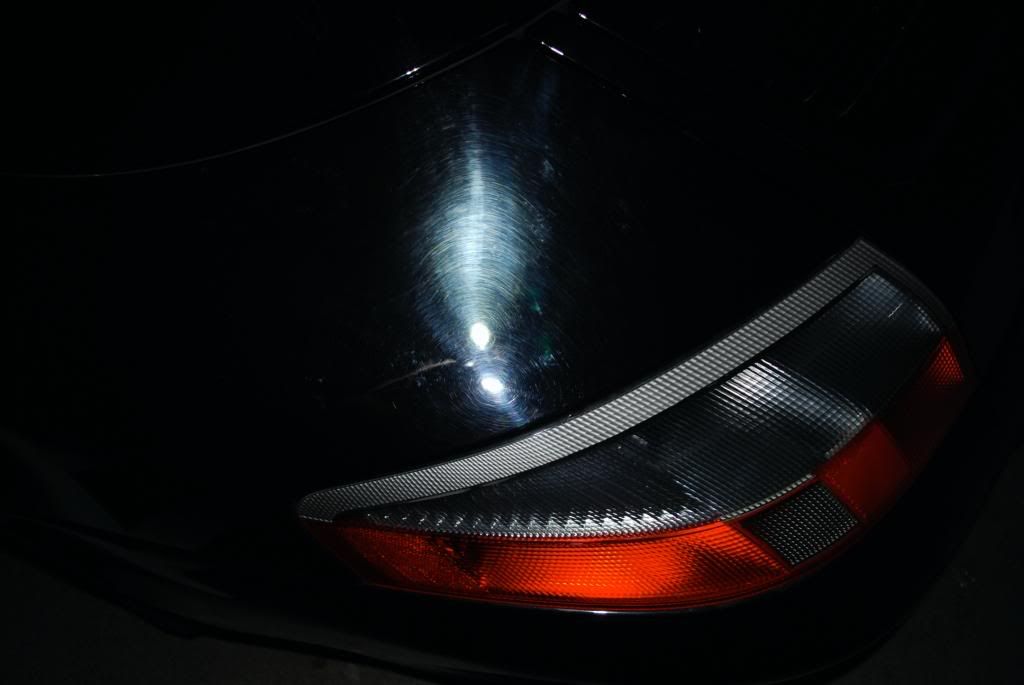
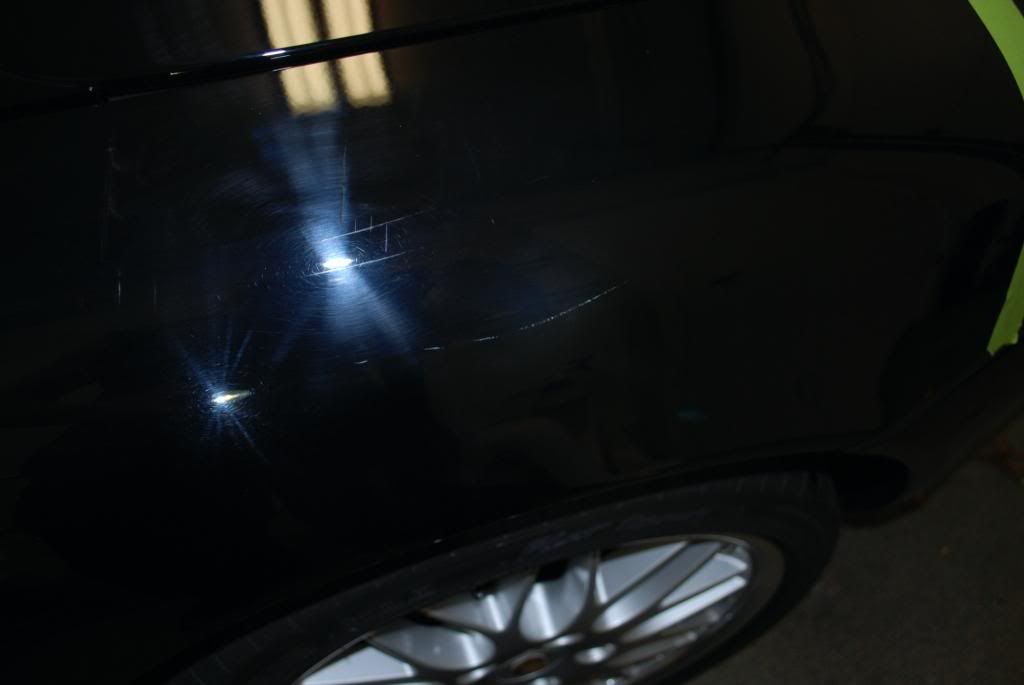
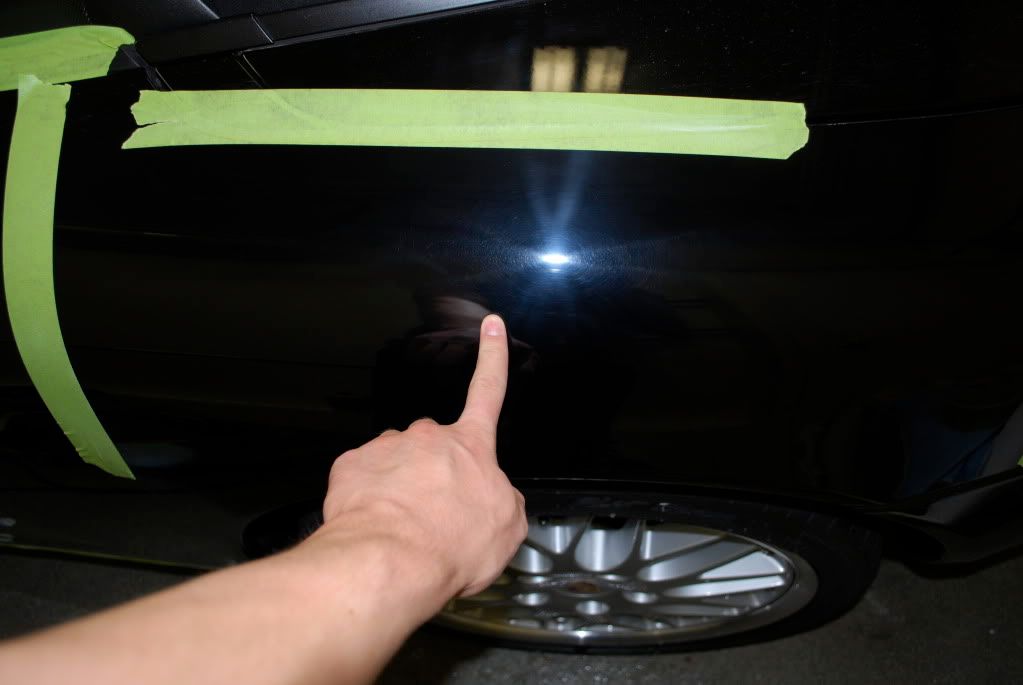
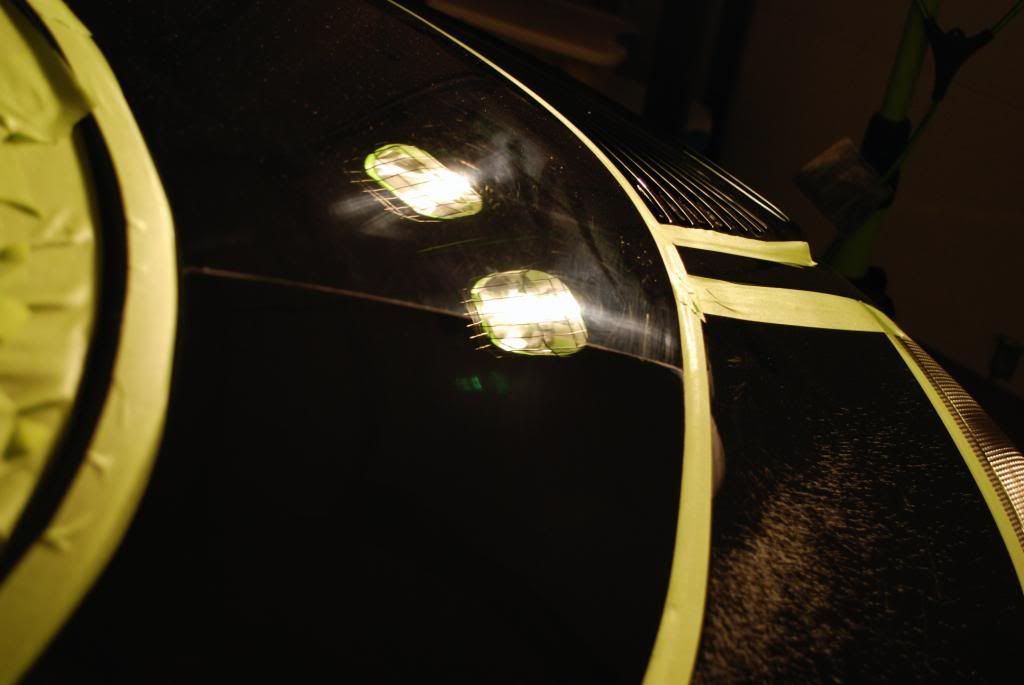
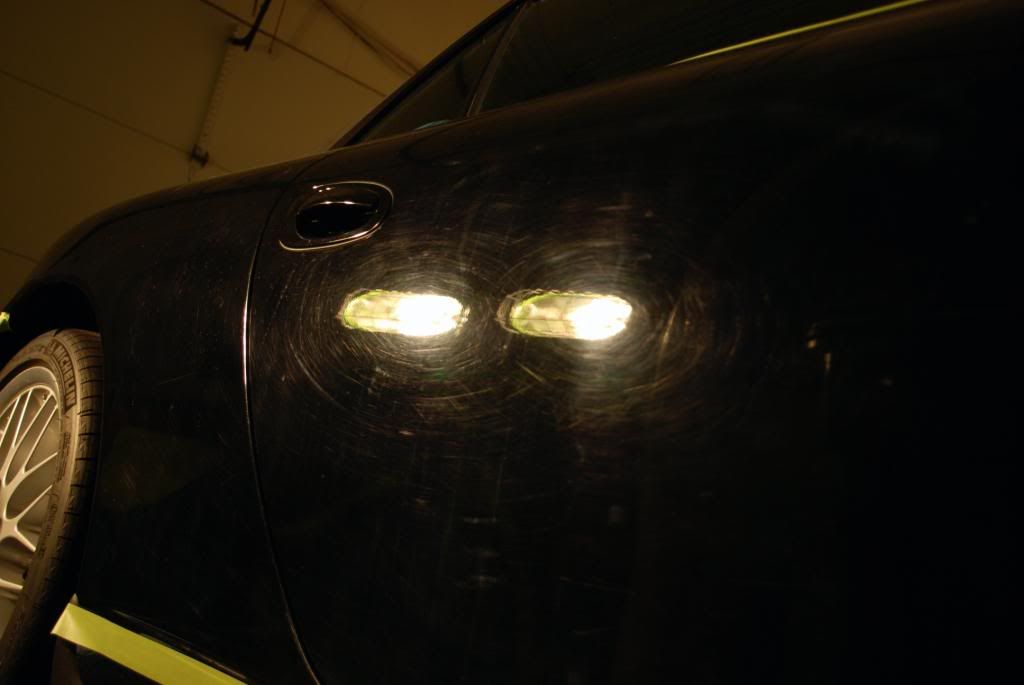
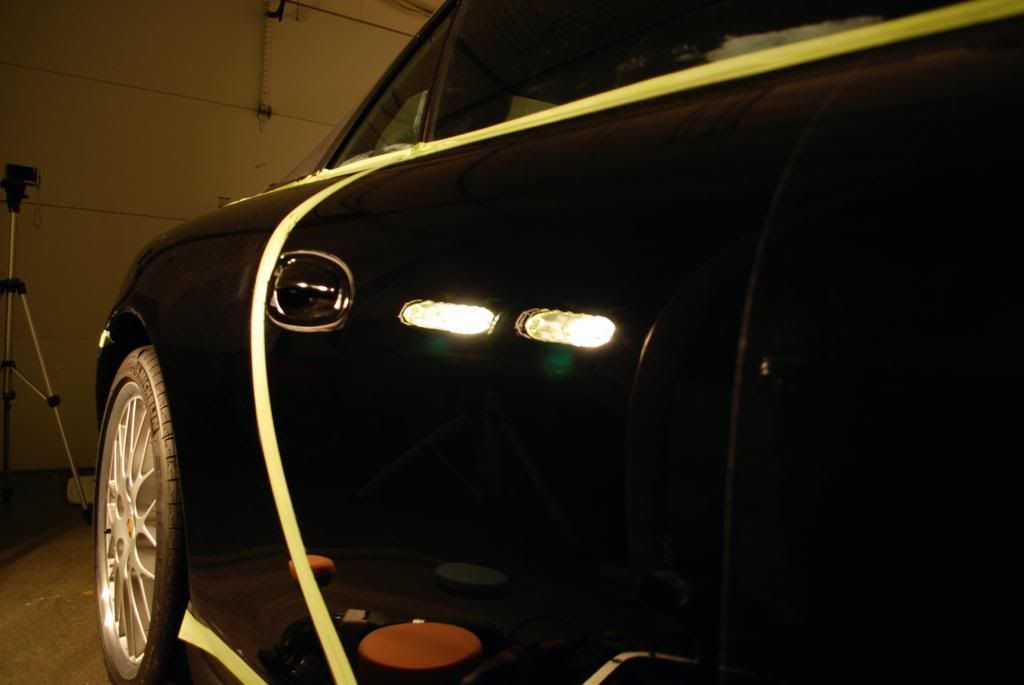
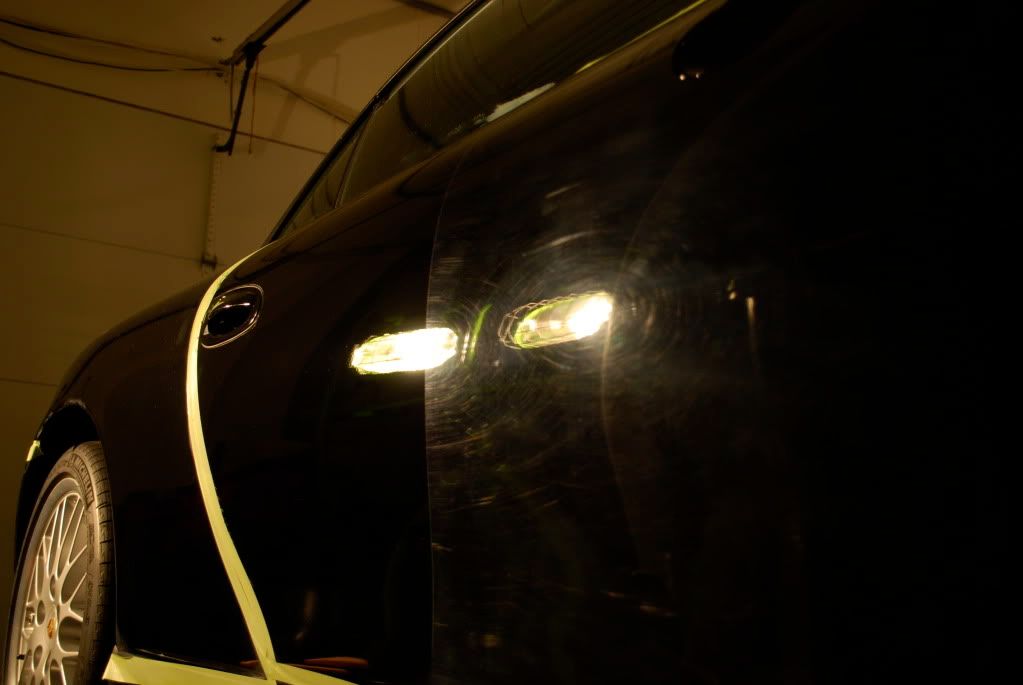
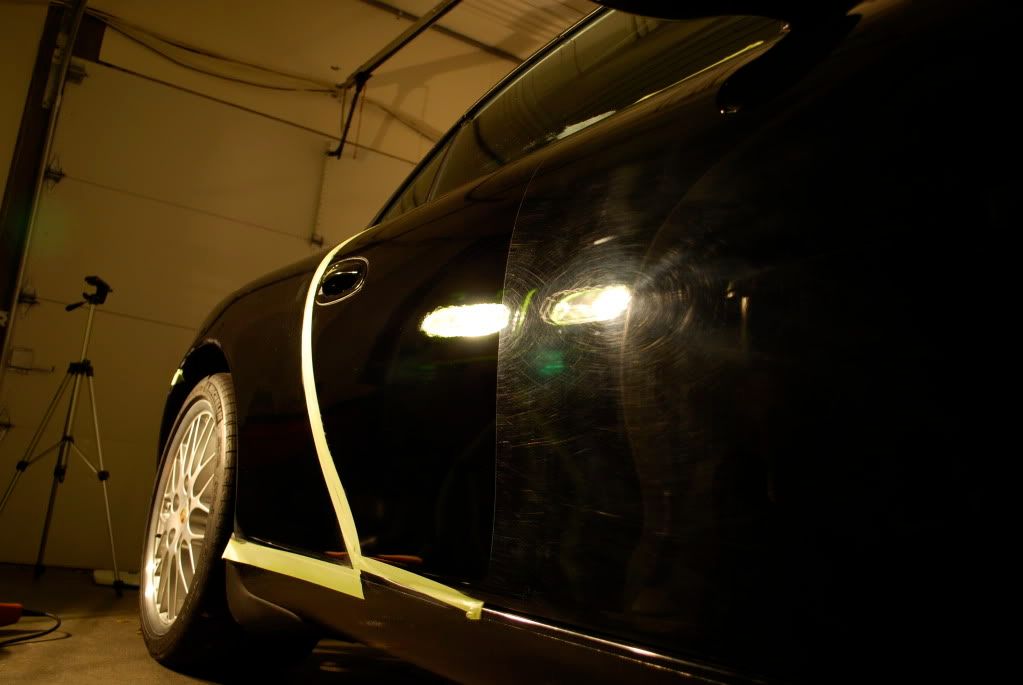
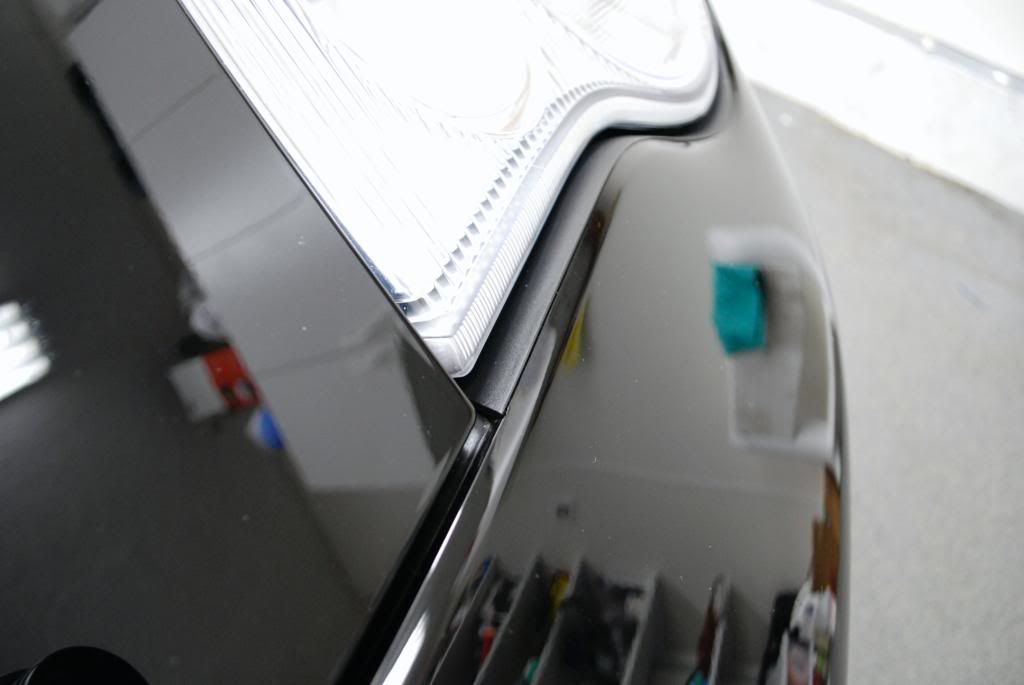
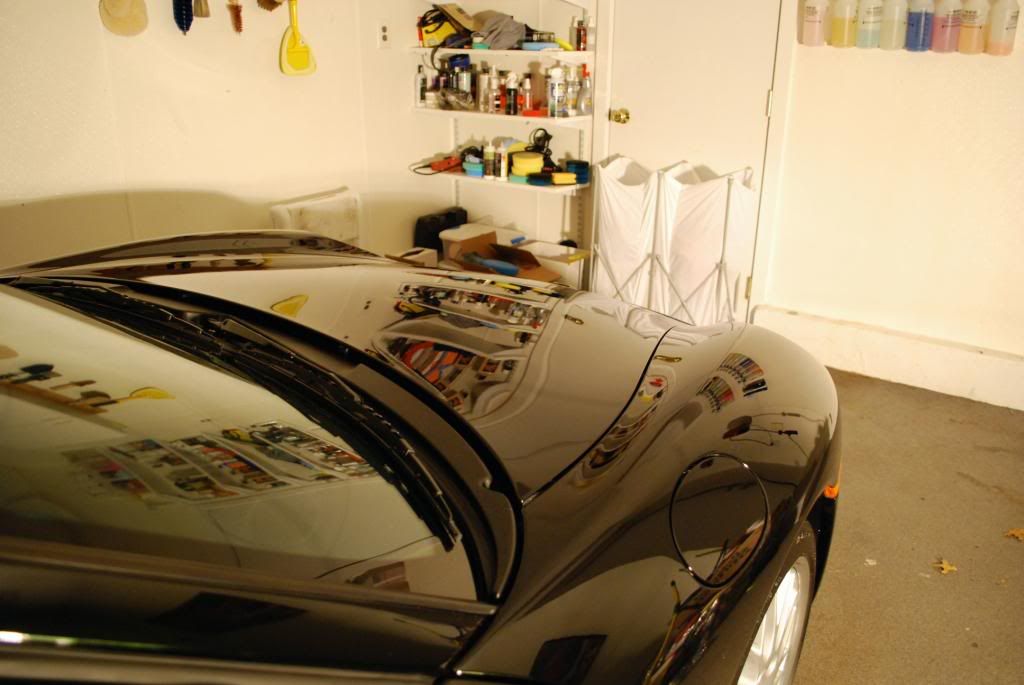
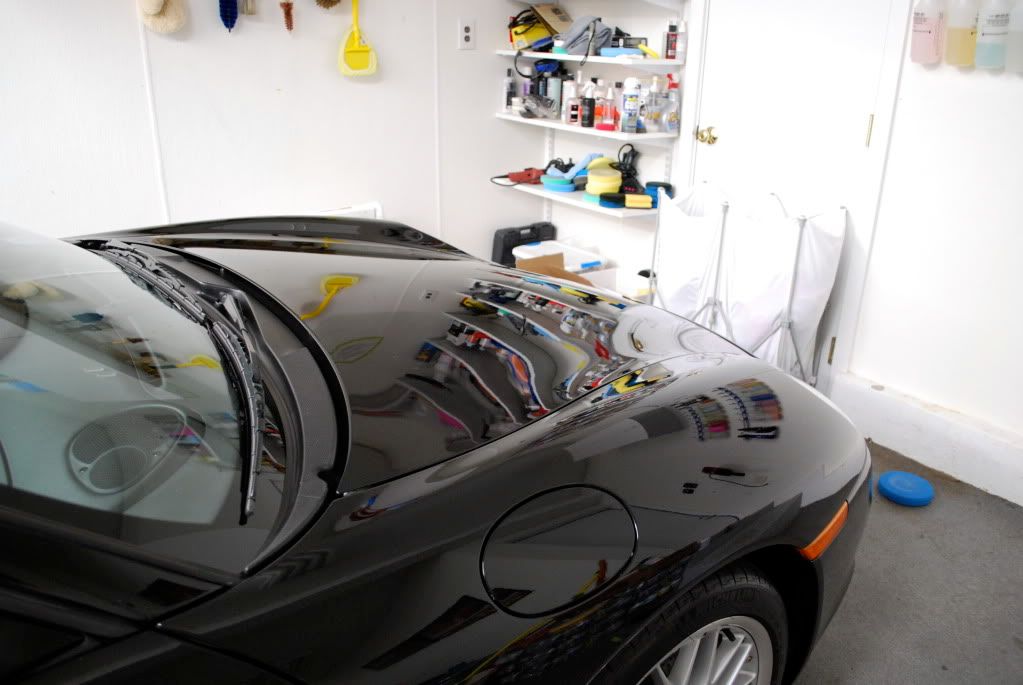
Rids on passenger front bumper, camera flash coupled with LED light
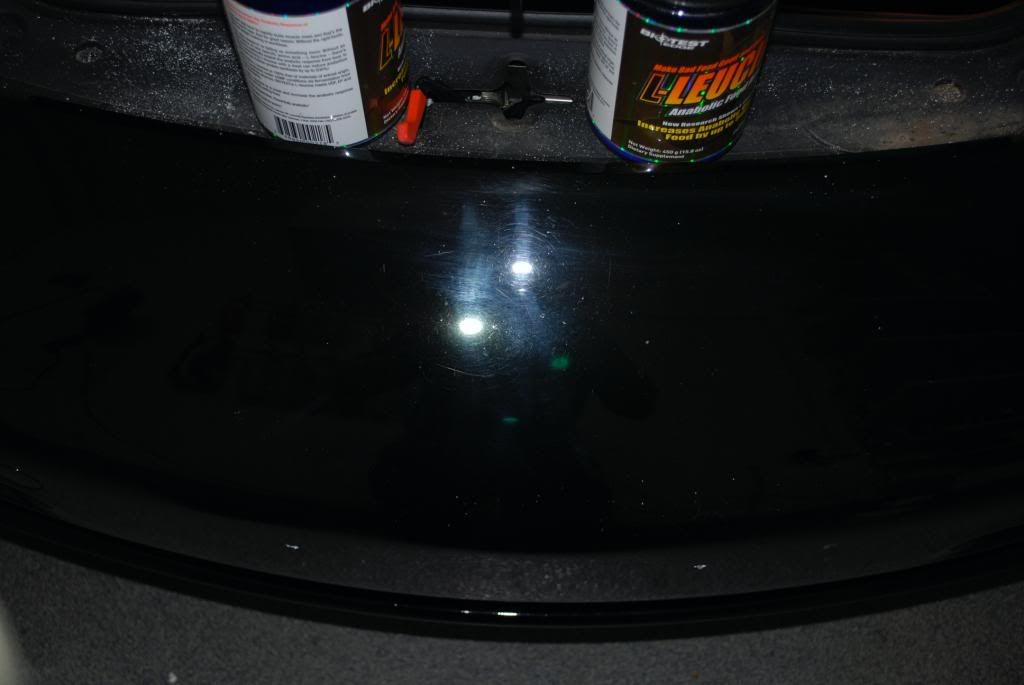
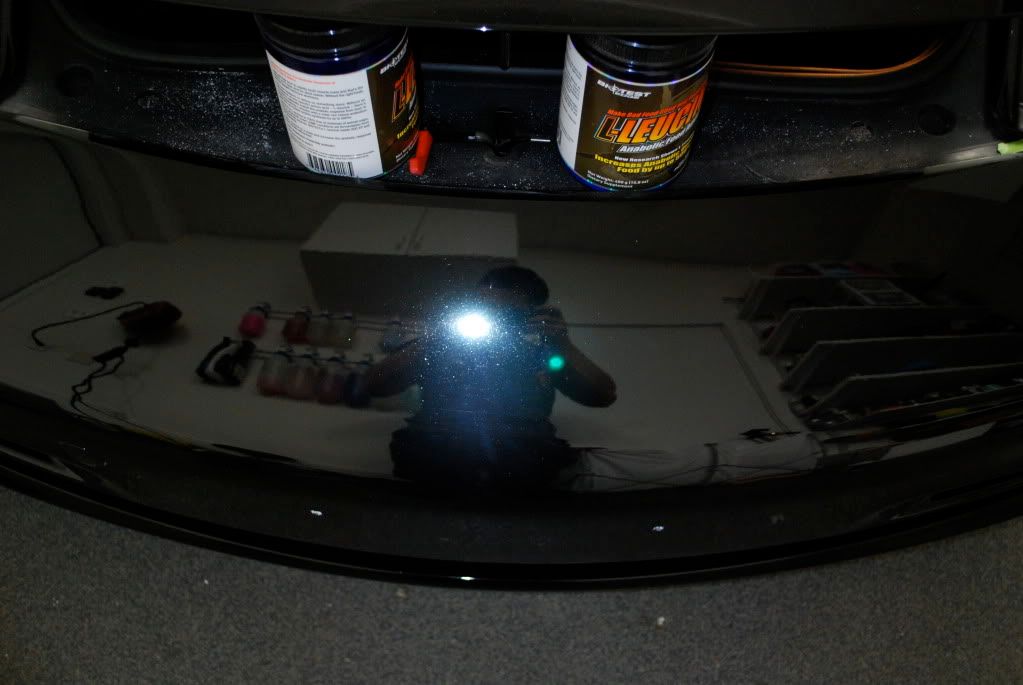
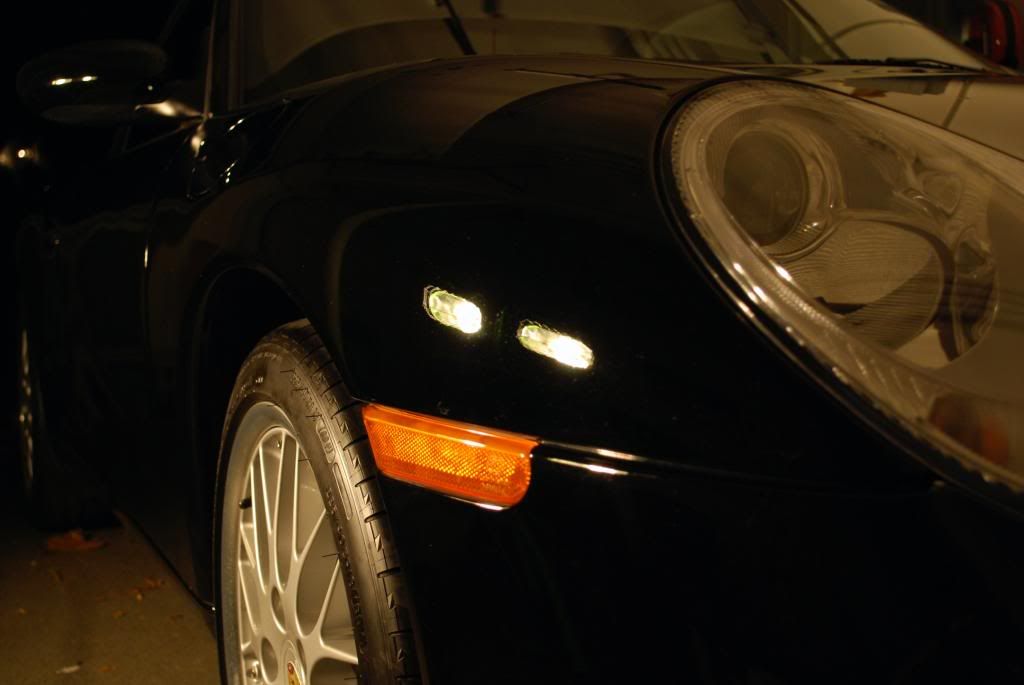
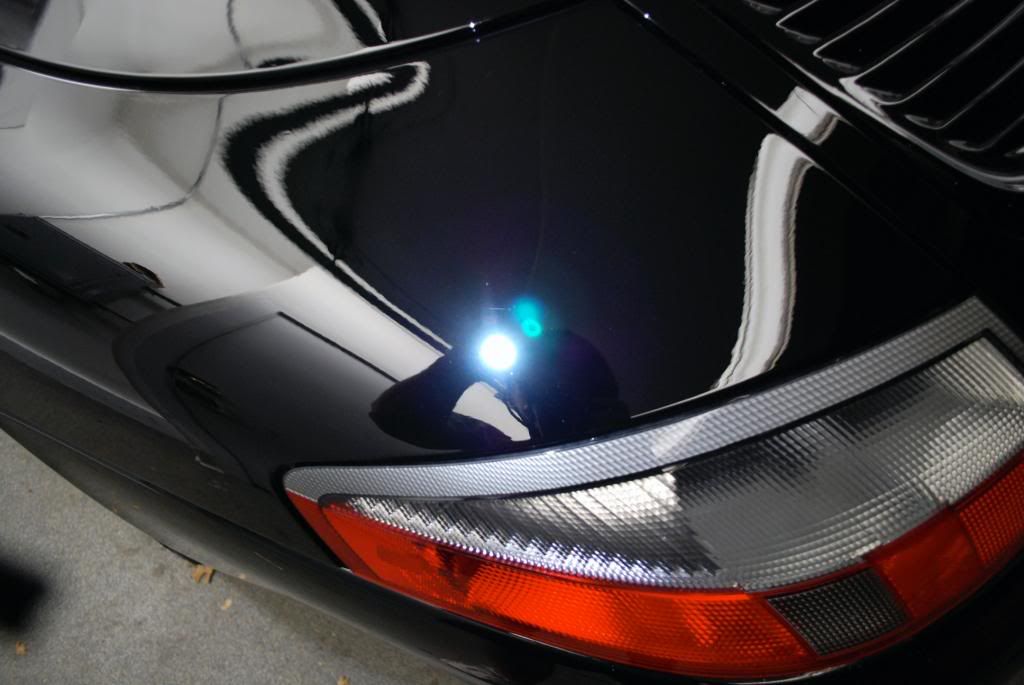
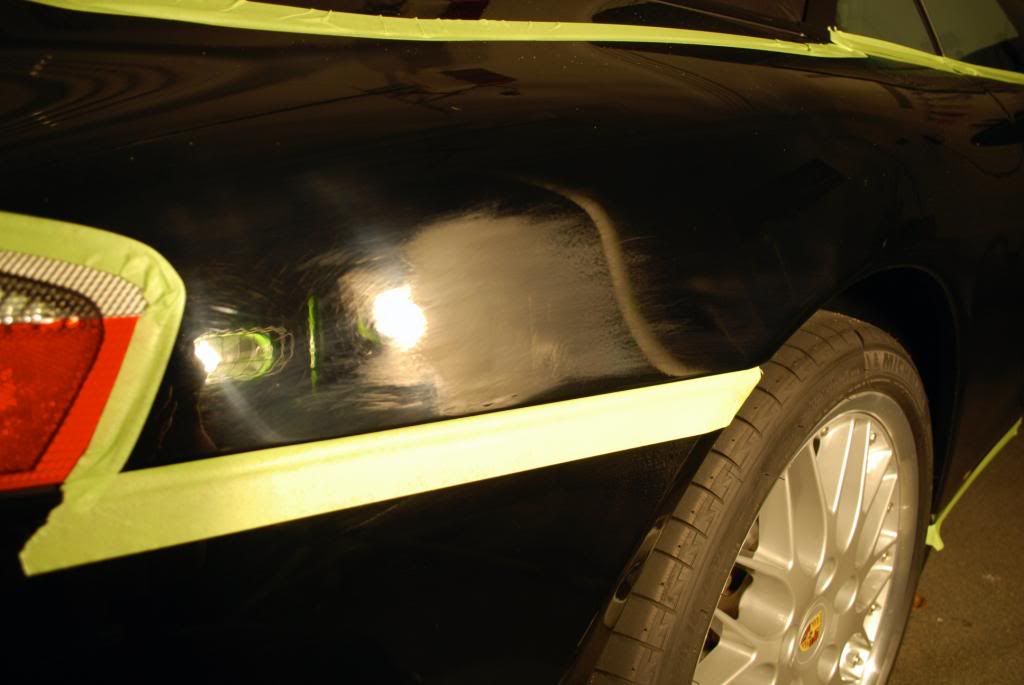
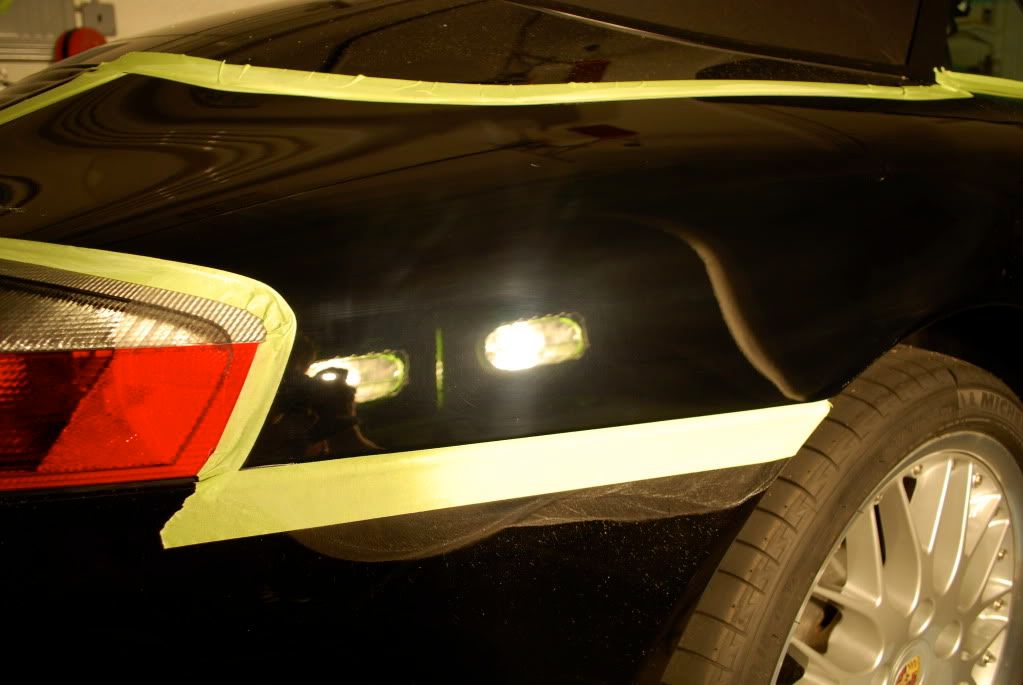
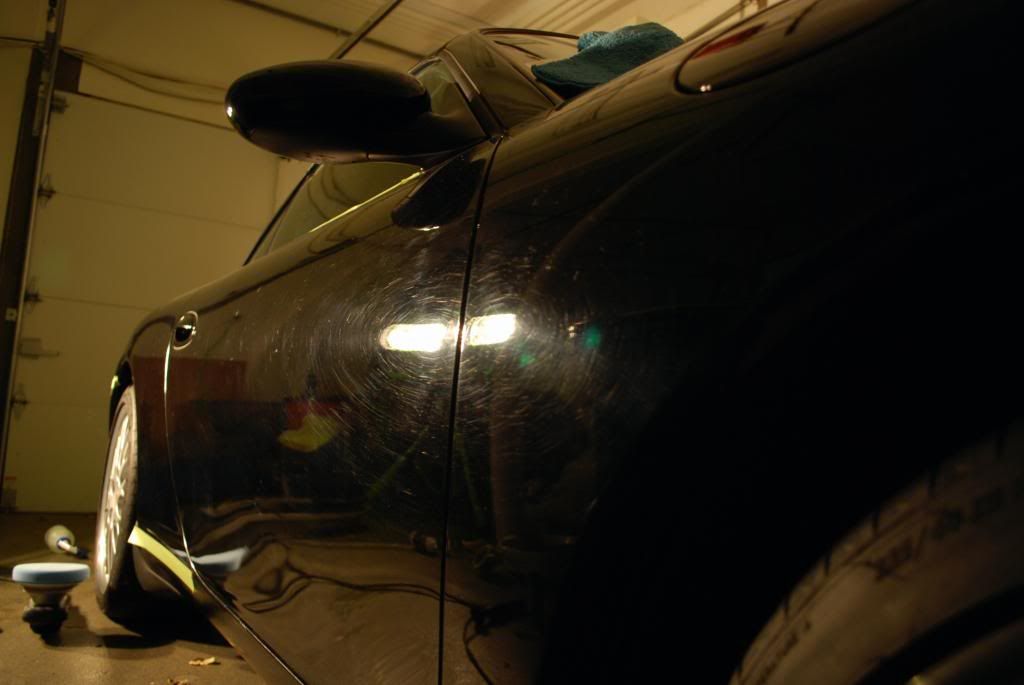
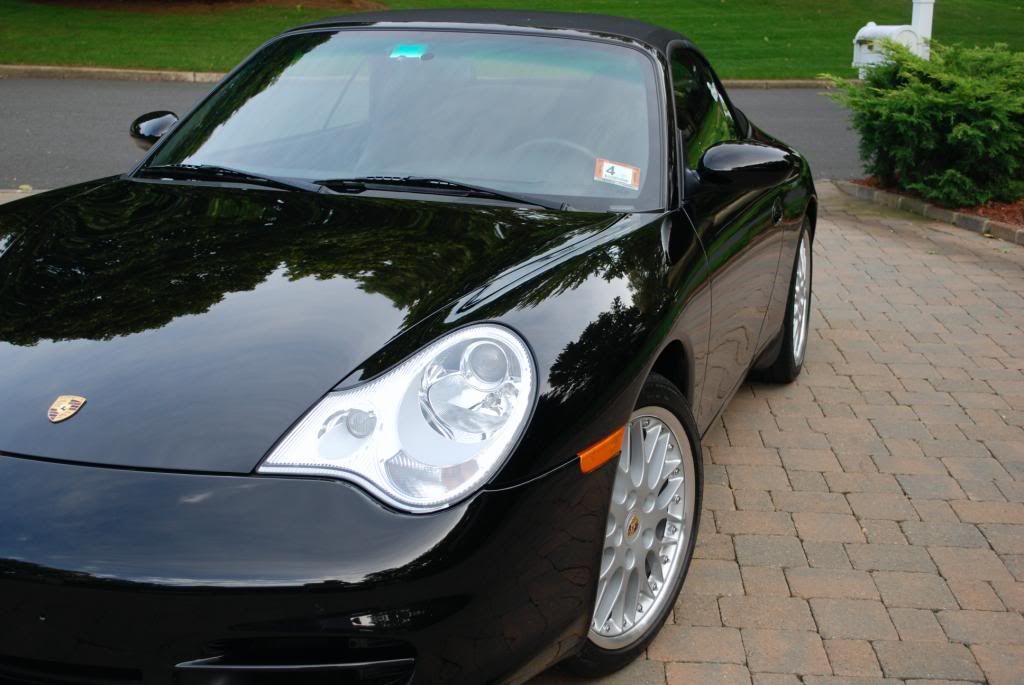
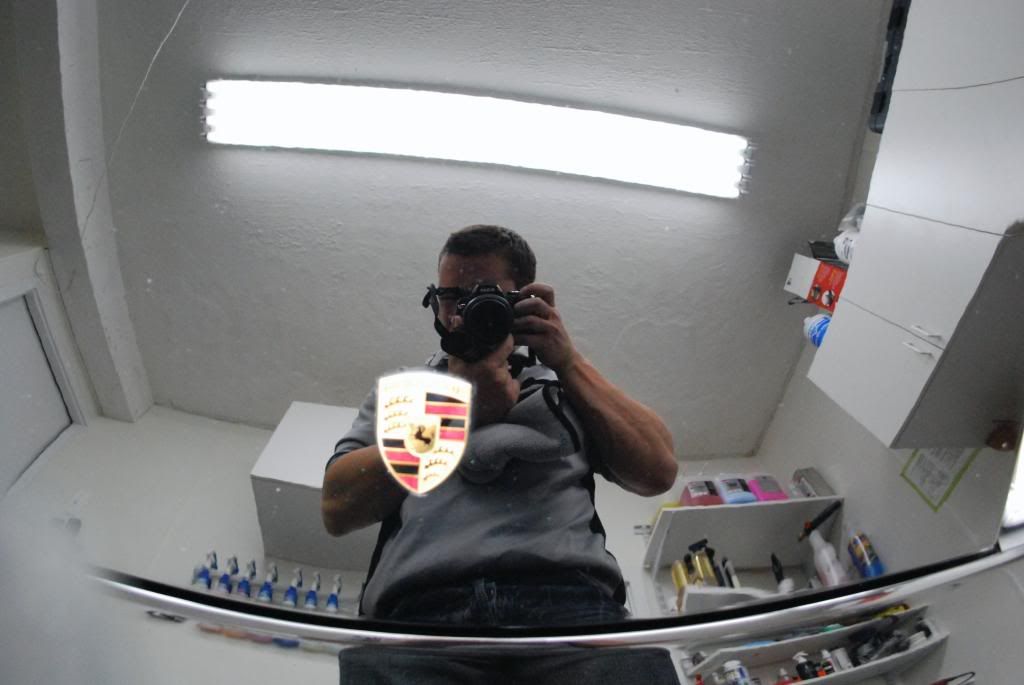
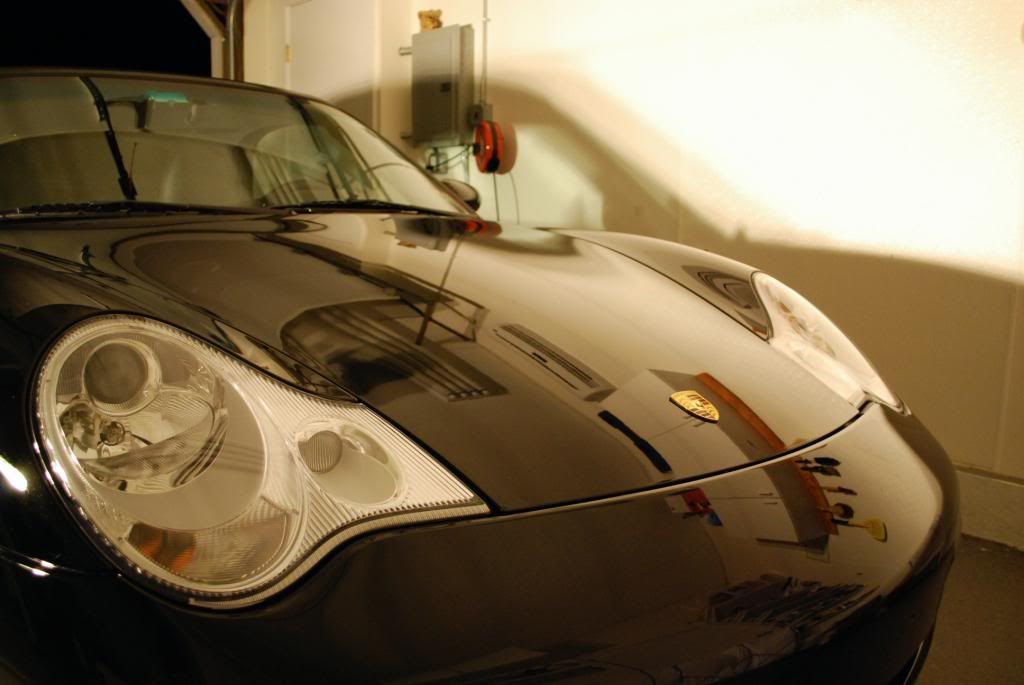
After correction, same angle, lighting
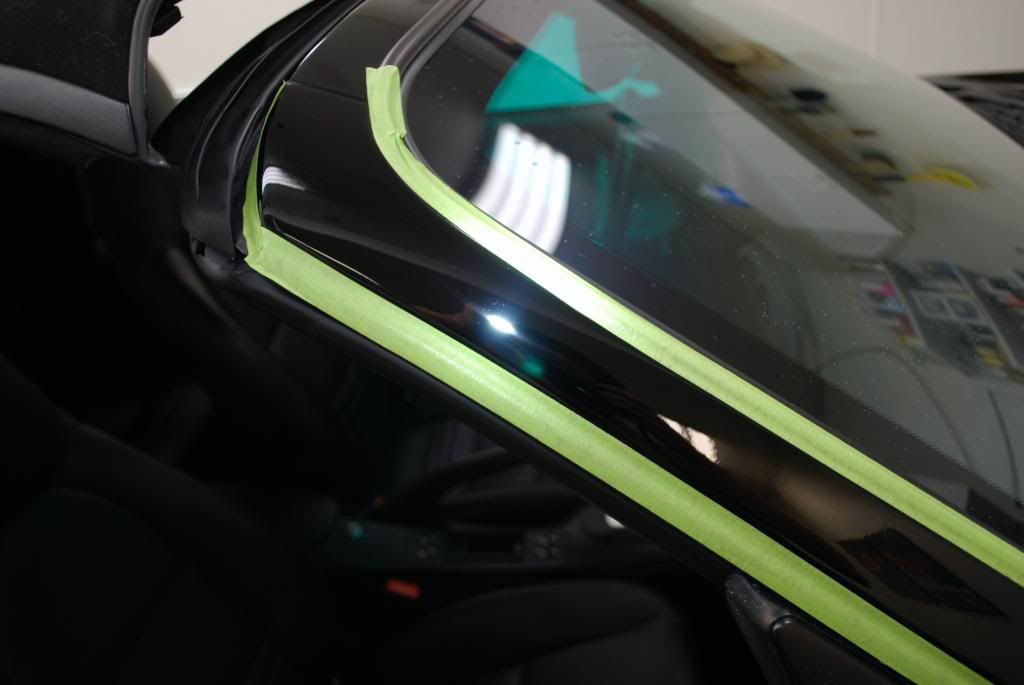
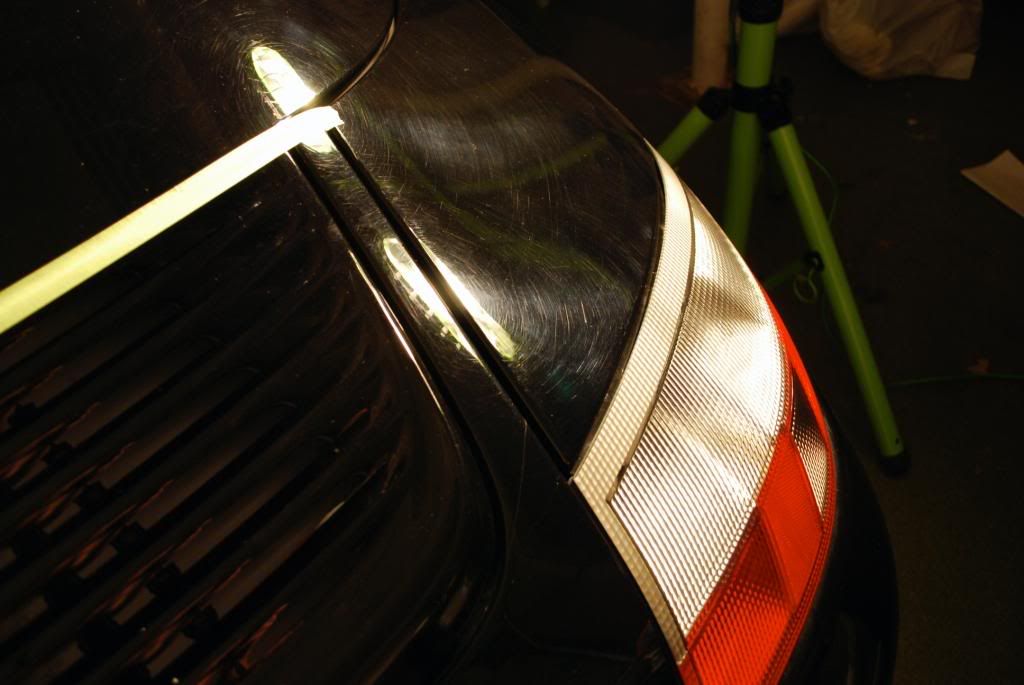
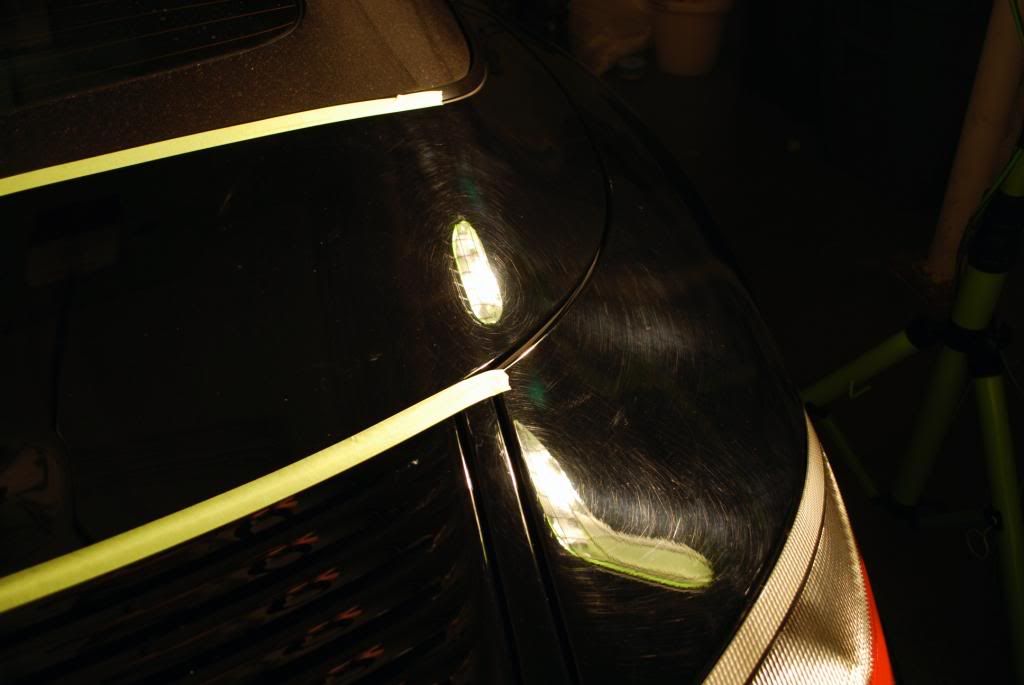
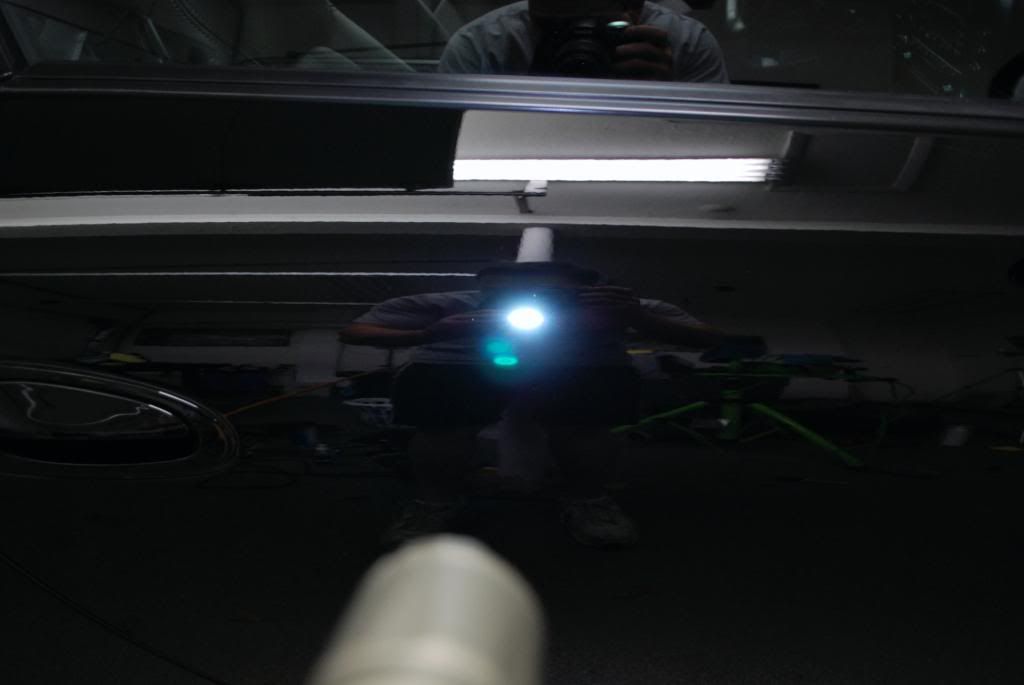
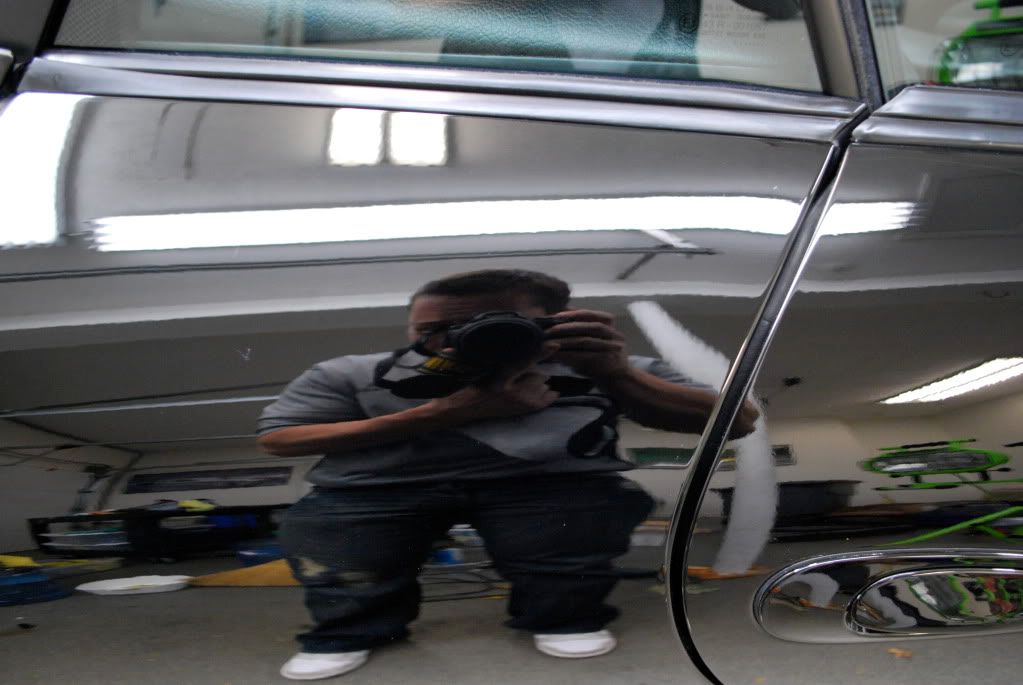
A-pillar before, under LED

A-pillar after, under LED
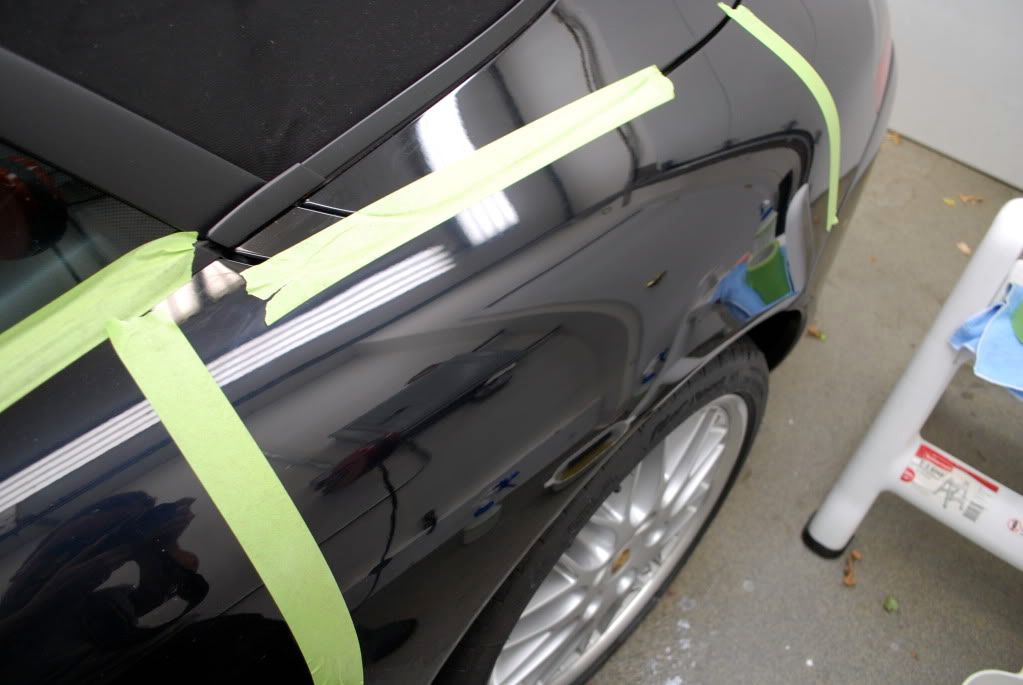
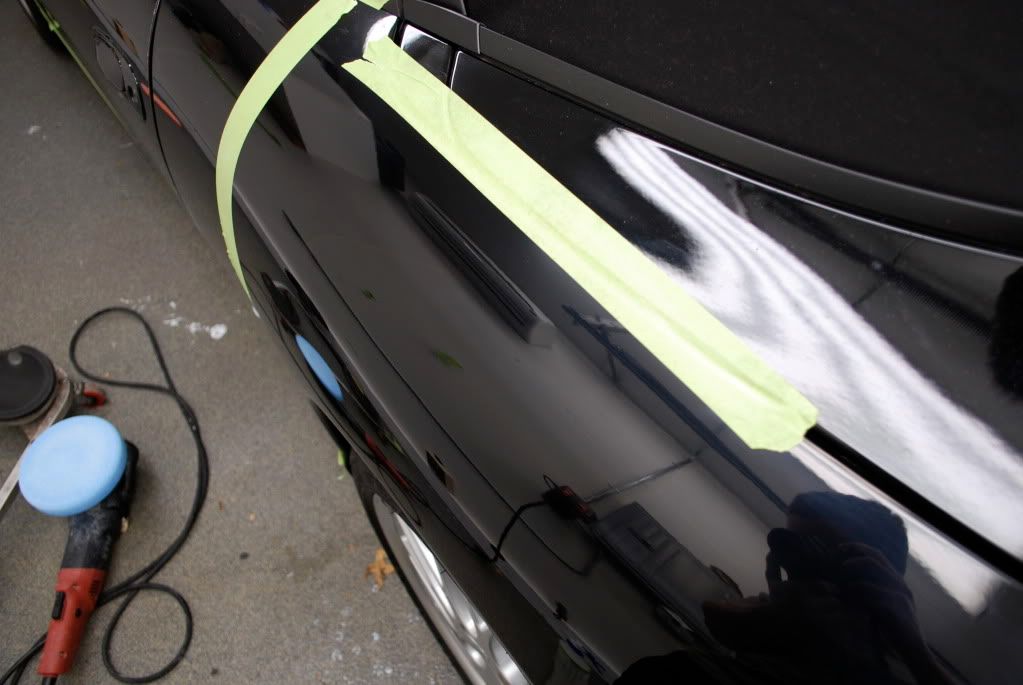
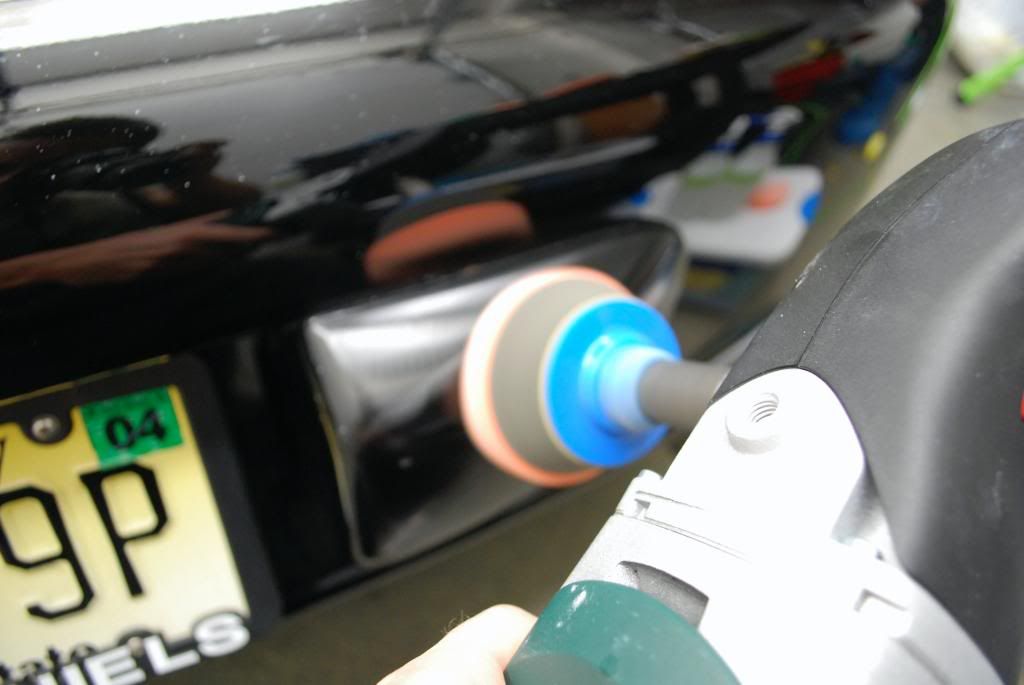
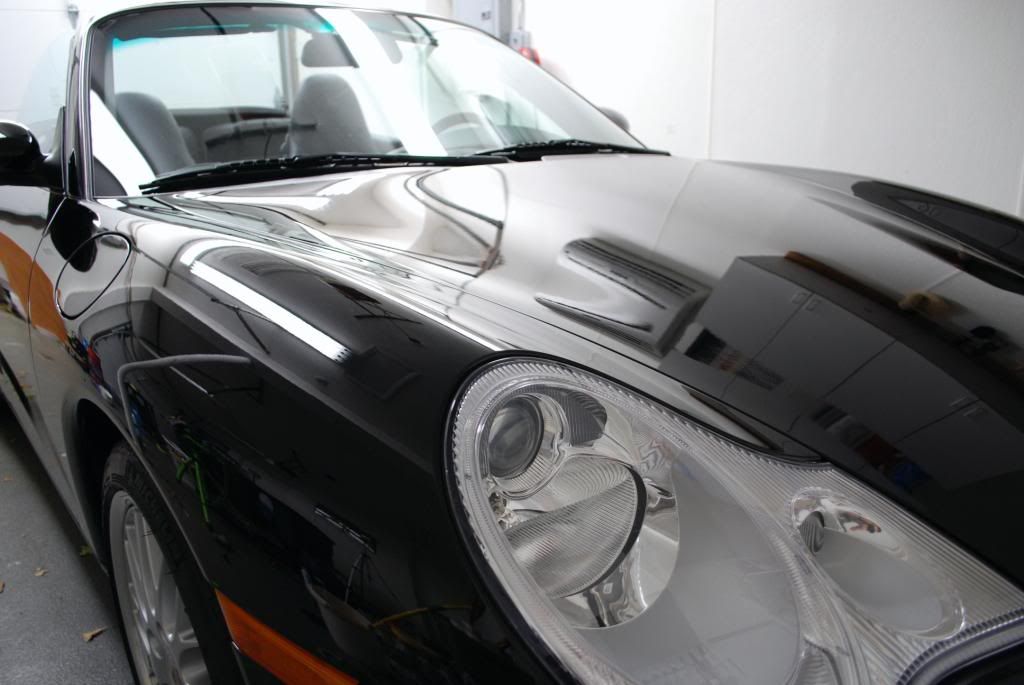
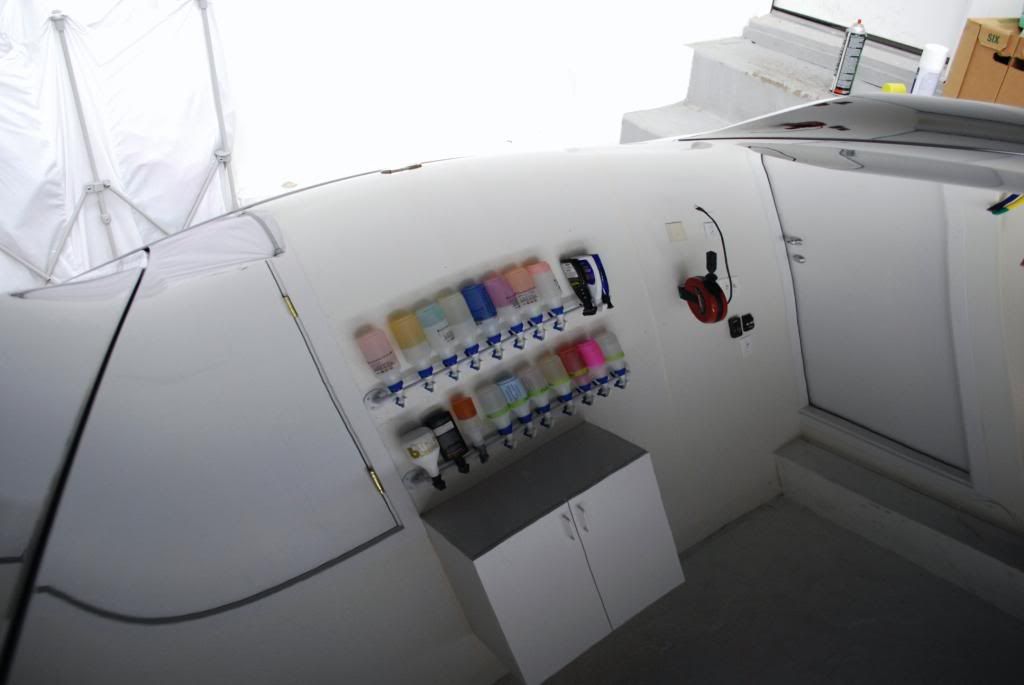
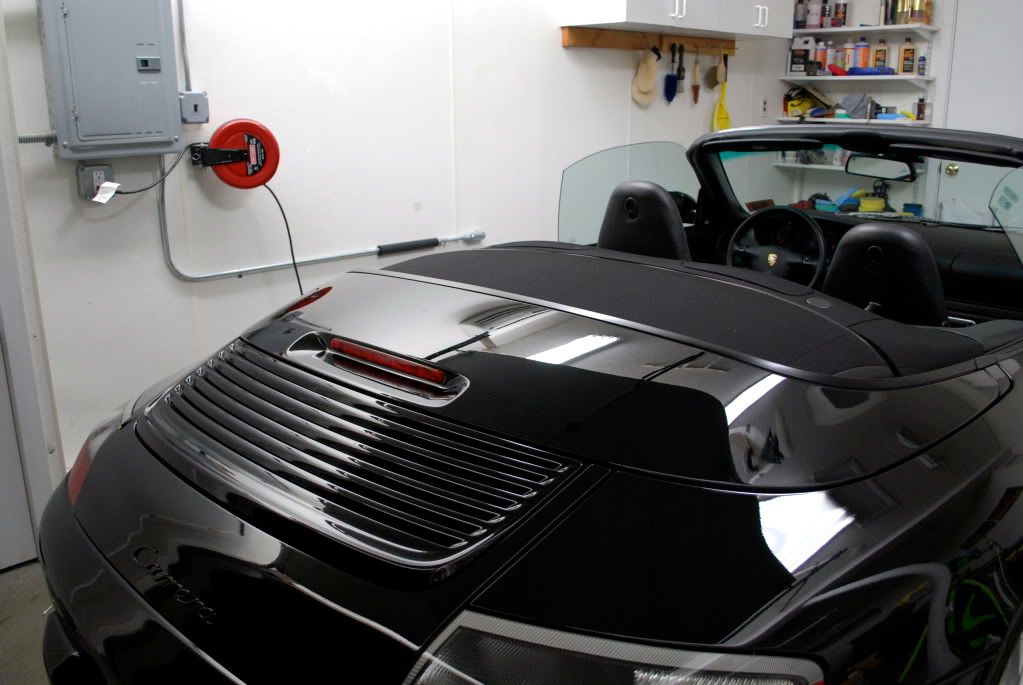
Working my way around the rest of the car, same stuff, different panels
Before
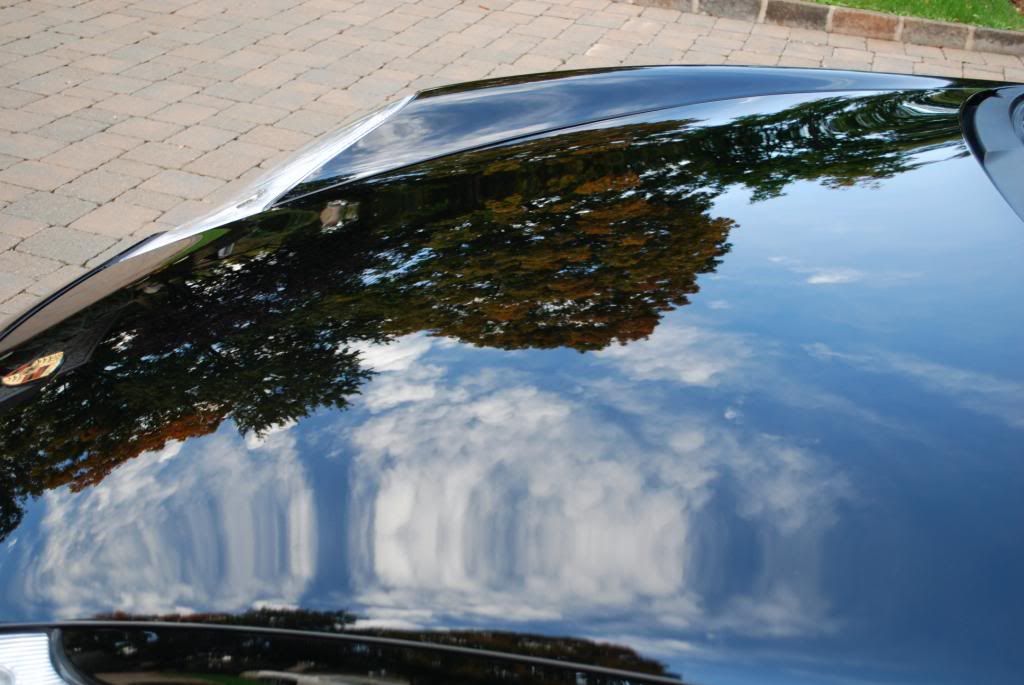
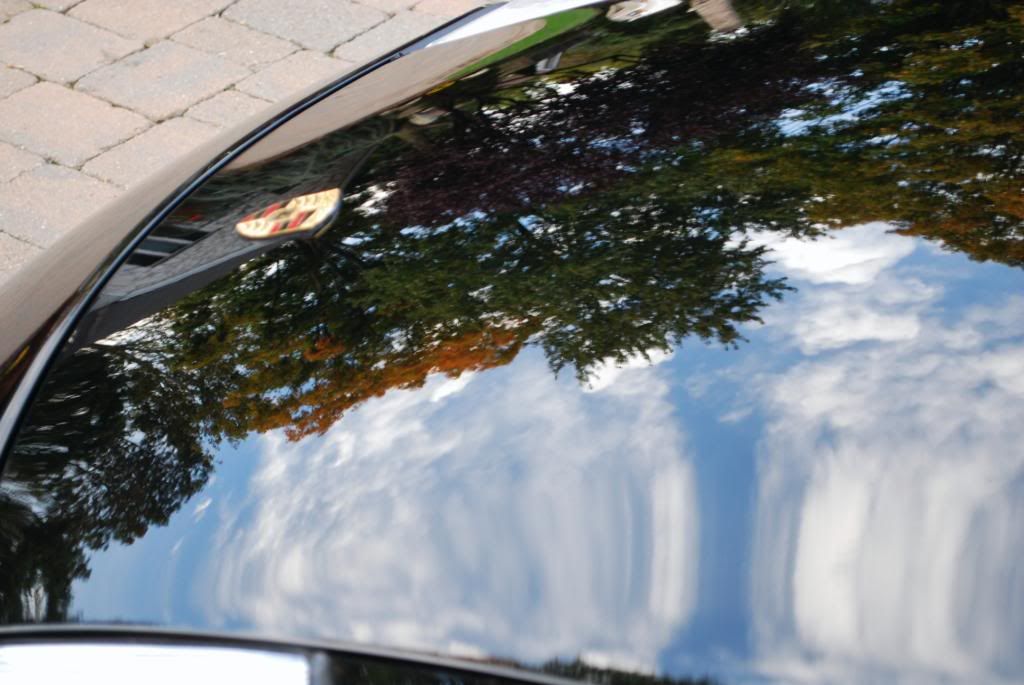
After
I did this car well over a month ago, just haven’t had the time to sort through all the pictures and put a write-up together.
Started off with the wash process. Did the wheels first, various wheel cleaners and brushes used. De-tarred the inner barrels Tires and wheel wells scrubbed.
Ragtop pressure washed and cleaned first.
Pre-soaked the finish with a biodegradable APC, needed the finish fully stripped before correction.
2BM using concentrated shampoo/degreaser and MF mitts. I then clayed the car, used up 90% of a bar unfortunately.
Clay after some of the hood...
I dried the car with some DetailersDomain waffles and gave the paint an IPA wipedown to prep it for correction. All emblems and edging were taped off after the alcohol prep.
Onto correction, paint had some issues ...
The finish had a very hazed look, almost gray. Lost of rids, marring and some water etching.
50/50 after the first 3 stages of correction, a total of 4 correction stages were needed to get the car to a 98-100% level. I waited to finish the car down completely until I did the final wash on it after all the compounding… lots of wetsanding combined with some wool correction makes for a very messy car with some splatter and residue.
Much easier to just gently re-wash the car rather than continually doing alcohol wipedowns, less friction in trying to remove polish dots and residue when you use a slick soap and proper wash.
In compounding with a very very aggressive method, 3-4 hits were needed to get out the very heavy defects.
Video 50/50 of the hood
Front bumper before
Making progress...
Rids on passenger front bumper, camera flash coupled with LED light
After correction, same angle, lighting
A-pillar before, under LED
A-pillar after, under LED
Working my way around the rest of the car, same stuff, different panels
Before
After


")