Apologies for the lack of write-ups lately, by next month I'll have the time post a few very cool ones on the boards.
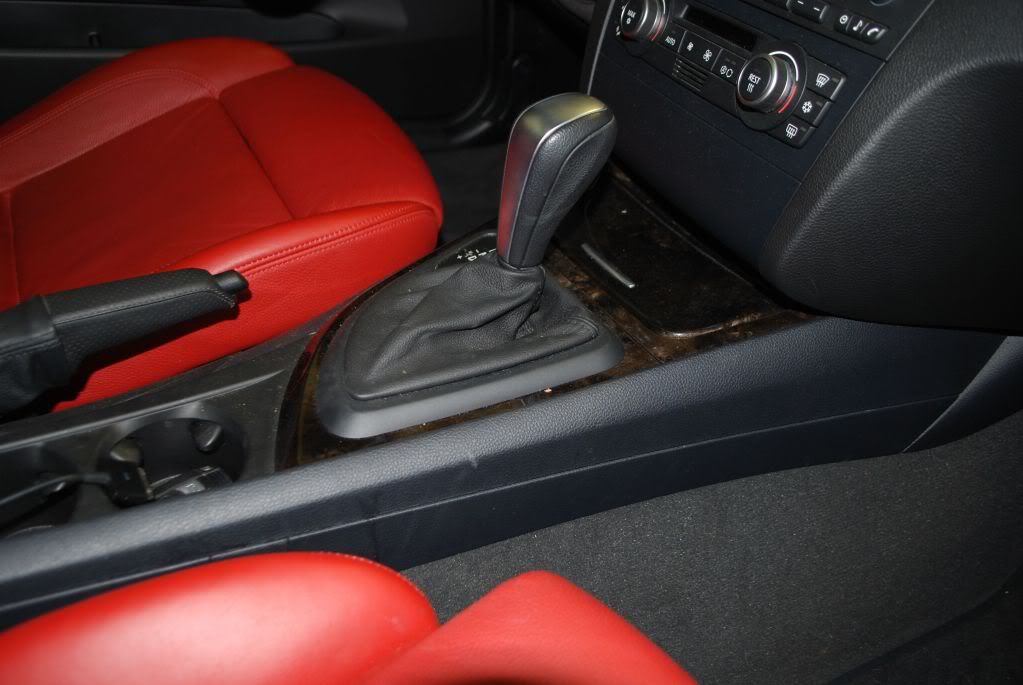
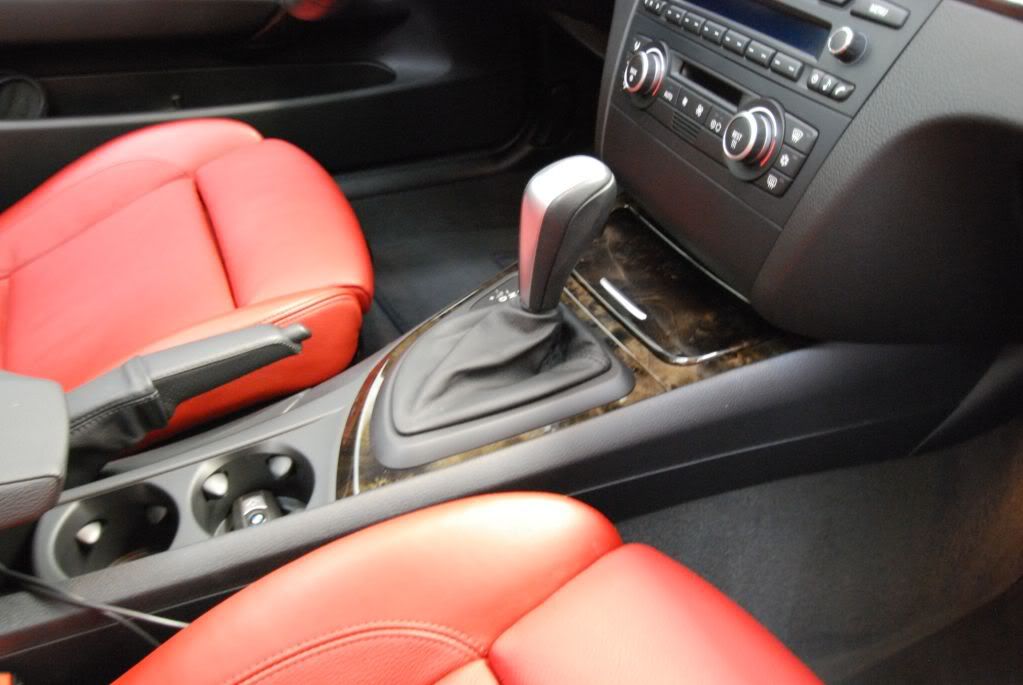
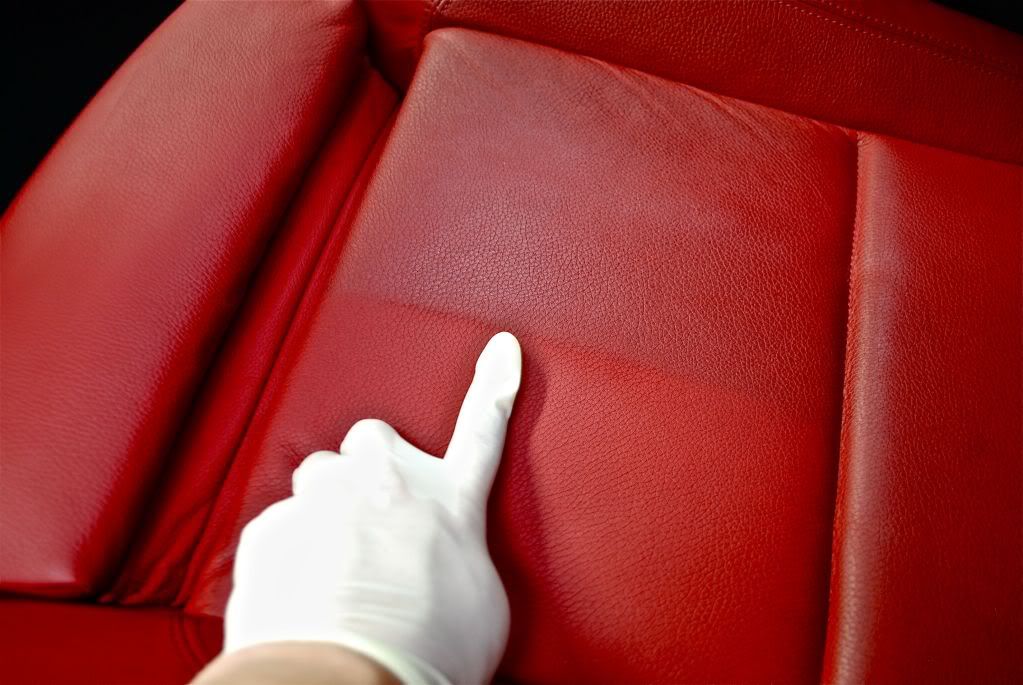
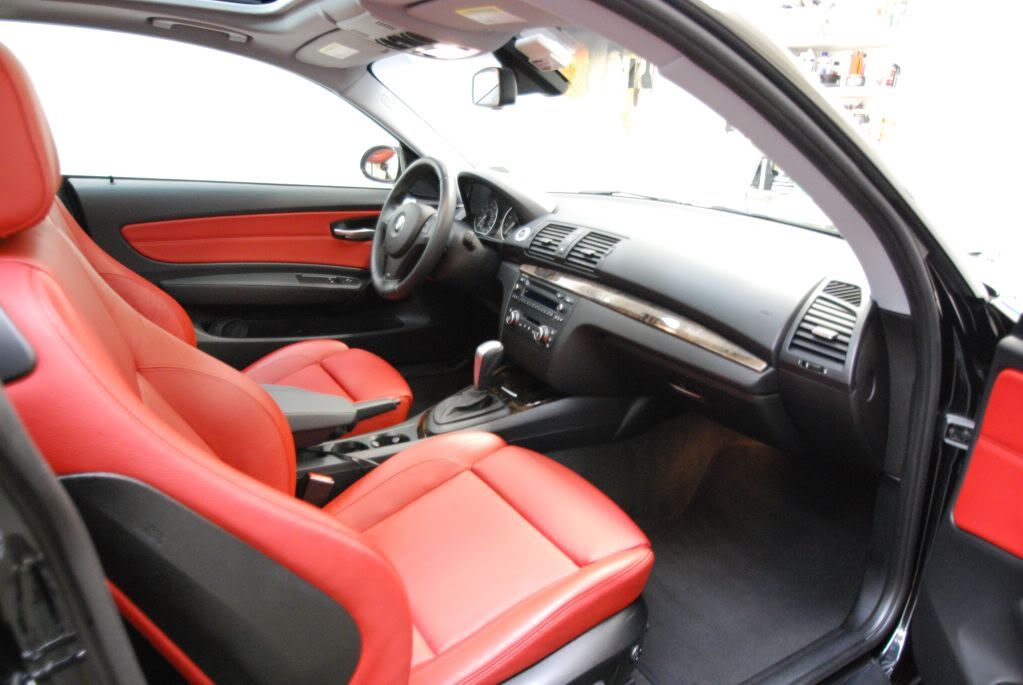
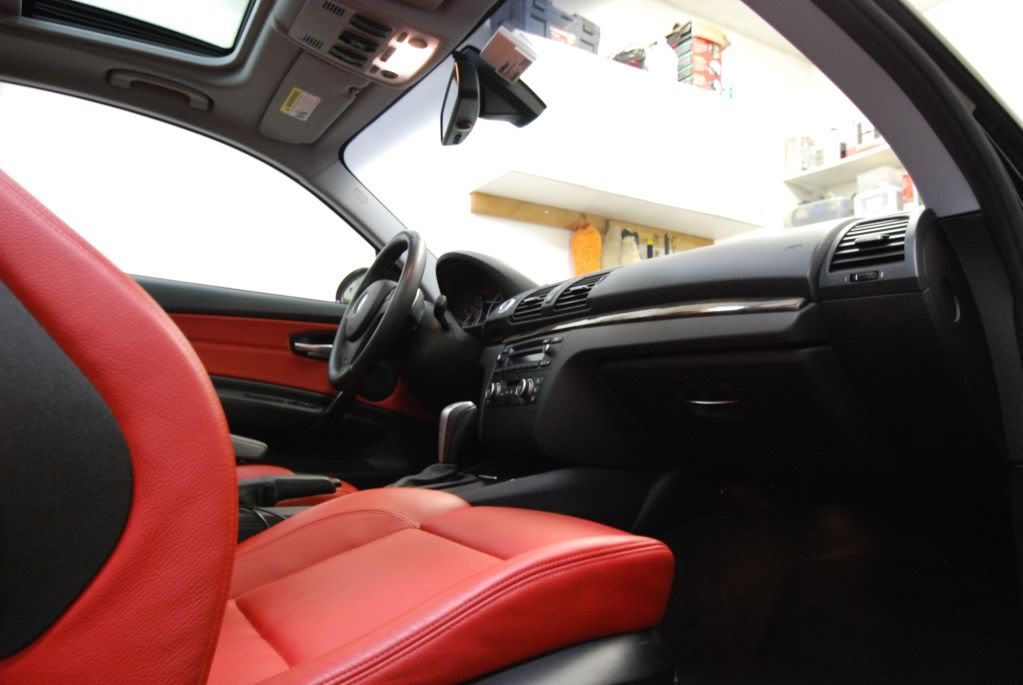
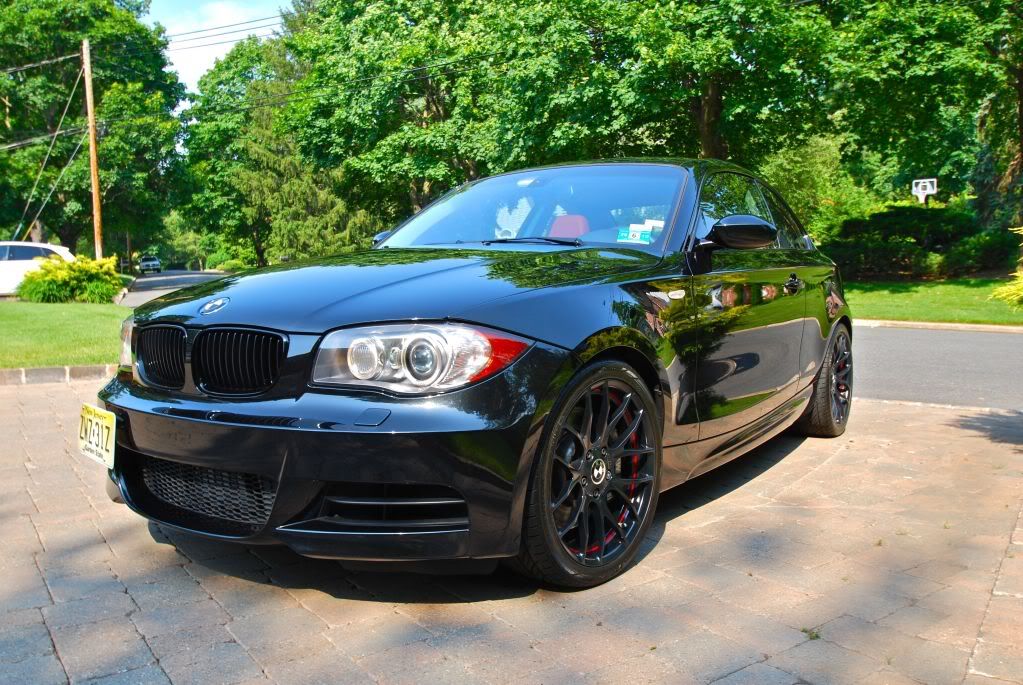
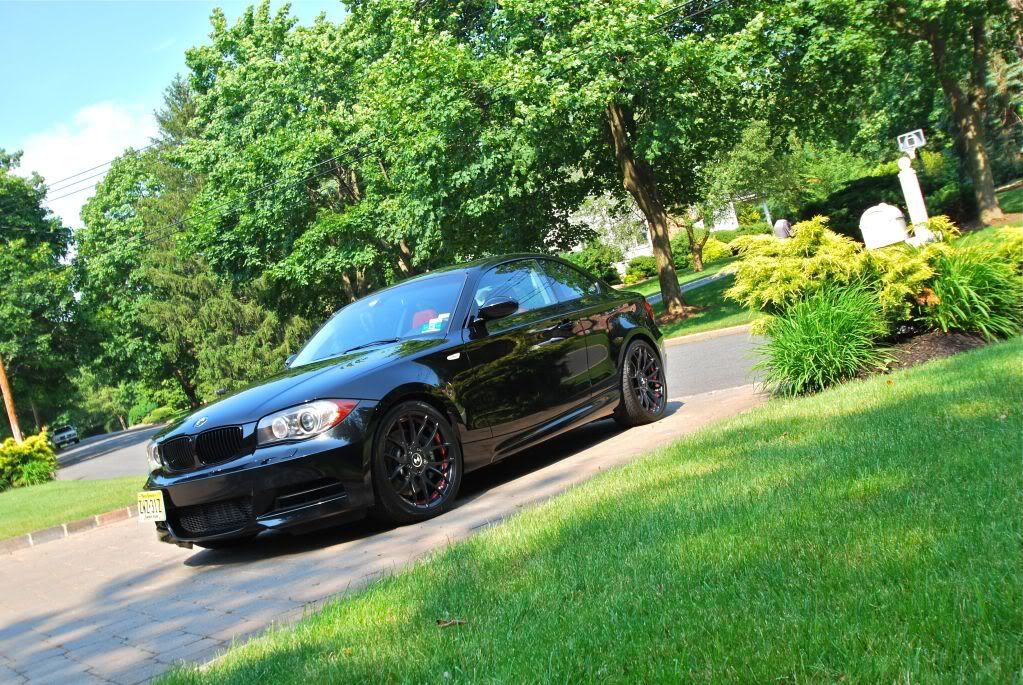
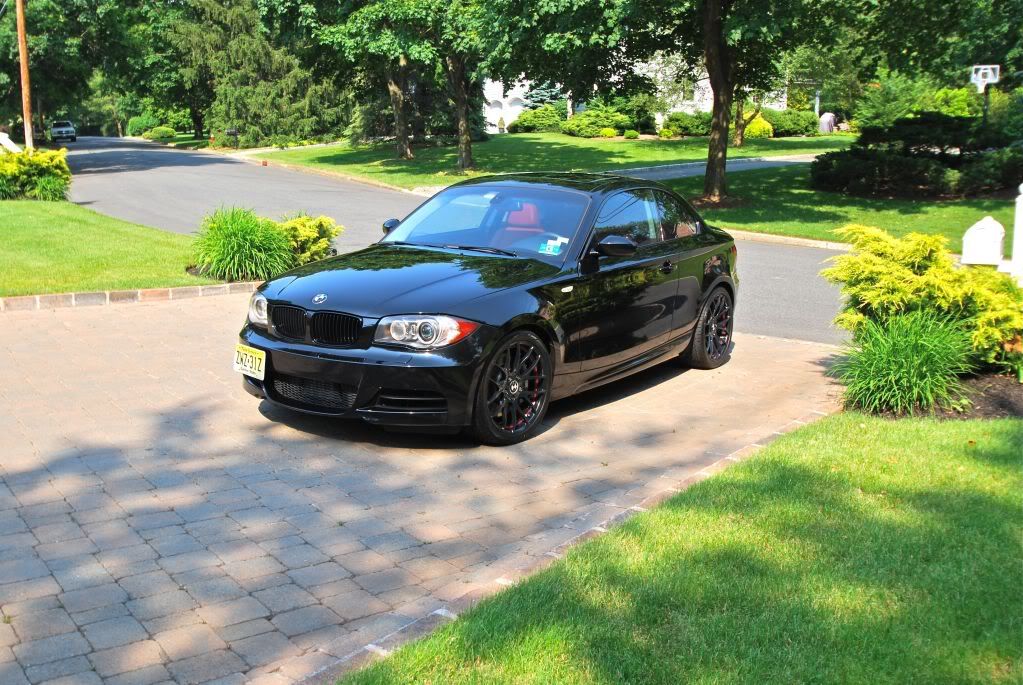
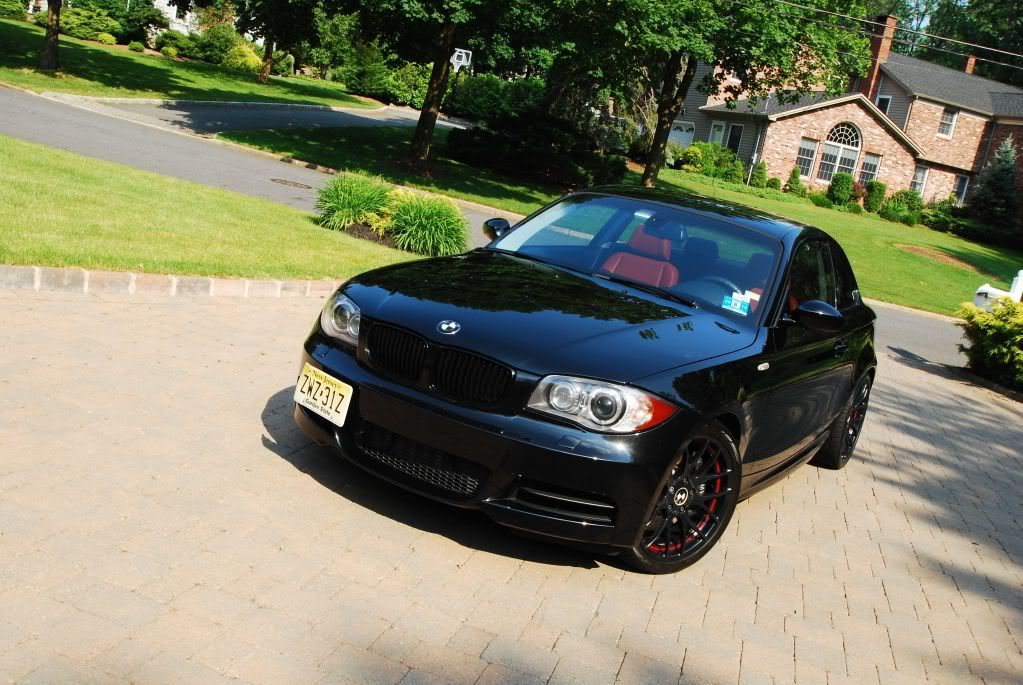
BMW 1 series in for a complete paint correction and interior detail. As per owners request Aquartz coating was applied as the final protection.
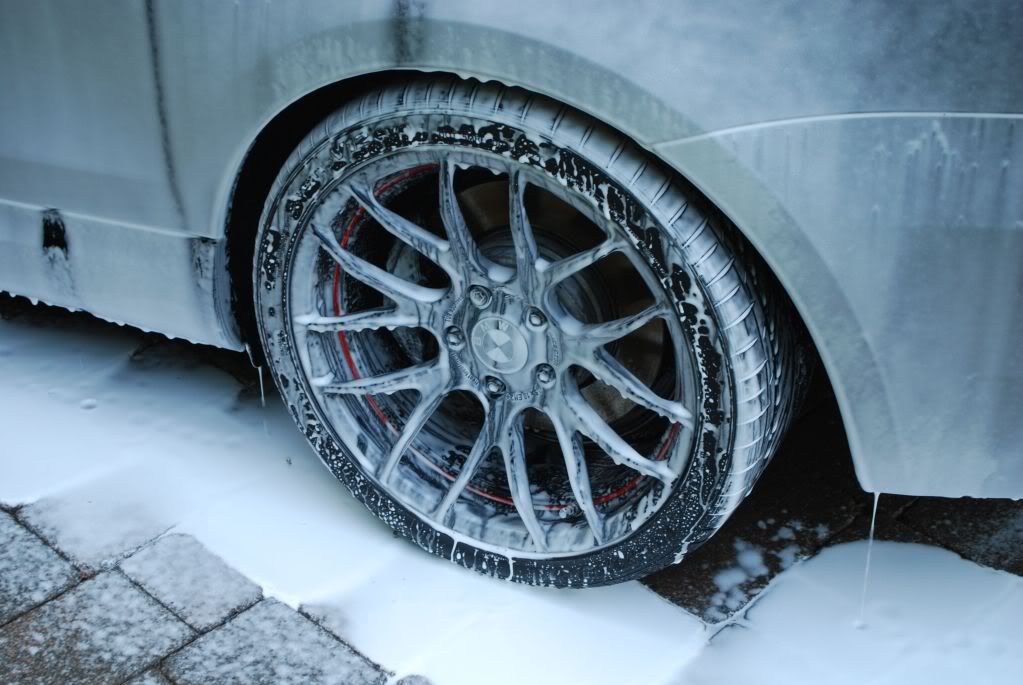
I did a winter preparation detail on this BMW back in December but no paint correction was carried out at that time, this time around the car got the works:thumb:
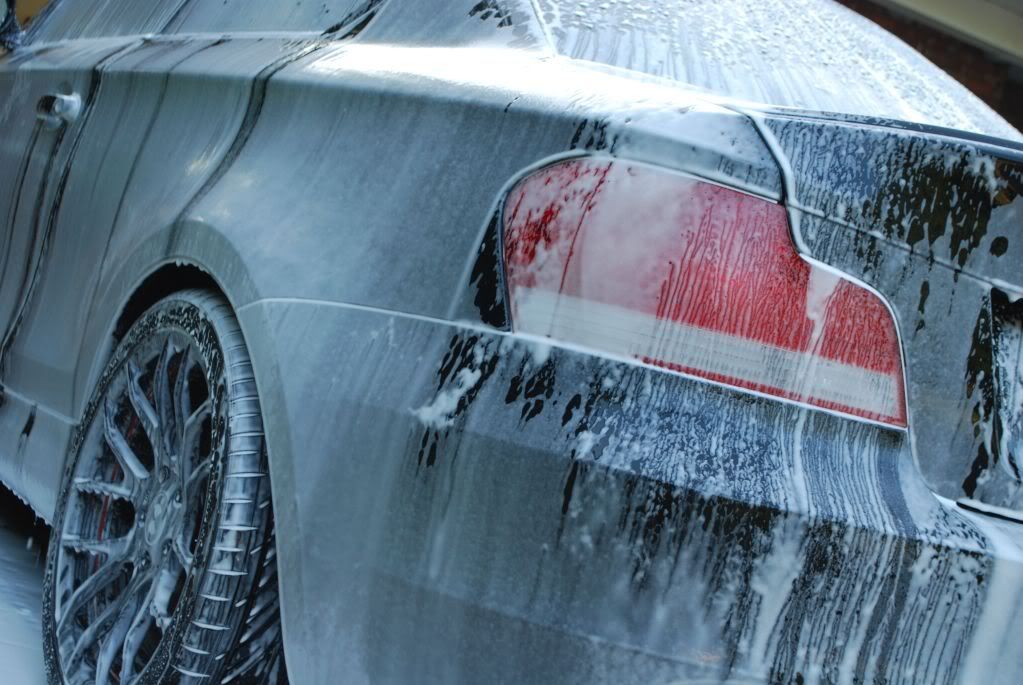
Pre-foaming with CG citrus wash mixed with a bit of Opt. powerclean to remove prior sealant
Washed using with the 2BM and Lusso auto bathe followed by a complete soak in Iron Cut (ideal to use when your applying any type of paint coating coating). Iron cut was left to sit for 7-8 minutes before wiping down with a damp towel and then a re-rinse with the pressure washer
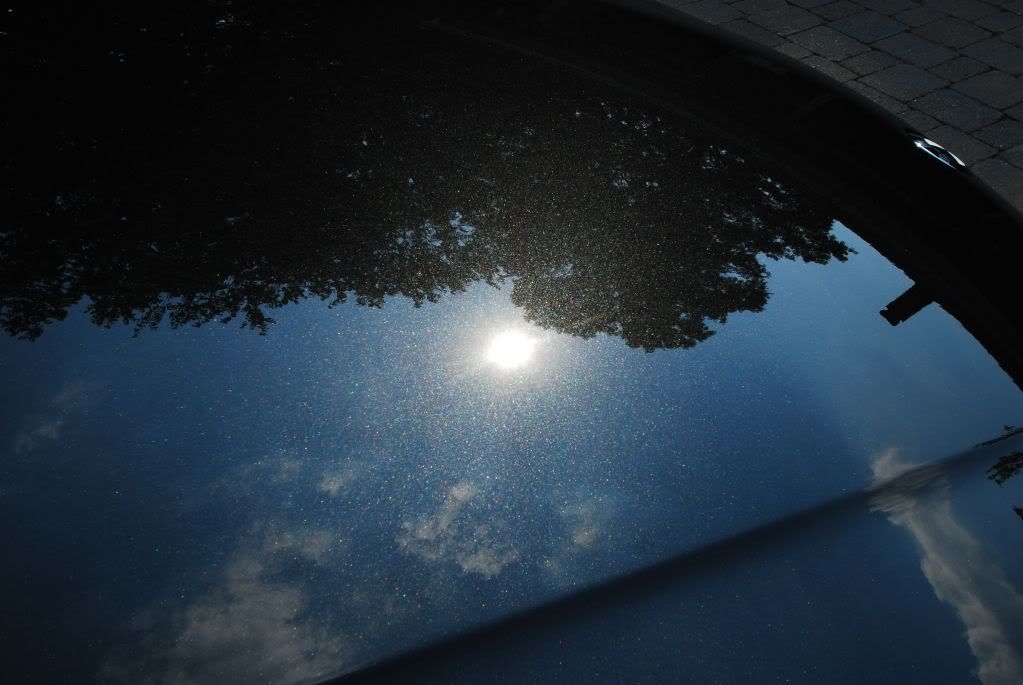
After the rest of prep with a quick clay and 2 IPA wipedowns the car was taped up for correction, paint was measured with the PTG and then inspected with LED and halogen lights.
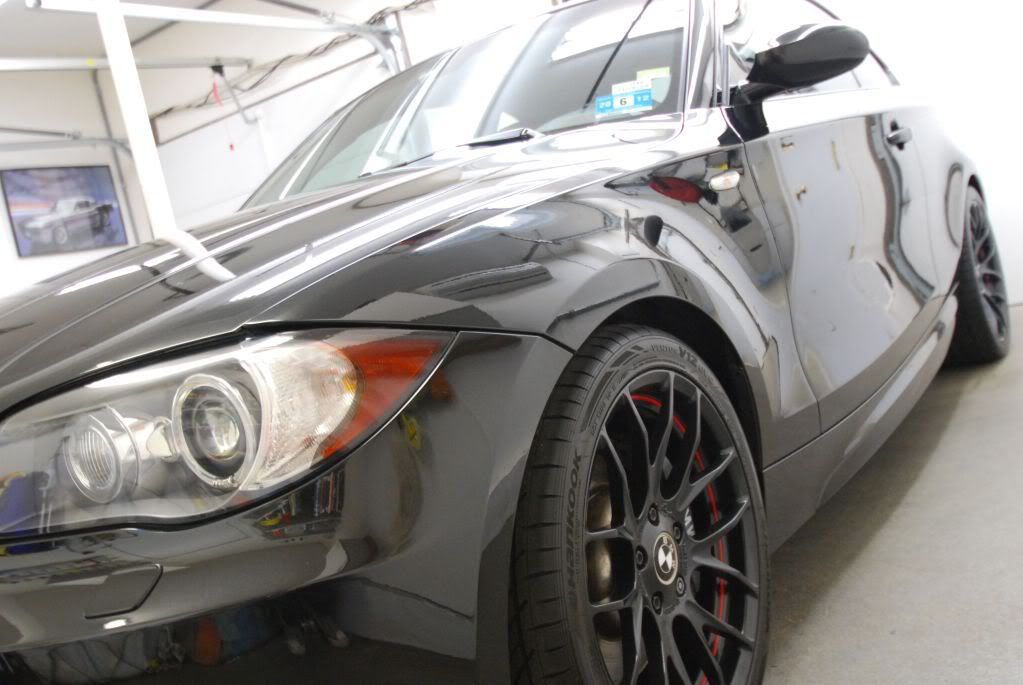
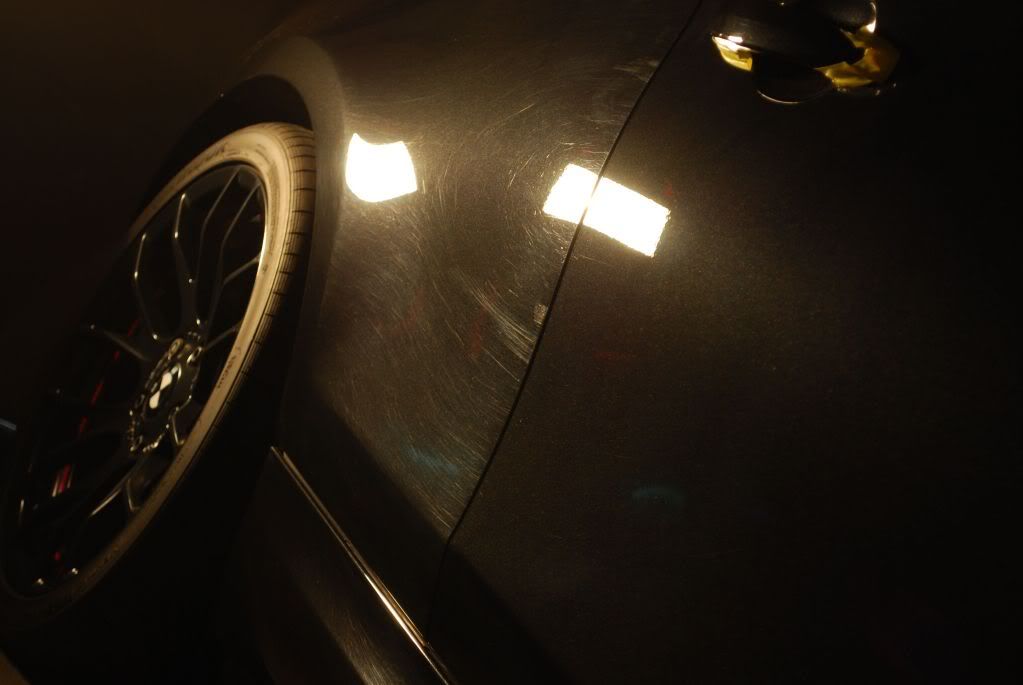
Overall condition of the finish wasnt too pretty, very high concentration of wash swirls with a few areas showing some deeper defects and RIDS.
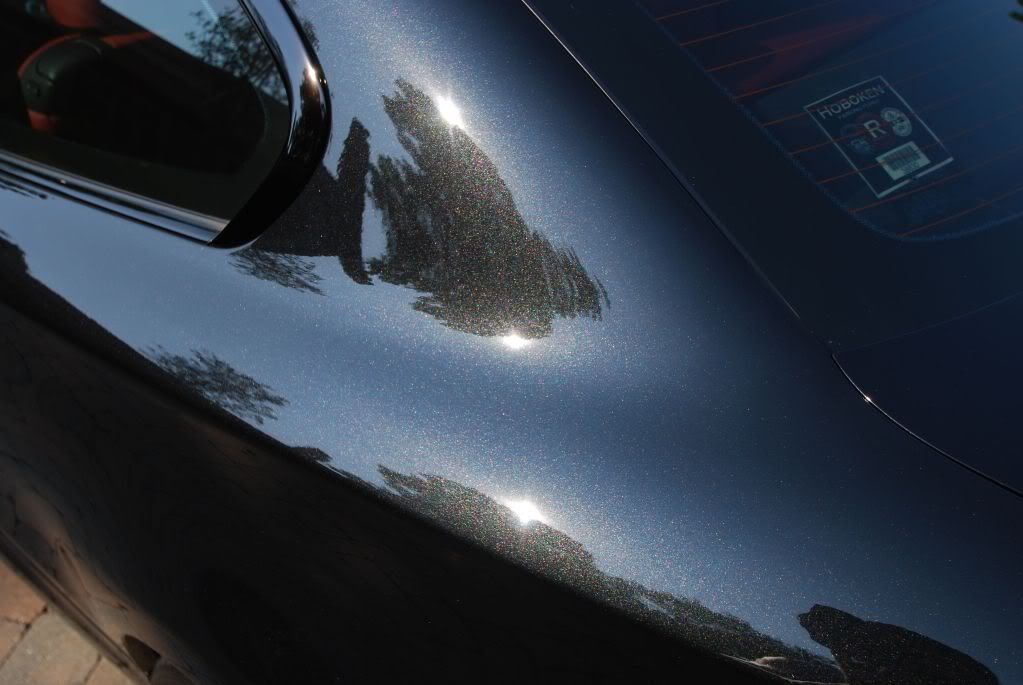
After a few test spots I decided to carry out paint correction using Meguiars M105 on a tangerine LC hydro pad on the rotary at 1800rpms followed by Menzerna Powerfinish 203s on a green DD polishing pad. At this stage the finish was just about 95-98% perfect and defect free.
Final polishing was done with a DA just to ensure no fine marring in the finish after the earlier correction stages, for this Menzerna 106FA was used on a black finishing foam.
Video 50.50 using Fenix TK40 LED (pardon me if your not a Jimi Hendrix fan)
YouTube - Street Dreams Detail - BMW correction 50.50
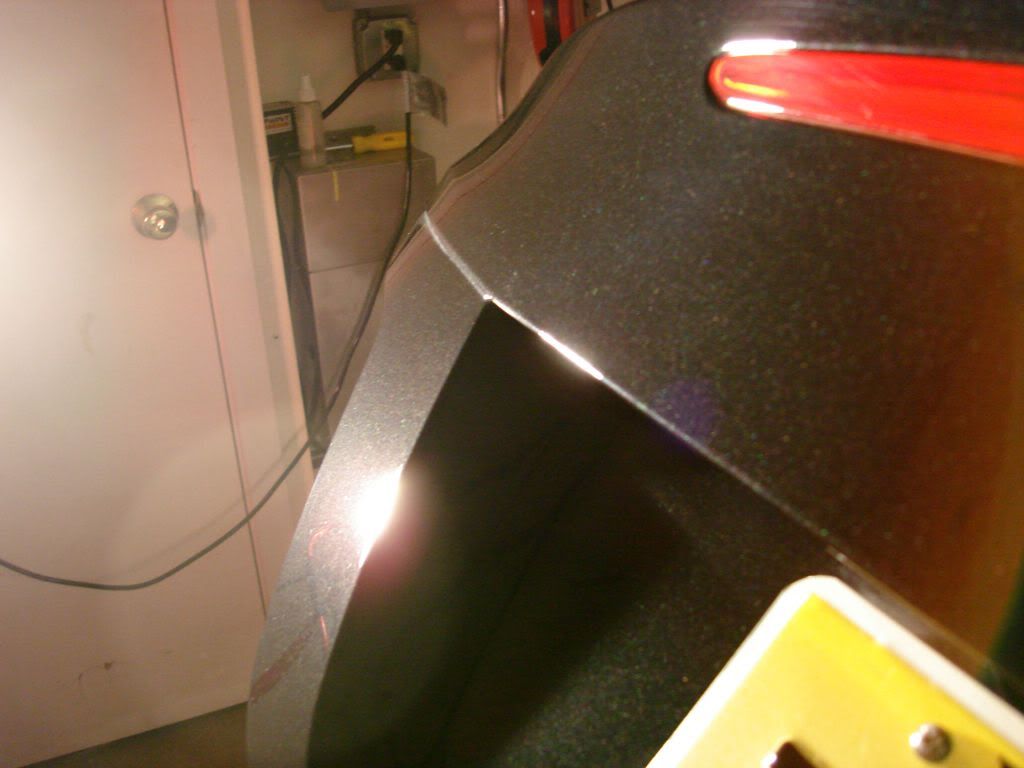
Some shots of the damage before and after and in between...
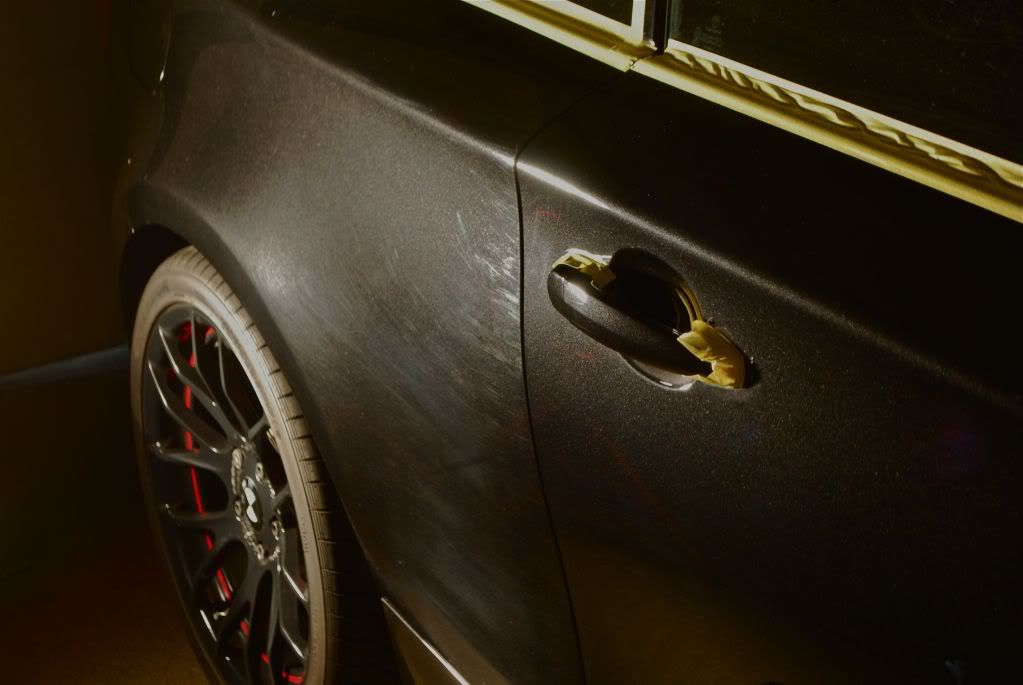
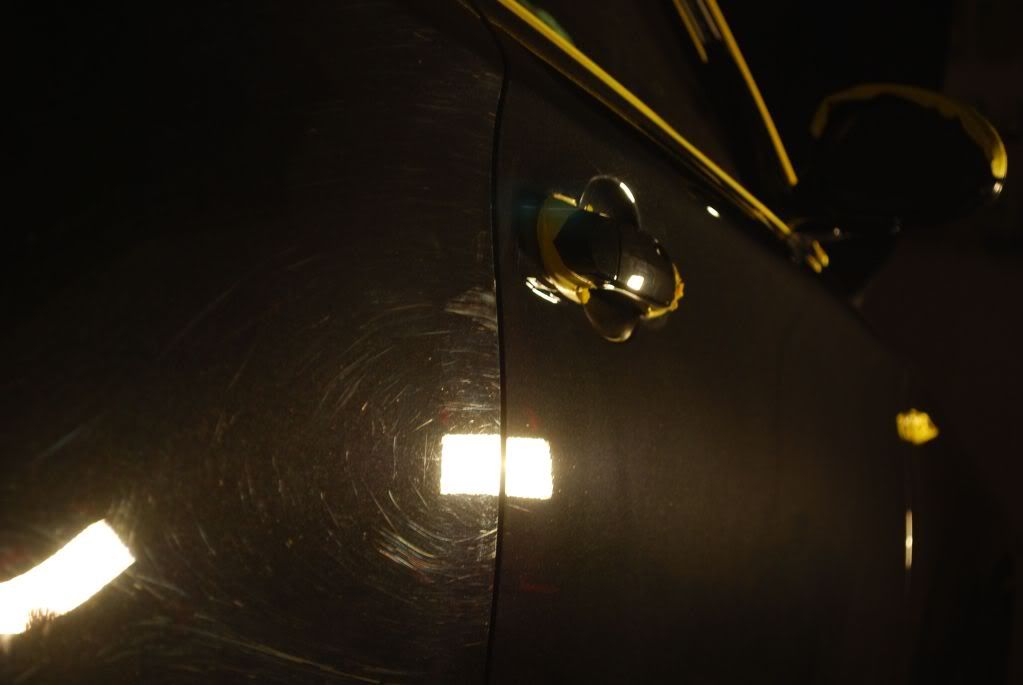
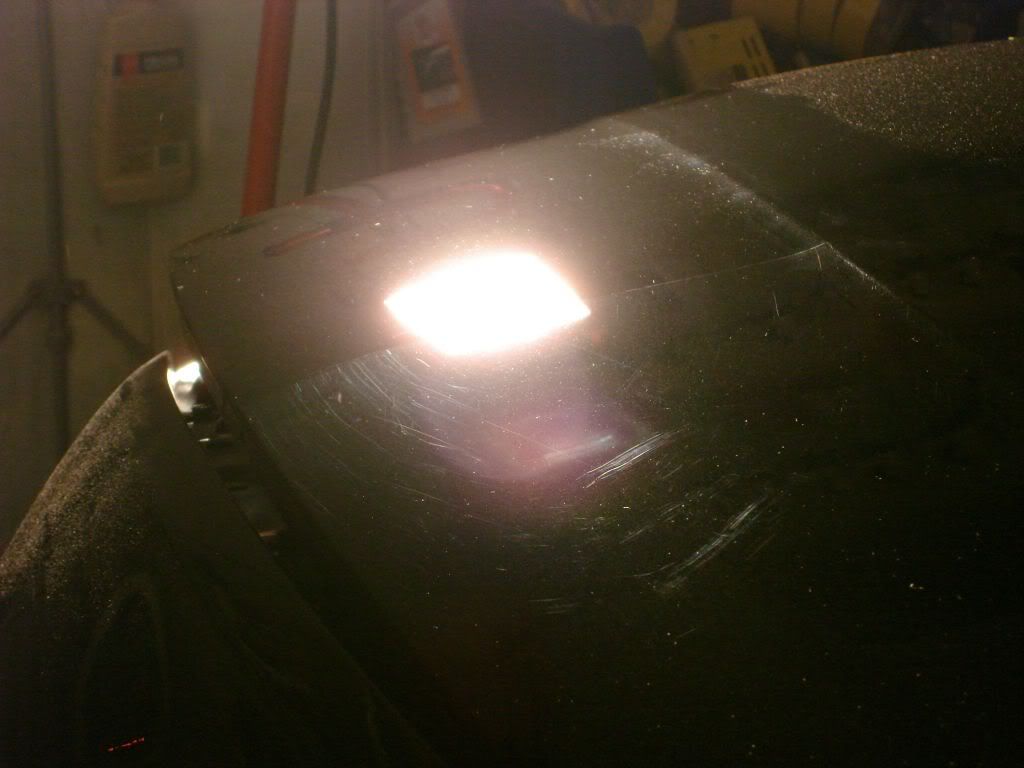
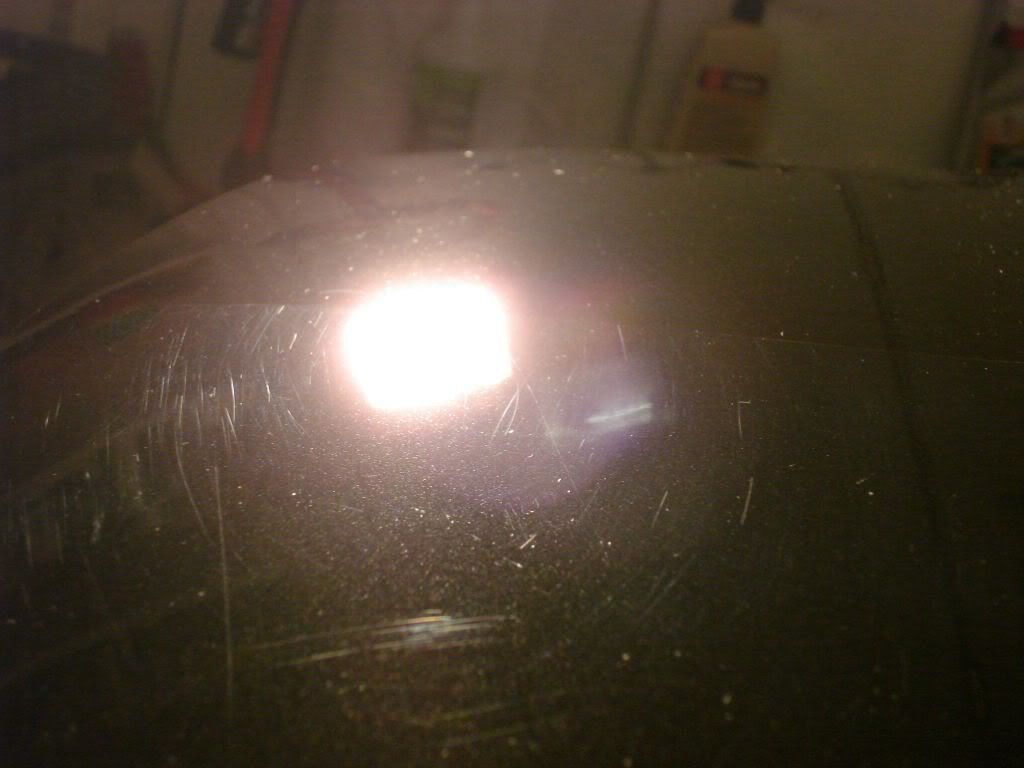
Hood showing some deeper marks, a few extra passes with slow arm movement massaged them out fine
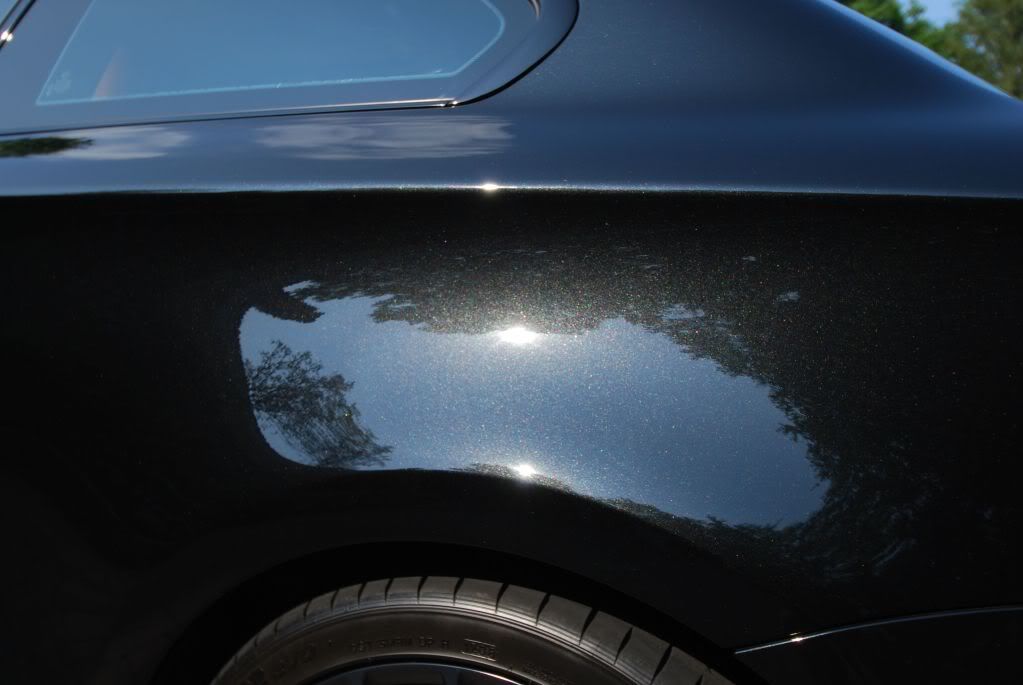
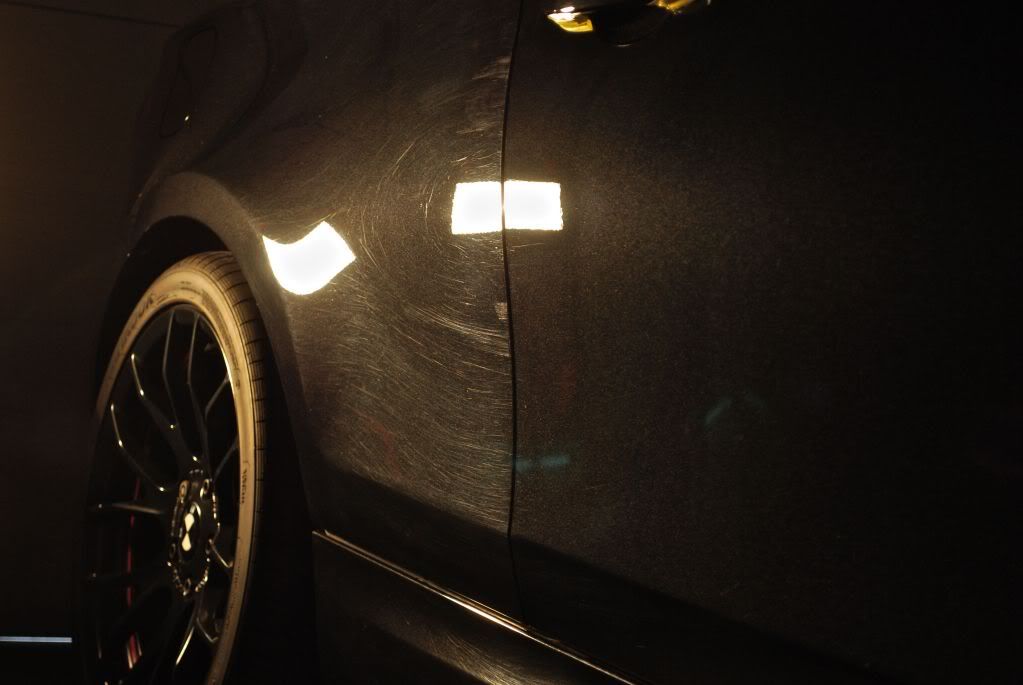
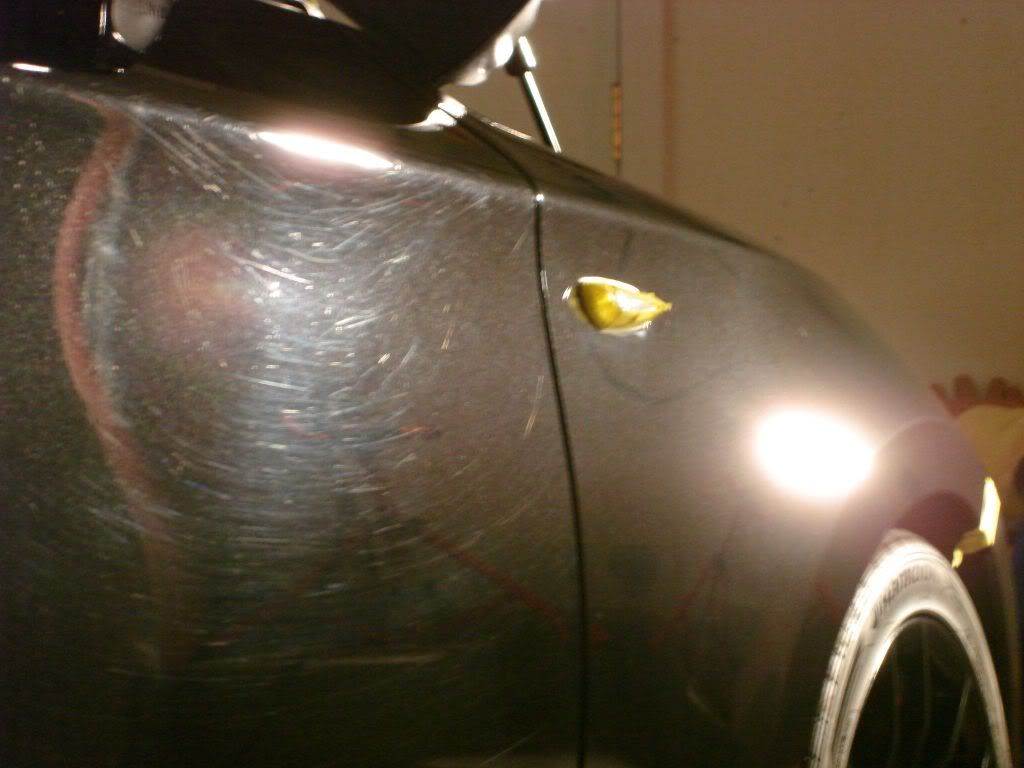
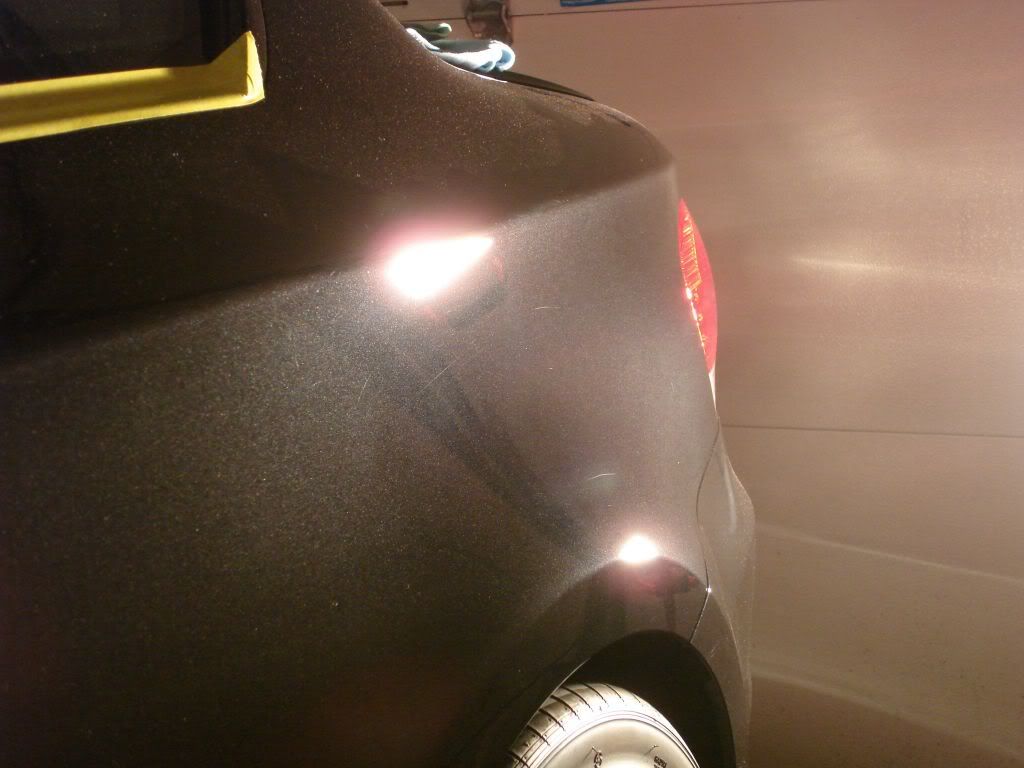
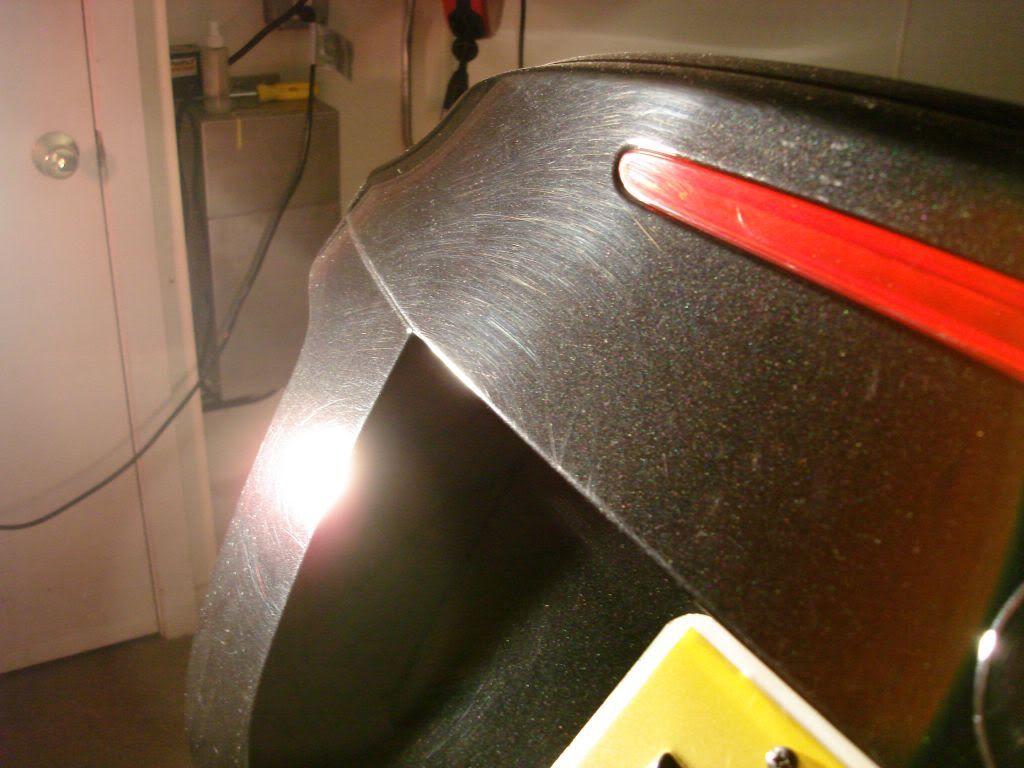
Front fender after M105 and Powerfinish
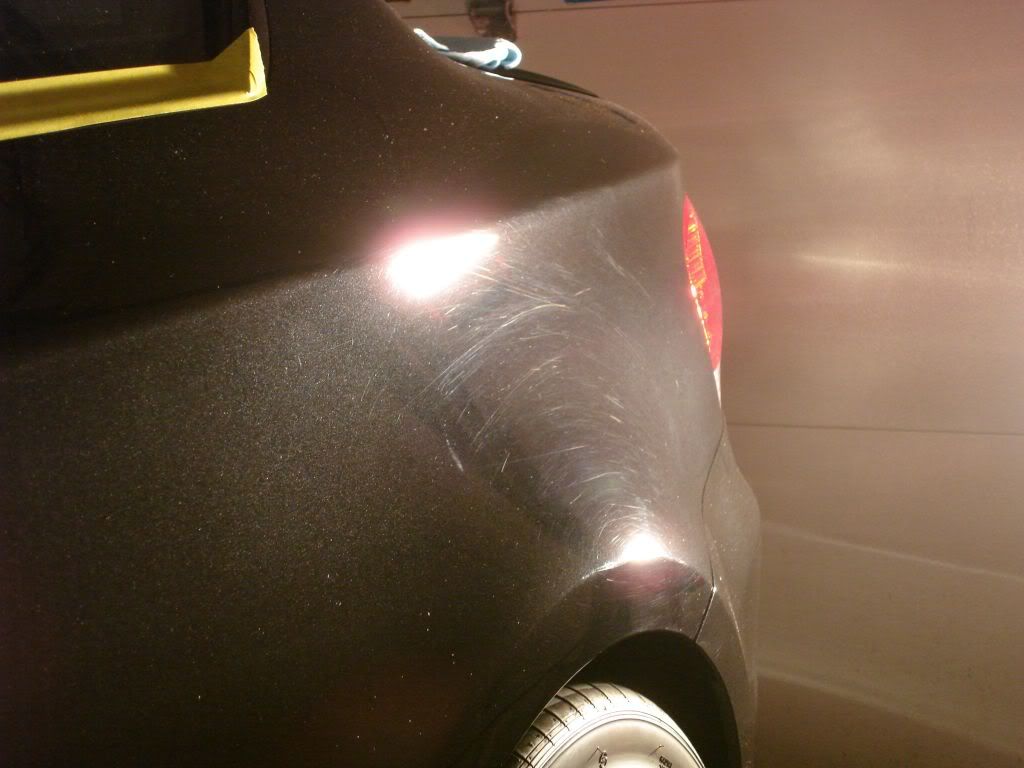
Some very deep marks were left, no wetsanding was to be carried out on this detail
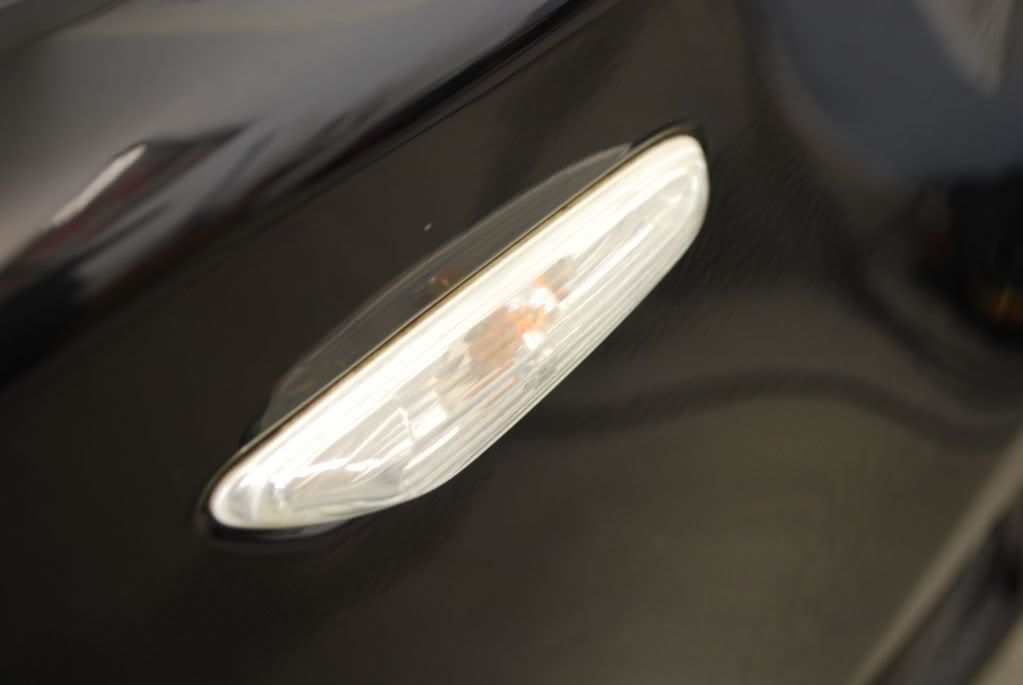
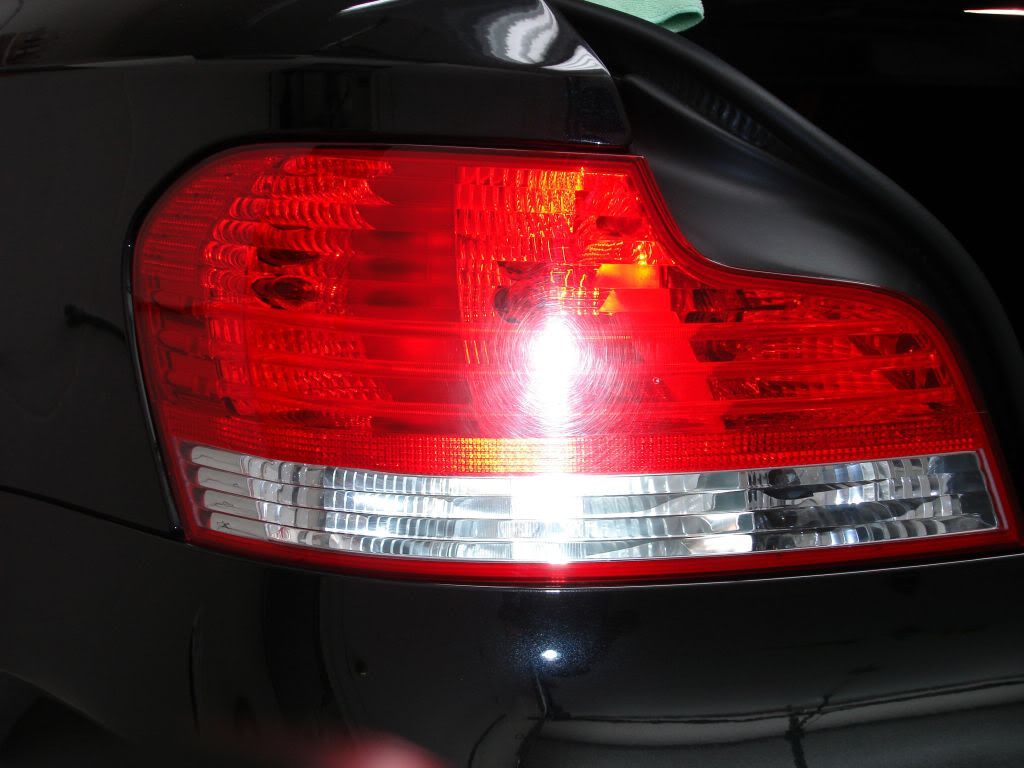
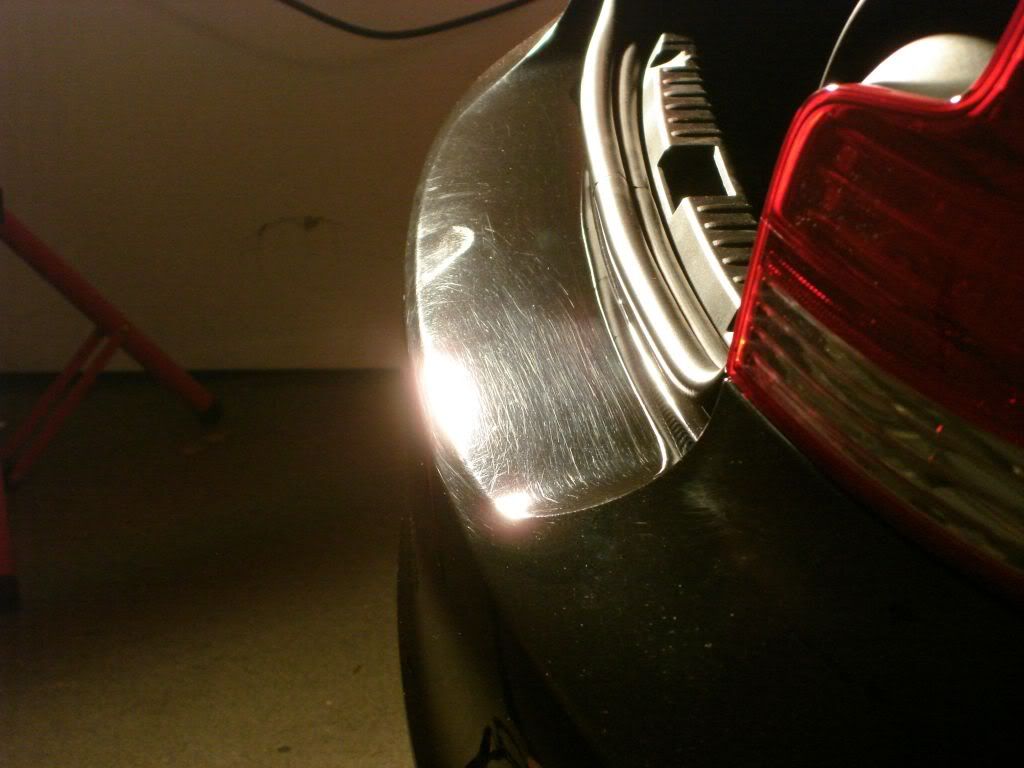
Tailights needed some work, before

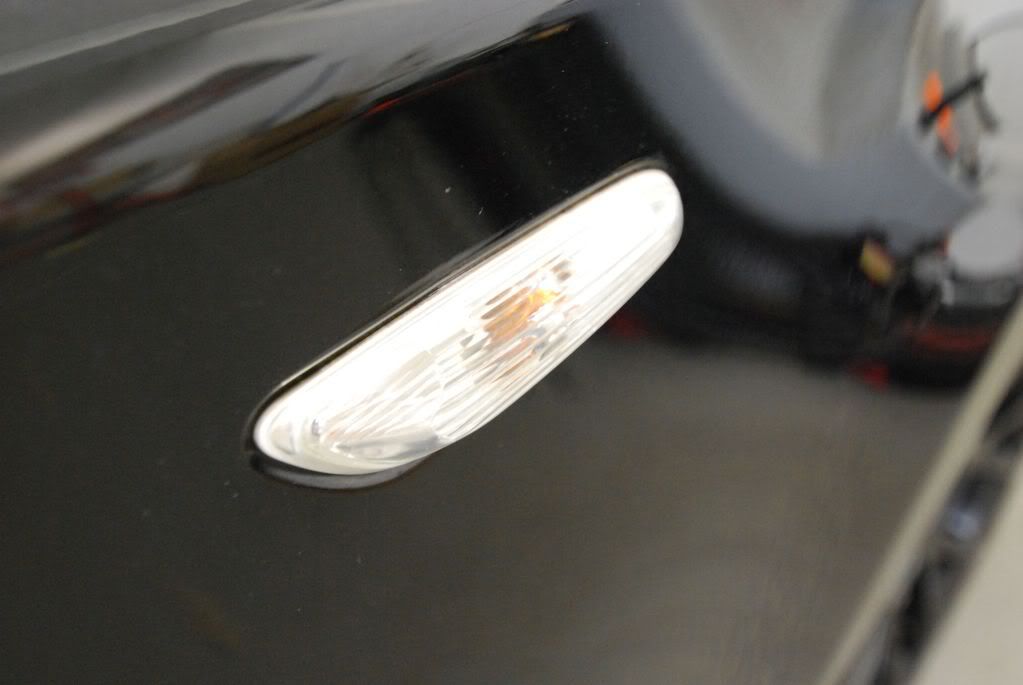
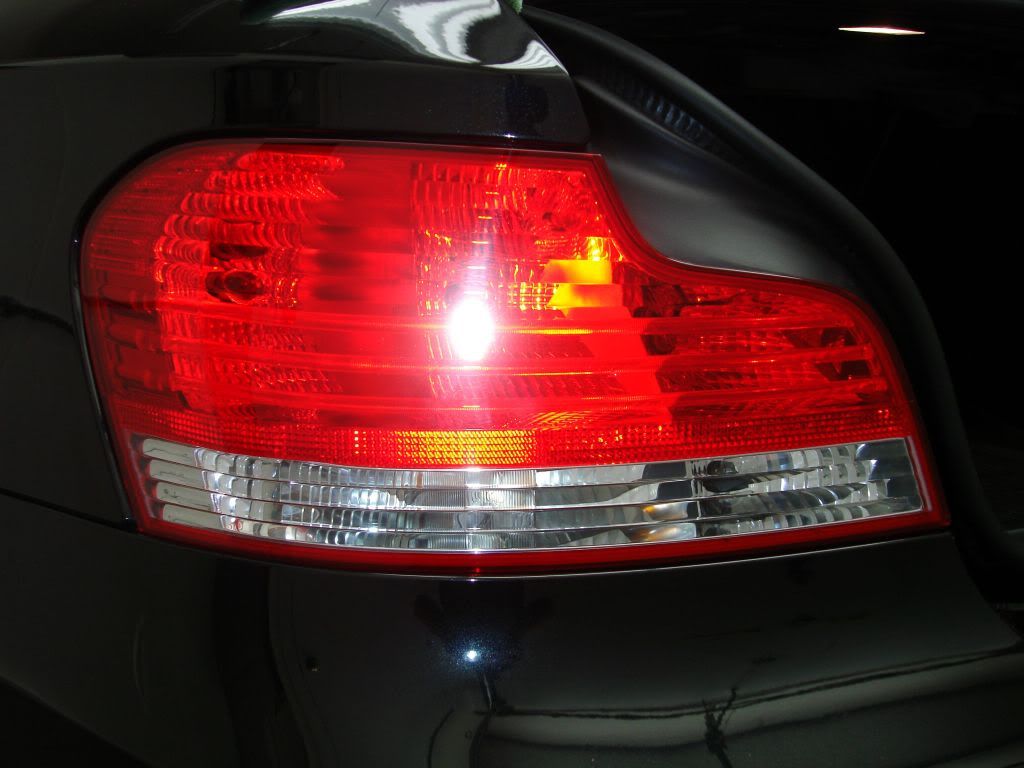
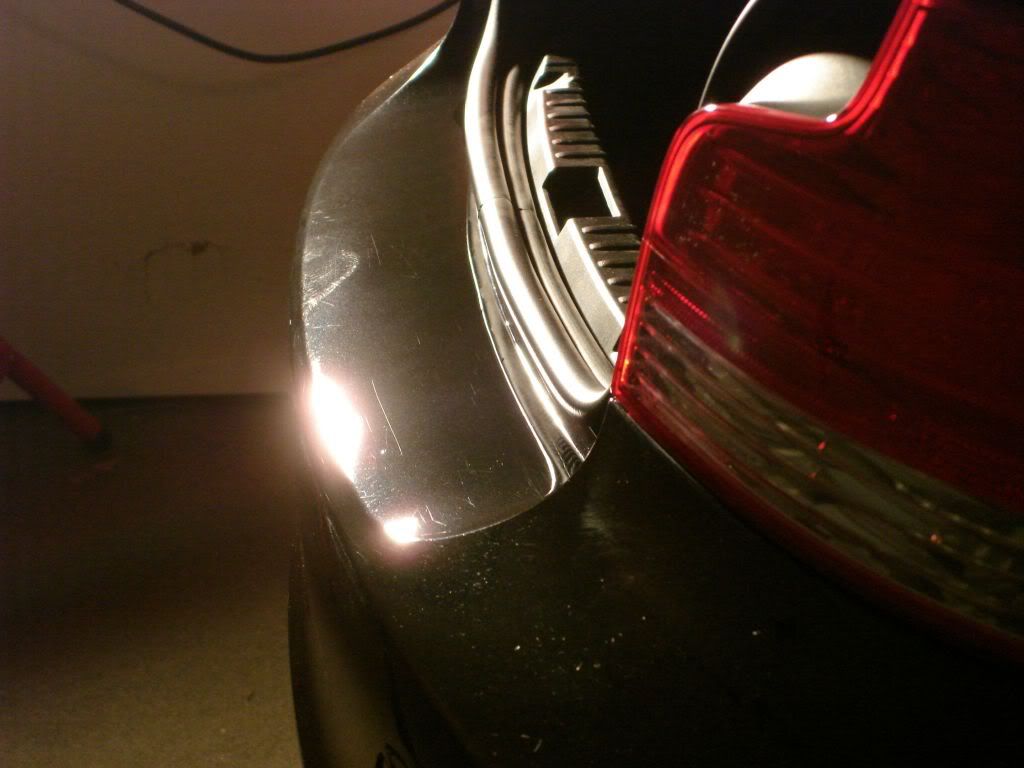
After compounding, no intermediate of final polishing done yet
Rear section corrected and polished using 3" and 4" pads
Before
After
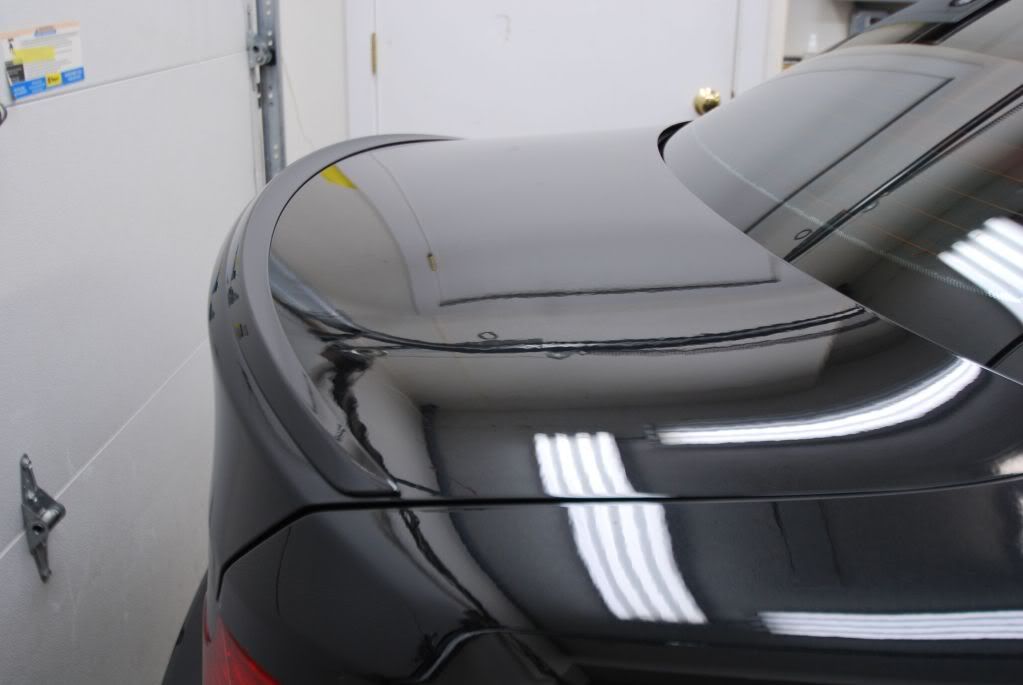
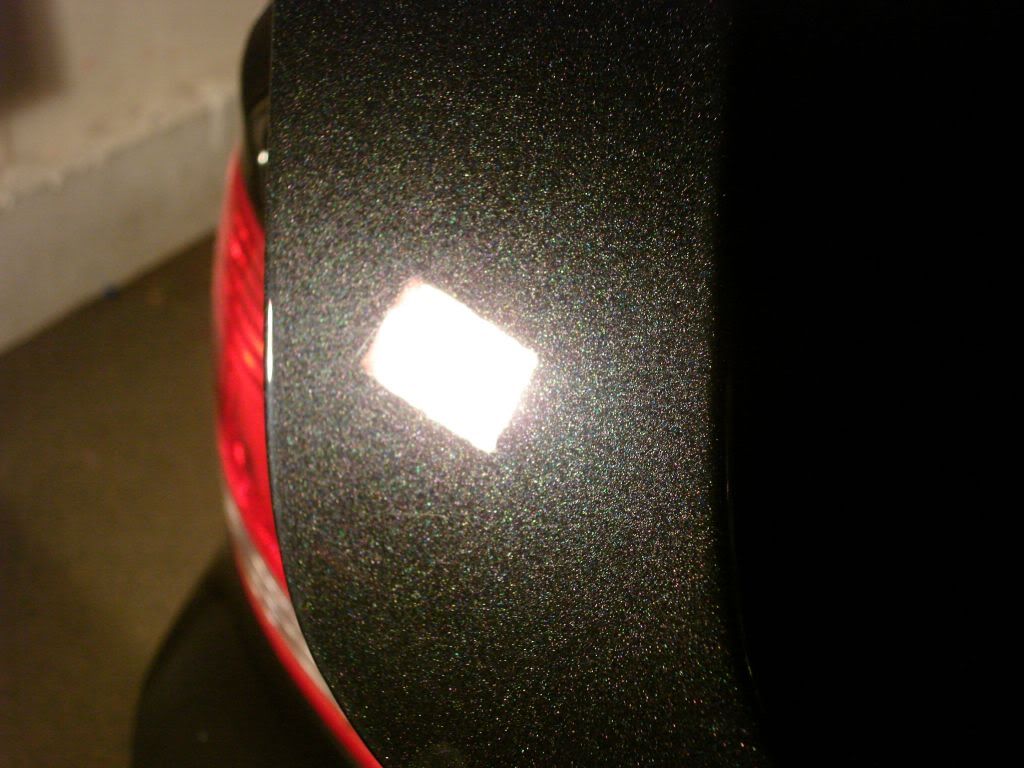
Clarity where it should be and flake pop after final polishing
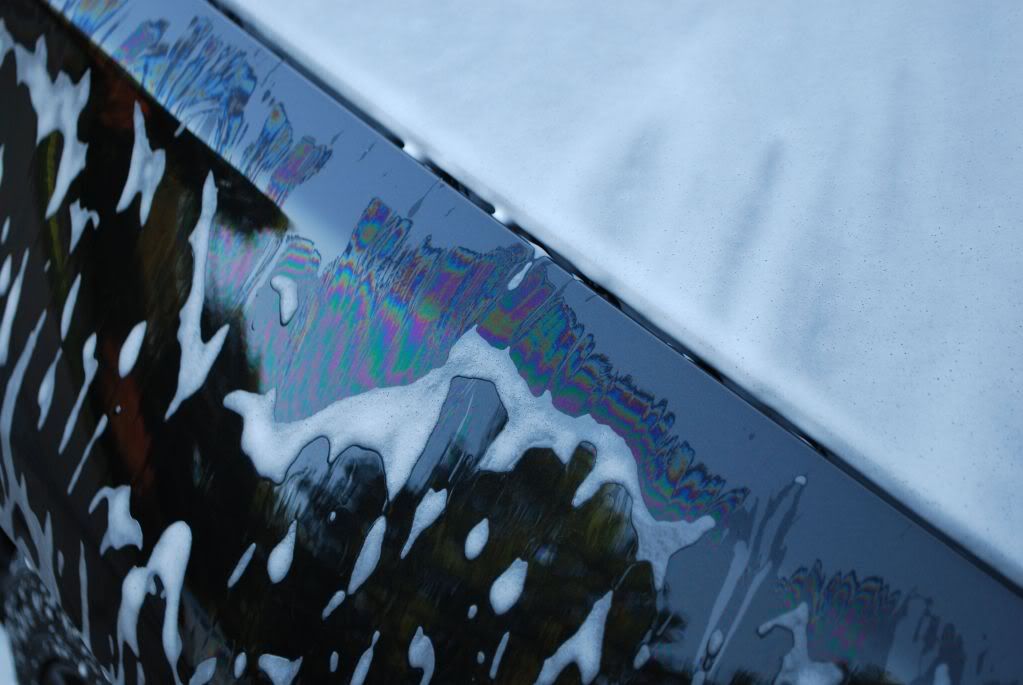
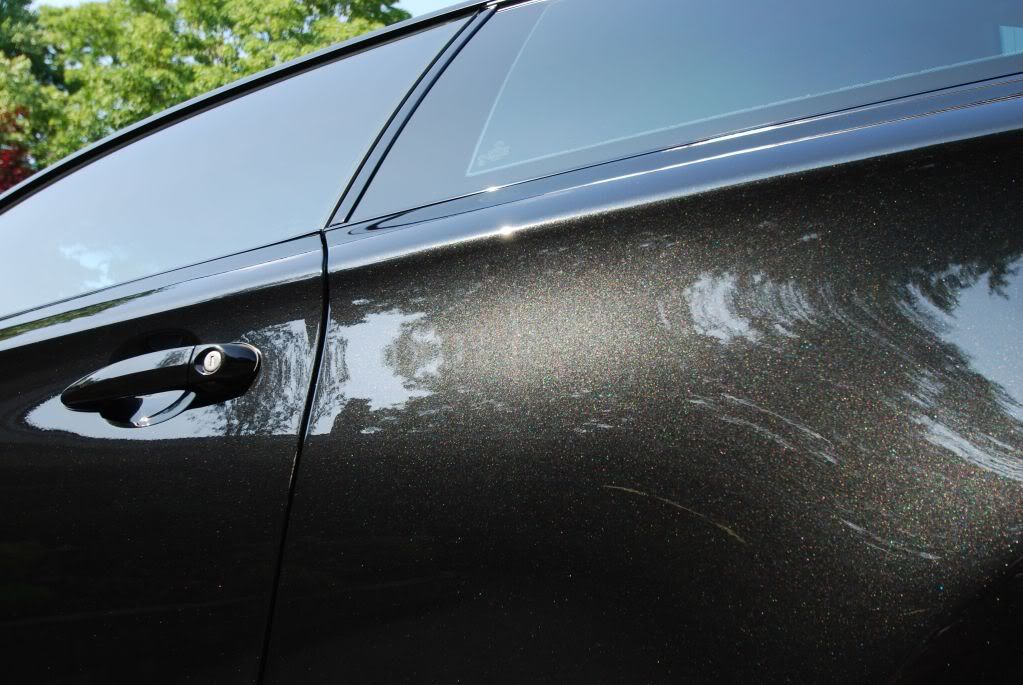
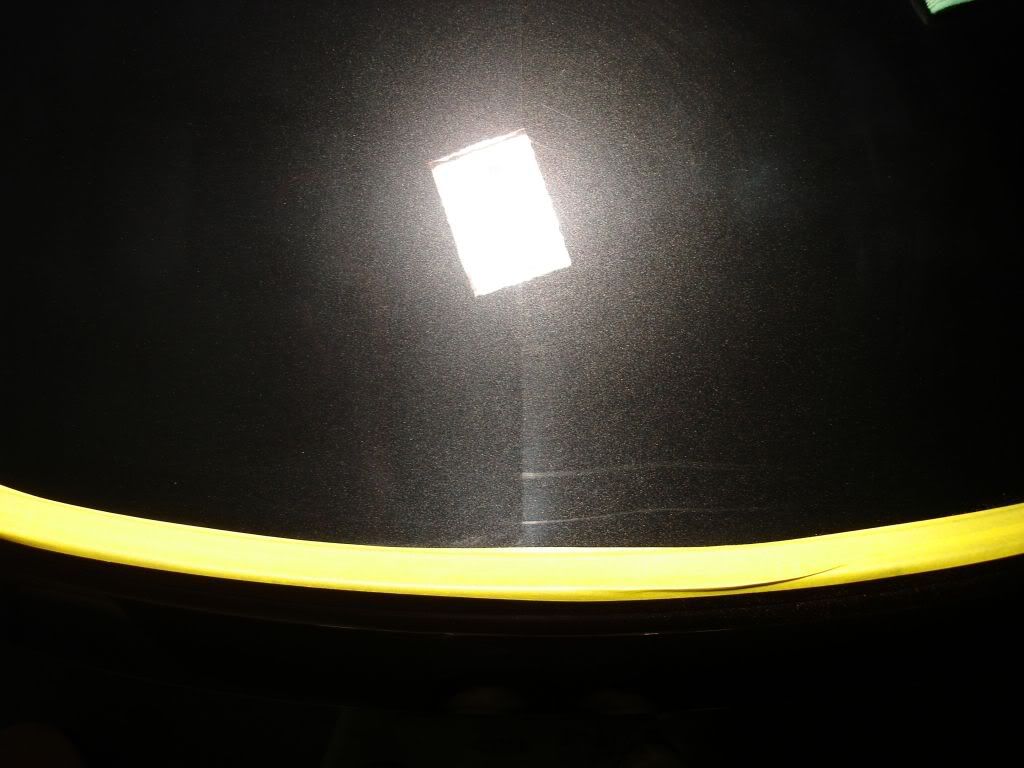
The trunk had some issues during an ice storm in the winter, little bit of "slide-age" caused those snazzy horizontal racing stripes (which look quite badass might I add) but they still had to go, shame, it was a good look too:shakehead:
Usually the worst part of any car, top of the rear bumper... I won the battle but lost the war when it came to deep RIDS
50/50 rear bumper

BMW 1 series in for a complete paint correction and interior detail. As per owners request Aquartz coating was applied as the final protection.
I did a winter preparation detail on this BMW back in December but no paint correction was carried out at that time, this time around the car got the works:thumb:
Pre-foaming with CG citrus wash mixed with a bit of Opt. powerclean to remove prior sealant
Washed using with the 2BM and Lusso auto bathe followed by a complete soak in Iron Cut (ideal to use when your applying any type of paint coating coating). Iron cut was left to sit for 7-8 minutes before wiping down with a damp towel and then a re-rinse with the pressure washer
After the rest of prep with a quick clay and 2 IPA wipedowns the car was taped up for correction, paint was measured with the PTG and then inspected with LED and halogen lights.
Overall condition of the finish wasnt too pretty, very high concentration of wash swirls with a few areas showing some deeper defects and RIDS.
After a few test spots I decided to carry out paint correction using Meguiars M105 on a tangerine LC hydro pad on the rotary at 1800rpms followed by Menzerna Powerfinish 203s on a green DD polishing pad. At this stage the finish was just about 95-98% perfect and defect free.
Final polishing was done with a DA just to ensure no fine marring in the finish after the earlier correction stages, for this Menzerna 106FA was used on a black finishing foam.
Video 50.50 using Fenix TK40 LED (pardon me if your not a Jimi Hendrix fan)
YouTube - Street Dreams Detail - BMW correction 50.50
Some shots of the damage before and after and in between...
Hood showing some deeper marks, a few extra passes with slow arm movement massaged them out fine
Front fender after M105 and Powerfinish
Some very deep marks were left, no wetsanding was to be carried out on this detail
Tailights needed some work, before
After compounding, no intermediate of final polishing done yet
Rear section corrected and polished using 3" and 4" pads
Before
After
Clarity where it should be and flake pop after final polishing
The trunk had some issues during an ice storm in the winter, little bit of "slide-age" caused those snazzy horizontal racing stripes (which look quite badass might I add) but they still had to go, shame, it was a good look too:shakehead:
Usually the worst part of any car, top of the rear bumper... I won the battle but lost the war when it came to deep RIDS
50/50 rear bumper