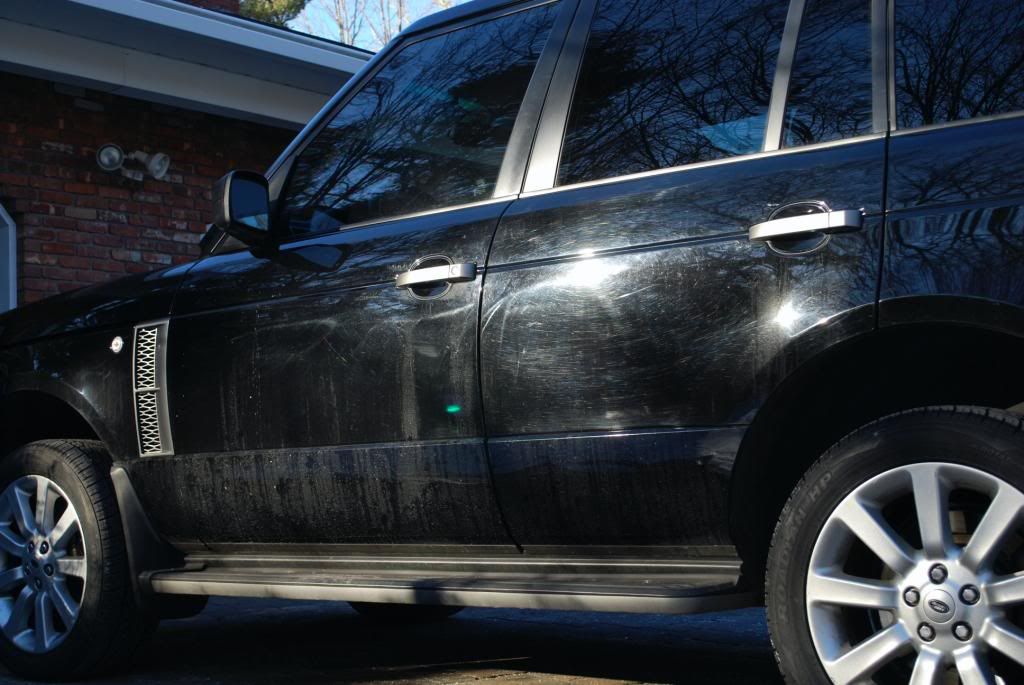
Black Range Rover Supercharged in for a mini restoration detail. Previous owner really neglected the car and the new owner wanted it back to new inside and out.
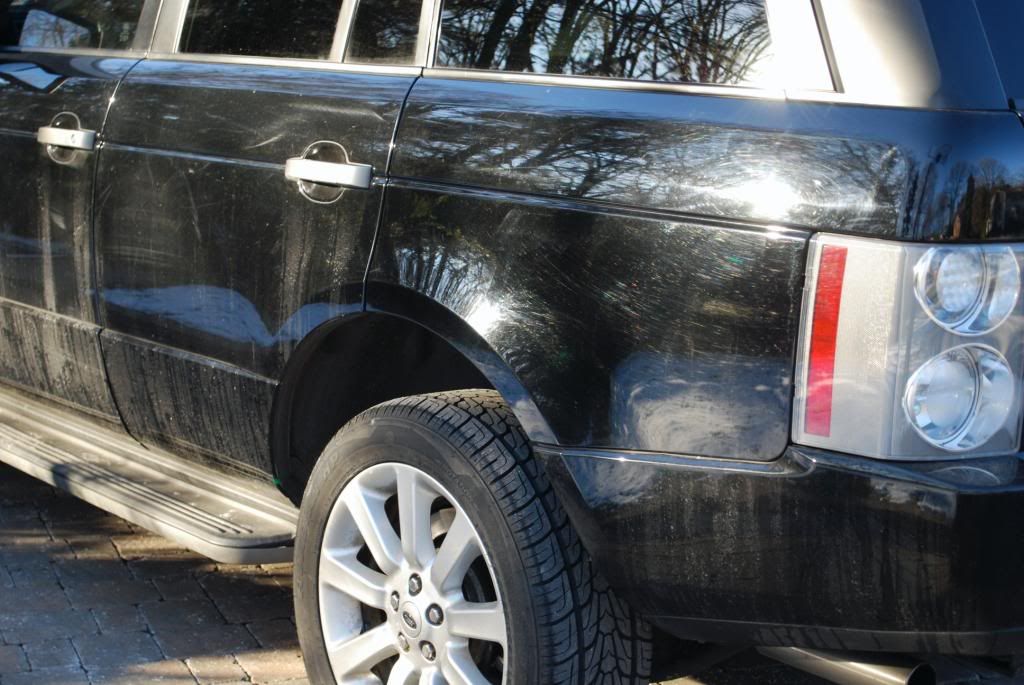
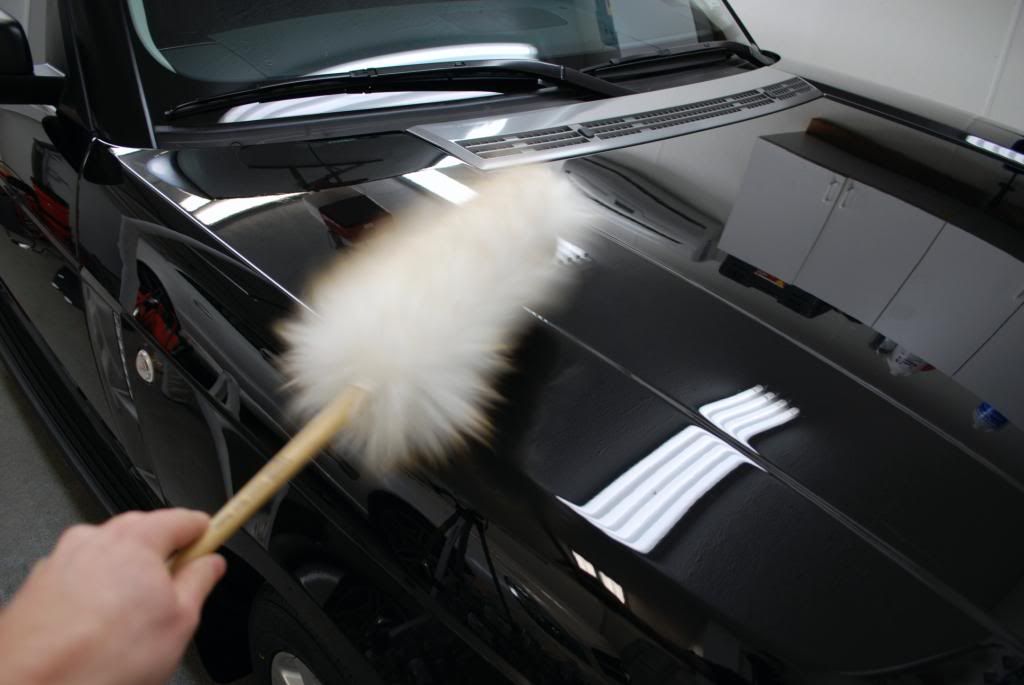
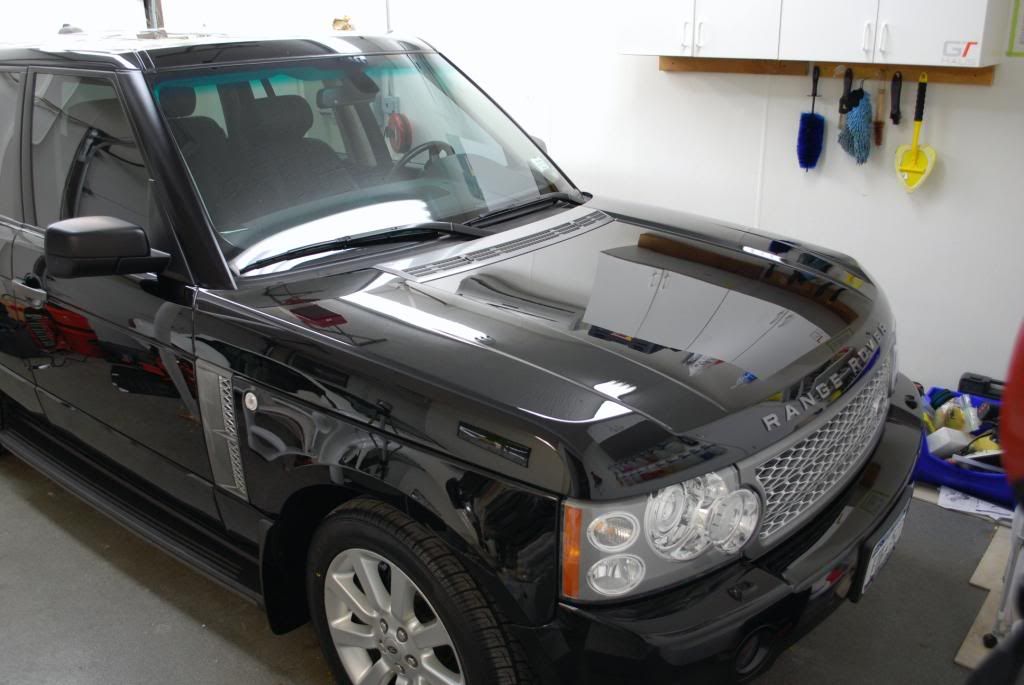
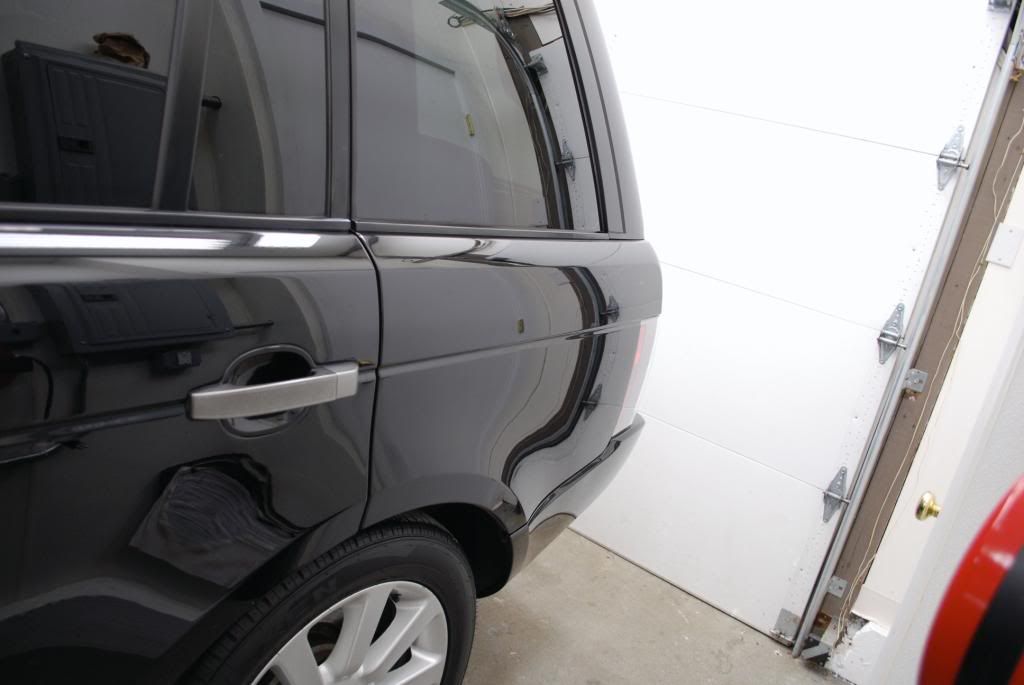
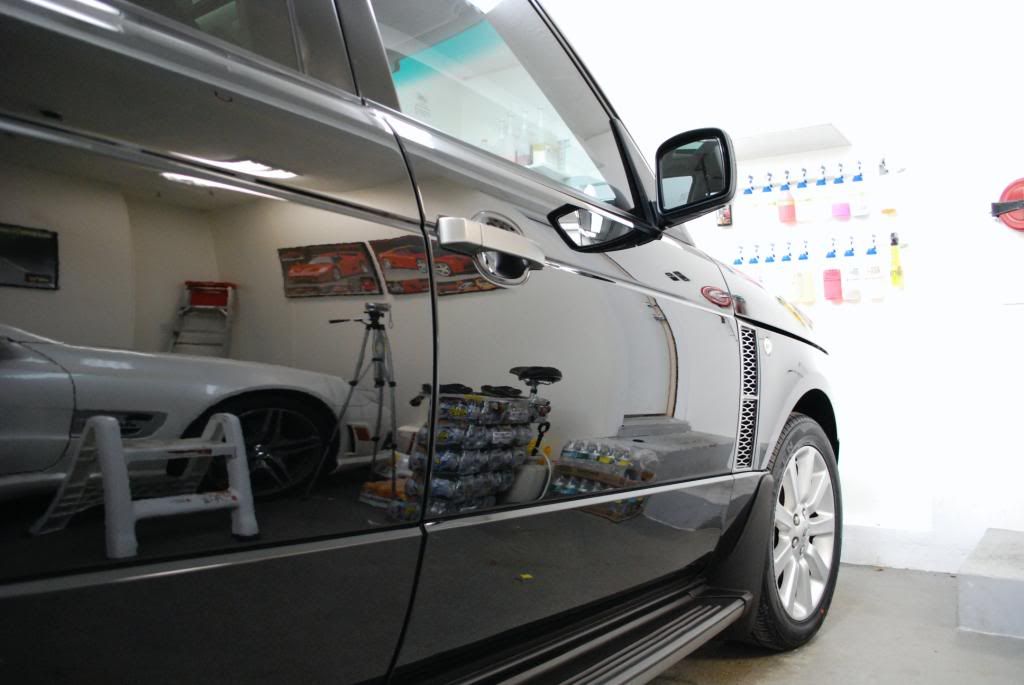
Some shots outside before I got to wash the car
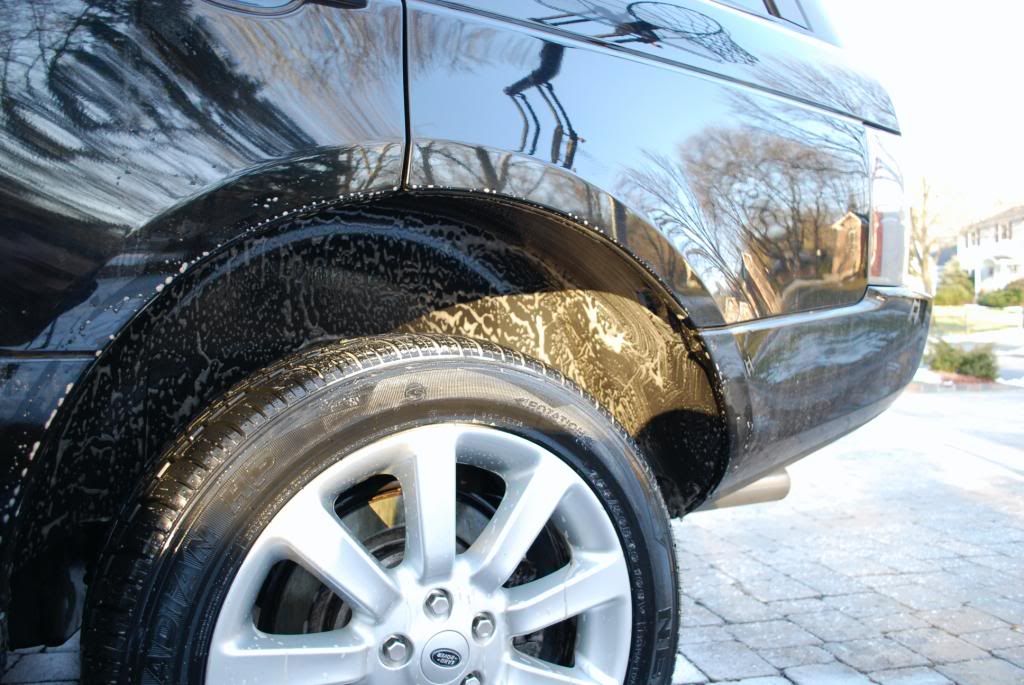
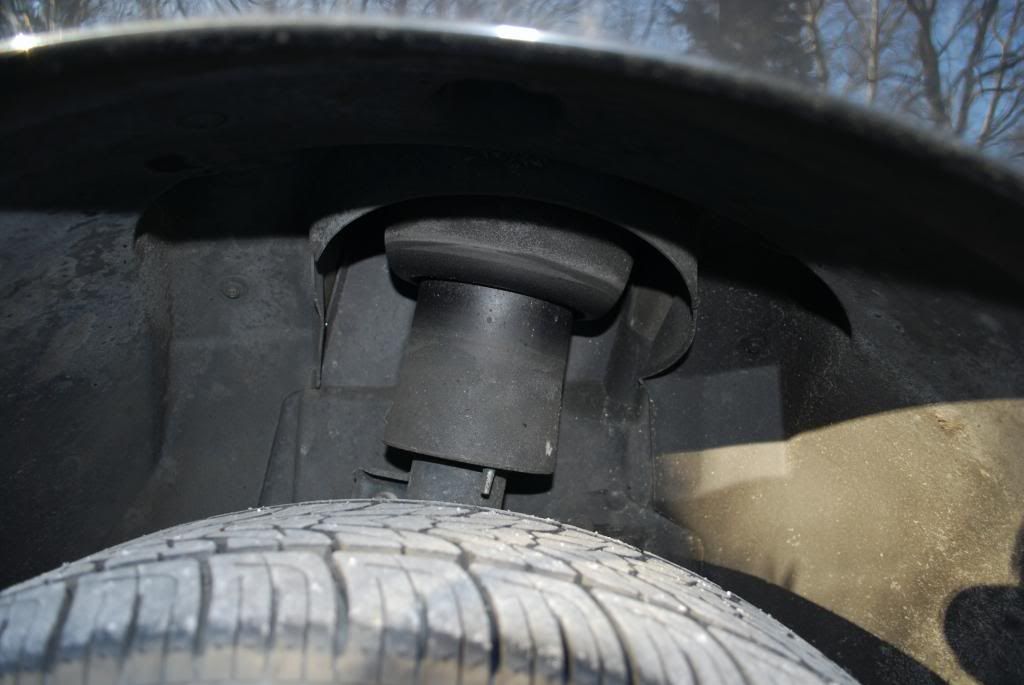
Began with wheels and tires, I raised the suspension setting to its highest and got started on the wheel wells.
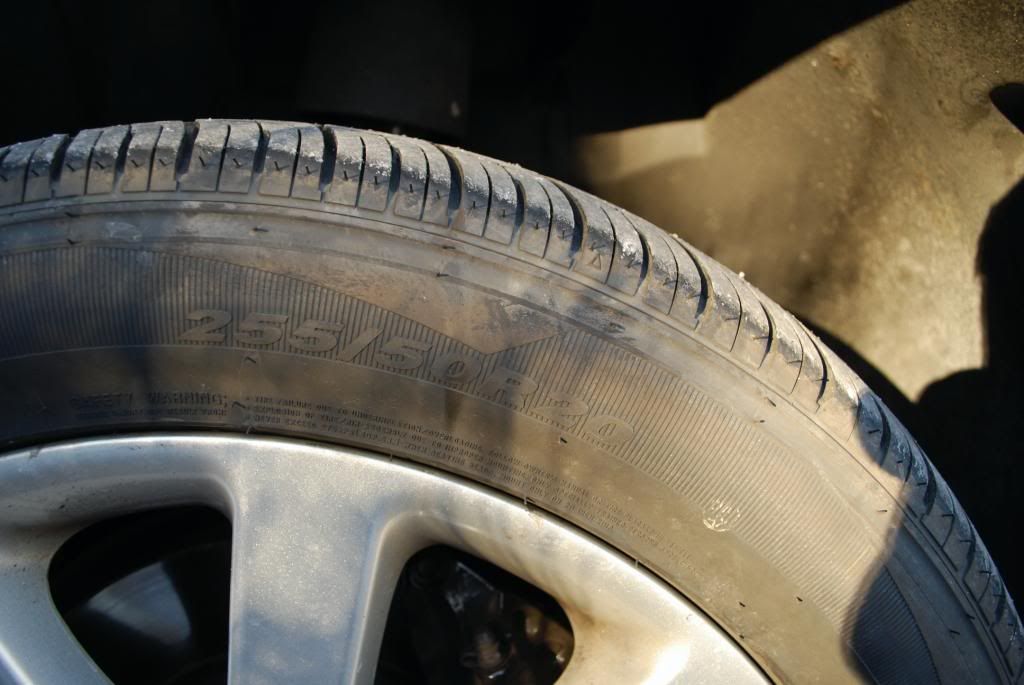
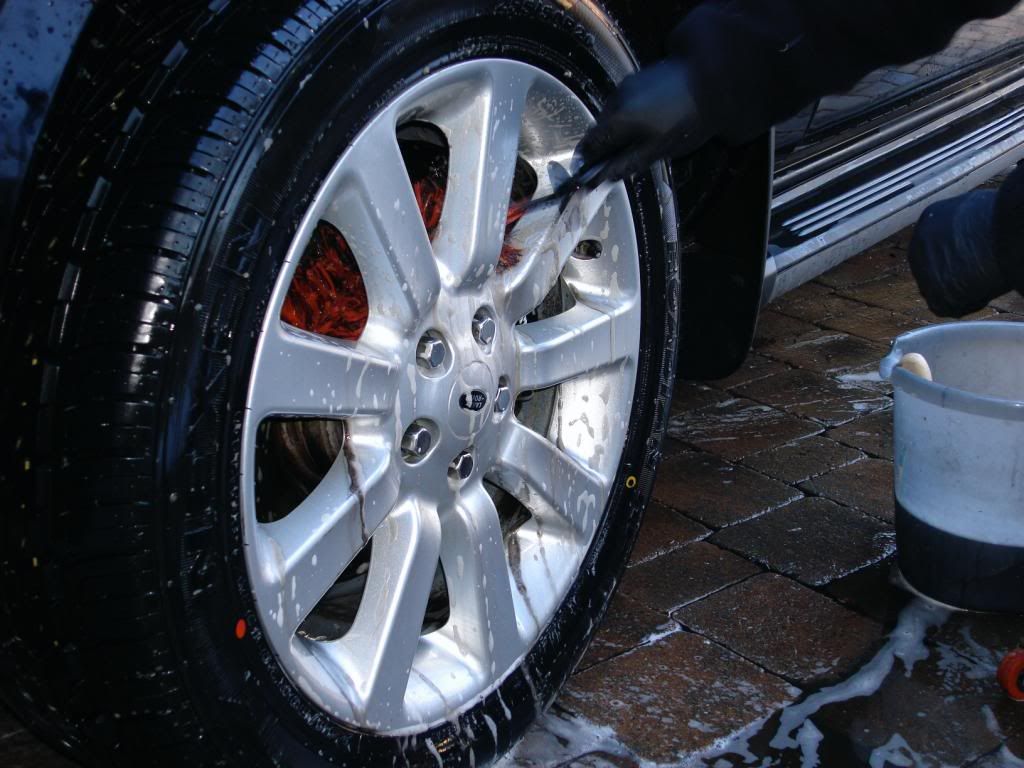
Tires before...
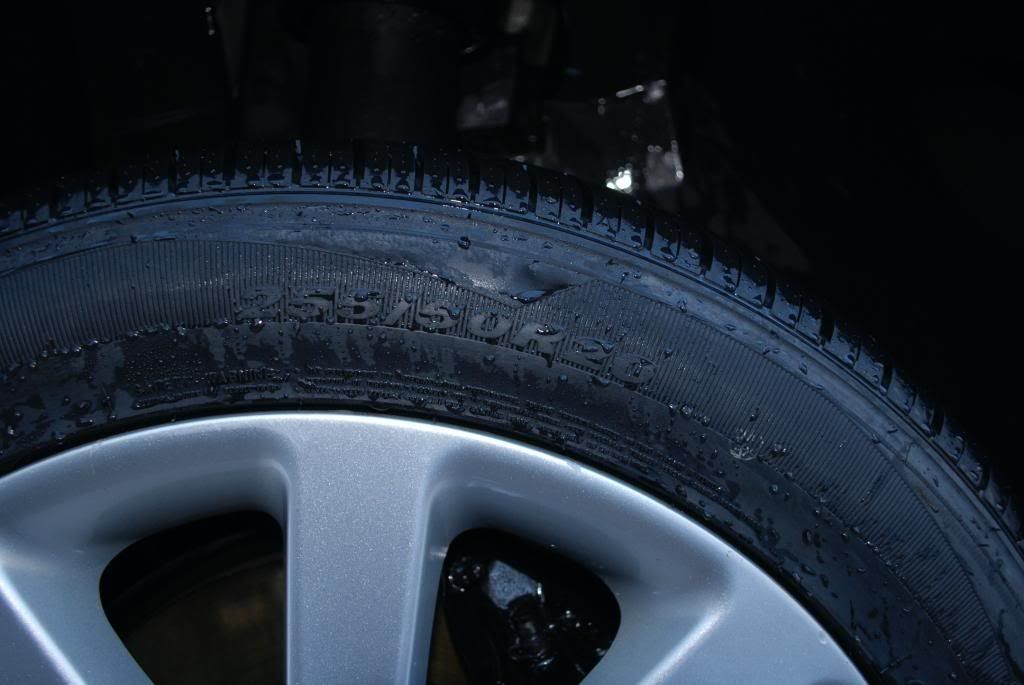
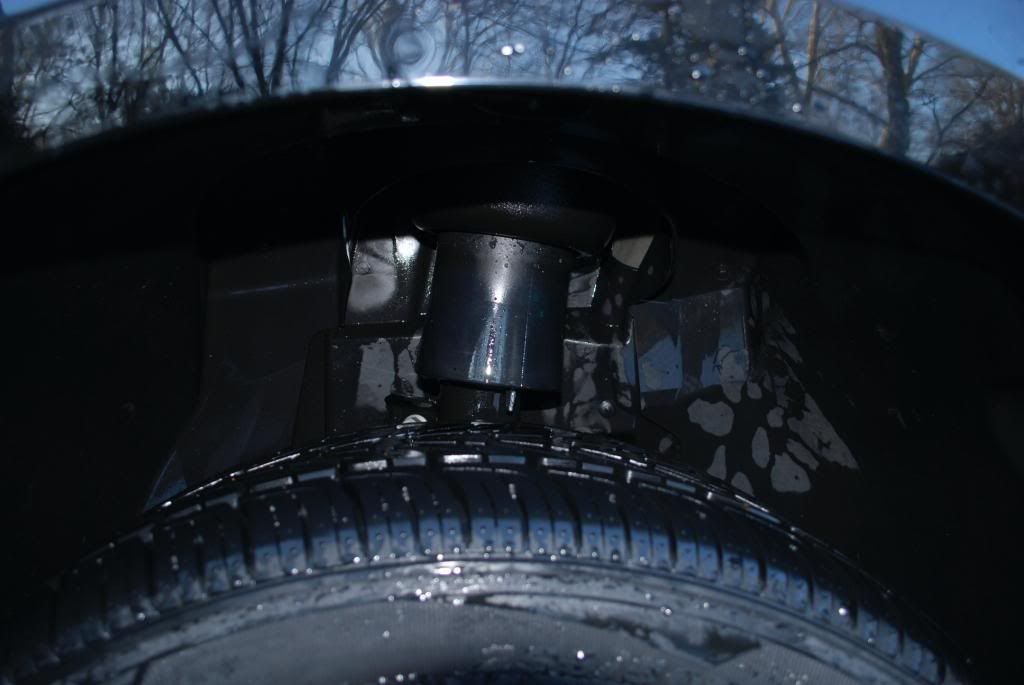
After..
Wheel well before..
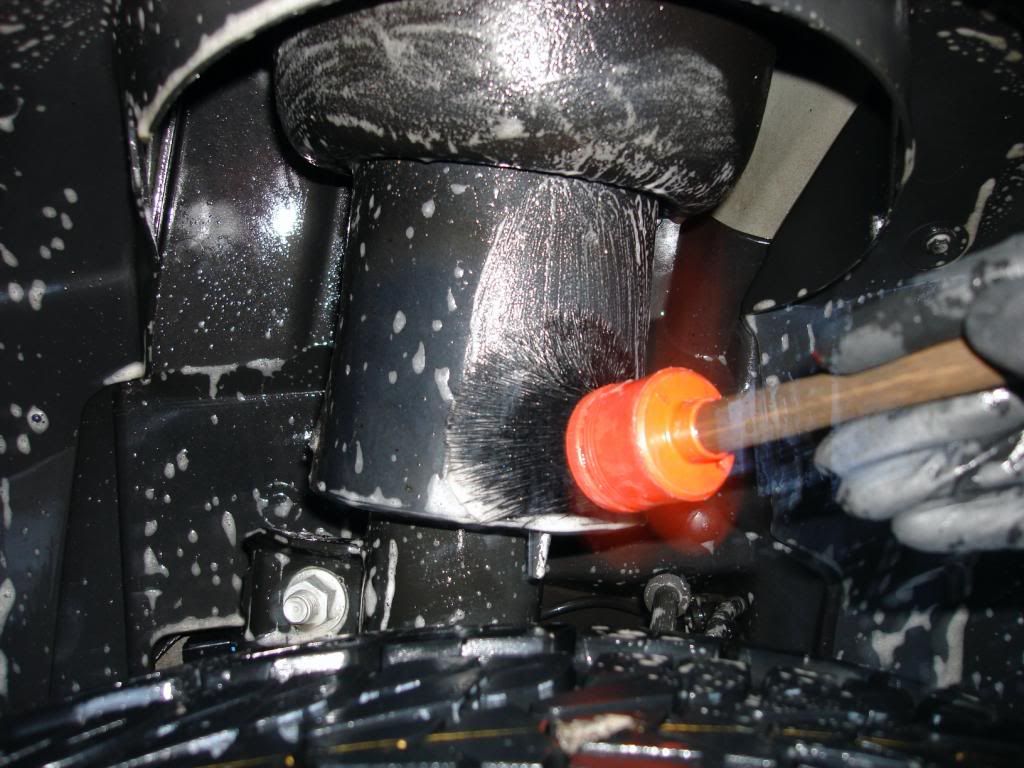
Cleaned with various brushes...
Car was foamed with a mild degreaser and washed with citrus soap before being pulled inside.
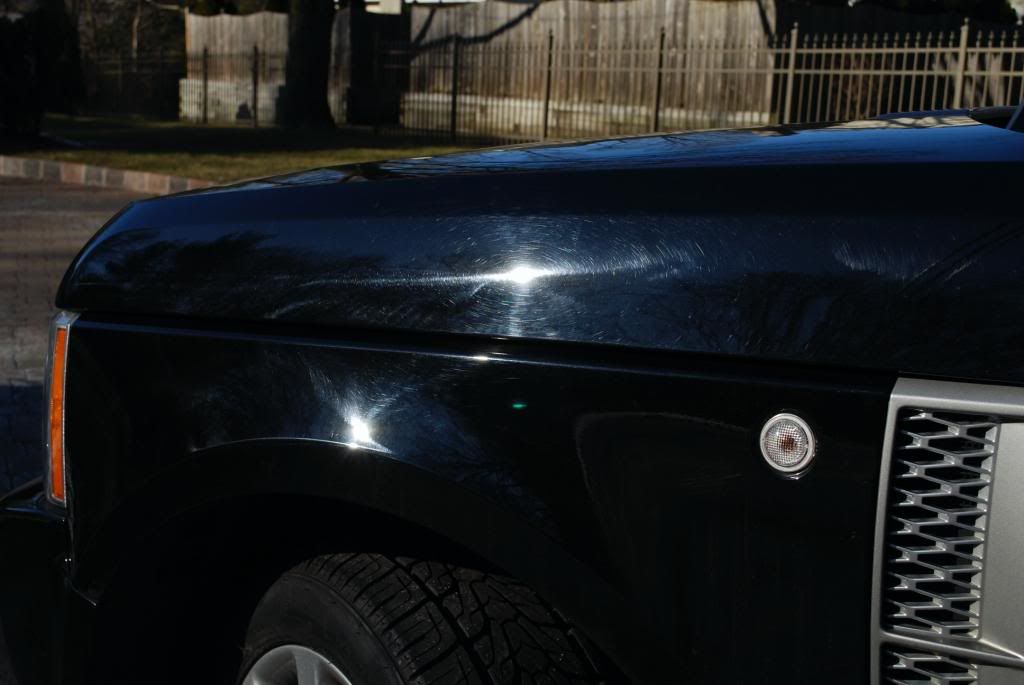
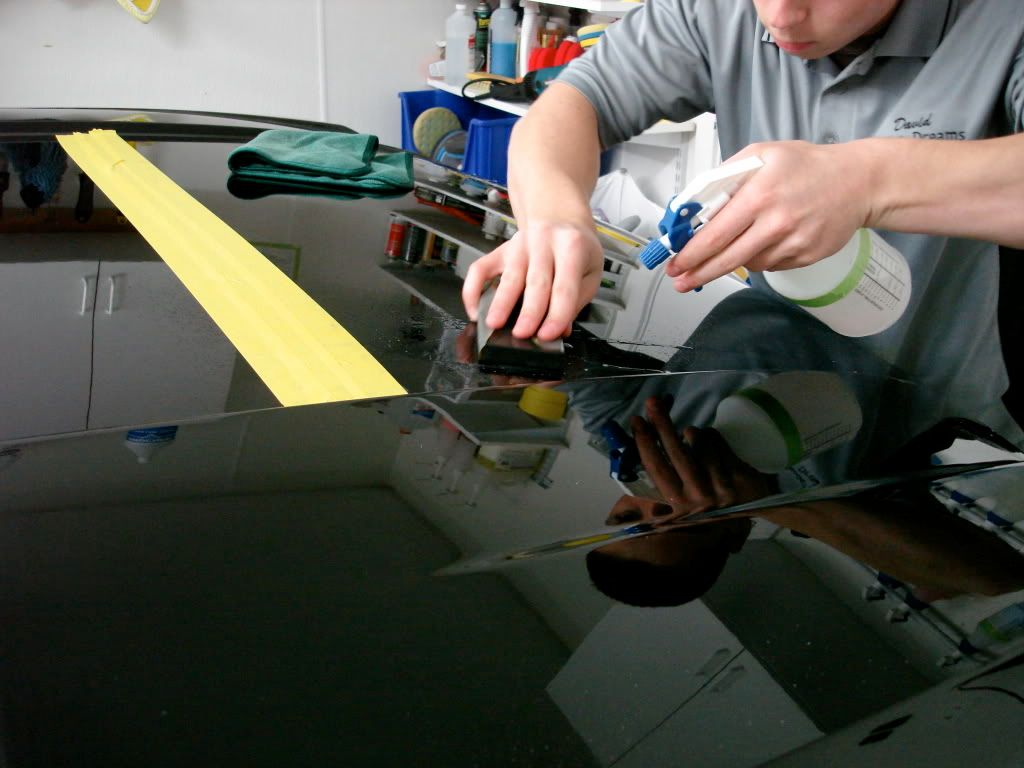
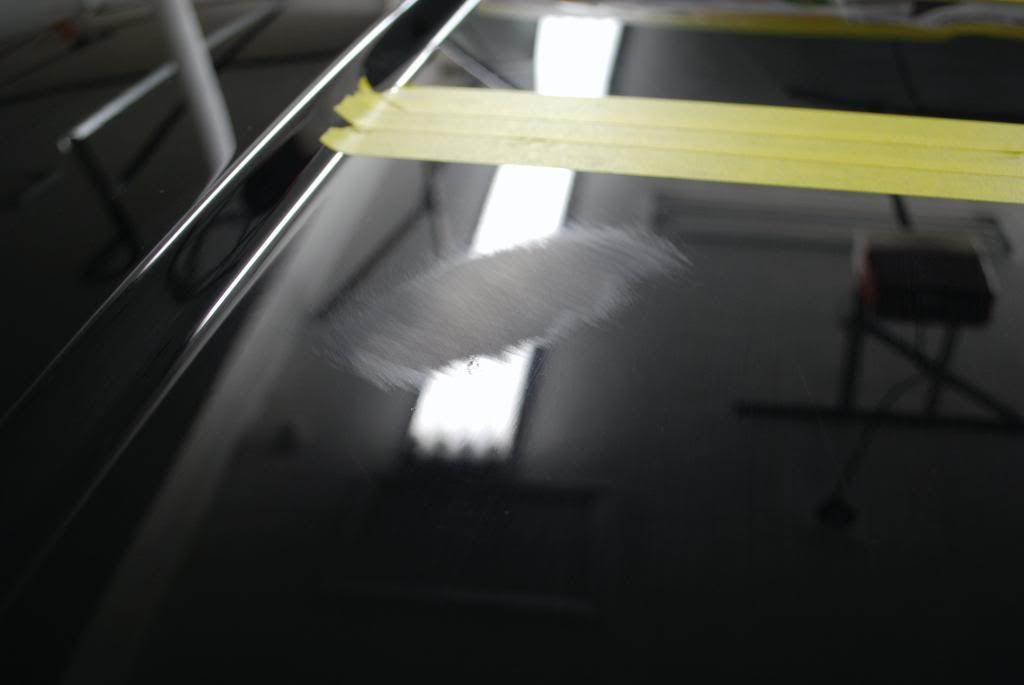
After claying part of the hood
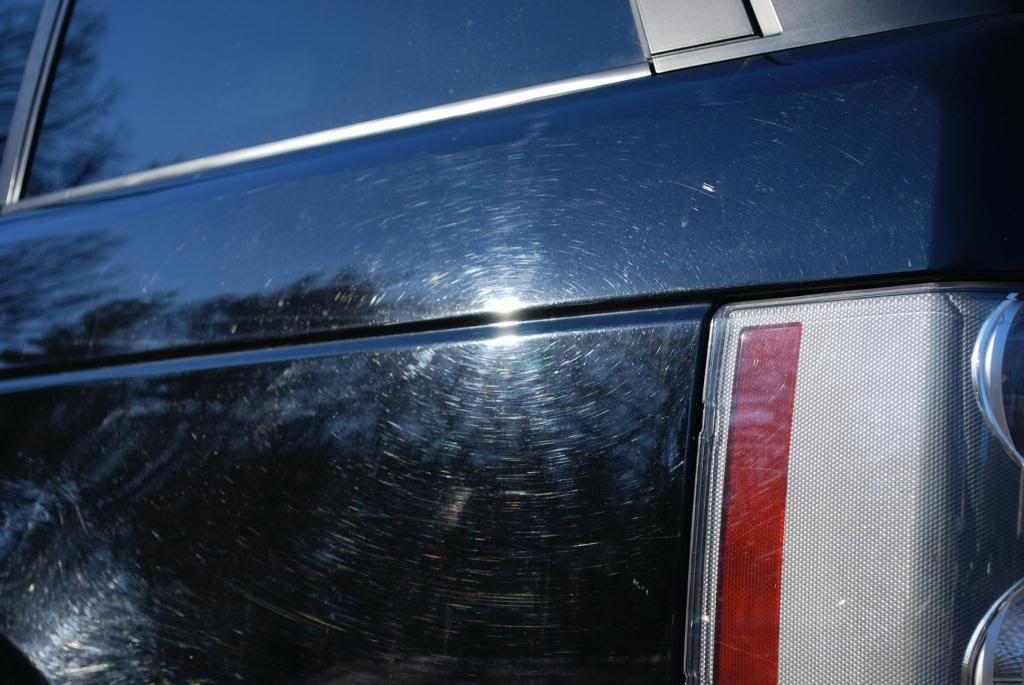
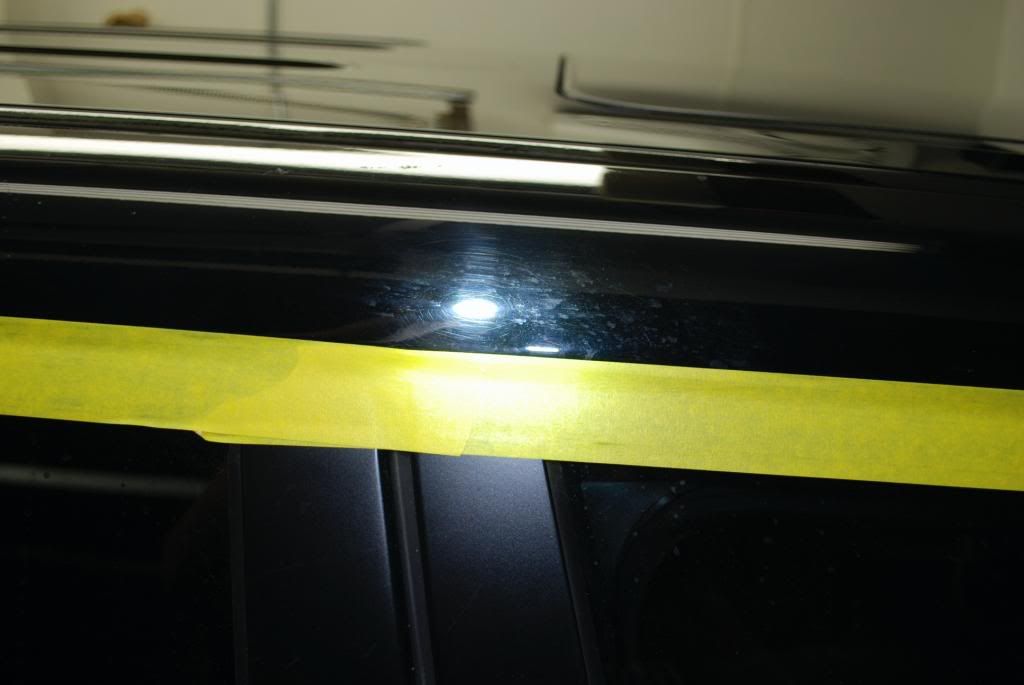
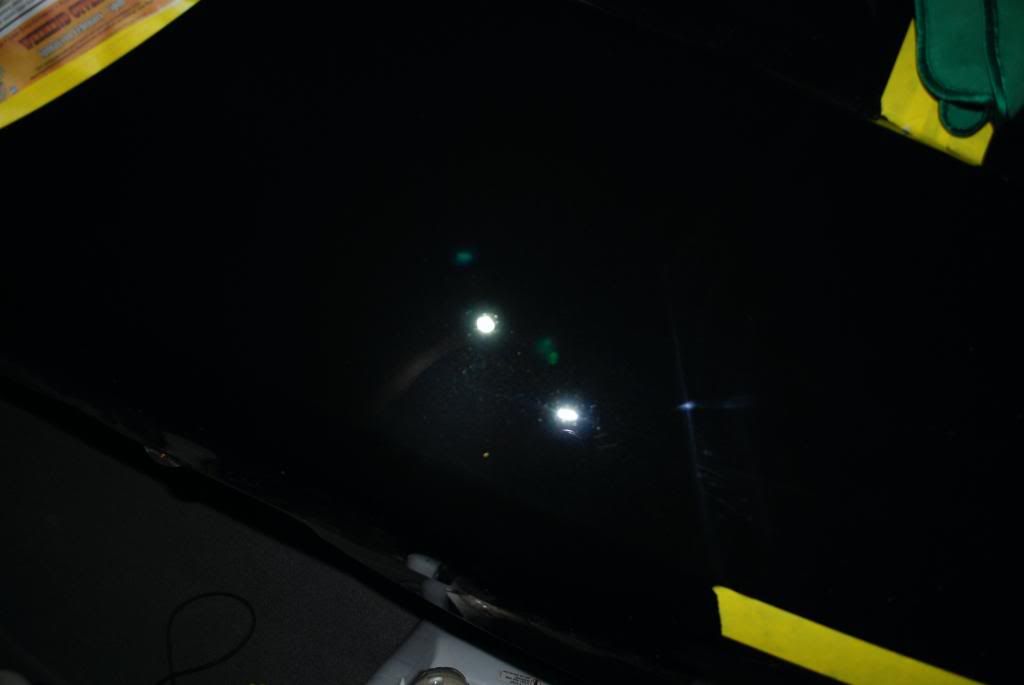
I re-dried the car and gave it 3 alcohol wipedowns before starting correction... after washing off some prior glaze I had to make sure everything was clean and stripped. Underneath the finish was worse than I initially though.
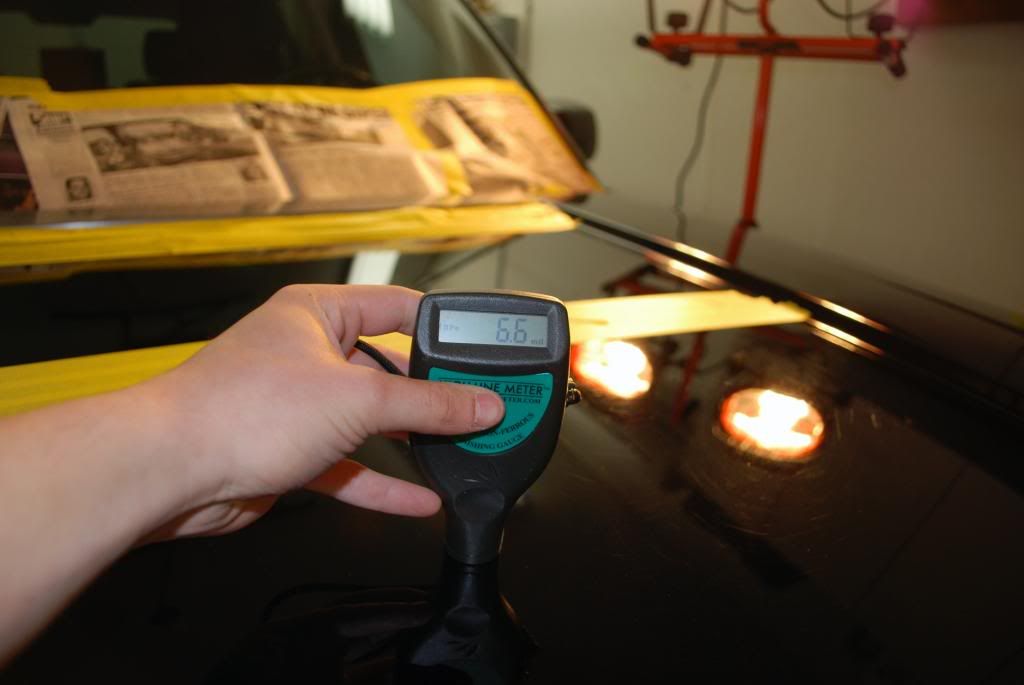
Measured the finish with the PTG and saw very consistent readings.
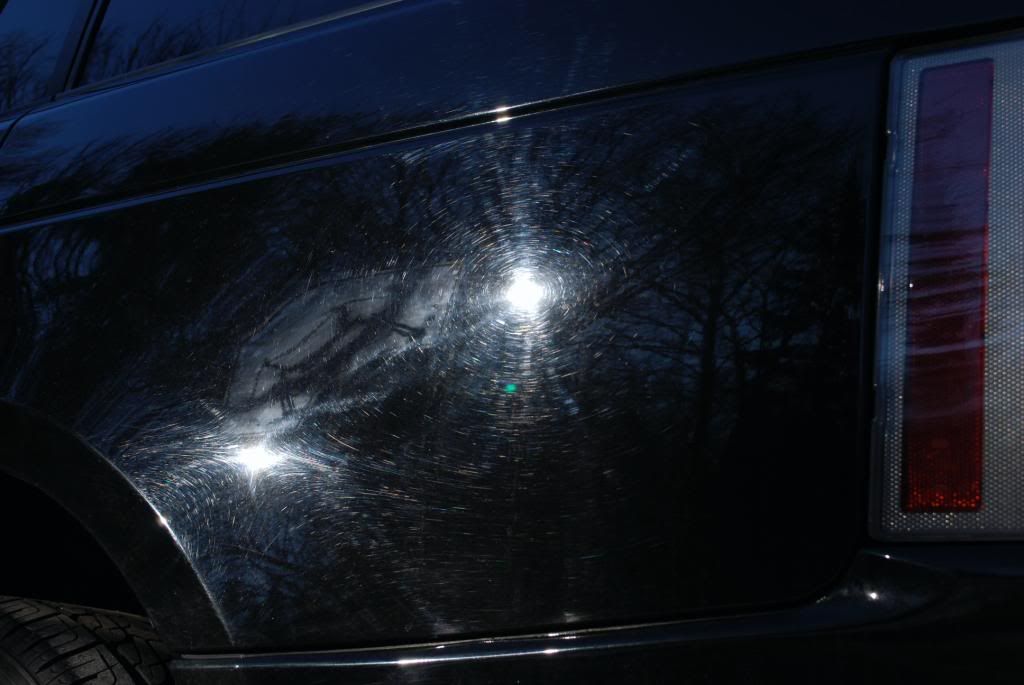
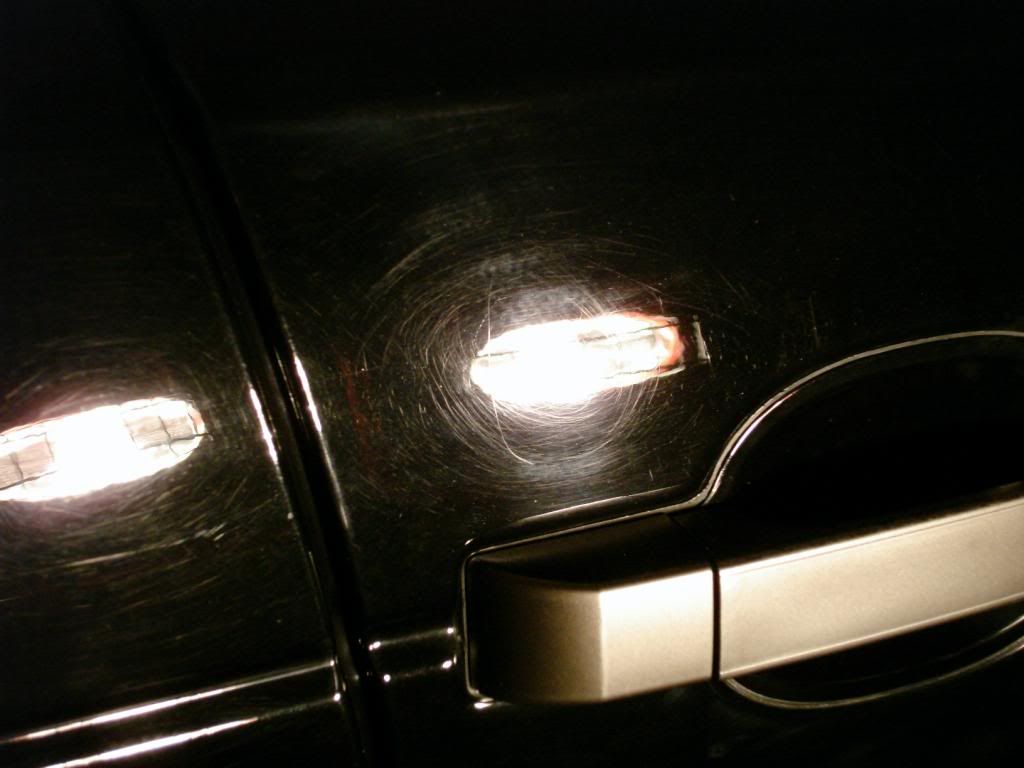
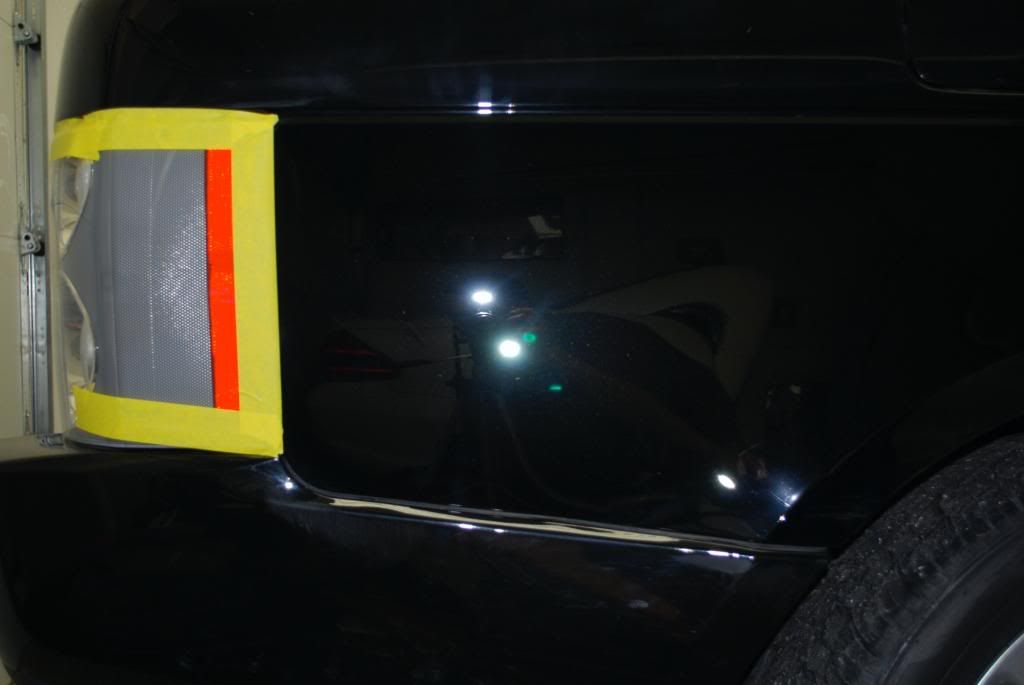
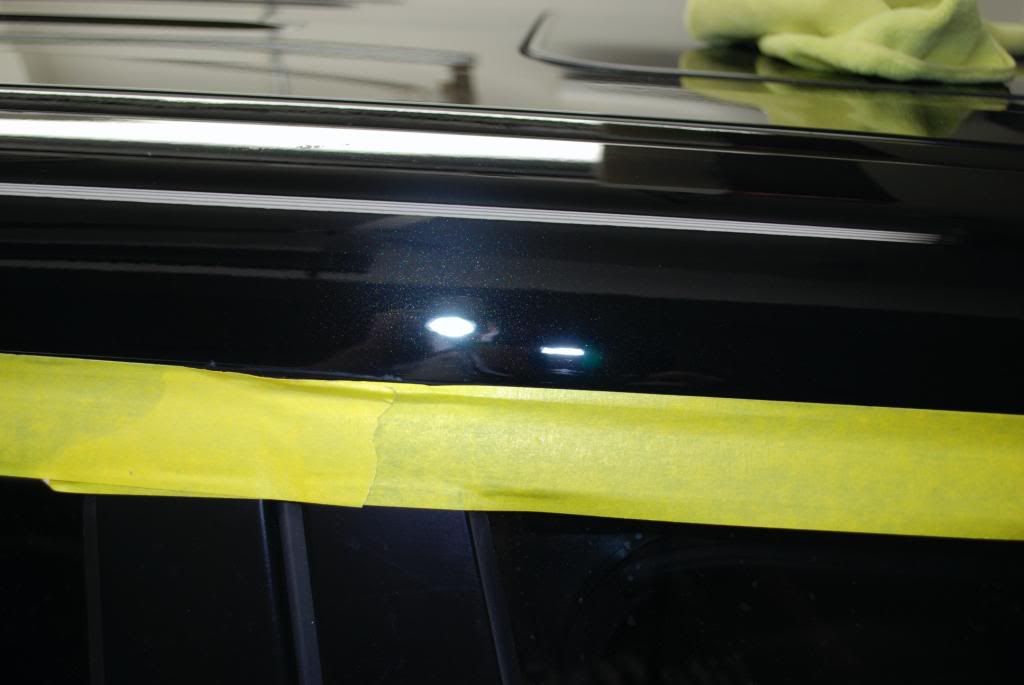
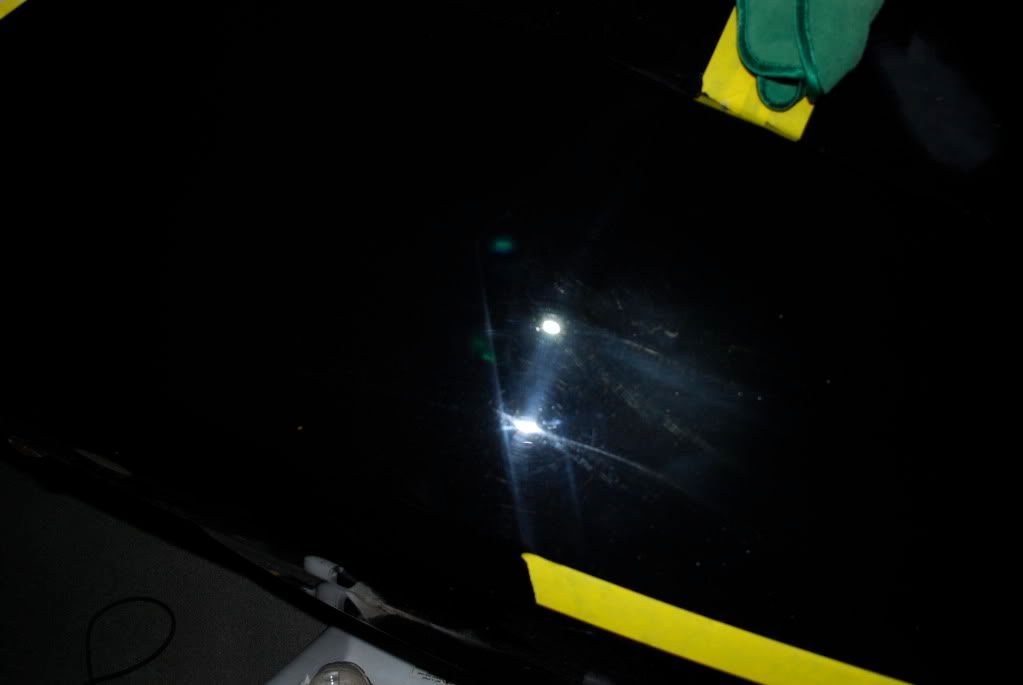
I assessed about 10 single or cluster scratches that would need wetsanding, first of which was on the passenger door.
Onto correction...
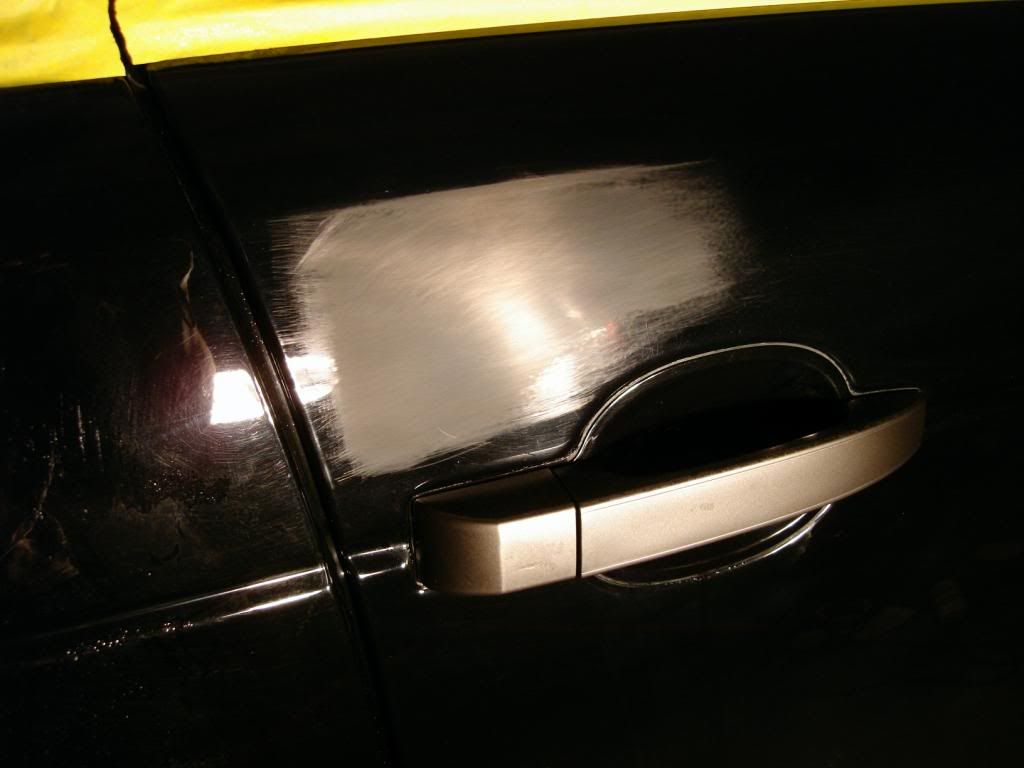
The "J" hook scratch and surrounding area was sanded with 1500, 2000 and 3000 grit
After correcting, 95% of the J hook was removed, the last part of the tail seen just above the door handle still remained.
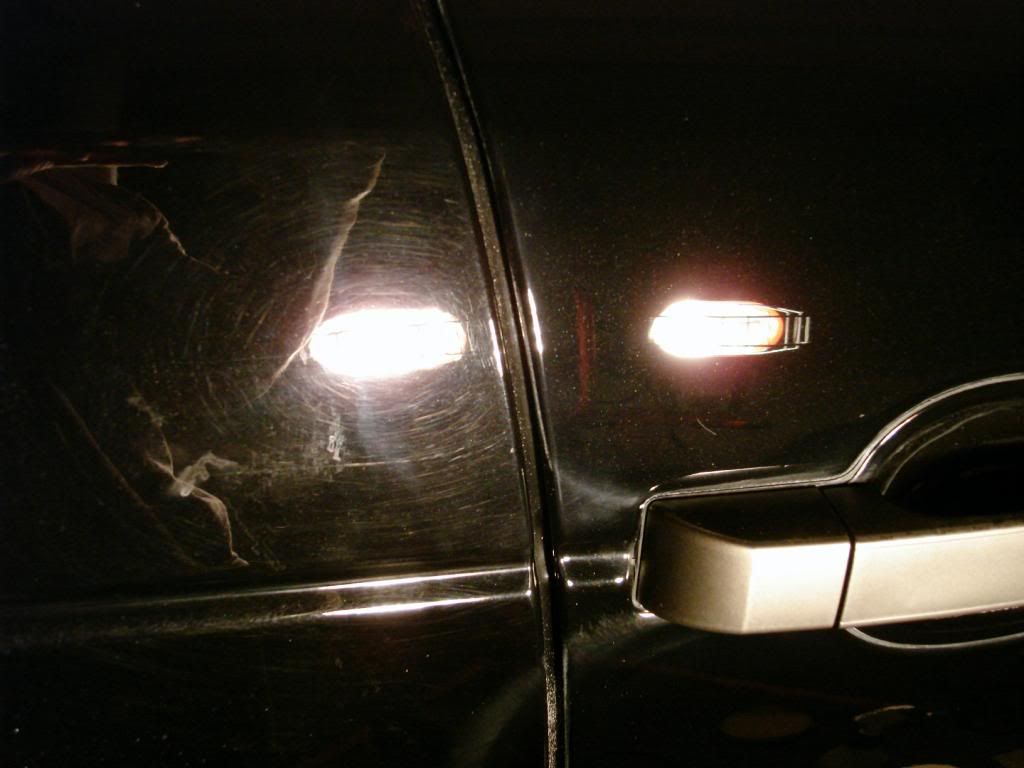
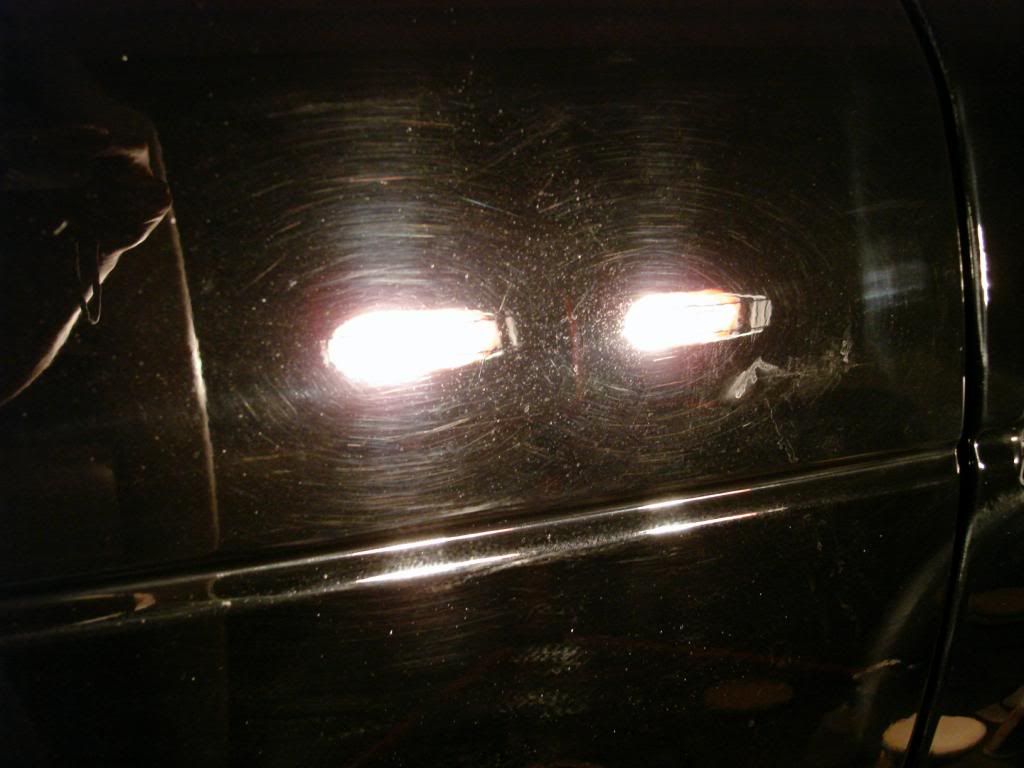
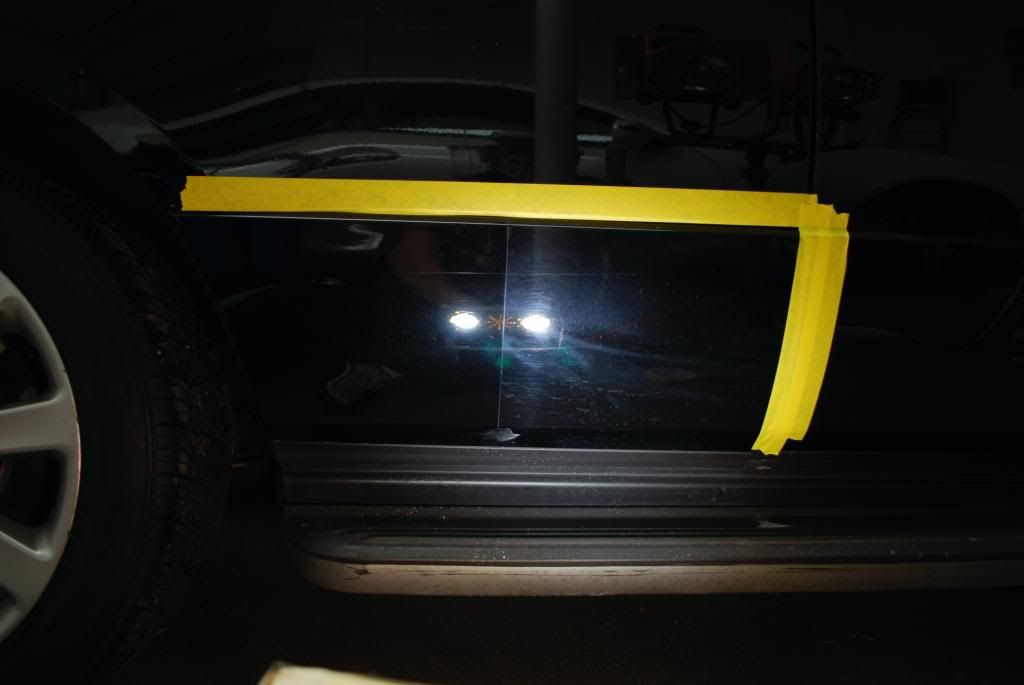
Before rear door
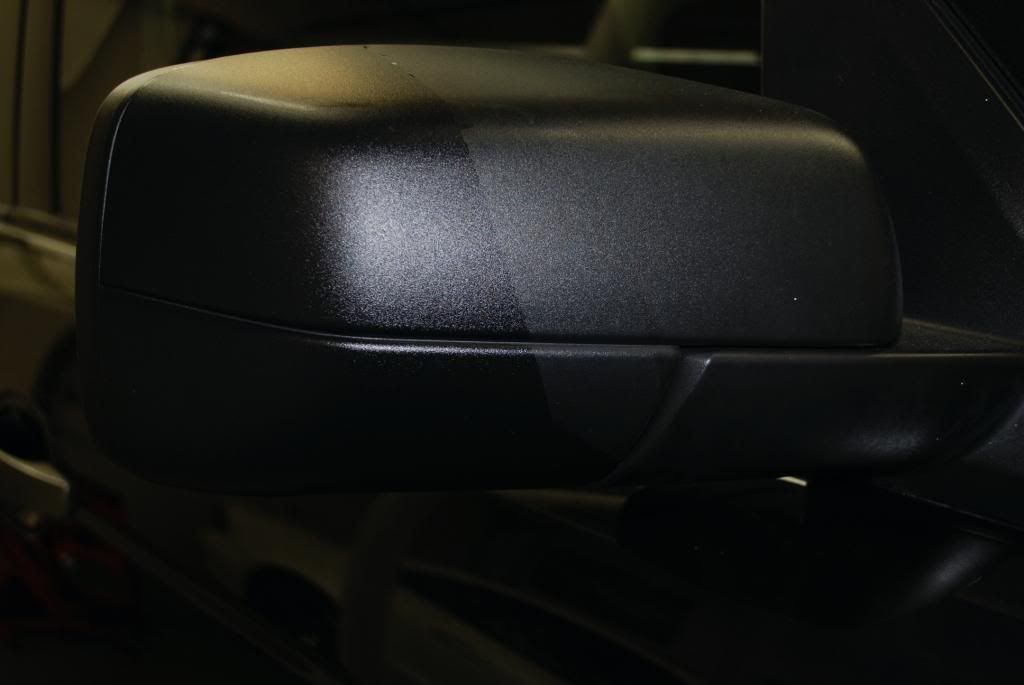
After passenger door
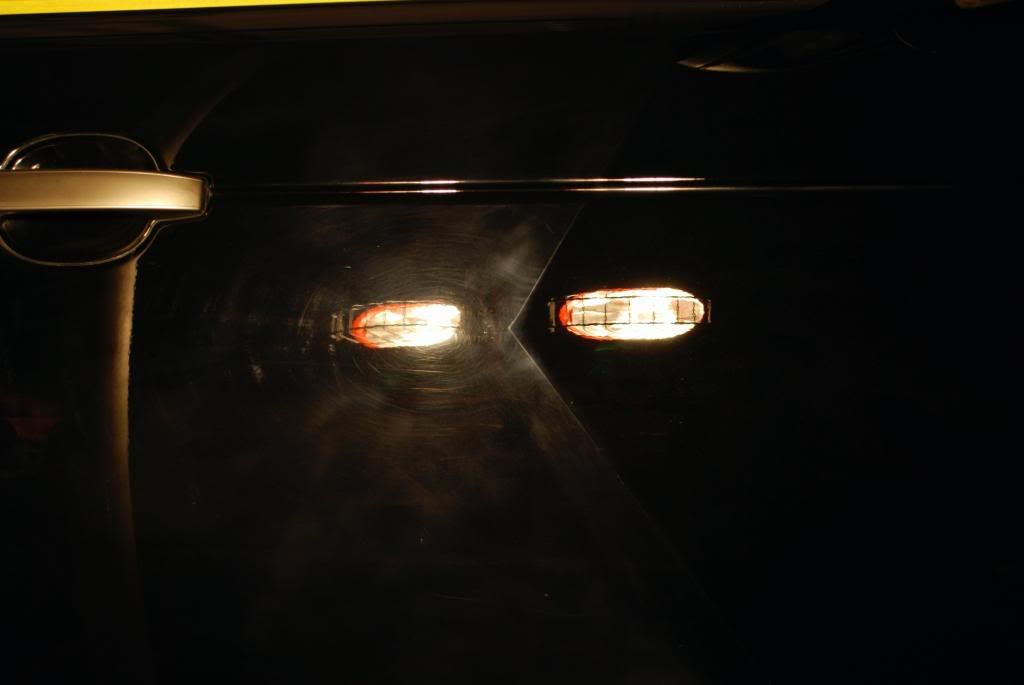
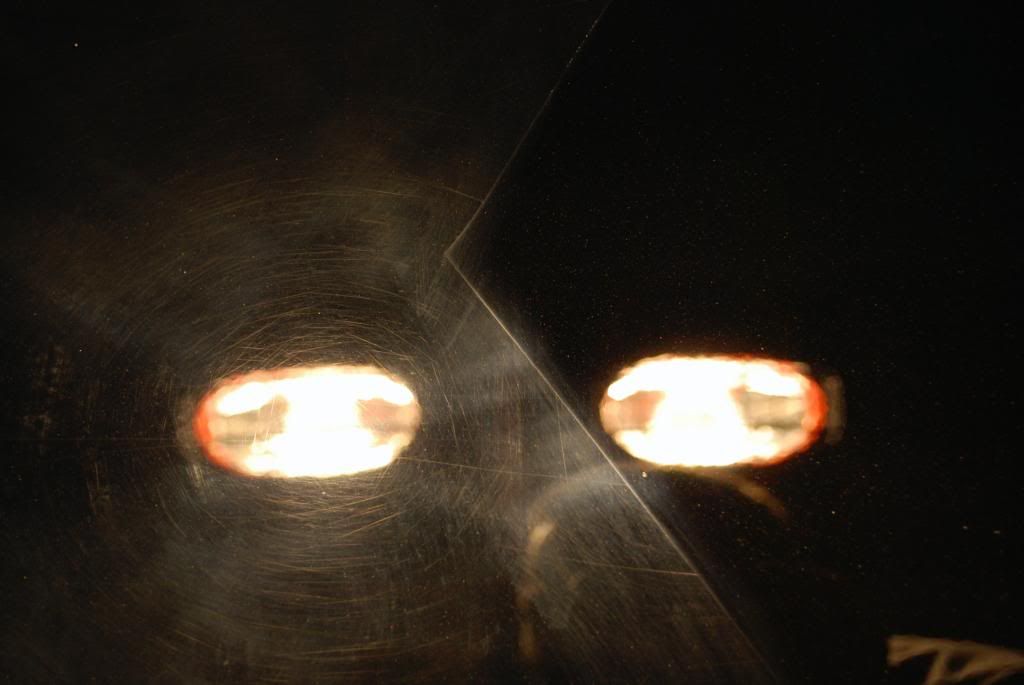
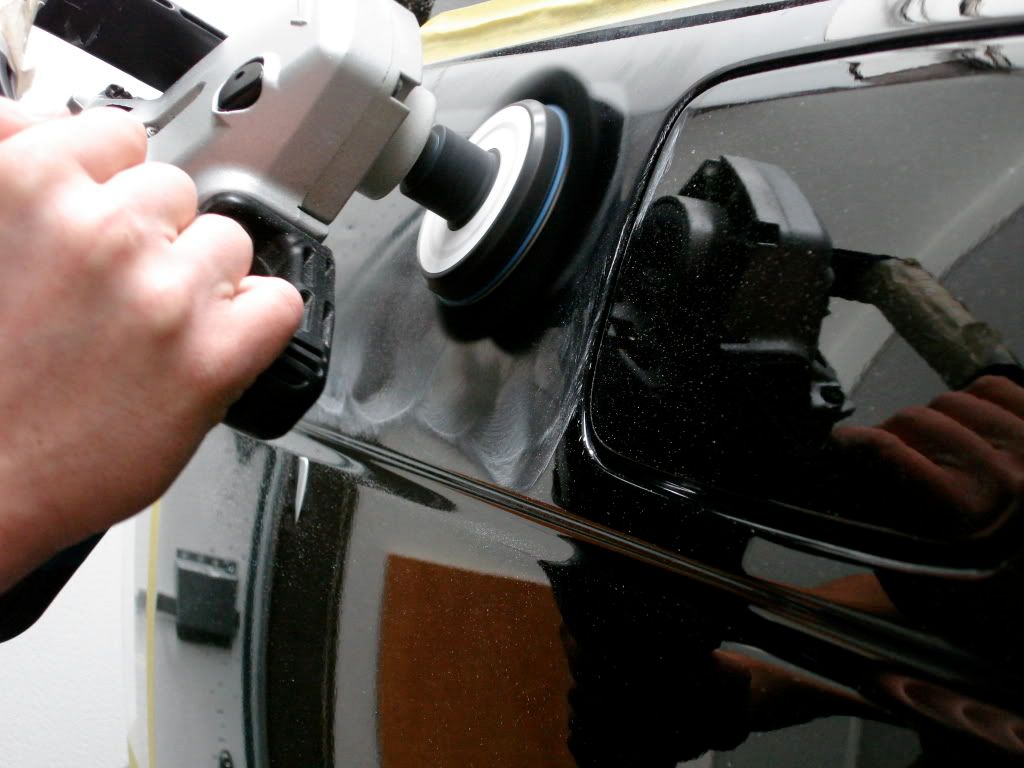
Some 50/50s... Correction included 3-4 passes with a wool pad, followed by foam compounding than polishing... finishing was done later
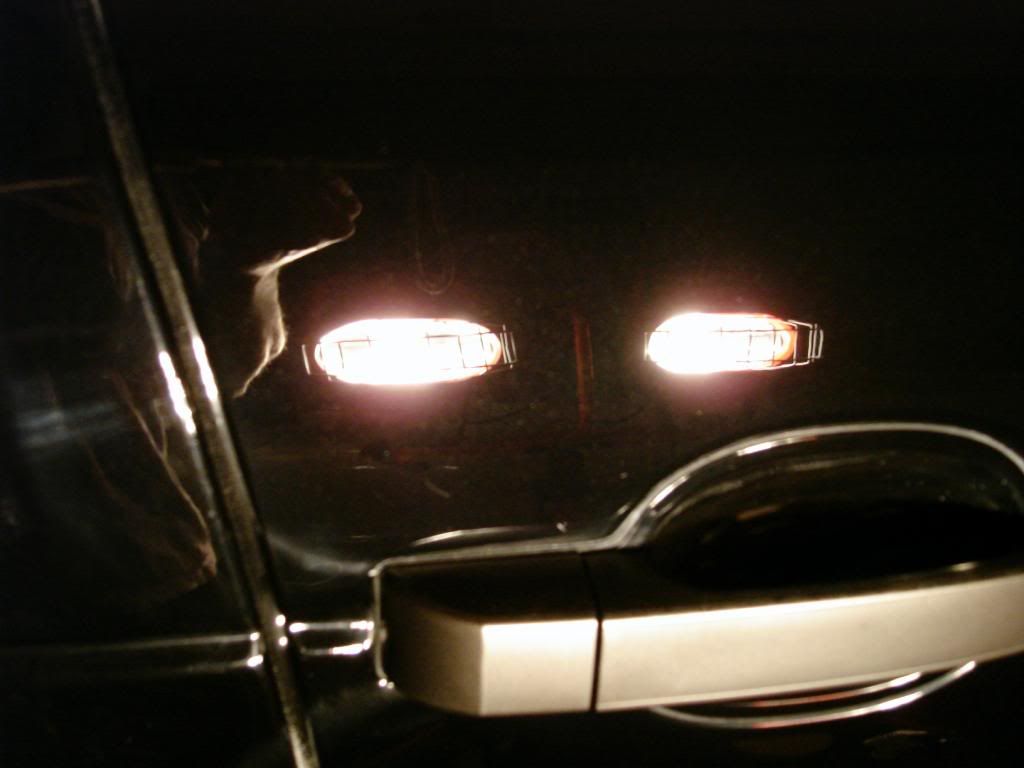
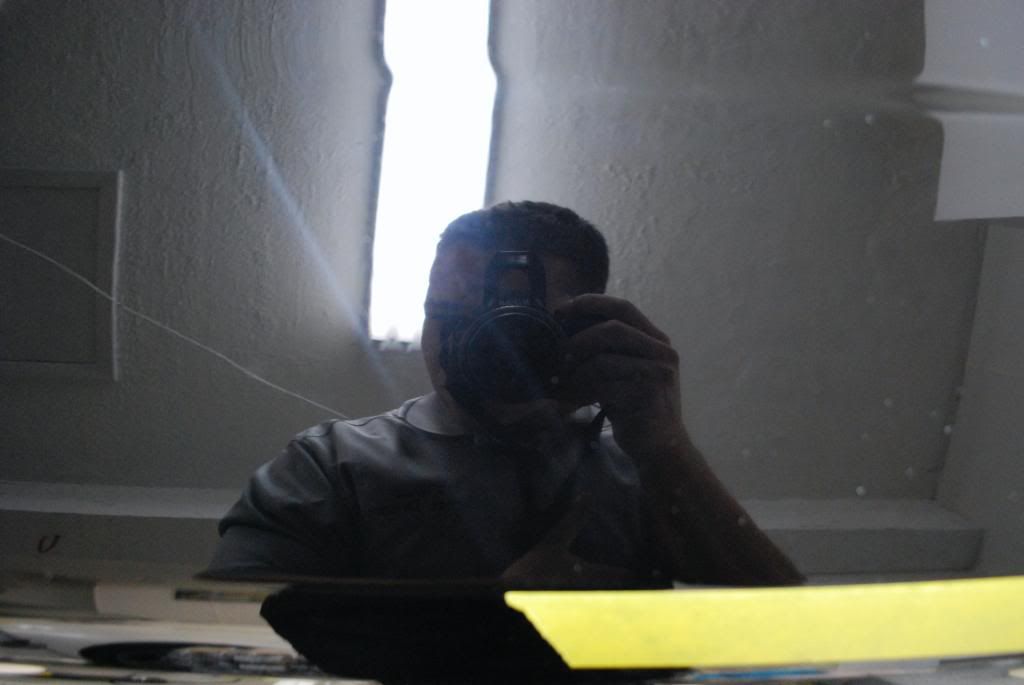
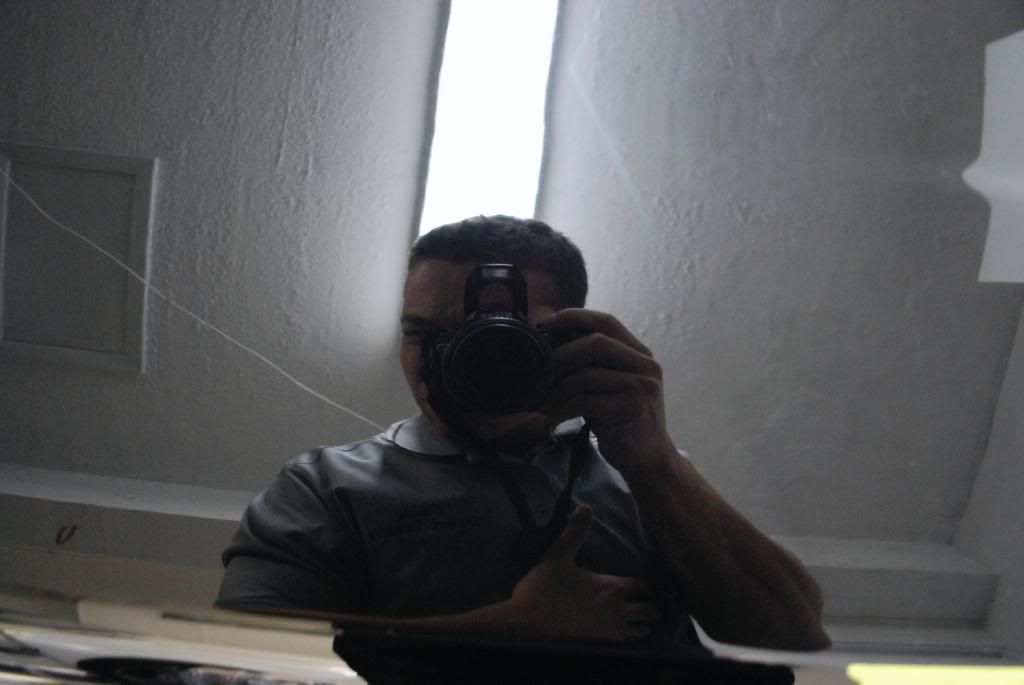
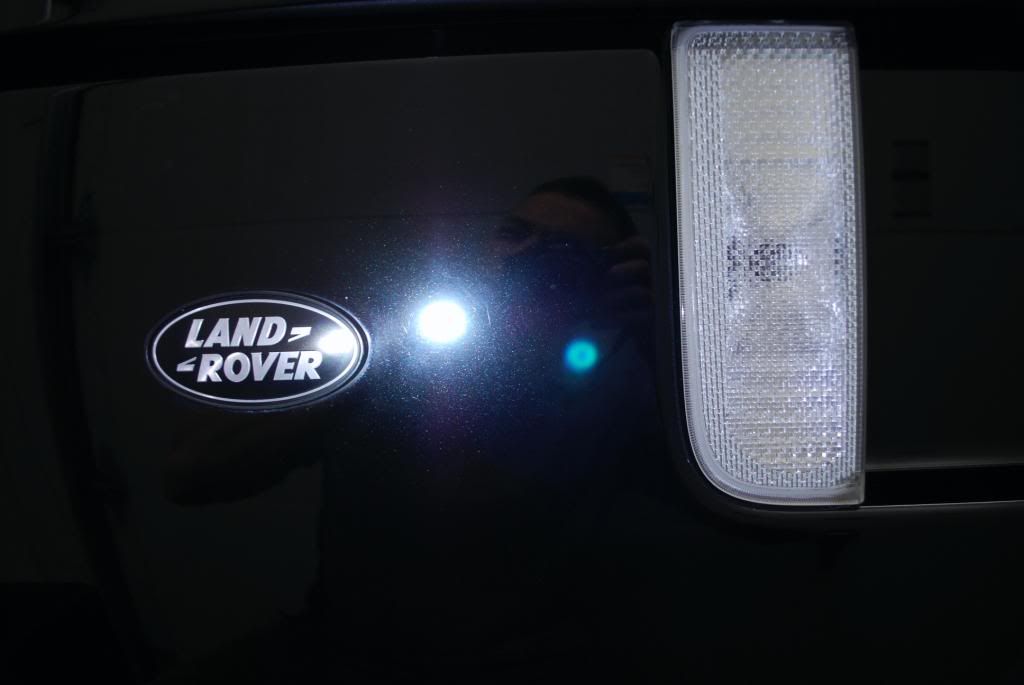
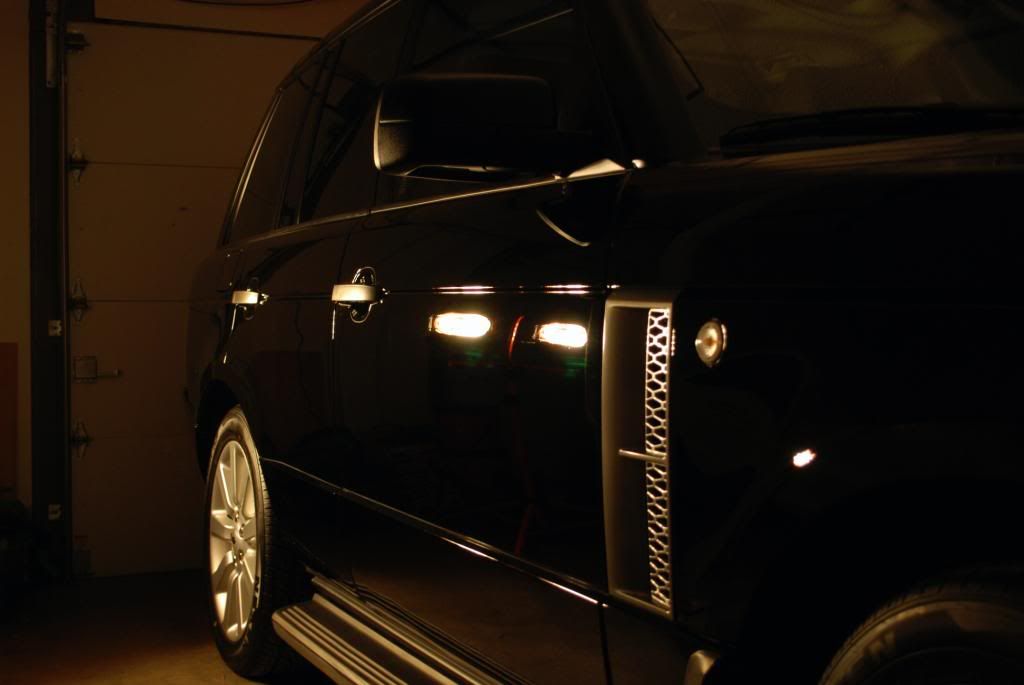
Little closer with just the infratech this time and a camera flash
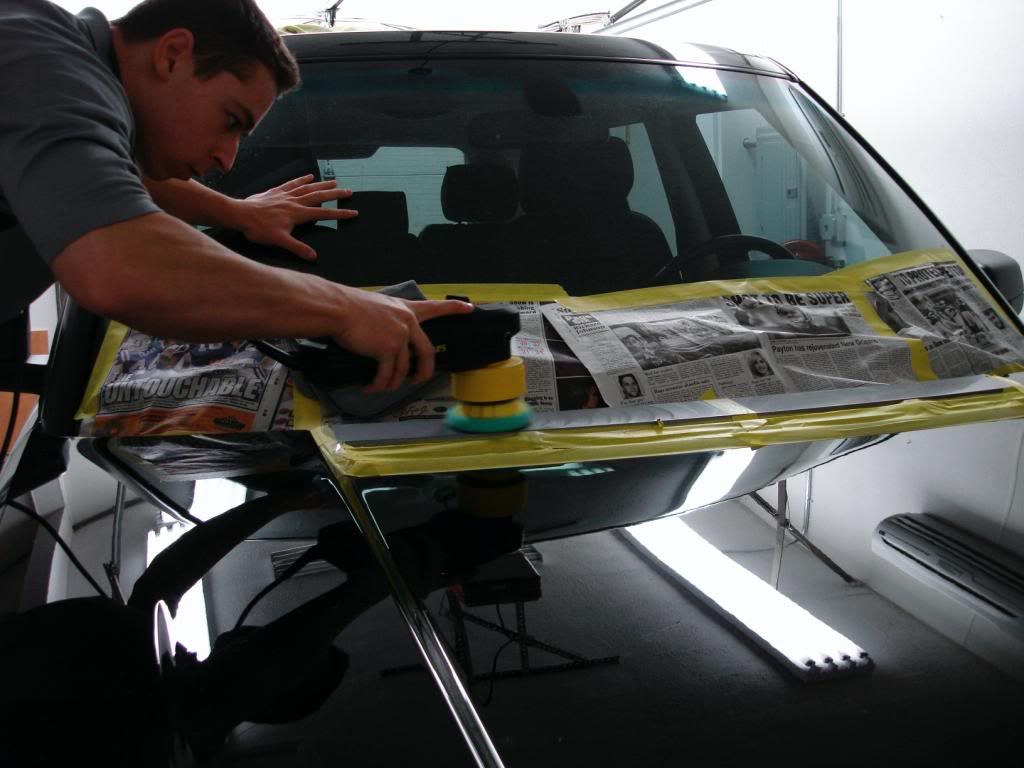
I usually start with the hood for correction but since it needed some more wetsanding and would get messy with soap and water I left it until later in the process
Took a few extra readings to ensure I could sand safely
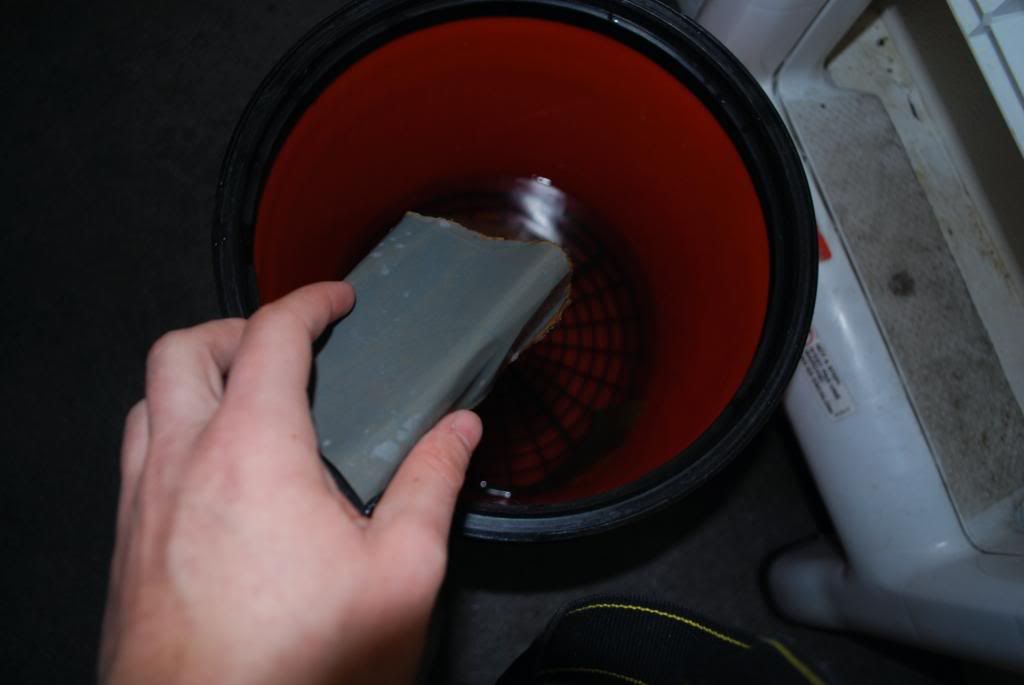
Had my paper soaking for about 40minutes, various grits
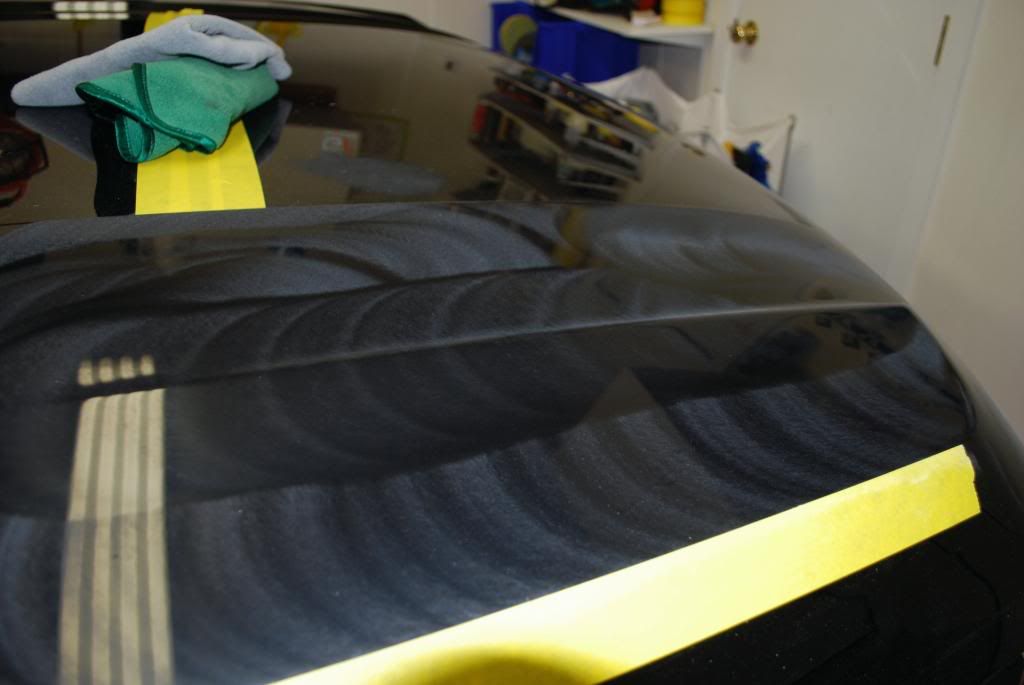
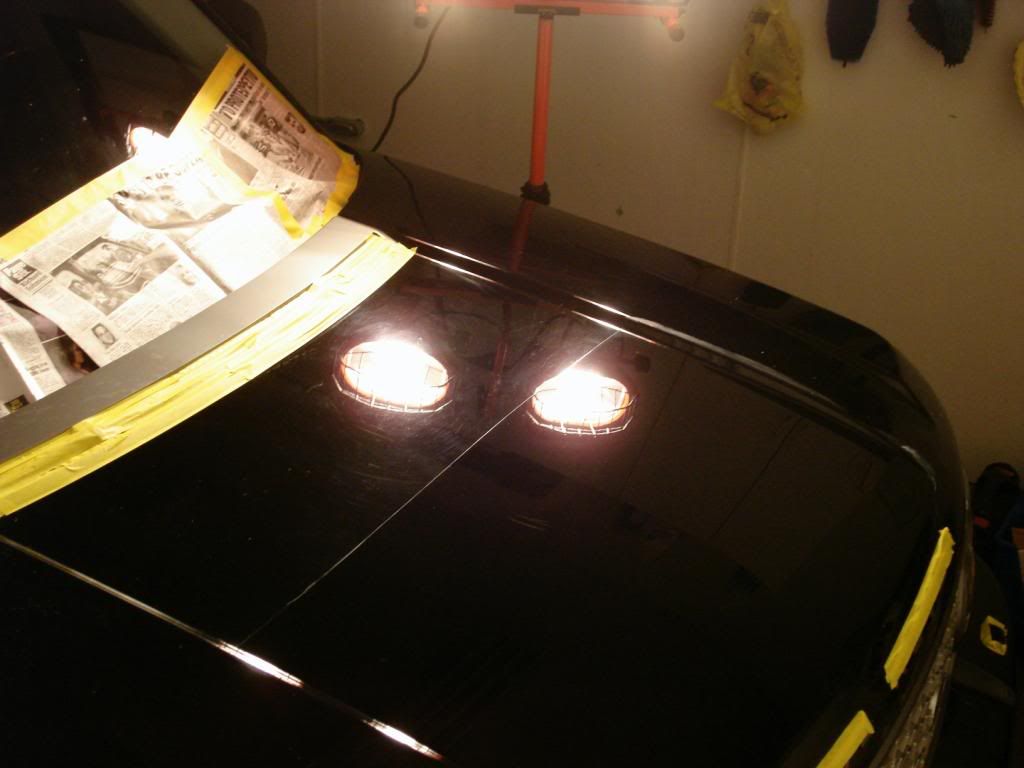
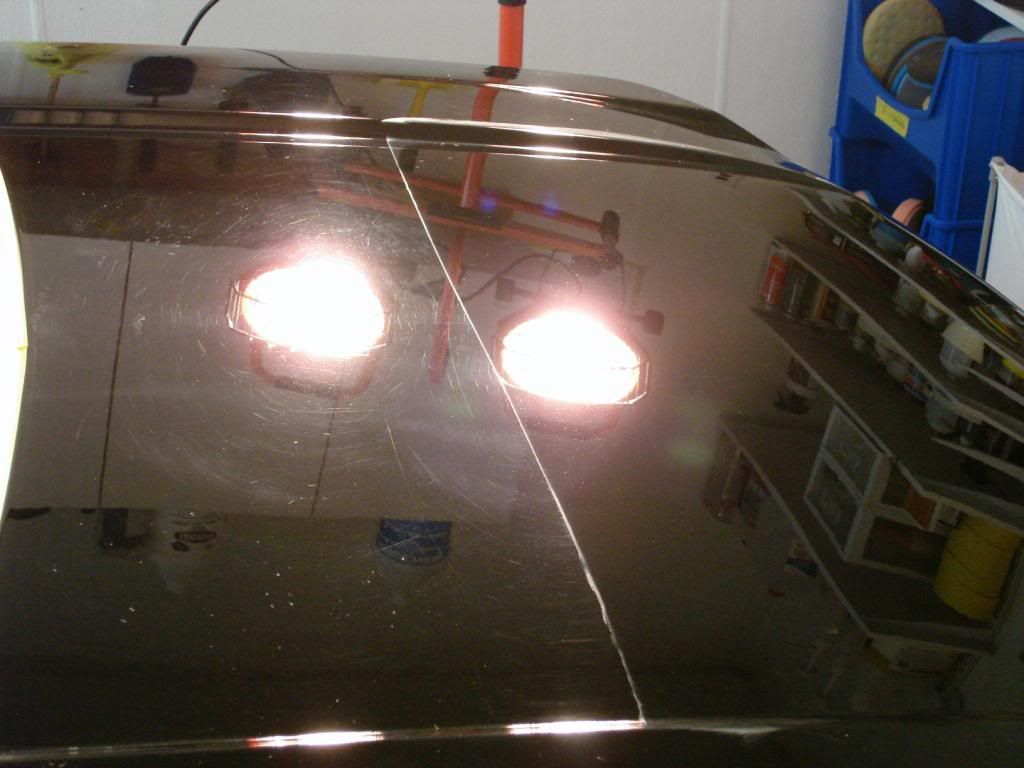
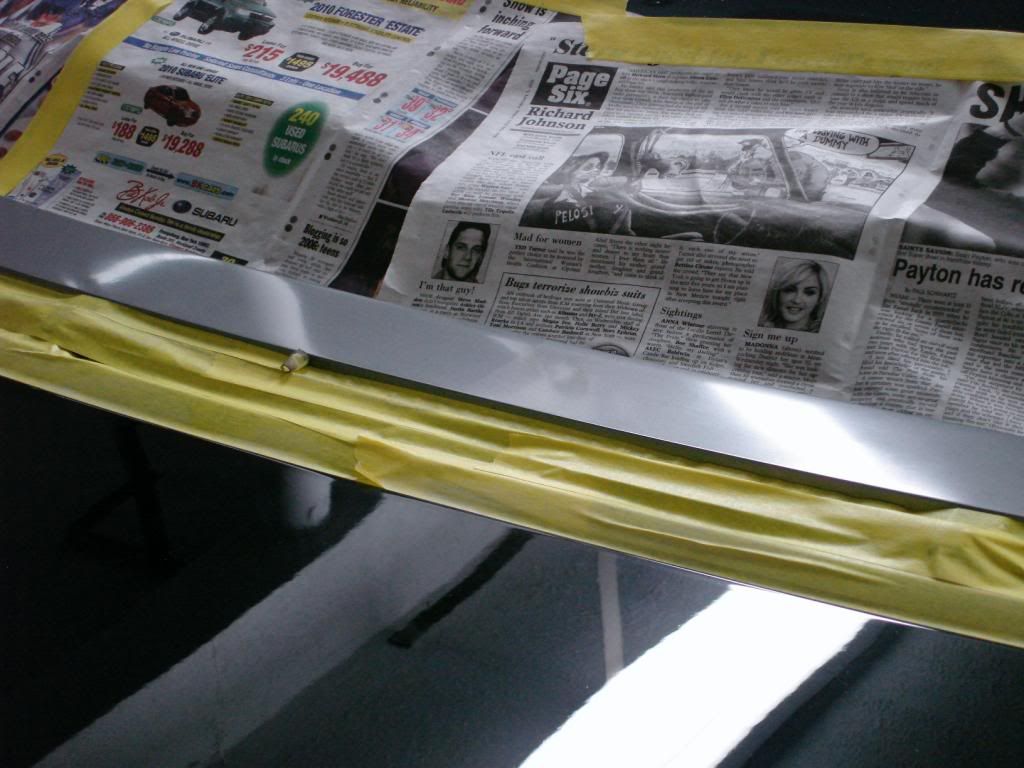
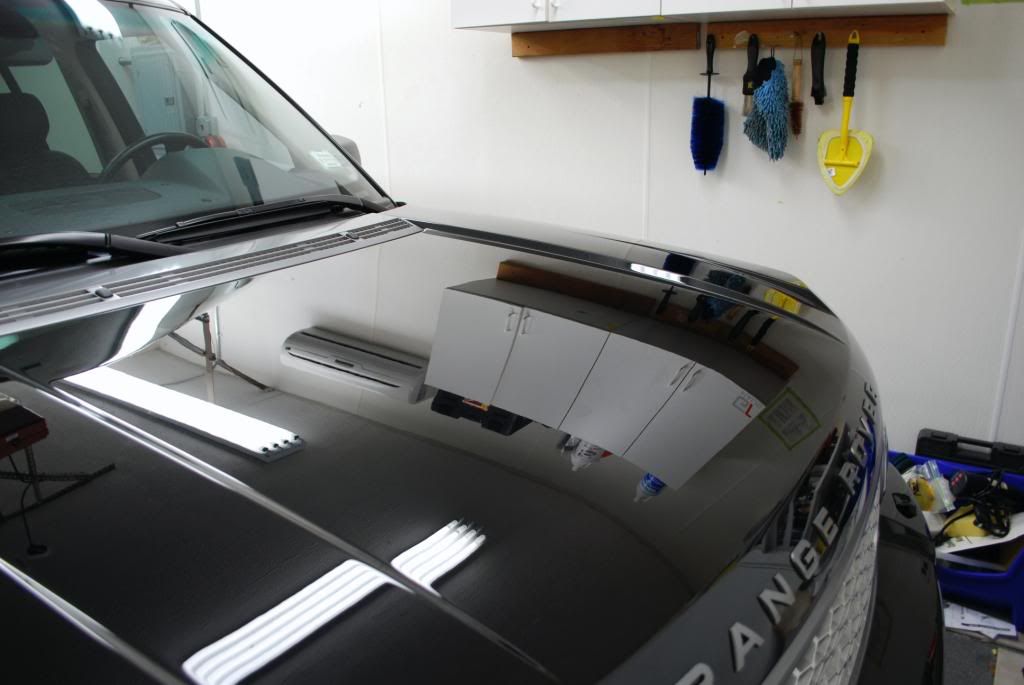
Got the wetsanding done and started correcting the raised sides of the hood
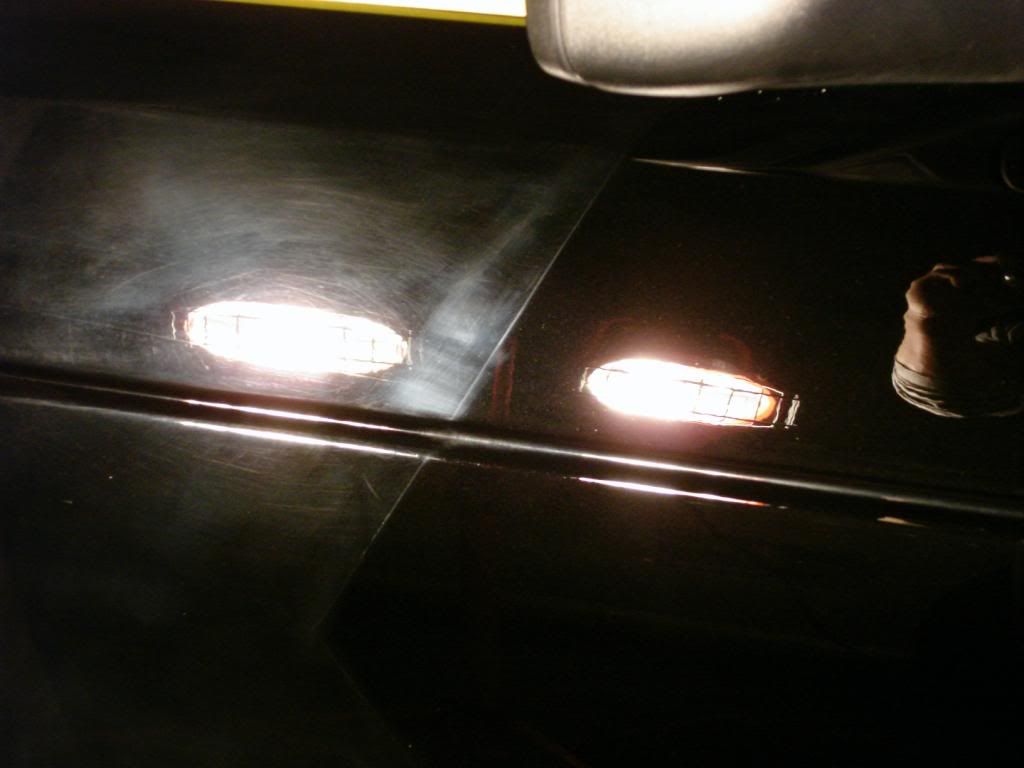
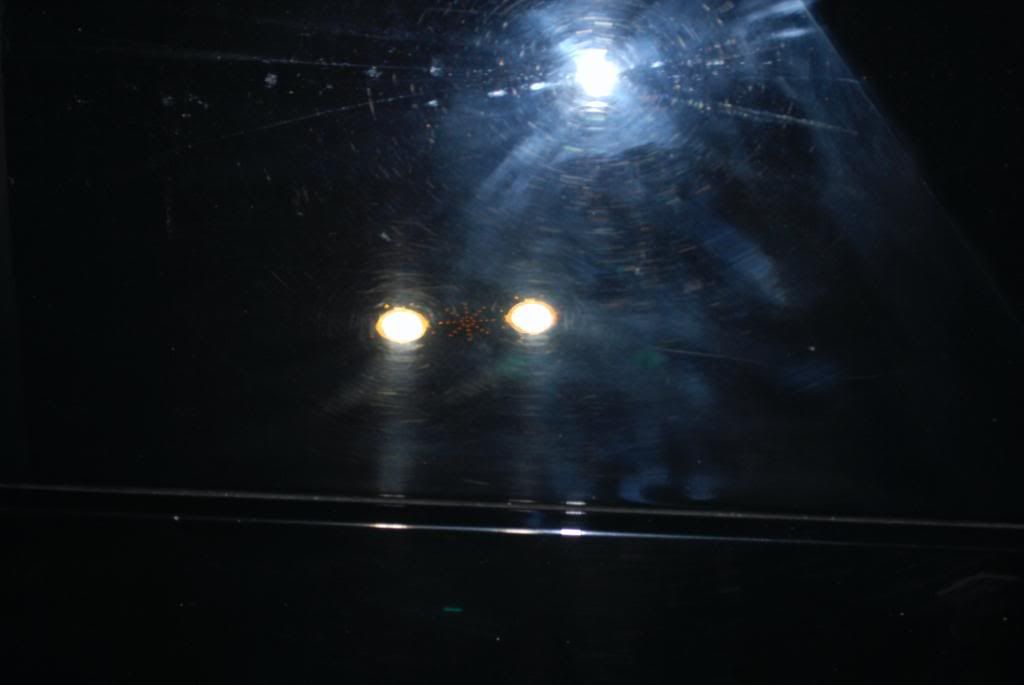
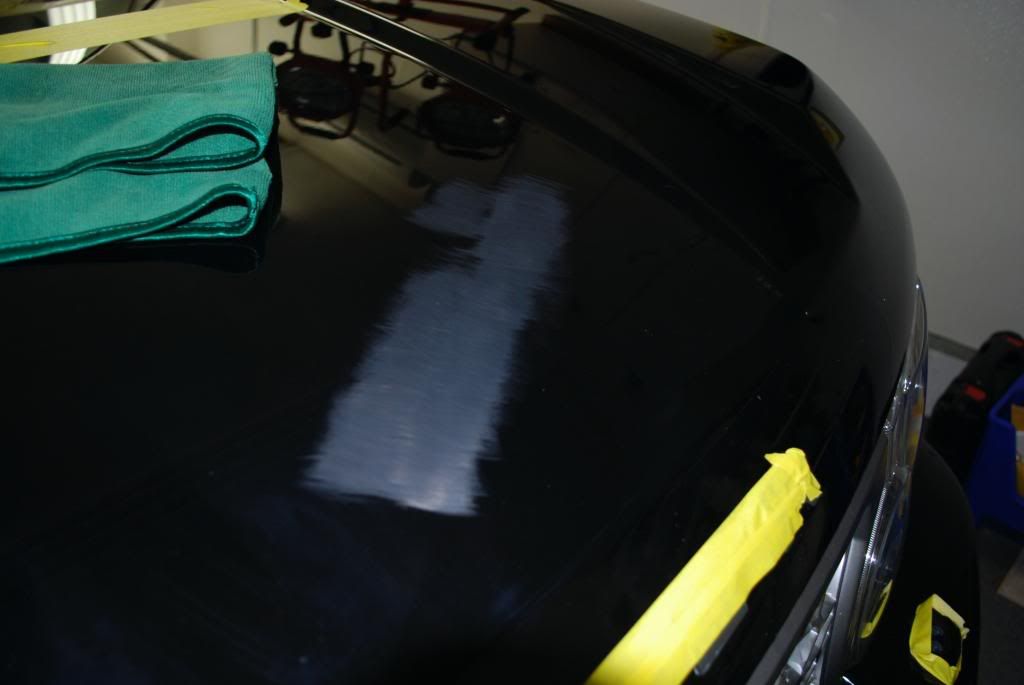
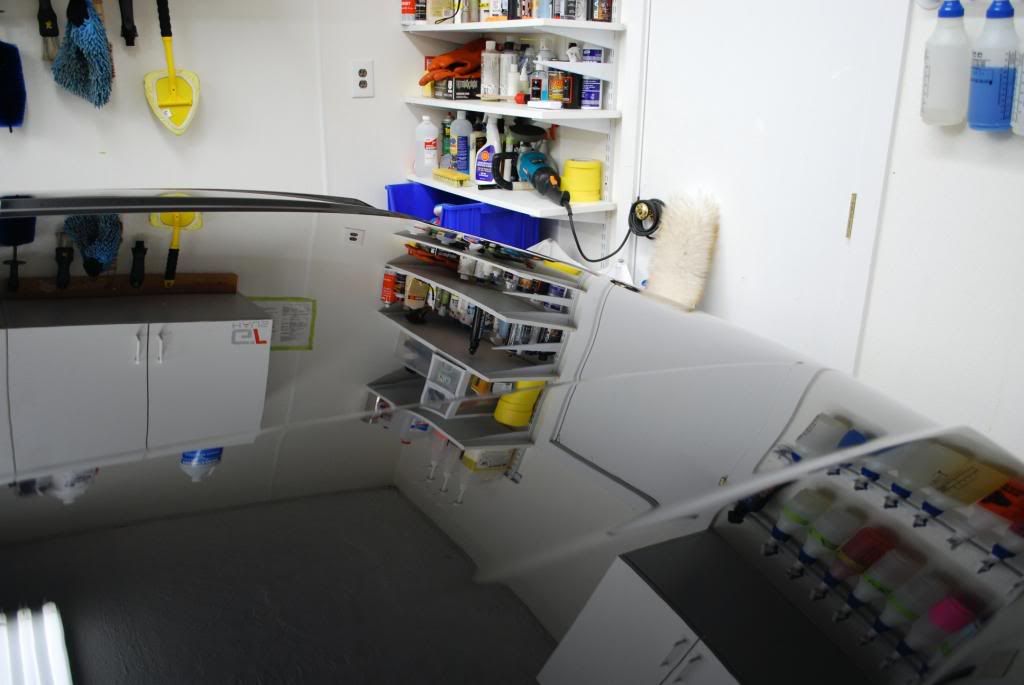
Before
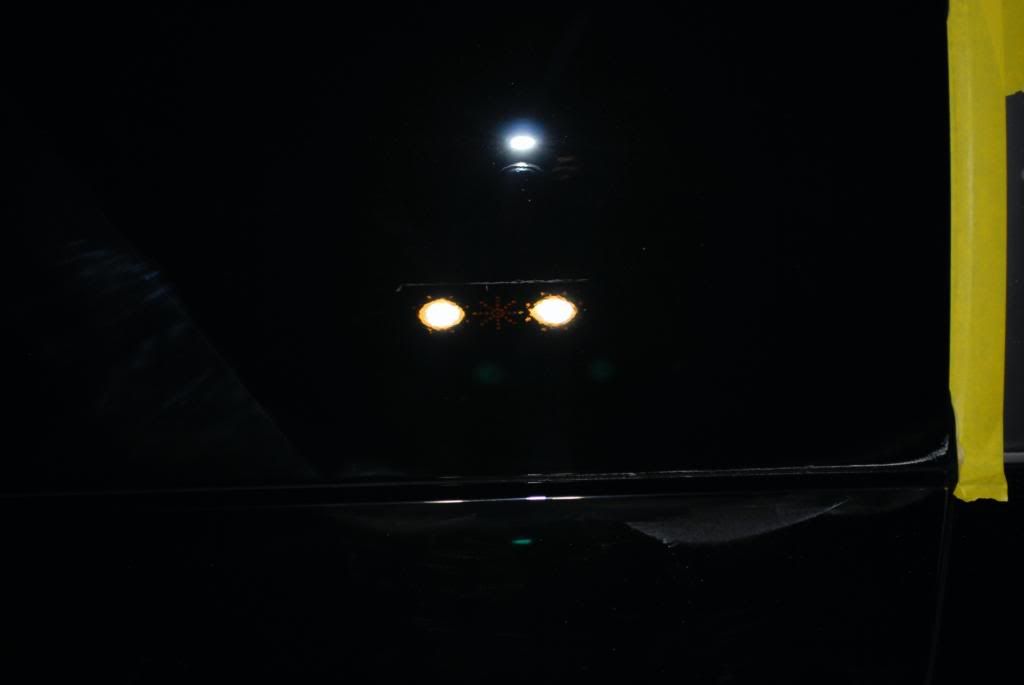
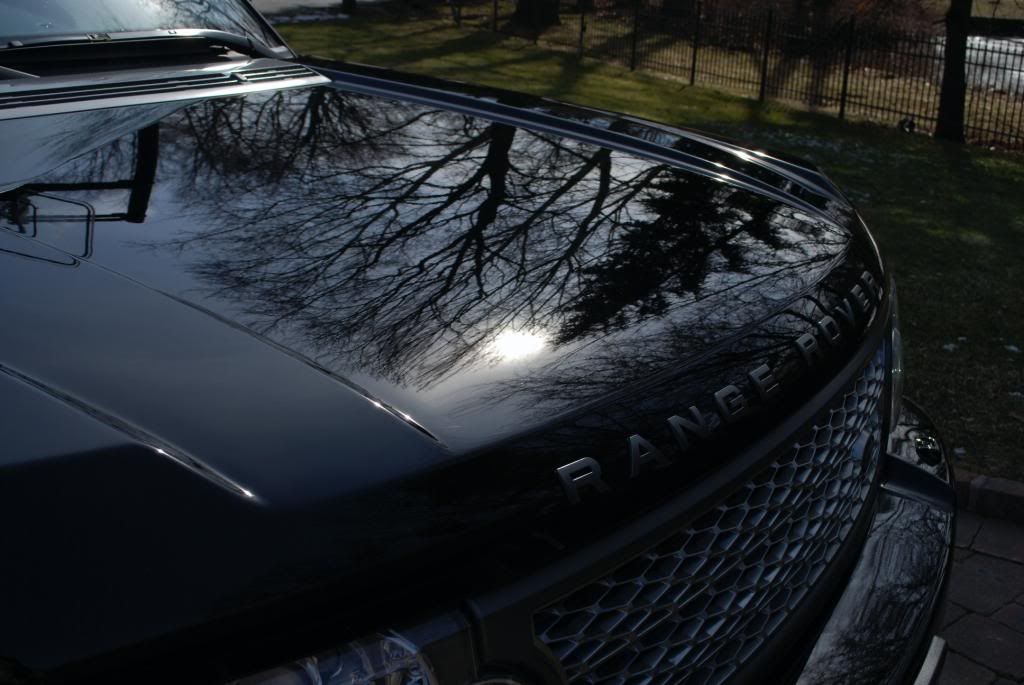
After
Difference in clarity...
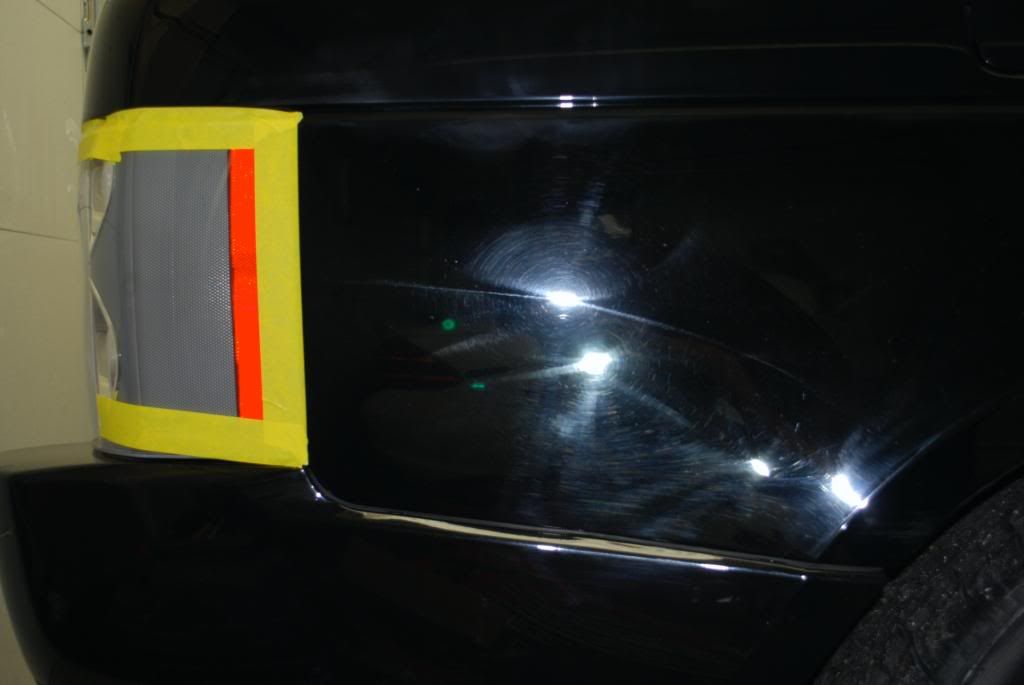
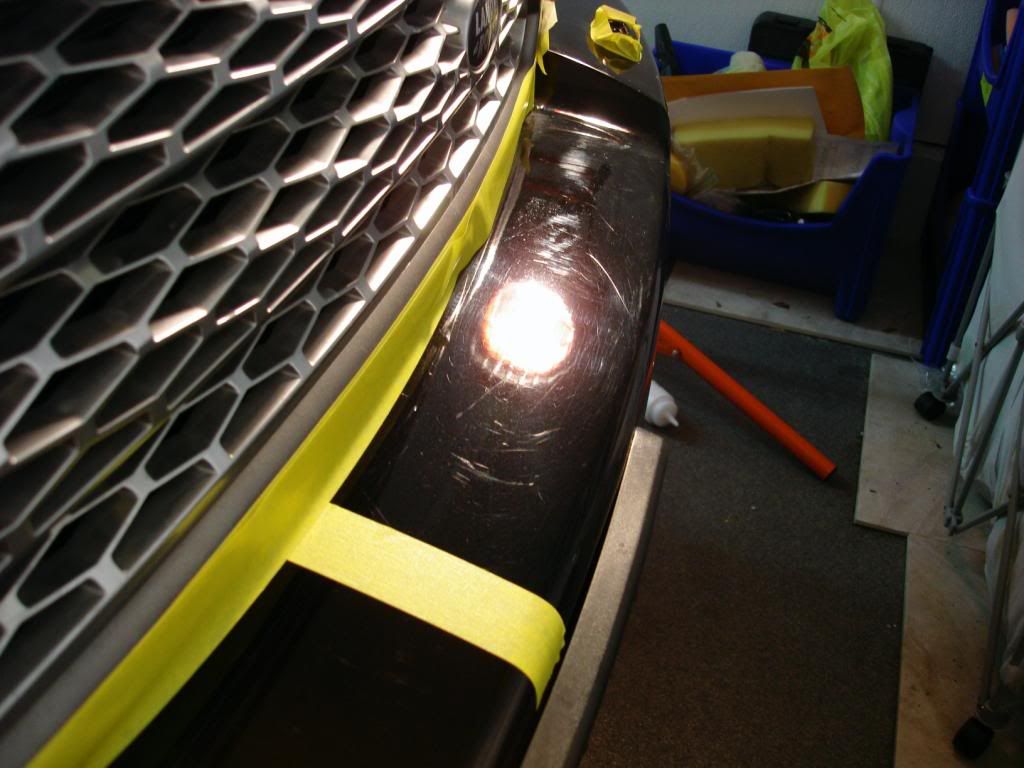
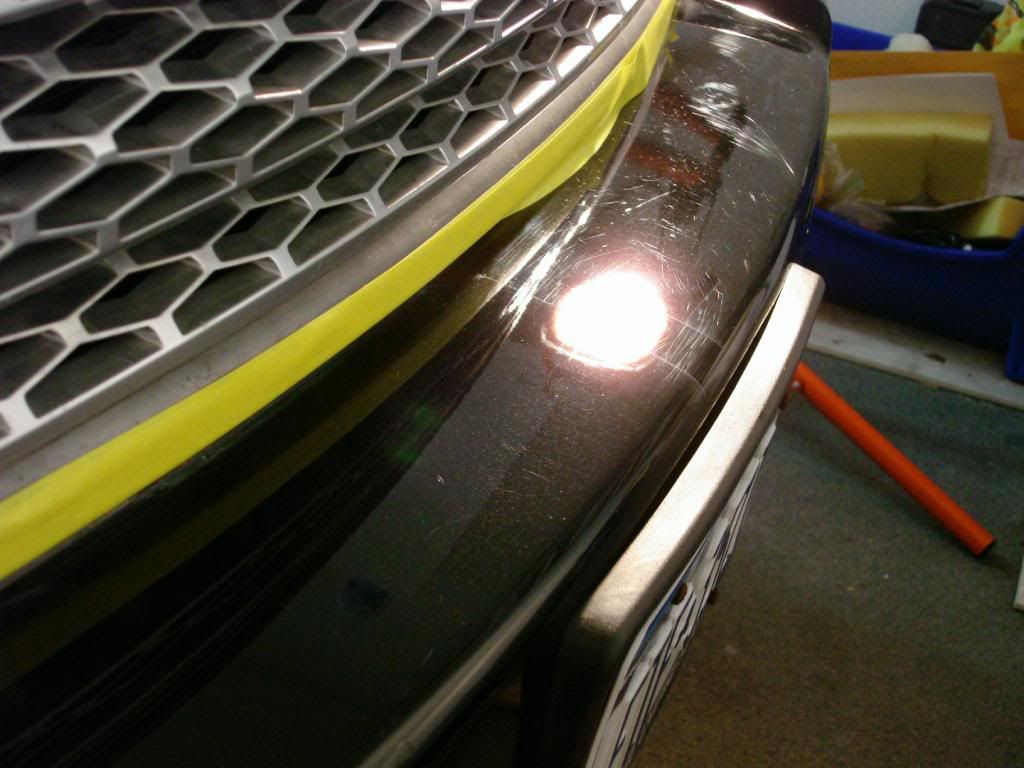
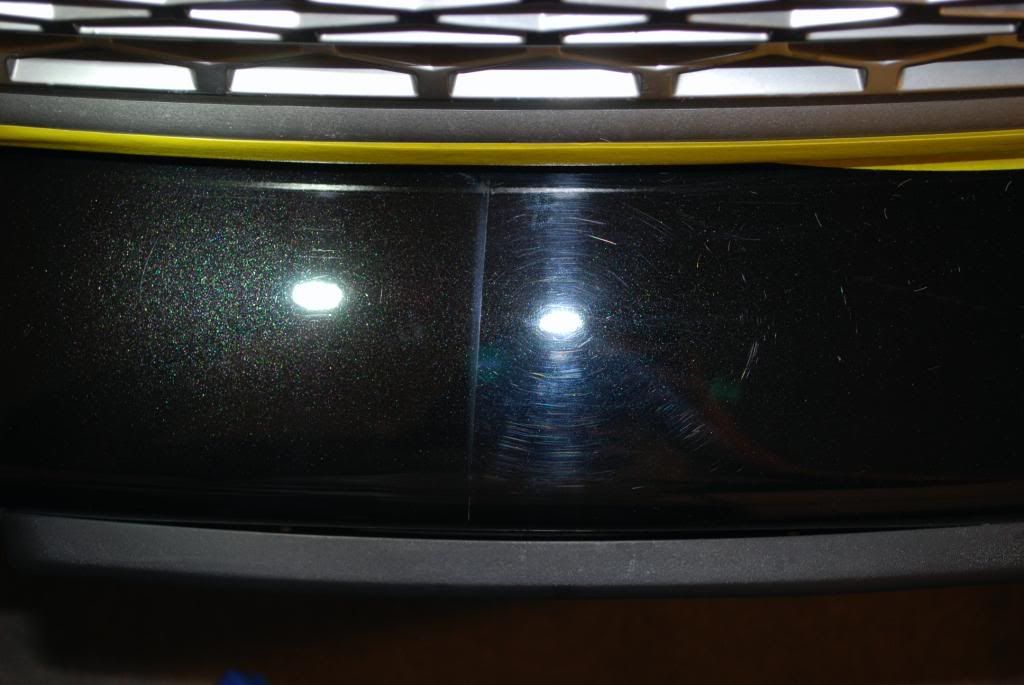
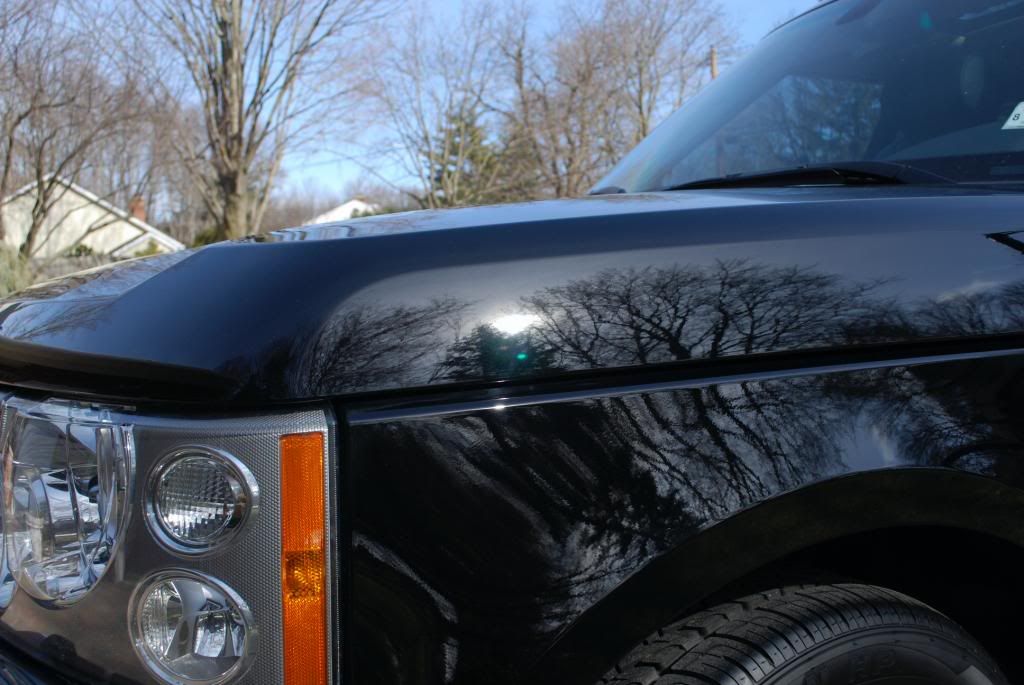
Front bumper had some issues as well
LED 50/50
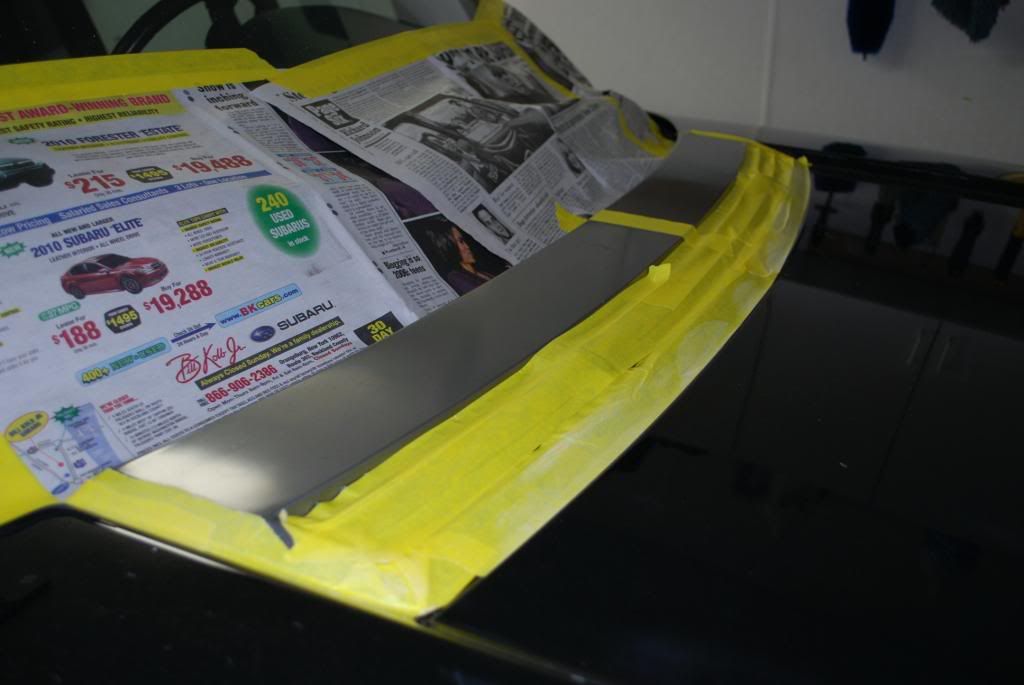
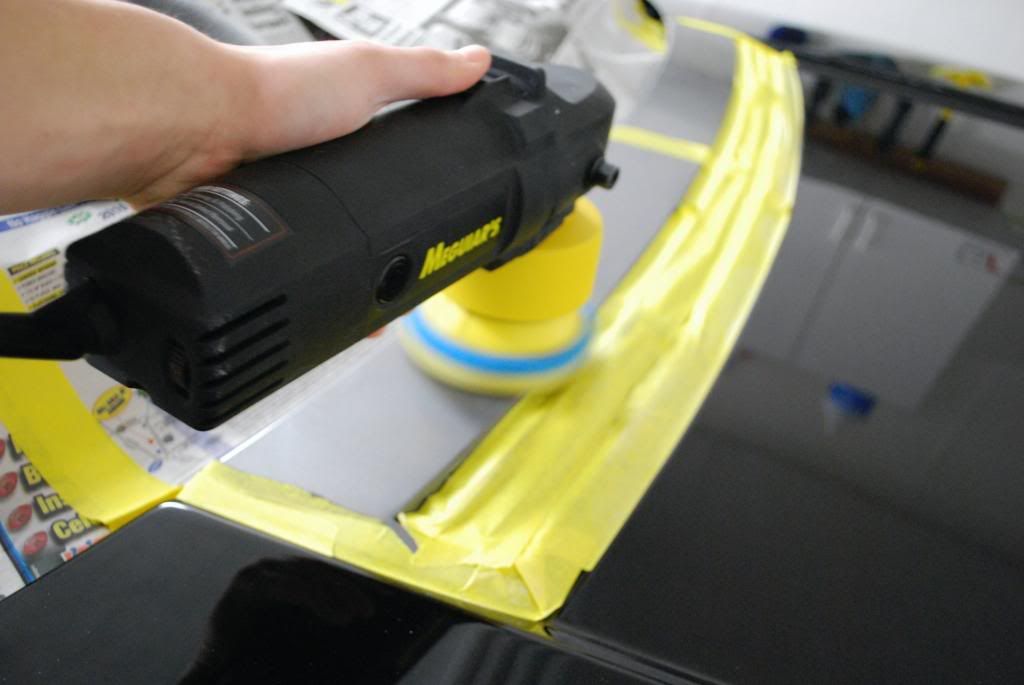
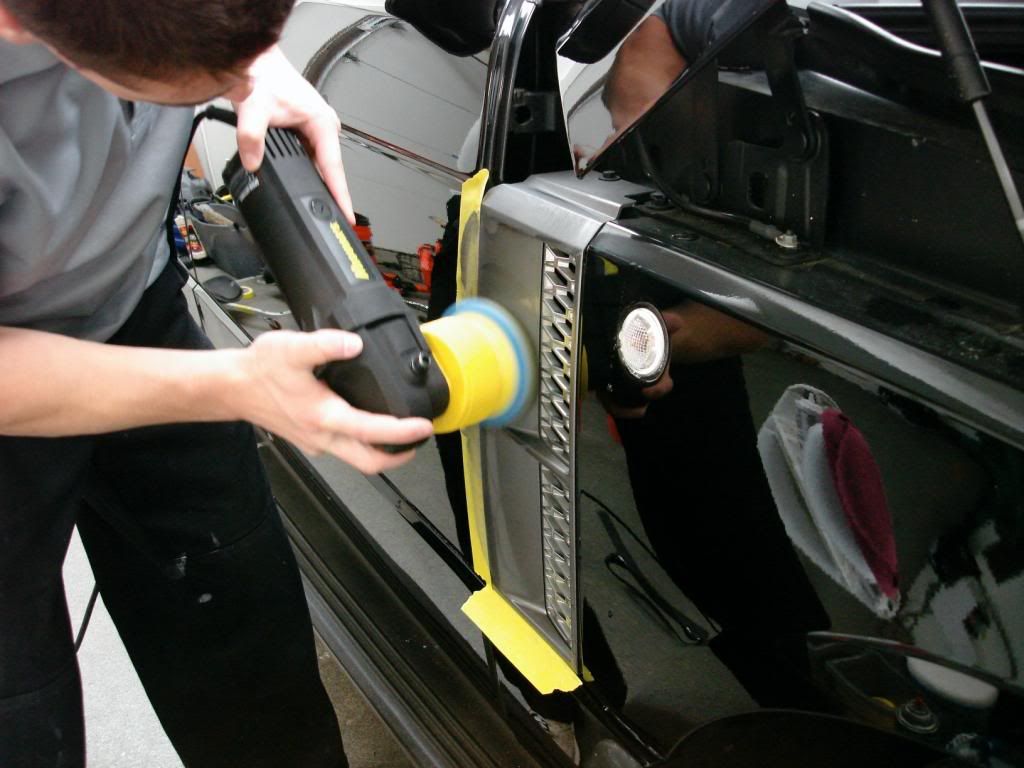
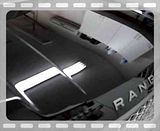
The plastic hood vent cover needed polishing as well. Some hard water etching could not be removed with hand polishing so I used the DA and a 2 step process to correct it
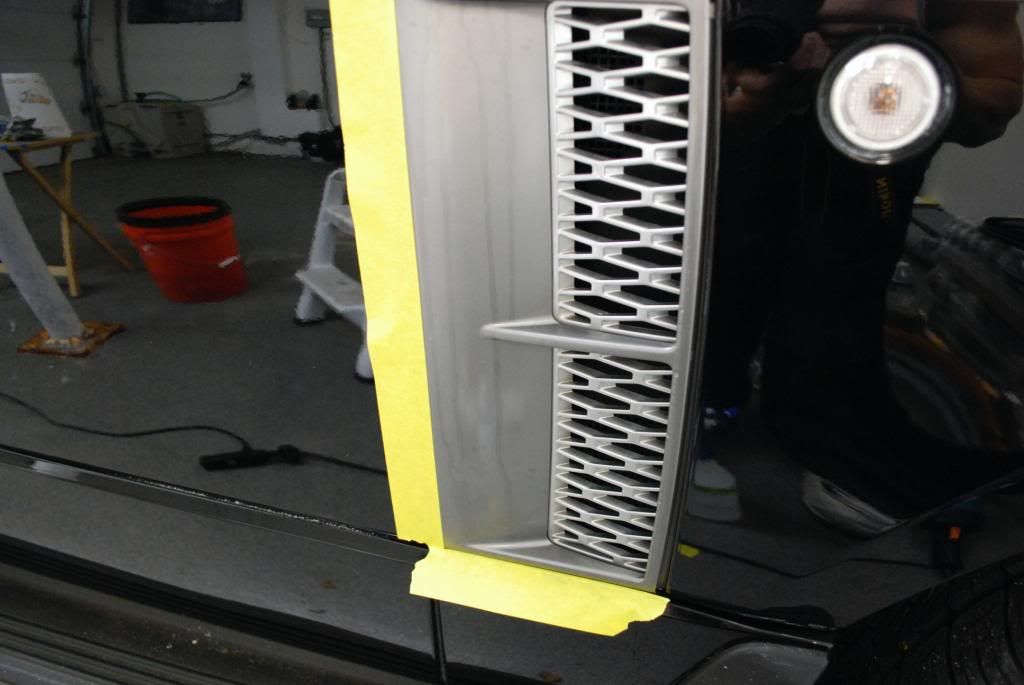
Before, a bit dull
During
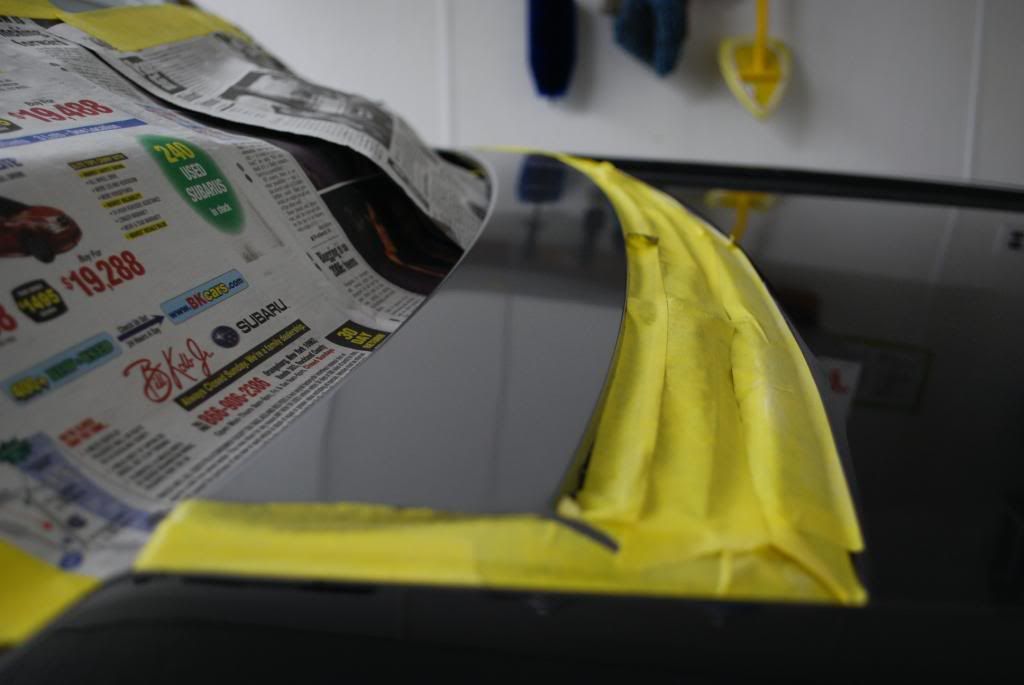
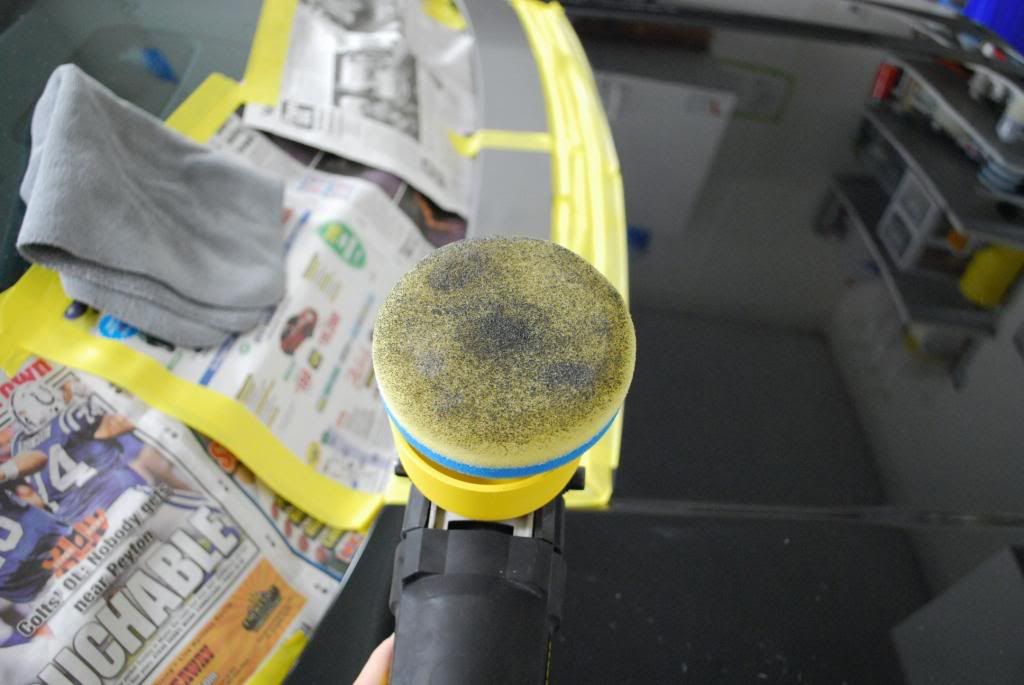
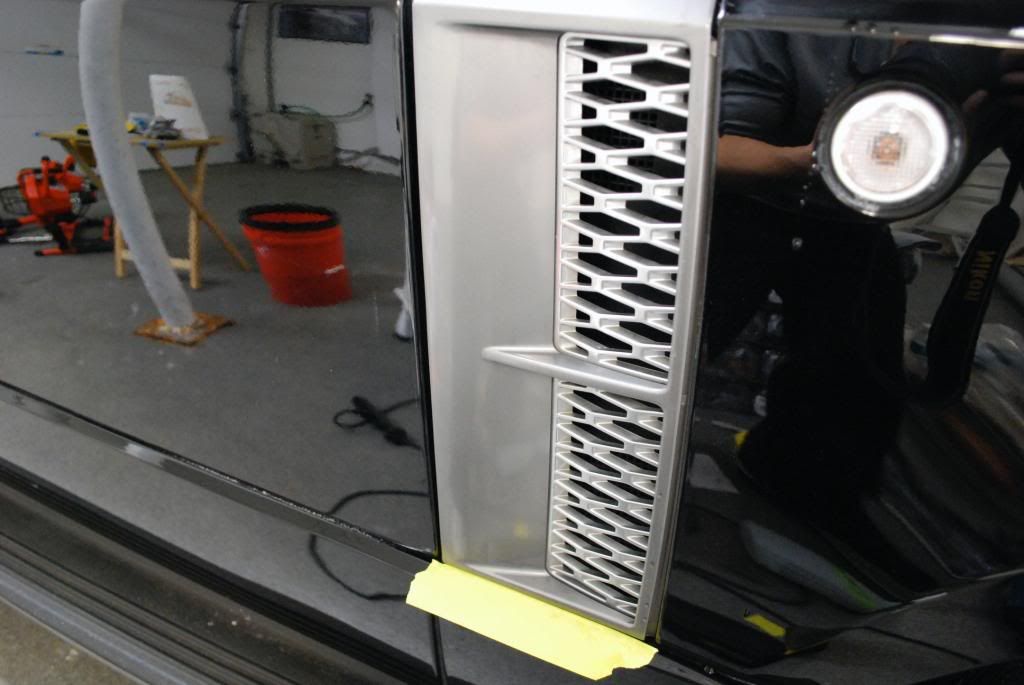
After 2 passes of compoudning
You'd be suprised what you can pull out of plastic when you "think" its already clean
Came back again with a softer pad and lighter cleaner polish
50/50
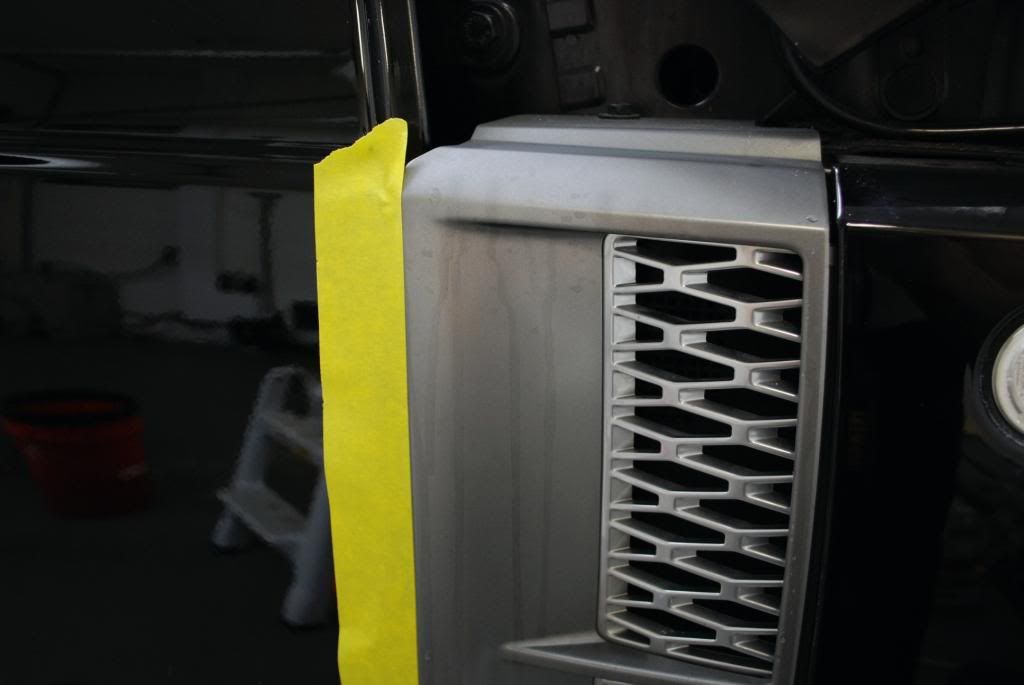
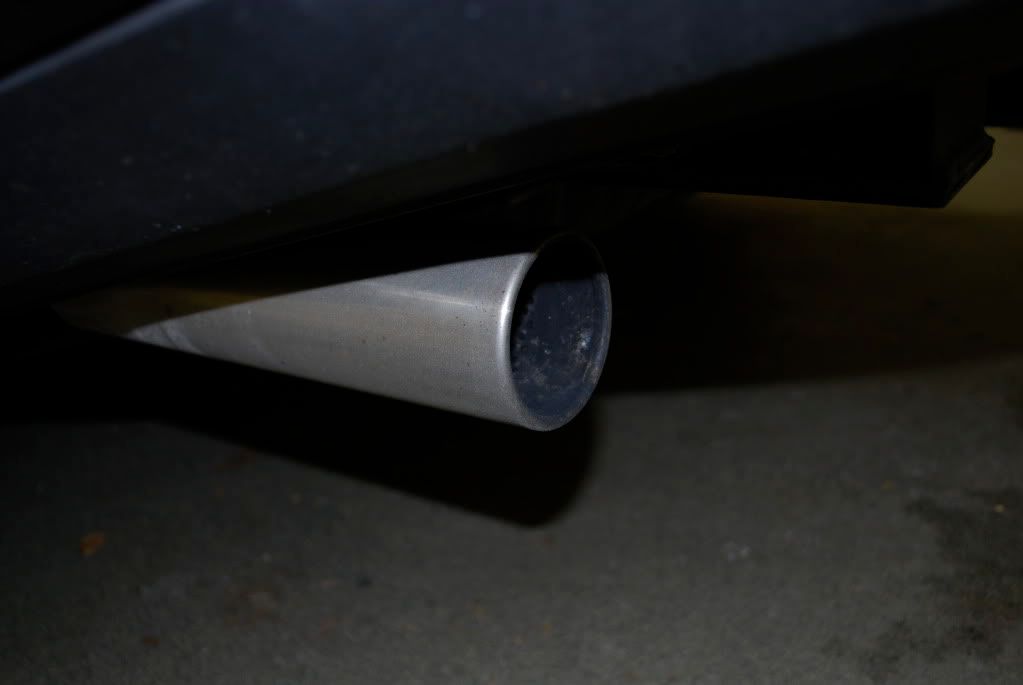
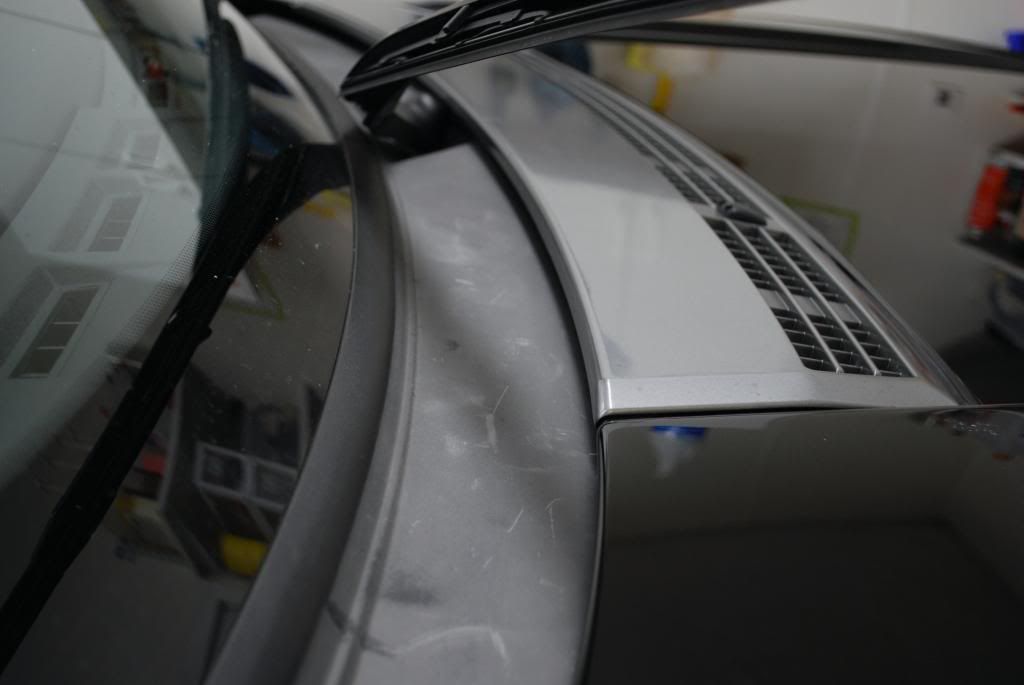
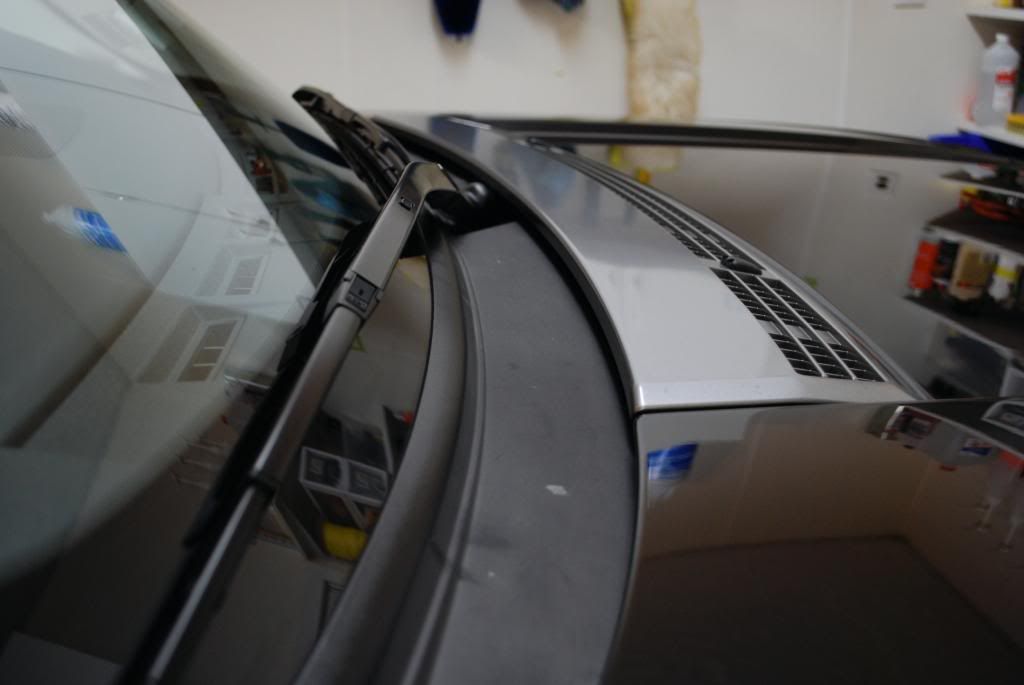
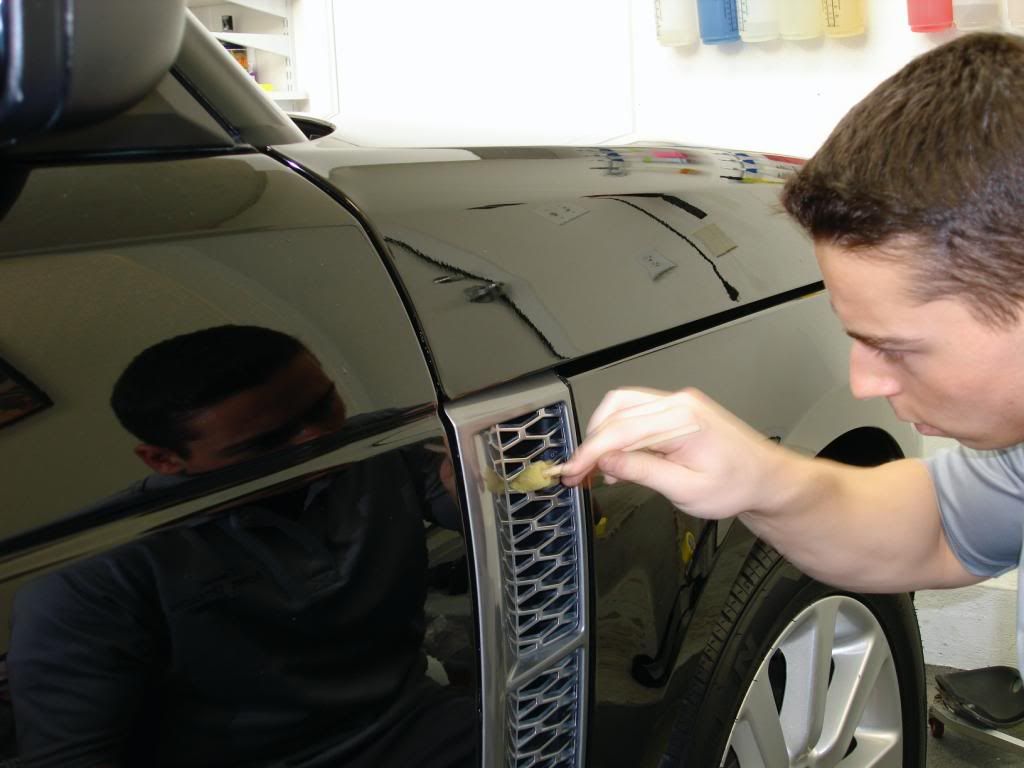
Same deal on the side vents only waterspots were the issue as much as runs in the plstic
Before
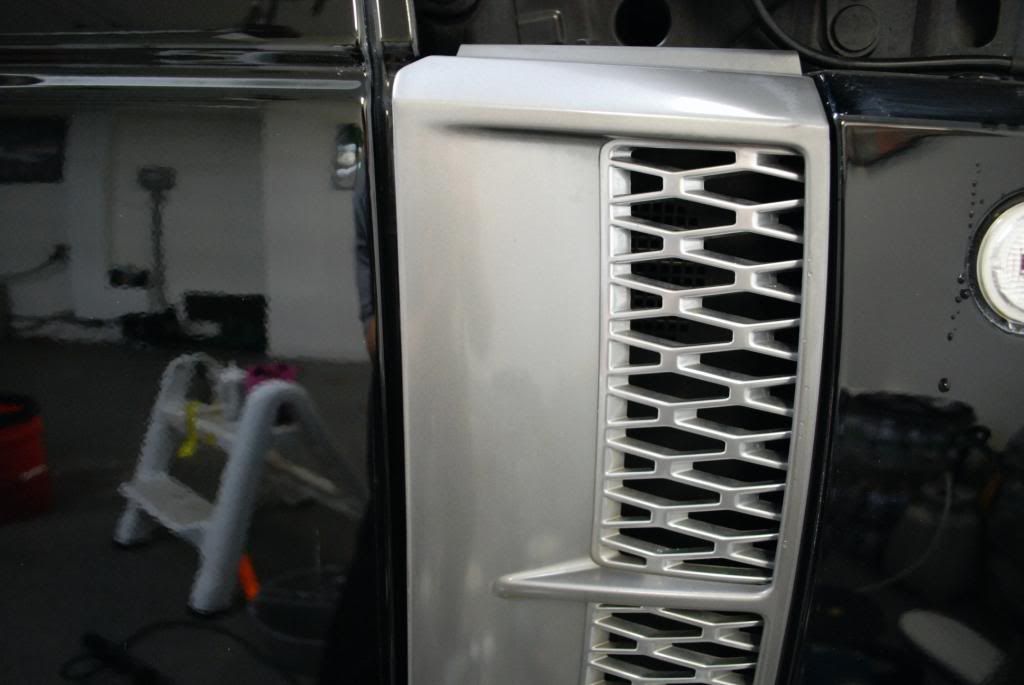
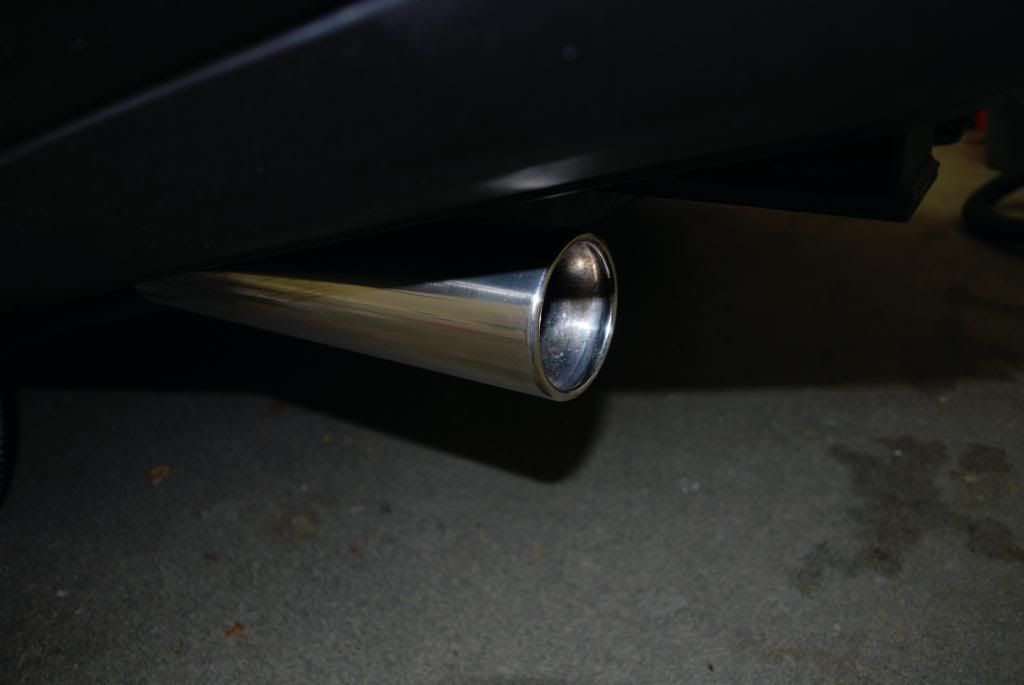
After
After
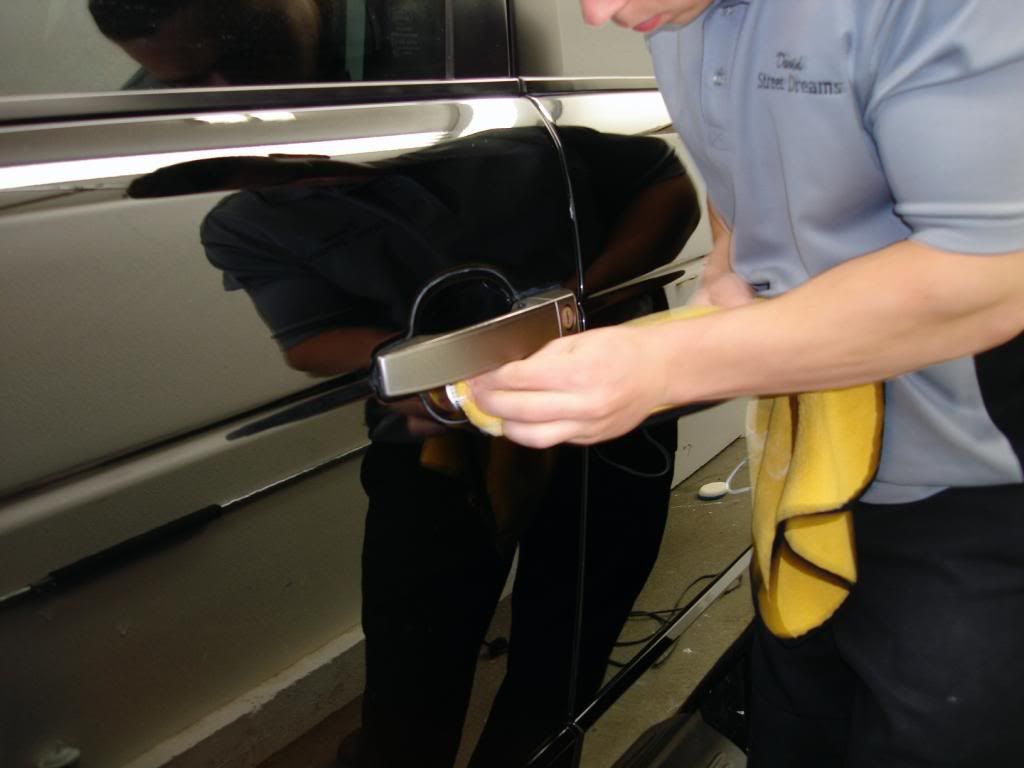
Hand polished behind the handles, unfortunately anything short of wool compounding wouldnt do much help
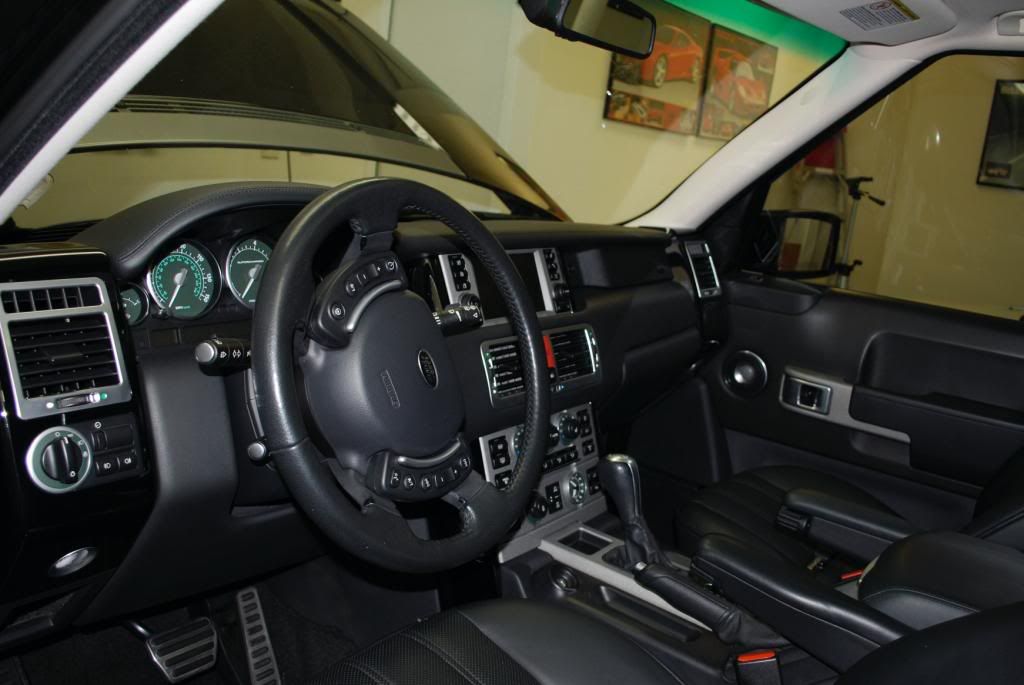
Before I went into the final finishing stage I began on the interior first
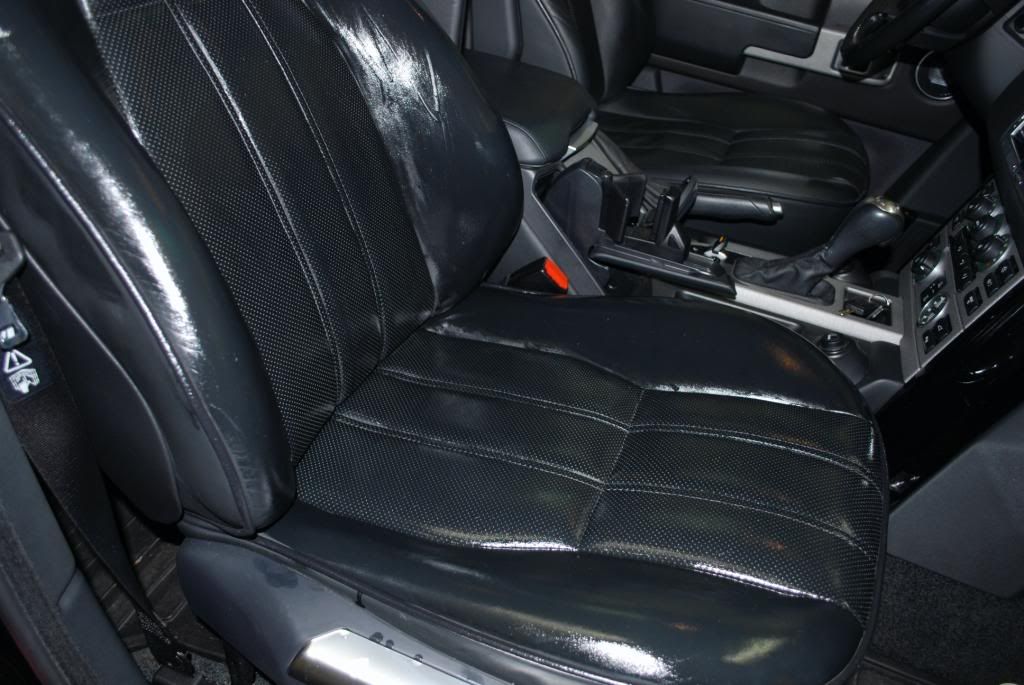
The owner pointed out the leather didnt feel or smell like leather anymore and I suggested the leatherique treatment.
I have only done this once before and the second time around I tried some new methods to help the process.
Goal was simply to get rid of the mild shine on the seats, bring back some suppleness and give it a natural look.
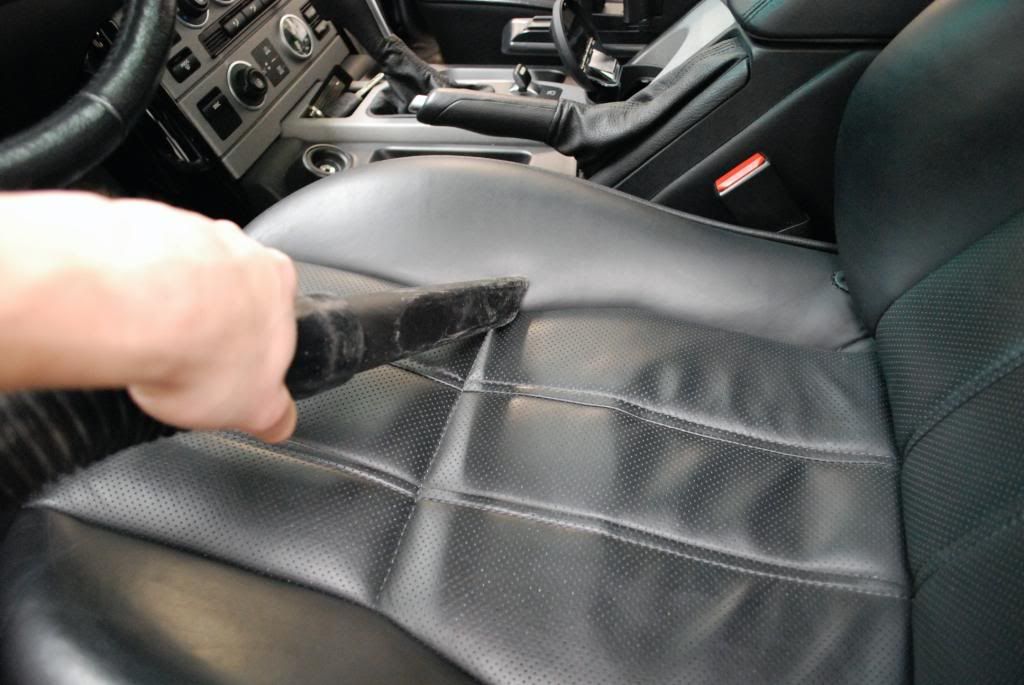
Began with a through vacuum of the seats and crevices,
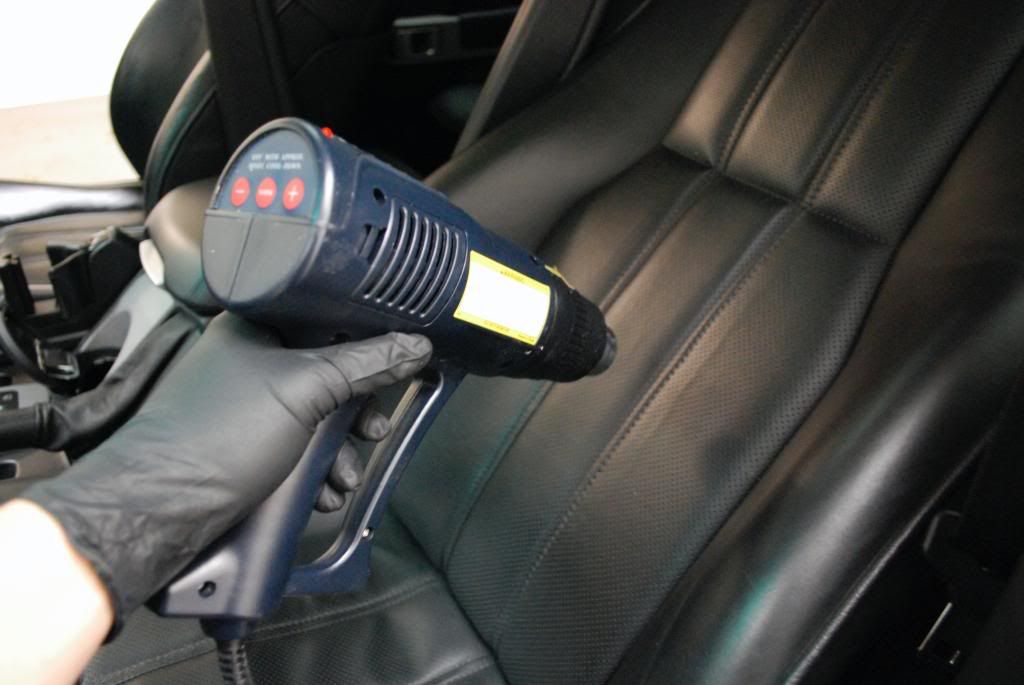
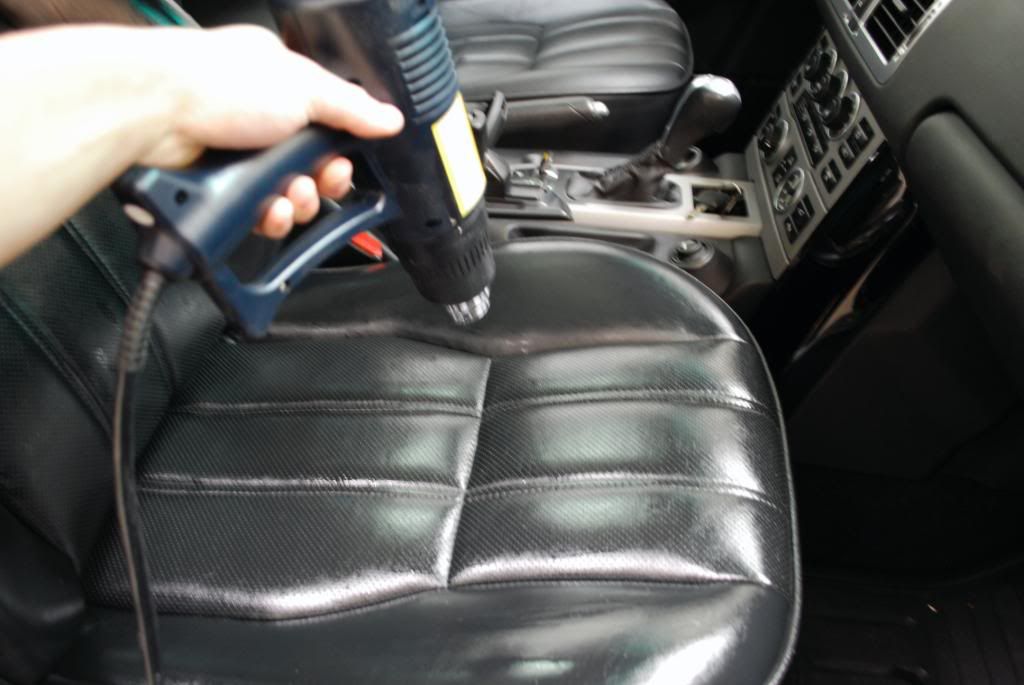
Before applying the oil I heated up the seats with the heat gun to soften up the pores and allow for the RO to spread a little easier
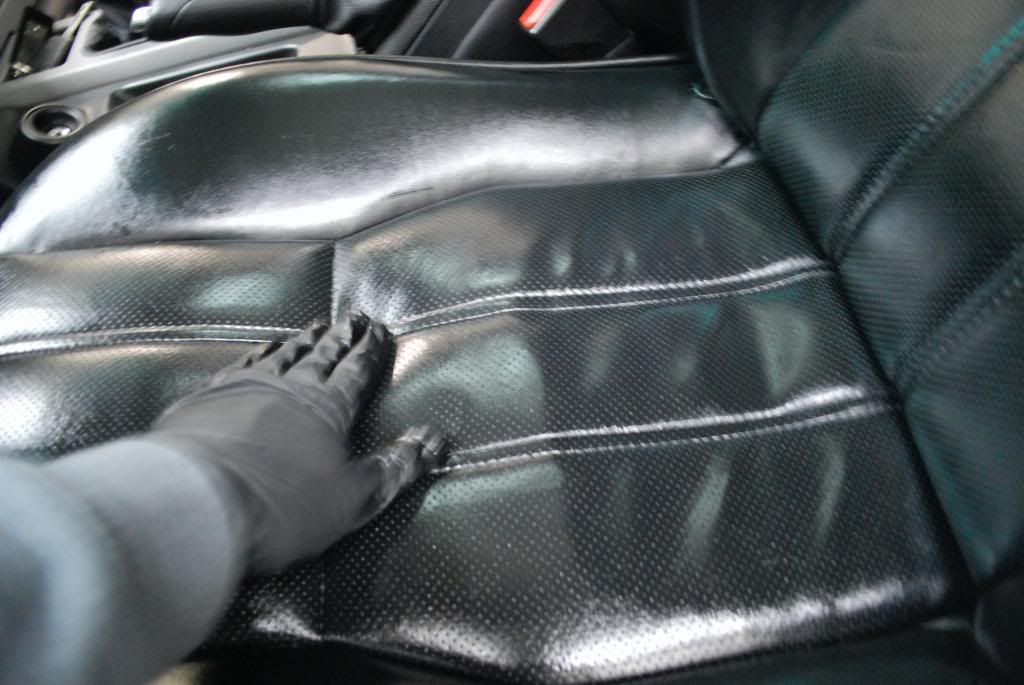
Massaged in the rejuvenator oil by hand
Ive been told the leatherique kit works best with time and heat... time wasnt and issue but heat was as my garage was about 68degrees with the heat on full blast so again the heat gun came in handy.
So after applying the rejuvenator oil I used the heat gun on low setting and worked over the leather.
I did this about 4 times in a 24hr. period
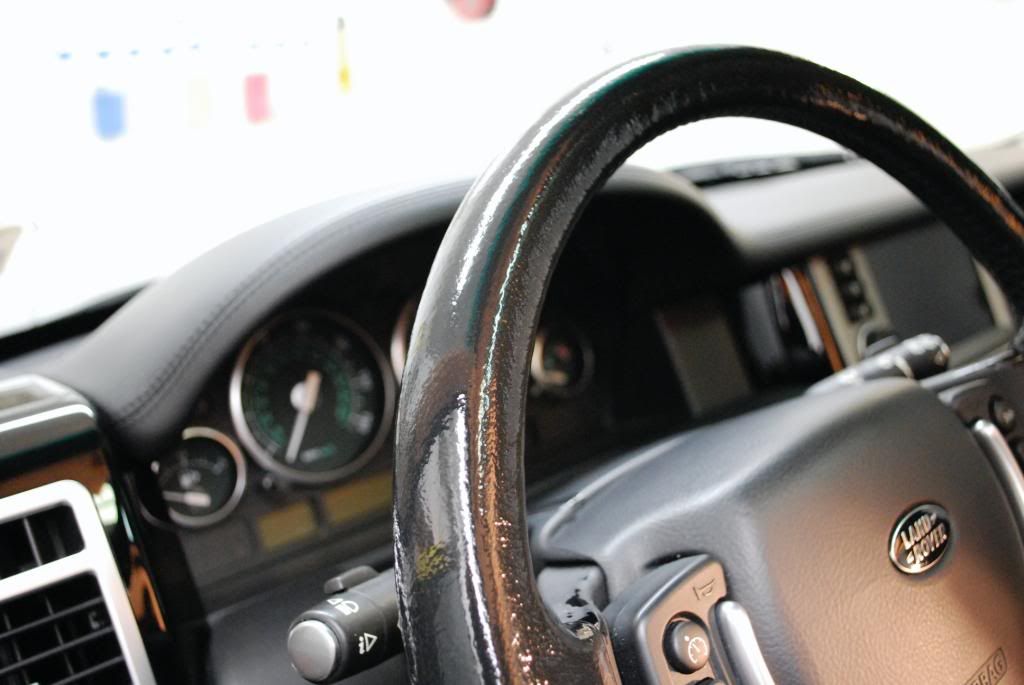
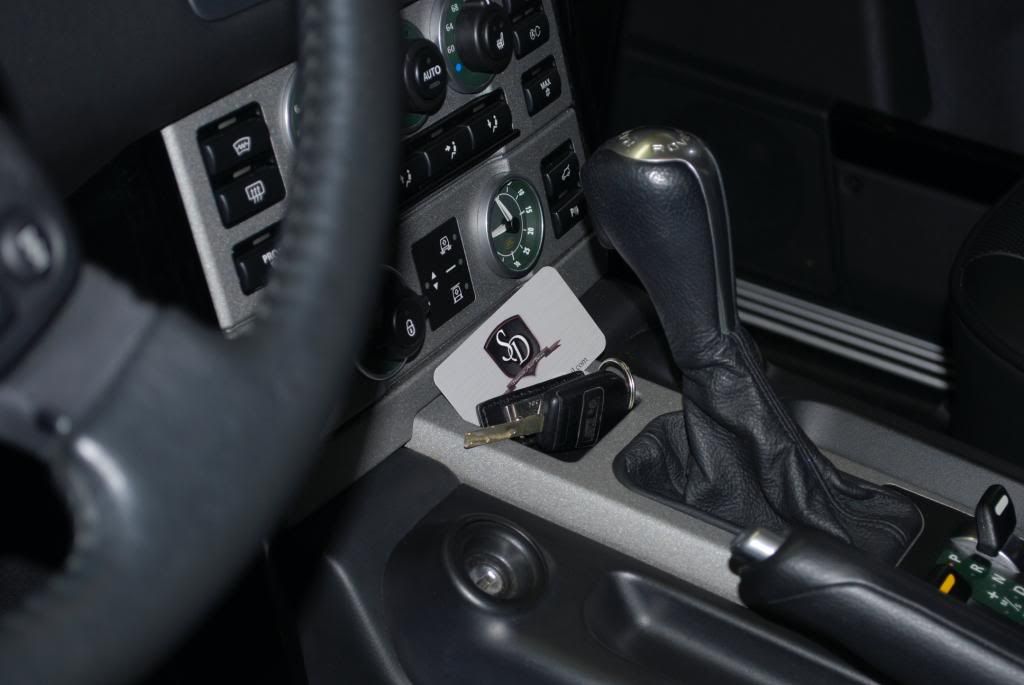
Also applied the RO to the steering wheel in hopes to get rid of the grime and oily look... this stuff is thick!
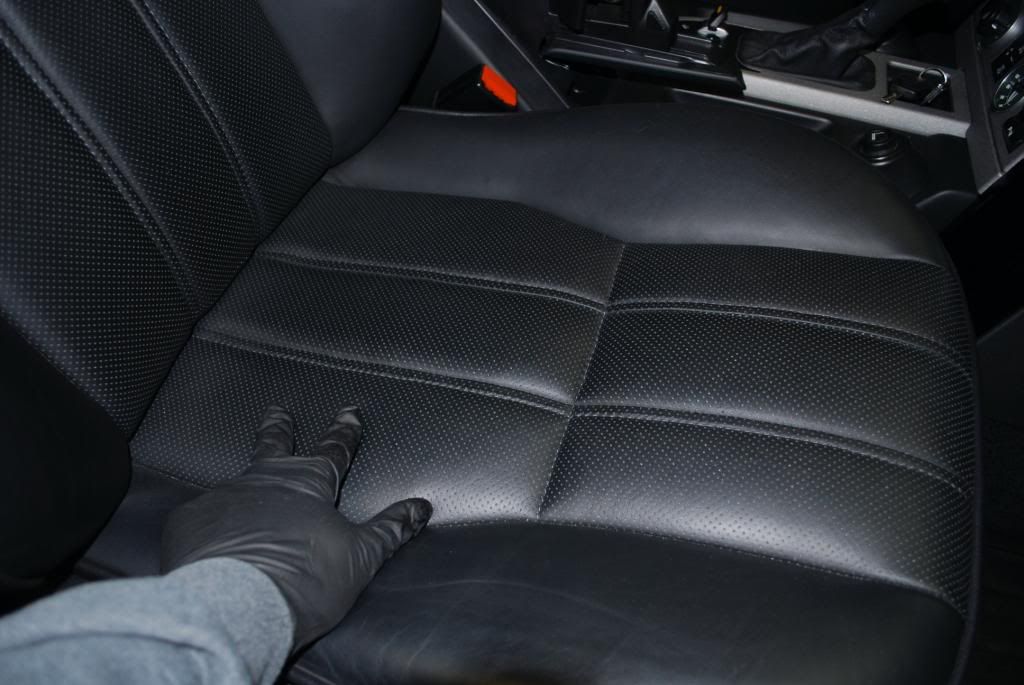
Same process was repeated for the passenger seat
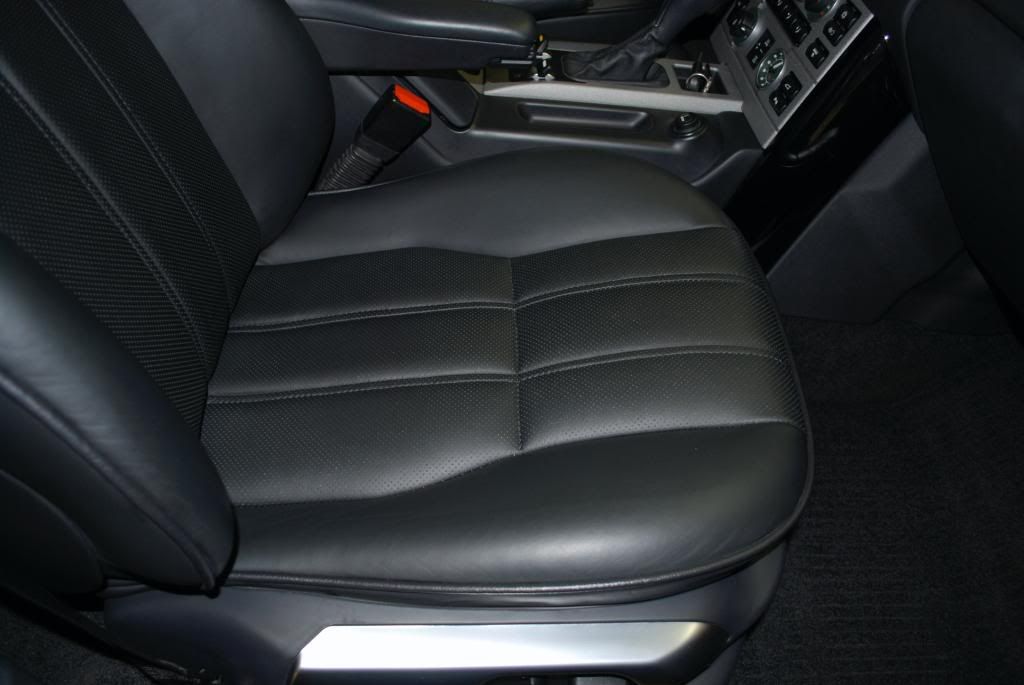
Passenger seat before
All covered
After sitting overnight the seats absorbed a good bit of the oil, once again I hit them with the heat gun
Fast forward a few more hours to make a full day of sitting and it was time to remove the rejuv. oil and proceed with the 2nd step of the process
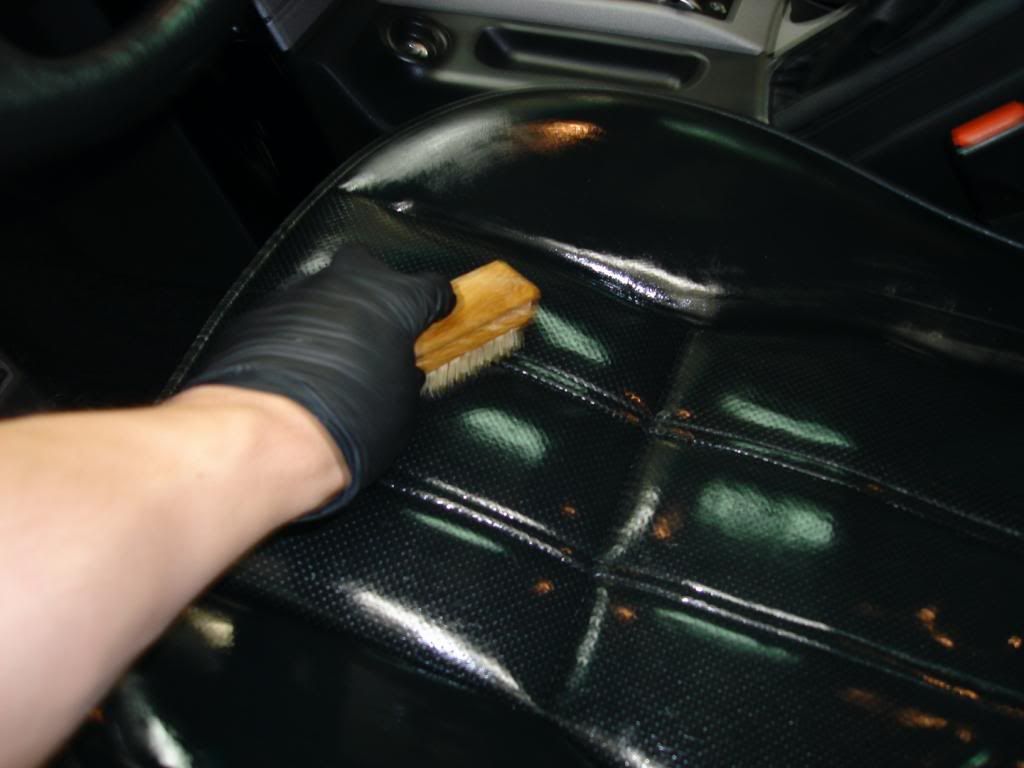
Spray on the pristine clean and work it in with a brush
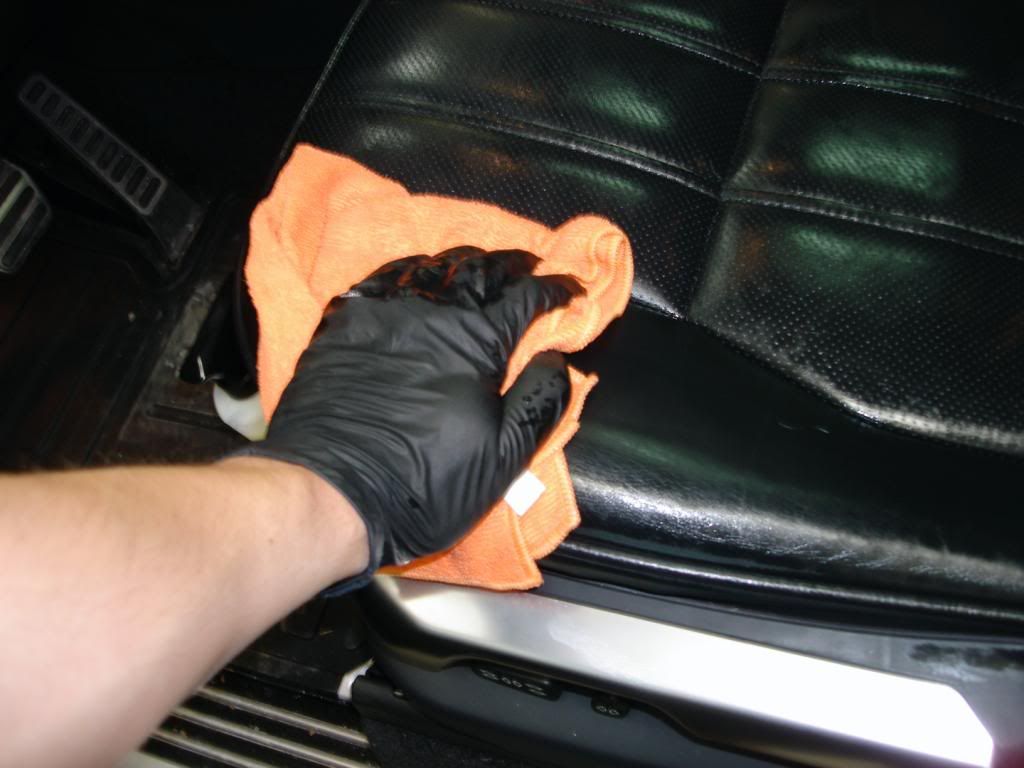
Use a hot damp towel to wipe away the excess product and see what you left with
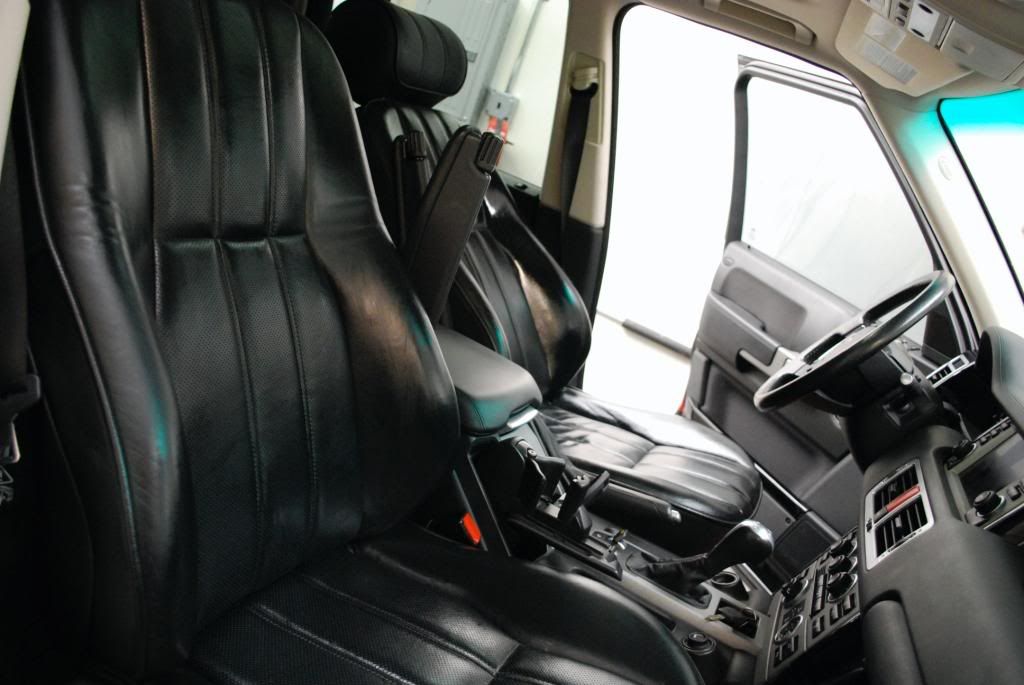
Nice matte finish on the leather, no more greesy steering wheel
All finished
Definitely helped with mattifying (own word) the leather and restoring the supple feel, these seats werent really jacked up so I'd like to see how well this kit does on other cars
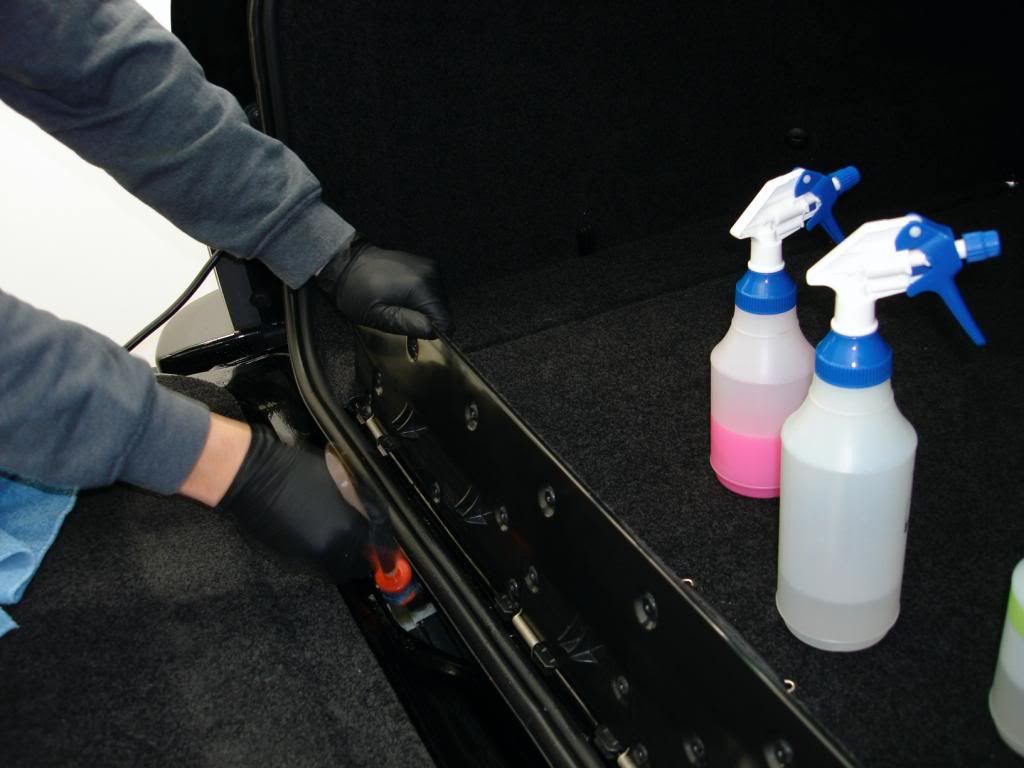
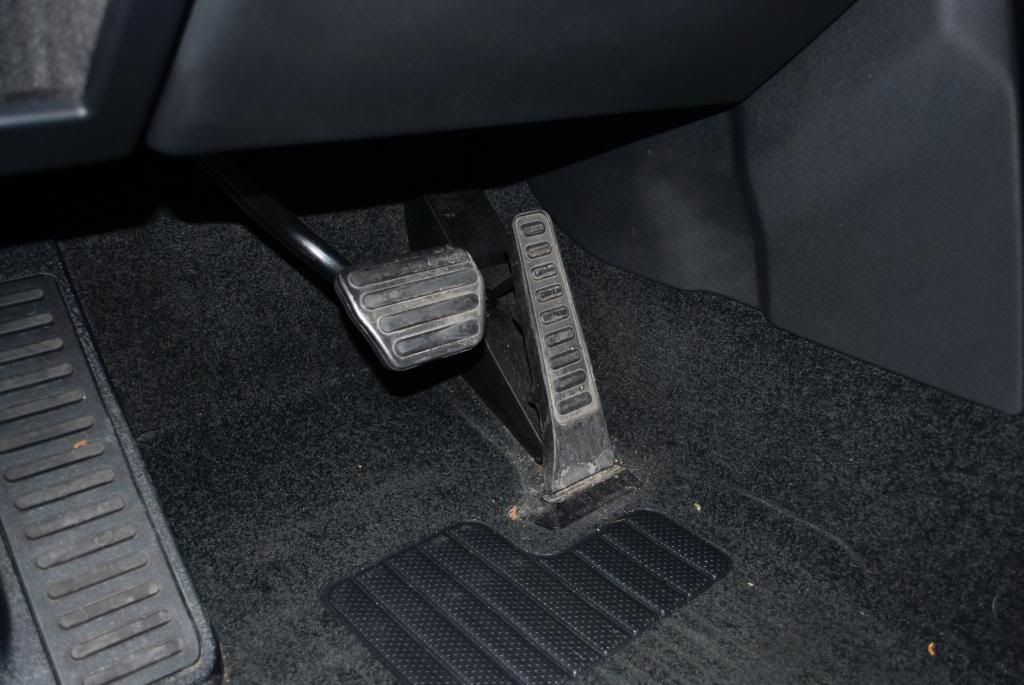
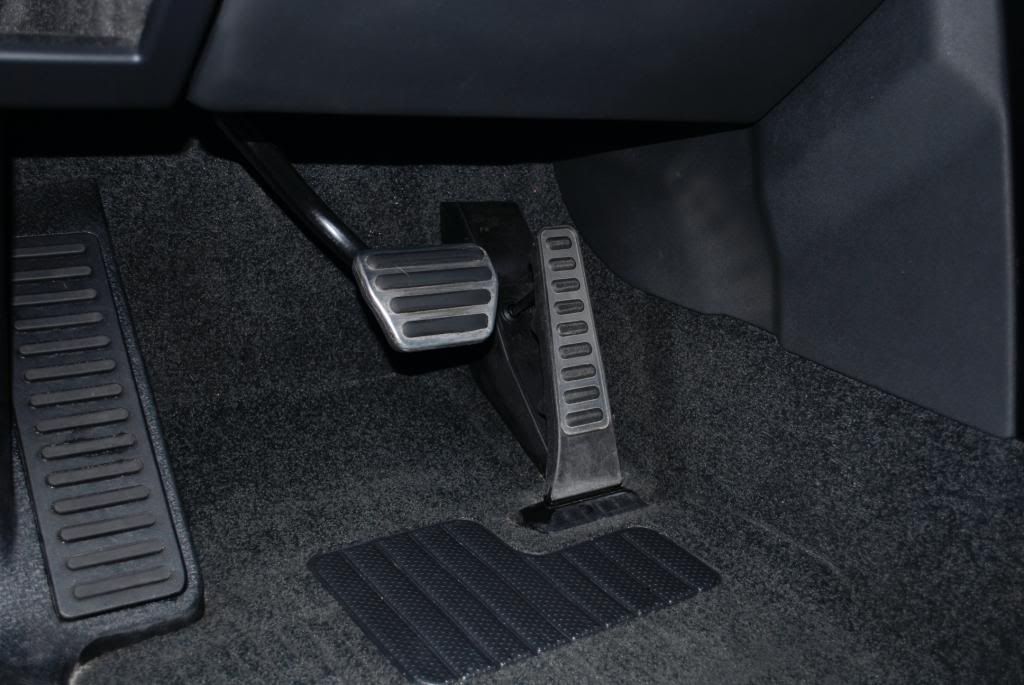
I finished the rest of the interior work. Made sure all the door jambs and small compartments were sorted out as needed
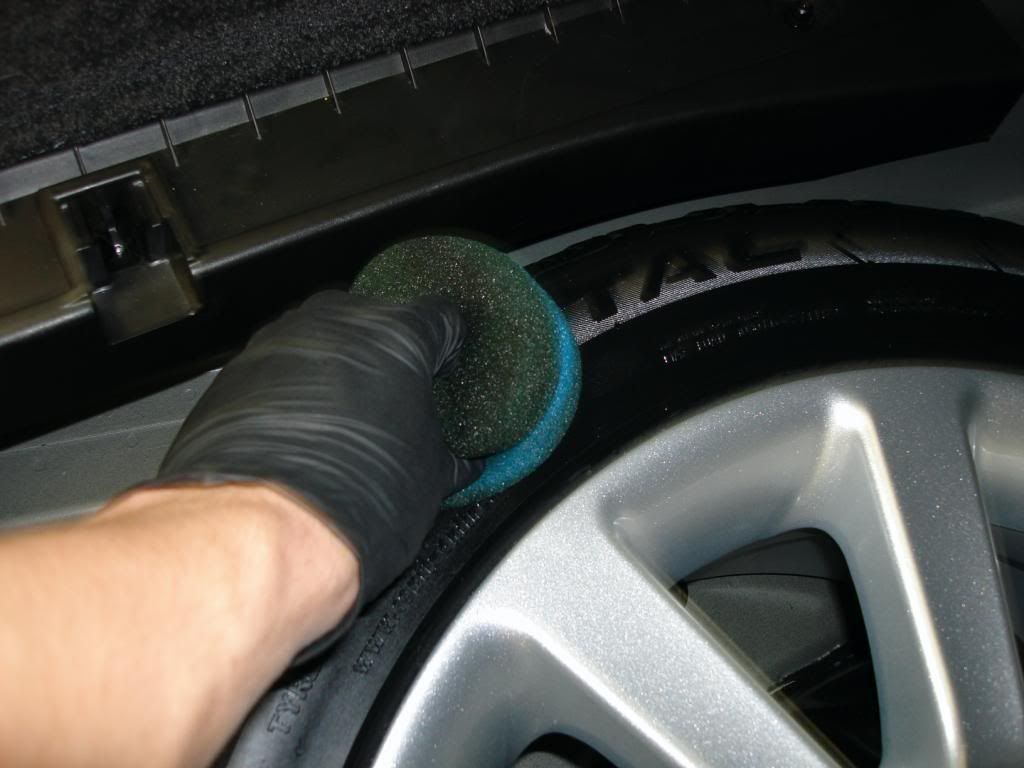
Gave the spare tire compartment a vacuum, sealed the wheel with a quick coat of JS109 and dressed the tire, just wanted everything to look uniform same on on the exterior
great job on a hammered rover the client is going to be very happy i'm sure an that should bring in more business. awesome attention to detail an perfect clarity .:goodjob:2thumbs:
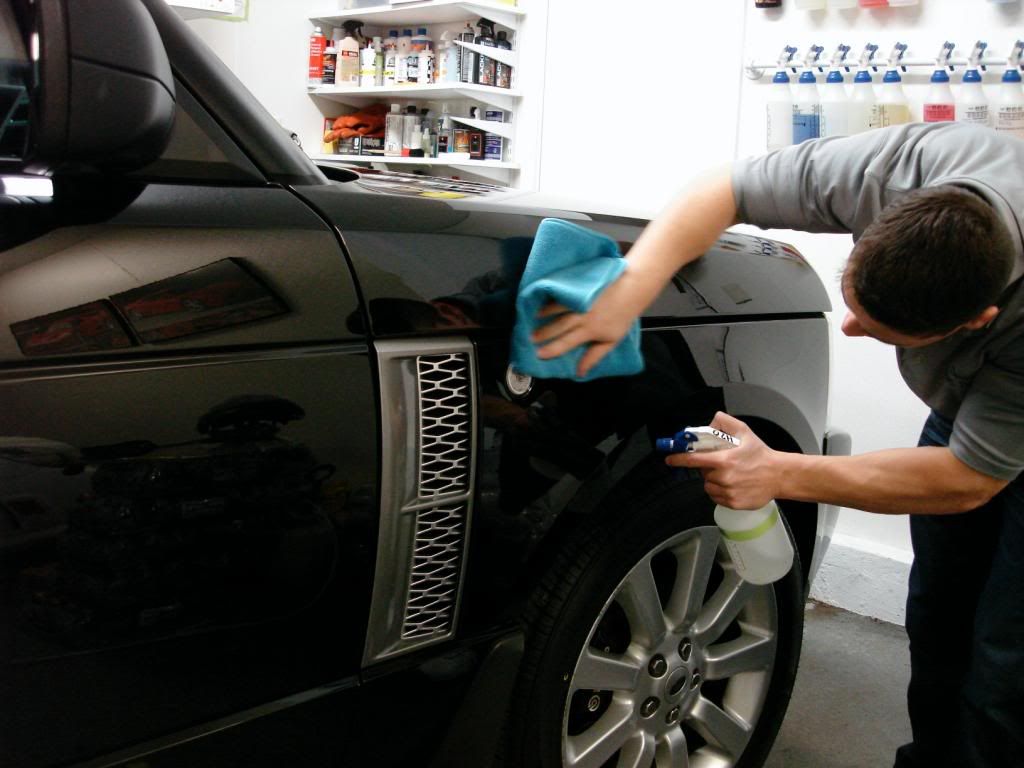
Nice job David! Aside from the work on the RR, I like how you label the triggers instead of the bottle. Should be a good trick to keep mine from rubbing off. Looks like a nice project in the background (white car in the reflection shot) too


")