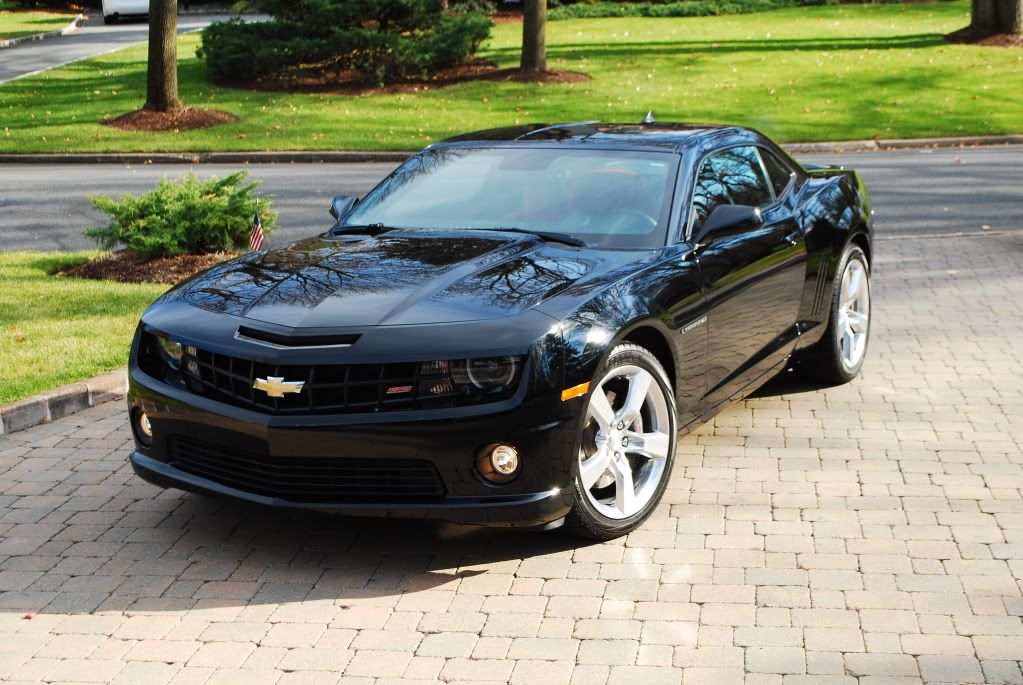
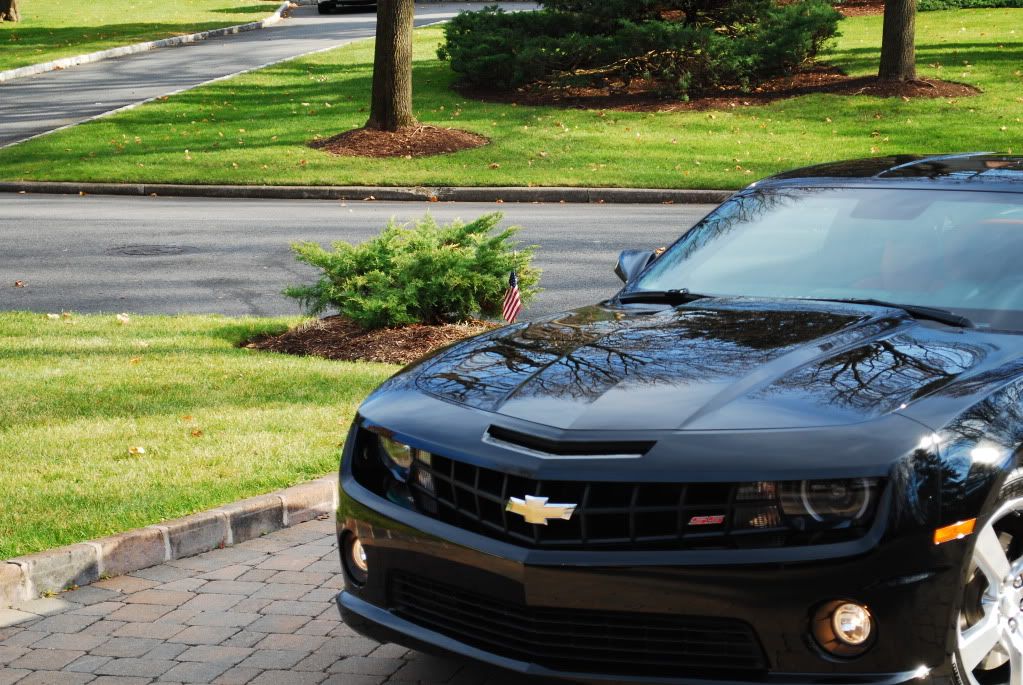
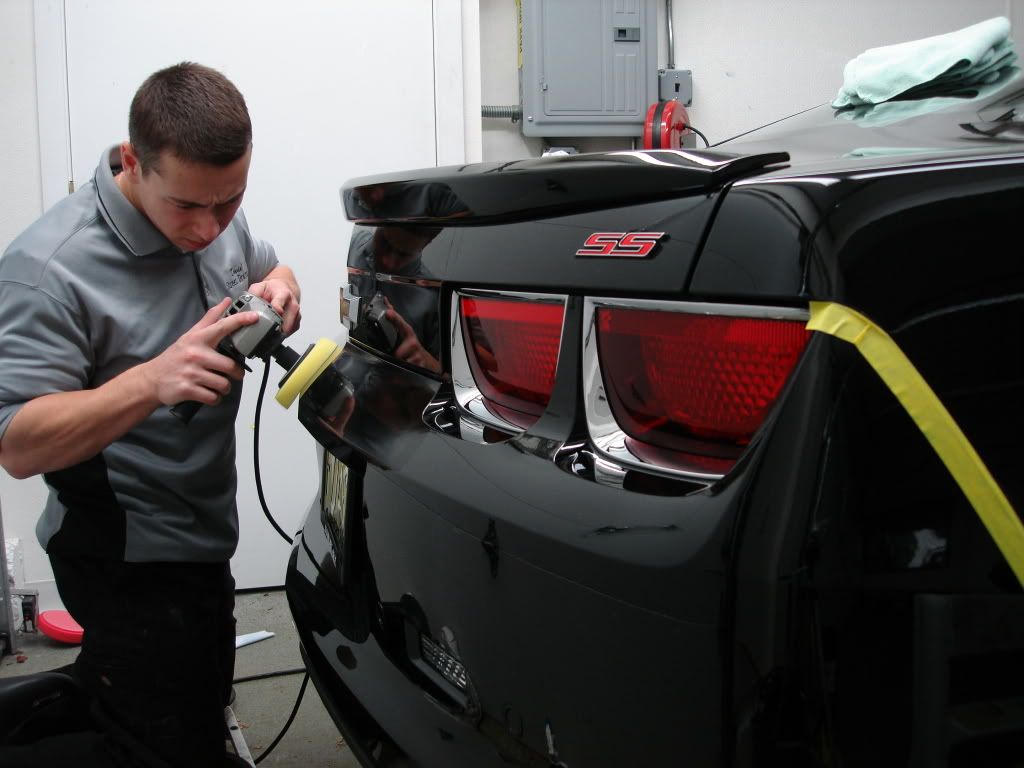
Chevy Camaro in for a complete correction and winter prep detail.
Car was bought with 8,000 miles on it. Dealer prep and polish job left paint with heavy defects and holograms
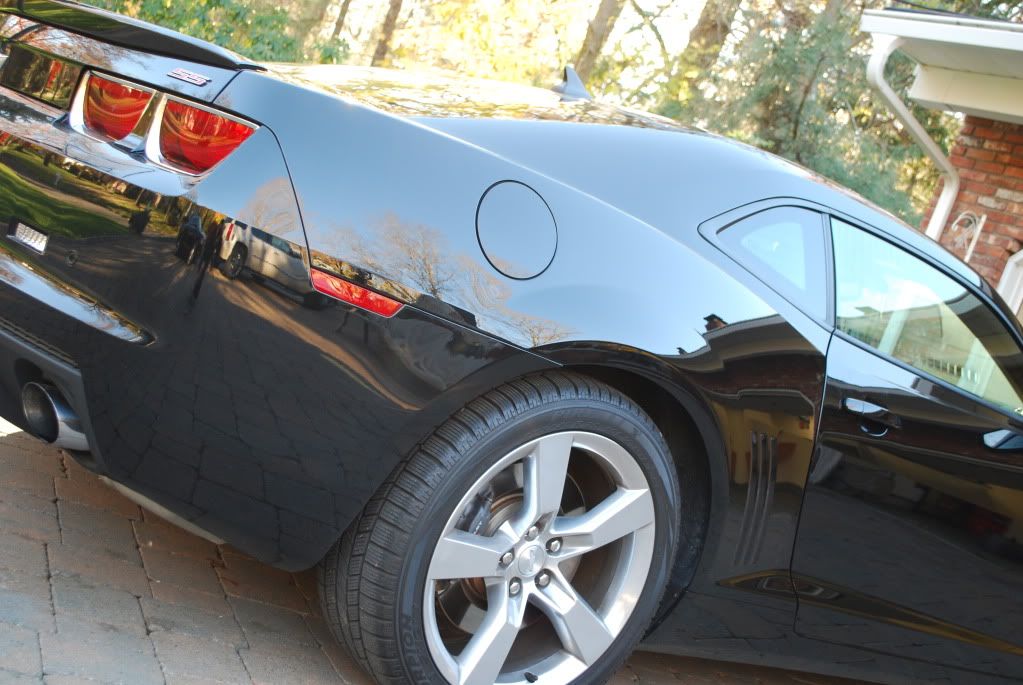
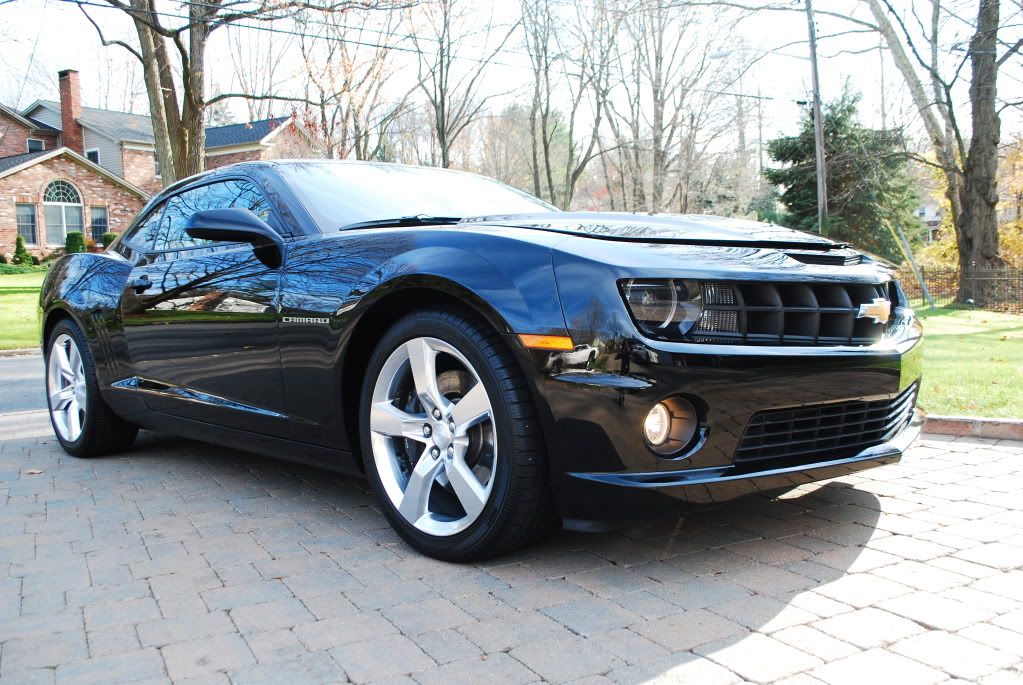
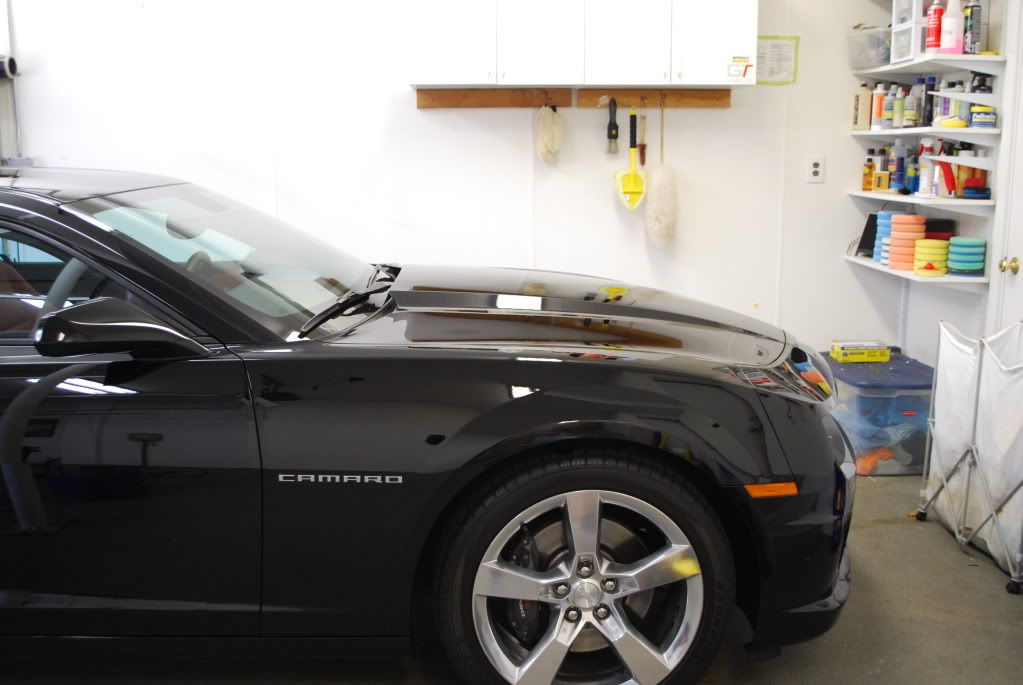
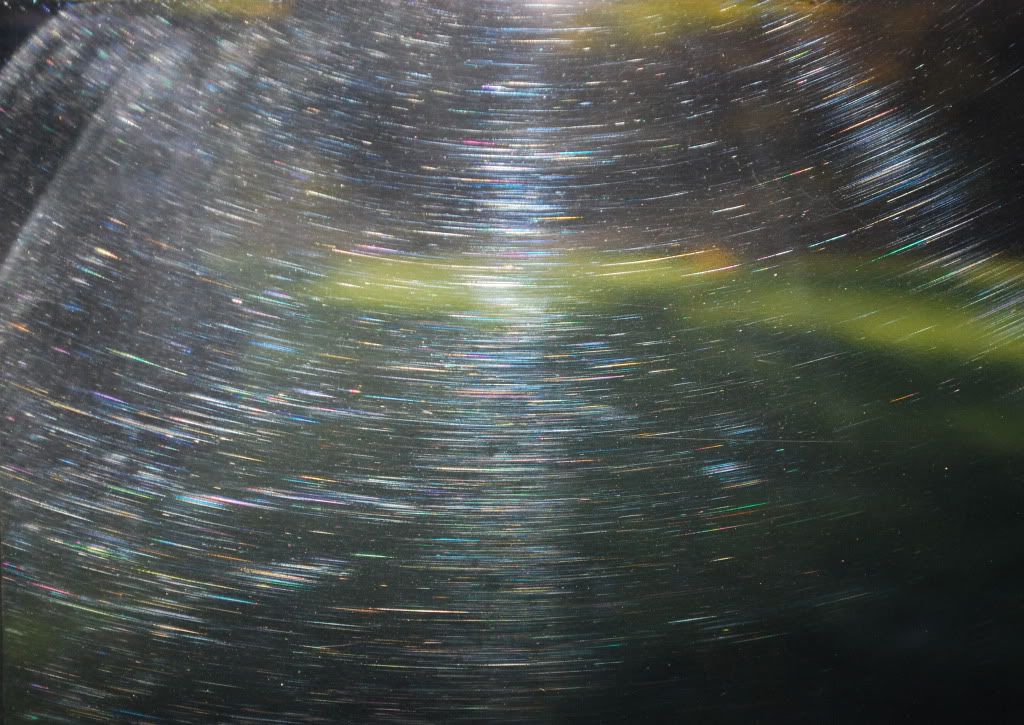
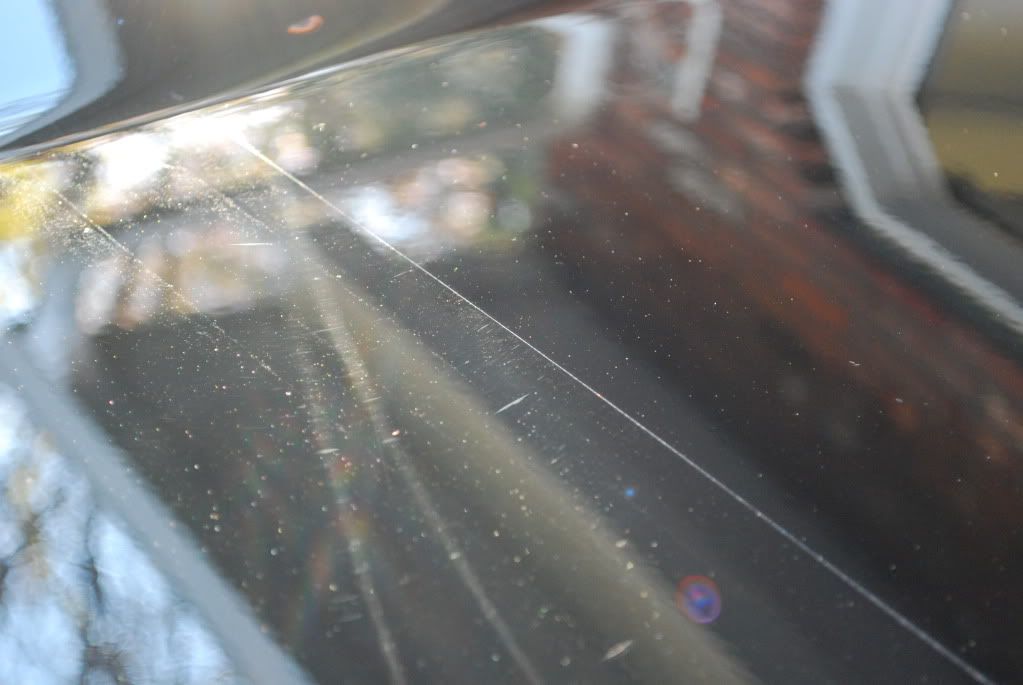
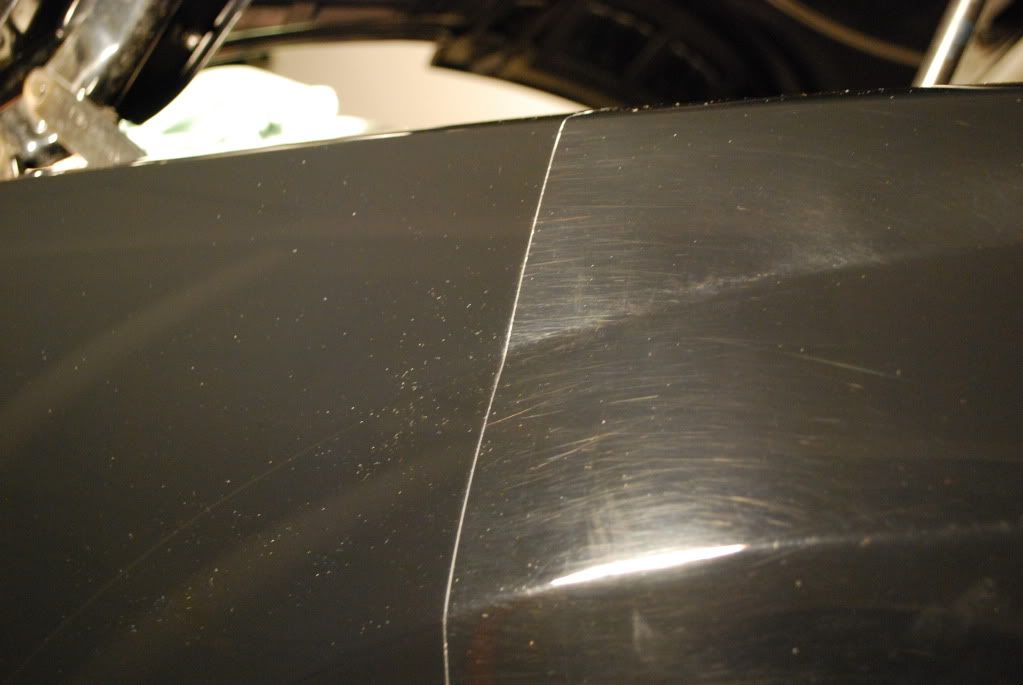
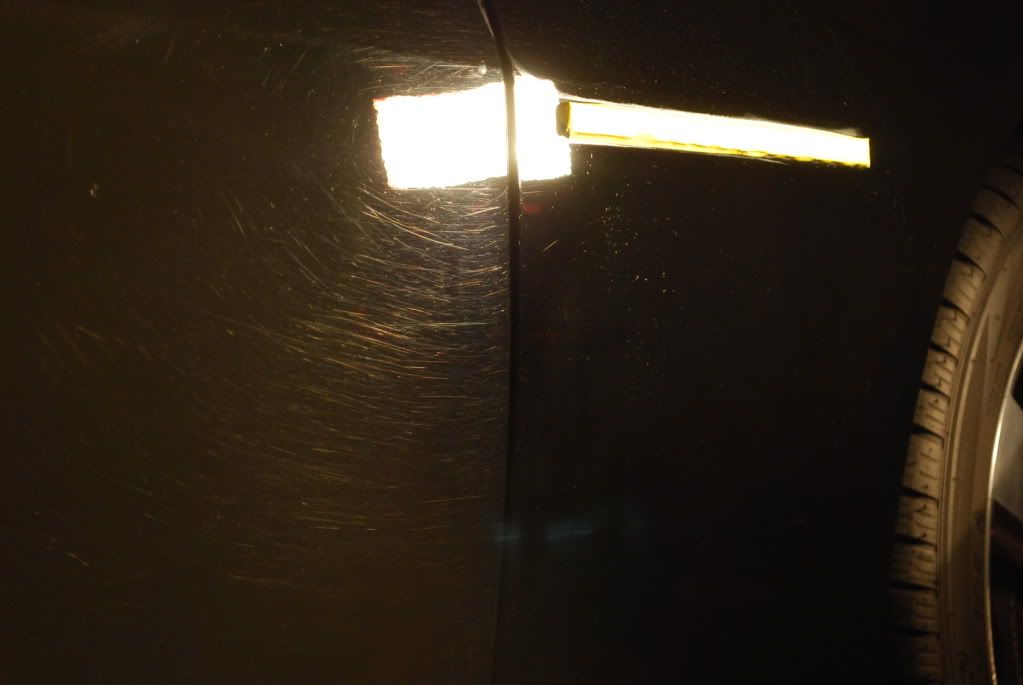
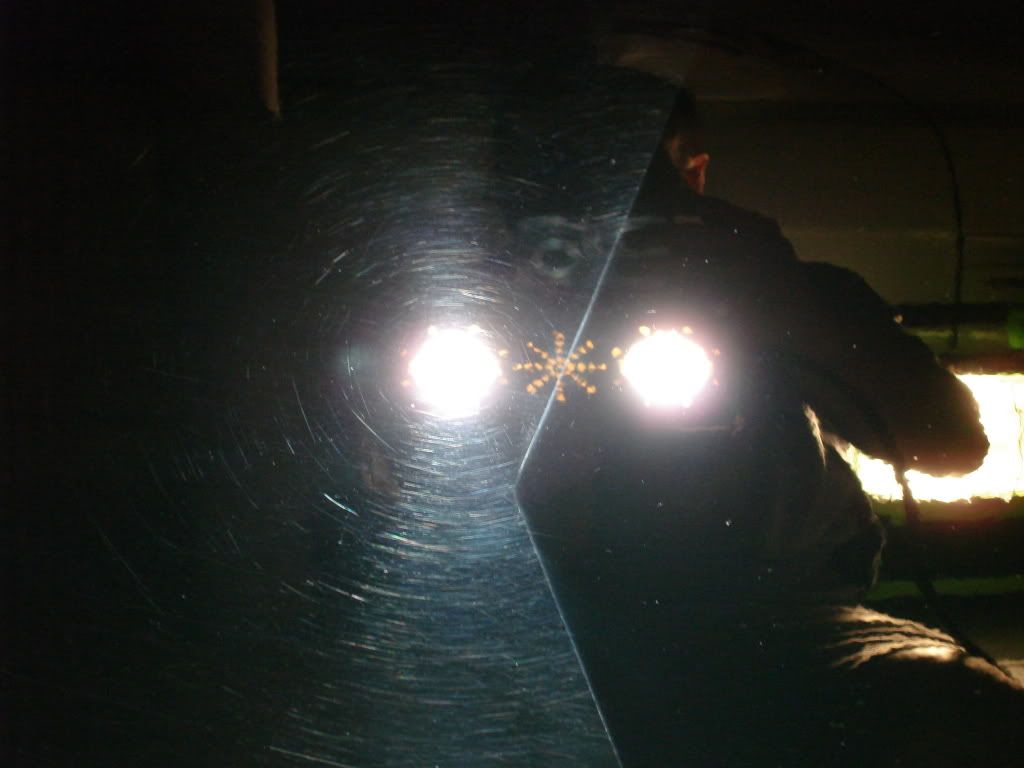
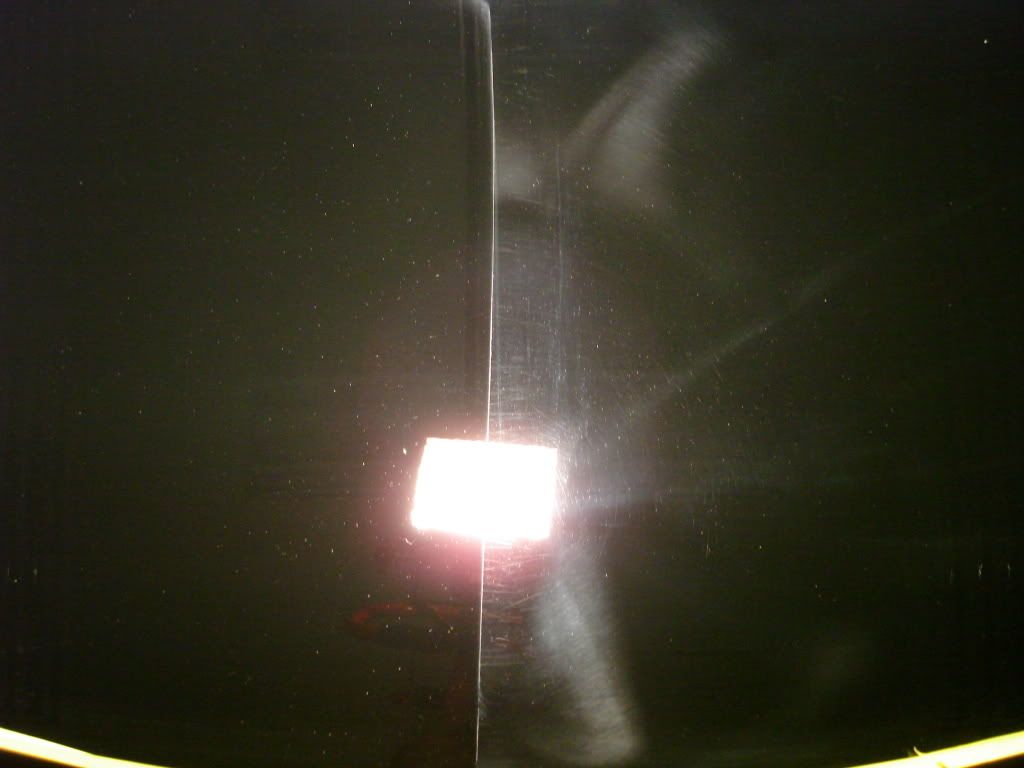
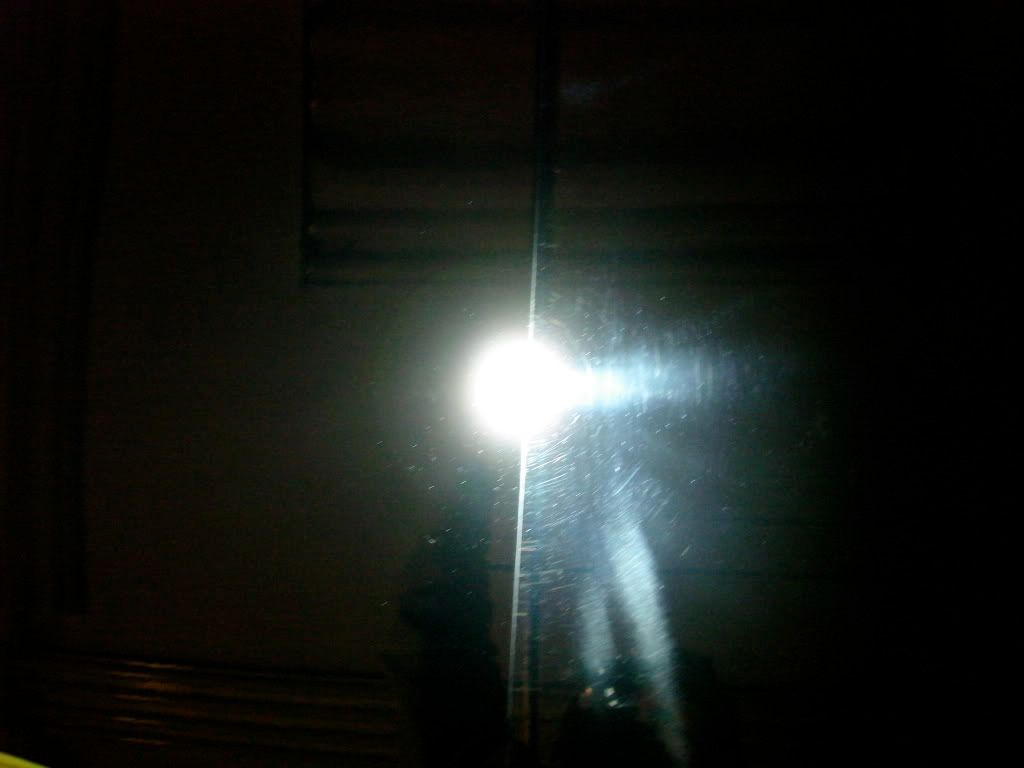
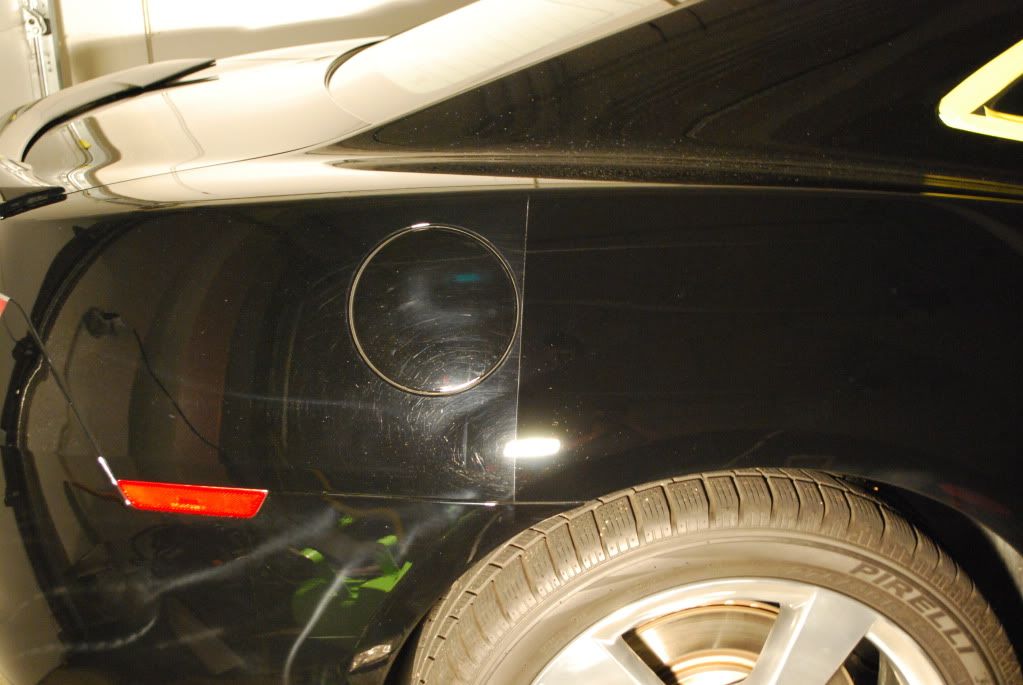
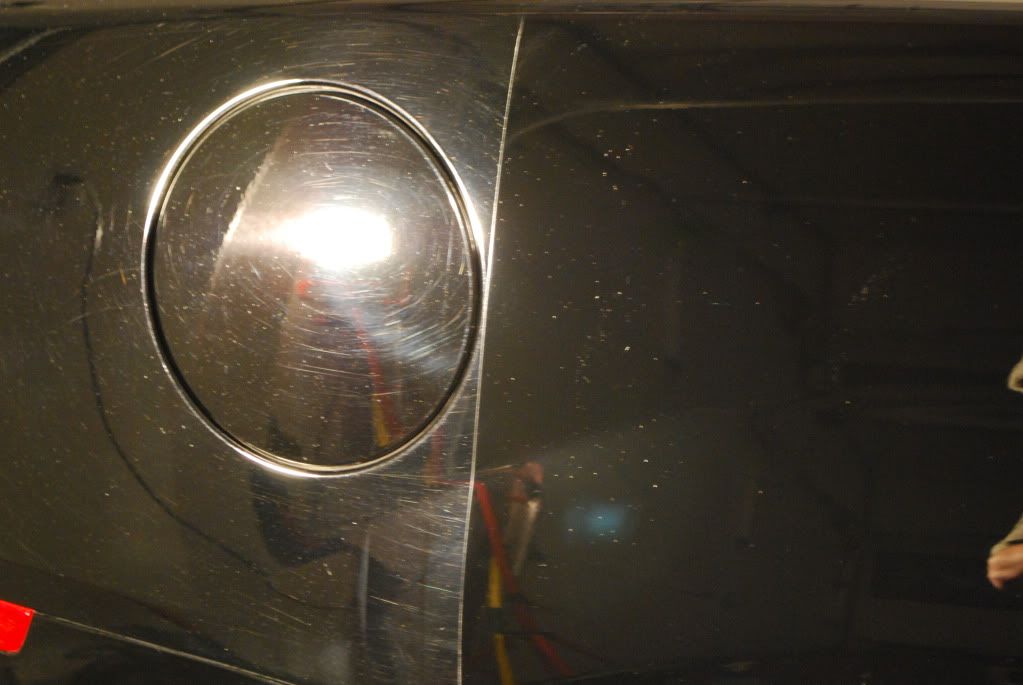
Some before shots of the finish, lots of swirling, RIDS and machine holograms
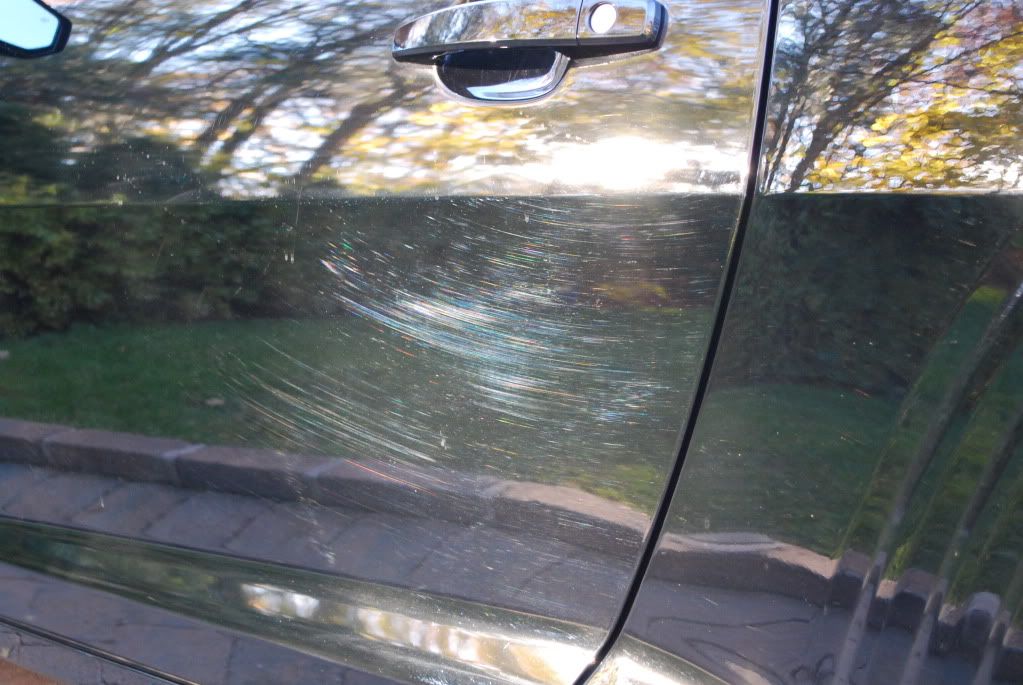
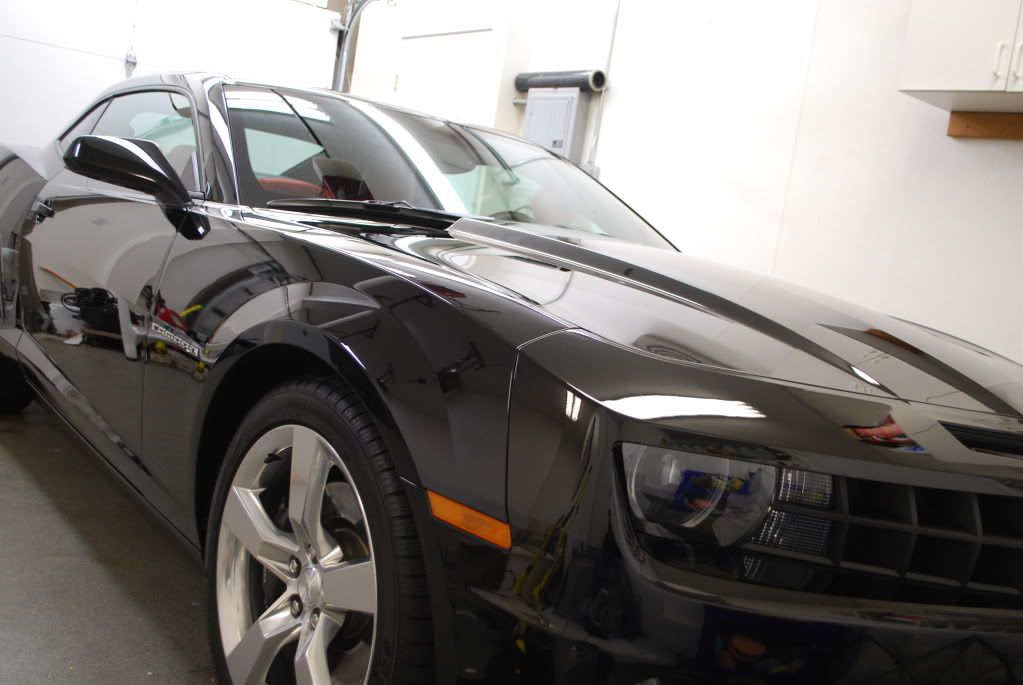
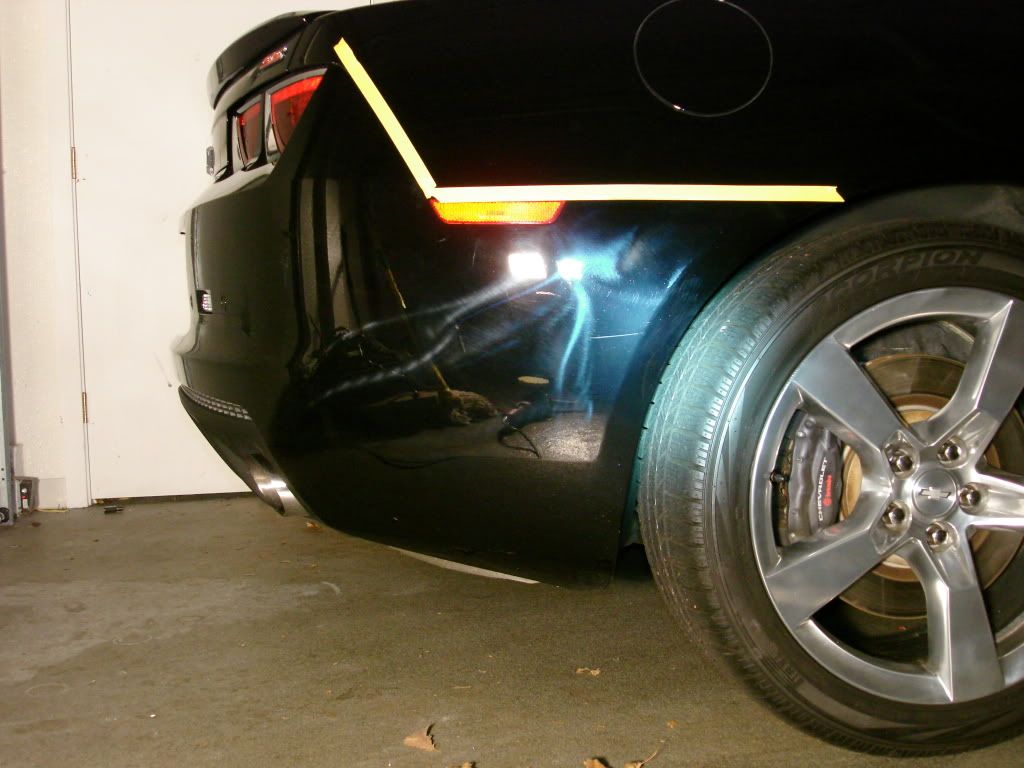
Example of how a hologram carries in the light
The wash process
-Foam w/ CG maxi suds
-Soak with Optimum Power clean 5:1
-Hand wash using Lusso Auto Bathe
Car was then clayed and dried followed by several IPA wipedowns to remove any remaining protection, oils and clay residue
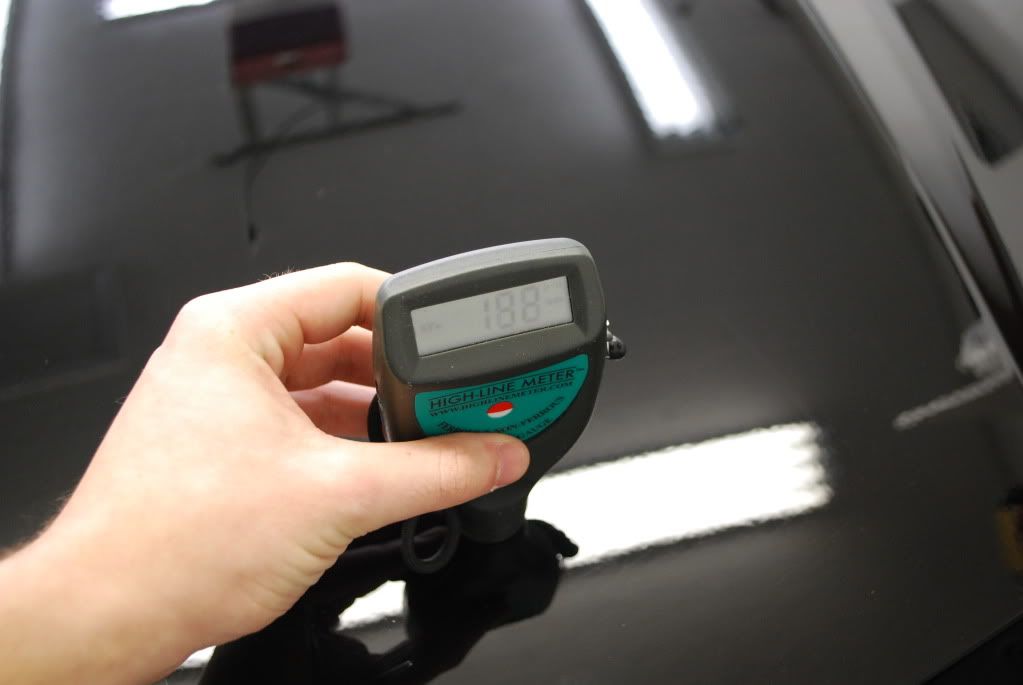
Measuring the paint with a paint gauge, consistent readings all around
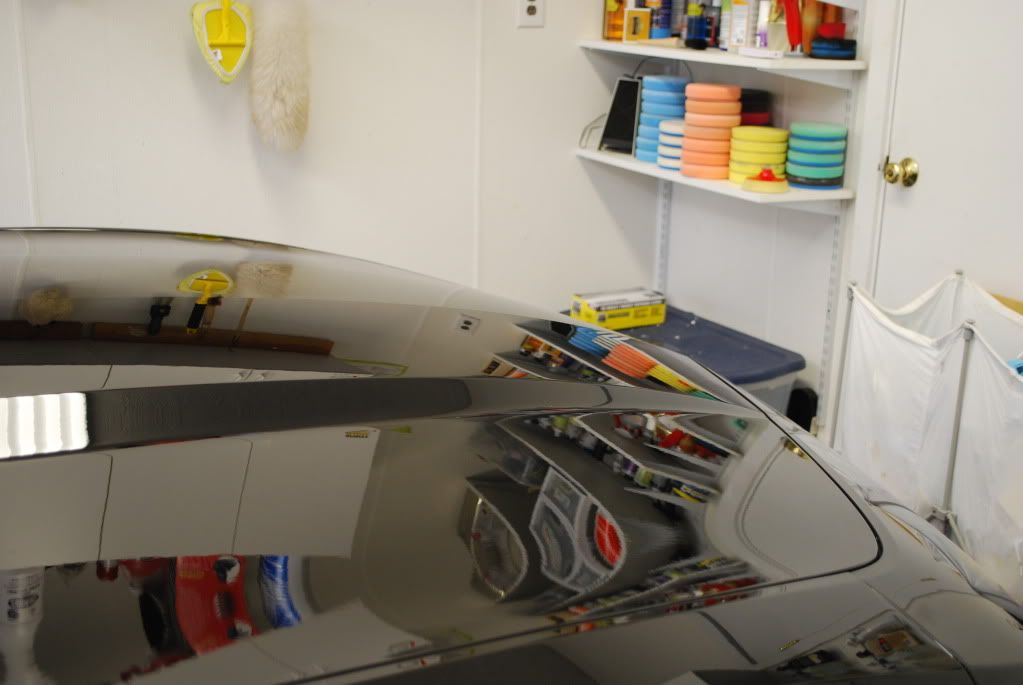
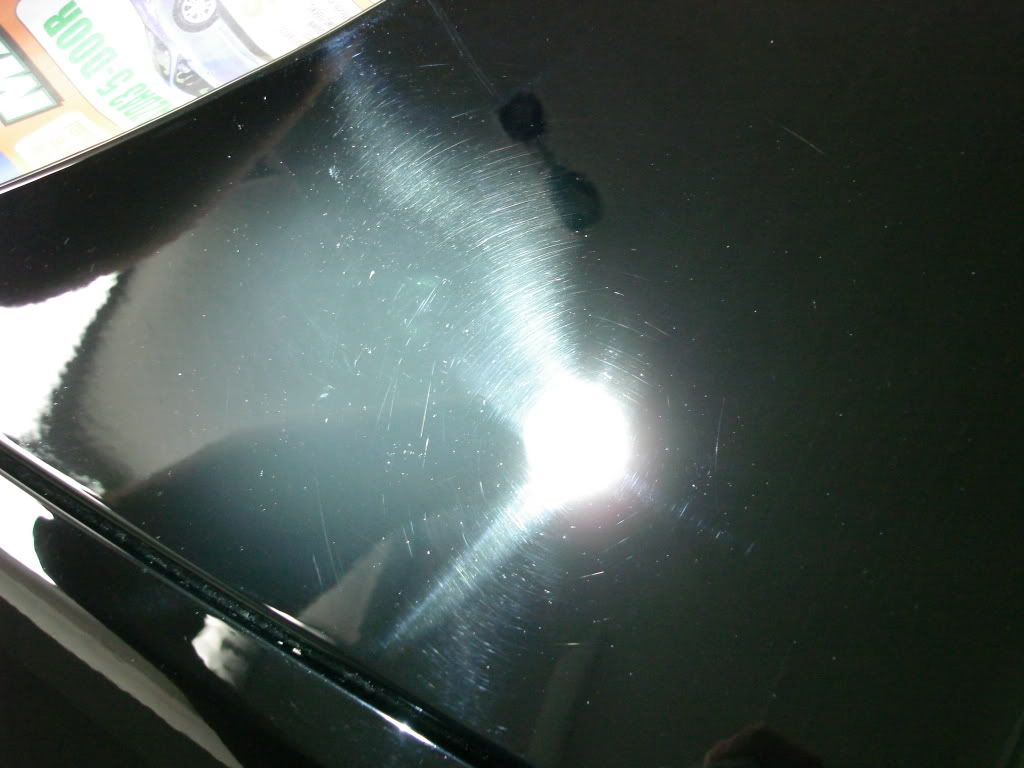
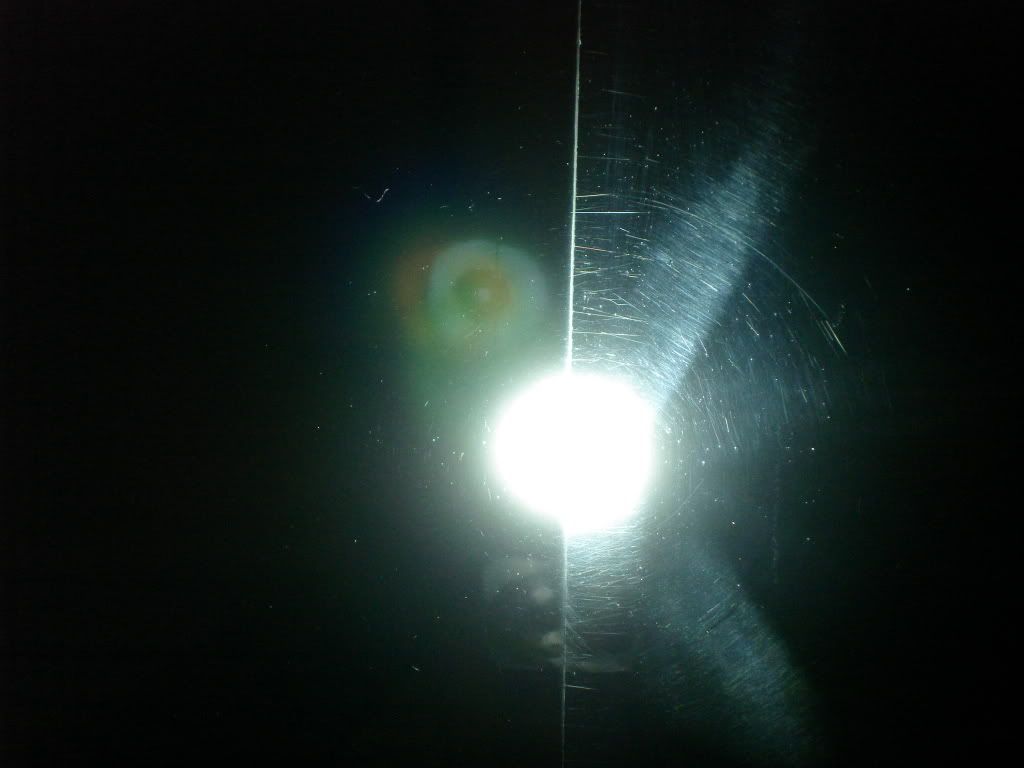
Hood under the LED light, nice myriad of defects
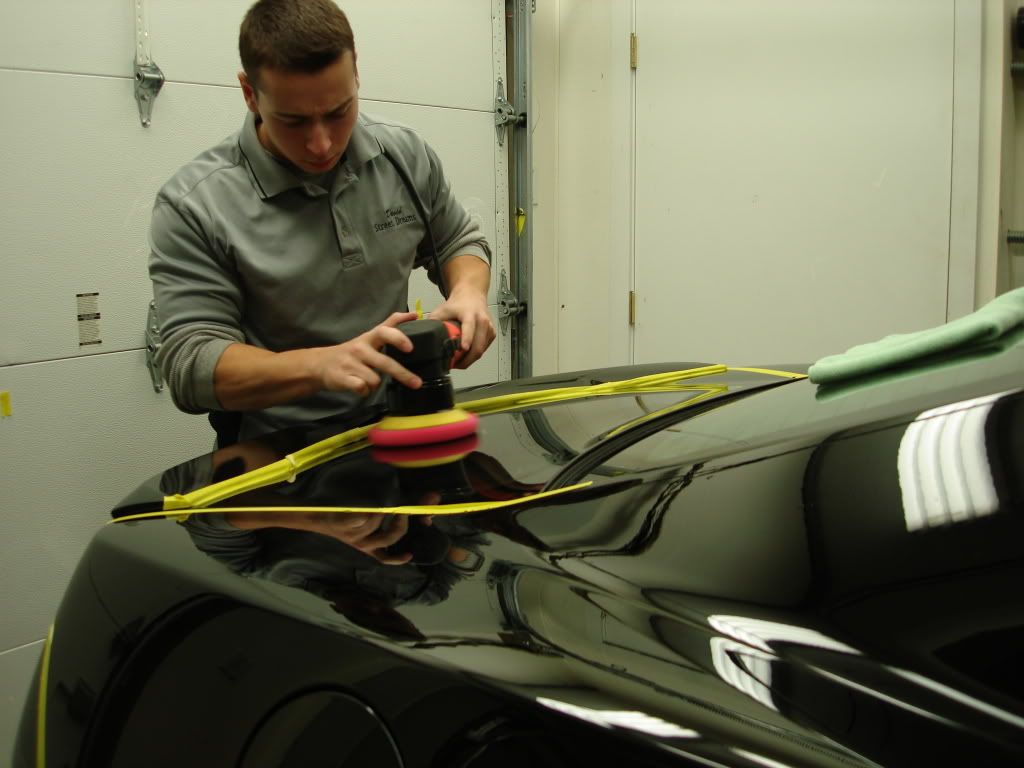
After a few test combos I landed on the following using both rotary and DA machnes. M105, M205 and Menzerna powerfinish.
A 50.50 after compounding of some of the hood defects
Pulled the car outside to check my work...
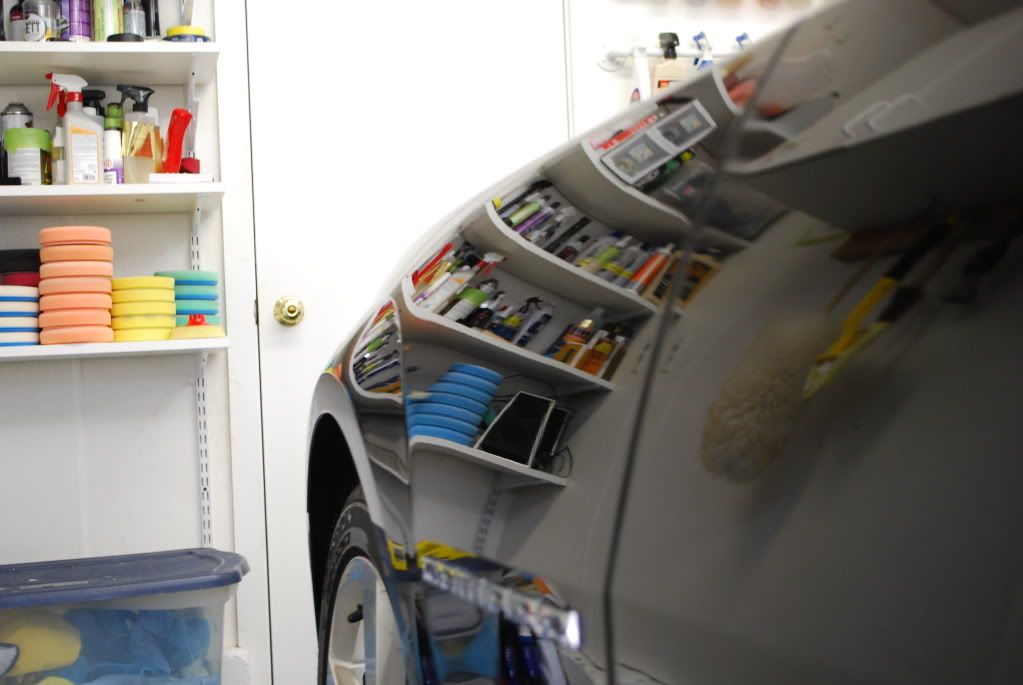
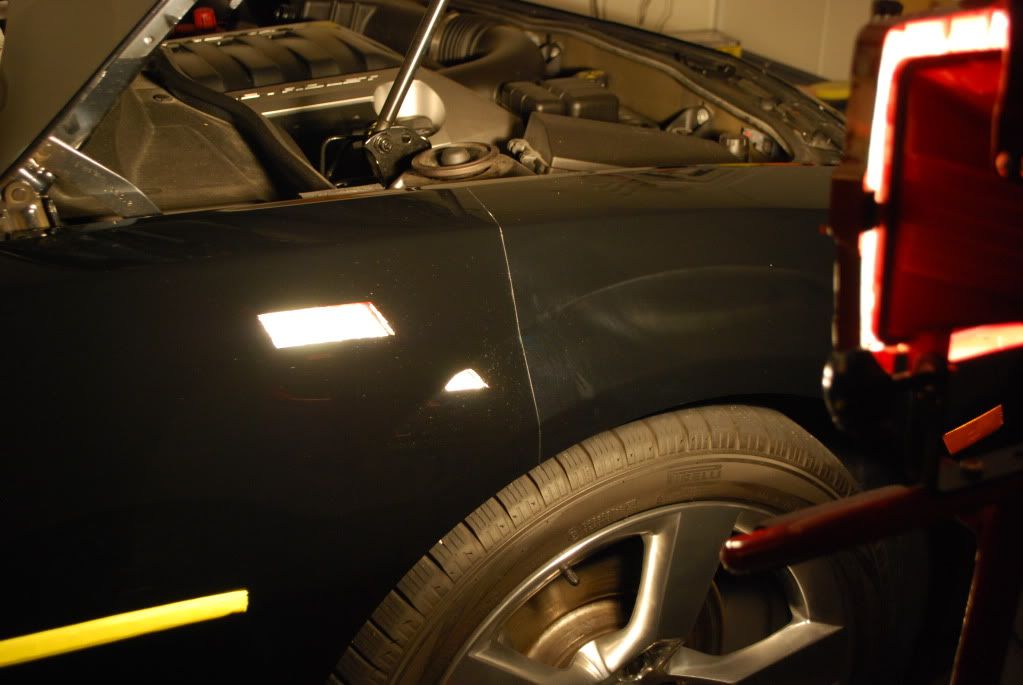
Front fender 50.50
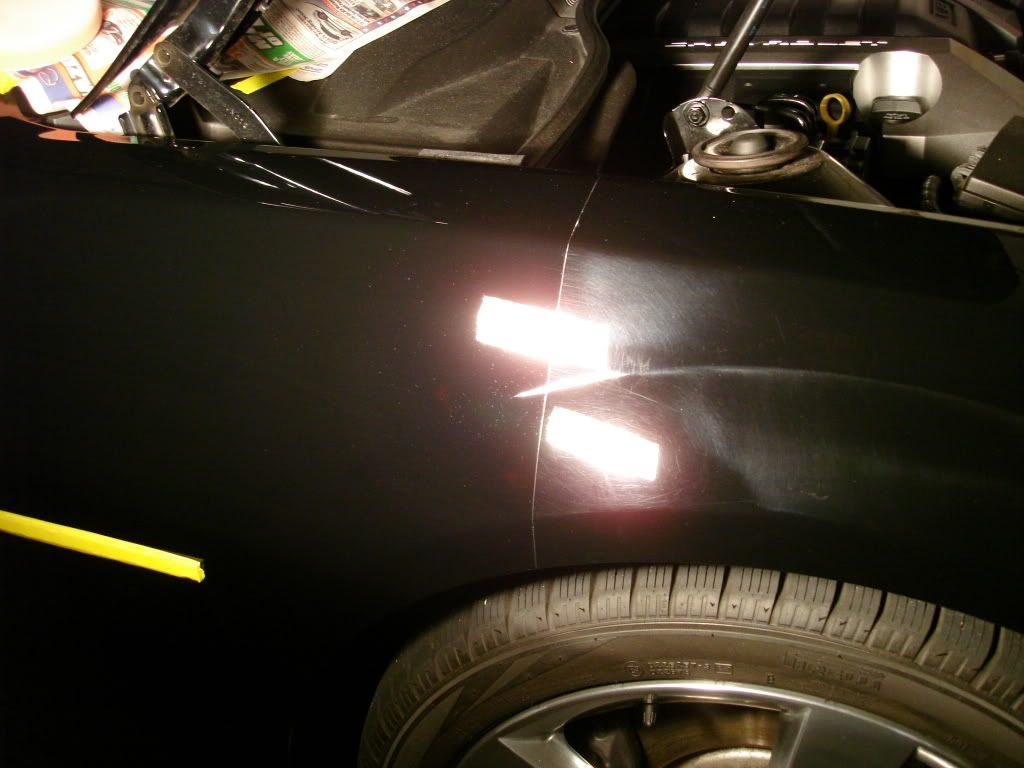
Showing the difference in color between polished and unpolished paint... both are technically "black" paint
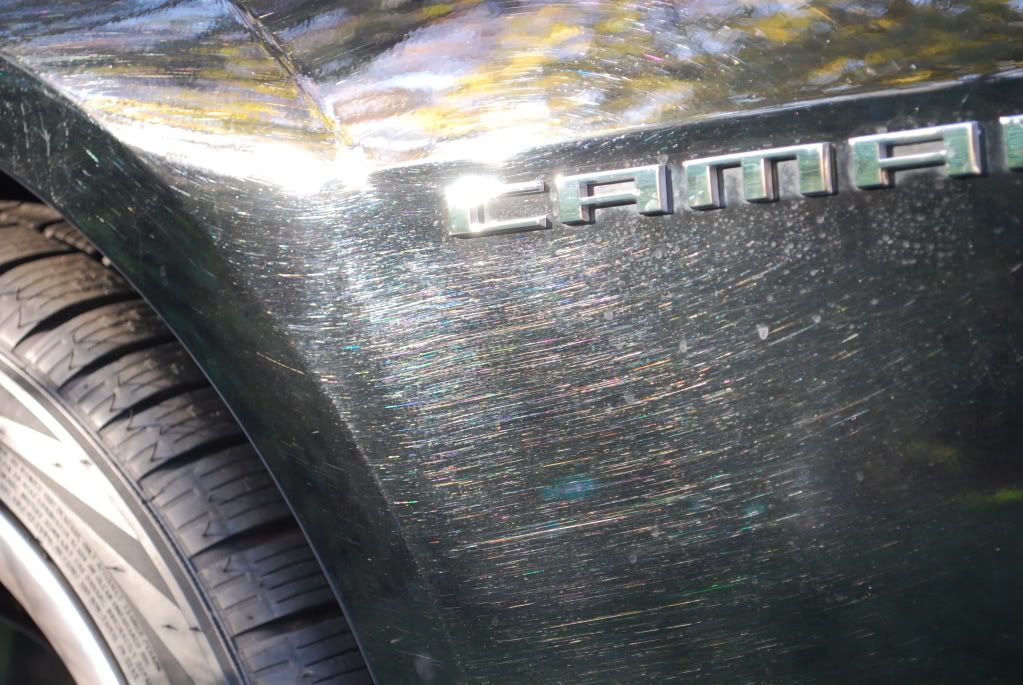
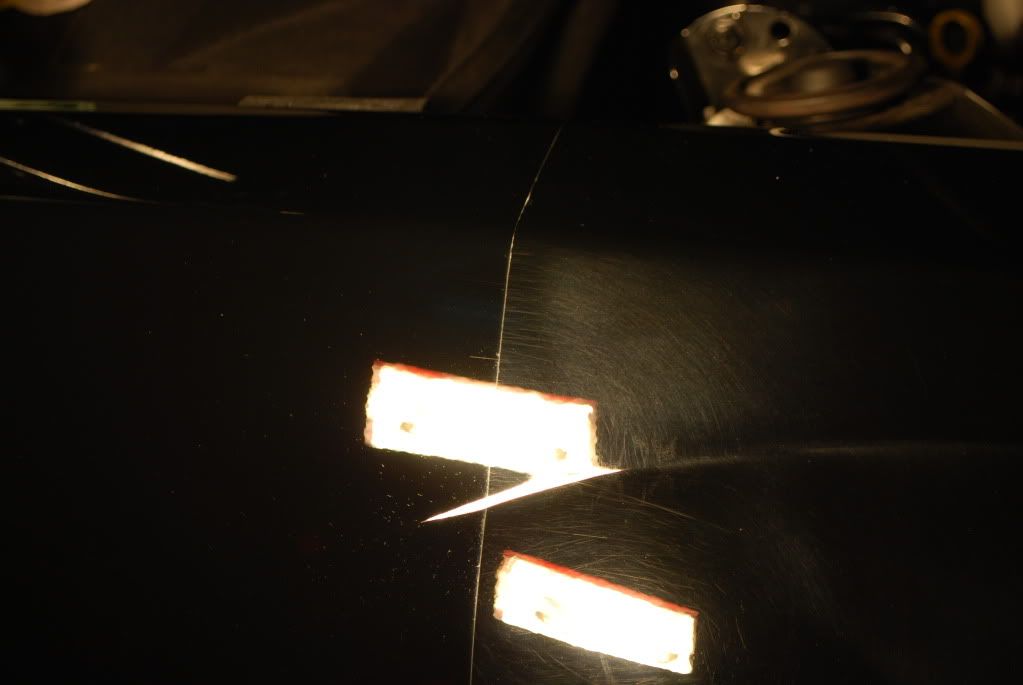
Closeup of some of the deeper defects
The lower panels of this car took the most abuse, 50.50 of lower front fender vs. door
Spot compounding
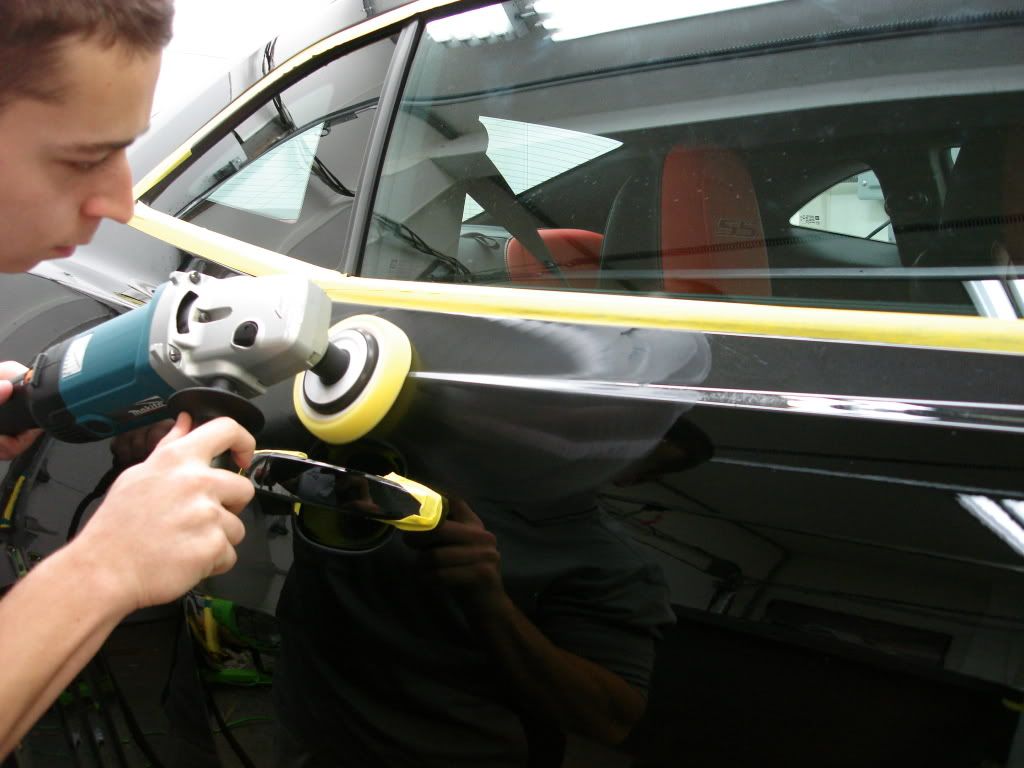
Some of the body panels make for awkward polishing angles, improvisation as always is a staple in the correction process :thumb:
I always open up doors during correction so I can polish all the way to an edge without my pad running onto an adjacent panel, especially one just polished out.
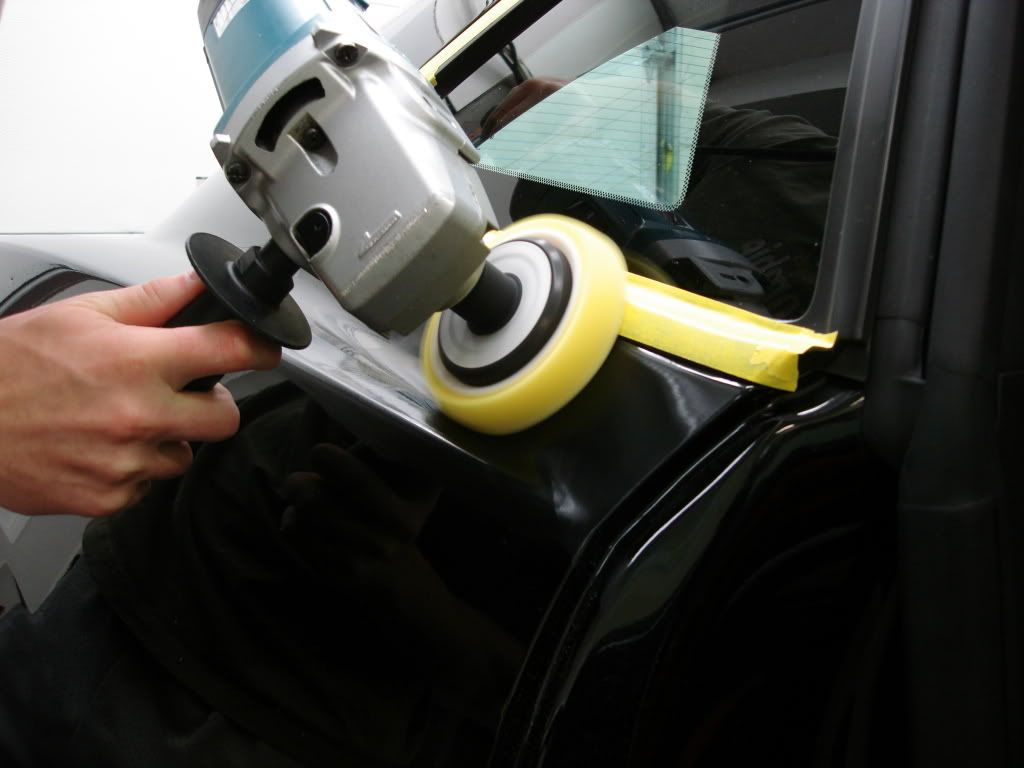
Some areas required an extra hit during the compounding stage
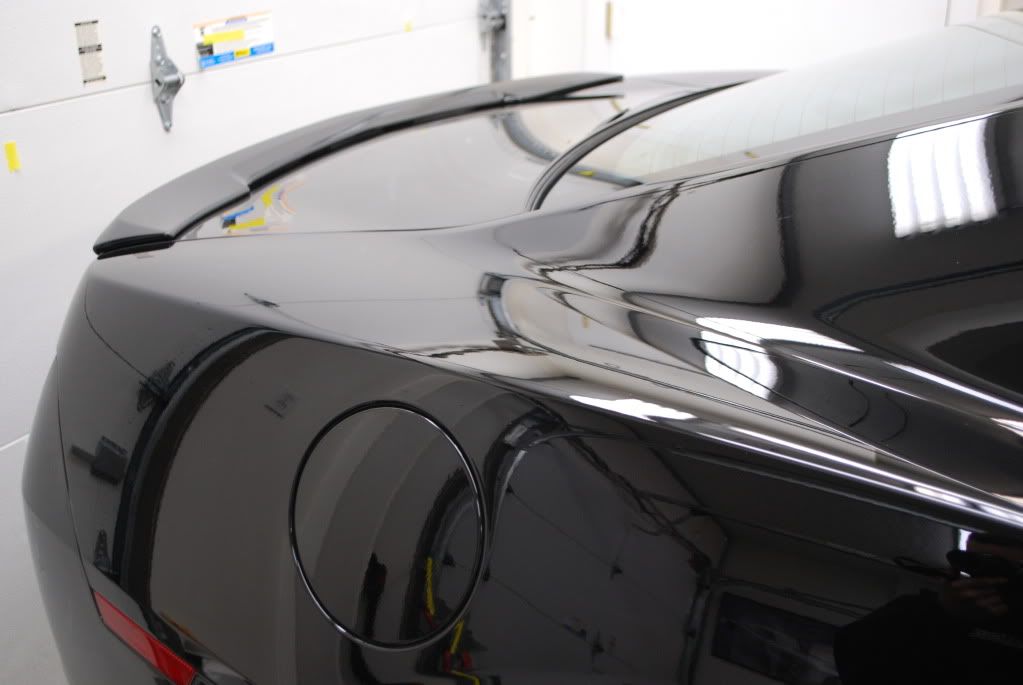
Some DA finishing on the trunk, new crimson LC pads are very nice!
A 50.50 of the trunk, again lots of holograms
Better pic of some of the deeper defects

Under the LED
The rear bumper had some of the worst holograms I have seen on a car and by worst I mean just careless buffing x10! Typical figure 8's pattern going up and down the entire bumper.
Before, holograms and defects under standing halogen and LED lights
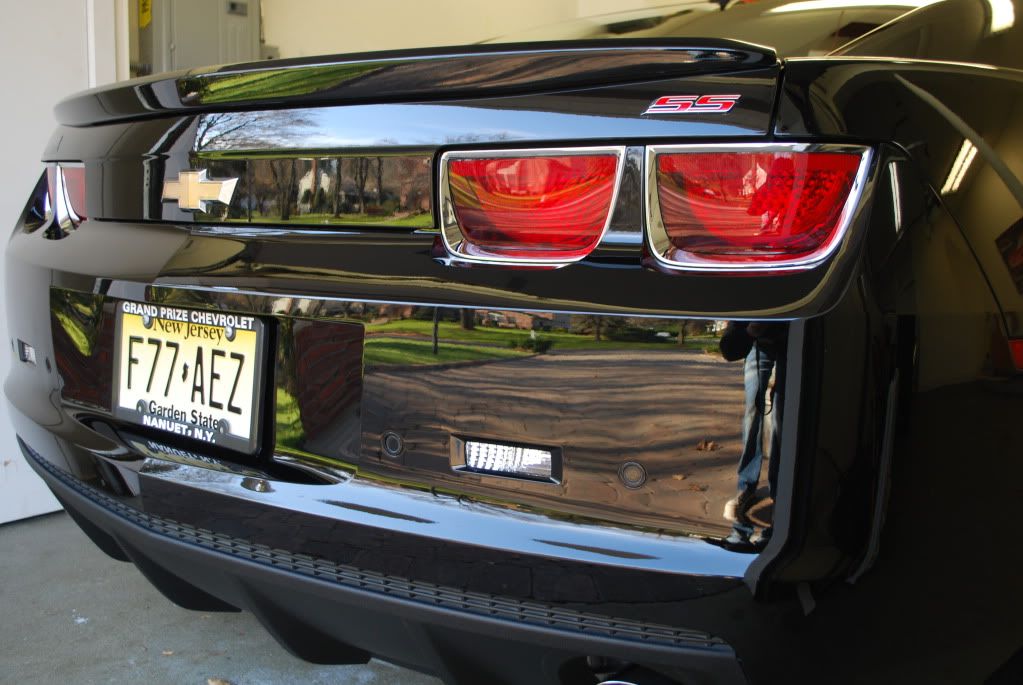
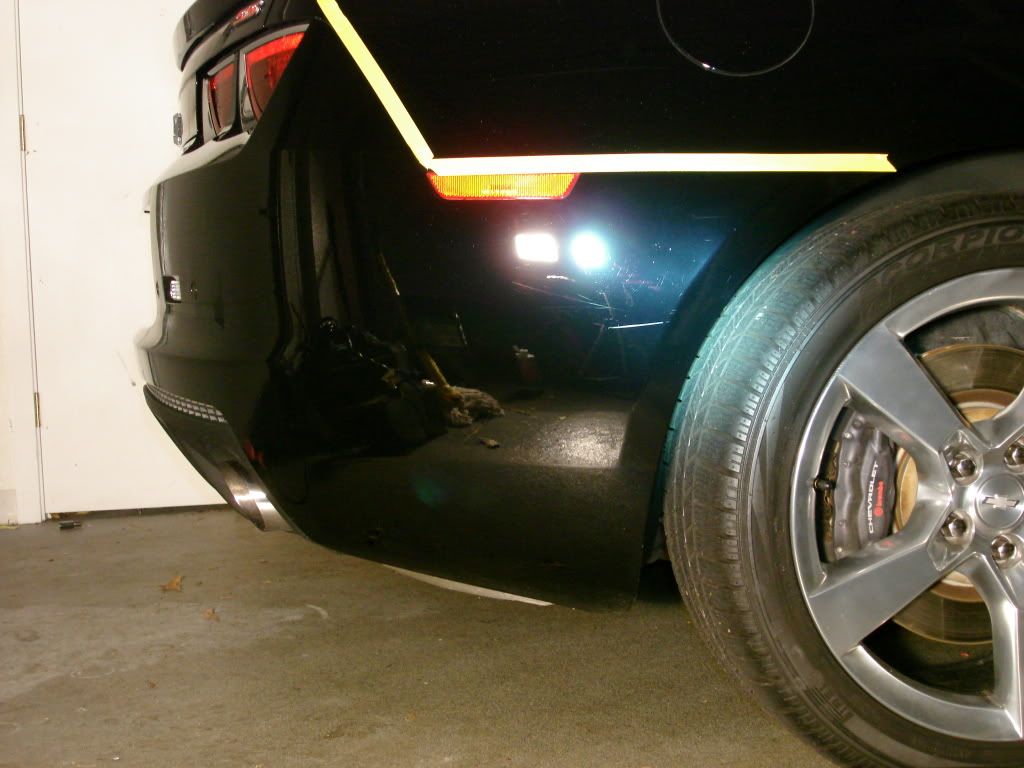
After, same exact light source(s) in the same spot
All in all the correction process took about 15hrs. After which a final IPA wipedown was given before LSP. LSP of choice was Menzerna powerlock.
Wheels polished with Werkstat Prime followed by 2 coats of Rejex.
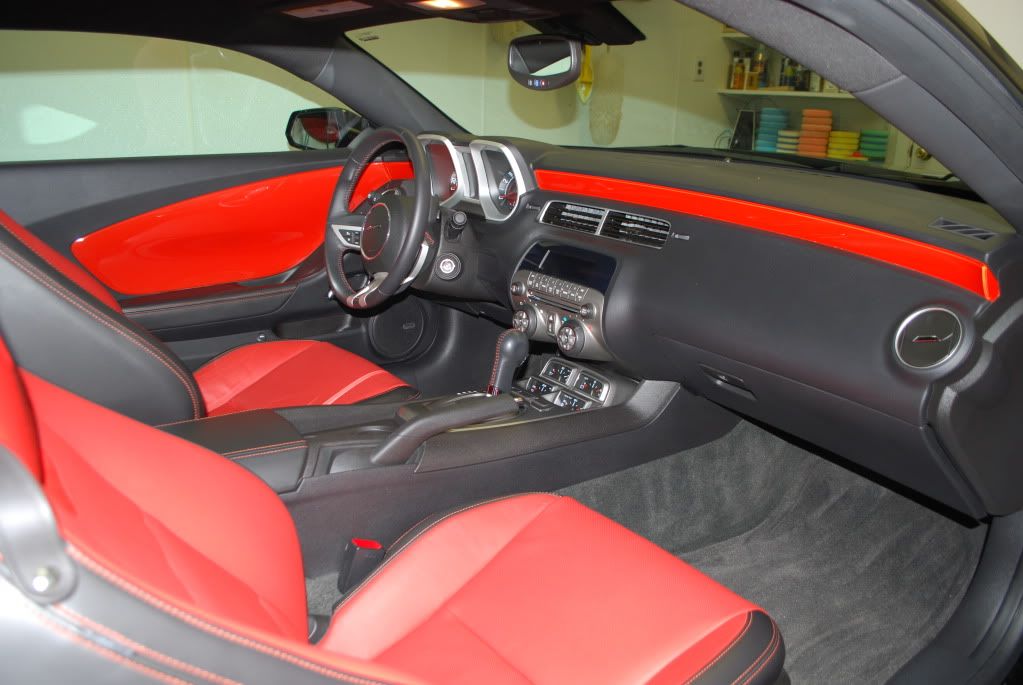
Interior did not need much work. All leather was treated with the Leather Masters trio for a clean no shine look. 303 on the plastics and Jetseal on the doorjamps for protection.
After shots of the interior

Car was bought with 8,000 miles on it. Dealer prep and polish job left paint with heavy defects and holograms
Some before shots of the finish, lots of swirling, RIDS and machine holograms
Example of how a hologram carries in the light
The wash process
-Foam w/ CG maxi suds
-Soak with Optimum Power clean 5:1
-Hand wash using Lusso Auto Bathe
Car was then clayed and dried followed by several IPA wipedowns to remove any remaining protection, oils and clay residue
Measuring the paint with a paint gauge, consistent readings all around
Hood under the LED light, nice myriad of defects
After a few test combos I landed on the following using both rotary and DA machnes. M105, M205 and Menzerna powerfinish.
A 50.50 after compounding of some of the hood defects
Pulled the car outside to check my work...
Front fender 50.50
Showing the difference in color between polished and unpolished paint... both are technically "black" paint
Closeup of some of the deeper defects
The lower panels of this car took the most abuse, 50.50 of lower front fender vs. door
Spot compounding
Some of the body panels make for awkward polishing angles, improvisation as always is a staple in the correction process :thumb:
I always open up doors during correction so I can polish all the way to an edge without my pad running onto an adjacent panel, especially one just polished out.
Some areas required an extra hit during the compounding stage
Some DA finishing on the trunk, new crimson LC pads are very nice!
A 50.50 of the trunk, again lots of holograms
Better pic of some of the deeper defects
Under the LED
The rear bumper had some of the worst holograms I have seen on a car and by worst I mean just careless buffing x10! Typical figure 8's pattern going up and down the entire bumper.
Before, holograms and defects under standing halogen and LED lights
After, same exact light source(s) in the same spot
All in all the correction process took about 15hrs. After which a final IPA wipedown was given before LSP. LSP of choice was Menzerna powerlock.
Wheels polished with Werkstat Prime followed by 2 coats of Rejex.
Interior did not need much work. All leather was treated with the Leather Masters trio for a clean no shine look. 303 on the plastics and Jetseal on the doorjamps for protection.
After shots of the interior