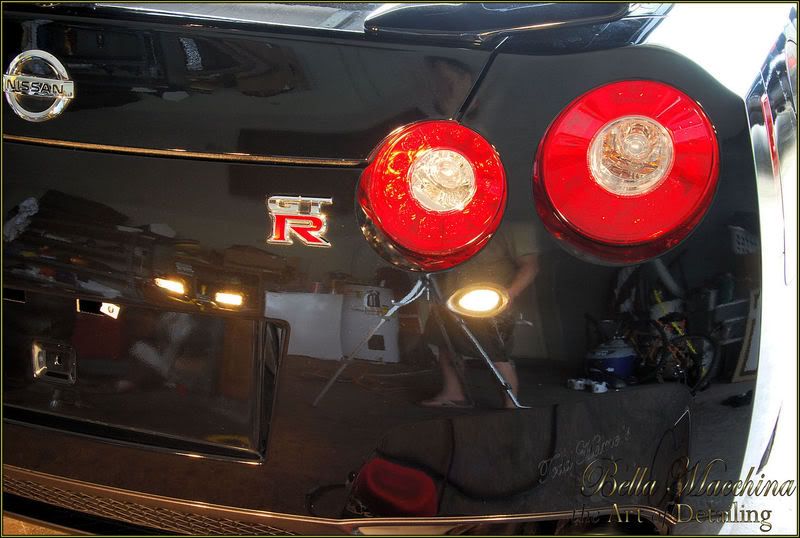
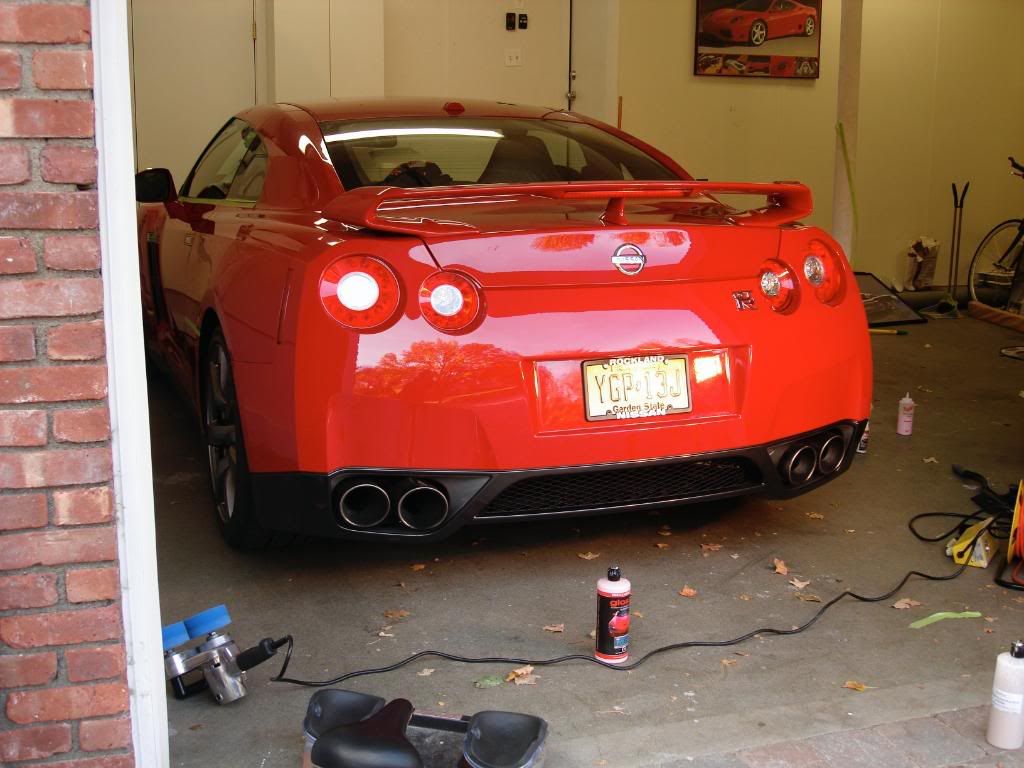
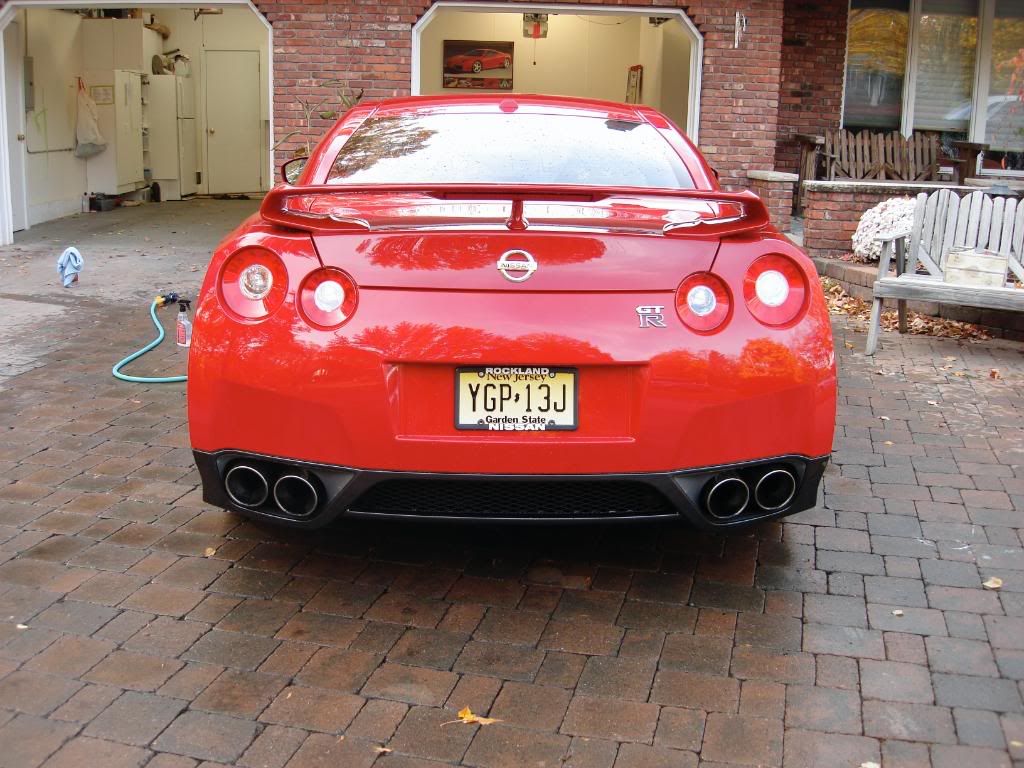
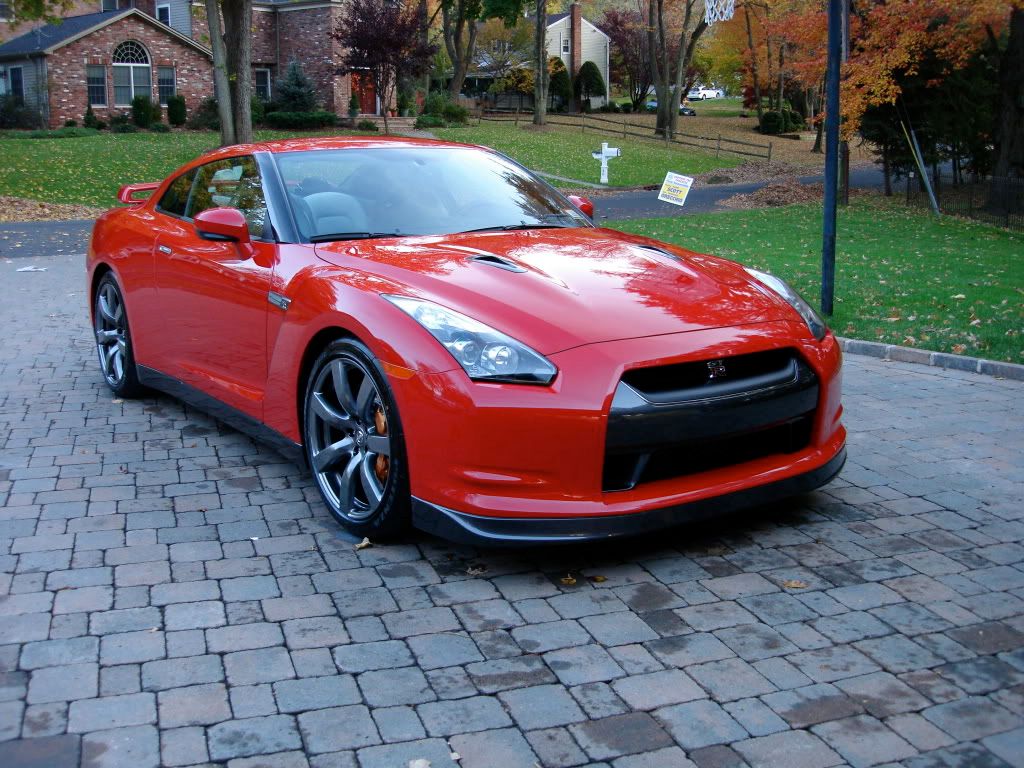
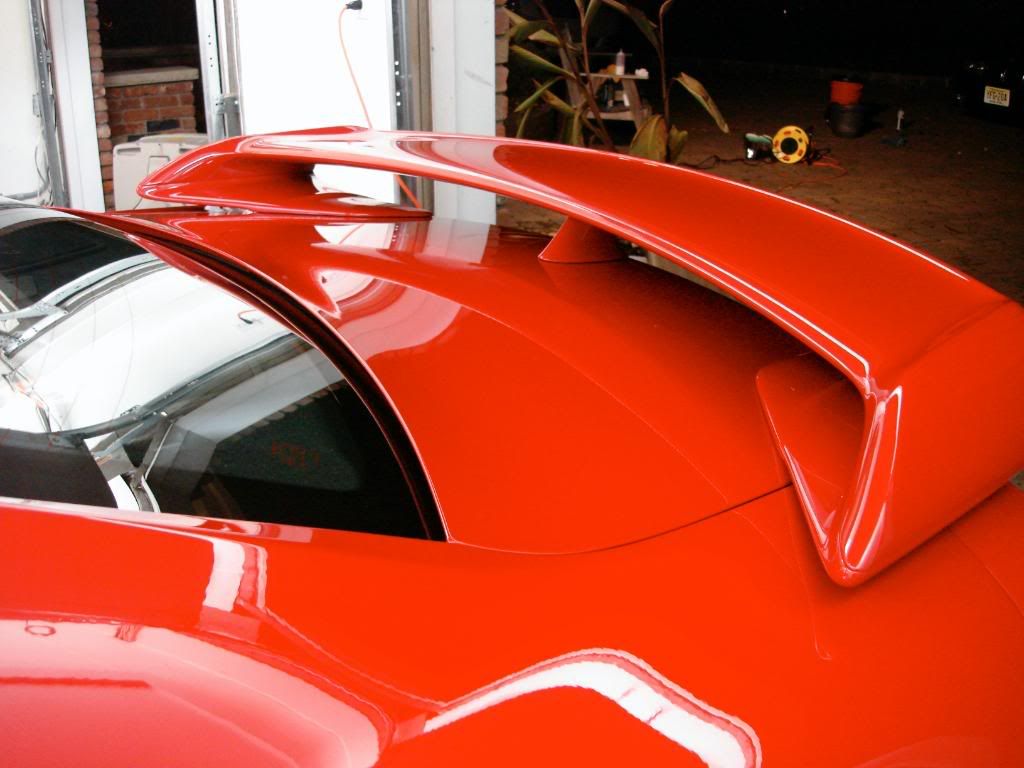
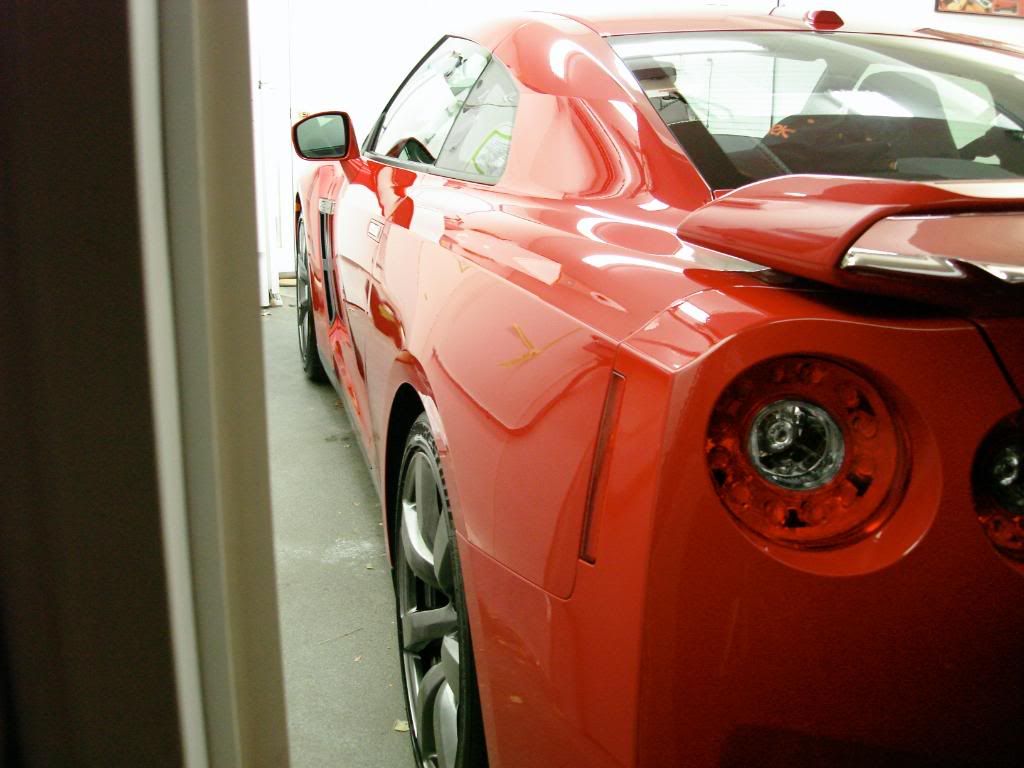
This was an enjoyable detail. Until last week when the owner brought this car by for me to look at I have had never seen the GT-R up close in person but after I did it changed my whole perspective on how I felt about its styling. At first I though the pictures looked terrible, which is funny because the owner originally though the same and had little interest in buying the car. In person this car really jumps at you, very masculine, bold styling but its not overdone. Before working on this one the owner, a good friend btw insisted he take me for a ride. With the car only have 360miles on it and the original fluids the owner didnt push it at all but still this thing blew me away. I have never felt grip like that in my life and the shifts were seamless.
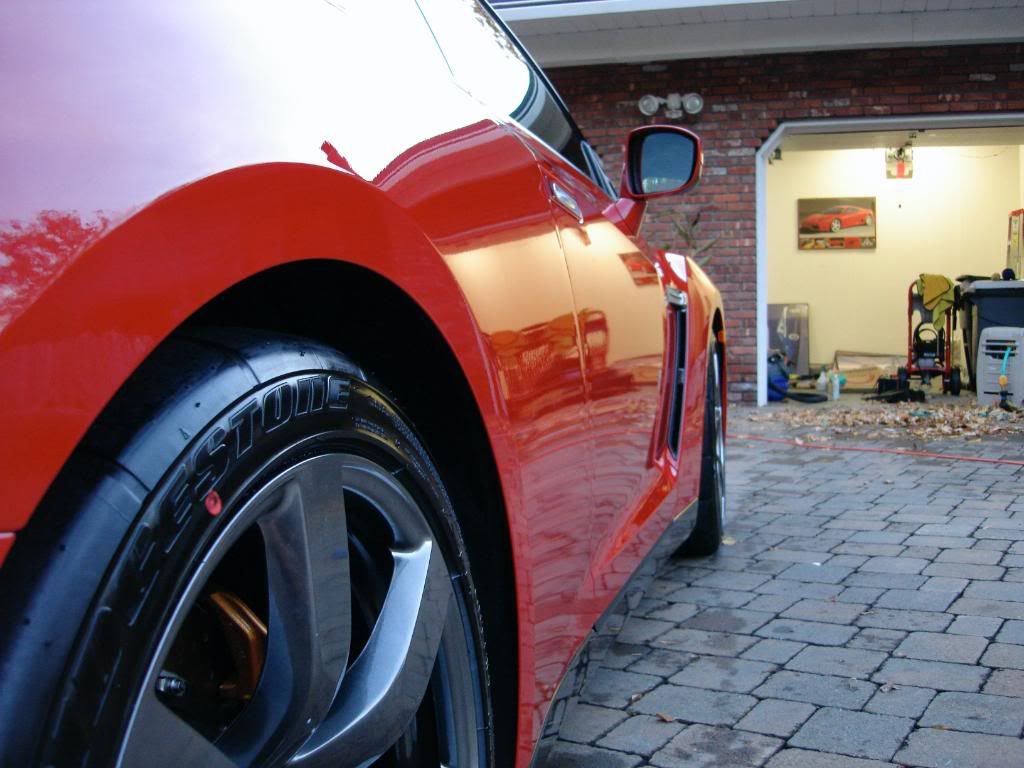
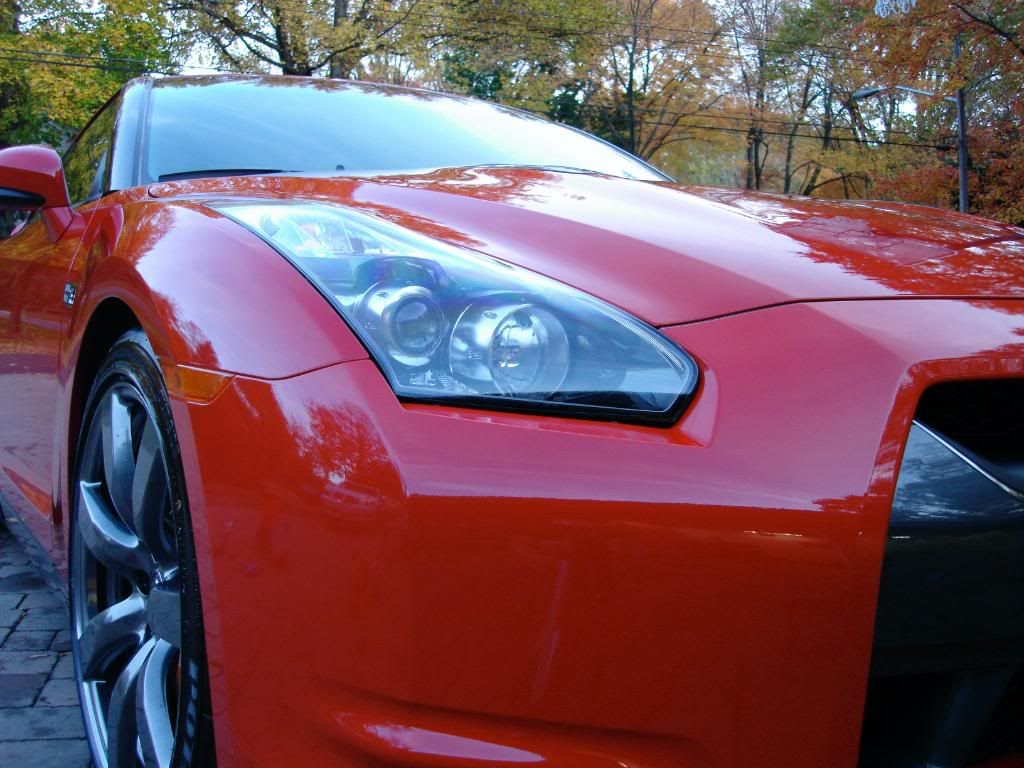
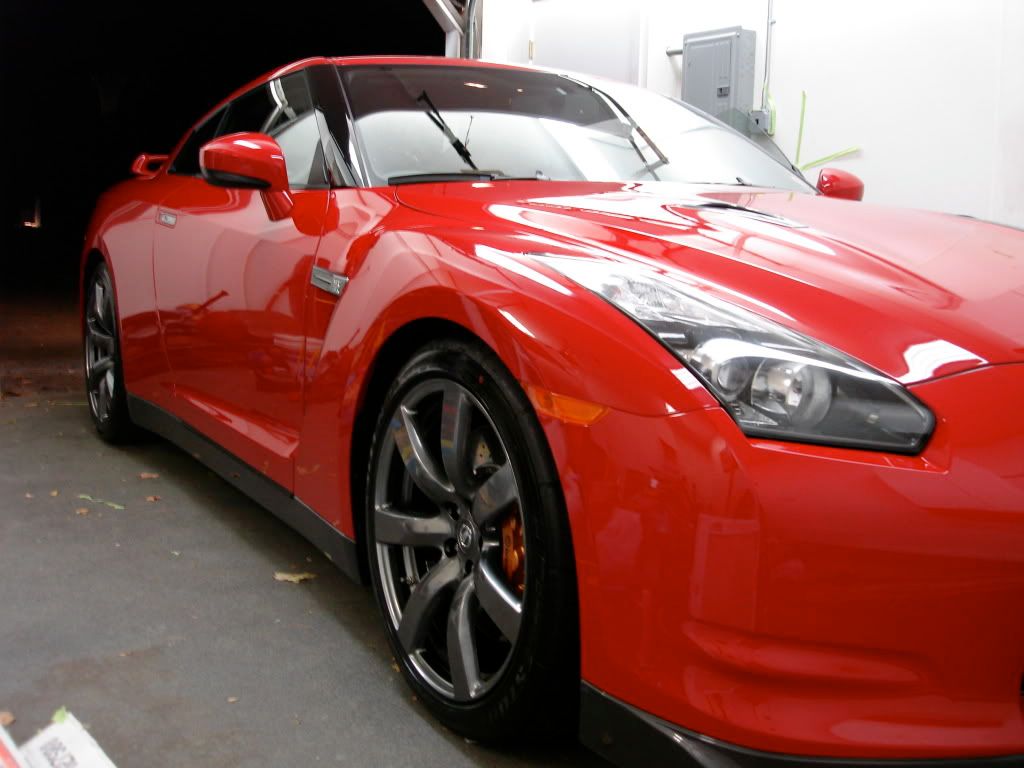
This car just had a clear bra installed earlier on the first day before I got to working on it. All of the lower nose panels, half the hood and fenders and the lower side panels were all clear bra'd. I saw how clean the edges were and how the installer wrapped the bra into the gaps perfectly, this was by far the best bra job I have seen. He even removed the rubber strip between the gap on the front end and hood so he could cleanly wrap the bra inside and later he replaced the rubber strip, you cant tell where the hoods bra ends and the front nose piece begins.
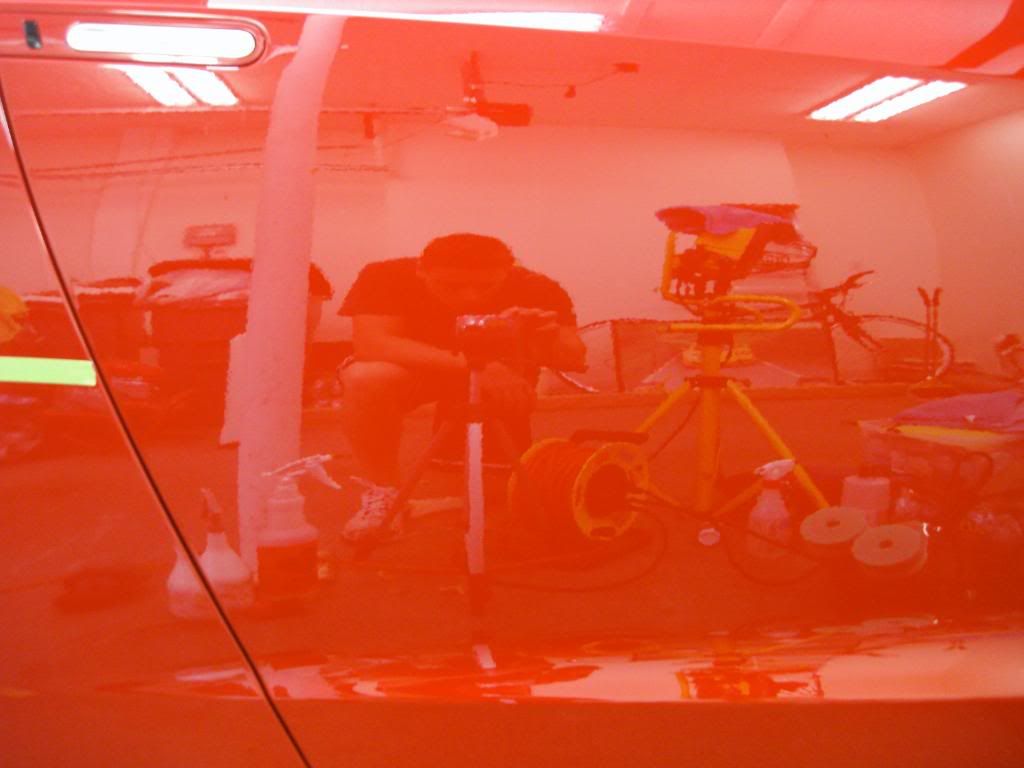
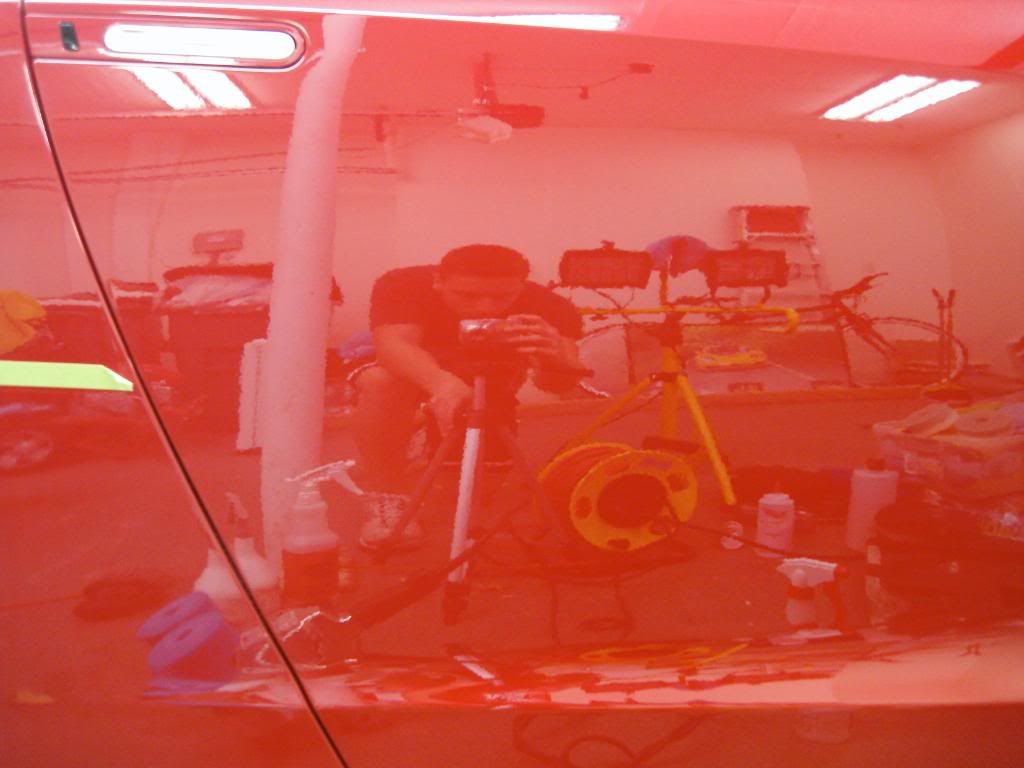
As usual theres my lengthy intro, now onto the good stuff... icture:
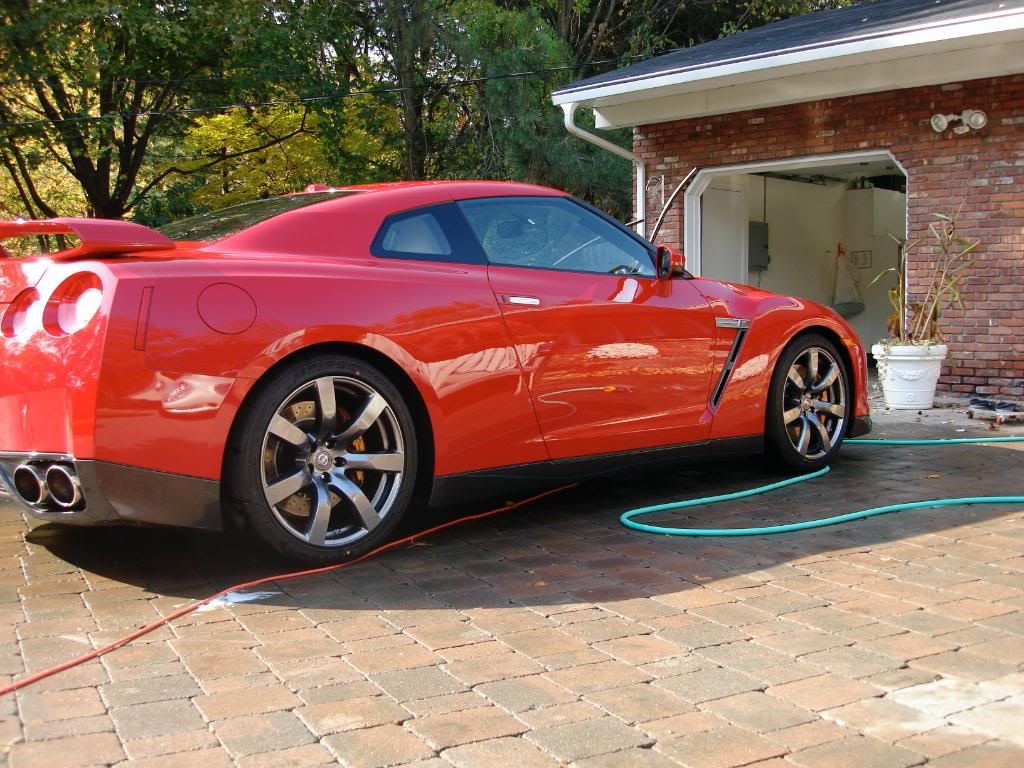
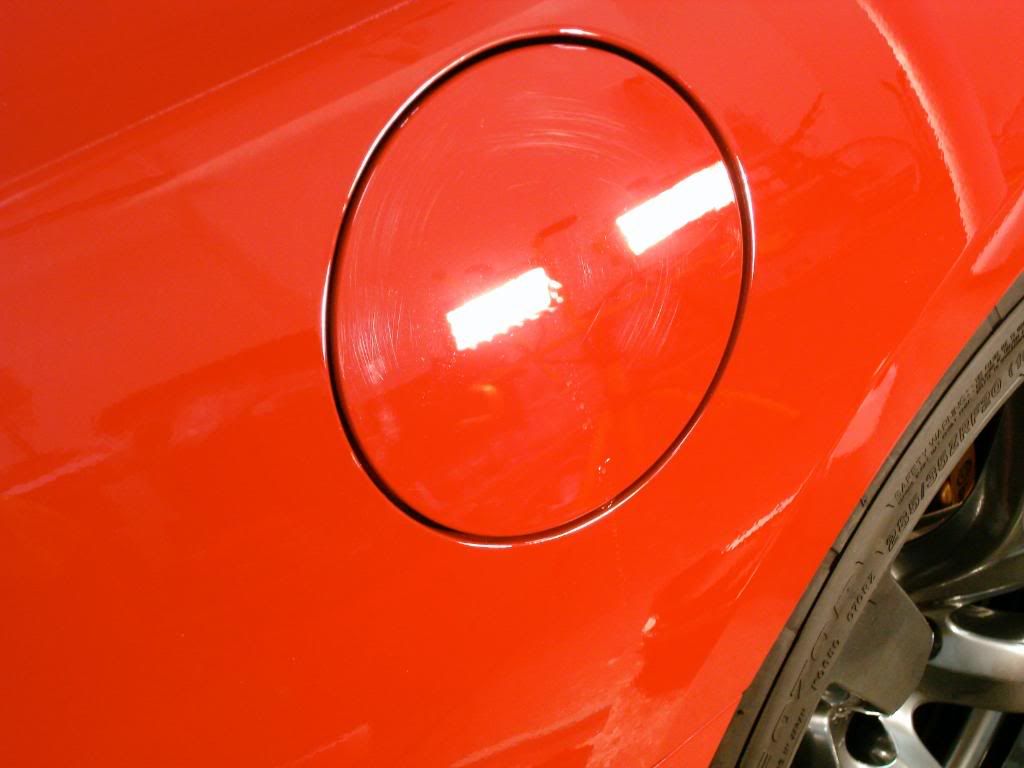
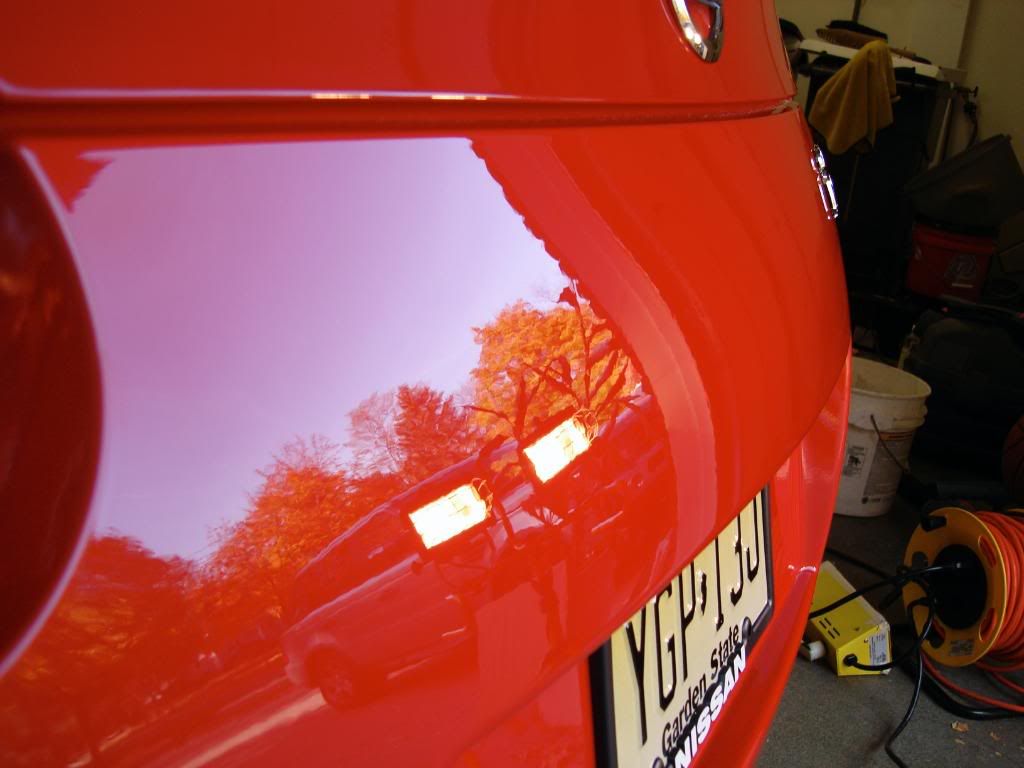
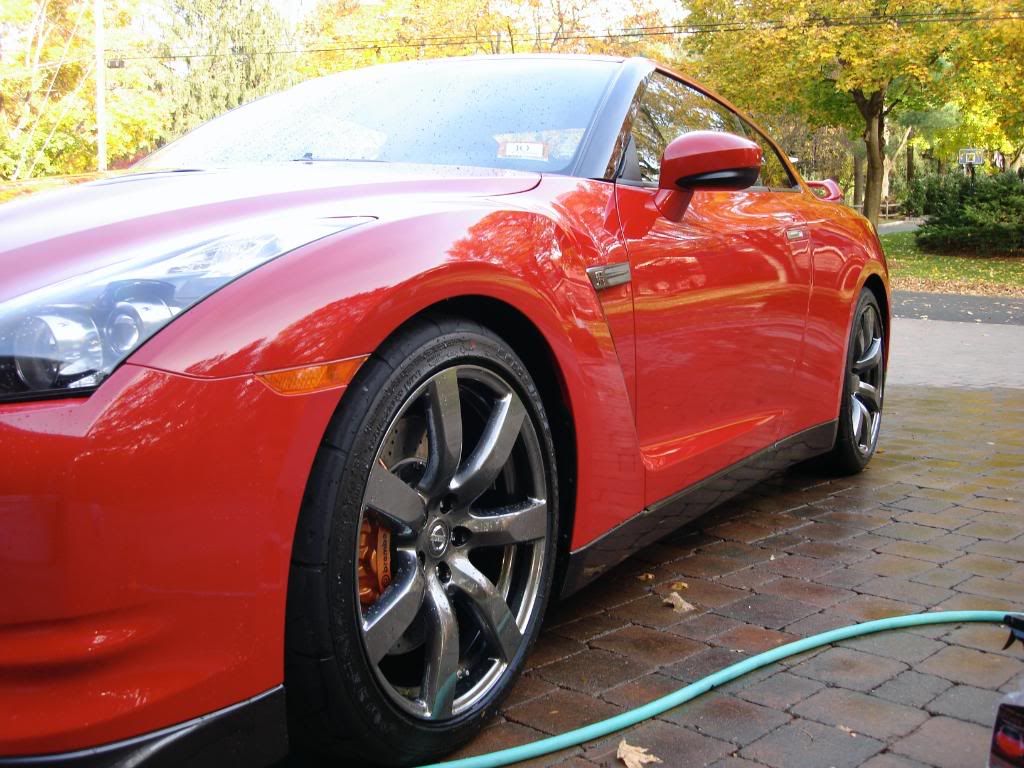
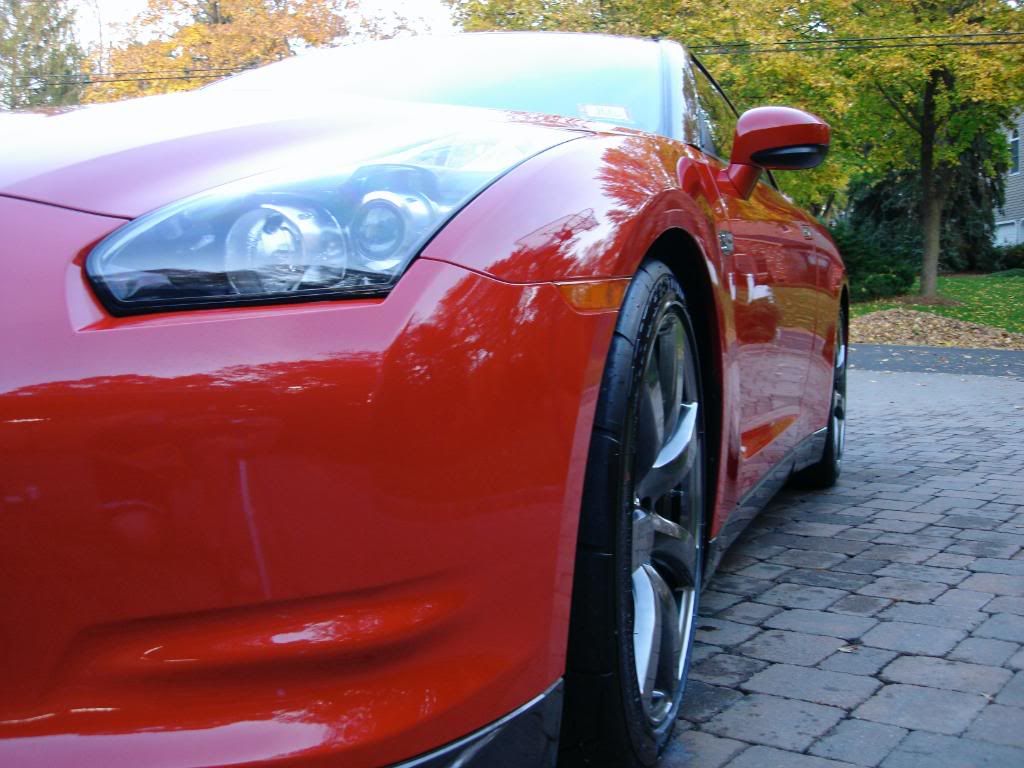
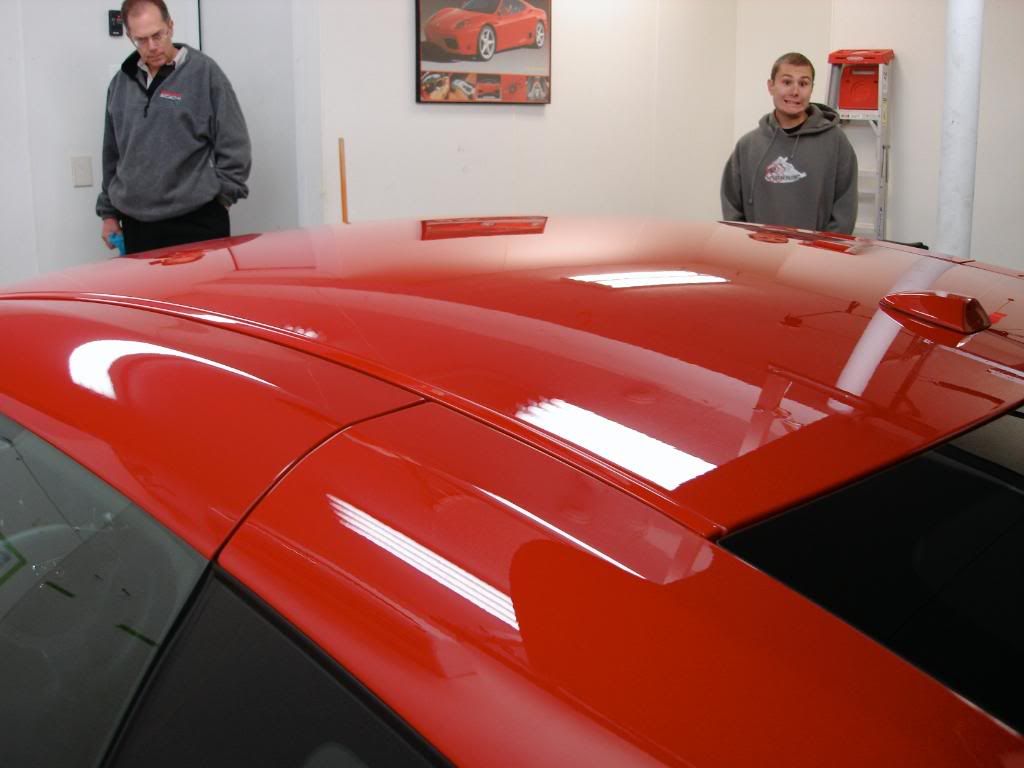
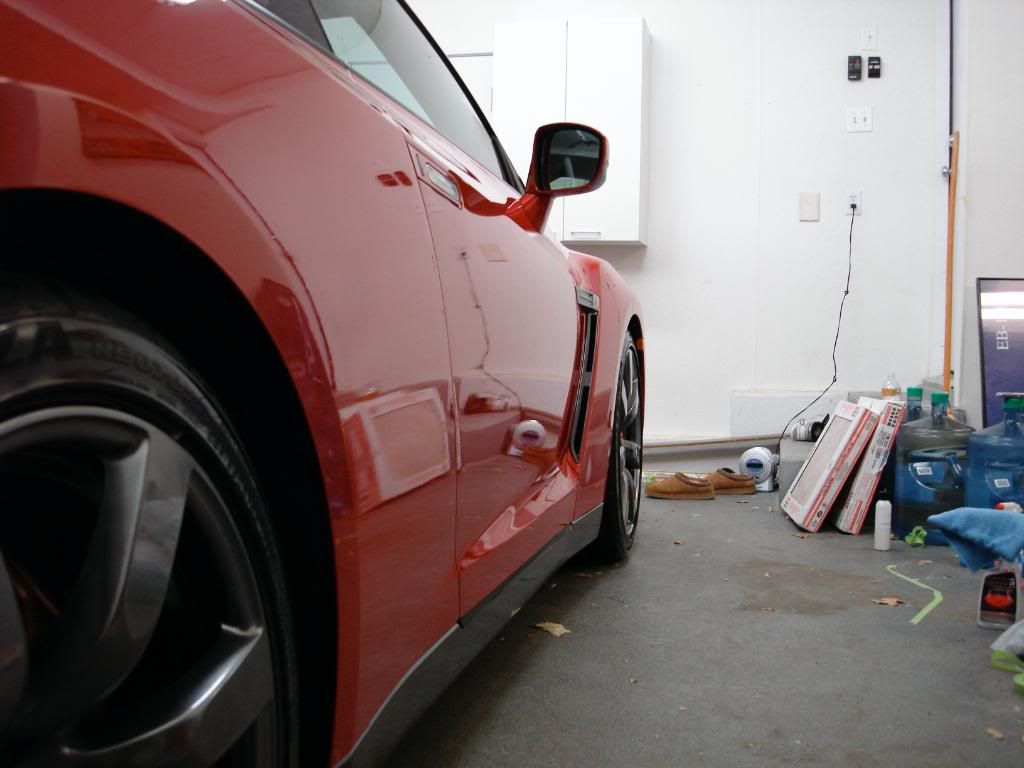
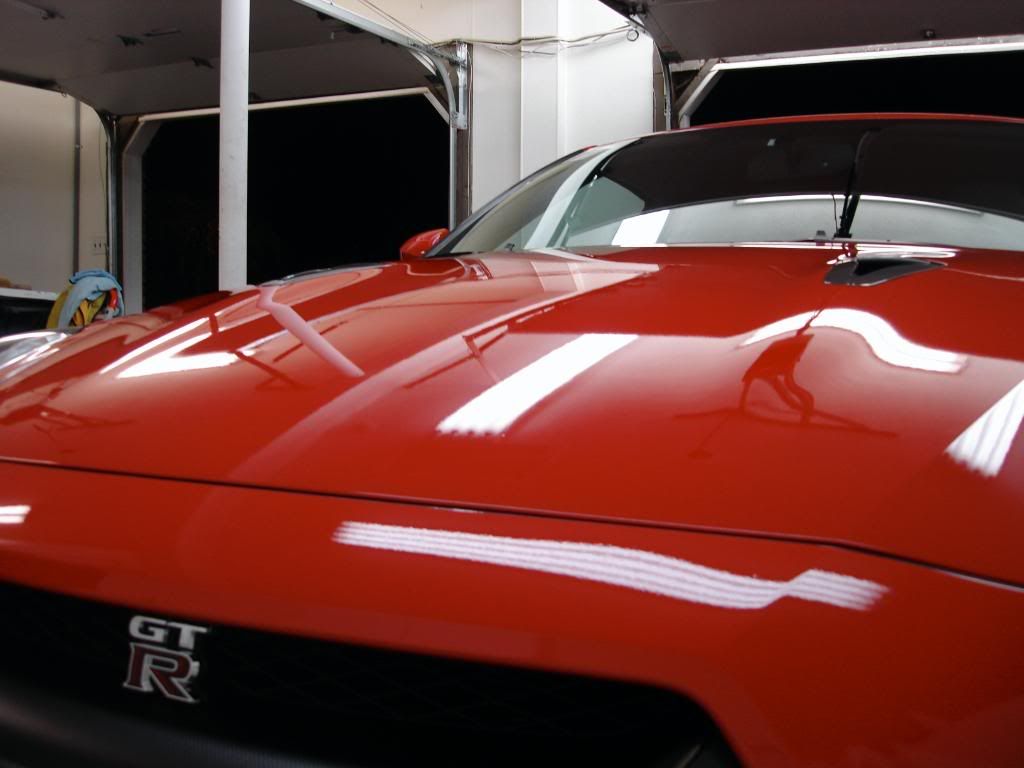
Here is car when I got it, not bad upon arrival but it needed more work than I though and I was gald to hear it was NOT DEALER PREPPED! I saw al the tape lines and there was still some plastic on the interior.
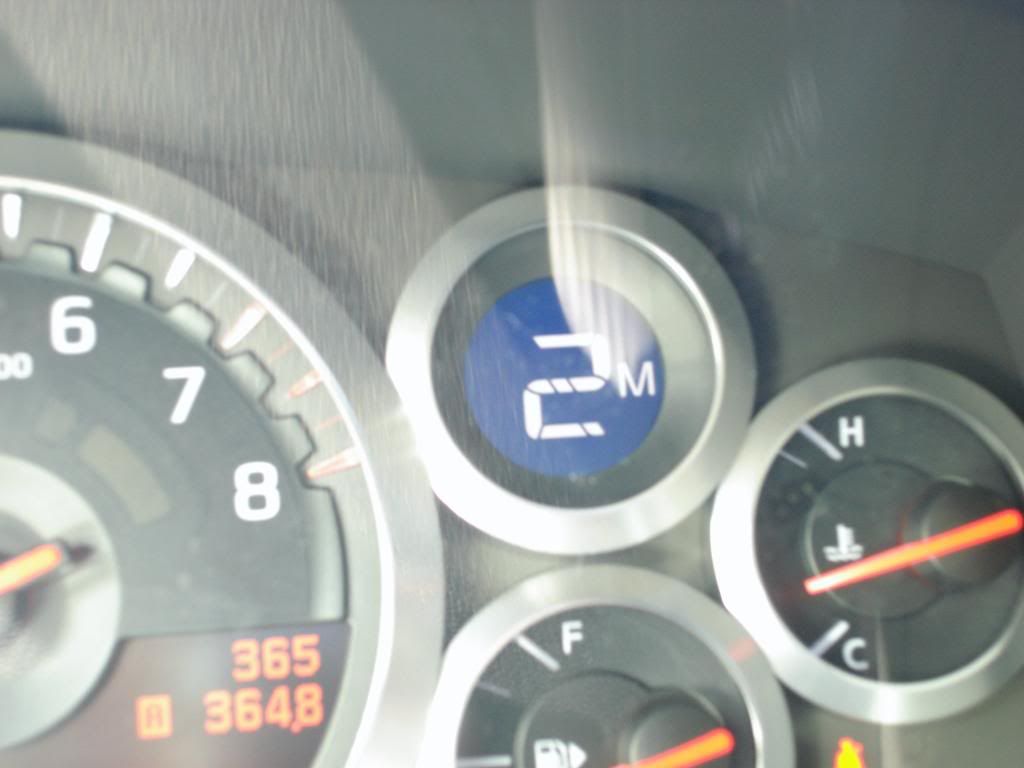
The car only had 360 or so "break in" miles on it, so in general it was pretty clean but the paint wasnt very deep nor did it really glow like it should. The owner wanted the finish to be as deep as possible and loaded up with protection
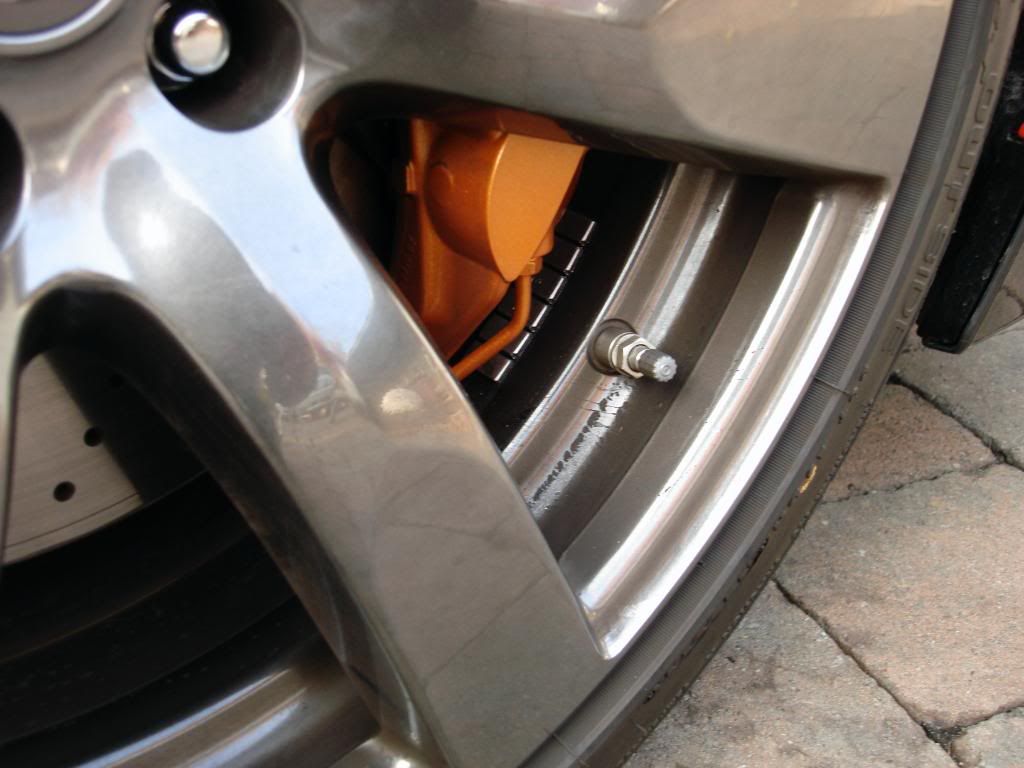
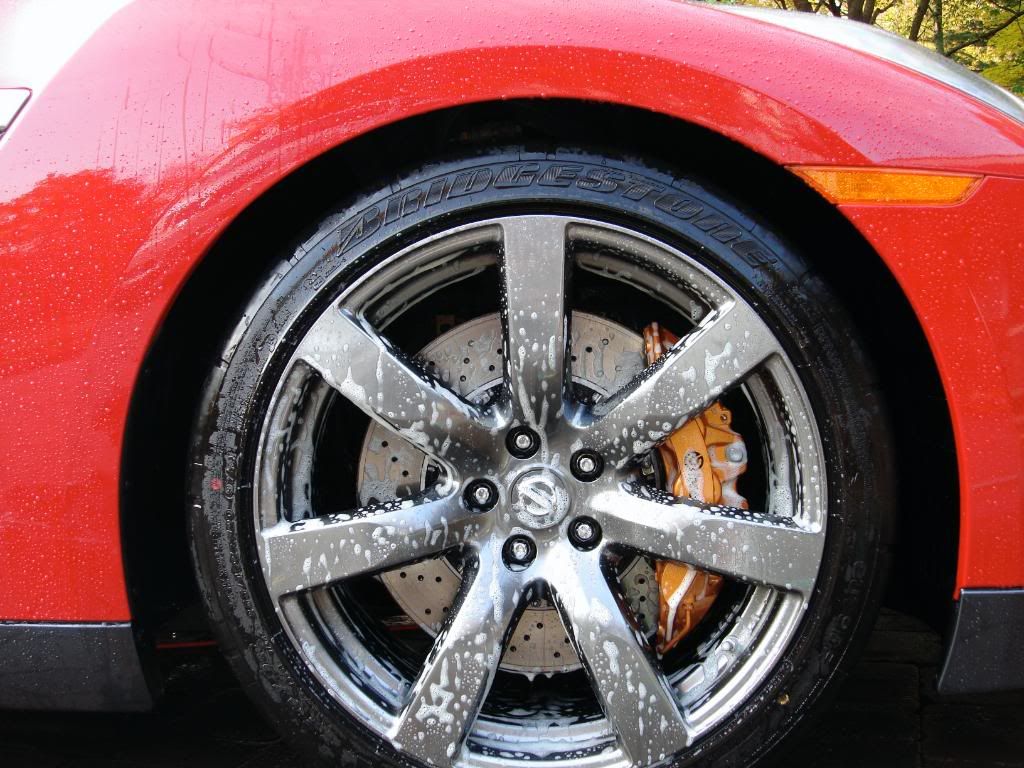
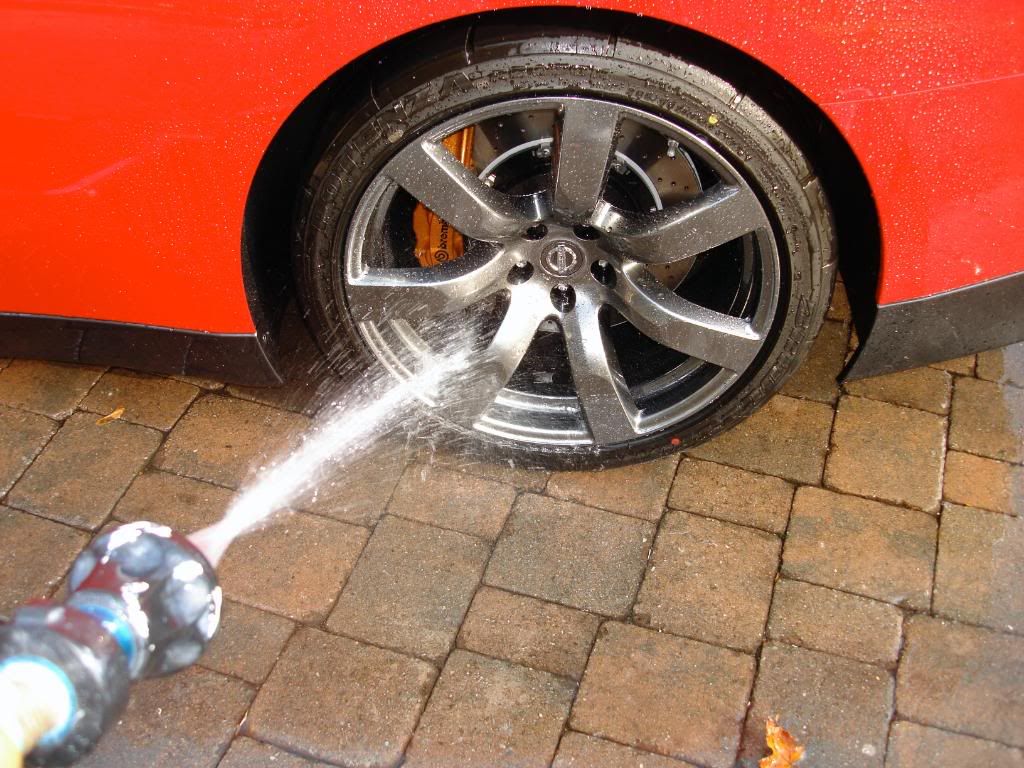
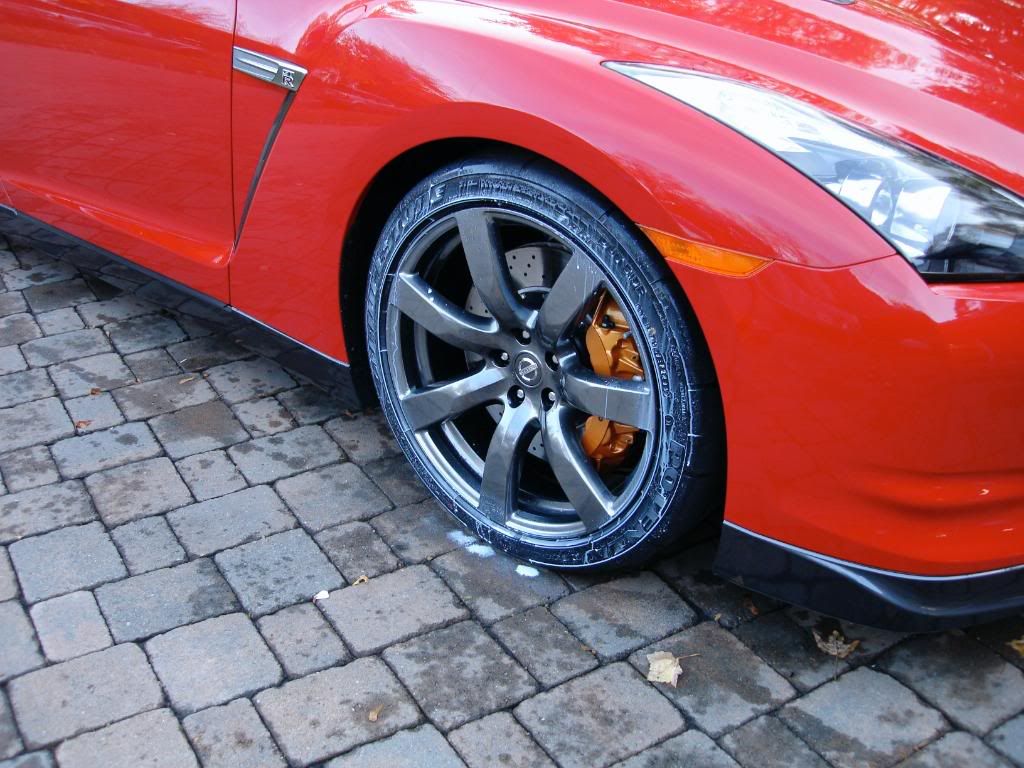
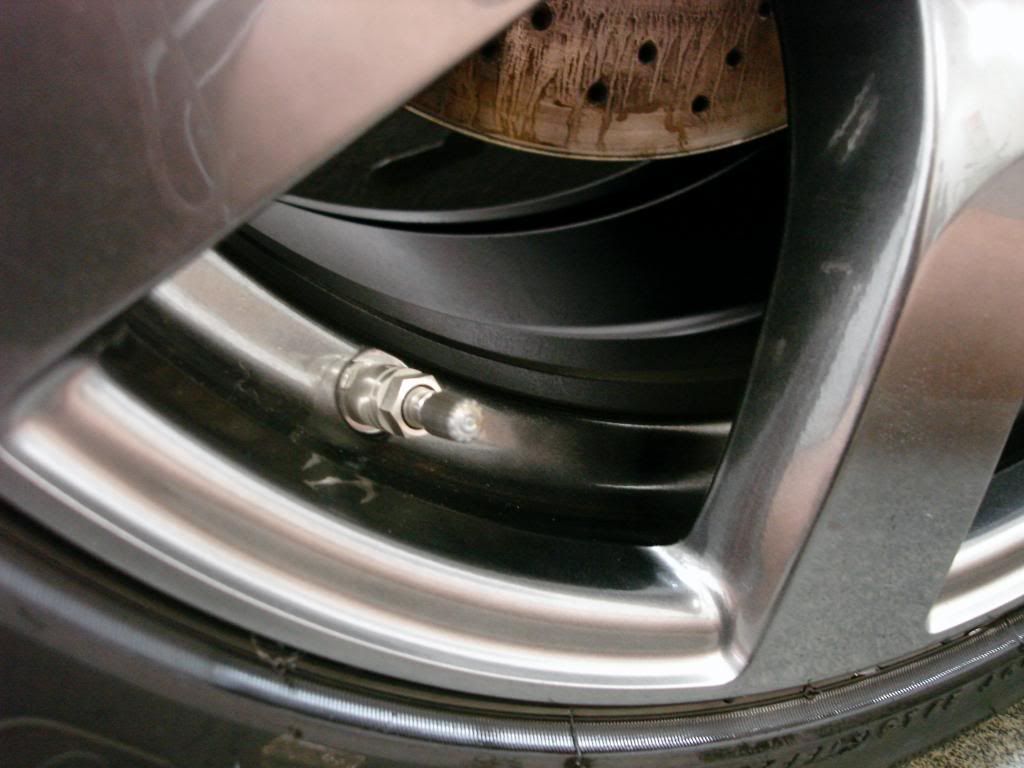
First things first as usual I started with the wheels, for only 360miles or so they were suprisingly dirty, I guess a little extra brake dust is the price you pay for having 15" 6piston Brembos to stop you from getting into trouble at Watkins Glen:headbang:
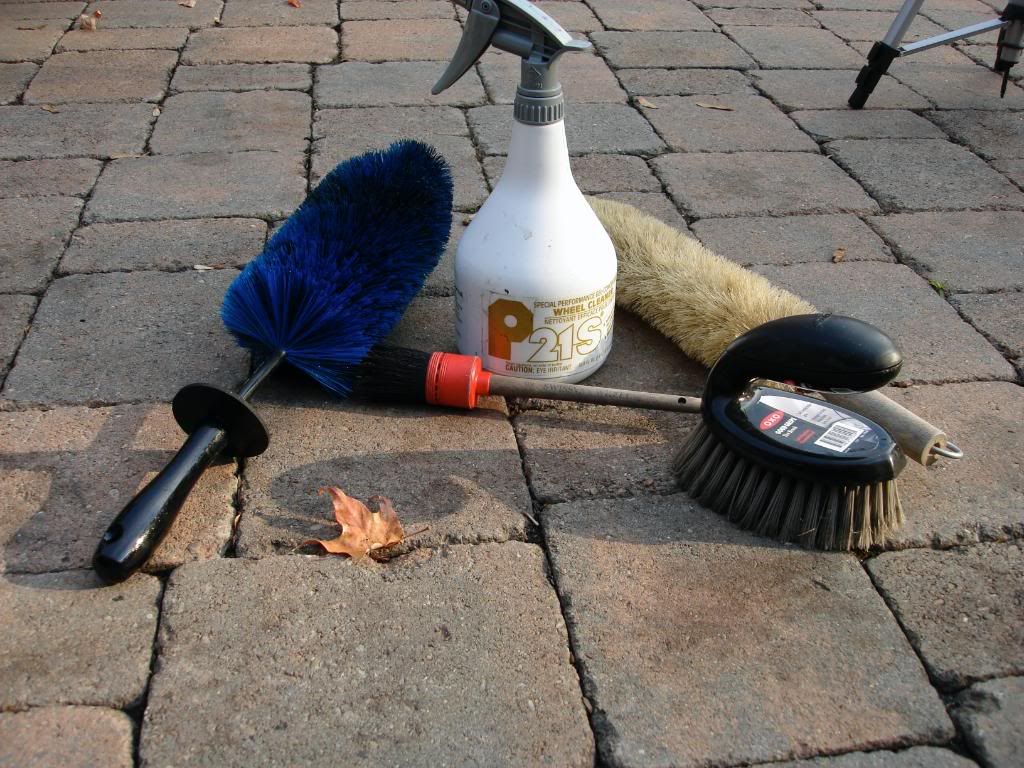
Here is what I used to clean the wheels. I quickly grabbed the P21s gel instead of anything else in my arsenal because I wanted to ensure no damage was done to the wheel finish, and more importantly the braking system.
Here is the P21s gel dwelling, I let it sit for about 10minutes to further breakdown some of that tougher brake dust before agitating it
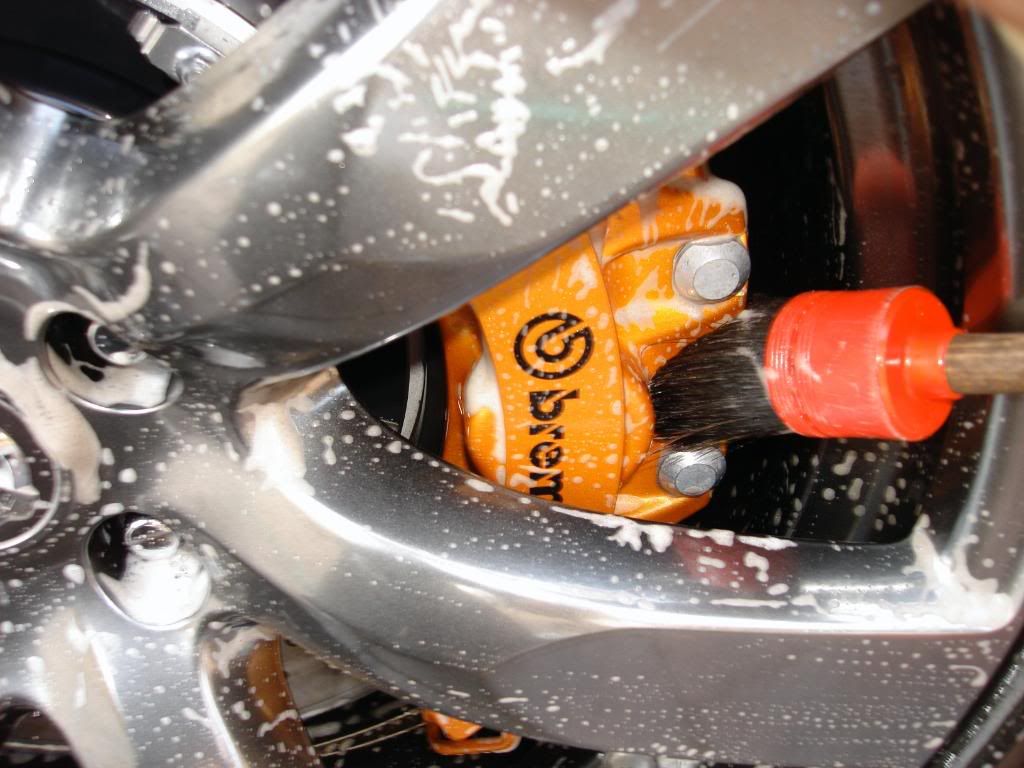
Swissvax brush was used to clean the wheel face
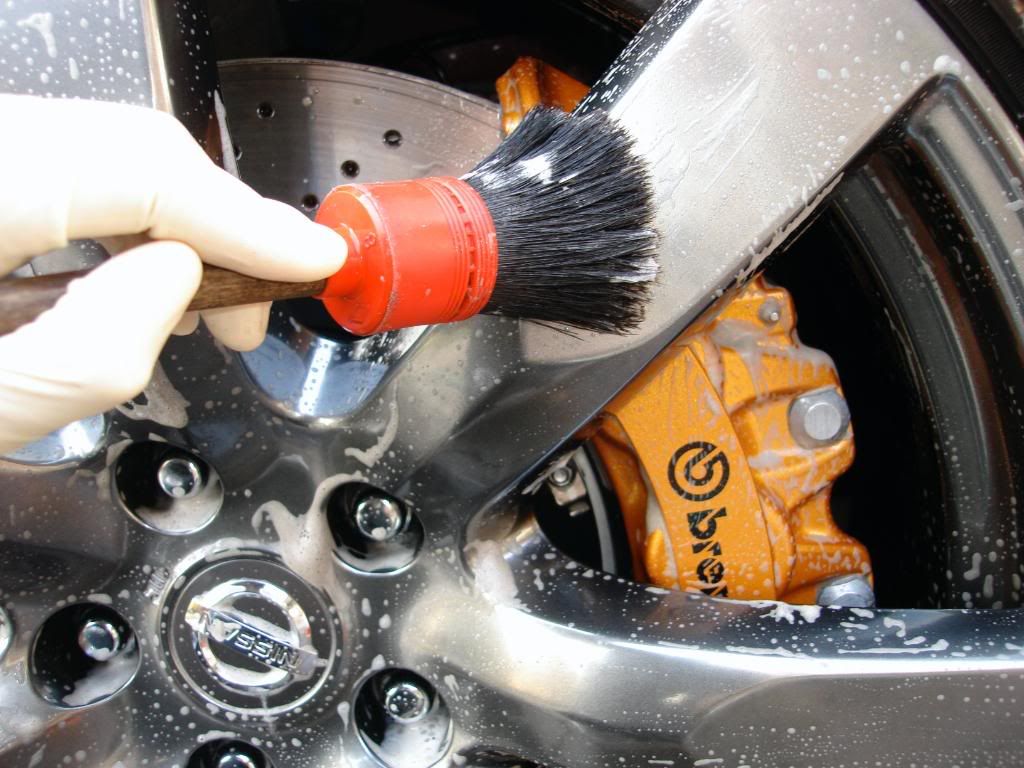
The DD spoke brush was used to clean the wheel inners, to help get behind the spokes better and in between the brakes I used the more flexible EZ brush
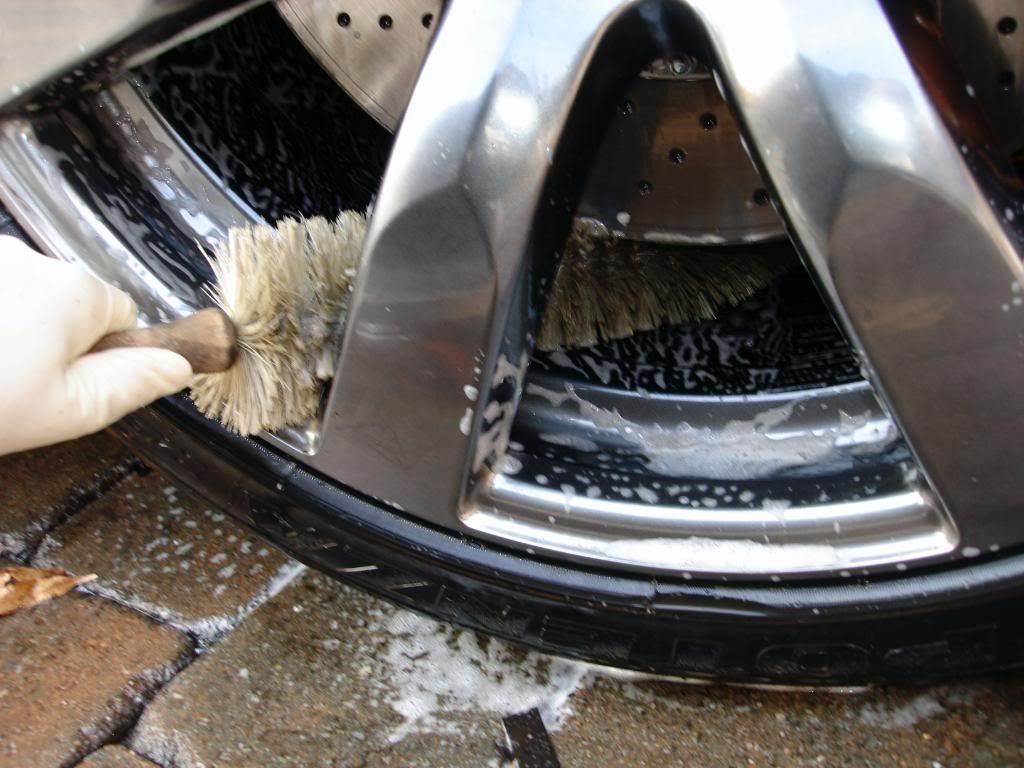
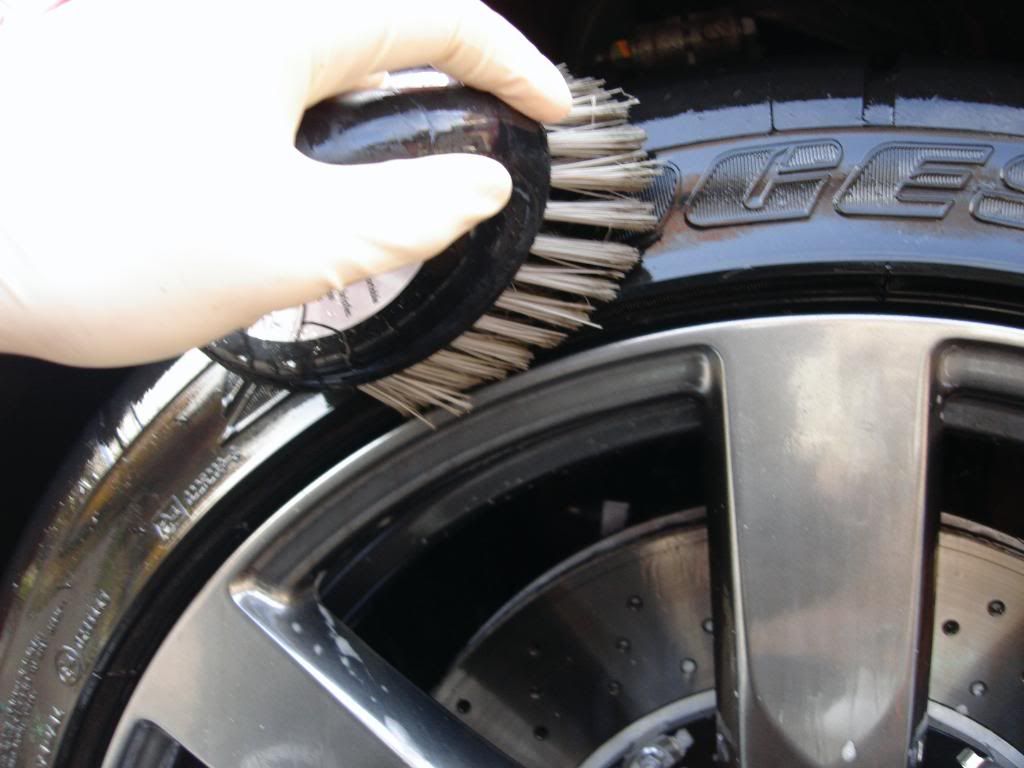
Tires were scrubbed with the Kleenol APC and an OXO brush, the wheel wells were also scrubbed via long handle brush
Brakes were scrubbed in every crack and crevice as well
Brakes after
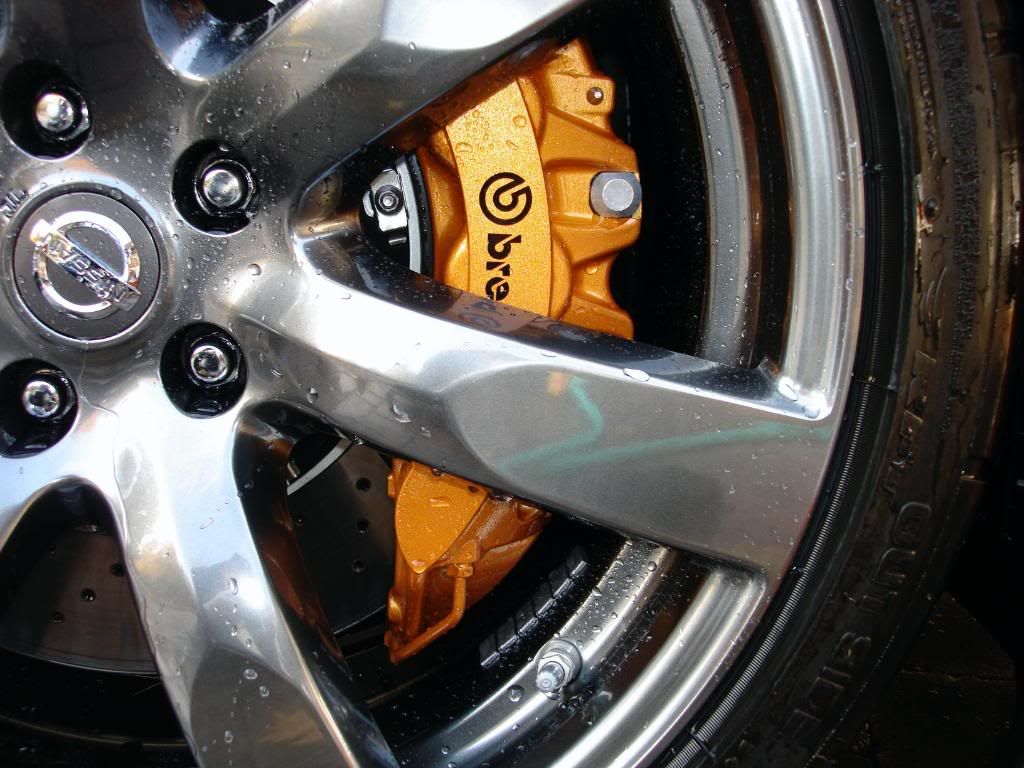
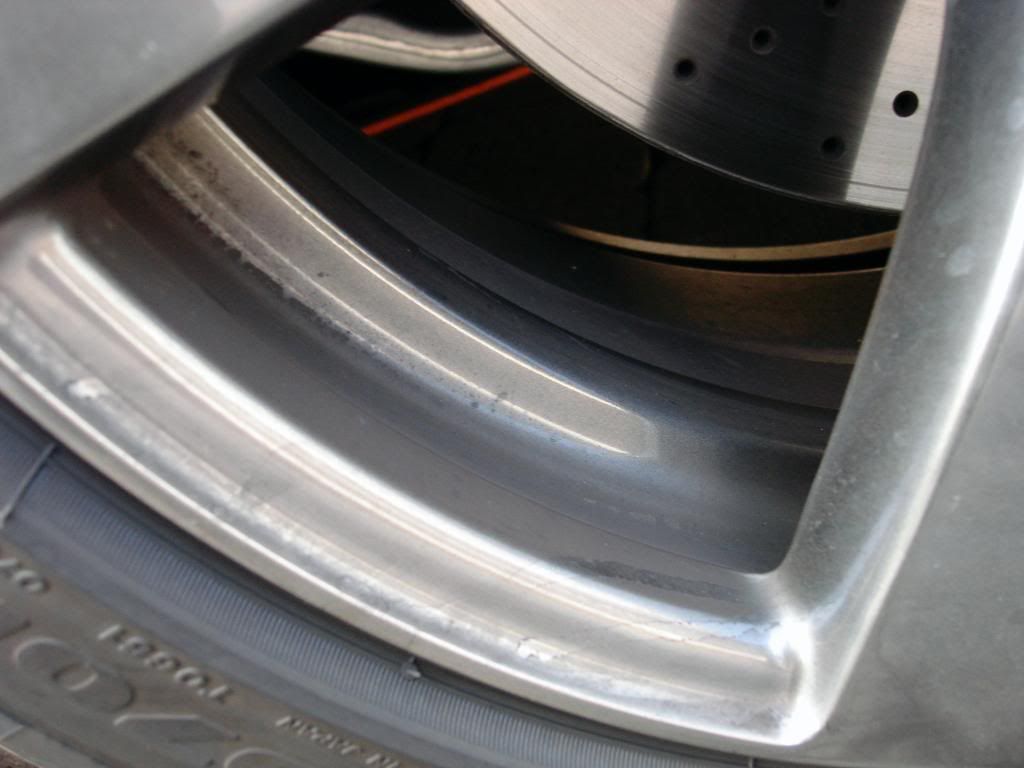
Inners after

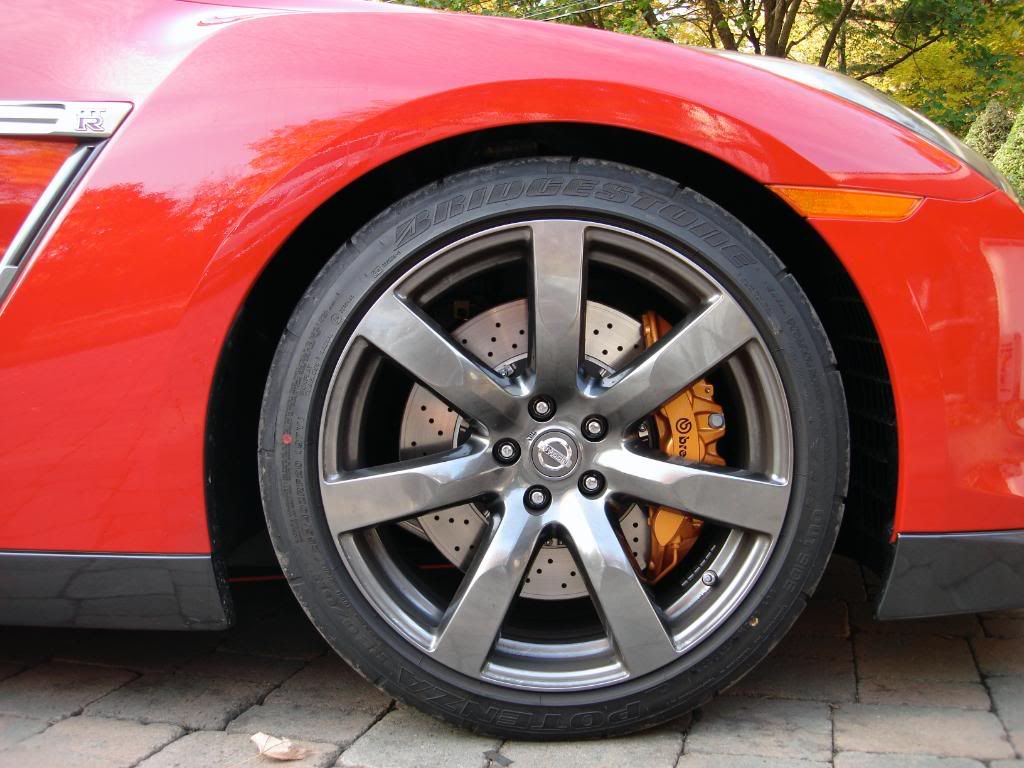
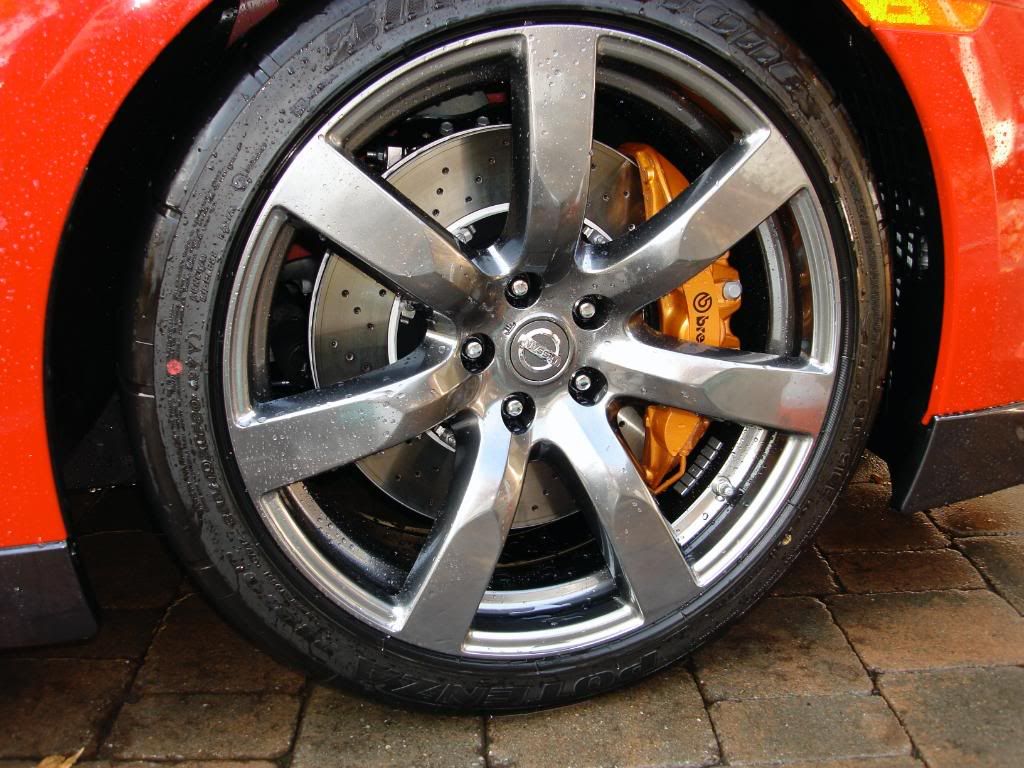
Finished product (front passenger)
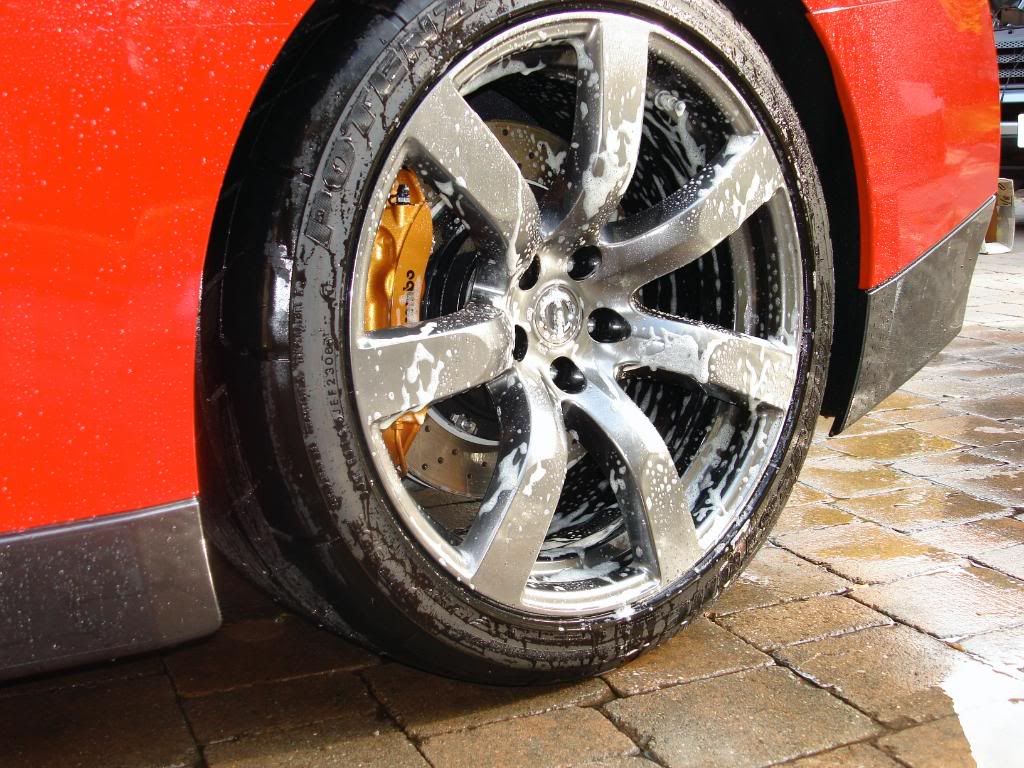
Rinsing rears until water ran clean of suds
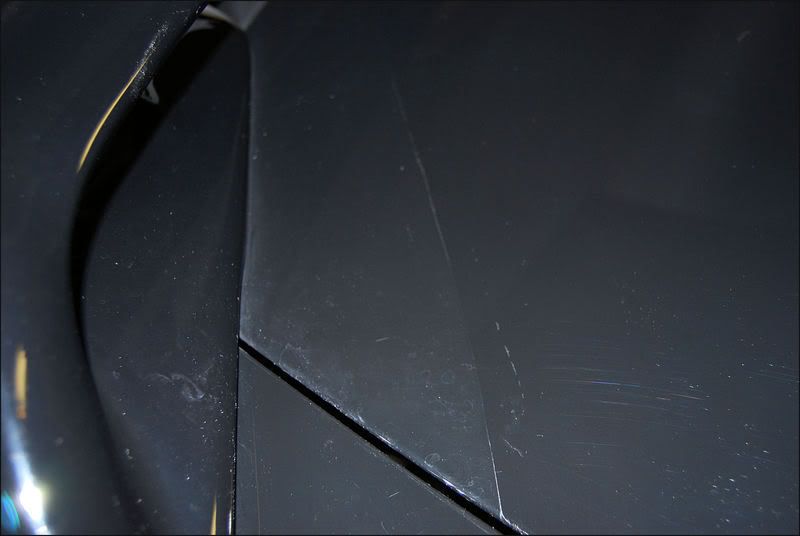
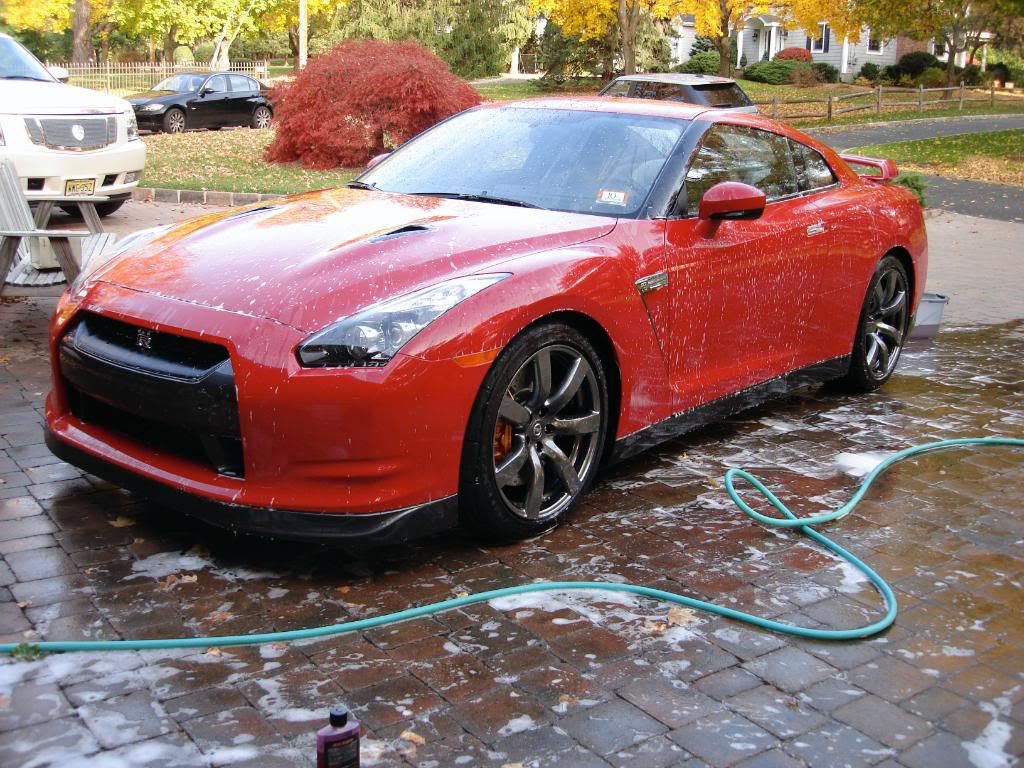
Now onto the wash process, knowing the GT-R's paint has a very soft clear coat I was very careful during the wash process as to not induce more swirls than were already on the car
After a thorough rinse I saw the car was beading pretty well, which was odd because there was no supposed to be no dealer prep done. My guess is a quick spray wax was used just before delivering the car to spruce up the paint, I know for sure the owner applied no LSP in the time since he took delivery because he was just waiting to give the car to me.
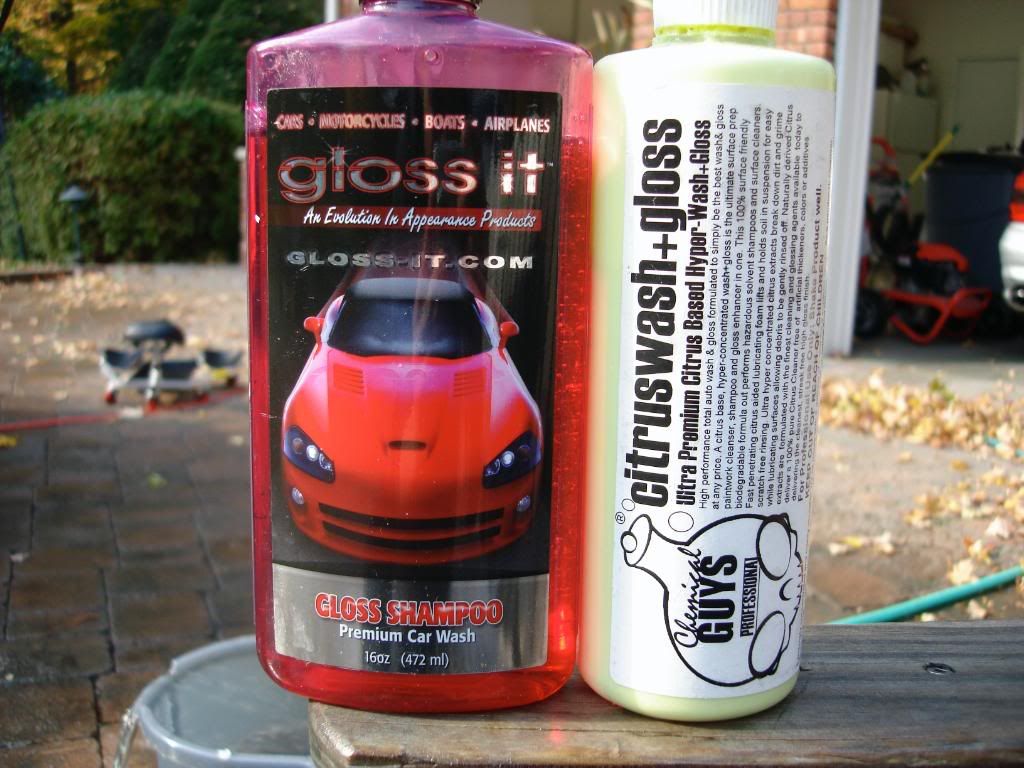
After seeing some light beading I choose to add an extra soap to my wash mix. I used Gloss It Gloss Shampoo for its suds, slickness and finish and then I added a small amount of CG's citrus wash and gloss to the bucket to help strip off any protection on the paint.
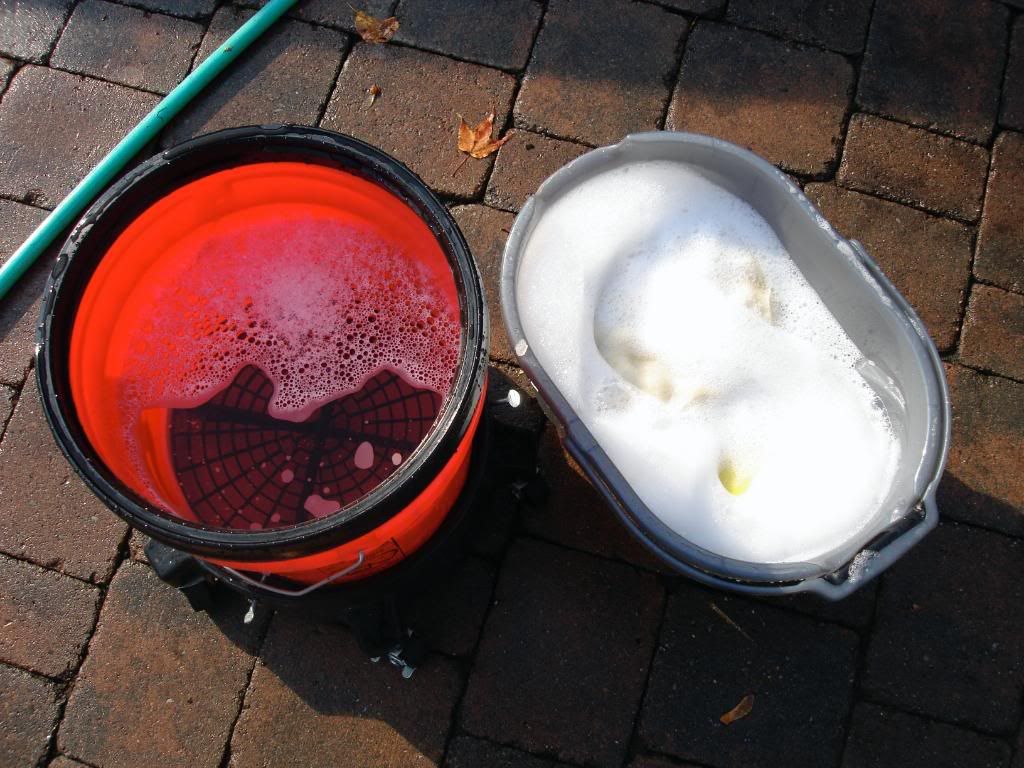
The two buckets, I used 2 white foam shmitts to wash the car, I added almost 2x the amount of Gloss Shampoo to give a very slick wash because I didnt want to induce any more swirls
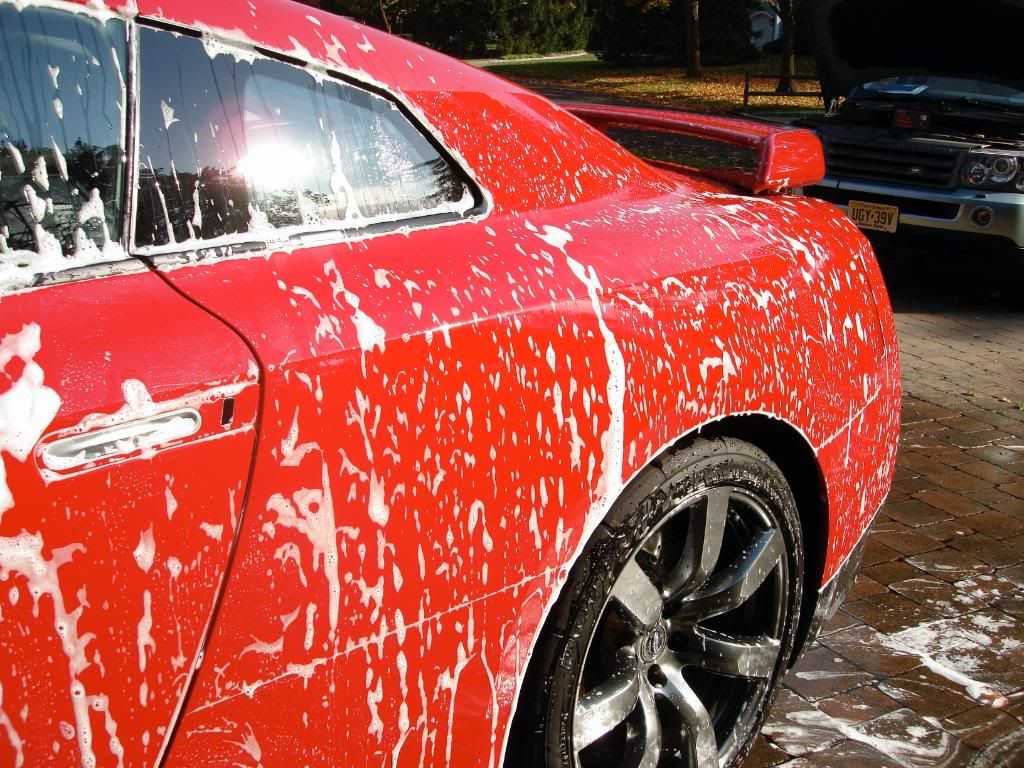
I started on the roof and squeezed out the soap onto the paint, letting it dwell on there for about 2 minutes as like a quick pre wash before actual agitation (my foam gun was on the fritz during the detail)

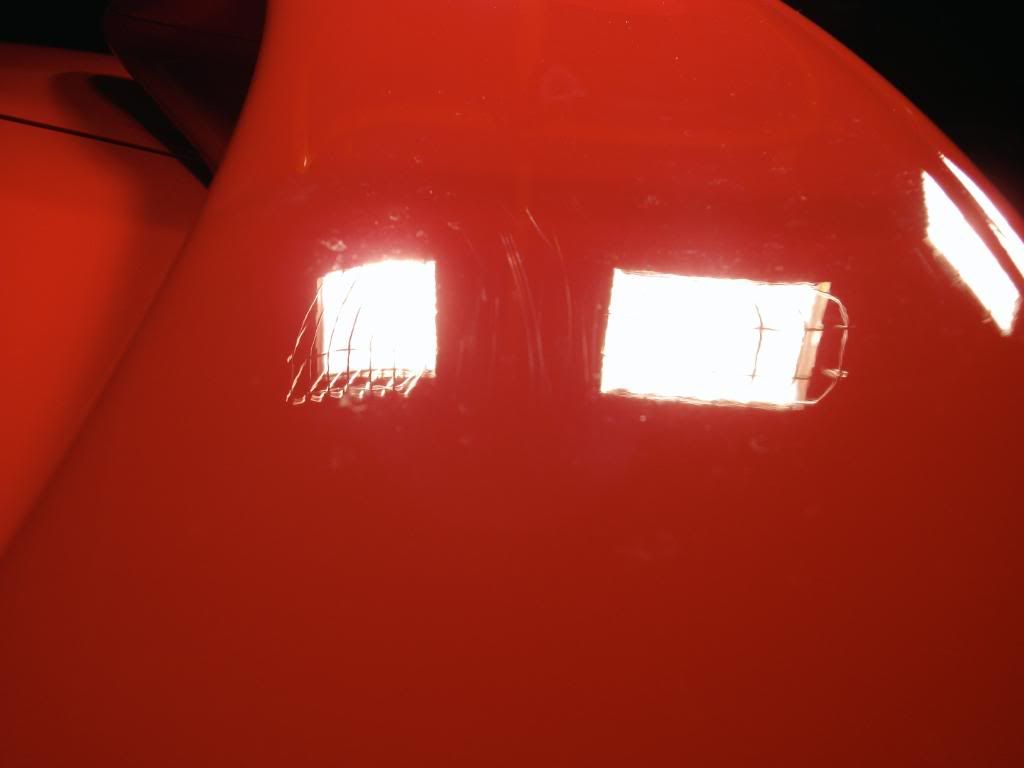
After gently drying the car w/ 2 CG miracle dryers I inspected the finish in sunlight
After a good wash the finish started to show imporvment already, the Gloss Shampoo I used always leaves a nice finish behind. That shampoo has 5% of the same polymer used in the Gloss It sealant. So not only does it add a bit of gloss after a wash but it leaves the paint with some protection as well.
After only the wash

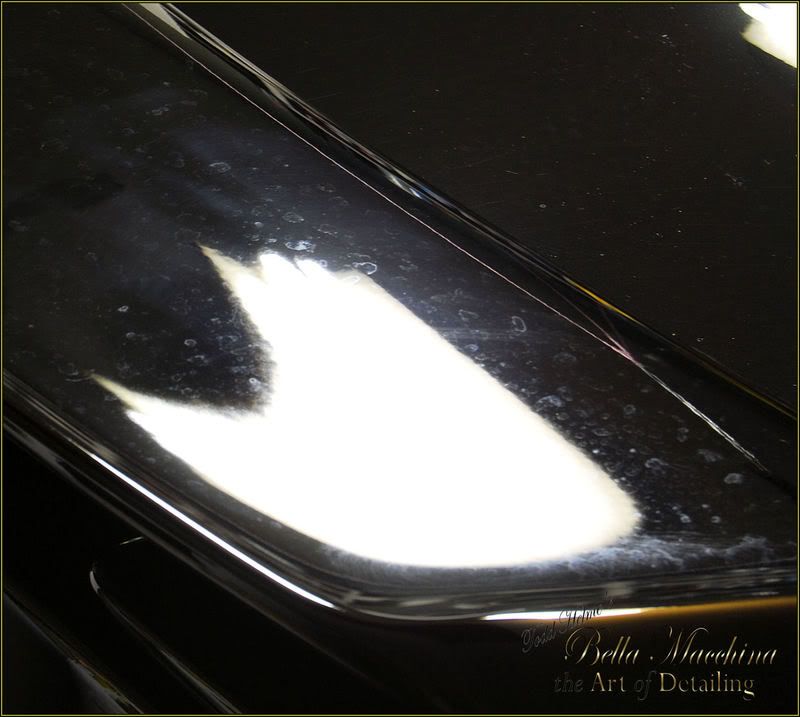
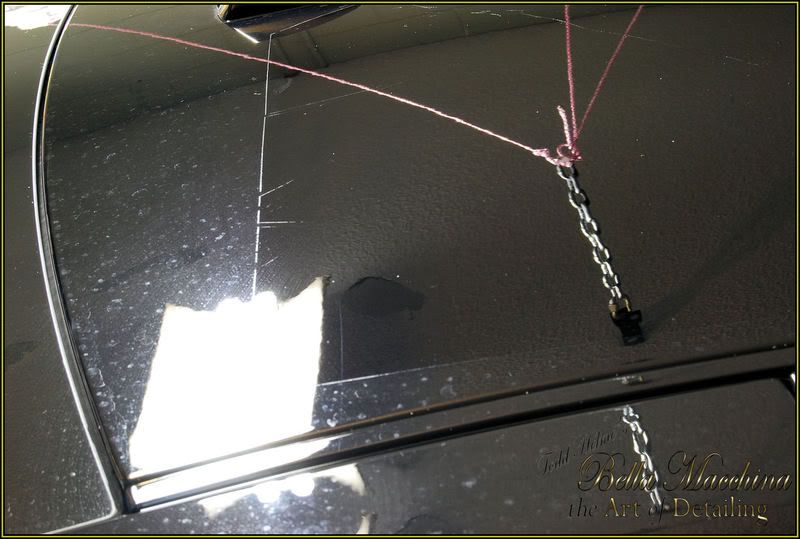
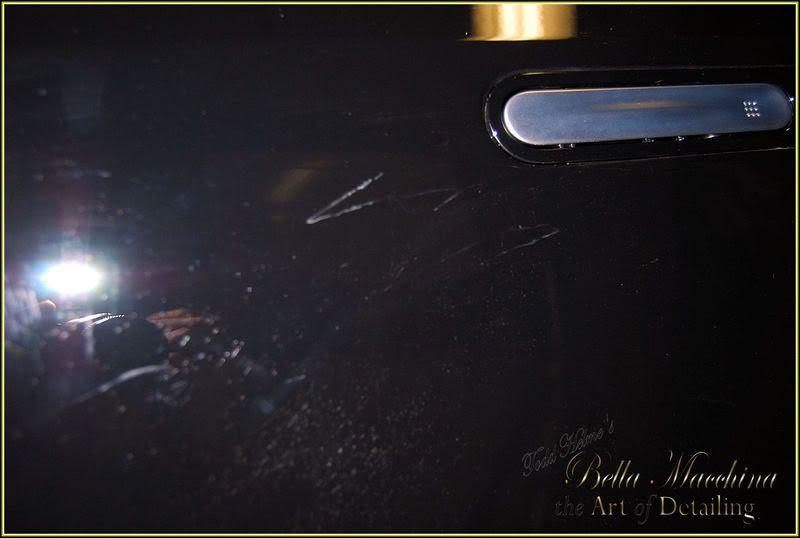
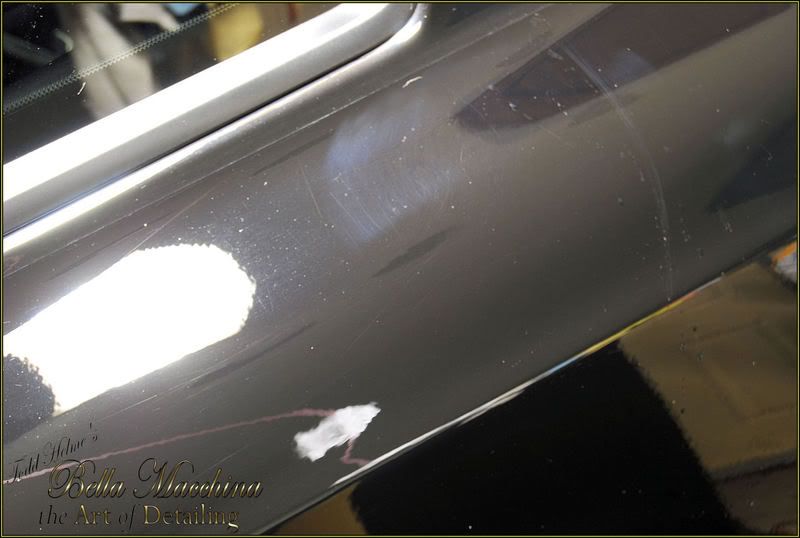
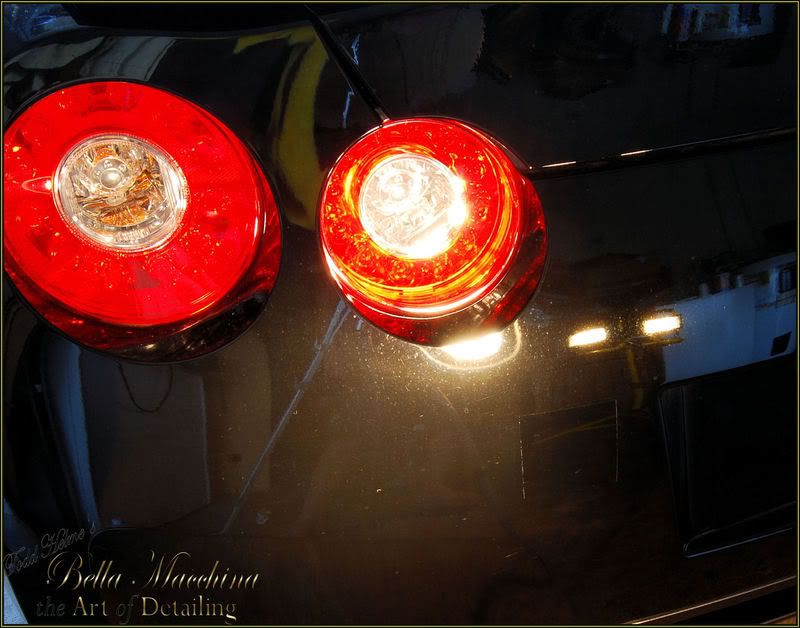
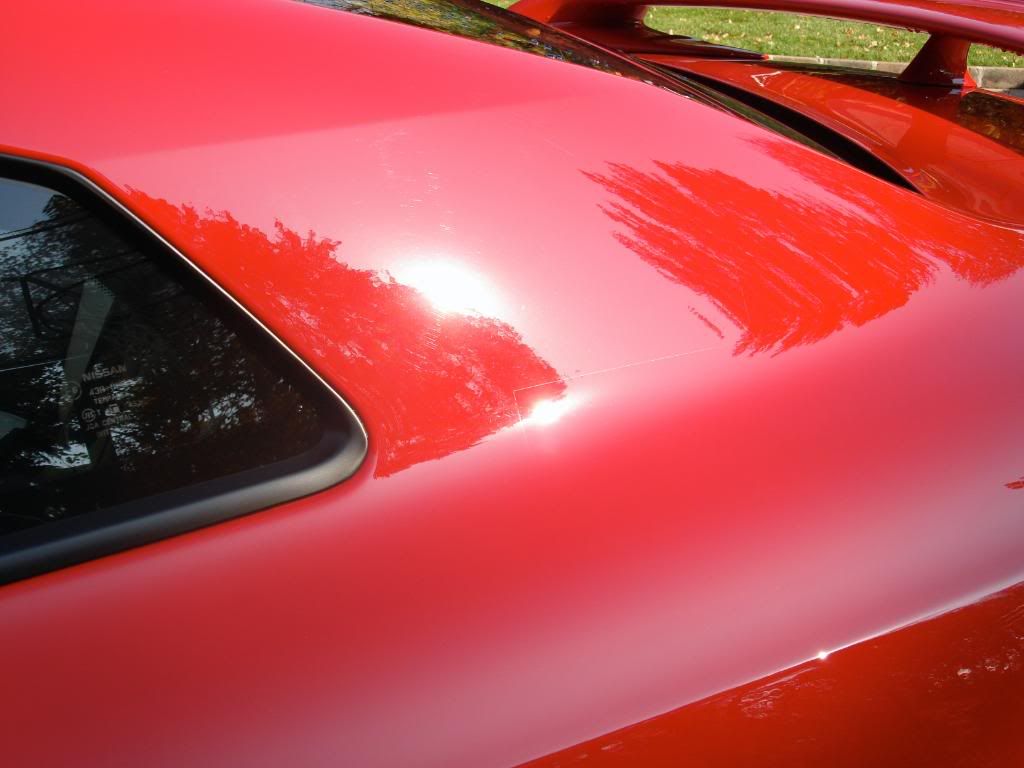
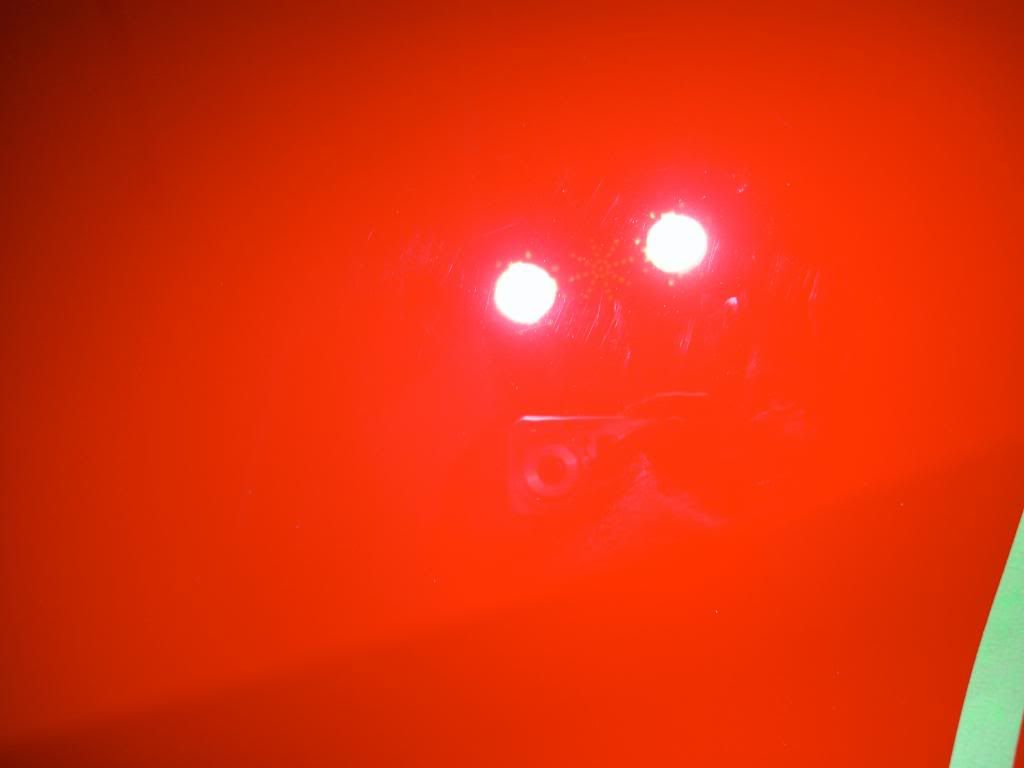
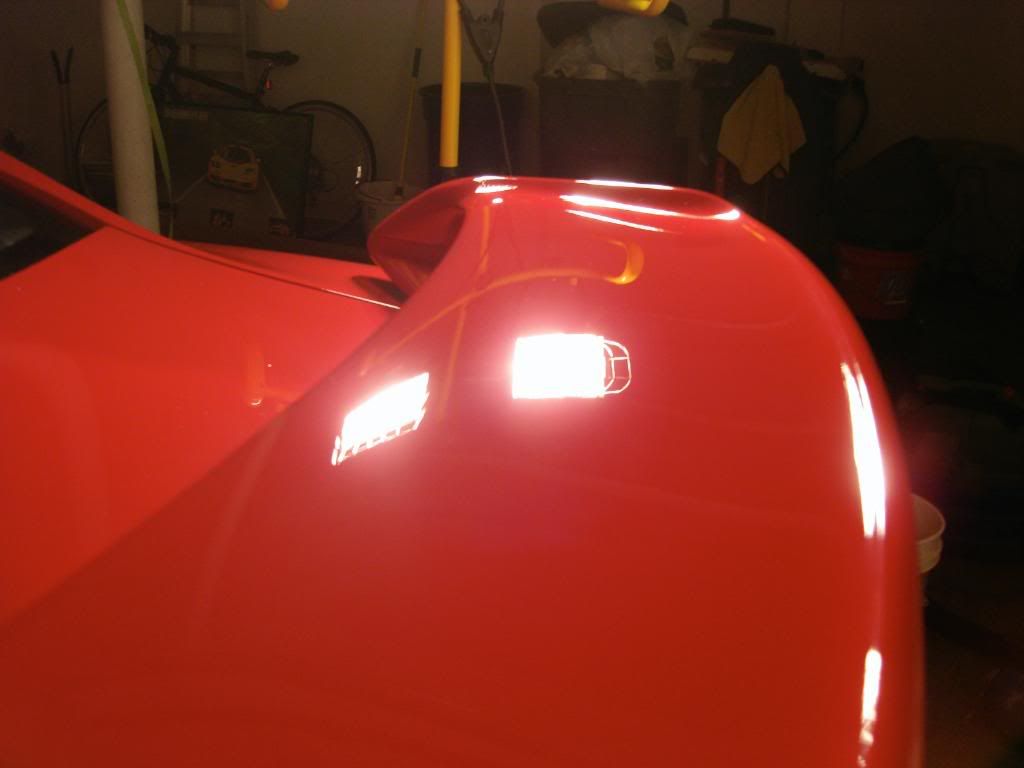
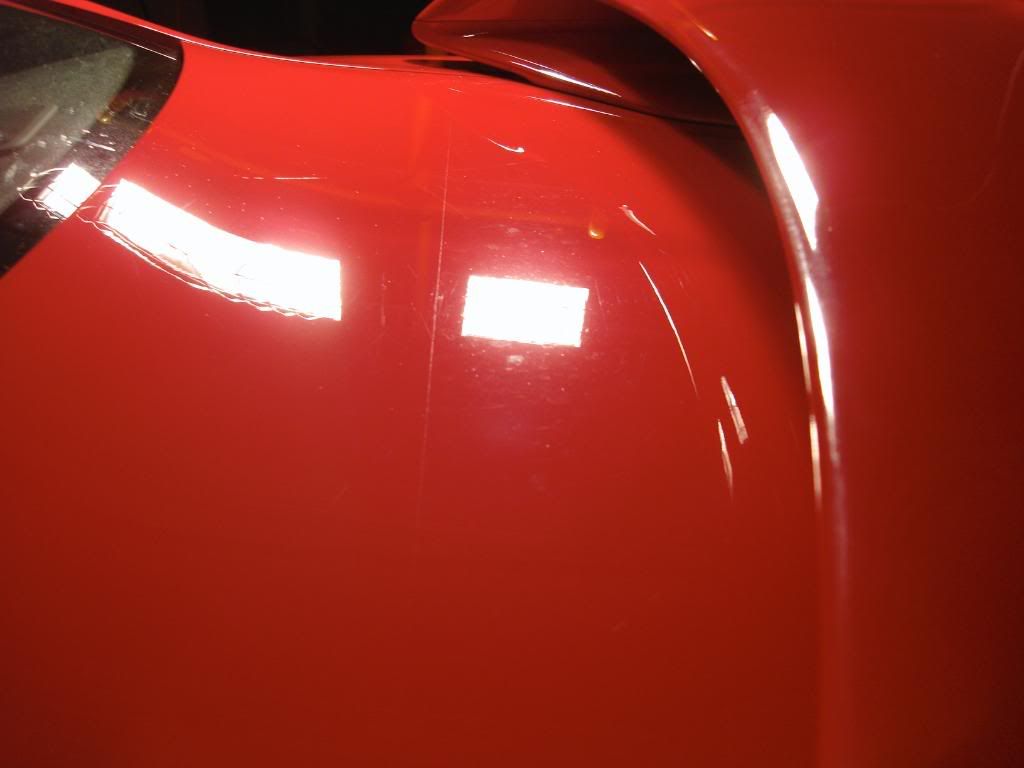
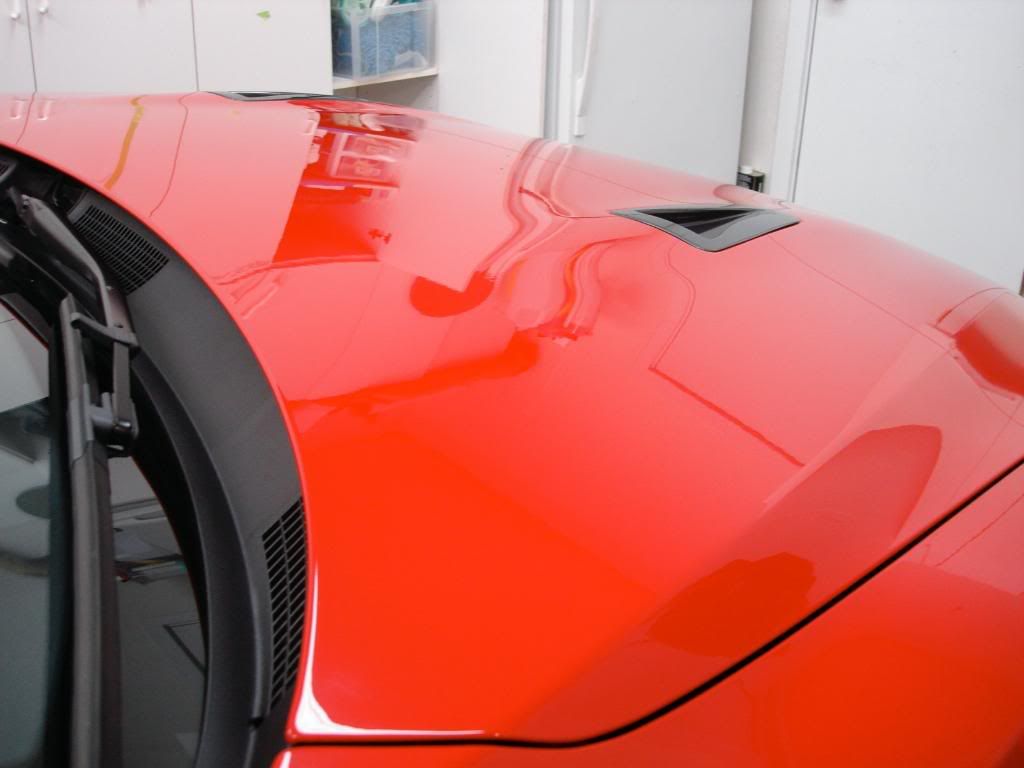
I saw a bit more defect than I would have liked on such a new car, the worst area was the rear bumper showing both light RIDS and holograms (could just be from the owners wash routine hopefully and not from the dealer)

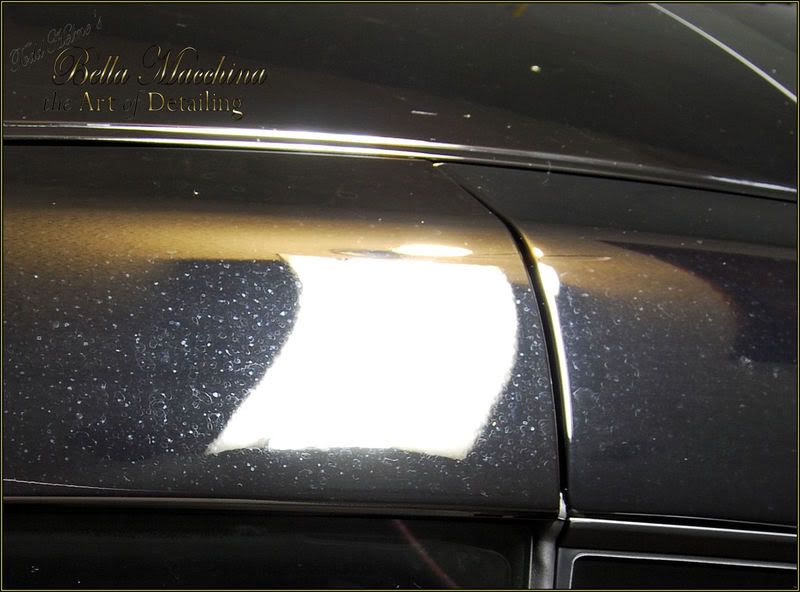
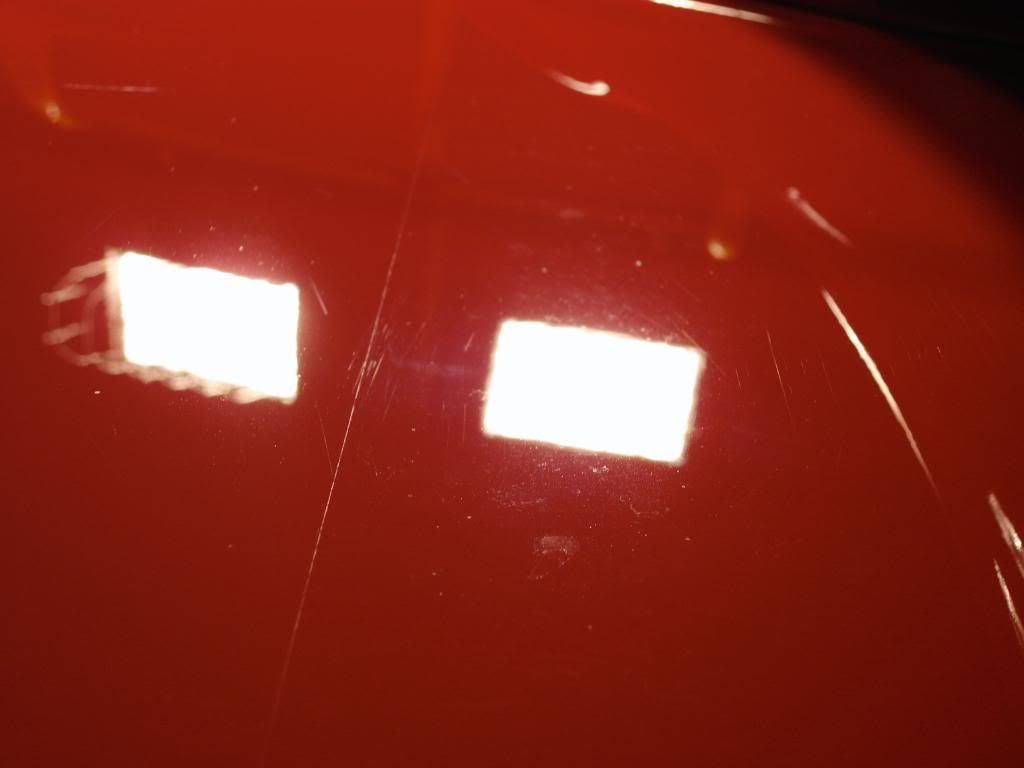
Swirls and tape lines
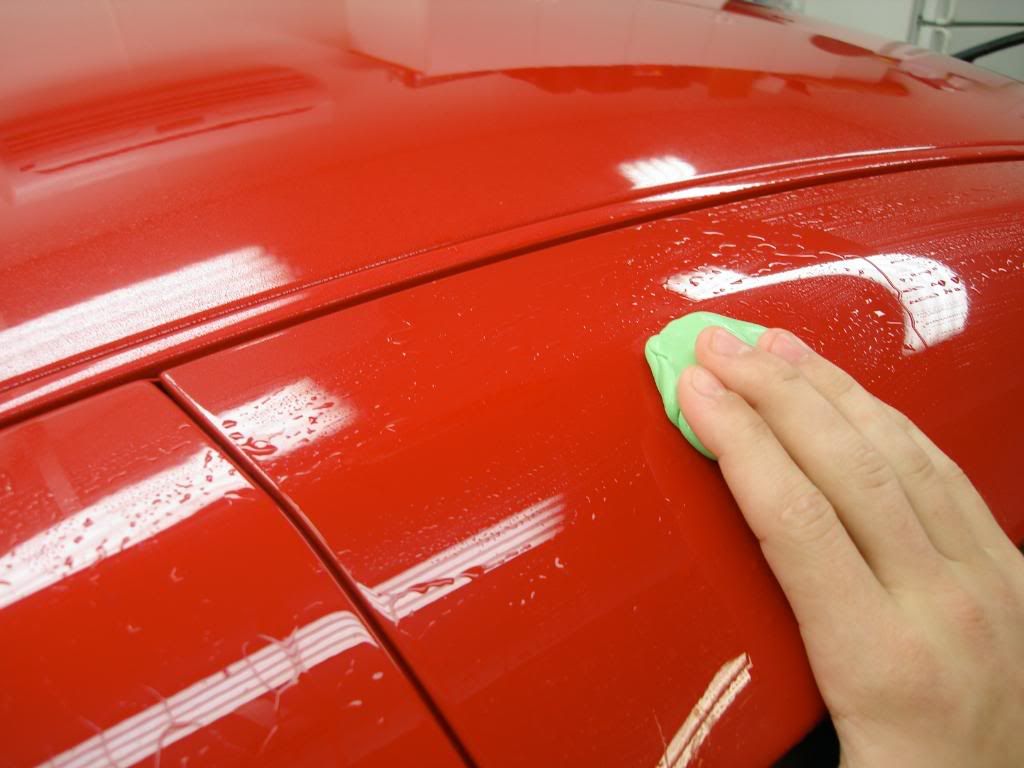
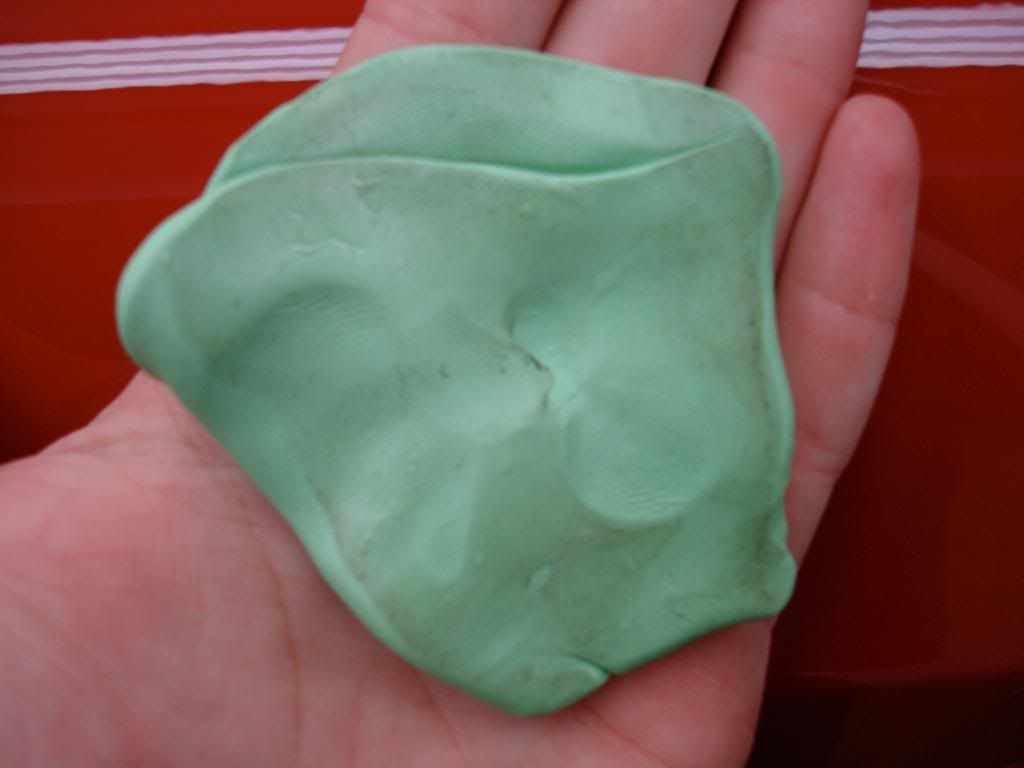
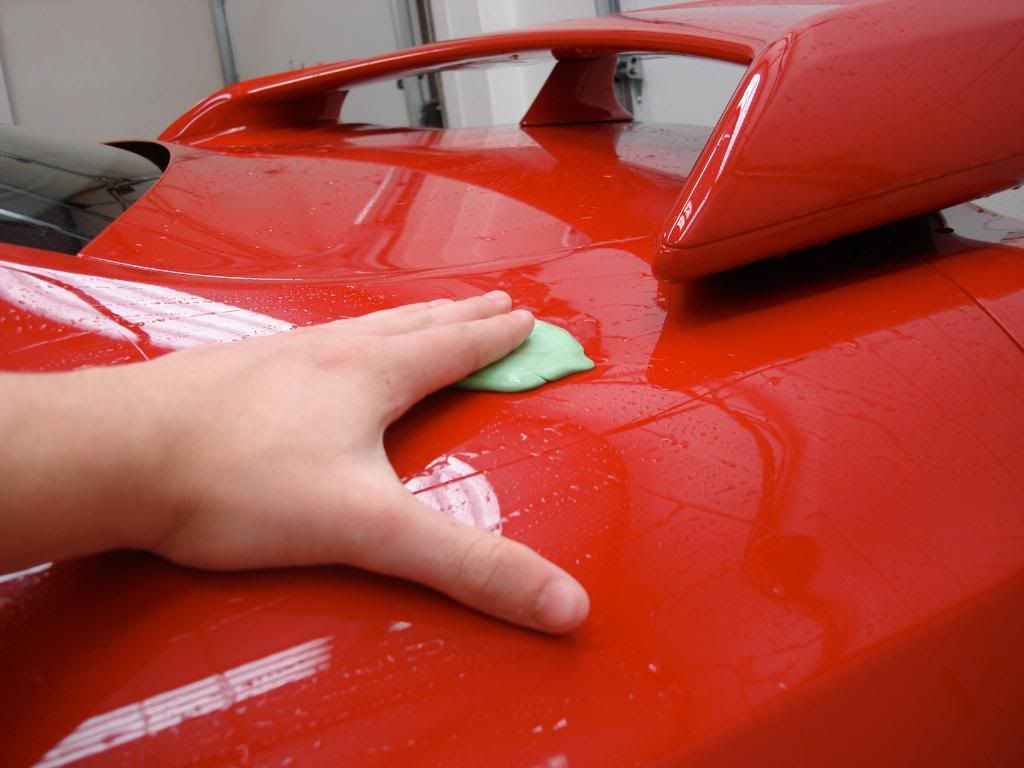
I then moved the car inside for claying, I used Sonus fine green clay for its softness, its only picks up light contaminants which is fine for a new car, especially one with soft paint as this one which can easily be marred and scartched.
I used Megs Last touch QD 1:1 as lube for the clay
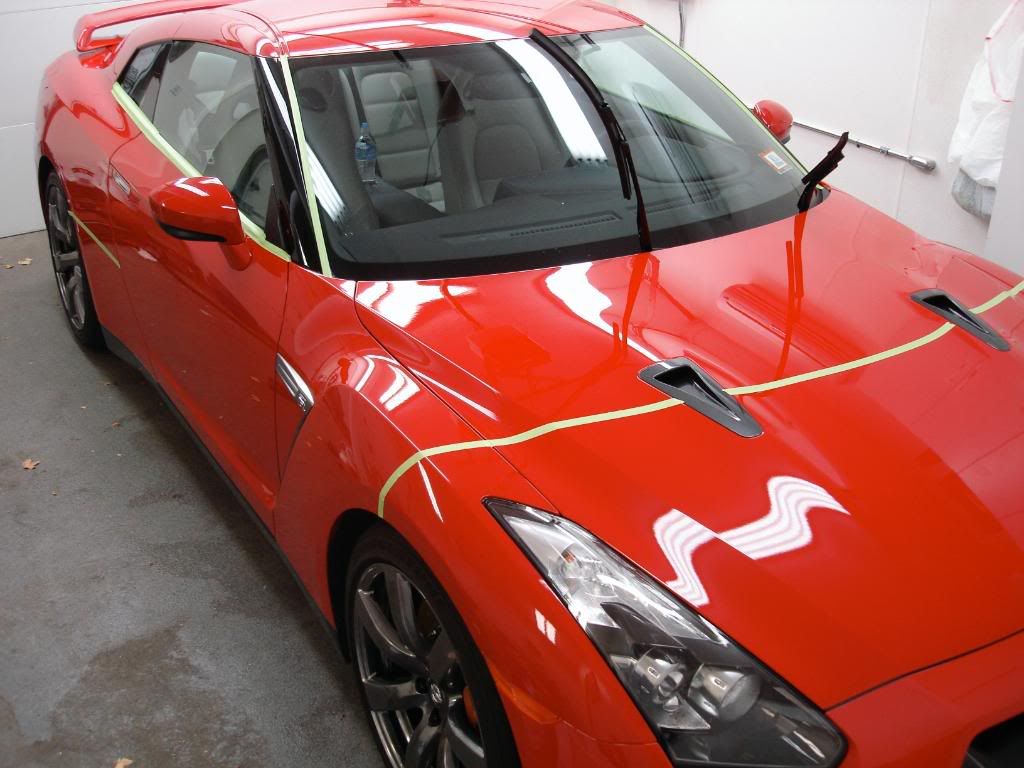
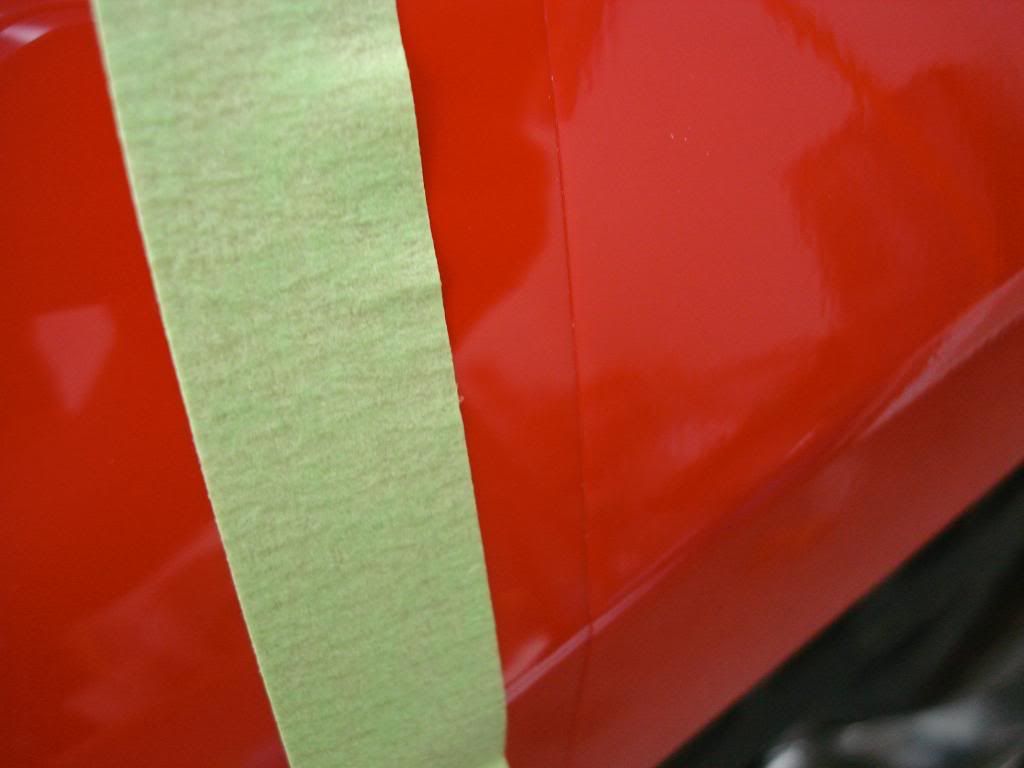
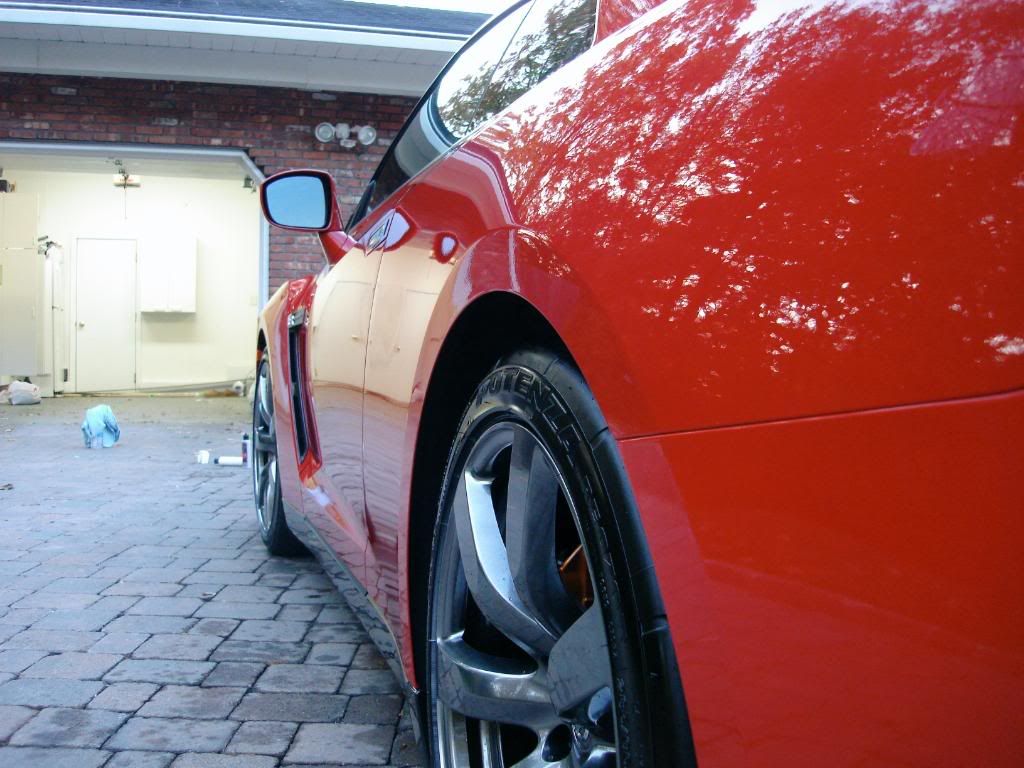
I then wiped the car down with IPA soltuion in preperation for polishing, I also taped off the neccesary areas and all the panels which were clear bra'd.
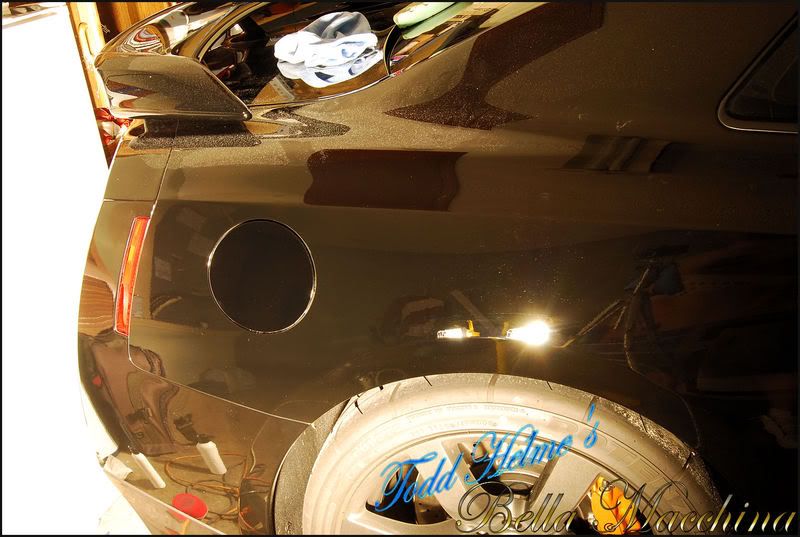
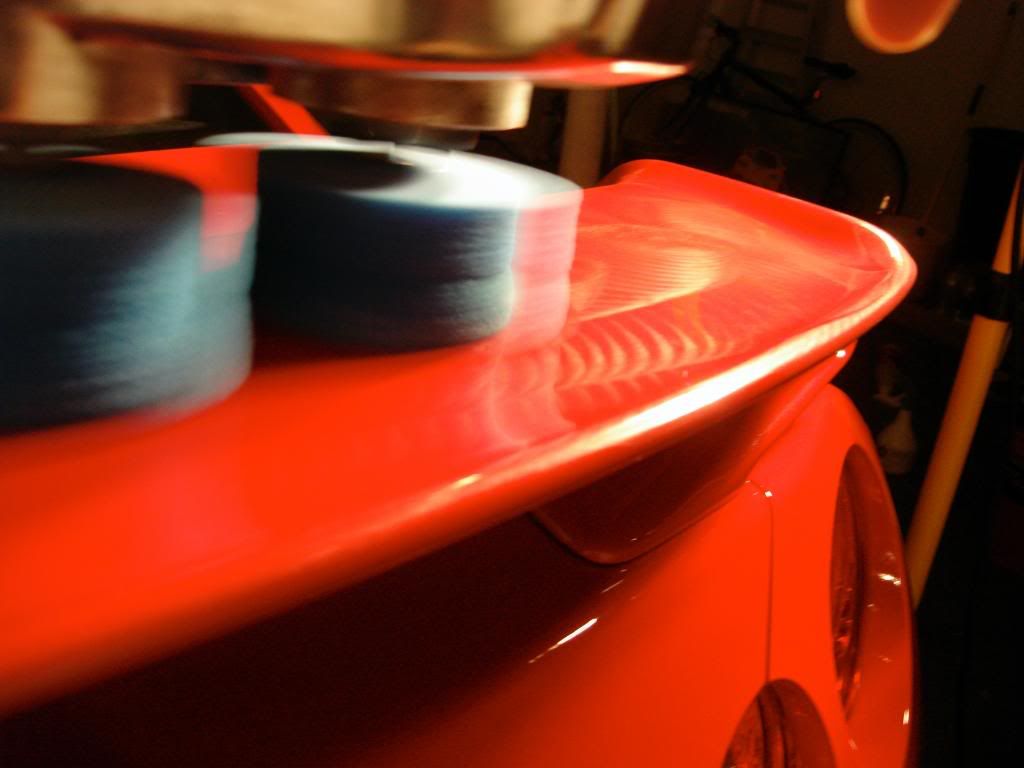
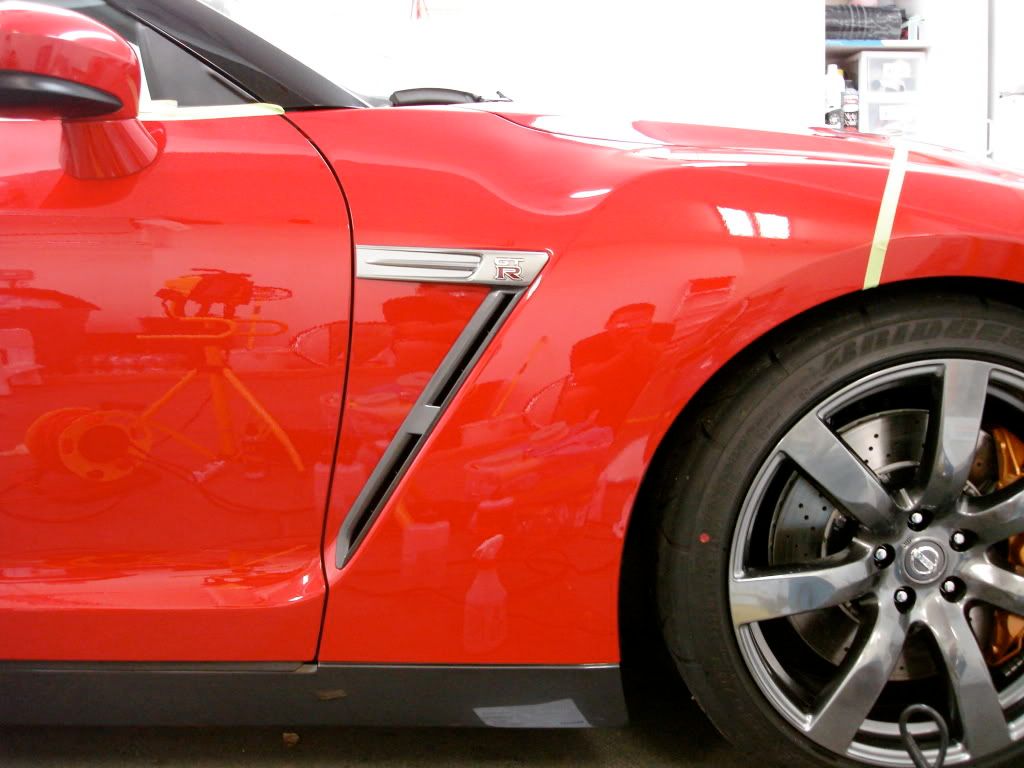
As I said before I got this car right after being clear bra'd , Half the hood, fenders and bottom portion of the lower panels were clear bra'd, every part of the front nose had be cleared as well. The installer told me to be cautious of the clear bra as it hasnt had enough time for the adhesives to settle on the paint yet.
I placed my tape about 1 inch off where the clear bra ended because didnt want the adhesives in the tape to screw up the adhesives in the clear bra, its only been on for about 12hrs. I also made sure not to polish the newly protected areas ( I had poished out the paint underneath those areas last week as per the owners reuqest)
Before polishing I took some paint readings, I was using a cyclo for all of my polishing work so I dont worry about strike through all that often, well never actually but I took some PTG readings for good measure anyway
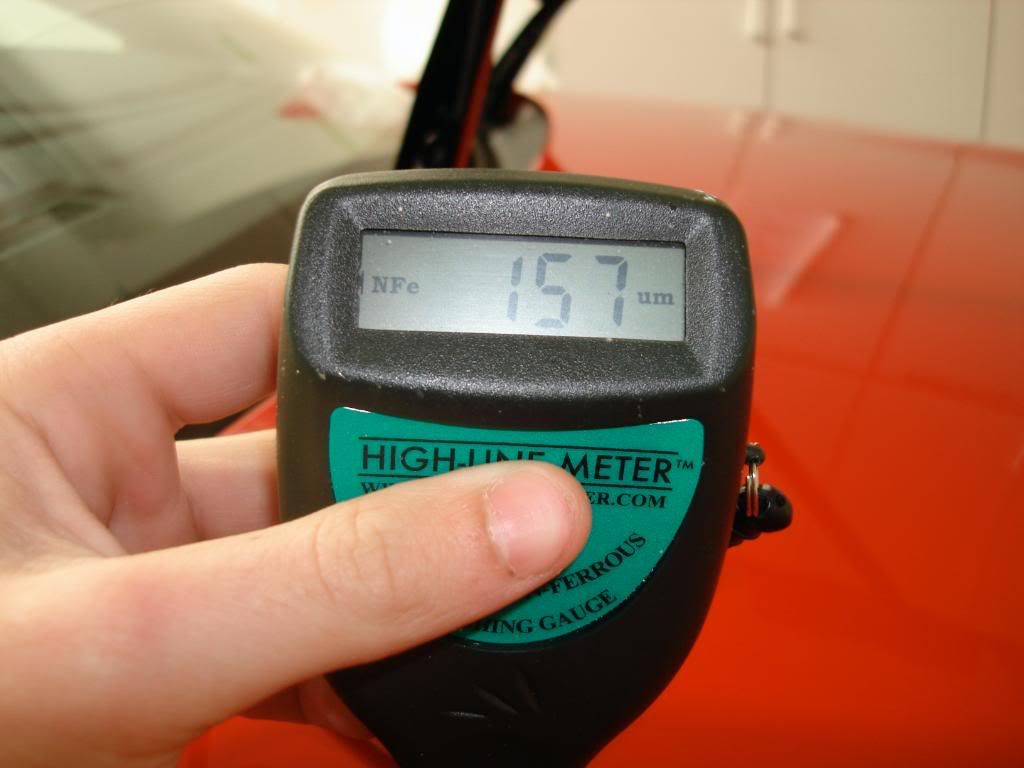
Hood averaged about 160microns, suprisingly the PTG readings on most all areas of the hood were all within about 7-10microns. A few areas exceeded 180 however.
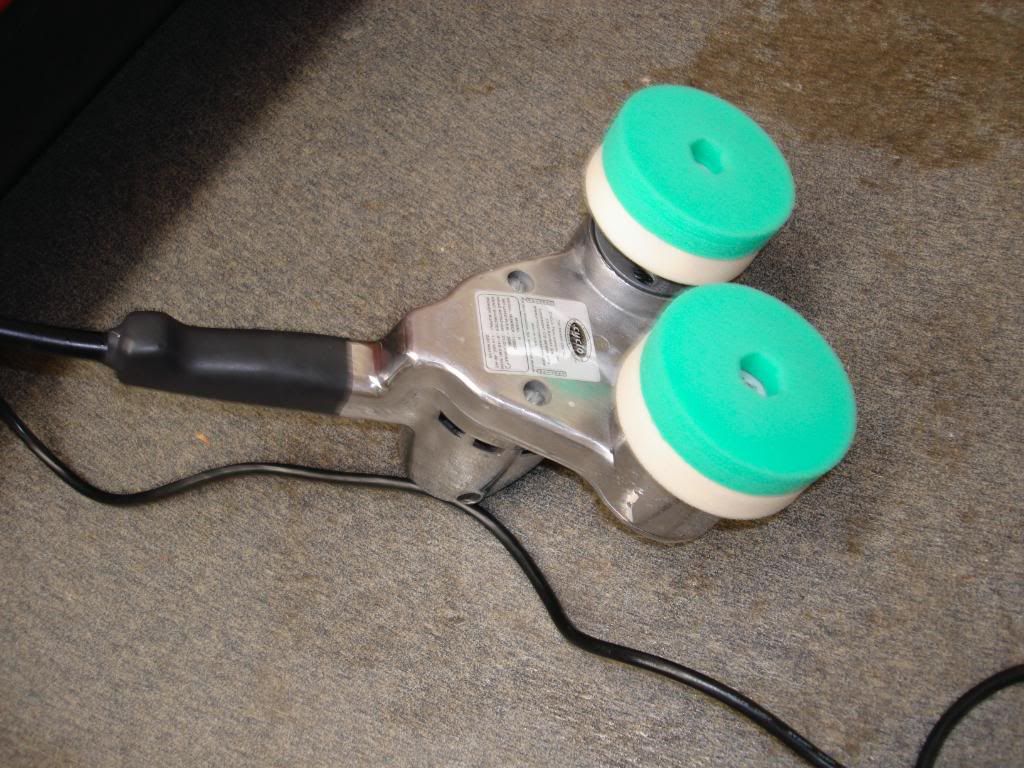
After doing a test spot I found the best combo to get rid of the swirls and finish out the paint nicely was this:
Gloss It 1 step machine polish via cyclo and green light polishing pads
Gloss It evolution polish via cyclo and blue finishing pads
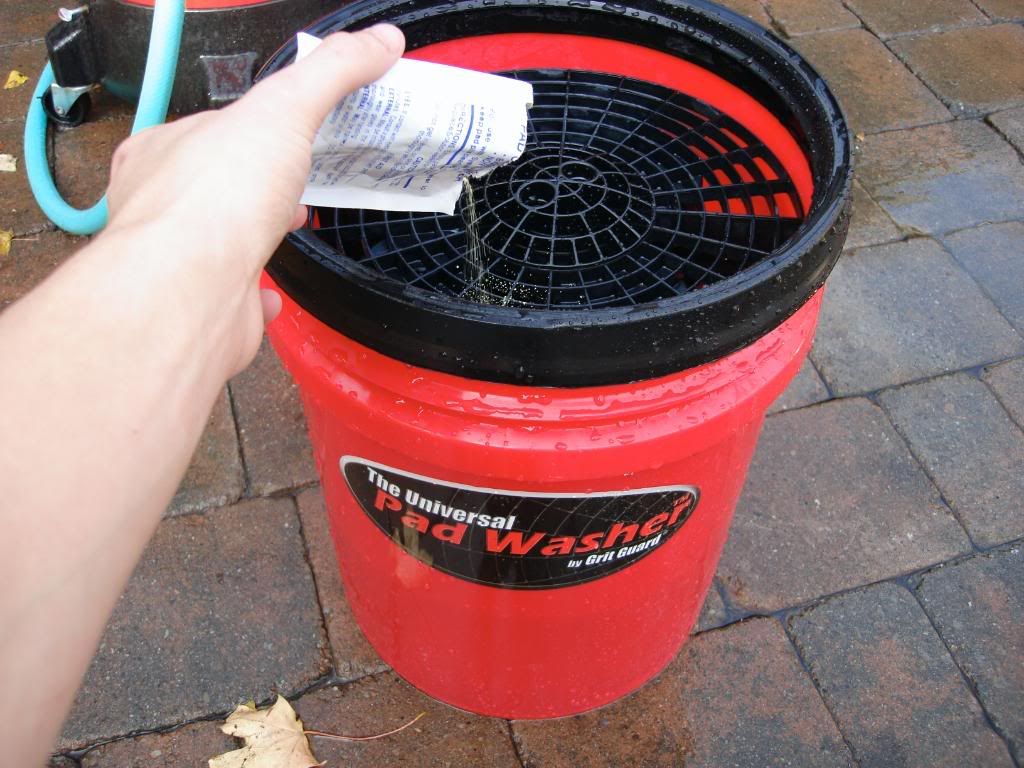
Before polishing I washed out my Grit Guard pad washer and re-filled it with fresh water and some Snappy Clean pad cleaning solution
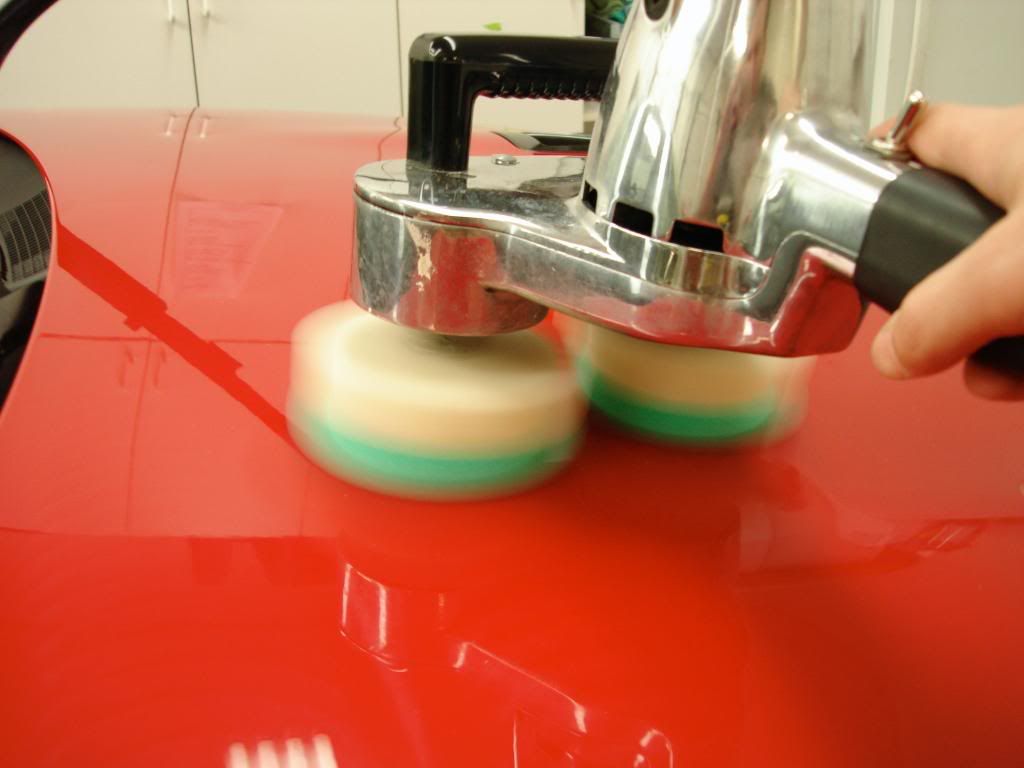
I started with the Gloss It 1 step polish and green double sided pads
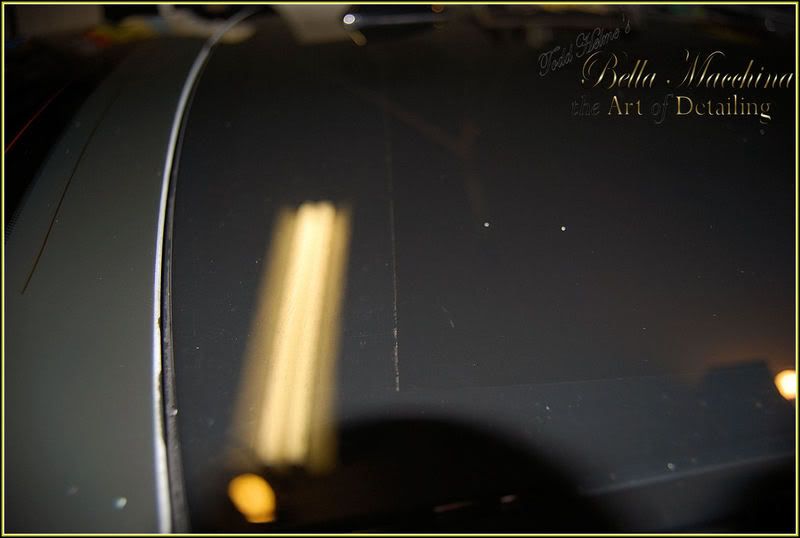
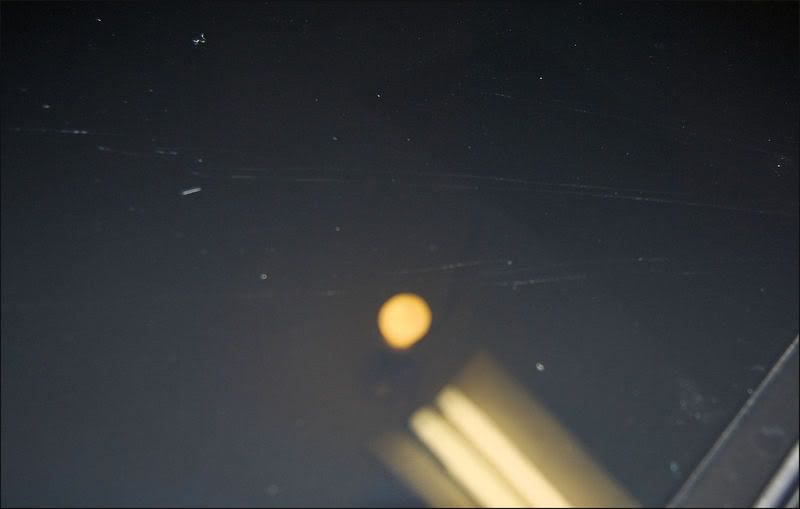
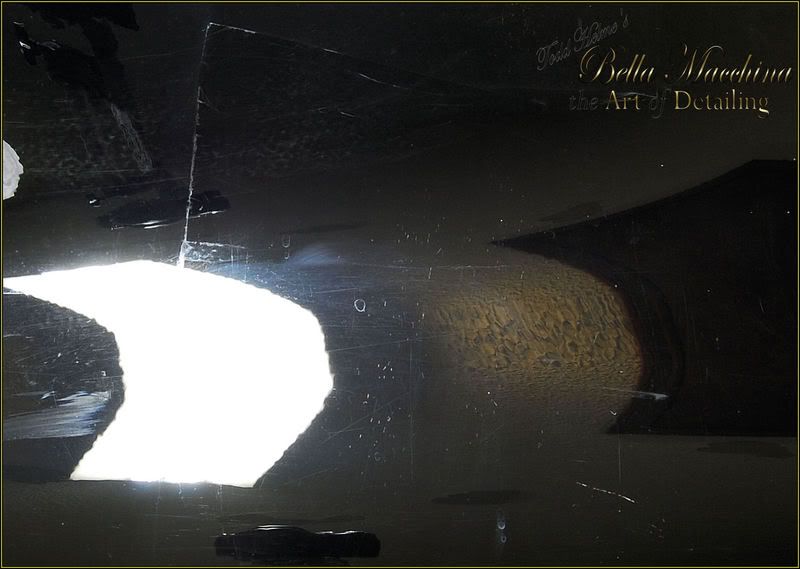
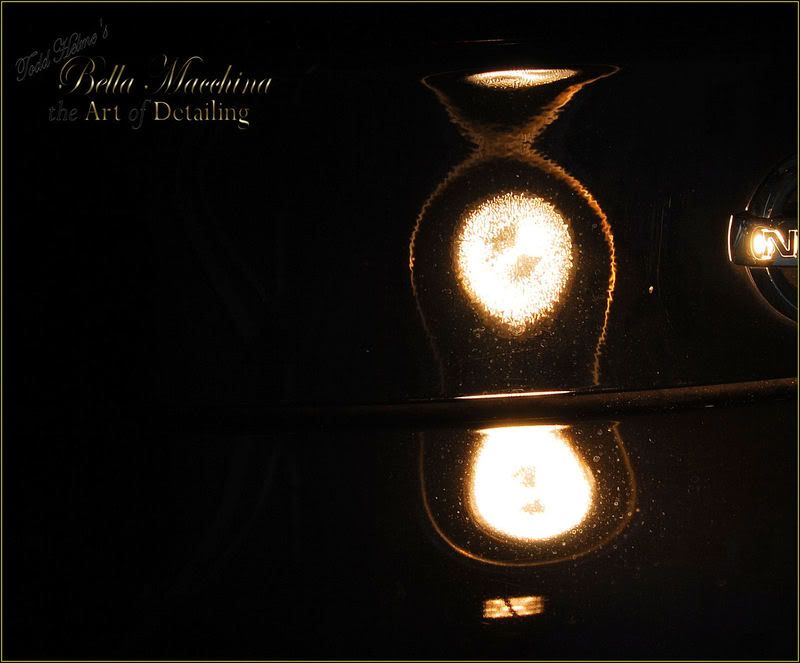
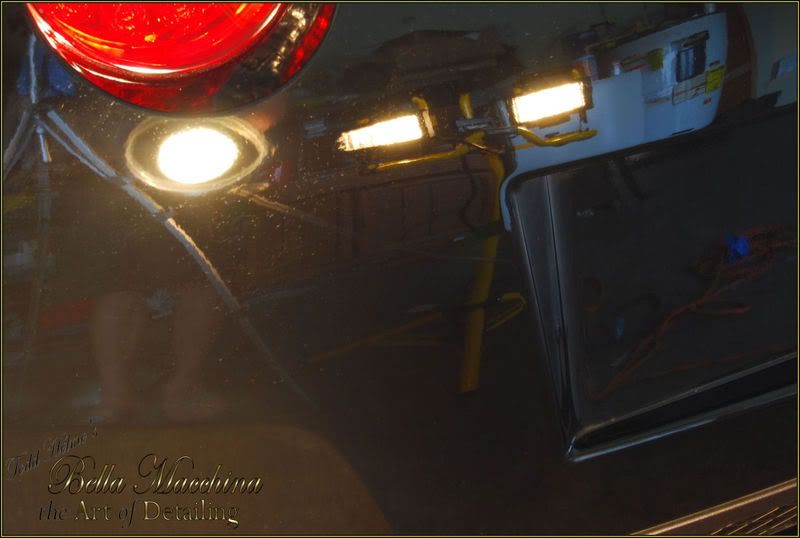
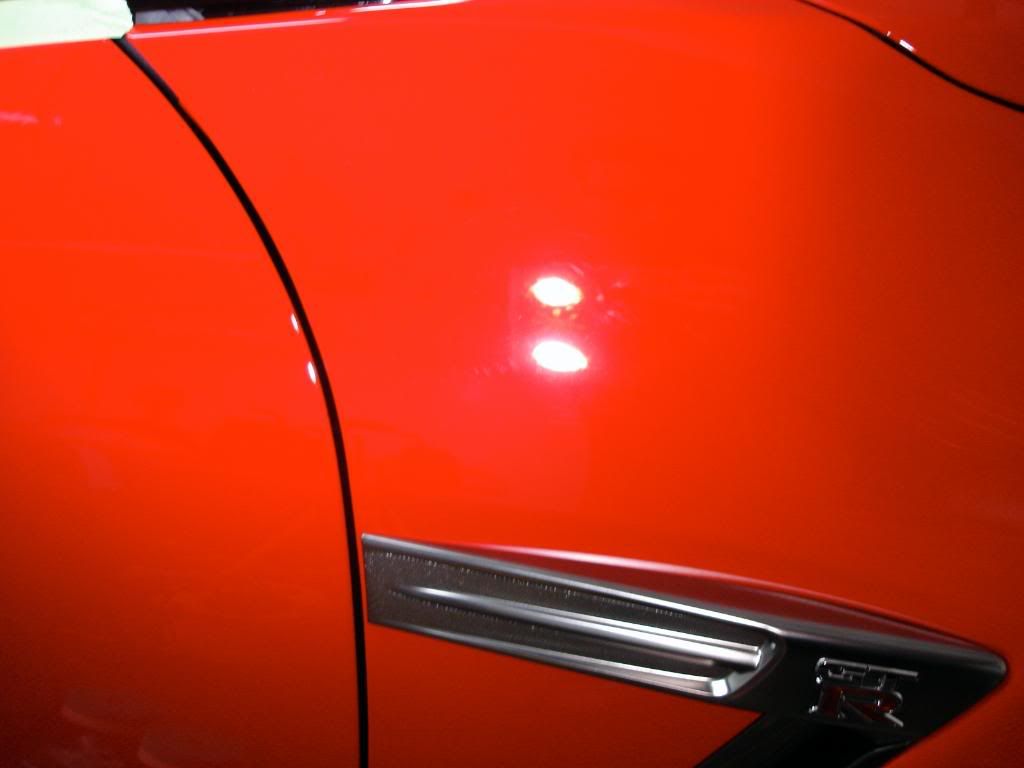
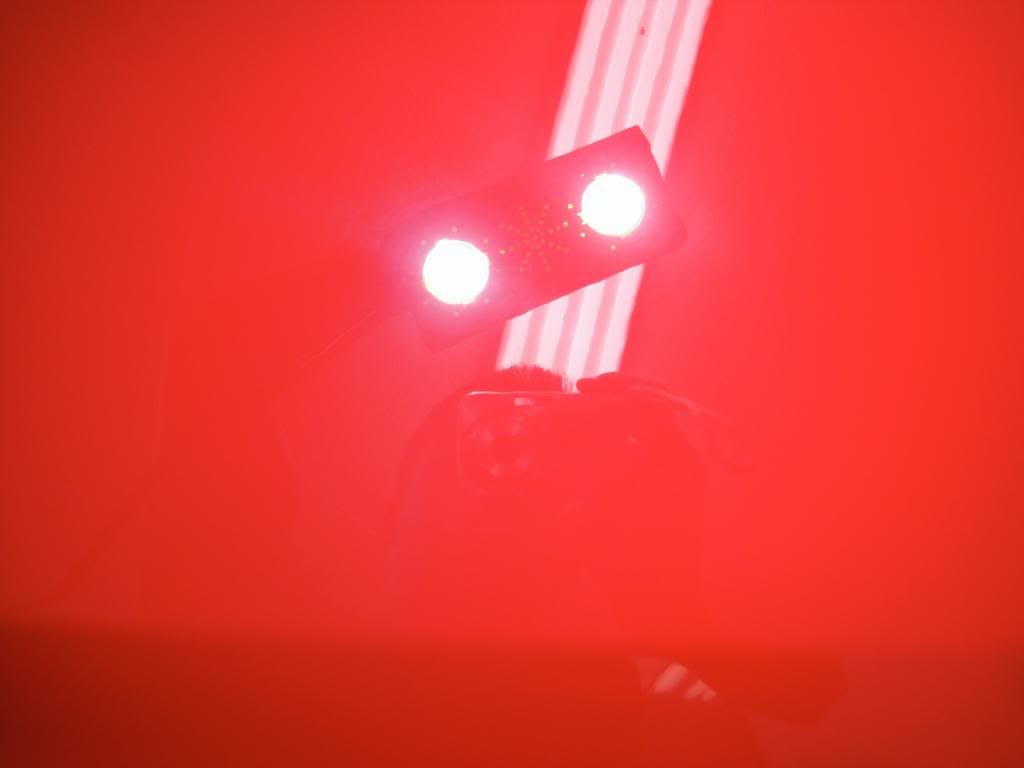
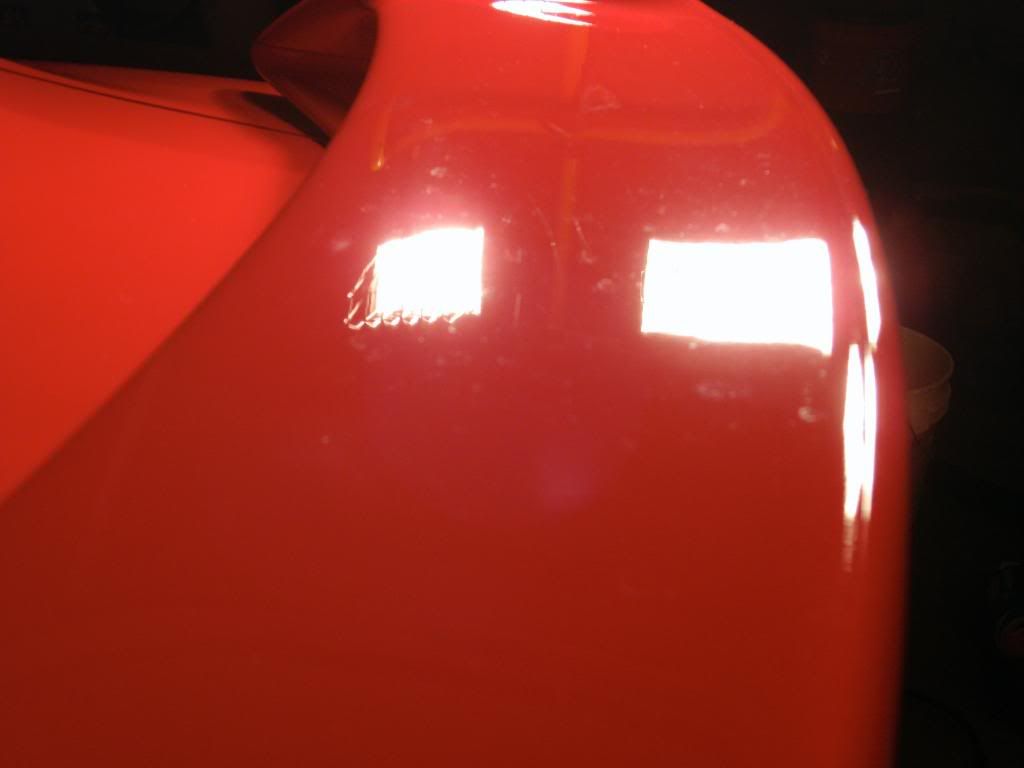
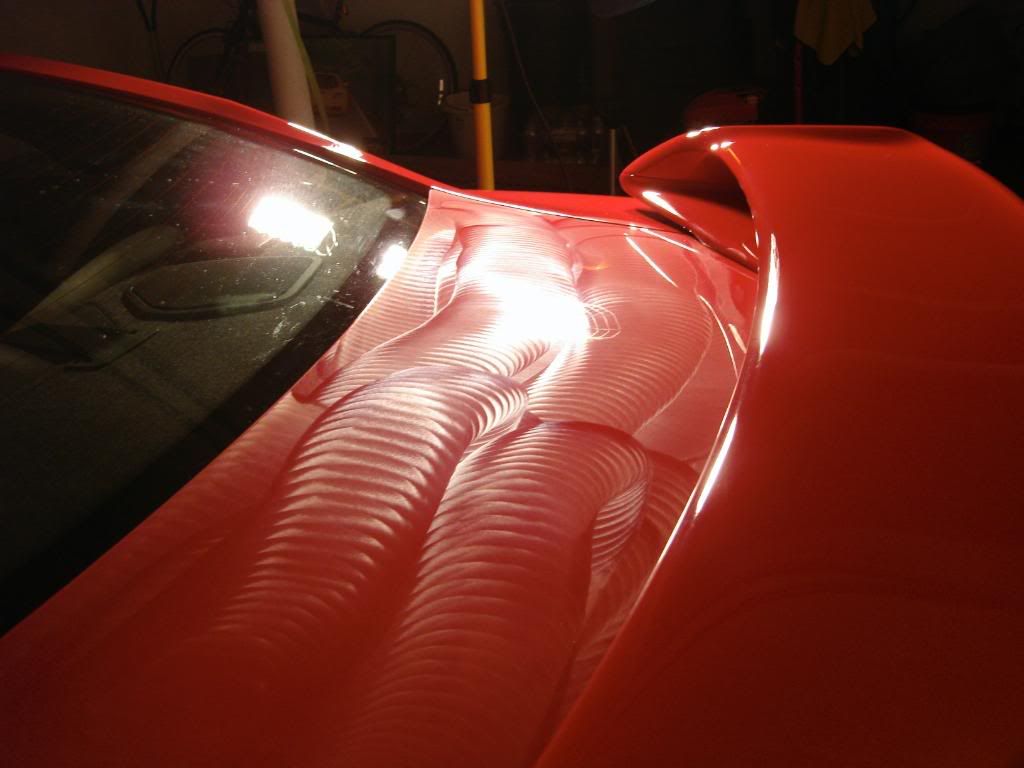
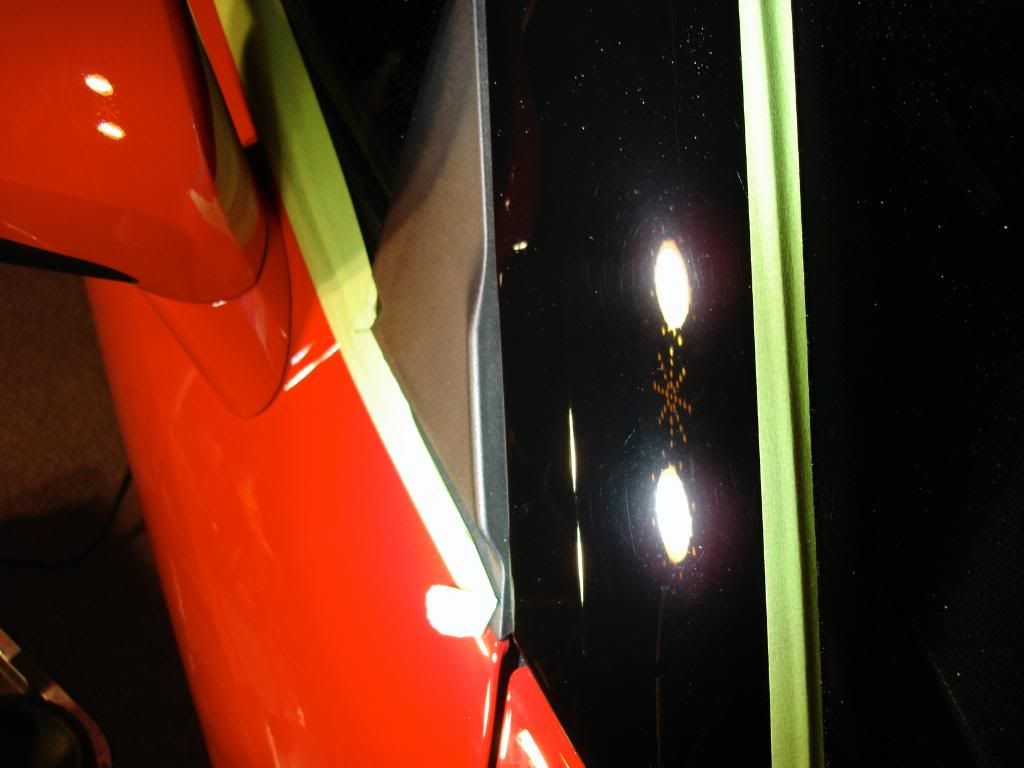
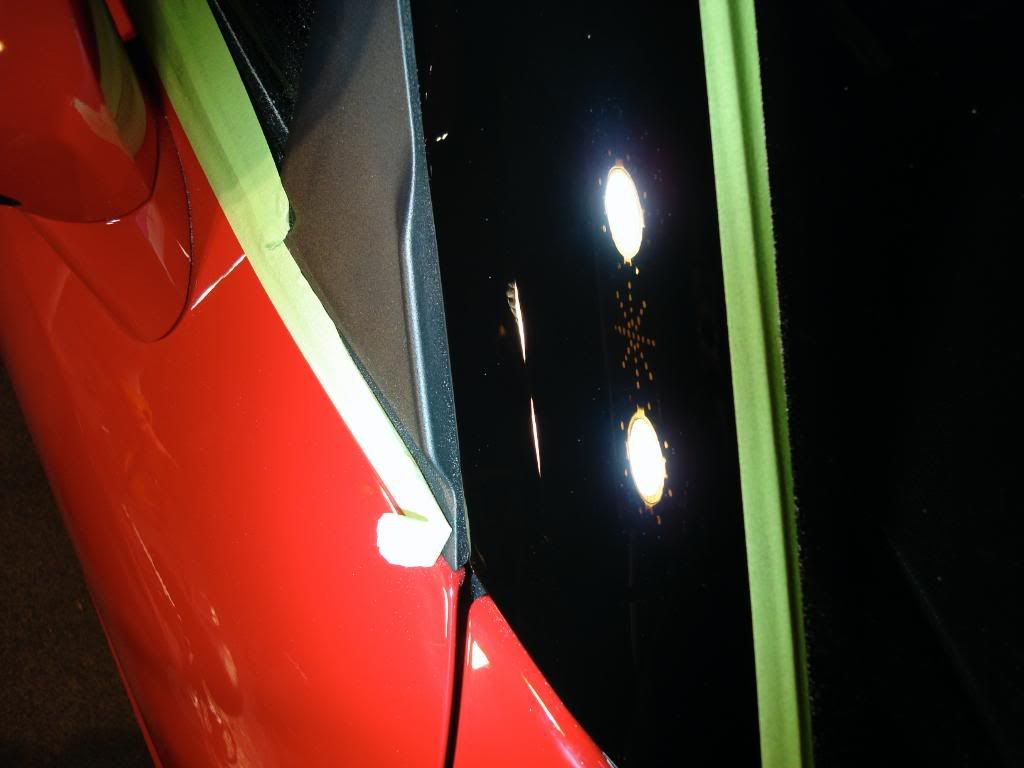
You can see the paint under the Infratech pretty well, here are some fine swirls and haze
This car just had a clear bra installed earlier on the first day before I got to working on it. All of the lower nose panels, half the hood and fenders and the lower side panels were all clear bra'd. I saw how clean the edges were and how the installer wrapped the bra into the gaps perfectly, this was by far the best bra job I have seen. He even removed the rubber strip between the gap on the front end and hood so he could cleanly wrap the bra inside and later he replaced the rubber strip, you cant tell where the hoods bra ends and the front nose piece begins.
As usual theres my lengthy intro, now onto the good stuff...
icture:Here is car when I got it, not bad upon arrival but it needed more work than I though and I was gald to hear it was NOT DEALER PREPPED! I saw al the tape lines and there was still some plastic on the interior.
The car only had 360 or so "break in" miles on it, so in general it was pretty clean but the paint wasnt very deep nor did it really glow like it should. The owner wanted the finish to be as deep as possible and loaded up with protection
First things first as usual I started with the wheels, for only 360miles or so they were suprisingly dirty, I guess a little extra brake dust is the price you pay for having 15" 6piston Brembos to stop you from getting into trouble at Watkins Glen:headbang:
Here is what I used to clean the wheels. I quickly grabbed the P21s gel instead of anything else in my arsenal because I wanted to ensure no damage was done to the wheel finish, and more importantly the braking system.
Here is the P21s gel dwelling, I let it sit for about 10minutes to further breakdown some of that tougher brake dust before agitating it
Swissvax brush was used to clean the wheel face
The DD spoke brush was used to clean the wheel inners, to help get behind the spokes better and in between the brakes I used the more flexible EZ brush
Tires were scrubbed with the Kleenol APC and an OXO brush, the wheel wells were also scrubbed via long handle brush
Brakes were scrubbed in every crack and crevice as well
Brakes after
Inners after
Finished product (front passenger)
Rinsing rears until water ran clean of suds
Now onto the wash process, knowing the GT-R's paint has a very soft clear coat I was very careful during the wash process as to not induce more swirls than were already on the car
After a thorough rinse I saw the car was beading pretty well, which was odd because there was no supposed to be no dealer prep done. My guess is a quick spray wax was used just before delivering the car to spruce up the paint, I know for sure the owner applied no LSP in the time since he took delivery because he was just waiting to give the car to me.
After seeing some light beading I choose to add an extra soap to my wash mix. I used Gloss It Gloss Shampoo for its suds, slickness and finish and then I added a small amount of CG's citrus wash and gloss to the bucket to help strip off any protection on the paint.
The two buckets, I used 2 white foam shmitts to wash the car, I added almost 2x the amount of Gloss Shampoo to give a very slick wash because I didnt want to induce any more swirls
I started on the roof and squeezed out the soap onto the paint, letting it dwell on there for about 2 minutes as like a quick pre wash before actual agitation (my foam gun was on the fritz during the detail)
After gently drying the car w/ 2 CG miracle dryers I inspected the finish in sunlight
After a good wash the finish started to show imporvment already, the Gloss Shampoo I used always leaves a nice finish behind. That shampoo has 5% of the same polymer used in the Gloss It sealant. So not only does it add a bit of gloss after a wash but it leaves the paint with some protection as well.
After only the wash
I saw a bit more defect than I would have liked on such a new car, the worst area was the rear bumper showing both light RIDS and holograms (could just be from the owners wash routine hopefully and not from the dealer)
Swirls and tape lines
I then moved the car inside for claying, I used Sonus fine green clay for its softness, its only picks up light contaminants which is fine for a new car, especially one with soft paint as this one which can easily be marred and scartched.
I used Megs Last touch QD 1:1 as lube for the clay
I then wiped the car down with IPA soltuion in preperation for polishing, I also taped off the neccesary areas and all the panels which were clear bra'd.
As I said before I got this car right after being clear bra'd , Half the hood, fenders and bottom portion of the lower panels were clear bra'd, every part of the front nose had be cleared as well. The installer told me to be cautious of the clear bra as it hasnt had enough time for the adhesives to settle on the paint yet.
I placed my tape about 1 inch off where the clear bra ended because didnt want the adhesives in the tape to screw up the adhesives in the clear bra, its only been on for about 12hrs. I also made sure not to polish the newly protected areas ( I had poished out the paint underneath those areas last week as per the owners reuqest)
Before polishing I took some paint readings, I was using a cyclo for all of my polishing work so I dont worry about strike through all that often, well never actually but I took some PTG readings for good measure anyway
Hood averaged about 160microns, suprisingly the PTG readings on most all areas of the hood were all within about 7-10microns. A few areas exceeded 180 however.
After doing a test spot I found the best combo to get rid of the swirls and finish out the paint nicely was this:
Gloss It 1 step machine polish via cyclo and green light polishing pads
Gloss It evolution polish via cyclo and blue finishing pads
Before polishing I washed out my Grit Guard pad washer and re-filled it with fresh water and some Snappy Clean pad cleaning solution
I started with the Gloss It 1 step polish and green double sided pads
You can see the paint under the Infratech pretty well, here are some fine swirls and haze


")