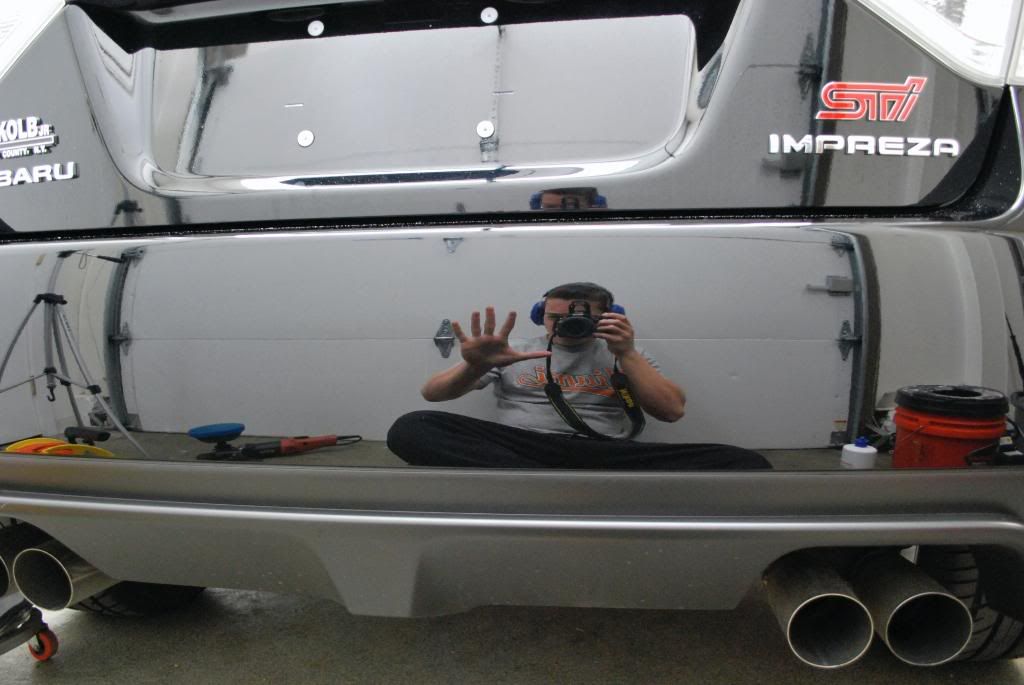
Im really getting bored doing STi's but heres another one anyways...
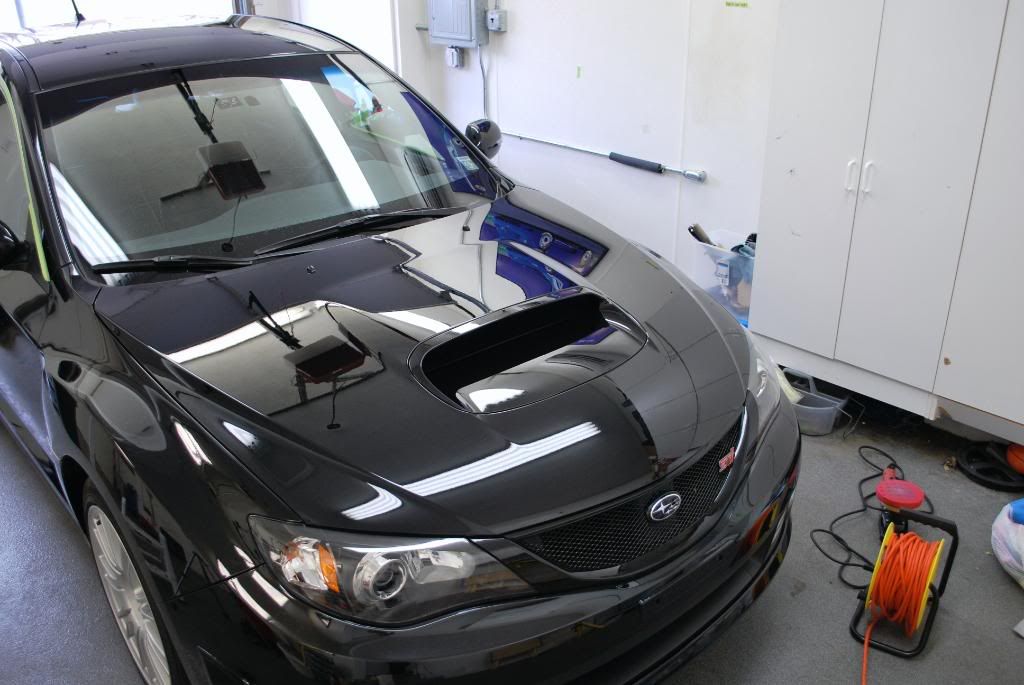
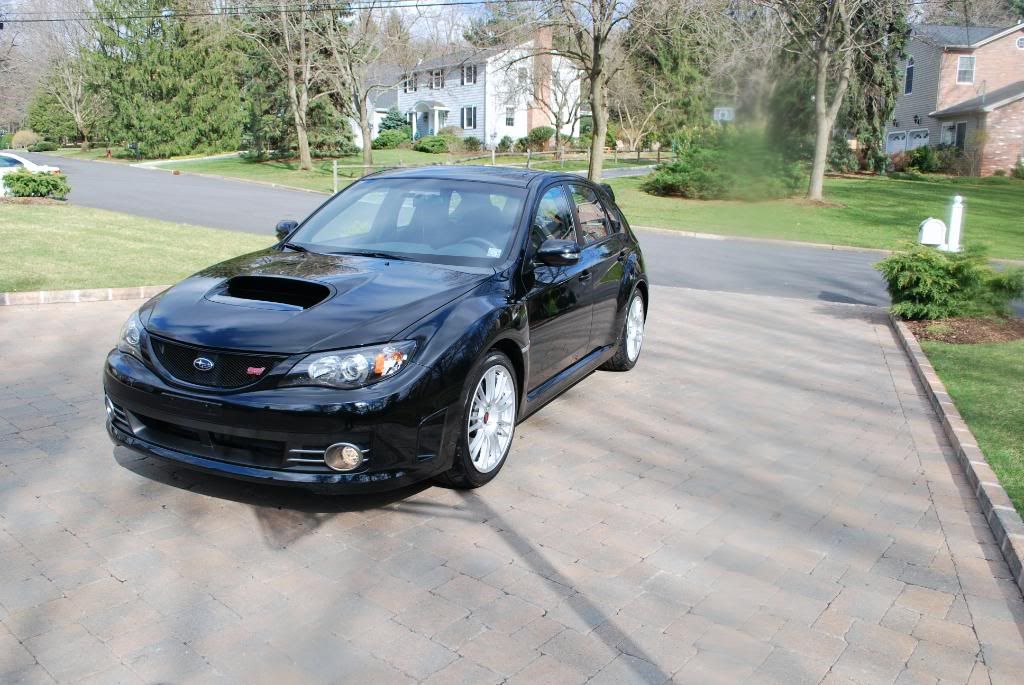
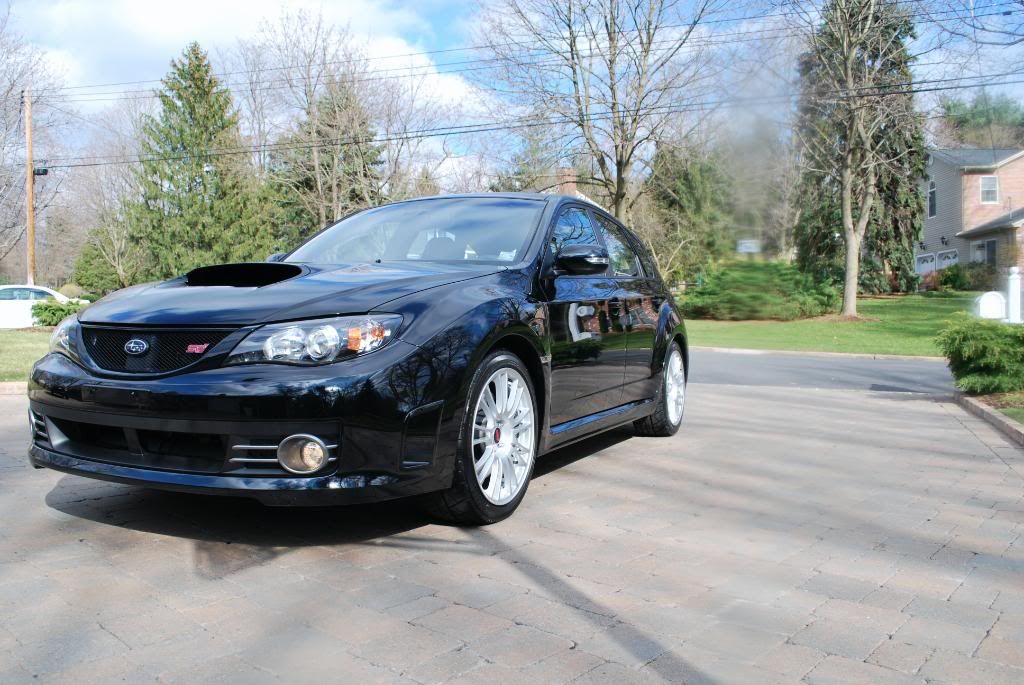
Brand new 09' obsidian black STi. The car was dealer prepped and it seems they did a horrendous job, but of course I would expect nothing less
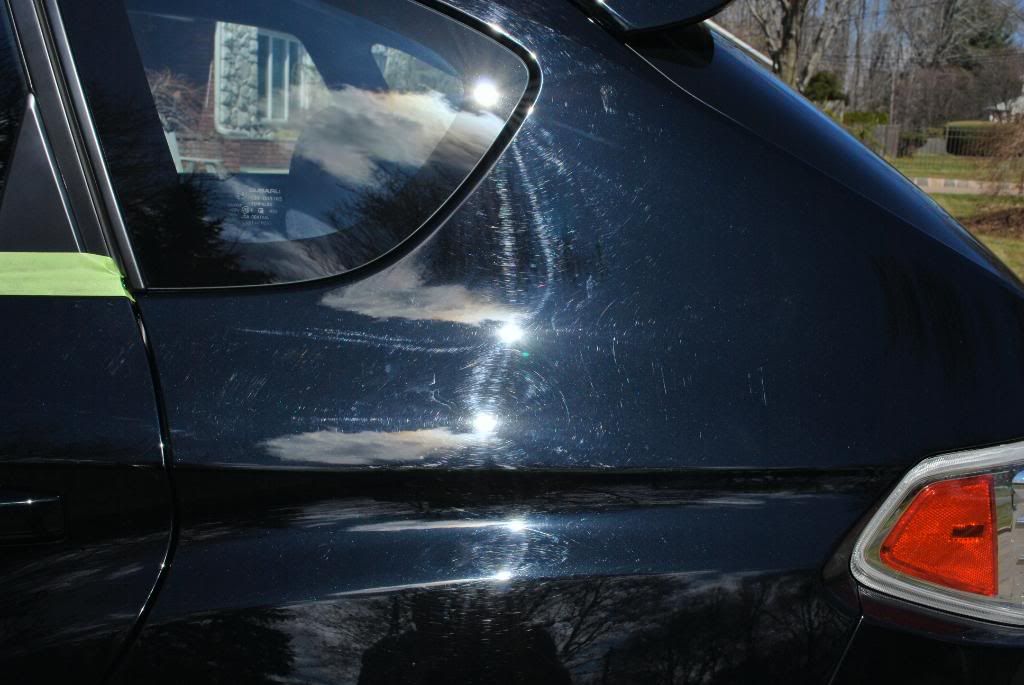
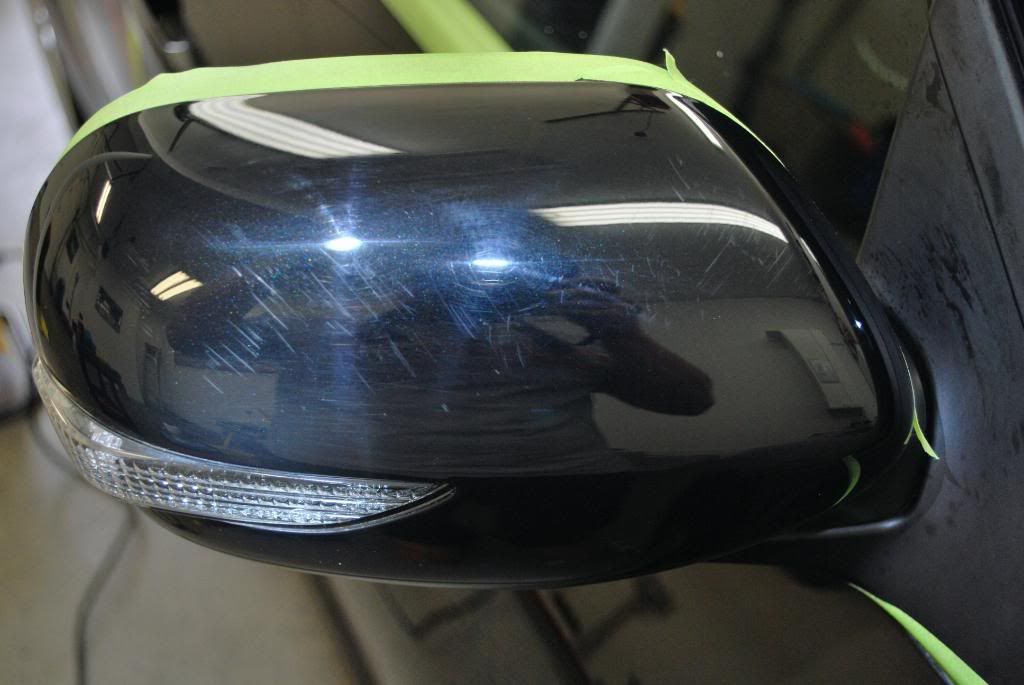
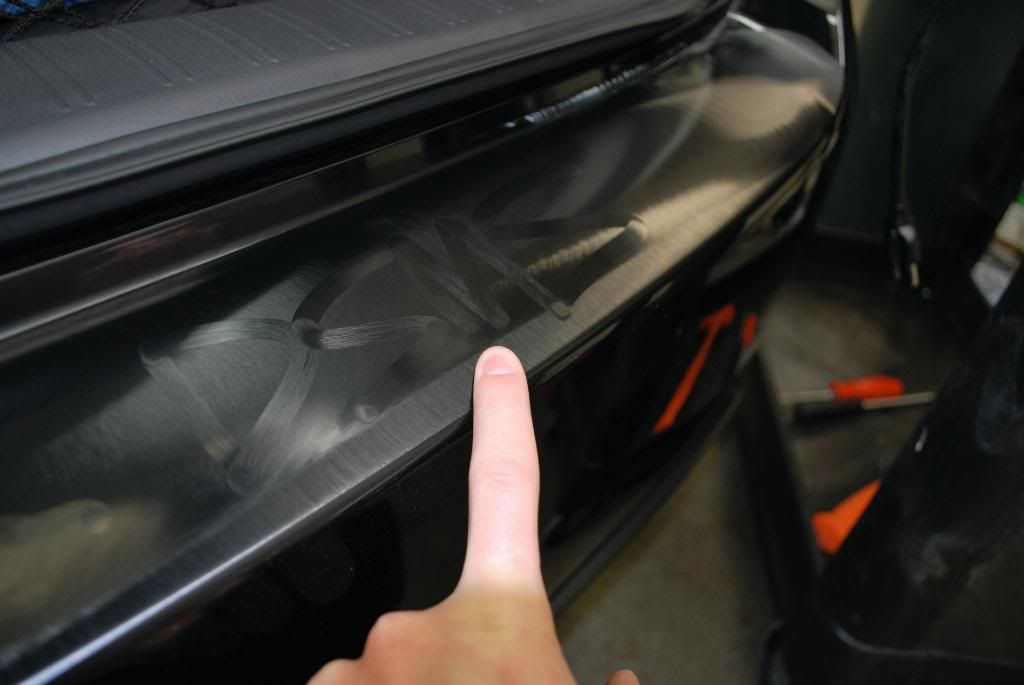
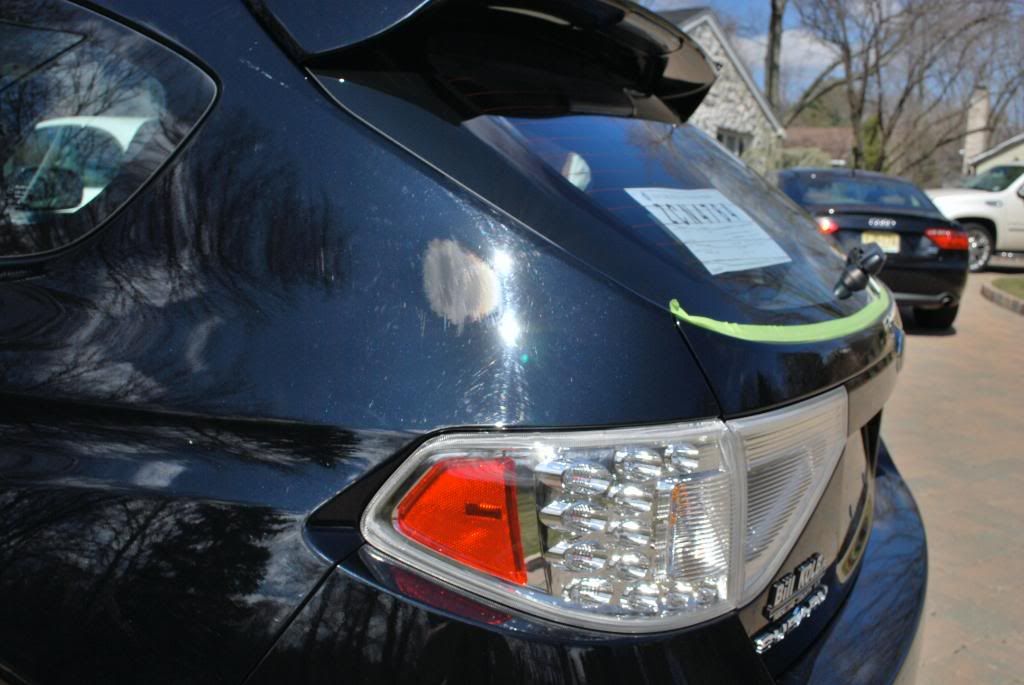
Overall the car was pretty well hacked, aside from the standard wash induced fine swirls were deep RIDS, holograms and even sand scratches, which could have came from the factory. Its bad when dealers prep cars that dont already have softee clears but when you mix dealer prep work with a soft clear coat , well thats just a recipe for trouble :nixweiss
No wash process pics so straight to the correction work and as I like to say :
On with the detail...
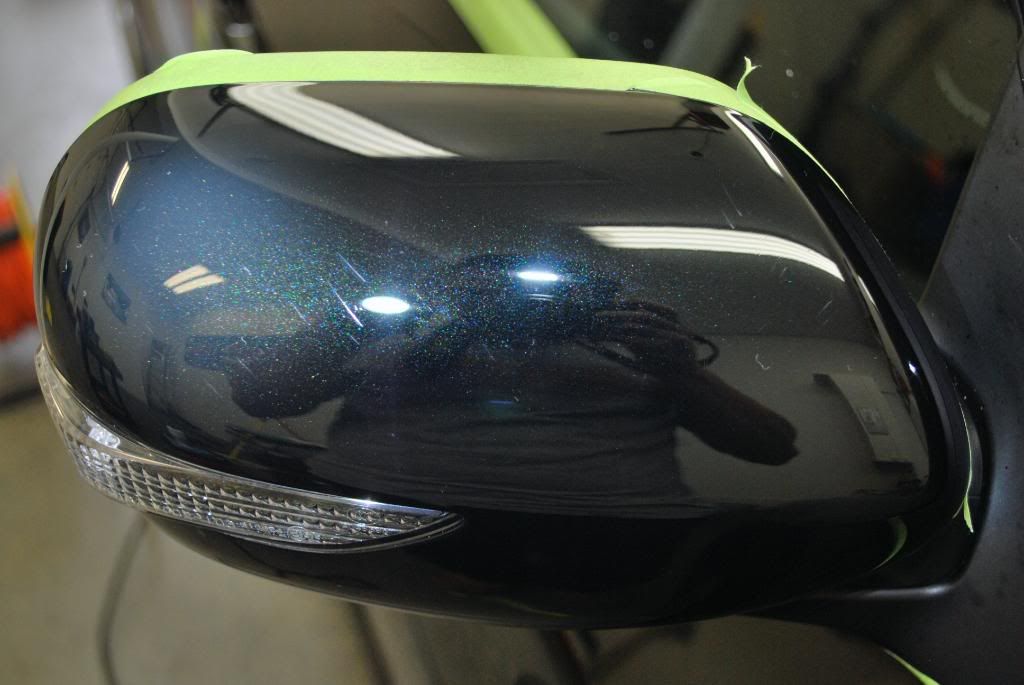
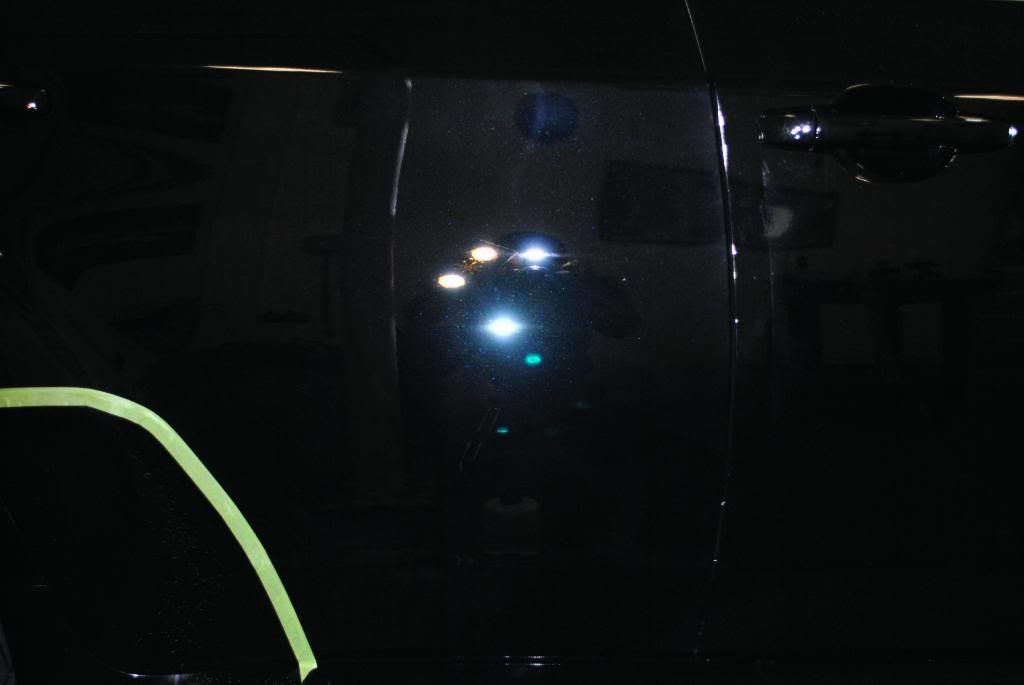
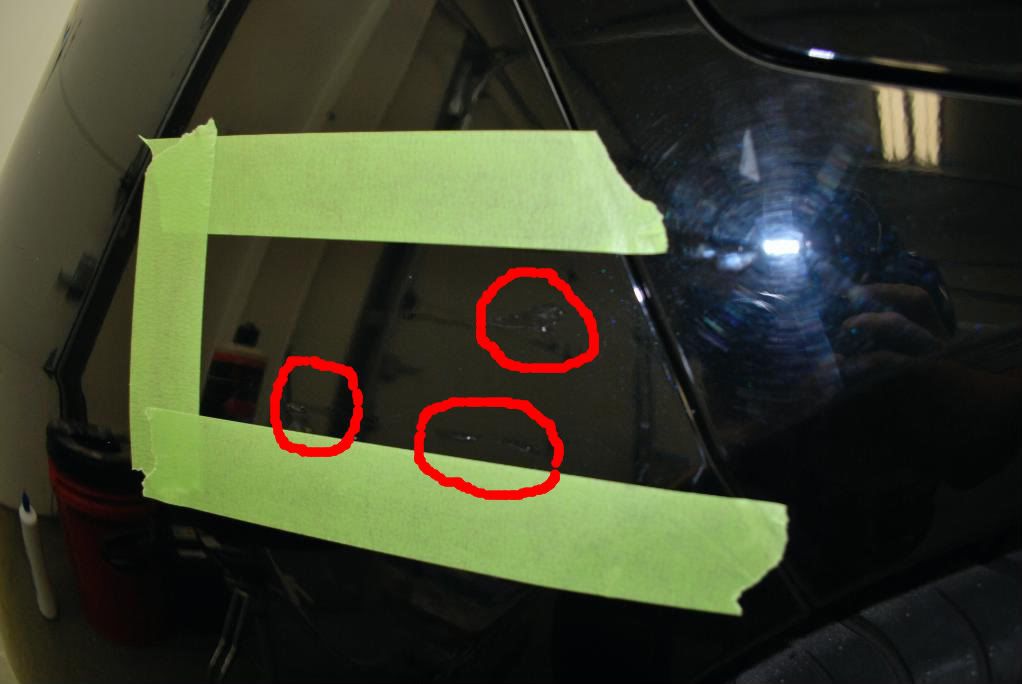
After the wash and clay
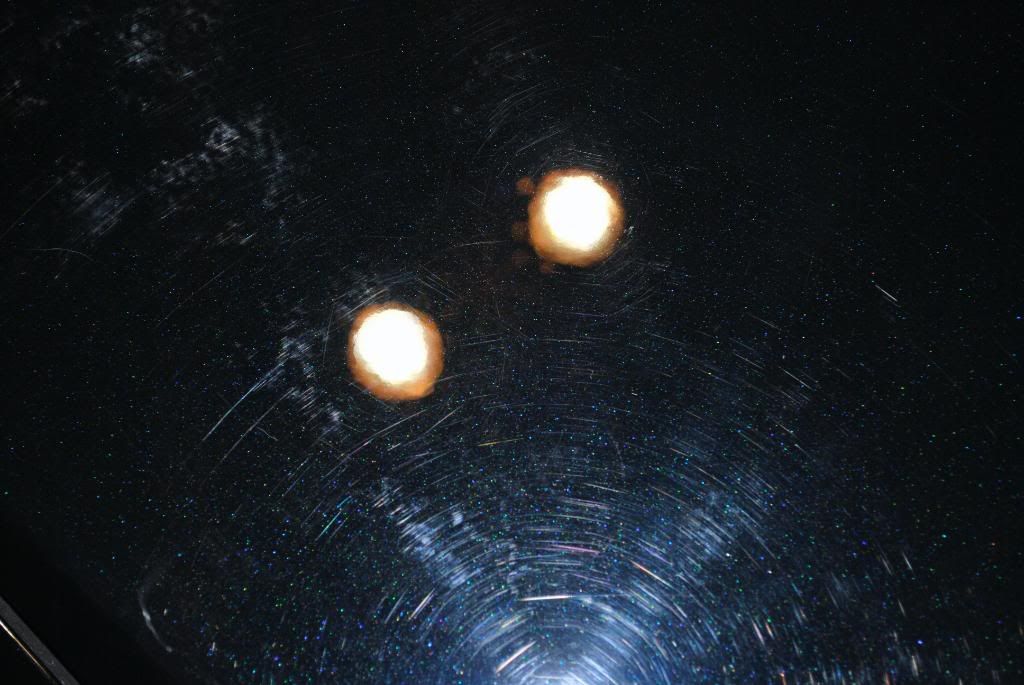
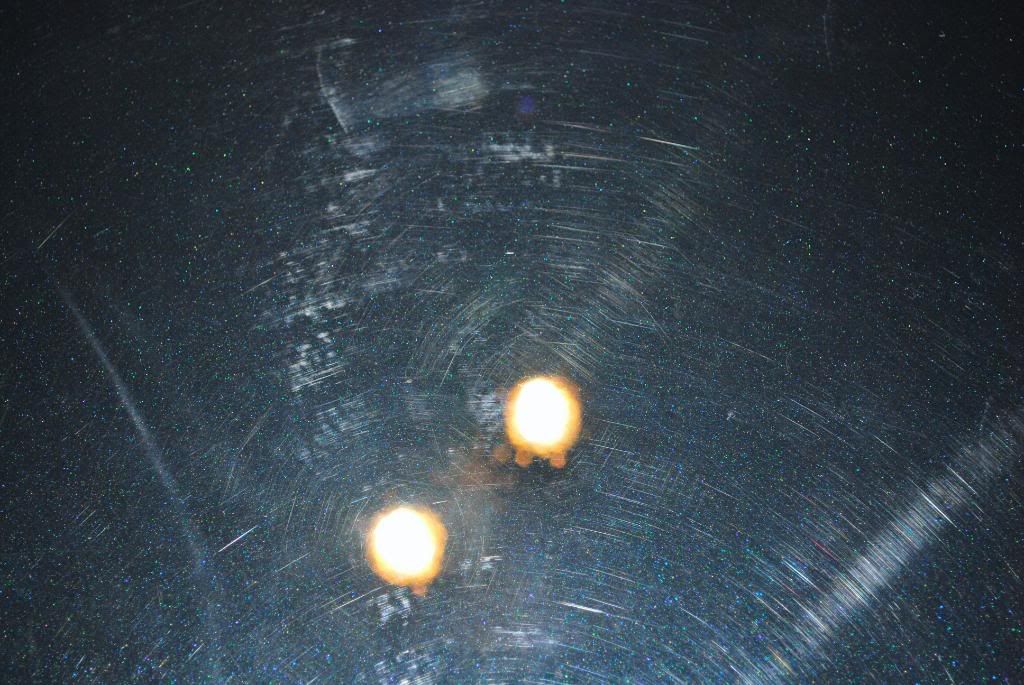
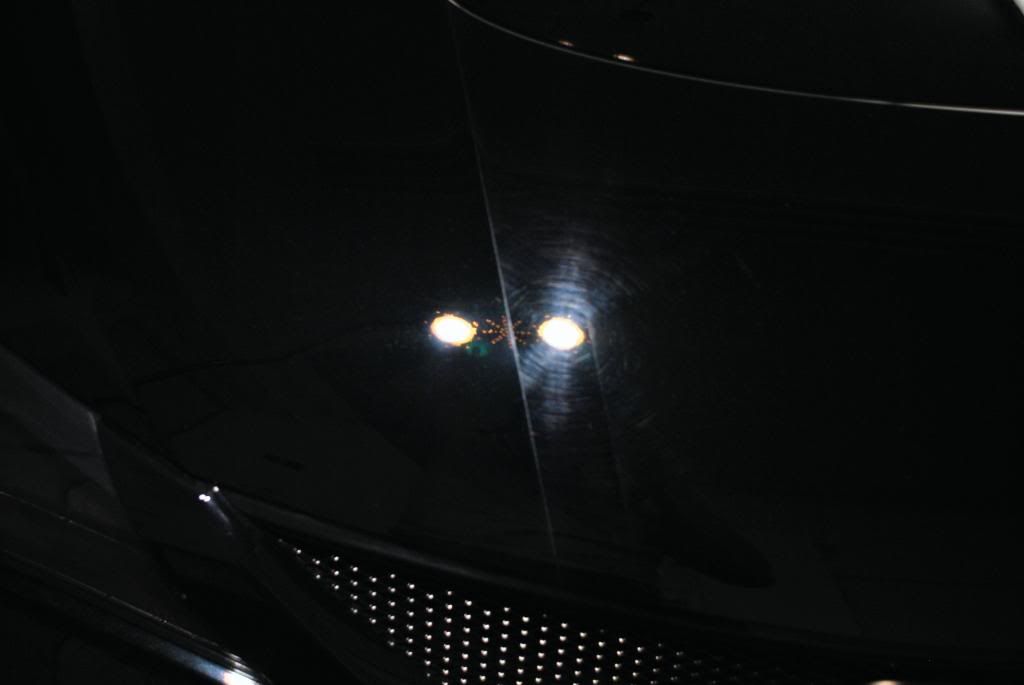
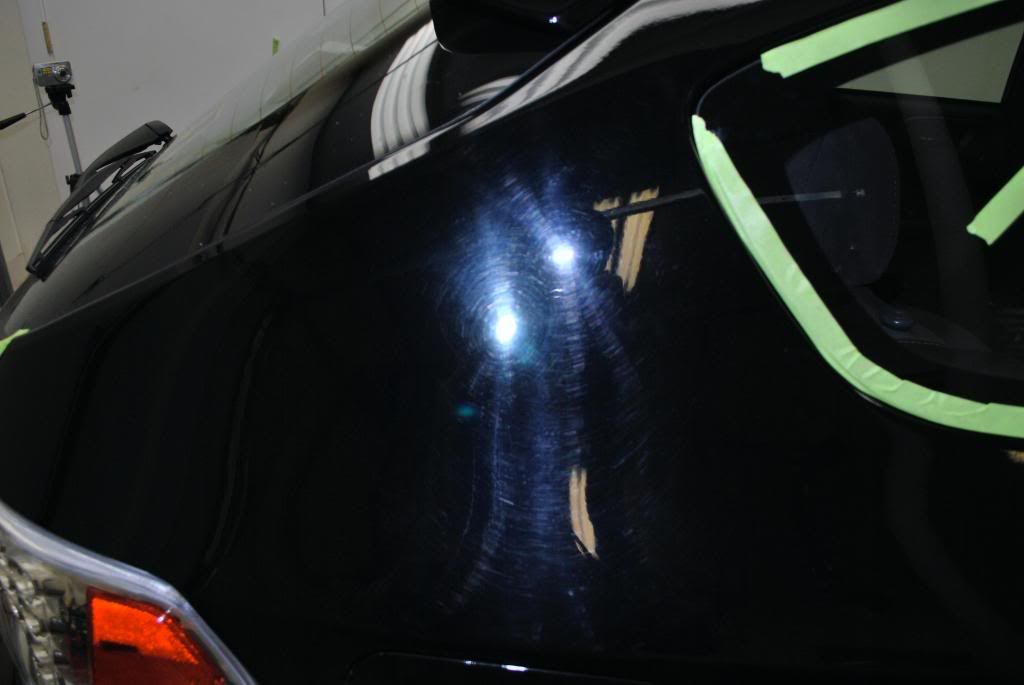
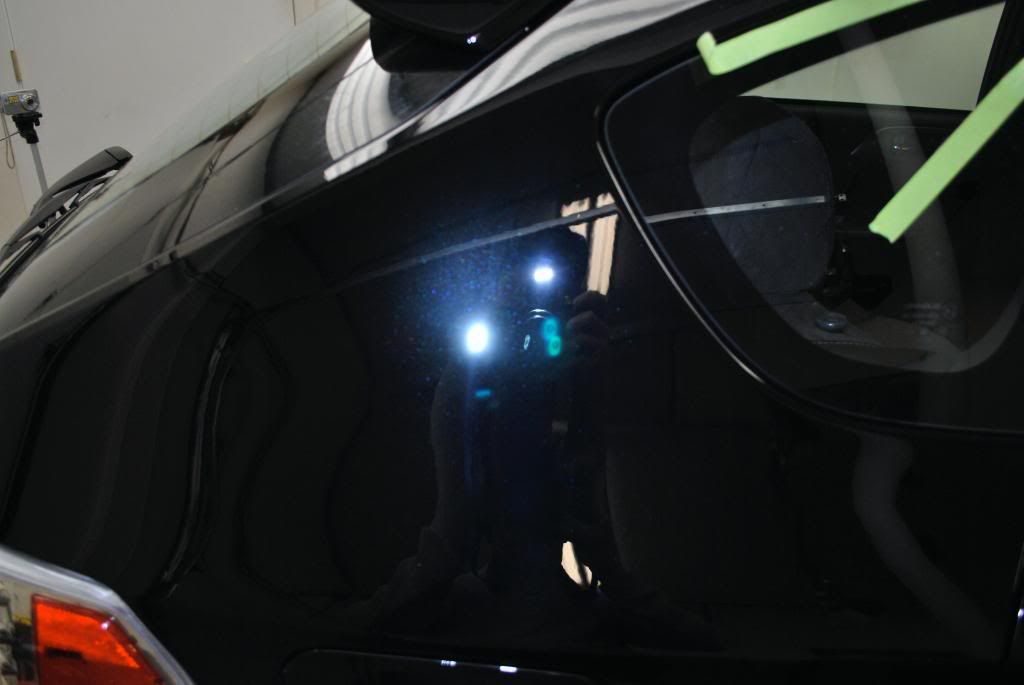
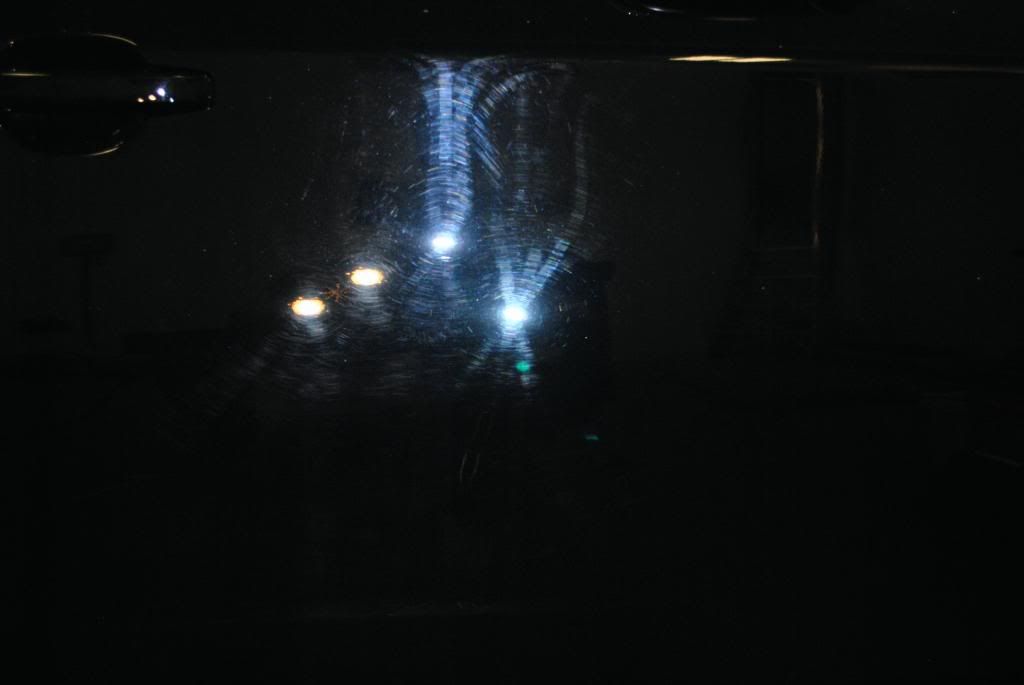
RIDS and sand scratches under the infratech
I took a quick video of the defects under the fenix LED to give you a better idea of the damage as it was difficult to capture everything on camera
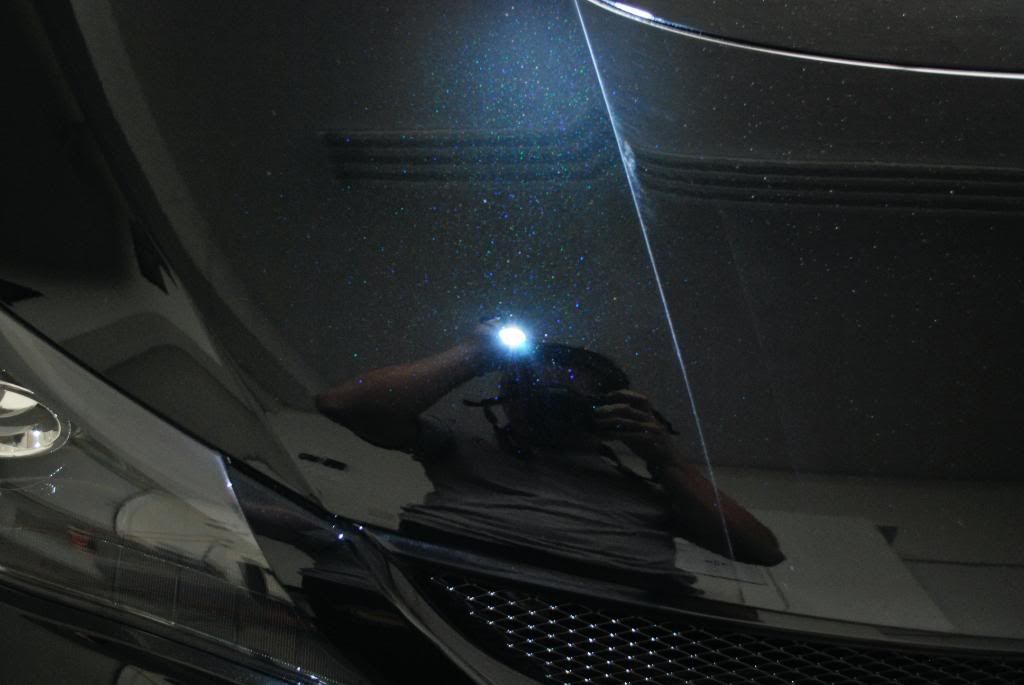
I started with the hood as usual. The car was booked as a single step 80% paint correction detail but upon further inspection a 1 step would not have been sufficent to correct and finish the paint.
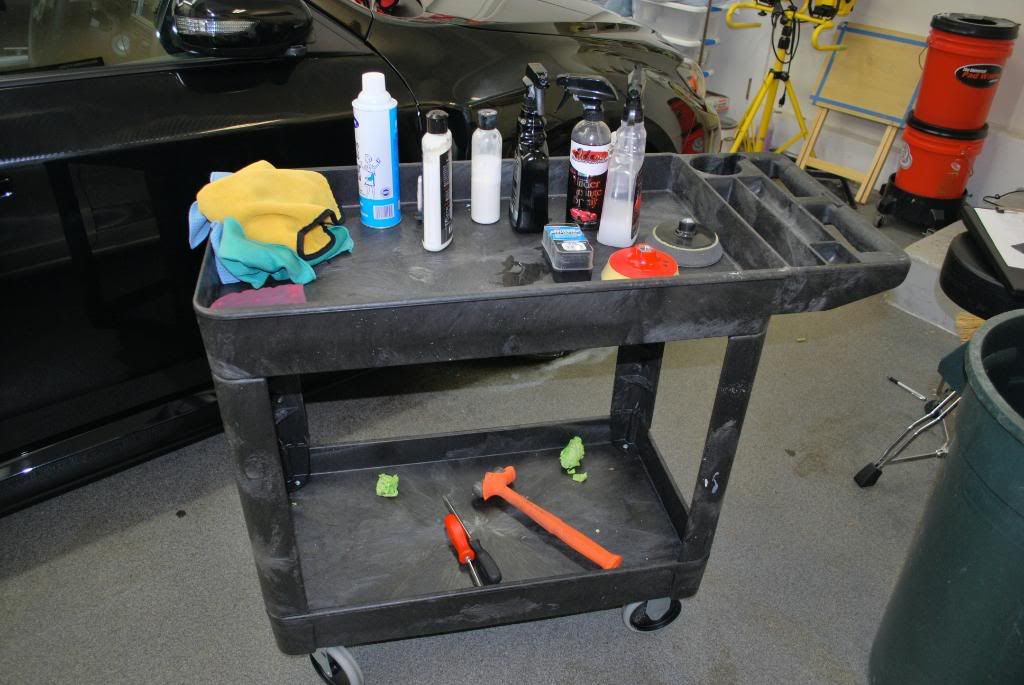
I landed on a combo which worked very well for this soft and in some areas sticky black paint
- Gloss It extreme cut compound w/ GI green pre-polymer polishing pad or yellow pp pad
- Menzerna PO85rd w/ GI pre-polymer blue finishing pad
GI "EVP" was used to prime the pads and extend the work time of both of the above products. I found that using the GI extreme cut w/a polishing or heavy polishing pad rather than a dedicated cutting pad helped to reduce the amount of swirls and holograms in step 1 alone, which of course made for easier cleanup later on when using the PO85rd. To make up for the softer foams used I worked the extreme cut for an extra minute or so to ensure i got as much defect removed as possible before the finishing stage.
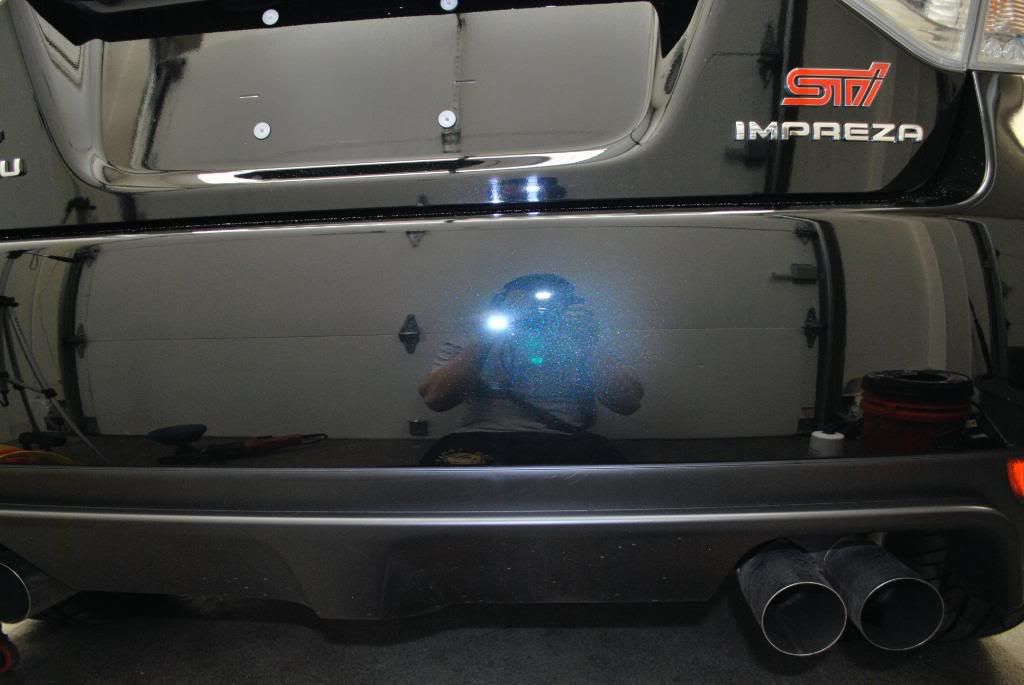
This car did not receive a 100% paint correction process but in 2 steps I was able to achieve about 95% pc which I was very pleased with.
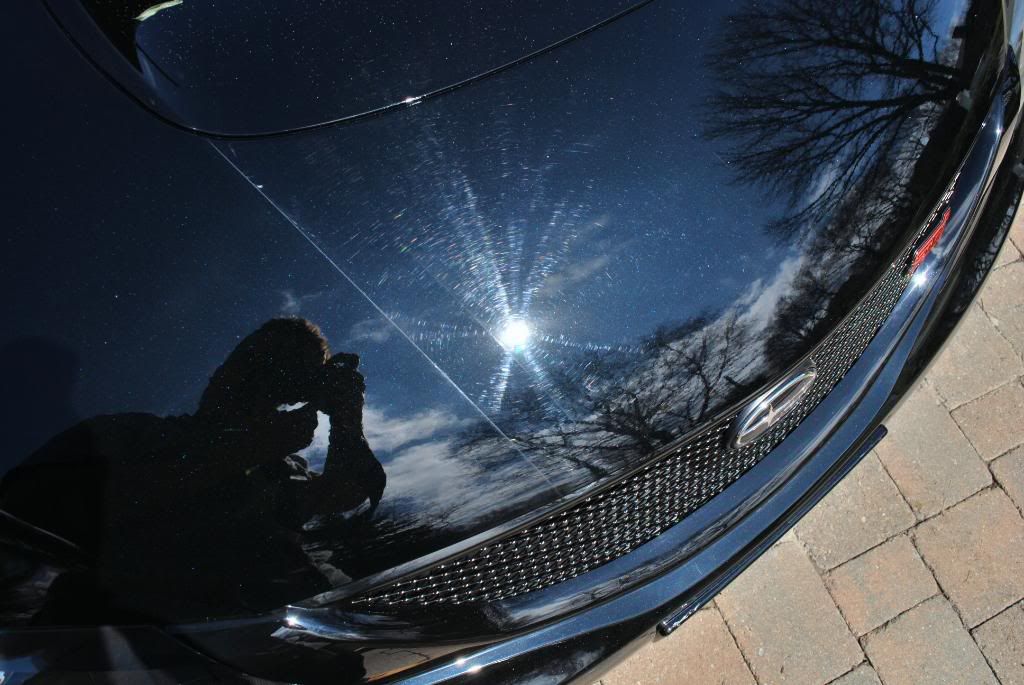
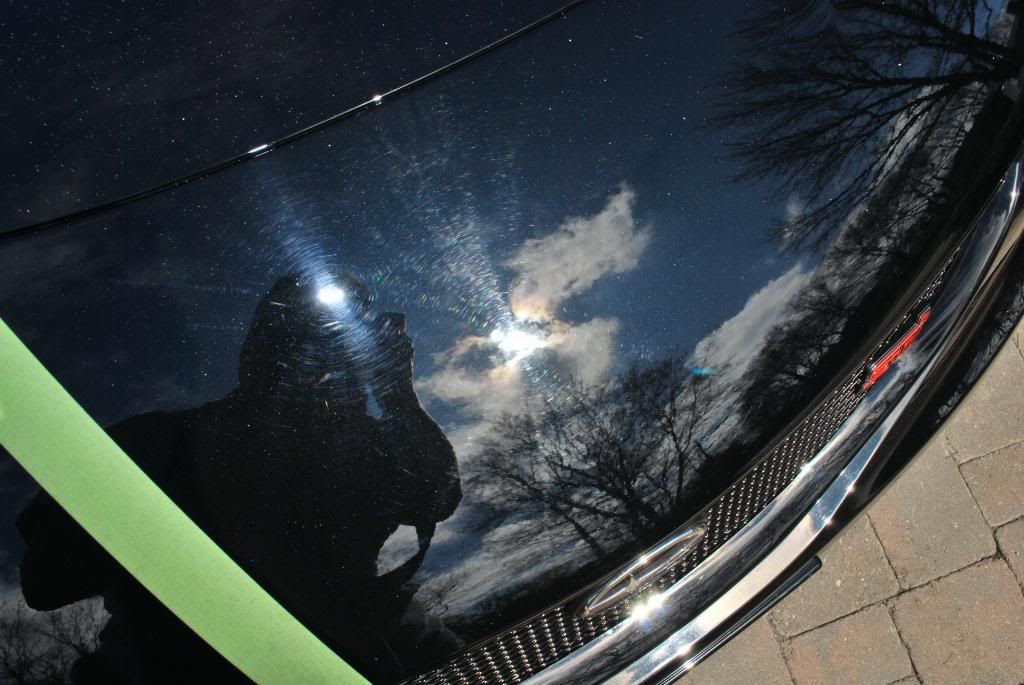
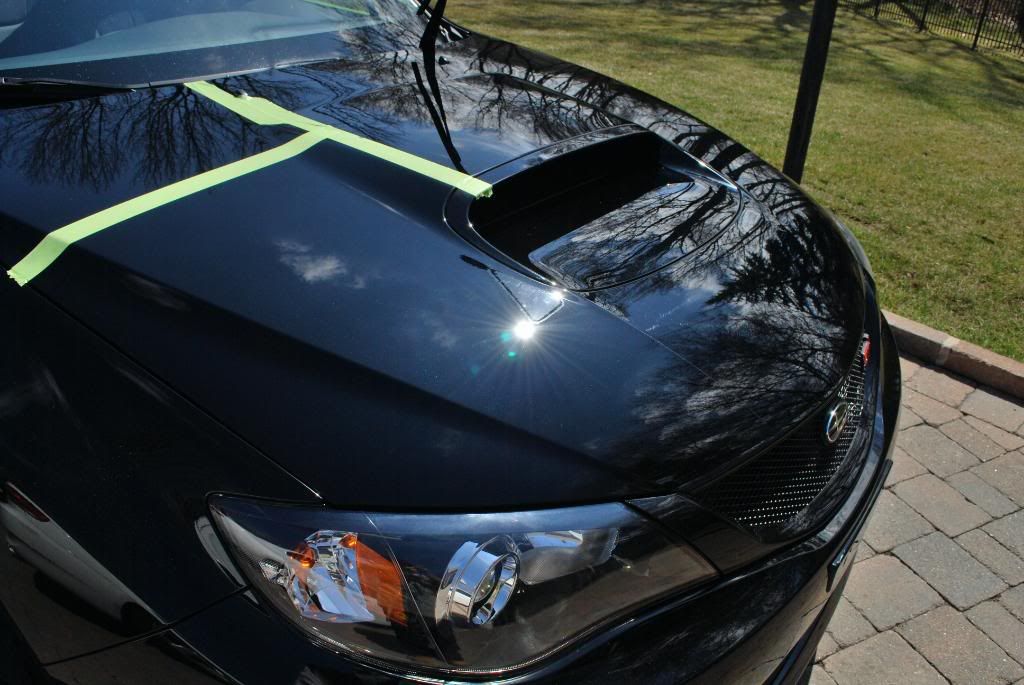
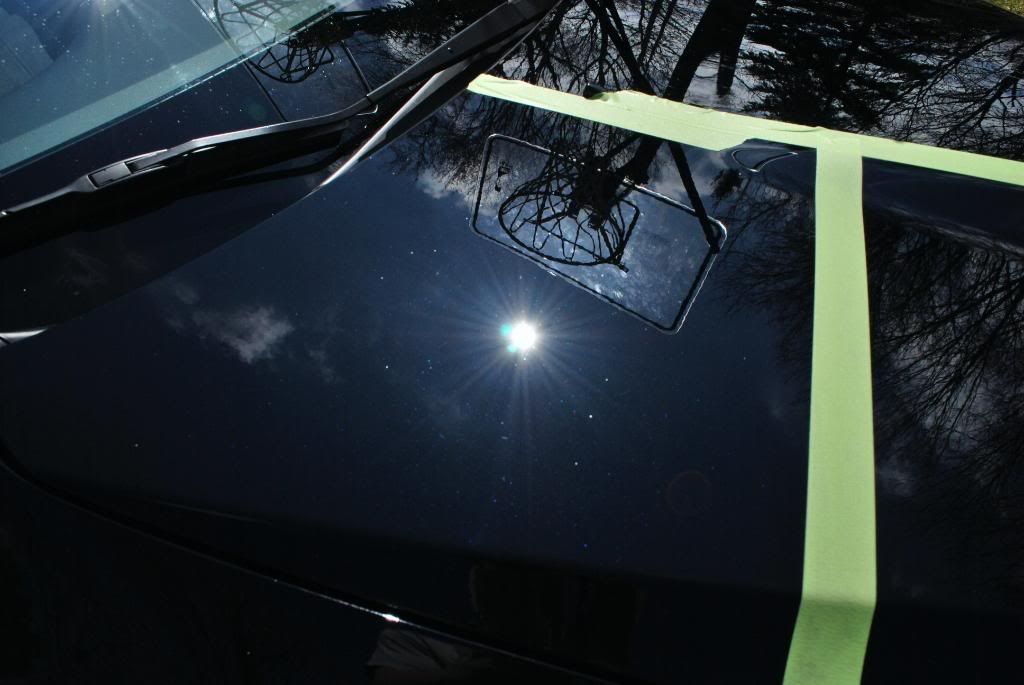
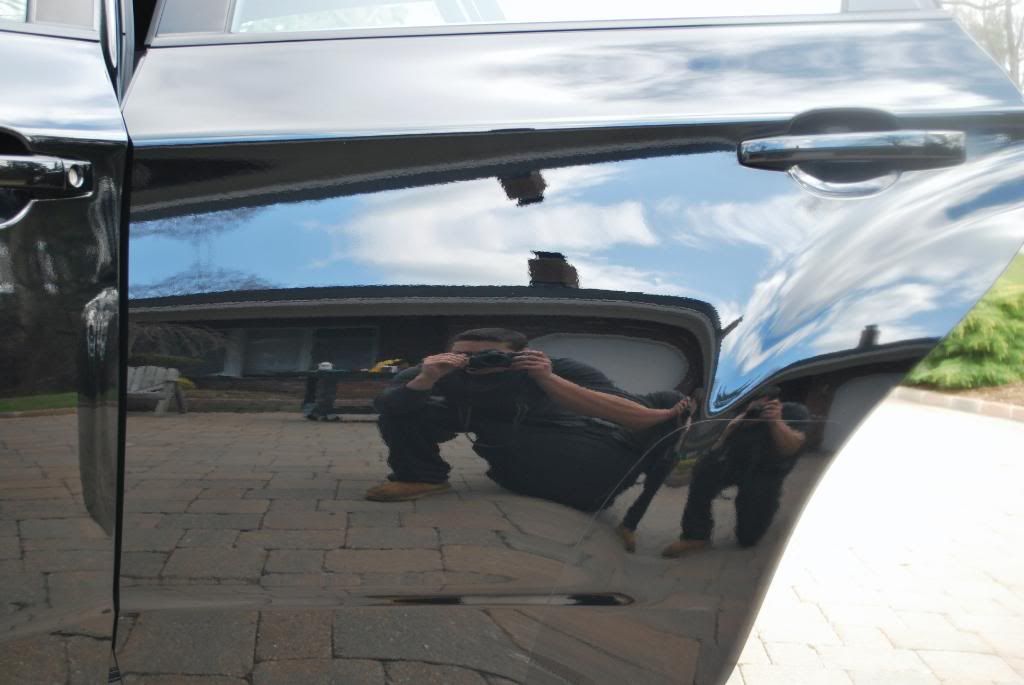
Some sun shots and 50/50s after 2 IPA wipedowns
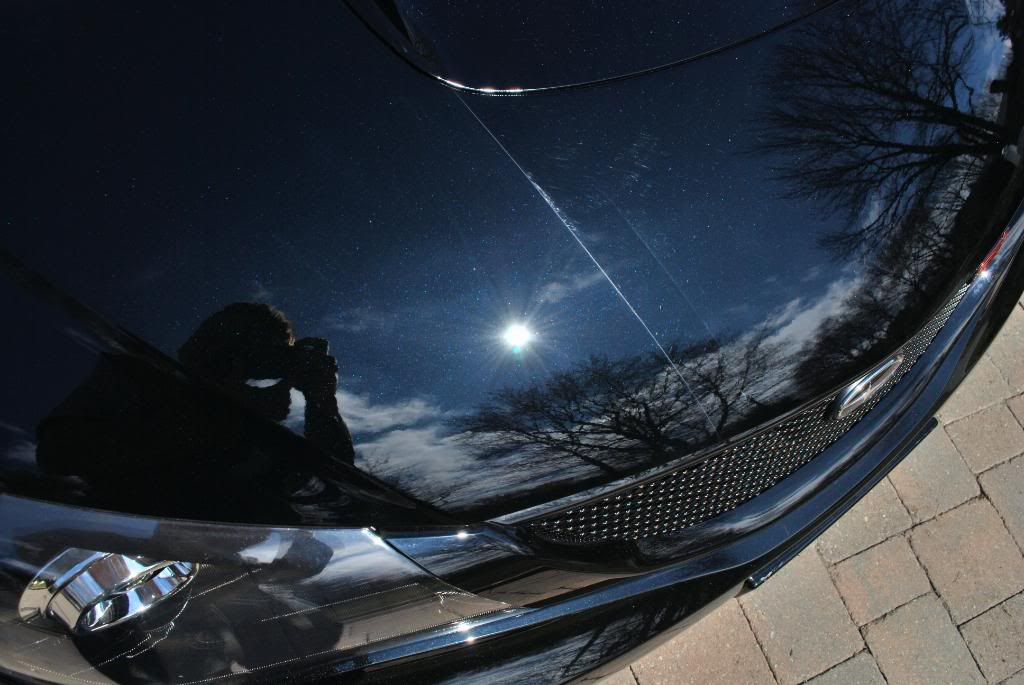
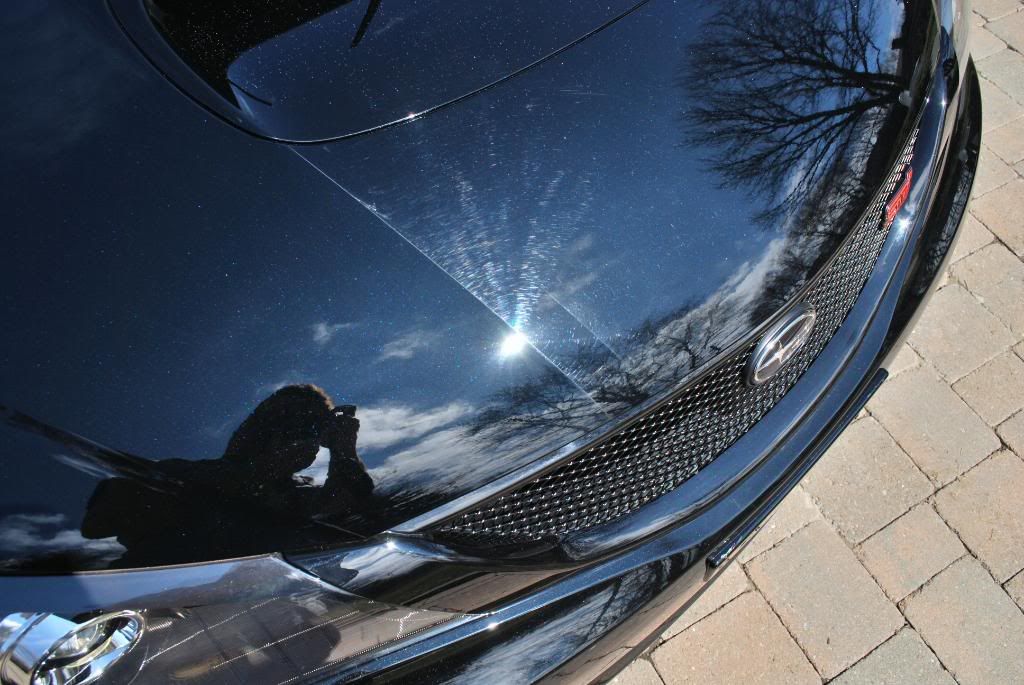
Before
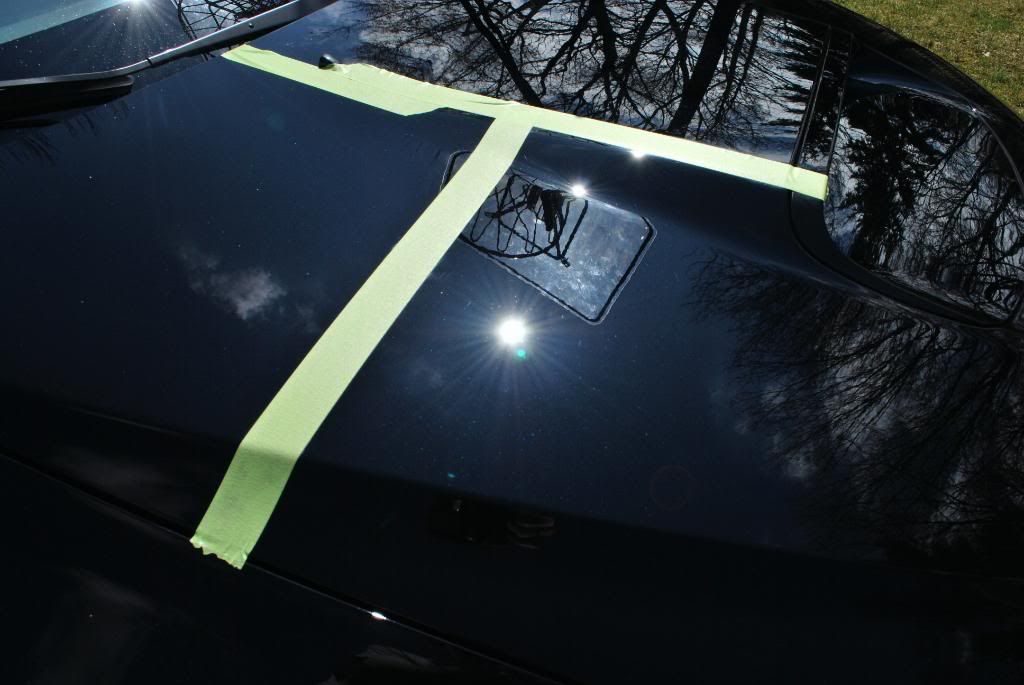
After

Notice there are about 3 fine RIDS which were not removed (to me those are the difference between a 95% and a true 100% paint correction job)
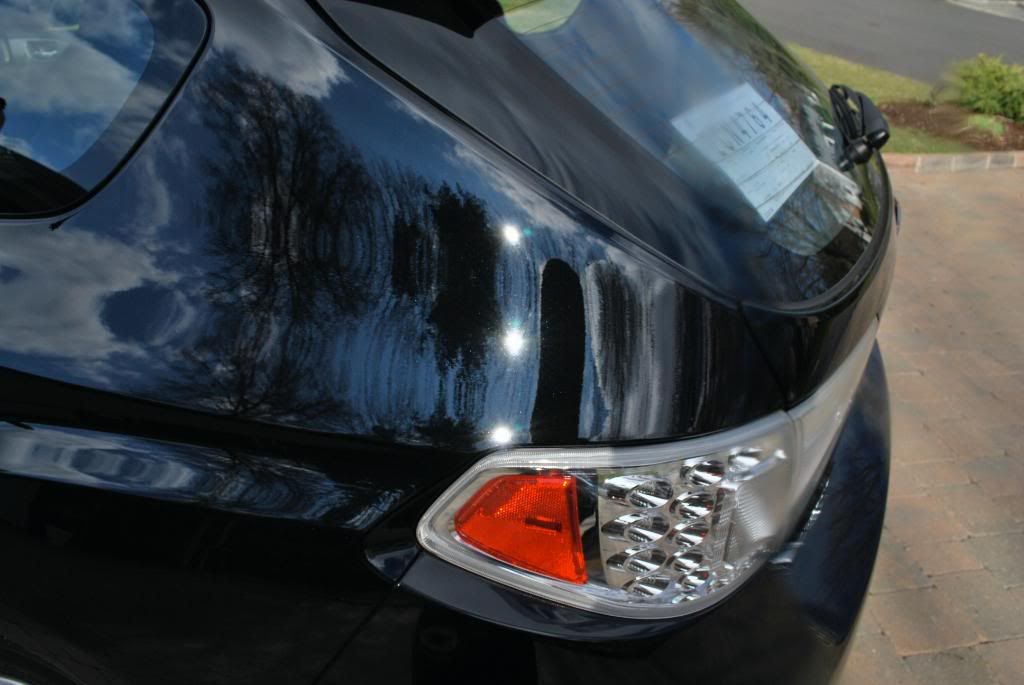
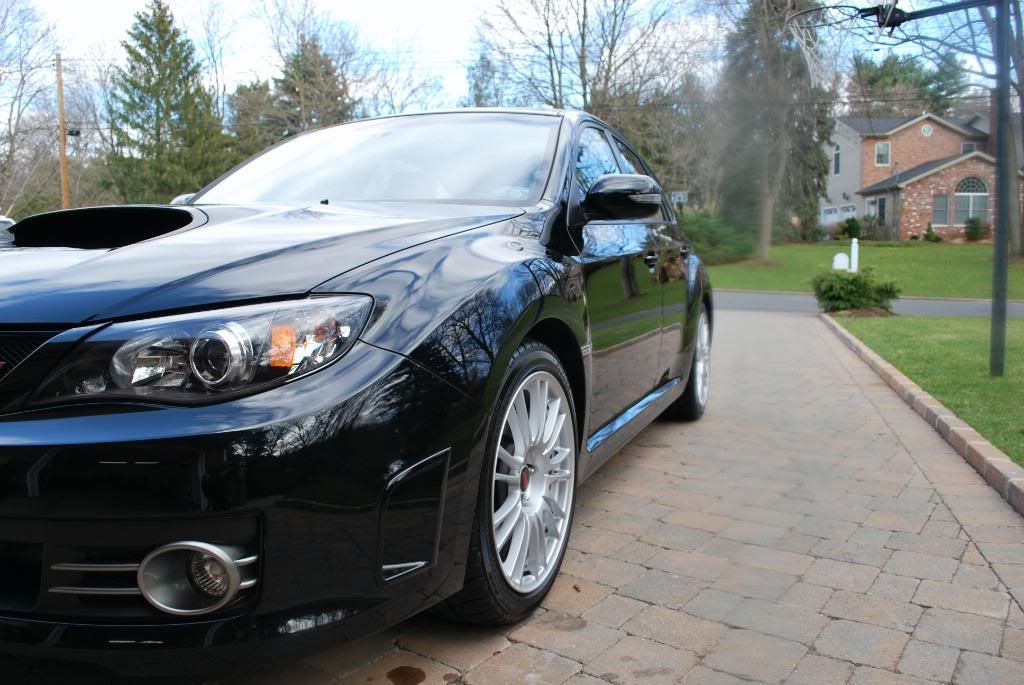
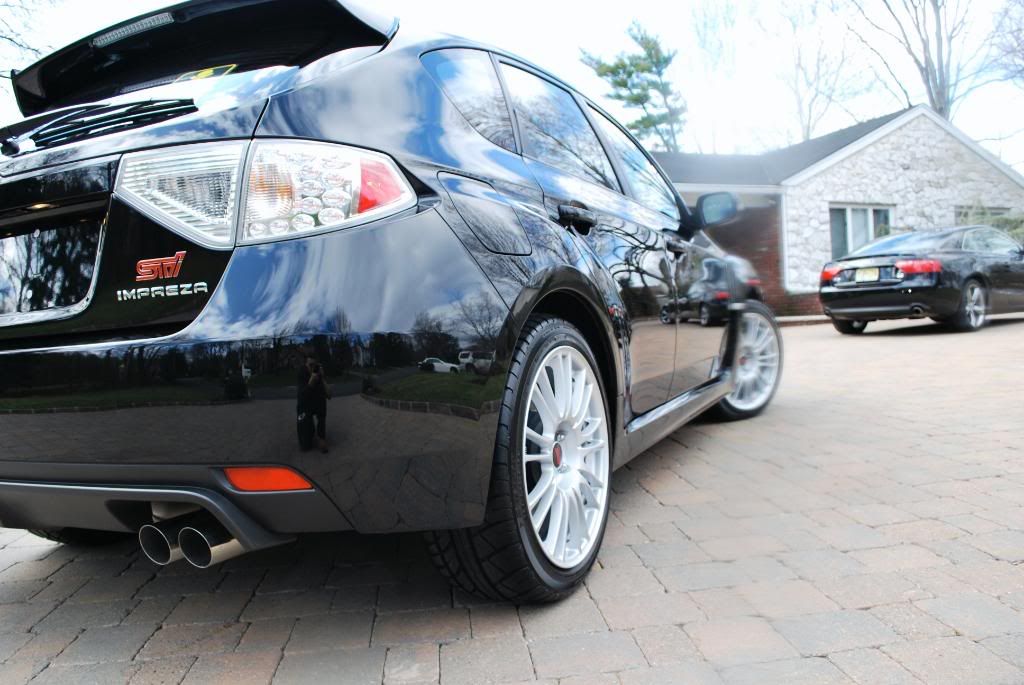
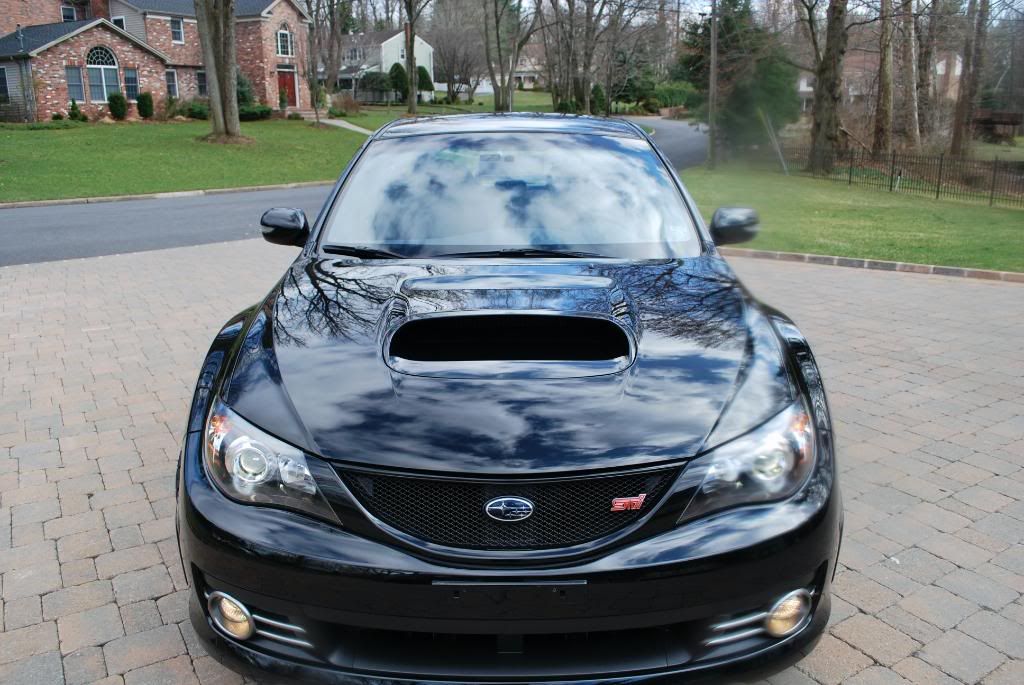
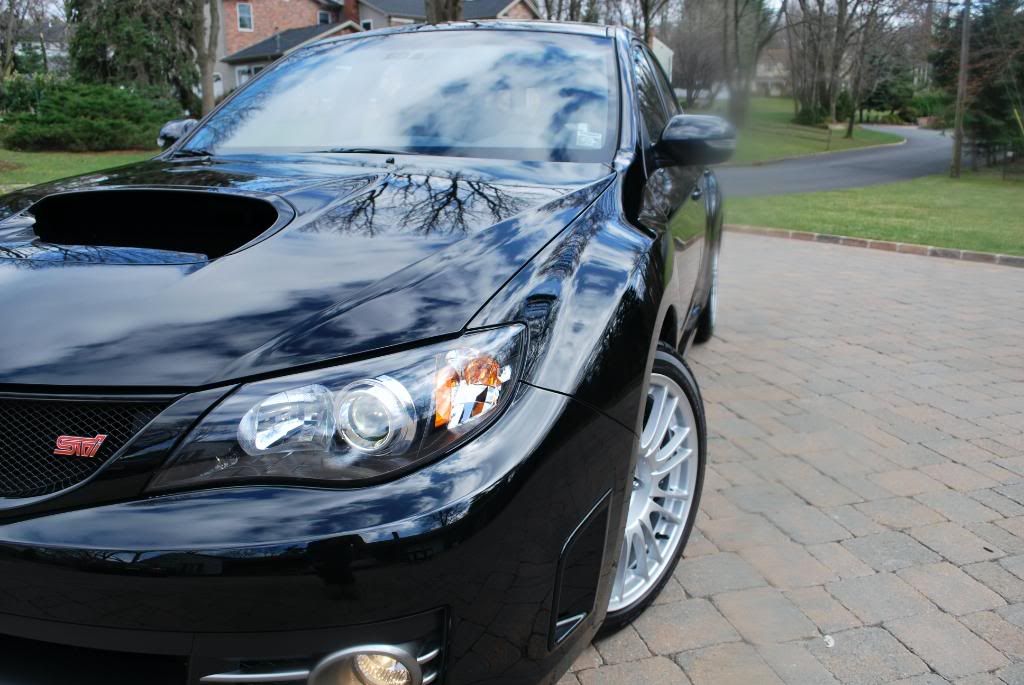
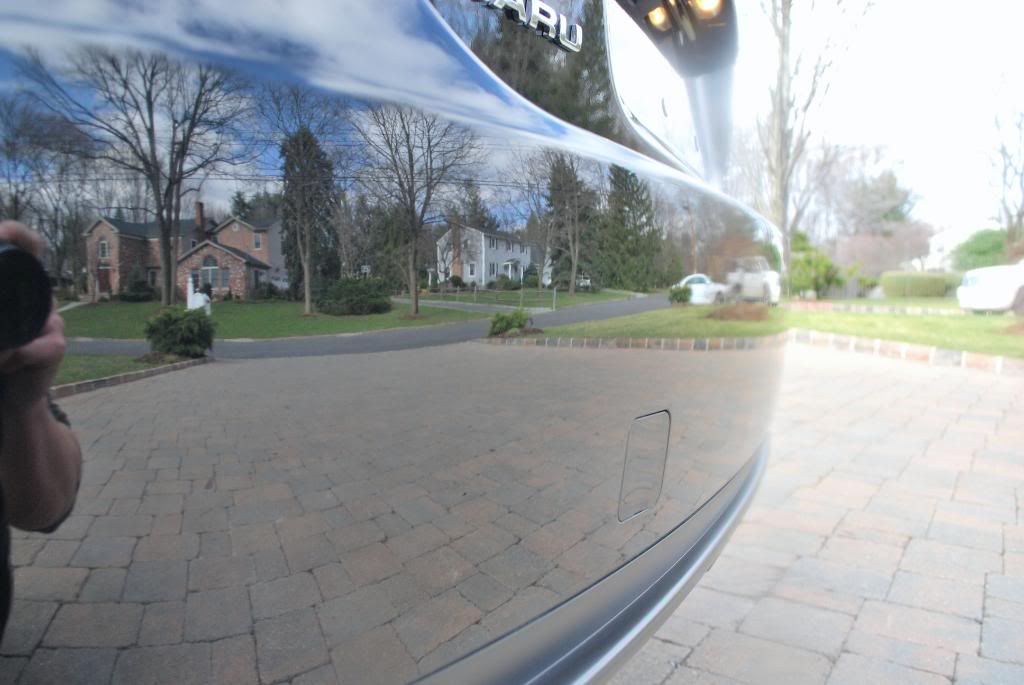
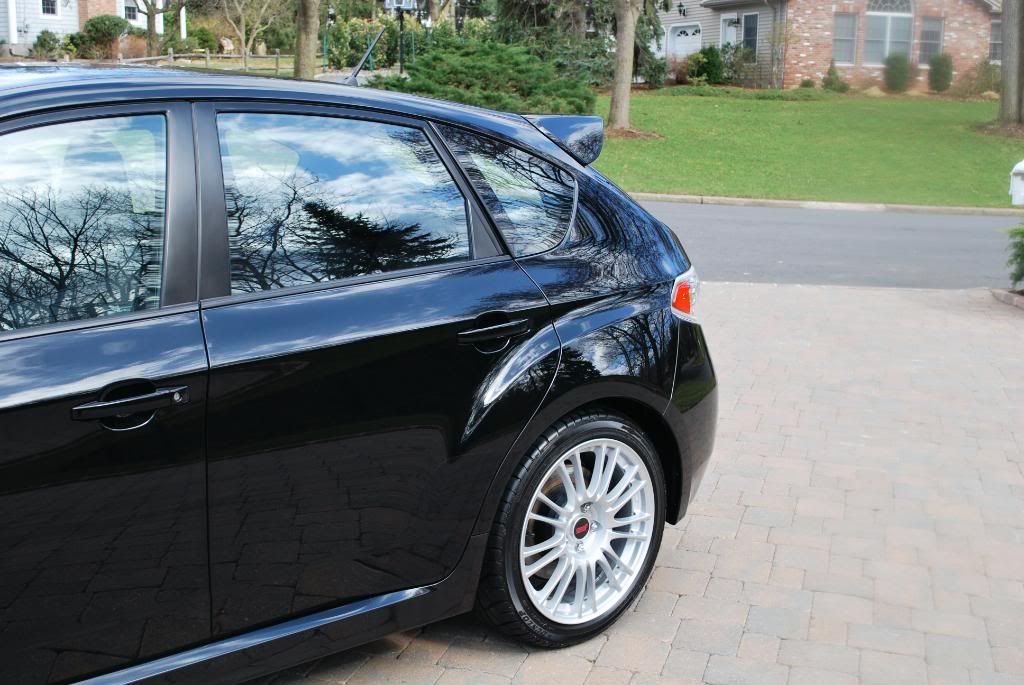
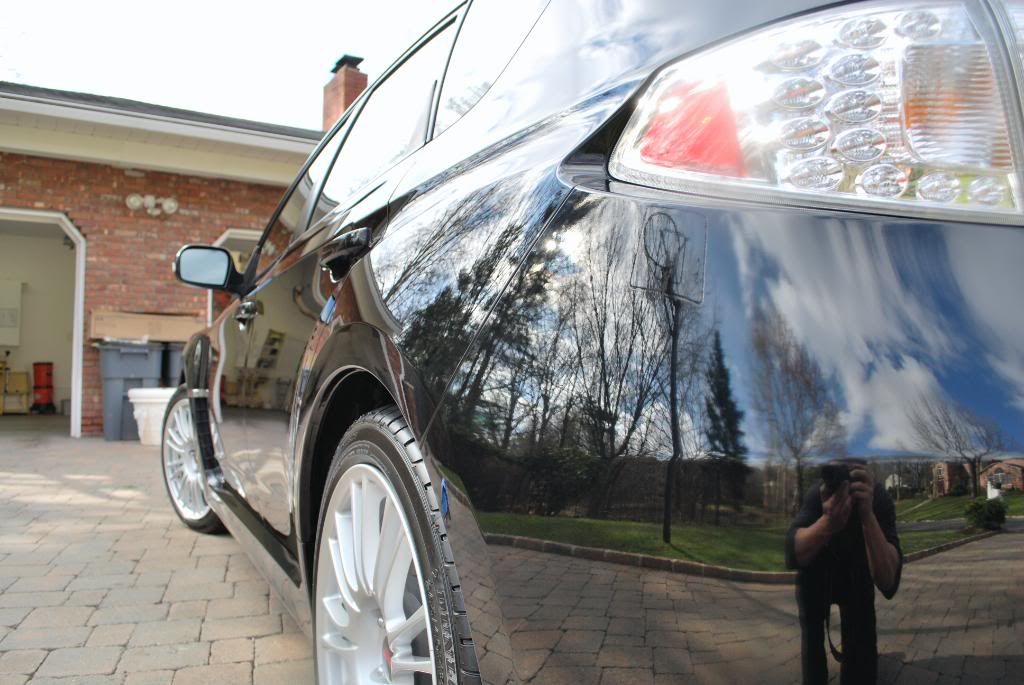
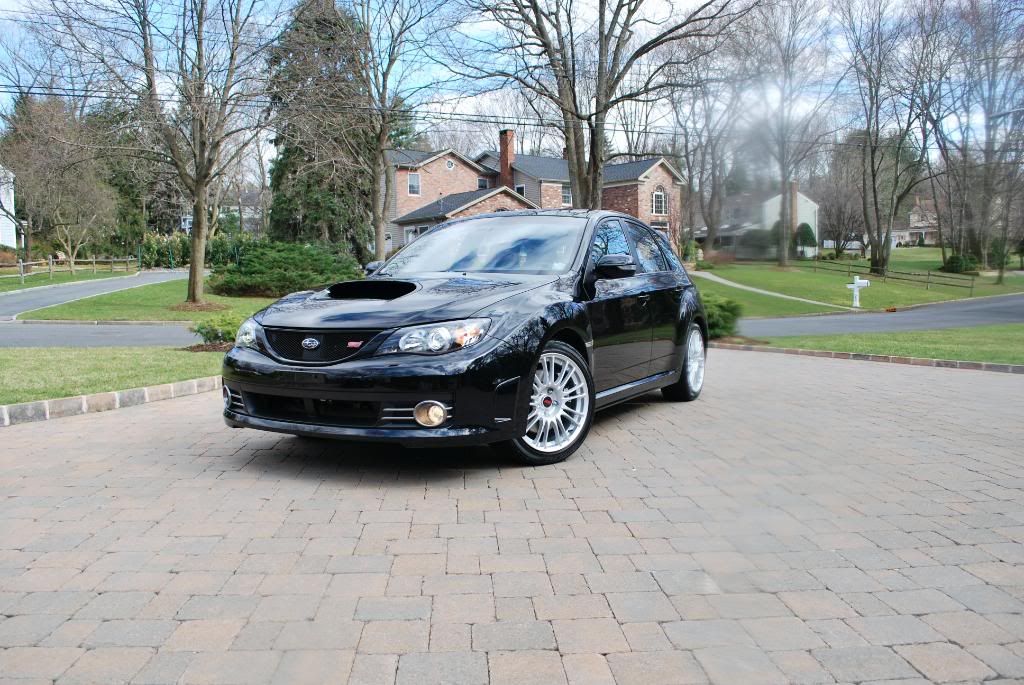
While the sun was out I took some shots of the rest of the car which was, well ,less than stellar...
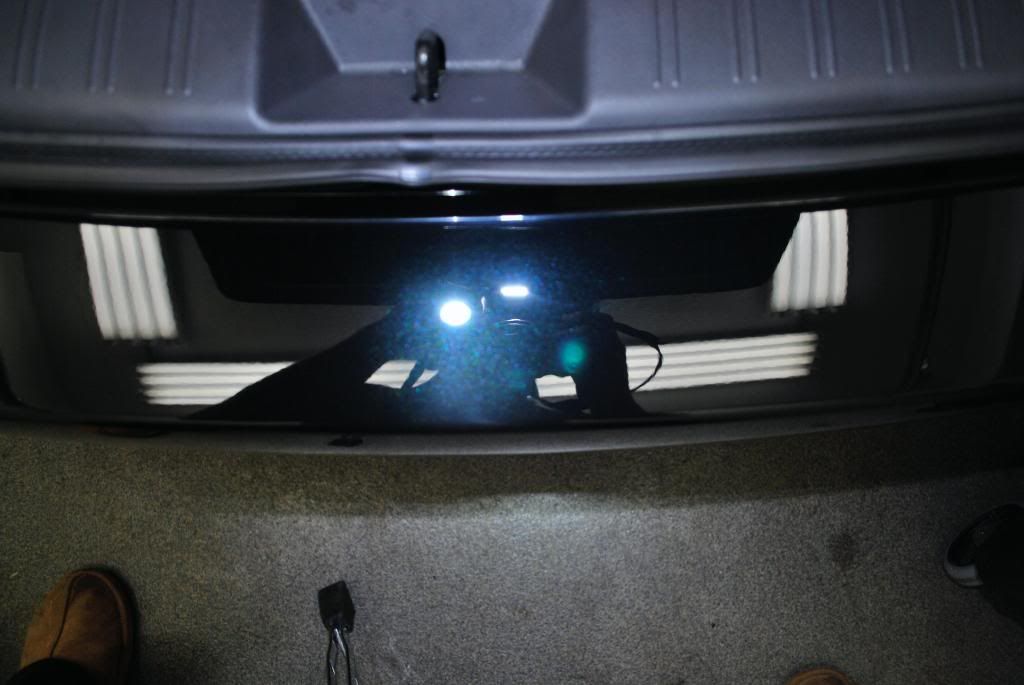
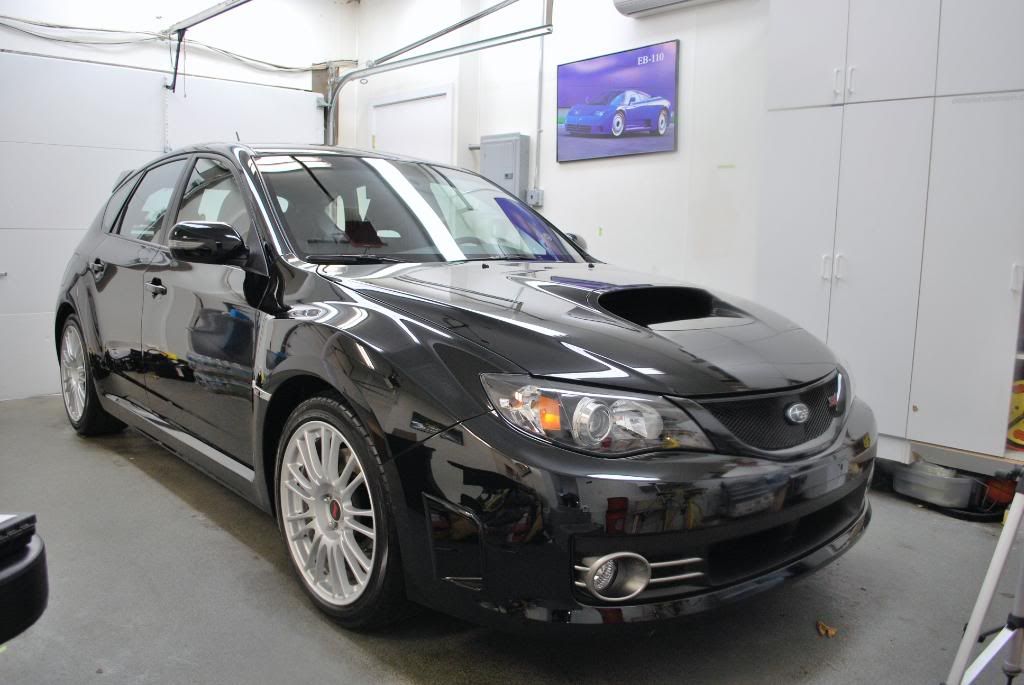
Some more 50/50 shots and video of the car back in the garage under the Fenix LED (awesome on metallics) and Infratech
Before

After
Another video this time a "real time" 50/50 under the fenix
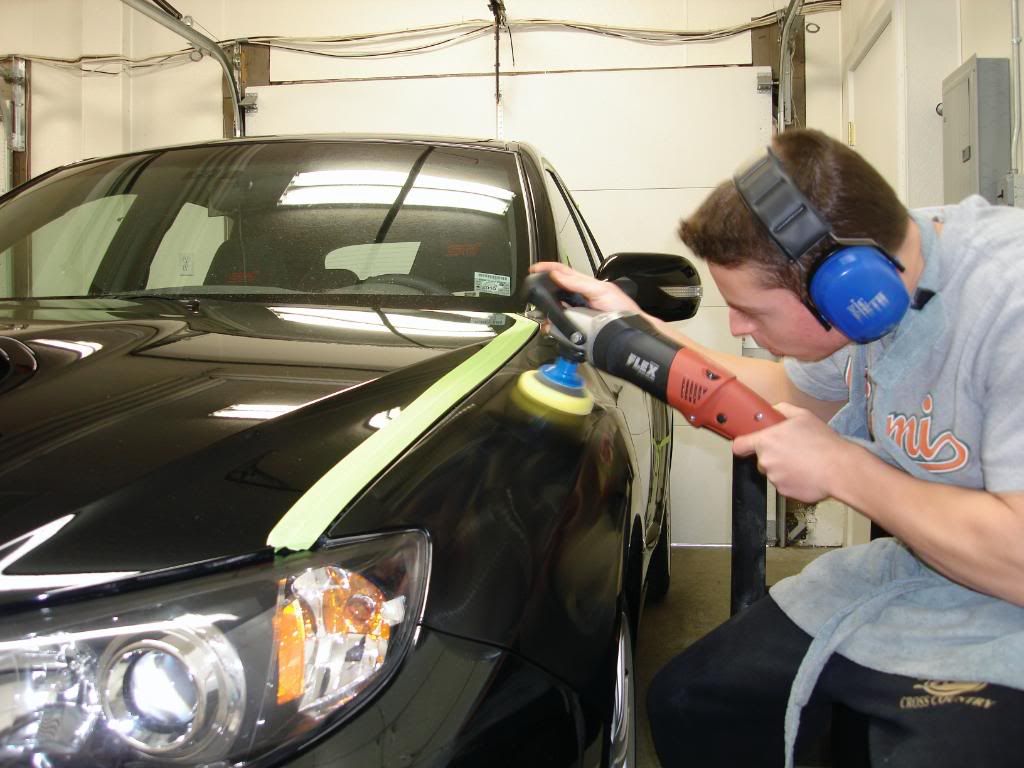
(yes my house phone was ringing, sorry about that... definately had my nerd ear protection on so I probably did not hear it )
)
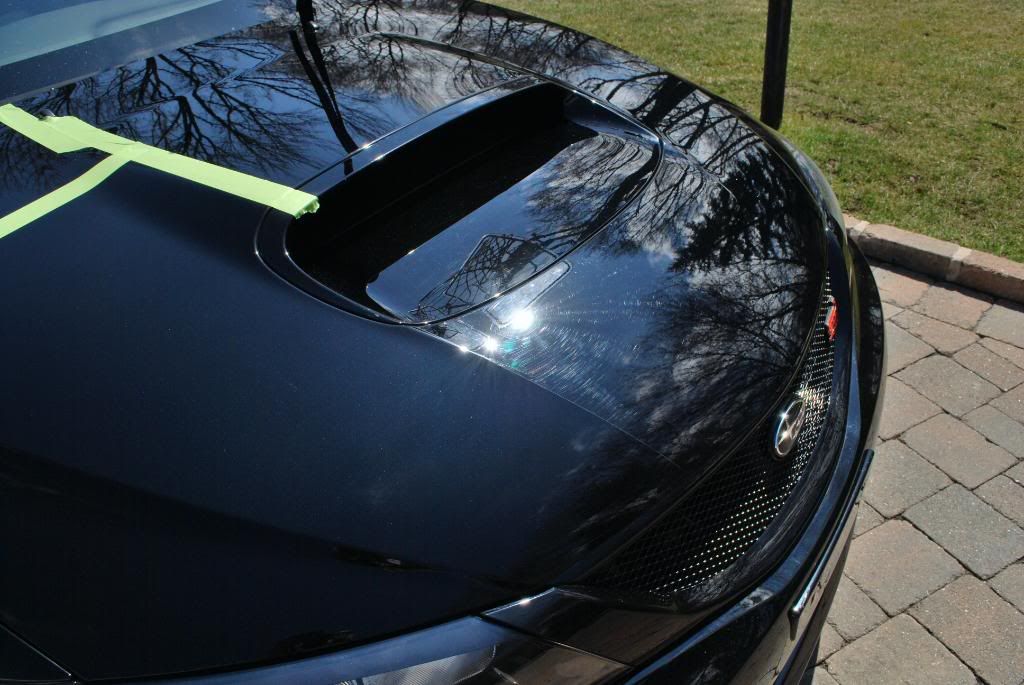
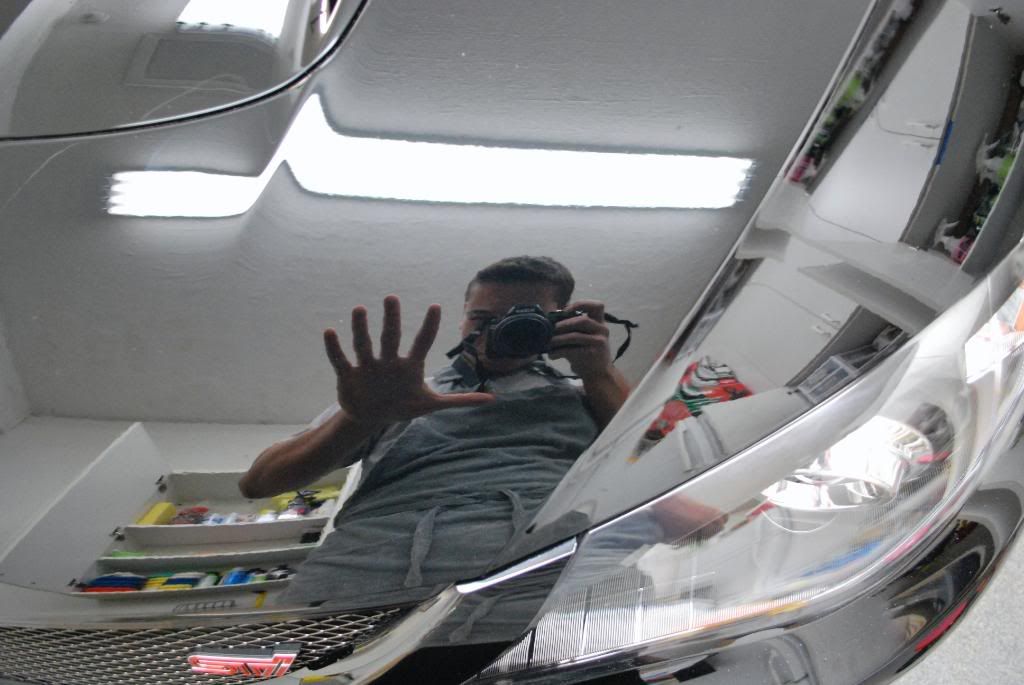
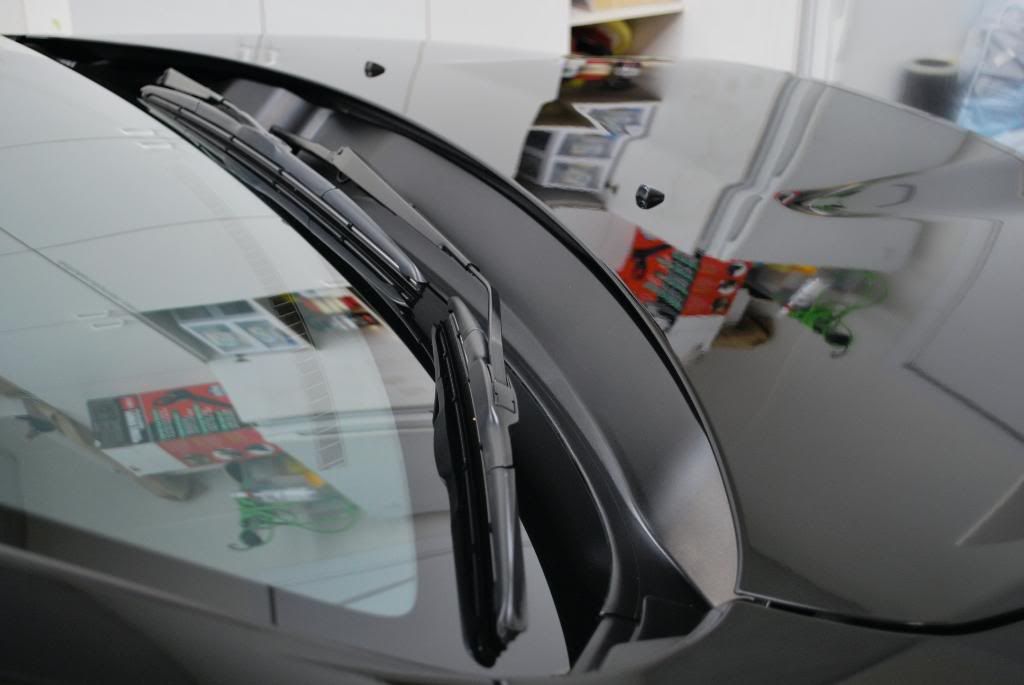
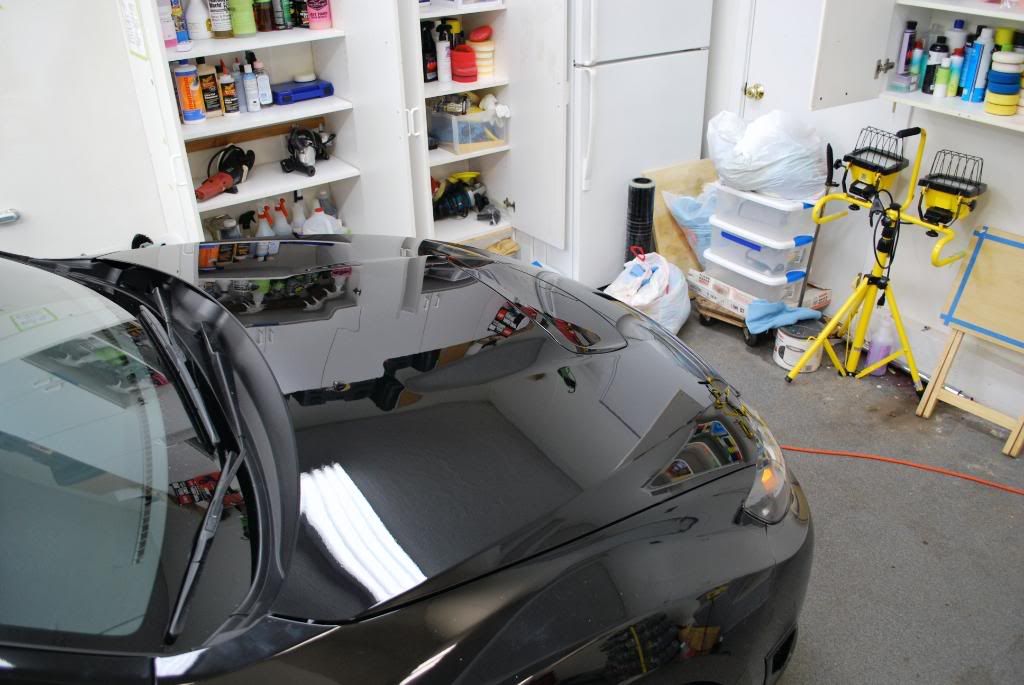
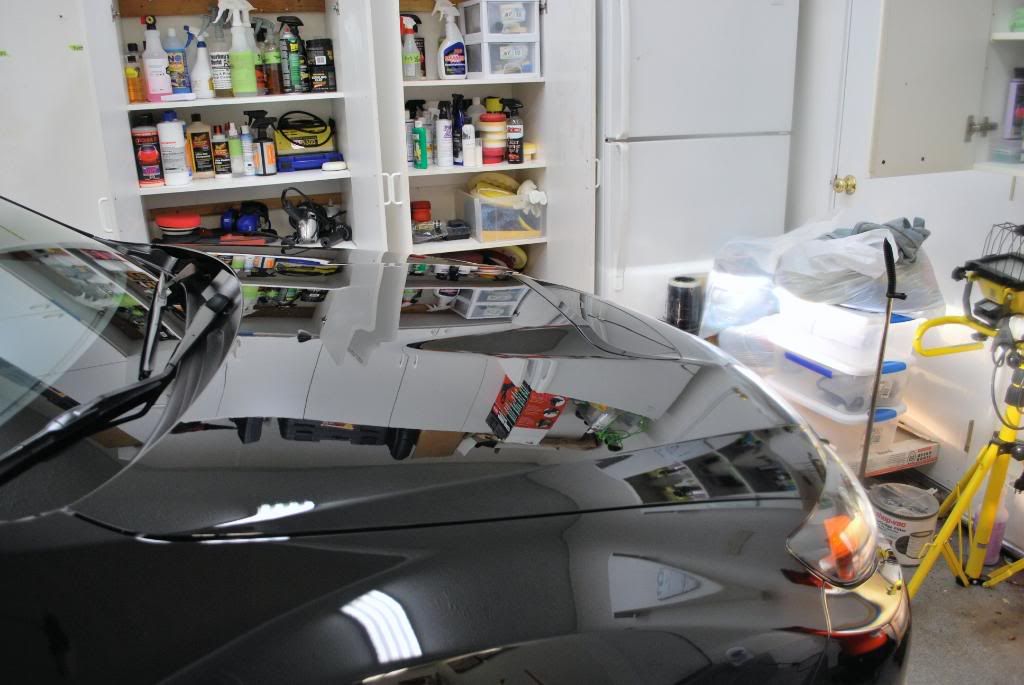
The hood after finishing and an IPA wipedown
Hello :afro:
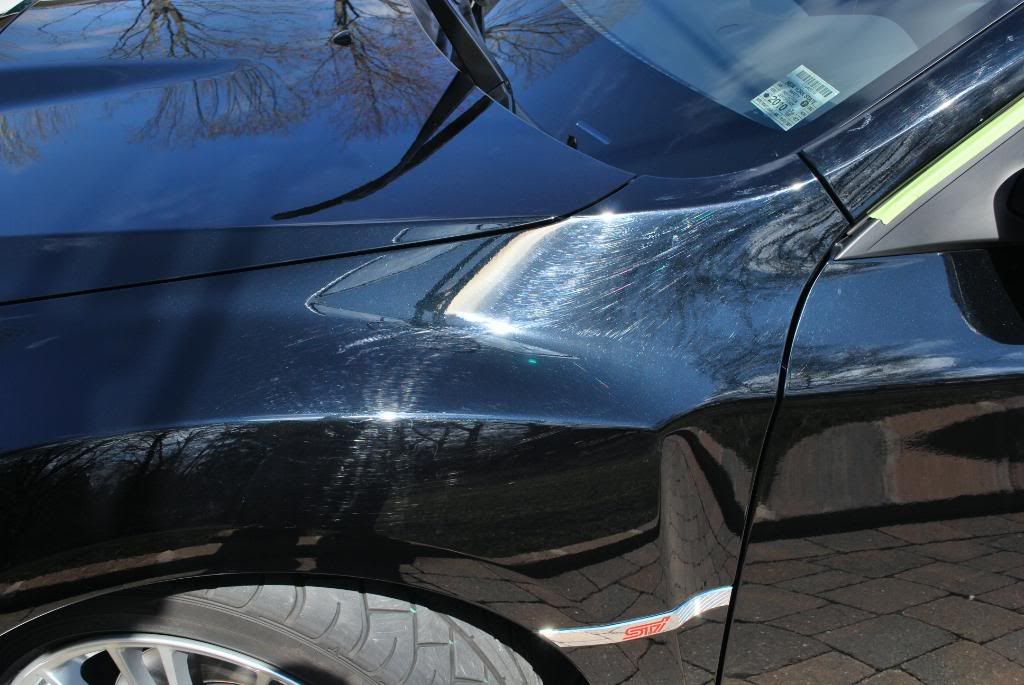
The front fenders of this car were a little curvy for a larger pad and I wouldnt have gotten a smooth breakdown so in spite of working against the clock I opted to use a 4" GI pre polymer pad w/ the GI 3" BP to polish the area completely without skipping on the contours
Brand new 09' obsidian black STi. The car was dealer prepped and it seems they did a horrendous job, but of course I would expect nothing less
Overall the car was pretty well hacked, aside from the standard wash induced fine swirls were deep RIDS, holograms and even sand scratches, which could have came from the factory. Its bad when dealers prep cars that dont already have softee clears but when you mix dealer prep work with a soft clear coat , well thats just a recipe for trouble :nixweiss
No wash process pics so straight to the correction work and as I like to say :
On with the detail...
After the wash and clay
RIDS and sand scratches under the infratech
I took a quick video of the defects under the fenix LED to give you a better idea of the damage as it was difficult to capture everything on camera
I started with the hood as usual. The car was booked as a single step 80% paint correction detail but upon further inspection a 1 step would not have been sufficent to correct and finish the paint.
I landed on a combo which worked very well for this soft and in some areas sticky black paint
- Gloss It extreme cut compound w/ GI green pre-polymer polishing pad or yellow pp pad
- Menzerna PO85rd w/ GI pre-polymer blue finishing pad
GI "EVP" was used to prime the pads and extend the work time of both of the above products. I found that using the GI extreme cut w/a polishing or heavy polishing pad rather than a dedicated cutting pad helped to reduce the amount of swirls and holograms in step 1 alone, which of course made for easier cleanup later on when using the PO85rd. To make up for the softer foams used I worked the extreme cut for an extra minute or so to ensure i got as much defect removed as possible before the finishing stage.
This car did not receive a 100% paint correction process but in 2 steps I was able to achieve about 95% pc which I was very pleased with.
Some sun shots and 50/50s after 2 IPA wipedowns
Before
After
Notice there are about 3 fine RIDS which were not removed (to me those are the difference between a 95% and a true 100% paint correction job)
While the sun was out I took some shots of the rest of the car which was, well ,less than stellar...
Some more 50/50 shots and video of the car back in the garage under the Fenix LED (awesome on metallics) and Infratech
Before
After
Another video this time a "real time" 50/50 under the fenix
(yes my house phone was ringing, sorry about that... definately had my nerd ear protection on so I probably did not hear it
)The hood after finishing and an IPA wipedown
Hello :afro:
The front fenders of this car were a little curvy for a larger pad and I wouldnt have gotten a smooth breakdown so in spite of working against the clock I opted to use a 4" GI pre polymer pad w/ the GI 3" BP to polish the area completely without skipping on the contours


")