Detroit's Finest: CTS-V with AutoLavish and Steven Pham Photography

Bluedog

New member
i drive a honda with basically black cloth covering everything inside except for the plastic dash/doors, etc. anyways, ive had my honda for over 2 yours now. my cloth seats are fine and still has good normal dark color to it. but the cloth like fabric that covers the bottom half of the car has faded. what i mean bottom half is the fabric that covers the walls where your feet and legs are. some of that is also around the bottom part of my center console. it has faded to a somewhat ugly greyish color form its orgininal black color.


i know of the 303 fabric protectant but i wasnt into detailing 2 years ago when i got the car so i never put anything on to protect it. so my question is, is there a way or somthing i can use to bring back dull used-to-be-black cloth? i have a good feeling its impossible but just wanted to ask:)
 
CPU problems have kept me side-lined, but now I'm back up and in the action. Here's the latest


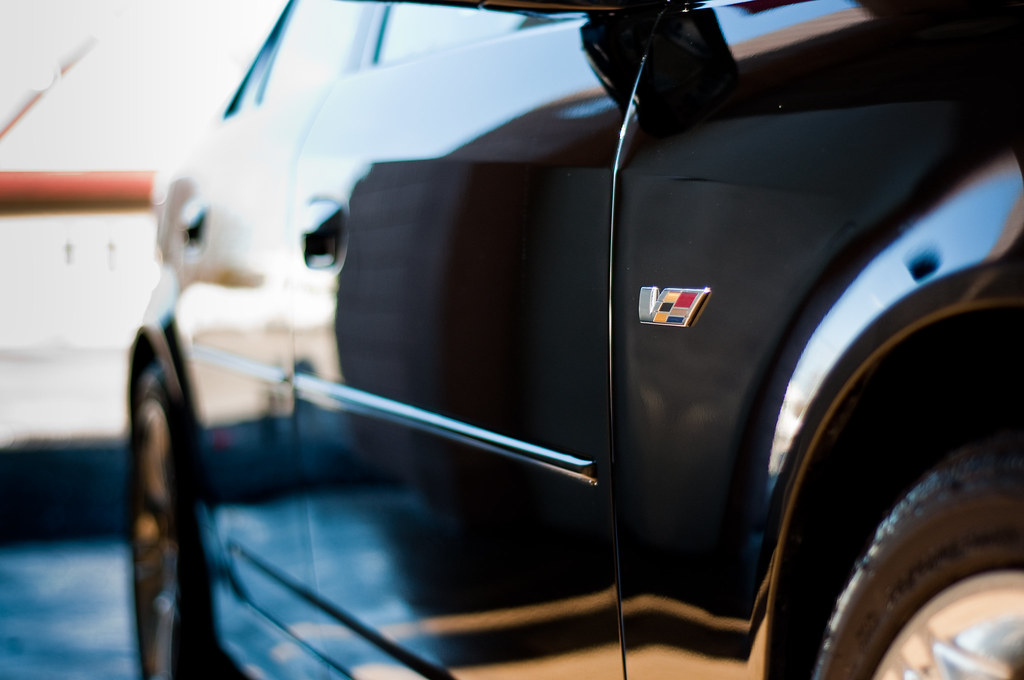
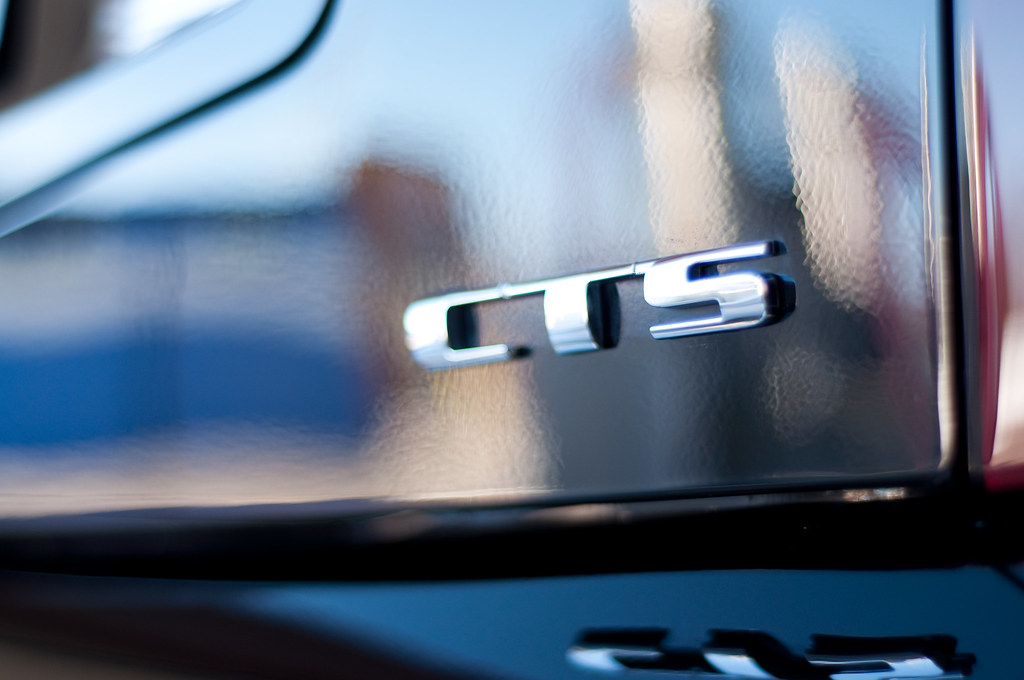
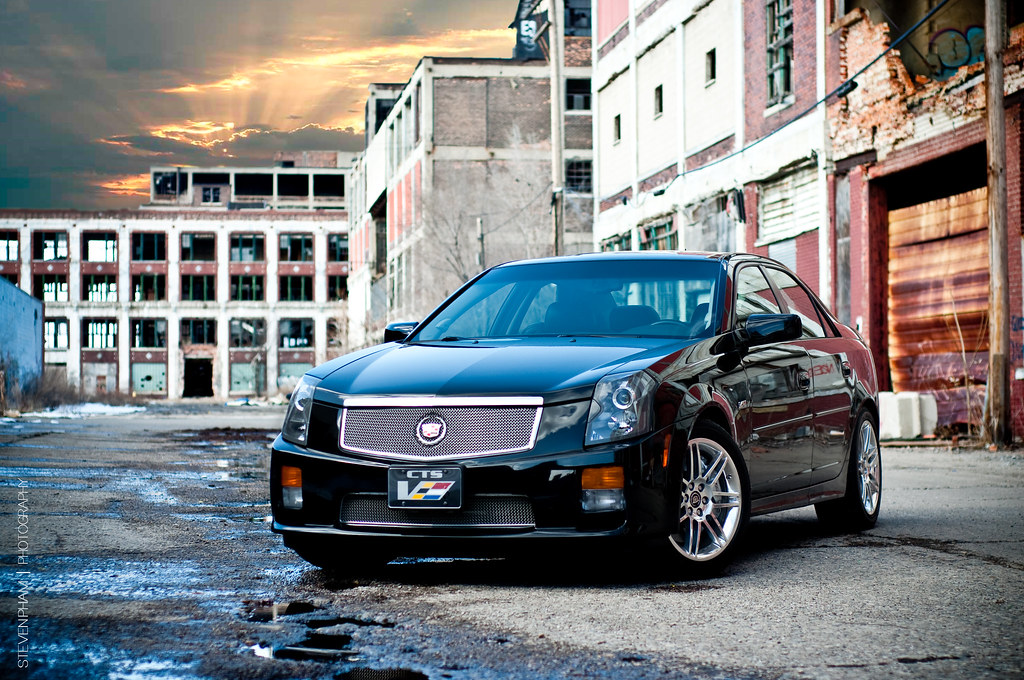
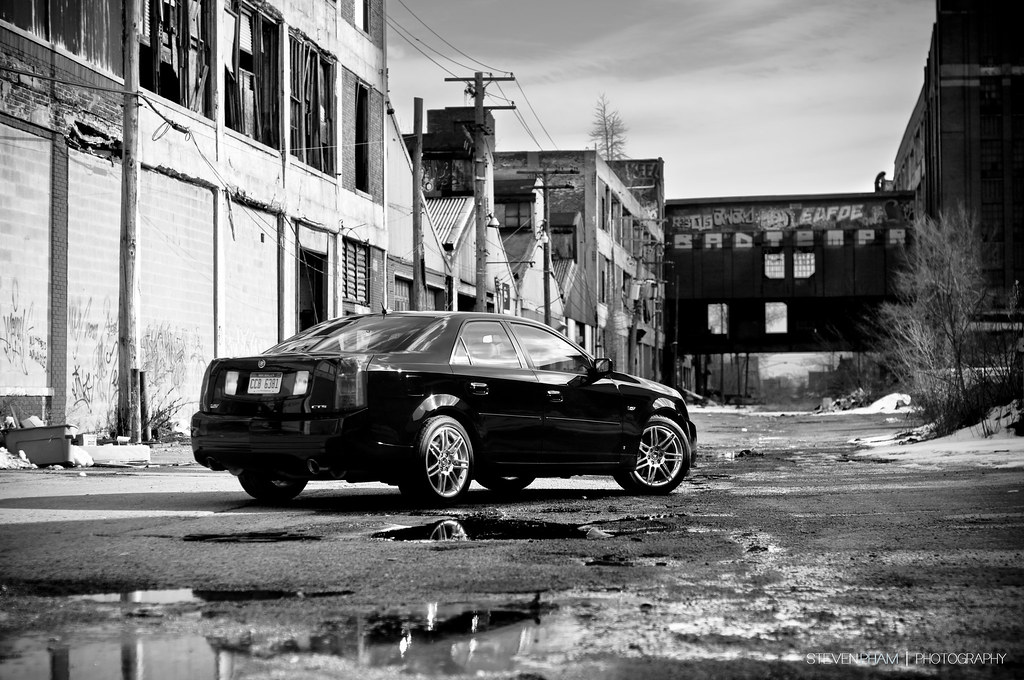
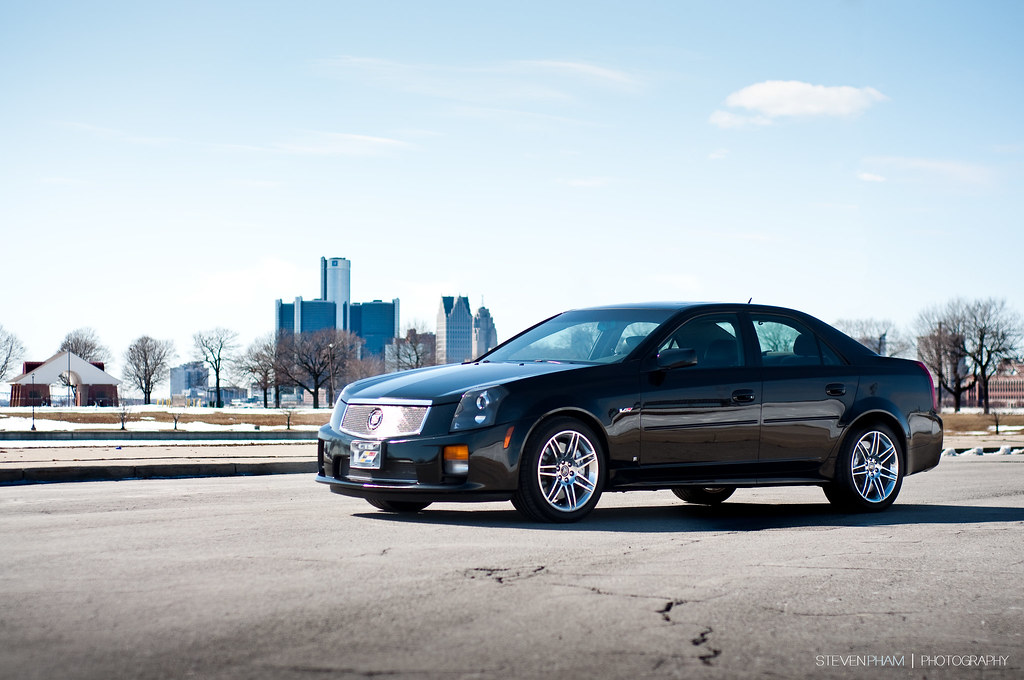
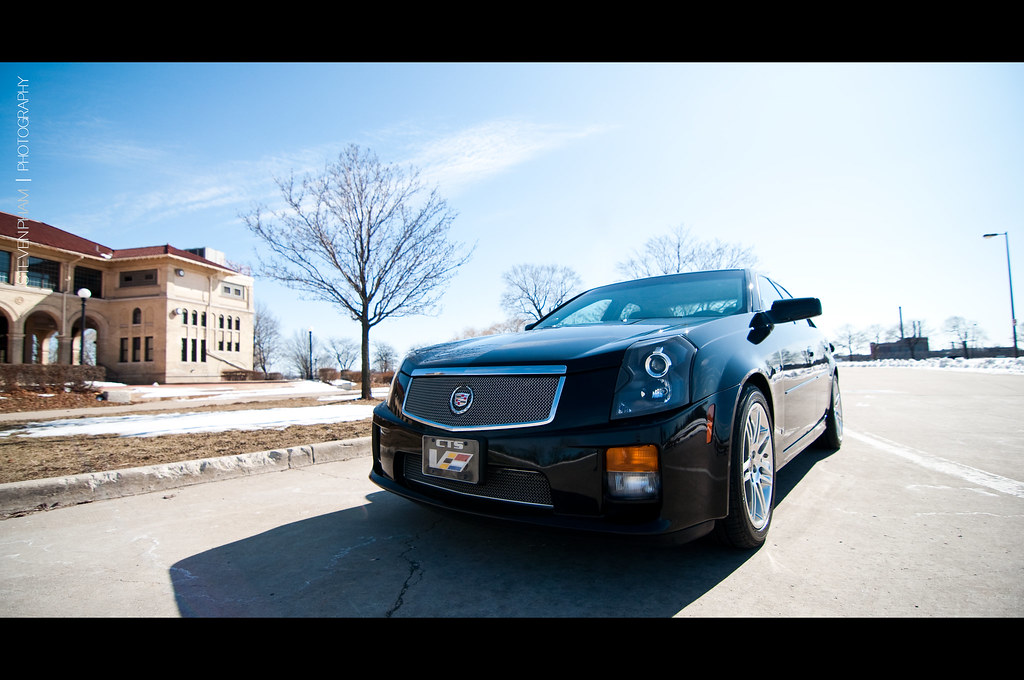
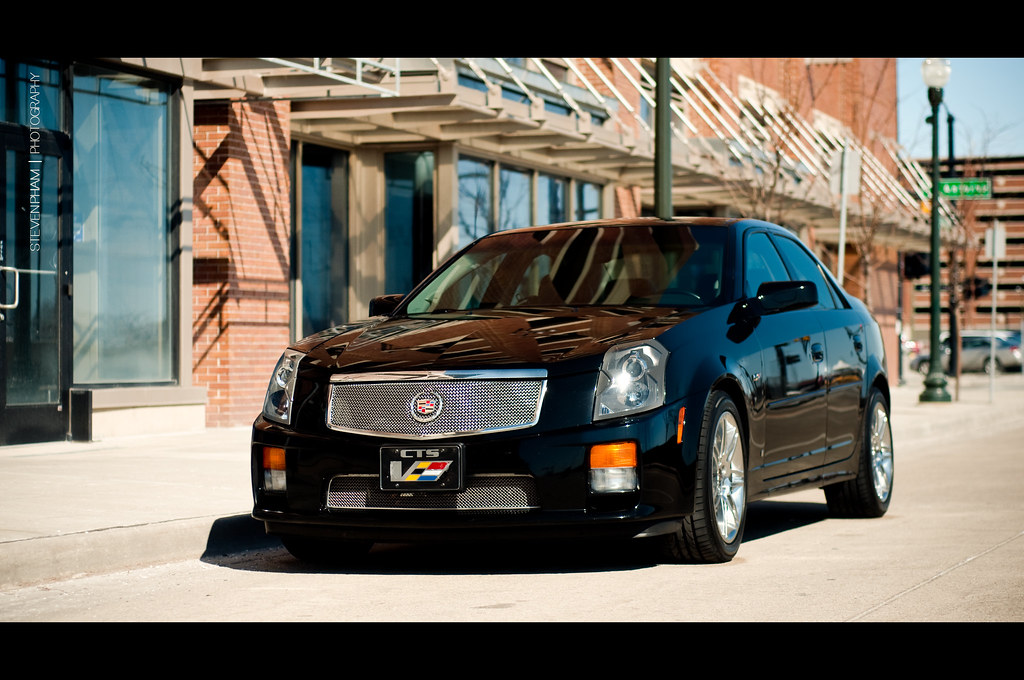
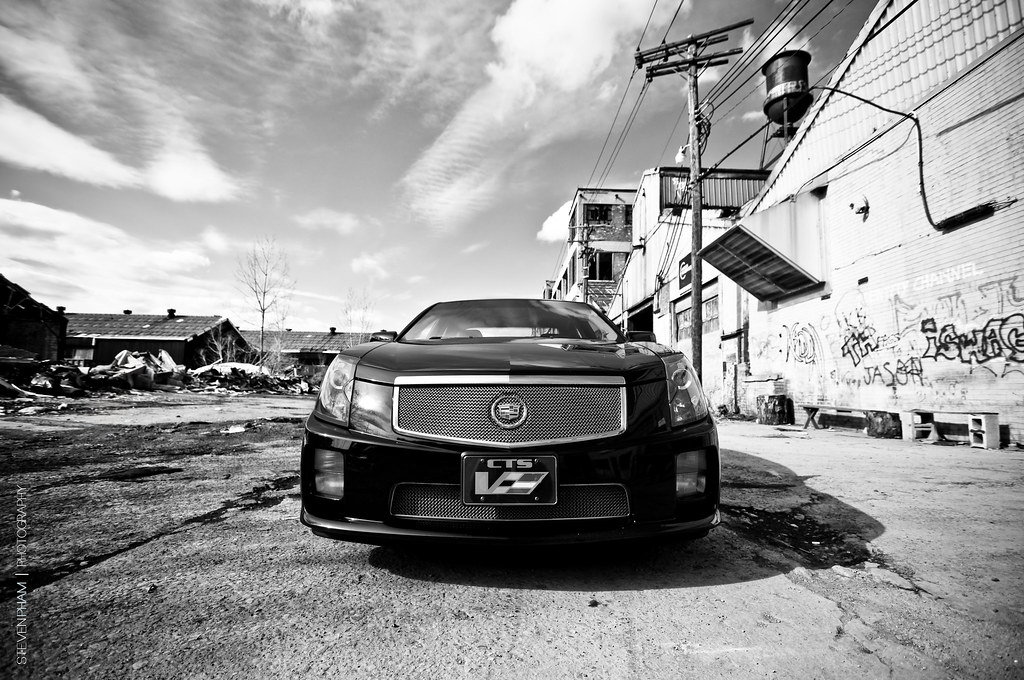
The Cadillac CTS-V has grown in popularity and gained quite a following since it came out featuring an LS-series engine and 400hp in an entry luxury sedan. I'm personally a fan of not only the engine, but the comfortable interior and subtle exterior changes - the front grill is the hallmark of the "V-series" look and transforms the CTS from an ordinary ho-hum look to a force to be reckoned with: luxury mixed with Motor-City Muscle.

This owner purchased his V used last fall, and with the Spring quickly approaching, was looking to bring it back to its former glory. In addition to the work performed, the owner will be bringing it back within the next two months for a touch-up and a clear-bra application to the front end.

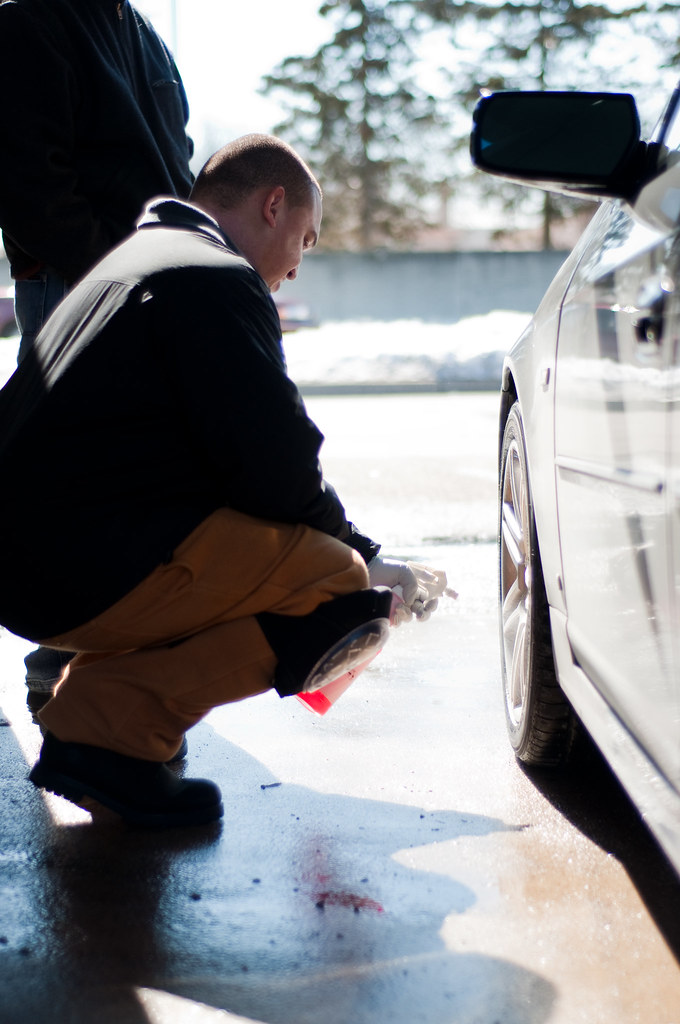
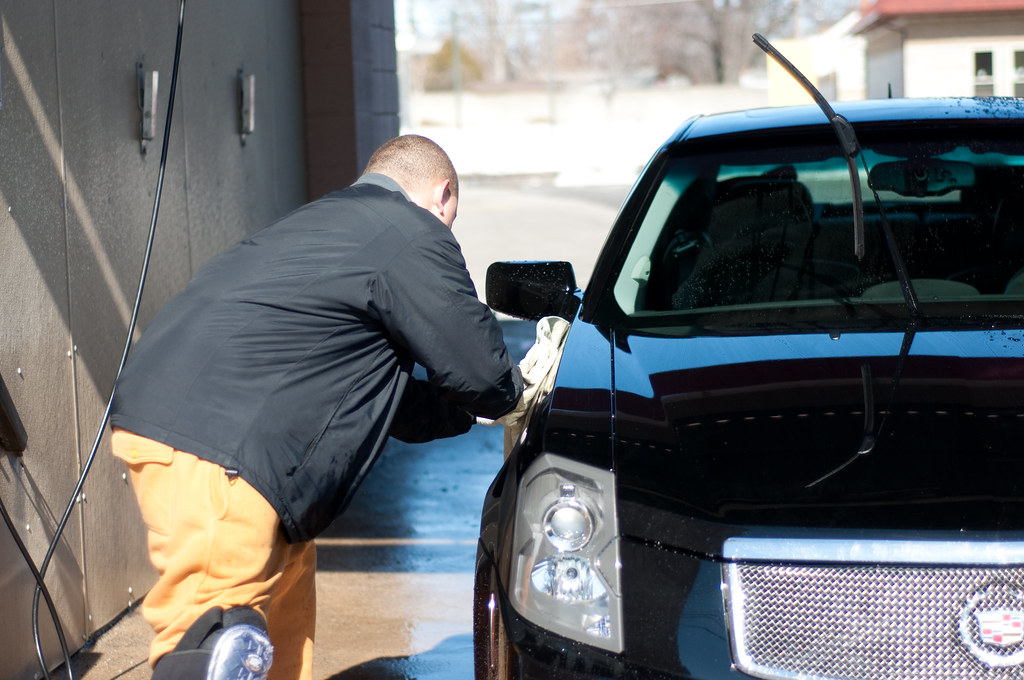
The owner brought it over and before we wanted to begin the clean-up, we wanted to ensure the wheels and brake components were cool enough to work on.

DSC01817.jpg


Mid 60's - so everything is ok. Next we walked around to check out the work we had in store for us.

DSC01820.jpg


DSC01822.jpg


DSC01824.jpg


DSC01829.jpg


DSC01832.jpg


Headlamp housings weren't too bad, but could certainly use some love

DSC01835.jpg


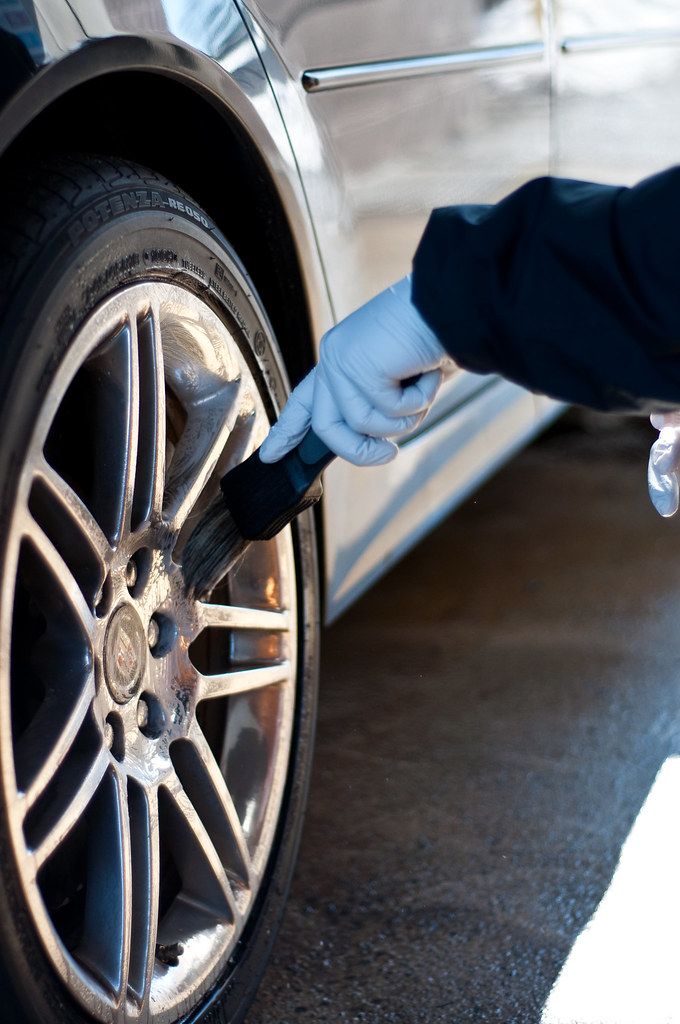
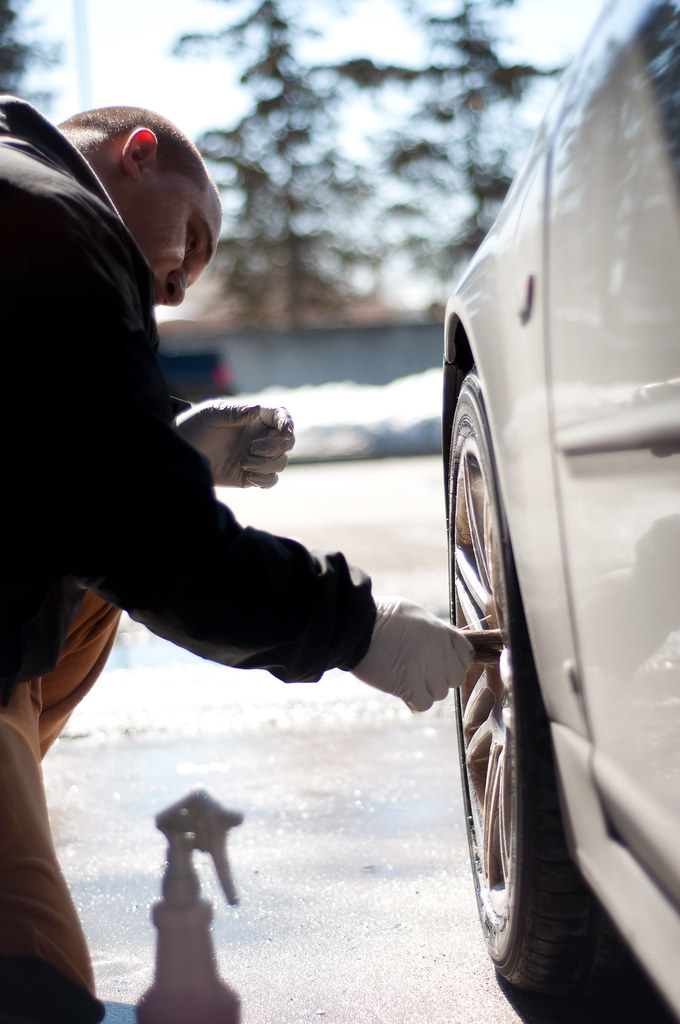
Jacob continued the inspection process with the dual-LED Brinkmann while I got the wheels prepped with some CG Sticky Gel: no acidic wheel cleaners being used on these.

DSC01836.jpg


The Xenon and LED Brinkmann's are both great... but excel in different areas. The exact reason we use both.

DSC01840.jpg


DSC01842.jpg


Nothing too bad, but in need of a little love

DSC01843.jpg


Getting the party started

DSC01854.jpg


After using a combo of the Zymol Wheel Brush, EZ Detail Brush, and a general purpose brush on the wheels, Jacob hit the wells with APC and a black Shmitt before I hit everything with the pressure washer

DSC01856.jpg


DSC01862.jpg


Bring on the foam!

DSC01869.jpg


...and then I washed

DSC01872.jpg


Following the rinse, Dodo Juice born Slippery was used with Meg's clay to take care of surface contamination.

DSC01884.jpg


Finally prepped, we could take a look at what we truly had to work with. No more hidding. The results weren't good with some mystery nasty spots and a swirled-up car in general.

DSC01893.jpg


DSC01894.jpg


Our goal was a quality two-step process to bring back the finish to a like-new state. Jacob started with the heavy polishing step using the limited edition Makita and Meguiar's 105

DSC01901.jpg


I followed with the PC using Meguiar's 205. Yup... that works:

DSC01902.jpg


Xenon Brinkmann

DSC01904.jpg


Indirect light:

DSC01908.jpg


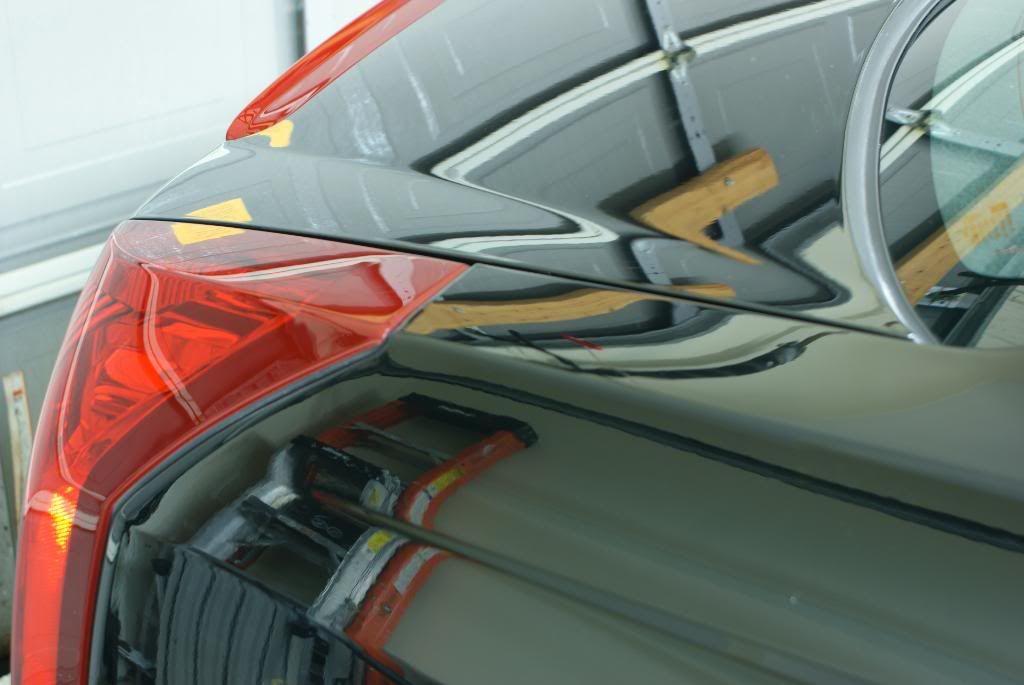
I was able to get the chance to tape of the headlamp assemblies and show them a little love. To see how much of a difference there is - look at the difference in the reflection of me taking the picture:

DSC01915.jpg


DSC01919.jpg
 
Polishing finished, we started to see the result of the work we put in

DSC01923.jpg


DSC01927.jpg


DSC01932.jpg


DSC01940.jpg


I used the break from the action to catch up on my scholarly duties as shown in this reflection shot:

DSC01938.jpg


Even the formerly dull tail-lamp housings had a big turn-around

DSC01845.jpg


DSC01945.jpg


As did the exhaust tips

DSC01827.jpg


DSC01948.jpg


The true final results were captured almost two weeks later when we paired up with up-and-coming local photographer Steven Pham to truly capture the timeless beauty of this Cadillac. While I think our photo's are fine, when you bring in an artist with the proper equipment, you can often get much more dramatic results.

Once everything was set to go, we headed out to a coin-op Do-it-Yourself car wash. I prepped all the detailing supplies I would need both at the wash and at various locations to keep the car in proper order. Two 5-gallon buckets with Grit guards and sealable lids filled with hot water were brought to the car wash bay, as were mitts to wash, drying towels, quick detailer, wheel cleaner, wheel cleaning brushes, plush microfiber towels, diluted ONR in a chemical sprayer, gloves, tire dressing, etc.
Once arrived, I got busy and Steven got to take a few shots to show the transformation.


4408890387_865b230553_b.jpg


4408892509_7ca7e74194_b.jpg


4409664352_a8bf11aece_b.jpg


Steven Pham Photography said:
At this point I am beginning to see the changes. At first the car had salt all around car which made it look dull and very much dirty.

4409669998_3ab864640a_b.jpg


Steven Pham Photography said:
Now generally when my parents or friends would take their car to a self wash, they would never wash it by hand nor do such a thorough job. The whole car was already sprayed down but Marc hand washed the the car starting at the top showing how much it can make a difference. He saved the lower portions, which were dirtiest, for last.

4408906729_30274c05d2_b.jpg


Steven Pham Photography said:
At this point I was really amazed and could see the difference in how the detailig work affected the look of the CTS. The car was beginning to literally look like a mirror. It was glossy enough to see yourself clearly in.

4409677172_aecc7245d3_b.jpg


Here are some of my favorite shots Steven took at the car wash - such tight and zoomed-in images capture how clean the surface really was.

4408912073_ca18a886b3_b.jpg


4408913615_d68b4dcb8a_b.jpg


4408915063_4f00442254_b.jpg


4409683974_3b09485b3a_b.jpg


Steven Pham Photography said:
Marc proceeded to finish the car off with some type of spray product. With the final touches, it left the car smoother than glass. The tip of my fingers would glide along the car with no friction at all. The entire car had an elegant shine and sparkle.
Dodo Juice Red Mist Tropical ;)


Steven Pham Photography said:
The following photo's were all taken in Detroit, Mi. Below shows the beastly CTS-V at the Packard Plant. Established in 1907, this plant produced some of the most early luxury vehicles at the time. During its peak, close the 40,000 workers would come in on one day. The company ended around the late 1950's and the entire nearly 40 acre building was left abandoned.

4408751513_4f85405f67_b.jpg


4408770441_228c21ce84_b.jpg


Steven Pham Photography said:
This is my favorite shot of the day. It was simple and provided an excellent view of the Renaissance Center: a building owned by GM that also serves as General Motors Headquarters as well.

4410451278_3ae7ab192d_b.jpg


Steven Pham Photography said:
This last shot was also at Belle Isle, which is a little island which is mostly a park in Detroit. I used a Tokina 11-16mm f/2.8 wide angle lens for the shot as I wanted to get the structure in the background while showing the entire car.

The other shots were all taken with a Nikon D90 with a 50mm f/1.8 lens. No filters were used as I wanted to show the reflections that the car can produce. The last three shots were edited in Lightroom and Photoshop. I enhanced the colors, edited poles and wires that were sticking out,and added a watermark.

4408242223_cc190e30c9_b.jpg


4407176659_8617e8813d_b.jpg


4408597631_4b45eea3df_b.jpg


Some of Steven's personal favorite shots can be seen at stevenphamphoto DOT com

You can check out his other random photos at www DOT flickr DOT com/photos/sil3ntp8nd8

For additional questions or comments, please contact Steven directly: stevenphamphotoATgmailDOTcome


Thanks for looking!!!


4409059332_fa733fda8a_b.jpg
 
Nice job. The Caddy looked like hell in the before pics. I'm so glad I don't have to deal with snow!
What was your method for cleaning up the swirls on the plastic brakelight covers?
I really like the shot of the Caddy in front of the Packard building. Do you know what settings and length of lens was used for the shot?
 
Awesome job guys!

You guys do some great work and create some very enjoyable writeups! Keep them coming!
 
Always enjoyed reading your writeup. Good work on the caddy. Thank you for sharing.


ps: Diggin the pictures. :cornut:
 
Holy Crap! Those are great great great pictures! Awesome work sir, thanks for sharing, the CTS V looks great!
 
Much appreciated to each and all for your kind words. We're working on a couple of small changes to include some local photographers for some of our work. This is the first post of what should be many.
Thanks again for taking a look and I hope everyone is enjoying the warm weather that's been sweeping the country!
 
nice turn around on the caddy and great artistic shots by steven. nice what one can do with proper equipment. much more artistic with a real camera... and some imaginative post op
 
Nice job all around gentlemen....

Like I said elsewhere, the amount of work that goes into work like this is hard to understand when just reading a thread - Then the work that goes into documenting it.... Well done...
 
Back
Top