Detailing Perfection: 2001 GMC Sierra C3

L~R~G Nor Cal

New member
Hey guys! Sorry I have not been posting lately. Between school and my girlfriend, I have not had enough time for a proper write-up for my details. I have been surprisingly busy and have now been receiving many return customers. Well from the get-go I knew this detail was going to have a great turn-around so I felt a write-up was calling.


THE DETAIL


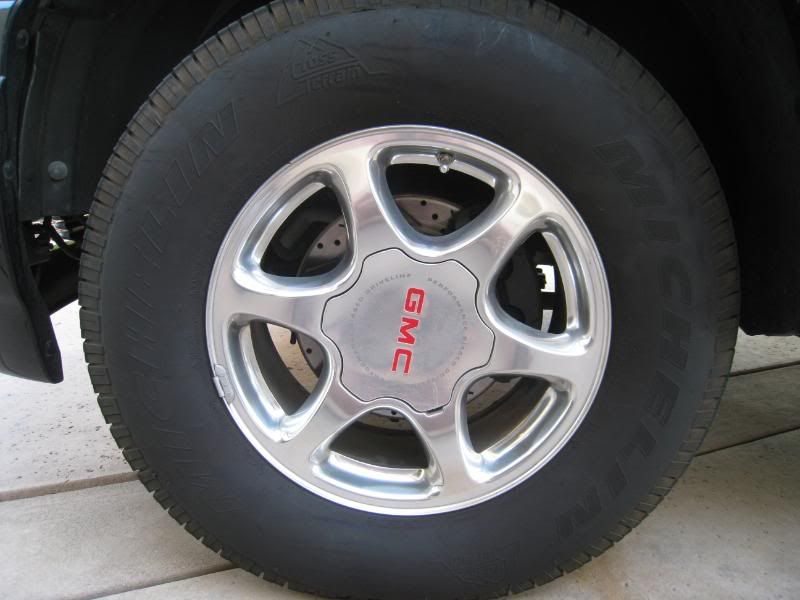
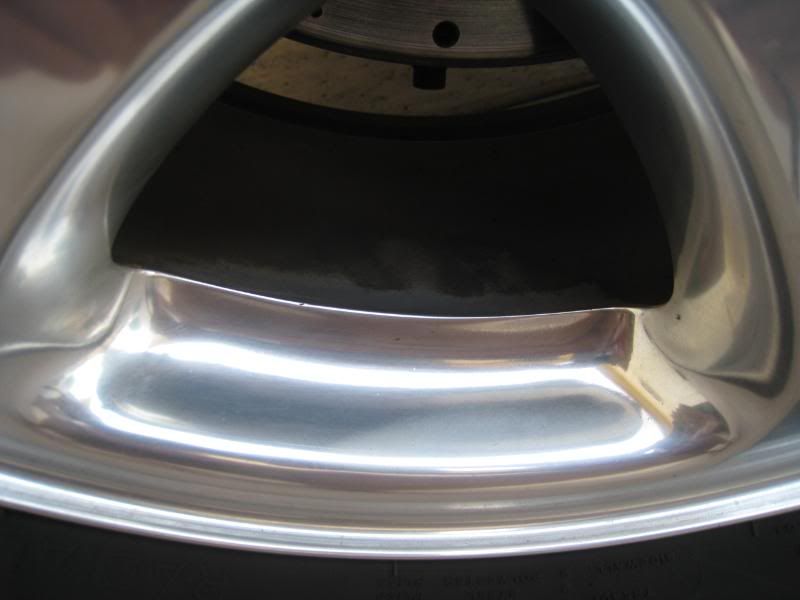
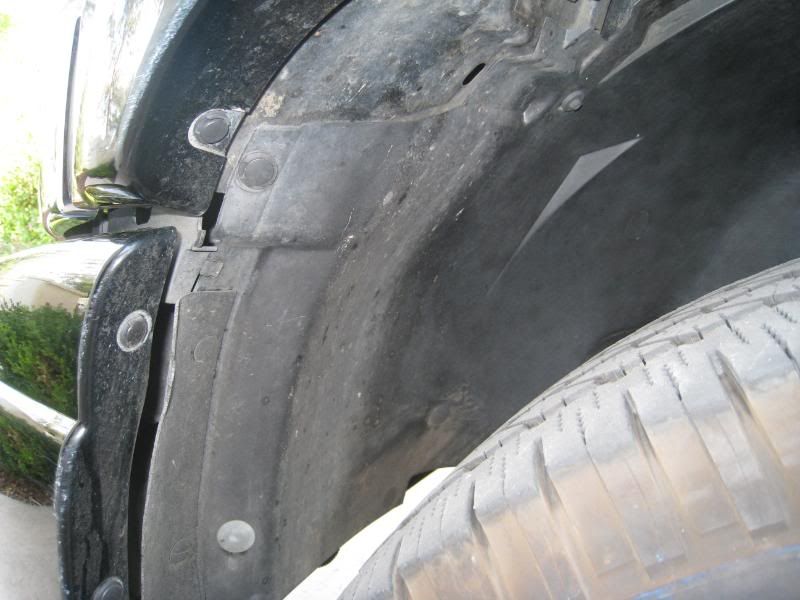
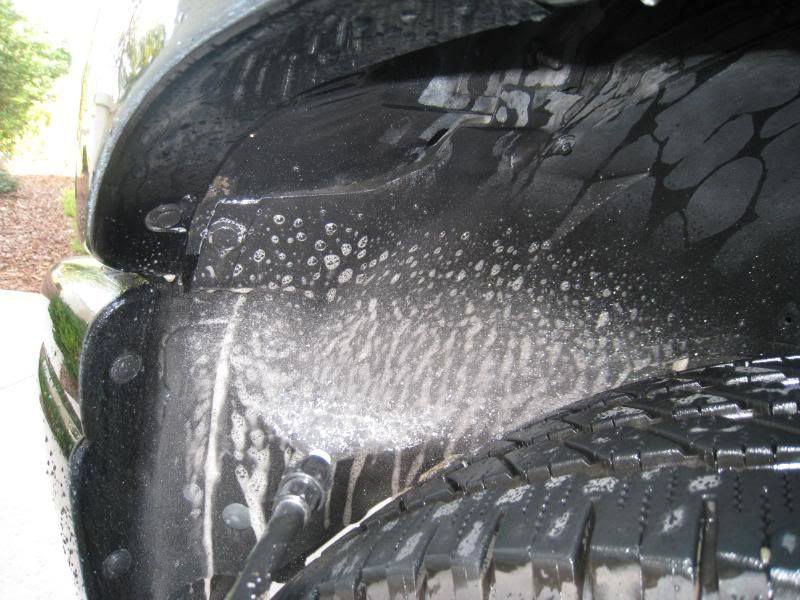
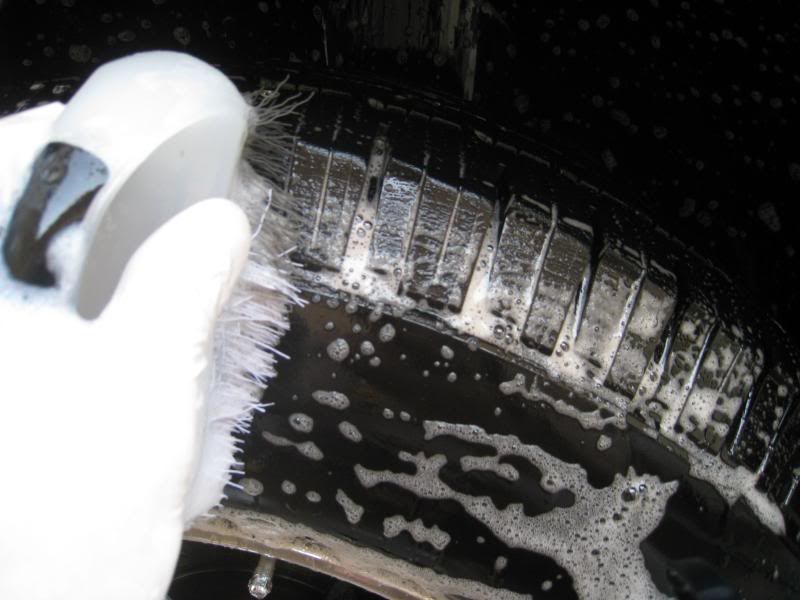
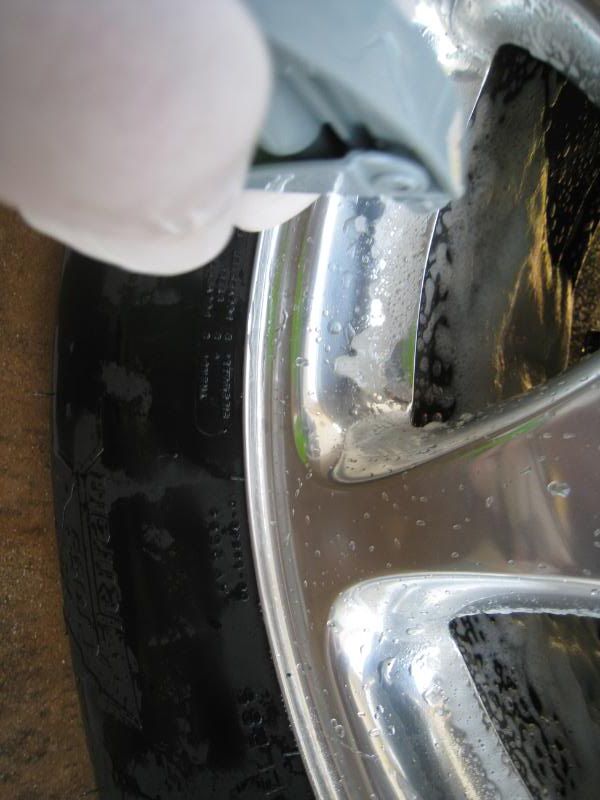
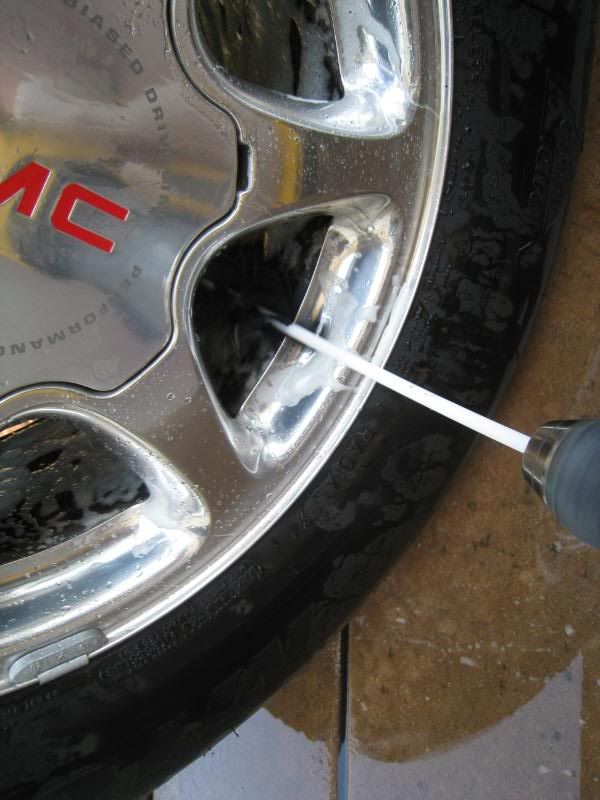
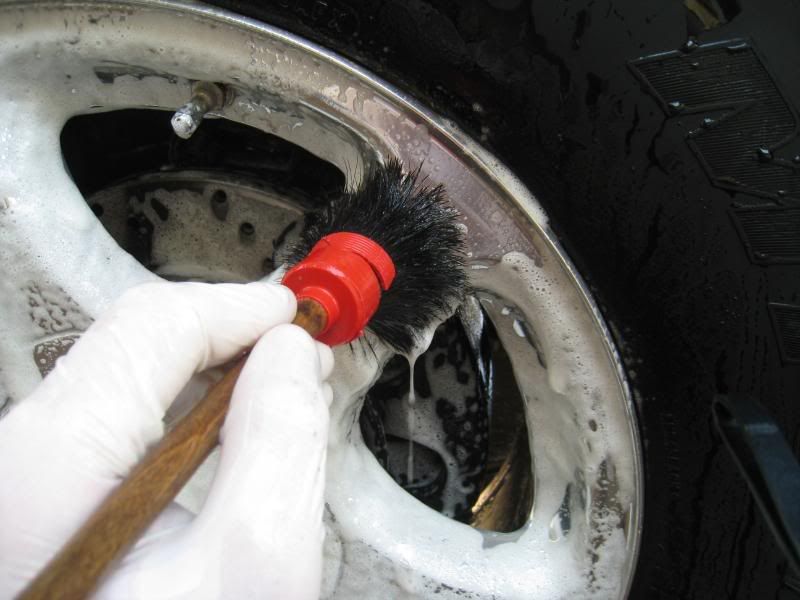
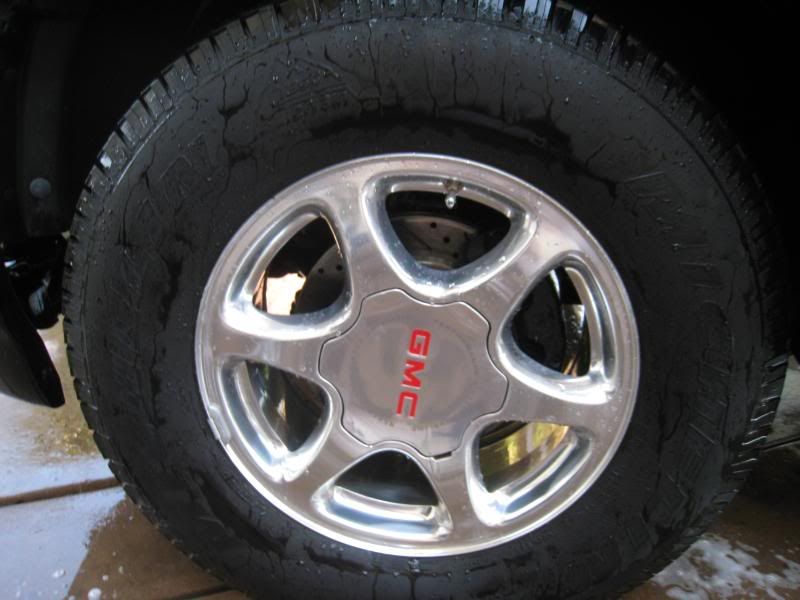
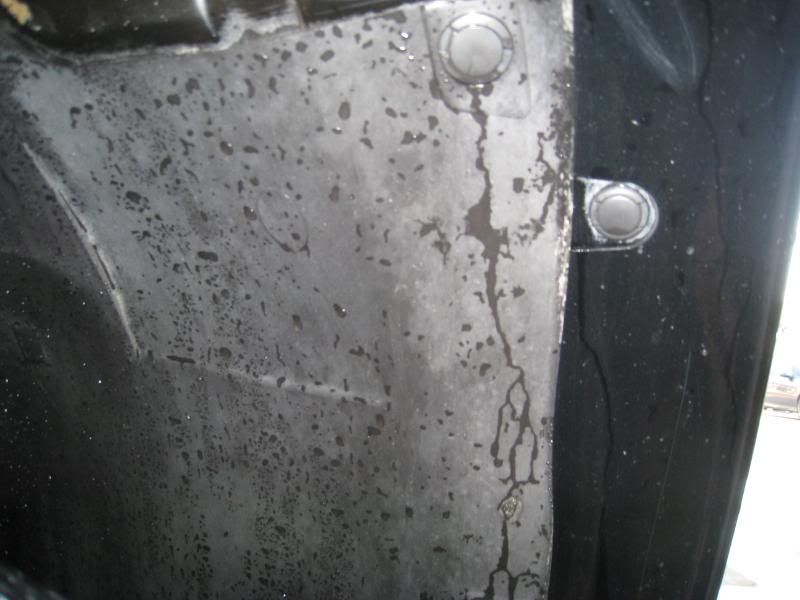
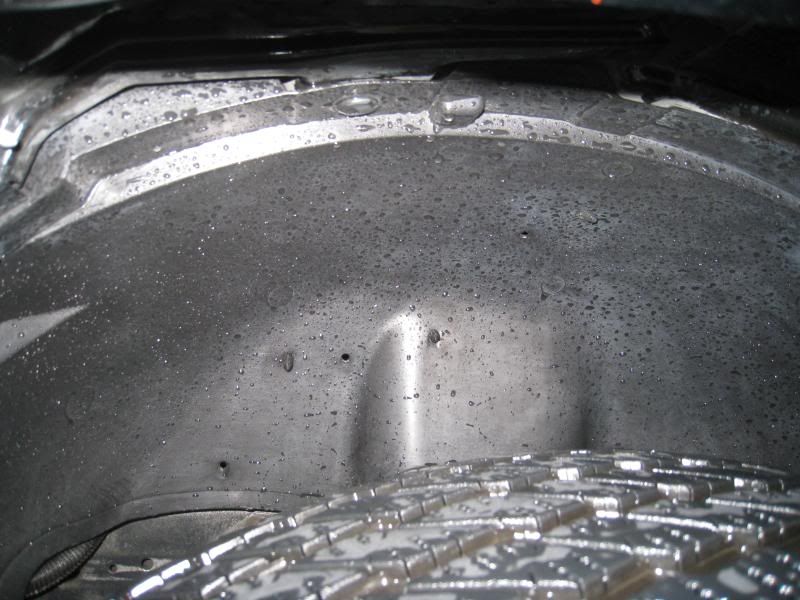
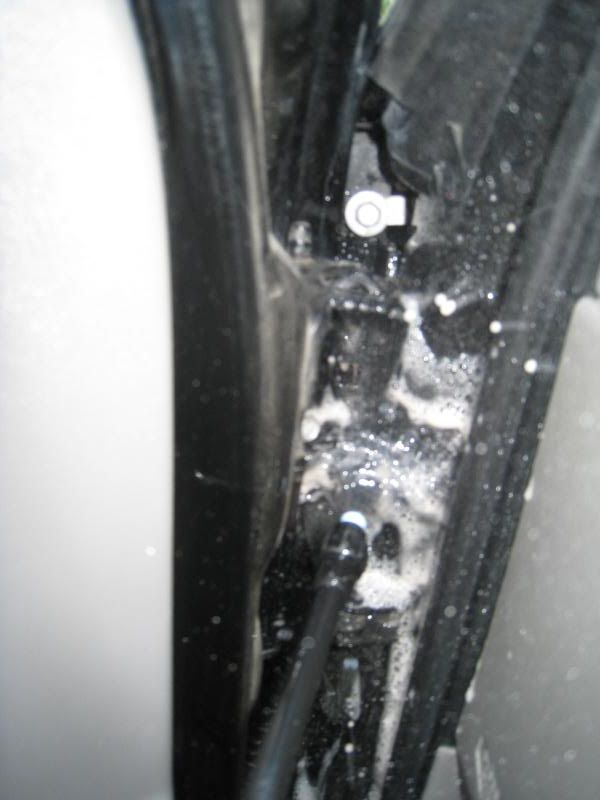
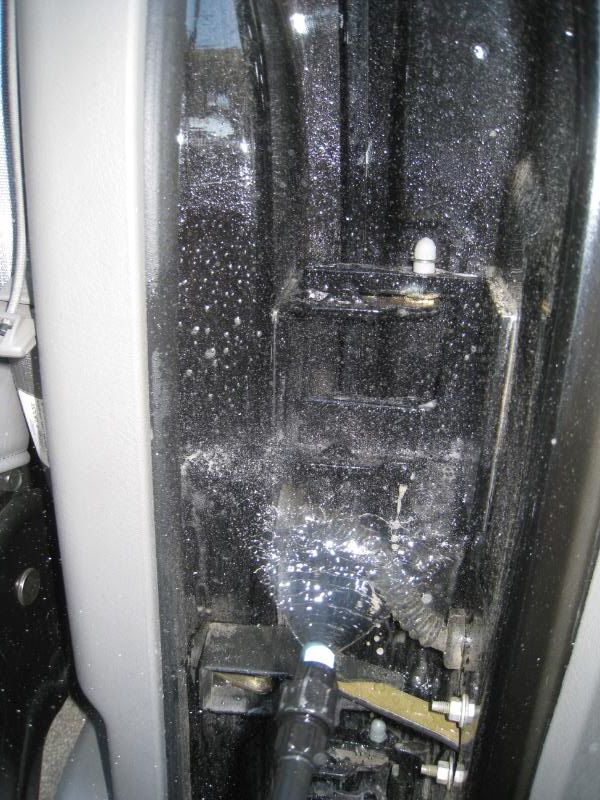
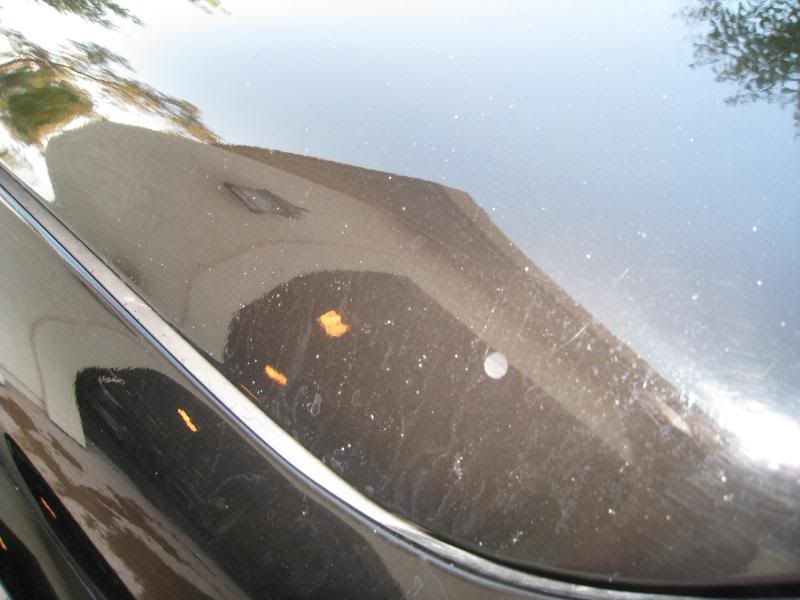
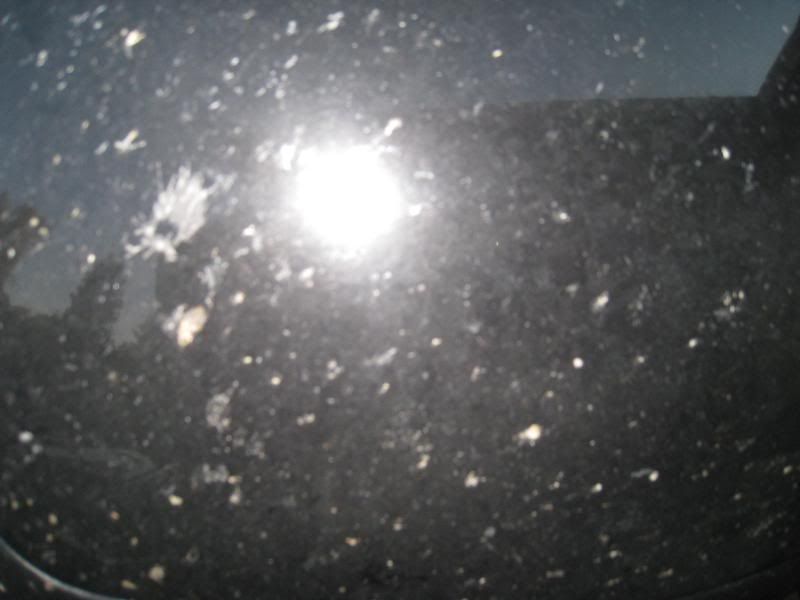
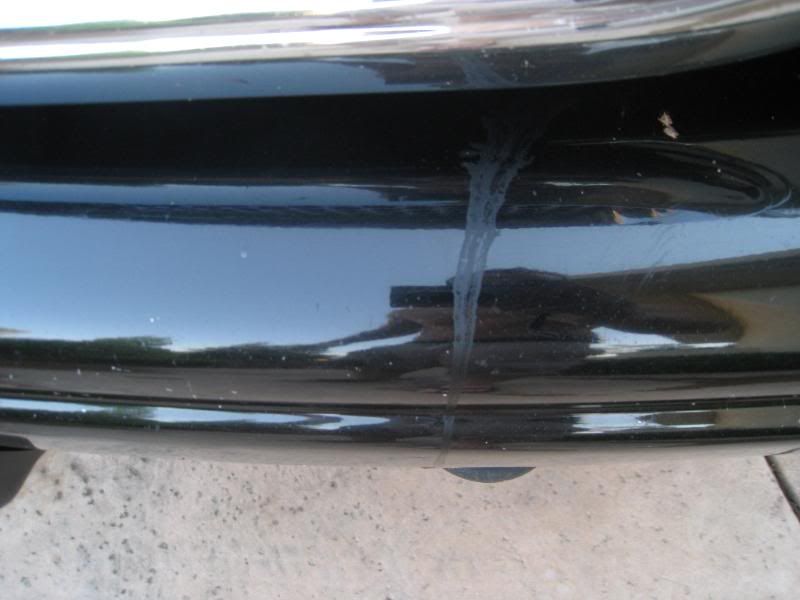
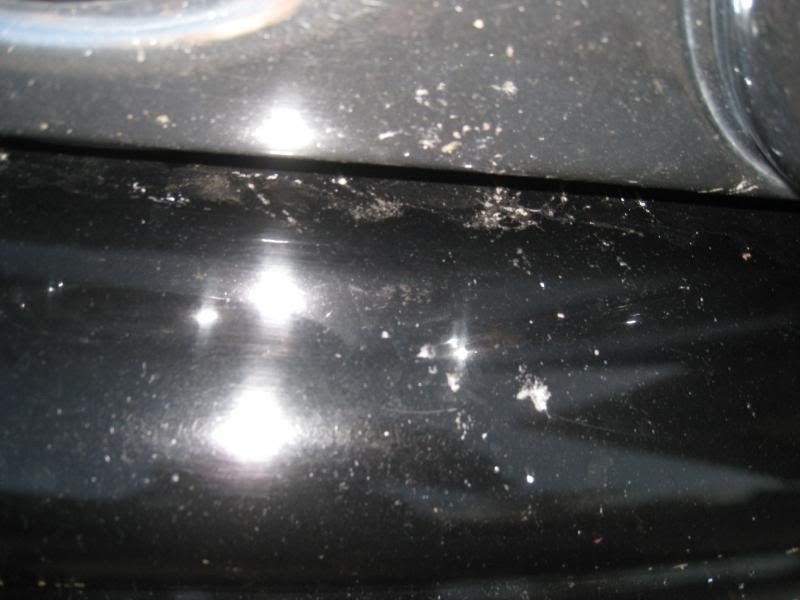
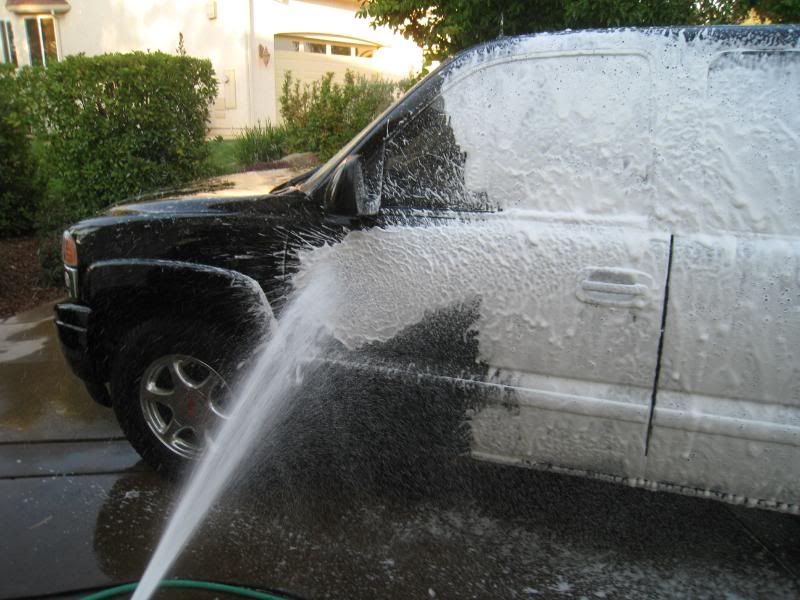
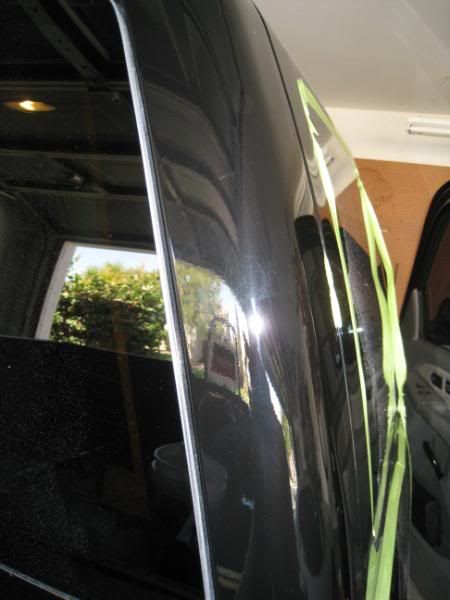
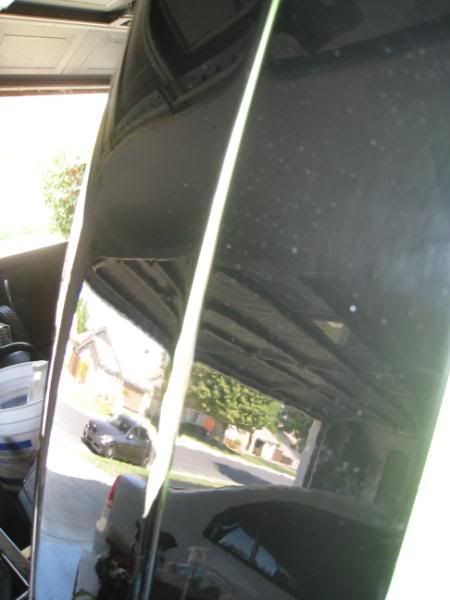
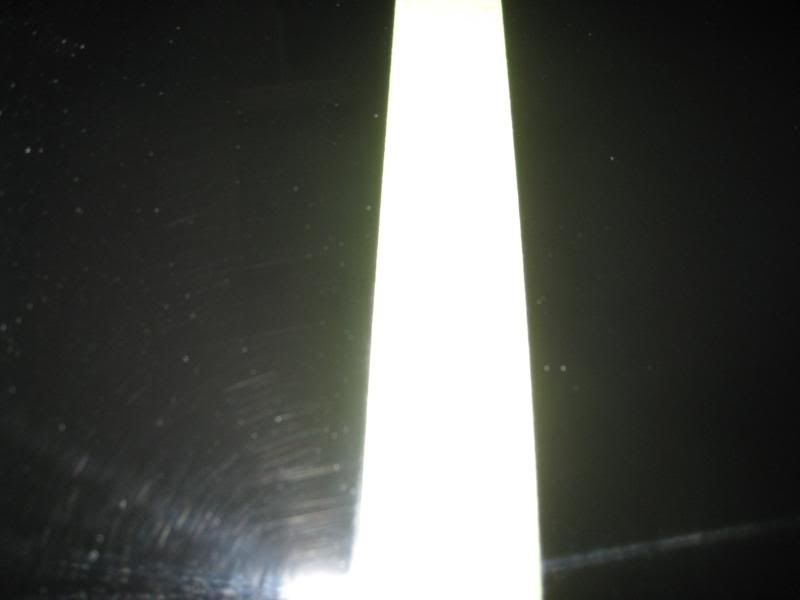
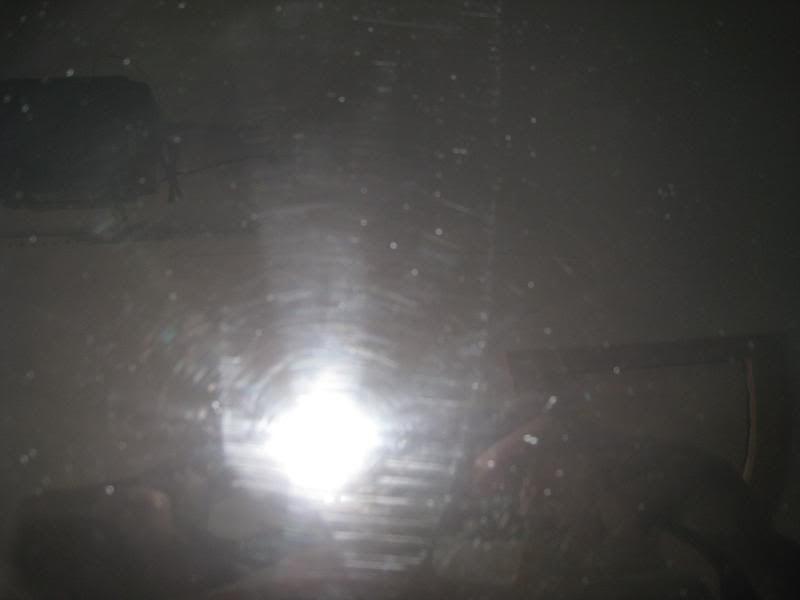
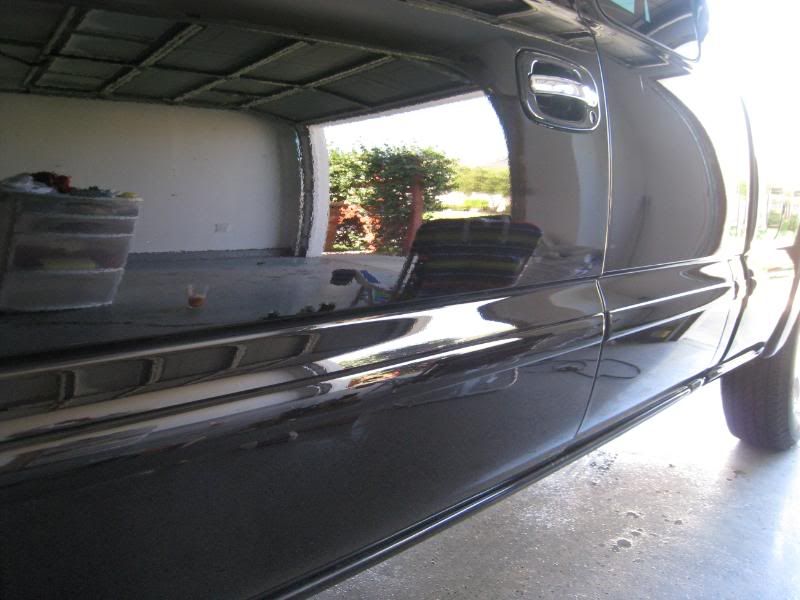
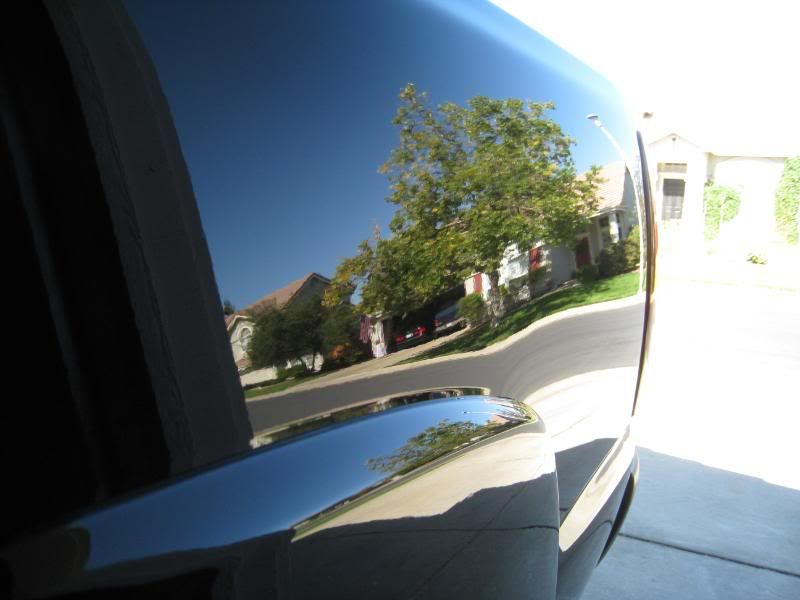
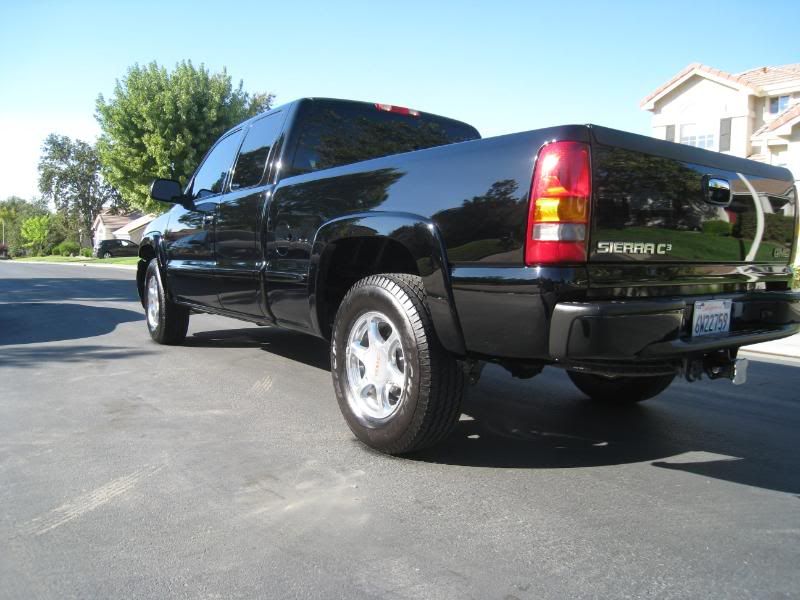
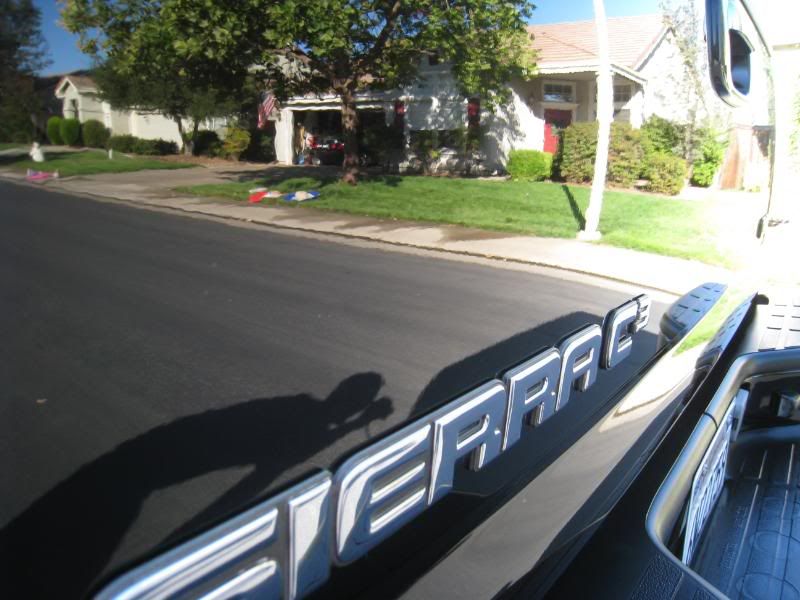
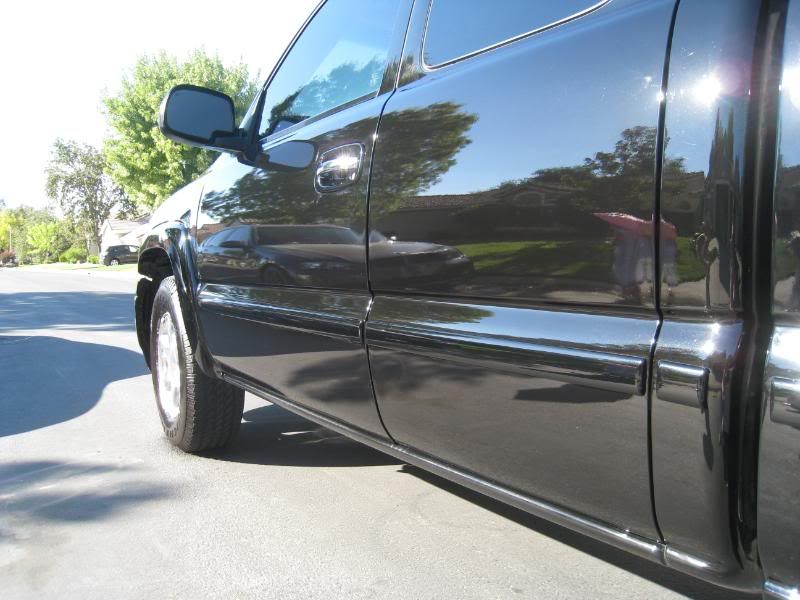
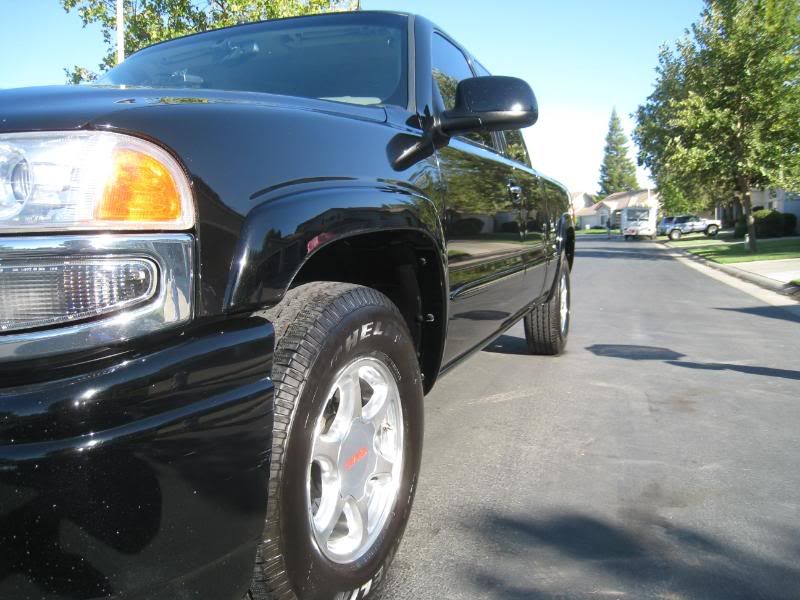
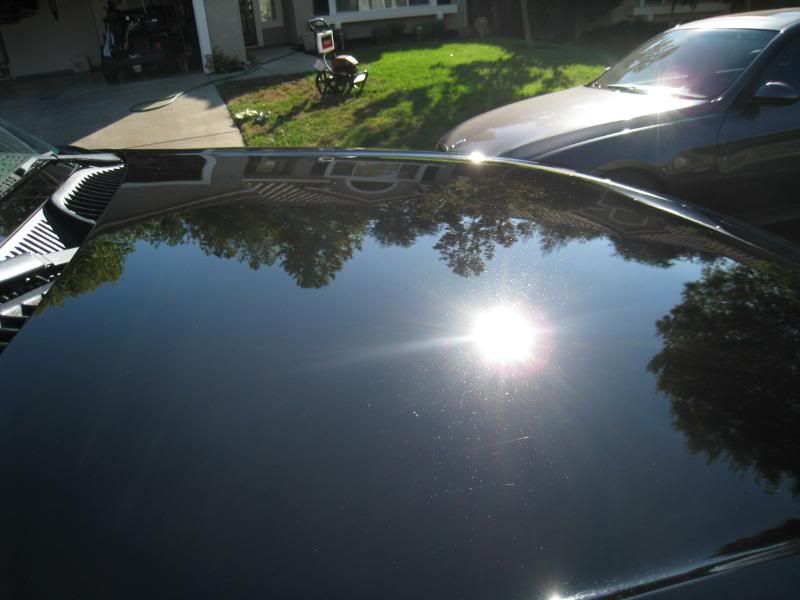
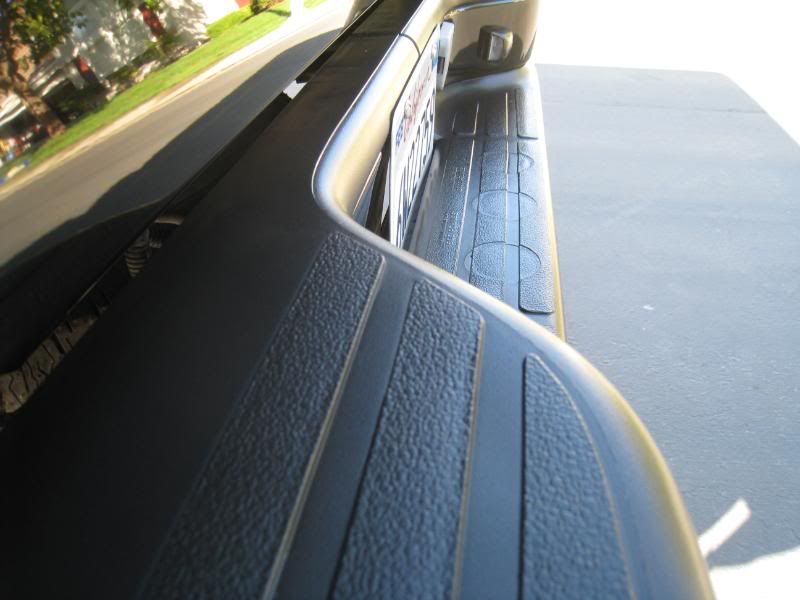
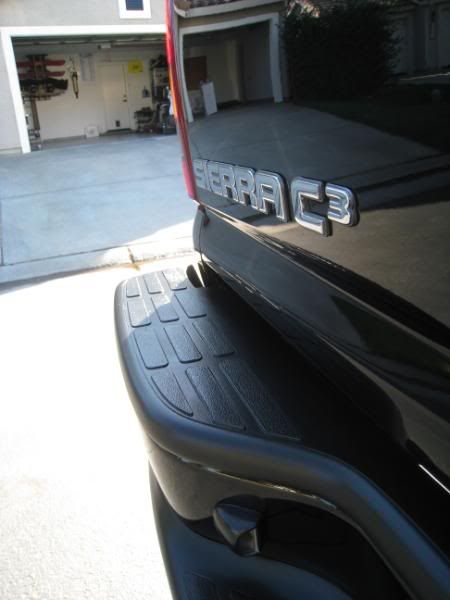
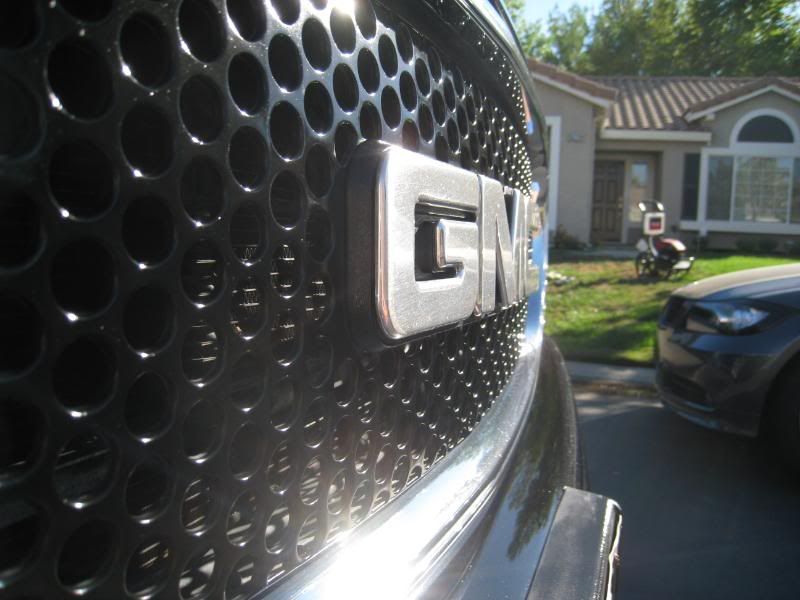
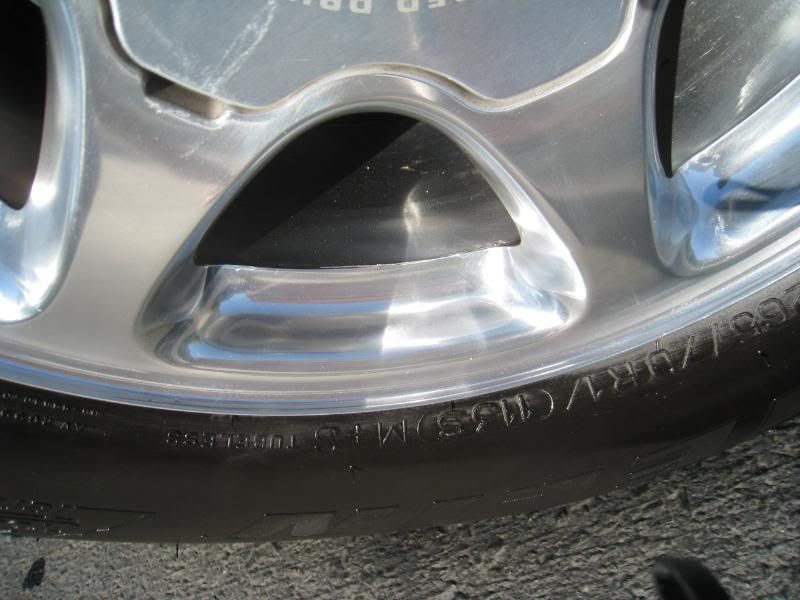
Well the truck is a 2001 GMC Sierra C3. The truck as never had paint correction and has not had protection for over a year. For the first 80,000 miles the truck had seen many drive-through car washes and in the last 50,000 miles has seen good washing techniques. So as you can guess the paint was in bad shape. Also because of the harsh chemicals from the drive-through car washes, the trim had lost a lot of color and had become dole. The truck has also been driven up the Lake Tahoe countless times therefore the undercarriage had pounds of sand and dried salt caked to the surface. I will illustrate the pictures as much as possible throughout the post.


I was working very hard and was lazy with the pictures from correction to the final product and missed a couple of steps in-between, but you will still be able to see a huge difference.


Enjoy and thanks for looking!

Jared


*Exterior Detail Only*
 
BODY WASH

Honda Gas Powered Power-Washer

Foam Lance Foam Cannon

(2)Zymol Wash Sponges

(2) Buckets

P21s Total Auto Wash (Pre-Soak)

Chemical Guys Citrus Wash Clear (Main-Wash)

Chemical Guys Water Spot Remover

Chemical Guys MF Waffle Weave Drying Towels


DOOR JAMS

Honda Gas Powered Power-Washer

P21s Total Auto Wash

Swissvax Wheel Brush


WHEEL WELL/TIRE WASH

Honda Gas Powered Power-Washer

P21s Total Auto Wash

Tire Brush

Wheel Well Brush


WHEEL WASH

Honda Gas Powered Power-Washer

P21s Total Auto Wash (Pre-Soak)

P21s Wheel Gel (Main-Wash)

Swissvax Wheel Brush


CLAY

Special Yellow Clay

Chemical Guys Extreme Slick Synthetic Quick Detailer

Chemical Guys MF Waffle Weave Drying Towels


PAINT CORRECTION

Menzerna Power Gloss

Menzerna Super Intensive

Menzerna PO106ff

2000 Grit Wet-Sanding Paper (Only On Certain Areas)

CCS Yellow Pad

CCS Orange Pad

CCS White Pad

Chemical Guys Polishing Pad Conditioner

Alcohol/Distilled Water (To Remove Polish Oils)

Green 3M Masking Tape

Flex Tool XC 3401 VR

Hitachi High Speed

Chemical Guys MF Fluffer Towels


PROTECTION/LSP


WINDOWS

Einszett Glas Polish

Lusso Glass Polish

Chemical Guys MF Fluffer Towels


WHEELS AND ALL OTHER METALS

Swissvax Autobahn

Megs App Pad

Costco MF Towels


WHEEL WELLS/TIRES

Chemical Guys Fade 2 Black

Costco MF Towels


PLASTIC TRIM

Chemical Guys Fade 2 Black

Chemical Guys Trim Gel

Costco MF Towels

Megs App Pad


BLACK METAL TRIM

Chemical Guys Fade 2 Black

Costco MF Towels

Megs App Pad


HEAD LIGHTS/TAIL LIGHTS/ THIRD BREAK LIGHT

Pluxes

Chemical Guys Fluffer MF Towels


DOOR JAMS

Chemical Guys Jetseal 109

Chemical Guys Fluffer MF Towels

Megs App Pad


PRE-WAX

Chemical Guys VB-408

Chemical Guys Fluffer MF Towels

Megs App Pad


LSP

Chemical Guys Jetseal 109

Chemical Guys Fluffer MF Towels

Megs App Pad


FINAL WIPE DOWN

Optimum Instant Detailer & Gloss Enhancer

Chemical Guys Fluffer MF Towels
 
First up was the wheels, wheel wells, and tires. As you can see the interior of the wheel was caked with years of build-up and needed a lot of work. I started off by soaking the wheel, wheel wells, and tires with P21s TAW. Next I brushed the tires and wheel wells and then rinsed off everything with the power washer. After I was happy with how the wheel wells and tires turned out, I started with the wheels by giving them a good soak with P21s Wheel Gel. I let the Gel sit for 10 min and then started brushing them with my Ace Power Stick hooked up to my drill. Finally I brushed the face of the wheel with P21s Wheel Gel with my Swissvax wheel brush and gave everything a heavy power-wash to make sure all the soap was off the surface.

myspace479.jpg


myspace480.jpg


myspace481.jpg


myspace482.jpg


myspace484.jpg


myspace485.jpg


myspace483.jpg


myspace486.jpg


myspace487.jpg


myspace488.jpg


myspace489.jpg


myspace491.jpg


myspace490.jpg


For the door jams I gave them a good soaking with P21s TAW and then brushed them with a different “door jam only� Swissvax Wheel Brush. The finished with a good power wash.

myspace494.jpg


myspace496.jpg


Here is what the paint looked like before the wash.

myspace497.jpg


myspace498.jpg


myspace500.jpg


myspace501.jpg


The car received a good soak of P21s TAW to de-grease the entire truck and then was power washed.

myspace503.jpg


Next was the foam cannon and wash steps. I used the two bucket method with two Zymol Wash Sponges. It had some water-spots so I mixed some Chemical Guys Water Spot Removier in with the wash to take care of them.
myspace504.jpg


I used the special yellow clay (you know what it is) and here is what ¼ of the truck looked like.

myspace505.jpg
 
I started with the smaller trim. The upper is not polished, and the lower is.

myspace508.jpg


Another angel

myspace511.jpg


Here is a 50/50 of the hood

myspace515.jpg


And another

myspace517.jpg


This was a tough area the needed wet-sanding.

Before

myspace520.jpg


After:

myspace522.jpg


Here are some reflection shots after a quick foam to get the polish oils off. NO LSP.

myspace525.jpg


myspace528.jpg


myspace529.jpg


myspace530.jpg


myspace531.jpg


For my last steps I decided to go with products that have never let me down. I used CG VB408 to make sure all the polish oils were off and to add a bit of depth and then used CG Jetseal 109 and my last step. Once the CG Jetseal was al wiped off I came back with OPT QD to finish it off. For all the plastic trim I used CG Trim Gel, for the wheels and chrome/metal trim I went with SV Autobahn, and lastly for the dressing I dressed the wheels with CG Fade2Black along with the wheel wells. Keep in mind that in these pics I did not wipe the tires off yet therefore they look a bit un-even. Lastly I polished the glass with Z1 and Lusso glass polish.
 
must have been alot of work but well worth the effort, great job. how long did it take you?:kewlpics
 
blucpe said:
must have been alot of work but well worth the effort, great job. how long did it take you?:kewlpics


Thanks!:up I would say I invested in-between 14-18 hours on this detail.


dsgbraves said:
great job, C3's are awesome


Thanks!:up Ya I like C3's a lot more then the quad steer Denail trucks.
 
Great work! If you don't mind me asking how much do you charge? I am looking to get my car polished in the future and I don't have the time to do it myself. You can send me a private message if you prefer to.
 
lnkprksoldier said:
Great work! If you don't mind me asking how much do you charge? I am looking to get my car polished in the future and I don't have the time to do it myself. You can send me a private message if you prefer to.


Thanks!:2thumbs: I sent you a PM about my pricing.
 
Back
Top