extreme-detail
New member
my self and Andy got at the client`s at 8 in the morning to start the M3 detail
first off was to rinse the car off then spray the car with citrus cleaner then rinse off again. After that we washed the wheels with P21 wheels cleanerthen it was time for the 2 bucket wash with the mitts and dryed off with the sonus towels.
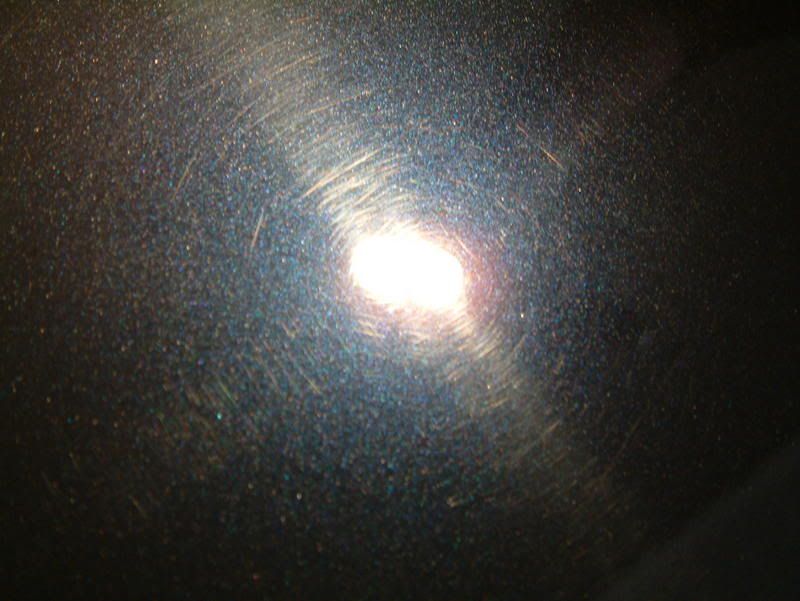
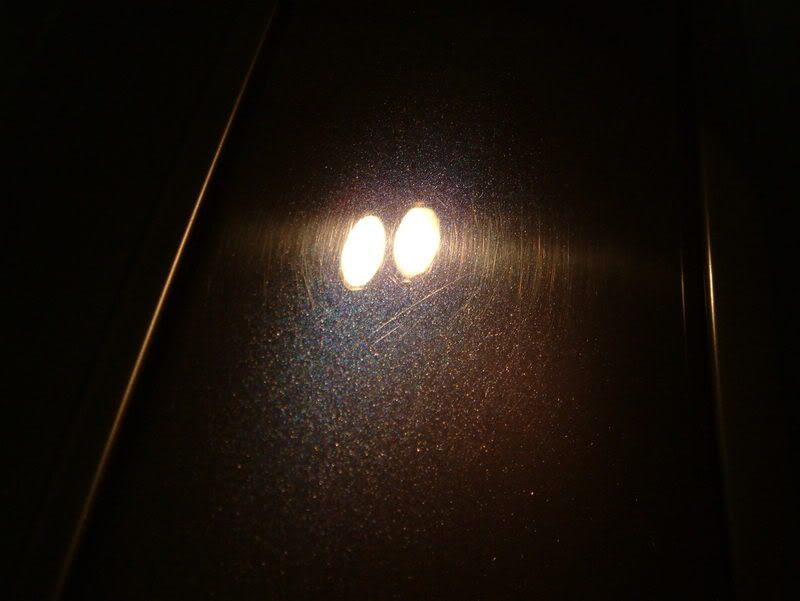
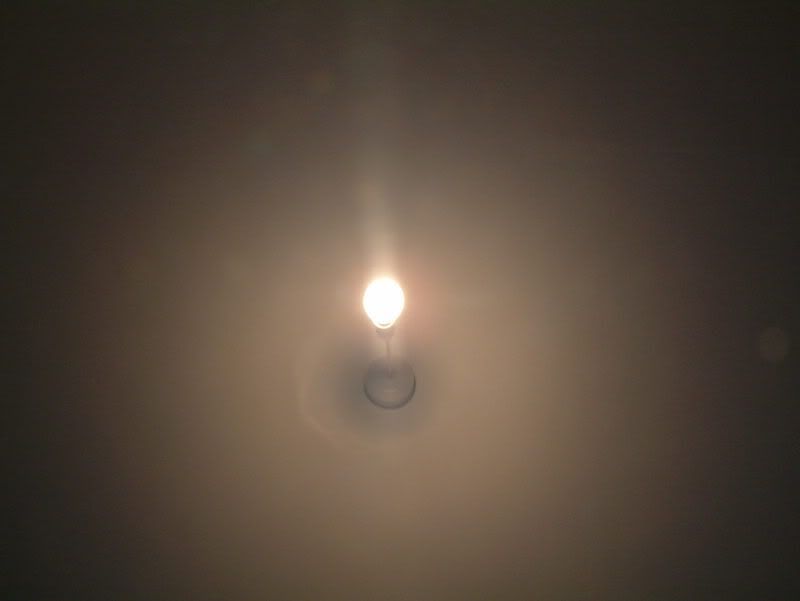
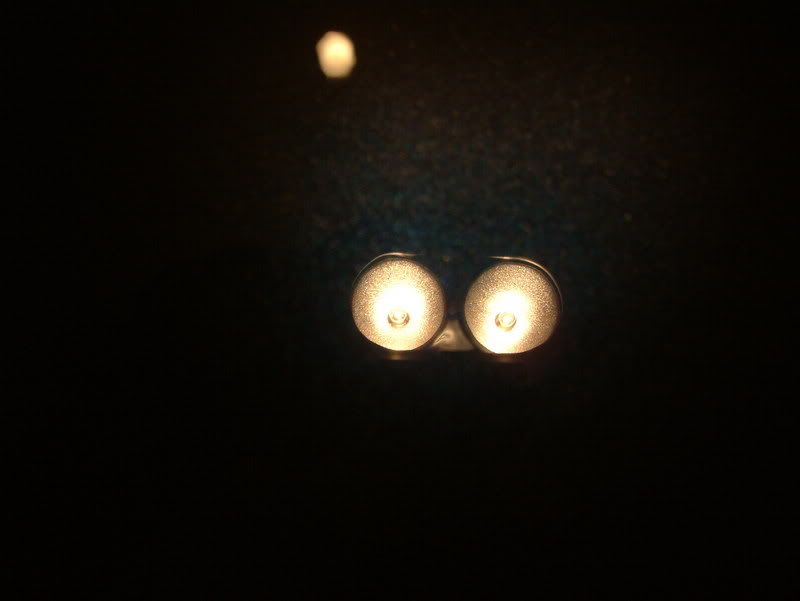
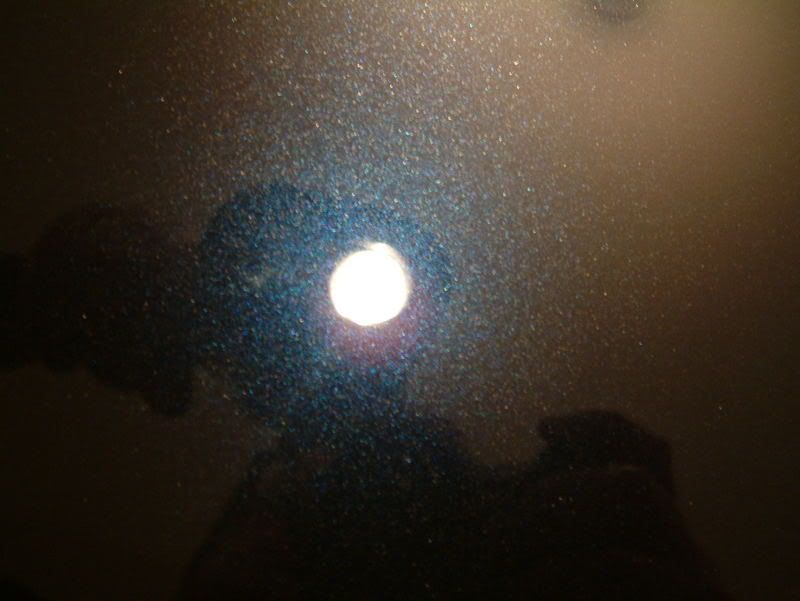
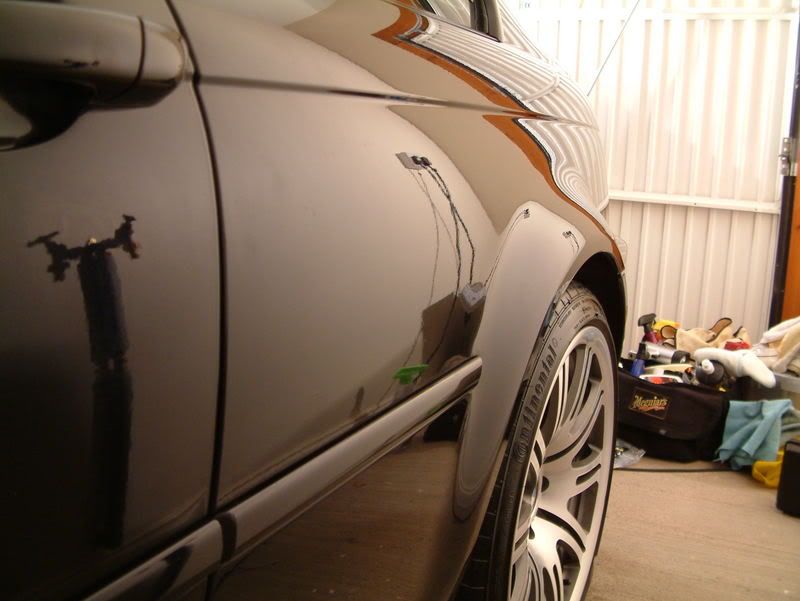
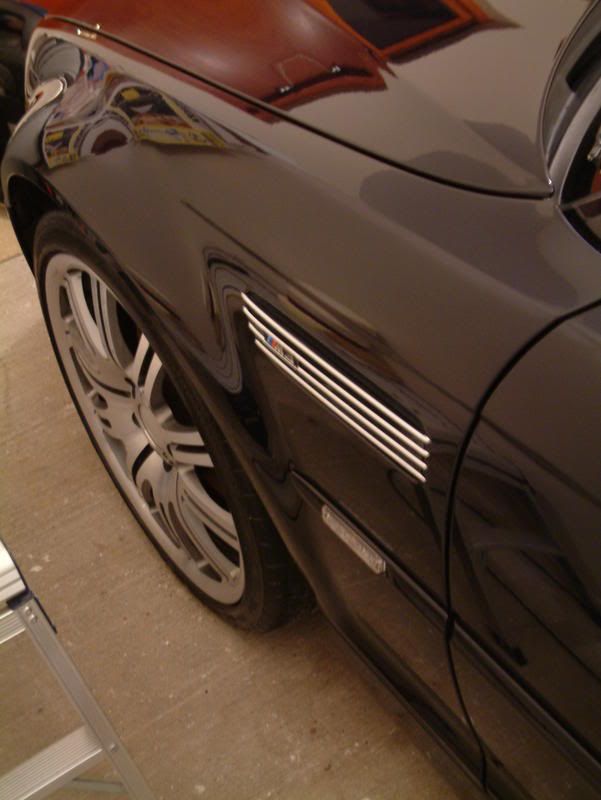
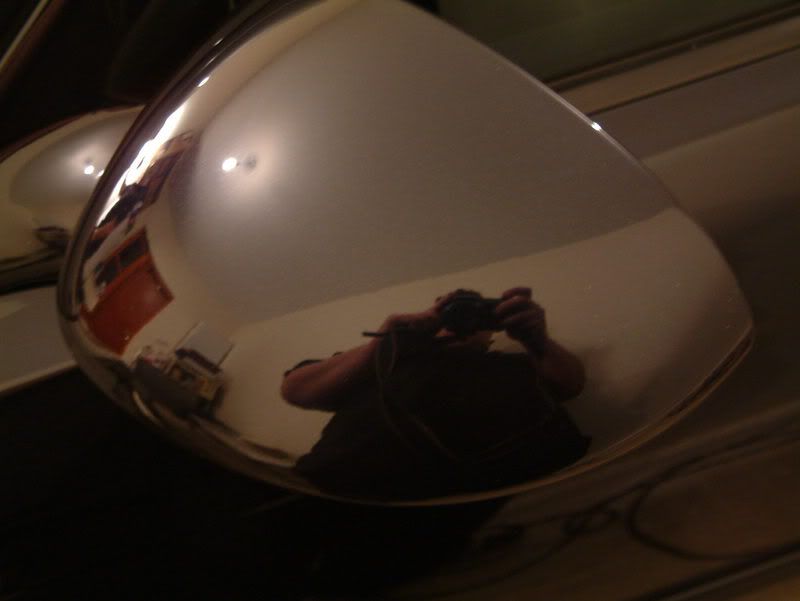
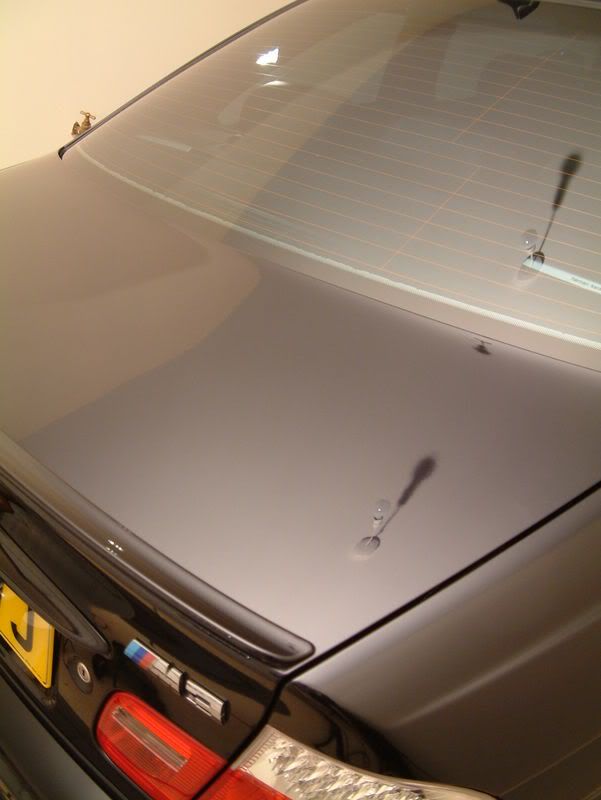
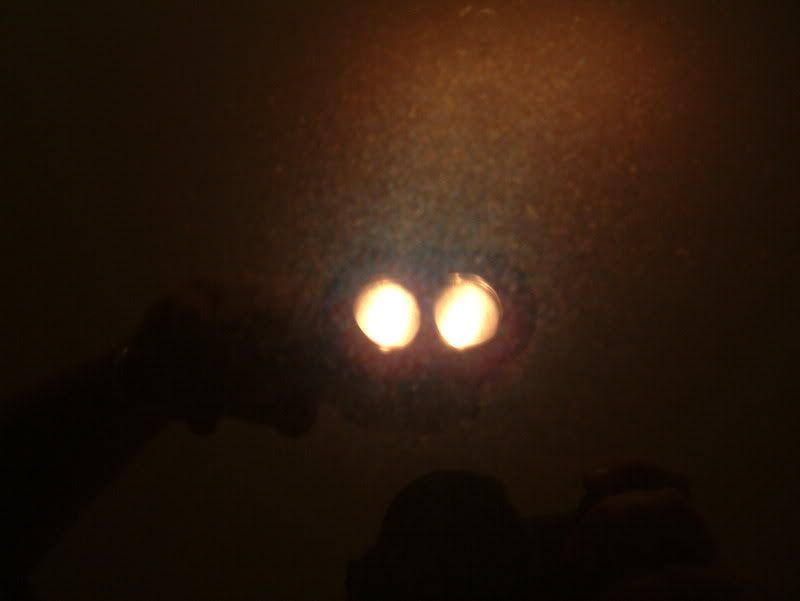
then we took the M3 into the garage to check for paintwork defects and this is what we found.
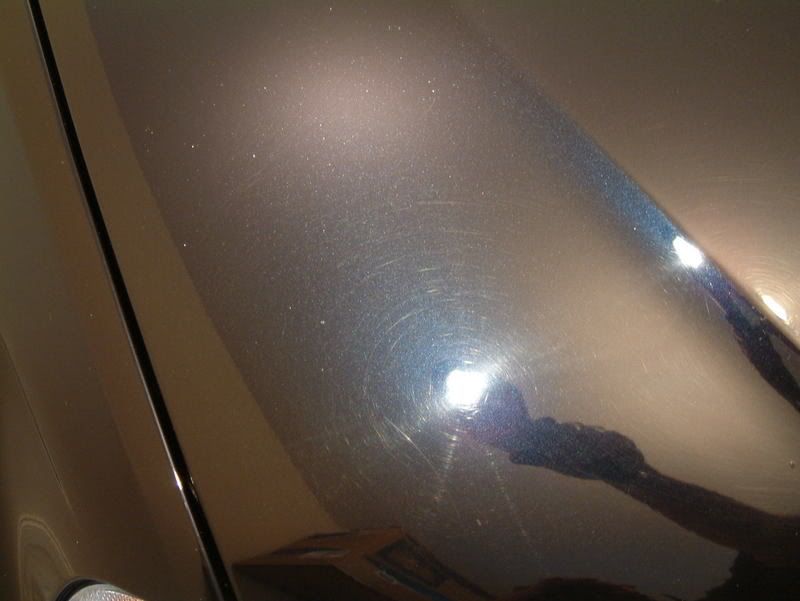
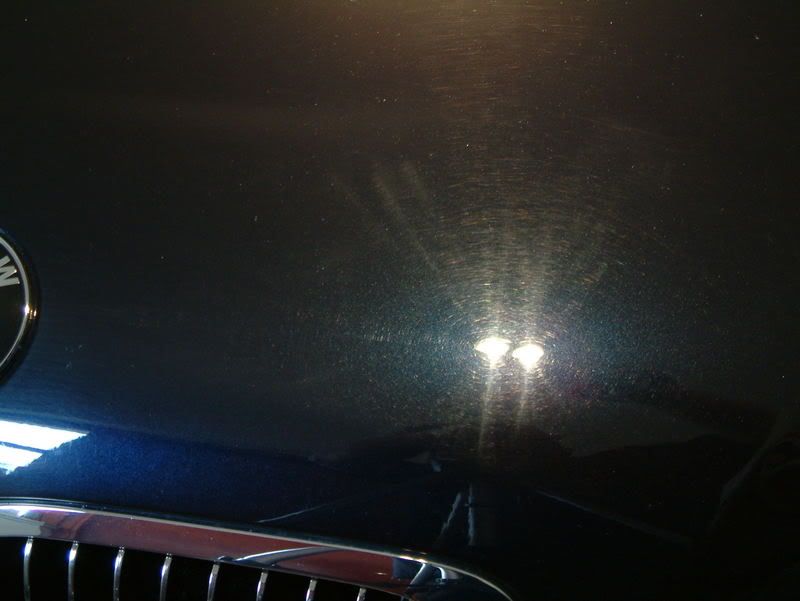
next stage was to check the thickness of the clear coat in the paint
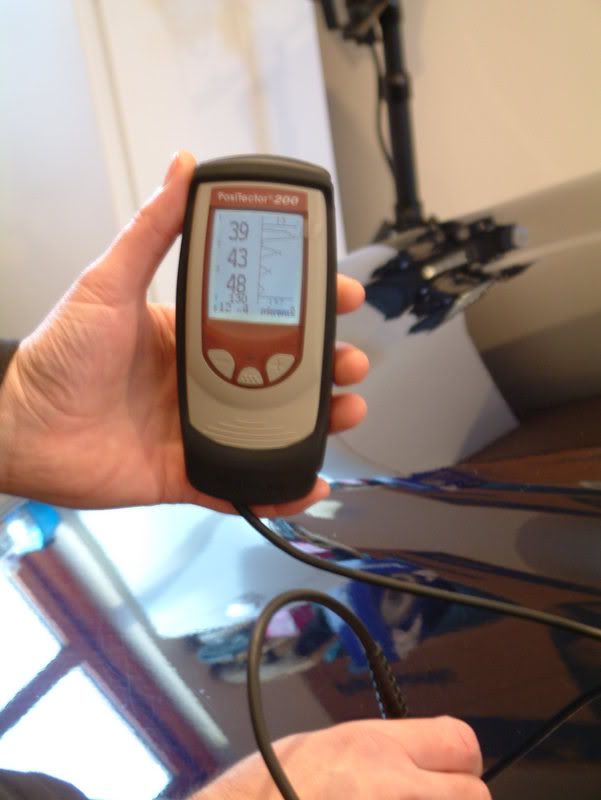
as we found we had good readings on the clear coat and there was some heavy swirls in the paint work we went for.
menzerna power gloss with the meg`s cutting pad on the rotary
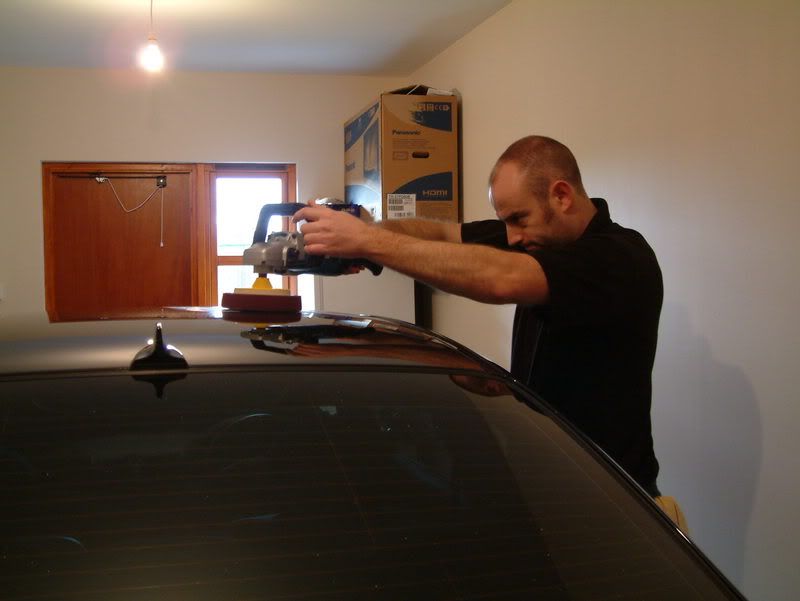
then we went for
menzerna IP with the meg`s polishing pad with the rotary
followed with
menzerna Final Finish - PO85RD
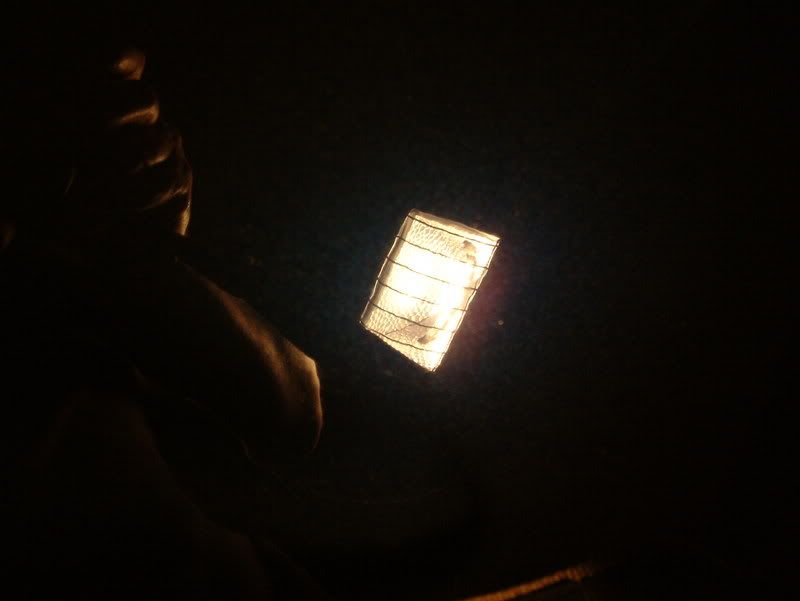
once the we were happy with the paint work and checked over with the lights we set obout cleaning out all the gap`s between the panelsround the trims and around the glass using make up brushes as i find these are very soft and are perfect for this job
now its time to get the paint work ready for the wax
for this stage we use HD cleanse and as the reason for us using this product is that it helps for the wax bond to the paint work giving it a longer life span.
LSP time
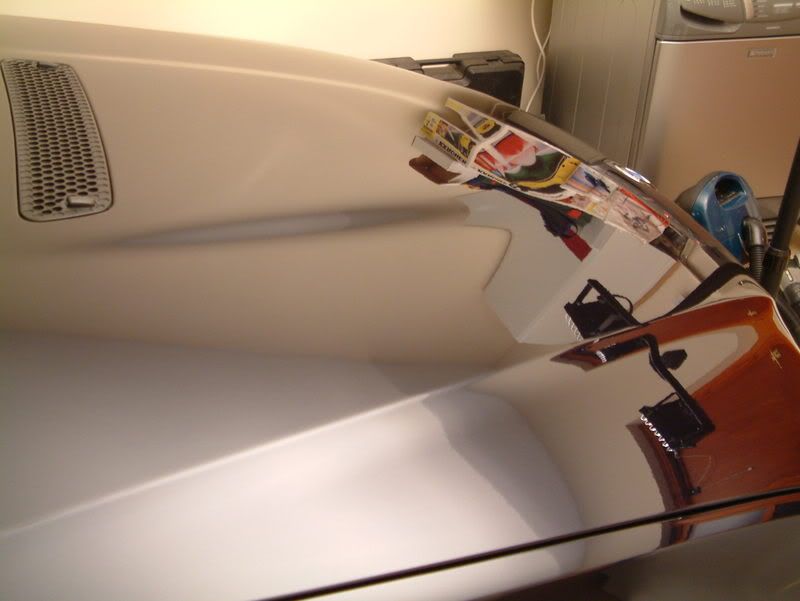
for this we used Vintage Glaze
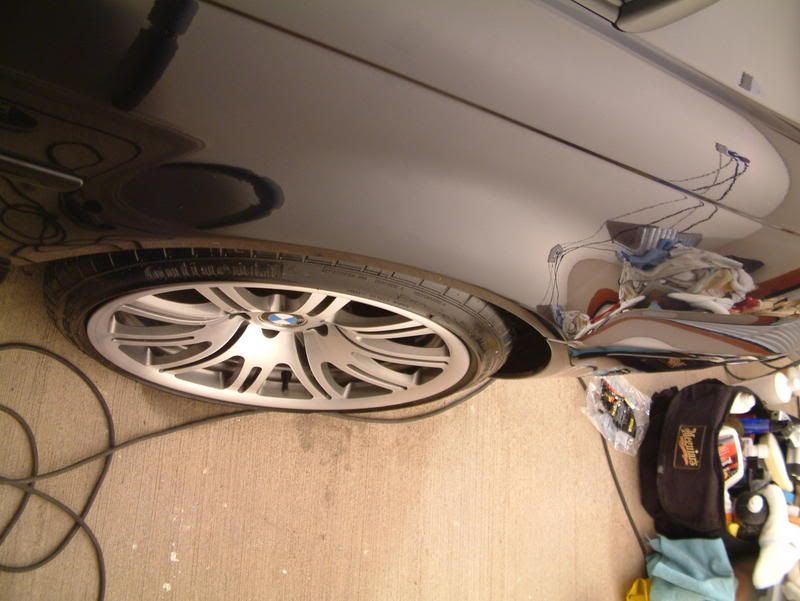
also we treated the wheels to HD cleanse and Vintage Glaze
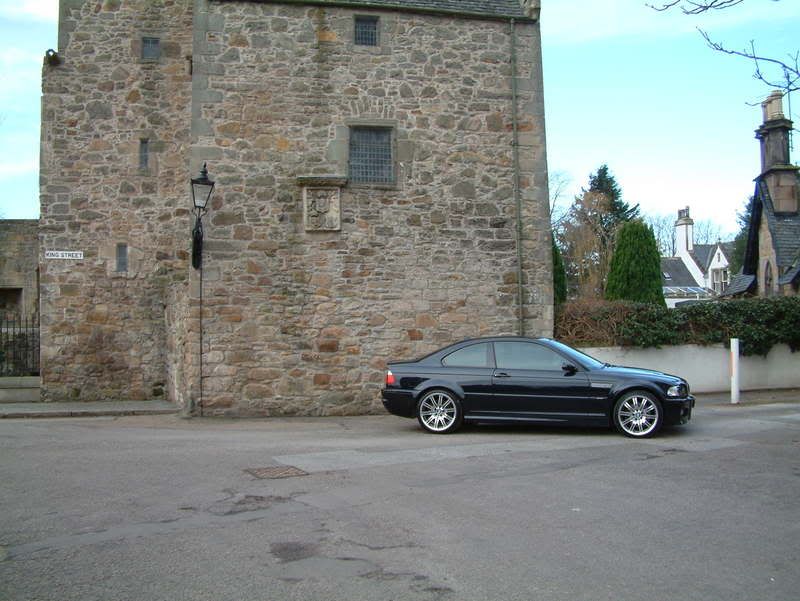
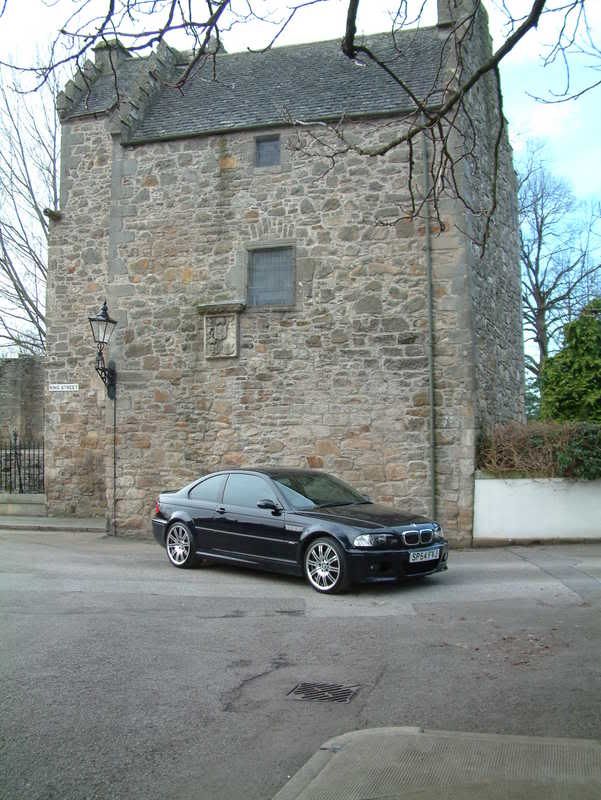
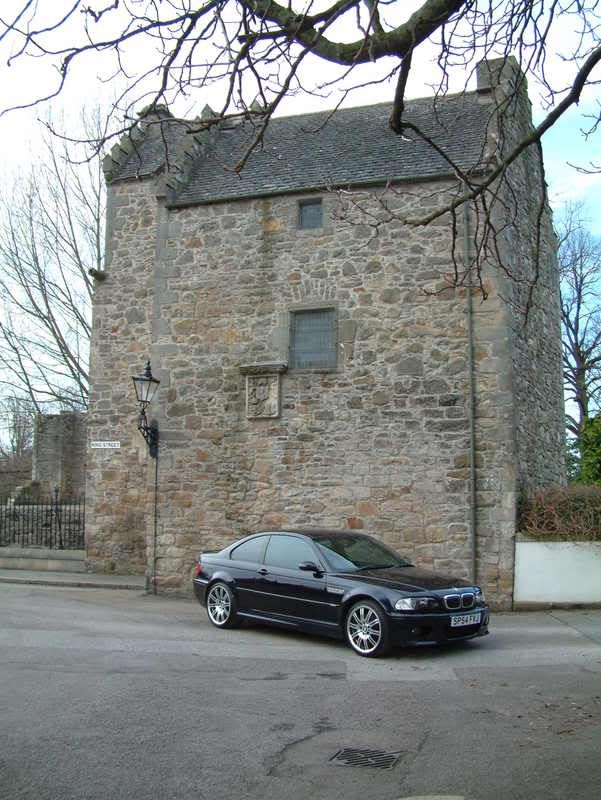
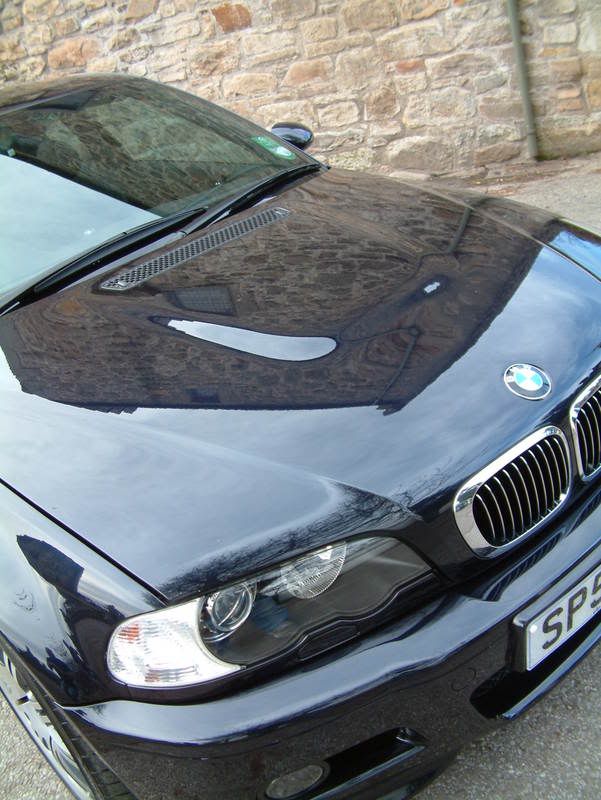
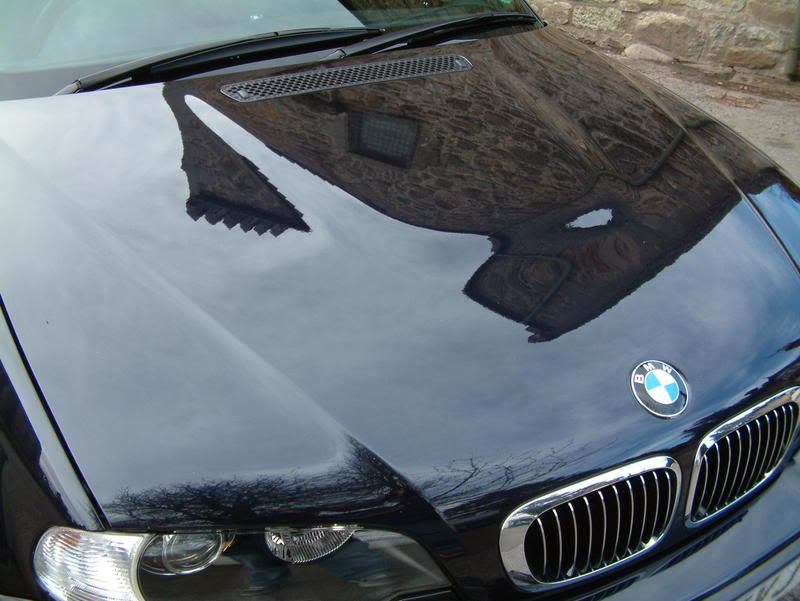
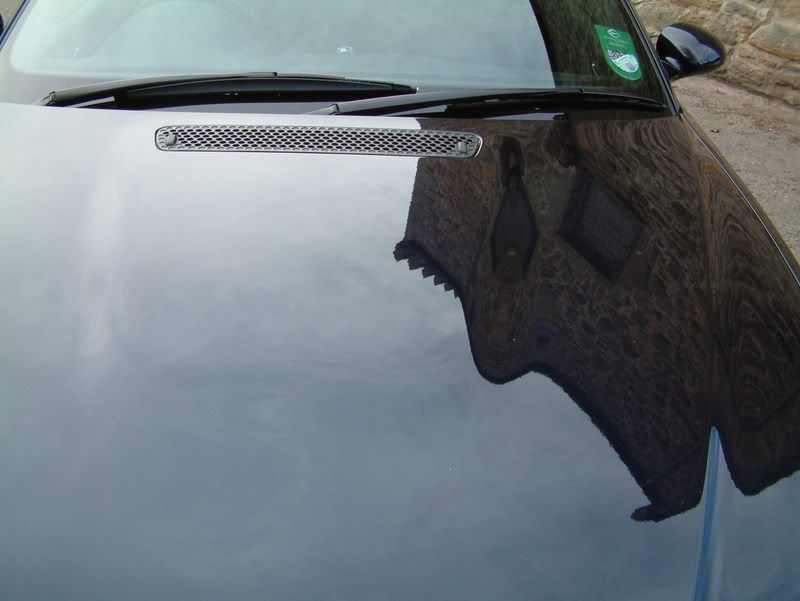
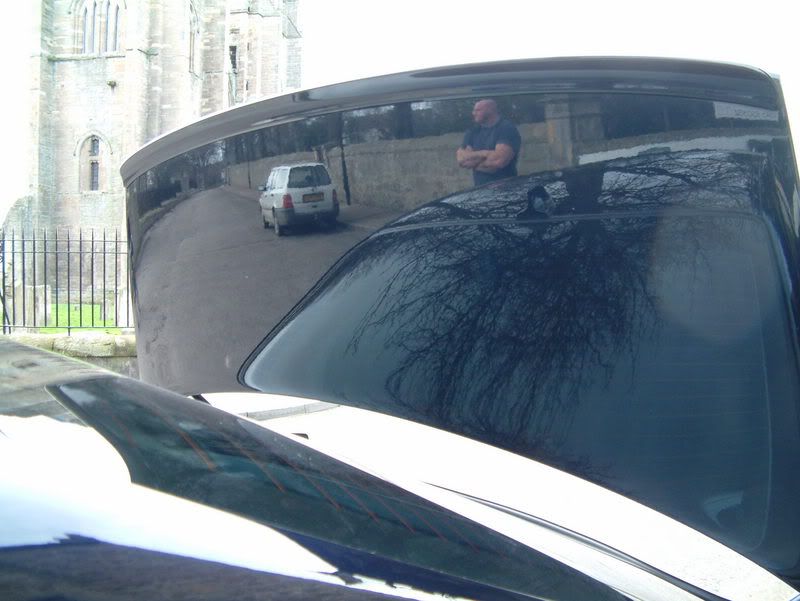
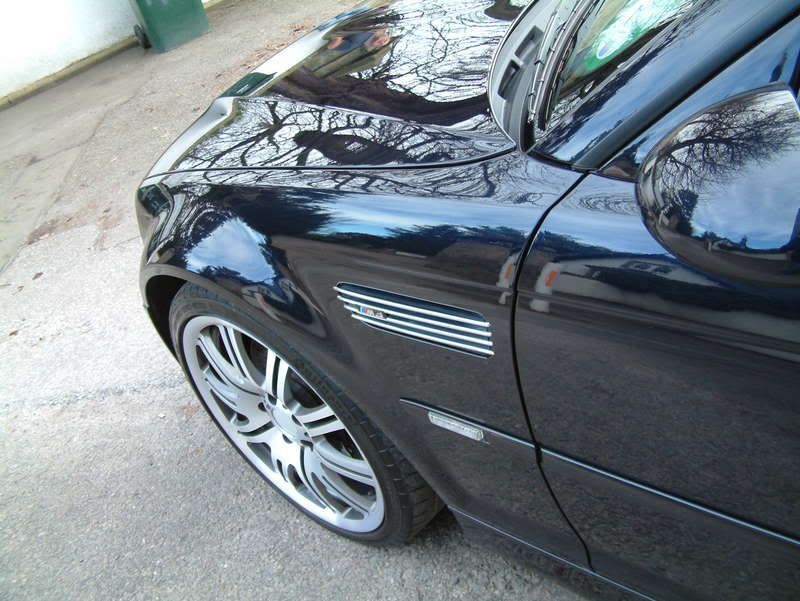
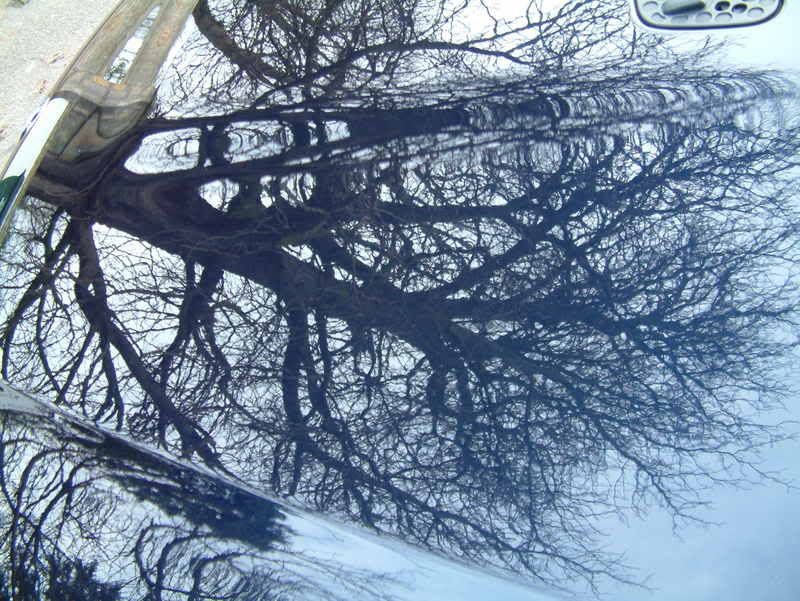
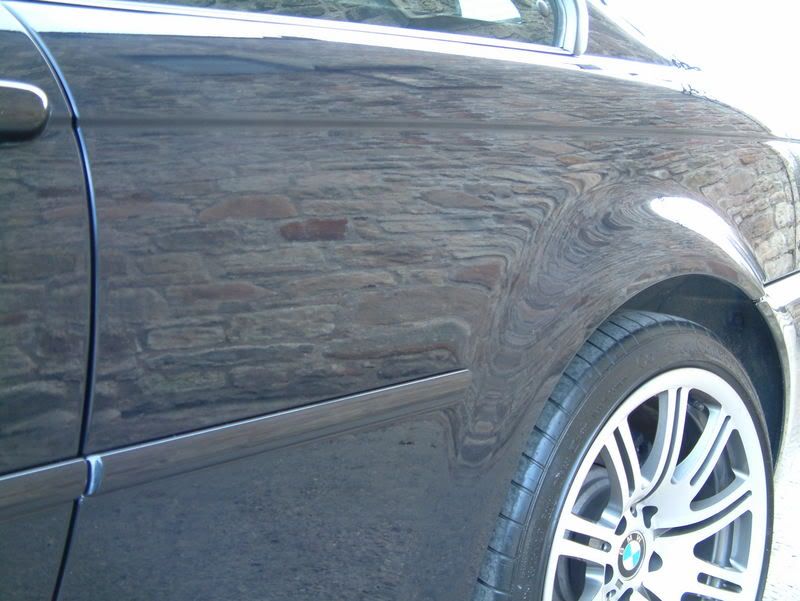
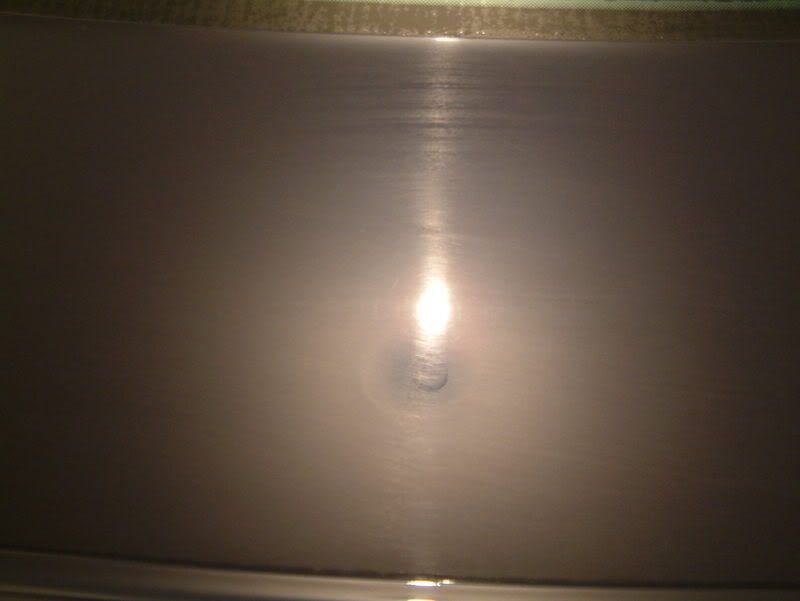
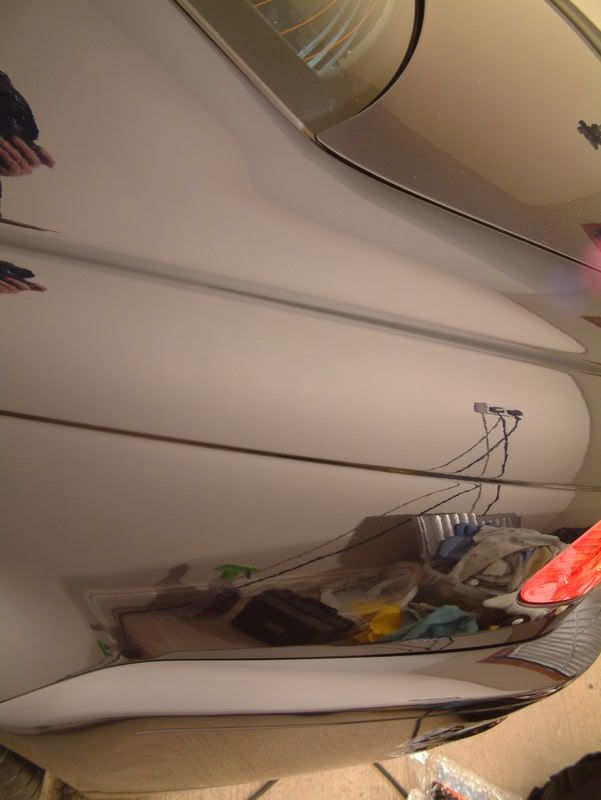
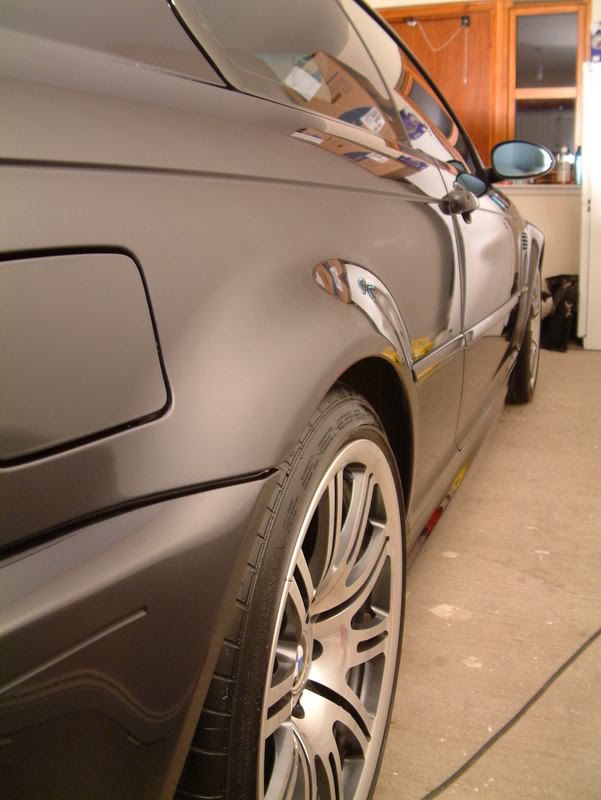
here is some of the afters
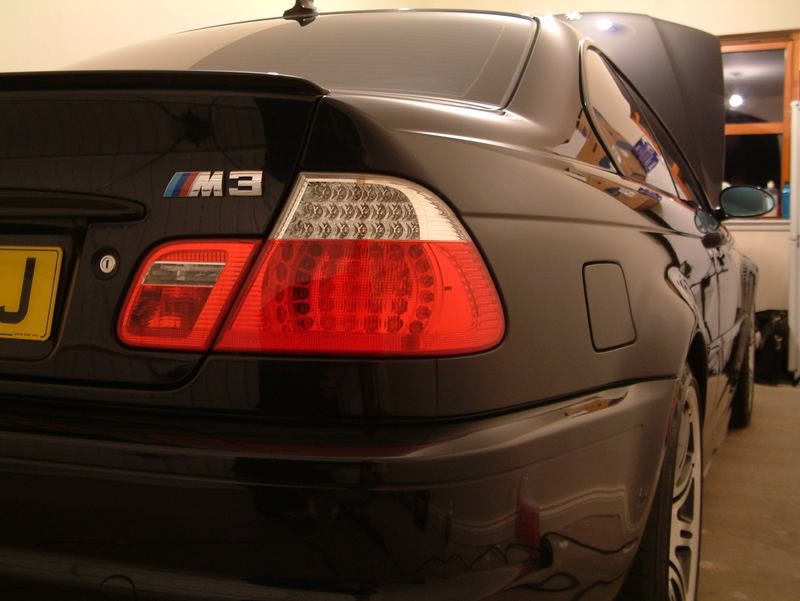
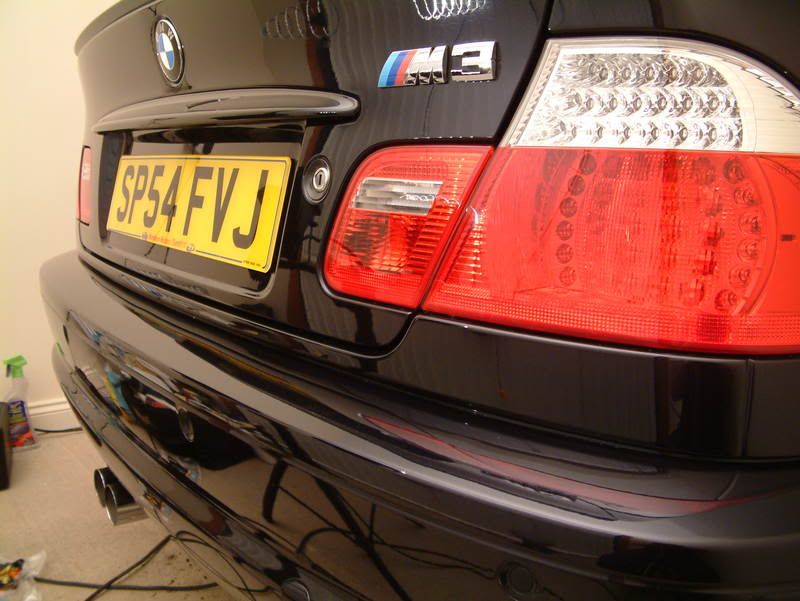
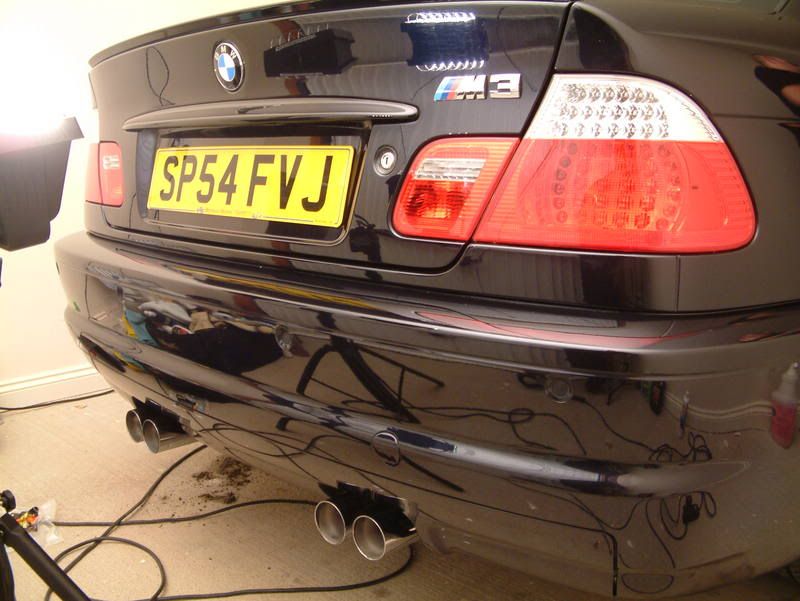
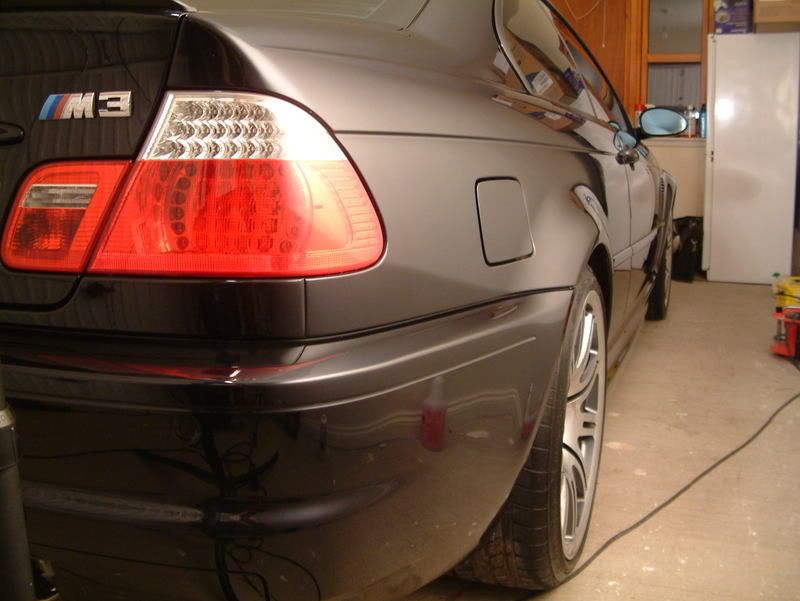

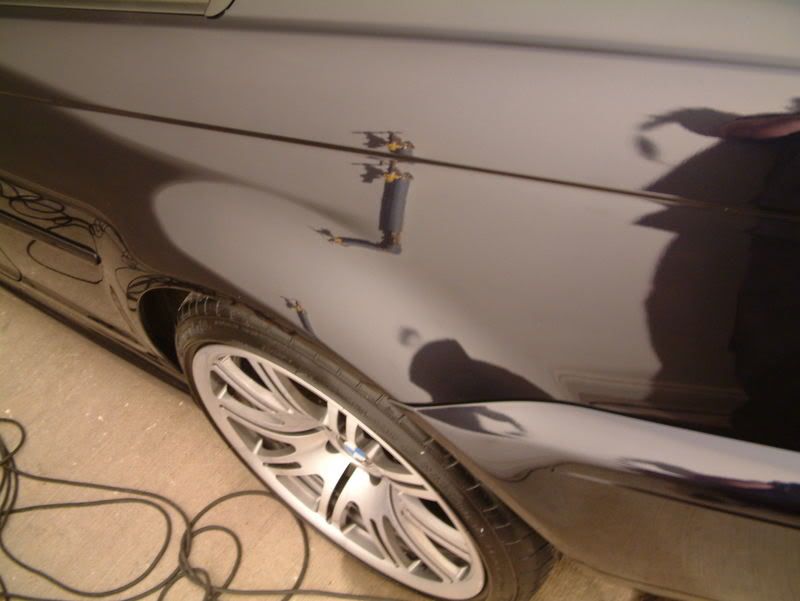

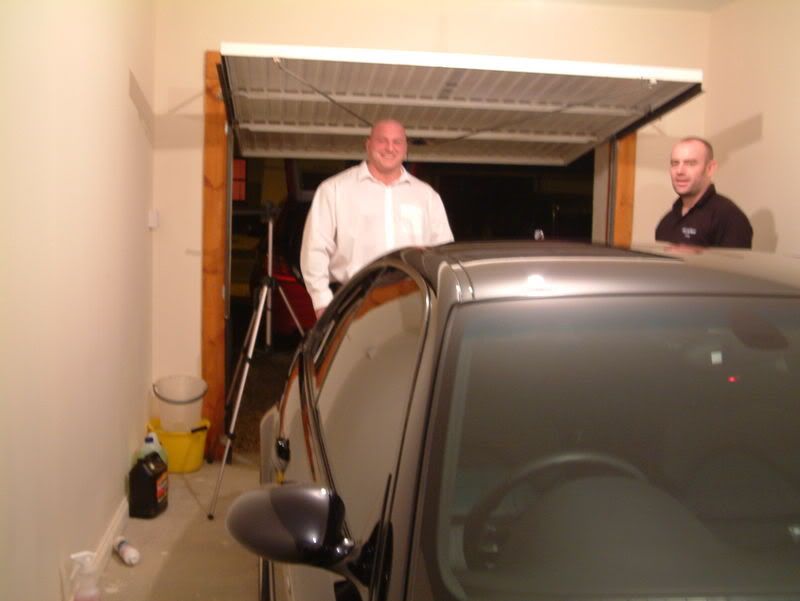
one happy client
first off was to rinse the car off then spray the car with citrus cleaner then rinse off again. After that we washed the wheels with P21 wheels cleanerthen it was time for the 2 bucket wash with the mitts and dryed off with the sonus towels.
then we took the M3 into the garage to check for paintwork defects and this is what we found.
next stage was to check the thickness of the clear coat in the paint
as we found we had good readings on the clear coat and there was some heavy swirls in the paint work we went for.
menzerna power gloss with the meg`s cutting pad on the rotary
then we went for
menzerna IP with the meg`s polishing pad with the rotary
followed with
menzerna Final Finish - PO85RD
once the we were happy with the paint work and checked over with the lights we set obout cleaning out all the gap`s between the panelsround the trims and around the glass using make up brushes as i find these are very soft and are perfect for this job
now its time to get the paint work ready for the wax
for this stage we use HD cleanse and as the reason for us using this product is that it helps for the wax bond to the paint work giving it a longer life span.
LSP time
for this we used Vintage Glaze
also we treated the wheels to HD cleanse and Vintage Glaze
here is some of the afters
one happy client