LawrenceSA
New member
So let me start this off by saying a big thank you to the owner of this car for bringing it in at such short notice. I had originally booked a car with another customer a good few months ago and at the time, told him I would contact him a month before the detail to confirm we were still on, which I did. At that point, I told him I would re-contact him a week before to confirm, which I again did.... he was excited and all was in order for the detail. Then on Friday night at 18:52 (we agreed he would drop the car off at 18:30) he tells me he is no longer coming as it may rain on the weekend - who waits months for a detail knowing it is booked for a date in the middle of summer in Durban (where it rains almost daily) and then bails at the 11th hour.... :crazy: 
So I got hold of the owner of this car who dropped it off shortly thereafter.... thanks bud - you bailed me out and I appreciate it. :hug:
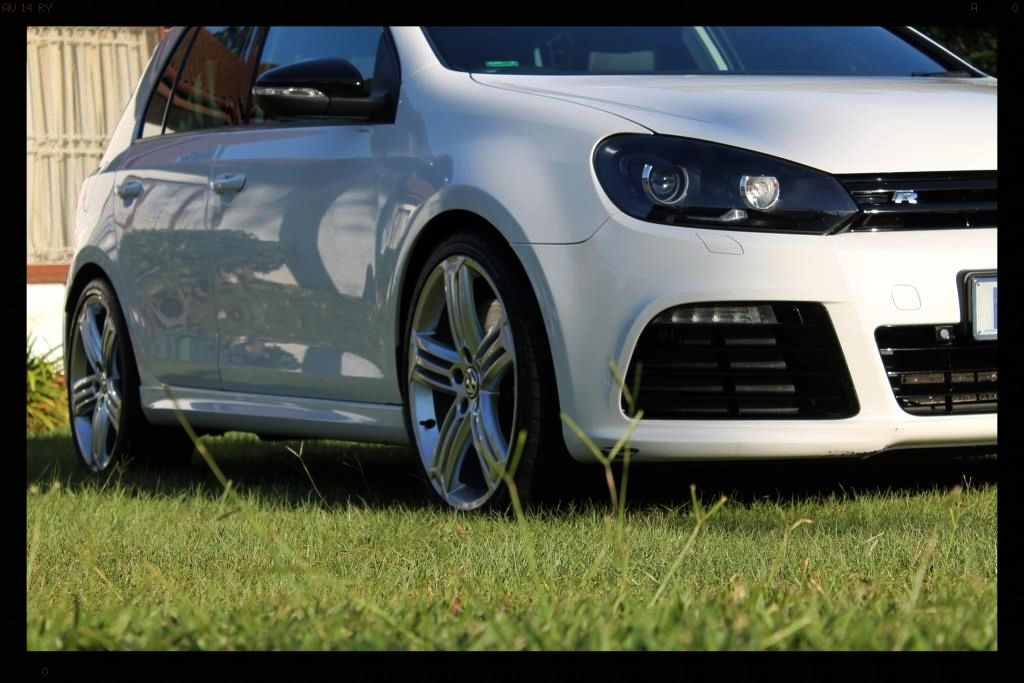
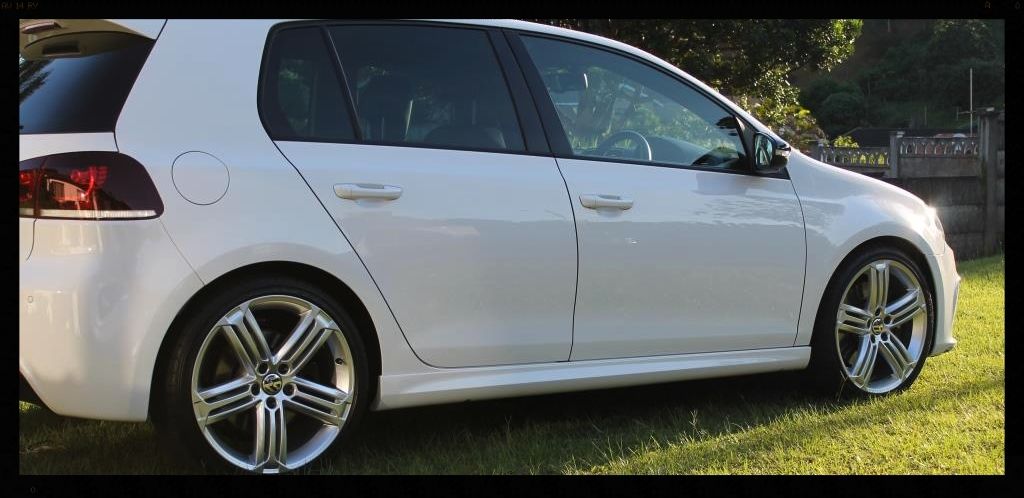
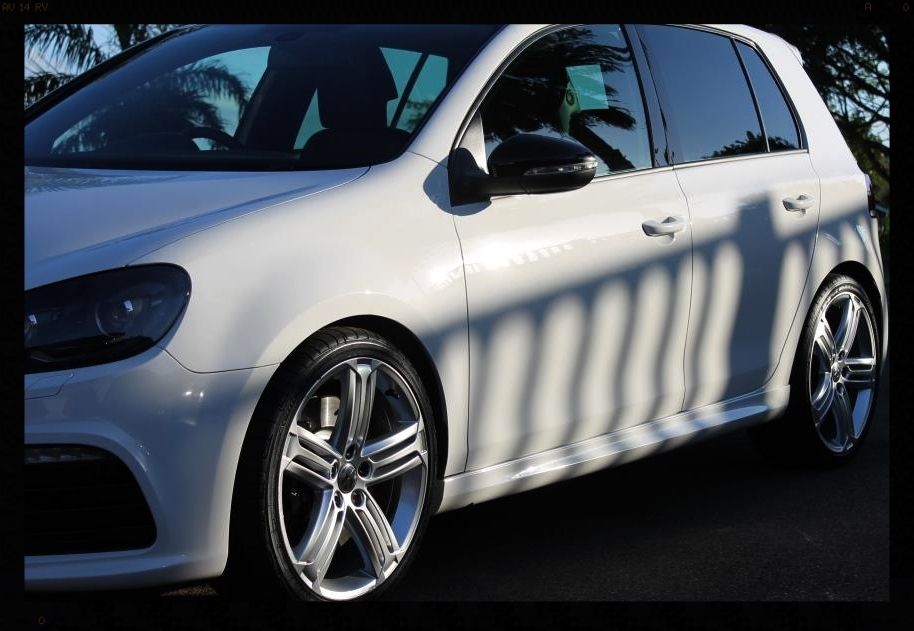
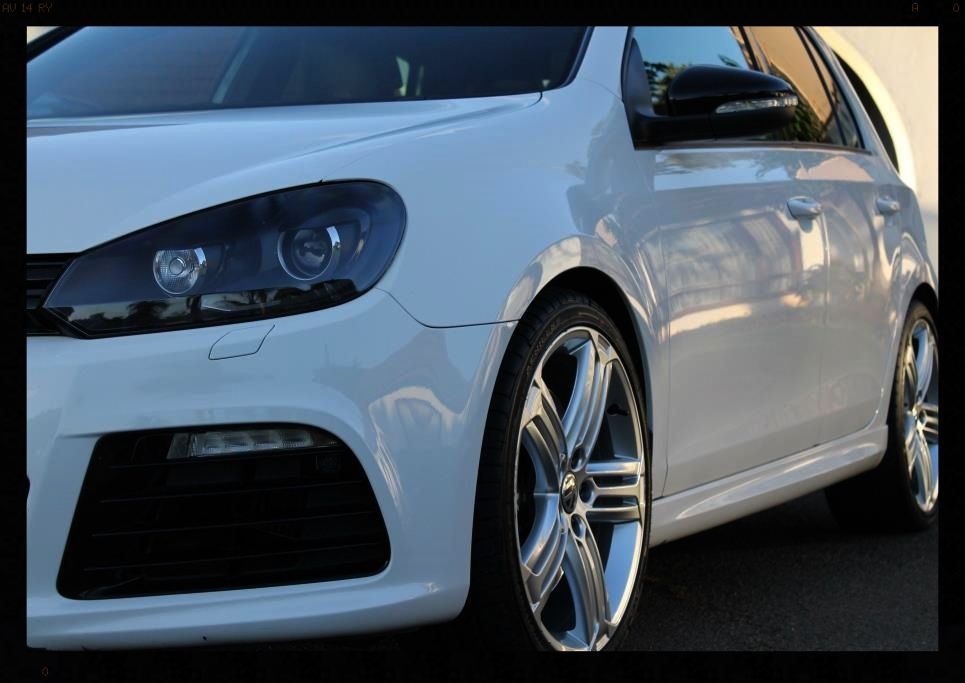
So the car...well he bought it second hand and the previous owner really didn't give it the kind of care that is deserves. I have never come across a car with swirls so deep in the paint before - and was something I was not expecting on a 1 year old car. I can only assume that the depth of the swirls was a combination of 1 bucket, wheels being washed first and the same wash mitt then being used straight onto the paint, all the washing done with a lot of pressure, a chamois and shampoo with the lubricity of beach sand....
And on to the detail itself..... well firstly, I got a bit of a later start than usual as the owner wanted a 'wheels off' detail and dropped off one of his employees on Saturday morning with a jack to get the wheels on/off, and I didn't really want to wash the car first before sorting the wheels and arches out. Secondly, Saturday was another scorcher of a day in Durban and by 09:00 it was already stupid hot and so there are limited pics taken as I really had to hustle, not only to ensure I finished in time, but also to prevent product drying out too quickly.... so apologies in advance for the lack of pics....
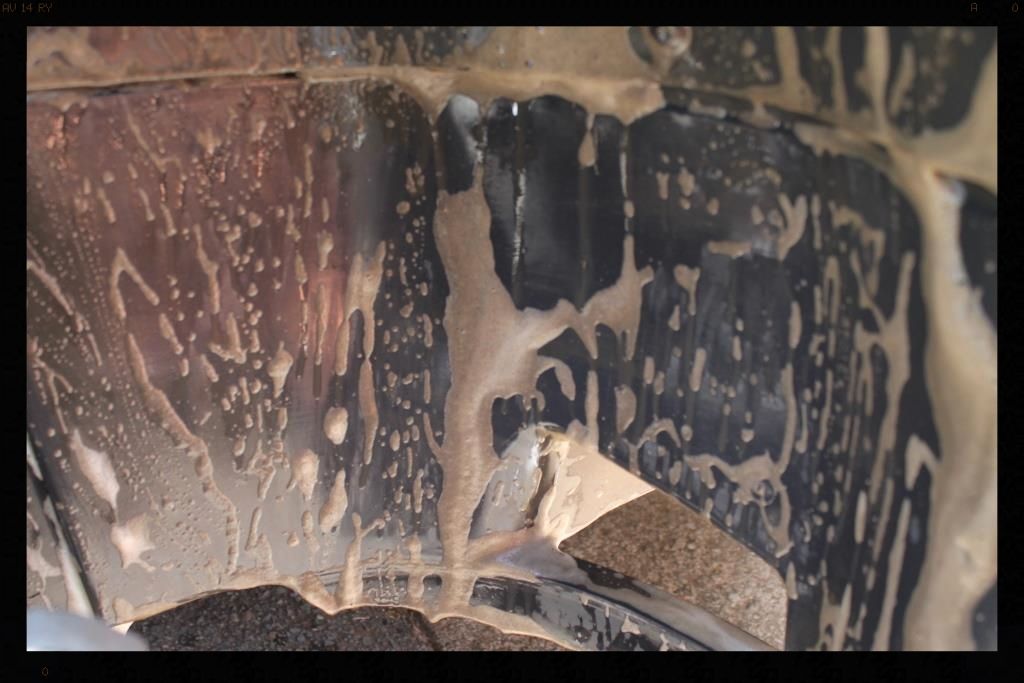
Right so the engine bay had some work on it recently, and as mechanics do, they left their mark on the bay
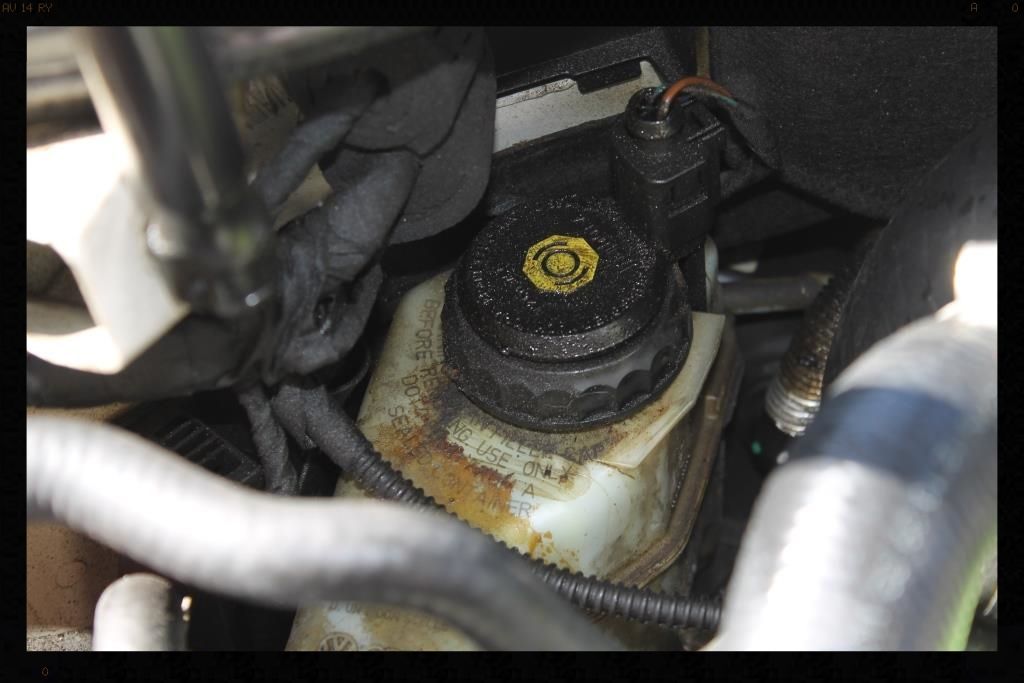
This same oil has been splashed up onto the 'carpeted cover thingymabobby' that sits on the underside of the bonnet (no pics) and so that was removed and cleaned separately.
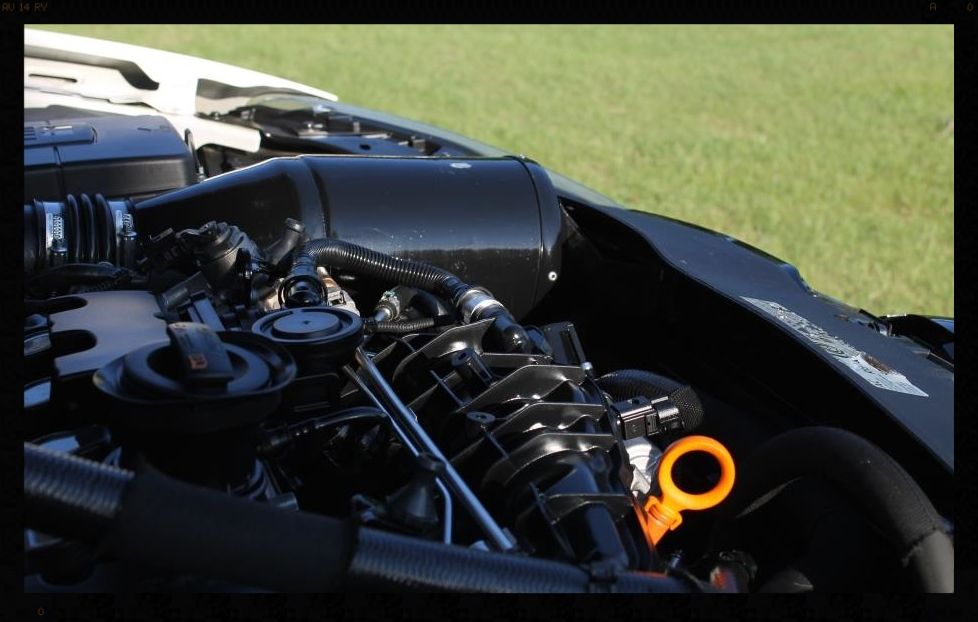
Engine bay
-Coil packs covered with cling wrap
-Spray with Cyclo APC and agitate with various brushes and mf towels
-HP rinse
-Clean/Polish/Protect painted surfaces using AF Tripple by hand with a MF applicator
-Dressed with Autofinesse Dressel
After
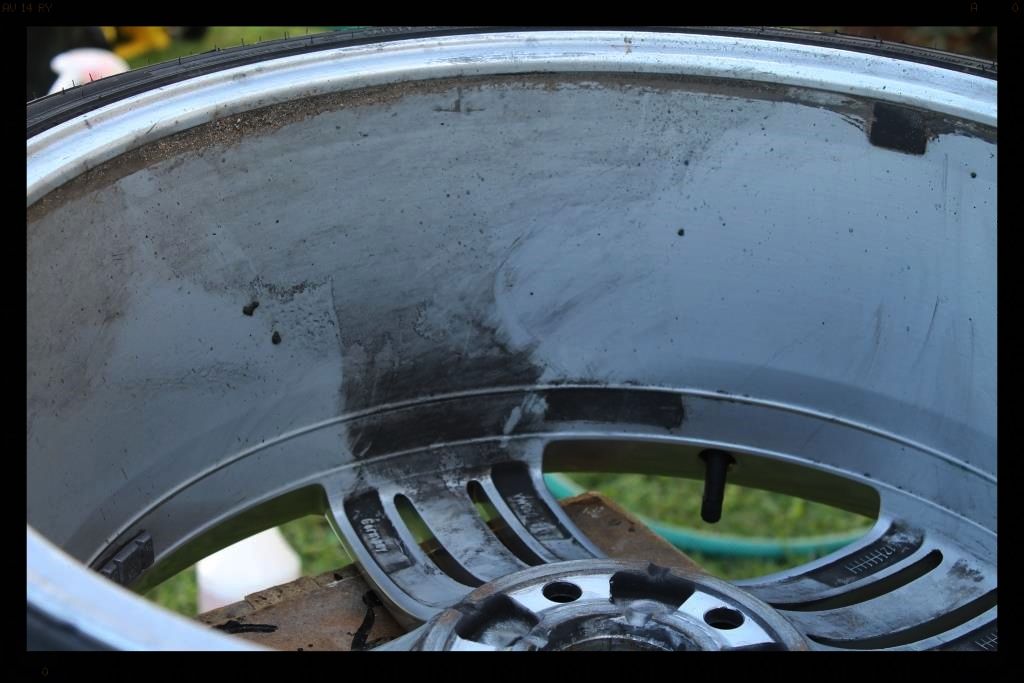
In the meantime the wheels were removed - not too bad looking actually (this was a front)
Then I cleaned out the arches
-HP rinse arches
-Clean with Cyclo APC using a Mothers Fenderwell Brush
-HP rinse
-Clean tires with Valet Pro Billbery Wheel Cleaner @ 1:6 and a Mothers Tire brush.
-HP rinse
-Repeat tire cleaning
-HP rinse
-Wash wheels and brake calipers with VP Bilberry Wheel Cleaner @ 1:6, Daytona and Daytona Jnr brushes and Valet Pro Boars Hair Brushes
-HP rinse
-Dry
-Remove tar using Autoglym Intensive Tar Remover
-Spray with APC and HP Rinse
-Dry
-Remove bonded and embedded ferrous contaminants on wheels and brake calipers with Autofinesse Iron Out, Daytona (big and small) brushes and Valet Pro Boars Hair Brushes
-HP Rinse + flood rinse
-Dry
-Polished with Meguiars Cleaner Wax
-Protected with Menzerna Powerlock
-Tires dressed with 2 coats of Optimum Tire Sheen
Once all the wheels were cleaned they were refitted and the car bought back to mother earth. Continuing with the 'dirty' stuff the Door/Boot Jamb and Petrol Flap areas were cleaned
-HP rinse
-Clean with Cyclo APC and Valet Pro Boars Hair Brushes
-HP rinse
-Apply Gyeon WetCoat
-HP rinse
After that it was time to get the car cleaned up in preparation for polishing
Wash
-HP rinse
-Applied Valet Pro Citrus Pre-wash via a spray bottle, left to dwell
-HP rinse
-Applied Chemical Guys Maxi Suds II via Crazy Detailer V2 Foam Cannon, left to dwell
-HP rinse
-2BM wash using lambswool wash mitts and a sample shampoo I am testing
-HP Rinse
-Flood Rinse
-Dried using ONR and WW drying towels
Decontamination
-Tar removed using Autoglym Intensive Tar Remover
-Remaining contamination was clayed off using Shield Heavy Duty clay with ONR as lube.
Paint correction
- Paint readings were all in the typical range for OEM VW paint and nothing to be concerned about.
- So after slowly stepping up the aggressiveness on my test spots, I landed up at Menzerna FG400 on a 6" Lake Country Purple Wool Pad using the Flex 3401 - this is the most aggressive combo I have - and it was nowhere near enough. I had to repeat this curring step to get any decent level of correction, and even then, in a lot of places the damage was so deep a 3rd hit with this combo was required....
-The B-pillars, diffuser and mirrors were hit with Menzerna FG400 on a 4" Lake Country pad using the Shield DA, followed by Menzerna SF4000 on a 4" White Lake Country pad
-The piano black trim on the front bumper was hit with Menzerna FG400 on a MF applicator by hand, twice and refined using SF4000 with a Lake Country Orange hand applicator and Menzerna SF4000
Here are some pics
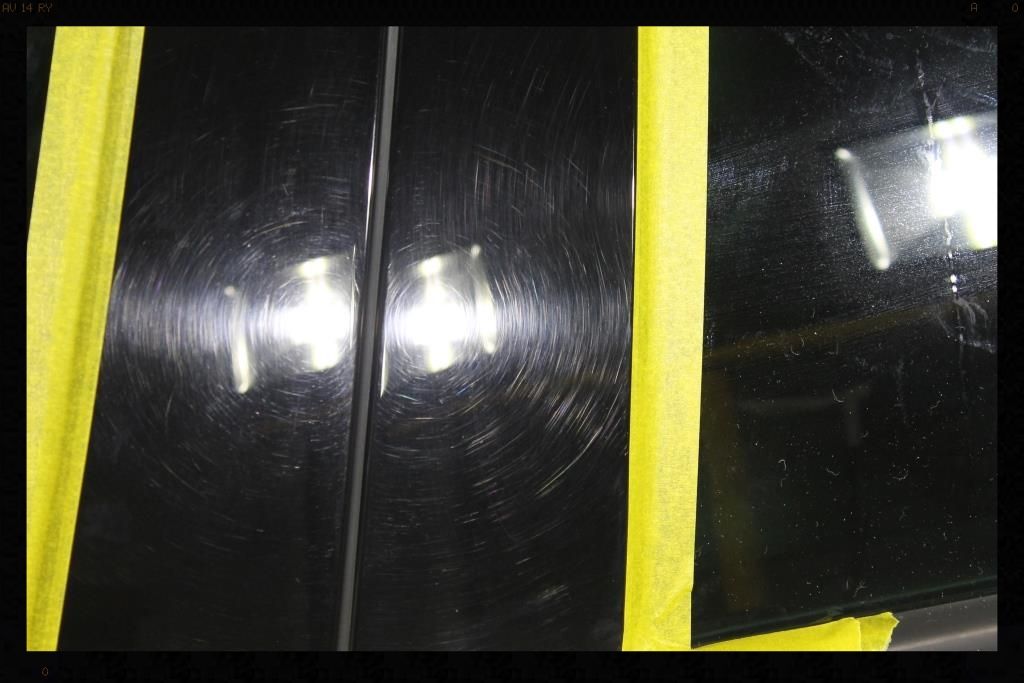
B-pillars before
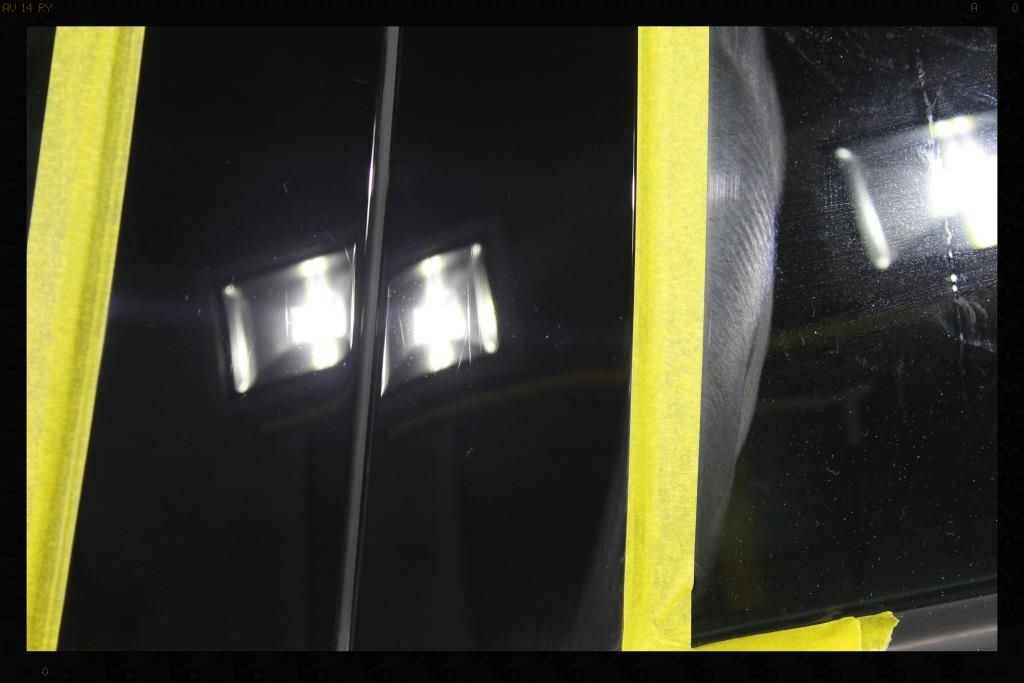
After FG400
After SF4000
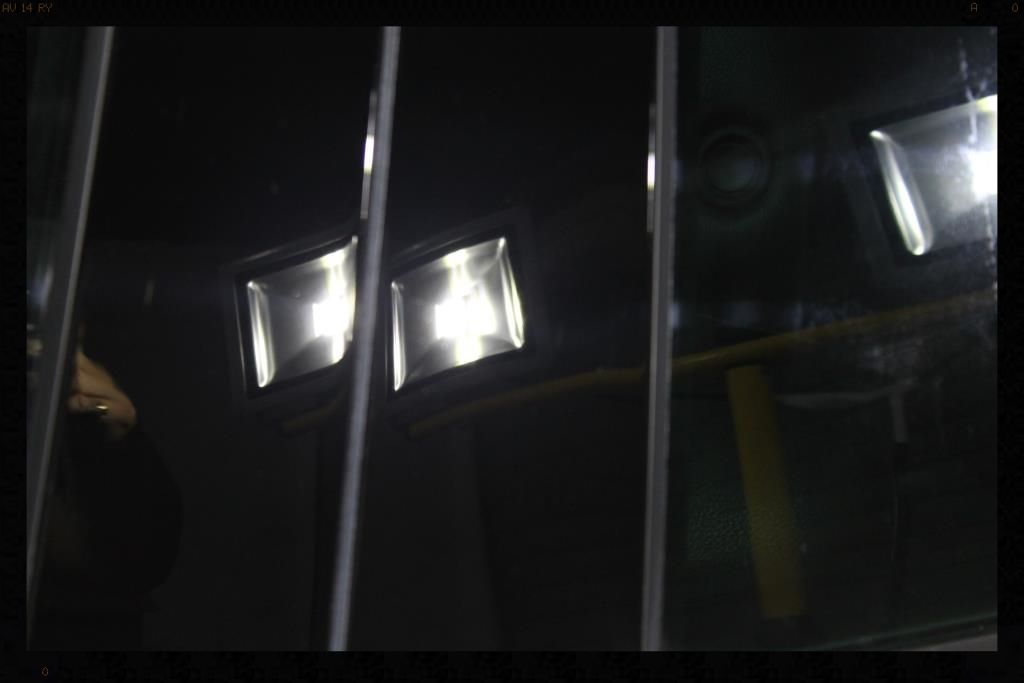
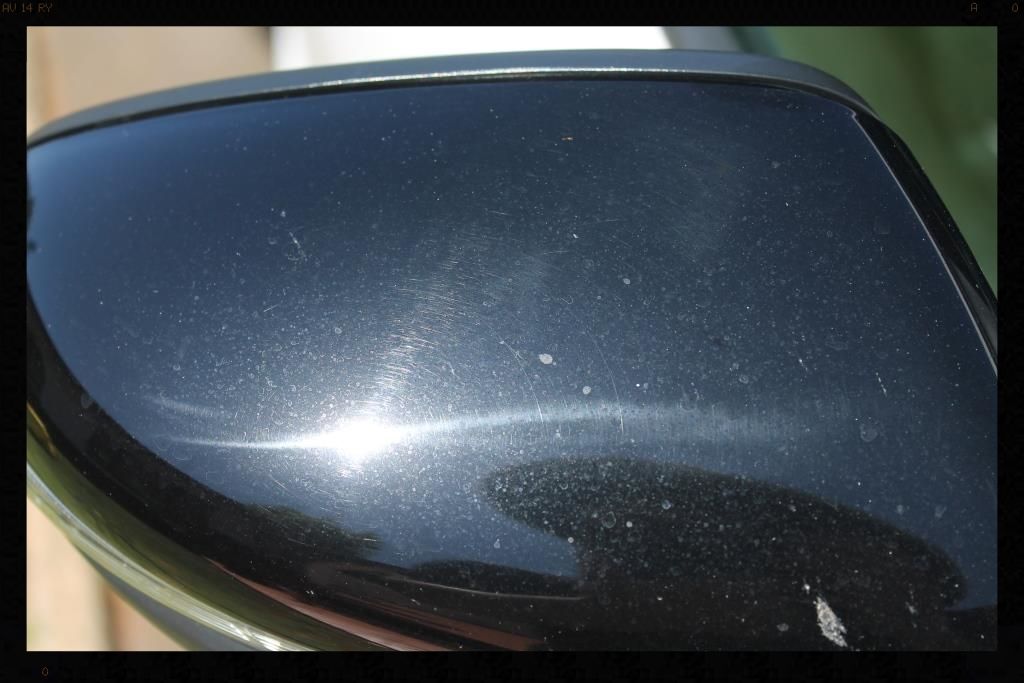
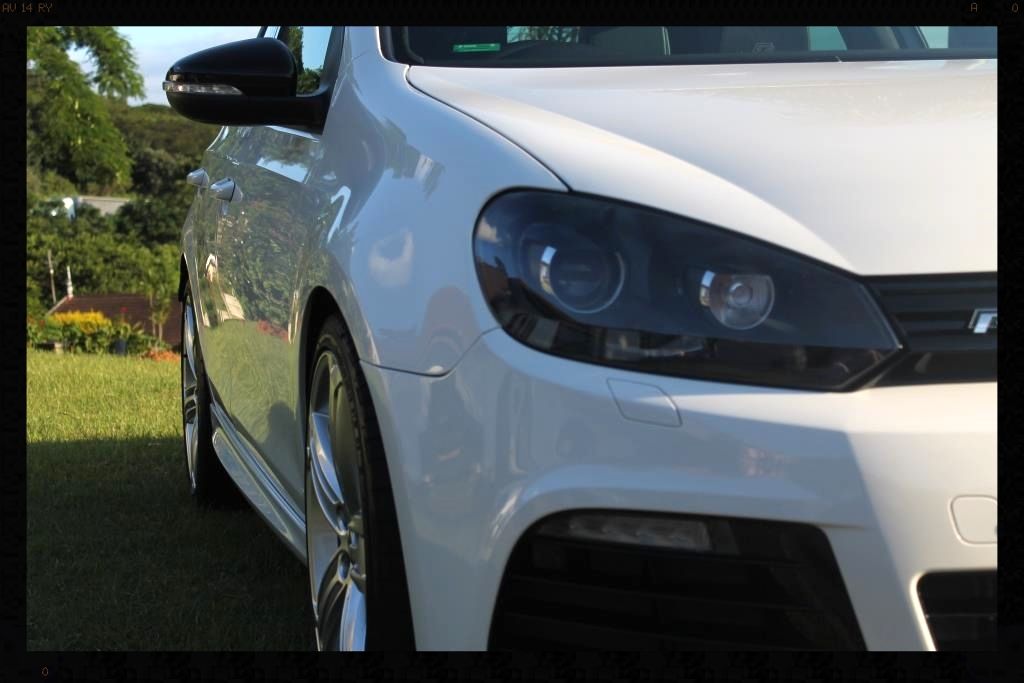
The mirrors before (Yip those are buffer trails on the mirror.... it was very scary polishing these as I had no idea how much of the already thin paint had been lobbed off by the goon behind the rotary, and polishing on plastic is always risky)
After

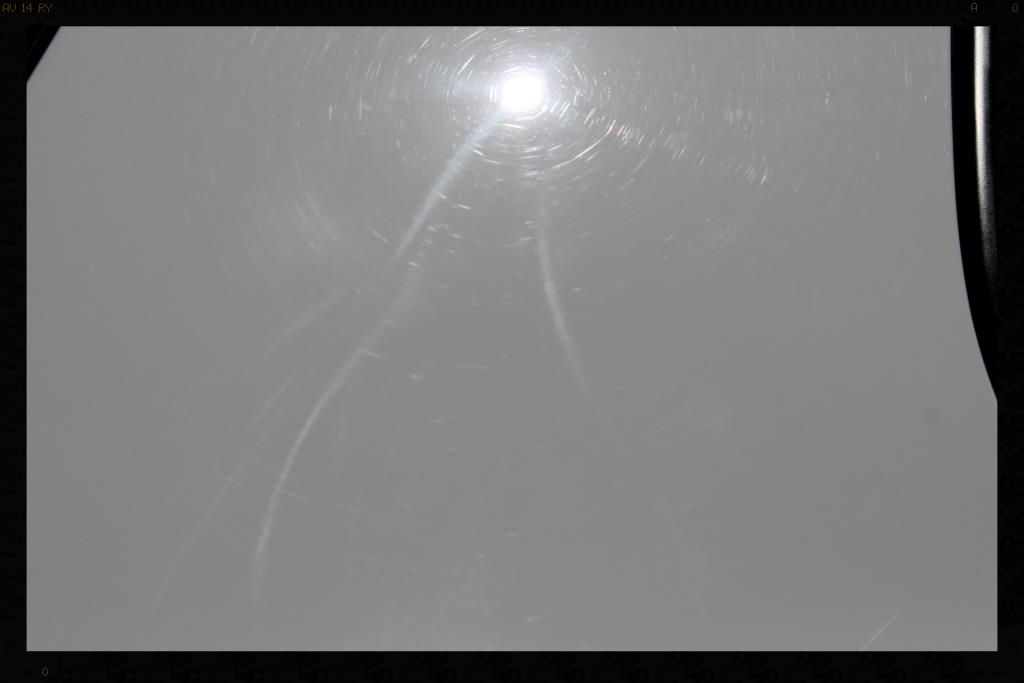
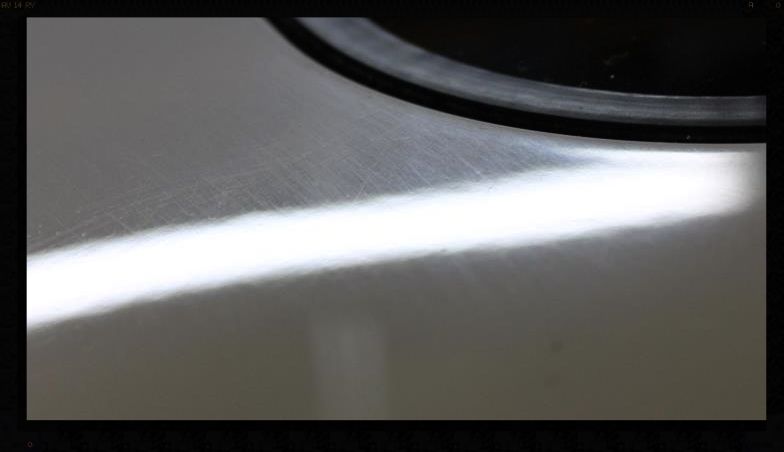
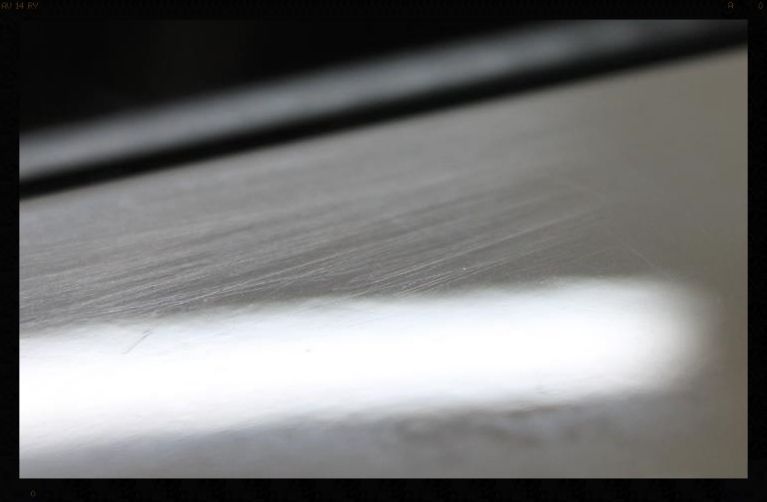
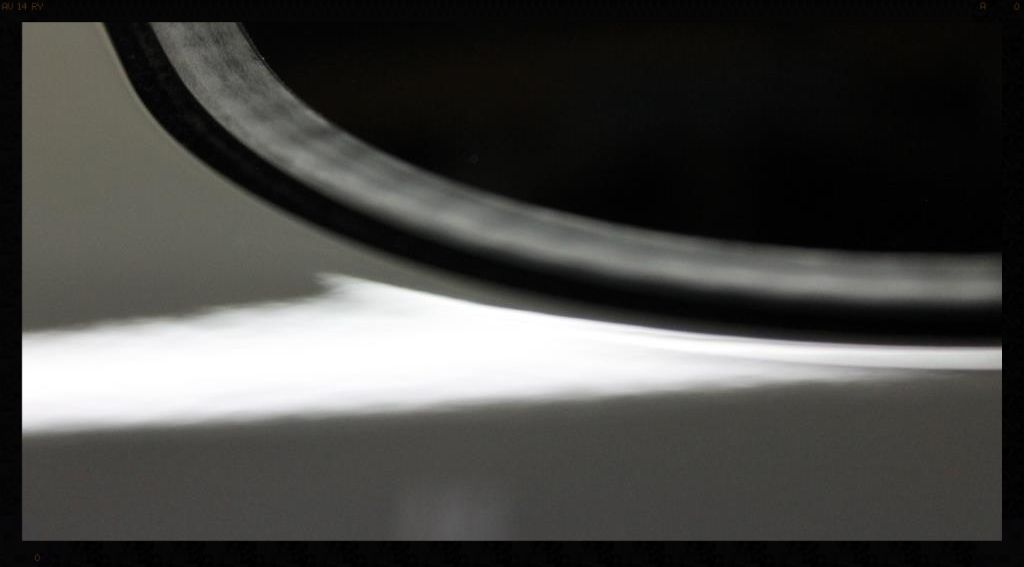
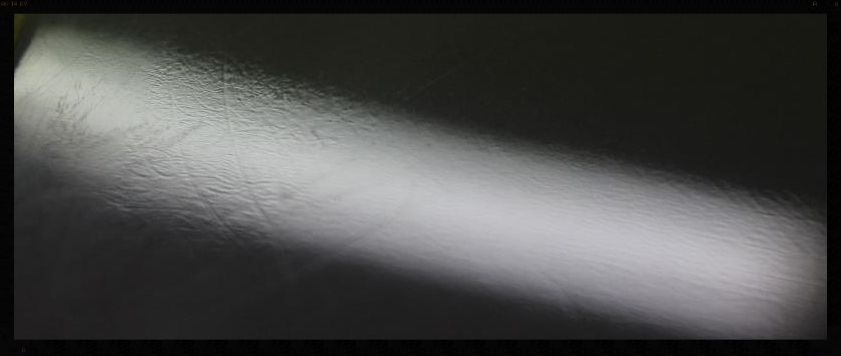
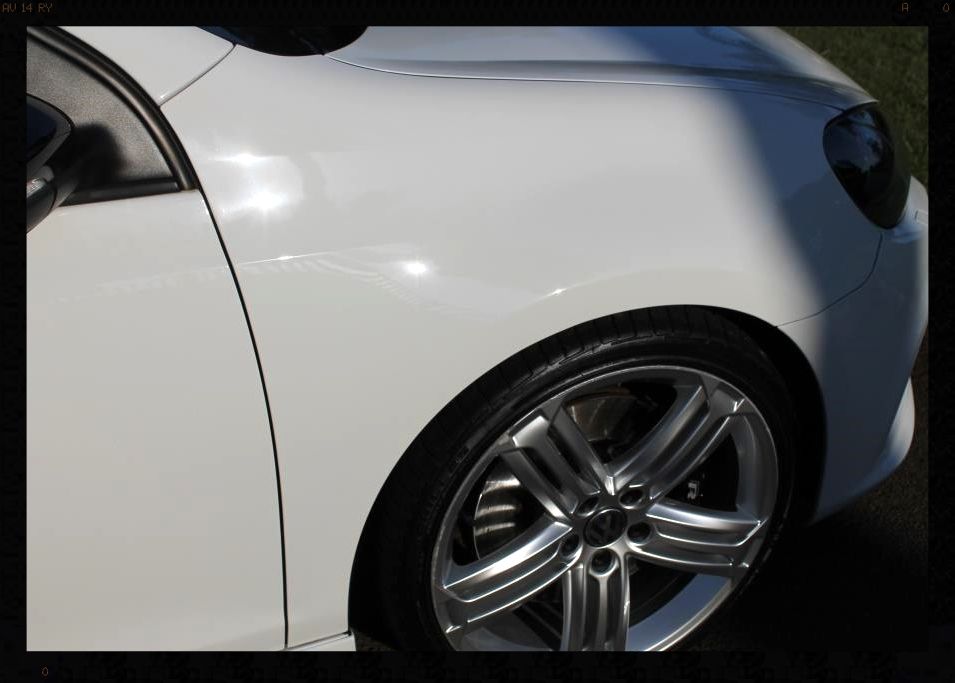
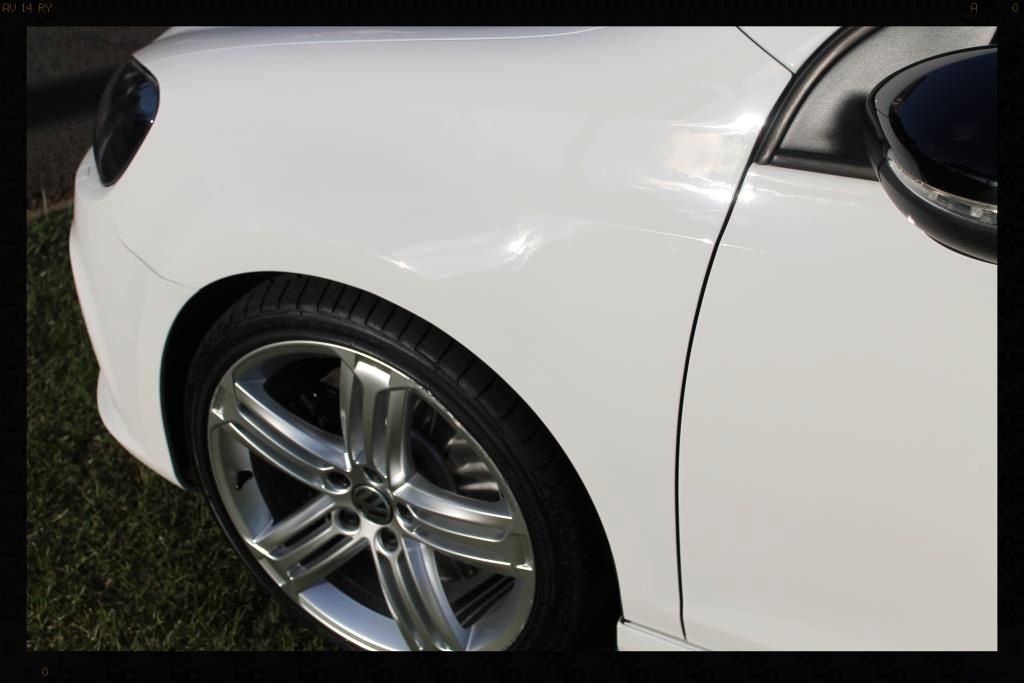
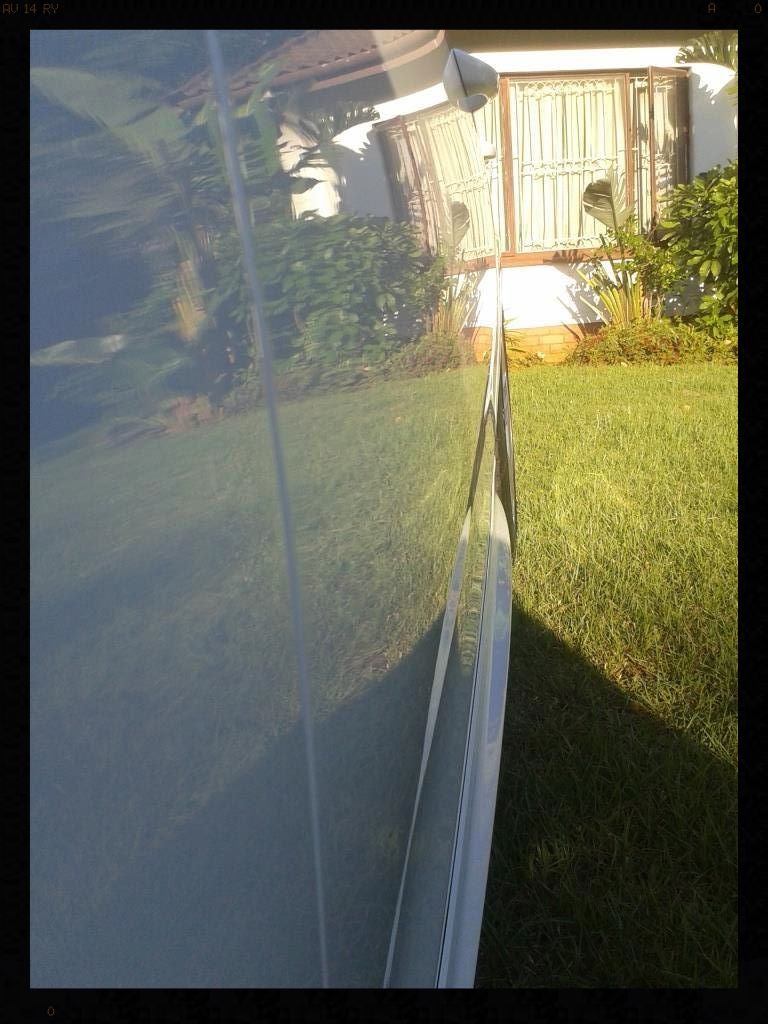
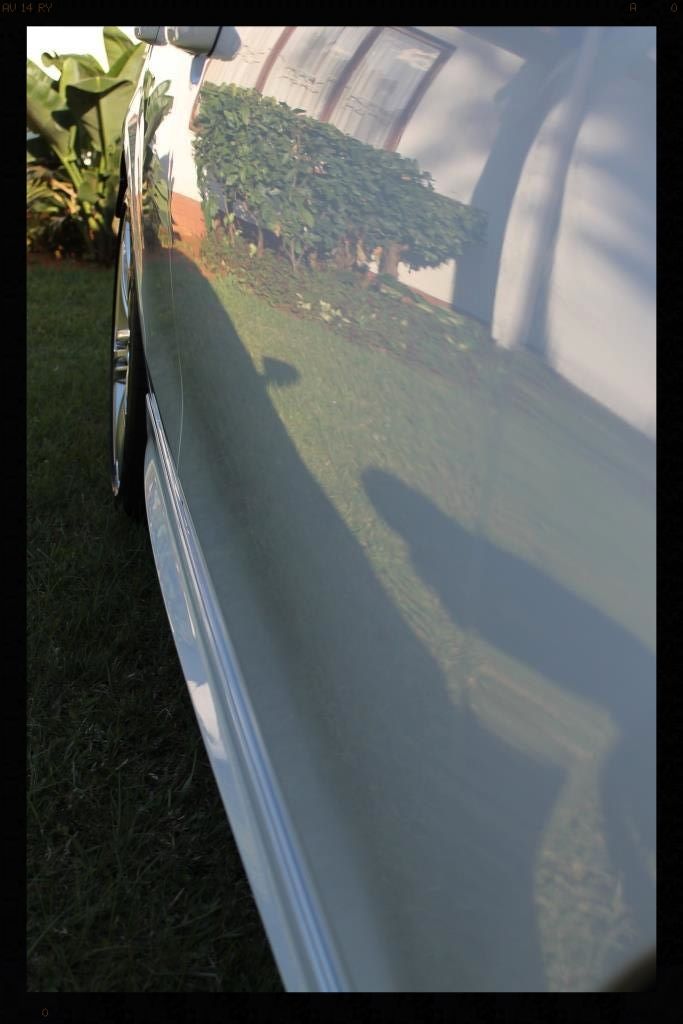
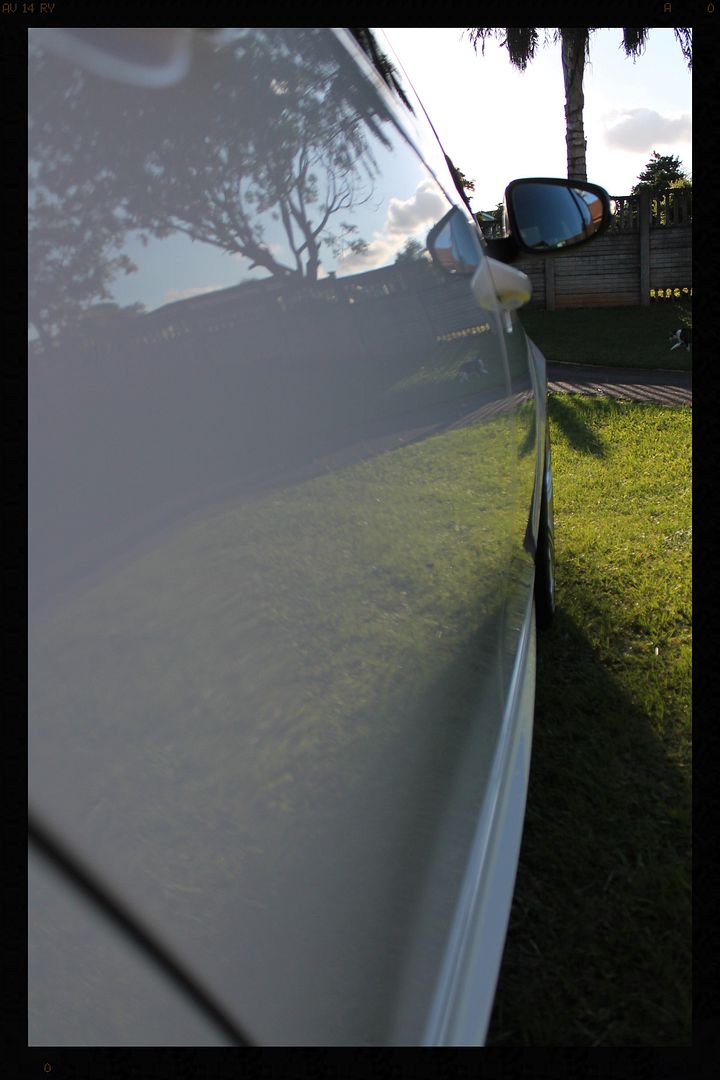
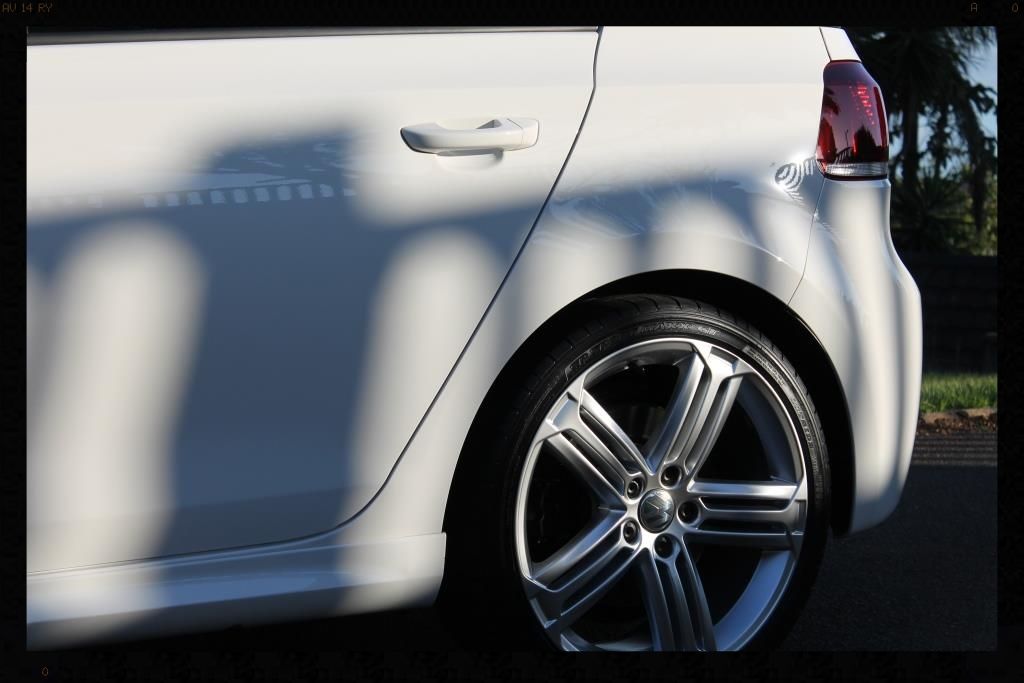
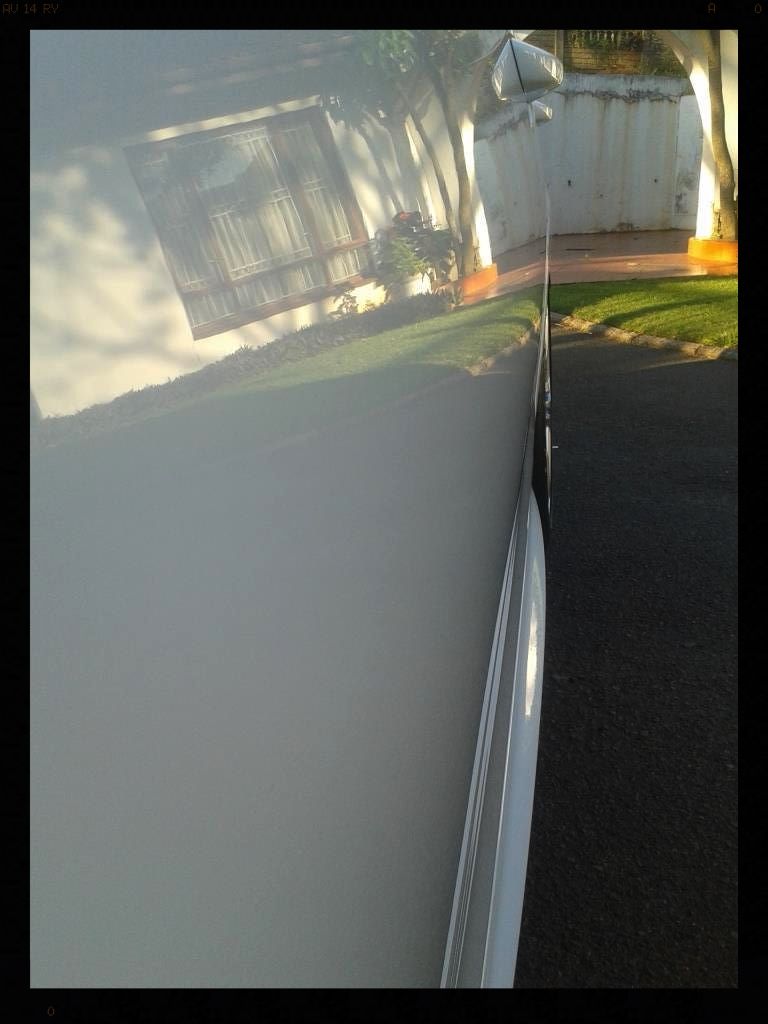
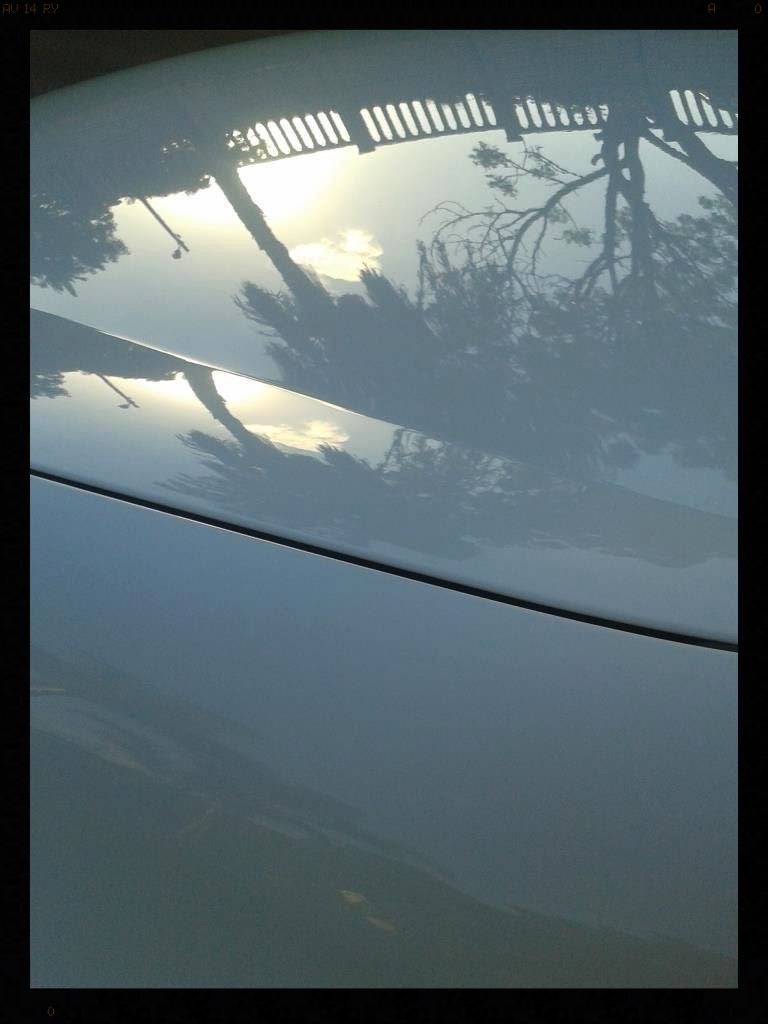
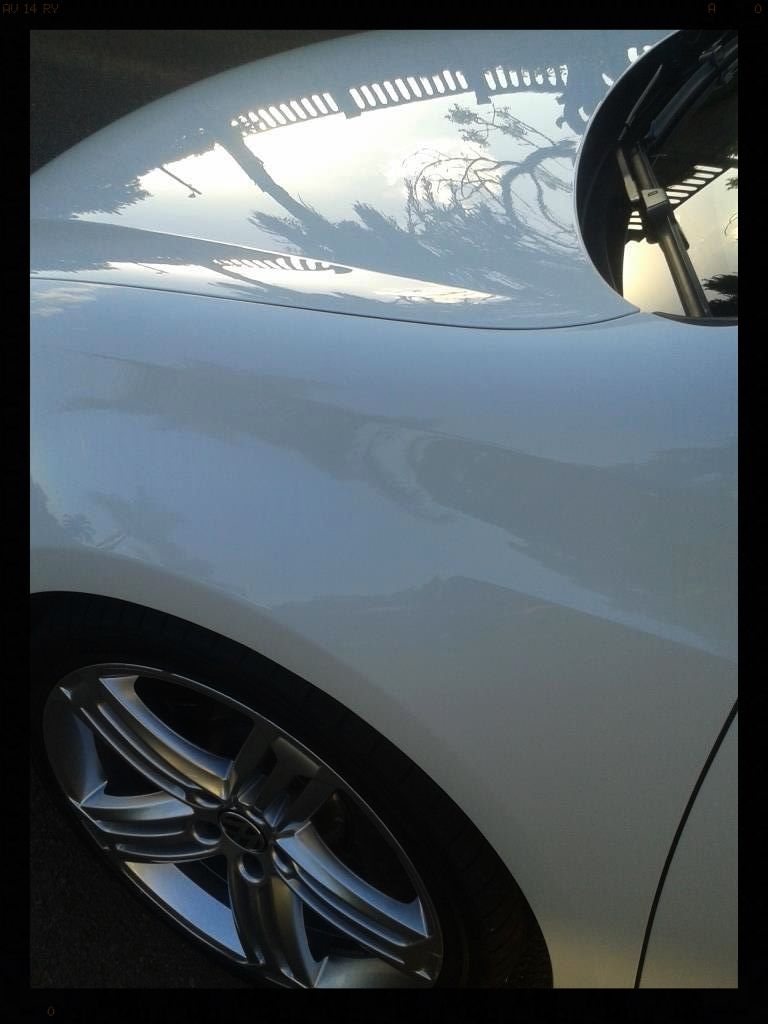
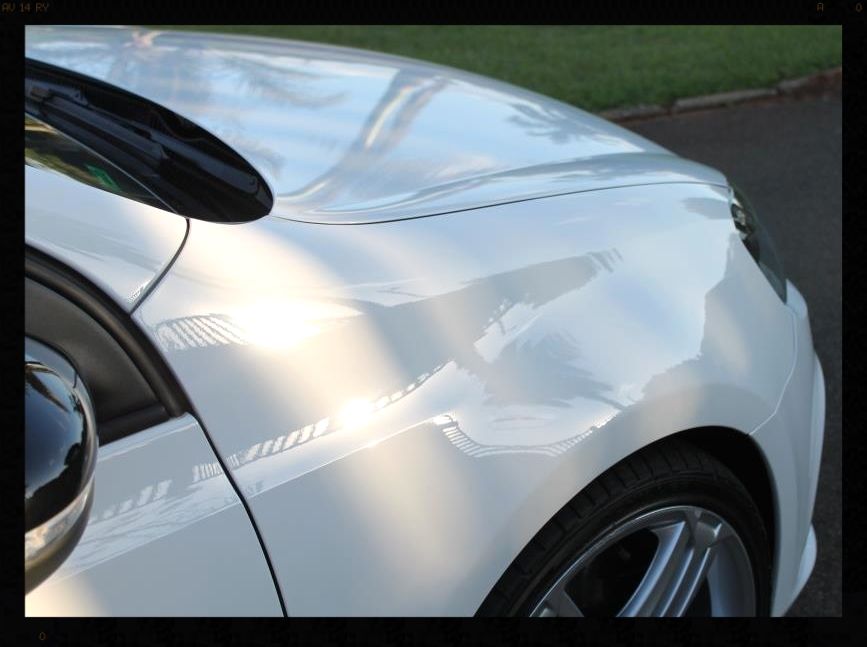
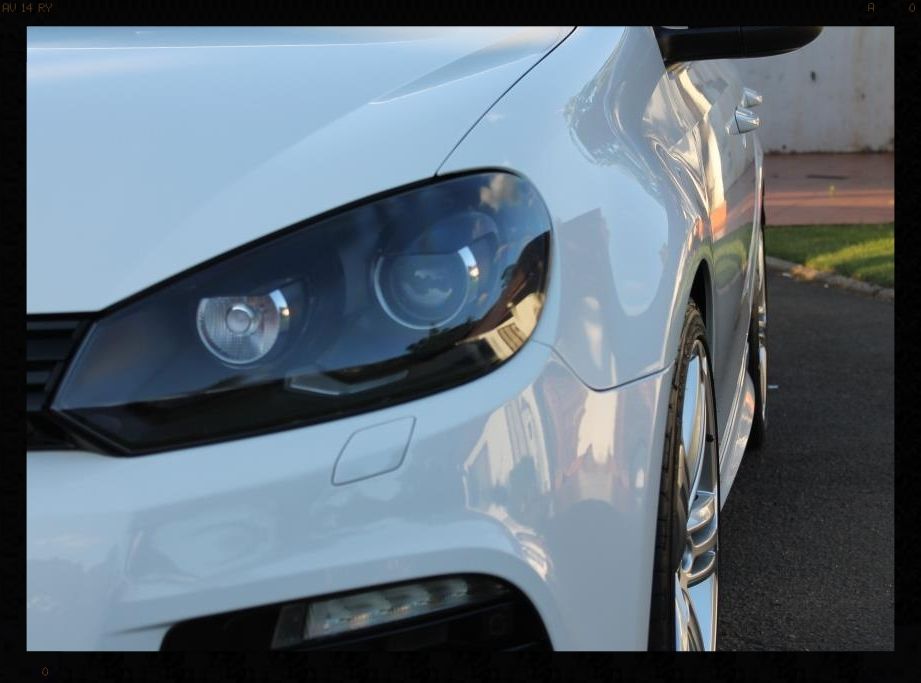
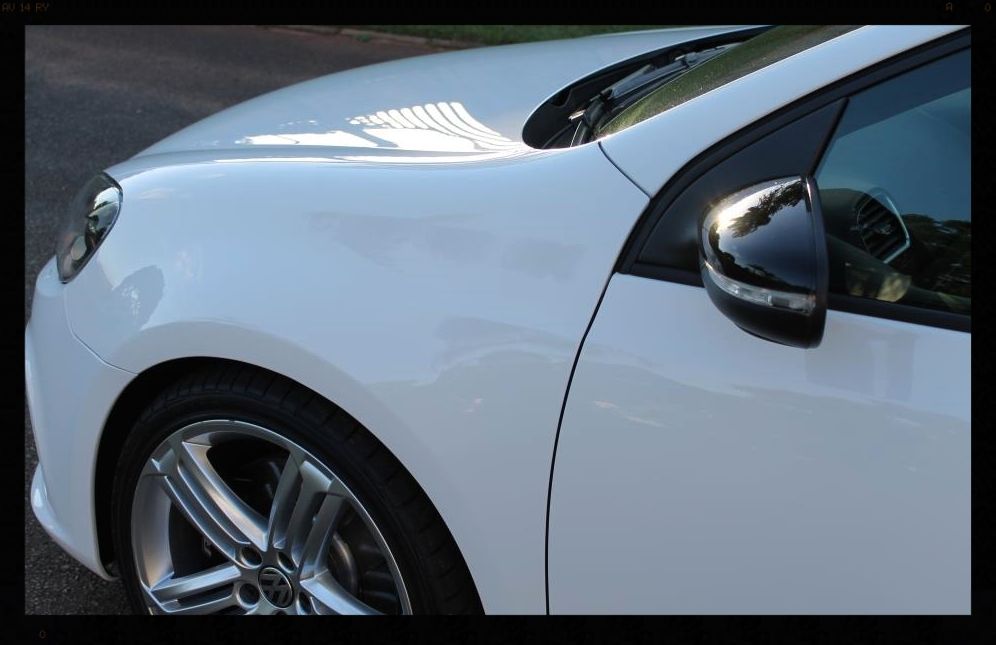
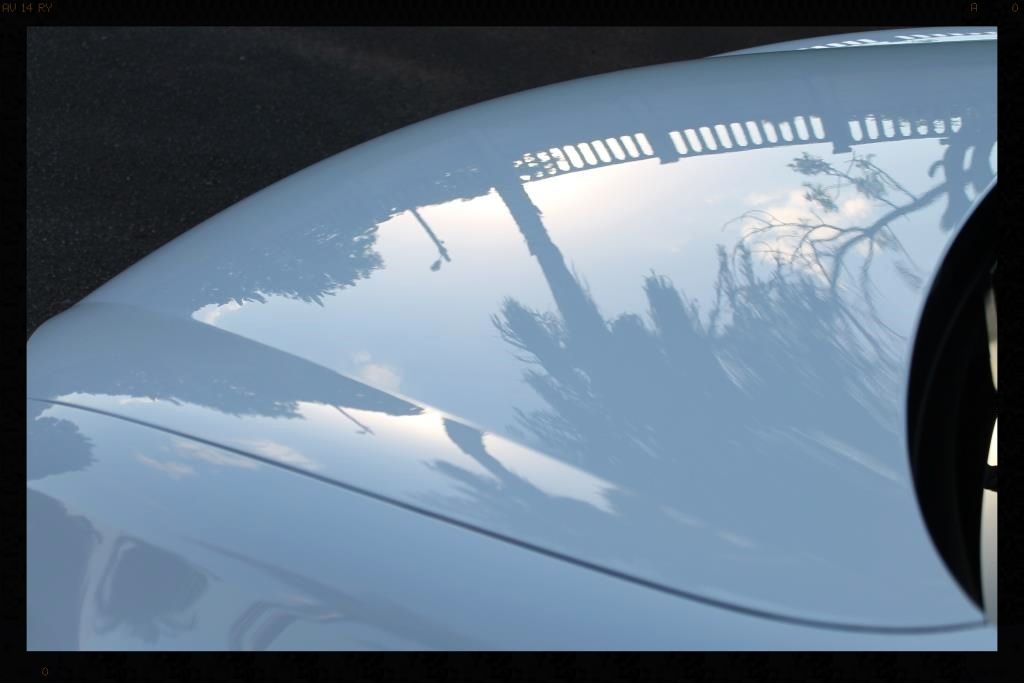
Paint before
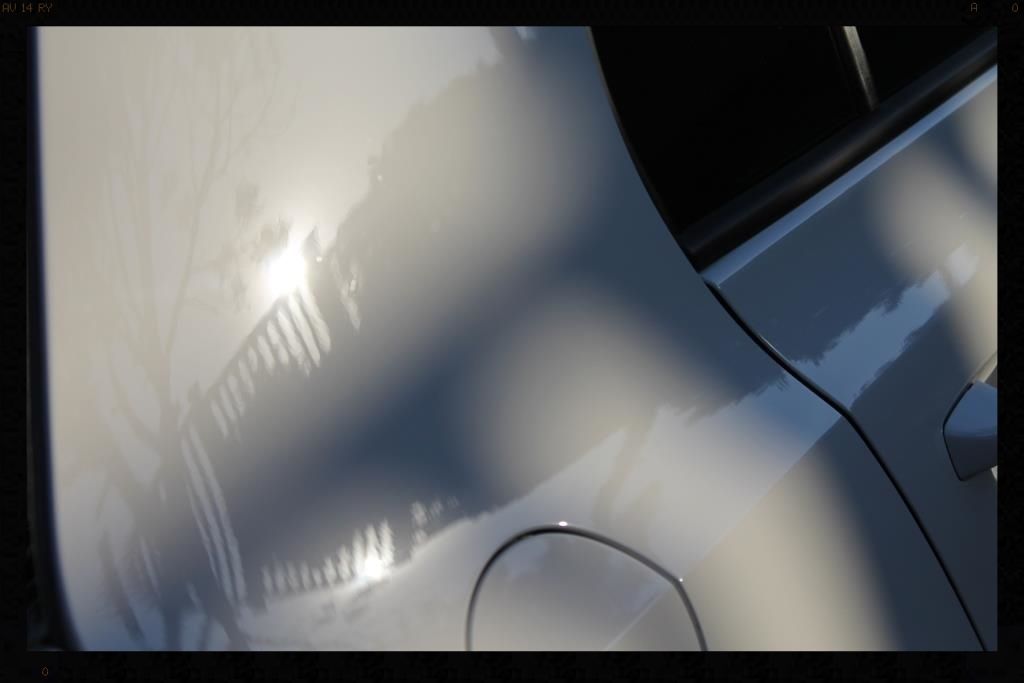
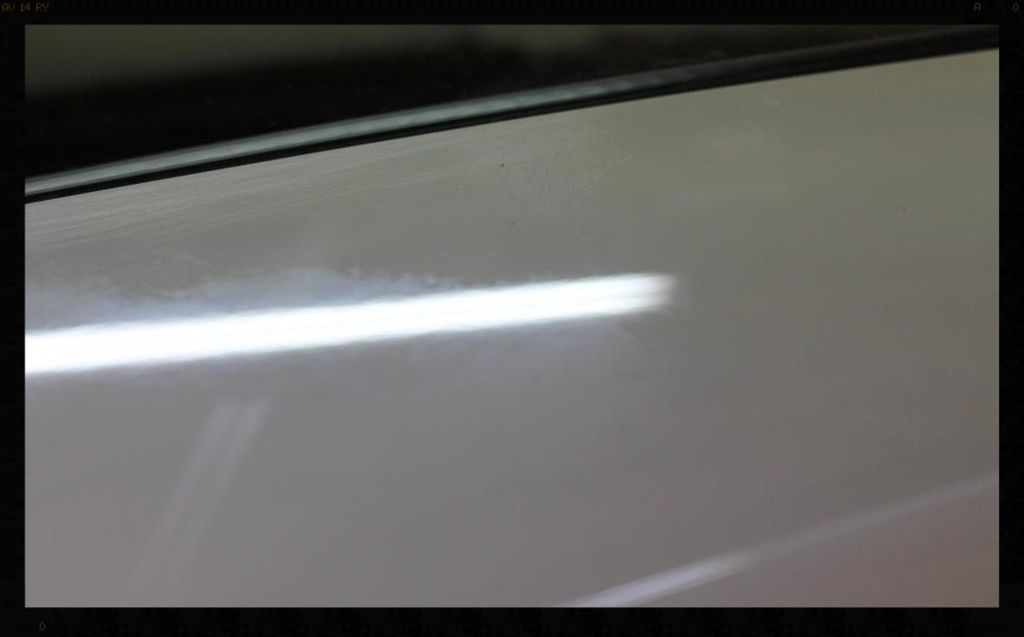
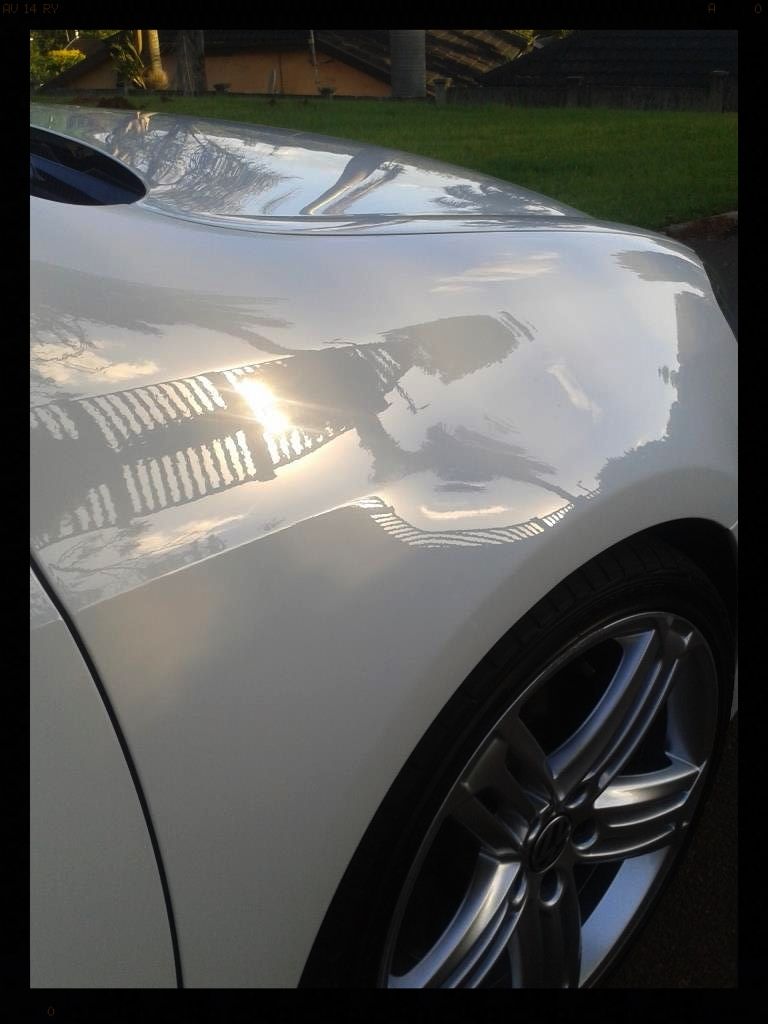
After
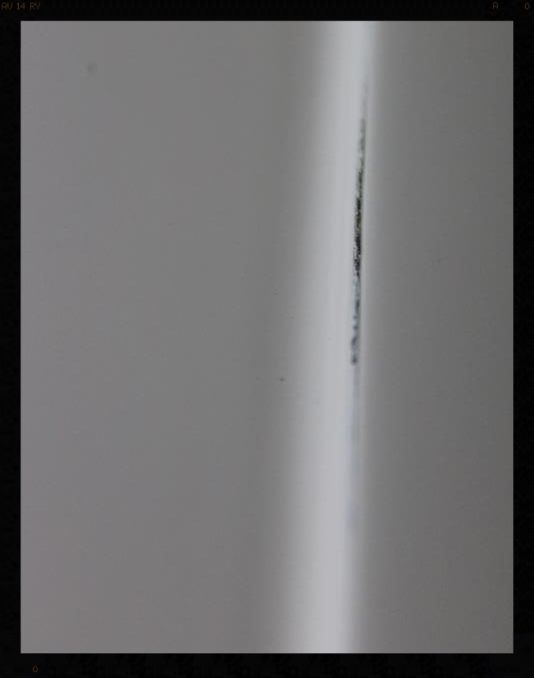
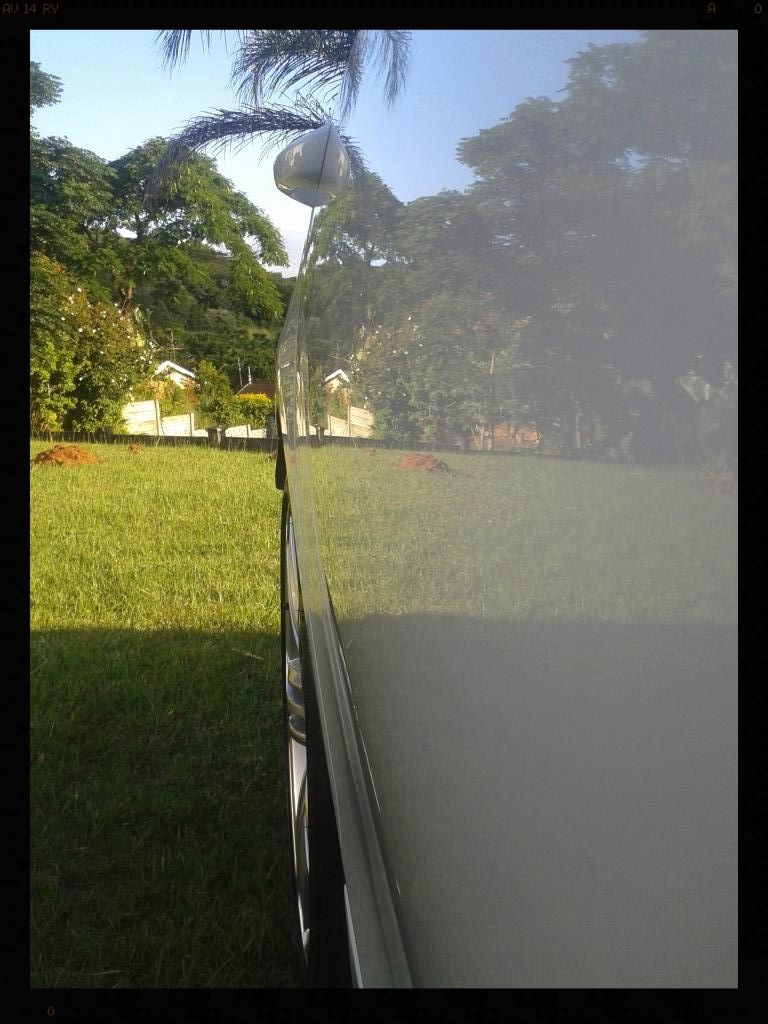
Some sanding marks close to the sunroof - there was a dent in the roof before this owner purchased the car and a small section had been repainted
Before
A closer look
After
In the same area there was some edge mapping from the poor blending of the painted section into the OEM paint
Some more sanding marks in the area
And a burn through on the little lip where the roof meets the window frame area
Paint protection
-Given the initial 2-stage (and sometimes 3-stage) process required to remove the swirls, I decided against using something like Menzerna SF4000 as a final polish and then following that with a dedicated LSP and instead opted to use Menzerna PP Ultra. This allowed me to refine and protect the paint in 1 step - a real time saver :thumbup:
Glass
- Clayed using Shield Heavy Duty clay with ONR as lube
- Water spots removed using Mothers Water Spot Remover
- Glass polished using the Flex 3401 / Autoglym Glass Polish / 5.5" Tangerine Lake Country Hybrid pad.
- Cleaned using Glossworx Glass Cleaner
Door rubbers, window rubbers, exterior plastic trim
- Cleaned using Shield Heavy Duty Vinyl and Rubber Cleaner
- Protected using Aerospace 303
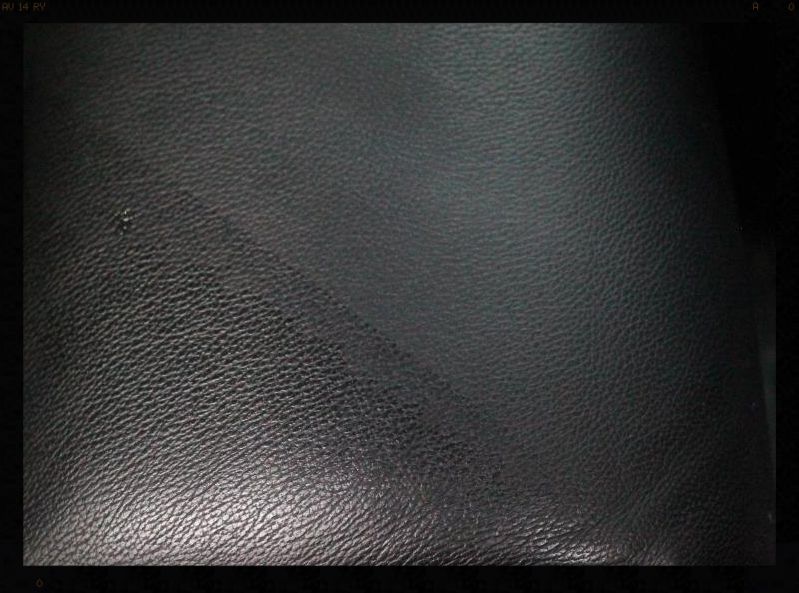
Interior
-Blow out loose dirt with blower
-Leather cleaned using Cyclo APC and various brushes and MF Towels
-Leather protected with Collinite 855
-Plastics and dash cleaned with Cyclo APC then given a final wipe using Autofinesse Spritz
-Vacuum
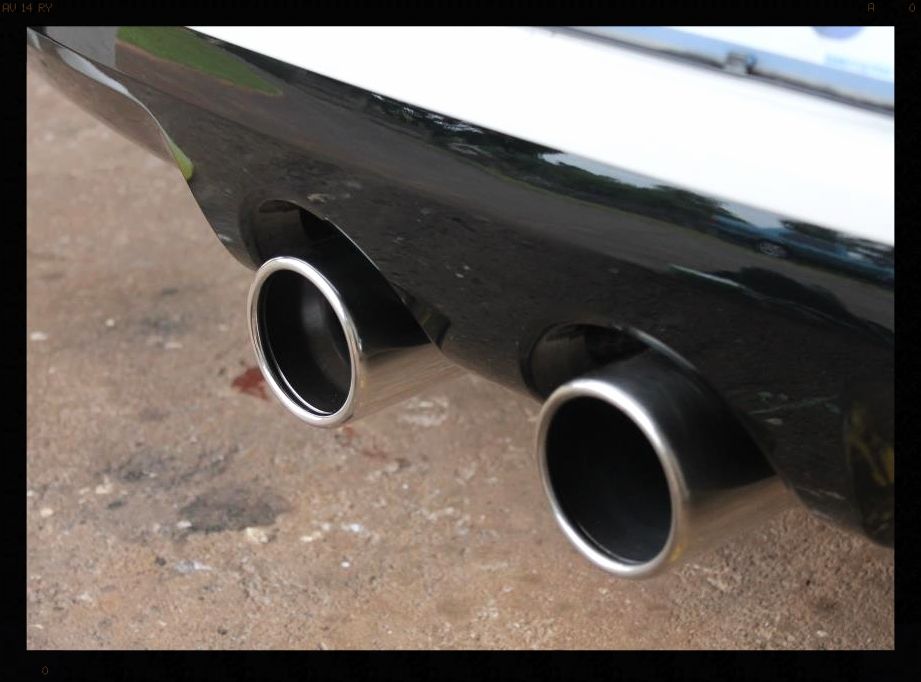
Exhaust tips
-Cleaned using Cyclo APC
-Polished and Protected using Meguiars NXT All Metal Polish
So I got hold of the owner of this car who dropped it off shortly thereafter.... thanks bud - you bailed me out and I appreciate it. :hug:
So the car...well he bought it second hand and the previous owner really didn't give it the kind of care that is deserves. I have never come across a car with swirls so deep in the paint before - and was something I was not expecting on a 1 year old car. I can only assume that the depth of the swirls was a combination of 1 bucket, wheels being washed first and the same wash mitt then being used straight onto the paint, all the washing done with a lot of pressure, a chamois and shampoo with the lubricity of beach sand....
And on to the detail itself..... well firstly, I got a bit of a later start than usual as the owner wanted a 'wheels off' detail and dropped off one of his employees on Saturday morning with a jack to get the wheels on/off, and I didn't really want to wash the car first before sorting the wheels and arches out. Secondly, Saturday was another scorcher of a day in Durban and by 09:00 it was already stupid hot and so there are limited pics taken as I really had to hustle, not only to ensure I finished in time, but also to prevent product drying out too quickly.... so apologies in advance for the lack of pics....
Right so the engine bay had some work on it recently, and as mechanics do, they left their mark on the bay
This same oil has been splashed up onto the 'carpeted cover thingymabobby' that sits on the underside of the bonnet (no pics) and so that was removed and cleaned separately.
Engine bay
-Coil packs covered with cling wrap
-Spray with Cyclo APC and agitate with various brushes and mf towels
-HP rinse
-Clean/Polish/Protect painted surfaces using AF Tripple by hand with a MF applicator
-Dressed with Autofinesse Dressel
After
In the meantime the wheels were removed - not too bad looking actually (this was a front)
Then I cleaned out the arches
-HP rinse arches
-Clean with Cyclo APC using a Mothers Fenderwell Brush
-HP rinse
-Clean tires with Valet Pro Billbery Wheel Cleaner @ 1:6 and a Mothers Tire brush.
-HP rinse
-Repeat tire cleaning
-HP rinse
-Wash wheels and brake calipers with VP Bilberry Wheel Cleaner @ 1:6, Daytona and Daytona Jnr brushes and Valet Pro Boars Hair Brushes
-HP rinse
-Dry
-Remove tar using Autoglym Intensive Tar Remover
-Spray with APC and HP Rinse
-Dry
-Remove bonded and embedded ferrous contaminants on wheels and brake calipers with Autofinesse Iron Out, Daytona (big and small) brushes and Valet Pro Boars Hair Brushes
-HP Rinse + flood rinse
-Dry
-Polished with Meguiars Cleaner Wax
-Protected with Menzerna Powerlock
-Tires dressed with 2 coats of Optimum Tire Sheen
Once all the wheels were cleaned they were refitted and the car bought back to mother earth. Continuing with the 'dirty' stuff the Door/Boot Jamb and Petrol Flap areas were cleaned
-HP rinse
-Clean with Cyclo APC and Valet Pro Boars Hair Brushes
-HP rinse
-Apply Gyeon WetCoat
-HP rinse
After that it was time to get the car cleaned up in preparation for polishing
Wash
-HP rinse
-Applied Valet Pro Citrus Pre-wash via a spray bottle, left to dwell
-HP rinse
-Applied Chemical Guys Maxi Suds II via Crazy Detailer V2 Foam Cannon, left to dwell
-HP rinse
-2BM wash using lambswool wash mitts and a sample shampoo I am testing
-HP Rinse
-Flood Rinse
-Dried using ONR and WW drying towels
Decontamination
-Tar removed using Autoglym Intensive Tar Remover
-Remaining contamination was clayed off using Shield Heavy Duty clay with ONR as lube.
Paint correction
- Paint readings were all in the typical range for OEM VW paint and nothing to be concerned about.
- So after slowly stepping up the aggressiveness on my test spots, I landed up at Menzerna FG400 on a 6" Lake Country Purple Wool Pad using the Flex 3401 - this is the most aggressive combo I have - and it was nowhere near enough. I had to repeat this curring step to get any decent level of correction, and even then, in a lot of places the damage was so deep a 3rd hit with this combo was required....
-The B-pillars, diffuser and mirrors were hit with Menzerna FG400 on a 4" Lake Country pad using the Shield DA, followed by Menzerna SF4000 on a 4" White Lake Country pad
-The piano black trim on the front bumper was hit with Menzerna FG400 on a MF applicator by hand, twice and refined using SF4000 with a Lake Country Orange hand applicator and Menzerna SF4000
Here are some pics
B-pillars before
After FG400
After SF4000
The mirrors before (Yip those are buffer trails on the mirror.... it was very scary polishing these as I had no idea how much of the already thin paint had been lobbed off by the goon behind the rotary, and polishing on plastic is always risky)
After
Paint before
After
Some sanding marks close to the sunroof - there was a dent in the roof before this owner purchased the car and a small section had been repainted
Before
A closer look
After
In the same area there was some edge mapping from the poor blending of the painted section into the OEM paint
Some more sanding marks in the area
And a burn through on the little lip where the roof meets the window frame area
Paint protection
-Given the initial 2-stage (and sometimes 3-stage) process required to remove the swirls, I decided against using something like Menzerna SF4000 as a final polish and then following that with a dedicated LSP and instead opted to use Menzerna PP Ultra. This allowed me to refine and protect the paint in 1 step - a real time saver :thumbup:
Glass
- Clayed using Shield Heavy Duty clay with ONR as lube
- Water spots removed using Mothers Water Spot Remover
- Glass polished using the Flex 3401 / Autoglym Glass Polish / 5.5" Tangerine Lake Country Hybrid pad.
- Cleaned using Glossworx Glass Cleaner
Door rubbers, window rubbers, exterior plastic trim
- Cleaned using Shield Heavy Duty Vinyl and Rubber Cleaner
- Protected using Aerospace 303
Interior
-Blow out loose dirt with blower
-Leather cleaned using Cyclo APC and various brushes and MF Towels
-Leather protected with Collinite 855
-Plastics and dash cleaned with Cyclo APC then given a final wipe using Autofinesse Spritz
-Vacuum
Exhaust tips
-Cleaned using Cyclo APC
-Polished and Protected using Meguiars NXT All Metal Polish


")