Greg Gellas
I'm Greg :)
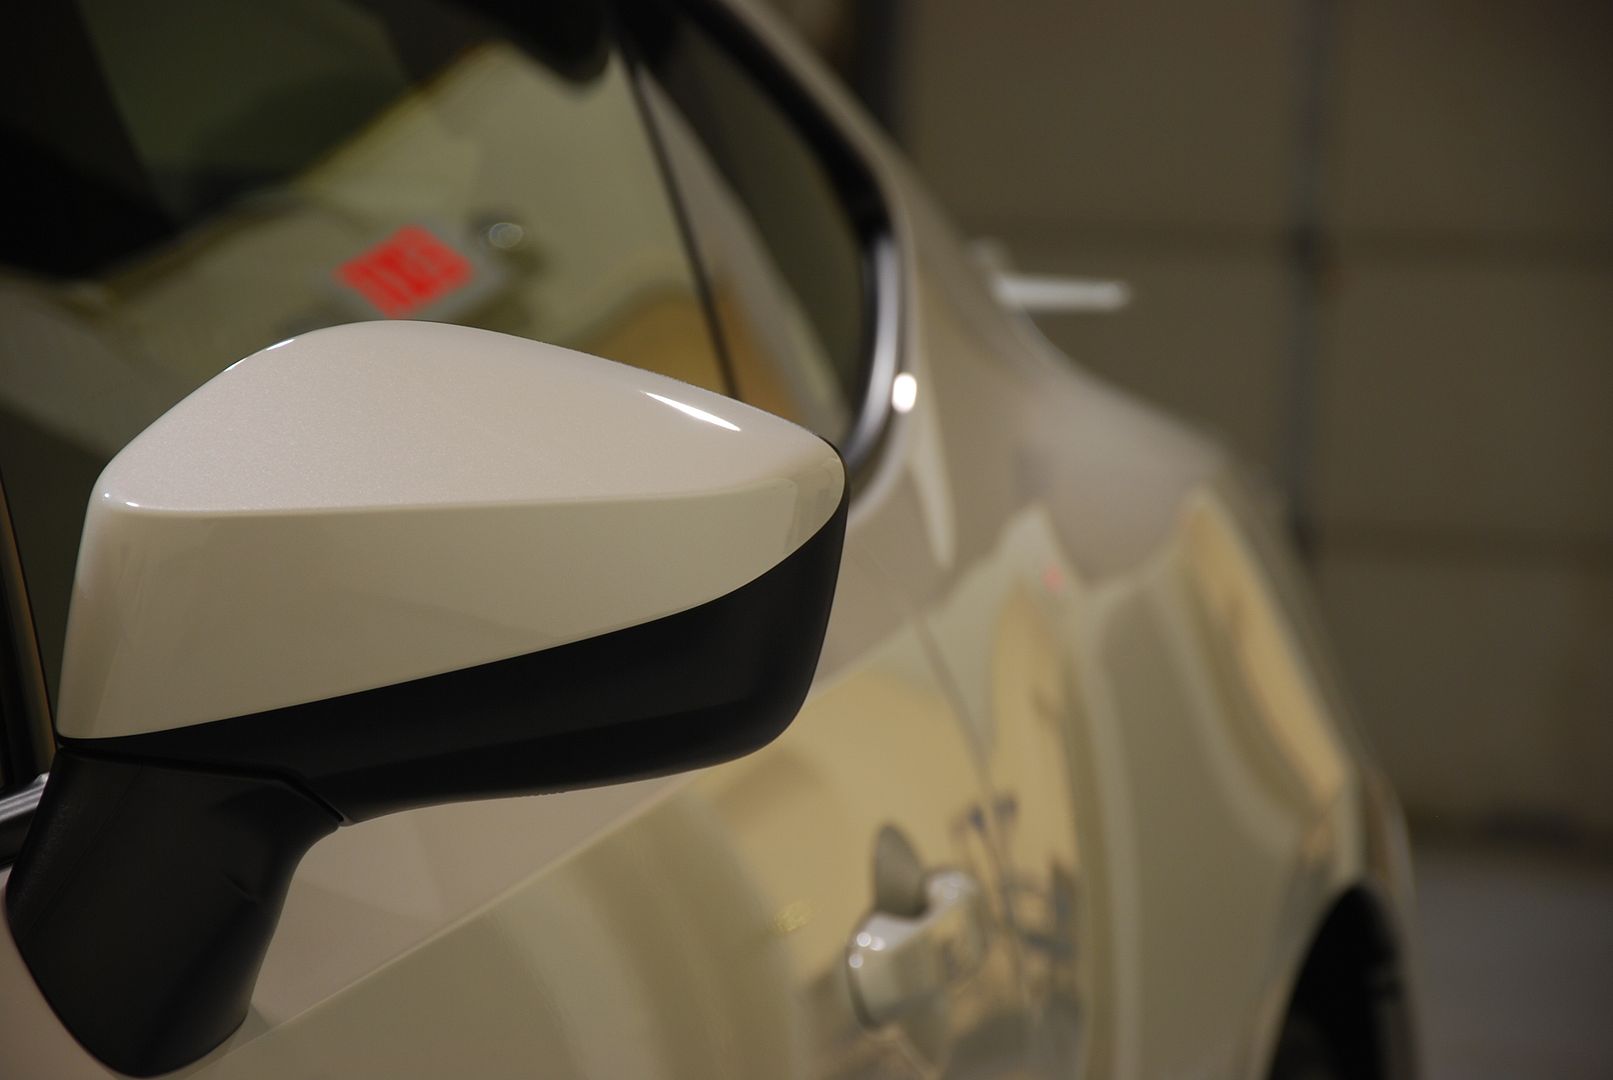
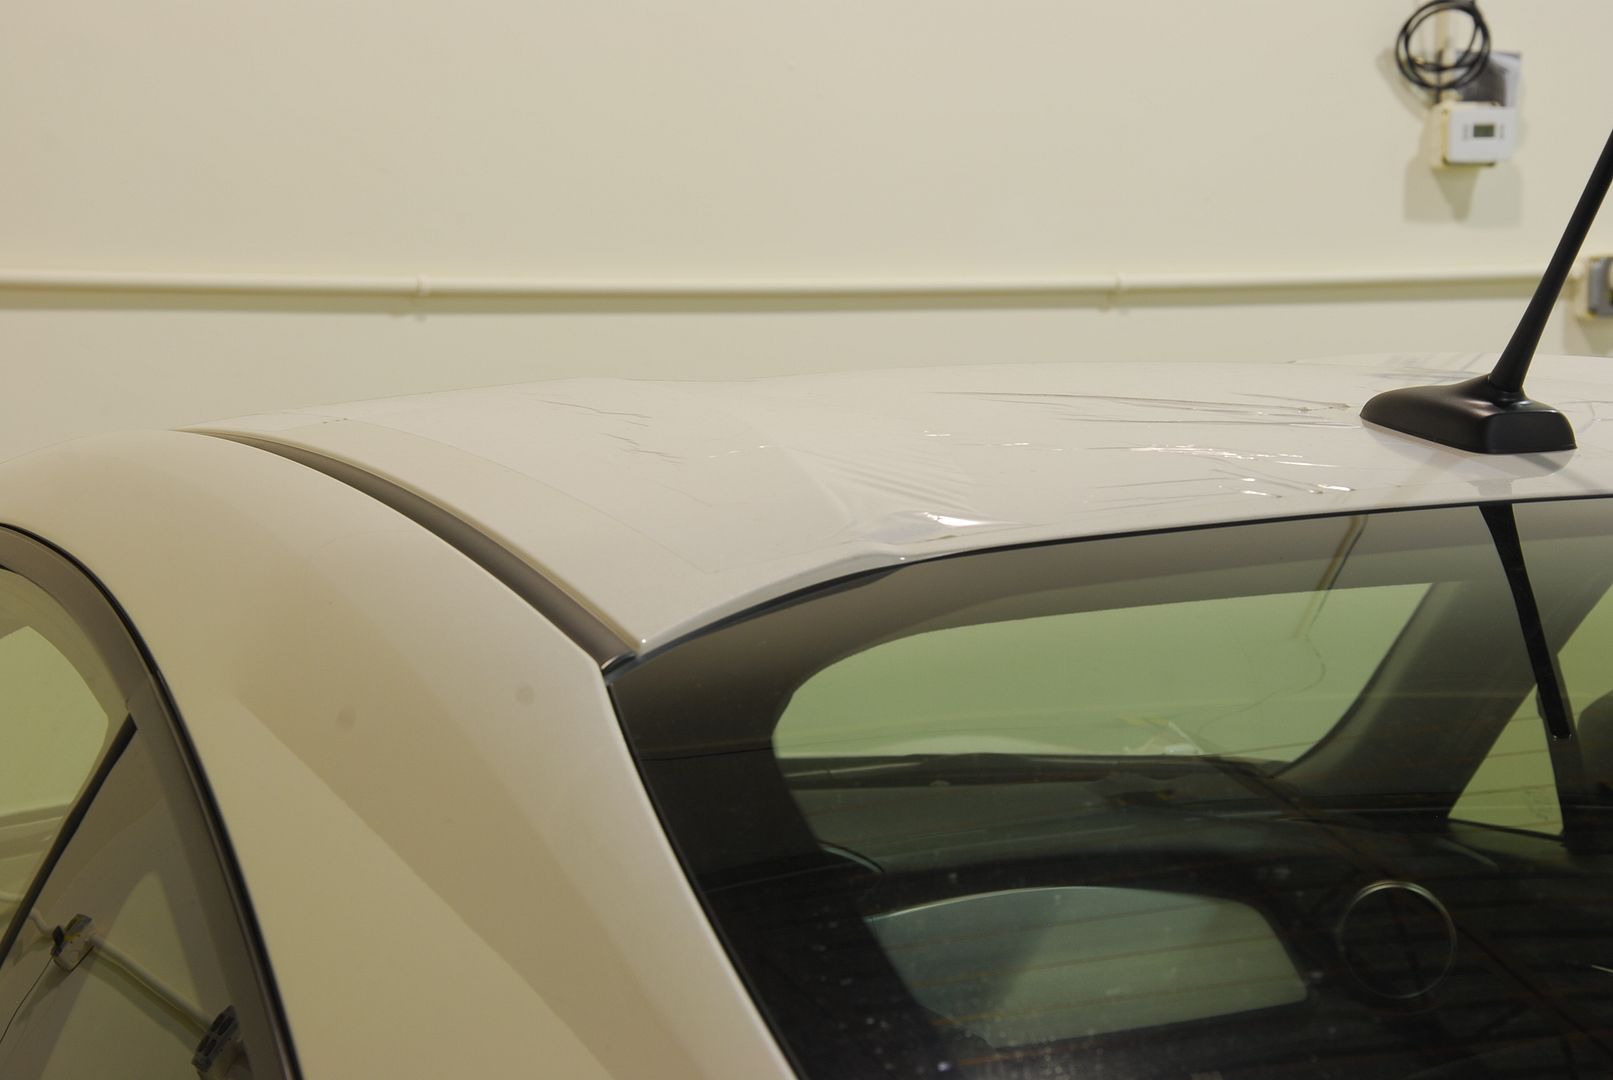
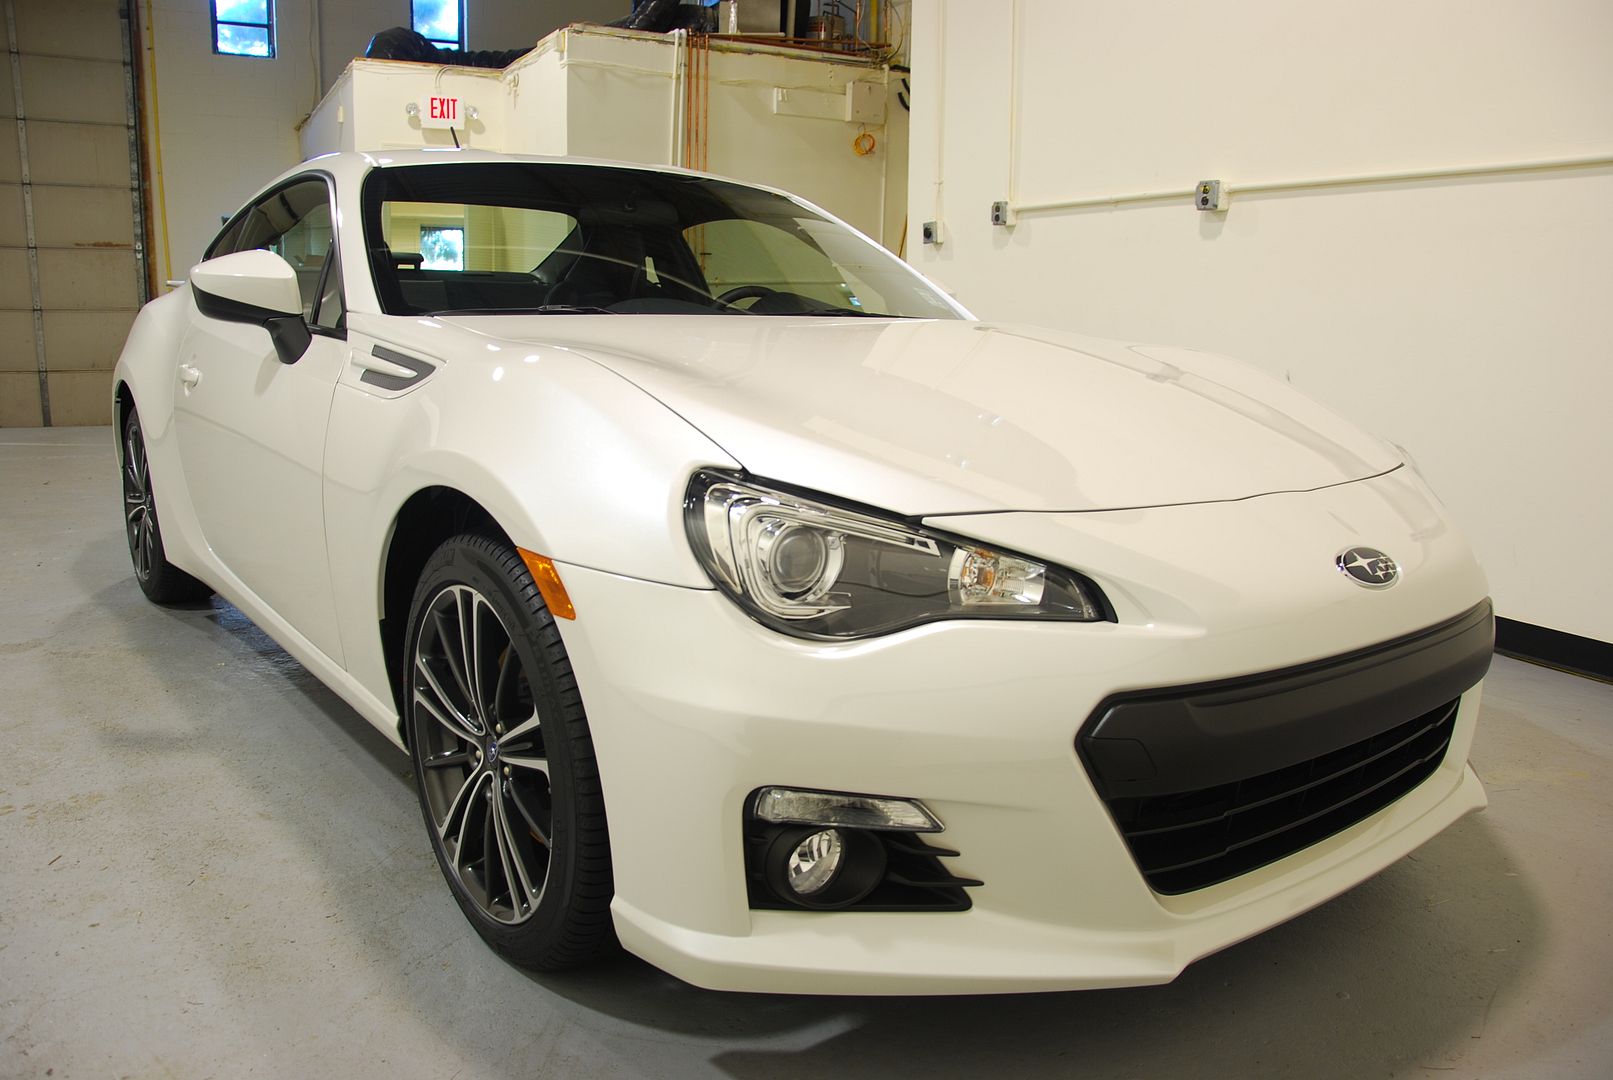
I was contacted to coat a brand new BRZ. Although a new car I knew it could appreciate a 1 step polishing. The client decided to go with the 1 step correction, a good thing as although new, I was able to make a great improvement. This car was getting a coating so proper paint prep was key! I was lucky enough to get it with the factory transport plastic still on the car. This makes my job so much easier as I don't have to fix any additional damage a dealership detail can do.
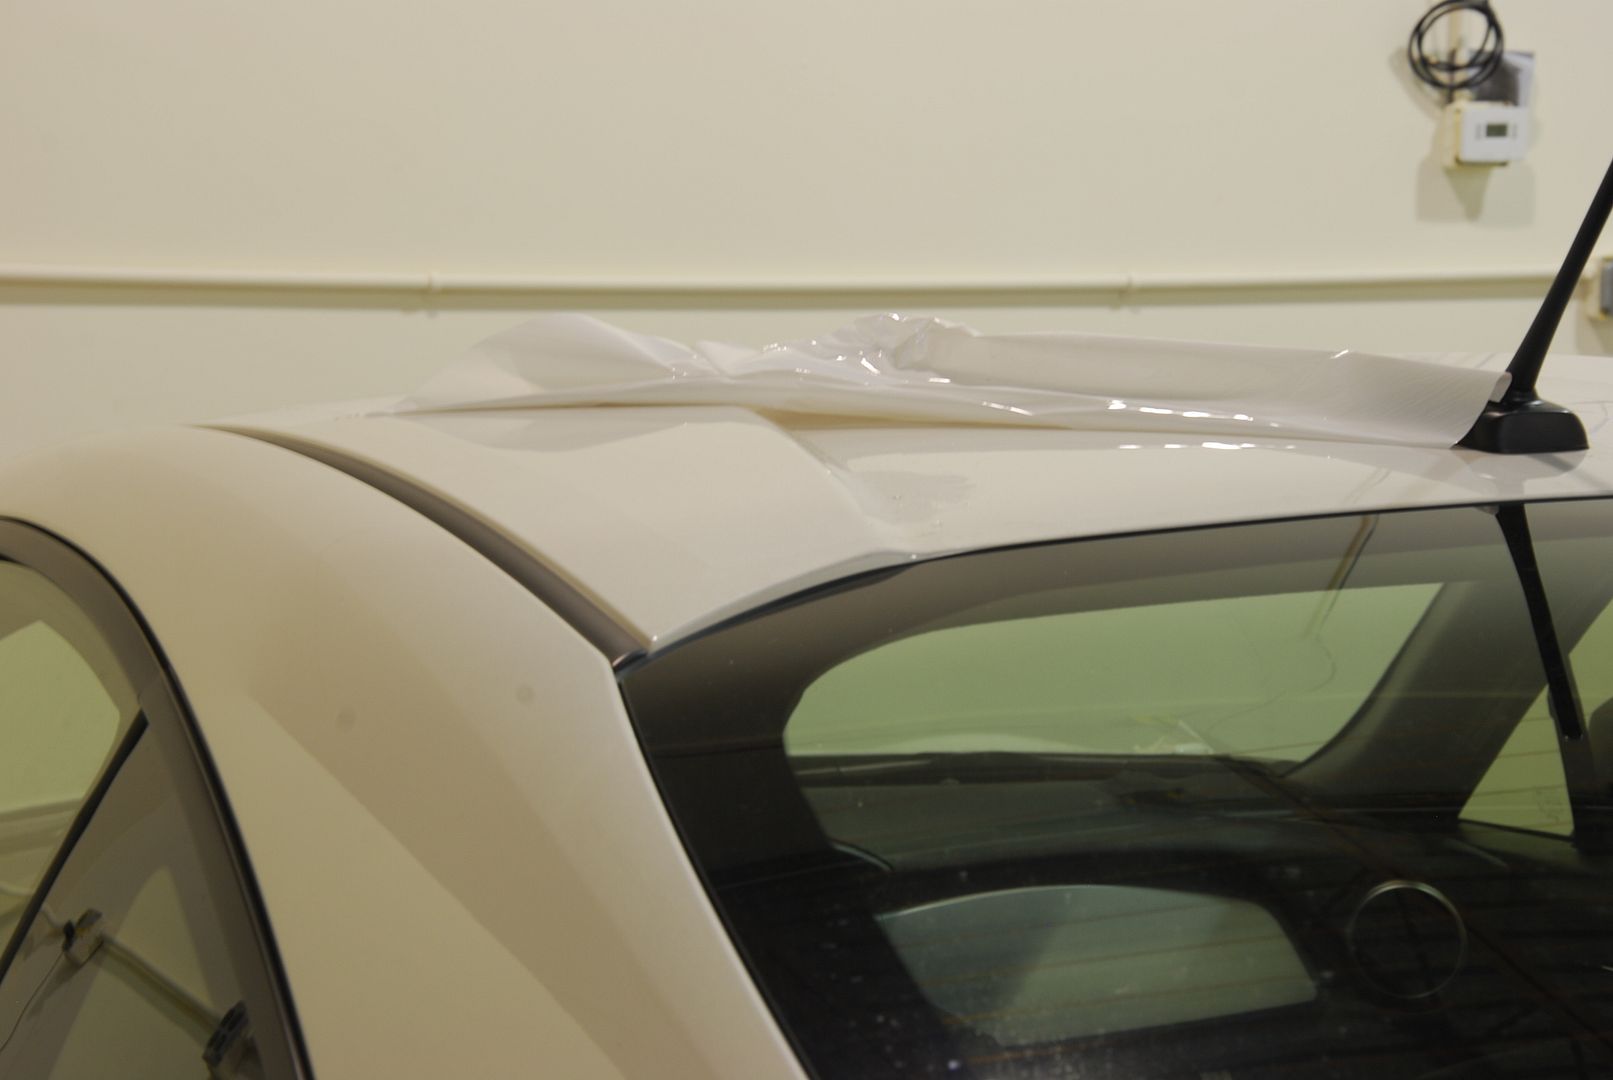
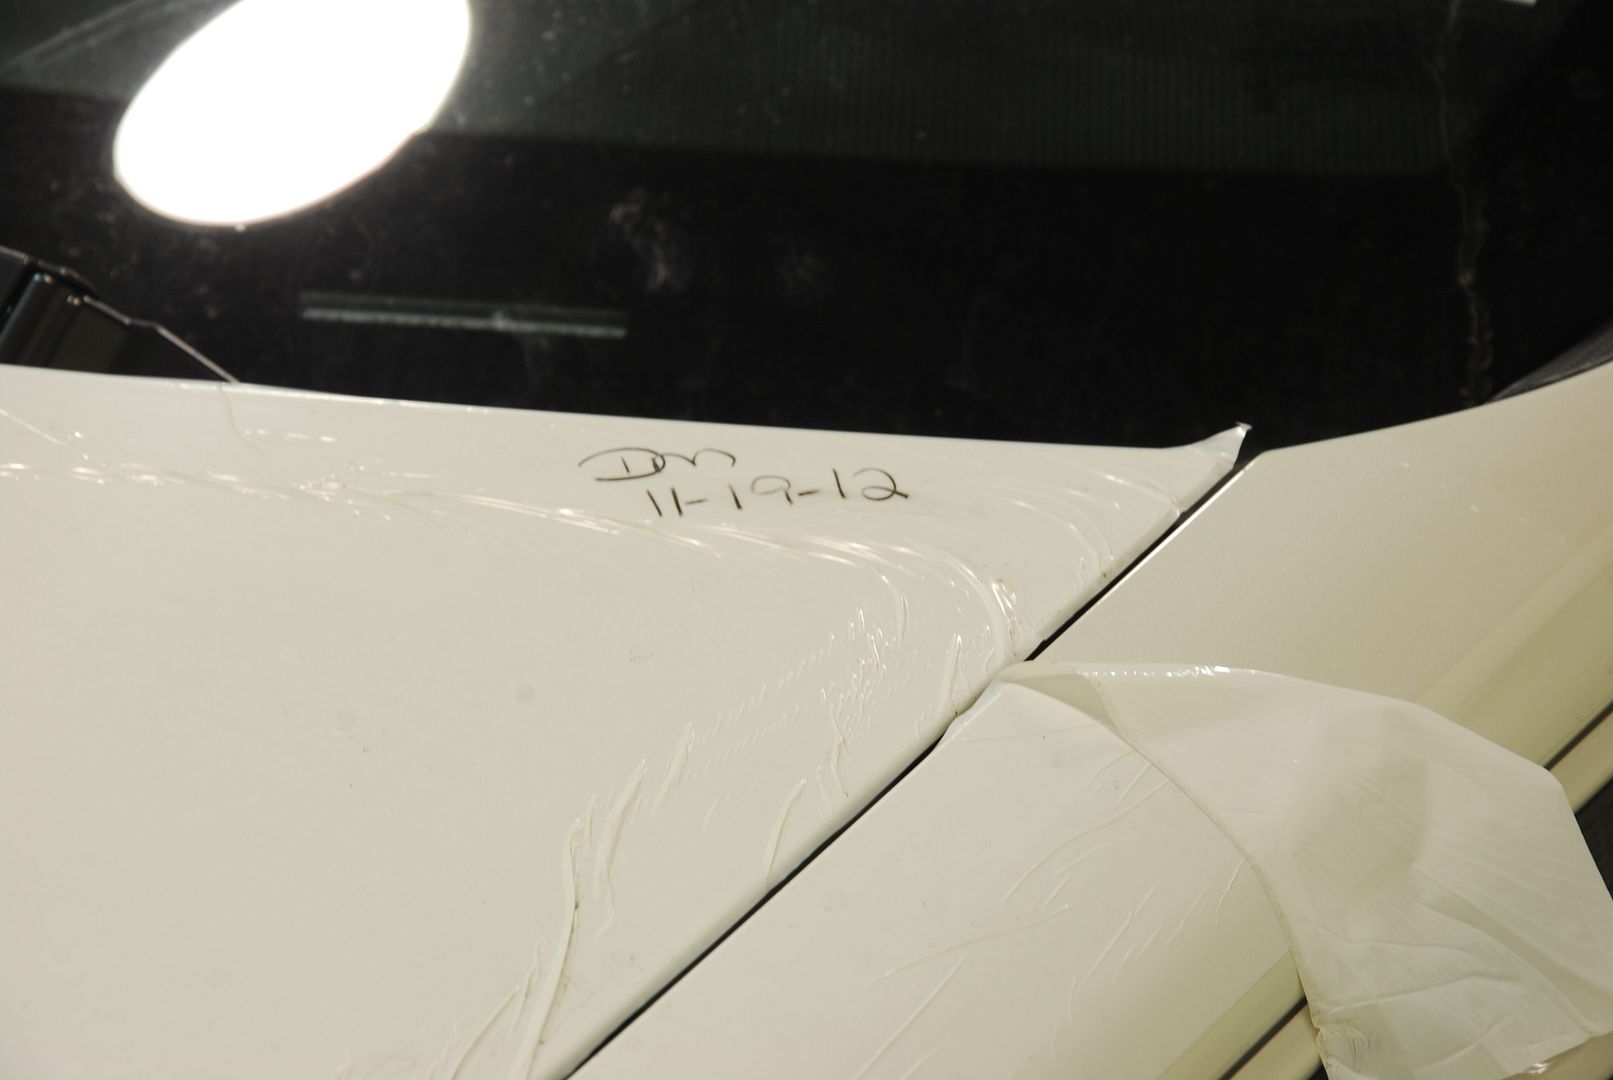
I began with removing the factory plastics.
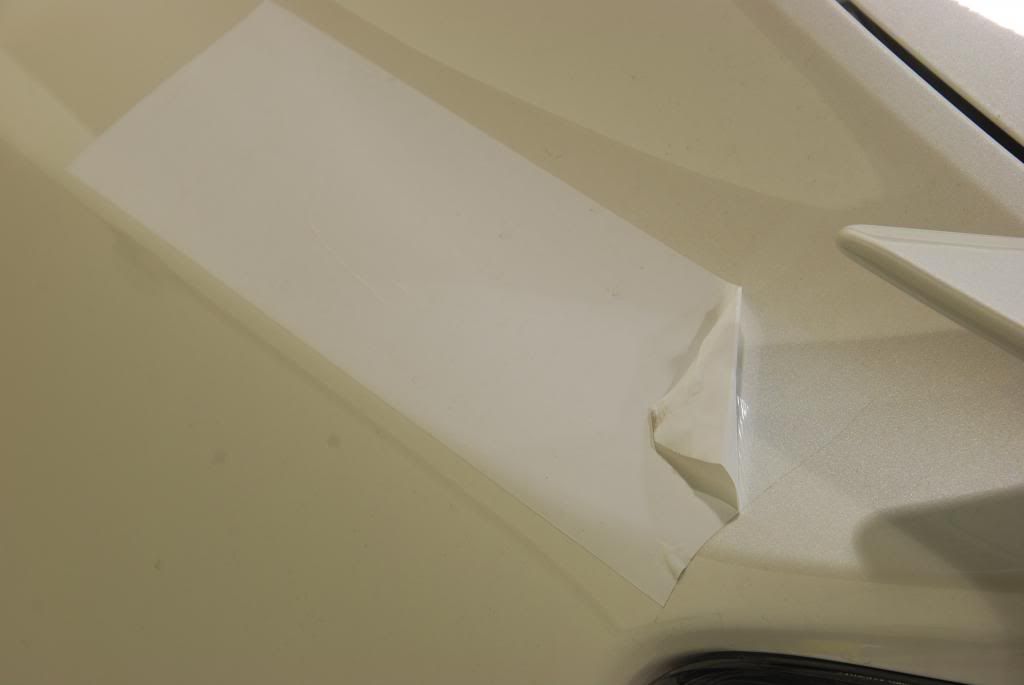
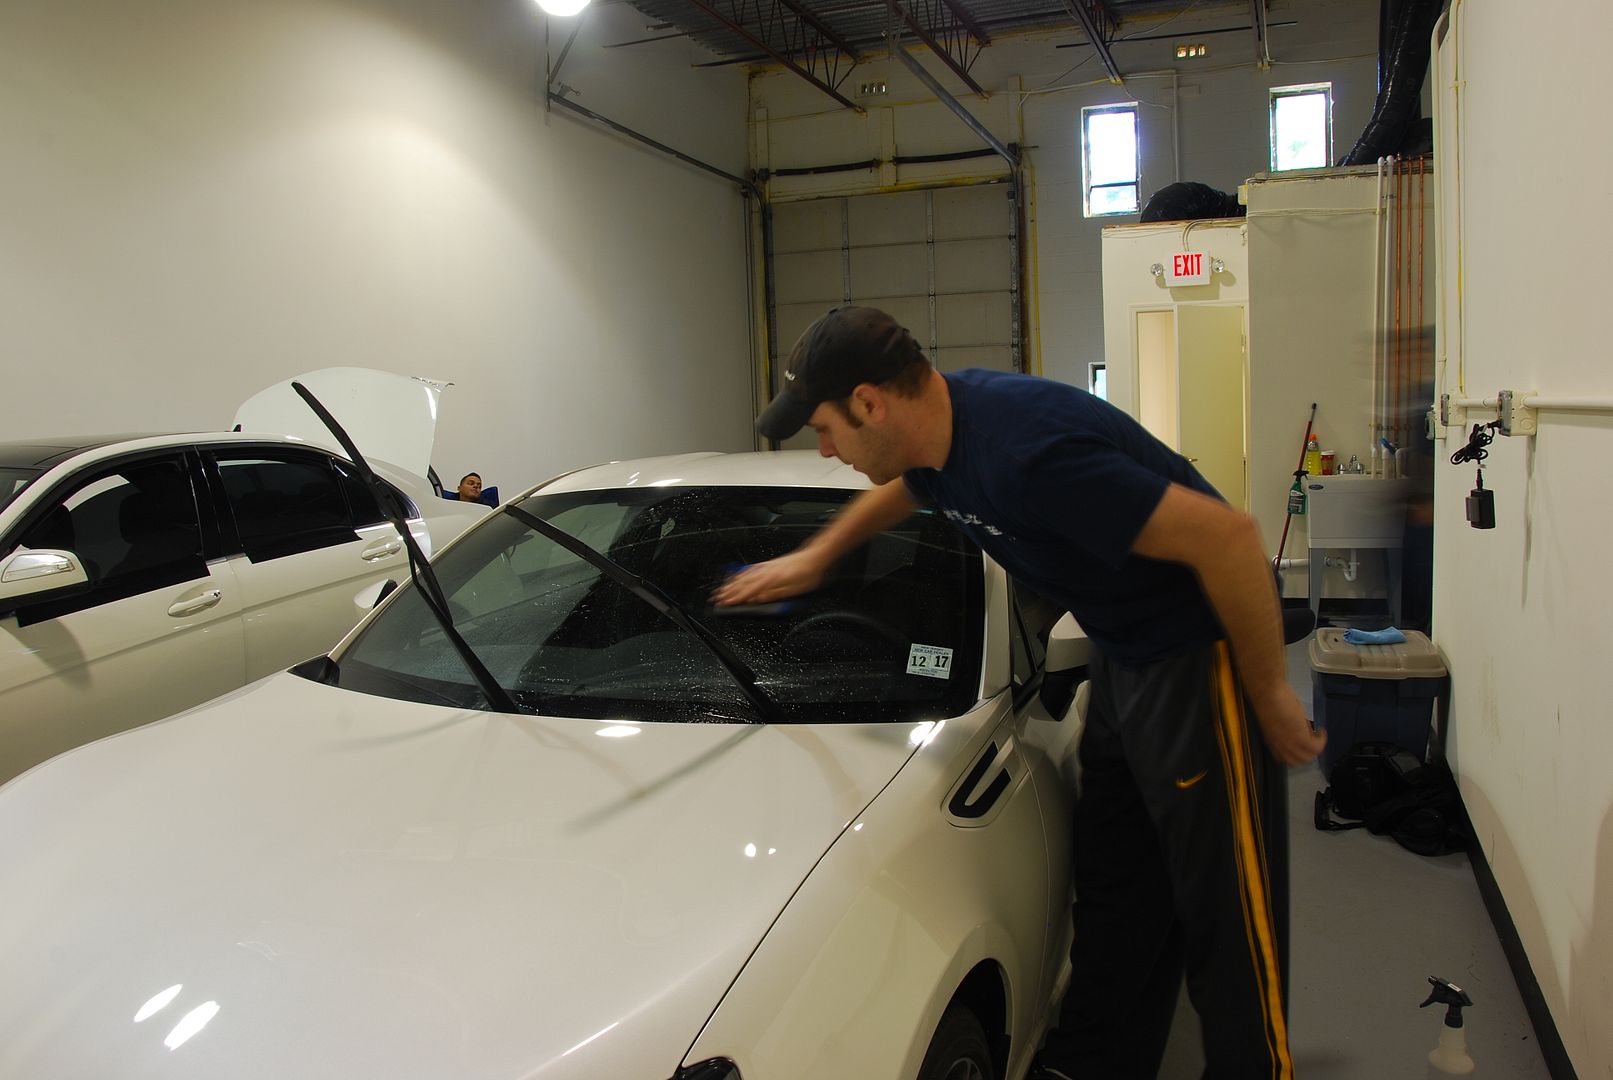
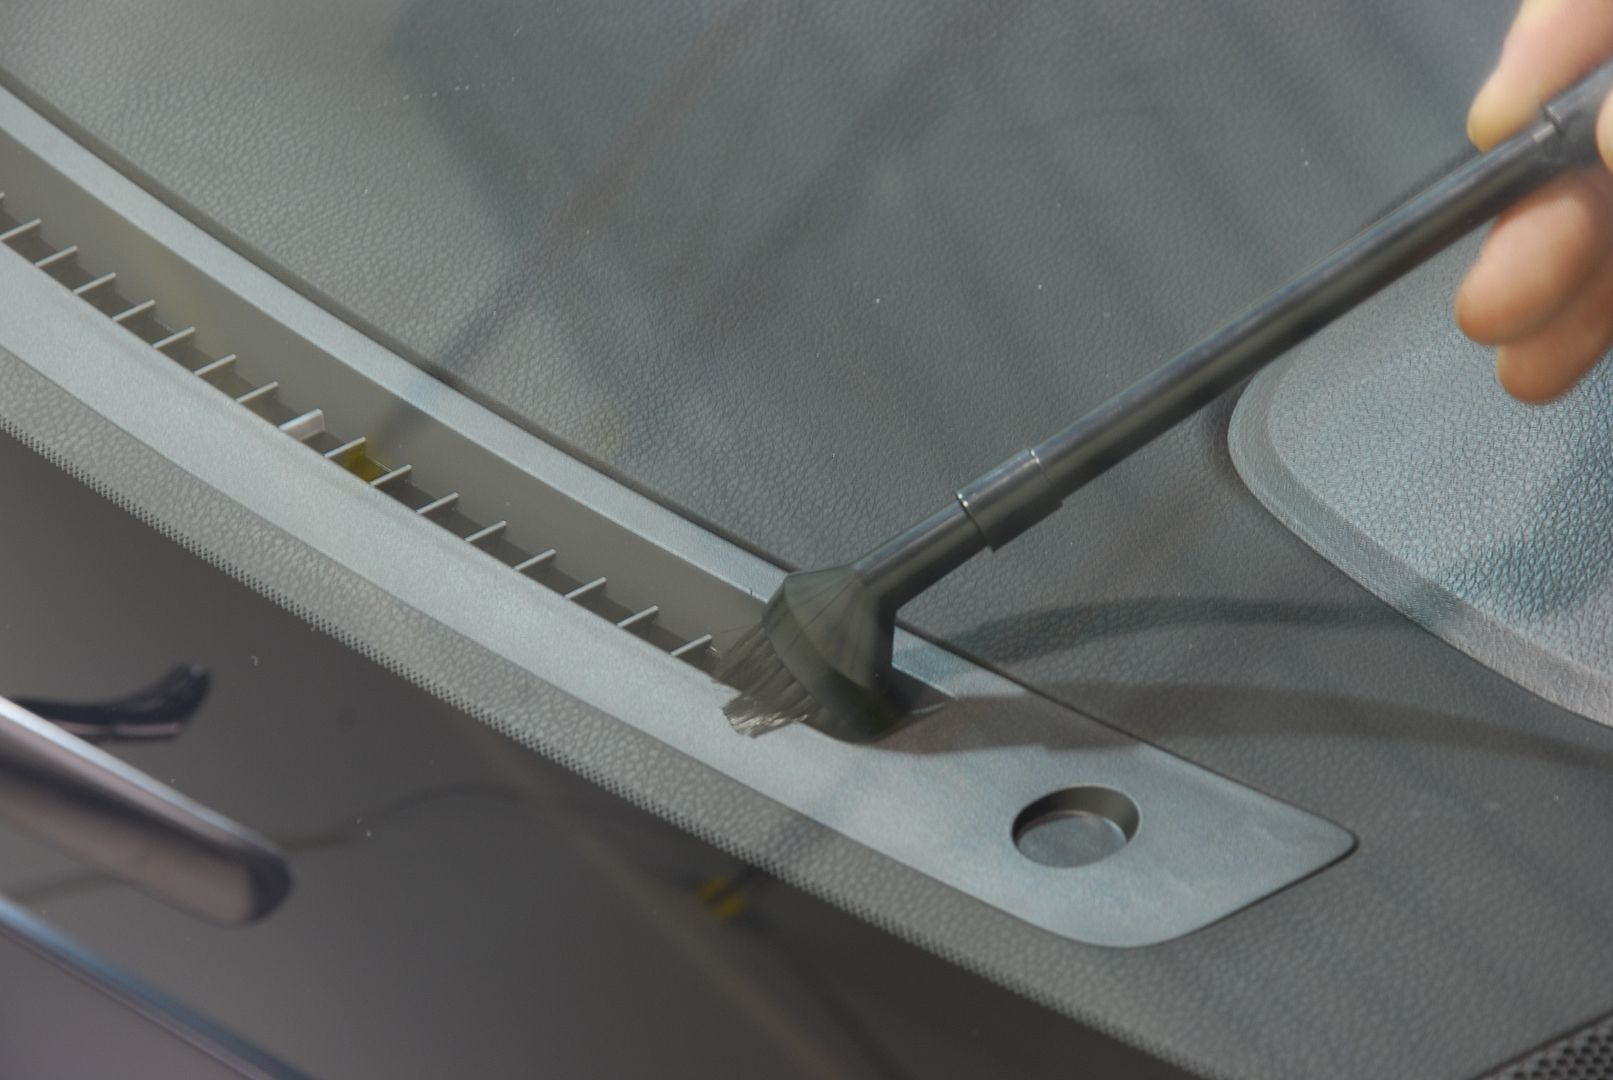
After I removed the plastics and residue using 3m adhesive remover, I then went on to AutoScrub Windows.
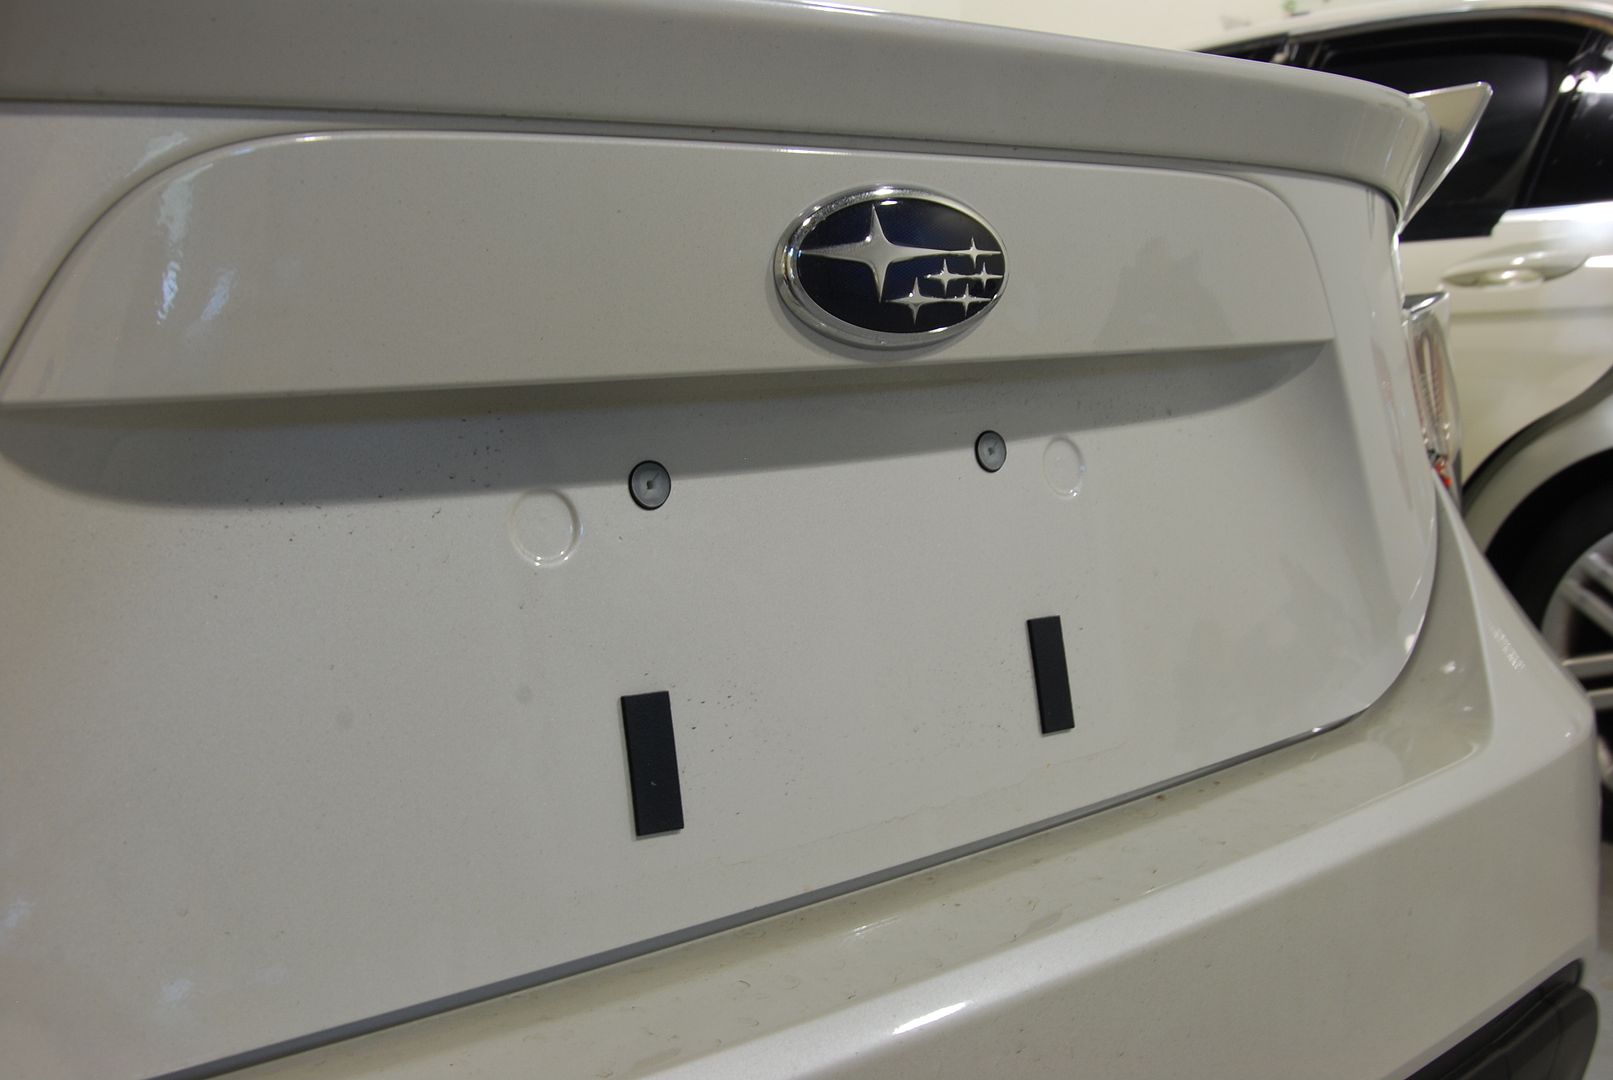
I decided to remove the badge residue left from the de-badging the owner did.
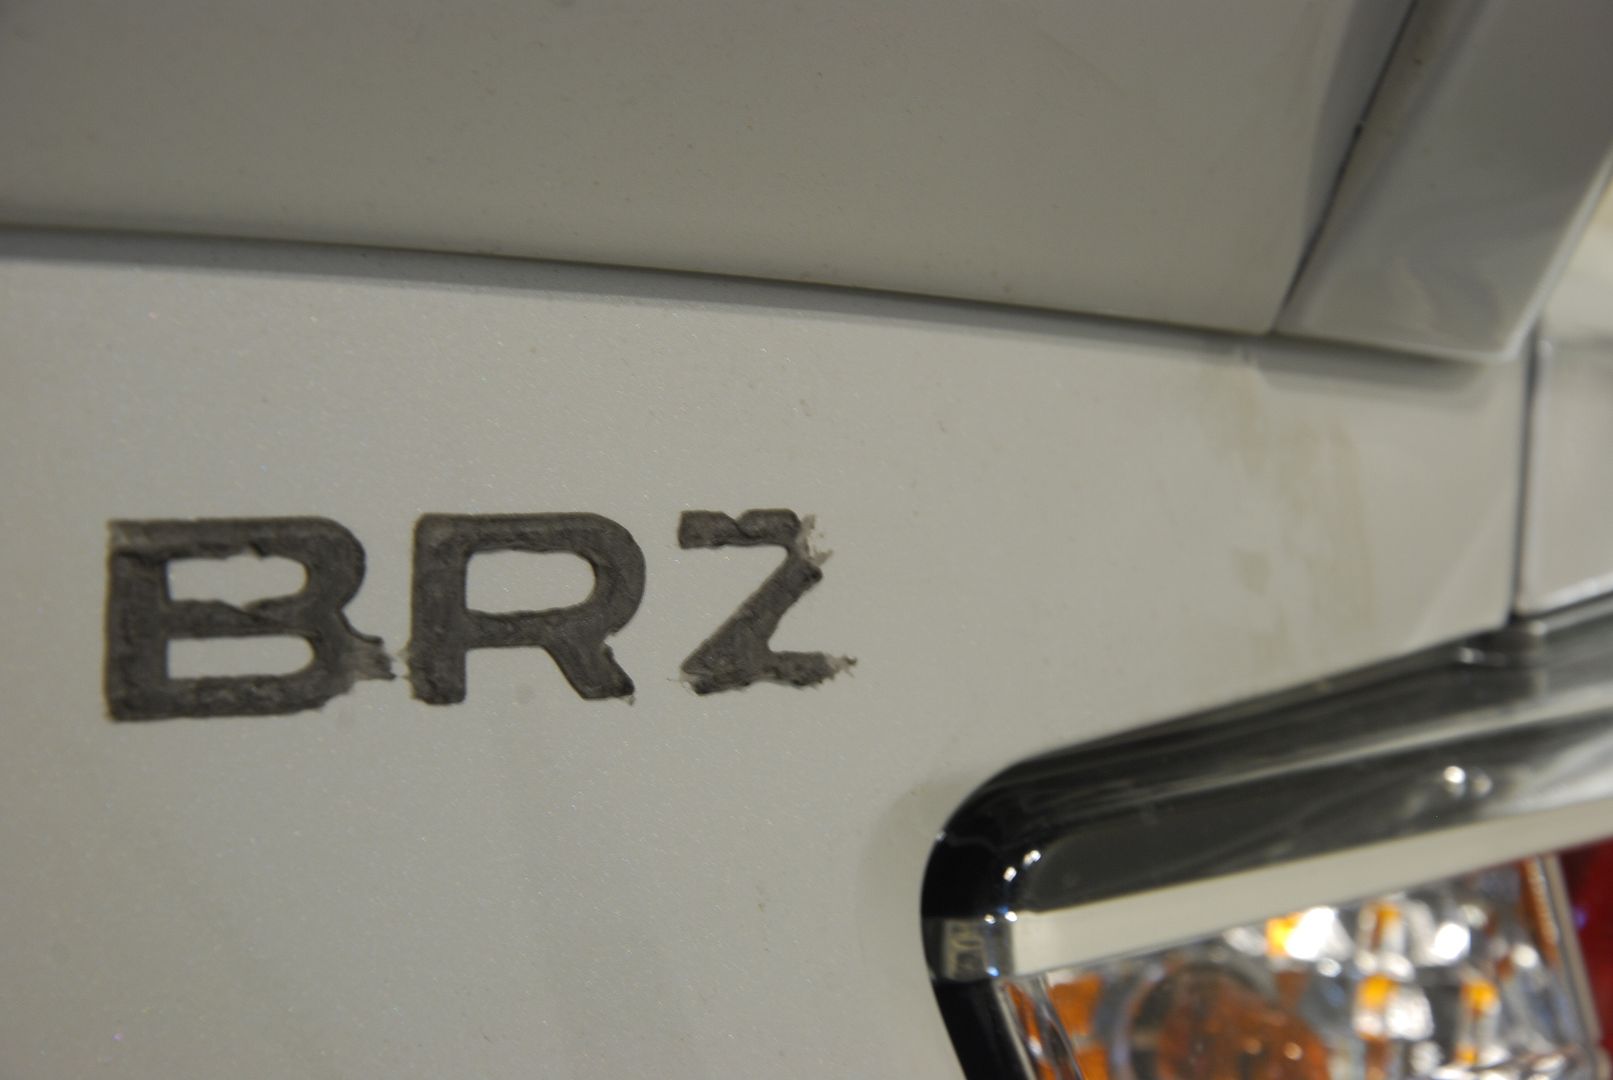

After a light wipe with 3m adhesive removal I proceeded to "roll" the residue onto itself to remove it

After the majority is removed simply spray a MF towel and remove the rest.
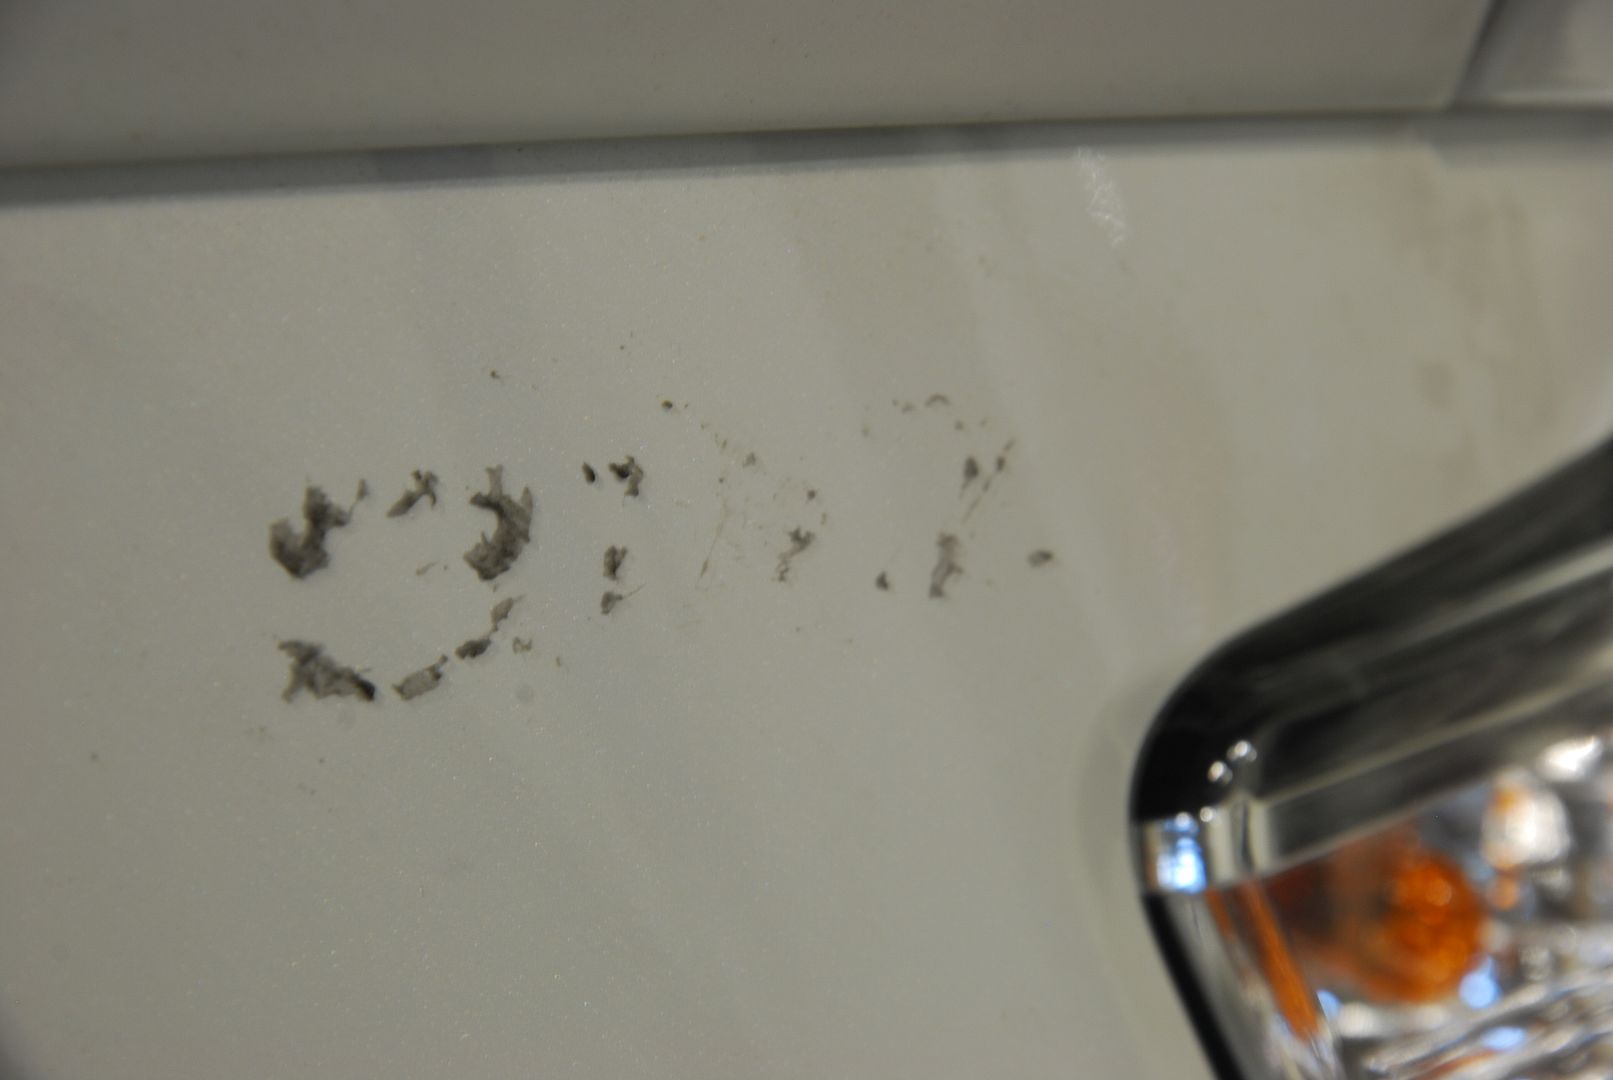
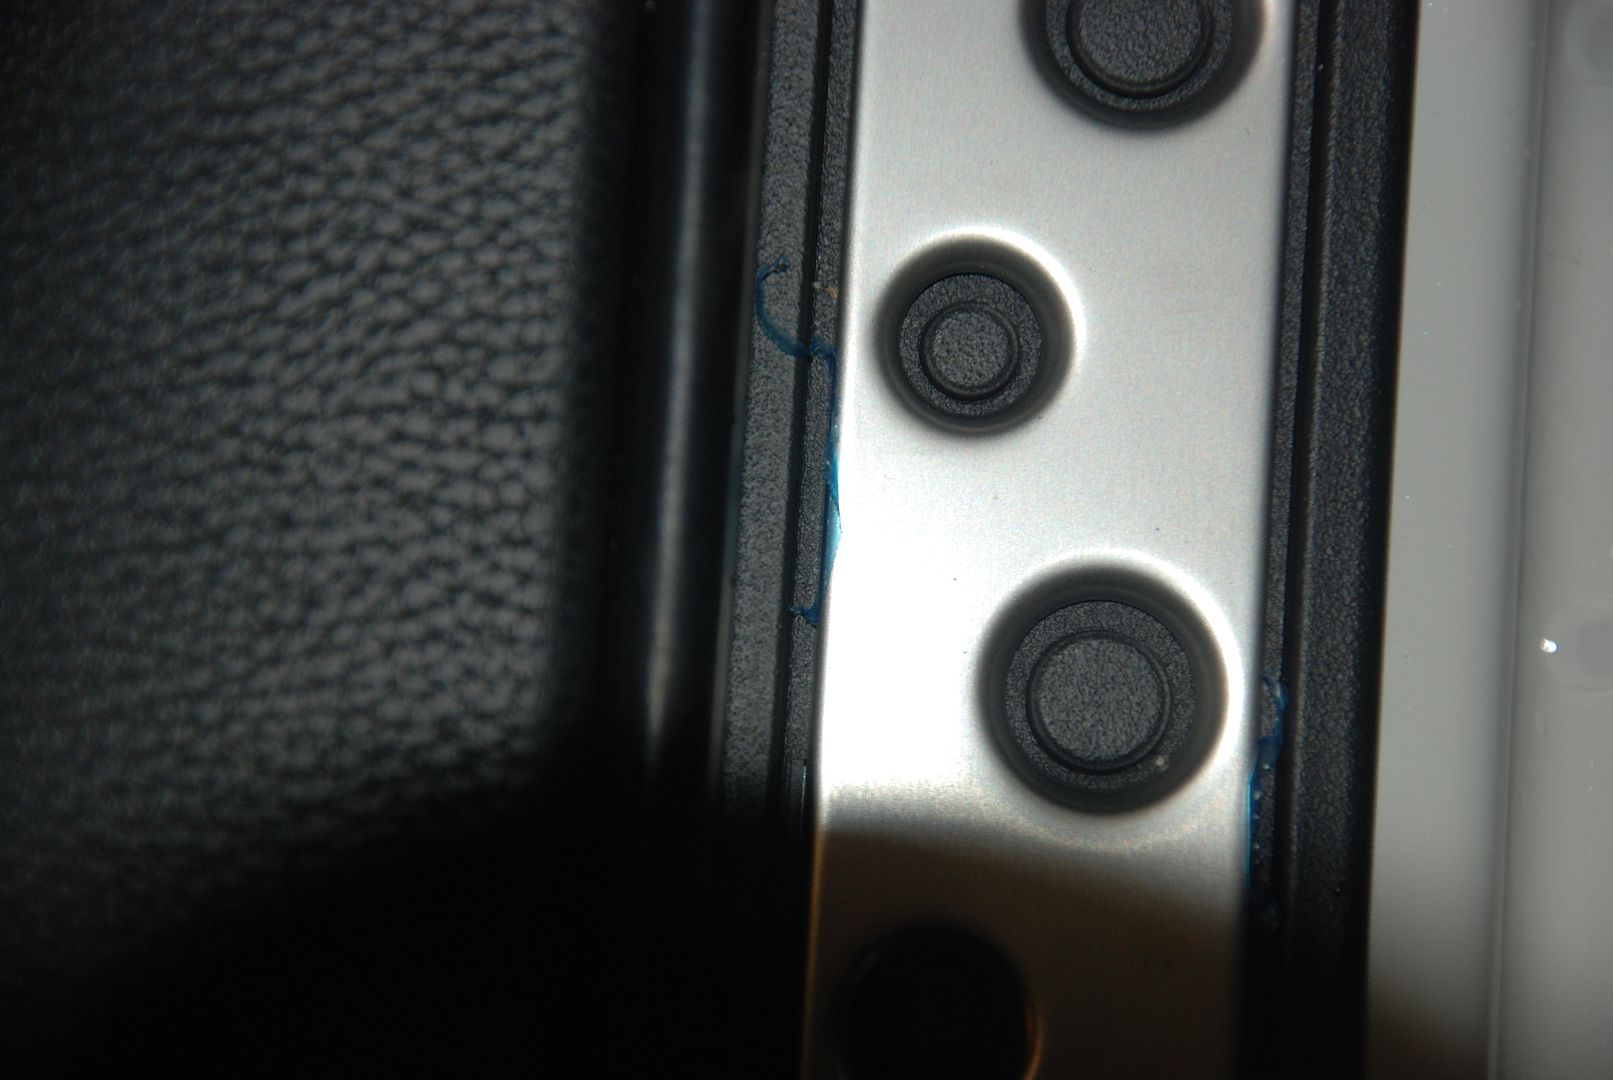
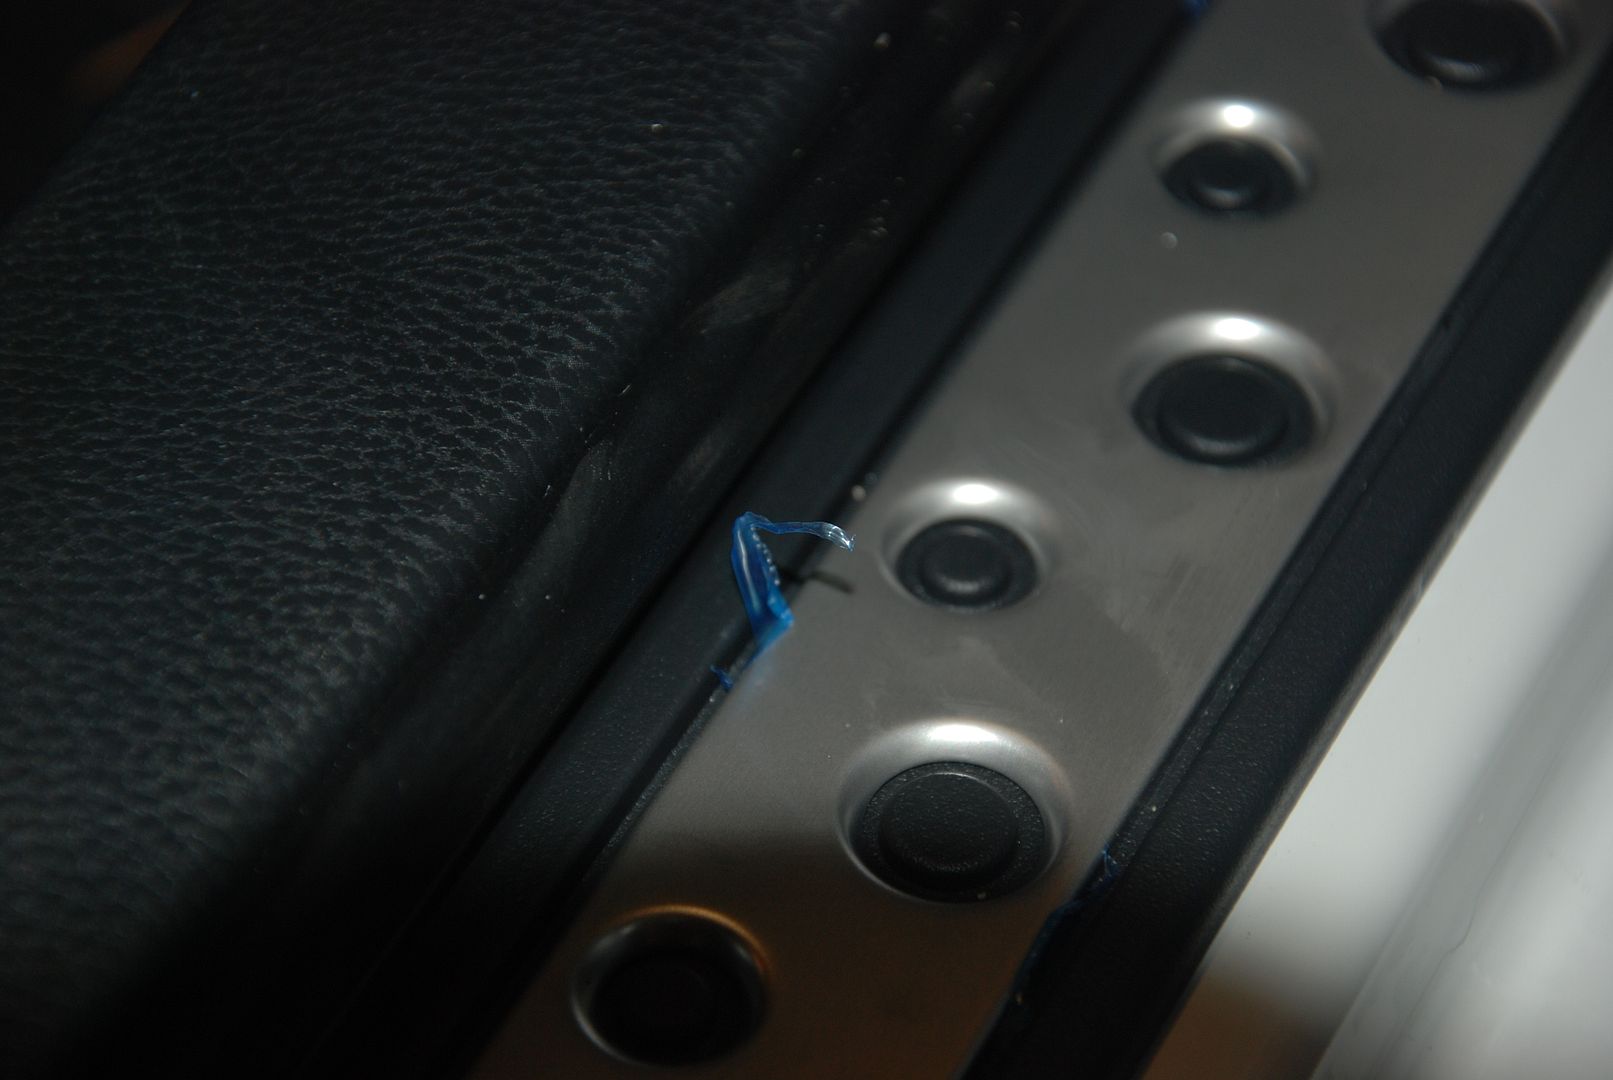
All residue removed. Whats left is the dirt streaks, well take care of them in just a bit.
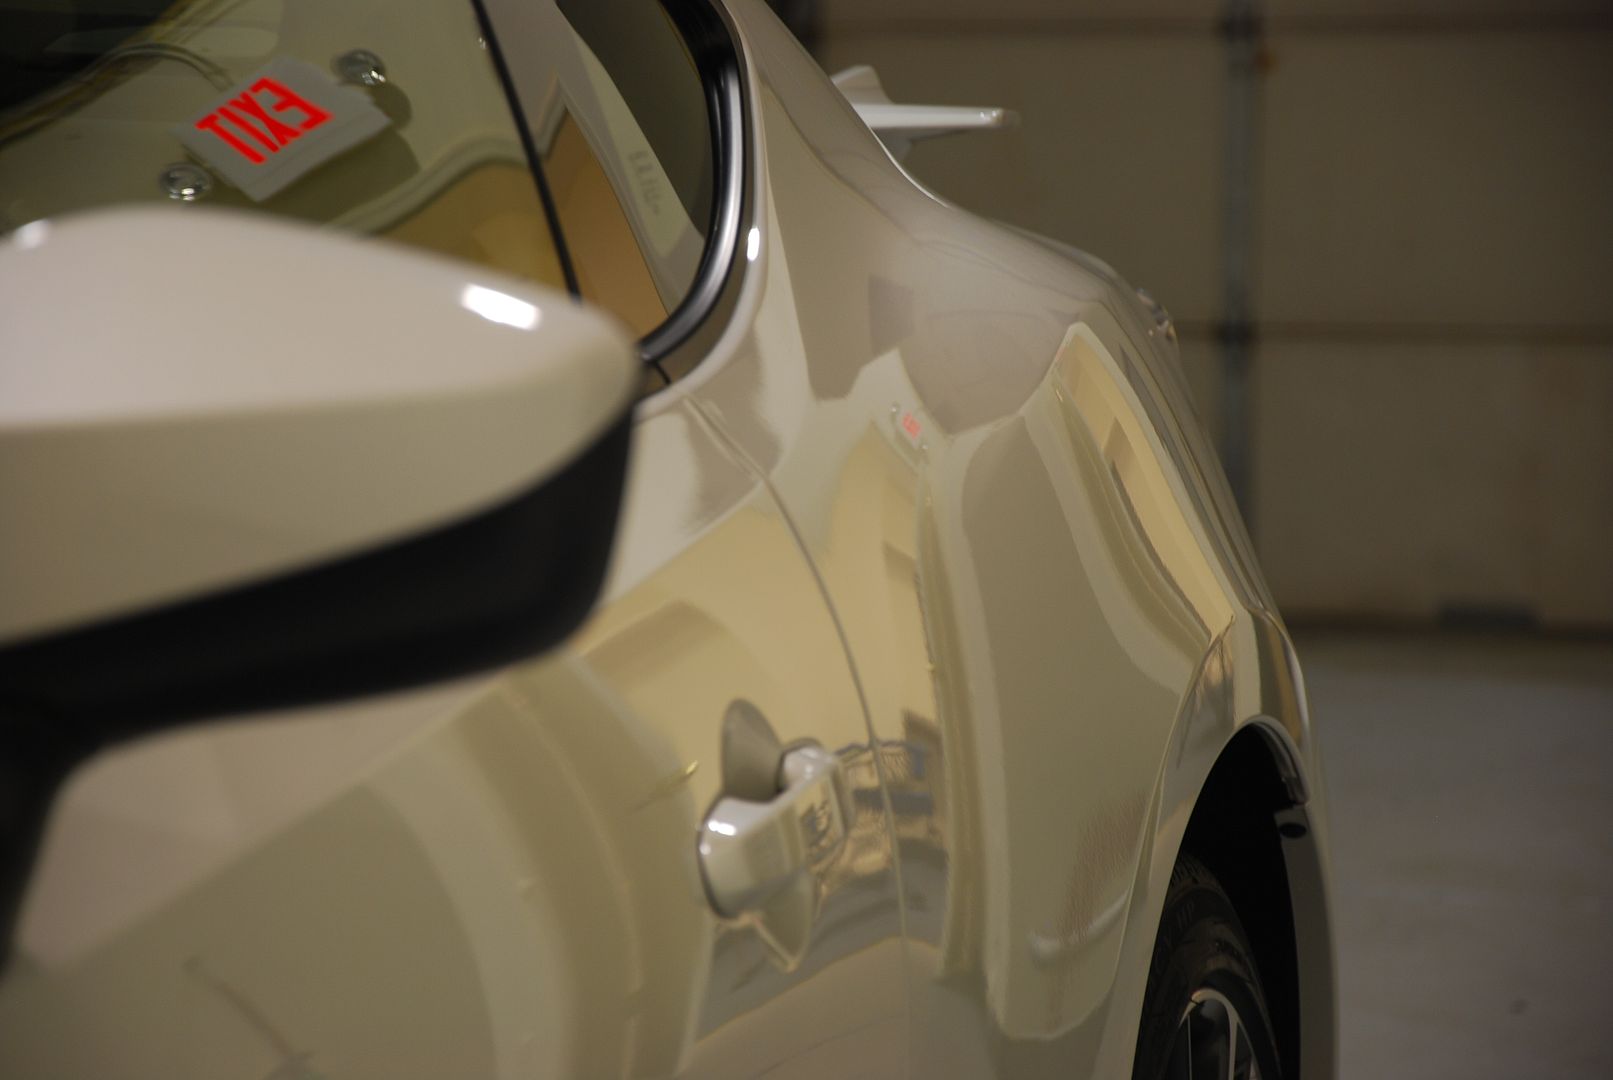
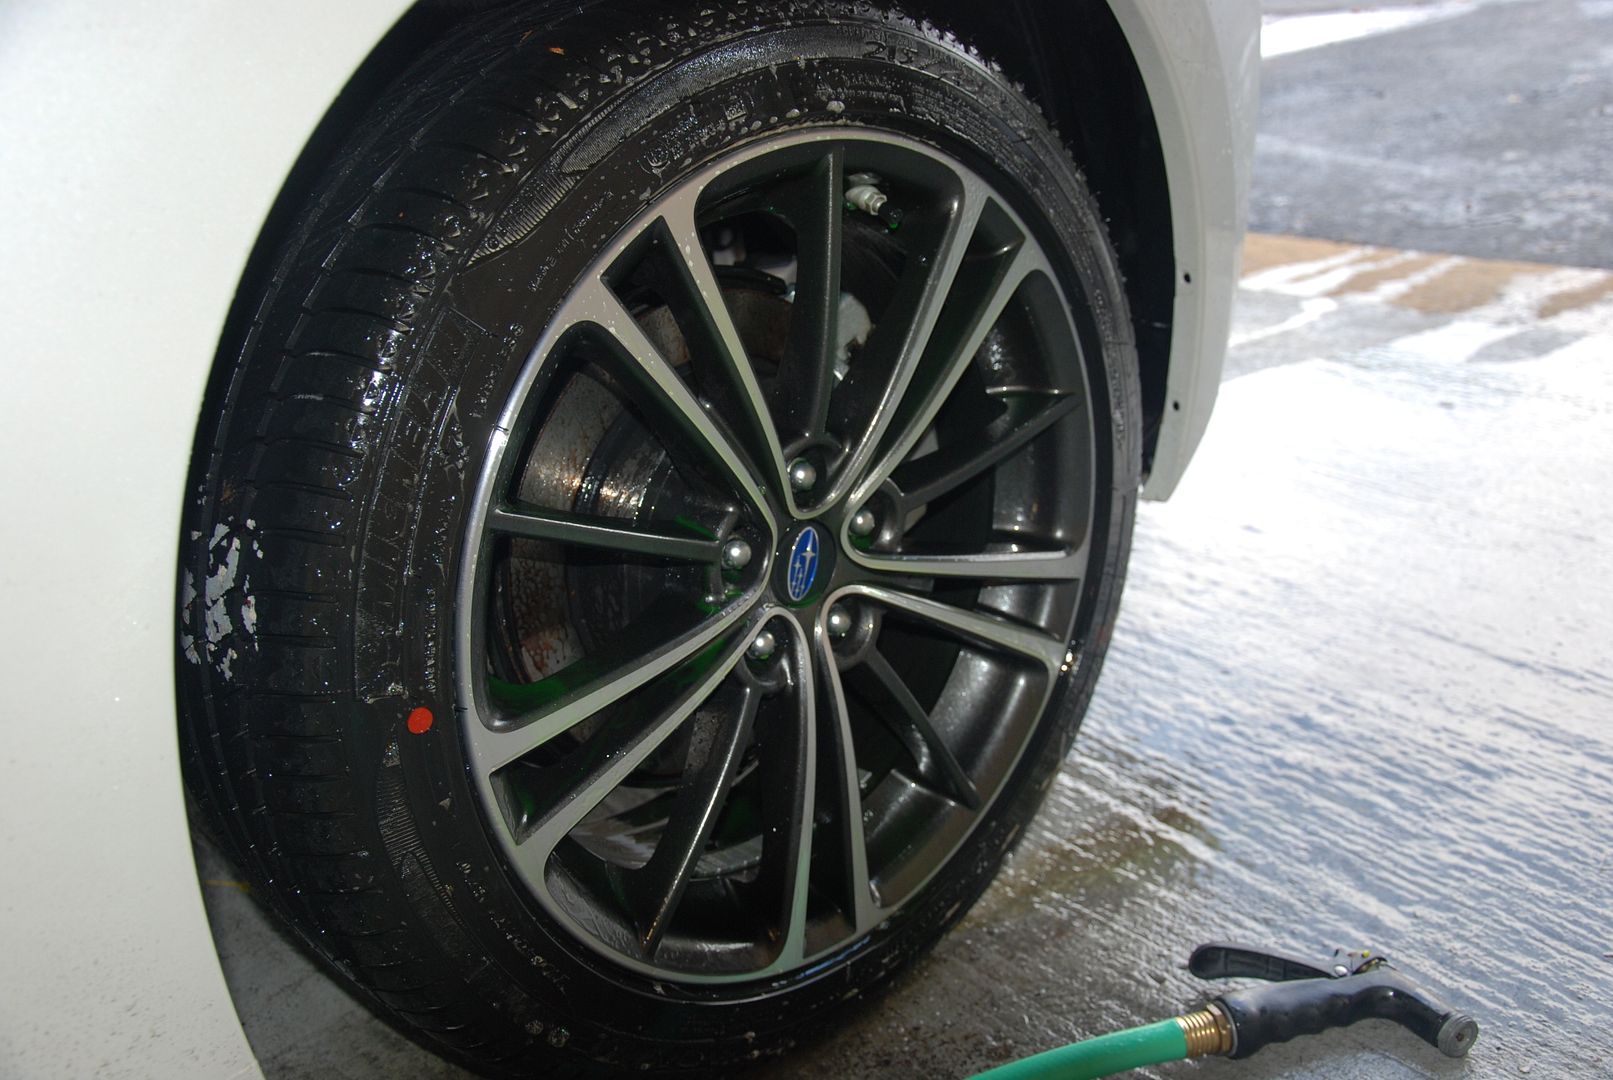
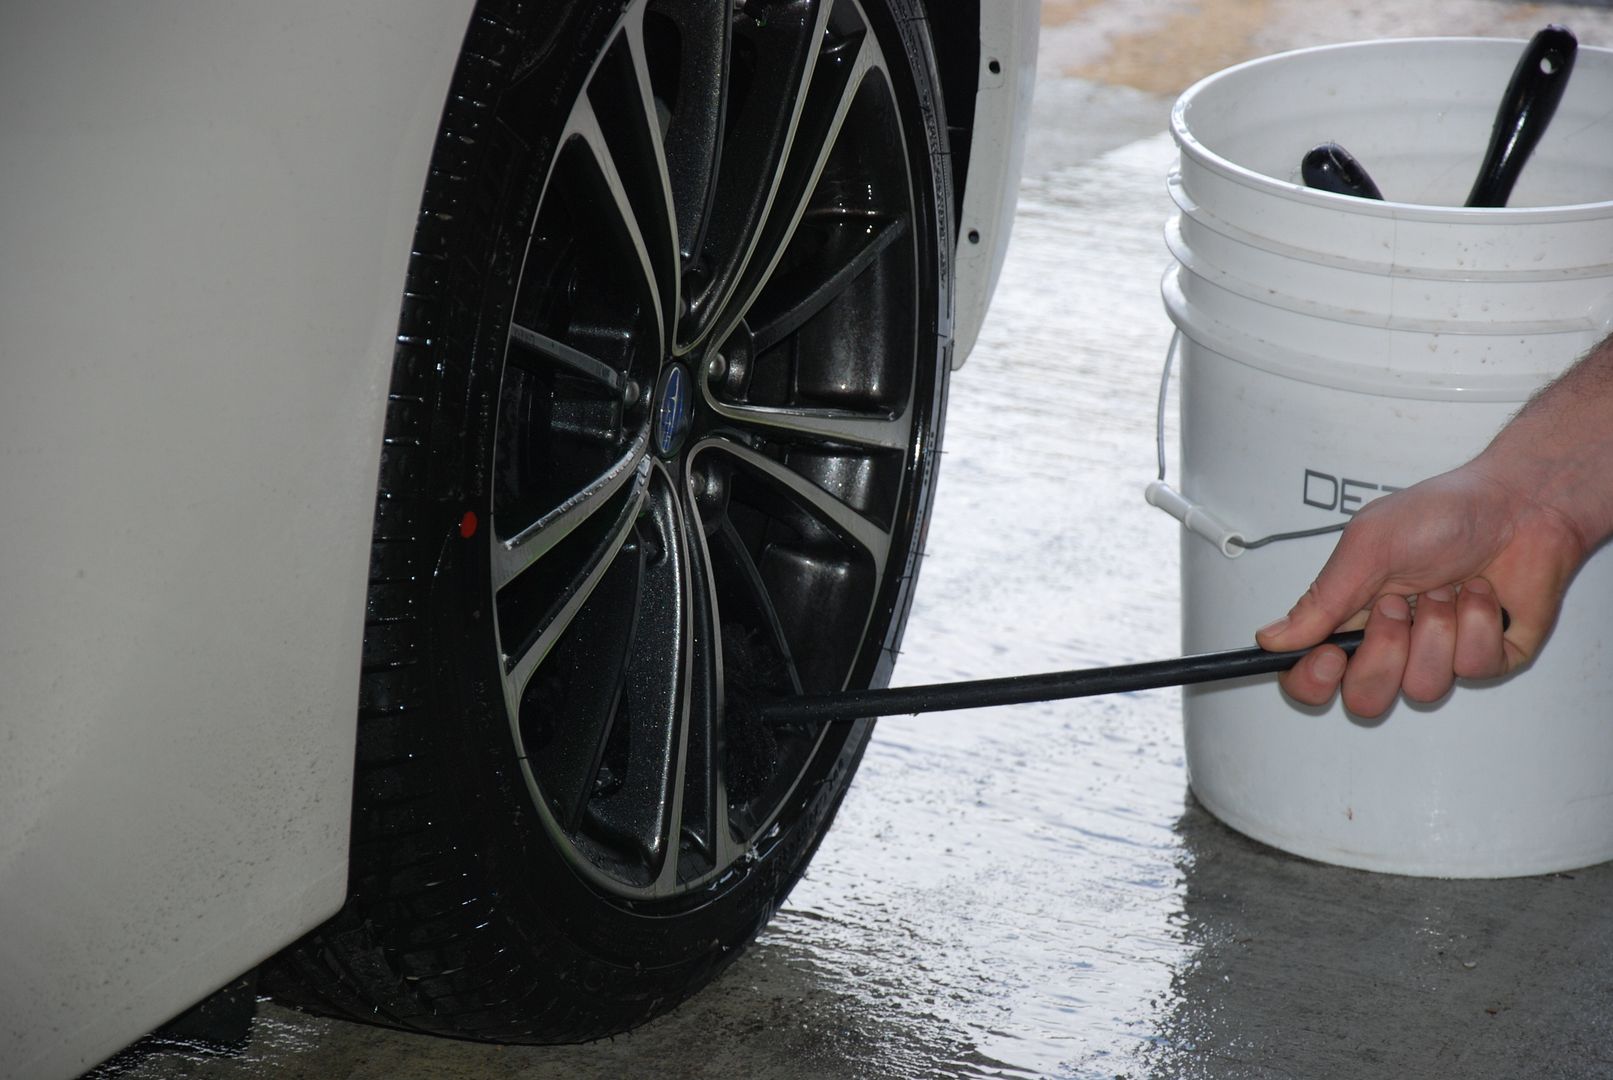
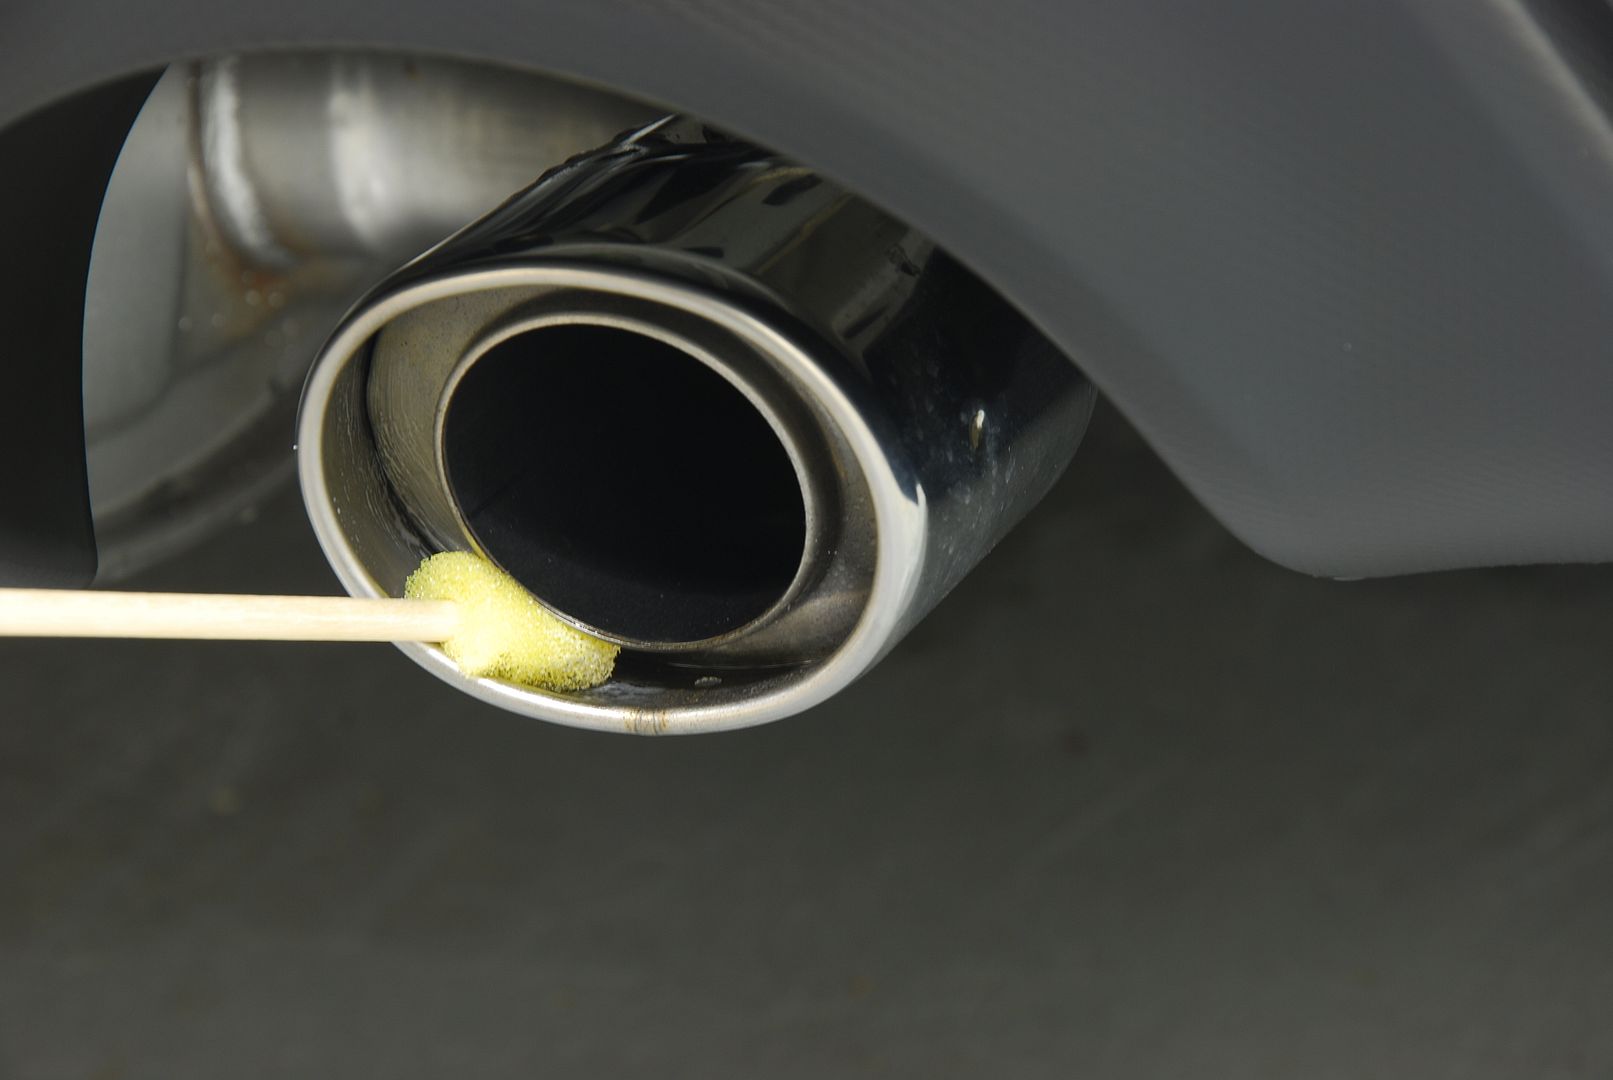
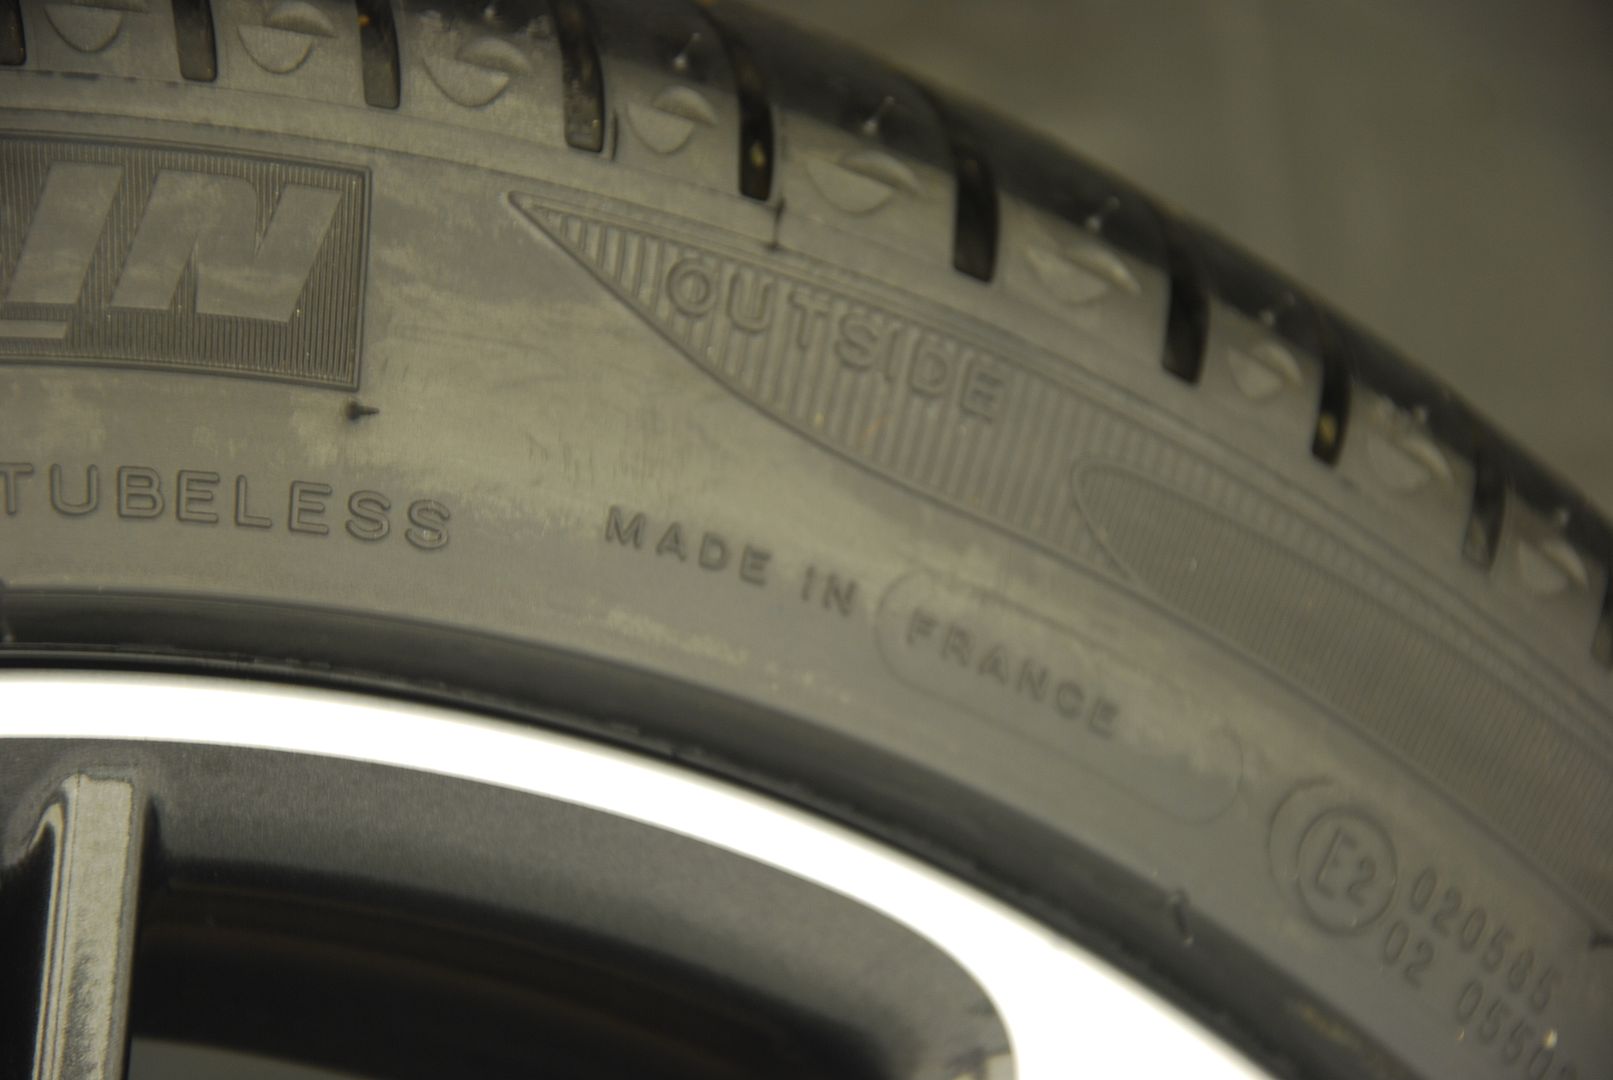
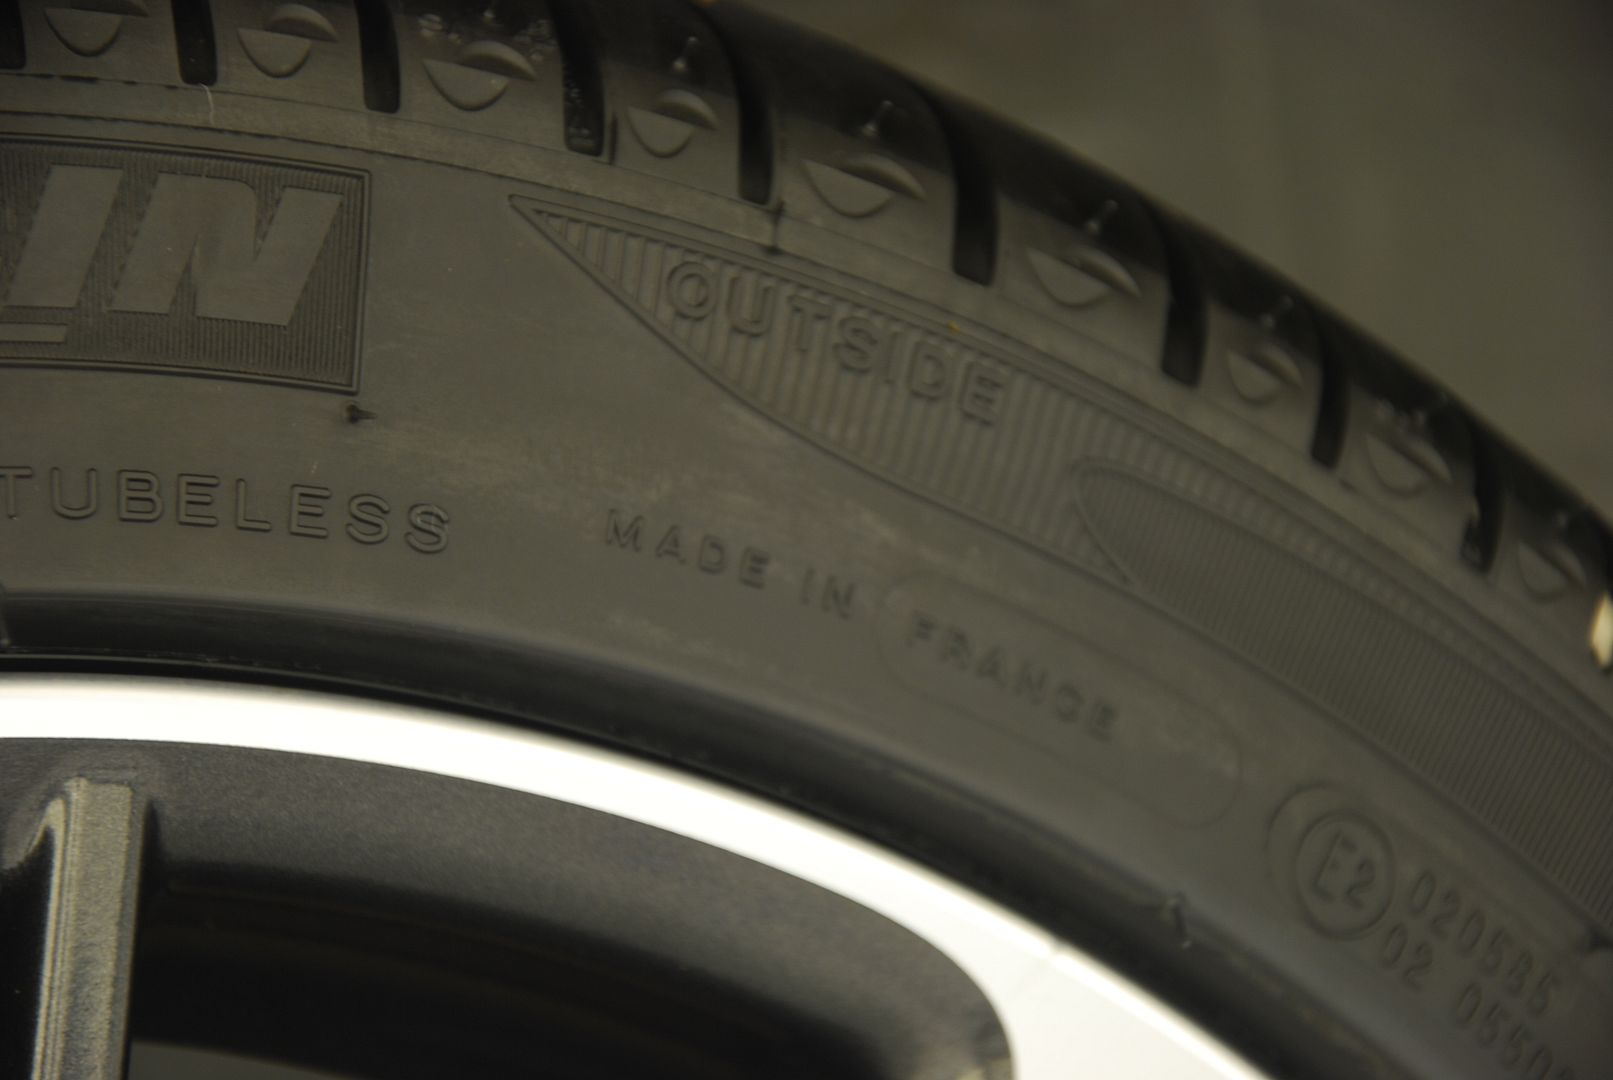
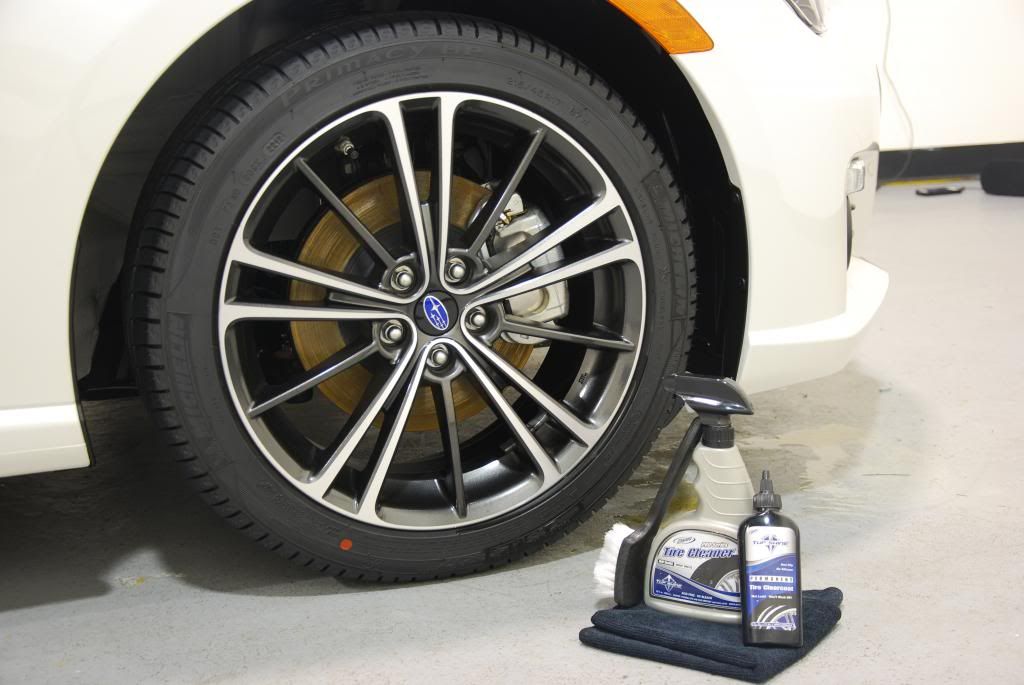
I finally began with washing the car, well I began with the wheels, tires, and wheel wells. Rims were taken care of with Sonax FE, a sponge, and wheel woolies. The tires were scrubbed with a tuff shine tire brush and Optimum Power Clean. Finally the wheel wells were scrubbed with an ez-detail brush and after being soaked with Optimum Power Clean.

Earlier I pulled the Temp plate to ensure every area of the car was decontaminated and coated. So after the wash I Nanoskin auto scrubbed the entire surface. This is the same thing as clay, just faster and easier.
Before a foam bath I sprayed Iron-x over the entire surface to chemically remove any iron particles that may have adhered to the surface. Why a physical Decon and a Chemical one? Paint or ClearCoat is porus. It isn't one solid piece, that is why both a physical "clay" to remove surface particles and a chemical to remove contamination form the pores of the paint is needed.
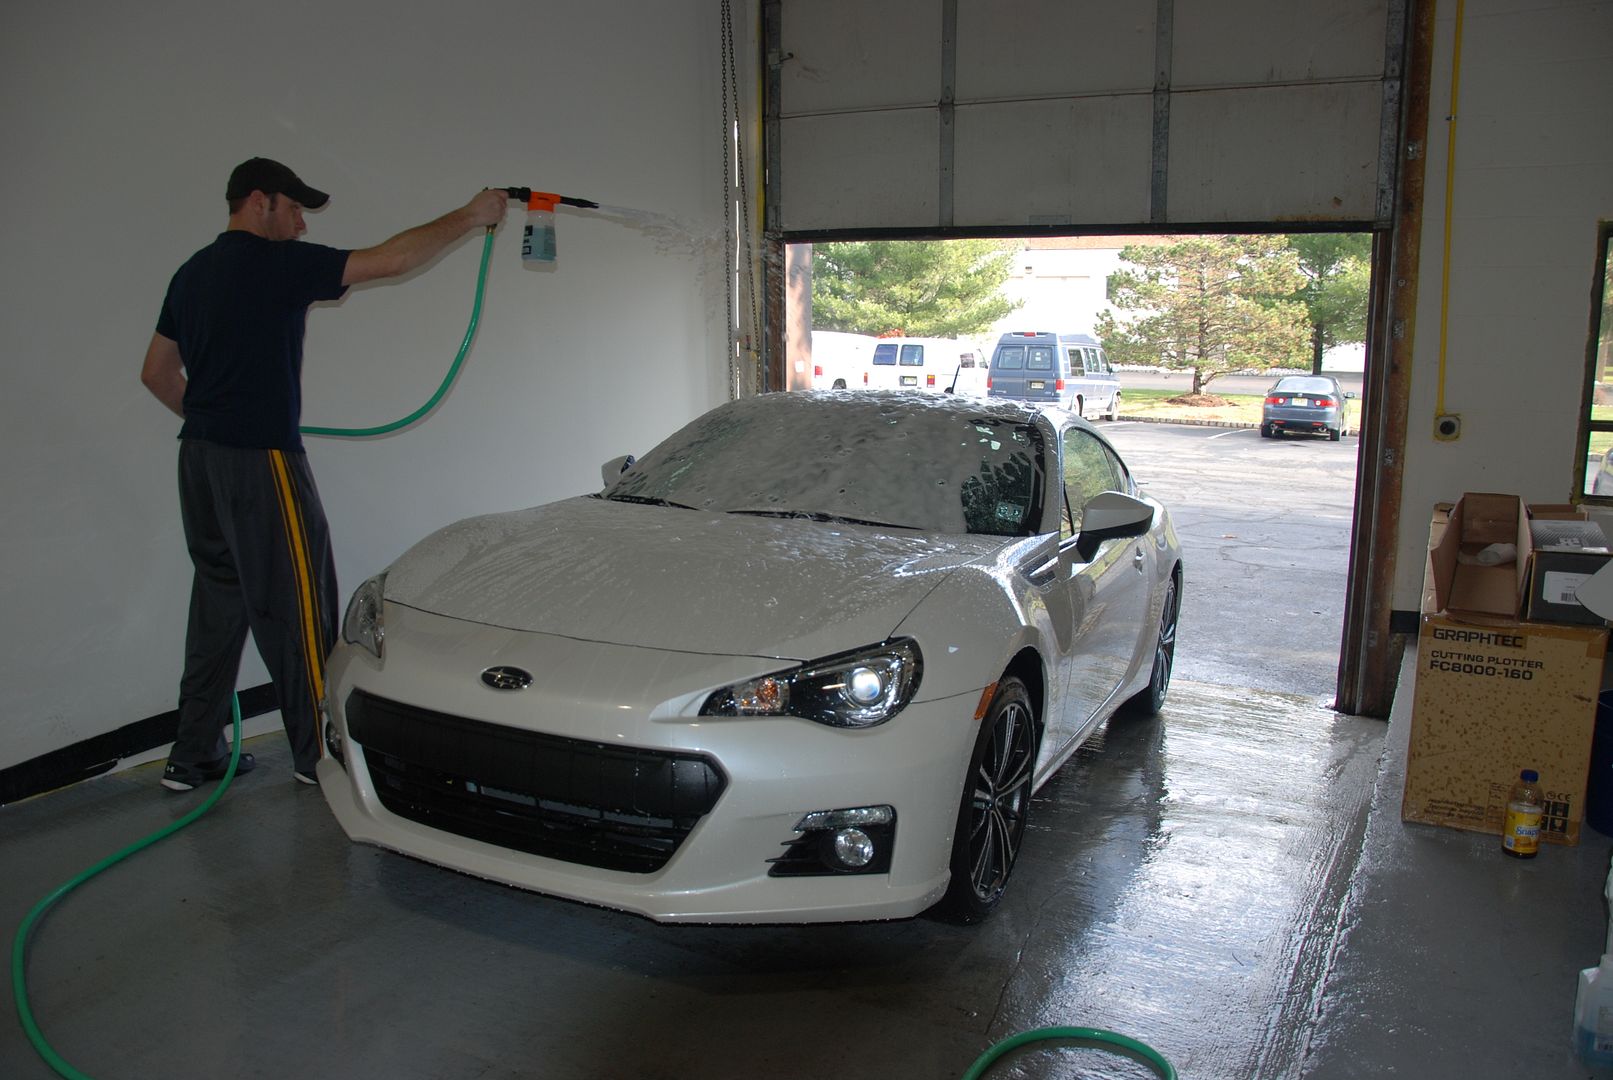
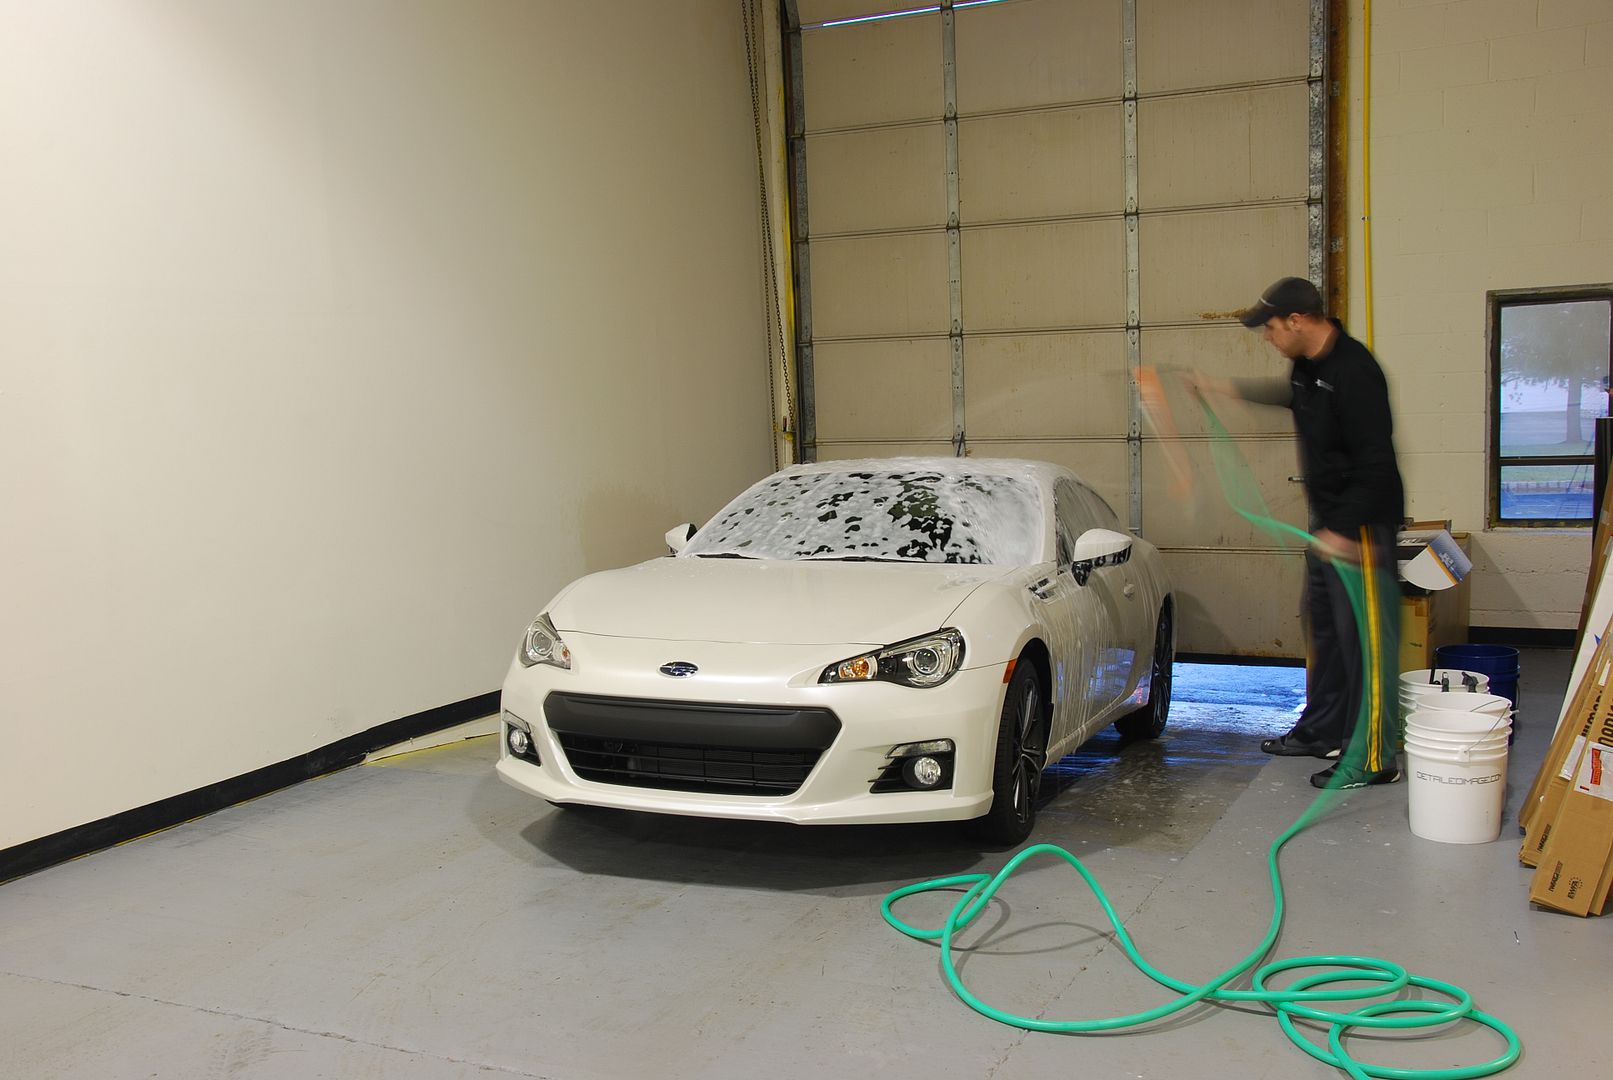
I then moved on to a nice foam bath using a mixture of Chemical Guys Citrus Wash and Clear, Iron-X soap Gel, and Dawn, to remove any additional dirt and debris that may be on the surface. A nice sheepskin wash mitt was used. Also, this makes sure I am getting down to the paint surface and there is nothing else on there.
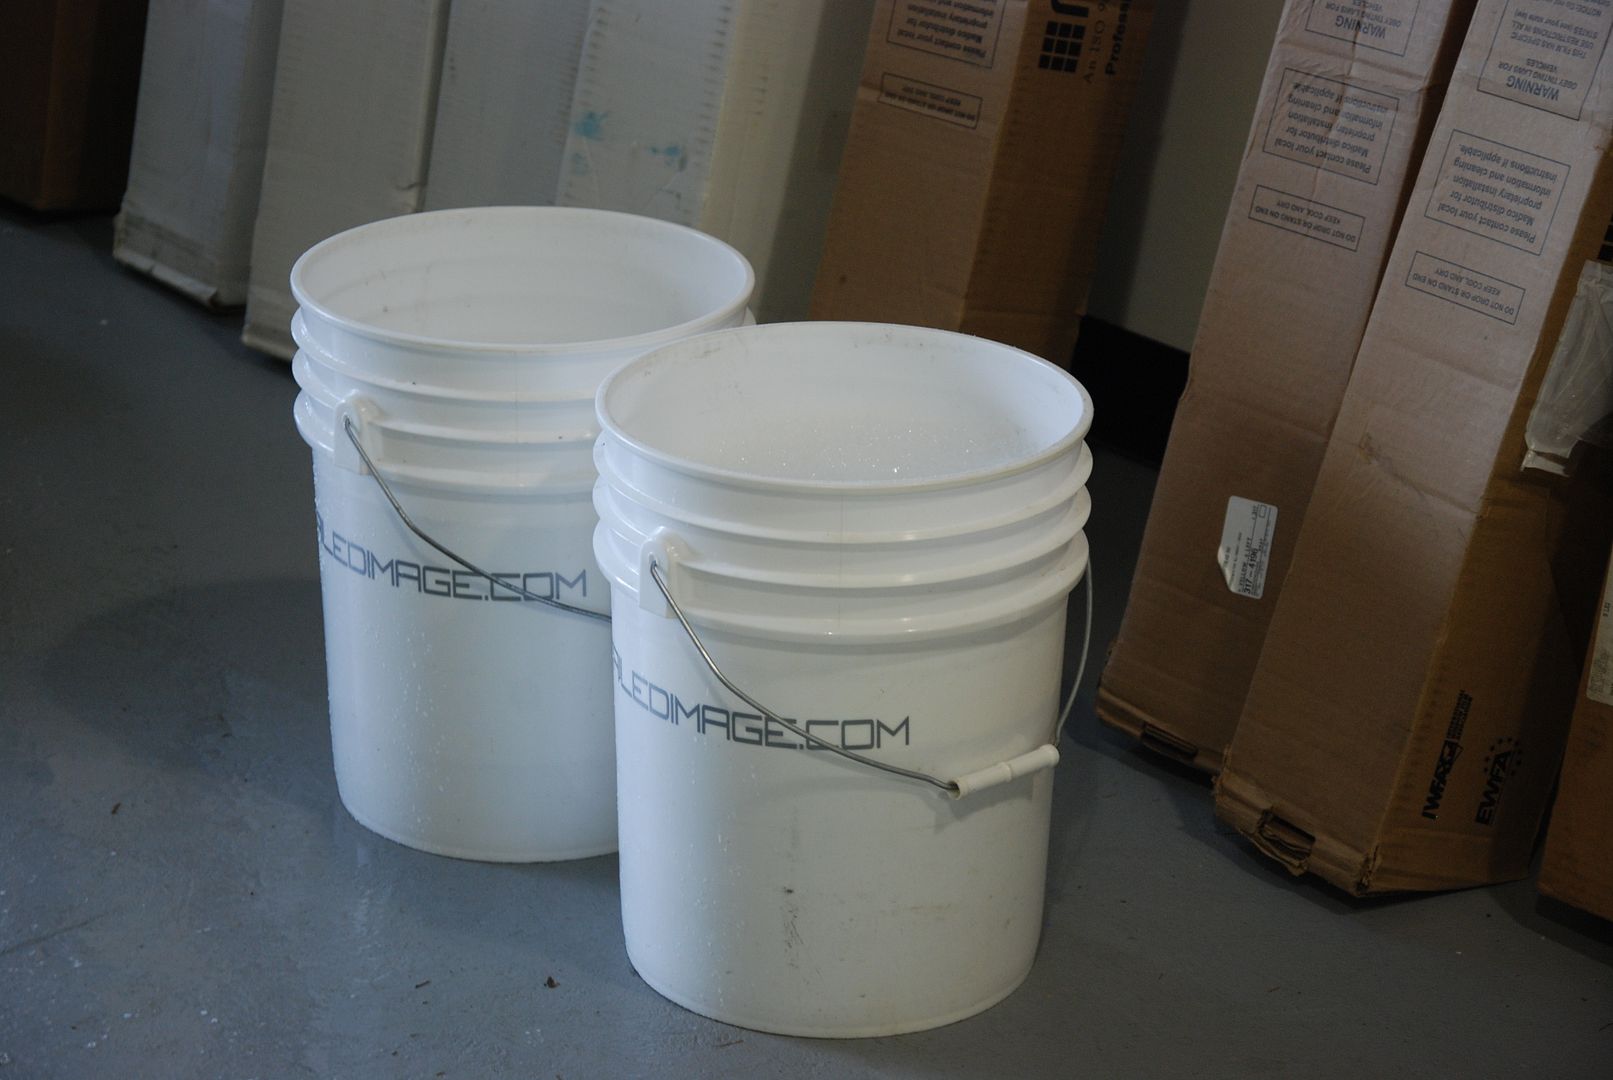
As always I use a two bucket method, really its 3 if you count the bucket I use for wheel cleaning")
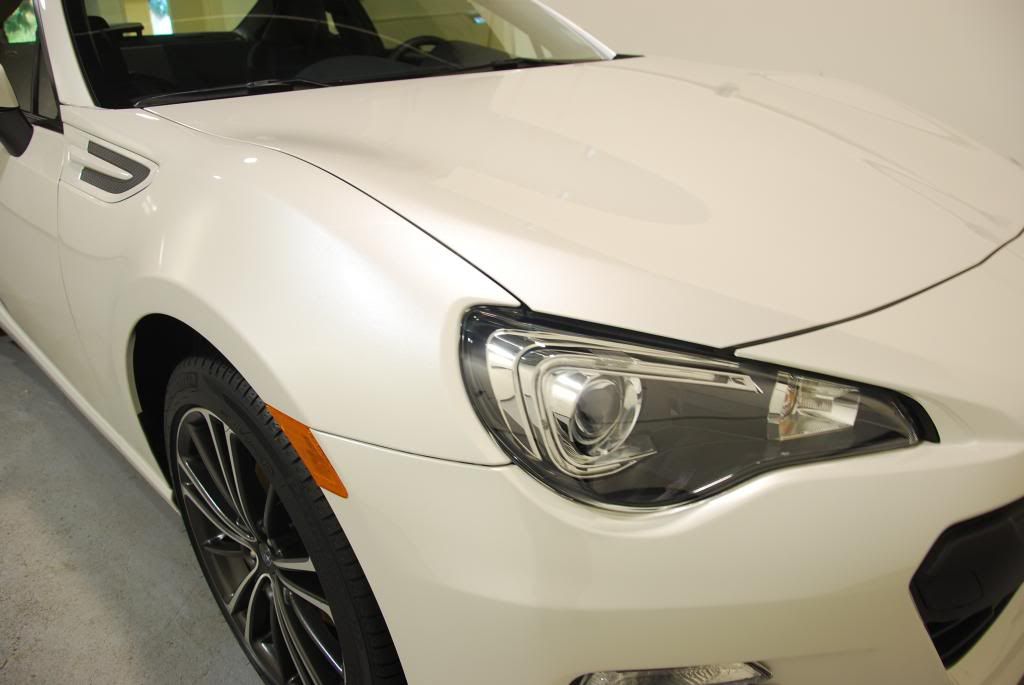
After drying with a WW MF towel, and my CG JetSpeed Blower, I moved on to my inspection of the paint using a variety of lights, including Brinkman MaxFire Marine Dual LED, Brinkman Maxfire Dual Xenon Spotlight, a SureFire flash light, and the shop lighting all to find any and all problems in the paint. Wait a minute! It's a new car with the plastic still on it, how can there be any imperfection in the paint? Things happen, whether it be in transport, or at the dealership. It can even be used just to add gloss to the paint surface. Even a new car can benefit from a 1 step polishing.
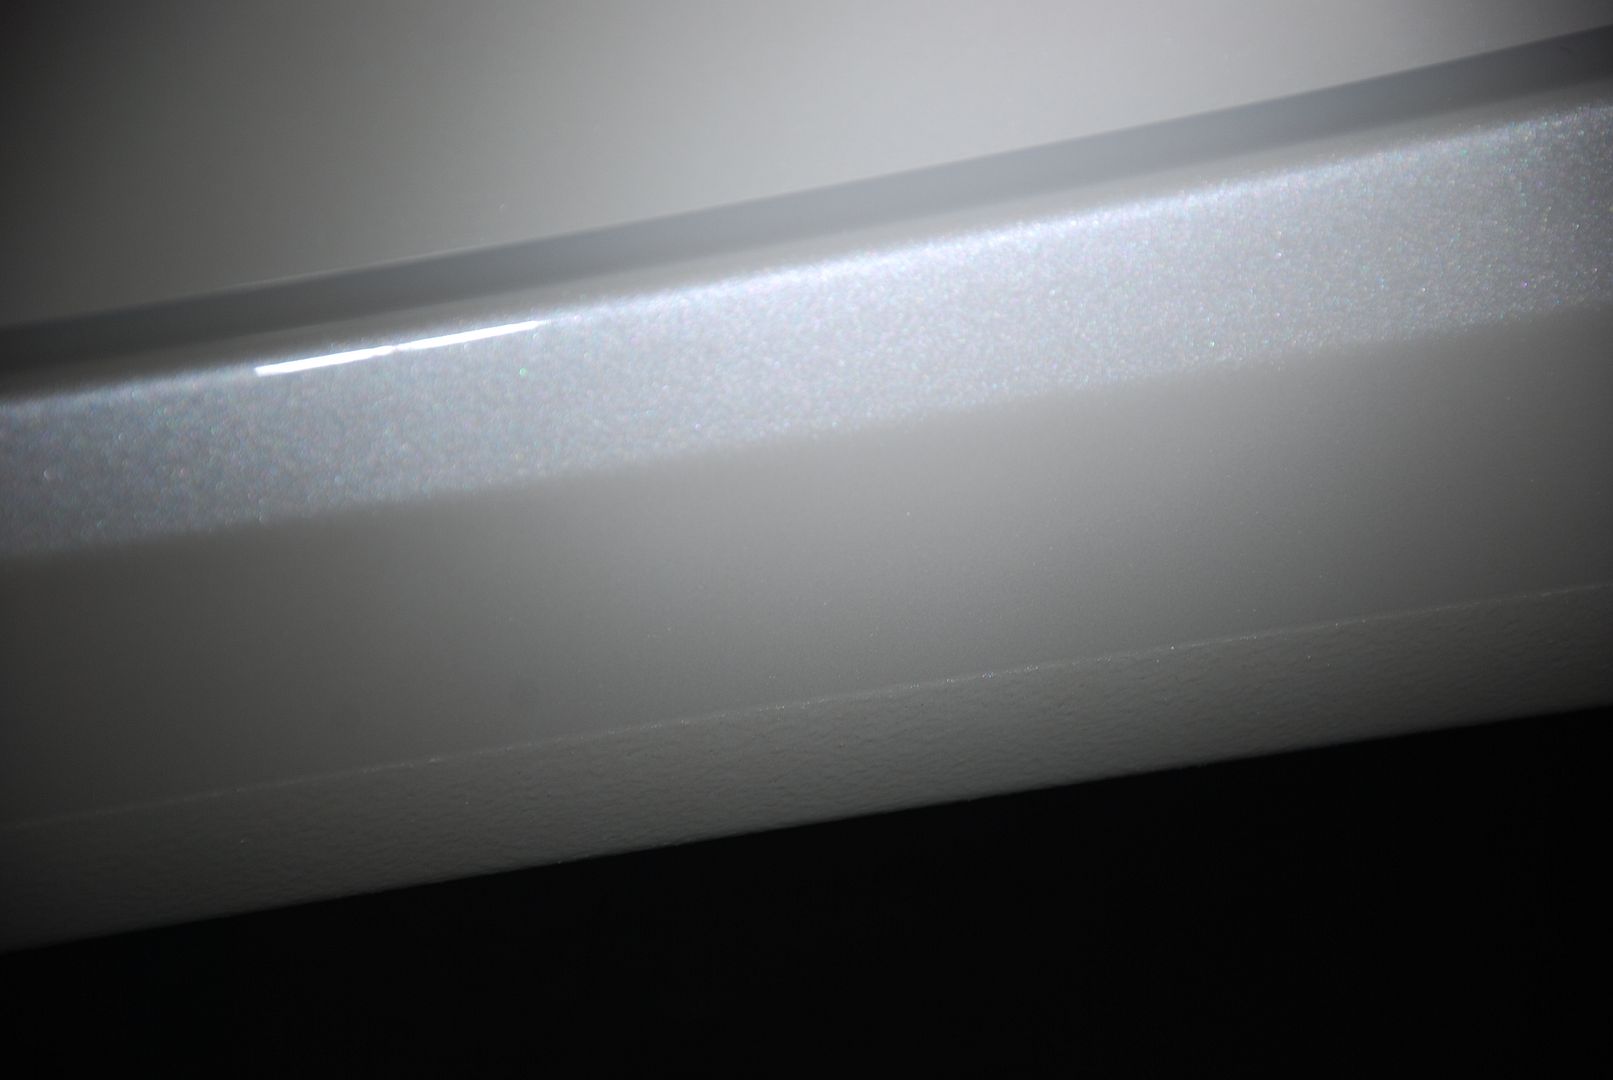
Here is a Marr on the side skirt right by the drivers door.

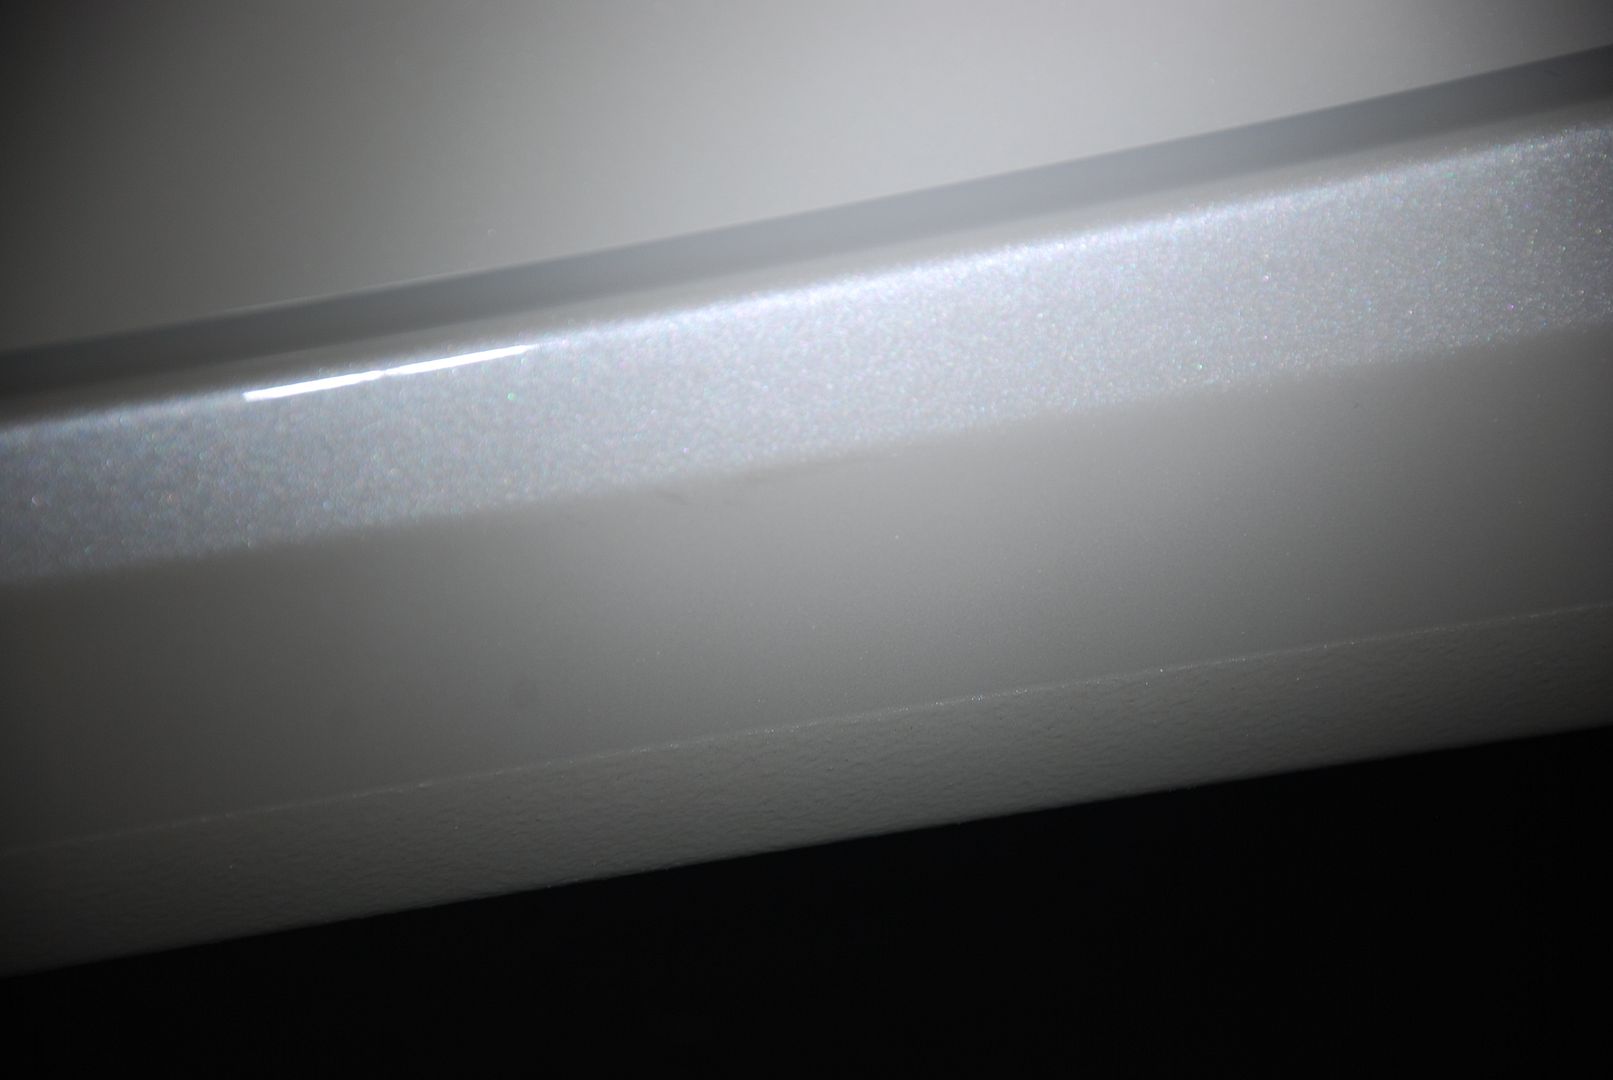
All Removed.
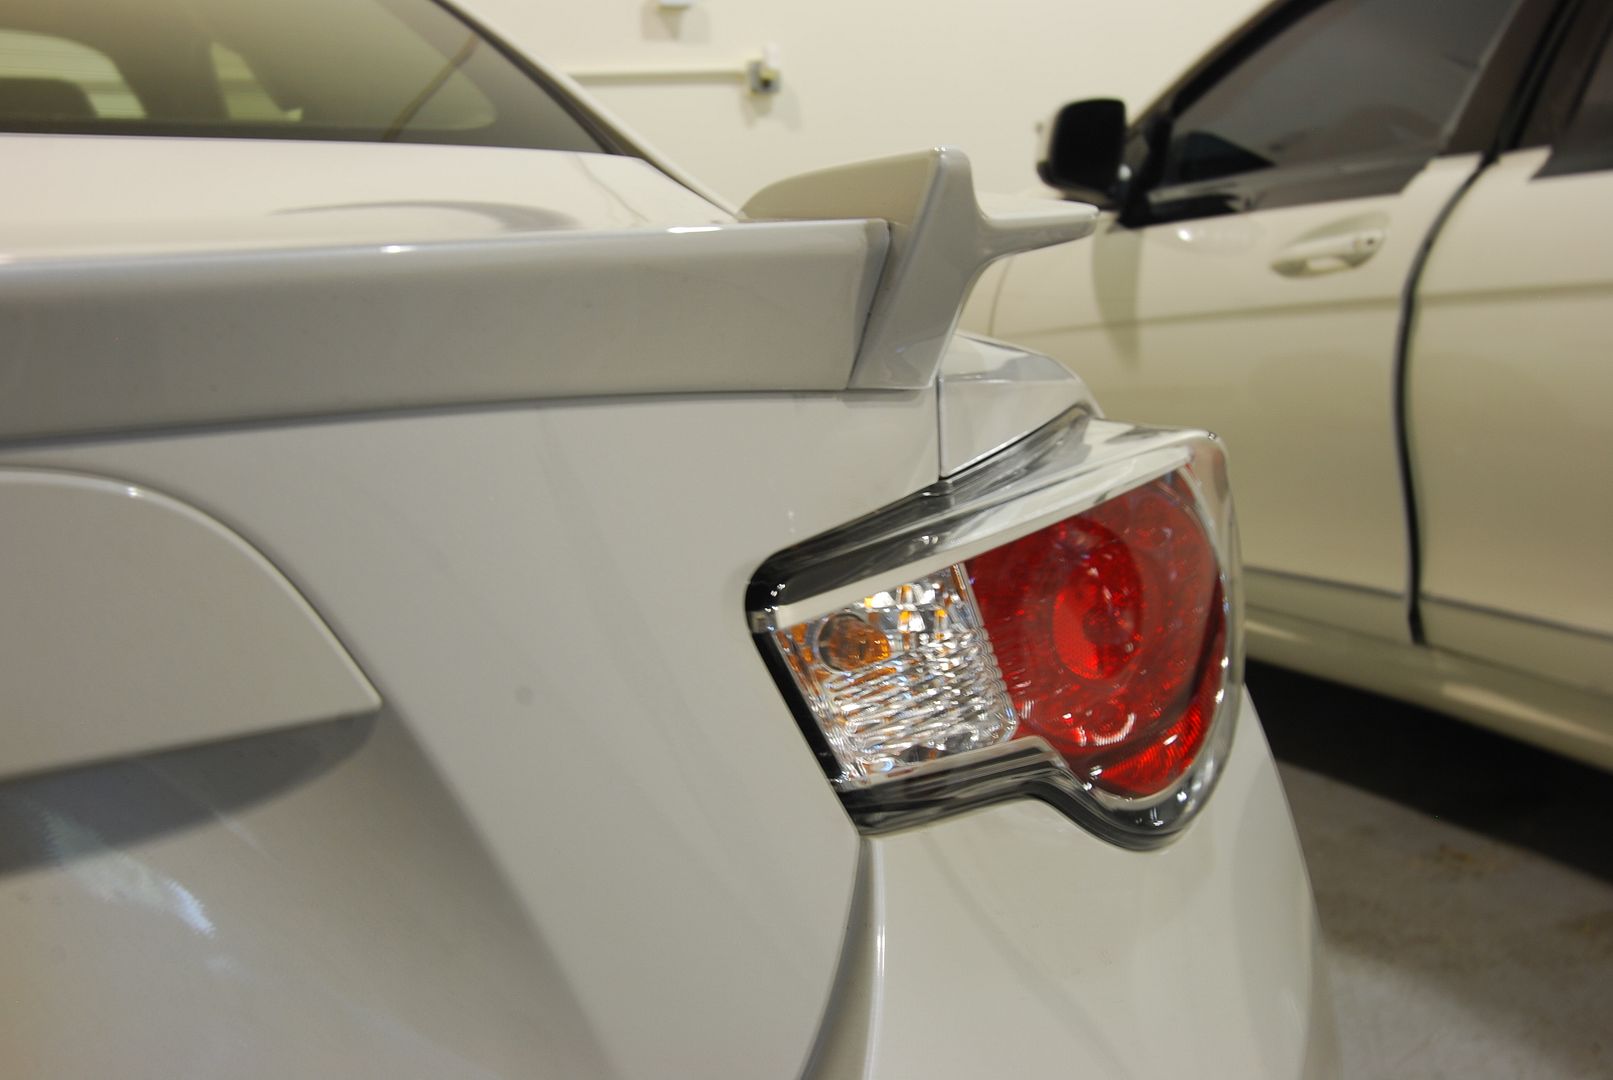
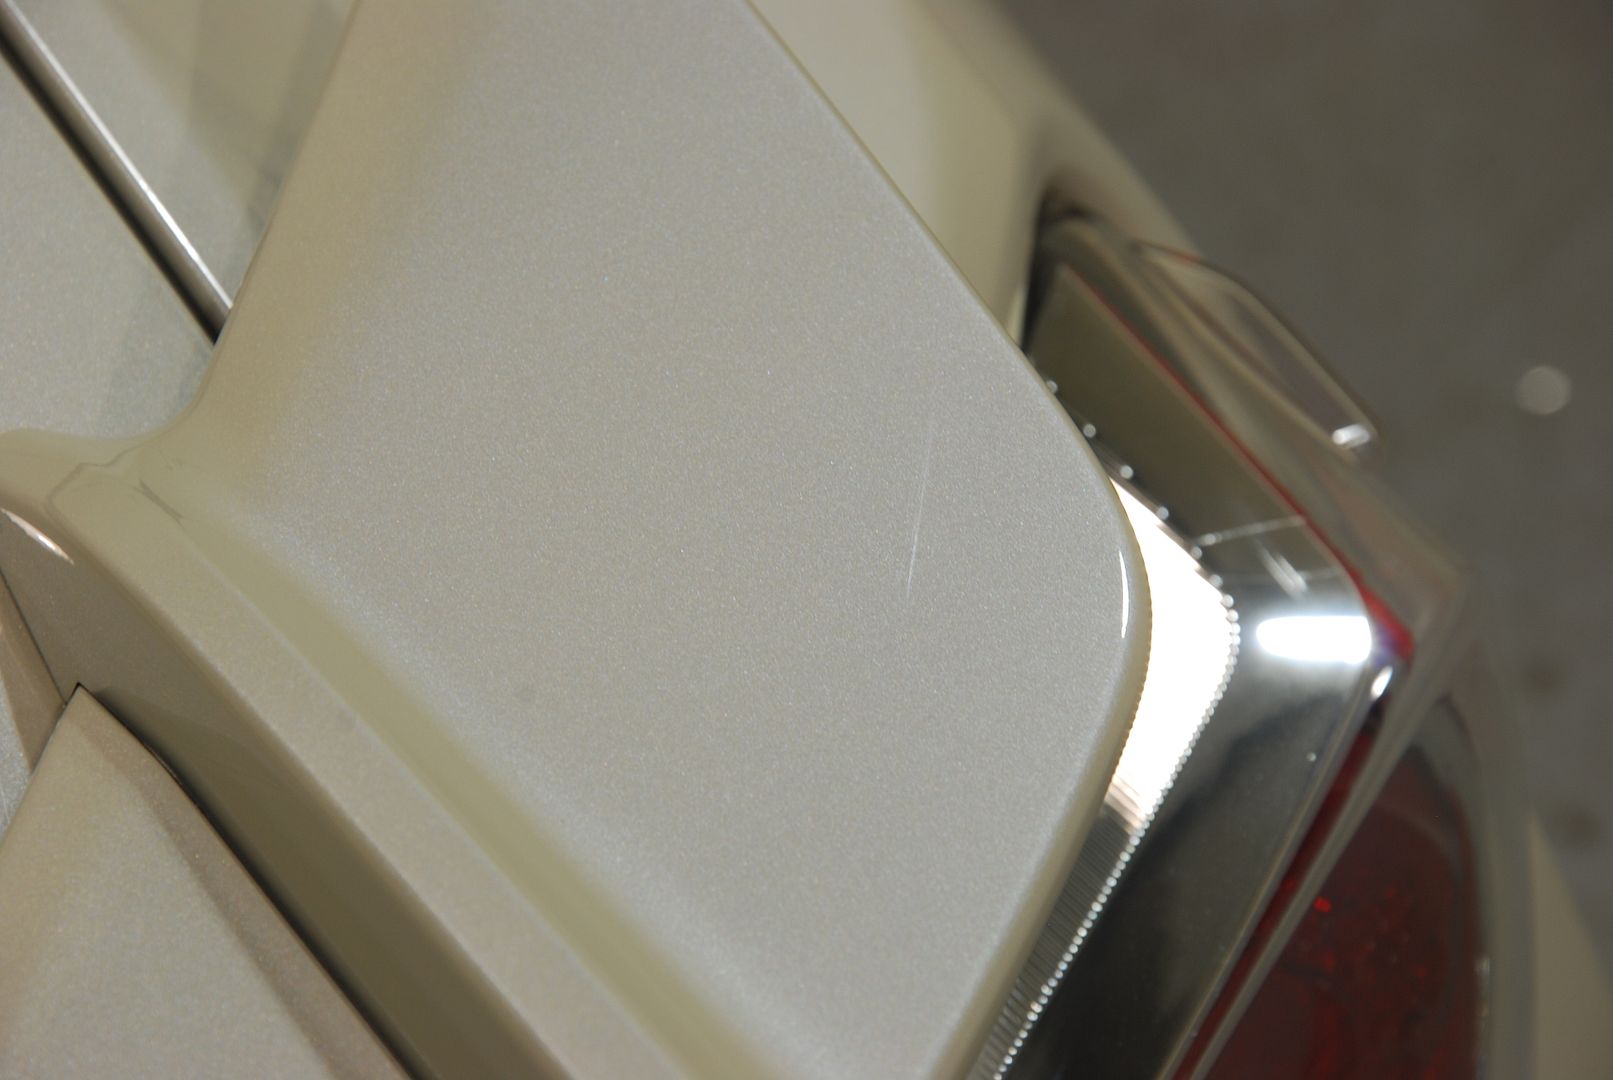
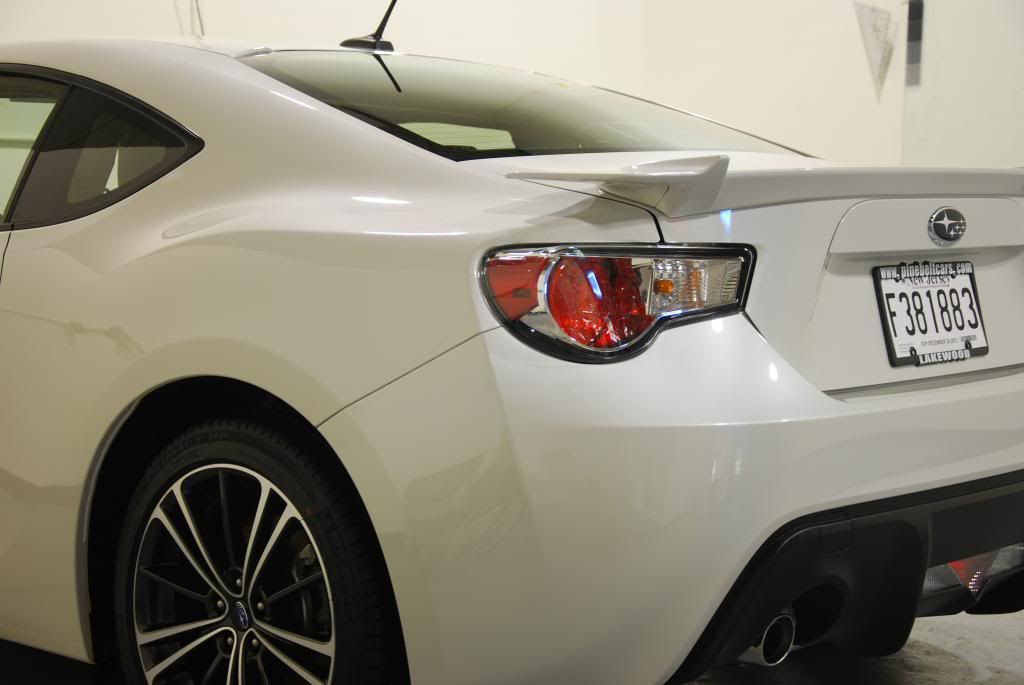
Here is a slight scratch on the spoiler. Am I looking for stuff to correct? You better believe it. Any time I coat I want to ensure I have a near perfect paint surface. Any scratches get trapped under the coating and can't be remove without first removing the coating, so now is an ideal time to get the car as close to perfect as it can be.
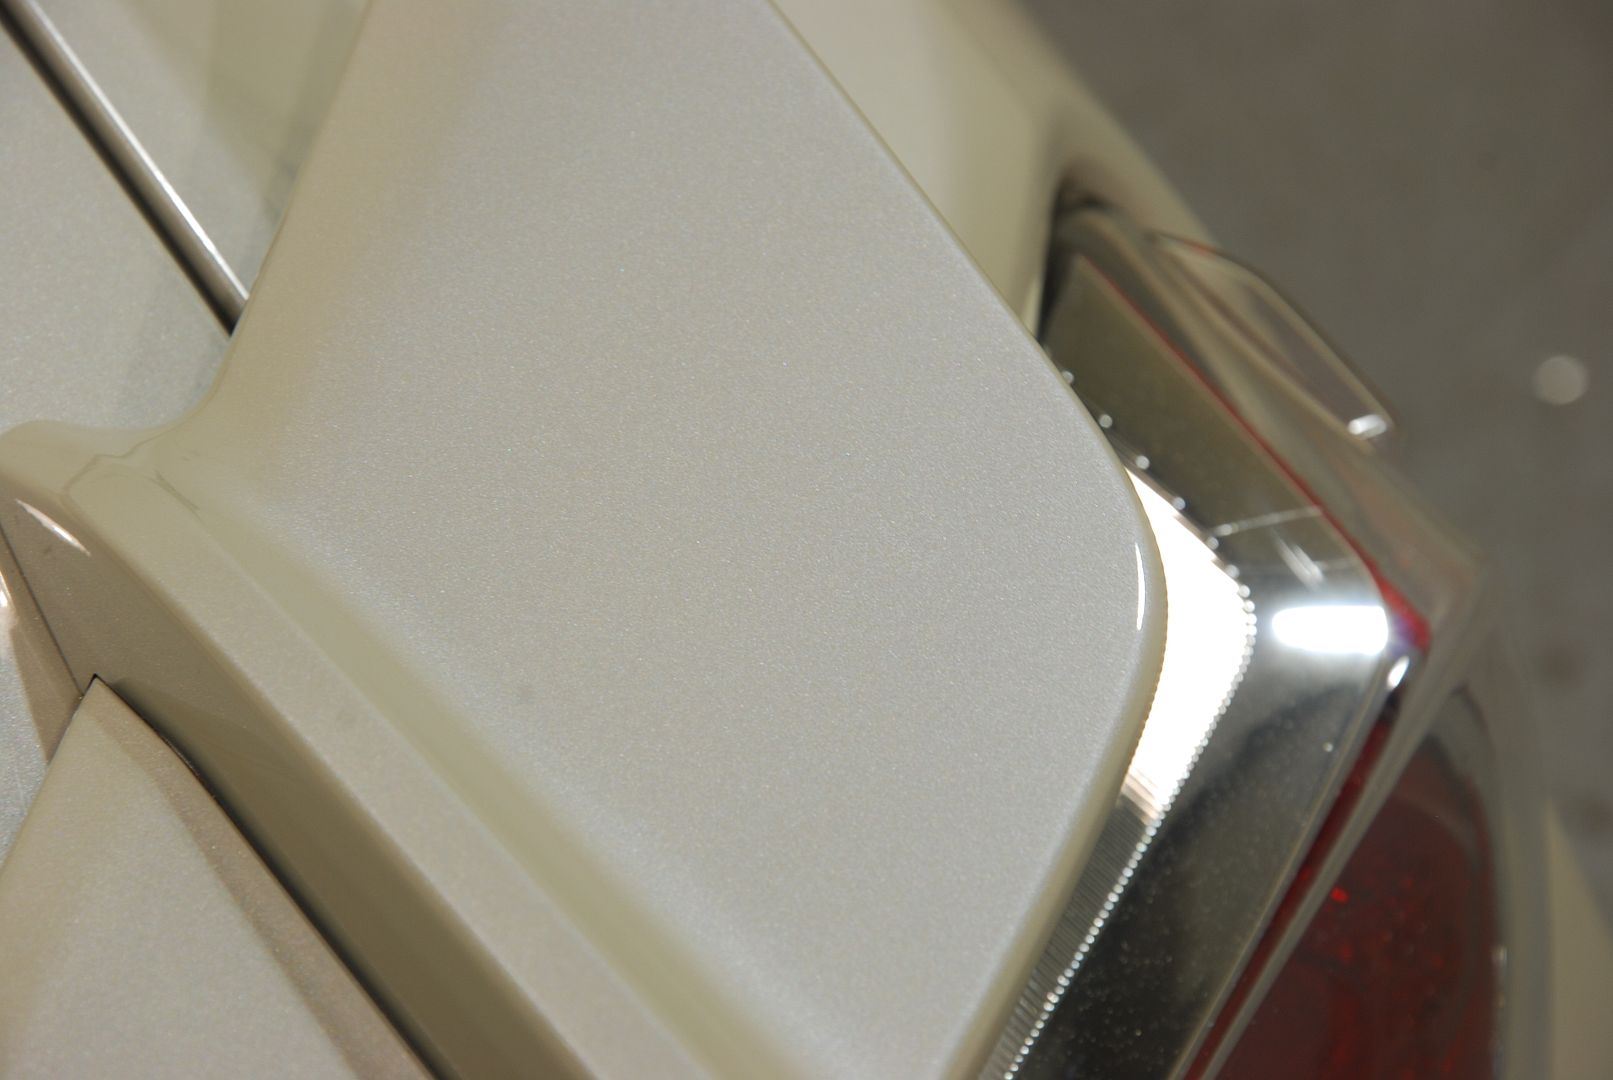
Gone.
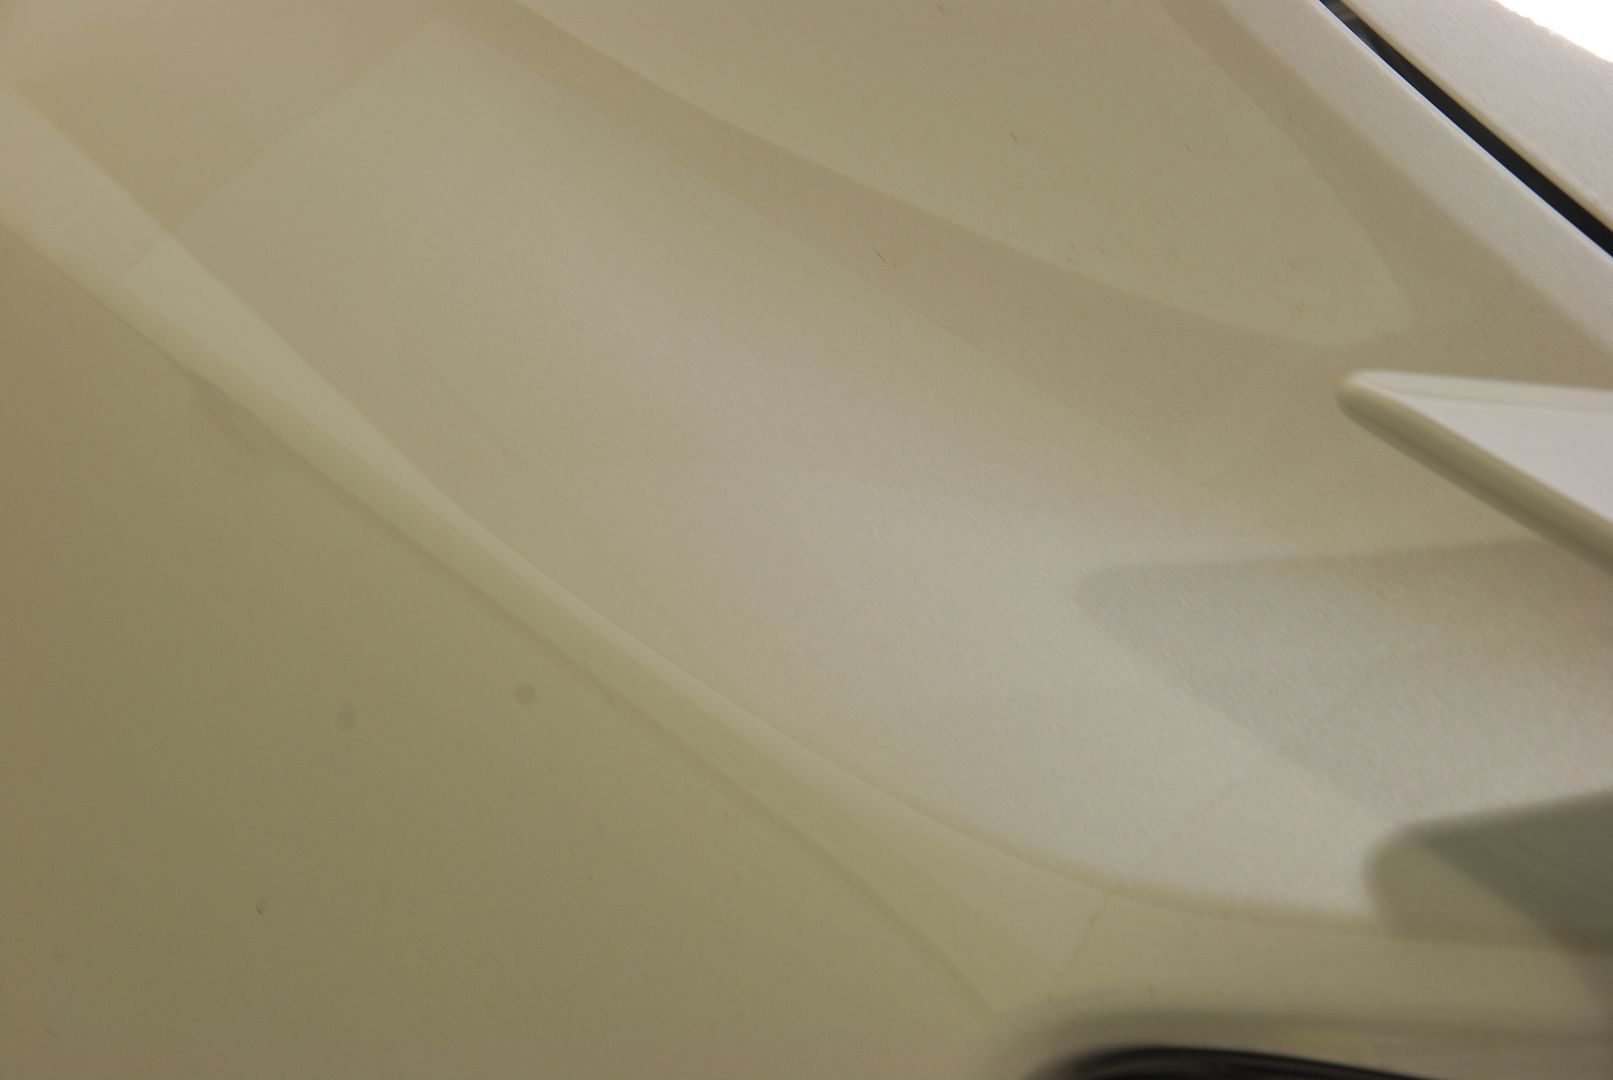
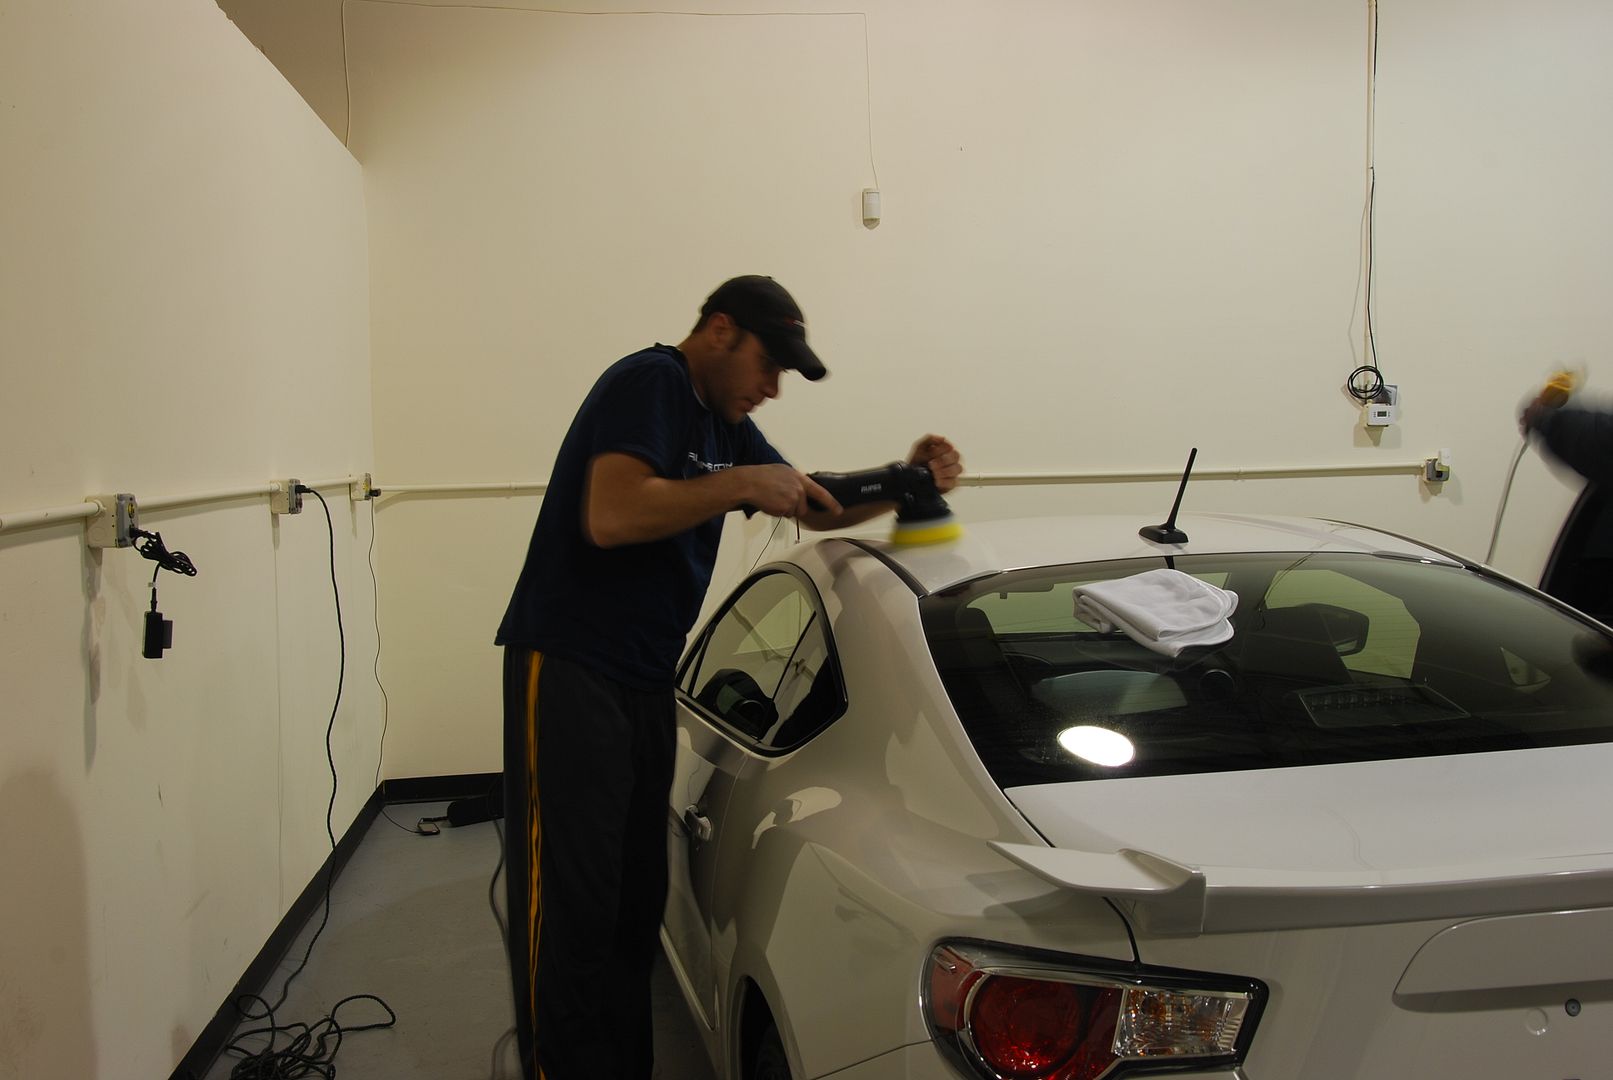
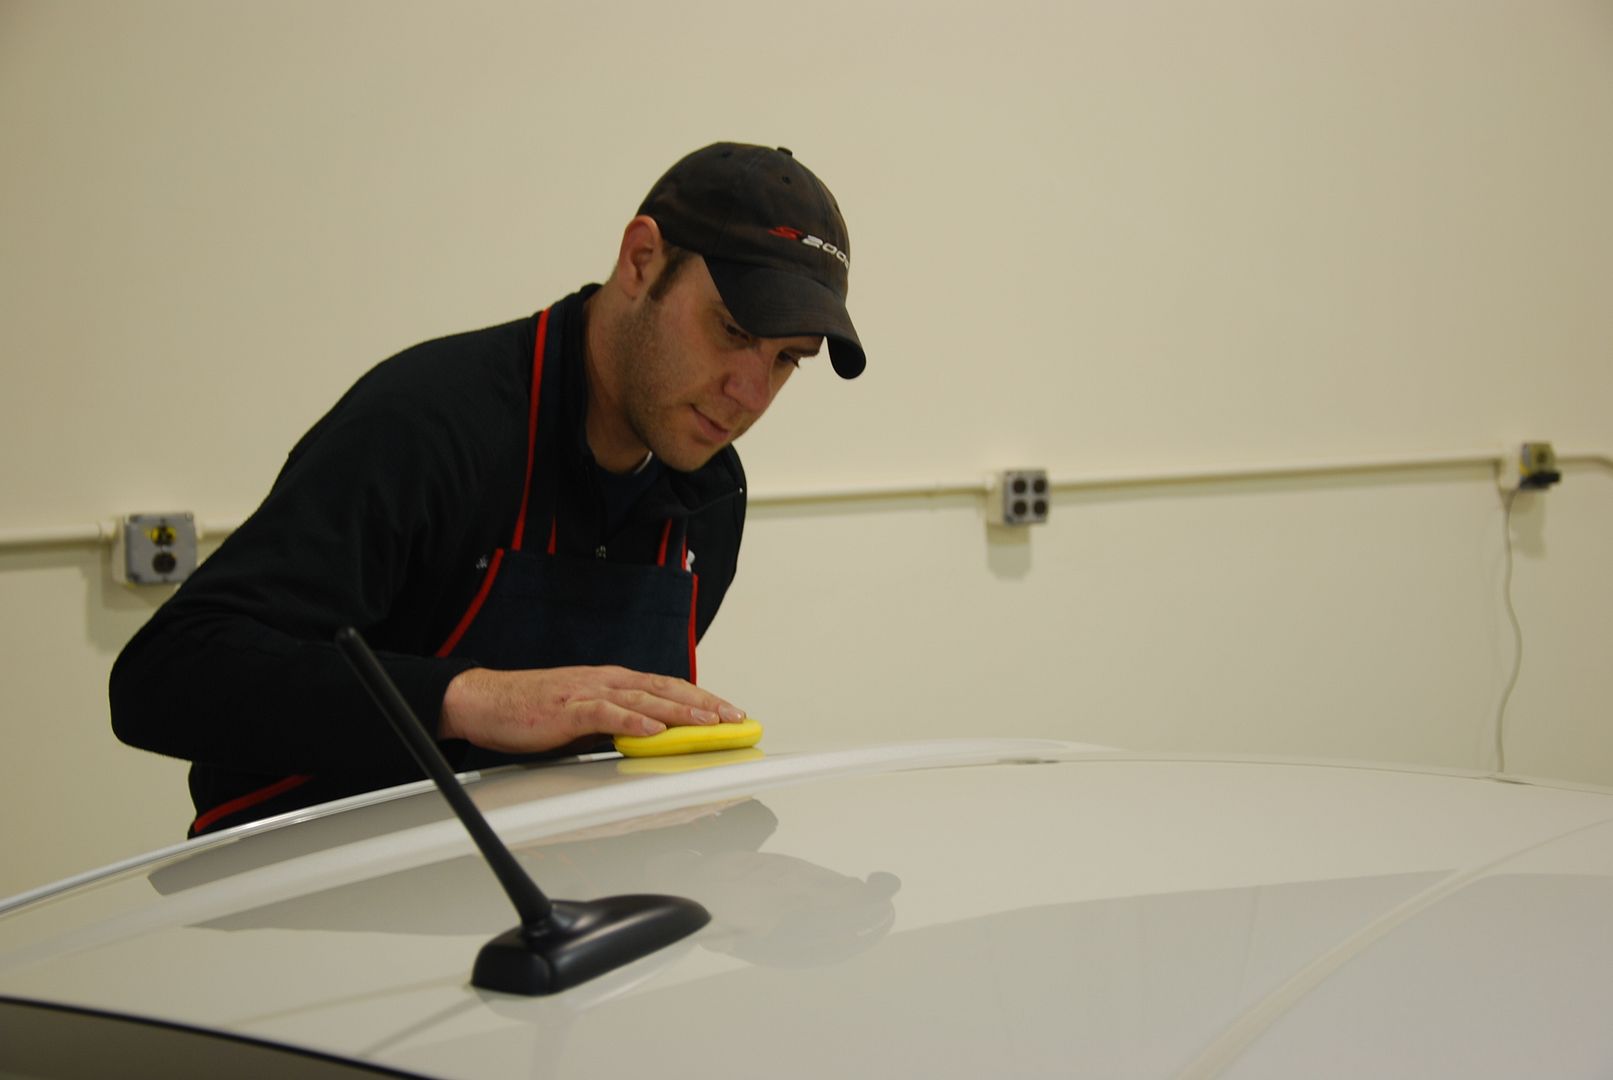
I took paint thickness readings numerous times on every panel, all were healthy, so I then went over the entire car with my Rupes polisher, a yellow Rupes pad, and Sonax Perfect Finish, any and all trim was taped, this is just a test spot to ensure the gloss I was looking for. This is a great 1 step setup that produces high gloss, while still able to remove any minor imperfection in the paint. Perfect for a new car!
Now another wash to remove any dust and polishing oils that may be on the surface from correction. Paint preparation is key to a coating!
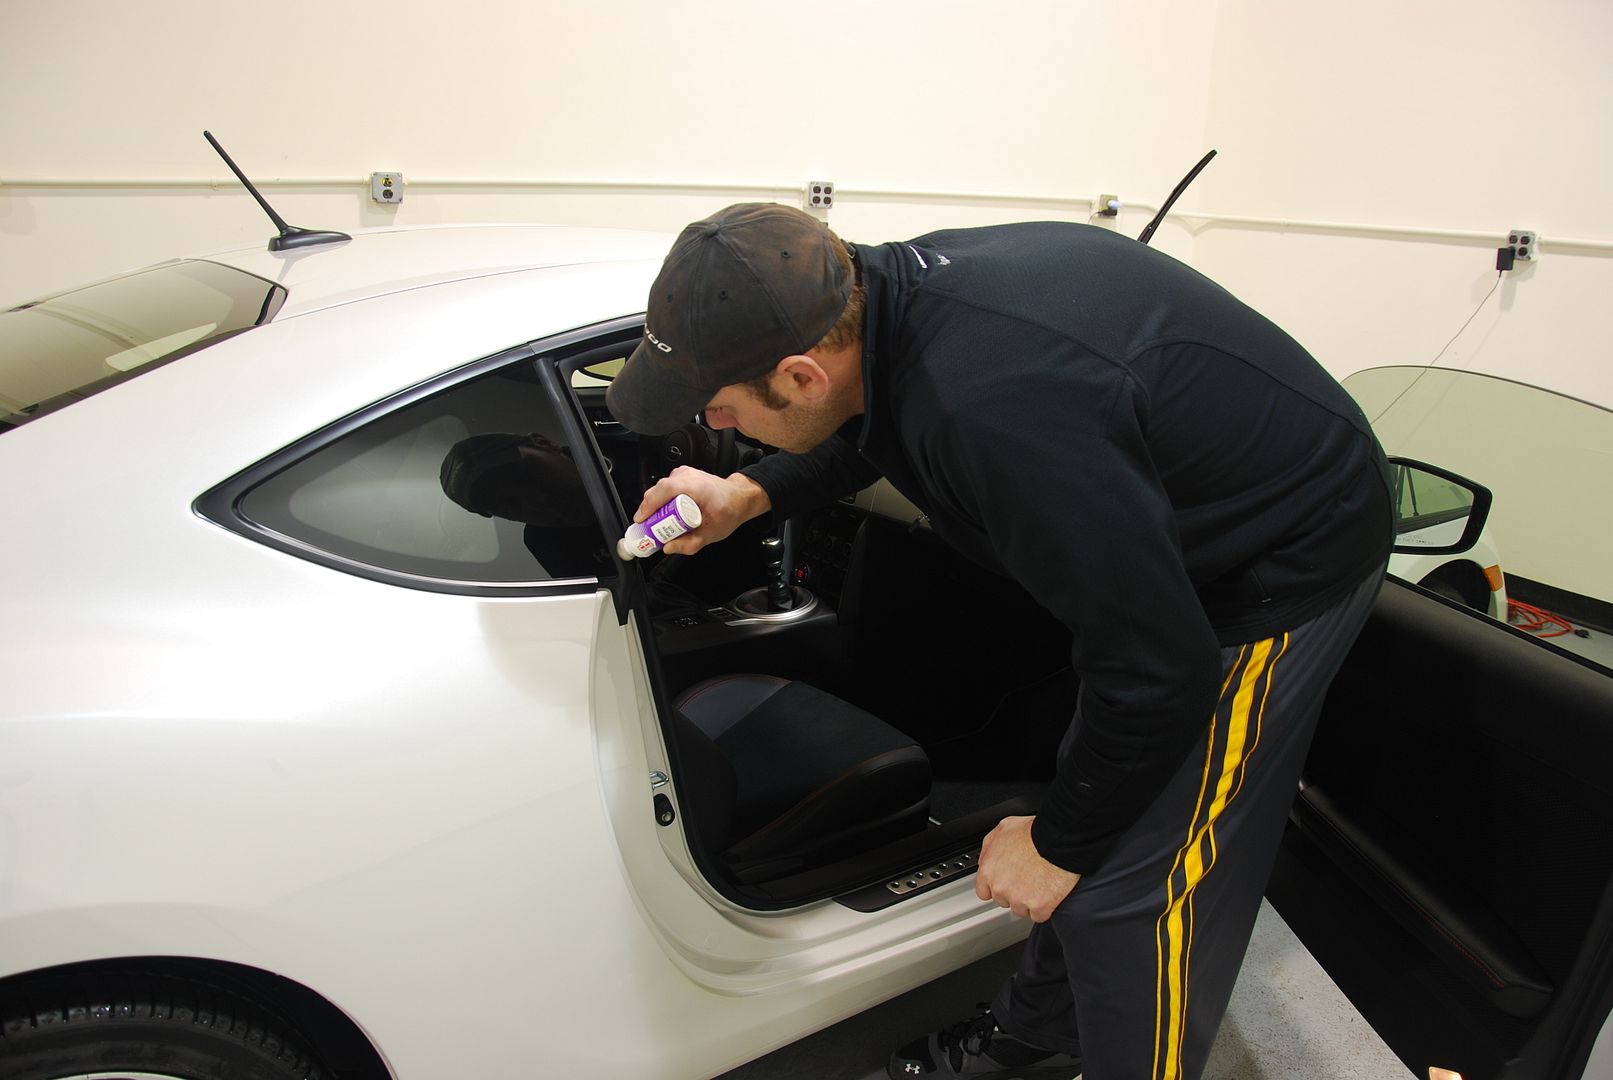
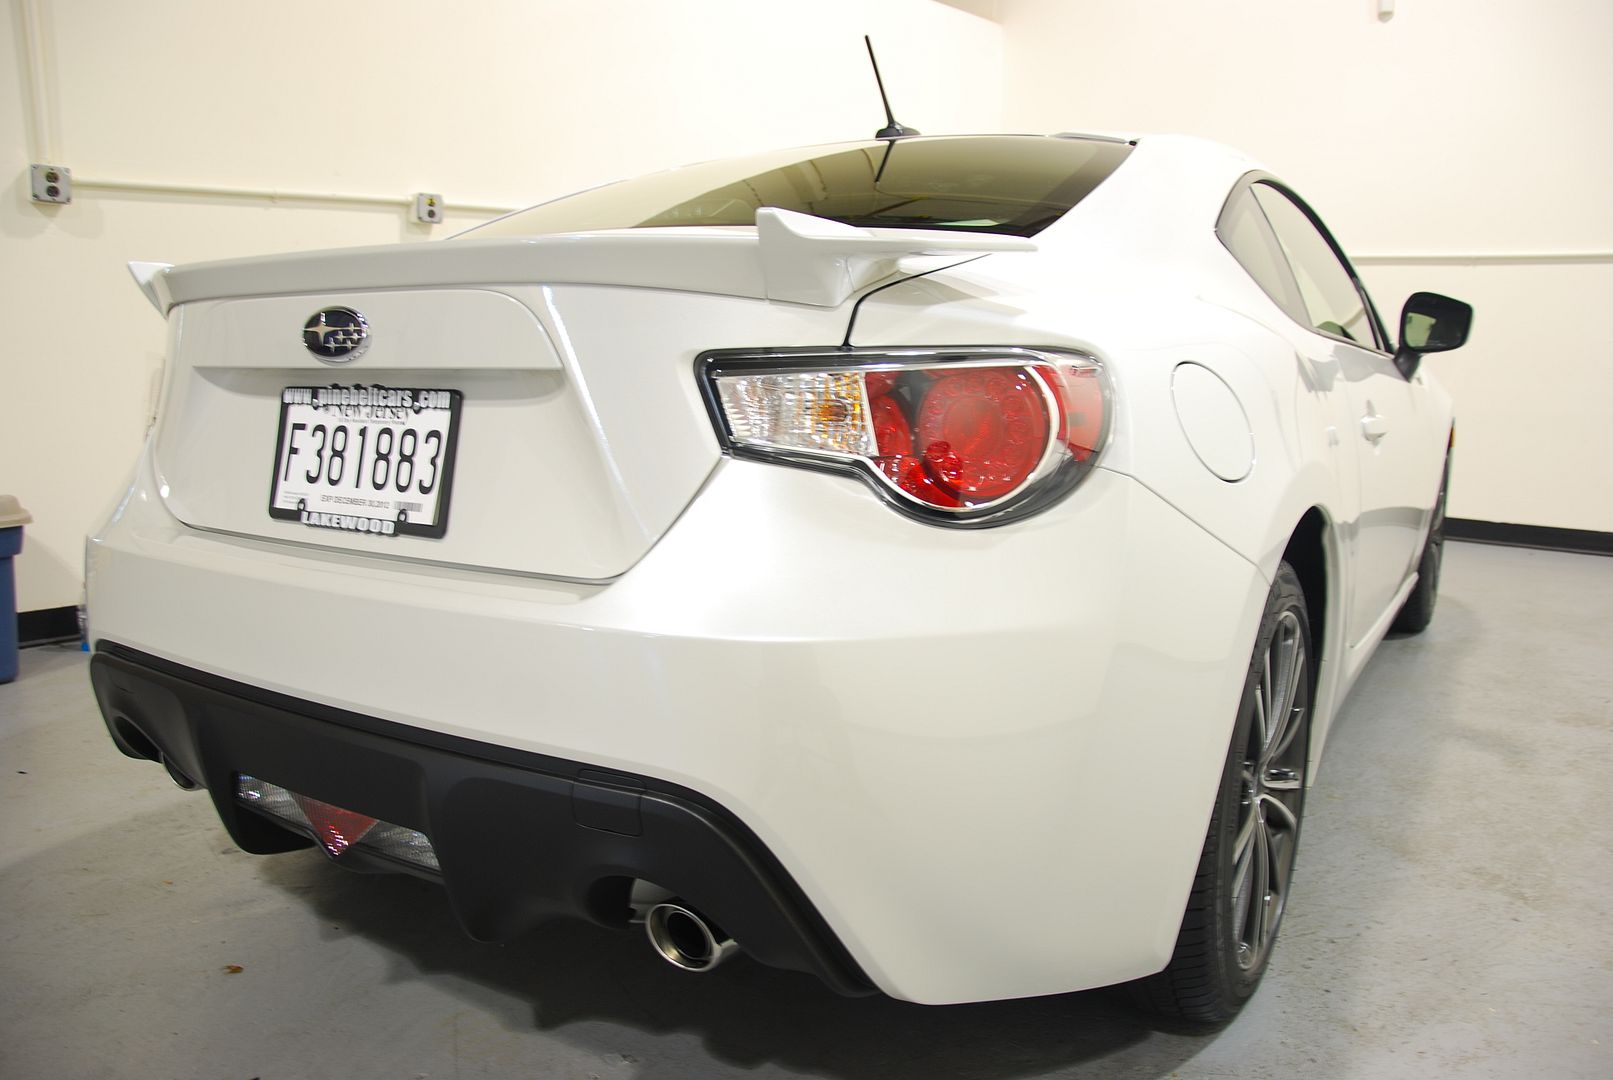
After a full IPA wipe down I proceeded with opti application. Every inch was covered in opti-coat, I even went as far as to coat his gas cap. All hard trim, lights, and any paintwork got opti-coat. I coated the wheels also just an added bonus
I began with removing the factory plastics.
After I removed the plastics and residue using 3m adhesive remover, I then went on to AutoScrub Windows.
I decided to remove the badge residue left from the de-badging the owner did.
After a light wipe with 3m adhesive removal I proceeded to "roll" the residue onto itself to remove it
After the majority is removed simply spray a MF towel and remove the rest.
All residue removed. Whats left is the dirt streaks, well take care of them in just a bit.
I finally began with washing the car, well I began with the wheels, tires, and wheel wells. Rims were taken care of with Sonax FE, a sponge, and wheel woolies. The tires were scrubbed with a tuff shine tire brush and Optimum Power Clean. Finally the wheel wells were scrubbed with an ez-detail brush and after being soaked with Optimum Power Clean.
Earlier I pulled the Temp plate to ensure every area of the car was decontaminated and coated. So after the wash I Nanoskin auto scrubbed the entire surface. This is the same thing as clay, just faster and easier.
Before a foam bath I sprayed Iron-x over the entire surface to chemically remove any iron particles that may have adhered to the surface. Why a physical Decon and a Chemical one? Paint or ClearCoat is porus. It isn't one solid piece, that is why both a physical "clay" to remove surface particles and a chemical to remove contamination form the pores of the paint is needed.
I then moved on to a nice foam bath using a mixture of Chemical Guys Citrus Wash and Clear, Iron-X soap Gel, and Dawn, to remove any additional dirt and debris that may be on the surface. A nice sheepskin wash mitt was used. Also, this makes sure I am getting down to the paint surface and there is nothing else on there.
As always I use a two bucket method, really its 3 if you count the bucket I use for wheel cleaning
After drying with a WW MF towel, and my CG JetSpeed Blower, I moved on to my inspection of the paint using a variety of lights, including Brinkman MaxFire Marine Dual LED, Brinkman Maxfire Dual Xenon Spotlight, a SureFire flash light, and the shop lighting all to find any and all problems in the paint. Wait a minute! It's a new car with the plastic still on it, how can there be any imperfection in the paint? Things happen, whether it be in transport, or at the dealership. It can even be used just to add gloss to the paint surface. Even a new car can benefit from a 1 step polishing.
Here is a Marr on the side skirt right by the drivers door.
All Removed.
Here is a slight scratch on the spoiler. Am I looking for stuff to correct? You better believe it. Any time I coat I want to ensure I have a near perfect paint surface. Any scratches get trapped under the coating and can't be remove without first removing the coating, so now is an ideal time to get the car as close to perfect as it can be.
Gone.
I took paint thickness readings numerous times on every panel, all were healthy, so I then went over the entire car with my Rupes polisher, a yellow Rupes pad, and Sonax Perfect Finish, any and all trim was taped, this is just a test spot to ensure the gloss I was looking for. This is a great 1 step setup that produces high gloss, while still able to remove any minor imperfection in the paint. Perfect for a new car!
Now another wash to remove any dust and polishing oils that may be on the surface from correction. Paint preparation is key to a coating!
After a full IPA wipe down I proceeded with opti application. Every inch was covered in opti-coat, I even went as far as to coat his gas cap. All hard trim, lights, and any paintwork got opti-coat. I coated the wheels also just an added bonus
")