Flannigan
New member
Hi everyone. Today on the menu we have a BMW X5 that is scheduled for a one step exterior correction and interior detail. This actually belongs to the wife of the customer who had the CTS-V that I corrected a little while ago. (You can check out that car here Black Cadillac CTS-V Correction - TLC Auto Detail - Auto Geek Online Auto Detailing Forum)
When I picked up the vehicle it was pretty dirty. The customer informed me that they had been on several trips to the beach lately, and it hadn't been cleaned. Here is how it looked when I got it. A thick layer of dirt and dust on most of the vehicle.
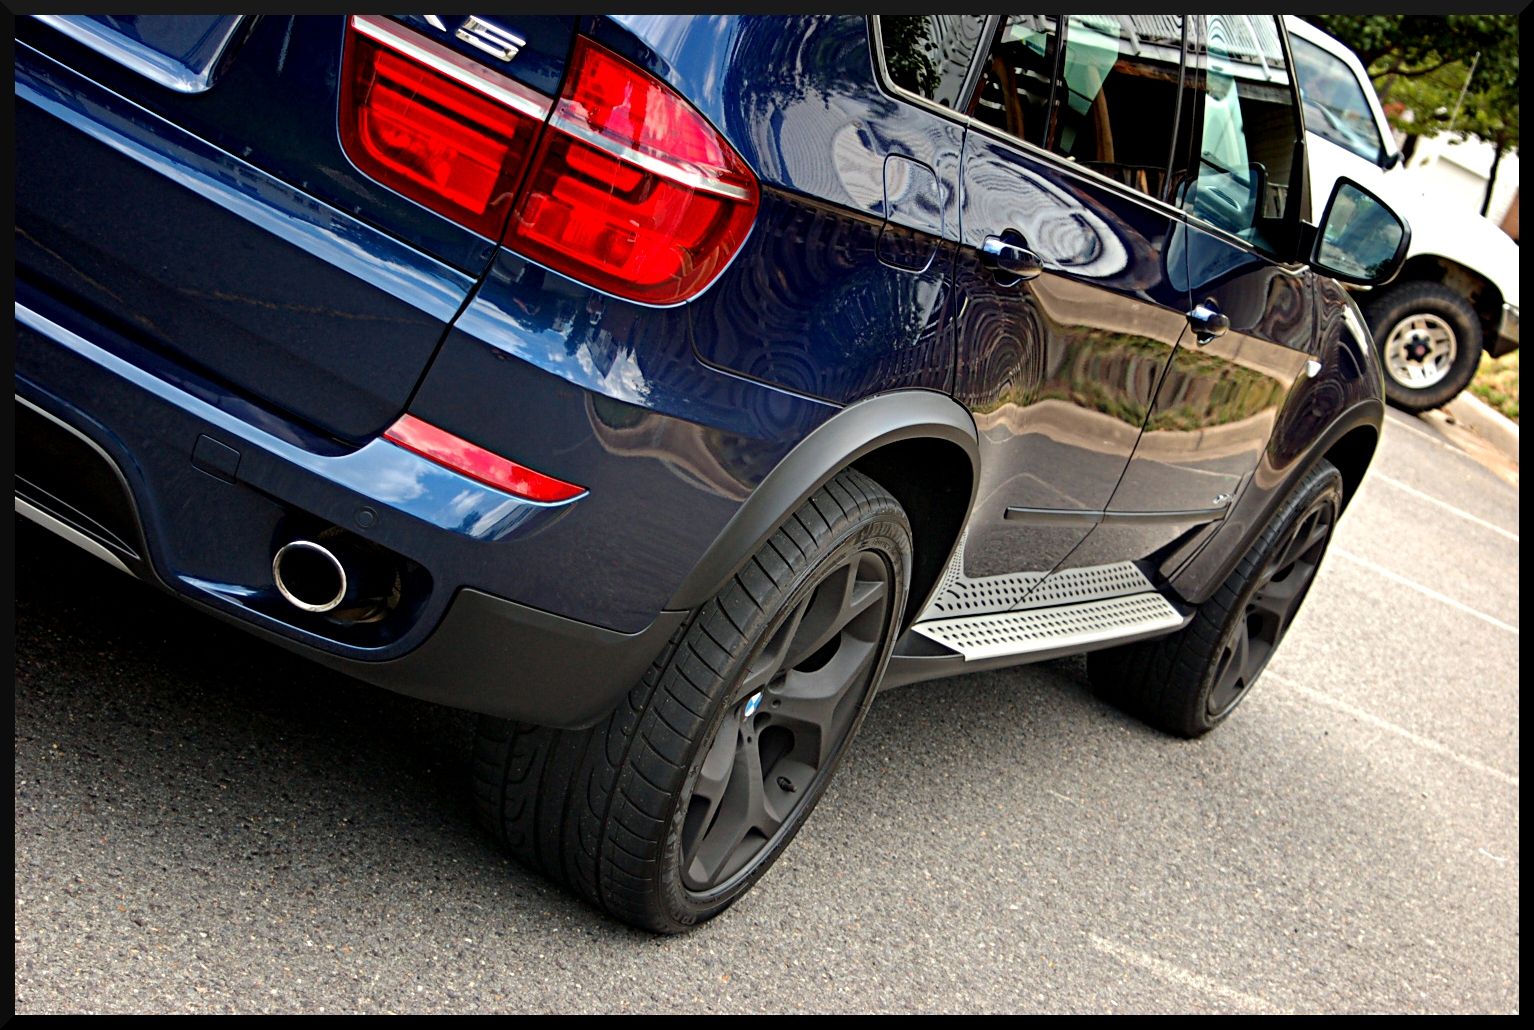
As you will see in some of the later pictures, the wheels on this vehicle had been painted flat black. Plasti Dip was used on these wheels, so I have to be very careful to not use anything too harsh or to scrub too hard since the paint peels off fairly easily. So I didn't go nuts with the wheels, just did a thorough wipe down with Black Fire Waterless Wash.
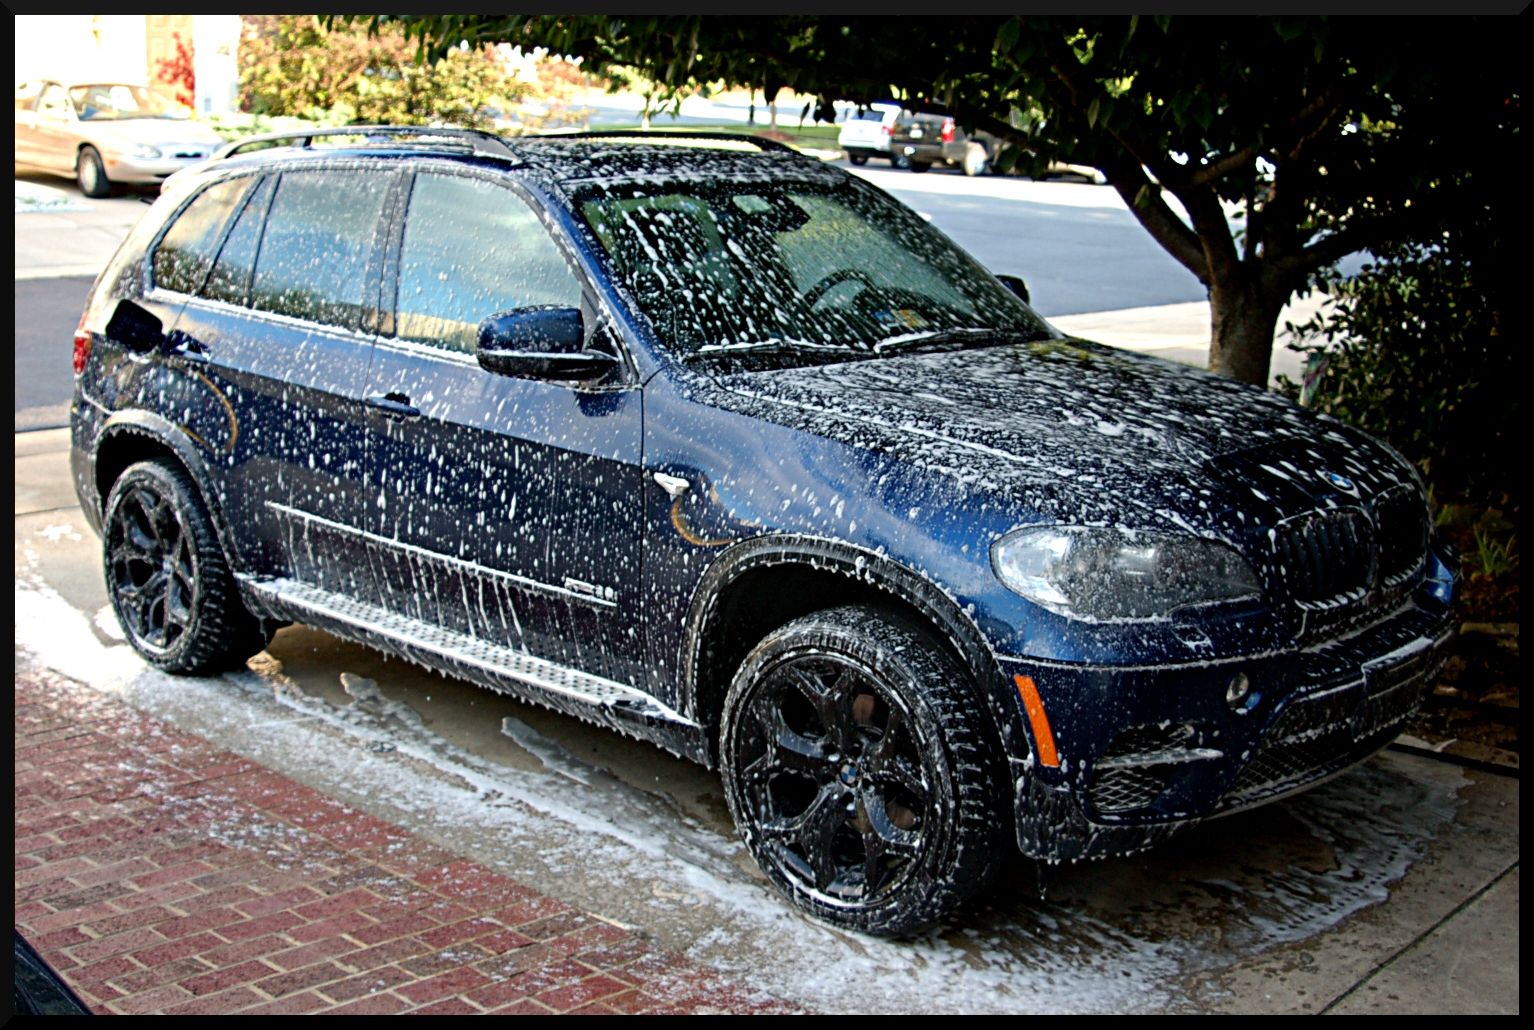
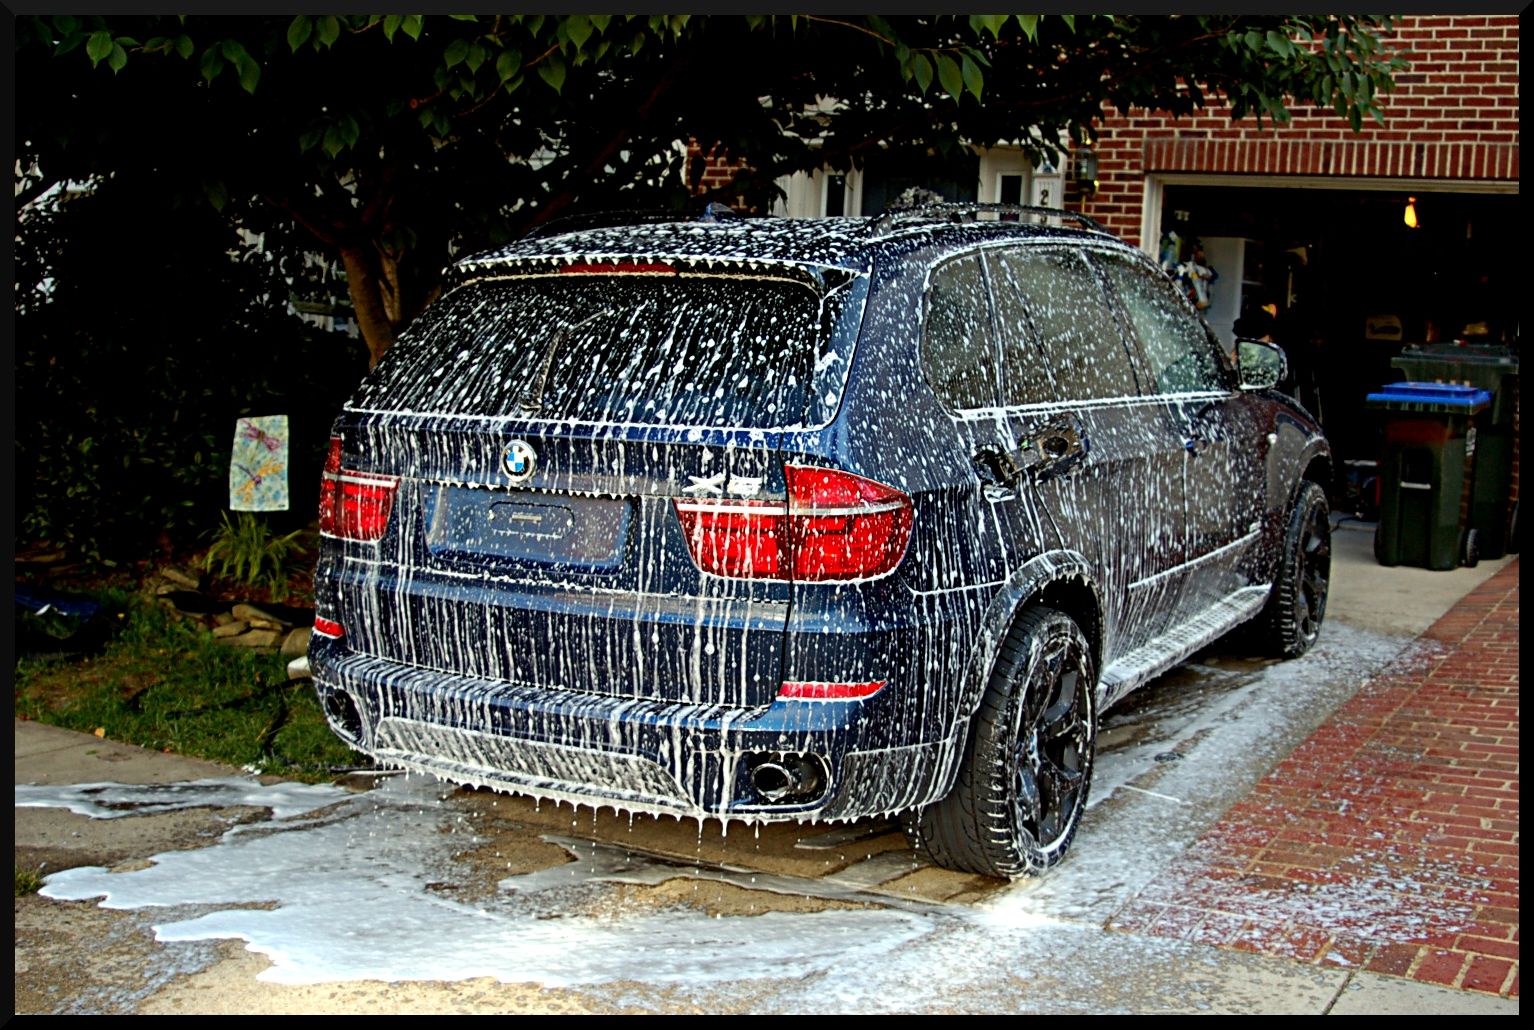
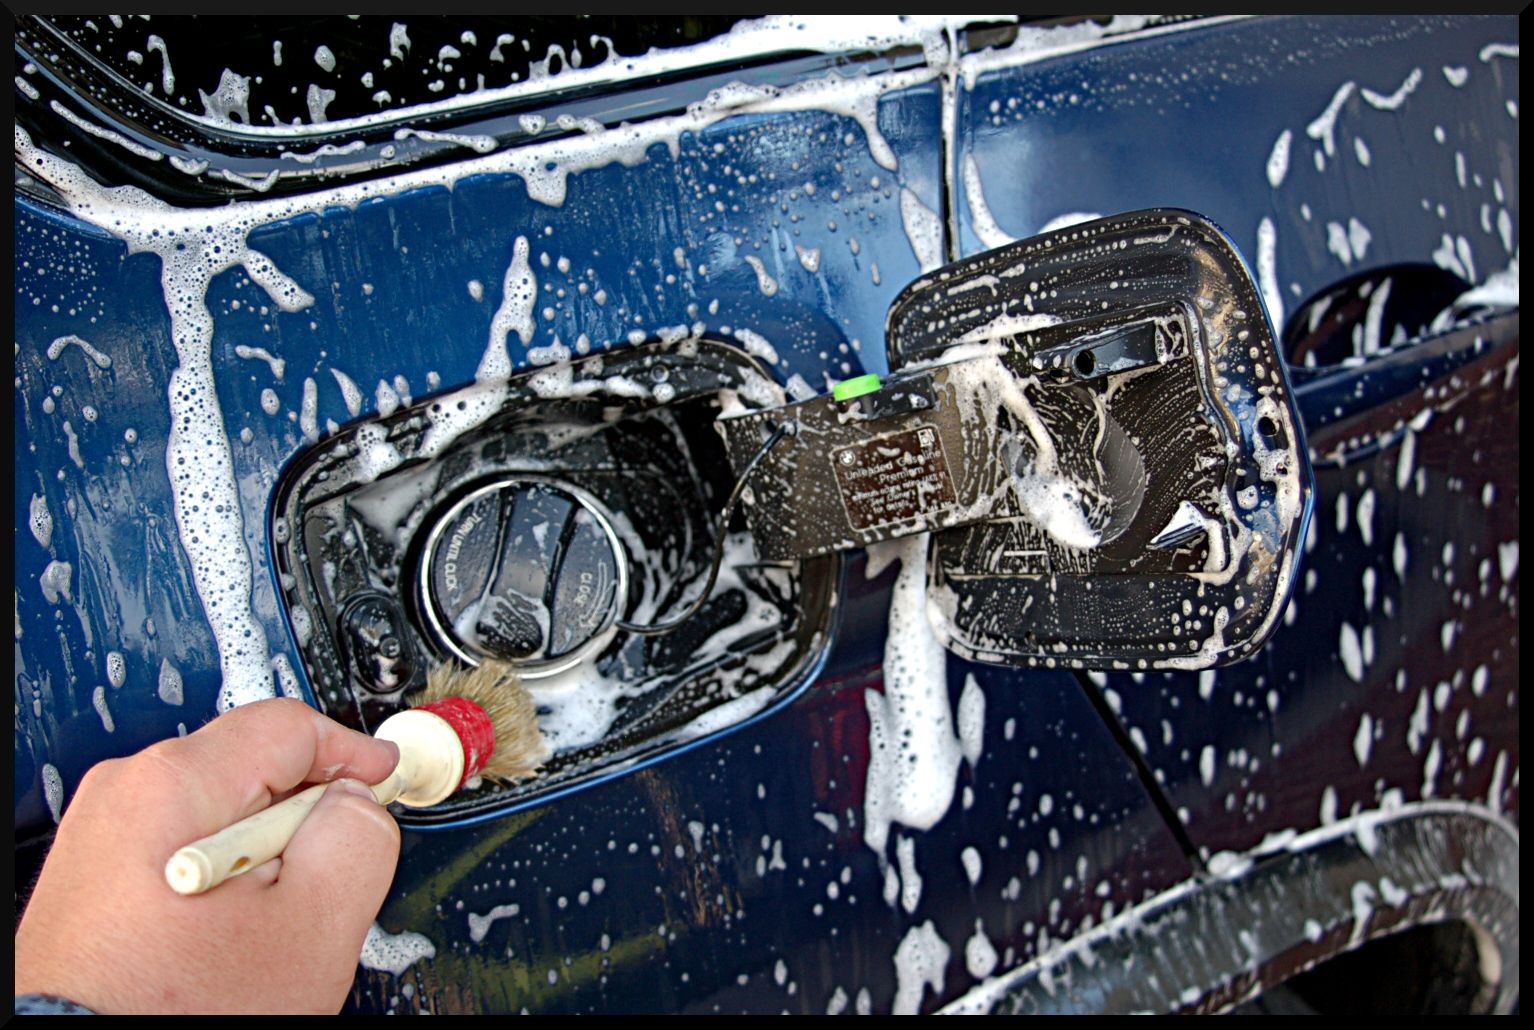
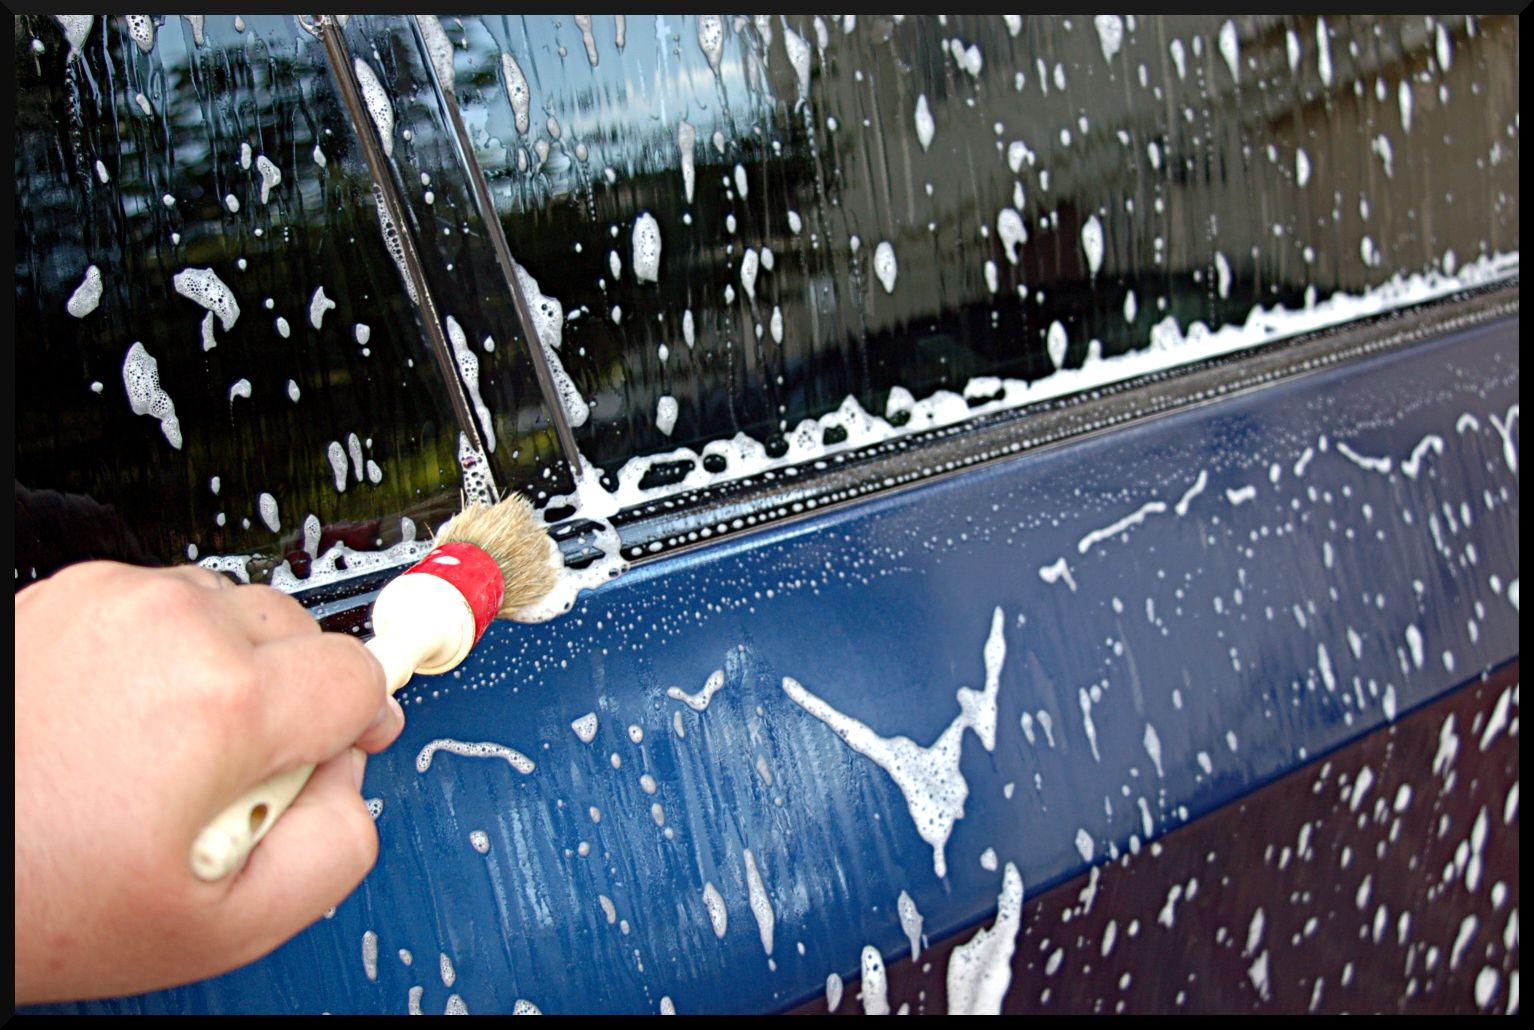
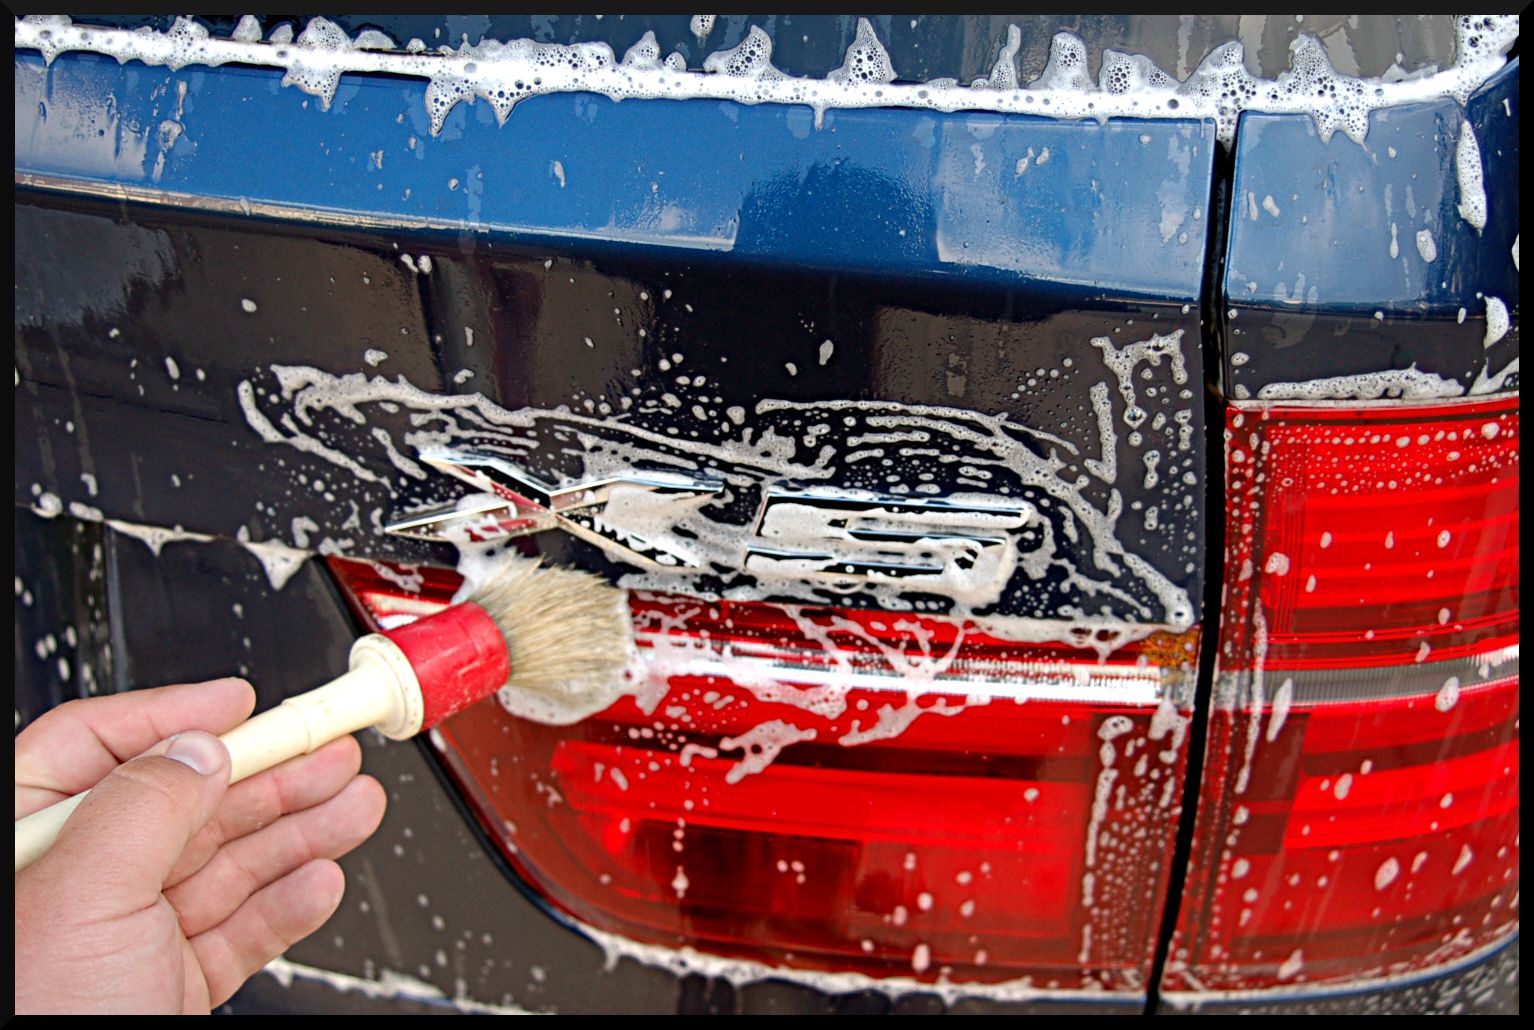
To start with the rest of the exterior, I foamed the vehicle with Blackfire Soap and Blackfire APC. While it dwelled I agitated the trim, body seams, emblems, and fuel filler area with a Raceglaze Brush.
The vehicle was then rinsed down, and washed with Blackfire Shampoo and I Griots MF Wash Pad. I noticed already while washing it that the paint was as rough as sand paper. I would have to guess that it has never been clayed before.
While the vehicle was still wet I spent some time claying it with the Ultima Clay Block and CG Luber for lube. Even with the clay block, which really speeds up the clay process, it still took 40 minutes for me to get the whole vehicle clayed. It was pretty nasty. After the claying I used some wolfs Decon Gel to make sure I got any embedded iron particles that might be left behind.
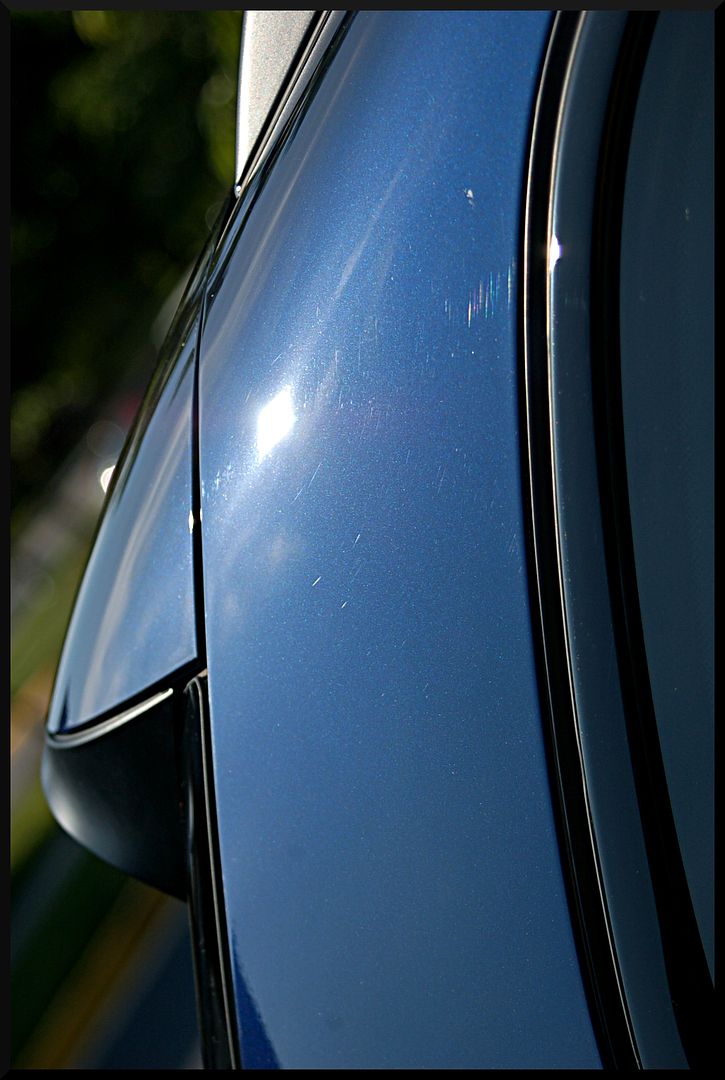
After drying the vehicle we could see the condition. Due to the color it was tough to capture the defects, but they were there. Nothing insane, just your normal wash induced swirls, as well as a little bit of marring left behind from the Ultima Clay Block.
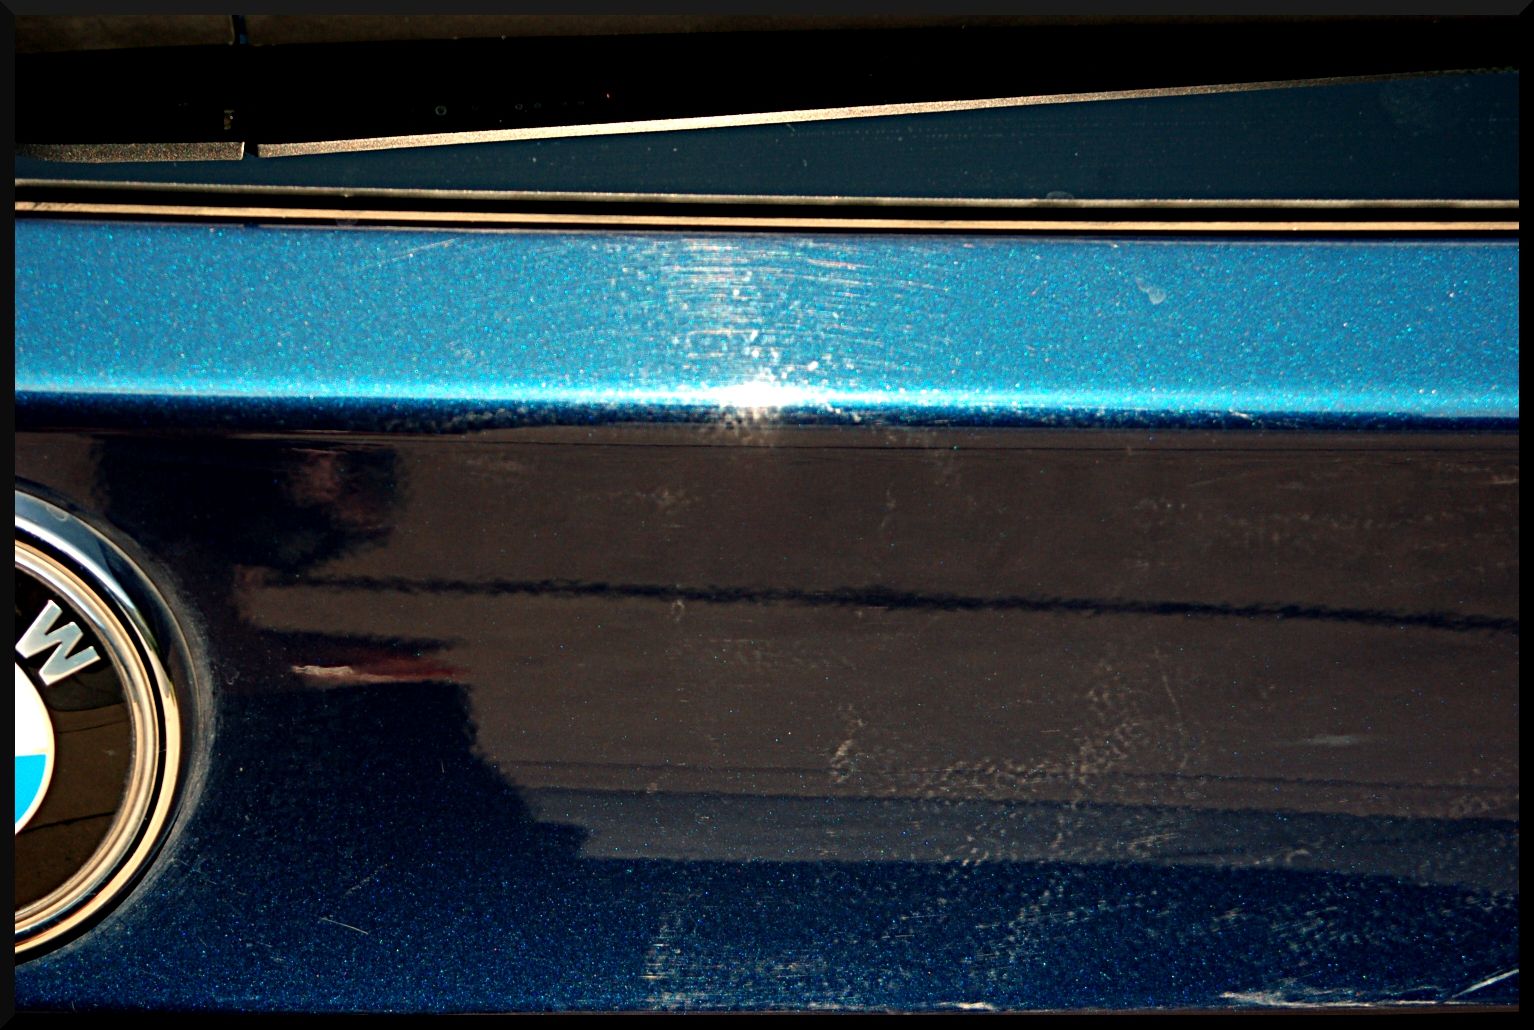

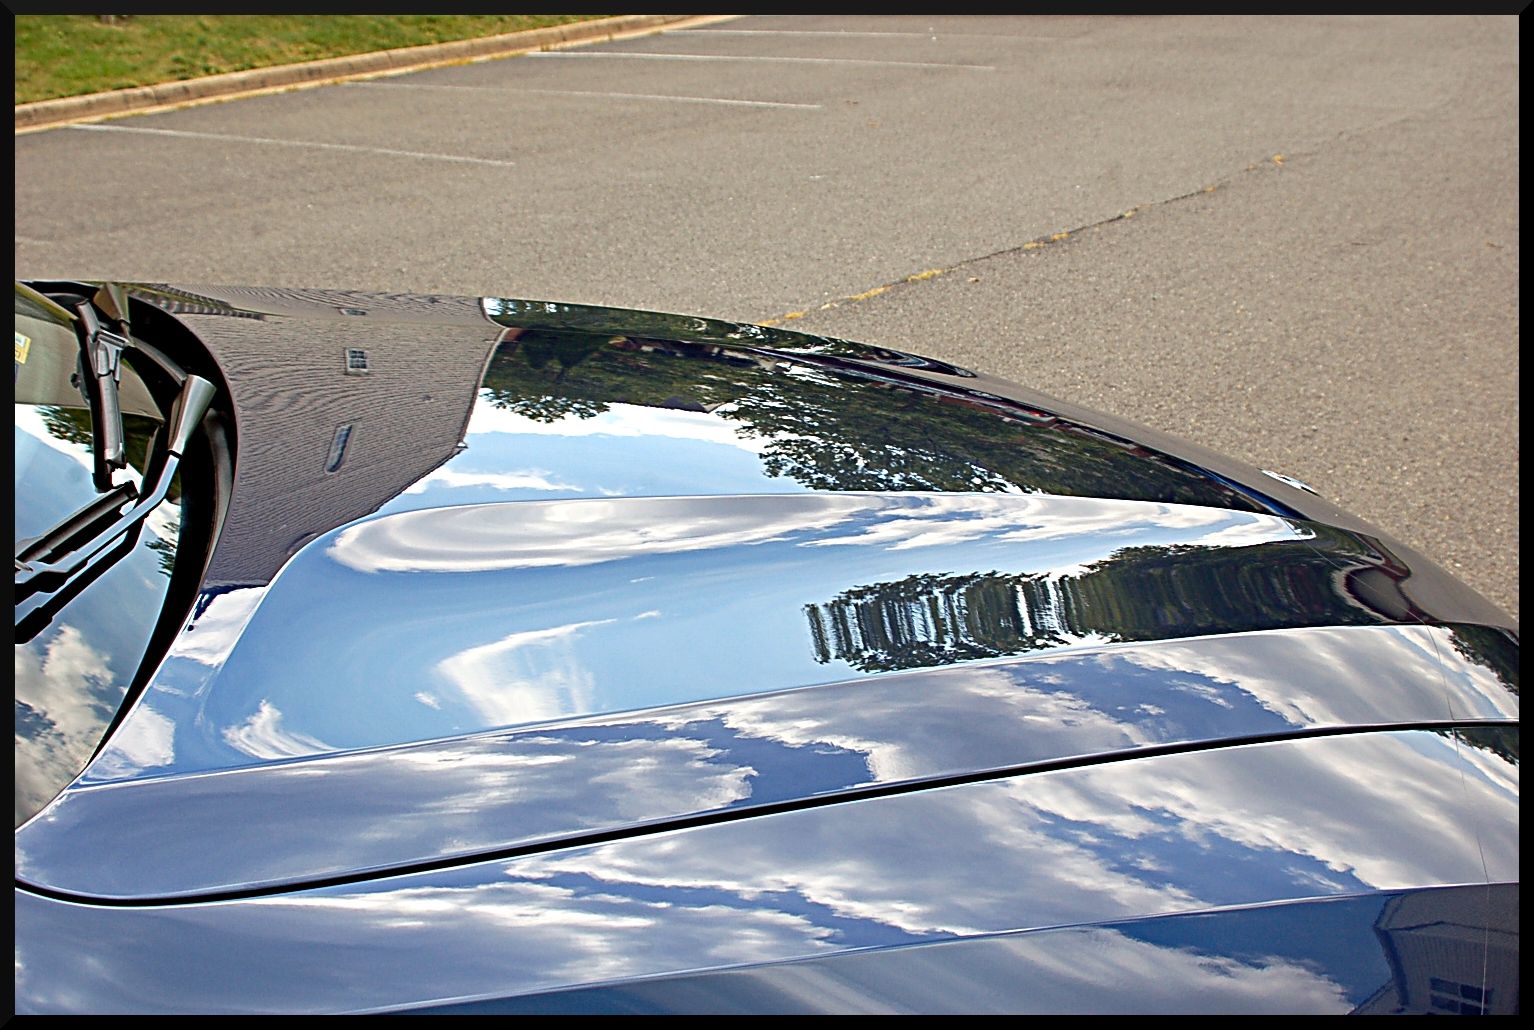
As with most BMWs (other than the dreaded jet black) the paint was on the hard side. For this vehicle I chose to use Menzerna Powerfinish (original version) on a Yellow Buff and Shine pad on my Meguiars G110V2 DA. This gave great correction, but also finished wonderfully. I would say it gout out about 80%-85% of the swirls and defects. Very respectable for a one step IMO.
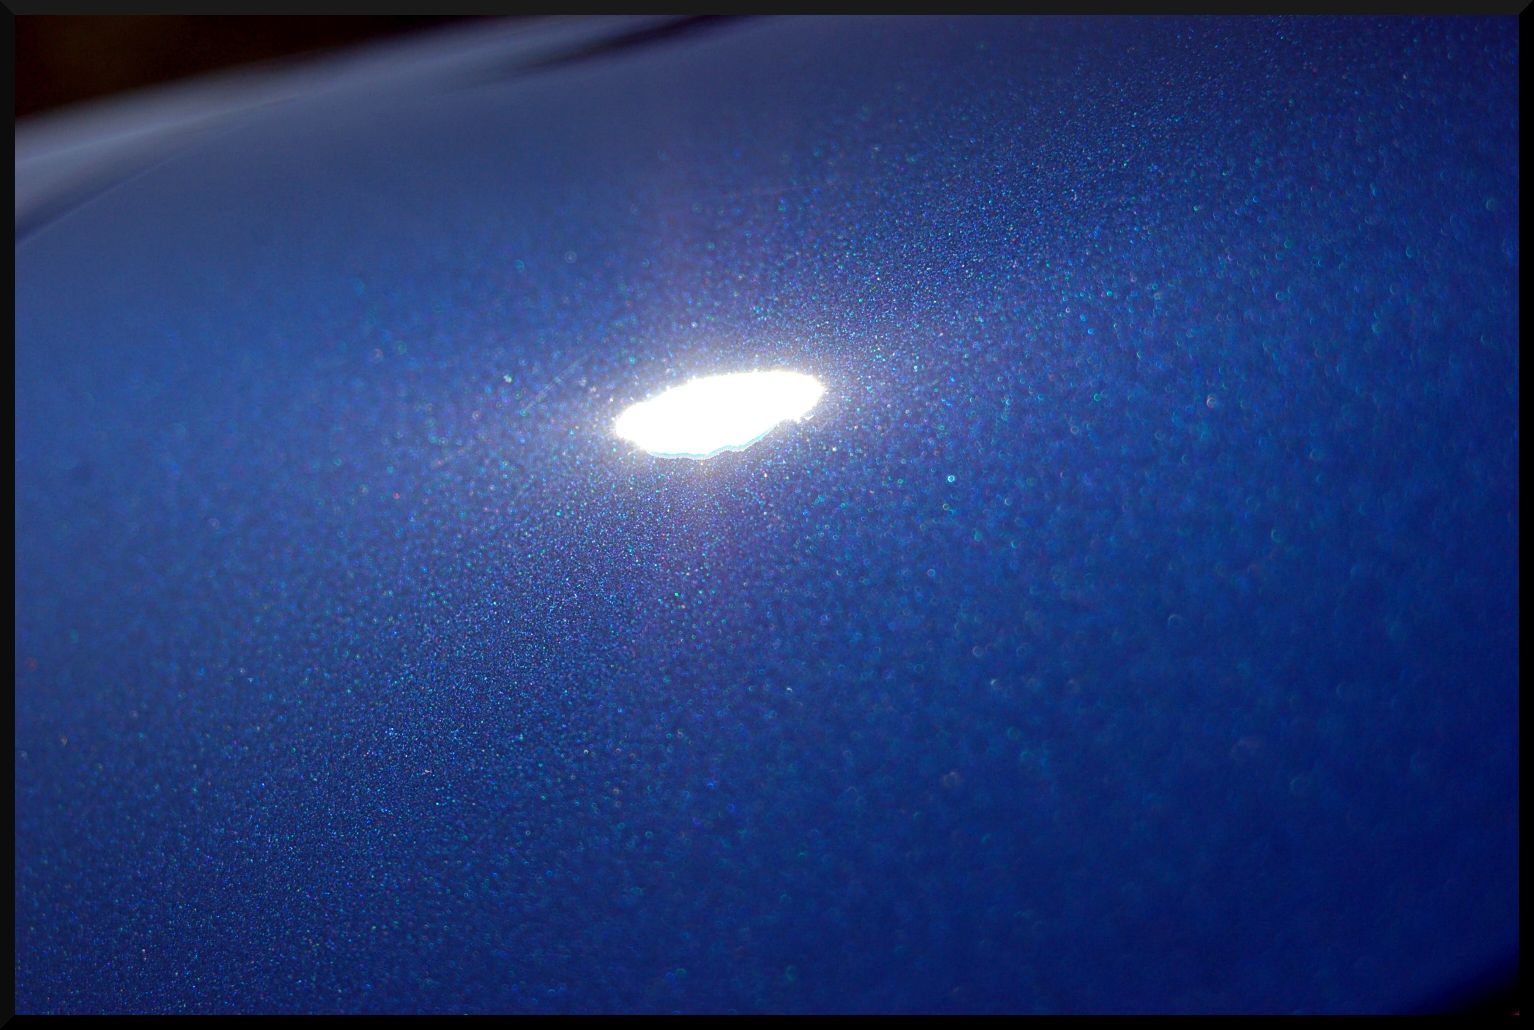
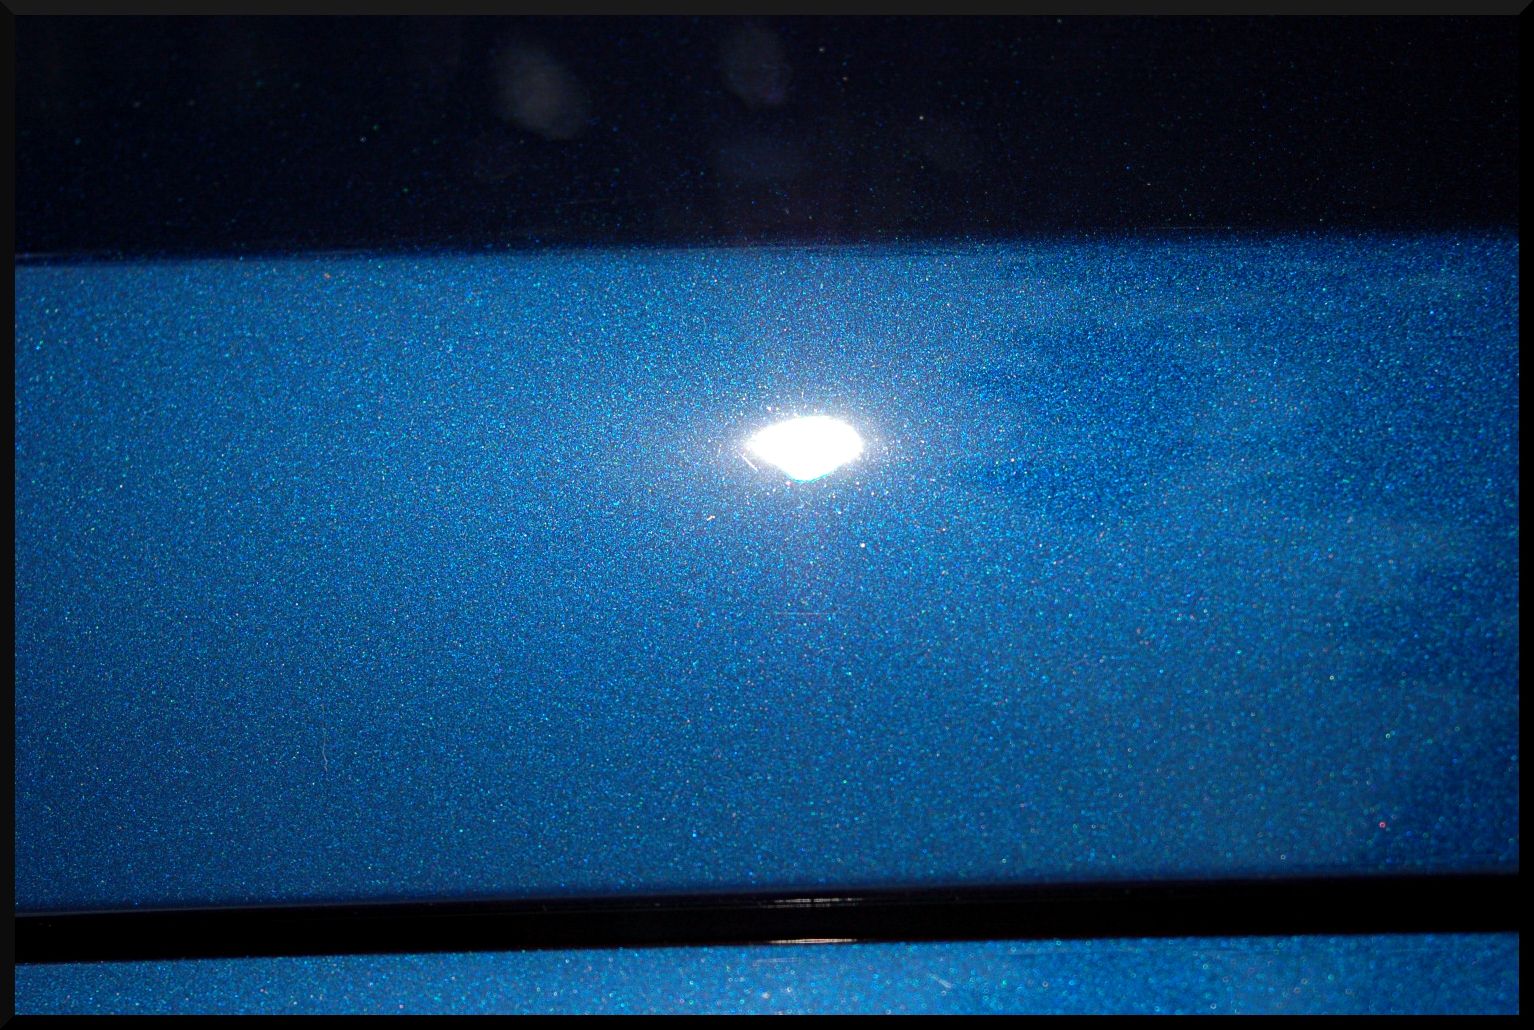
To protect the paint I chose to use Swissvax Endurance as the LSP. This vehicle sits outside 24/7 so I wanted to give it some protection that would last for a while. I apply Endurance to the vehicle and then let it sit in the sun for about 20 minutes, as the instructions say. Here is what I was left with when it was all said and done.
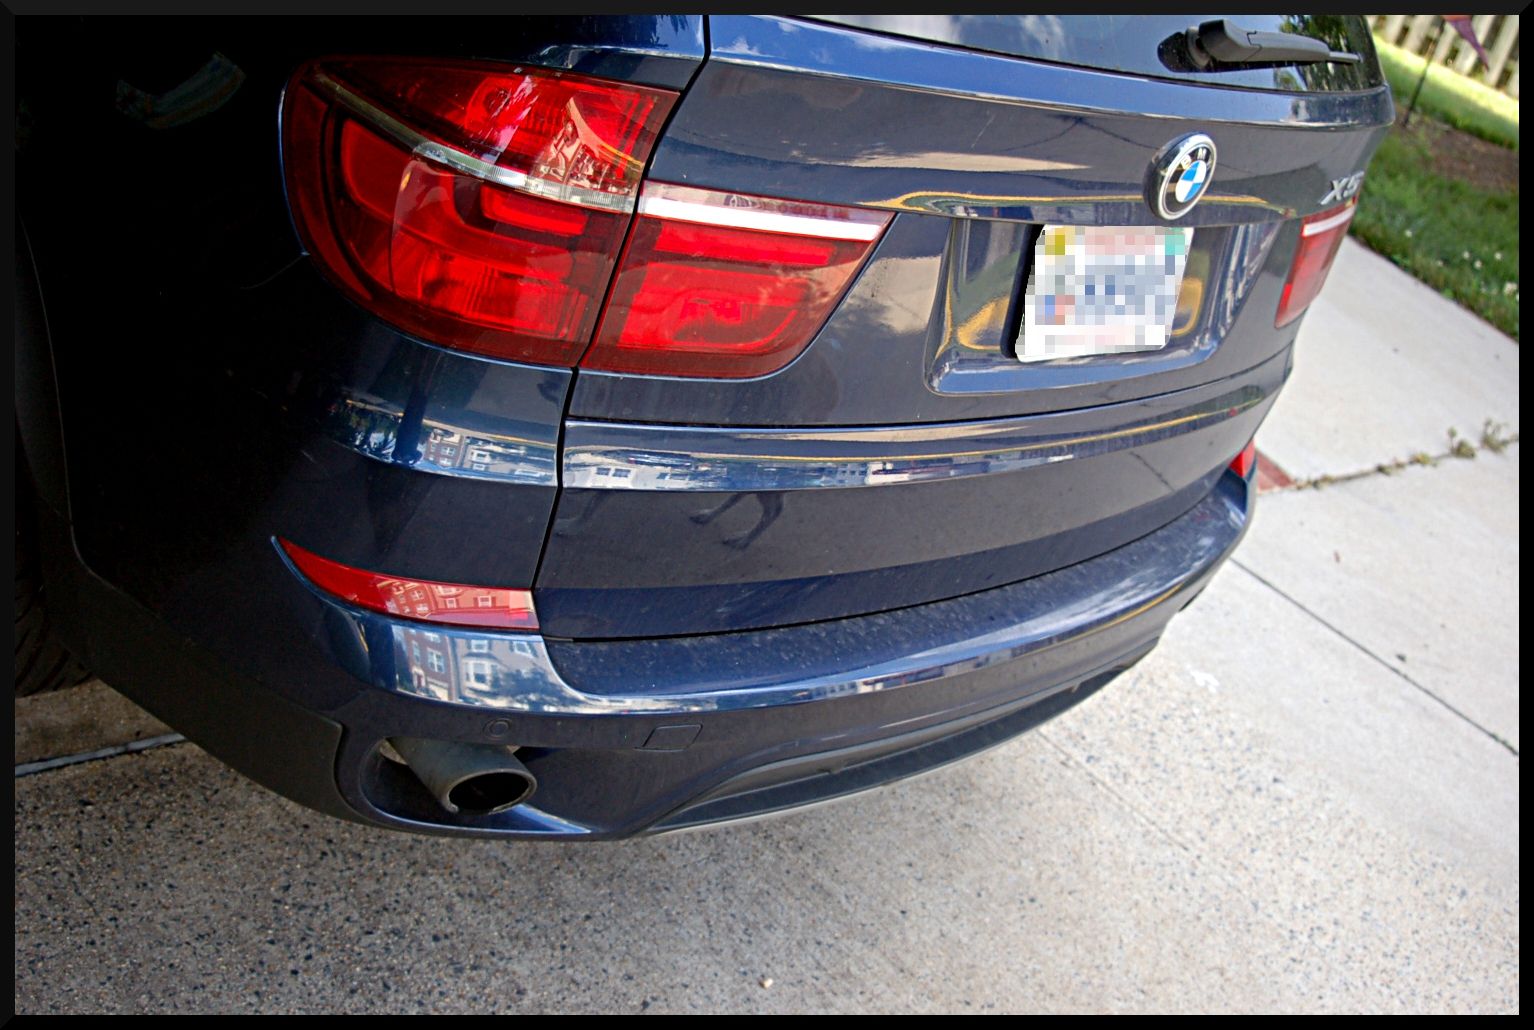
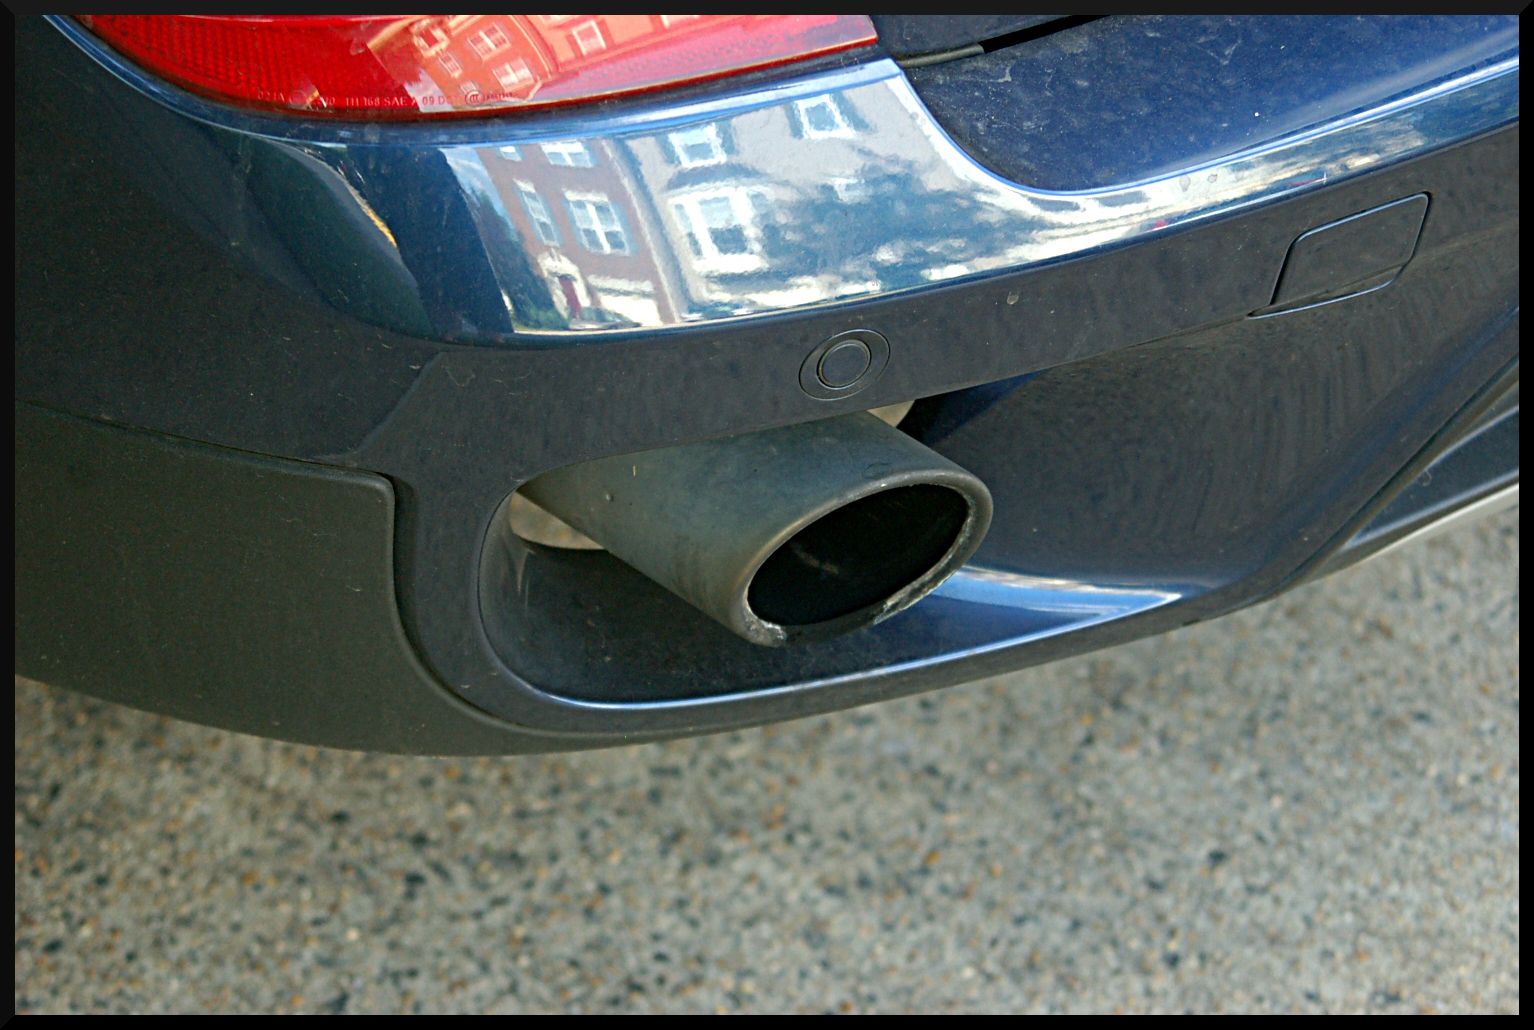
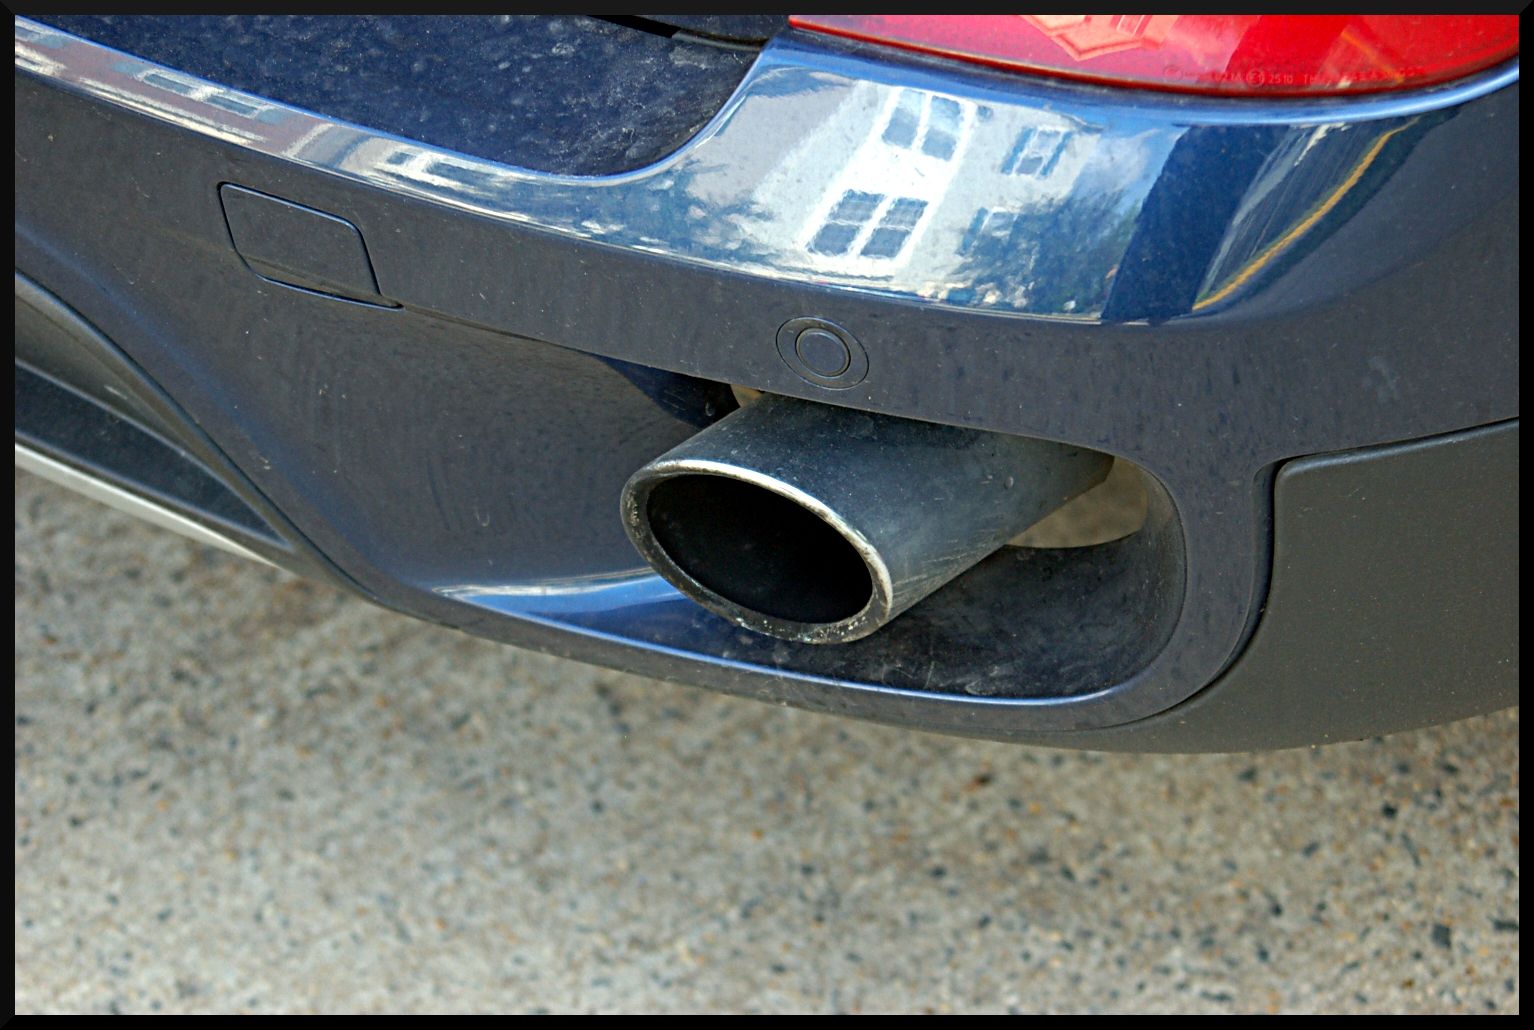
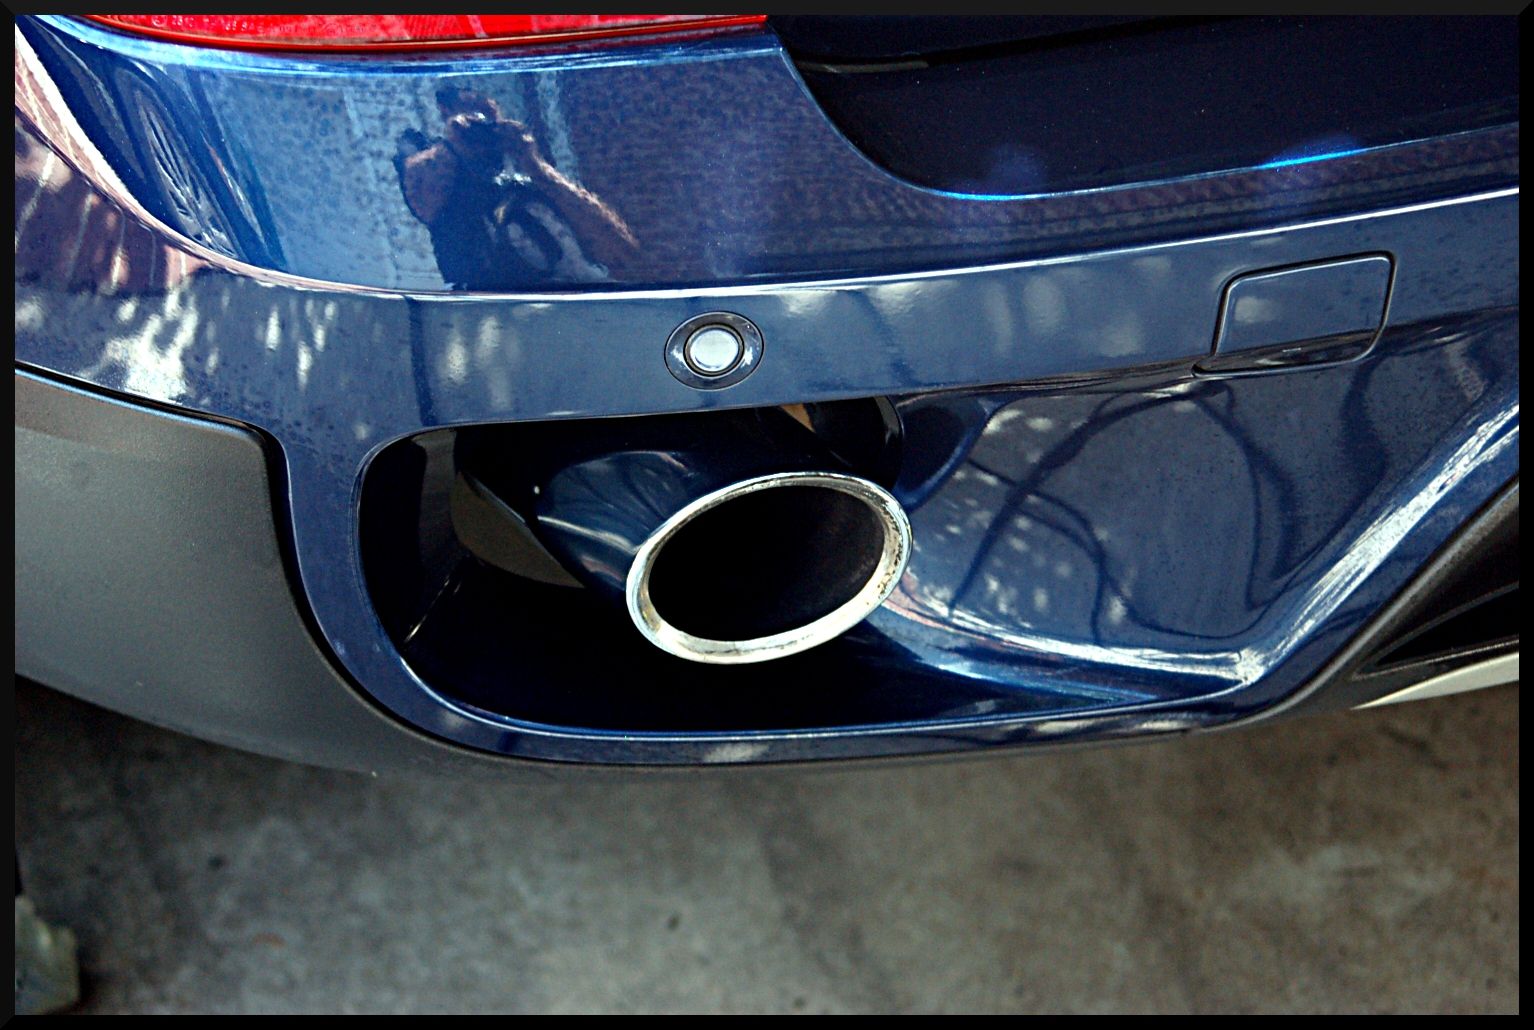
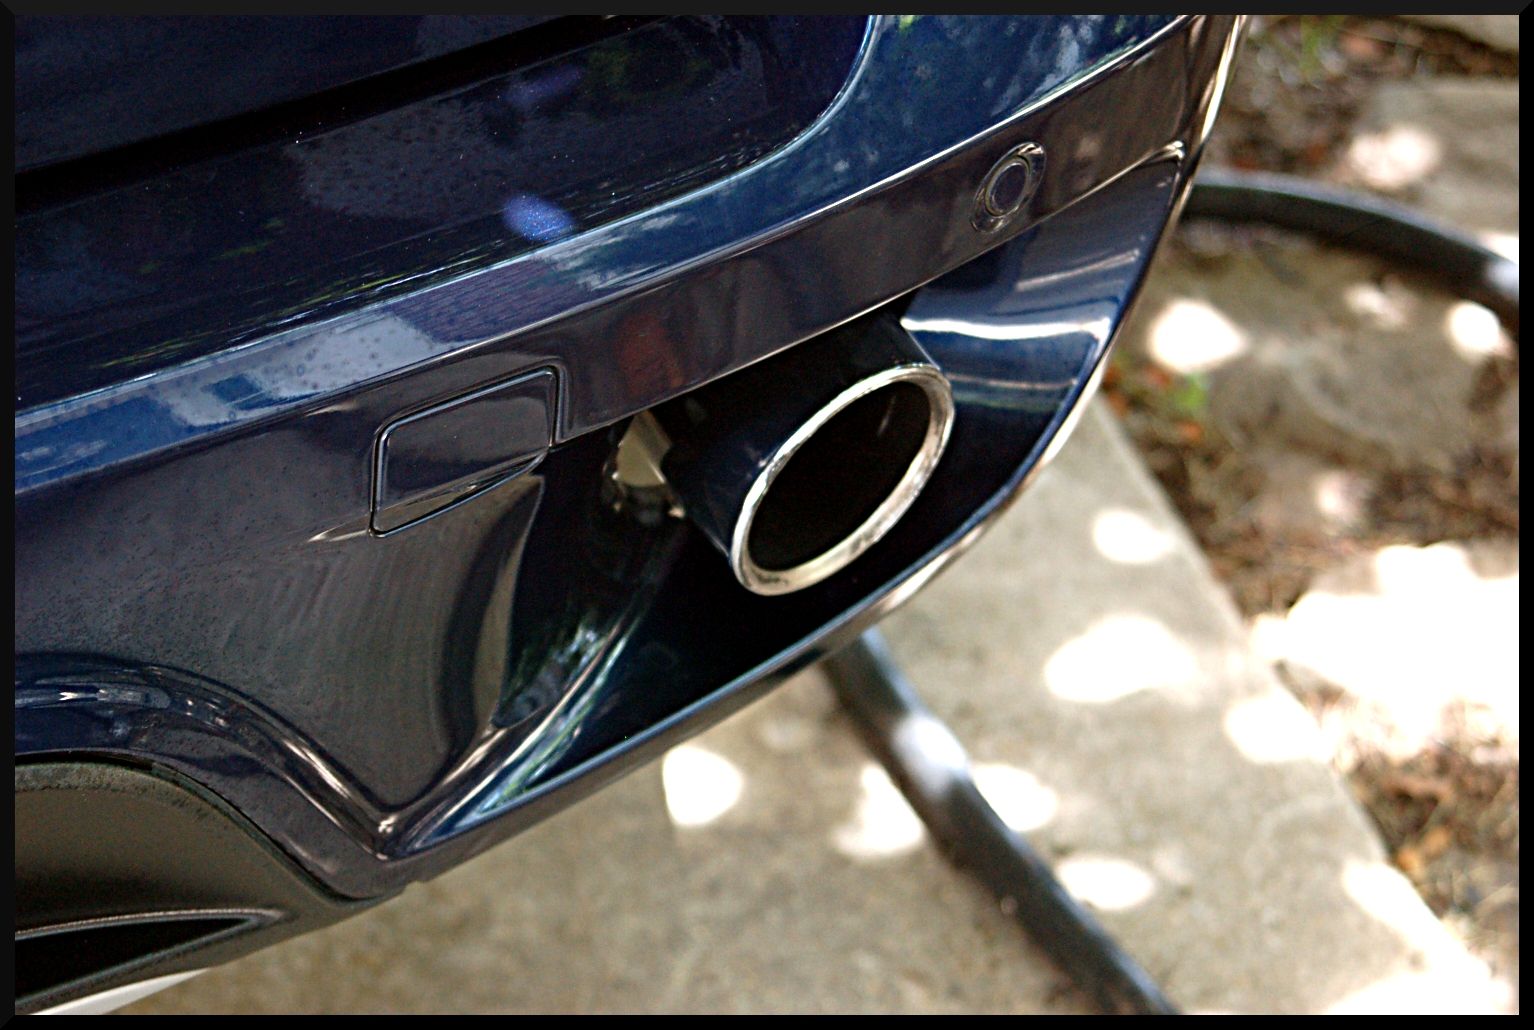
Next I cleaned up the exhaust tips with Collinite Metal Wax and some 0000 steel wool.
Before:
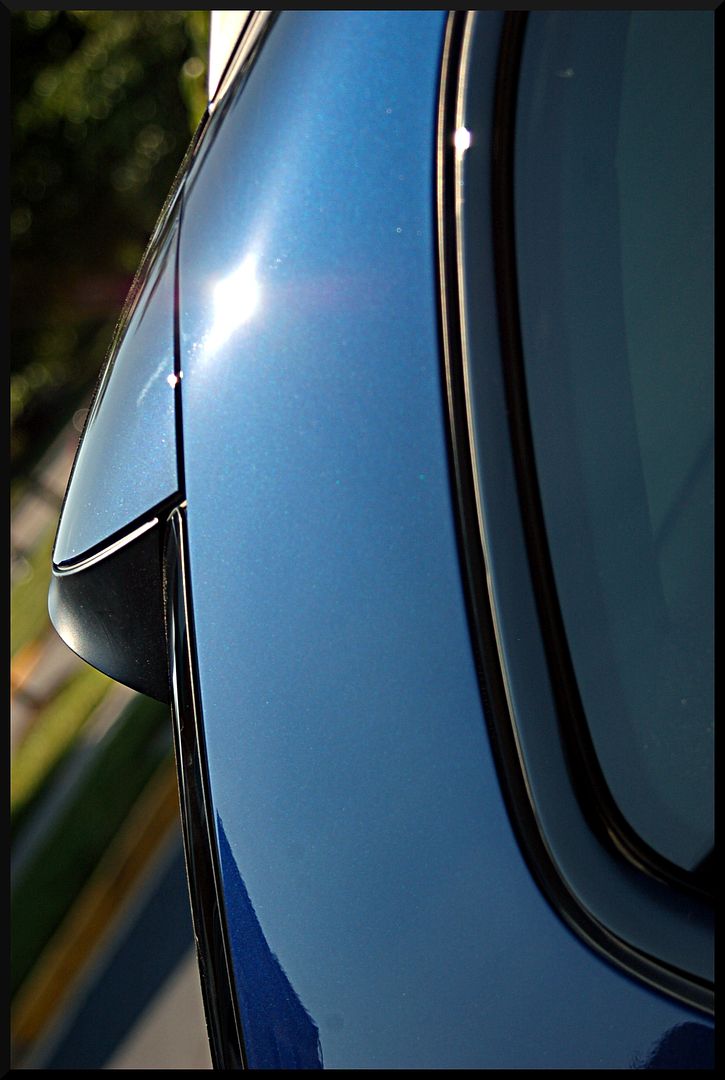
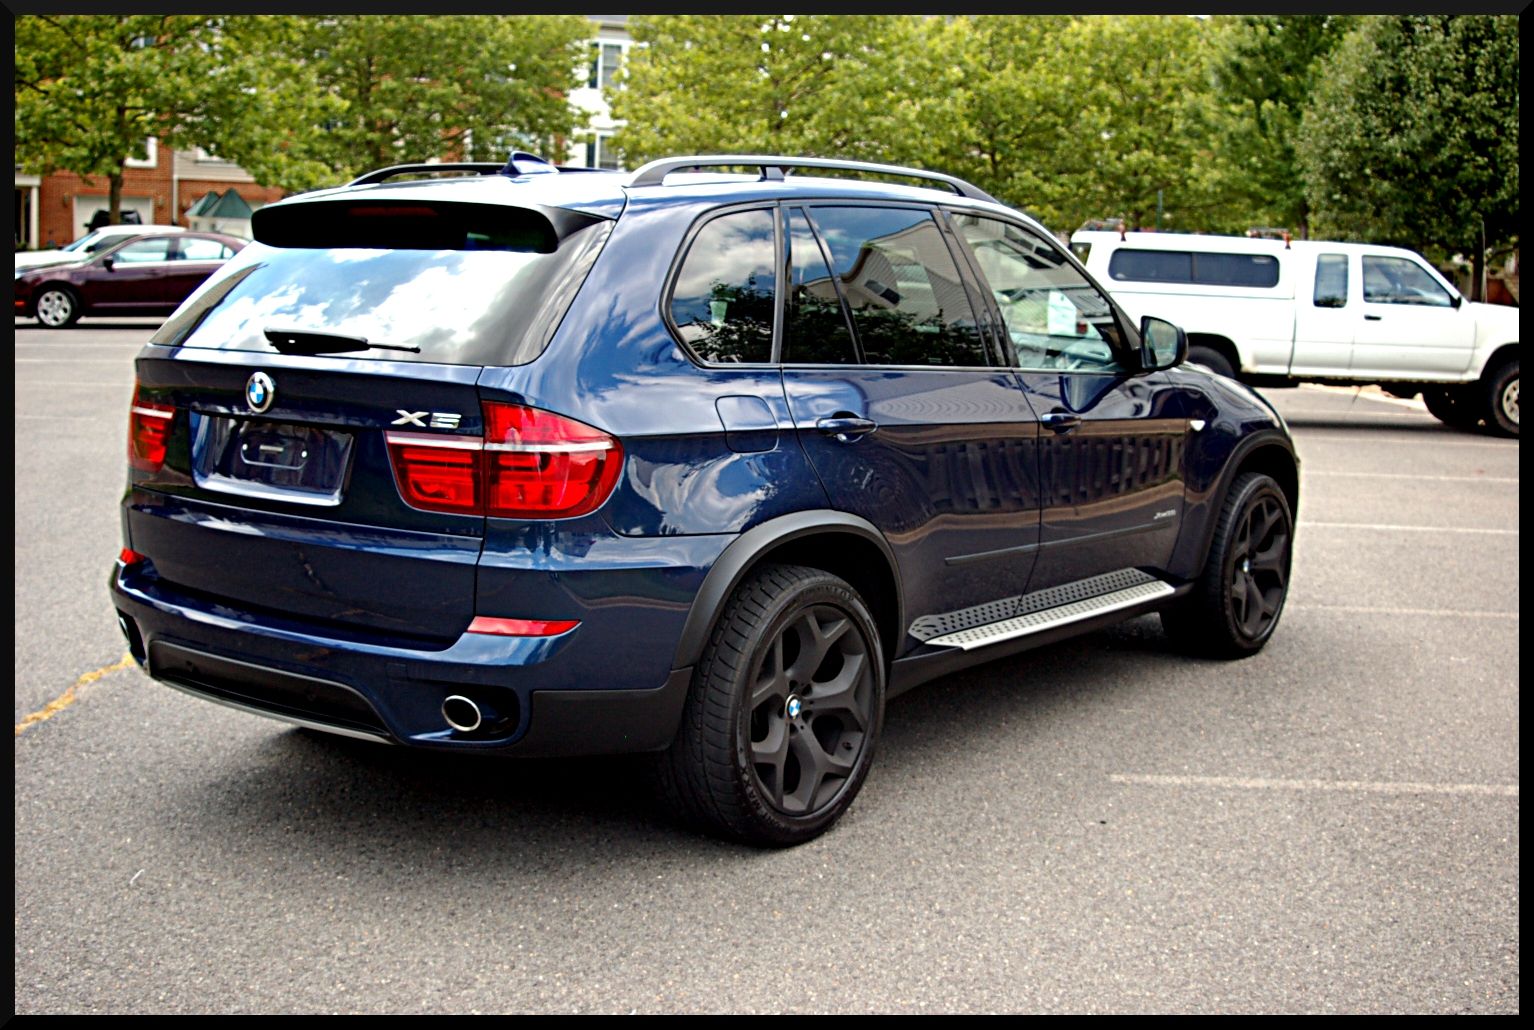
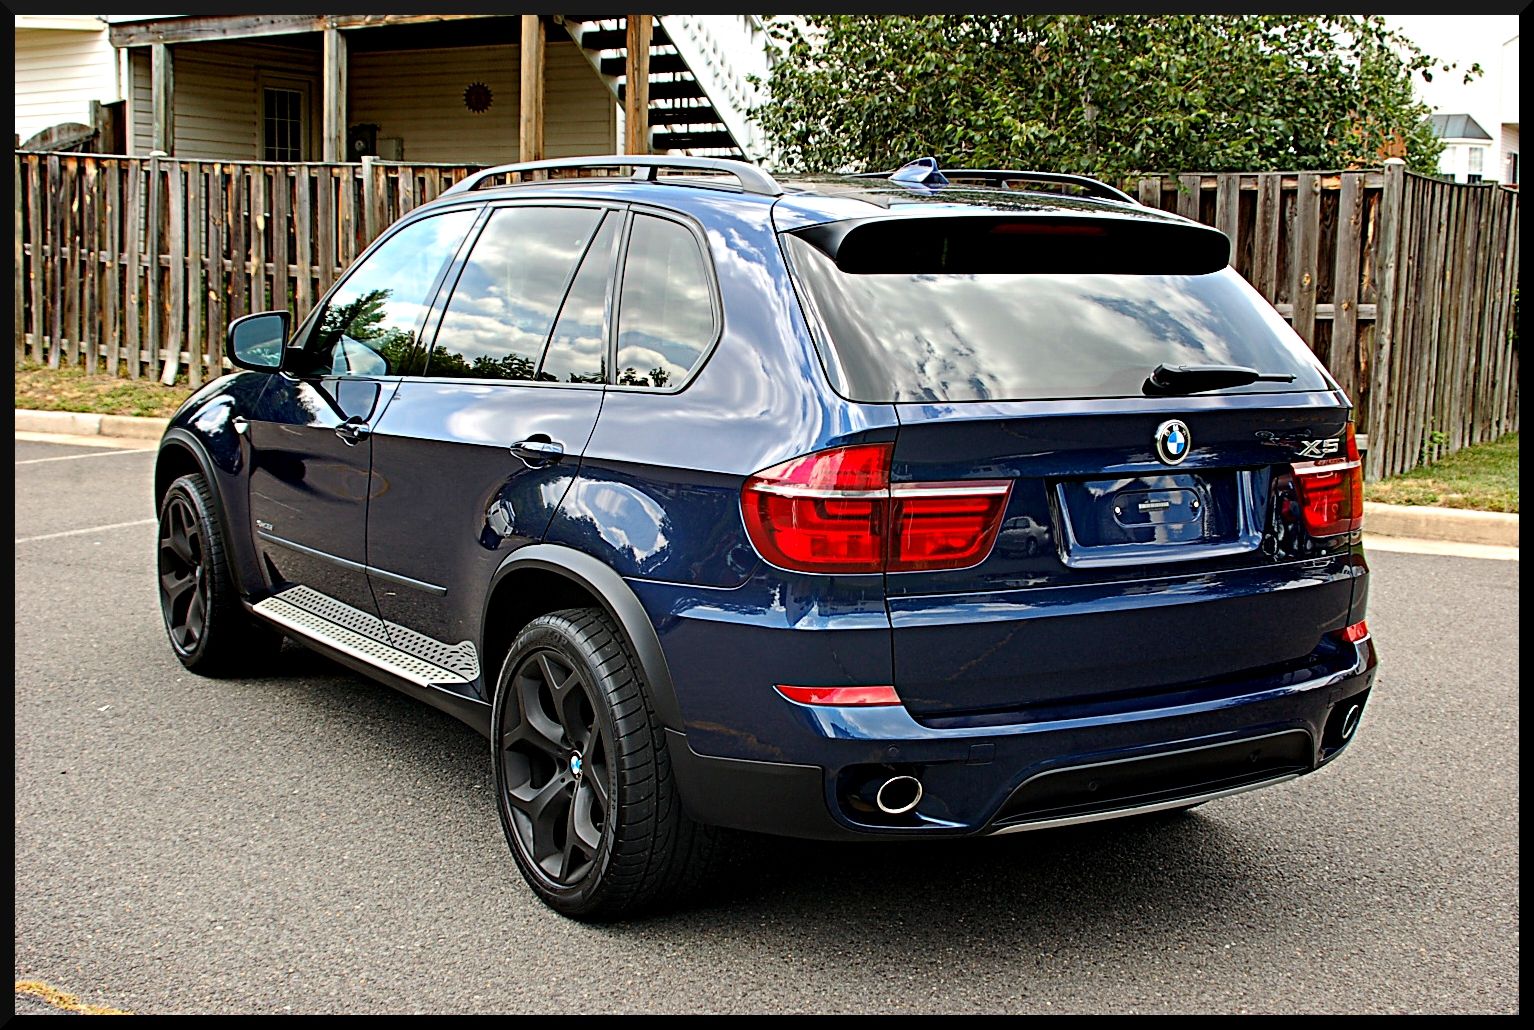
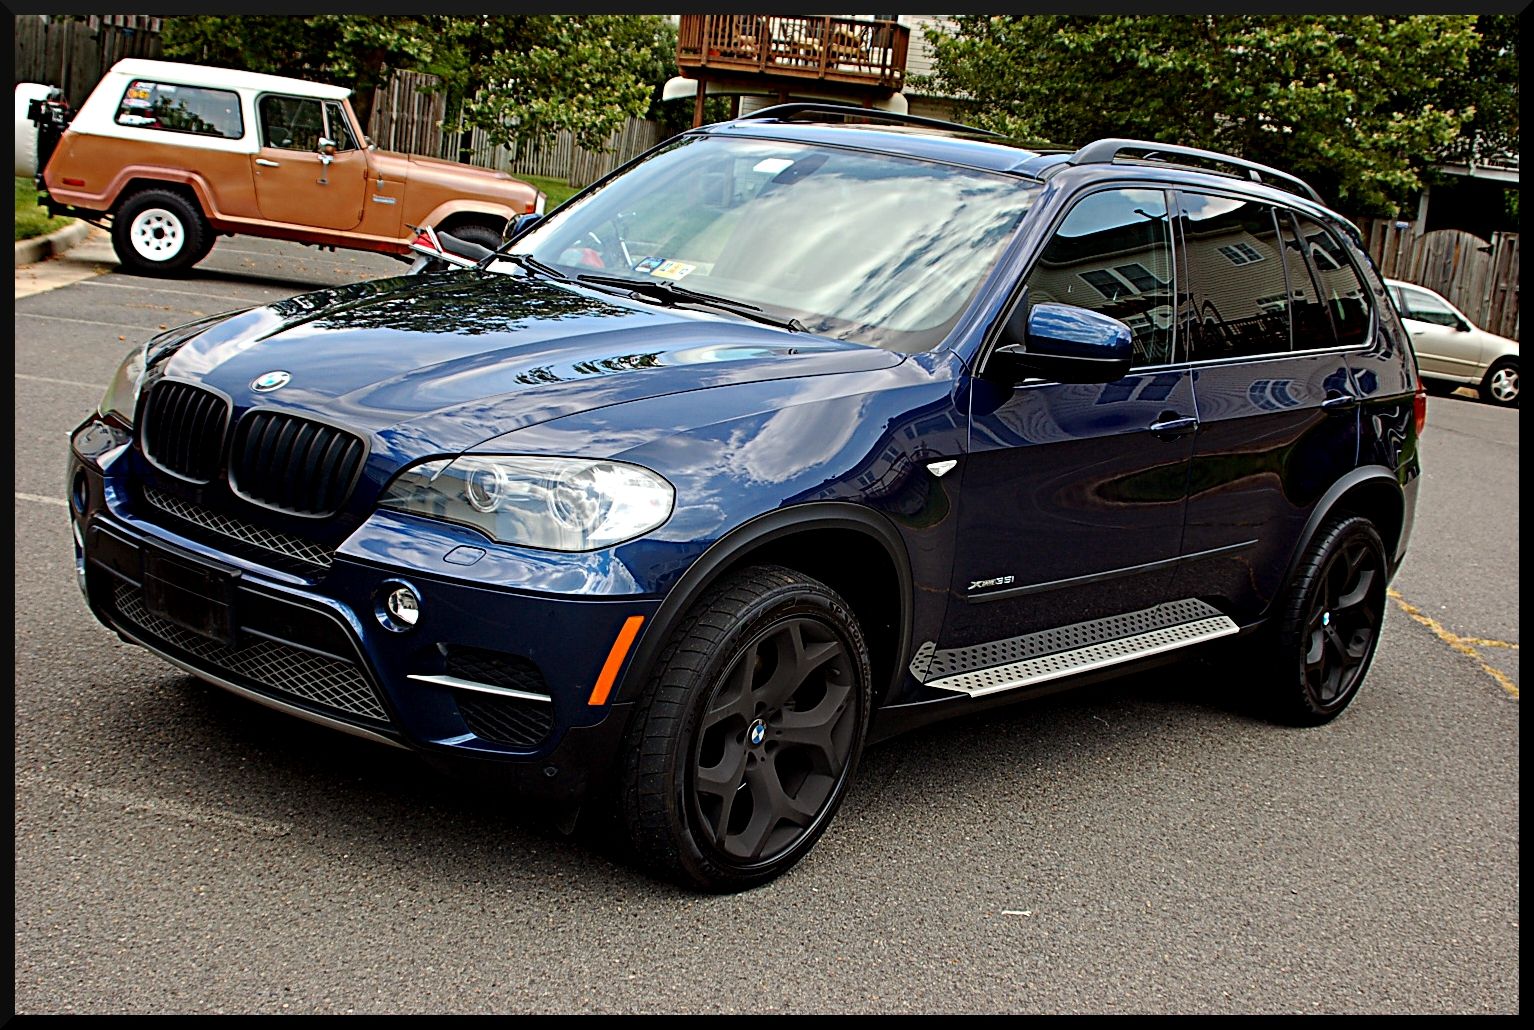
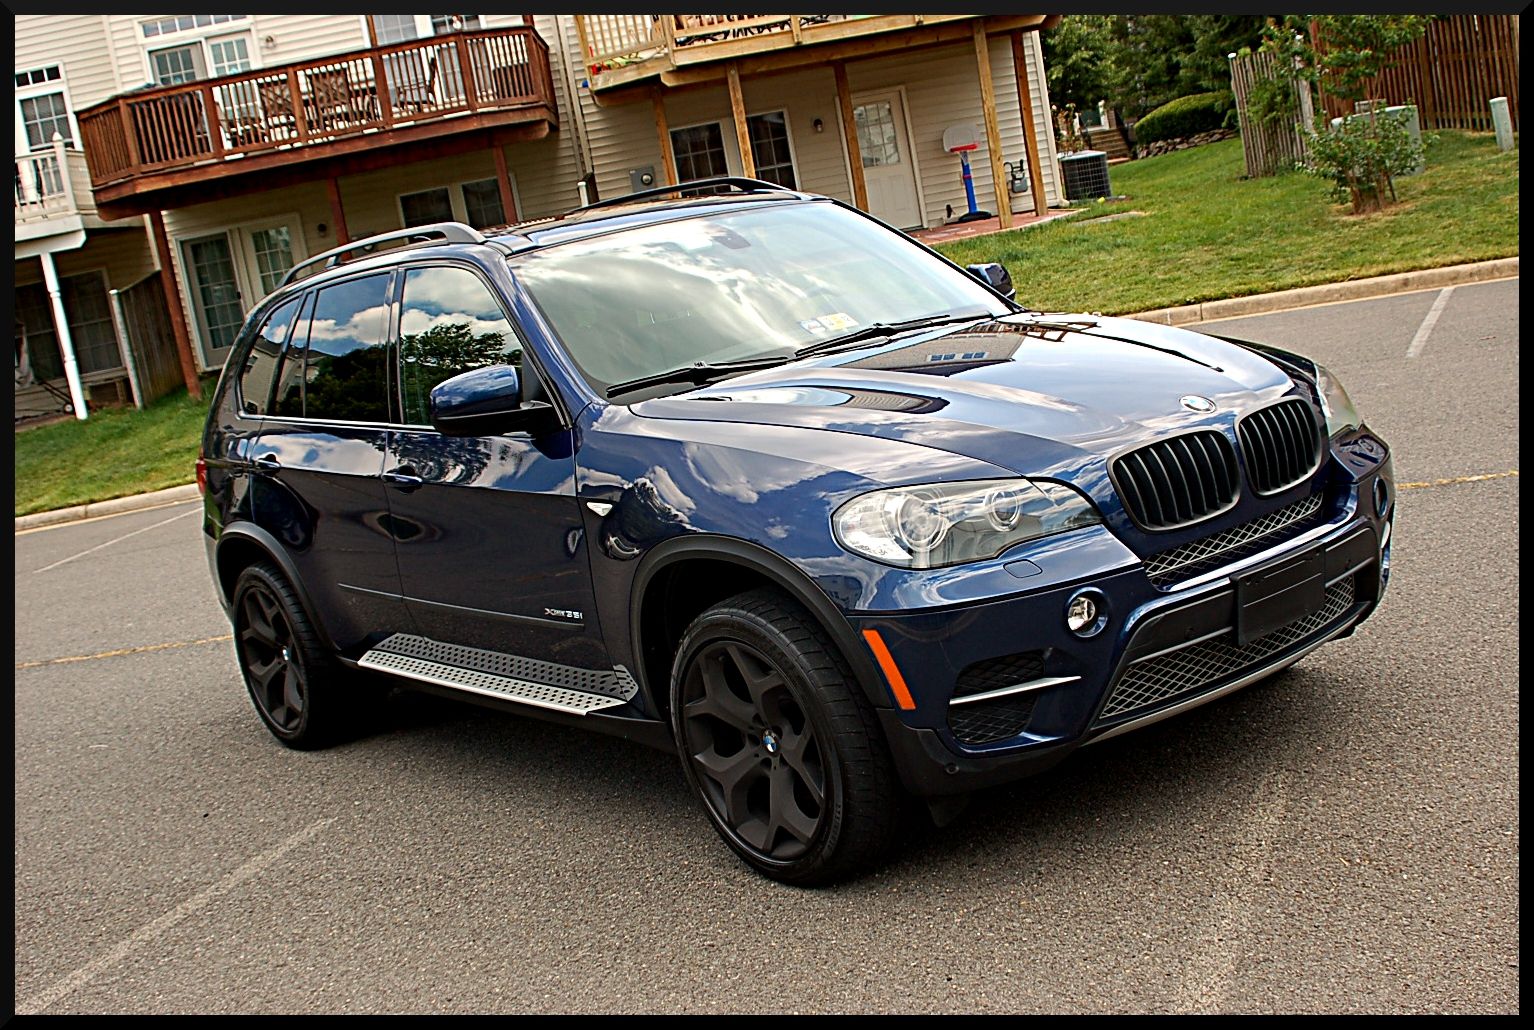
At this point I also cleaned the glass with Auto Finesse Crystal and dressed the plastic trim with Auto Finesse Revive. Here is how the exterior turned out. It was overcast after I had finished so the paint does look a good bit darker. i really like this paint because it looks bright and vibrant in the sunlight, but dark and glossy in the shade. It's a very nice effect!
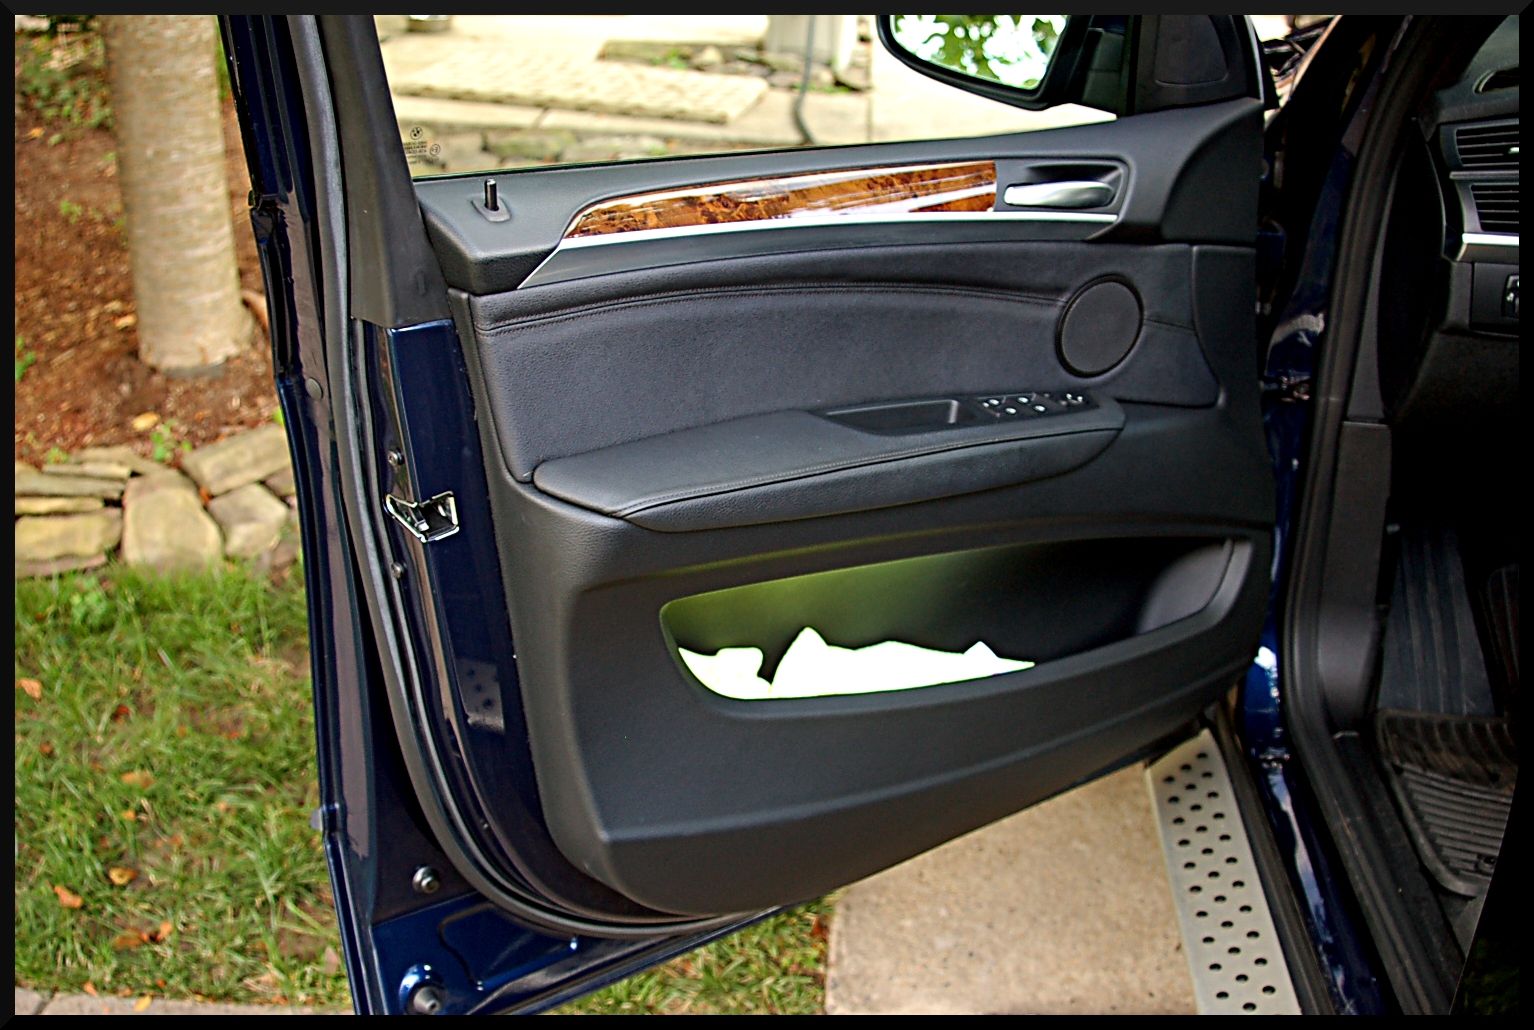
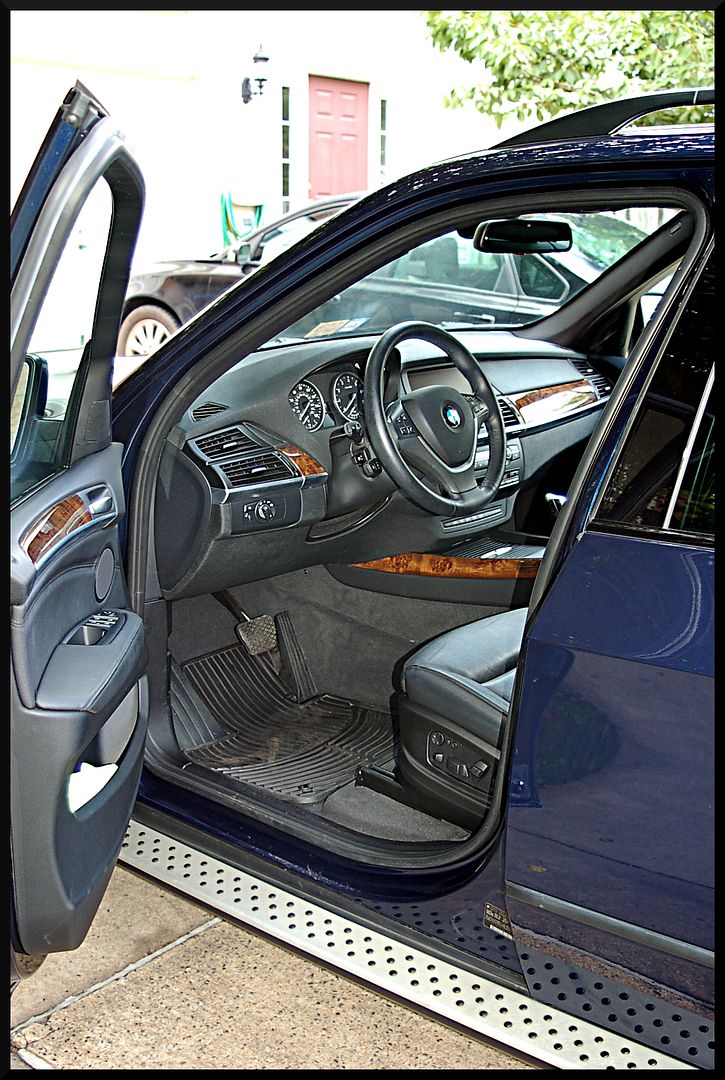
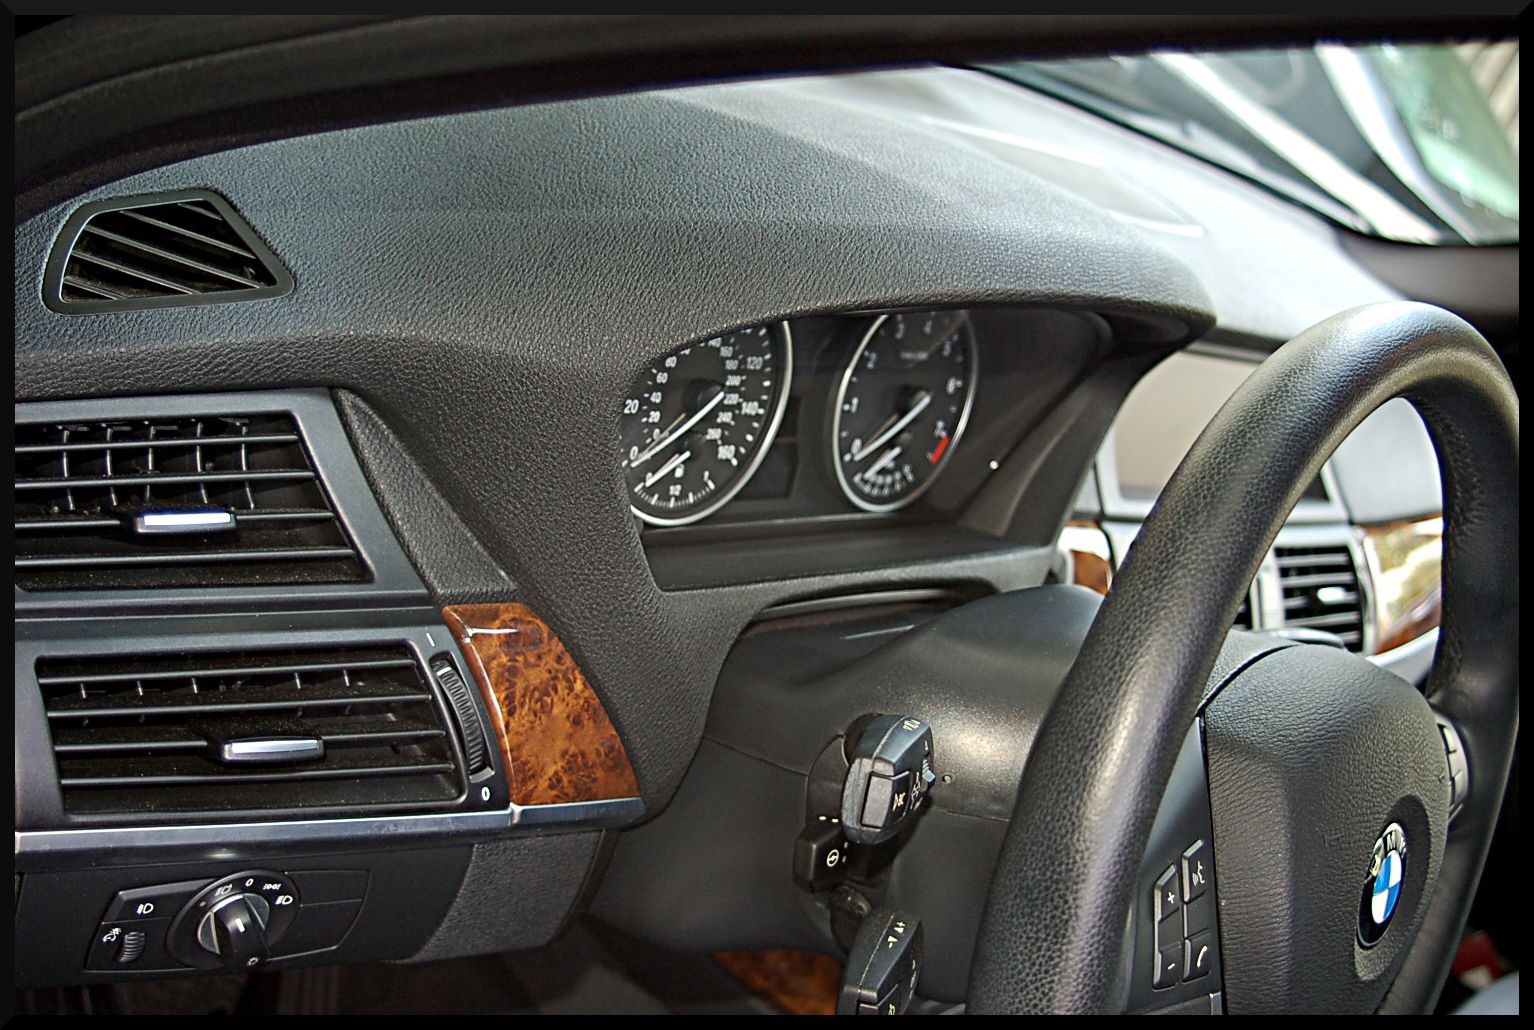
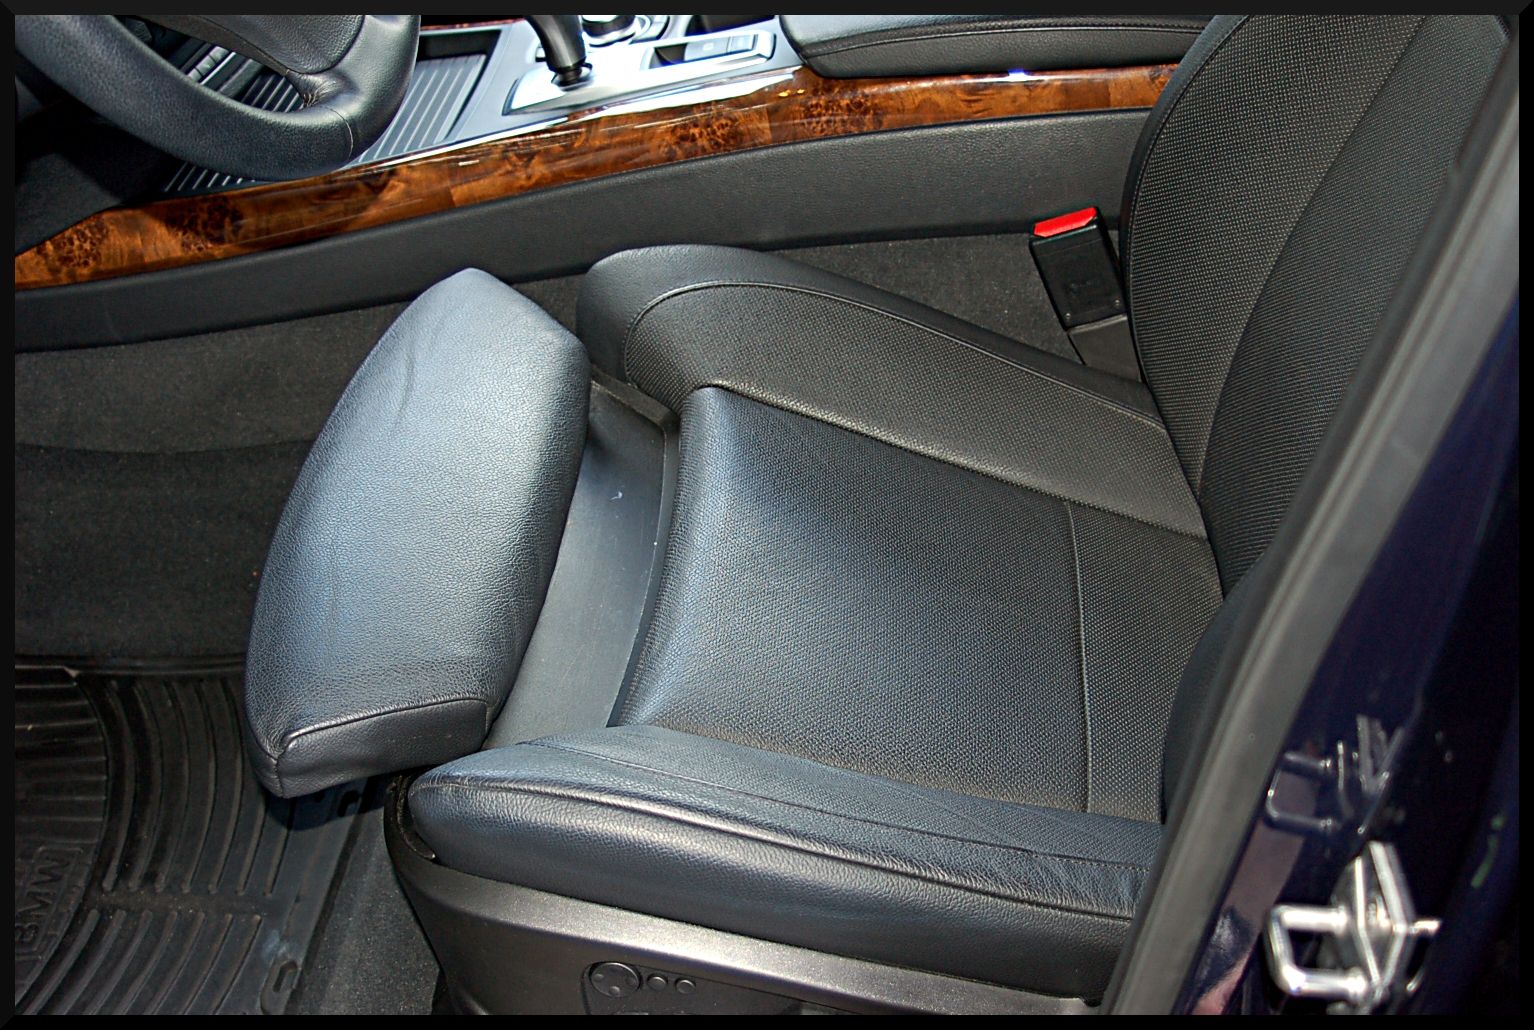
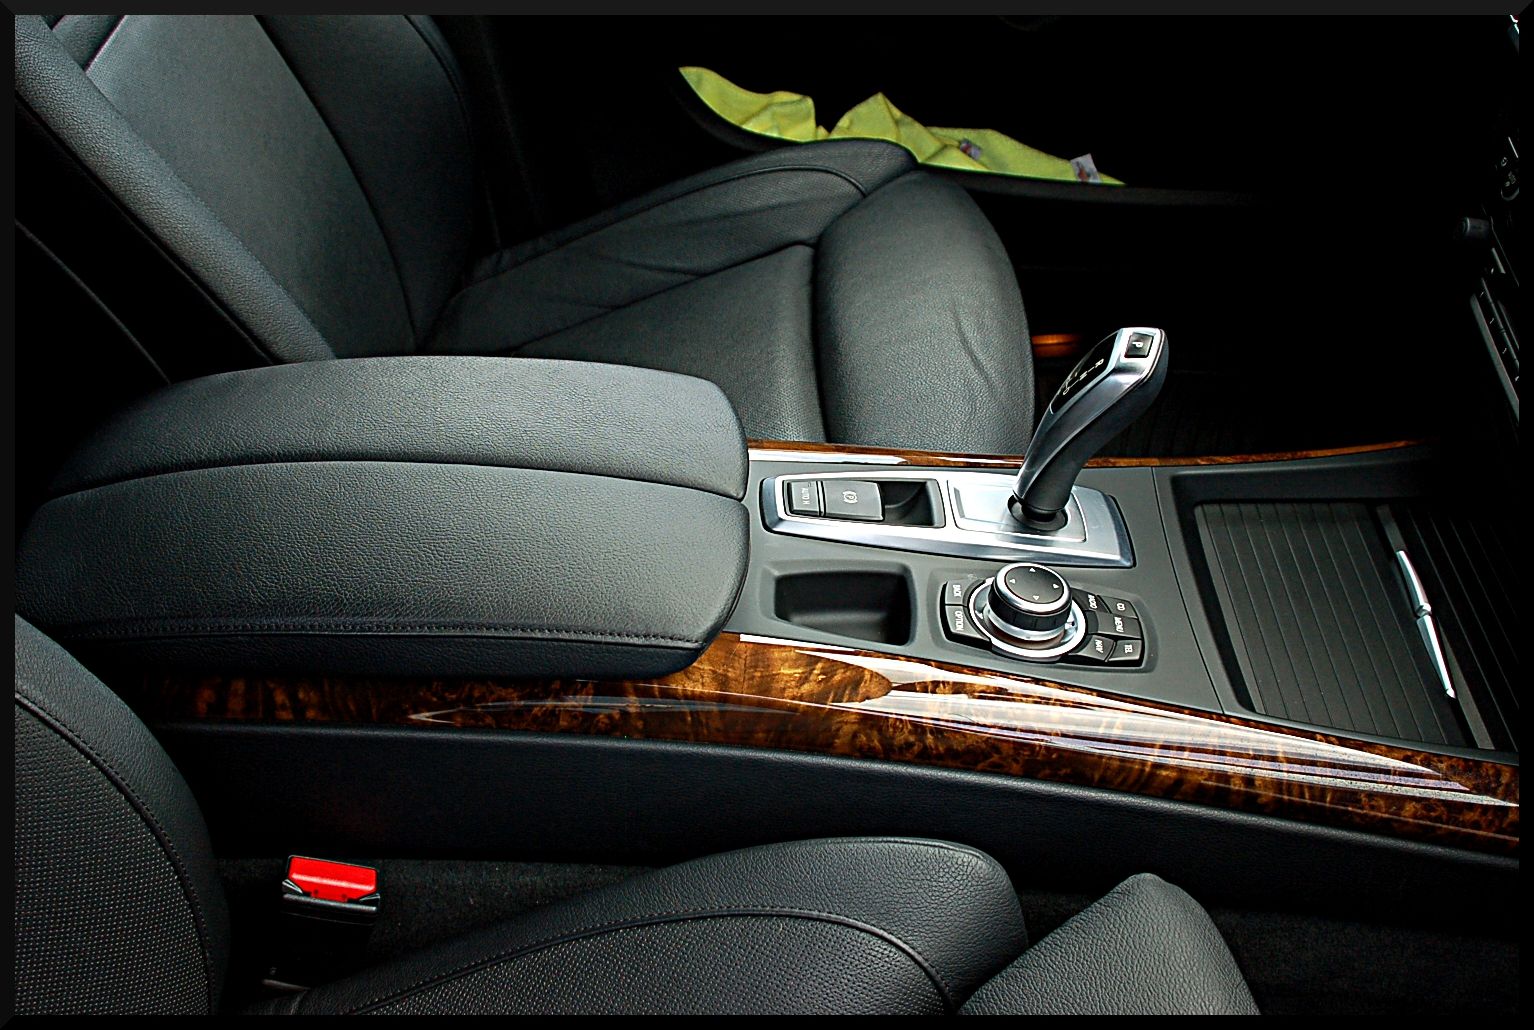
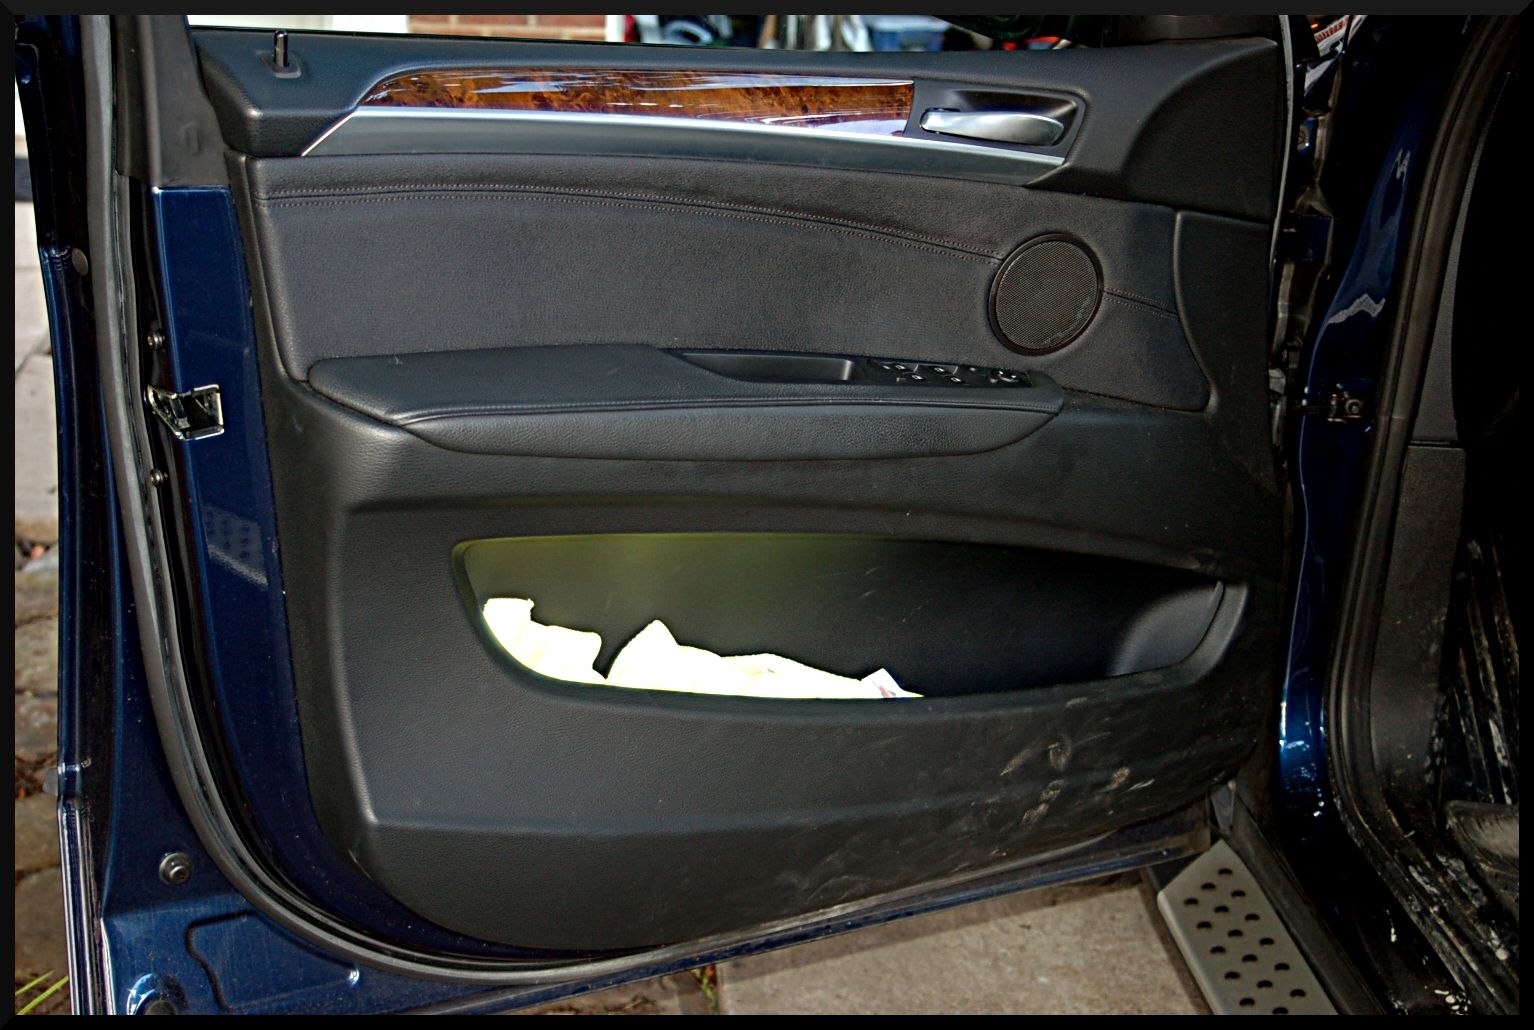
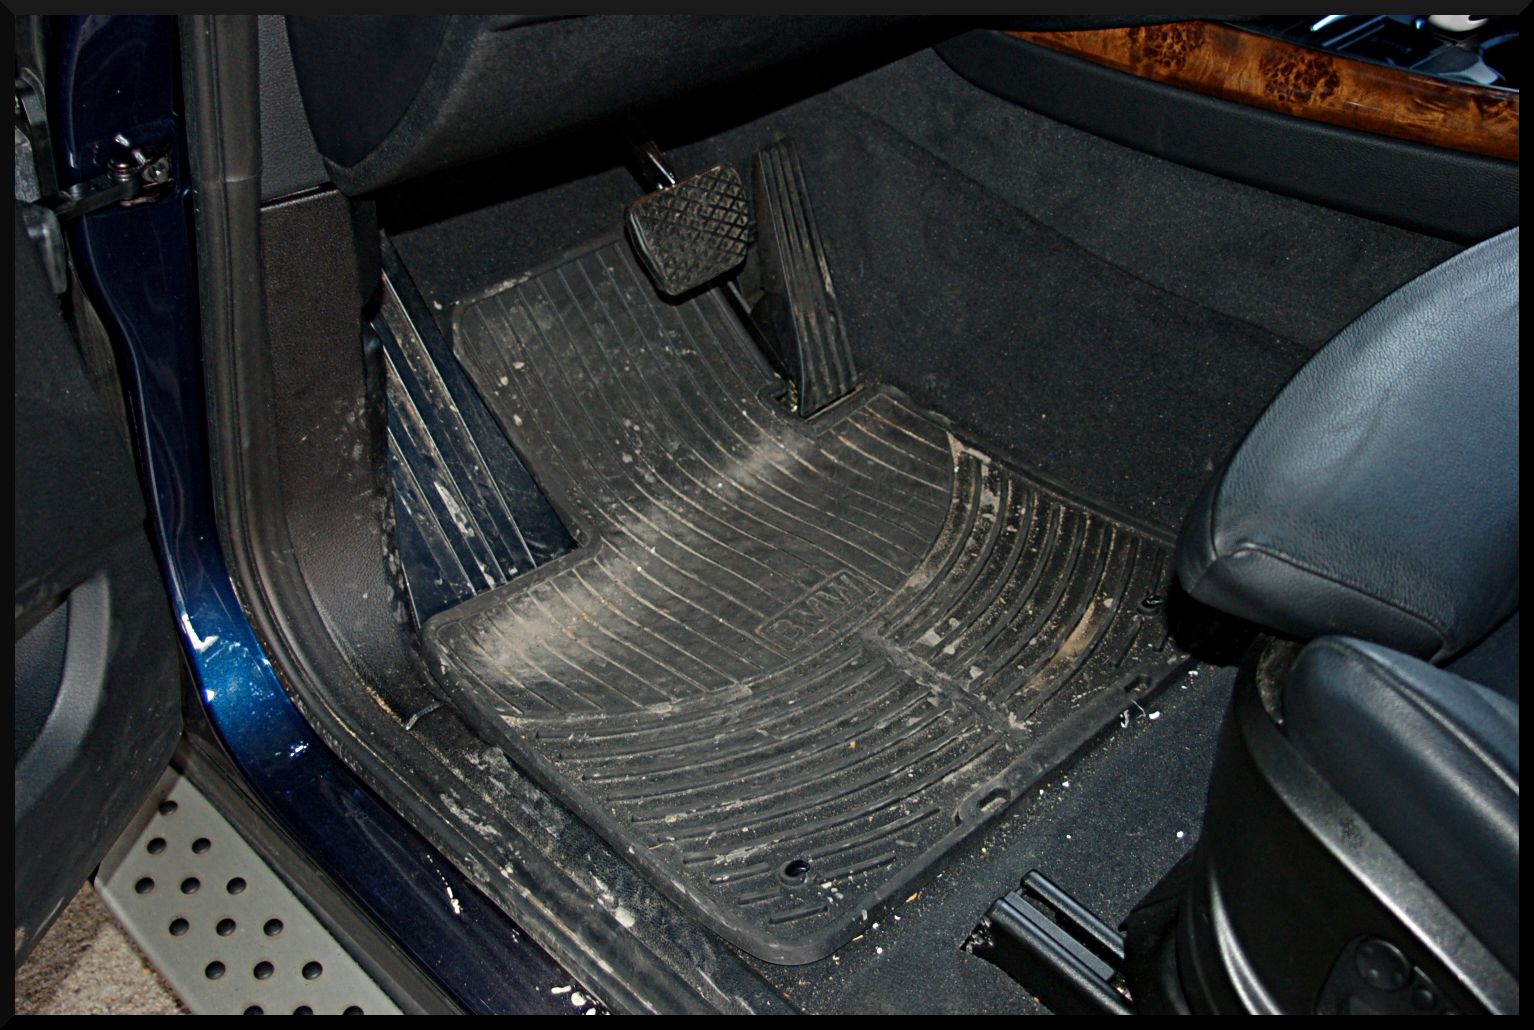
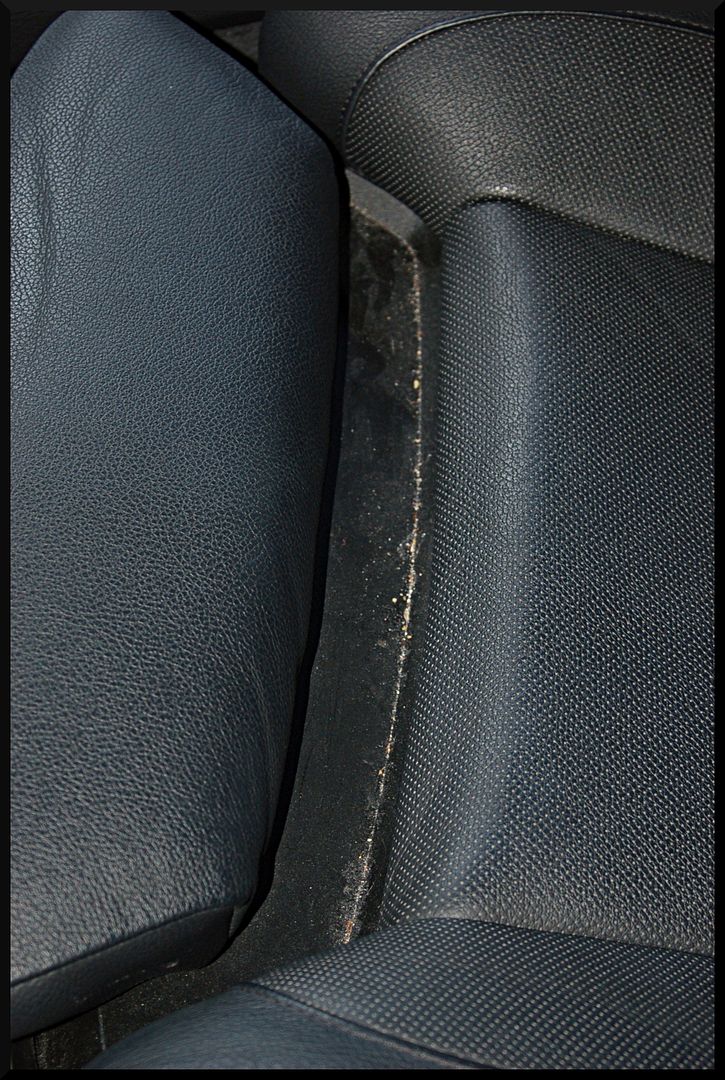
After the exterior was sorted out, I turned my attention to the interior. It was in pretty bad shape after a few trips the the beach, but nothing crazy. Here is how it looked when I got it.
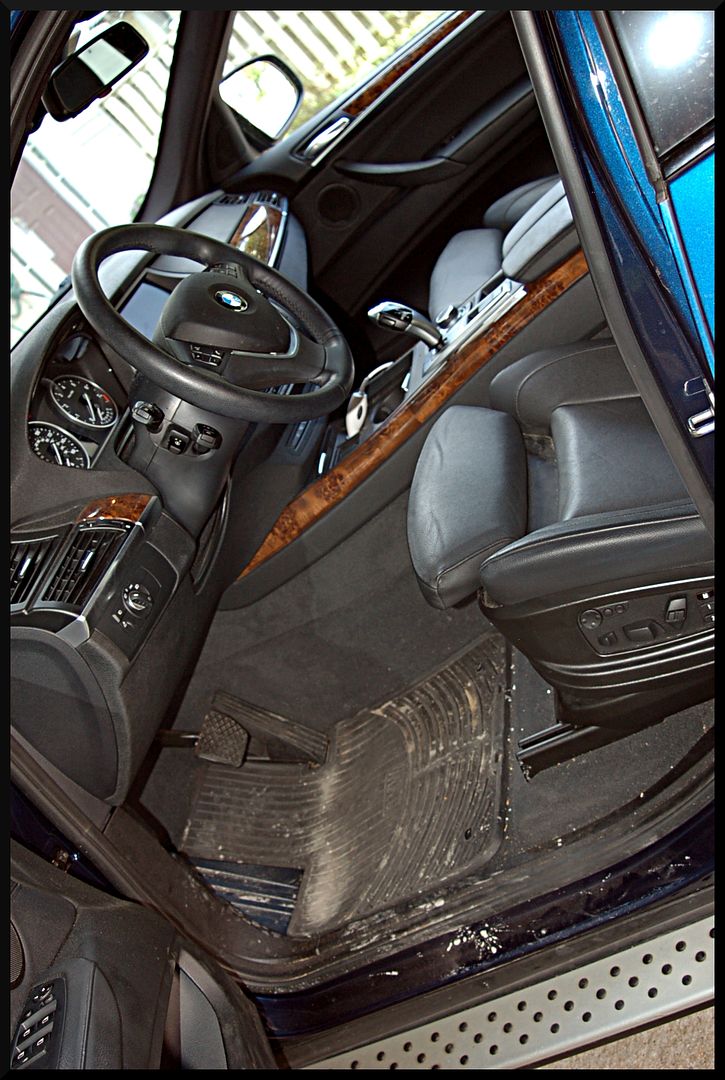
I started by vacuuming the seats and carpet. This alone took almost an hour due to a bunch of sand that made it's way into the vehicle. After that I cleaned the plastic, vinyl, and leather with Autoglym Interior Cleaner and a Swissvax Leather Brush.
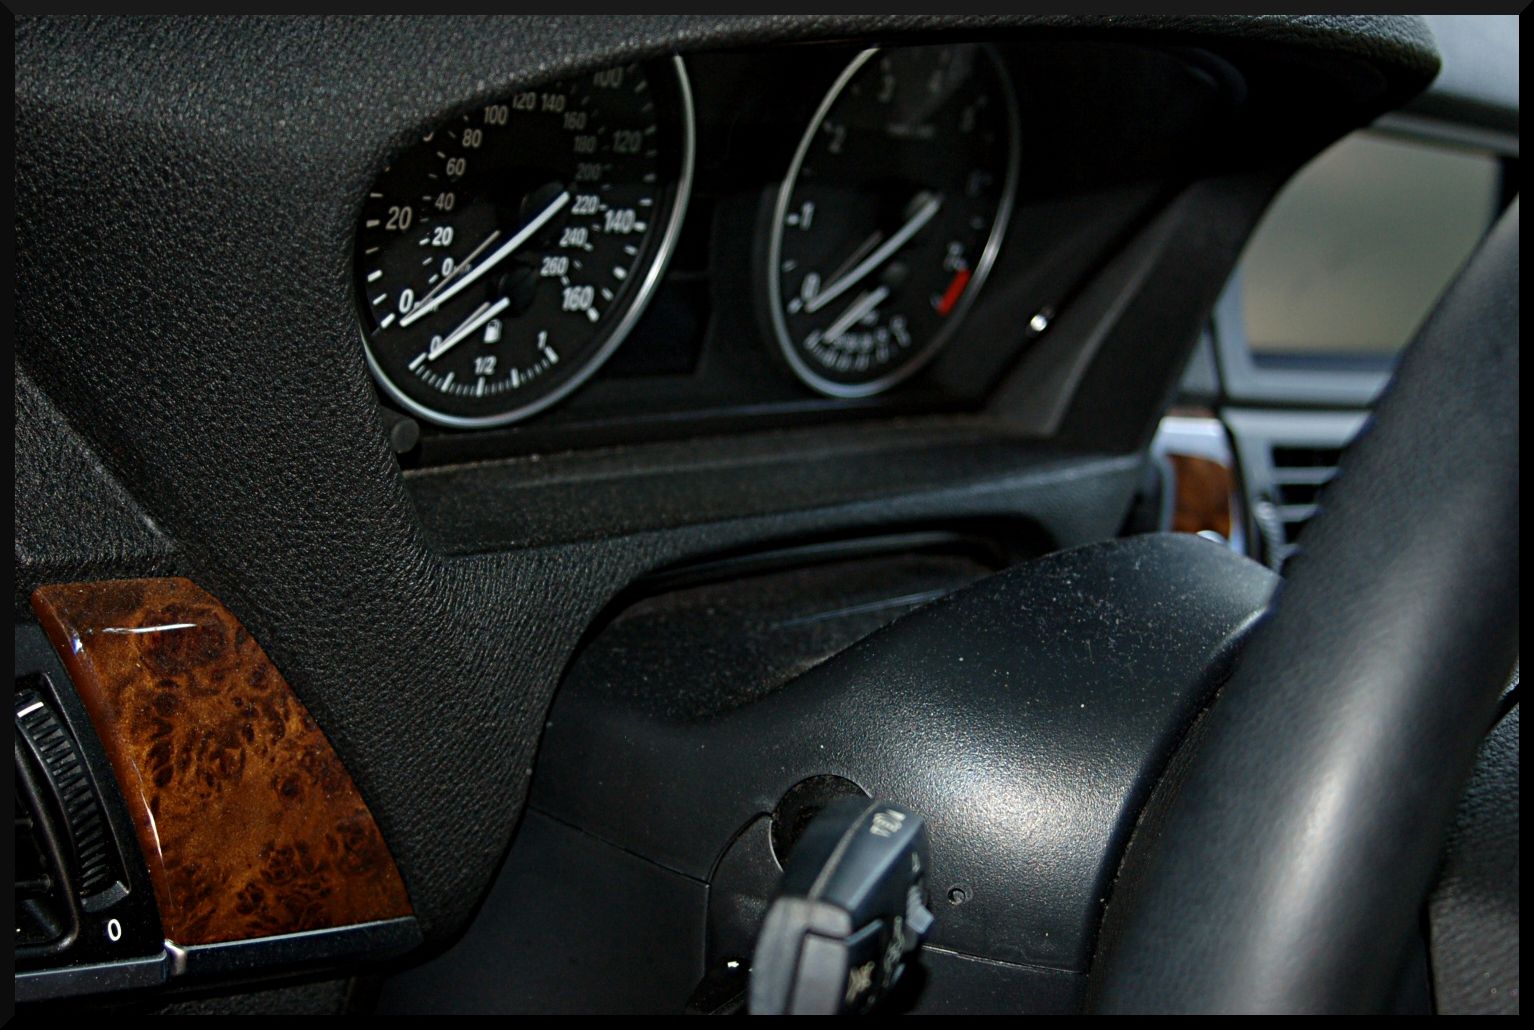
The plastic and vinyl were dressed with Ultima Interior Guard, and the leather was dressed with Leather Masters Vital, and protected with Leather Masters Protection Cream. The wood grain was polished with M205 and then protected with Swissvax Wood Polish.
When I picked up the vehicle it was pretty dirty. The customer informed me that they had been on several trips to the beach lately, and it hadn't been cleaned. Here is how it looked when I got it. A thick layer of dirt and dust on most of the vehicle.
As you will see in some of the later pictures, the wheels on this vehicle had been painted flat black. Plasti Dip was used on these wheels, so I have to be very careful to not use anything too harsh or to scrub too hard since the paint peels off fairly easily. So I didn't go nuts with the wheels, just did a thorough wipe down with Black Fire Waterless Wash.
To start with the rest of the exterior, I foamed the vehicle with Blackfire Soap and Blackfire APC. While it dwelled I agitated the trim, body seams, emblems, and fuel filler area with a Raceglaze Brush.
The vehicle was then rinsed down, and washed with Blackfire Shampoo and I Griots MF Wash Pad. I noticed already while washing it that the paint was as rough as sand paper. I would have to guess that it has never been clayed before.
While the vehicle was still wet I spent some time claying it with the Ultima Clay Block and CG Luber for lube. Even with the clay block, which really speeds up the clay process, it still took 40 minutes for me to get the whole vehicle clayed. It was pretty nasty. After the claying I used some wolfs Decon Gel to make sure I got any embedded iron particles that might be left behind.
After drying the vehicle we could see the condition. Due to the color it was tough to capture the defects, but they were there. Nothing insane, just your normal wash induced swirls, as well as a little bit of marring left behind from the Ultima Clay Block.
As with most BMWs (other than the dreaded jet black) the paint was on the hard side. For this vehicle I chose to use Menzerna Powerfinish (original version) on a Yellow Buff and Shine pad on my Meguiars G110V2 DA. This gave great correction, but also finished wonderfully. I would say it gout out about 80%-85% of the swirls and defects. Very respectable for a one step IMO.
To protect the paint I chose to use Swissvax Endurance as the LSP. This vehicle sits outside 24/7 so I wanted to give it some protection that would last for a while. I apply Endurance to the vehicle and then let it sit in the sun for about 20 minutes, as the instructions say. Here is what I was left with when it was all said and done.
Next I cleaned up the exhaust tips with Collinite Metal Wax and some 0000 steel wool.
Before:
At this point I also cleaned the glass with Auto Finesse Crystal and dressed the plastic trim with Auto Finesse Revive. Here is how the exterior turned out. It was overcast after I had finished so the paint does look a good bit darker. i really like this paint because it looks bright and vibrant in the sunlight, but dark and glossy in the shade. It's a very nice effect!
After the exterior was sorted out, I turned my attention to the interior. It was in pretty bad shape after a few trips the the beach, but nothing crazy. Here is how it looked when I got it.
I started by vacuuming the seats and carpet. This alone took almost an hour due to a bunch of sand that made it's way into the vehicle. After that I cleaned the plastic, vinyl, and leather with Autoglym Interior Cleaner and a Swissvax Leather Brush.
The plastic and vinyl were dressed with Ultima Interior Guard, and the leather was dressed with Leather Masters Vital, and protected with Leather Masters Protection Cream. The wood grain was polished with M205 and then protected with Swissvax Wood Polish.