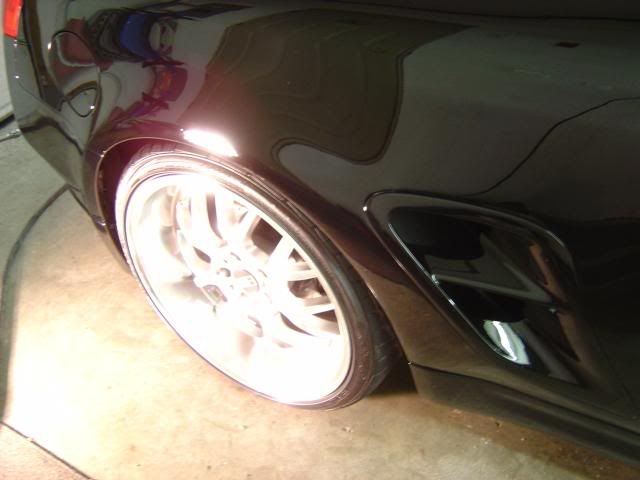
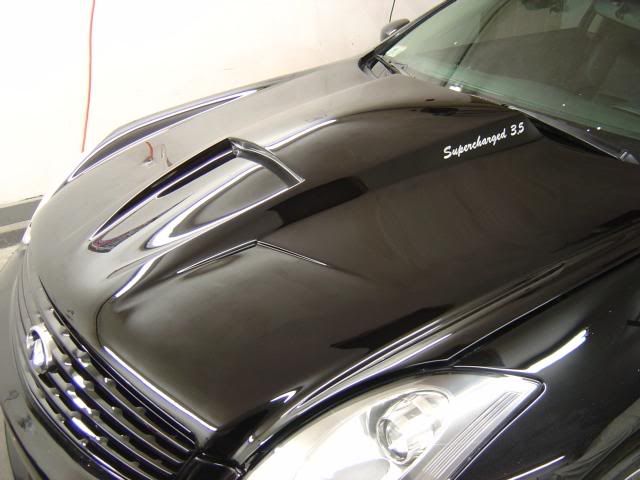
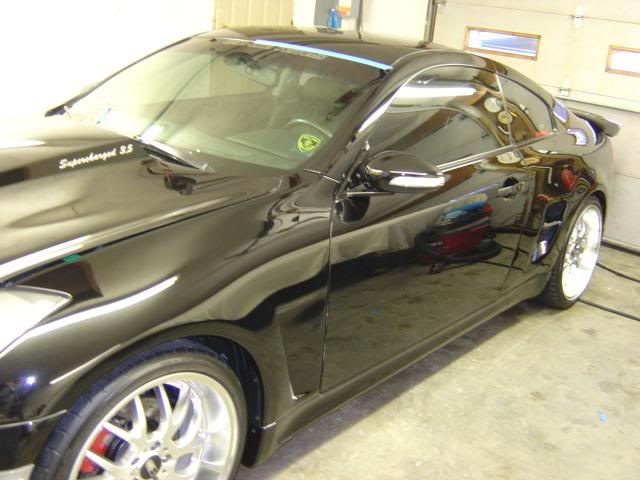
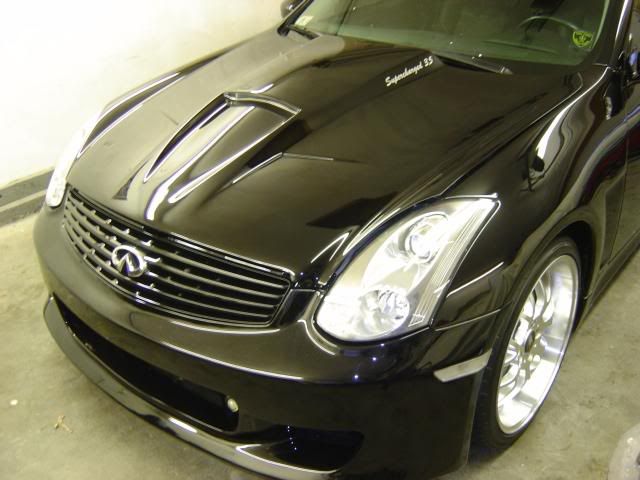
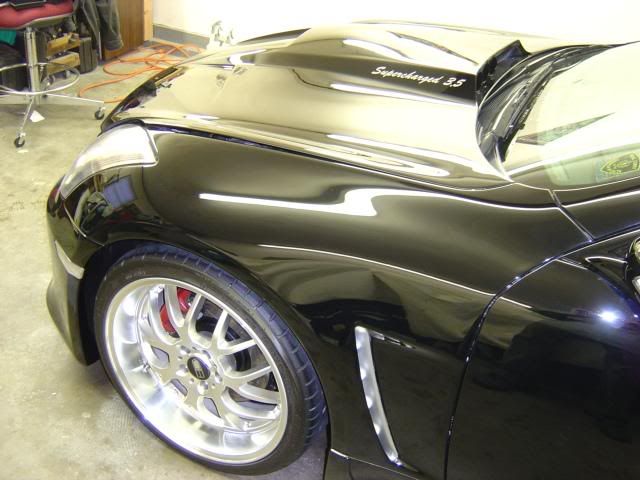
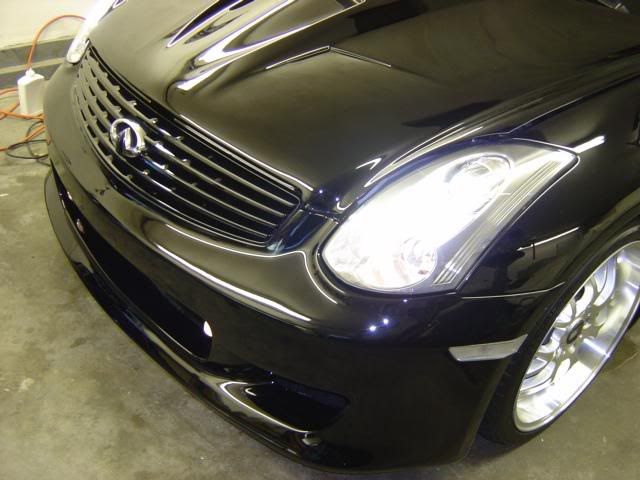
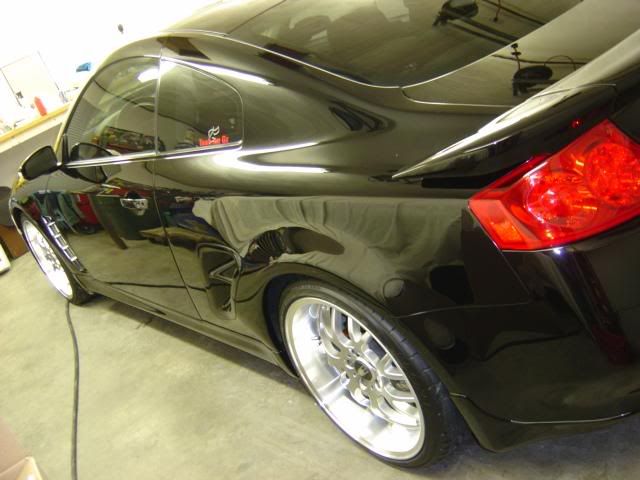
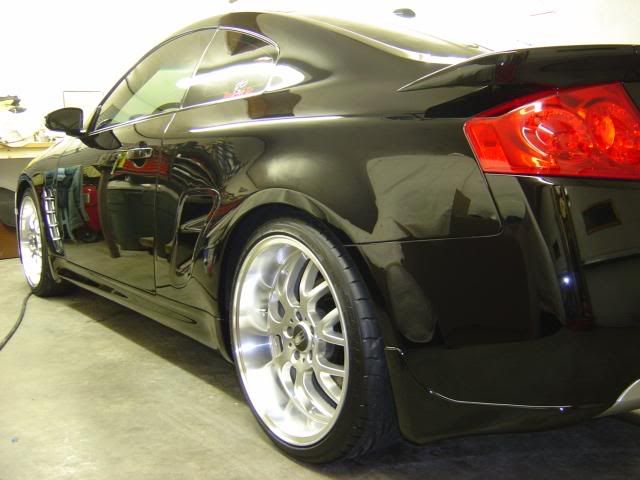
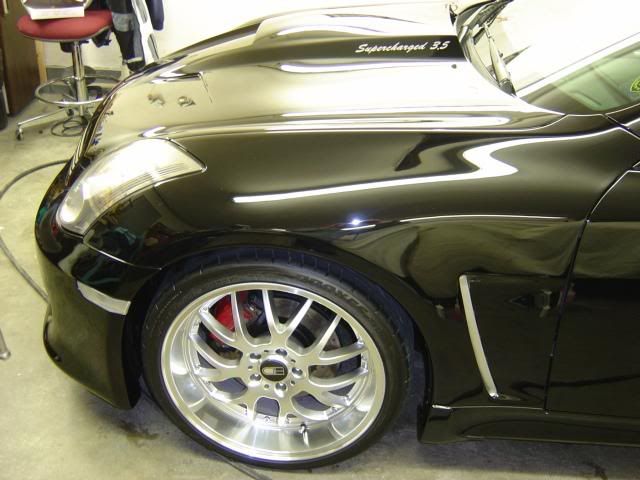
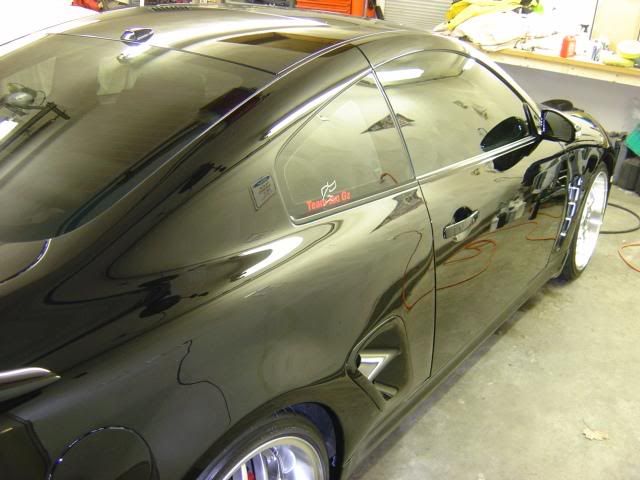
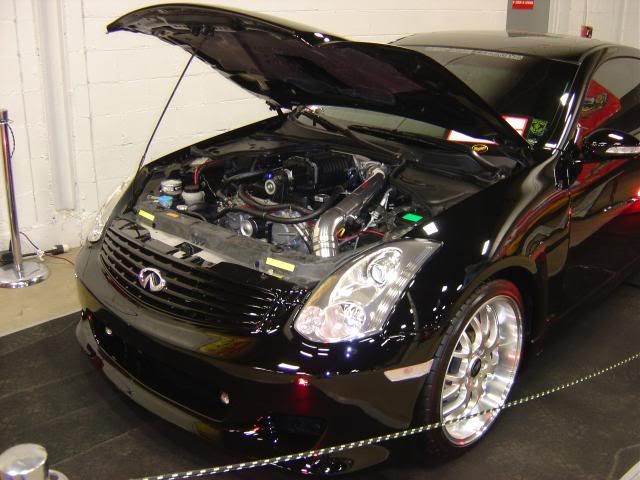
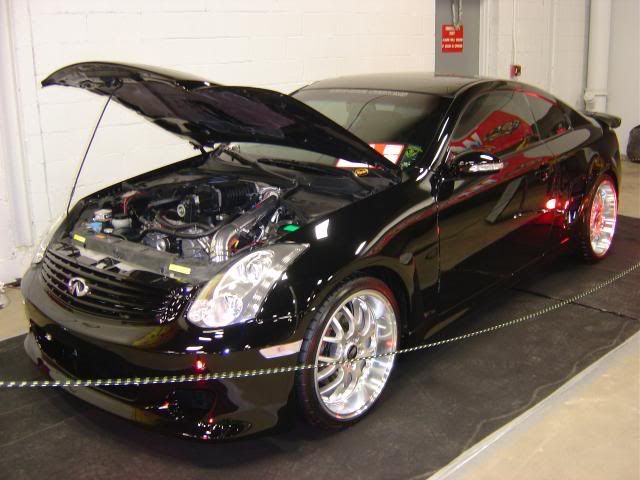
This car was a real challenge for me! It is a 2006 Infiniti G35 coupe that has been totally customized. The owner of the car owns his own body shop and has done all of the work to the car himself. The car has a custom hood, custom rear spoiler, custom fenders, custom rear quarters, supercharged motor, after market wheels etc… The car has been completely repainted and I must say that it came out pretty well. The car had already been wetsanded and compounded by the owner, so the paint had almost no orange peel whatsoever. It was being entered in the “World of Wheelsâ€� car show here in Boston, so it was my job to get it looking show worthy.
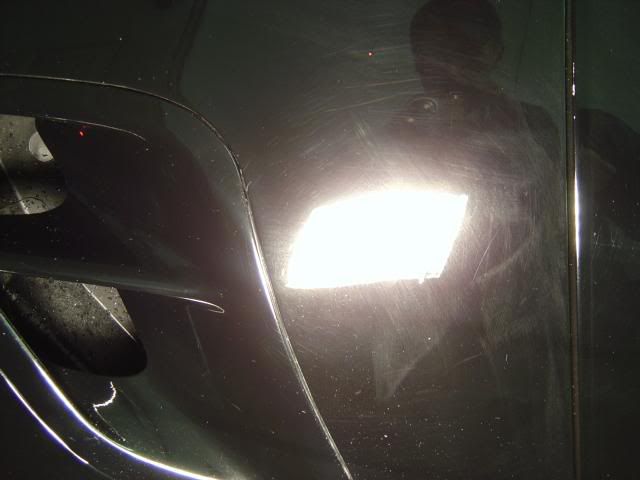
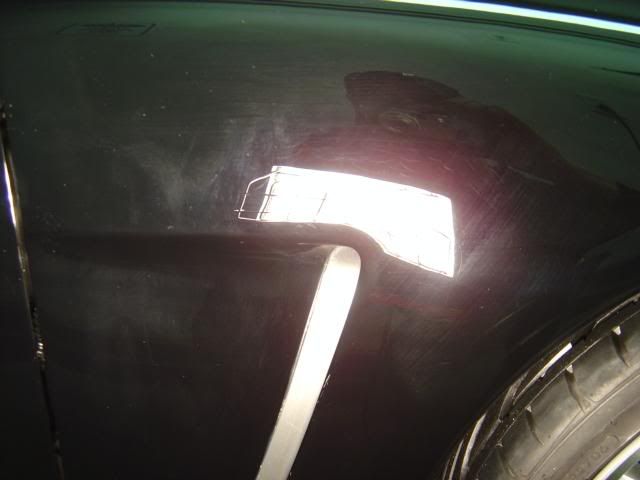
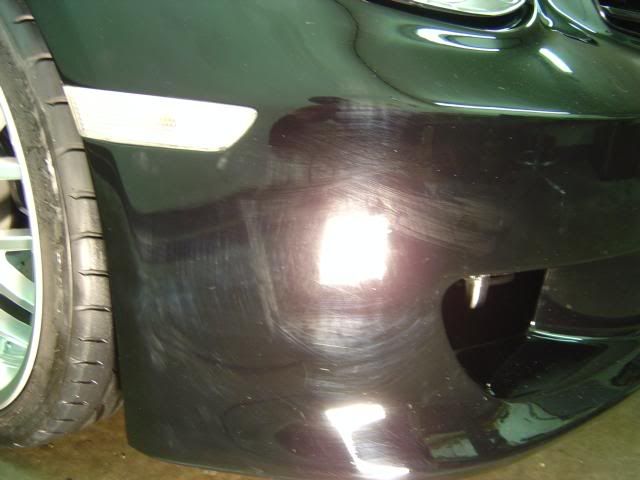
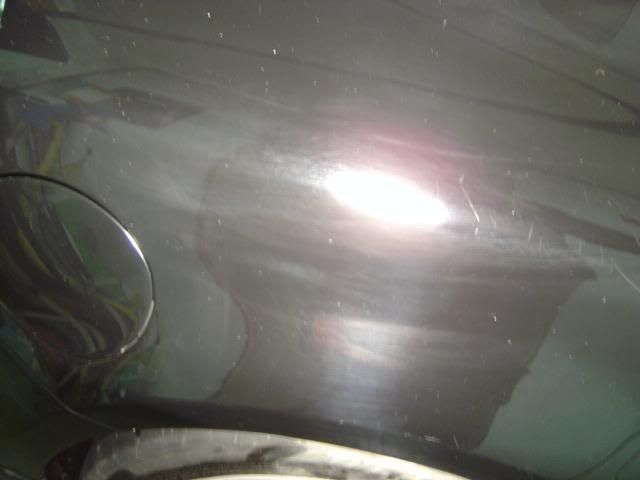
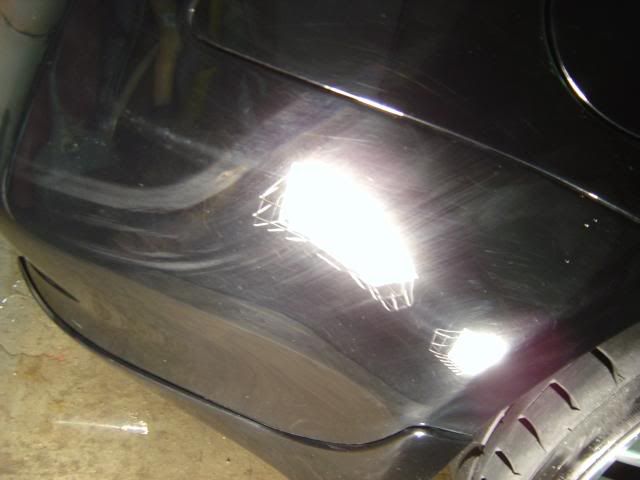
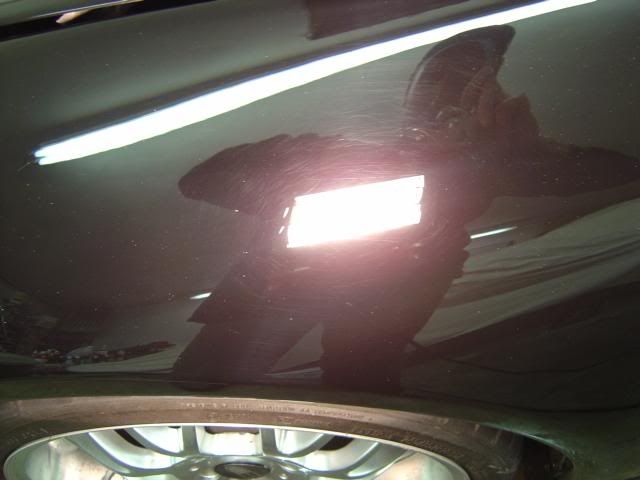
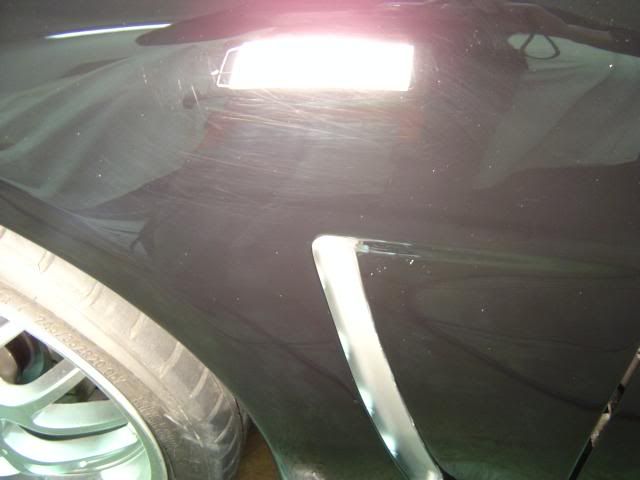
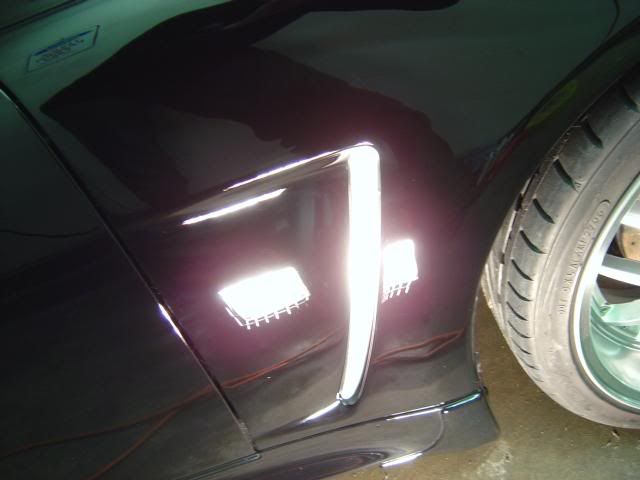
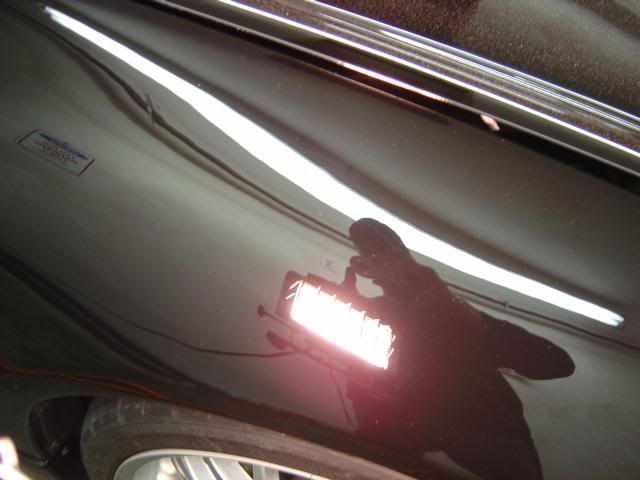
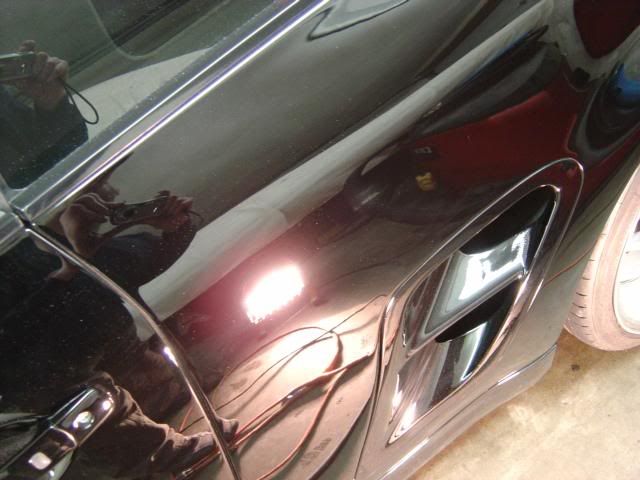
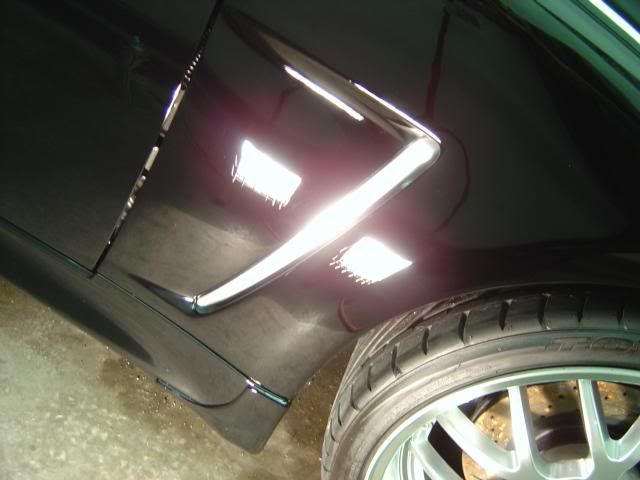
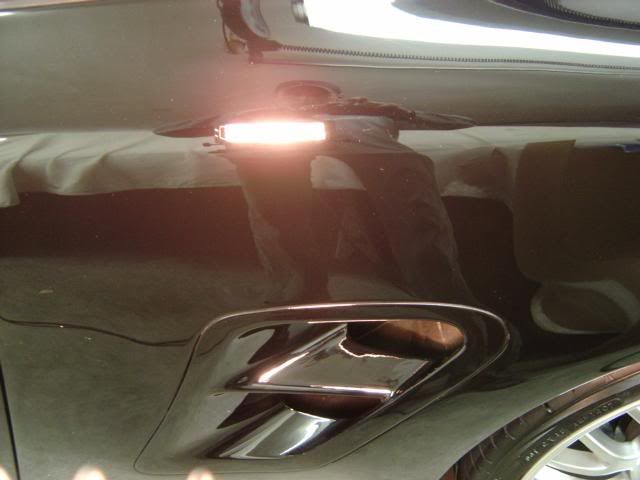
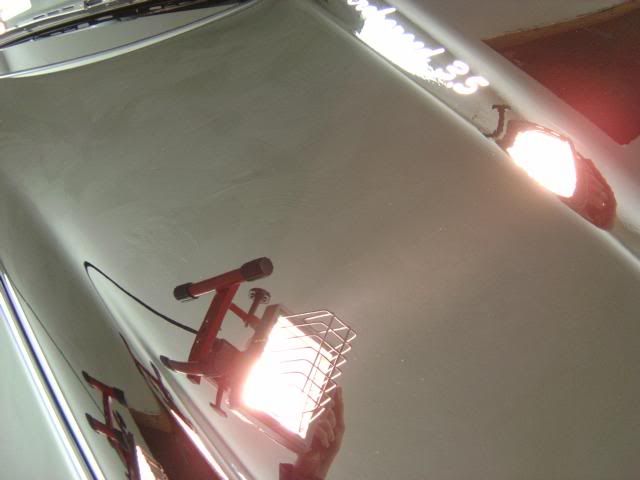
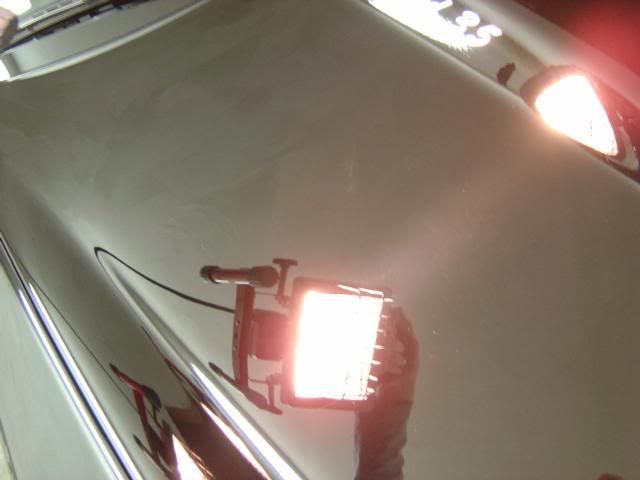
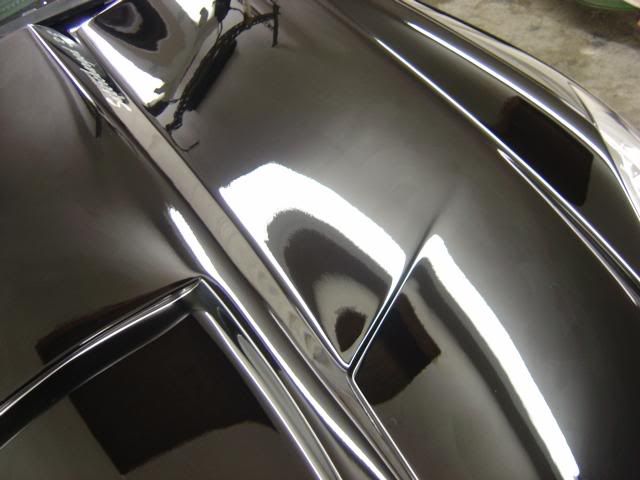
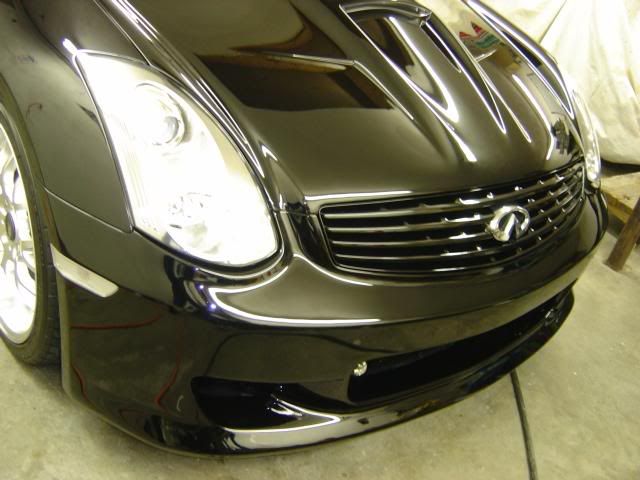
In my 14 years of detailing, I would have to say that this one takes the cake for having the most difficult paint to work with, EVER!! It was extremely hard to remove any defects and it just would not finish off easy without leaving buffer trails. It took me quite a while and a lot of products to finally figure out what the final process would be. As you can see from the pictures, there were RIDS, swirls, holograms, buffer trails etc. all over the car.
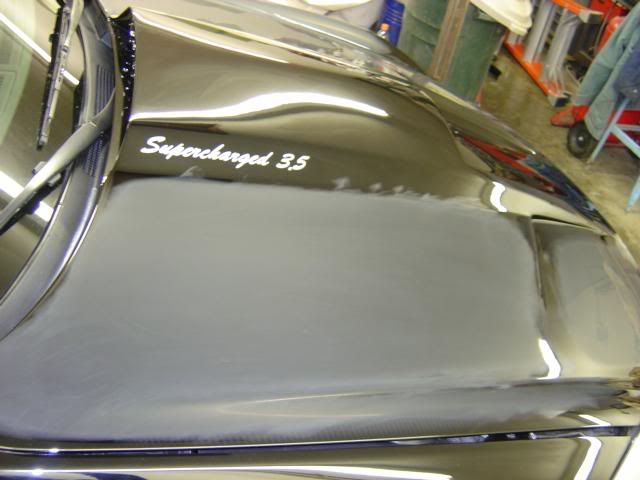
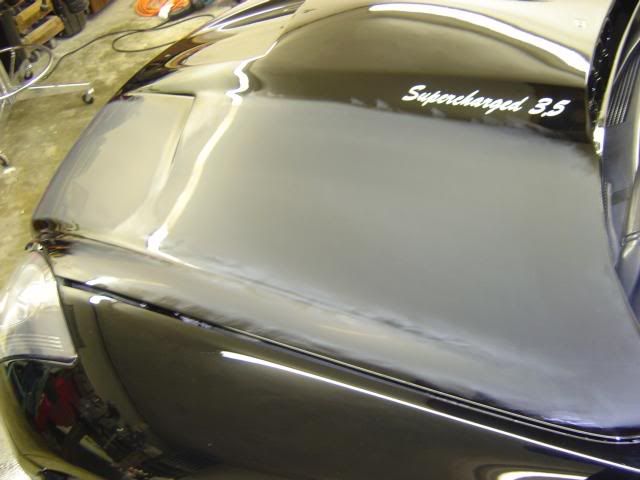
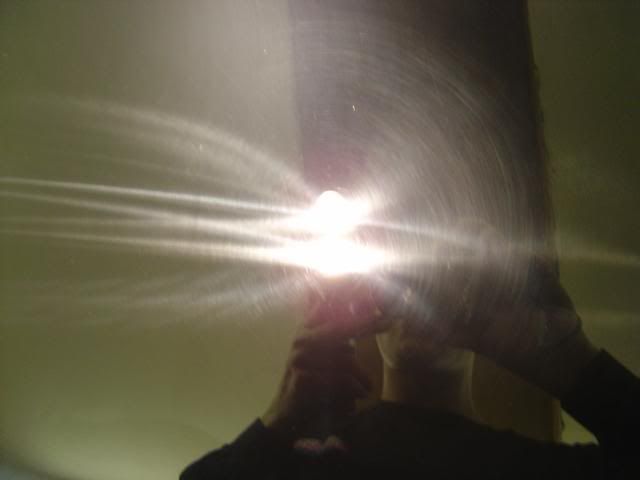
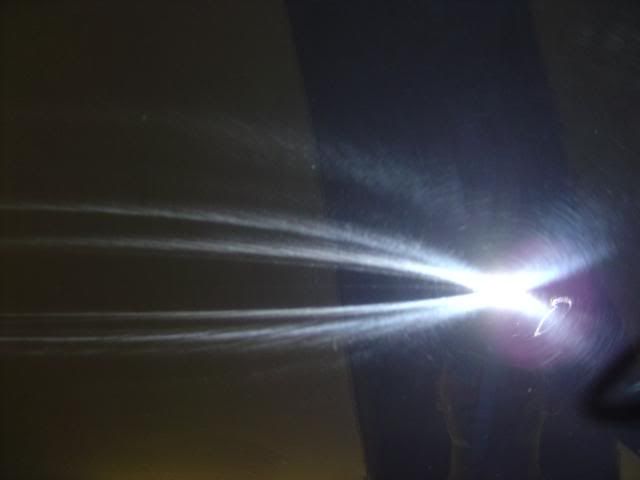
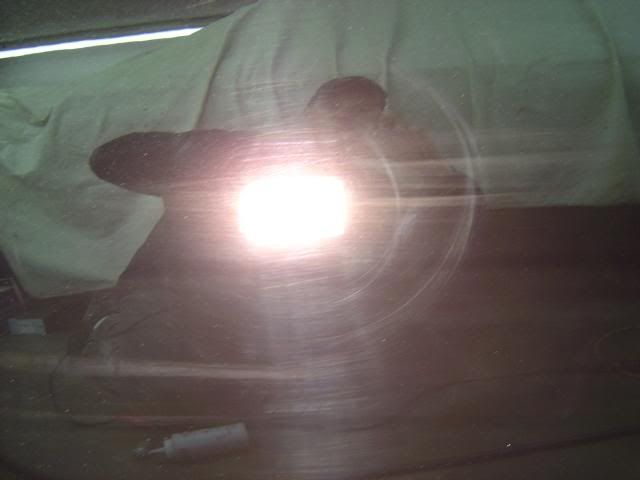
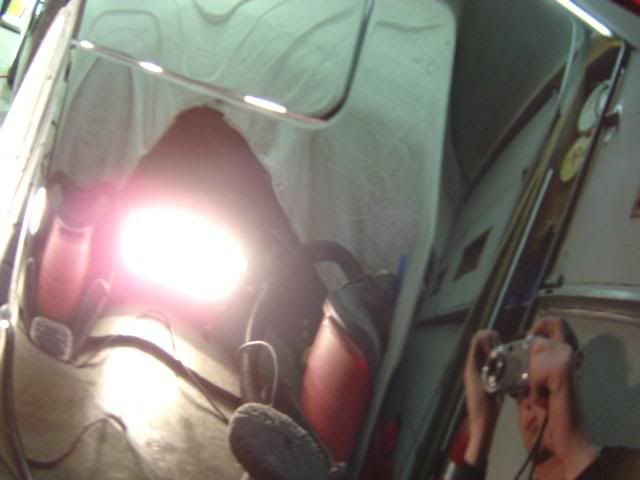
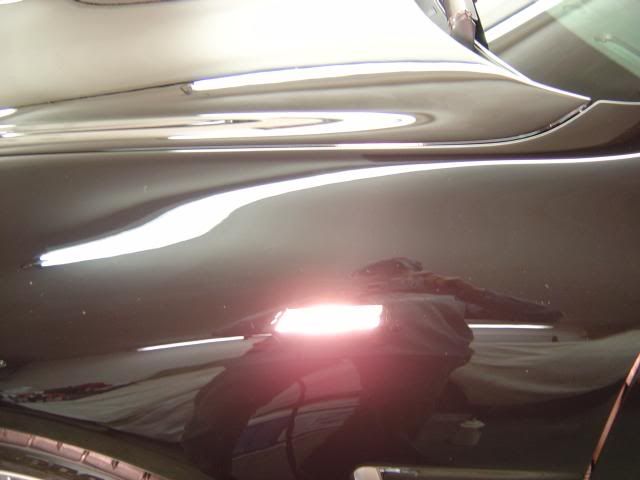
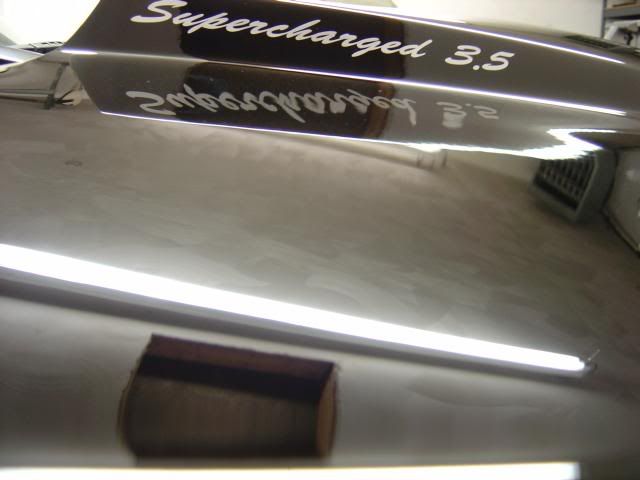
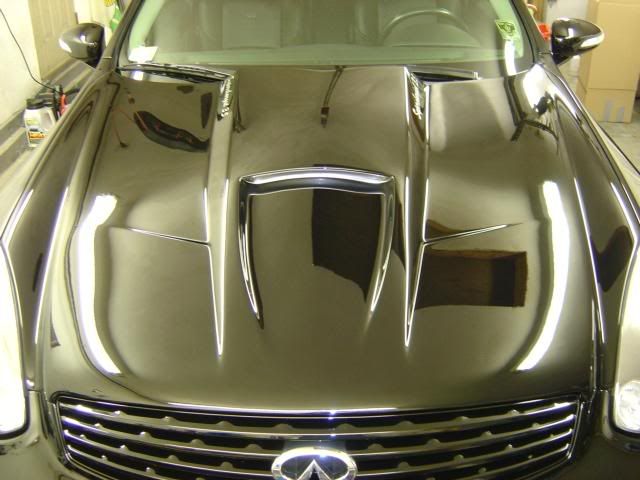
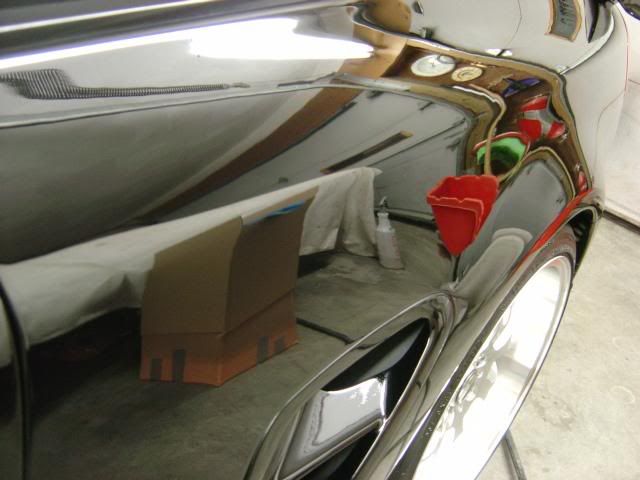
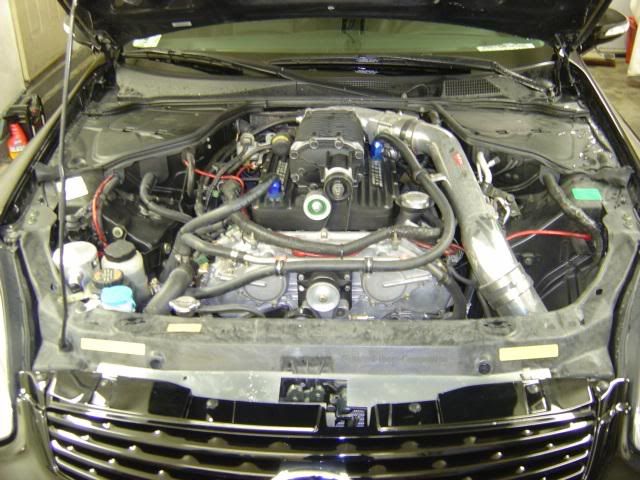
The hood was recently repainted and wetsanded with 3000 grit which was left to me to correct, so I decided to tackle it first before working on the rest of the car. I started off by compounding the hood with SIP X 2 using a yellow wool pad which removed all of the sanding marks, but left the finish very hazy. I followed with a blue wool pad with SIP which improved the finish, but still left a considerable amount of haziness. I tried finishing off with 106ff on a finishing pad, but it barely did anything. I then tried 106ff on a more aggressive pad which also did little. I tried regular Intensive Polish on a foam cutting pad which seemed to work the best, but was a really tough to remove all of the haze. I had to apply the IP three times to each panel and really work it in to get the results I wanted. After getting the hood 85-90% hologram free, it was time to finish it off. I used 106ff X 2 on a finishing pad which made a huge difference, but was still leaving buffer trails under the halogens. I tried a few other products and ended up using Final Polish II for the final step which left the finish looking the best it was going to get.
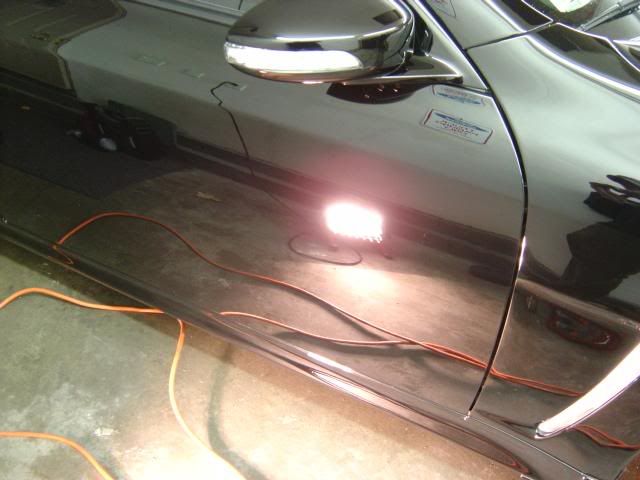
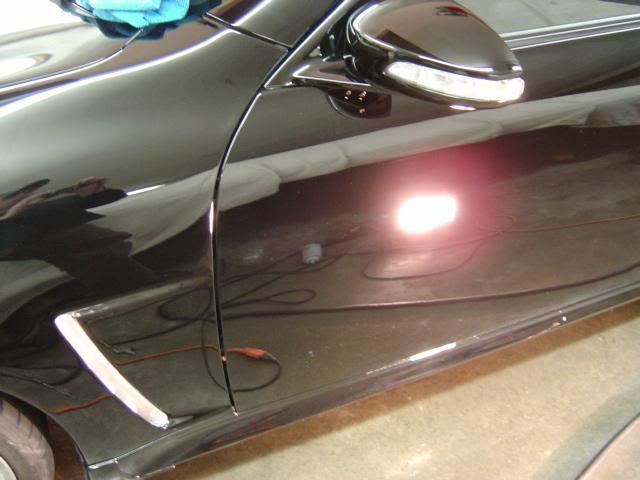
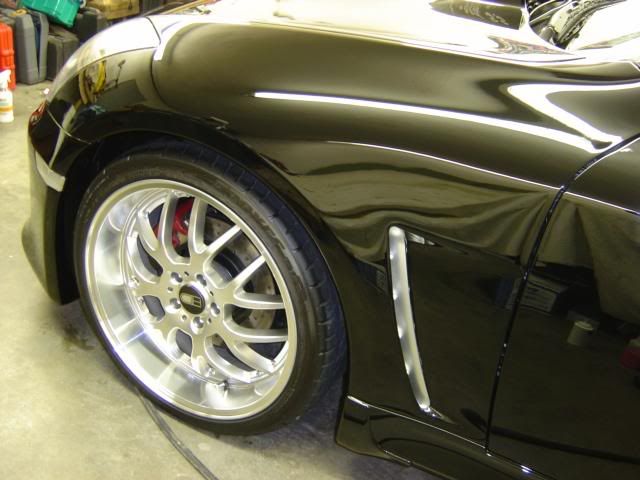
After getting the hood completed, it was now time to work on the rest of the car. I started off by compounding the passenger side fender and door with SIP using a yellow wool pad followed by a blue wool pad, but this was way too aggressive and hazed up both panels pretty badly (significantly worse than the hood). It took me forever to get the paint back to where it should be, so I decided to take a less aggressive approach on the rest of the car as I was limited on time.
All in all, the paint came out alright, but I was not able to remove 100% of the deep scratches. I’d say it came out close to 95% defect free. I was expecting this detail to be a nice enjoyable one, but ended up being sort of a nightmare. I guess you can’t win them all…
My final process for the rest of the car was:
SIP X 2 using a yellow foam compounding pad
IP X 2 using a yellow ripple foam mild cutting pad
106ff using a white polishing pad
FP II using a black foam finishing pad
Lusso Oro by hand using a foam applicator
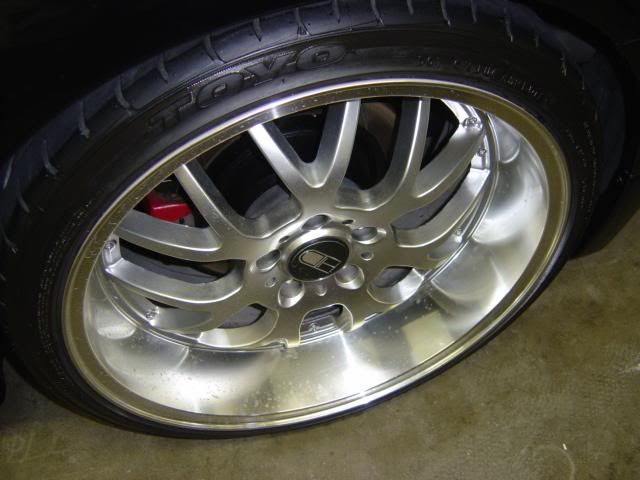
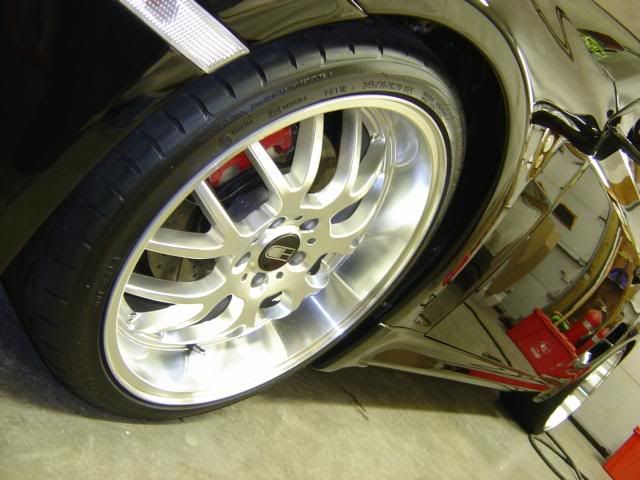
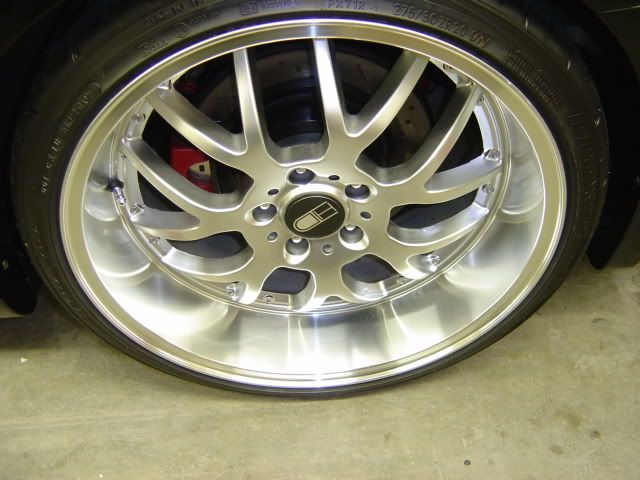
Klasse AIO on the wheels (clearcoated aluminum)
Super Blue dressing on the tires and wheel wells
Opti-Seal on exterior glass and wheels
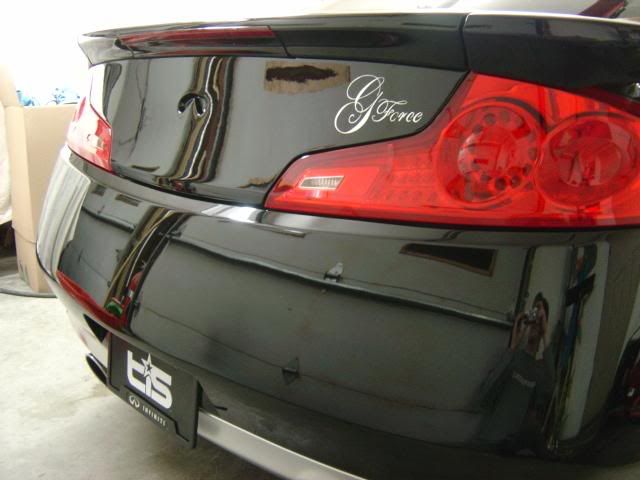
The Before Pictures:
wetsanded hood...
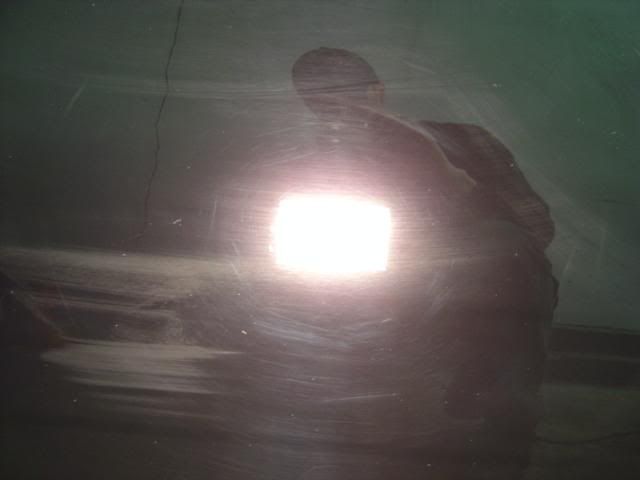
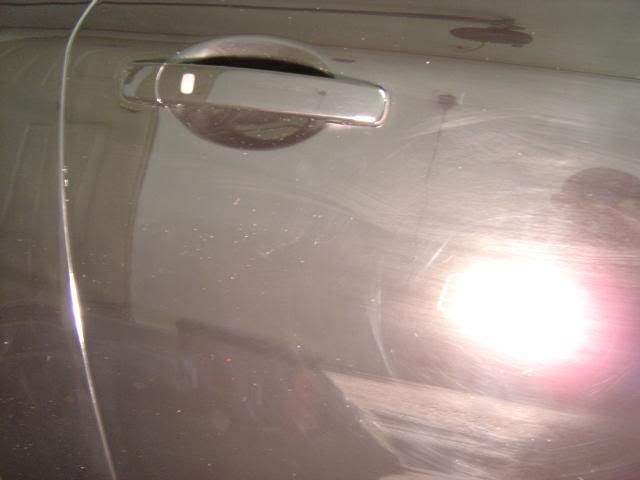
In my 14 years of detailing, I would have to say that this one takes the cake for having the most difficult paint to work with, EVER!! It was extremely hard to remove any defects and it just would not finish off easy without leaving buffer trails. It took me quite a while and a lot of products to finally figure out what the final process would be. As you can see from the pictures, there were RIDS, swirls, holograms, buffer trails etc. all over the car.
The hood was recently repainted and wetsanded with 3000 grit which was left to me to correct, so I decided to tackle it first before working on the rest of the car. I started off by compounding the hood with SIP X 2 using a yellow wool pad which removed all of the sanding marks, but left the finish very hazy. I followed with a blue wool pad with SIP which improved the finish, but still left a considerable amount of haziness. I tried finishing off with 106ff on a finishing pad, but it barely did anything. I then tried 106ff on a more aggressive pad which also did little. I tried regular Intensive Polish on a foam cutting pad which seemed to work the best, but was a really tough to remove all of the haze. I had to apply the IP three times to each panel and really work it in to get the results I wanted. After getting the hood 85-90% hologram free, it was time to finish it off. I used 106ff X 2 on a finishing pad which made a huge difference, but was still leaving buffer trails under the halogens. I tried a few other products and ended up using Final Polish II for the final step which left the finish looking the best it was going to get.
After getting the hood completed, it was now time to work on the rest of the car. I started off by compounding the passenger side fender and door with SIP using a yellow wool pad followed by a blue wool pad, but this was way too aggressive and hazed up both panels pretty badly (significantly worse than the hood). It took me forever to get the paint back to where it should be, so I decided to take a less aggressive approach on the rest of the car as I was limited on time.
All in all, the paint came out alright, but I was not able to remove 100% of the deep scratches. I’d say it came out close to 95% defect free. I was expecting this detail to be a nice enjoyable one, but ended up being sort of a nightmare. I guess you can’t win them all…
My final process for the rest of the car was:
SIP X 2 using a yellow foam compounding pad
IP X 2 using a yellow ripple foam mild cutting pad
106ff using a white polishing pad
FP II using a black foam finishing pad
Lusso Oro by hand using a foam applicator
Klasse AIO on the wheels (clearcoated aluminum)
Super Blue dressing on the tires and wheel wells
Opti-Seal on exterior glass and wheels
The Before Pictures:
wetsanded hood...


")