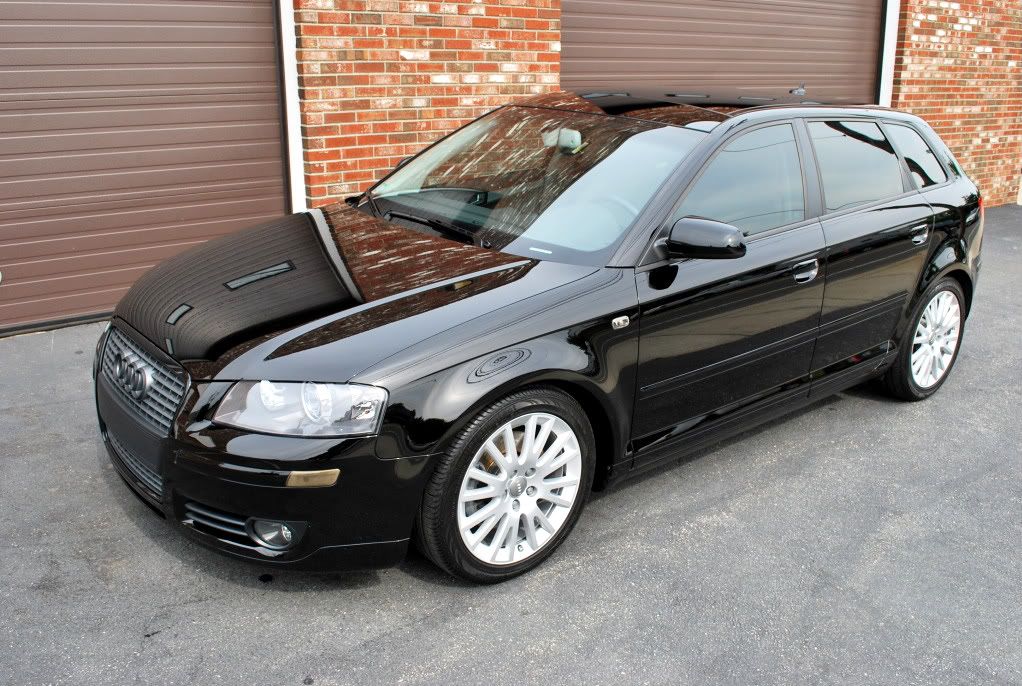
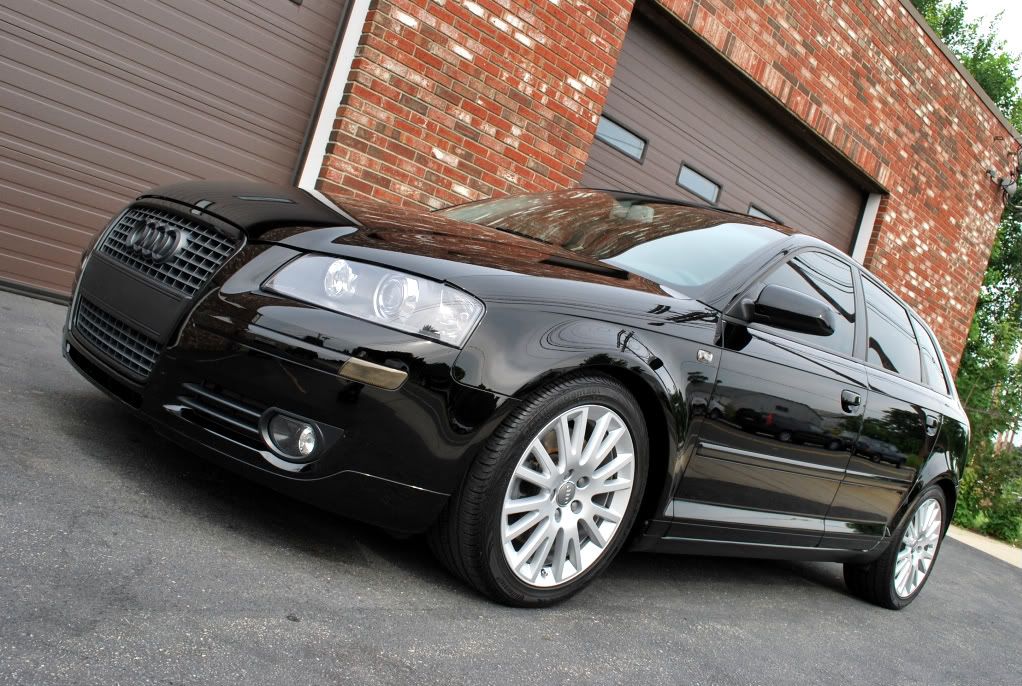
This Audi A3 was scheduled for a complete detail to get it ready for resale. Despite only having just over 20K miles on the odometer, the car was in dire need of some TLC. It had spent a lot of time in the city, so it had its fair share of scratches, nicks, blemishes, etc… Luckily, the front of the vehicle was protected by the clear-bra protection film, which I was really impressed by. The exterior had lots of bonded contamination on the surface, as well as all exterior glass. The owner said that the car had been parked in a parking garage while it was raining, so it left some horrible water spots on the paint and all exterior glass due to the fresh cement.
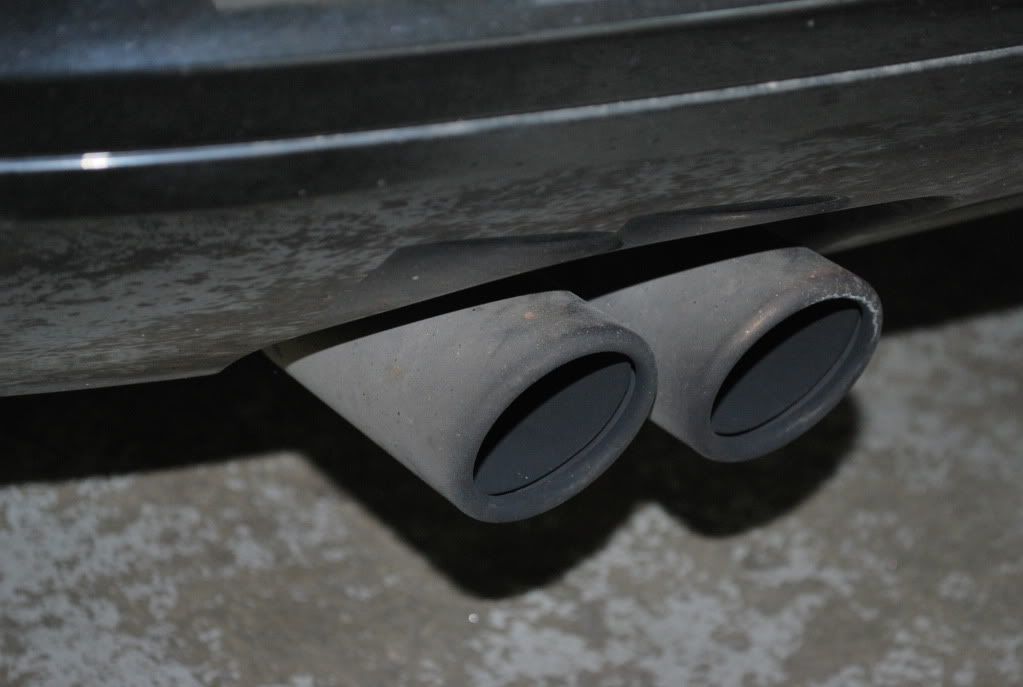
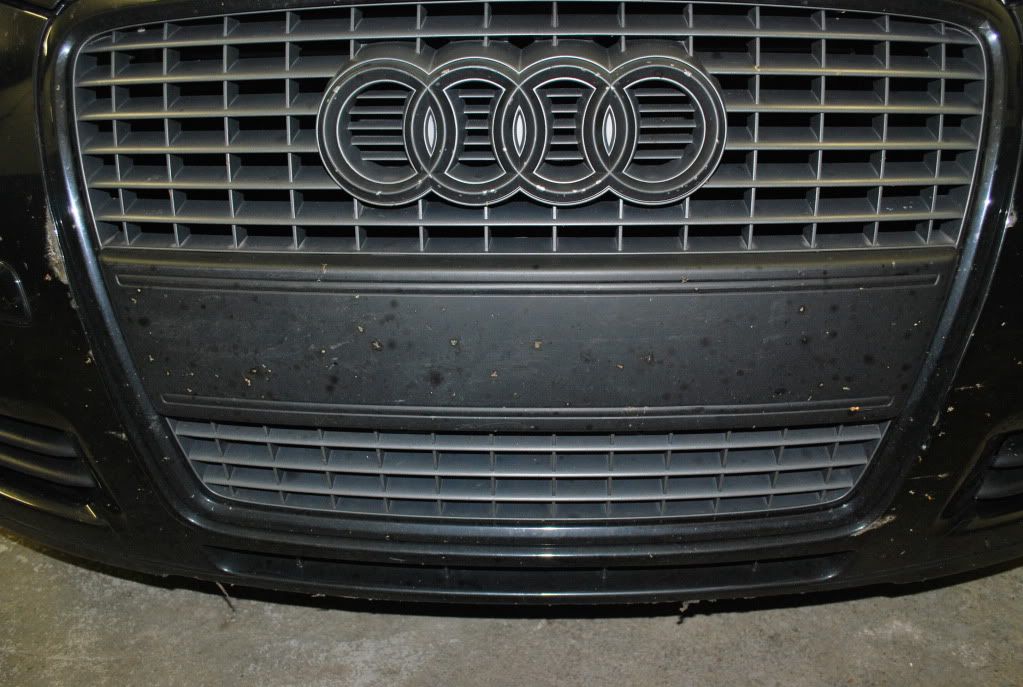
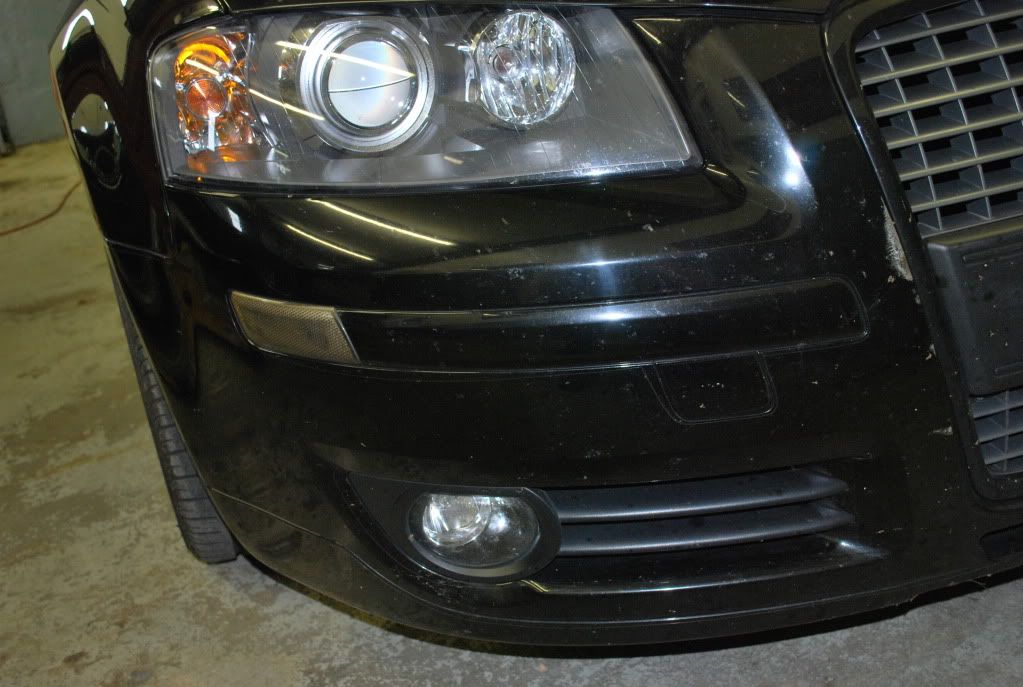
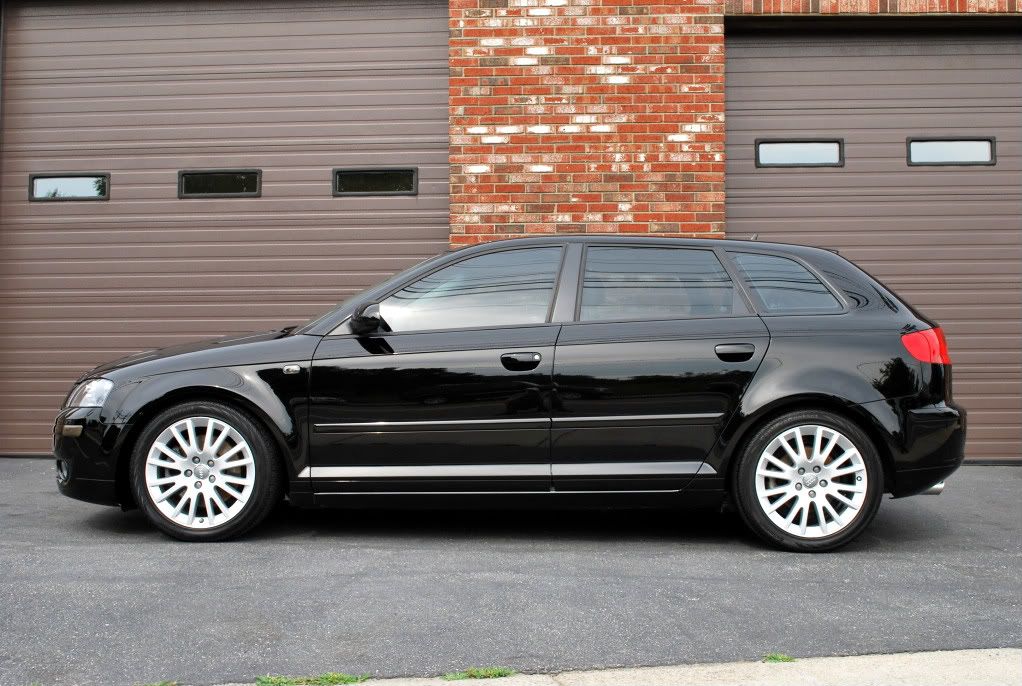
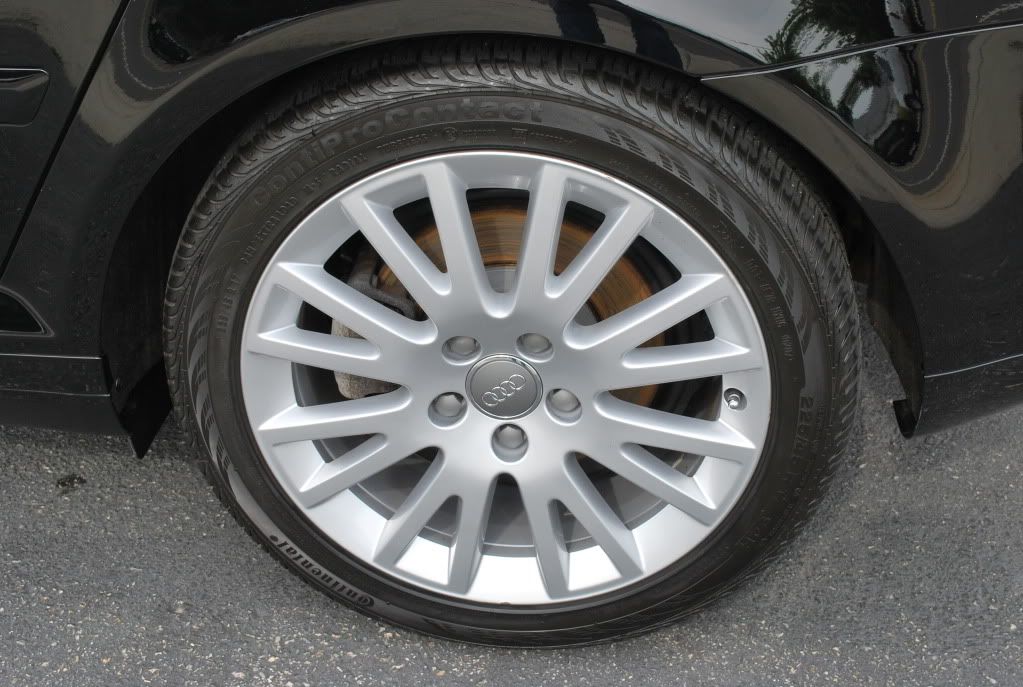
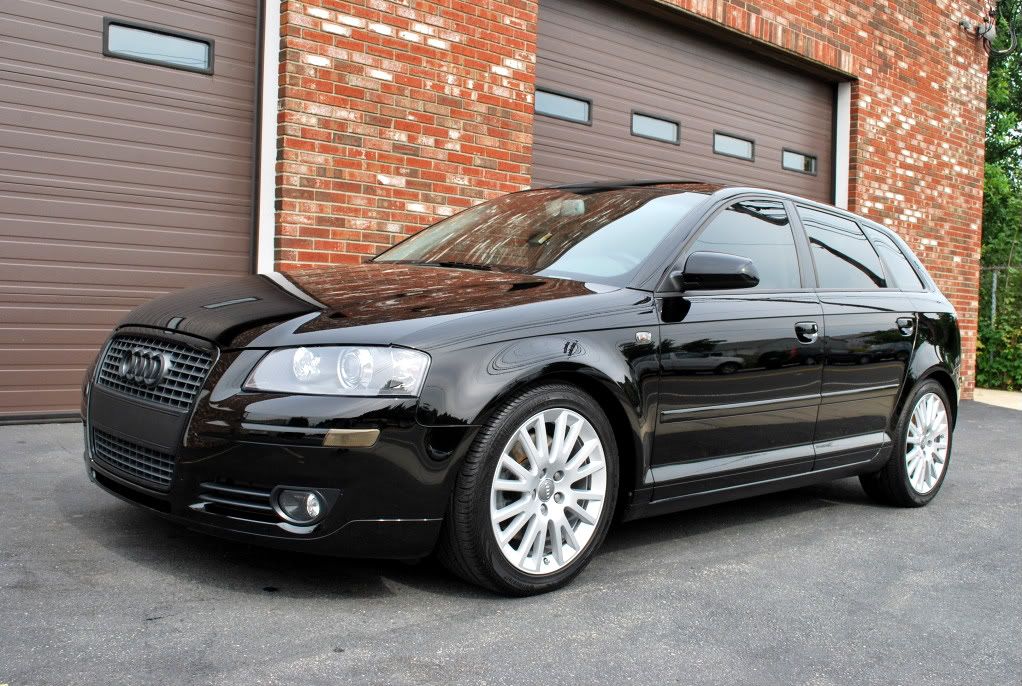
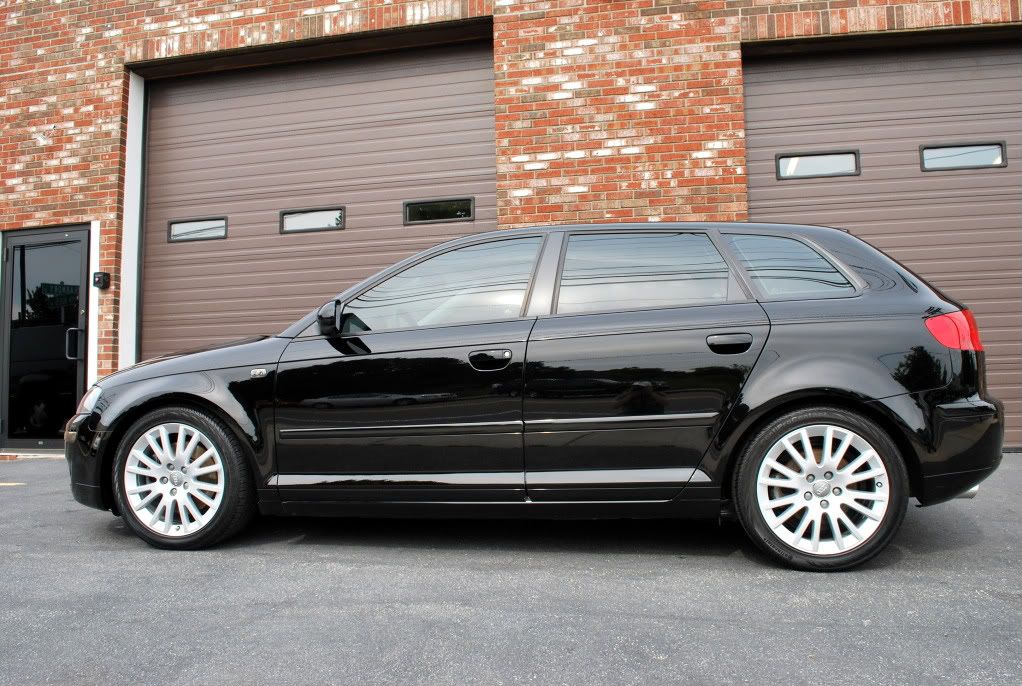
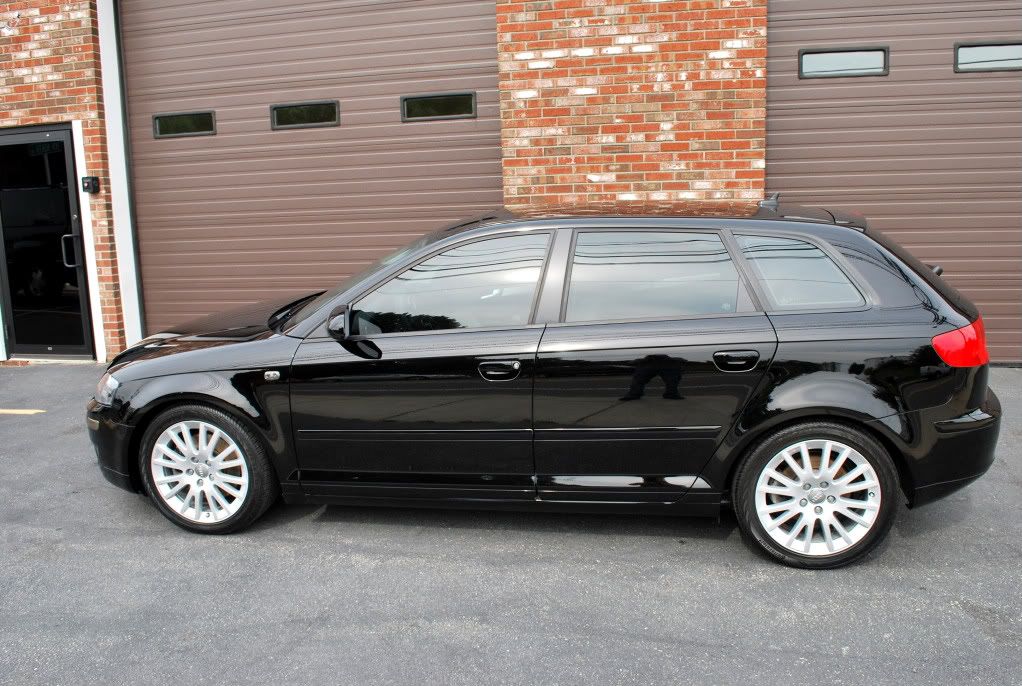
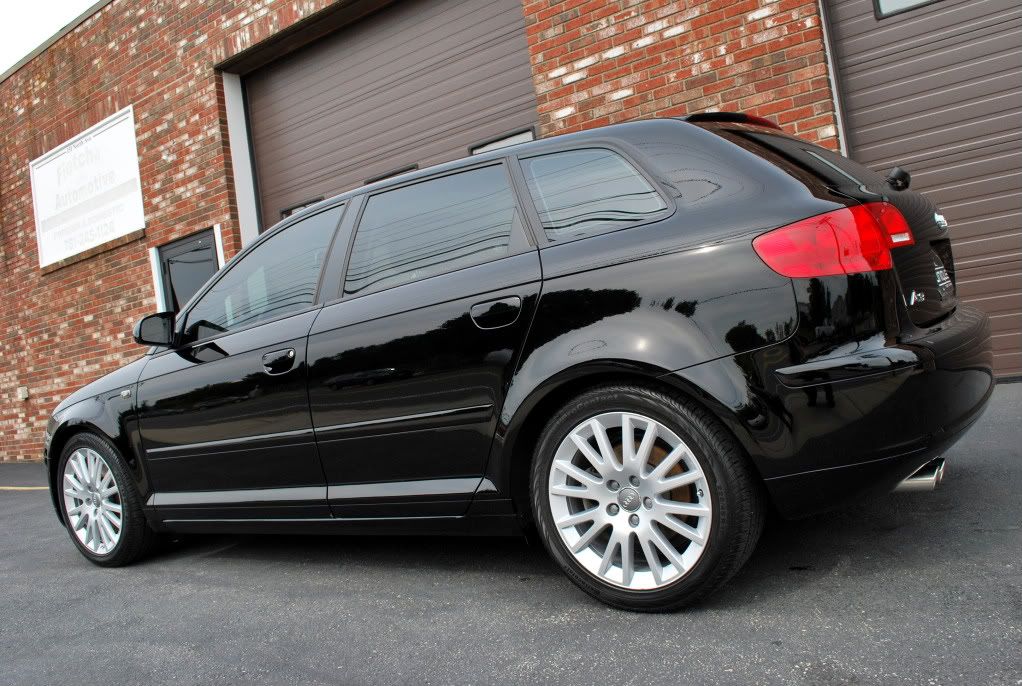
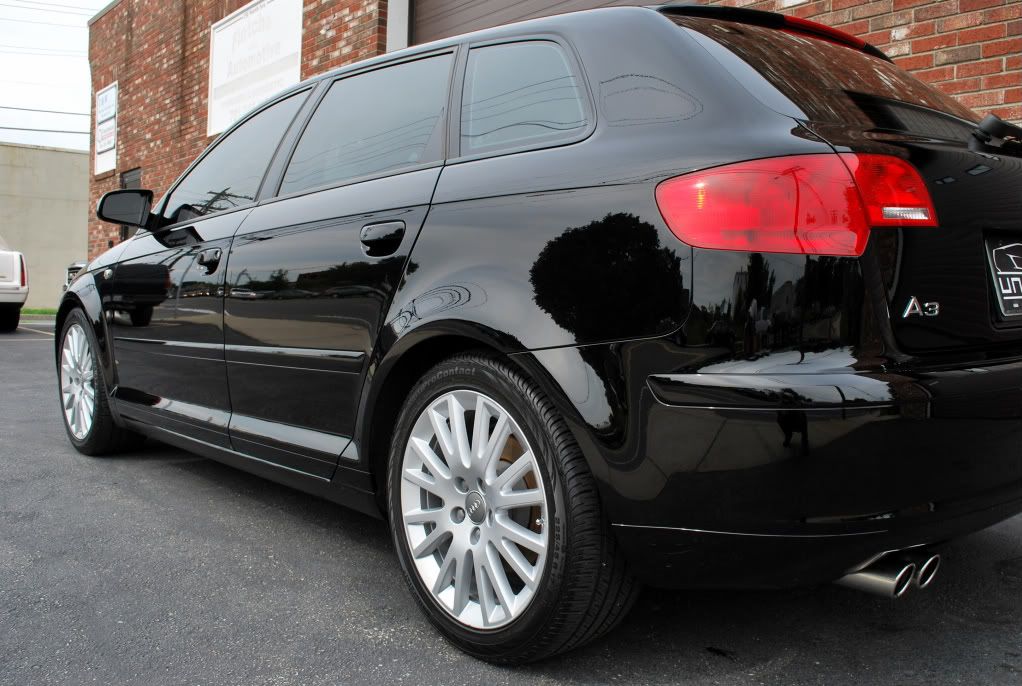
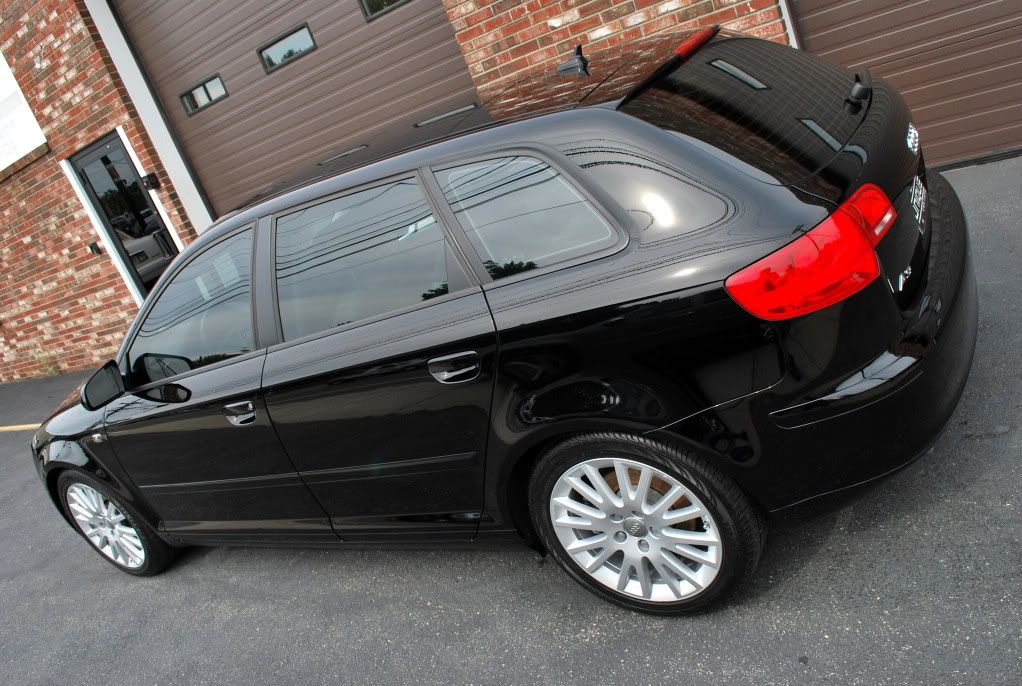
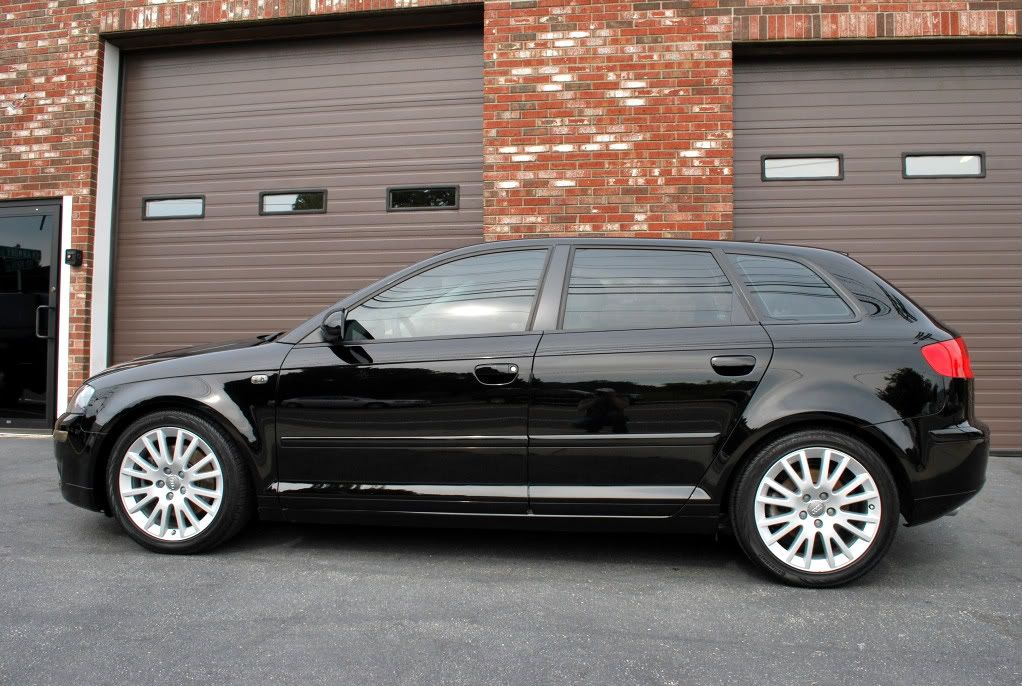
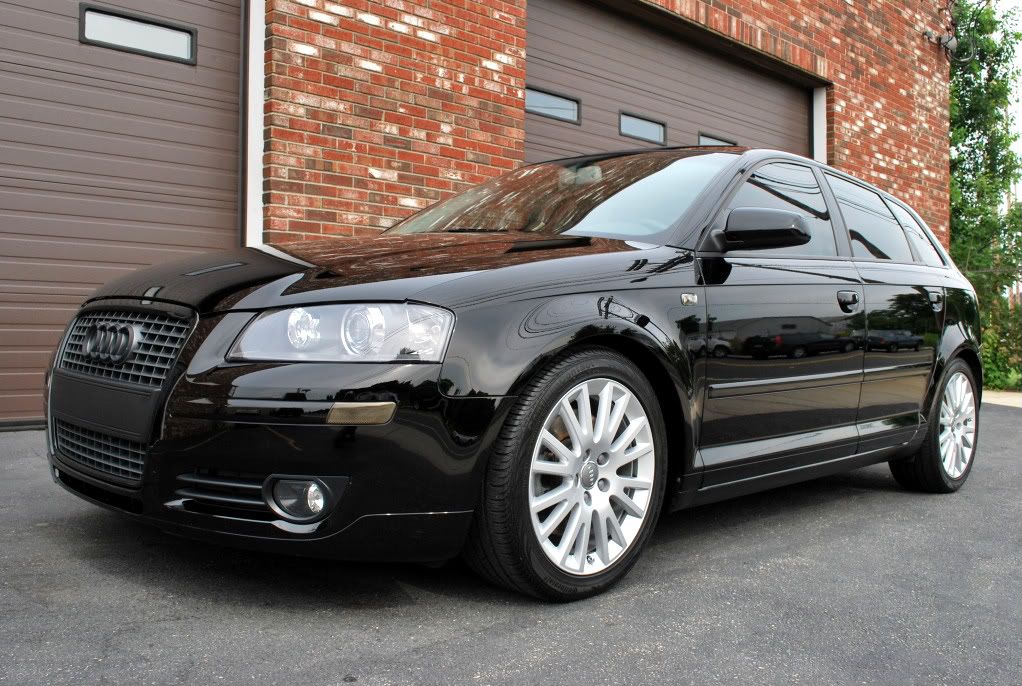
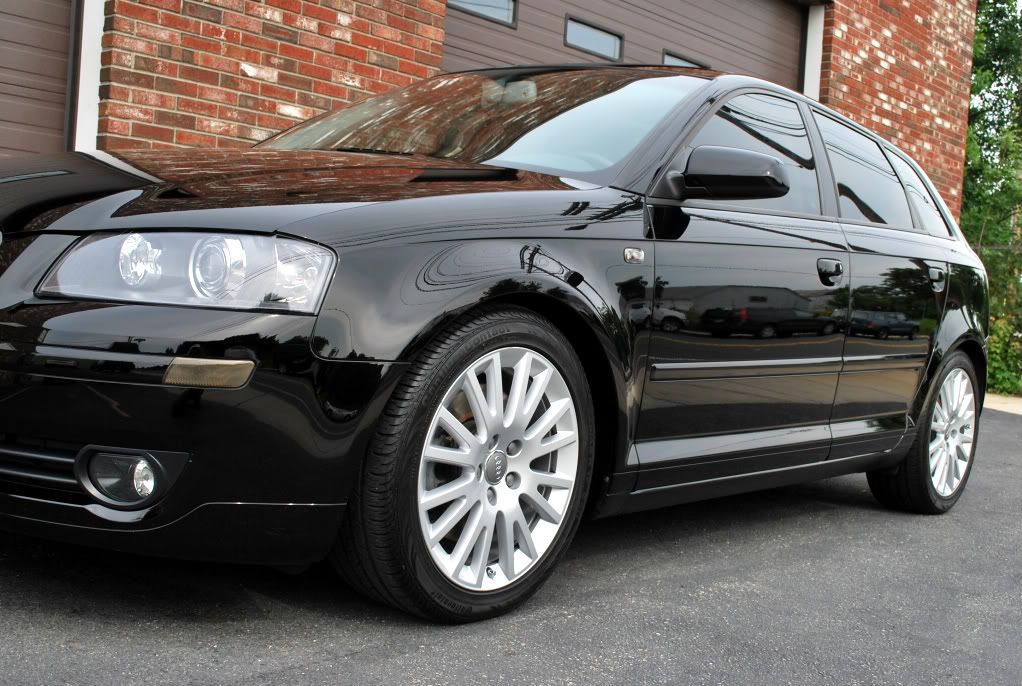
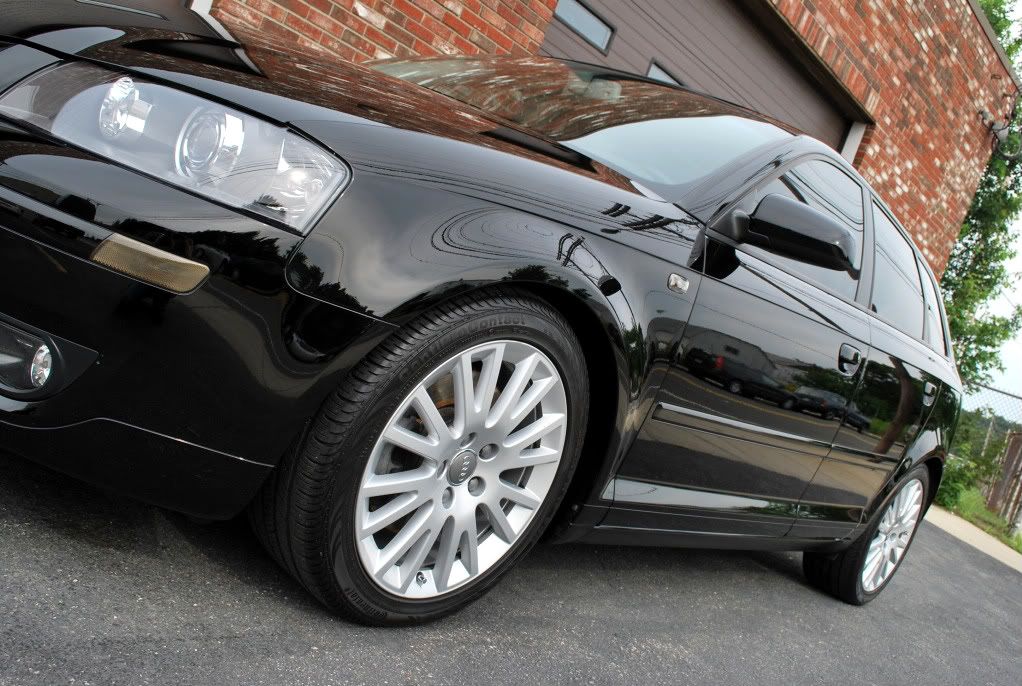
Here are a few pictures to show how the car looked upon arrival.
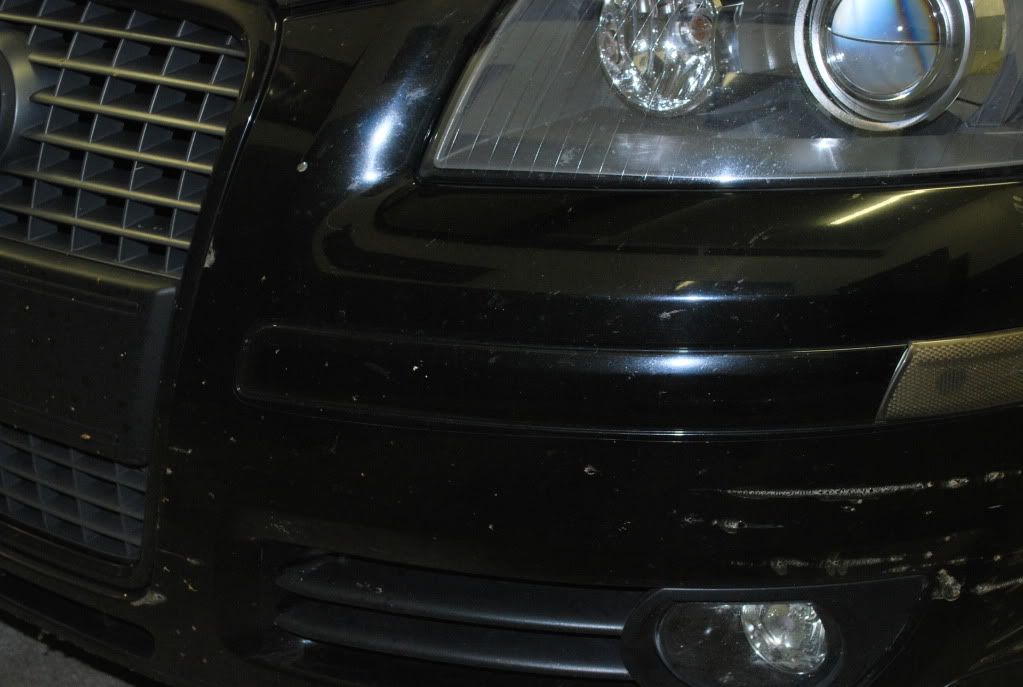
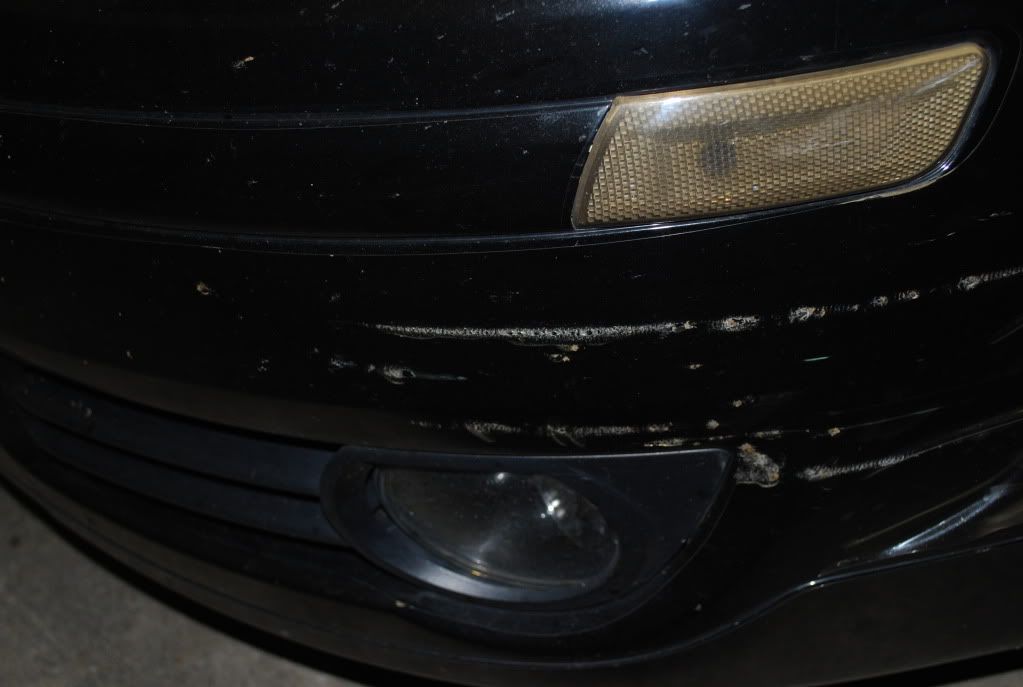
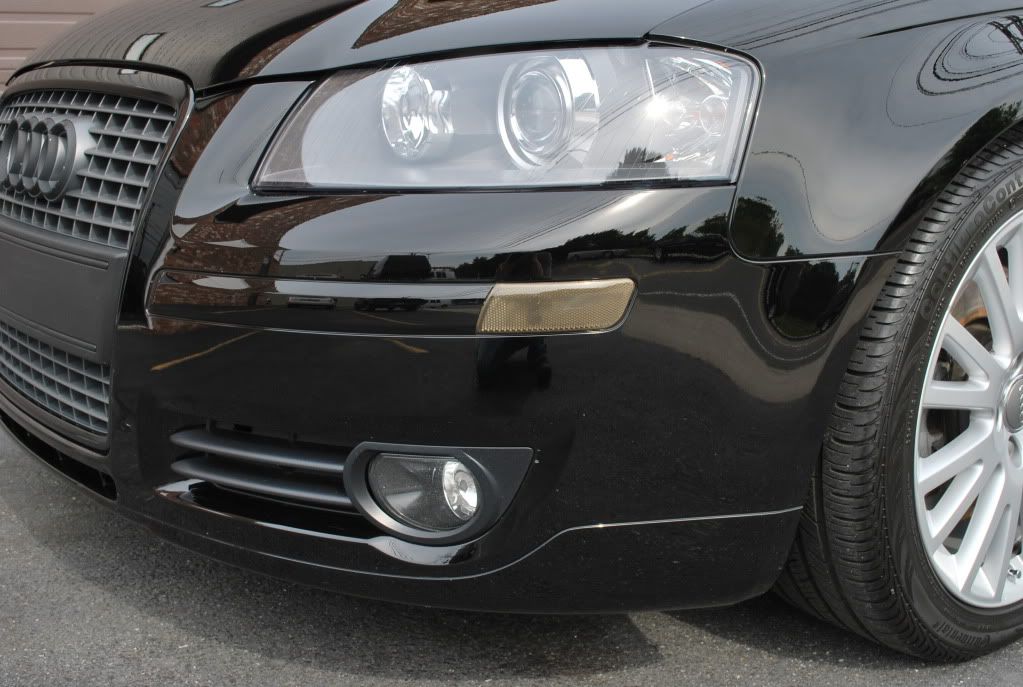
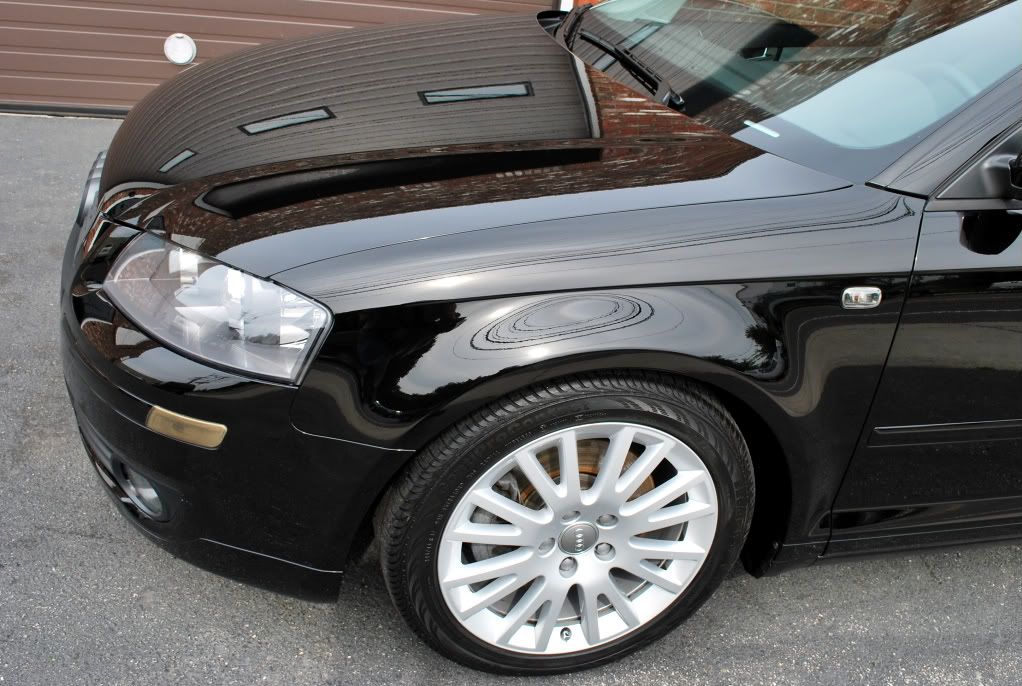
The clear-bra was looking a bit rough and had quite a bit of damage, so the owner asked that I remove it completely.
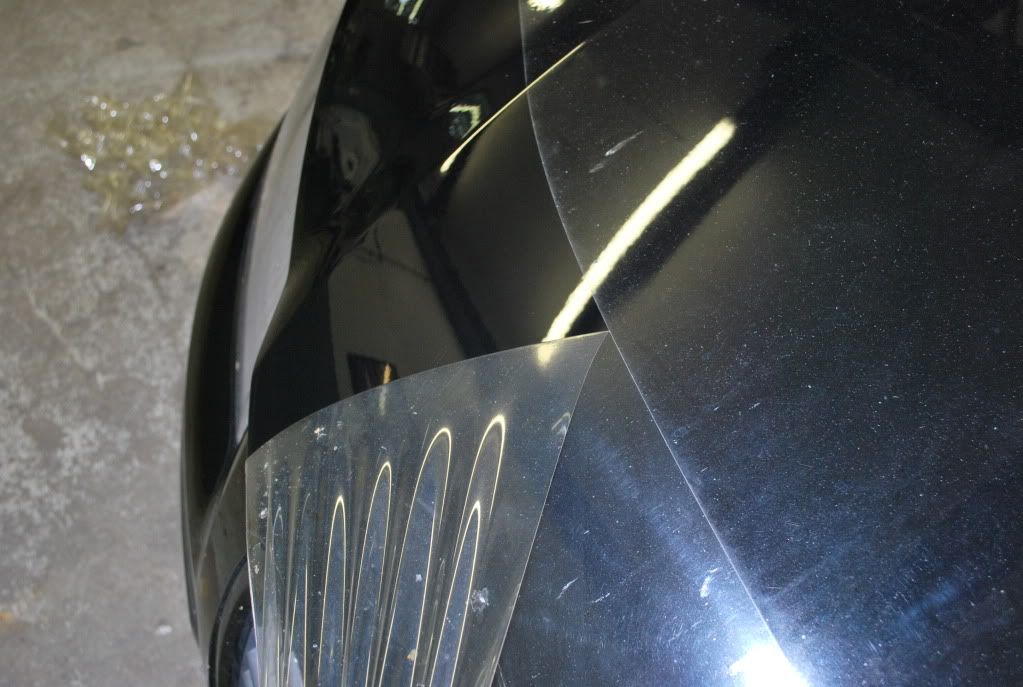
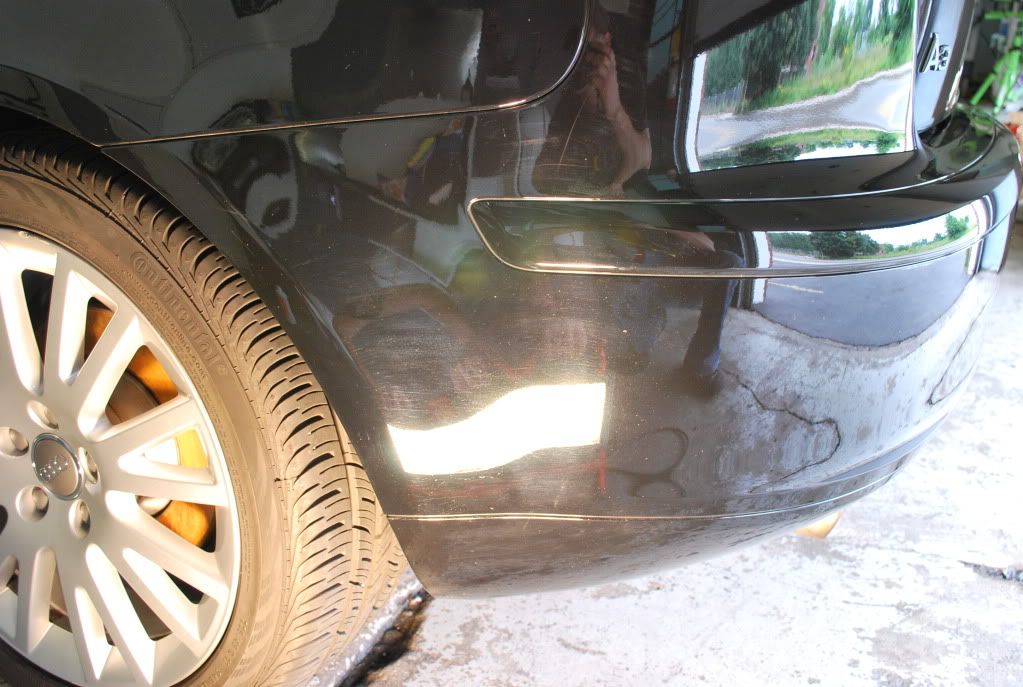
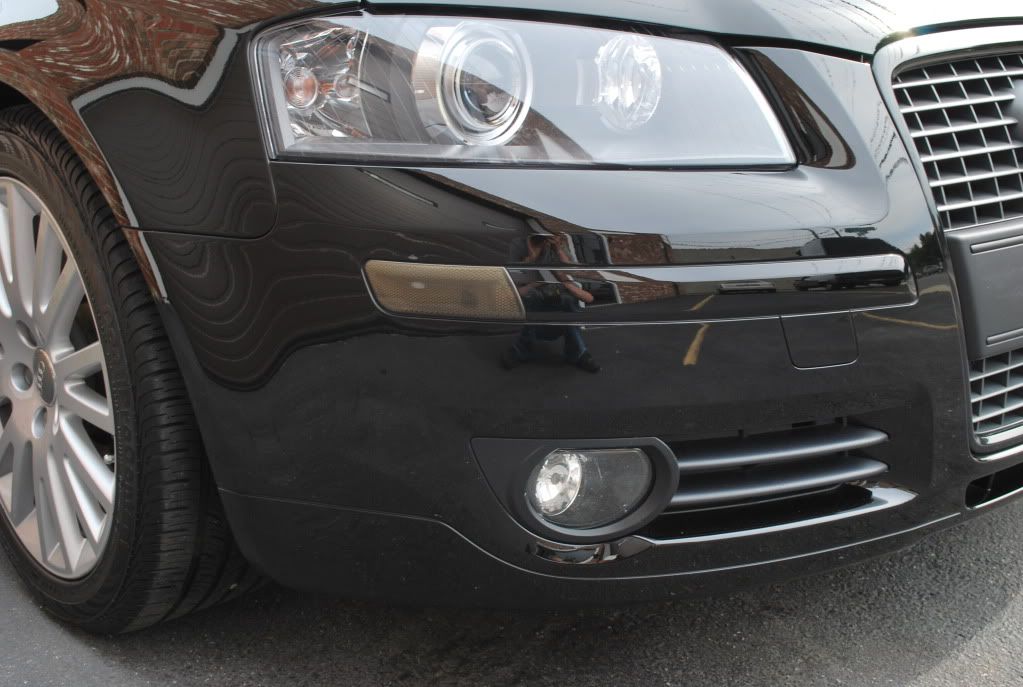
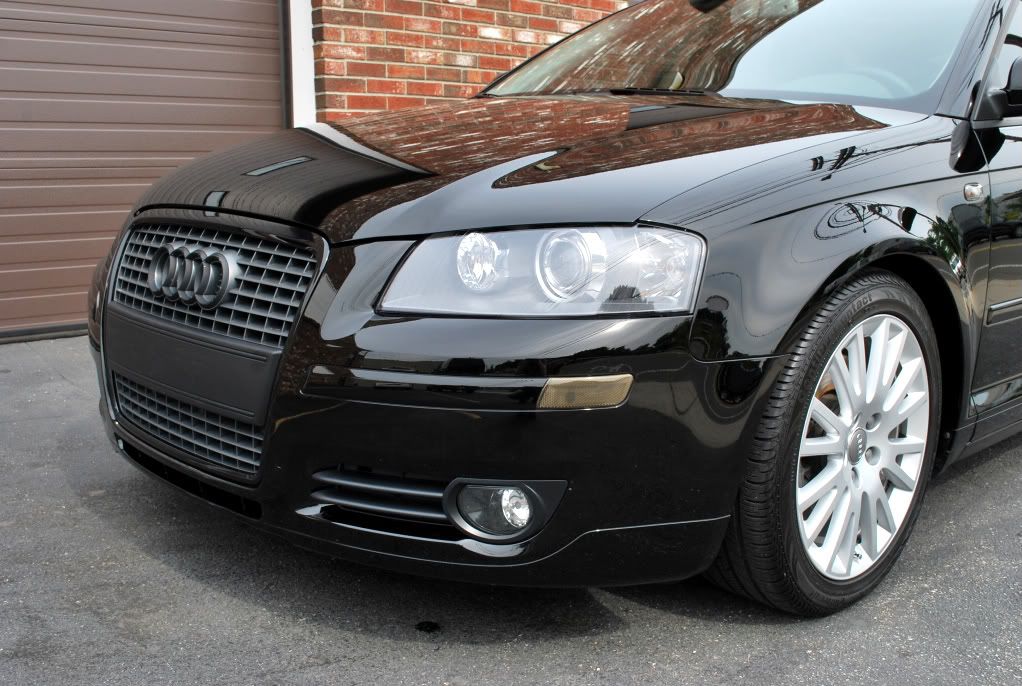
Here you can see how good the clear-bra protected the paint…
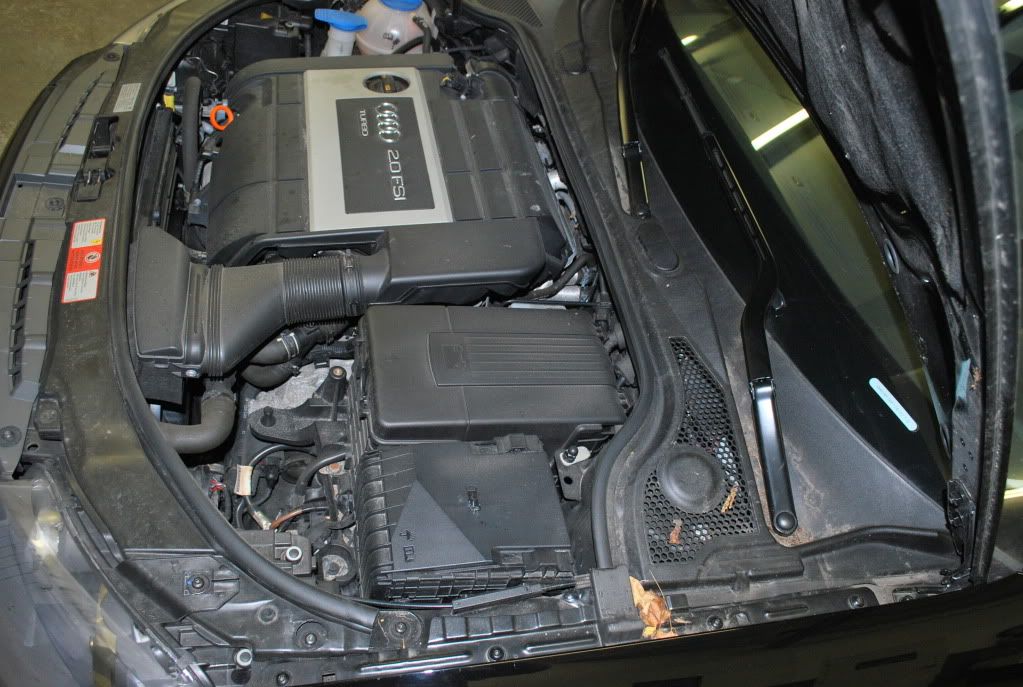
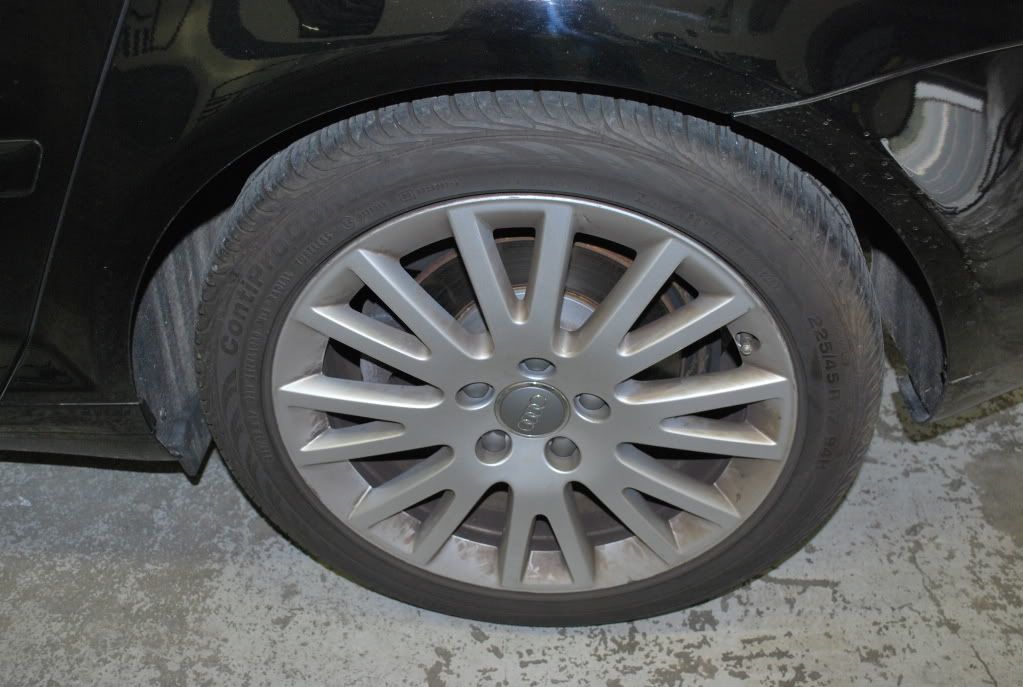
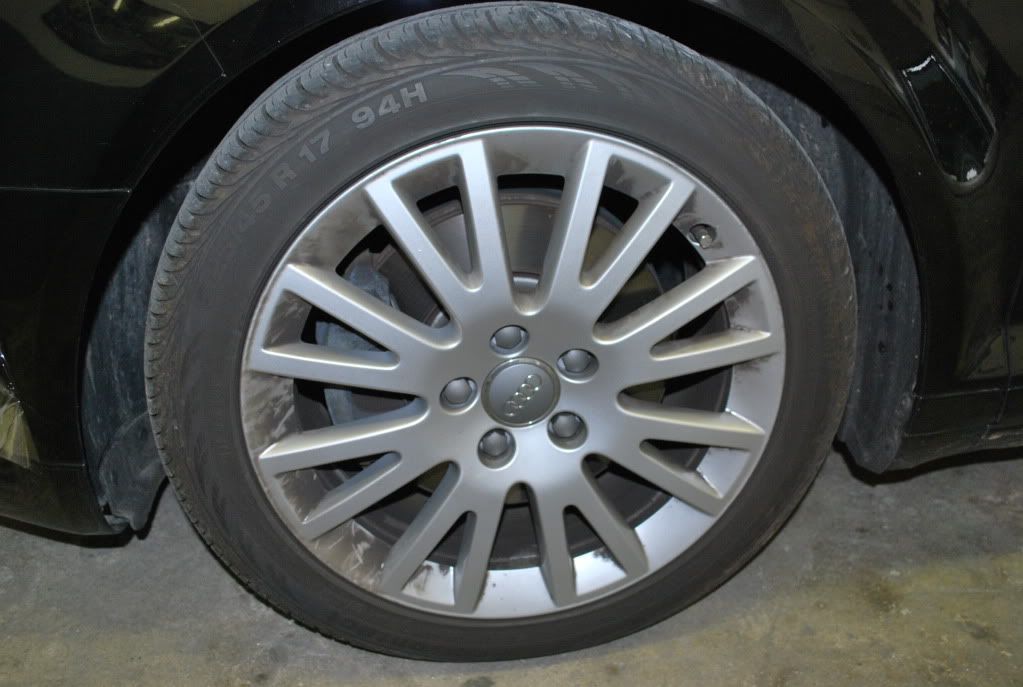
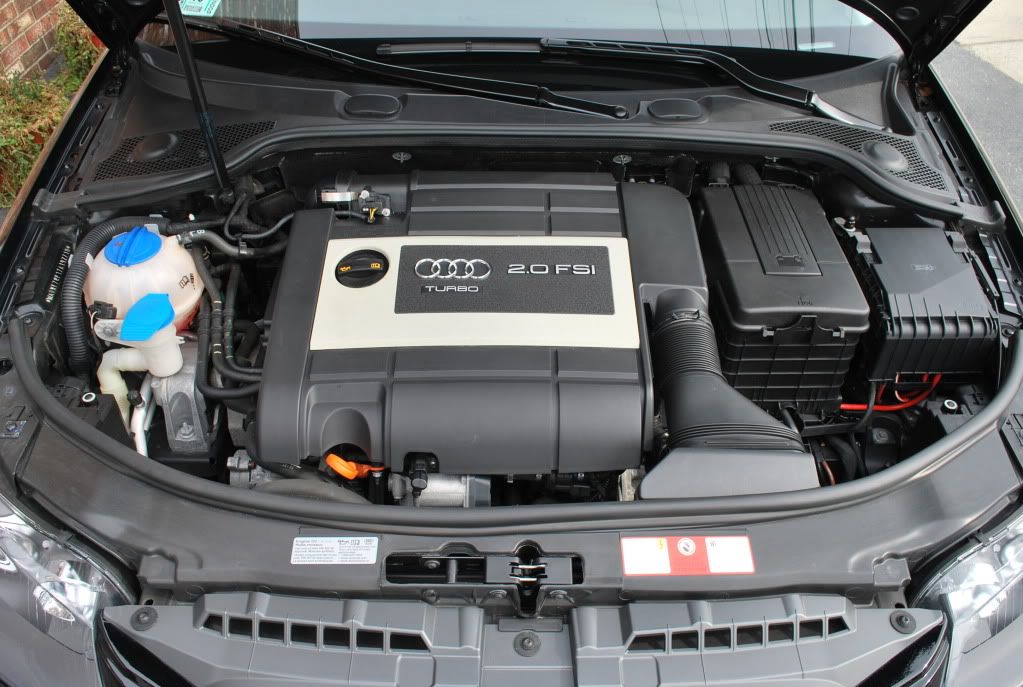
After I removed the entire clear-bra, I gave the exterior a thorough pre-rinse to remove as much loose contamination as possible. Before proceeding to the wash, I spent a good amount of time cleaning the engine compartment, wheels, tires, wheel wells and jambs. P21S Wheel Cleaner Gel was used for the wheels and Spray Nine was used to clean the engine compartment, tires and jambs. Next, I soaked the car in foam with CG Maxi Suds II using my Gilmour Foamaster Foam Gun and let it dwell for several minutes before rinsing. I like to get as much dirt off the finish before washing it to prevent any additional marring.
I proceeded to wash the exterior using CG Maxi Suds II and gave the car a quick rinse. The contamination was pretty severe, so I clayed each panel very carefully to make sure that everything was removed. It took several Sonus claybars to remove all of the contamination. This made a huge difference and left the paint feeling silky smooth. I washed the exterior one last time using a fresh batch of soap and sprayed each panel with a degreaser to remove any previous products that may have been imbedded in the paint. I gave the exterior a final rinse and dried it completely. All door, hood and trunk jambs were wiped clean using a microfiber towel and all cracks & crevices were purged with compressed air to remove any remaining water
My brother started detailing the interior while I prepped the exterior for polishing. An acrylic solvent was used to remove any paint transfers from the finish as well as any leftover residue from the clear-bra. Next, I masked off any trim, moldings, etc. before any polishing took place.
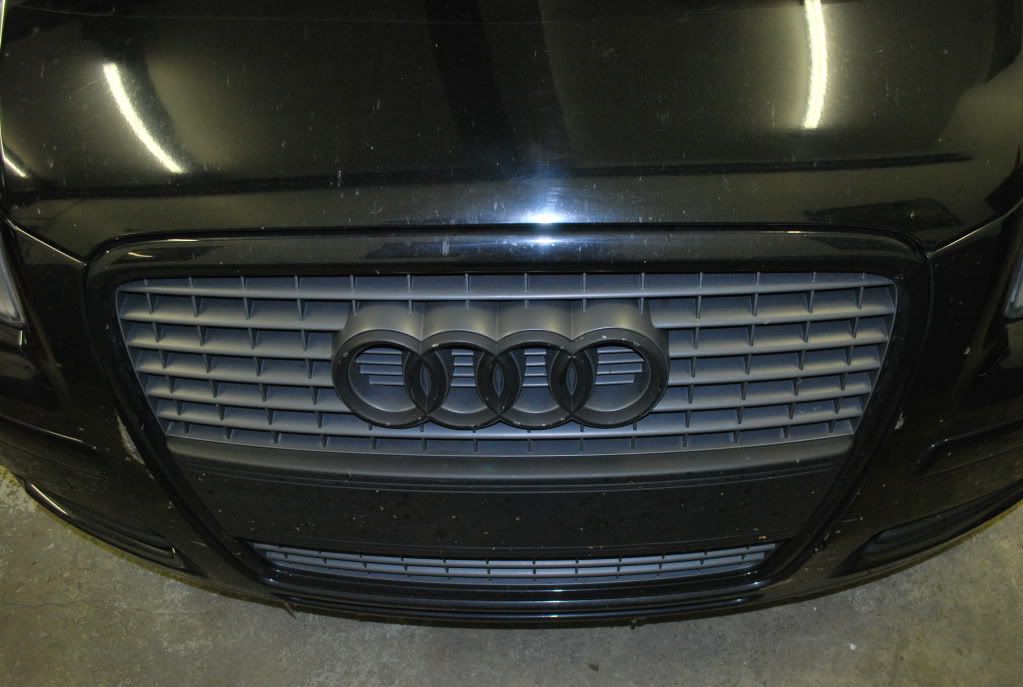
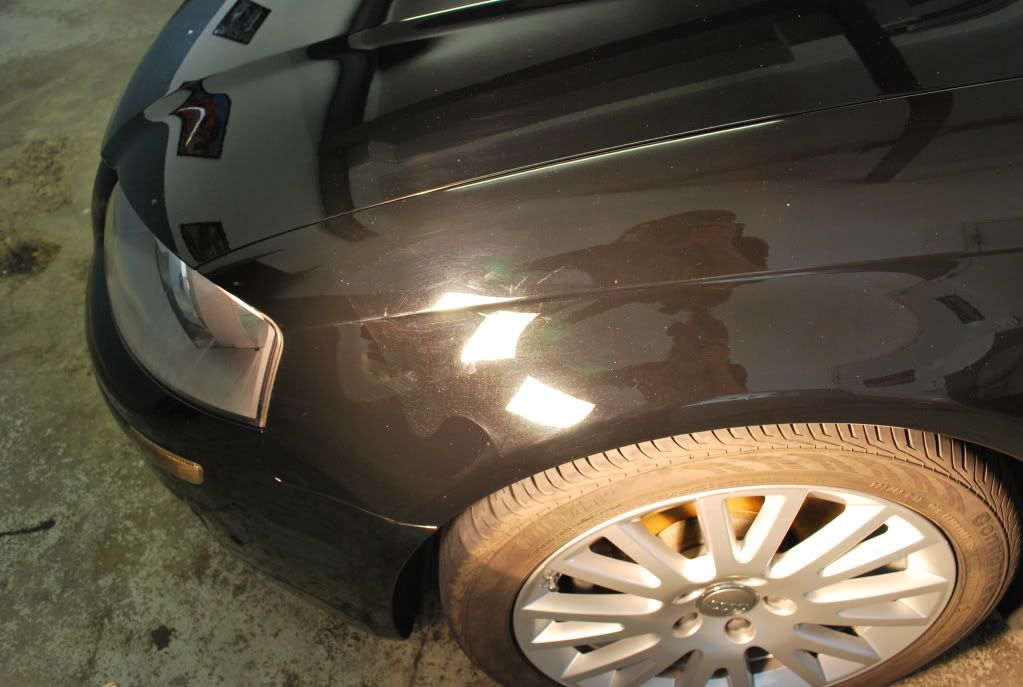
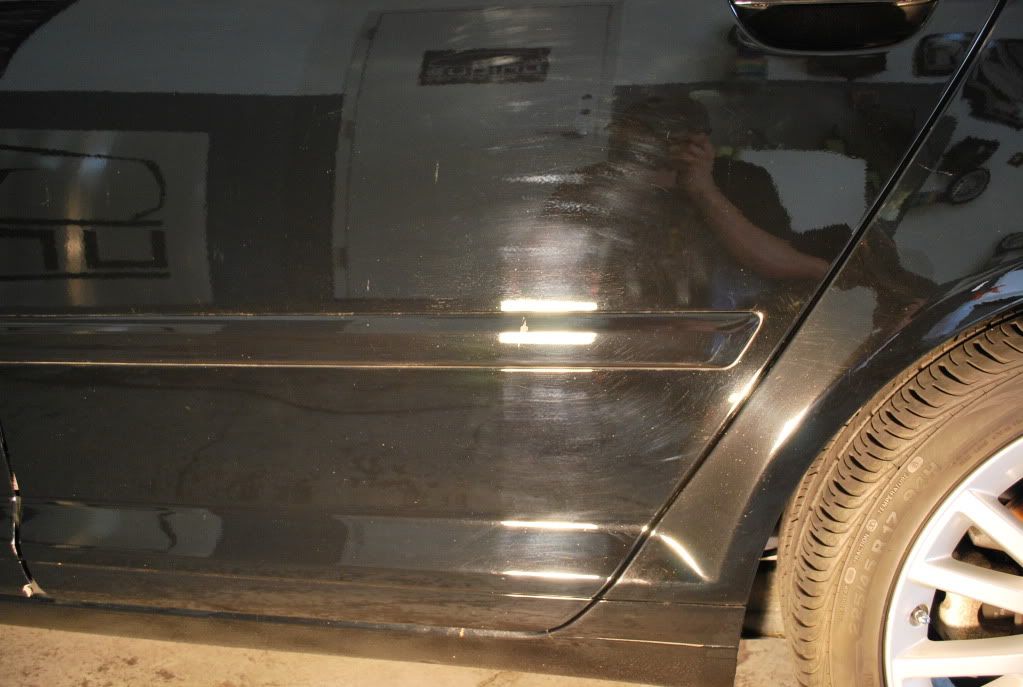
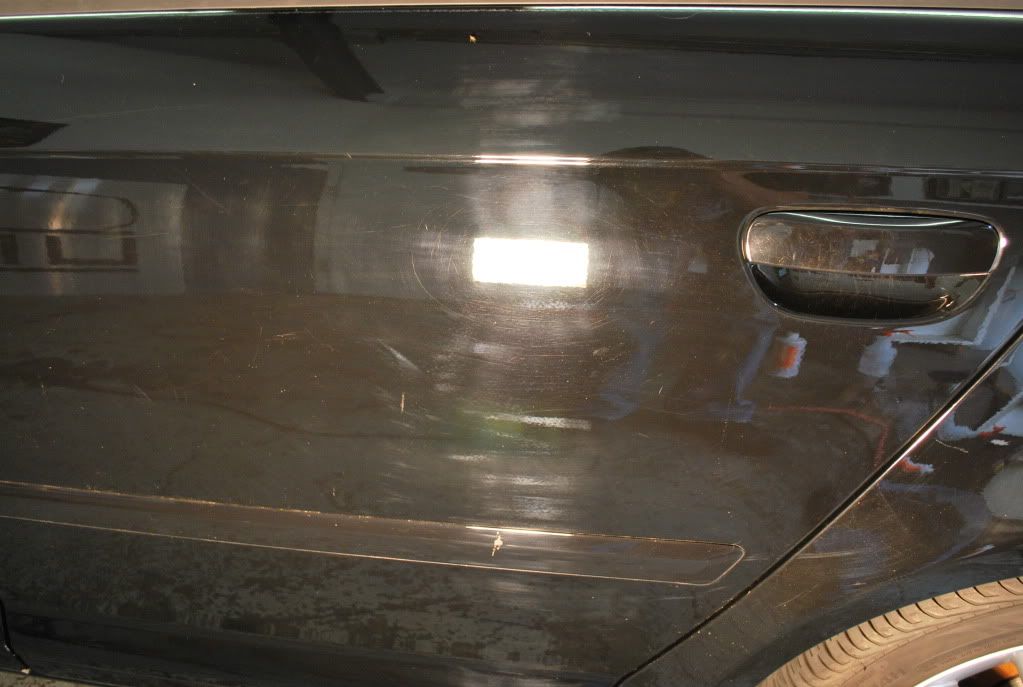
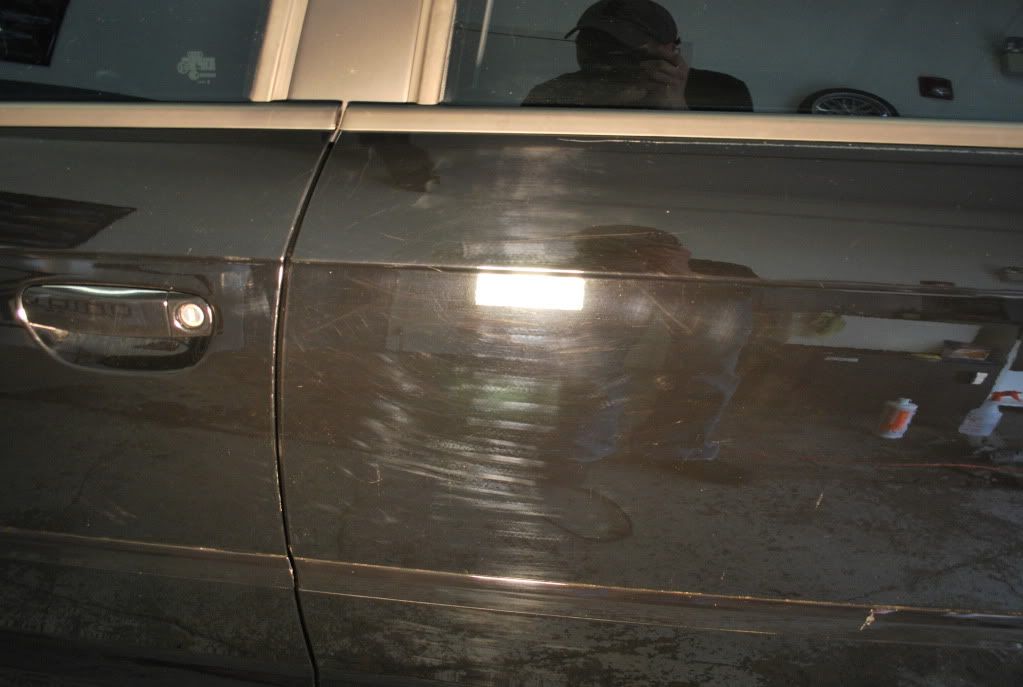
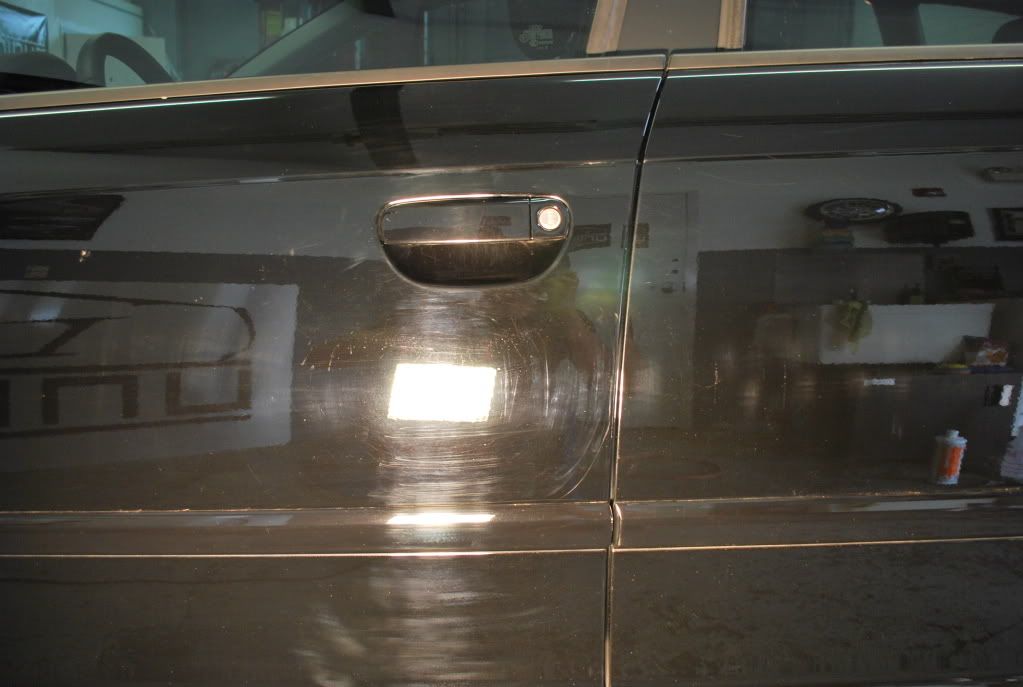
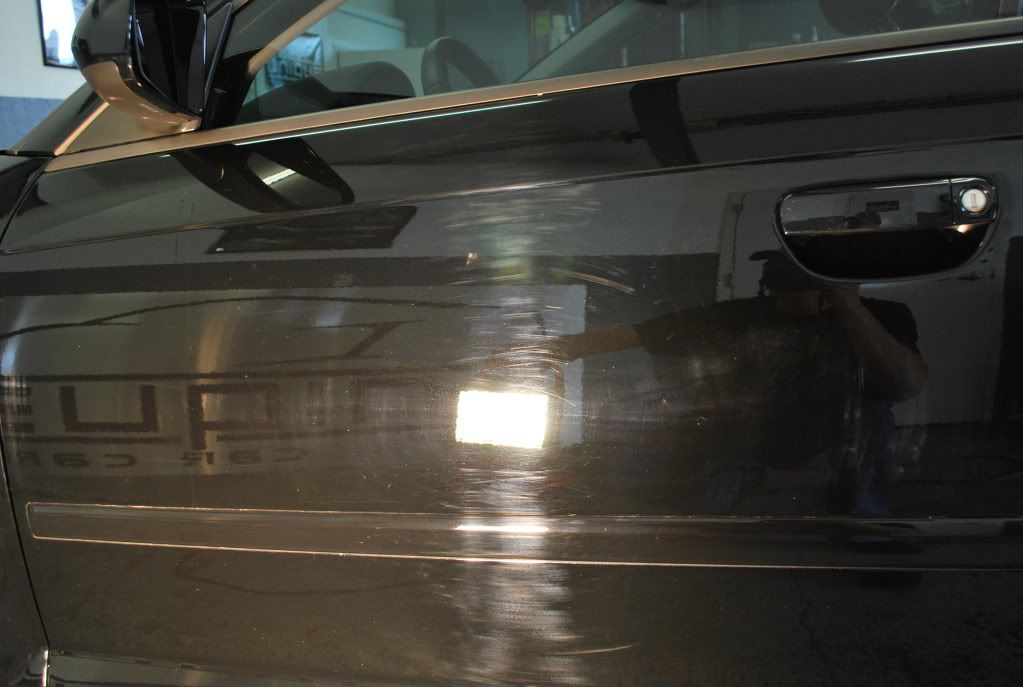
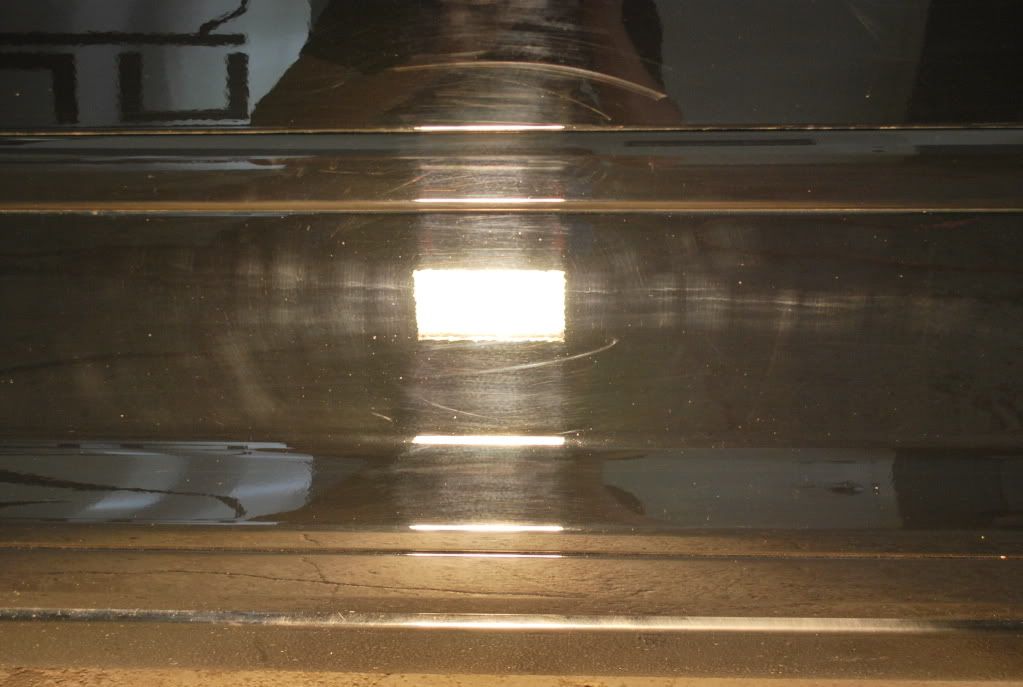
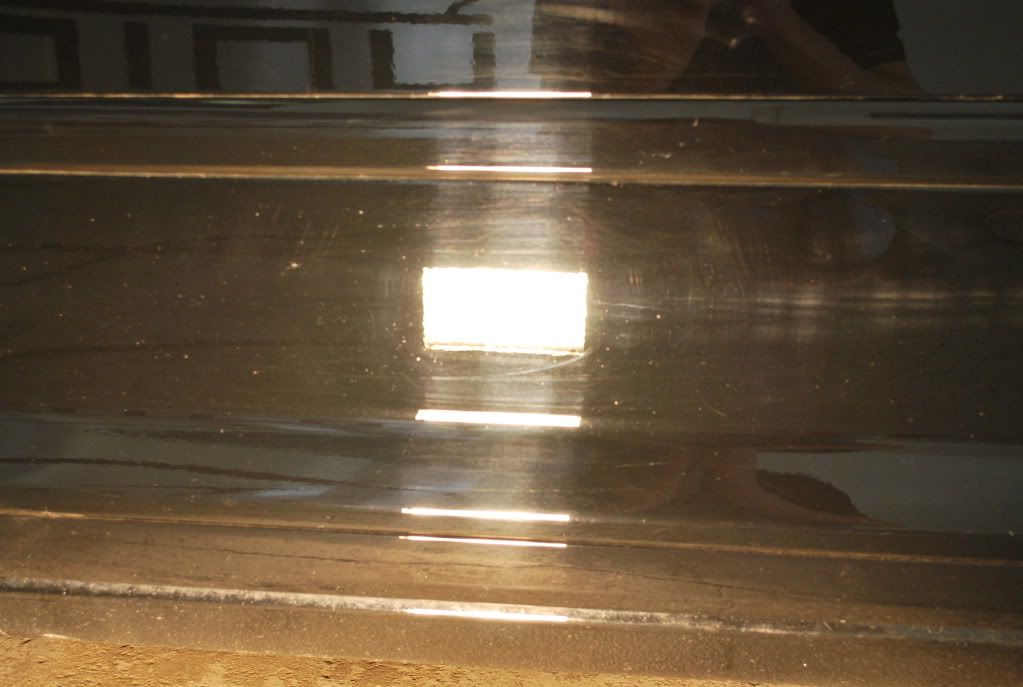
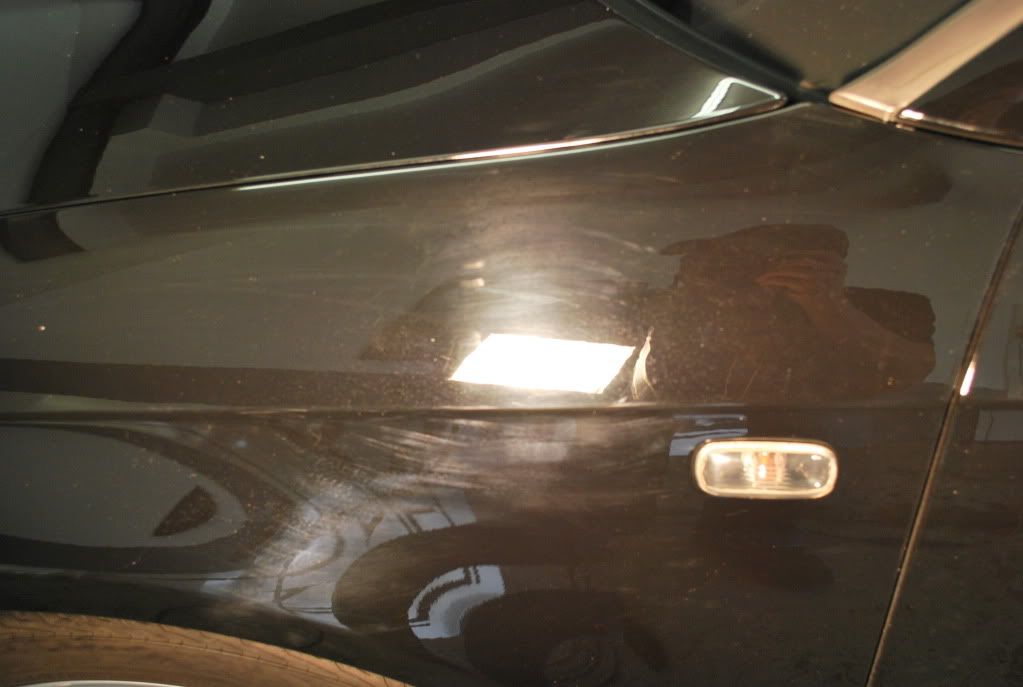
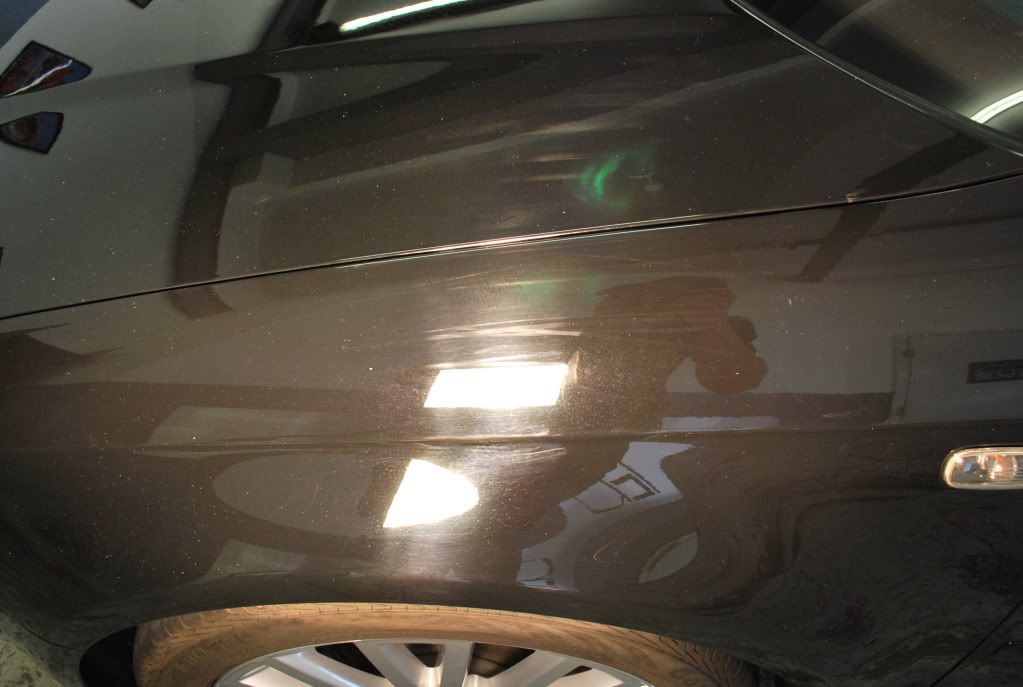
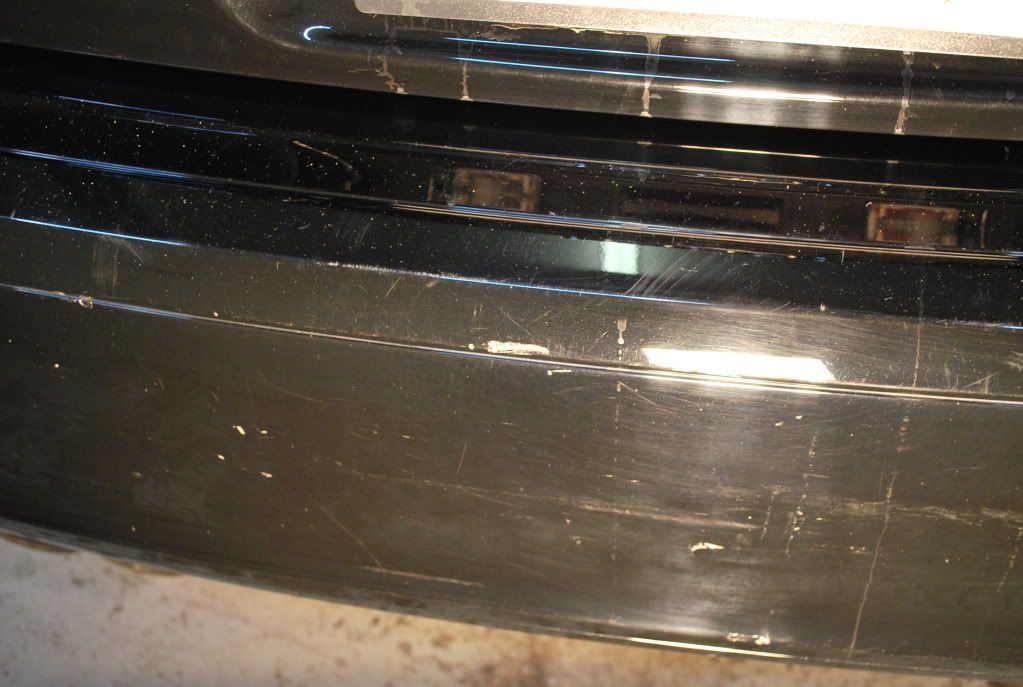
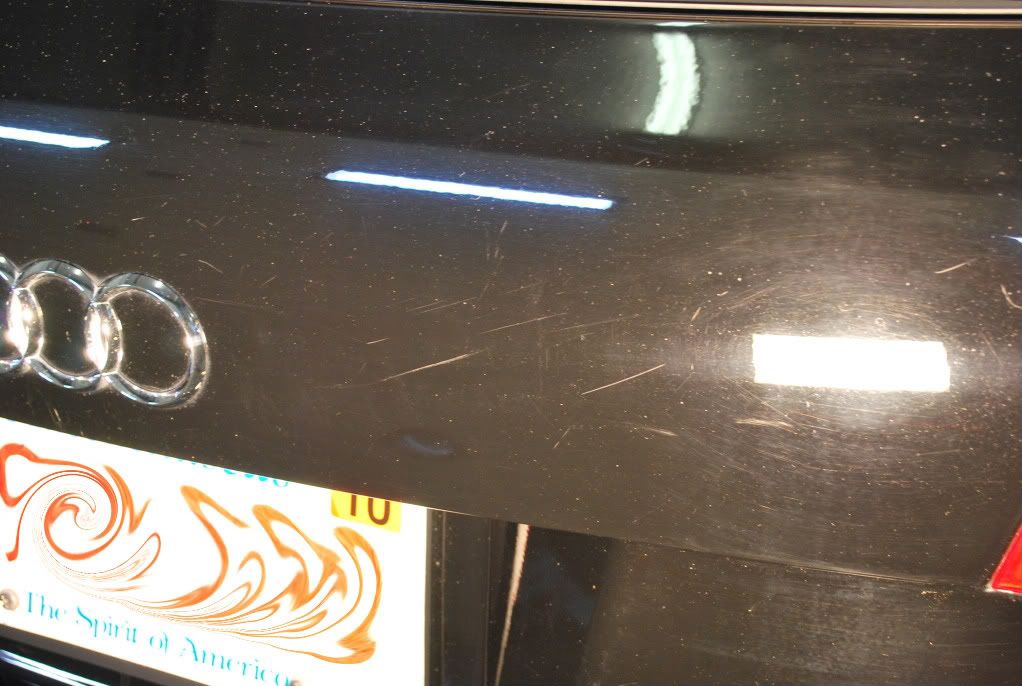
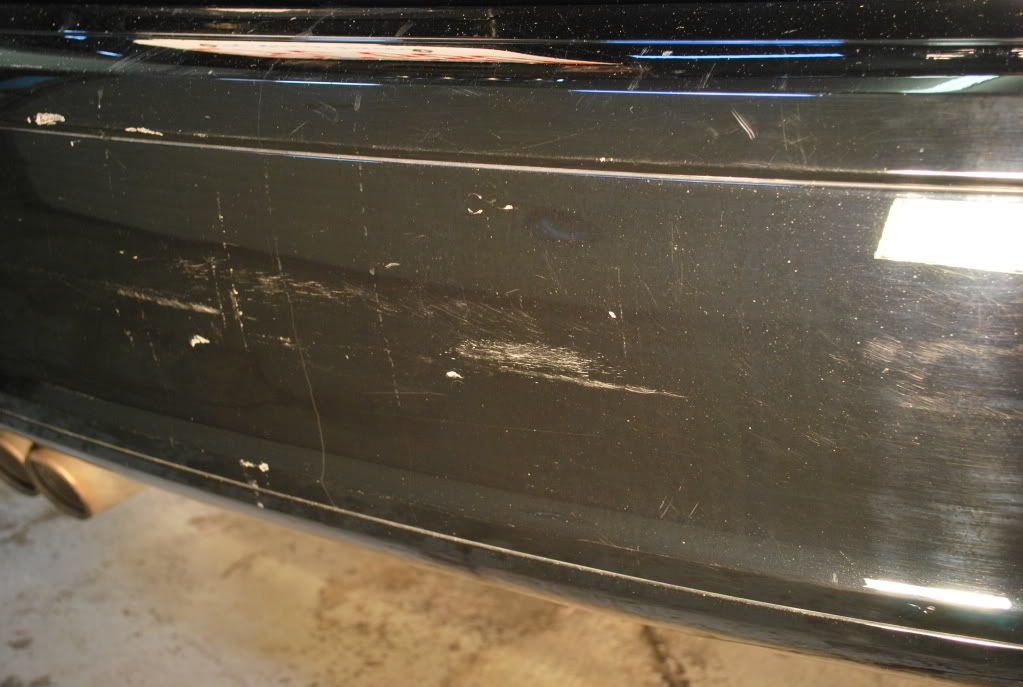
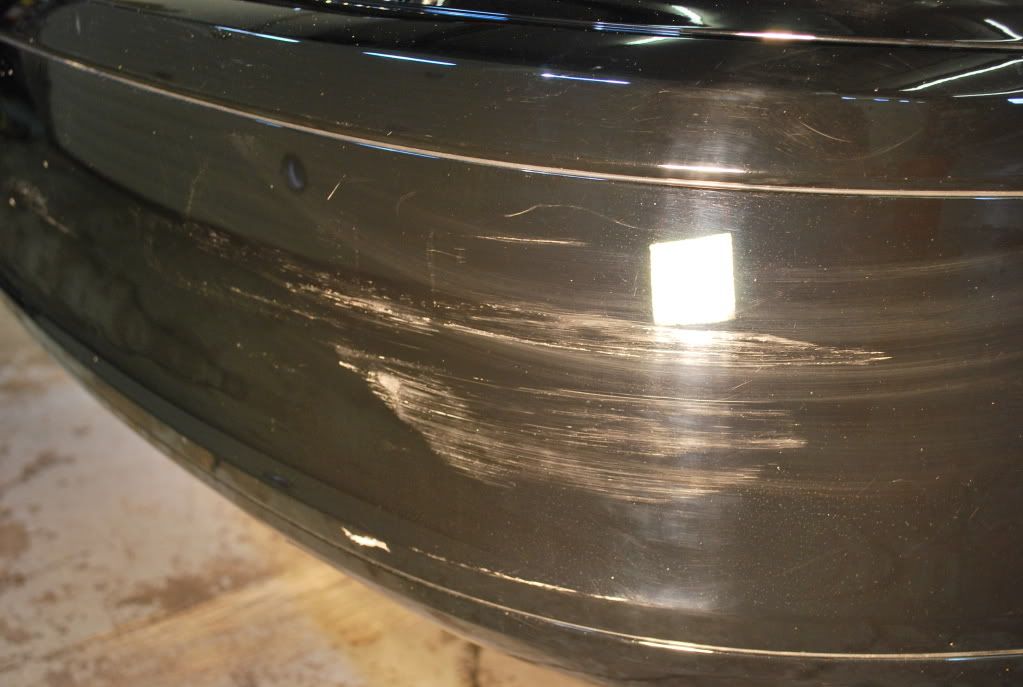
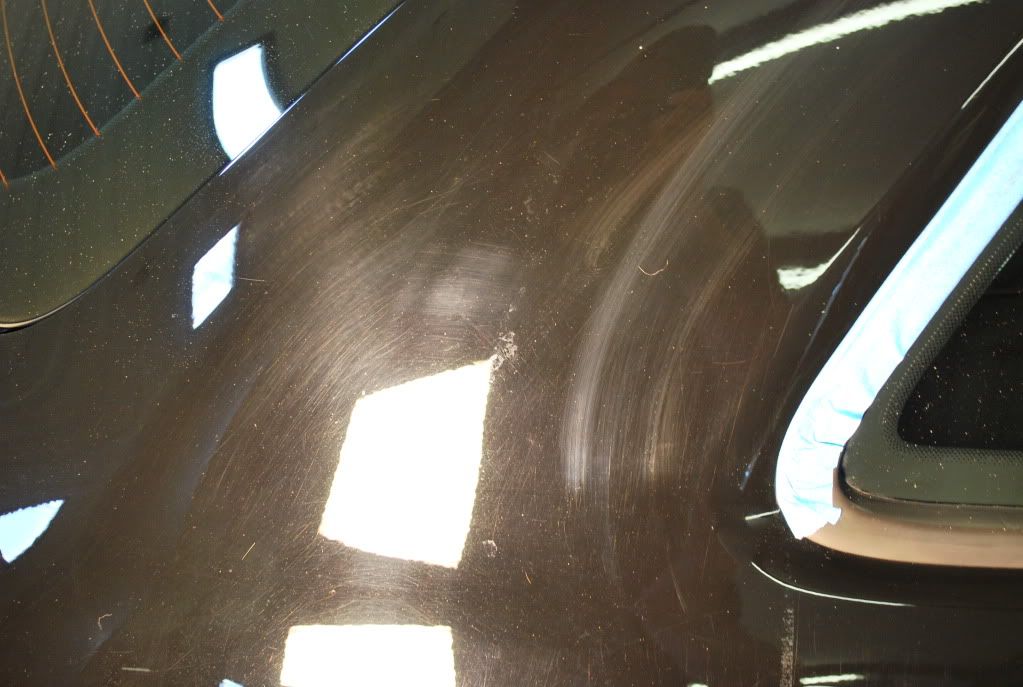
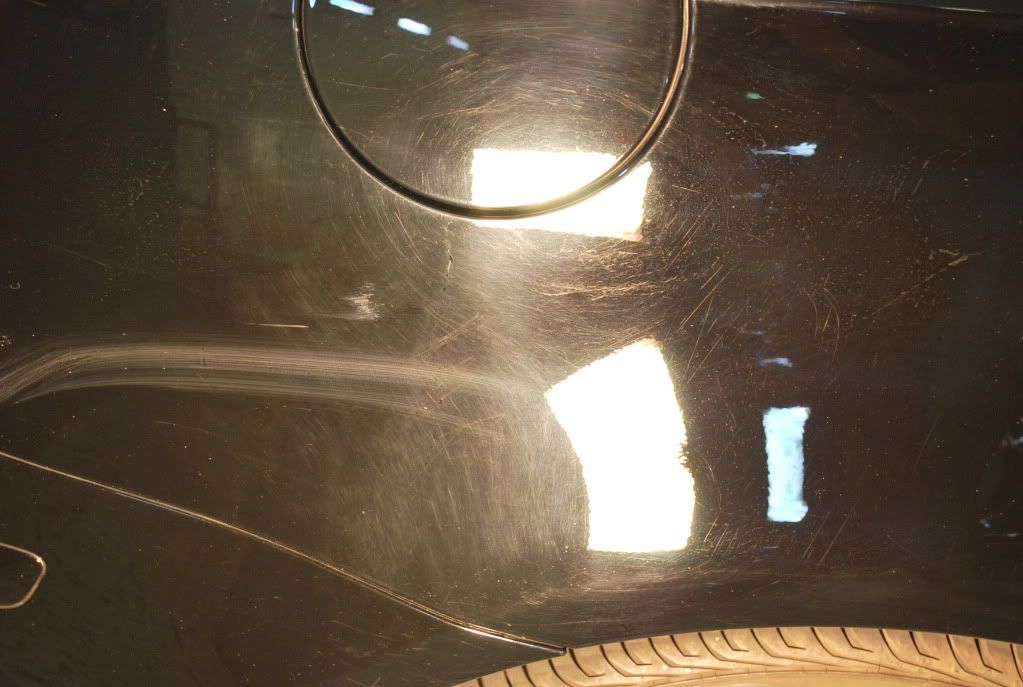
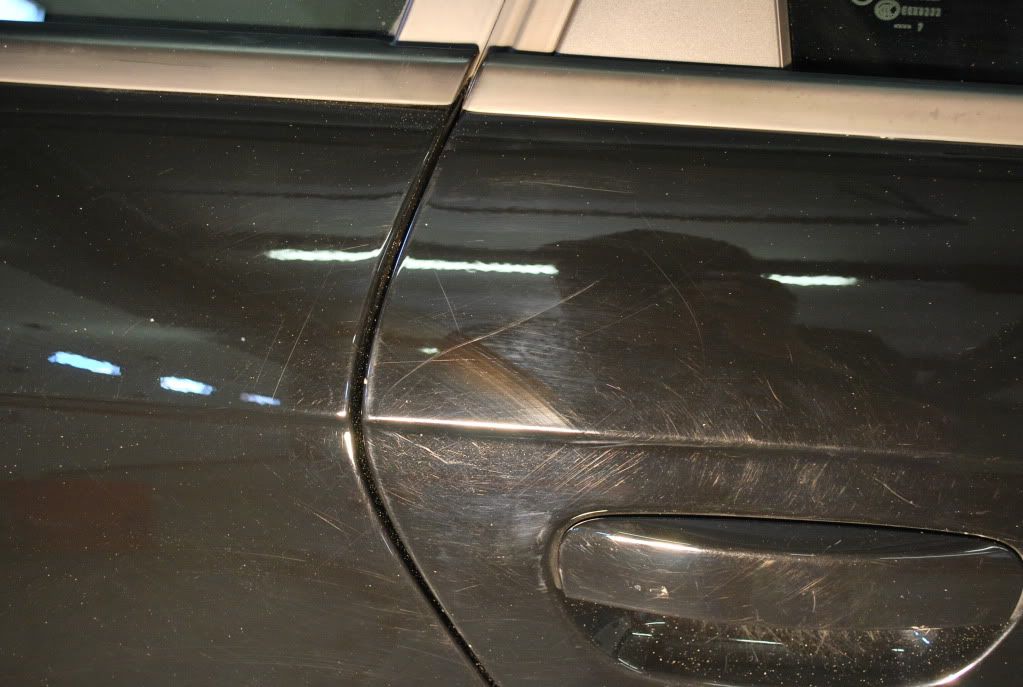
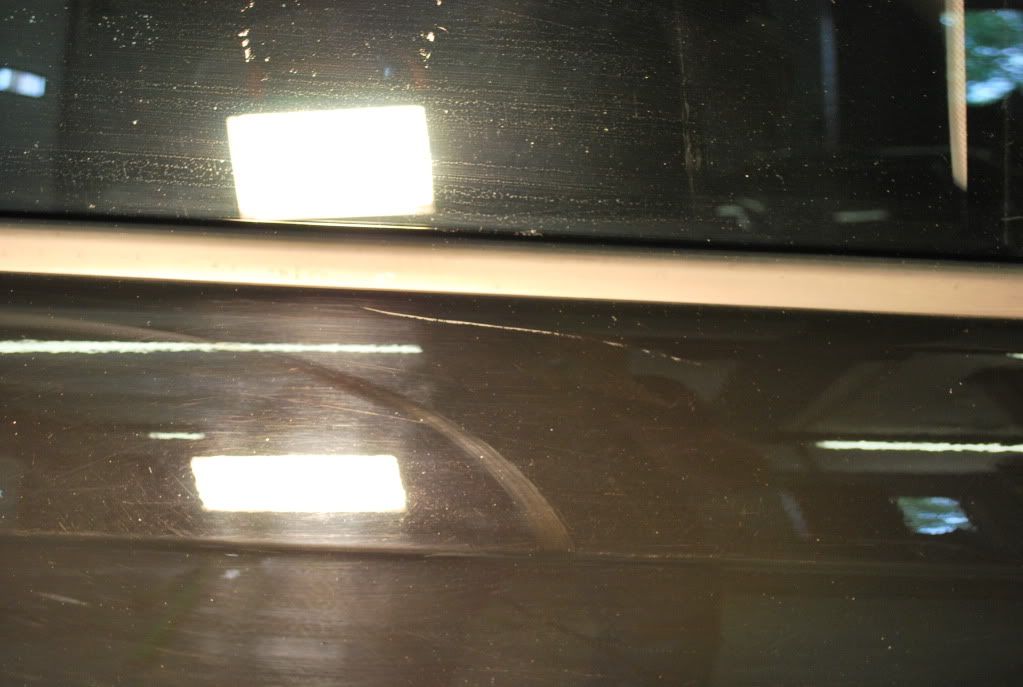
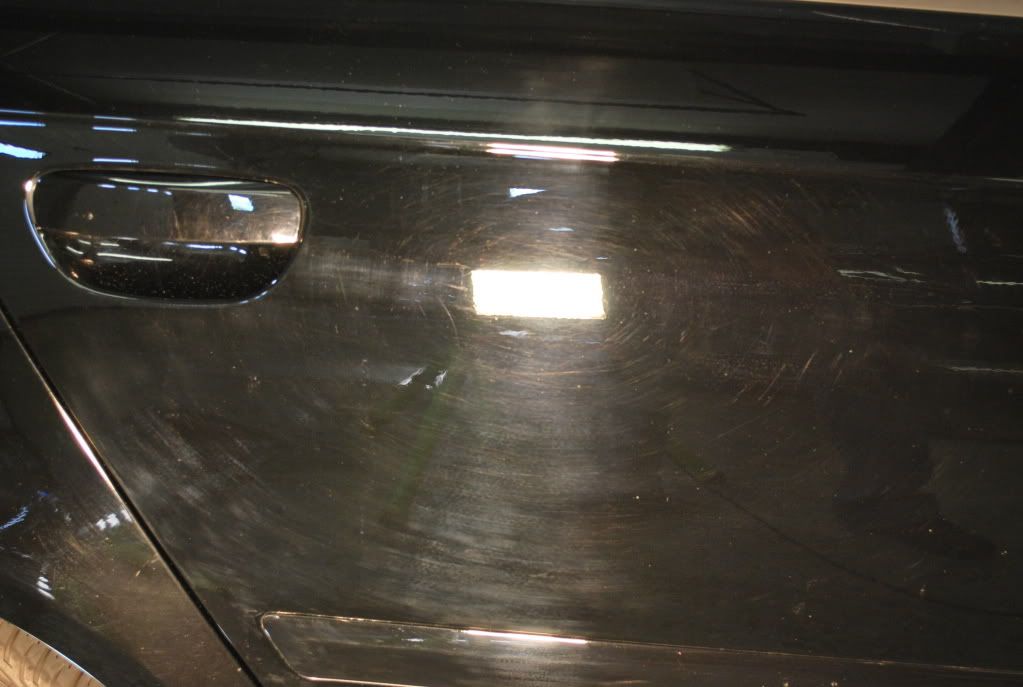
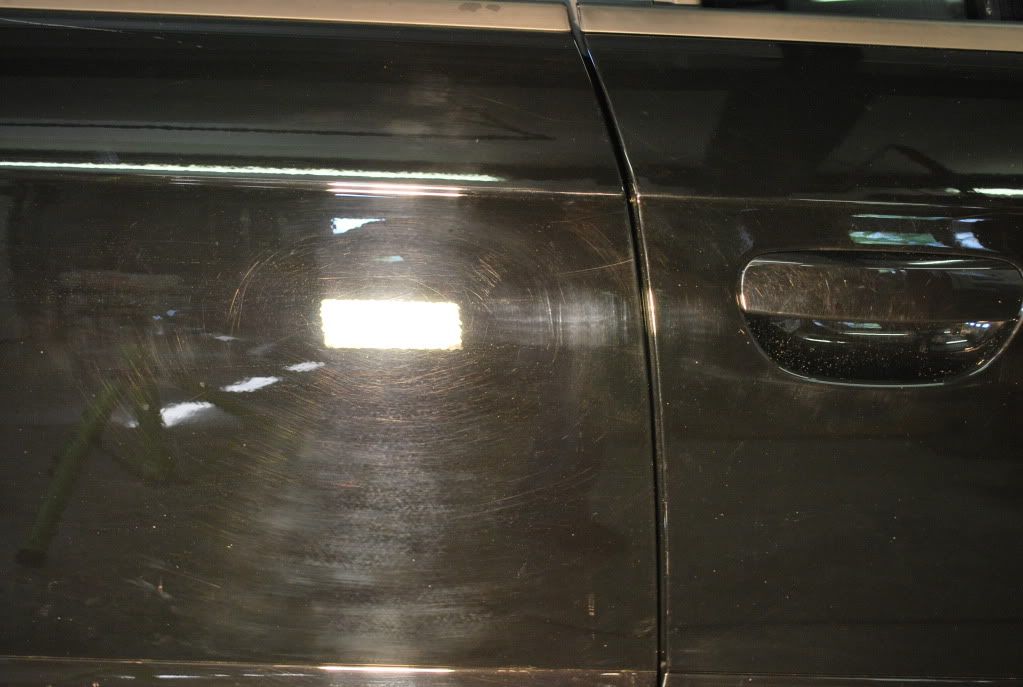
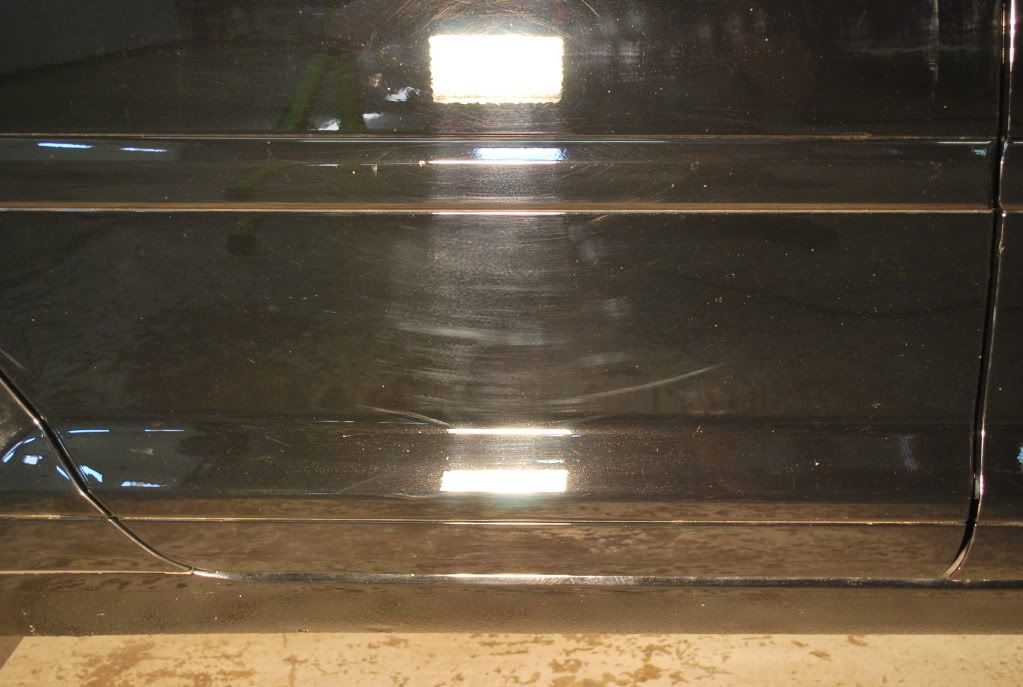
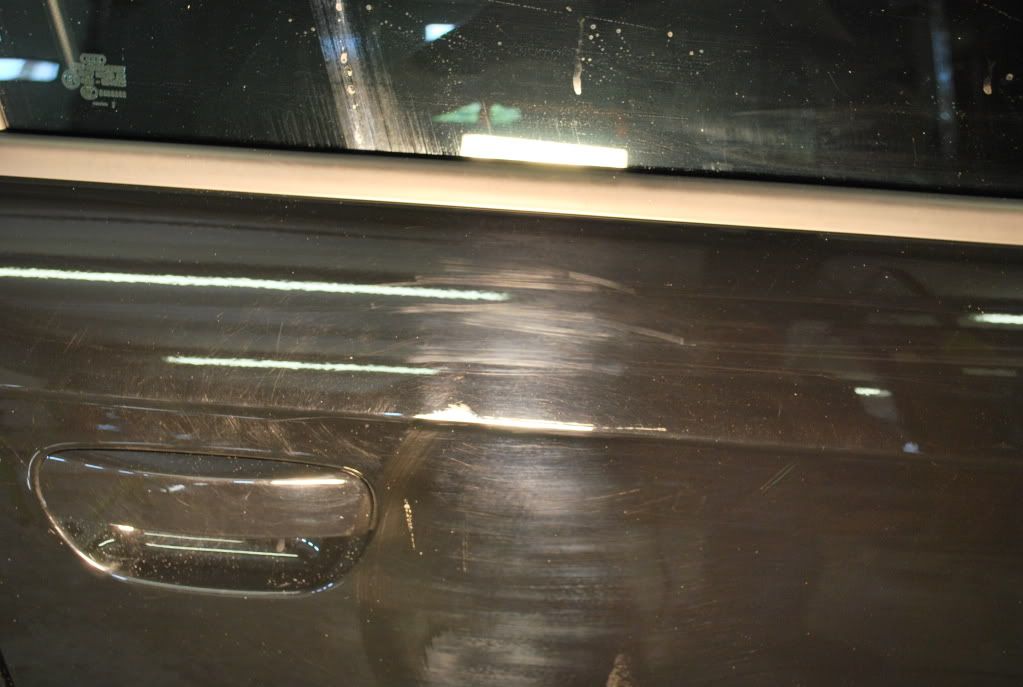
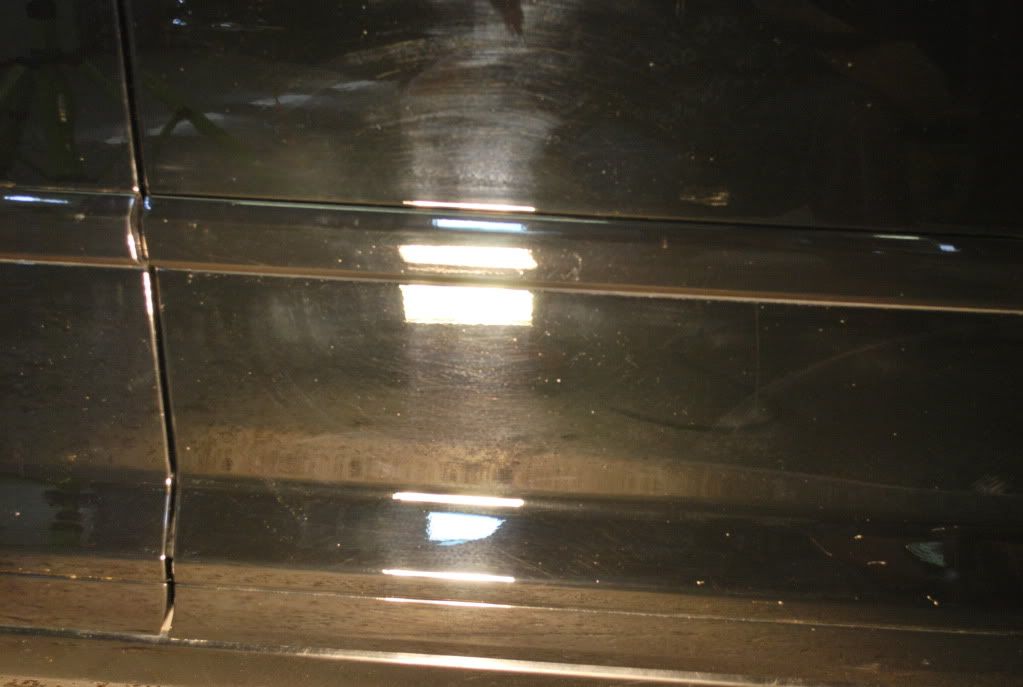
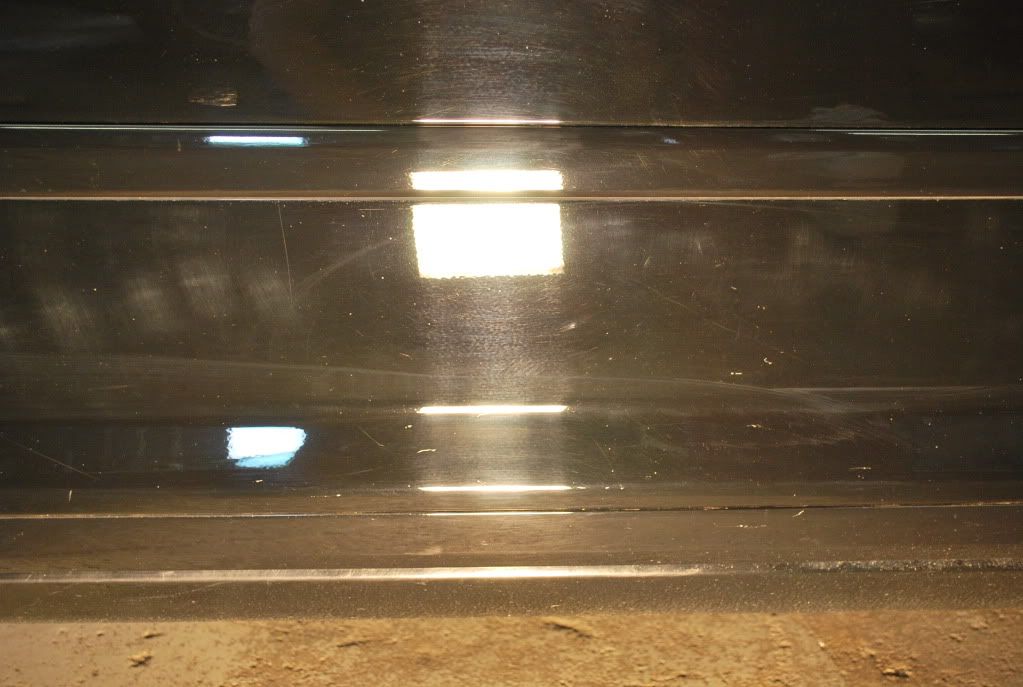
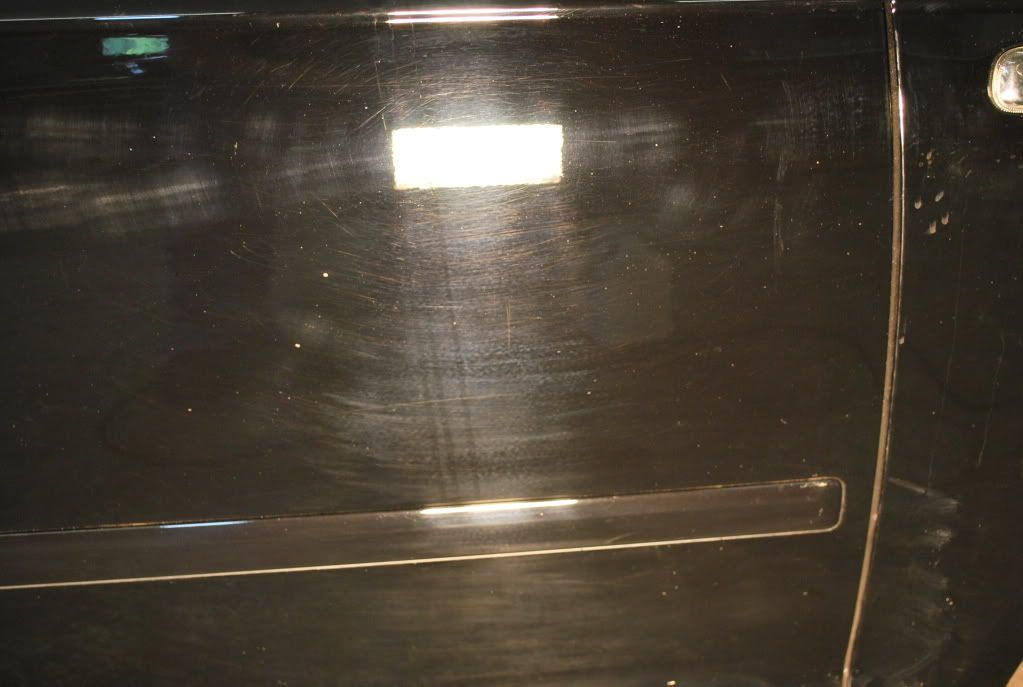
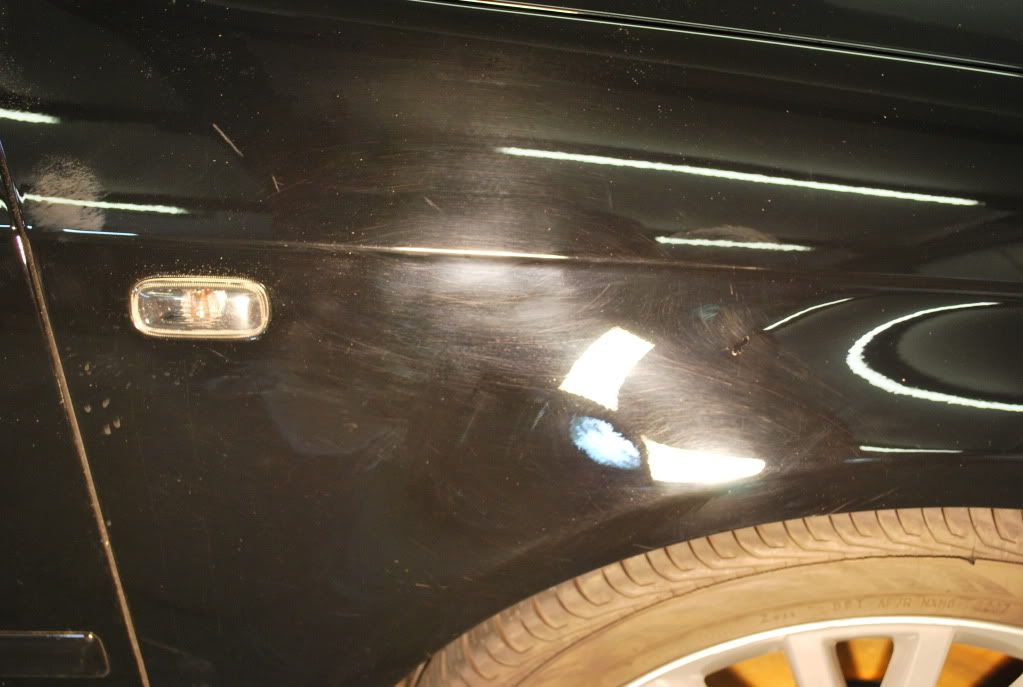
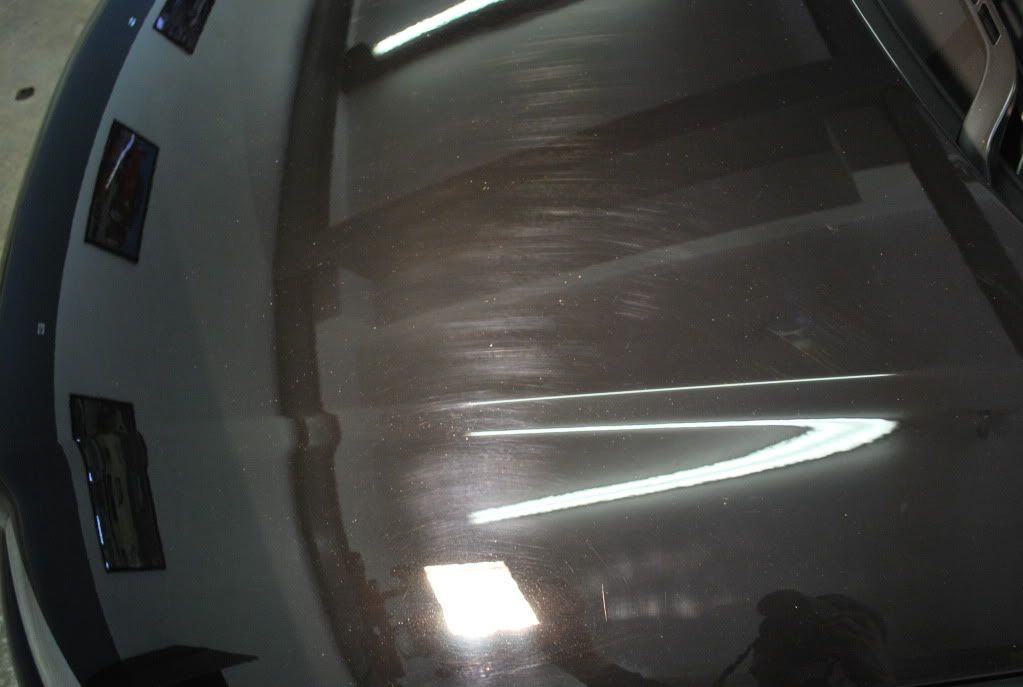
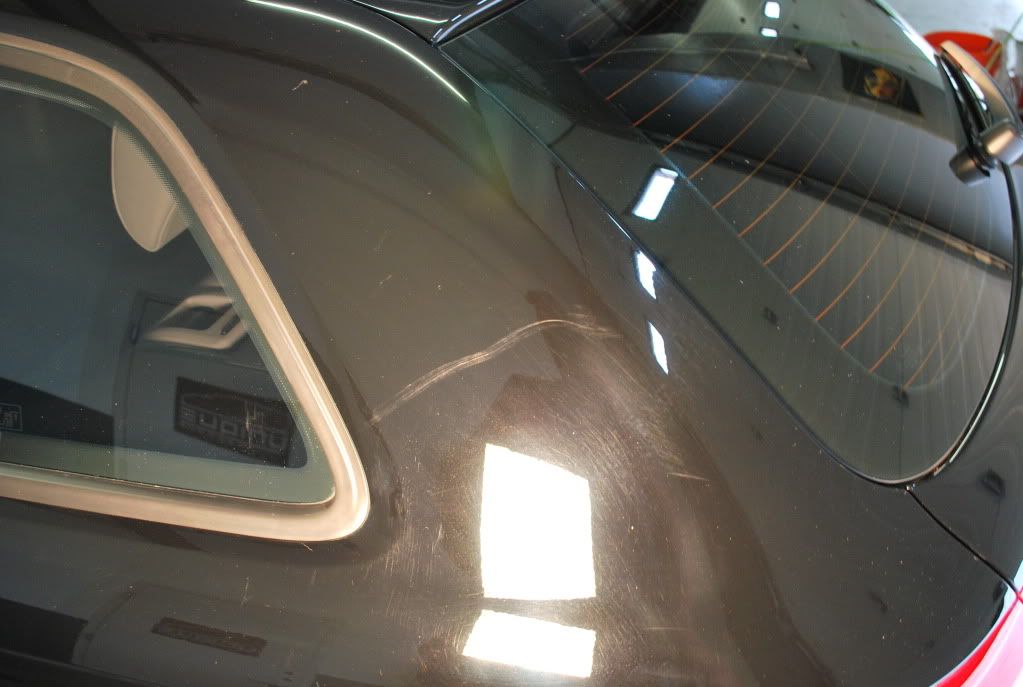
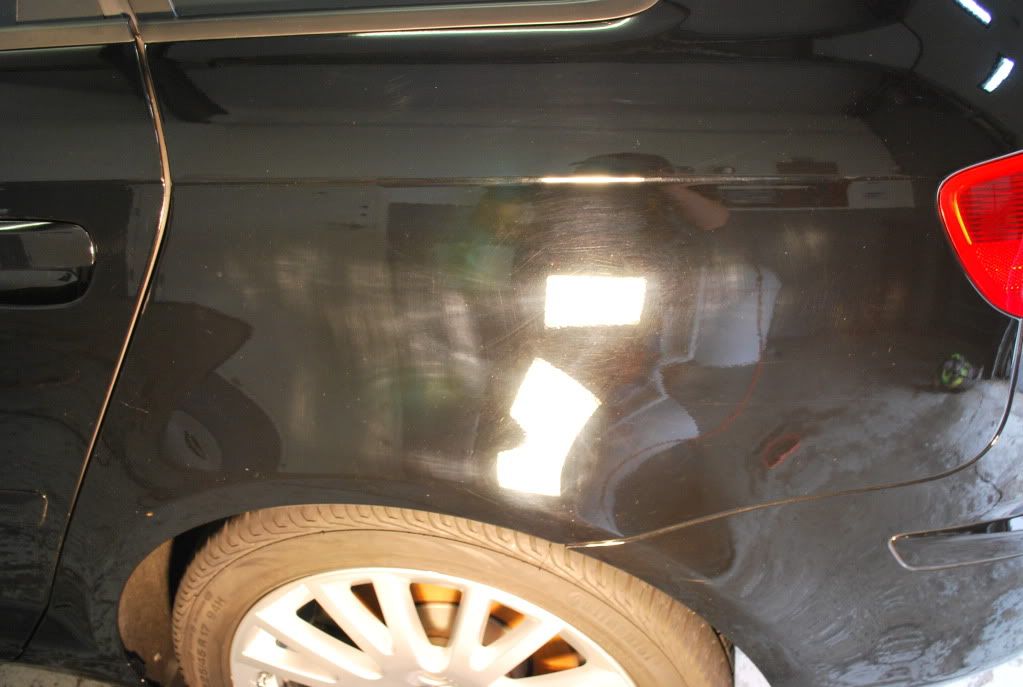
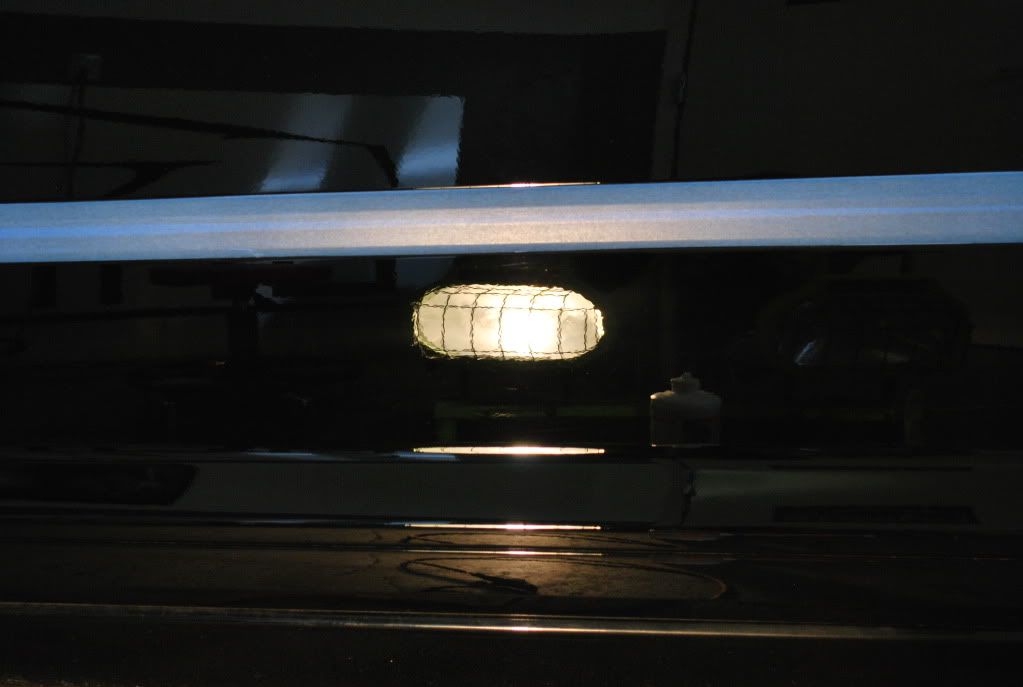
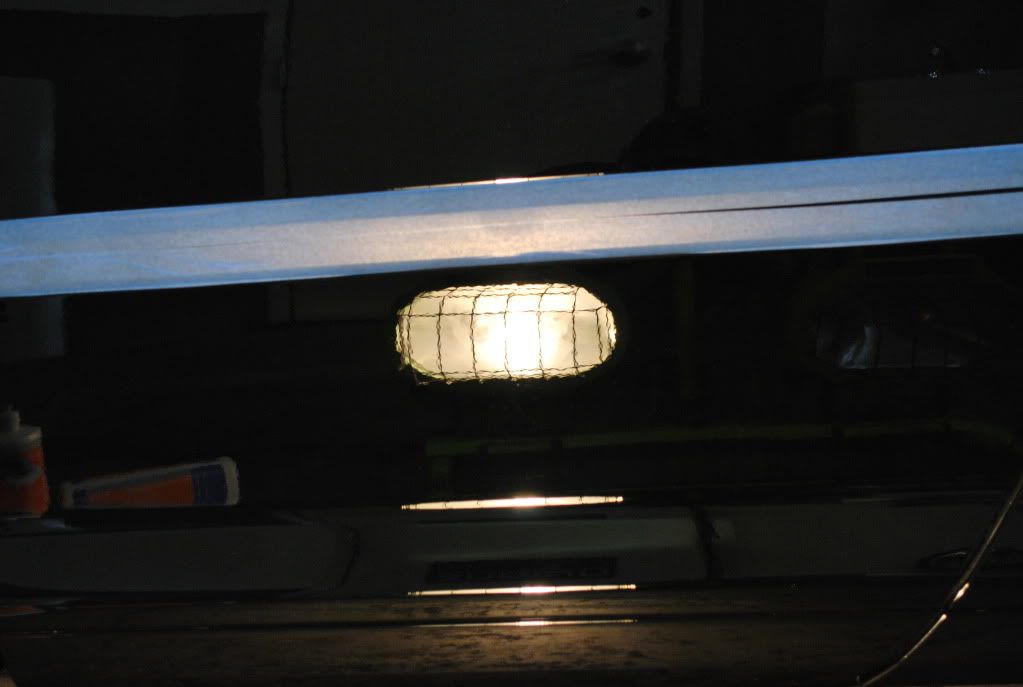
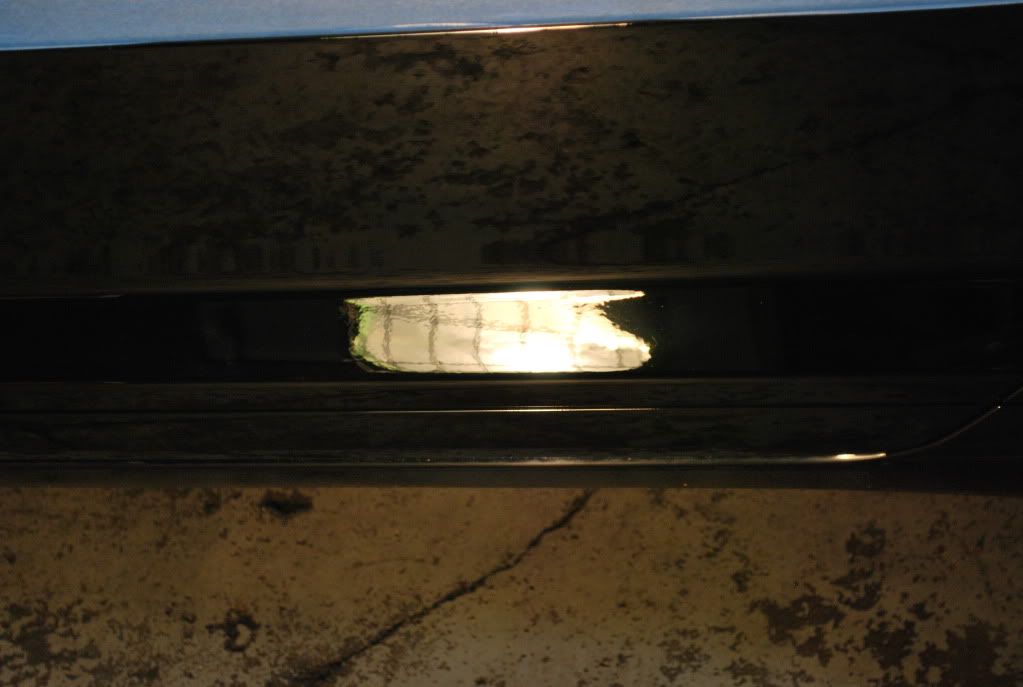
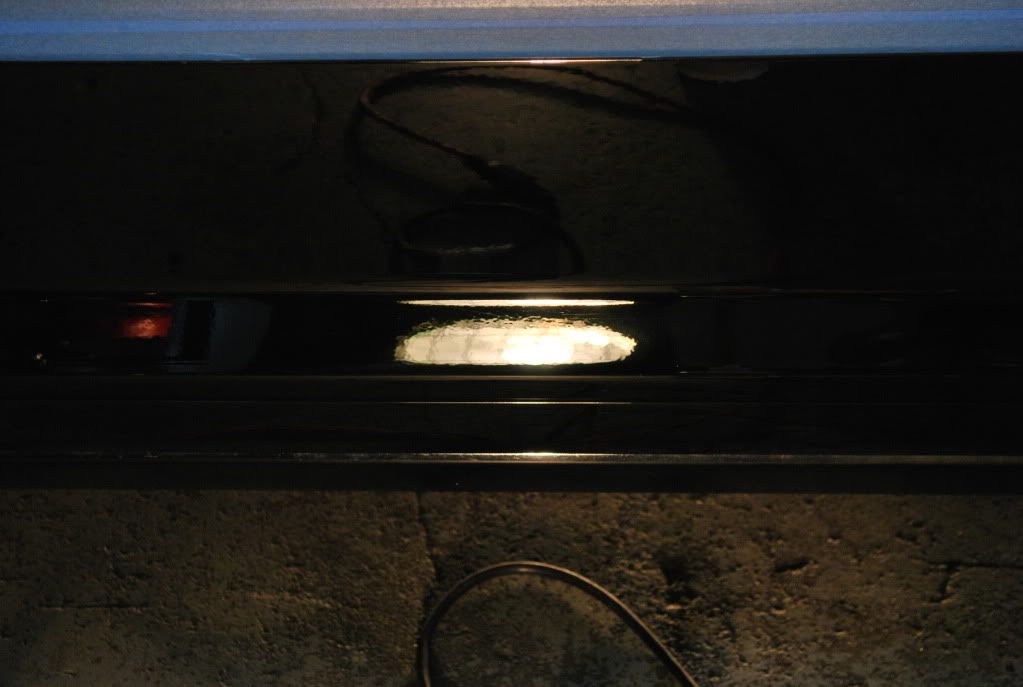
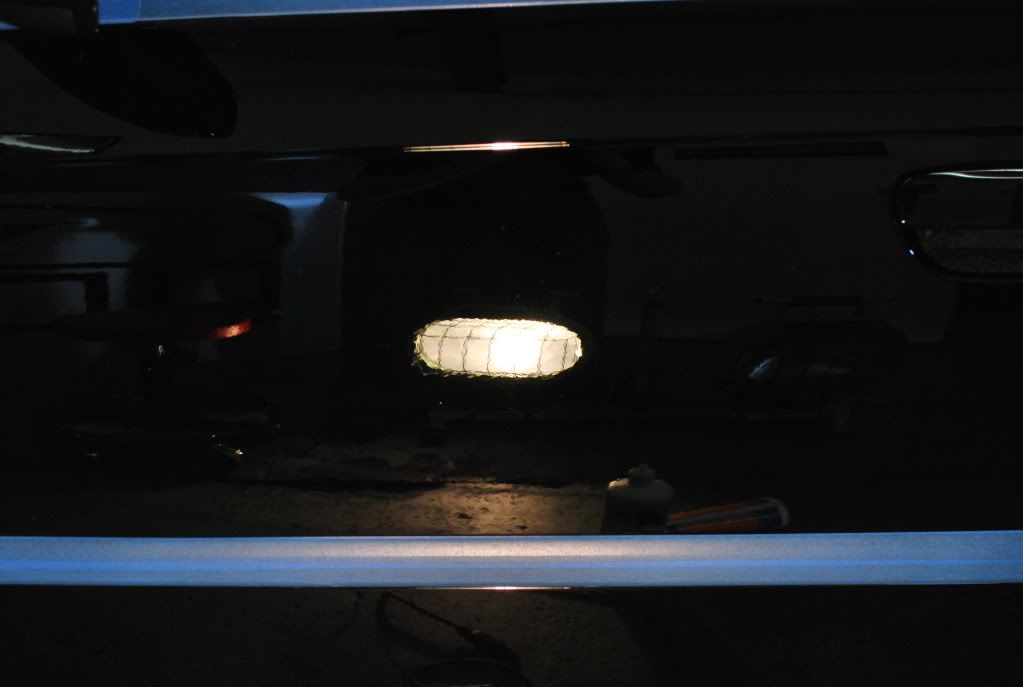
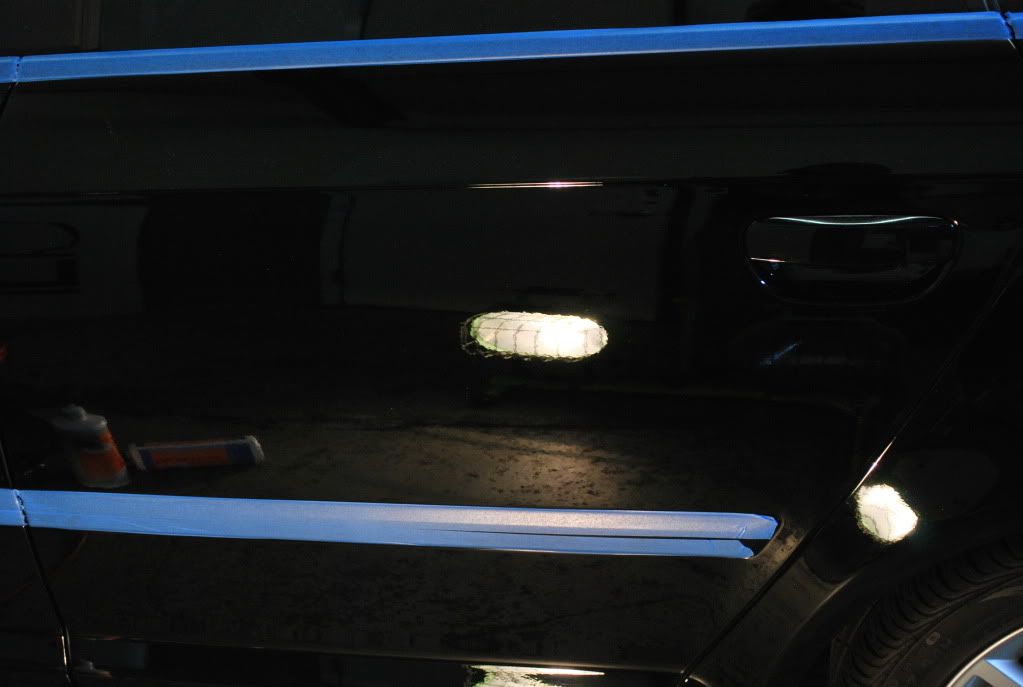
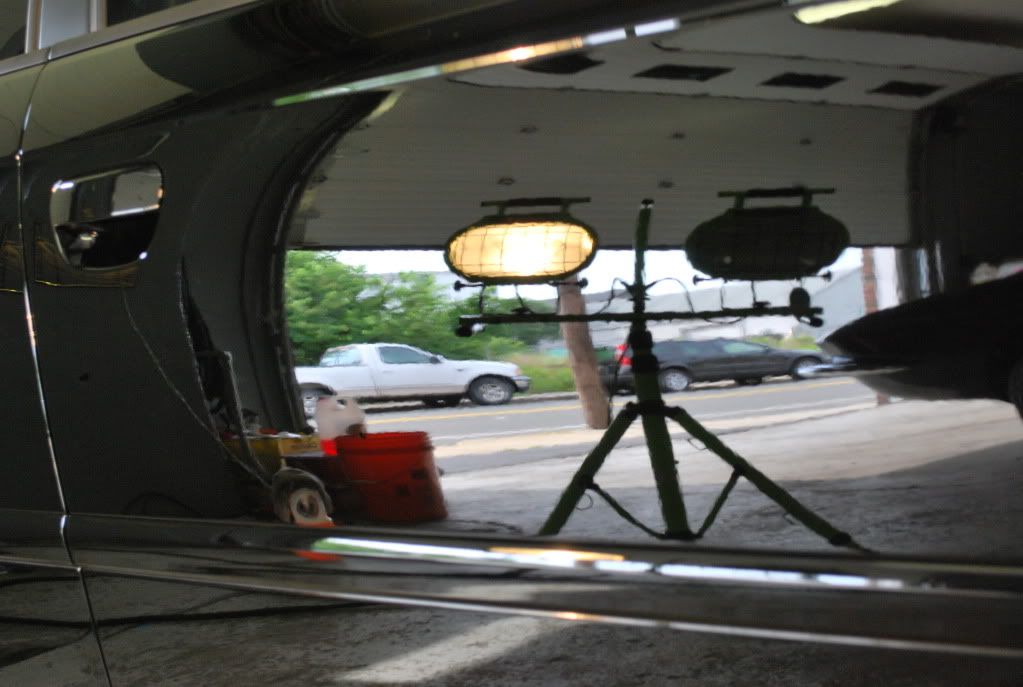
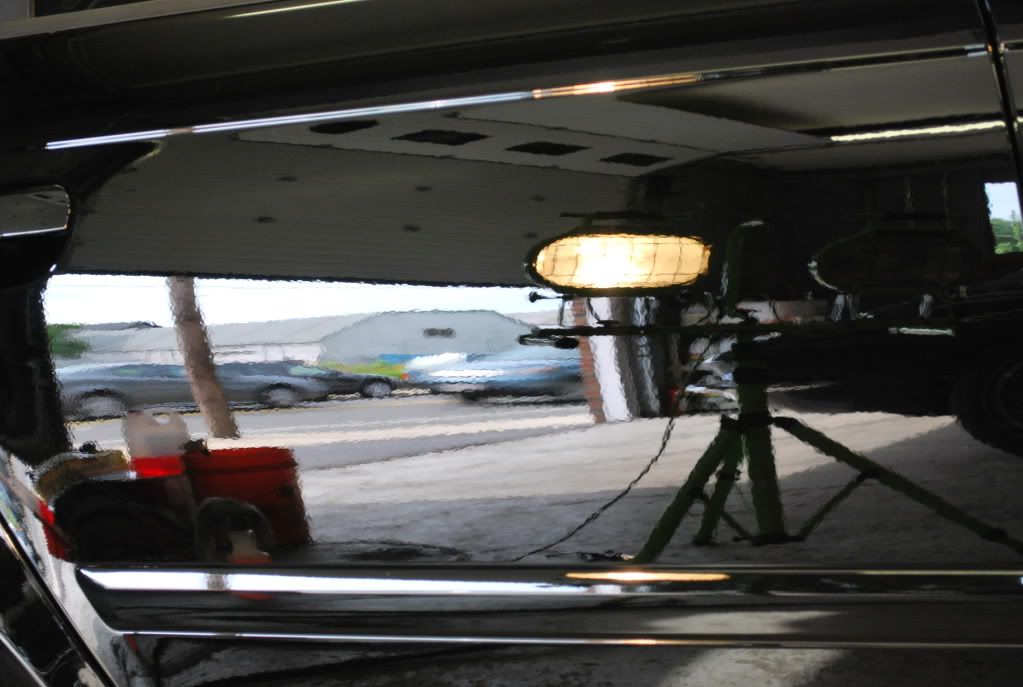
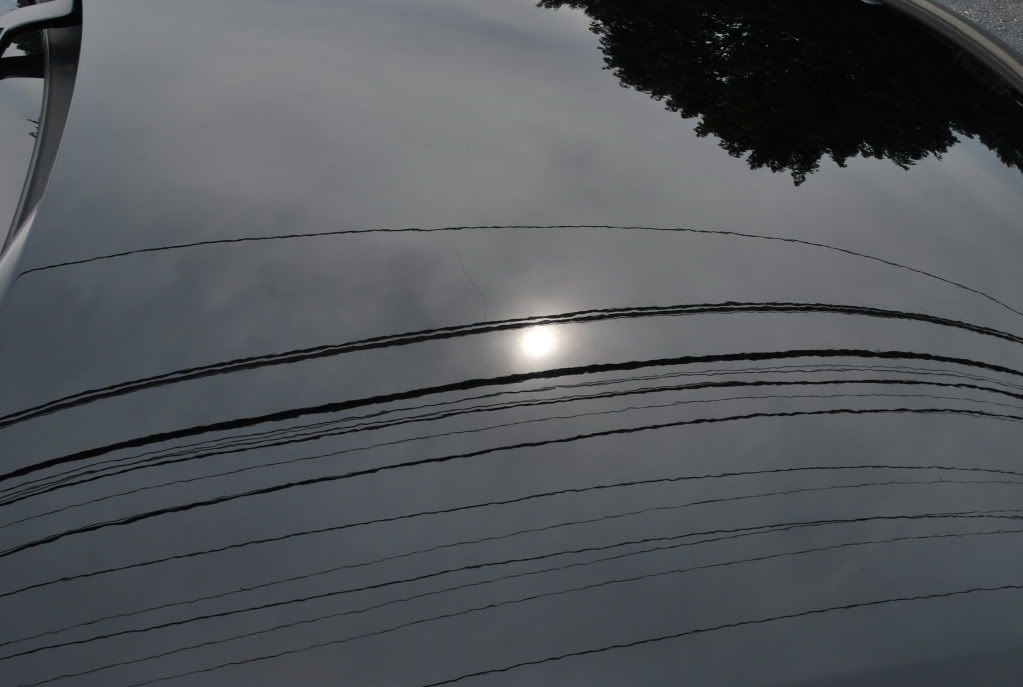
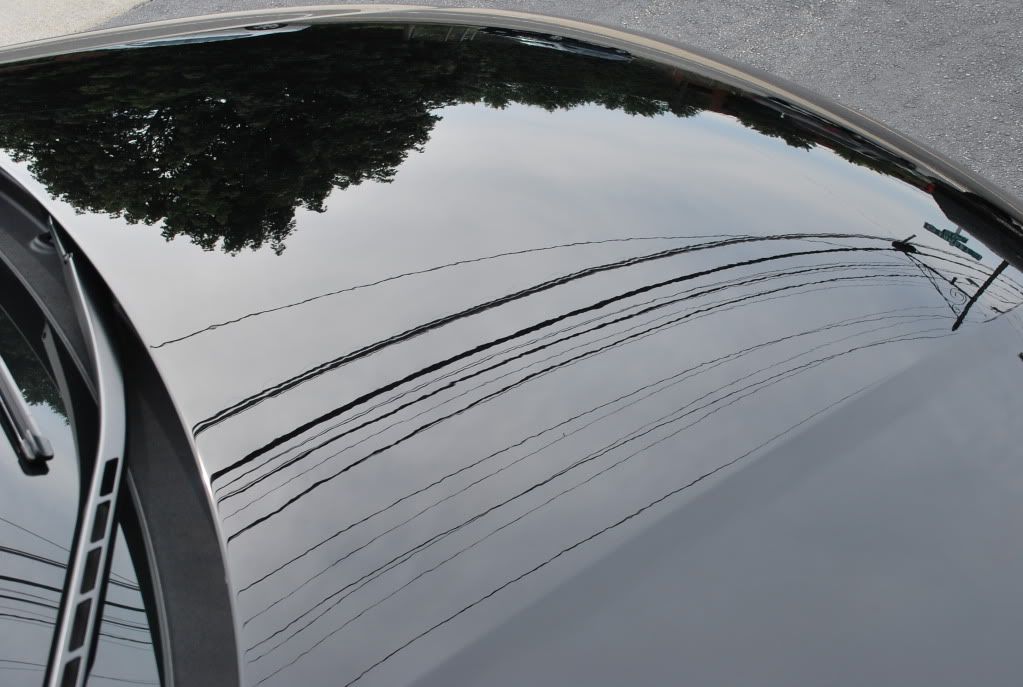
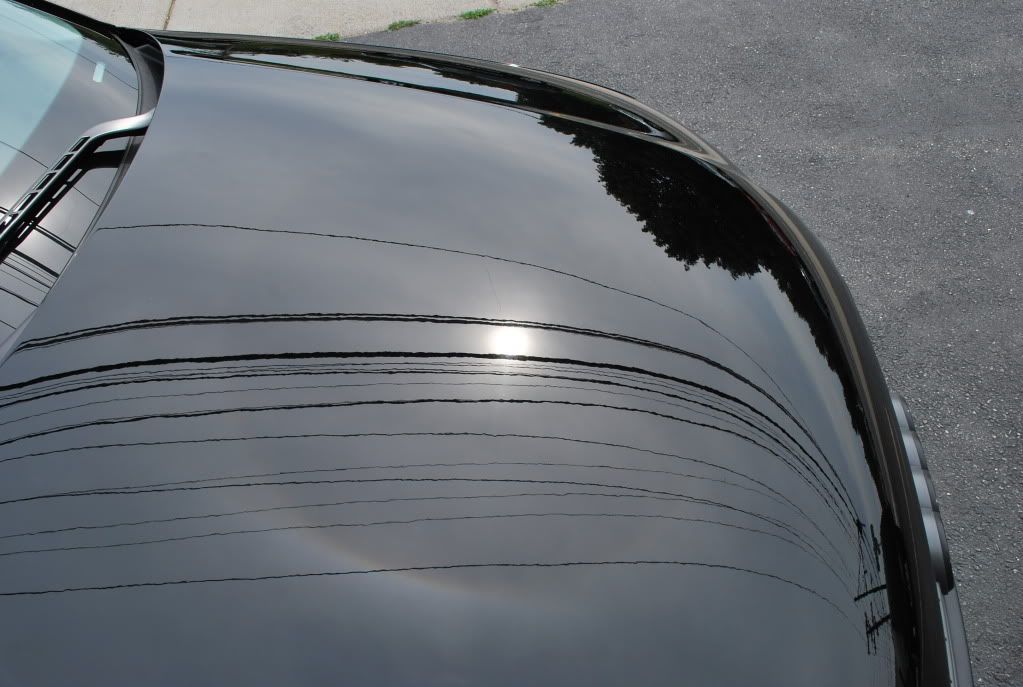
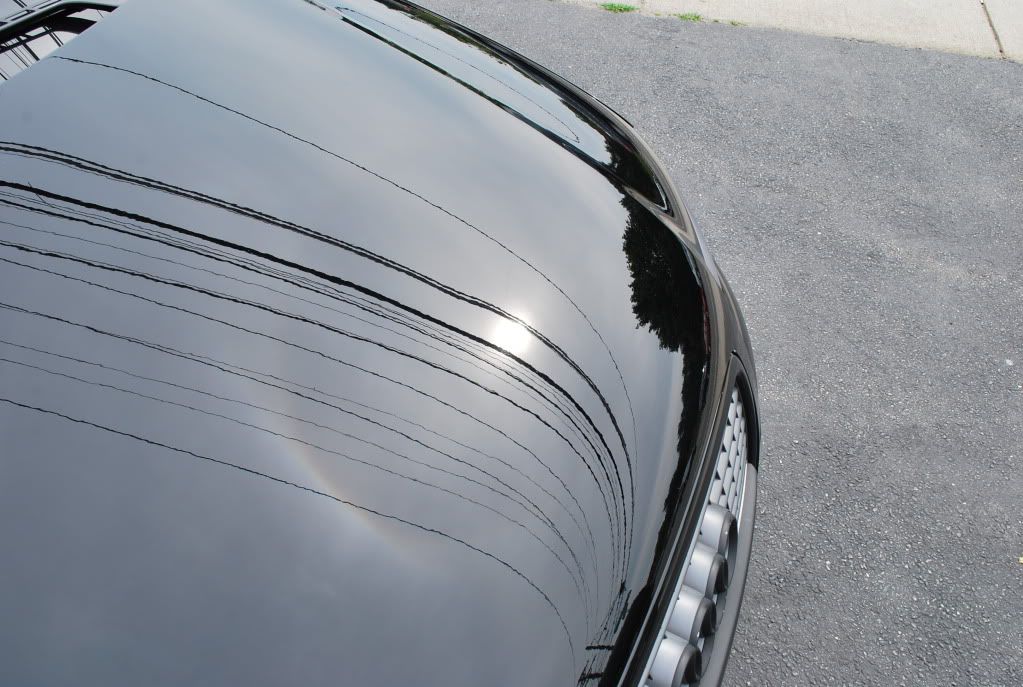
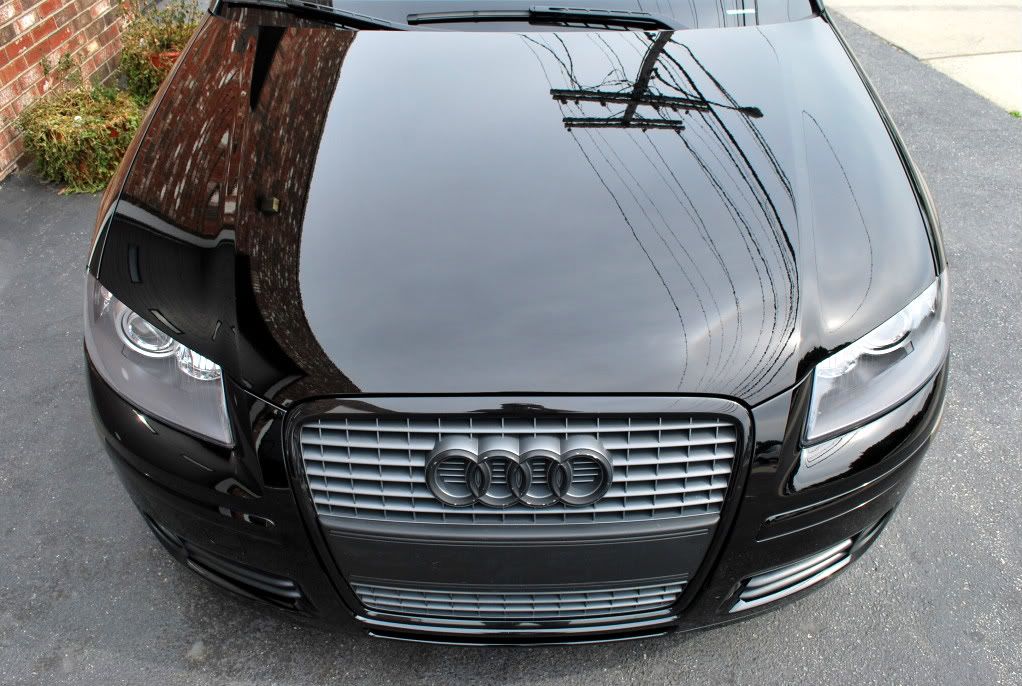
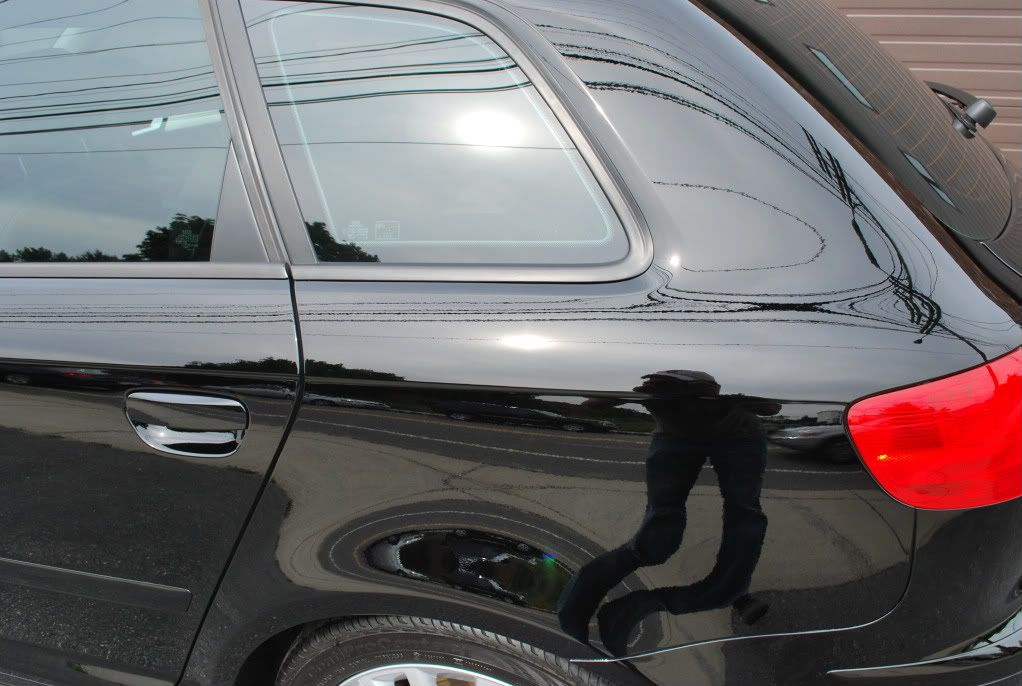
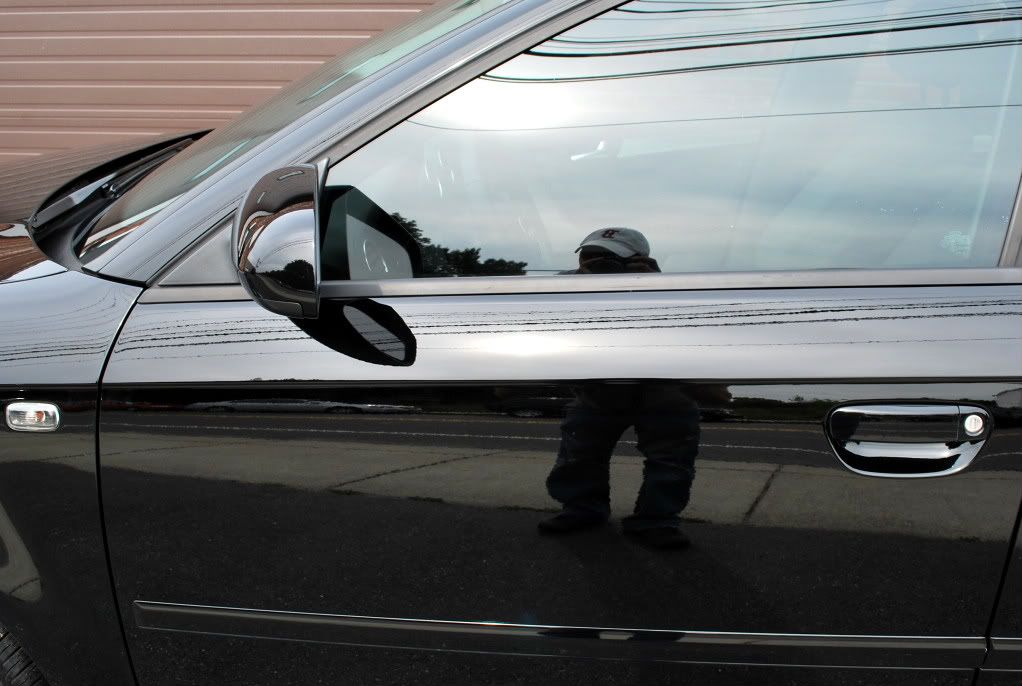
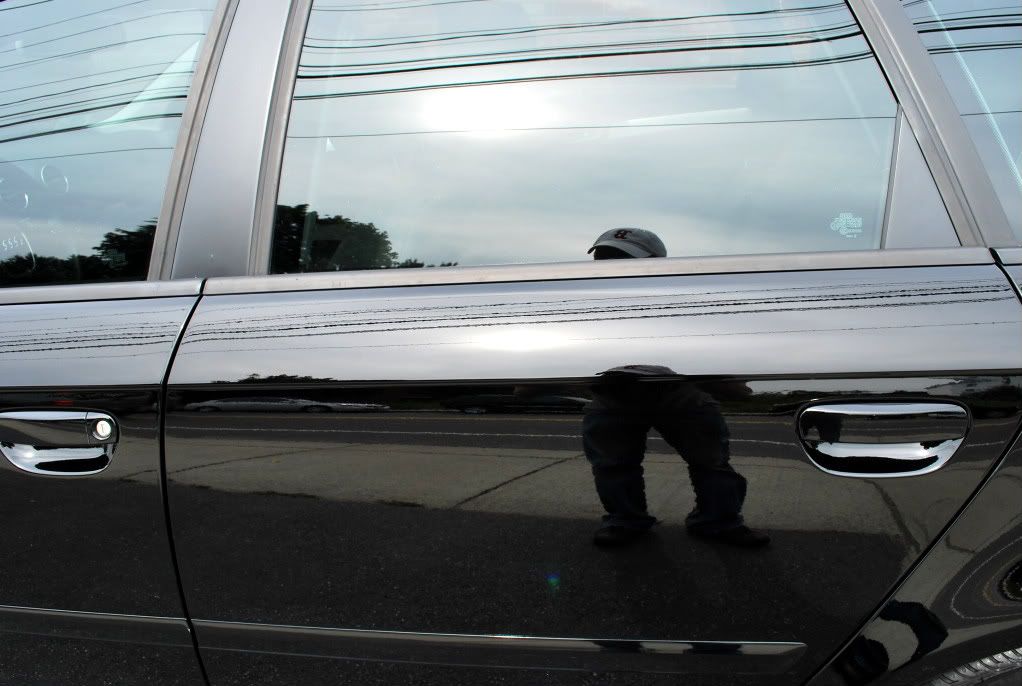
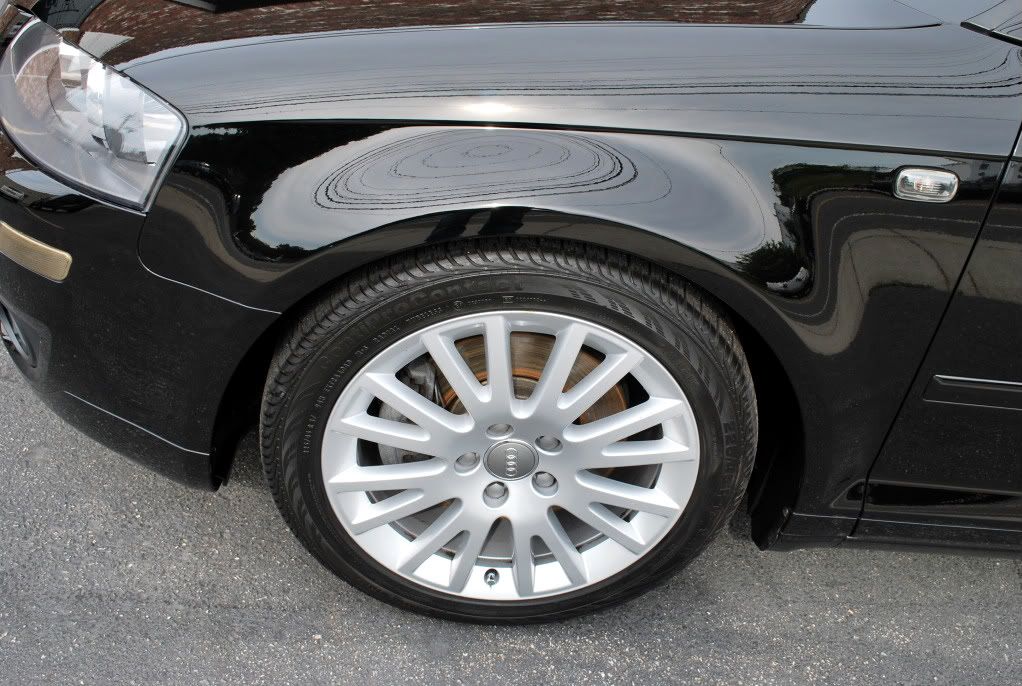
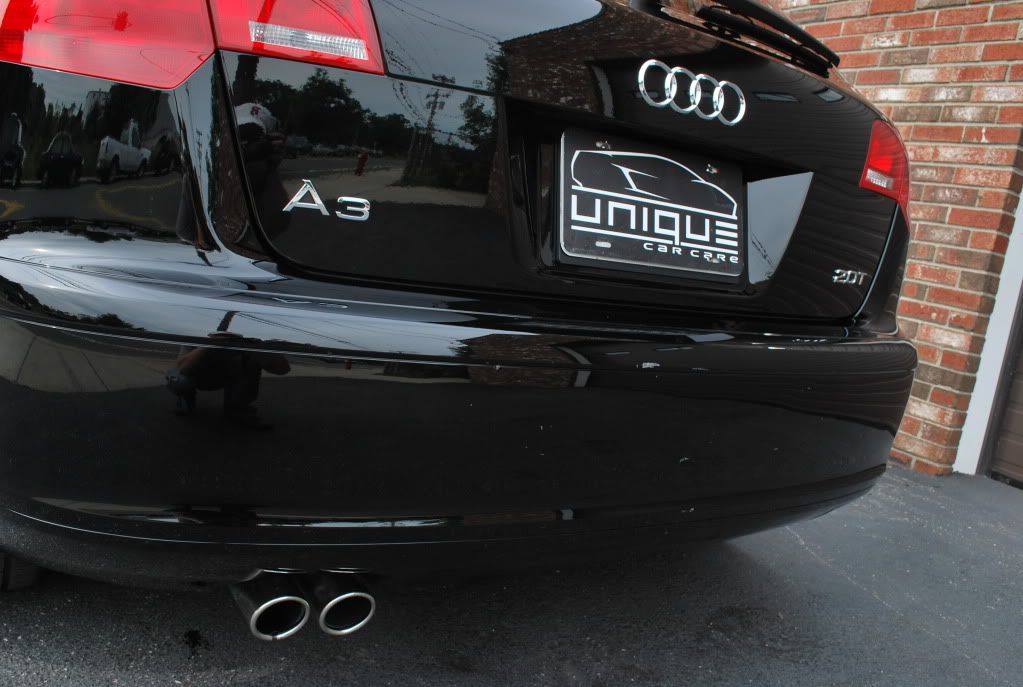
The pictures below show the condition of the paint after the prep, prior to any polishing…
Here are a few pictures to show how the car looked upon arrival.
The clear-bra was looking a bit rough and had quite a bit of damage, so the owner asked that I remove it completely.
Here you can see how good the clear-bra protected the paint…
After I removed the entire clear-bra, I gave the exterior a thorough pre-rinse to remove as much loose contamination as possible. Before proceeding to the wash, I spent a good amount of time cleaning the engine compartment, wheels, tires, wheel wells and jambs. P21S Wheel Cleaner Gel was used for the wheels and Spray Nine was used to clean the engine compartment, tires and jambs. Next, I soaked the car in foam with CG Maxi Suds II using my Gilmour Foamaster Foam Gun and let it dwell for several minutes before rinsing. I like to get as much dirt off the finish before washing it to prevent any additional marring.
I proceeded to wash the exterior using CG Maxi Suds II and gave the car a quick rinse. The contamination was pretty severe, so I clayed each panel very carefully to make sure that everything was removed. It took several Sonus claybars to remove all of the contamination. This made a huge difference and left the paint feeling silky smooth. I washed the exterior one last time using a fresh batch of soap and sprayed each panel with a degreaser to remove any previous products that may have been imbedded in the paint. I gave the exterior a final rinse and dried it completely. All door, hood and trunk jambs were wiped clean using a microfiber towel and all cracks & crevices were purged with compressed air to remove any remaining water
My brother started detailing the interior while I prepped the exterior for polishing. An acrylic solvent was used to remove any paint transfers from the finish as well as any leftover residue from the clear-bra. Next, I masked off any trim, moldings, etc. before any polishing took place.
The pictures below show the condition of the paint after the prep, prior to any polishing…


")
