Barry Theal and Presidential Details presents: 2008 BMW 550i Jet Black

Barry Theal

New member
Pres·i·den·tial (prz-dnshl)

adj. Of or relating to a president or presidency


De·tails (d-tls, dtls)

1.To provide with artistic or decorative detail:

2.With attention to particulars; thoroughly or meticulously

Presidential Details is the coalition of Art and Science. Driven by passion, Barry Theal created a business designed to offer a professional detail that is beyond bespoke. Passionate about his craft, He strives for perfection.


Mission Statement:

To provide a quality result that satisfies our clients’ needs and expectations the first time, every time!

Our goal is to satisfy clients’ needs, whether it be through timely delivery; providing the best value for the money; efficient and courteous service; or superior quality, reliability and durability of our products. As such, we have committed ourselves to the following:

1. Understanding and responding to our customers’ needs and expectations.

2. Improving the Methods of practice to generate continuing quality and productivity improvements.

3. Establishing long term relationships with our clients.

4. Constantly improving on all of the above.


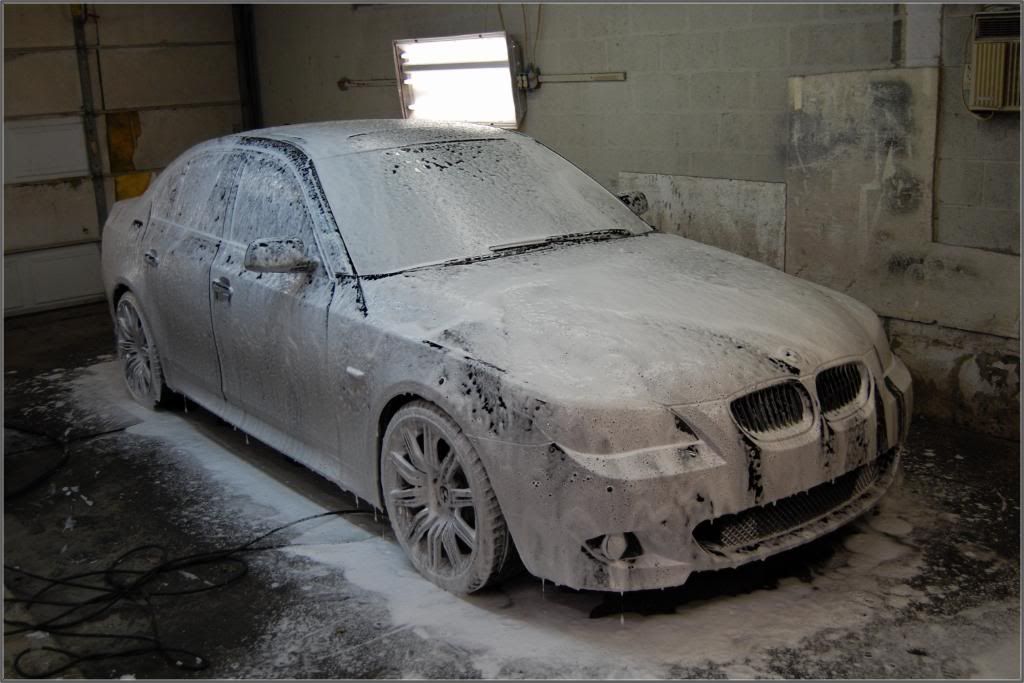
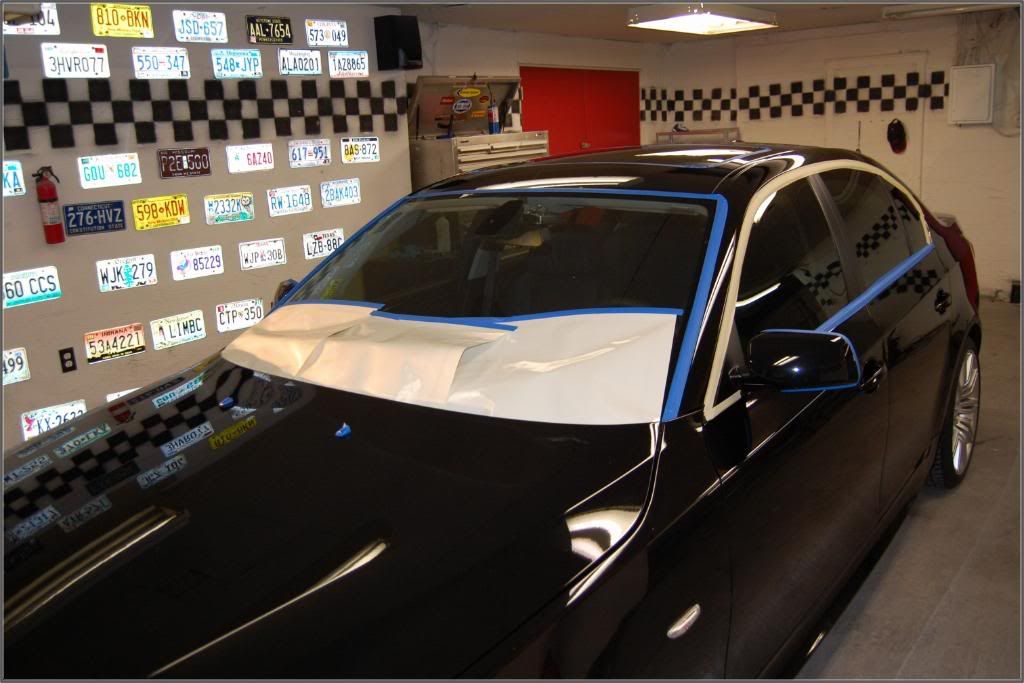
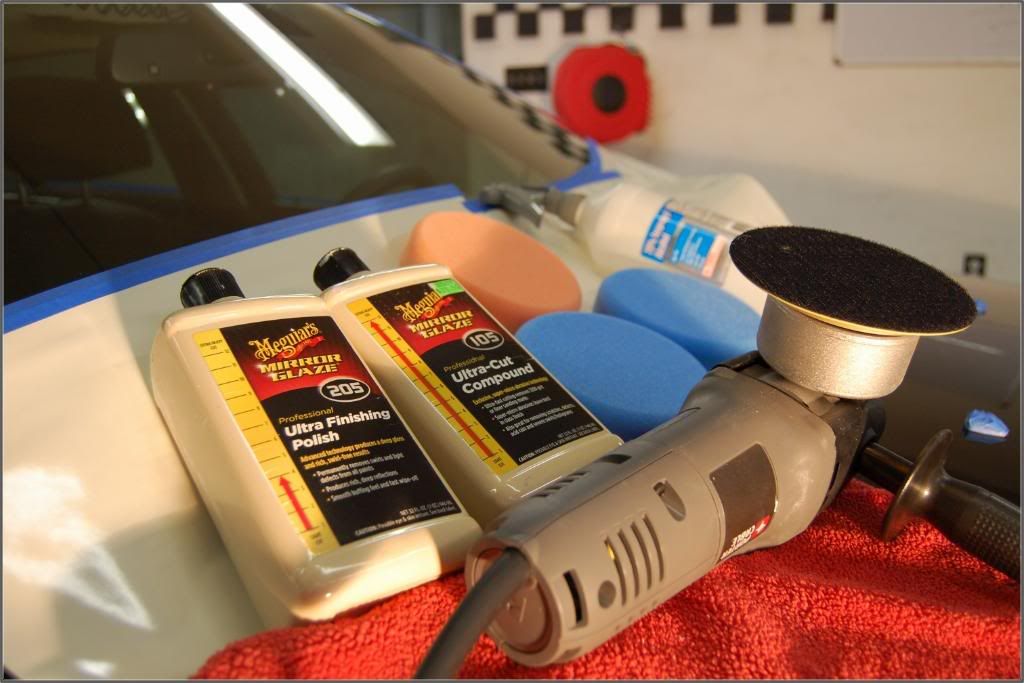
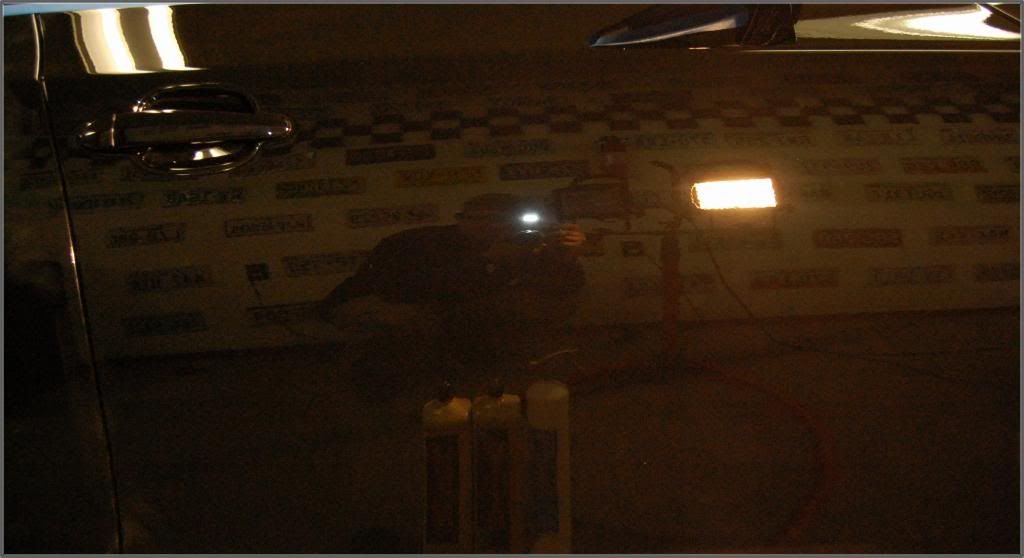
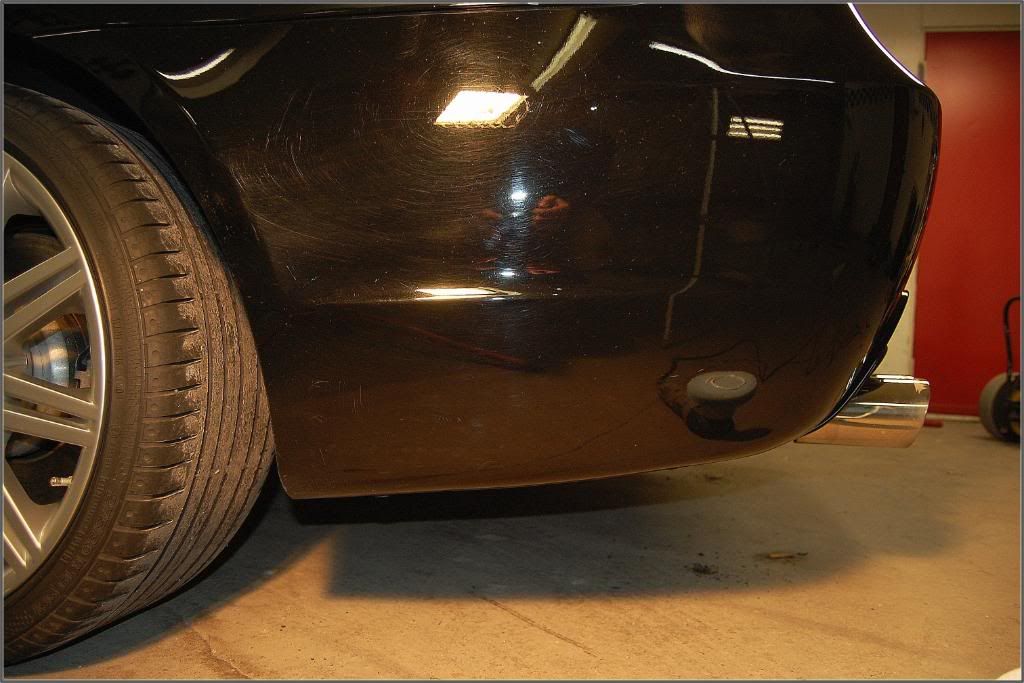
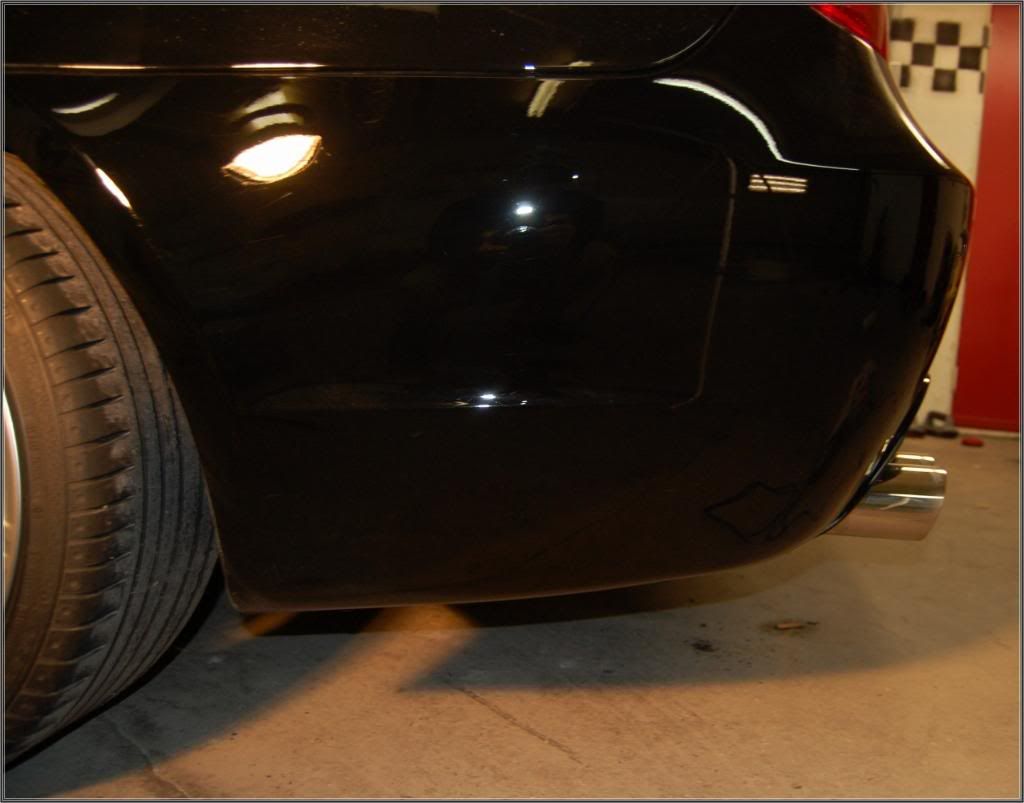
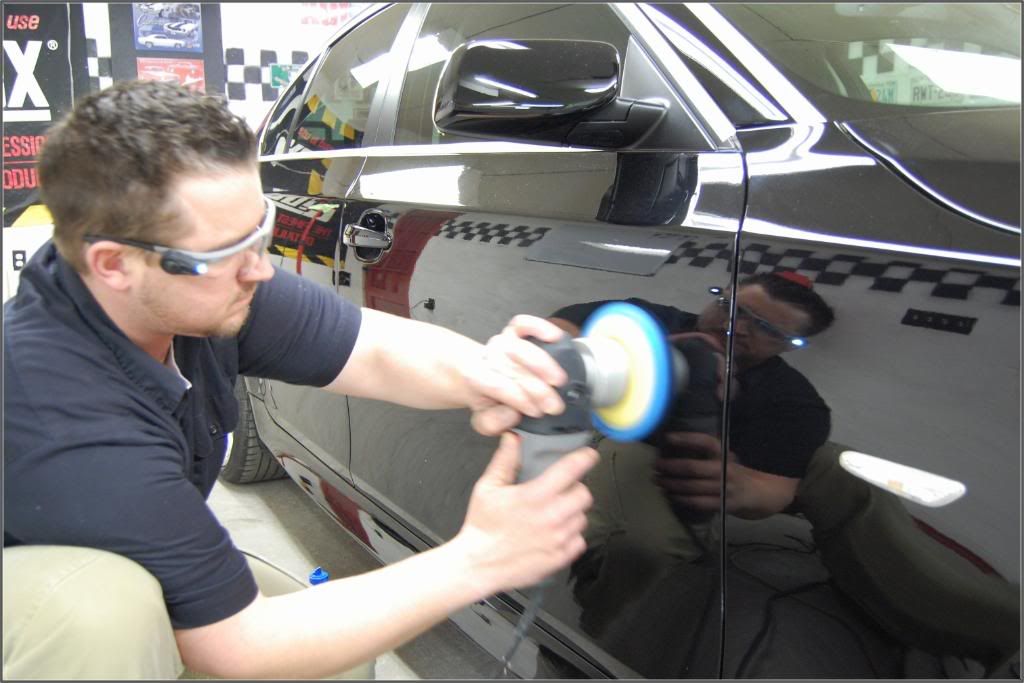
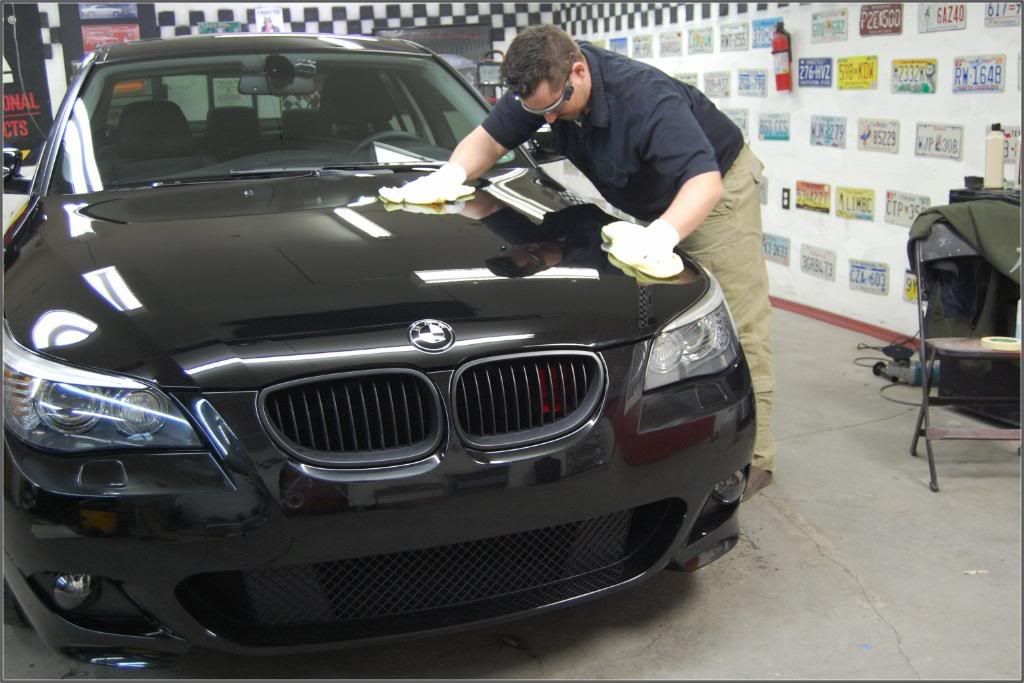
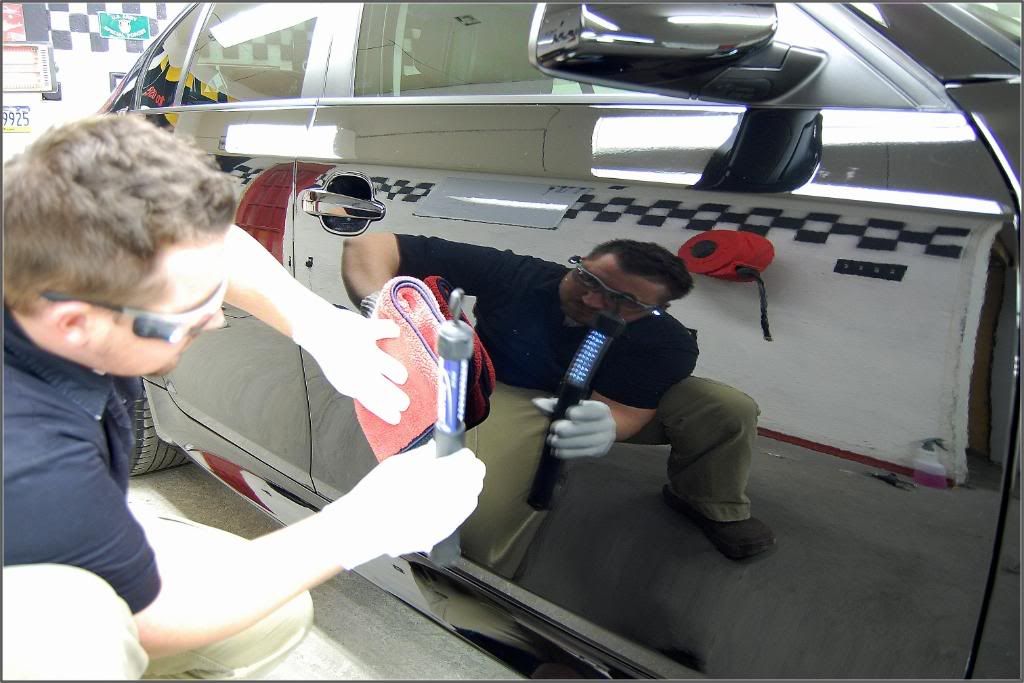
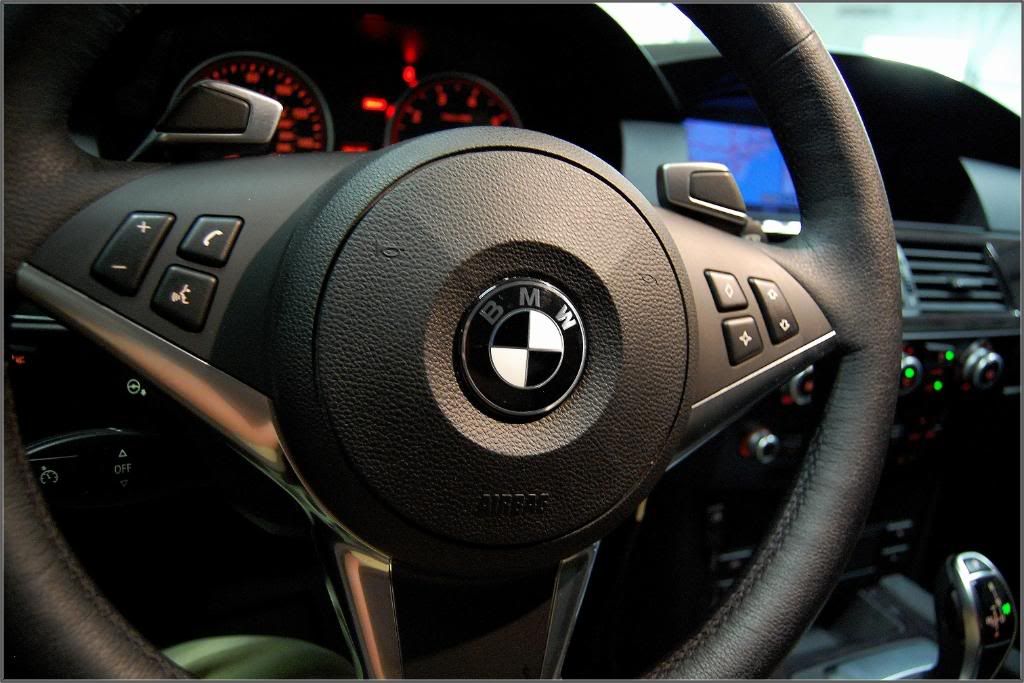
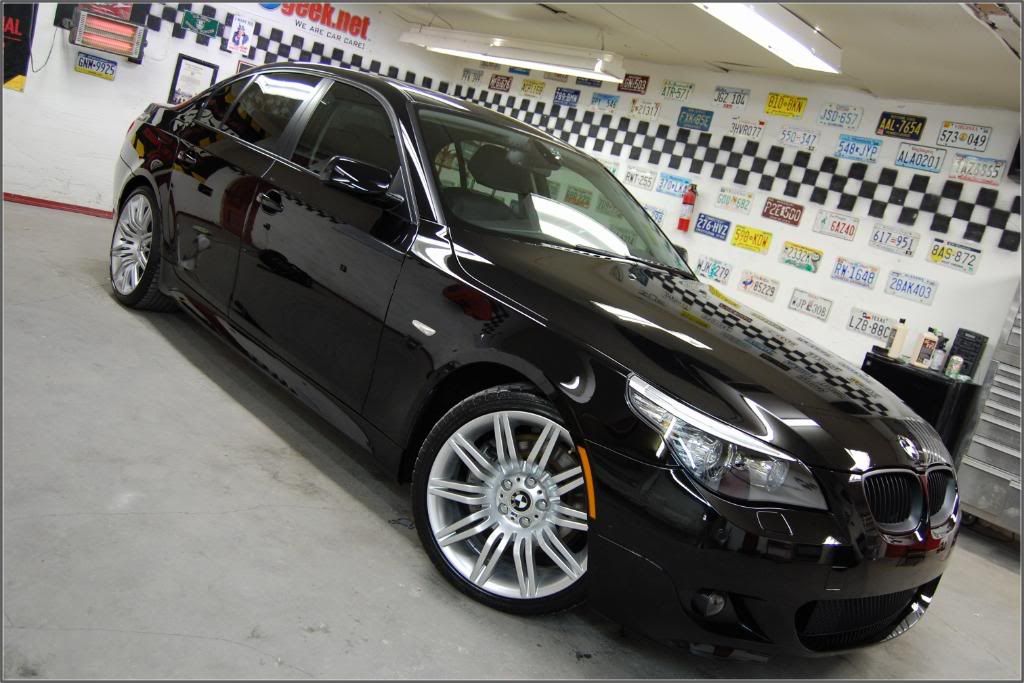
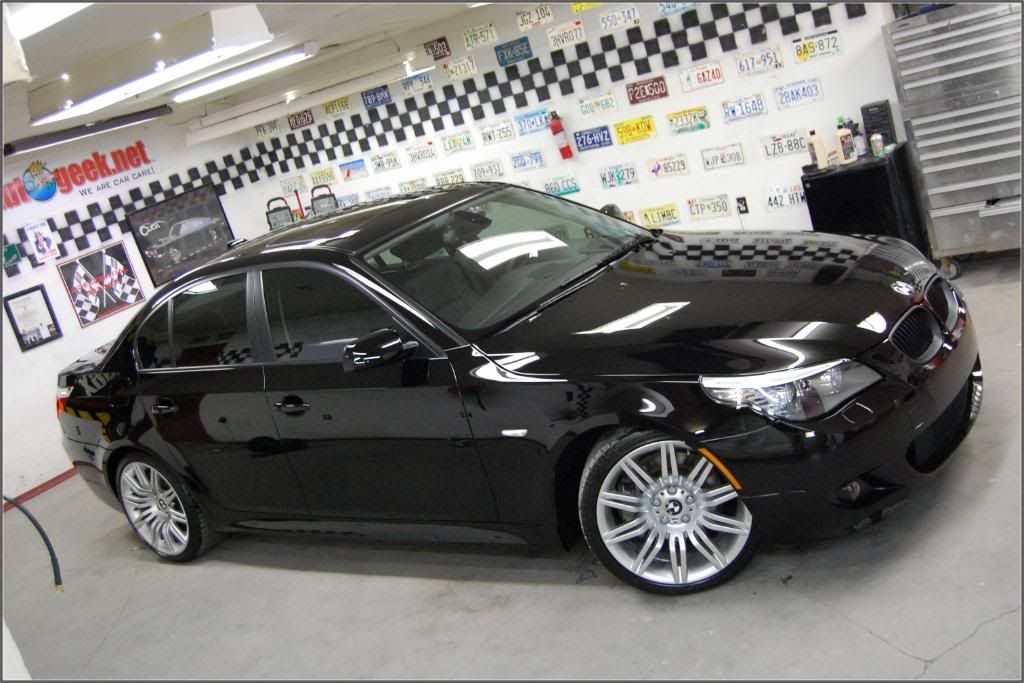
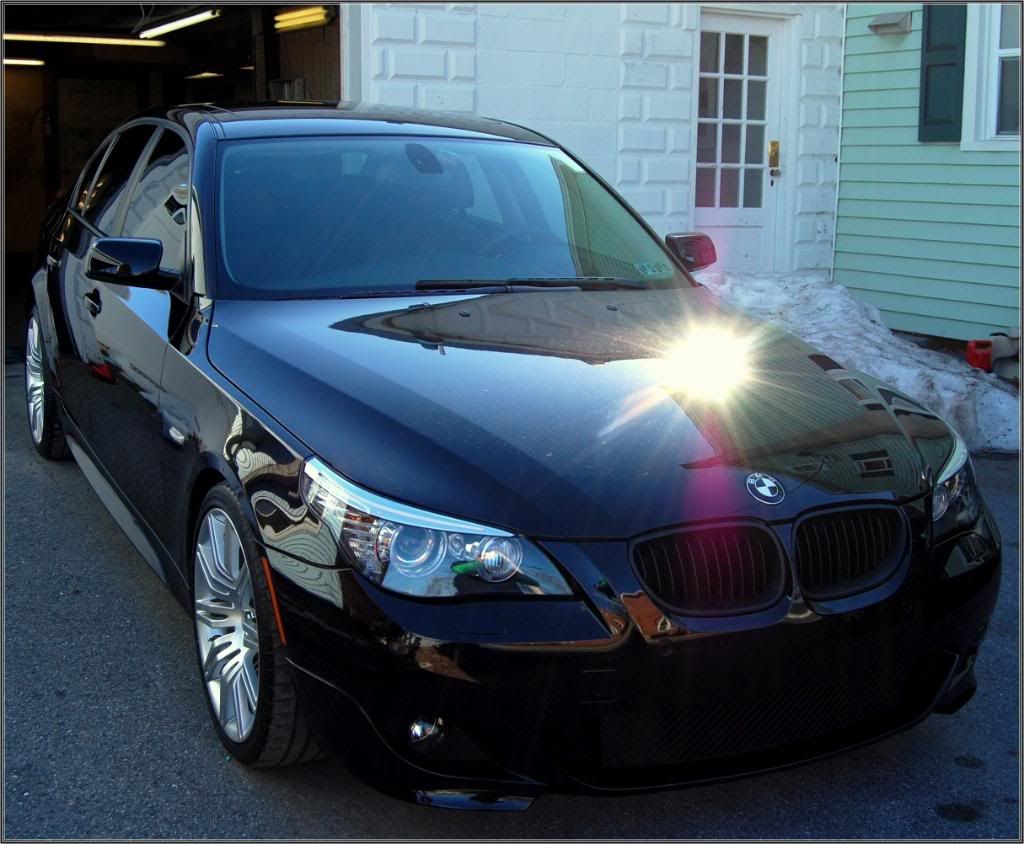
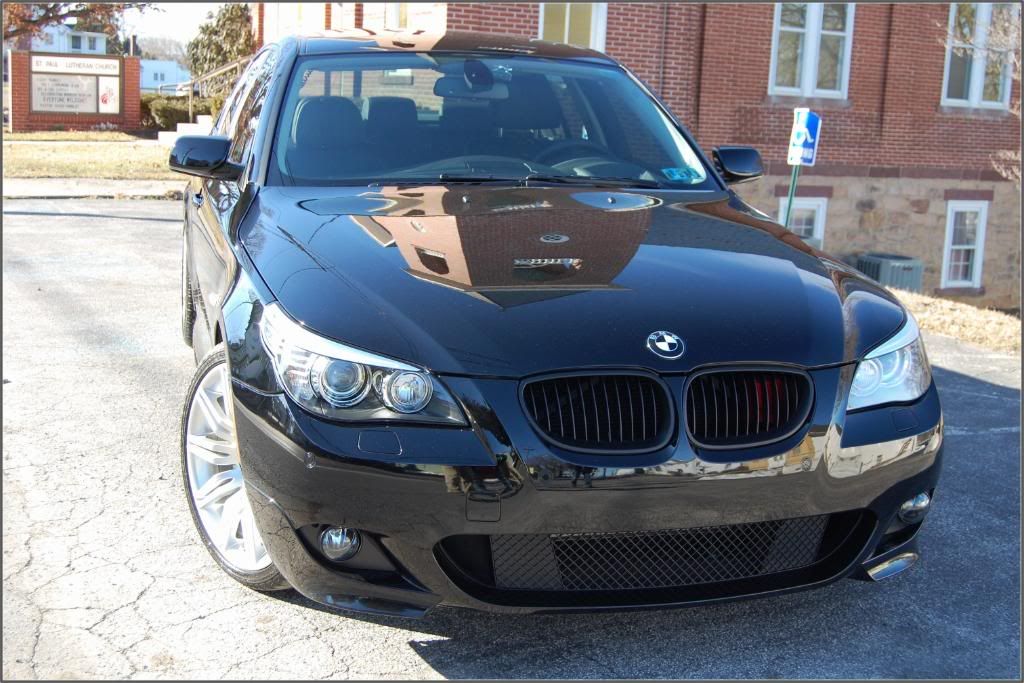
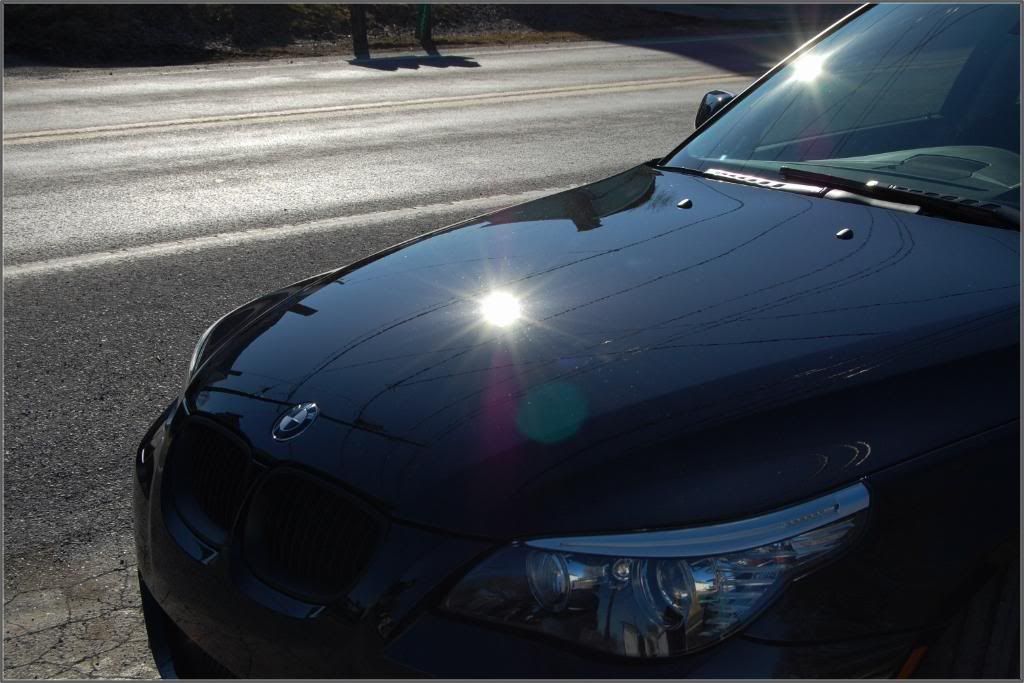
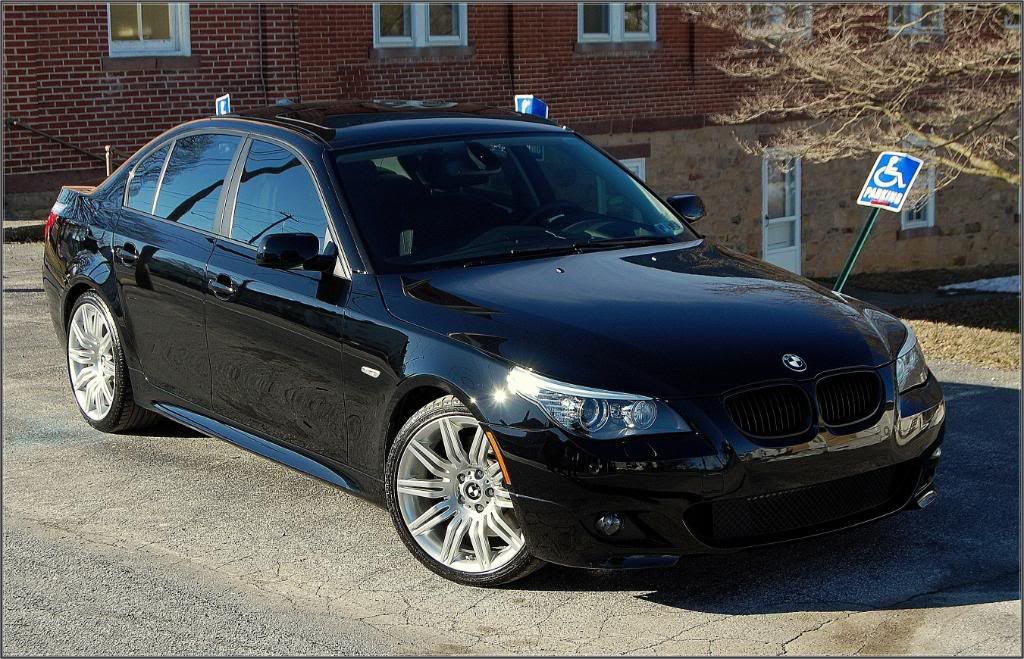
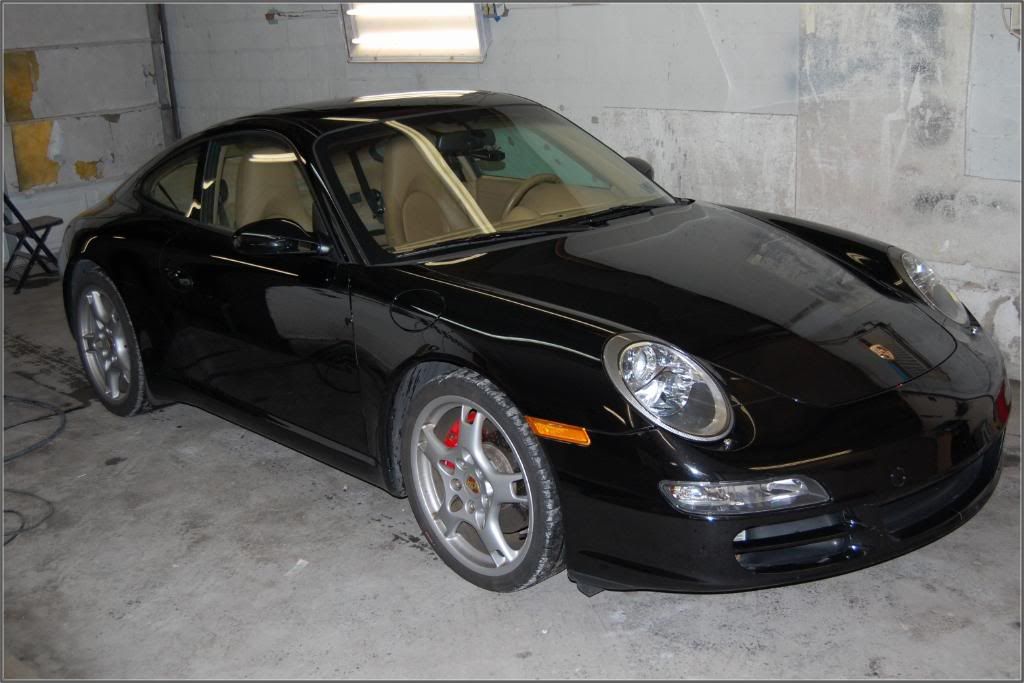
Today I would like to present to you a 2008 BMW 550i In Jet Black. This was a very nice BMW. It had a few mods and will be receiving more as time goes. The owner of the terrific piece is a United States Army Soldier. As a veteran myself, we hit it off right away. A while back he was doing some research online looking for a prominent detailer with experience. He received several referrals for my business Presidential Details. This was a car that he really wanted and upon his return from a tour in Iraq. He finally made the purchase. In other words this is his baby. I’m so glad to see a soldier have such a cherished ride. I was lucky enough to perform my Refinement package. The refinement package is designed to bring the car to a like new condition except with a little more added gloss.

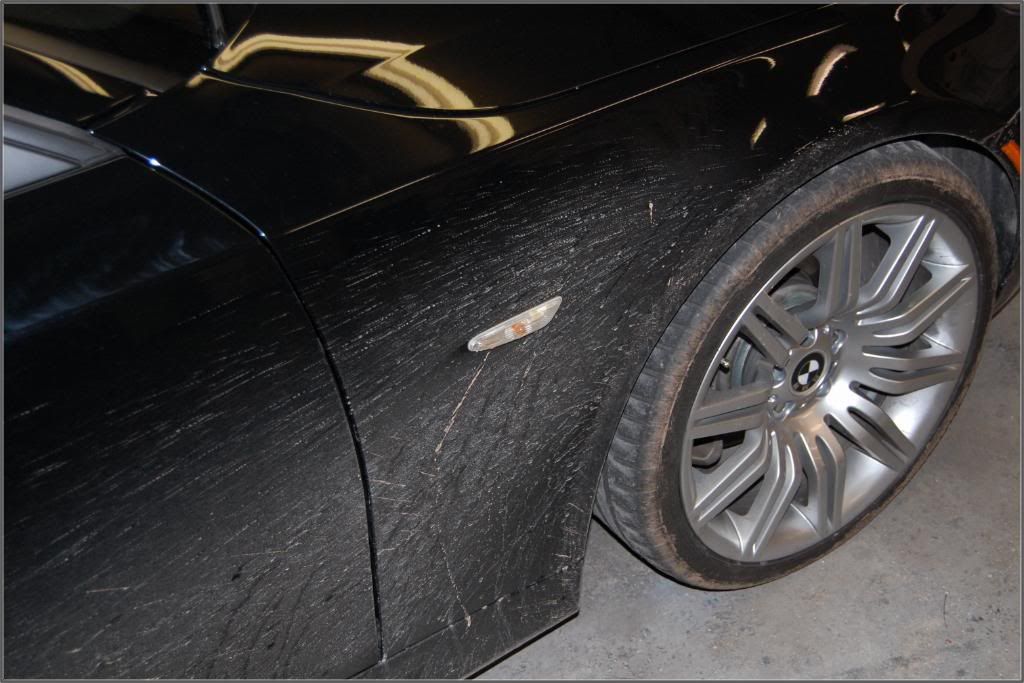
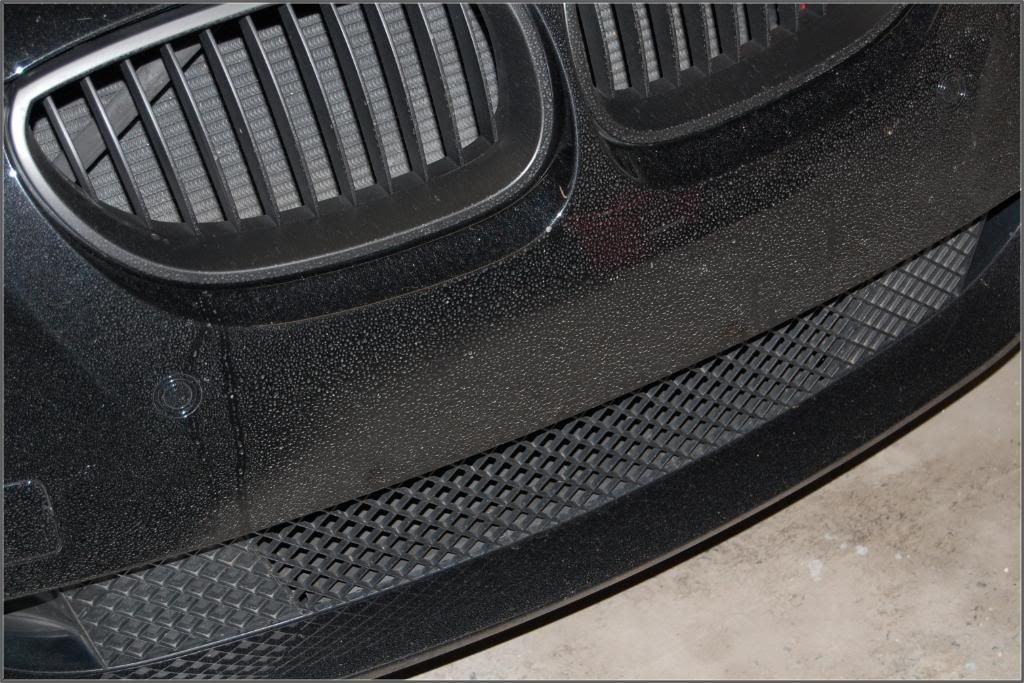
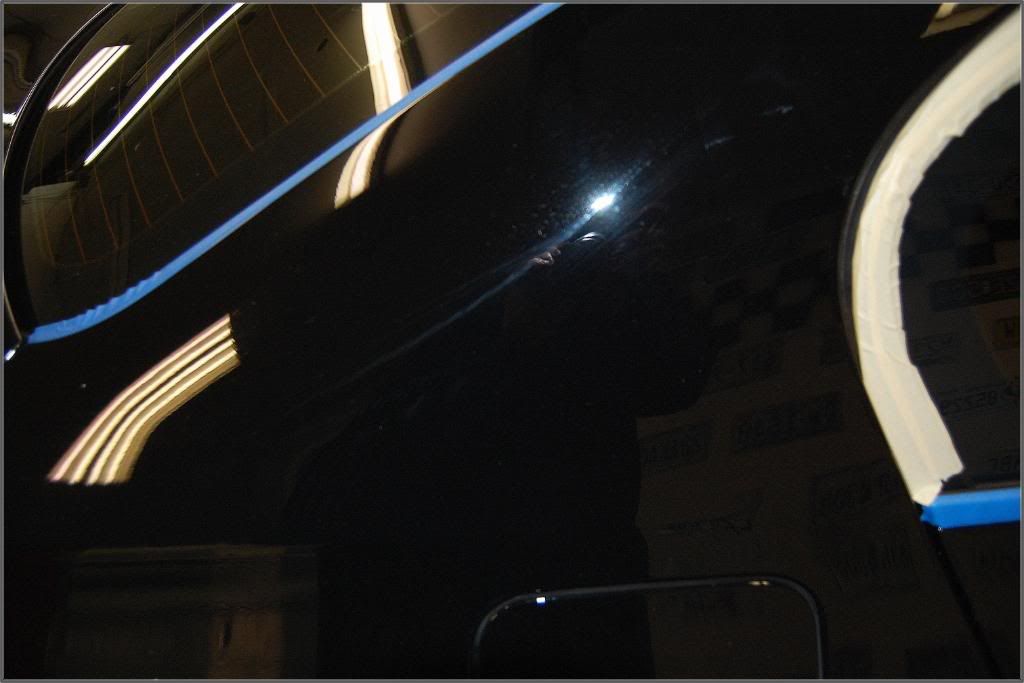
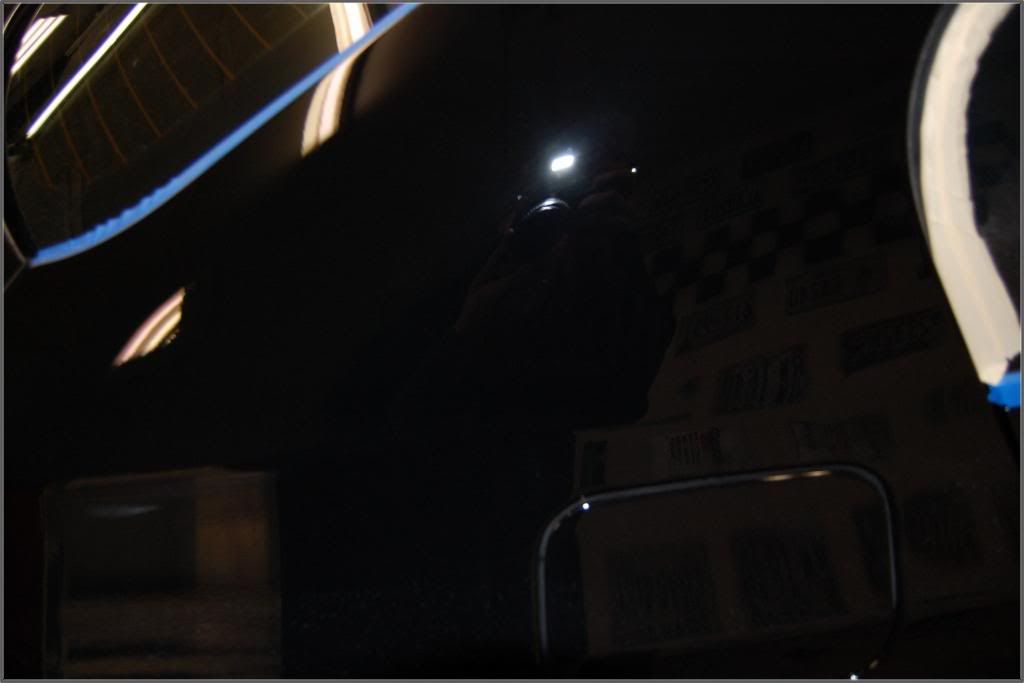
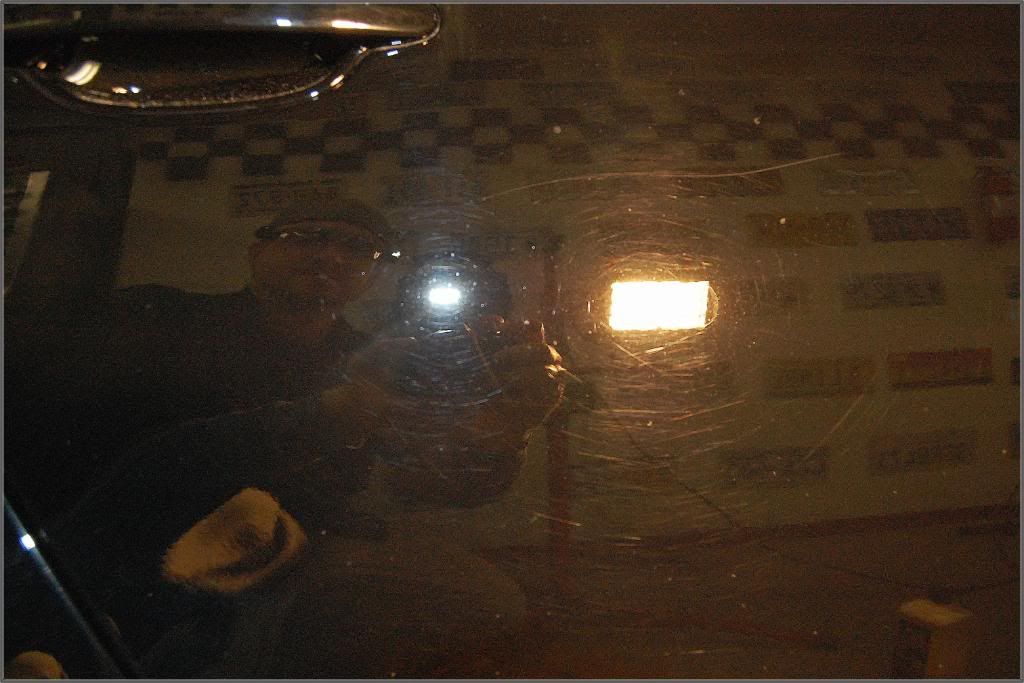
As the car arrived it was fairly dirty from all the road salt and normal wear and tear.


DSC_0904.jpg


DSC_0905.jpg


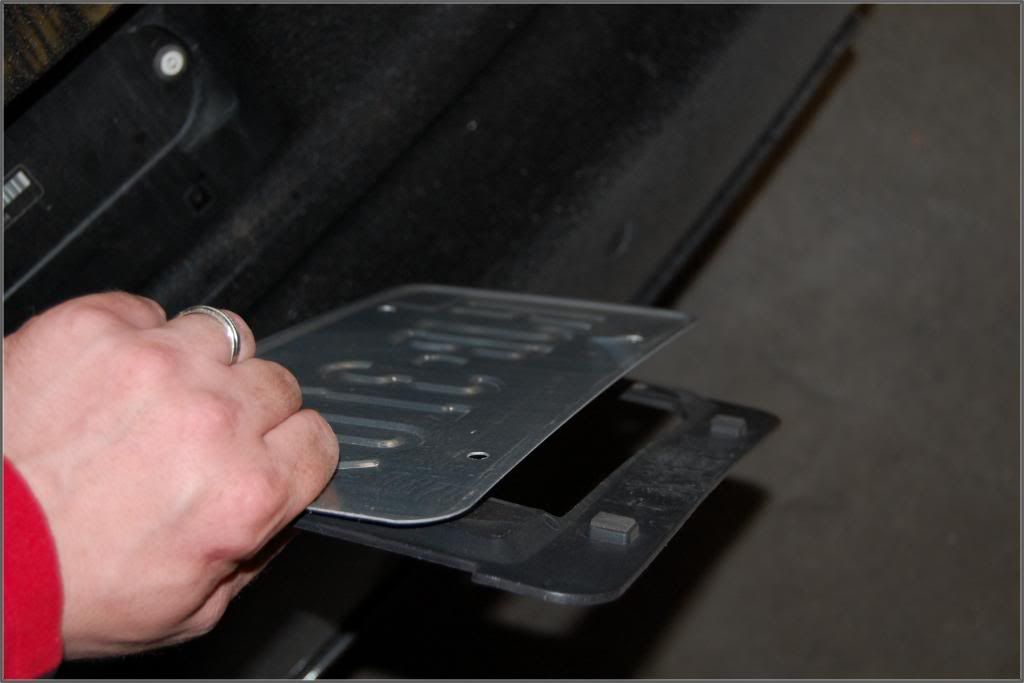
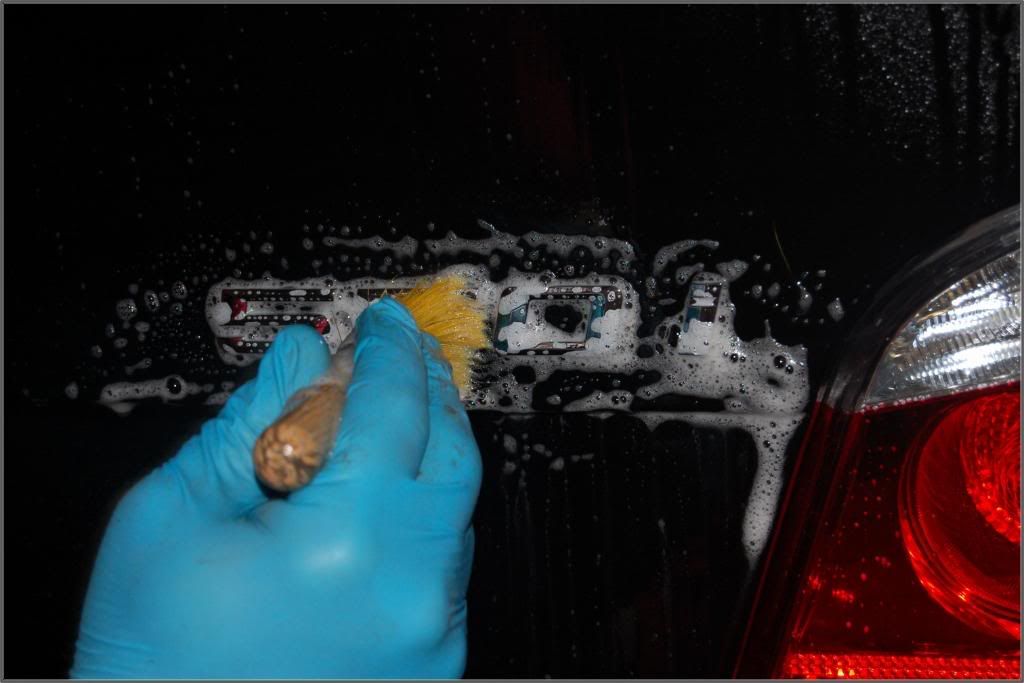
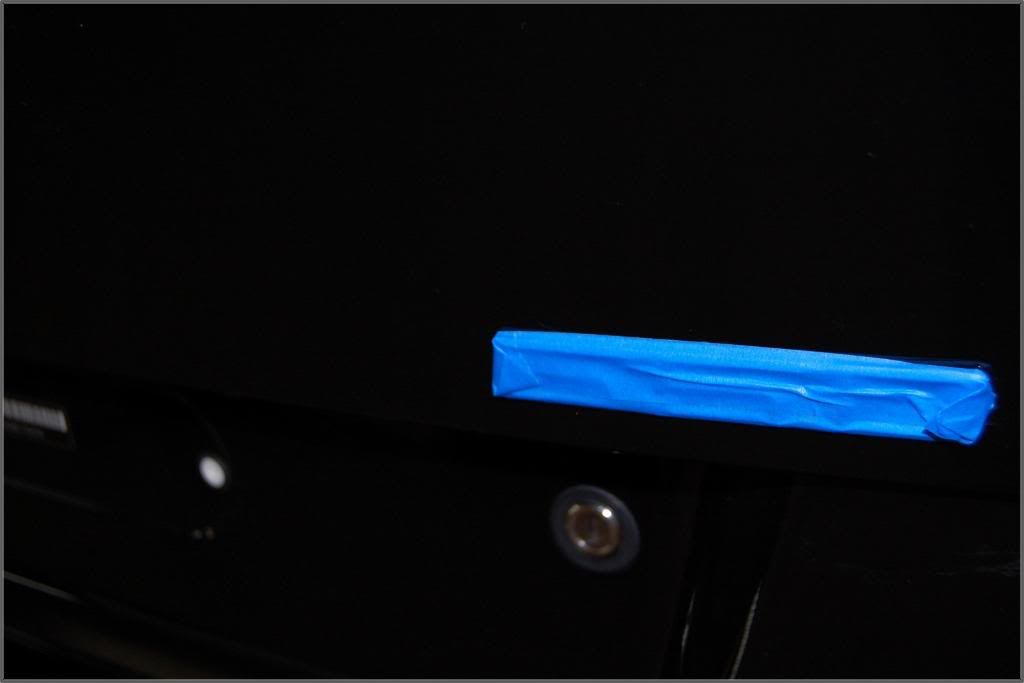
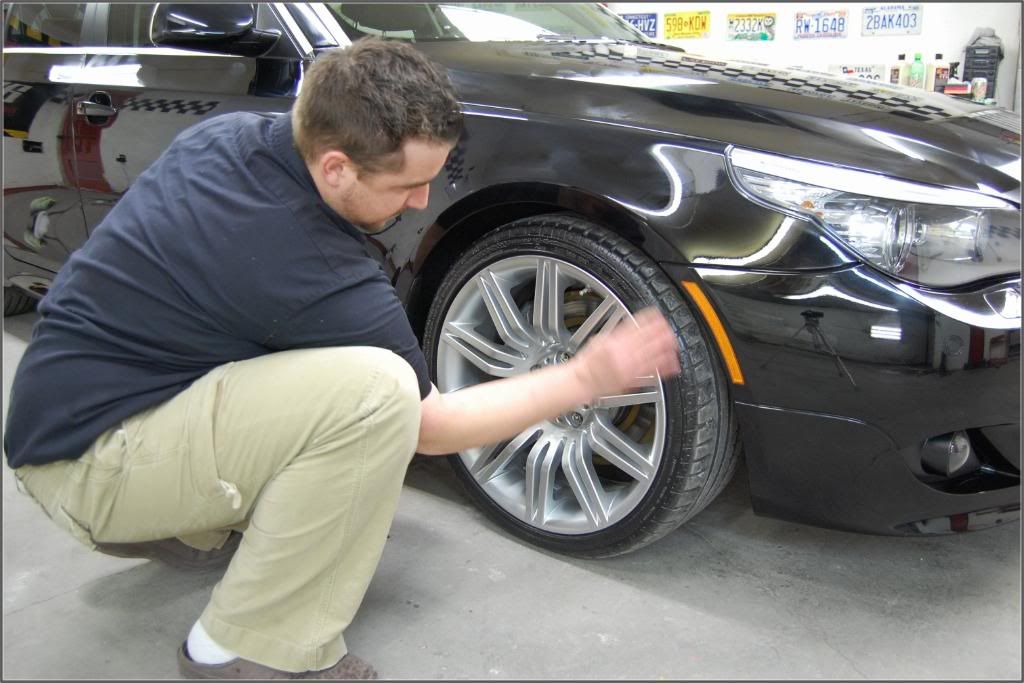
First things first, before I could turn my passion into perfection, I like to start with a dismantle phase. During this stage of the detail, my goal is to remove anything that can come off. Today it was just the registration plate and bracket.

DSC_0907.jpg


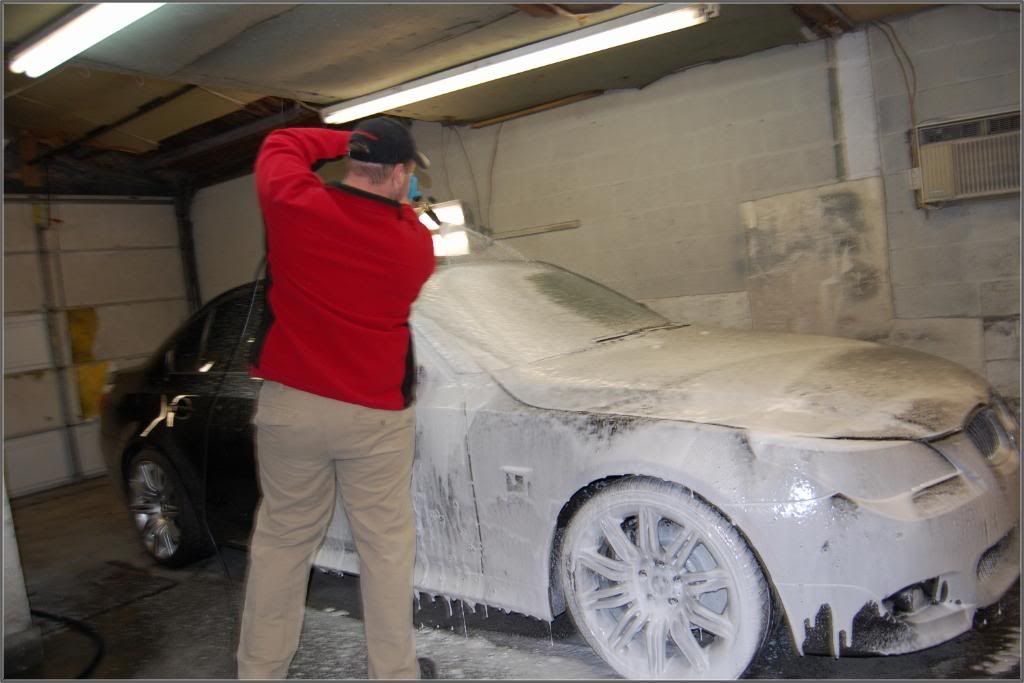
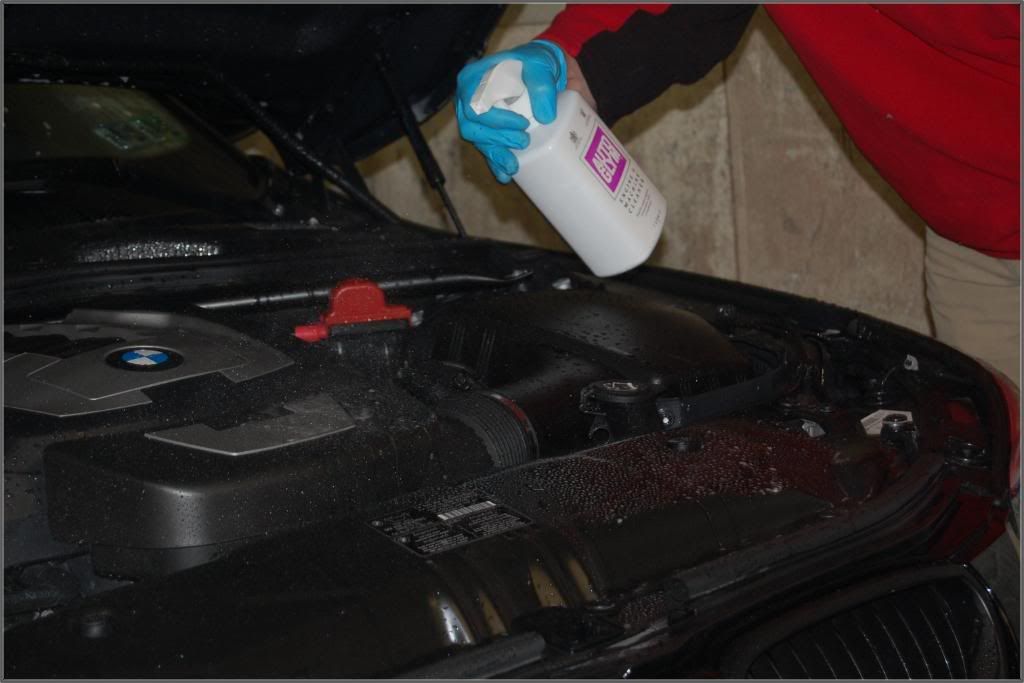
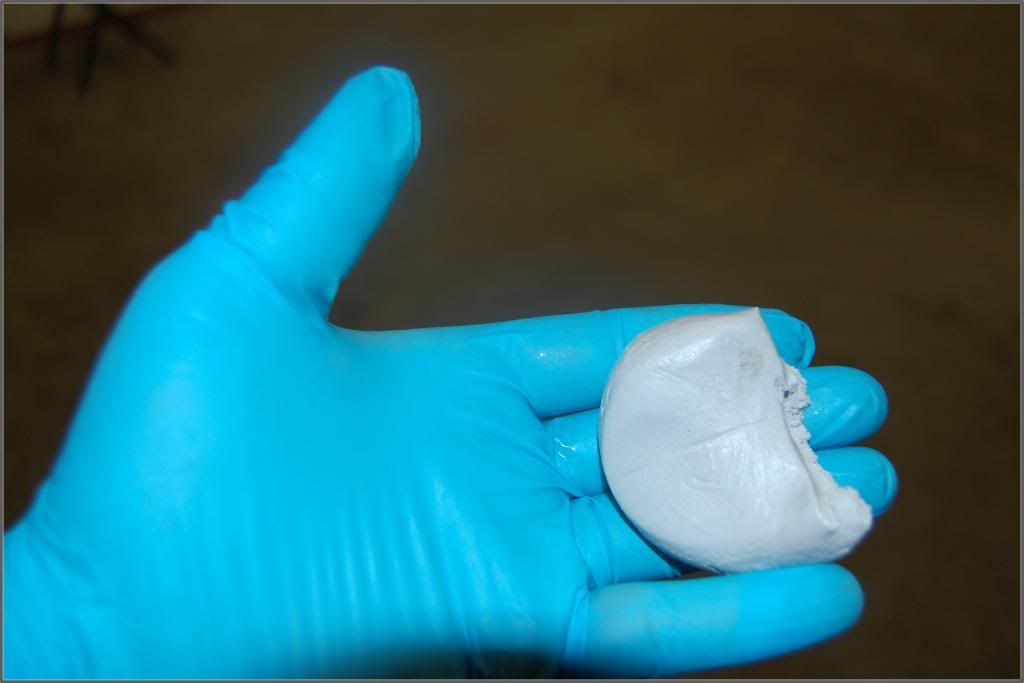
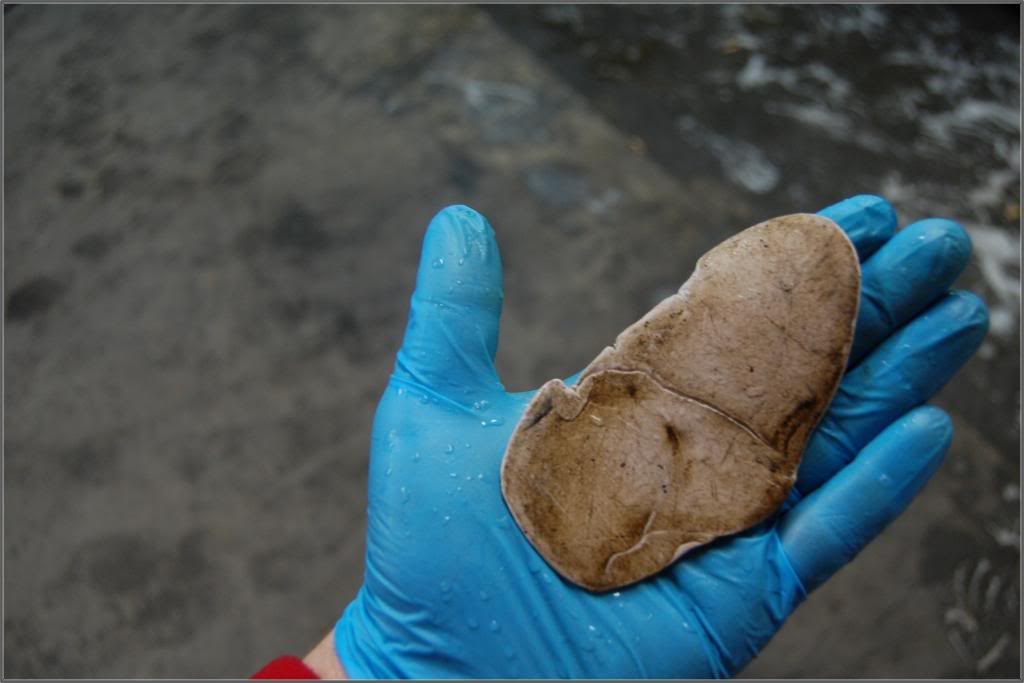
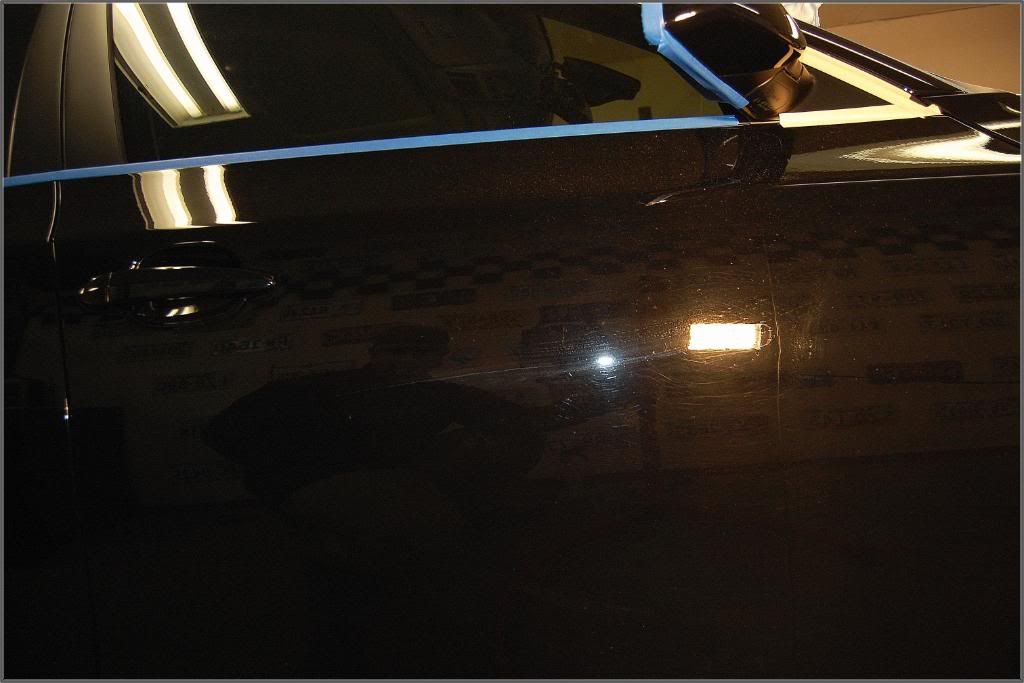
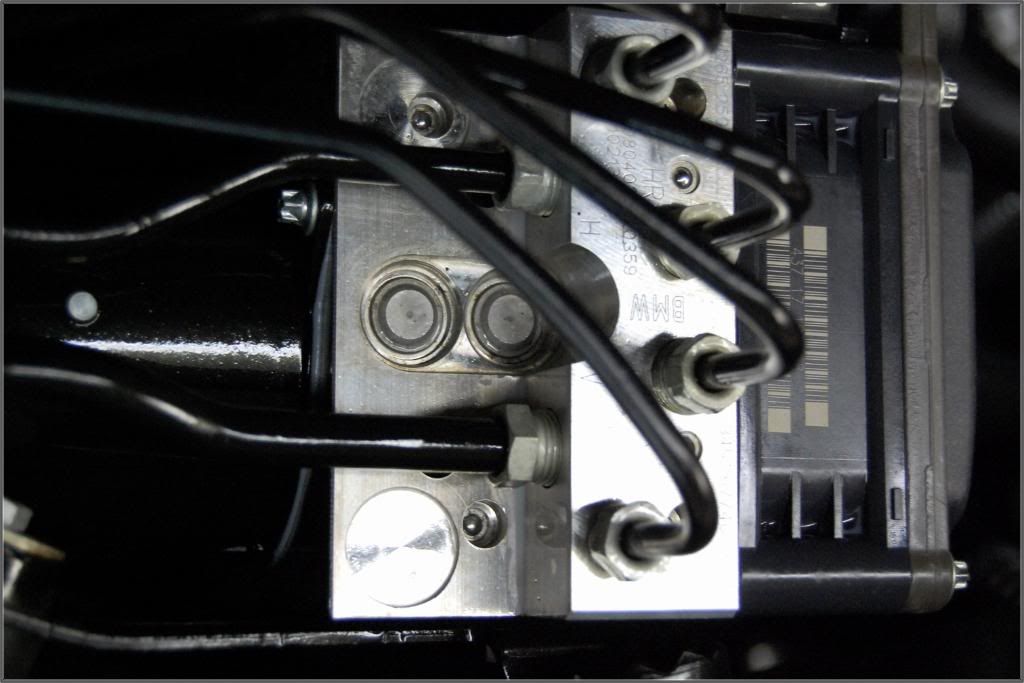
Onto the Decontamination Stage. This stage is designed to cleanse the car. This is the first stage of this
 
vehicles reconditioning. During this stage my main focus is cleansing. The entire exterior receives a gentle yet very effective contamination removal from all painted surfaces, engine, door jams, wheels, and arches.


First I started with a nice foam bath with a soap designed to remove wax yet ph balanced. Here in these to portraits you can see how the foams works. This is actually a very nice crucial step. Its main purpose is to loosen and dirt and loose debris from the vehicles surface. It allows for the debris to be removed with out touching the paint. I have found it to be a must in the ultimate prevention against washed induced marring.


DSC_0911.jpg


DSC_0923.jpg


Once all foam was rinsed off utilizing a pressured wash bath. I turned my focus to the engine. The motor and it surroundings were sprayed and agitated the rinsed. Once rinsed down I used purge air to dry the entire engine bay area.


DSC_0931.jpg


Paying attention to the little things makes the biggest difference in the end


DSC_0938.jpg


Next I moved onto the wheels, tires and arches. All were cleaned using an industrial strength All Purpose Citrus Cleaner. Safe and Natural, yet very effective.


DSC_0941.jpg


Once again paying attention to smaller tighter areas where wax builds up can create a nice clean look later down the road. Utilizing a soft horse hair brush and some cleaner all the tighter areas were successfully cleaned. This included emblems, cracks, mirrors and other crevices.


DSC_0946.jpg


Once this task was completed, I gave the car another foam bath and rinse. Now it was time to ensure the paint was smooth and decontaminated. I choose a fine grade clay bar to remove the surface contaminants. Upon initial inspection the paint felt a little rough, but nothing major. After the clay bar treatment I was shocked to see how much was actually removed. In the next two pictures you can see that before and after. This was a brand new piece of clay.


DSC_0950.jpg


DSC_0957.jpg


Upon the clay bar treatment. I wipe the entire surface down with a solvent to ensure the paint was toughly clean and all wax was removed. At this point I taped up anything that could be harmed by compounding and polishing. Its better to be safe then sorry. A $3.00 roll of tape can save hundreds if not thousands in damage.


DSC_0979.jpg


DSC_0977.jpg


Once taped I began with the following items for the initial correction.


DSC_0986.jpg
 
Here in the before and after pictures you can see how effective the Kevin Brown Method of paint correction and machine polishing truly is. Take notice as you look at the lights. You can clearly see some excellent examples of swirls and rids. Rids is short for random isolated deep scratches. You want o focus on the area’s around the lights. For this stage of lighting I used a 500 watt halogen lamp and a camera flash.


DSC_1008.jpg


DSC_1009.jpg


DSC_1010.jpg


DSC_1017.jpg


DSC_0006.jpg


DSC_0013.jpg


DSC_0025.jpg


DSC_0030.jpg


DSC_0067.jpg


DSC_0072.jpg


As you can see the Kevin Brown method of machine polishing and correction works. While at this point the paint looked perfect, I choose to add another step as time allotted for this detail. I choose Menzerna 85rd. This step made a difference in gloss and really made the Jet Black glow.


DSC_0142.jpg


Upon completion of the machine polishing I applied a Sealant for protection. To enhance the cars finish a carnauba based wax was applied by hand. While the wax was curing I dressed the tires and added a layer of protection to the wheel.


DSC_0146.jpg


The wax was removed and a careful inspection of the paint was done using various lights sources. The lighting included a 3m Sun gun, Leds, and halogens.


DSC_0148.jpg


DSC_0158.jpg


The interior and engine was cleaned and protected.

Final engine bay pictures. Take notice it was left to a clean natural look. I prefer a nice matte looking engine bay. I’m not a fan of a high gloss Crisco look at all.


DSC_0161.jpg


DSC_0166.jpg
 
DSC_0168.jpg


Here is a picture of one of the mods. This Ram Air Install was located behind the matte black after market grill. I thought it looked slick from the front. It was a nice touch.


DSC_0174.jpg


The interior presents itself as a classy look yet aggressive in this particular model.


DSC_0206.jpg


DSC_0221.jpg


DSC_0230.jpg


I thought this was pretty cool. I was looking at the Navigation display and I thought wow I have clientele from all these places! It was a weird moment for me. I realized at this point my hard work is paying off. I think its very important not forget where you come from as time progresses. It was a nice moment.


DSC_0226.jpg


The exterior looked simply stunning. I really began to fall in love with this German designed machine. I can see how this would be a nice driving experience.


Here are some close up shots


DSC_0182.jpg


DSC_0193.jpg


DSC_0209.jpg


Here are some pictures of the car completed in the shop. Like I said this vehicle is stunning.


DSC_0177.jpg


DSC_0178.jpg


DSC_0187.jpg


DSC_0233.jpg


DSC_0238.jpg


DSC_0239.jpg


The next day the car was pulled out for a few sun shots.


DSC_0247.jpg
 
DSC_0253.jpg


DSC_0254.jpg


DSC_0261.jpg


DSC_0262.jpg


As this BMW left this showed up for some major surgery!


DSC_0266.jpg


DSC_0268.jpg


As always thank you for viewing my work. It was an honor and a privilege to not only perform this detail, But to meet the owner. As life gets hectic, often we forget about the ones who Serve, Defend, and Protect our Nation from harm. Thanks again. :2thumbs:


Barry Theal

Presidential Details

Lancaster Pennsylvania
 
Great work Barry! Extremely professional. I love how you carry yourself!


Although I love my rotary I'll definitely give the PC ago with the M105 and 205. I think i'll also try out the surbuf pads.


Thanks again for the post.
 
jtford95 said:
That looks amazing!! Great job Barry. I see you collect license plates


Thank you kindly sir. I actually had them plates for years from when I did High Volume work in the 90's lol. My parents are moving and found the box of them and ask me if I wanted them. I forgot all about it. lol I thought it would change the shop up a little.


Nikku said:
Great work Barry! Extremely professional. I love how you carry yourself!


Although I love my rotary I'll definitely give the PC ago with the M105 and 205. I think i'll also try out the surbuf pads.


Thanks again for the post.


Thank you Nikku you. I used my rotory throughout my entire career in detailing, but I must say things change. I think all tools have there purpose. Its nice to have a variety.
 
:2thumbs:Thomas thank you. It was weird seeing pictures of me with a pc. Thank for the compliments. Right around 12 for the paint.
 
great turn around and write-up. Everything well explained so everyone can follow along while a pro does his thing. Beautiful work and g/l with that 997!
 
That's a fine looking bimmer, maybe the best I've ever seen. Then again, it is MINE!


Thanks Barry! You did an awesome job and I couldn't be happier. Damn BMW Jet Black though, it's already dirty. Arghhhhh!!!!!


Best detail I've ever had done to a vehicle I've owned. Not only that but Barry took the time to fully explain to me his process and how to keep my car looking its best for months to come. Barry Theal, a truly class act!


Thanks again Barry. I'll be back man. And thank you for your service to my man.


-Bryan
 
Aside from the little bit of dirt left over in the wheel picture above the angel eye picture located on the top left side bottom portion of the lug-nut, I'd say that car is perfect lol! Like u say and we say in the Marines "Attention to Detail"


I will agree with Nikku, you do carry yourself very well and humble! Great job Bud!!!! So when are you doing mine?
 
Beautiful job and an excellent write-up to boot!


Amazing work with the PC, can't wait to see more of that in the future!


It's nice to see the process, instead of a couple of cheap before and afters, and I have to say, you've nailed it in your write-up.


-Robert
 
Back
Top