Todd@RUPES
Just a regular guy
We have all seen, or perhaps we suffer from, faded and clouded headlights. For the better part of U.S. automotive history, tight governmental regulations required glass headlights of particular designs. Since the mid-1980's, car designers have been able to utilize aerodynamic headlight housings made of plastic, replacing the standard glass bulbs that were previously common. These housings will age and discolor over time. Yellowed and faded headlight housings are not just an eye sore but also a safety hazard. The light from the headlights is blocked and dispursed in the housing effecting the driver's nighttime vision and reducing the headlights visibility to oncoming traffic.
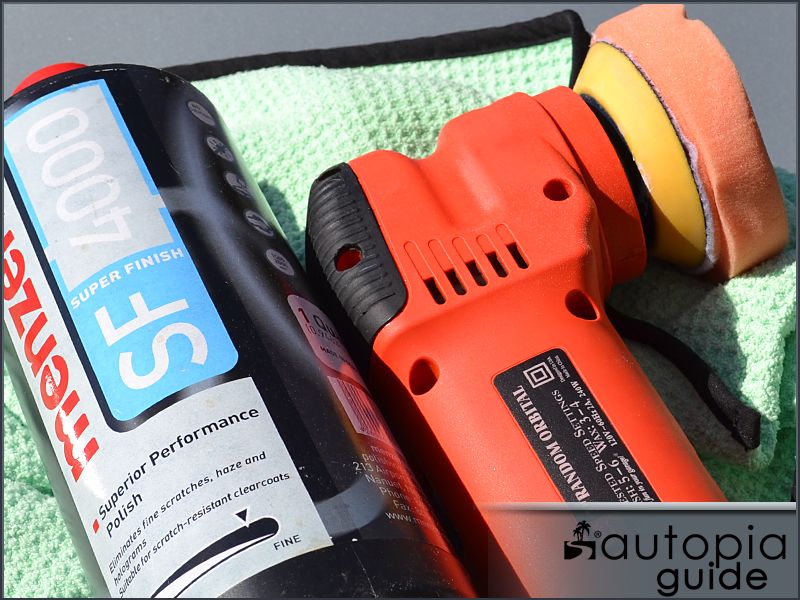
With some basic polishing knowledge and a little bit of patience you can restore crystal-clear clarity to most plastic lens in under an hour. There are some products on the retail market that claim to "restore" headlight housings in just minutes using a simple spray -the truth is restoring headlights requires removing the topical damage (weathered and oxidized plastic) from the housing, the polishing the plastic to a high-gloss (clear) shine. Autopia-CarCare.com sells many headlight light restoration kits. While the products are different, the concept is basically the same.
First, you will need to wash the headlight housing to remove any road dirt and soil from the surface. Second, it is often beneficial to deep clean/decontaminate the housing to remove any embedded bug guts or asphalt that could cause deep scratches as you work. Third, you will use abrasive mediums (polish or sandpaper & polish) to remove the oxidized layer of plastic from the headlight housing. Last, you will add some protection (wax, sealant, or specialized coating) to protect the headlight from further weathering and fading.
Step One: Start With A Good Wash
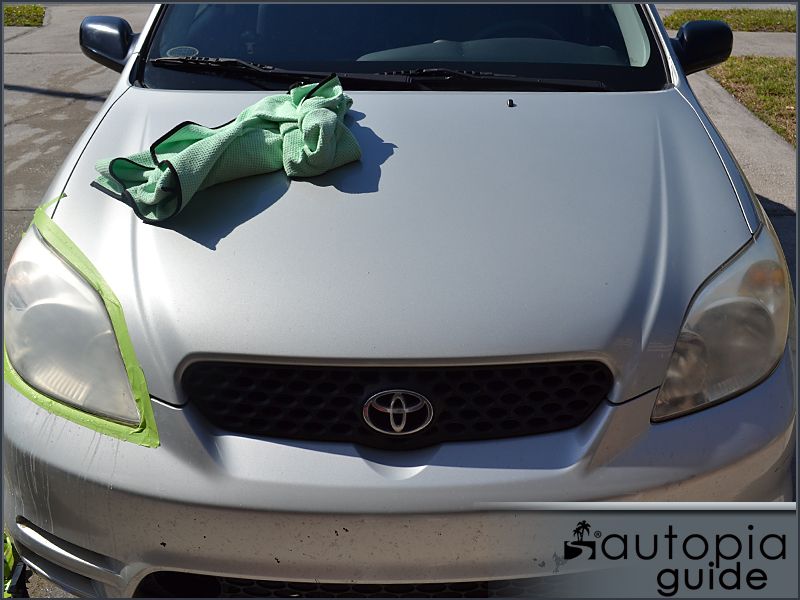
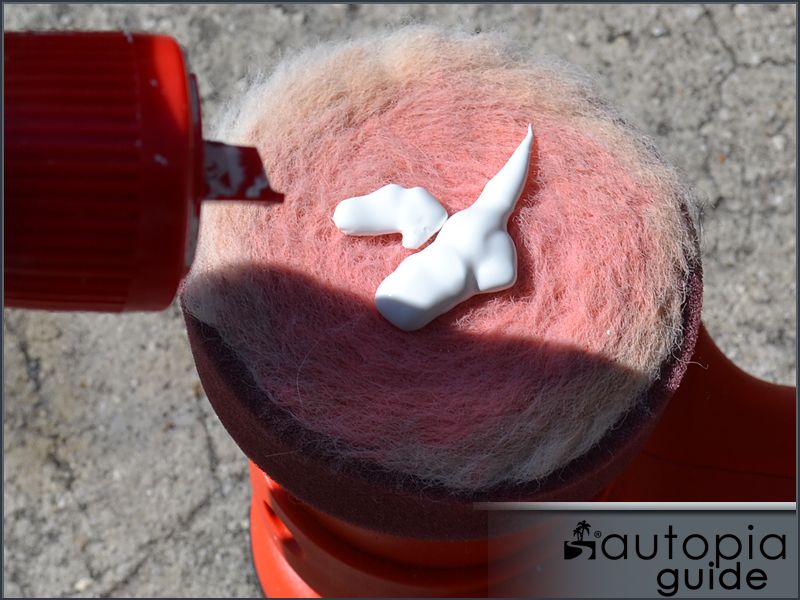
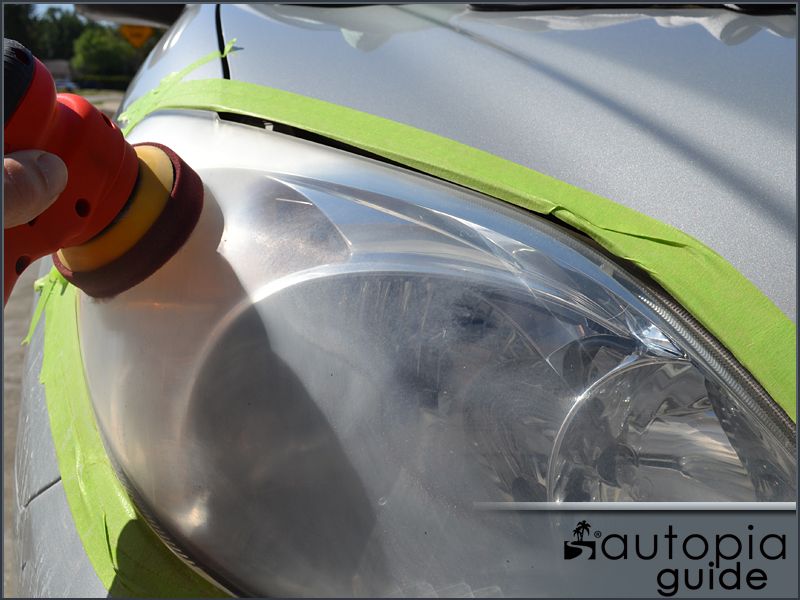
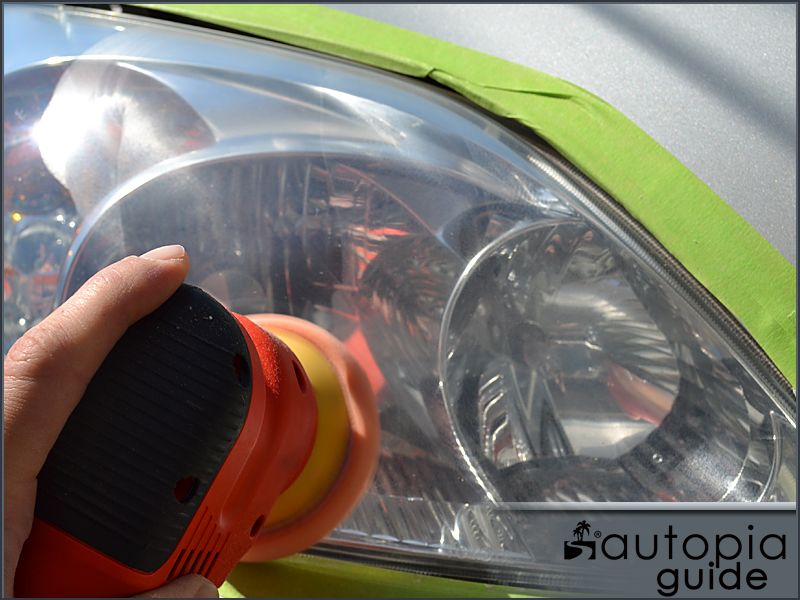
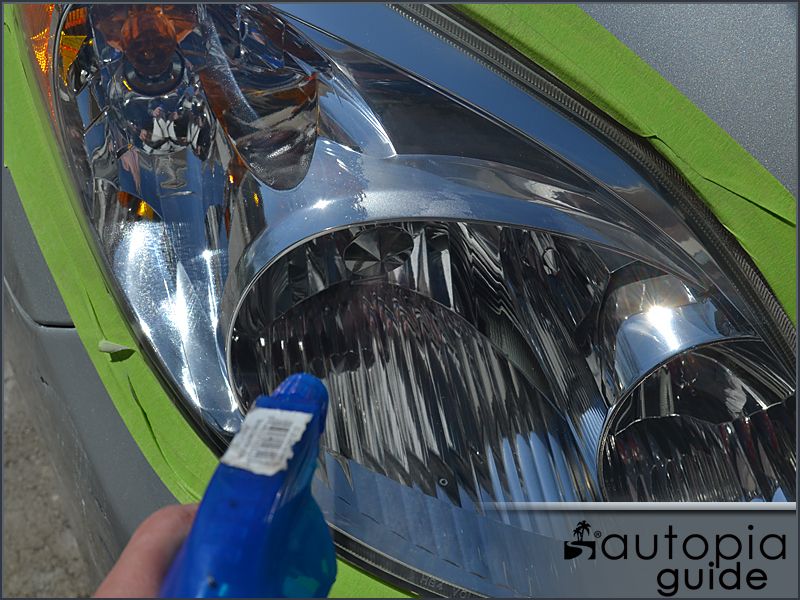
Start your headlight restoration by thoroughly washing the headlights and removing all dirt, grime, and debris. If you are working on your personal car then you can do this when you are washing your vehicle. If you are a mobile detailer, a bottle of waterless wash, such as BLACKFIRE Wet Diamond Waterless Wash, and a couple all purpose microfiber towels will come in handy.
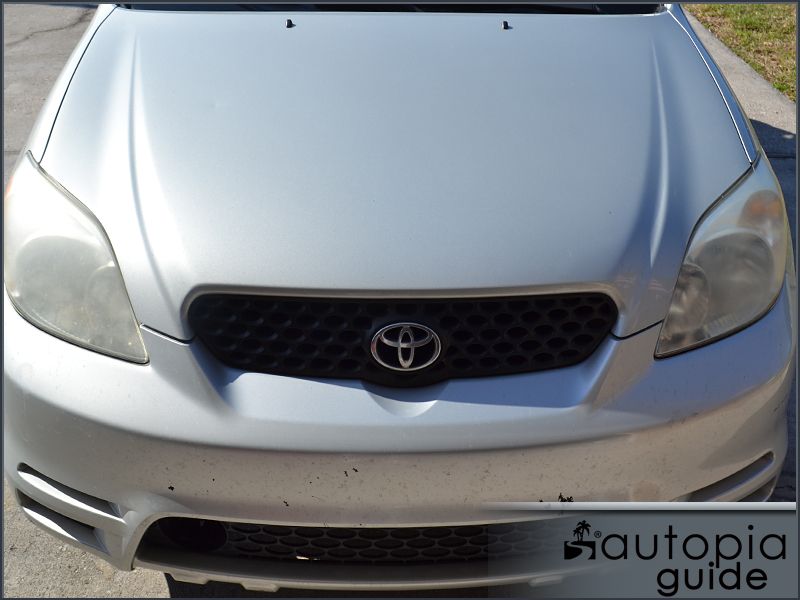
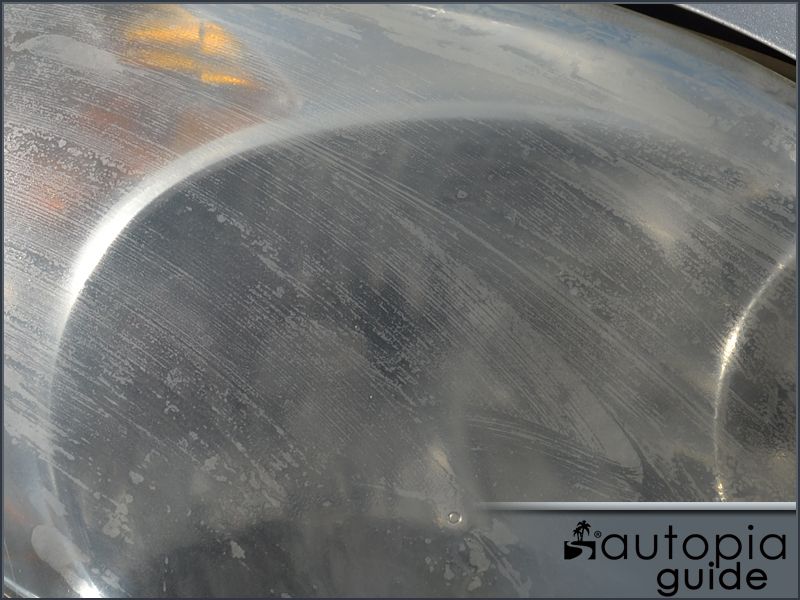
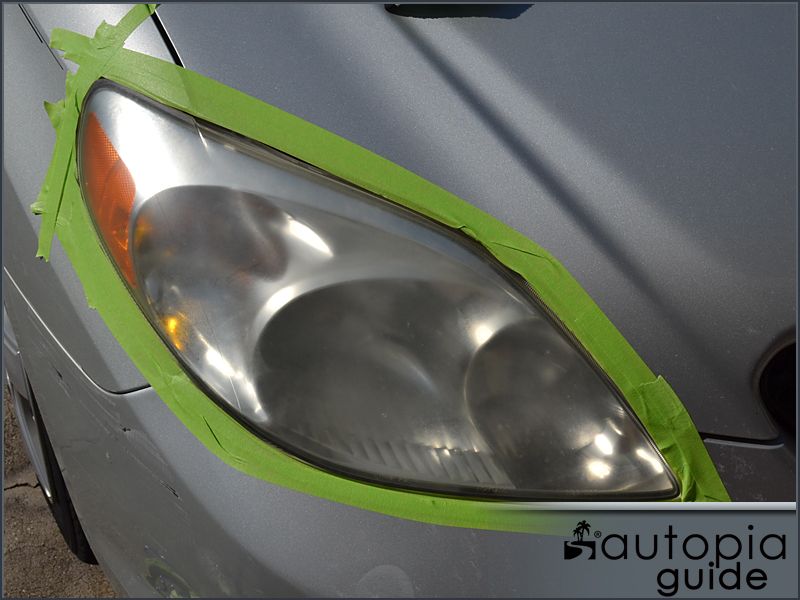
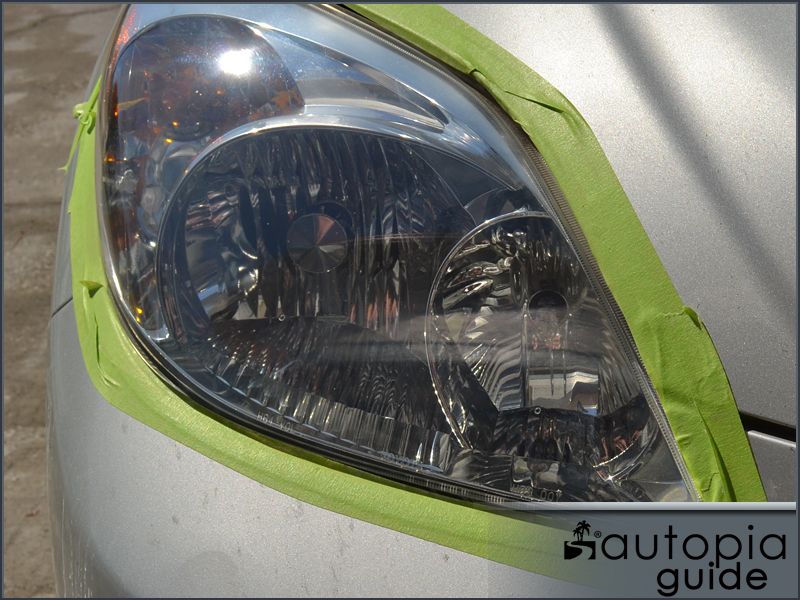
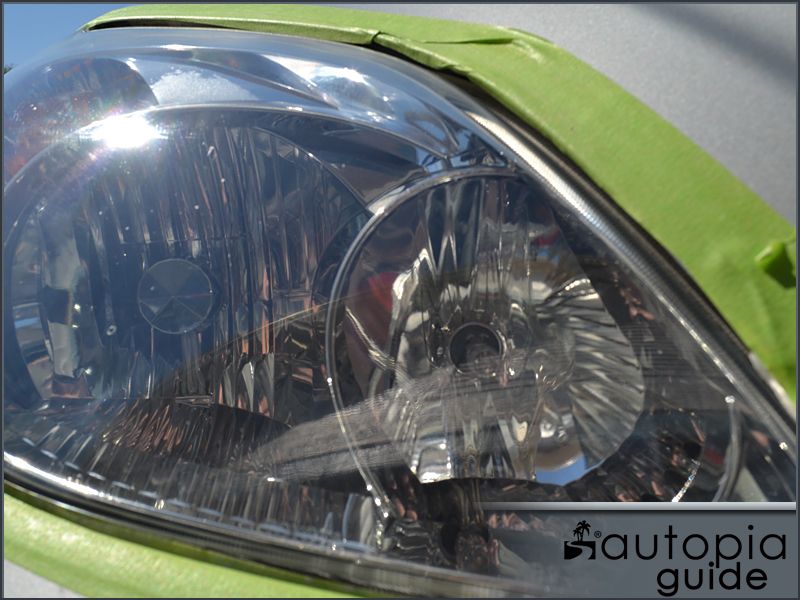
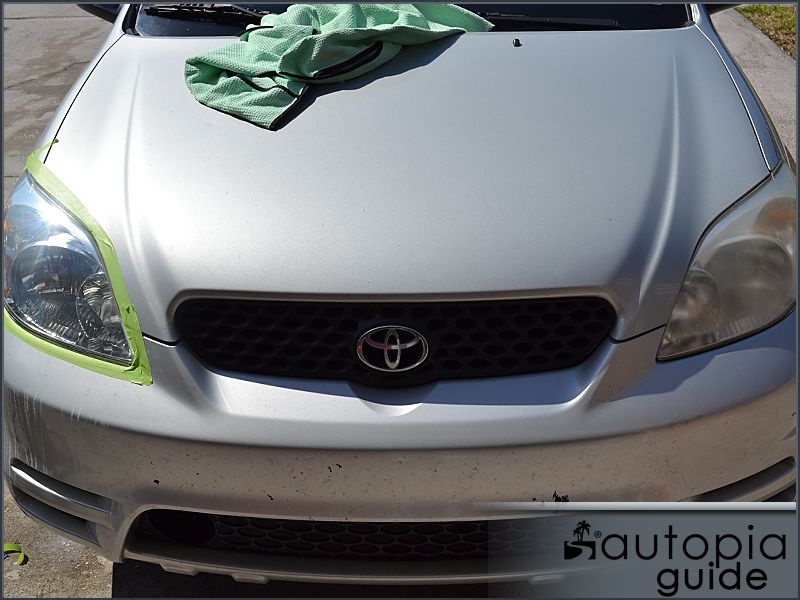
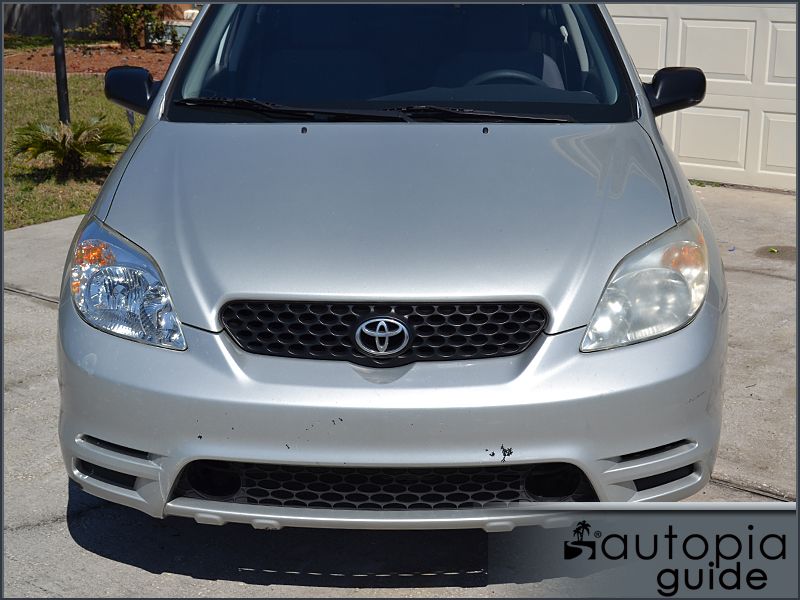
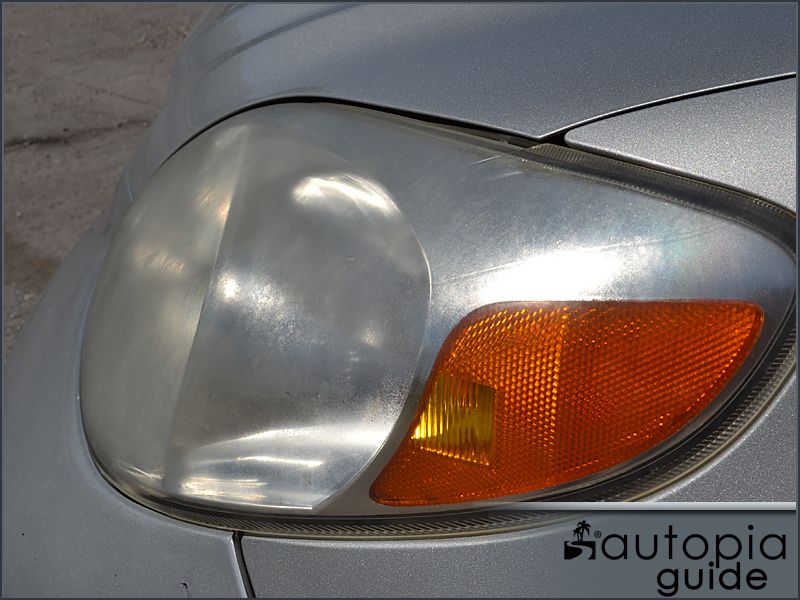
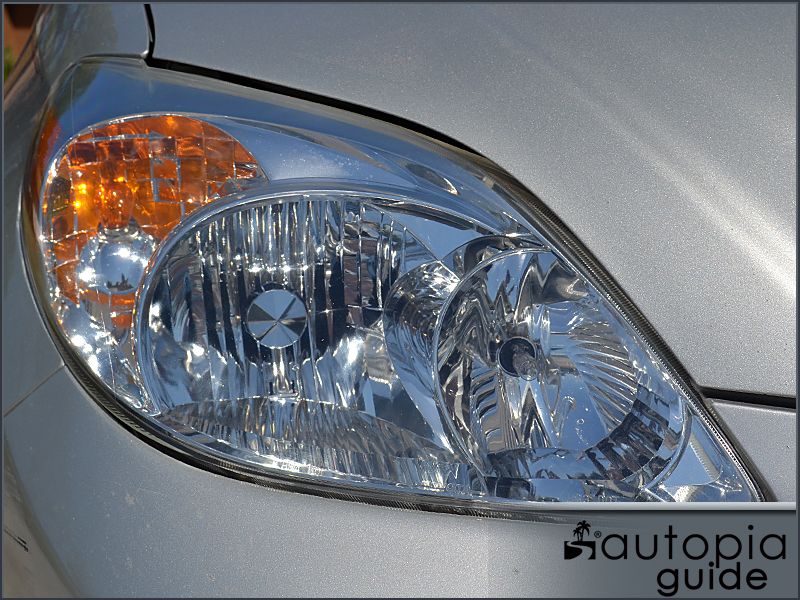
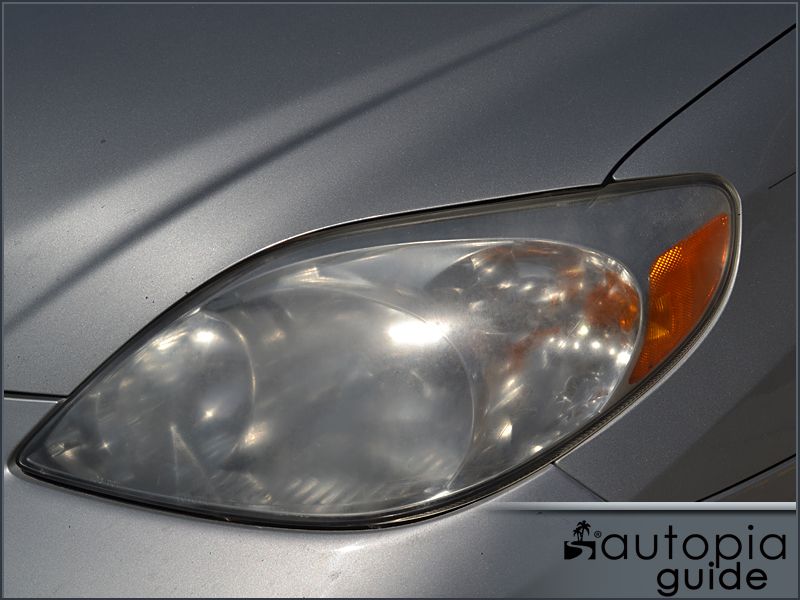
The headlights on this 2003 Toyota Matrix have seen better days.
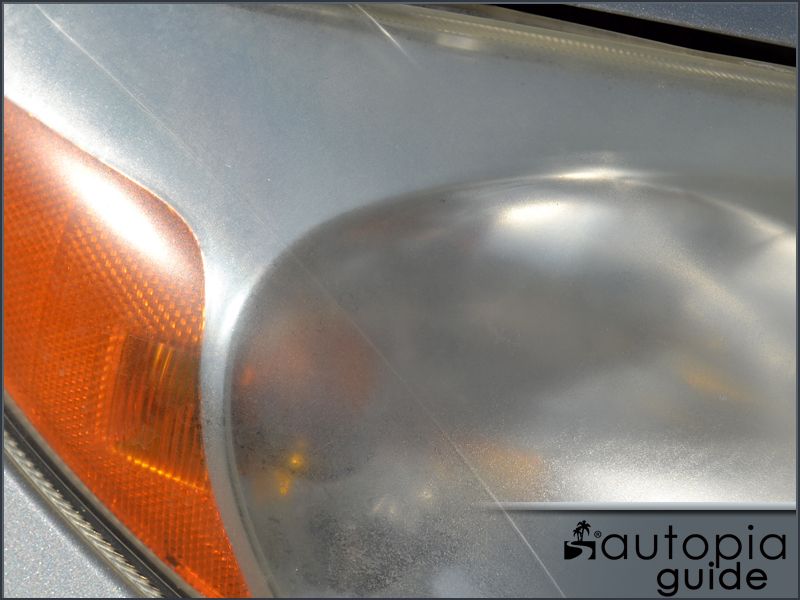
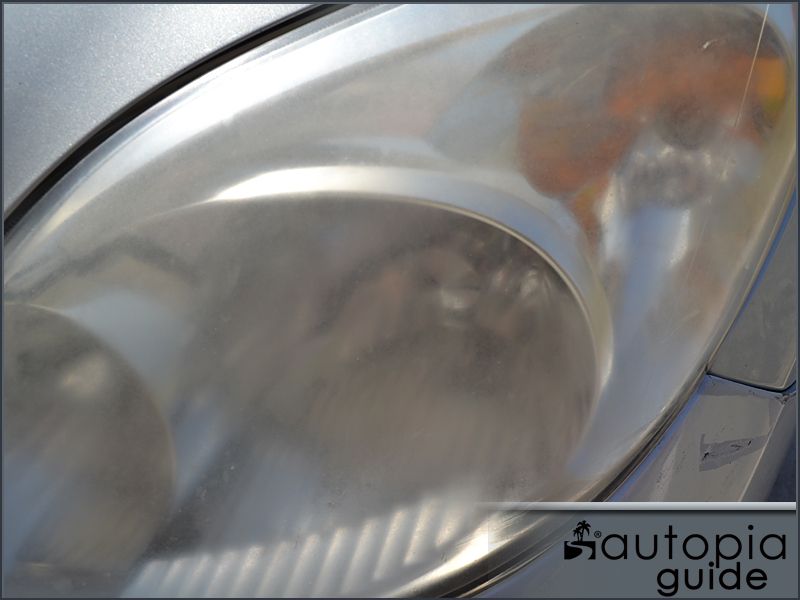
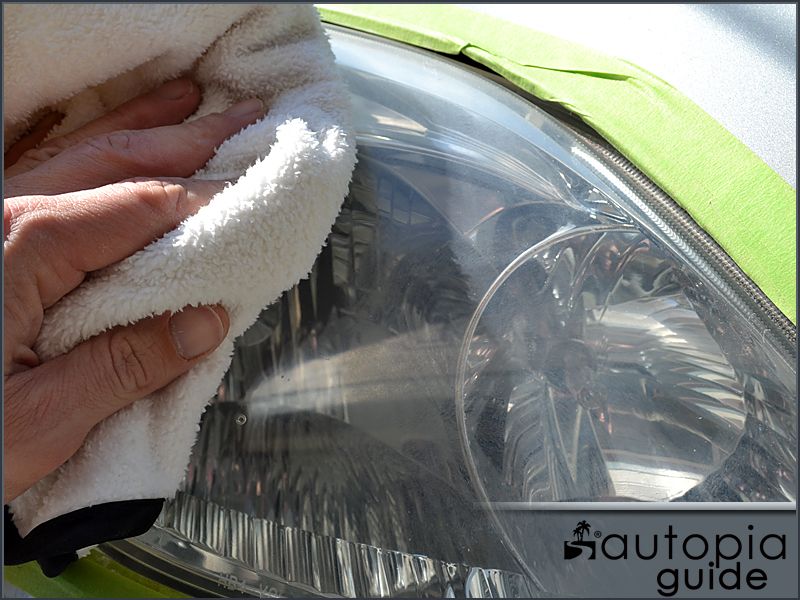
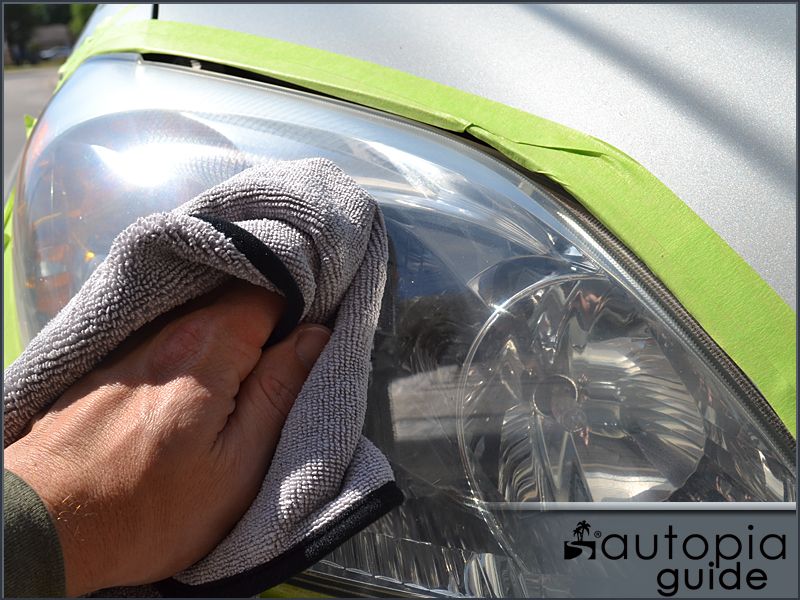
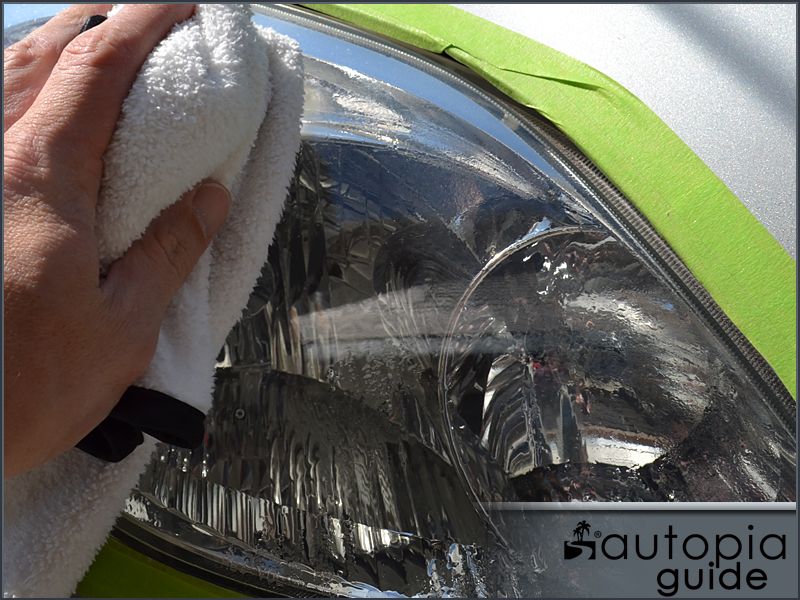
The headlights remain cloudy after a thorough washing.
Step Two: Deep Clean The Headlight Housing
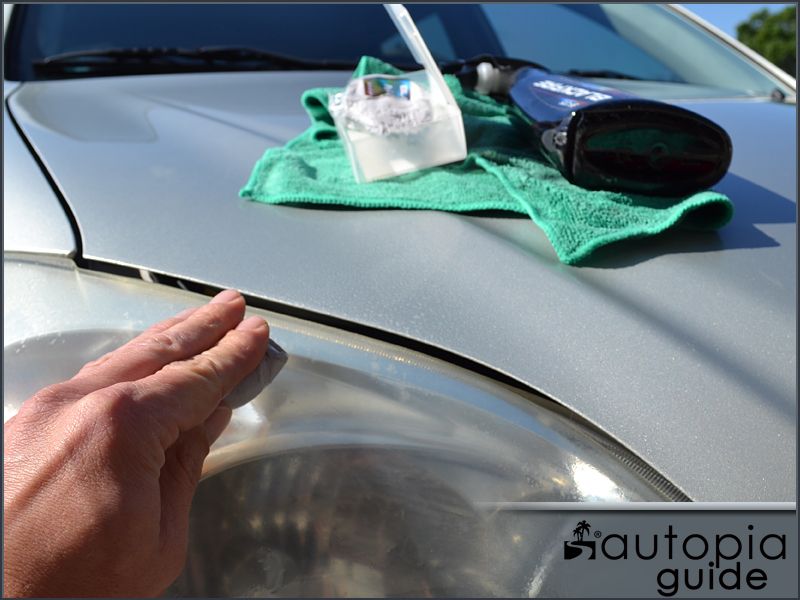
While not necessary, using detailing clay or a similar decontamination method can save time in the long run. Asphalt, rocks, and bug remains can become lodged into the soft plastic of the housing and will become dislodged in the later steps, causing deep scratches and scares. Any paint safe detailing clay, such as BLACKFIRE Poly Clay II (pictured) will work.
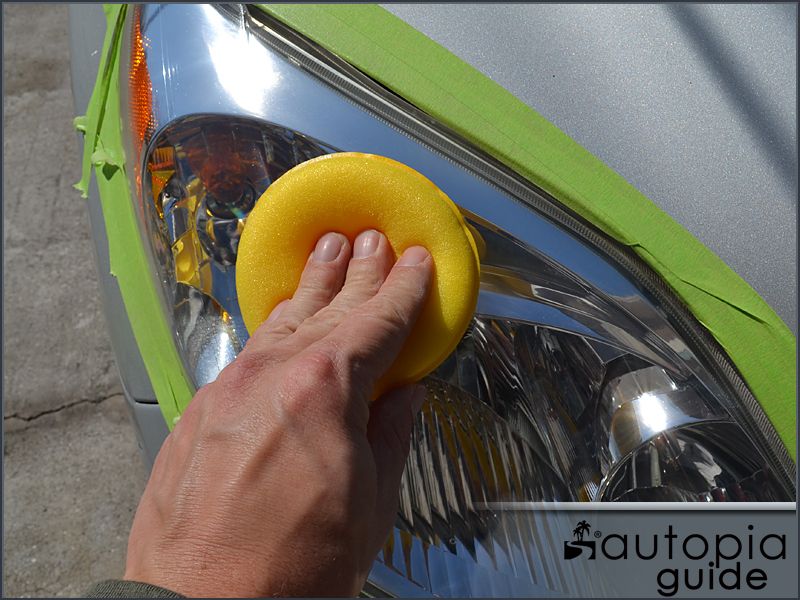
Spray a lot of clay lubricant on the headlight housing and gently rub the clay bar back-and-forth over the surface. Continue working the clay bar back-and-forth until it glides smoothly and all texture has been removed.
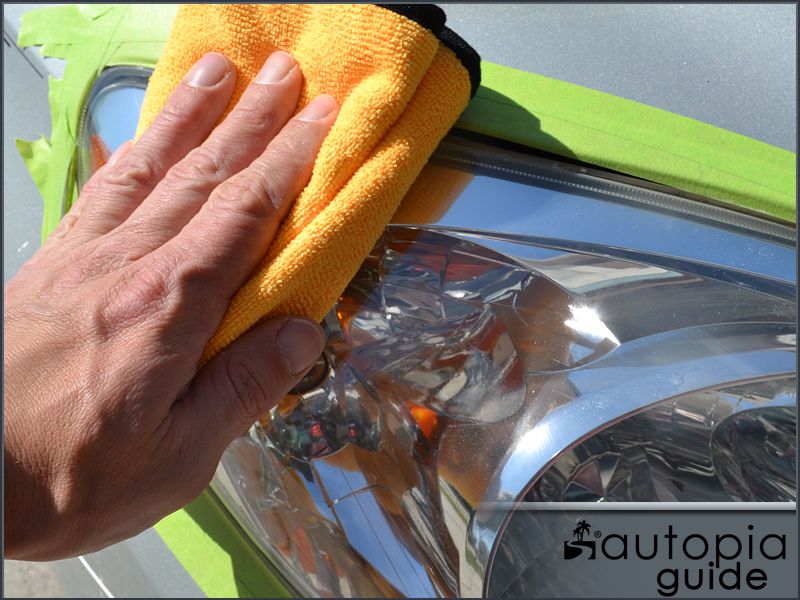
You may see some yellowing appear on the surface as the clay bar removes the outer most oxidation. Simply add more lubricant and continue rubbing. When the surface feels smooth, wipe the housing dry with a microfiber towel to remove the clay lubricant.
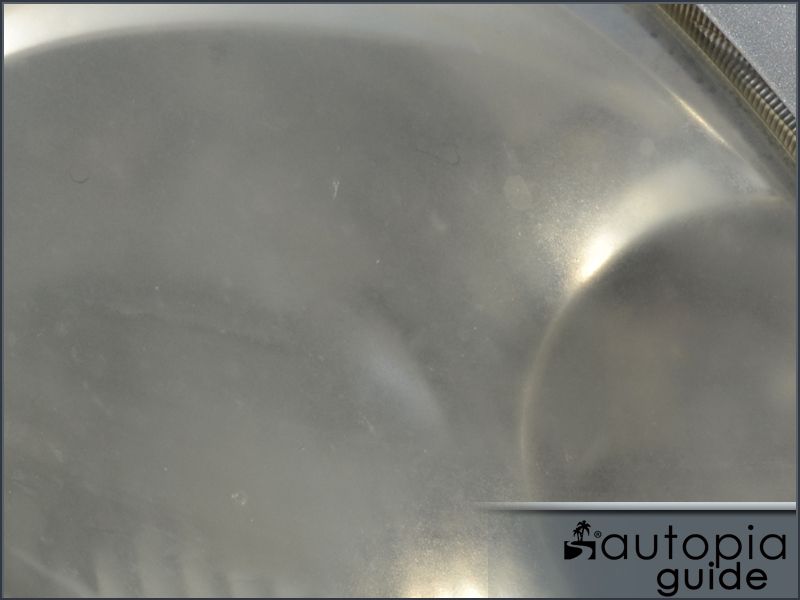
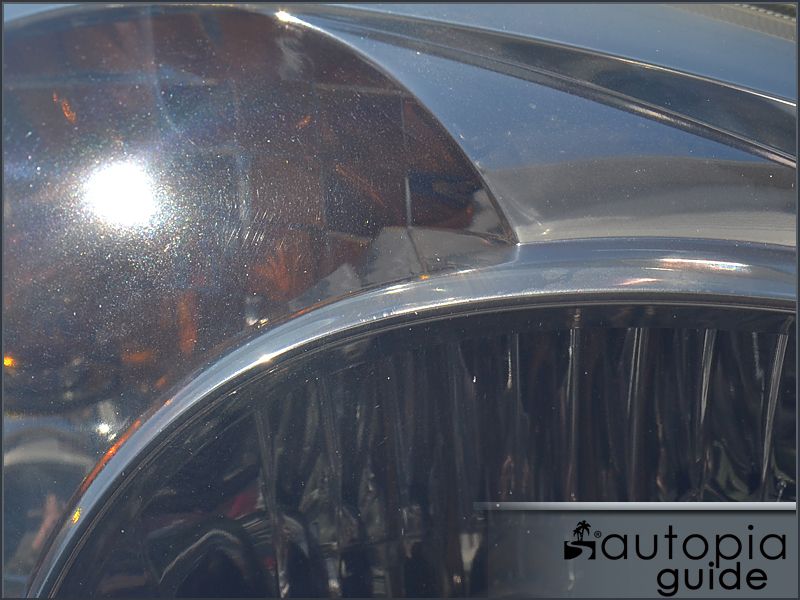
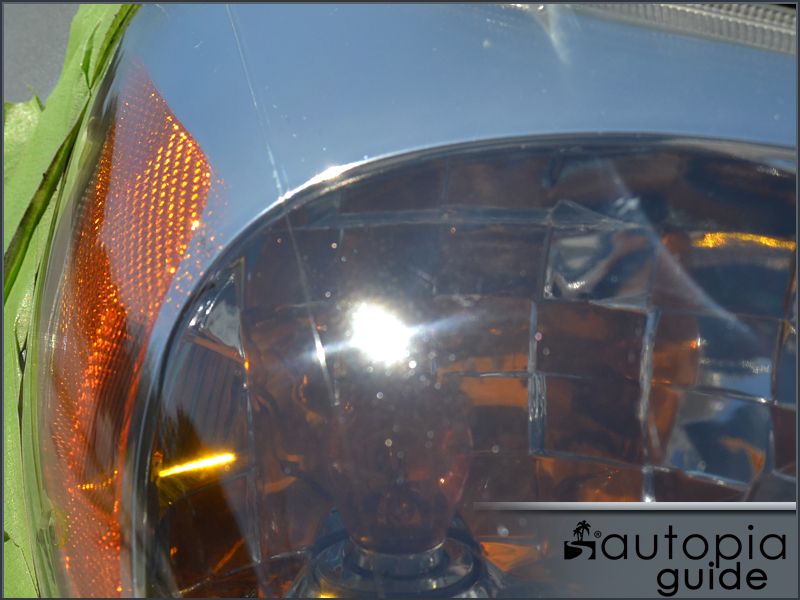
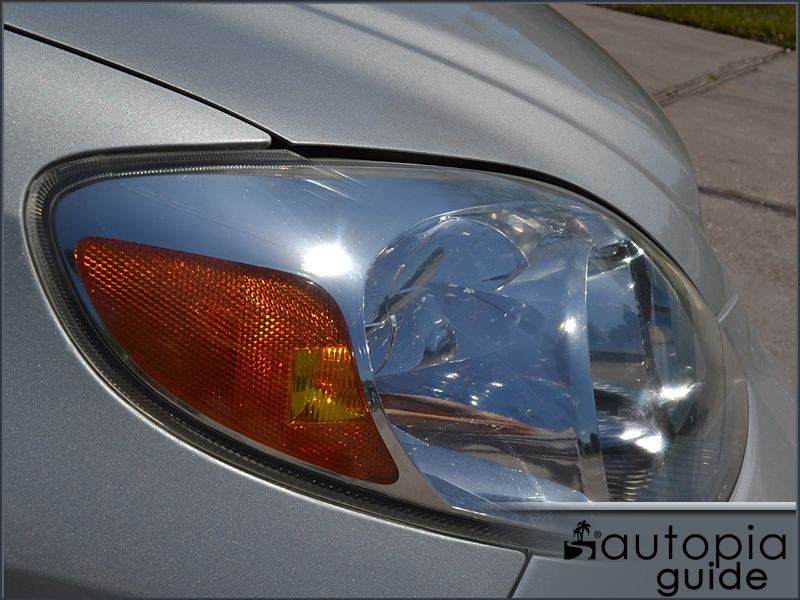
The picture below illustrates the rock, asphalt debris, and bug remains that had become embedded in 80,000 miles of driving.

Step Three -A: Removing Severe Oxidation
If the headlight housing you are working on are just beginning to become cloudy then you might be able to skip this step and move to Step Three B (next section down). If the headlight housings have become uniformly faded and headlight illumination is reduced you will likely need to begin the headlight restoration process by using fine grades of sandpaper.
If you have never sanded an automotive surface before, do not worry. Sanding, whilst it may seem intimidating, is quite easy. It is the process of removing the sanding scratches that can be difficult. By following the guide lines below you will get excellent results the first time.
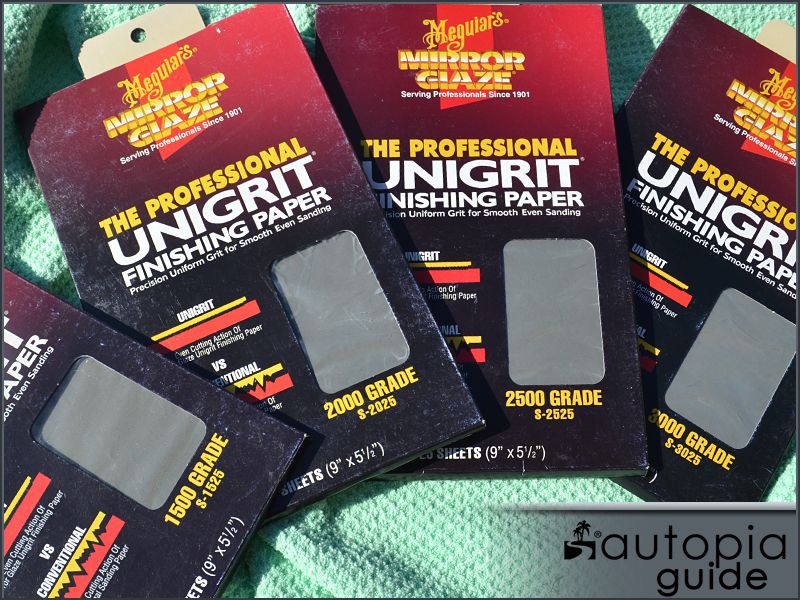
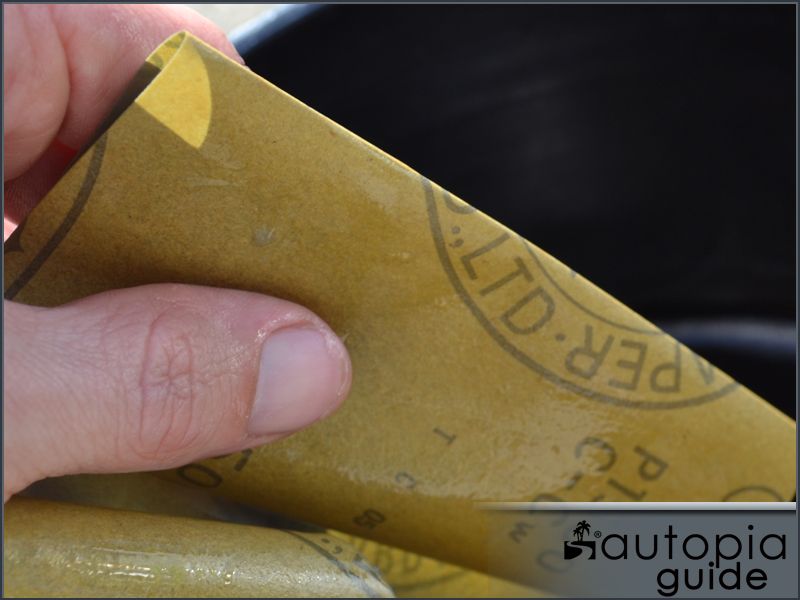
Meguiar's offers a series of Unigrit Sandpaper that ranges from (coarse) 1000 grit to (ultra-fine) 3000 grit. Meguiar's Unigrit Sandpaper is constructed using an unique process that makes each sheet very consistent and reduces the effort needed to polish away the sanding scratches. Even better, you can allow the sandpaper to submerged in water for weeks without fear of it disintegrating!
While Meguiar's offers the Unigrit paper in various levels of coarseness, in most cases you will only need the 1500 grade and 2500 grade papers to restore even the worst headlight housing.
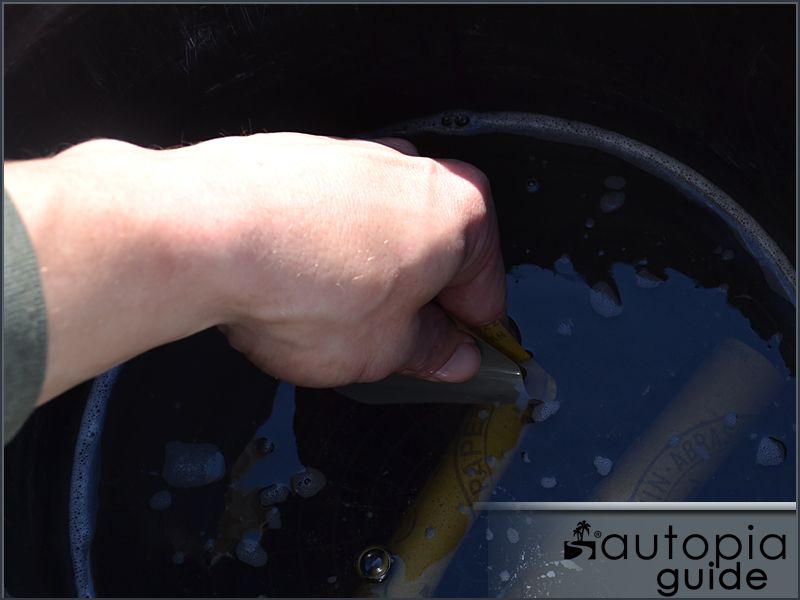
For the best results allow Meguiar's Unigrit Sandpaper to soak at least five minutes prior to use. Add a few drops of soap solution such as Poorboy's World Super Slick & Suds to 3-5 gallons of water.
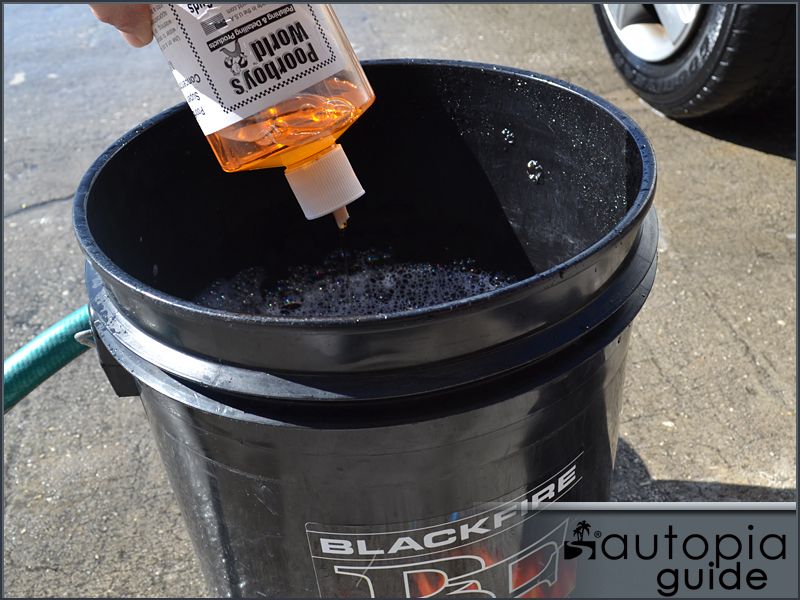
One sheet of each grade (1500 and 2500) of paper will be more then enough to do two headlight housing. Add one sheet of each grade to the bucket of water and allow to soak for at least 5 minutes.
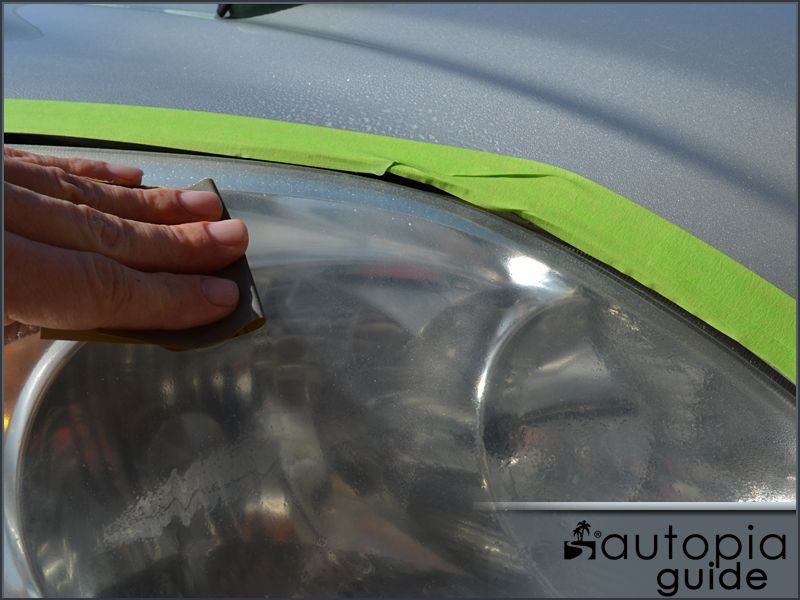
Recommended: Mask Surrounding Areas
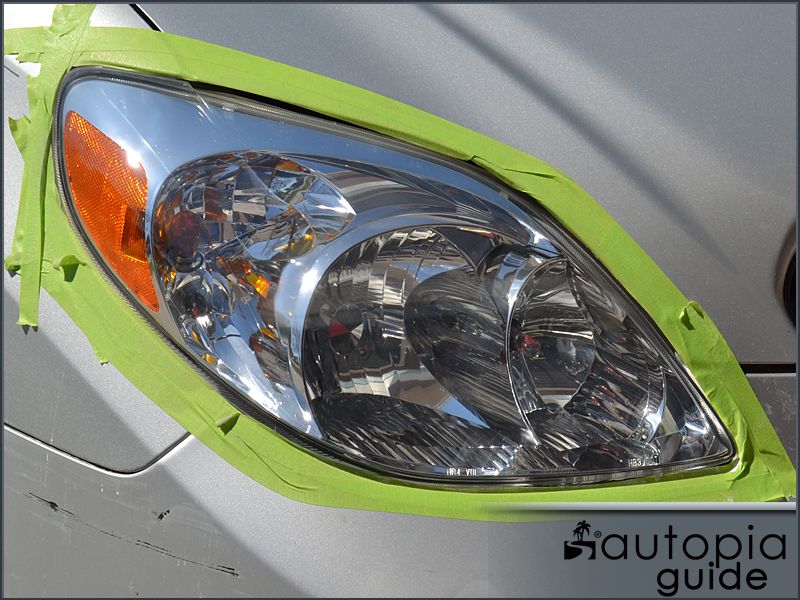
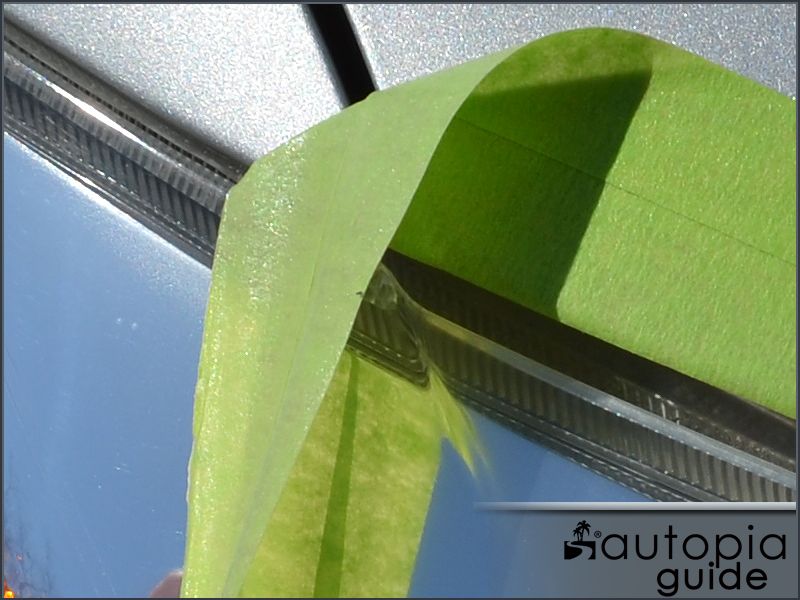
While you are waiting for the sandpaper to soak and soften, it is a good idea to mask area areas of bodywork that may become damaged when sanding or polishing the headlight housings. A few minutes of preparation can save a costly repair (at worst) or a headache (at a minimum). The headlight housing's plastic is considerably thick and can easily withstand very aggressive sanding multiple times; paint is very thin (about a sheet of paper in thickness) and can become easily damaged by mistake.
3M makes a range of Professional Masking Tape that is low-tac and idea for masking large areas. Use a thinner tape, either 3M 36mm or 3M 18mm (pictured) to mask away any adjacent body panels.
Crease the sanding sheet into thirds by folding tightly and tear in order to have three ideally sized pieces.
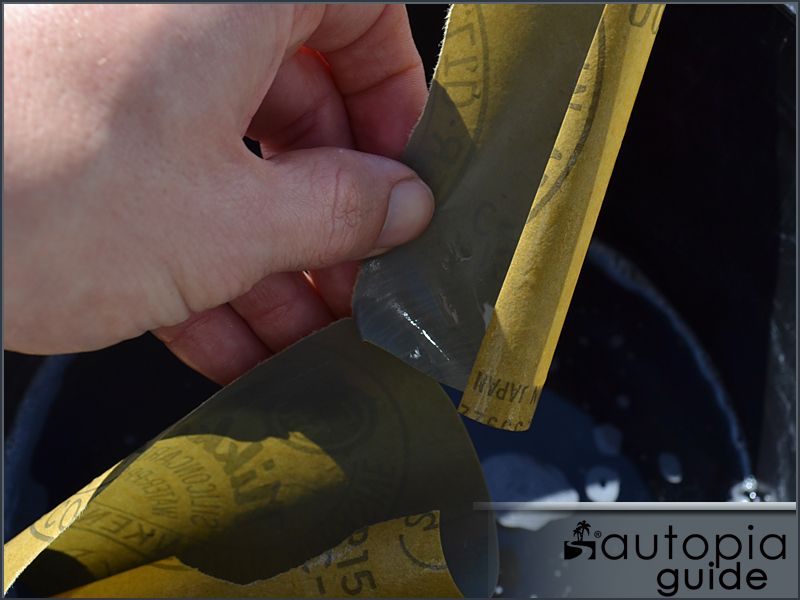
When sanding automotive paint it is ideal to wrap the sandpaper around a soft backing sponge/sanding block. The small size and continuous curve of most headlight housing designs requires sanding by hand, without the use of a sanding block. There are three ways to hold your sandpaper.
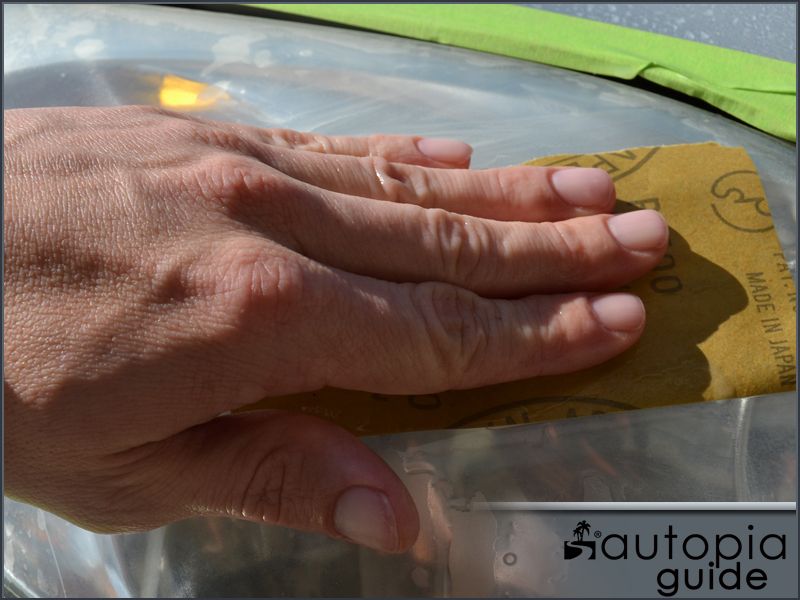
-Folded- by folding the paper in half and using your fingers to apply pressure. This is idea for sanding in tight spots and convex's.
-Under the fingers- Using your fingers can create high/low spots when sanding although this isn't too much of a problem on headlight housing. The most comfortable way to hold the paper with the most control.
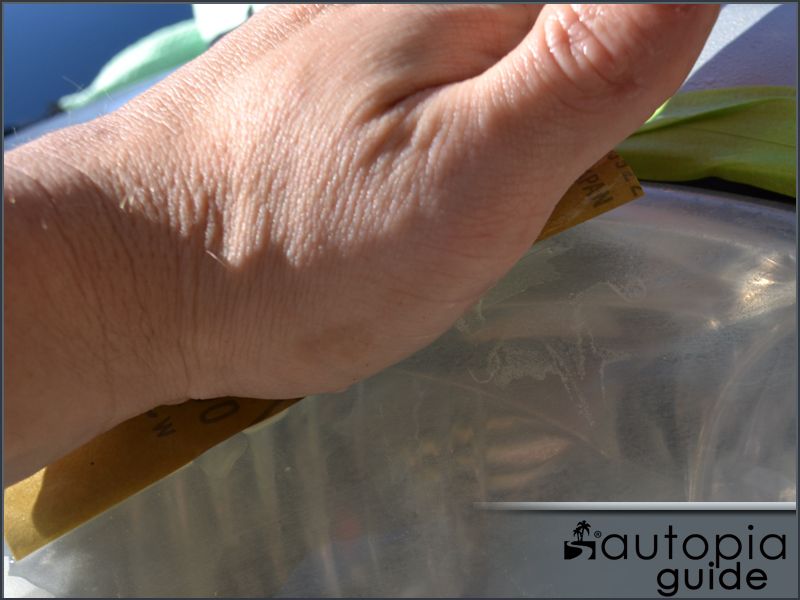
-Palm- Using the palm to even out the pressure is an old body shop trick. Use the technique for your last couple passes to ensure an uniform sanded surface if possible.
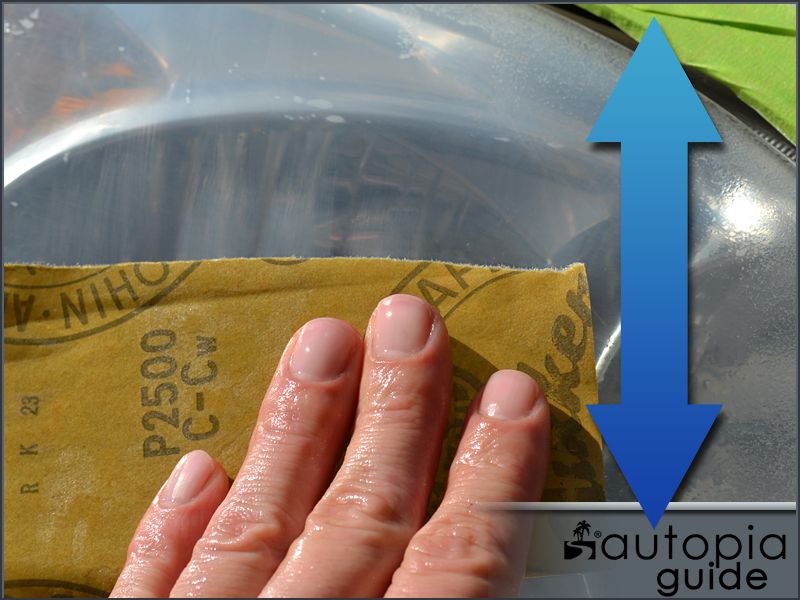
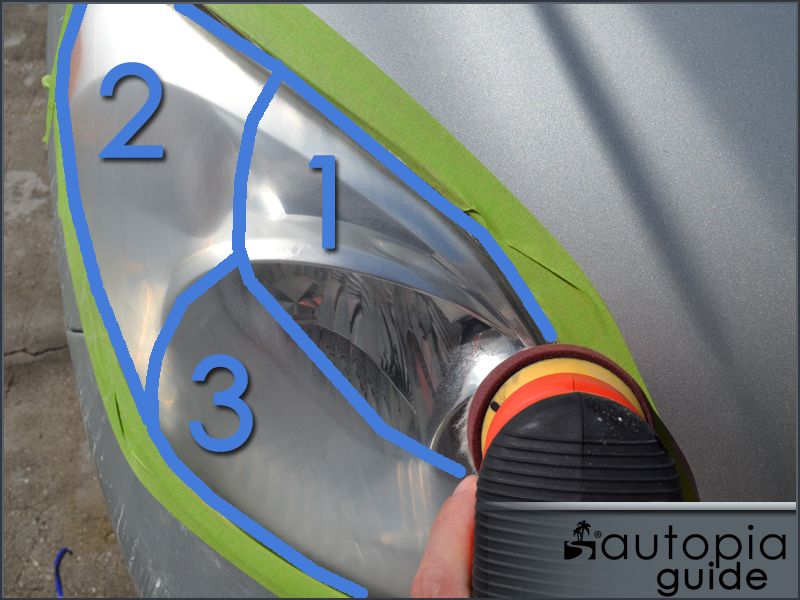
Cross-Hatch Sanding
When sanding with two or more grades of sandpaper it is often ideal to use a cross-hatch sanding technique. Start sanding with the coarser grit in one direct (example: left-to-right/right-to-left) so that all of the sanding marks run in one direction. For the next grit, move the paper in an opposing direction (example: up-to-down/down-to-up). Continue sanding until all of the previous marks (left-to-right) have been remove and replaced with the fine (up-to-down) marks.
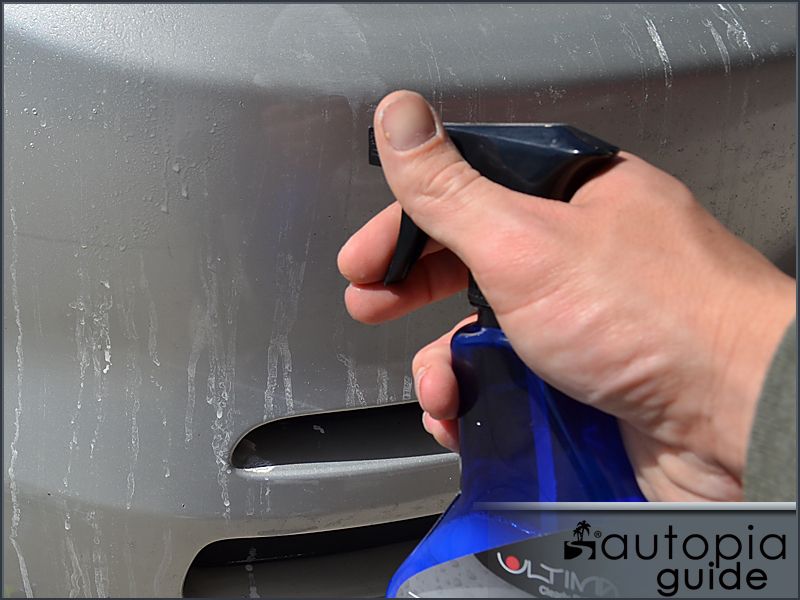
Use plenty of water/soap solution and rinse the sandpaper frequently! Fill a spray bottle with water/soap solution (a few drops of soap is plenty) and keep the surface well lubricated during sanding. Listen and feel for any grit that becomes trapped under the sandpaper. Immediately stop sanding, rinse the sandpaper in the bucket solution, and continue. Any grit or asphalt that becomes lodged under the paper can create deep scratches that will be very difficult to remove.
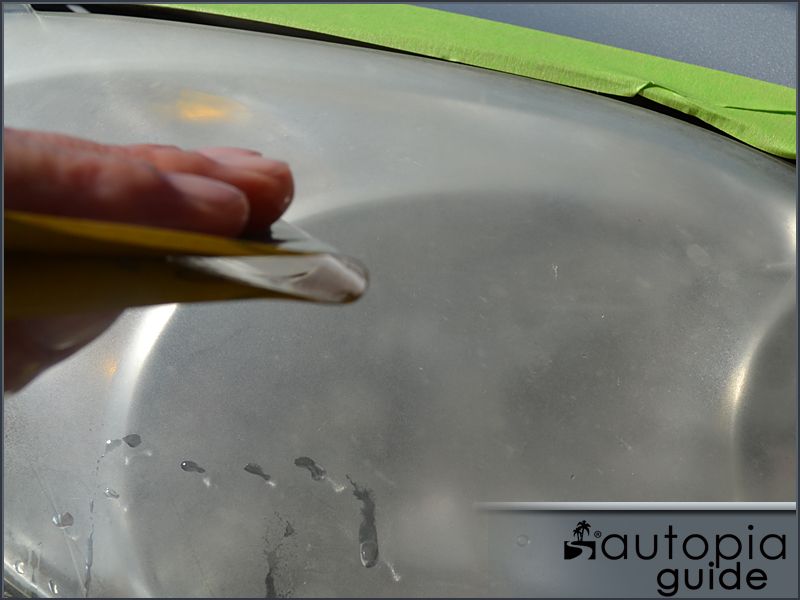
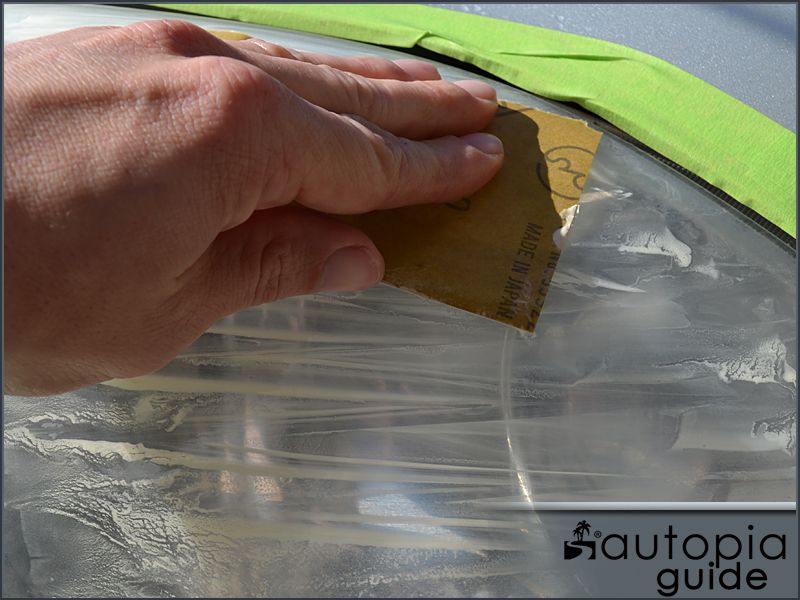
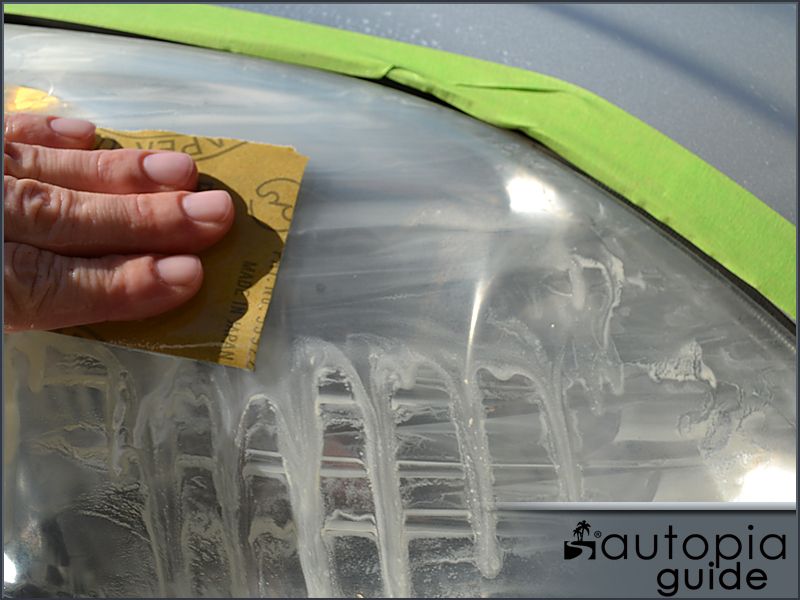
Start sanding with the 1500 grade Meguiar's Unigrit Sandpaper moving left-to-right and right-left. Use just enough pressure to hold the paper to the headlight housing.
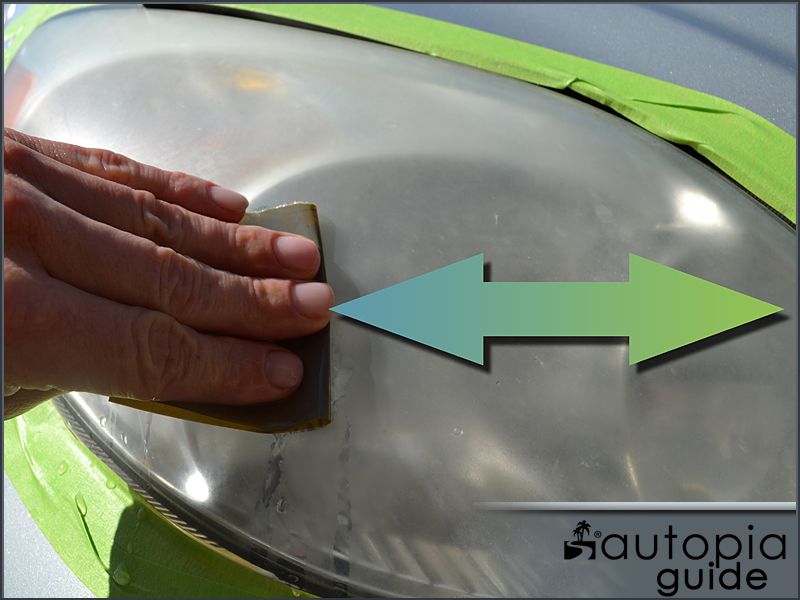
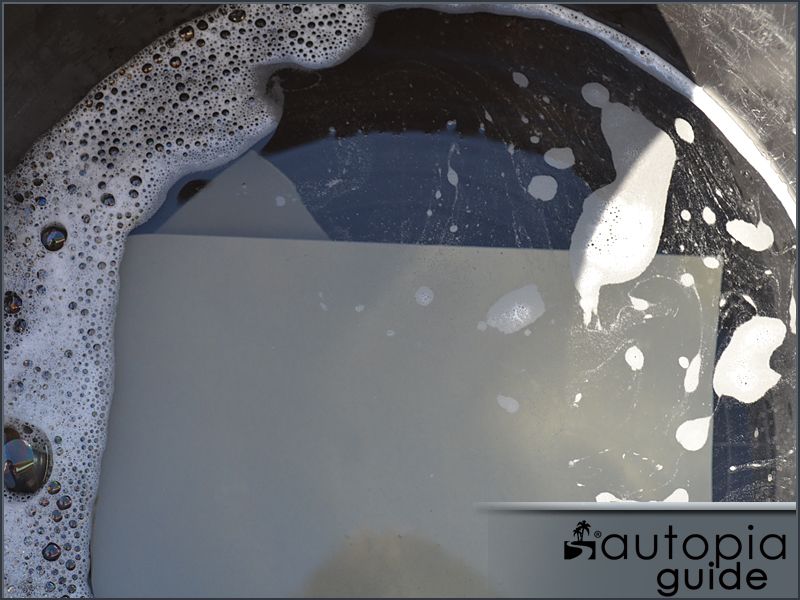
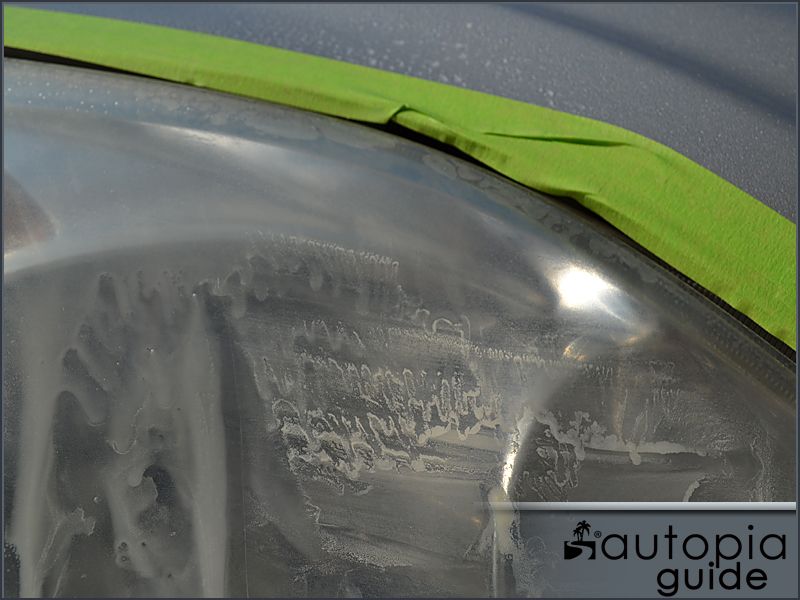
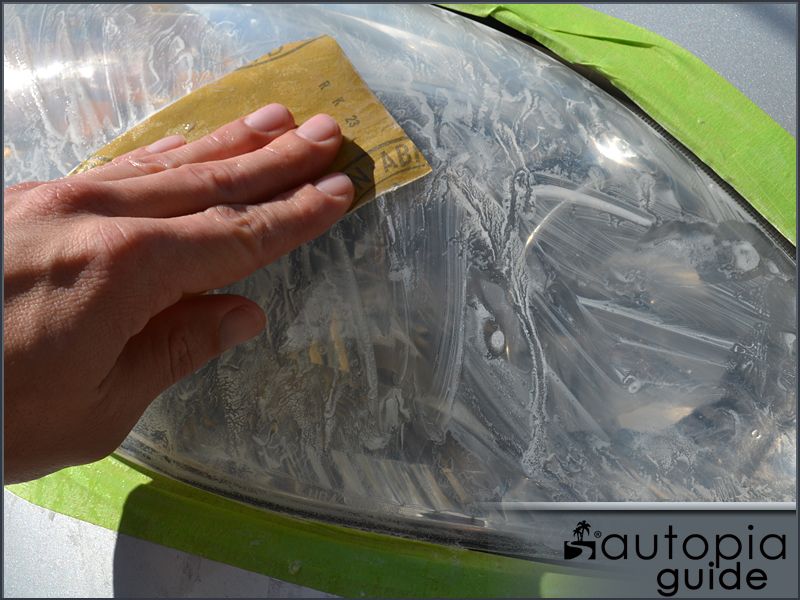
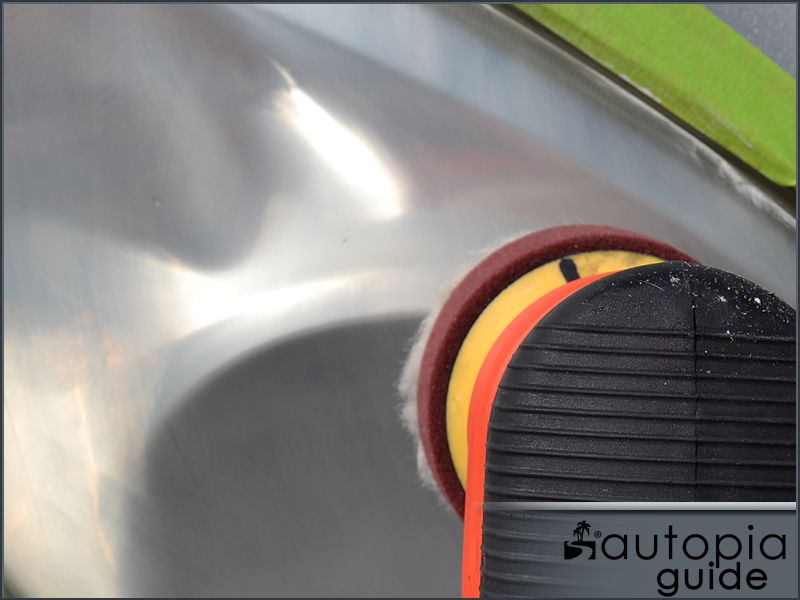
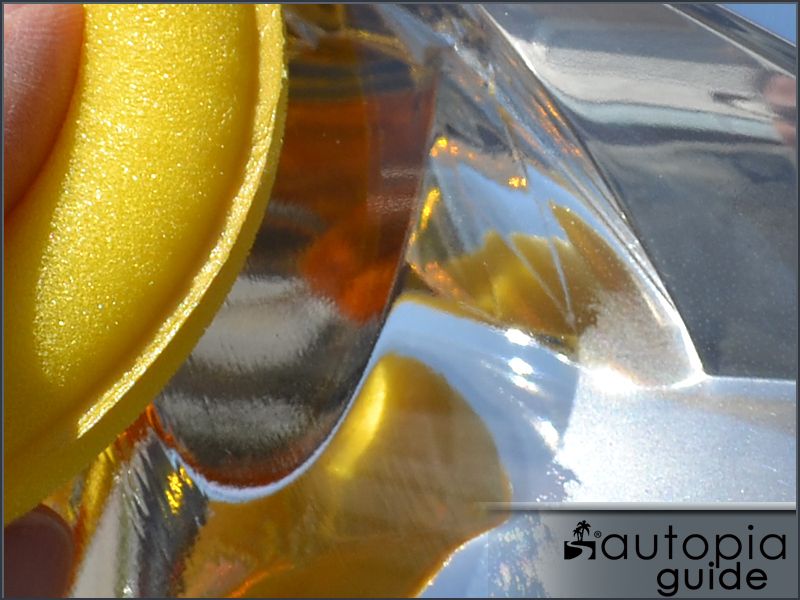
Use a lot of water/soap solution to lubricate the surface. In the picture below, a film of water/soap solution has been sprayed on, so much in fact that the headlight housing almost appears clear.
The surface will become milky-yellow as the sandpaper abrades away the oxidized plastic.
Frequently rinse the sandpaper in the water/soap bucket.
Continue sanding until the residue is no longer milky-yellow in appearance and the oxidation has been remove. Take your time and make sure to sand all areas.
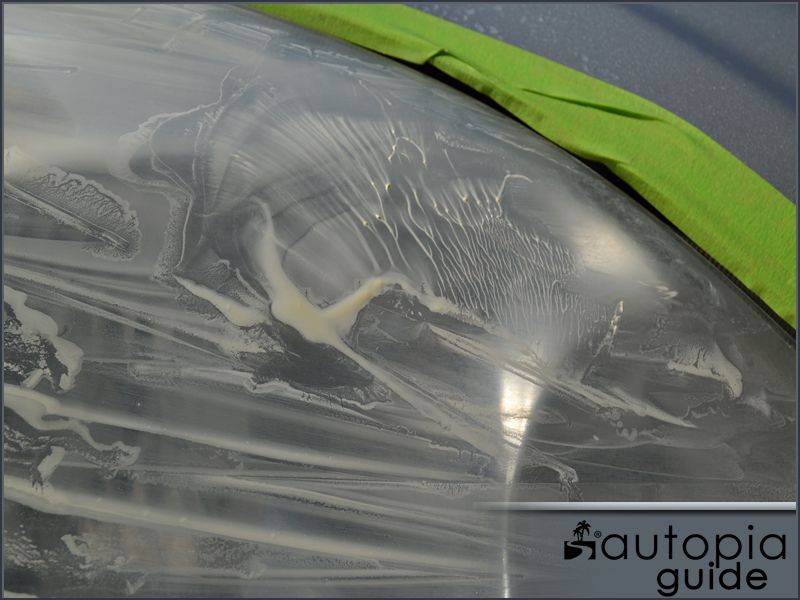
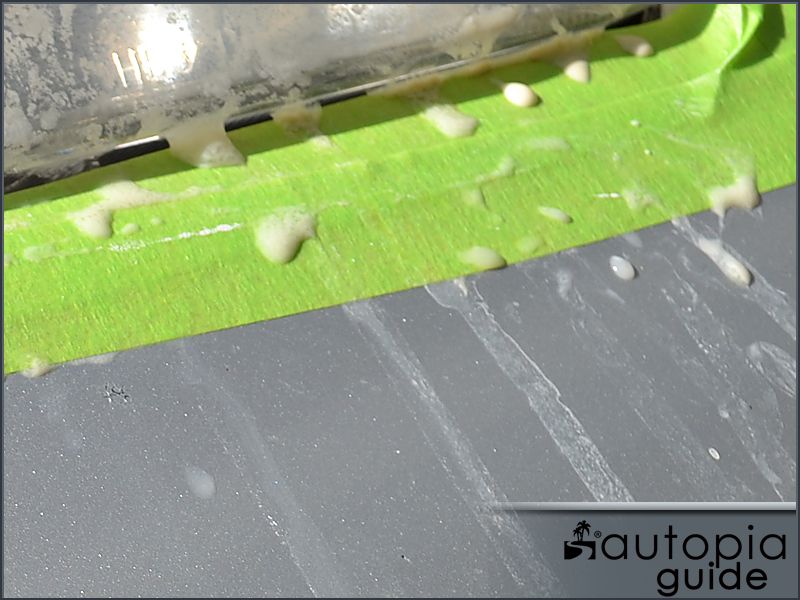
The residue running off the headlight housing is now white in appearance, indicating that the oxidation has been completely removed.
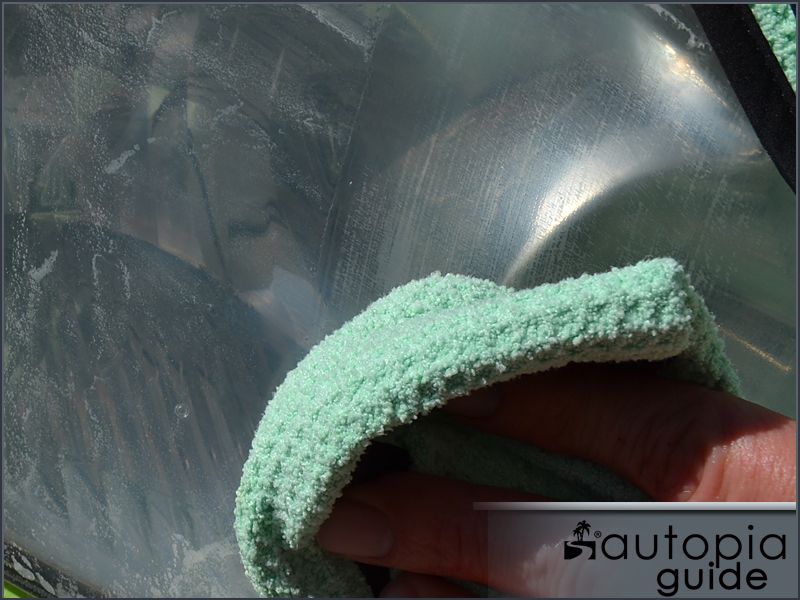
Because water or any liquid will create the illusion that the headlight housing is clear (this is how many of those wonder/miracle sprays work) you can inspect for any areas that you may have missed. As you wipe the residue from the headlight housing and it dries the appearance will become cloudy again (from the sanding scratches).
Wipe the headlight housing clean and dry with a soft microfiber towel. If you a professional headlight restorer you may consider a quality drying towel such as a Cobra Guzzler as it will quickly dry the housing so you can move to the next step.
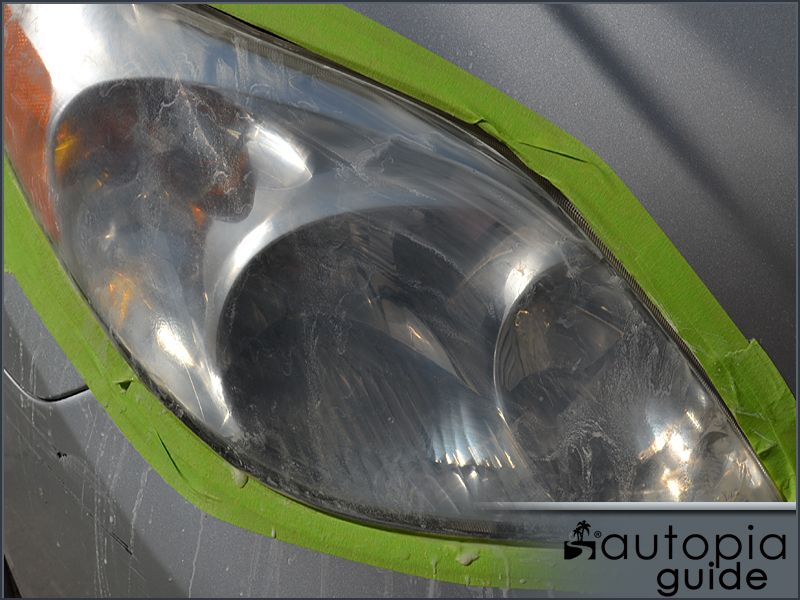
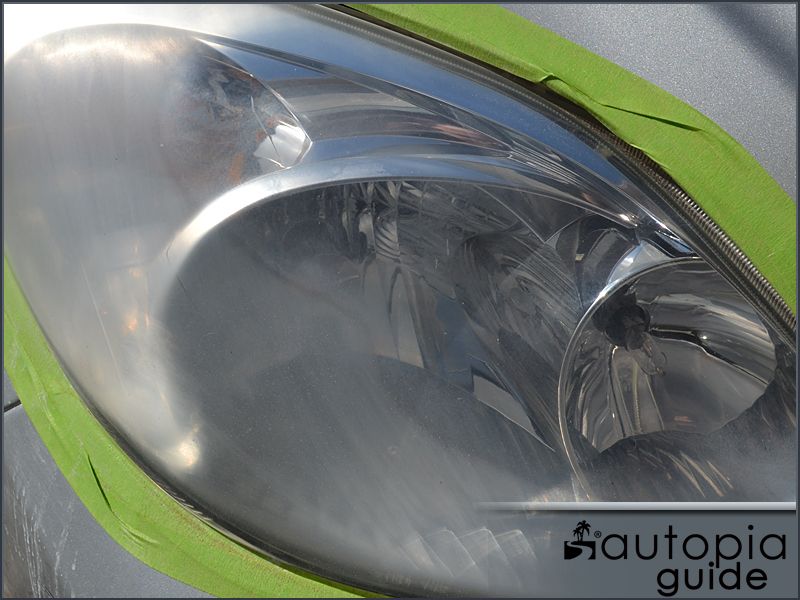
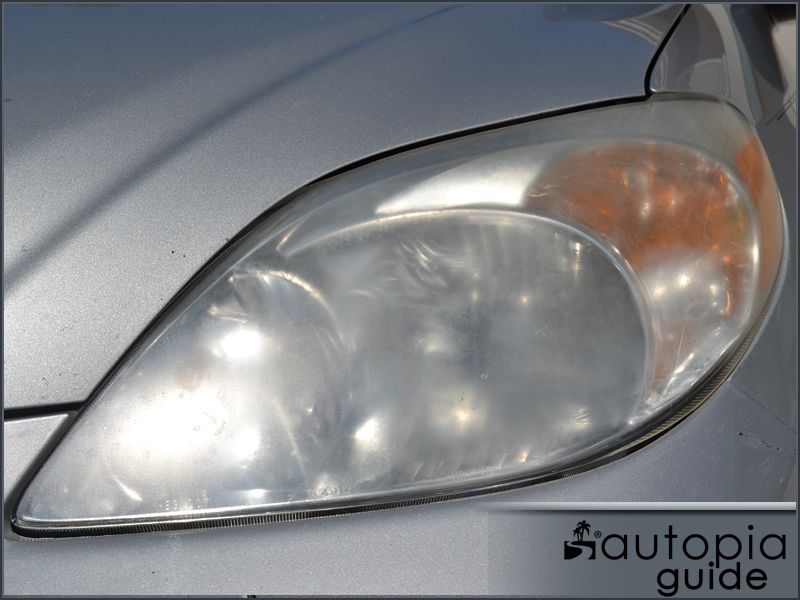
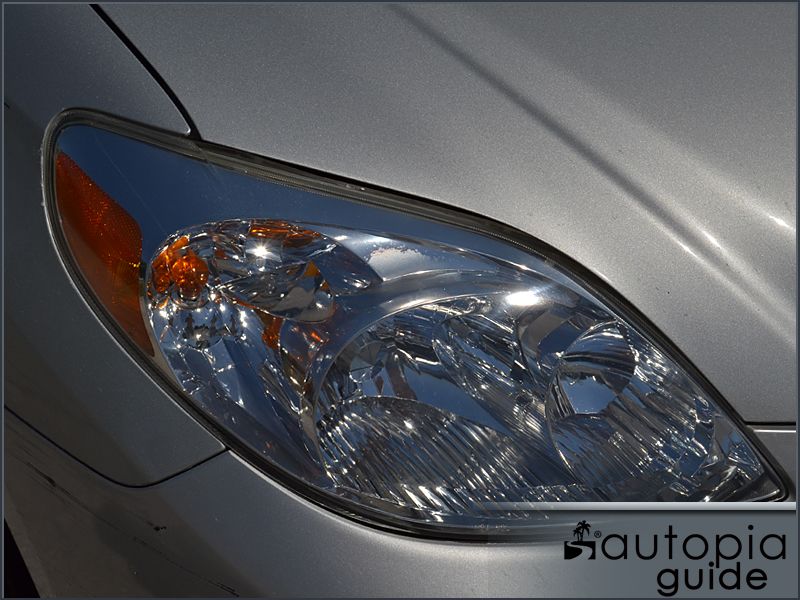
While hard to see in the picture below because of the sun glare, the sanded headlight (passenger side/left on screen) has a much whiter and uniform appearance.
The un-restored headlight is cloudy and has a yellow tint.
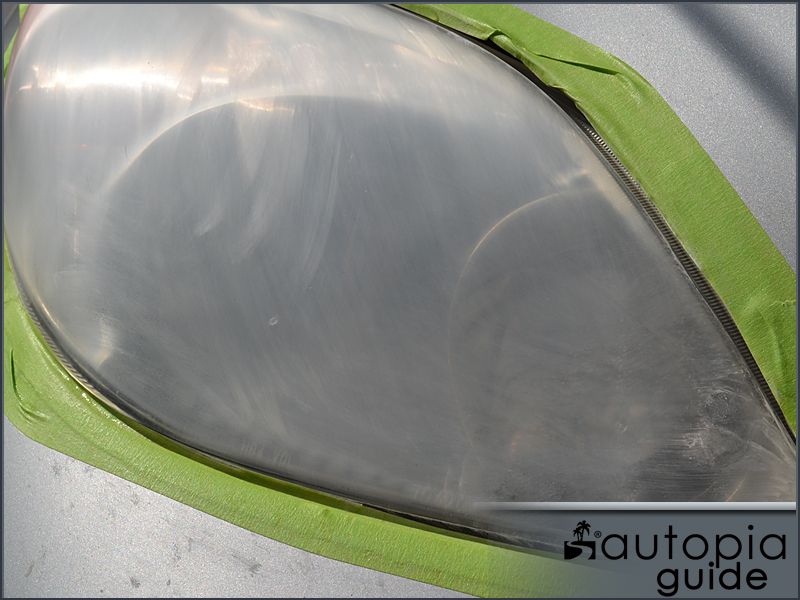
The sanded headlamp housing has an almost frosted appearance from the sanding.
With some basic polishing knowledge and a little bit of patience you can restore crystal-clear clarity to most plastic lens in under an hour. There are some products on the retail market that claim to "restore" headlight housings in just minutes using a simple spray -the truth is restoring headlights requires removing the topical damage (weathered and oxidized plastic) from the housing, the polishing the plastic to a high-gloss (clear) shine. Autopia-CarCare.com sells many headlight light restoration kits. While the products are different, the concept is basically the same.
First, you will need to wash the headlight housing to remove any road dirt and soil from the surface. Second, it is often beneficial to deep clean/decontaminate the housing to remove any embedded bug guts or asphalt that could cause deep scratches as you work. Third, you will use abrasive mediums (polish or sandpaper & polish) to remove the oxidized layer of plastic from the headlight housing. Last, you will add some protection (wax, sealant, or specialized coating) to protect the headlight from further weathering and fading.
Step One: Start With A Good Wash
Start your headlight restoration by thoroughly washing the headlights and removing all dirt, grime, and debris. If you are working on your personal car then you can do this when you are washing your vehicle. If you are a mobile detailer, a bottle of waterless wash, such as BLACKFIRE Wet Diamond Waterless Wash, and a couple all purpose microfiber towels will come in handy.
The headlights on this 2003 Toyota Matrix have seen better days.
The headlights remain cloudy after a thorough washing.
Step Two: Deep Clean The Headlight Housing
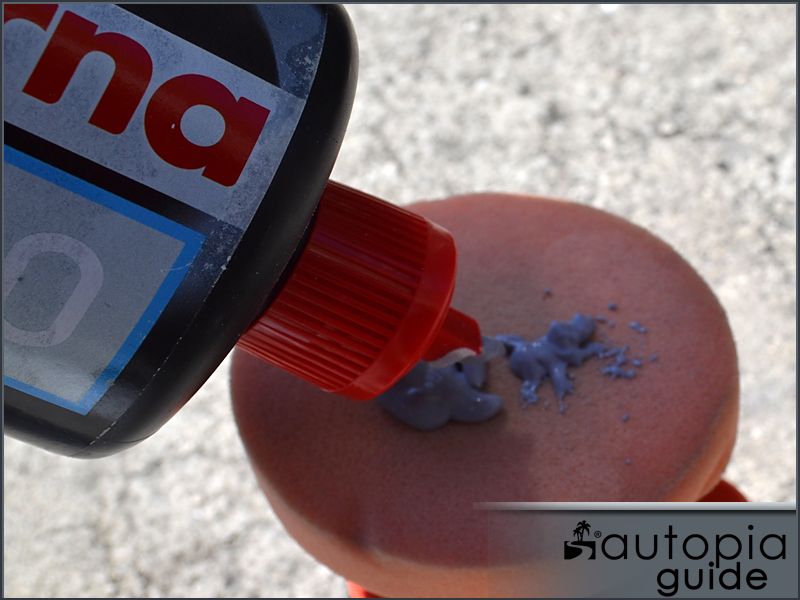
While not necessary, using detailing clay or a similar decontamination method can save time in the long run. Asphalt, rocks, and bug remains can become lodged into the soft plastic of the housing and will become dislodged in the later steps, causing deep scratches and scares. Any paint safe detailing clay, such as BLACKFIRE Poly Clay II (pictured) will work.
Spray a lot of clay lubricant on the headlight housing and gently rub the clay bar back-and-forth over the surface. Continue working the clay bar back-and-forth until it glides smoothly and all texture has been removed.
You may see some yellowing appear on the surface as the clay bar removes the outer most oxidation. Simply add more lubricant and continue rubbing. When the surface feels smooth, wipe the housing dry with a microfiber towel to remove the clay lubricant.
The picture below illustrates the rock, asphalt debris, and bug remains that had become embedded in 80,000 miles of driving.
Step Three -A: Removing Severe Oxidation
If the headlight housing you are working on are just beginning to become cloudy then you might be able to skip this step and move to Step Three B (next section down). If the headlight housings have become uniformly faded and headlight illumination is reduced you will likely need to begin the headlight restoration process by using fine grades of sandpaper.
If you have never sanded an automotive surface before, do not worry. Sanding, whilst it may seem intimidating, is quite easy. It is the process of removing the sanding scratches that can be difficult. By following the guide lines below you will get excellent results the first time.
- Use the sandpaper according to the manufacturers recommendations- This often means allowing the paper to soak in a soap-solution for 3-5 minutes prior to use
- Use plenty of water/soap lubricant when sanding
- Sand in a cross-hatch pattern and check results frequently
- Use fine-grade, high-quality sandpaper
- Clean sandpaper frequently by dunking into a bucket of water/soap solution to rinse away grit and material
- Protect any adjacent body panels by masking them off with painter's tape
Meguiar's offers a series of Unigrit Sandpaper that ranges from (coarse) 1000 grit to (ultra-fine) 3000 grit. Meguiar's Unigrit Sandpaper is constructed using an unique process that makes each sheet very consistent and reduces the effort needed to polish away the sanding scratches. Even better, you can allow the sandpaper to submerged in water for weeks without fear of it disintegrating!
While Meguiar's offers the Unigrit paper in various levels of coarseness, in most cases you will only need the 1500 grade and 2500 grade papers to restore even the worst headlight housing.
For the best results allow Meguiar's Unigrit Sandpaper to soak at least five minutes prior to use. Add a few drops of soap solution such as Poorboy's World Super Slick & Suds to 3-5 gallons of water.
One sheet of each grade (1500 and 2500) of paper will be more then enough to do two headlight housing. Add one sheet of each grade to the bucket of water and allow to soak for at least 5 minutes.
Recommended: Mask Surrounding Areas
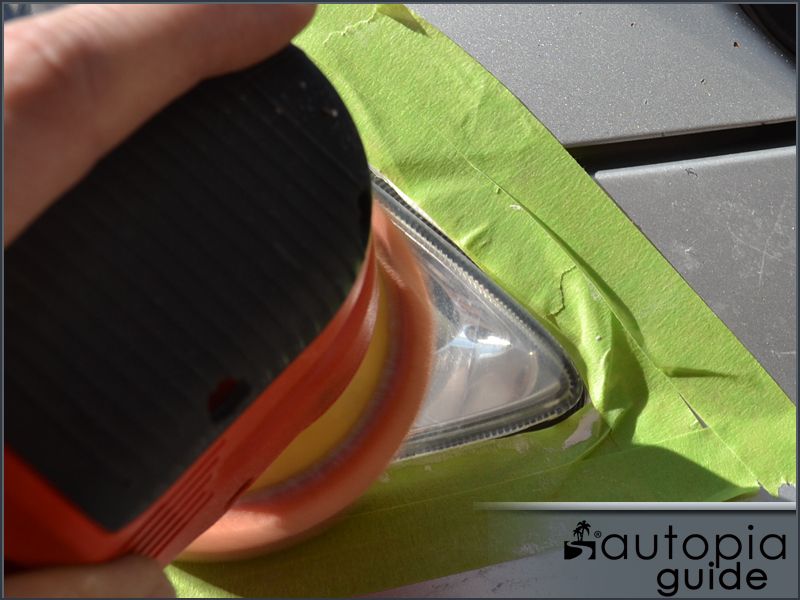
While you are waiting for the sandpaper to soak and soften, it is a good idea to mask area areas of bodywork that may become damaged when sanding or polishing the headlight housings. A few minutes of preparation can save a costly repair (at worst) or a headache (at a minimum). The headlight housing's plastic is considerably thick and can easily withstand very aggressive sanding multiple times; paint is very thin (about a sheet of paper in thickness) and can become easily damaged by mistake.
3M makes a range of Professional Masking Tape that is low-tac and idea for masking large areas. Use a thinner tape, either 3M 36mm or 3M 18mm (pictured) to mask away any adjacent body panels.
Crease the sanding sheet into thirds by folding tightly and tear in order to have three ideally sized pieces.
When sanding automotive paint it is ideal to wrap the sandpaper around a soft backing sponge/sanding block. The small size and continuous curve of most headlight housing designs requires sanding by hand, without the use of a sanding block. There are three ways to hold your sandpaper.
-Folded- by folding the paper in half and using your fingers to apply pressure. This is idea for sanding in tight spots and convex's.
-Under the fingers- Using your fingers can create high/low spots when sanding although this isn't too much of a problem on headlight housing. The most comfortable way to hold the paper with the most control.
-Palm- Using the palm to even out the pressure is an old body shop trick. Use the technique for your last couple passes to ensure an uniform sanded surface if possible.
Cross-Hatch Sanding
When sanding with two or more grades of sandpaper it is often ideal to use a cross-hatch sanding technique. Start sanding with the coarser grit in one direct (example: left-to-right/right-to-left) so that all of the sanding marks run in one direction. For the next grit, move the paper in an opposing direction (example: up-to-down/down-to-up). Continue sanding until all of the previous marks (left-to-right) have been remove and replaced with the fine (up-to-down) marks.
Use plenty of water/soap solution and rinse the sandpaper frequently! Fill a spray bottle with water/soap solution (a few drops of soap is plenty) and keep the surface well lubricated during sanding. Listen and feel for any grit that becomes trapped under the sandpaper. Immediately stop sanding, rinse the sandpaper in the bucket solution, and continue. Any grit or asphalt that becomes lodged under the paper can create deep scratches that will be very difficult to remove.
Start sanding with the 1500 grade Meguiar's Unigrit Sandpaper moving left-to-right and right-left. Use just enough pressure to hold the paper to the headlight housing.
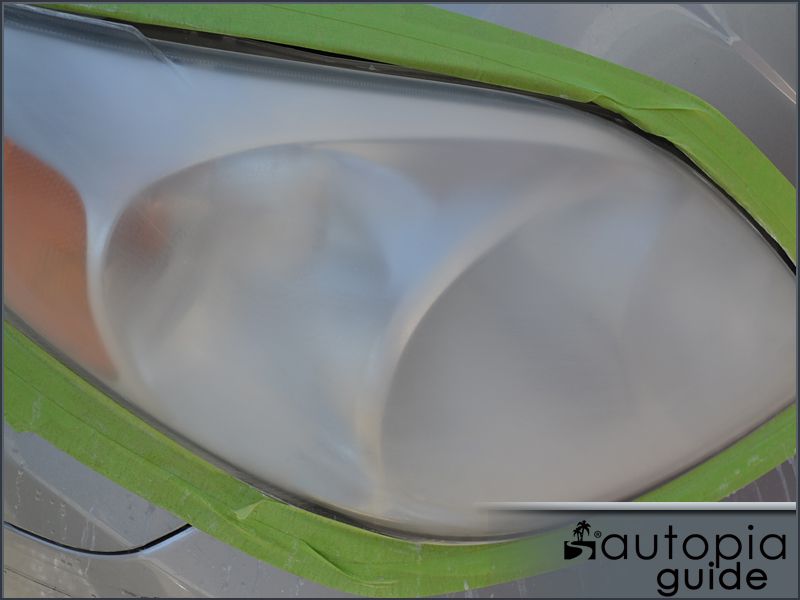
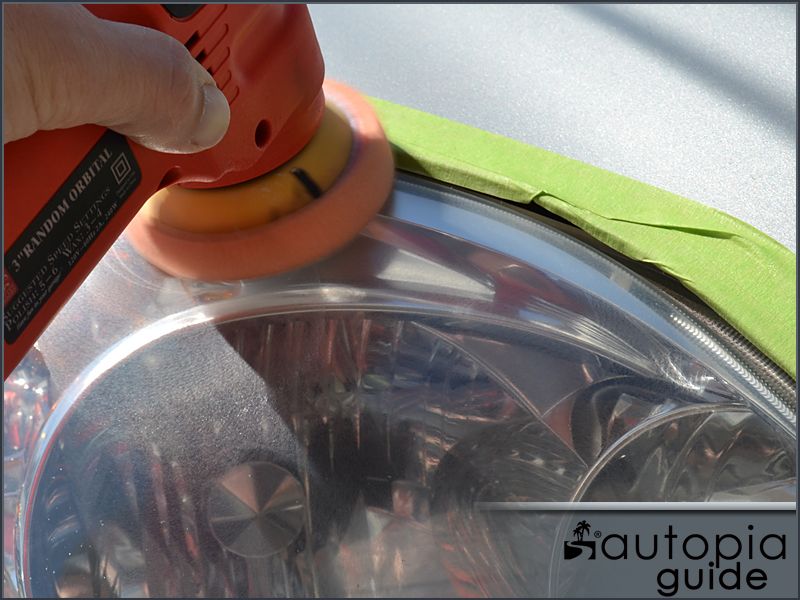
Use a lot of water/soap solution to lubricate the surface. In the picture below, a film of water/soap solution has been sprayed on, so much in fact that the headlight housing almost appears clear.
The surface will become milky-yellow as the sandpaper abrades away the oxidized plastic.
Frequently rinse the sandpaper in the water/soap bucket.
Continue sanding until the residue is no longer milky-yellow in appearance and the oxidation has been remove. Take your time and make sure to sand all areas.
The residue running off the headlight housing is now white in appearance, indicating that the oxidation has been completely removed.
Because water or any liquid will create the illusion that the headlight housing is clear (this is how many of those wonder/miracle sprays work) you can inspect for any areas that you may have missed. As you wipe the residue from the headlight housing and it dries the appearance will become cloudy again (from the sanding scratches).
Wipe the headlight housing clean and dry with a soft microfiber towel. If you a professional headlight restorer you may consider a quality drying towel such as a Cobra Guzzler as it will quickly dry the housing so you can move to the next step.
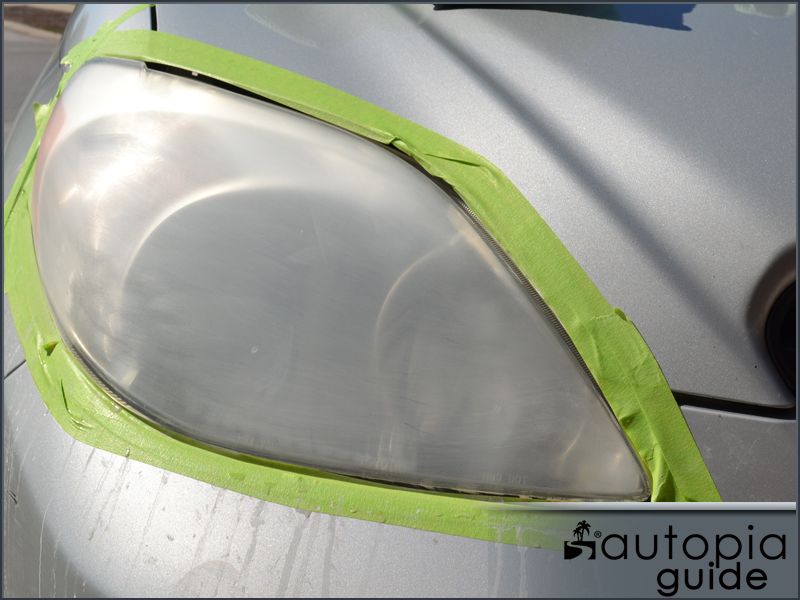
While hard to see in the picture below because of the sun glare, the sanded headlight (passenger side/left on screen) has a much whiter and uniform appearance.
The un-restored headlight is cloudy and has a yellow tint.
The sanded headlamp housing has an almost frosted appearance from the sanding.
 . i dont know why. i even did it twice. i mean it worked on passenger side with same method.