LawrenceSA
New member
I have developed a bit of a love/hate relationship with these cars.
I absolutely love everything about them, but hate how finicky the paint on this cars is to finish off. I have done 2 of them prior to this - one exactly the same color - and whilst I encountered the soft and sticky problem on the first one (and it nearly broke me) by the time I was done with the second, I had found a what I thought was a process that would work on all to come. How wrong I was.
Firstly, the paint is very soft. So soft that I have managed to correct them all with nothing more than a DA with Menzerna SF4000 on their Black finishing pads. To compare using this combination on say typical VW paint, would yield almost no correction, but will enhance the gloss a little. Like it did here on this polo.
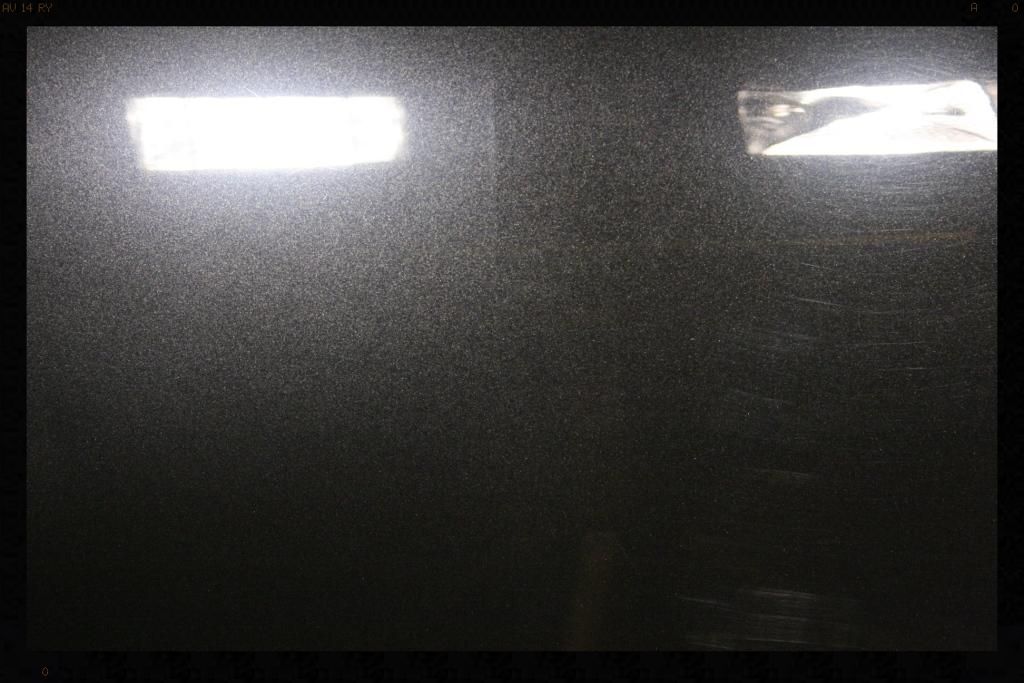
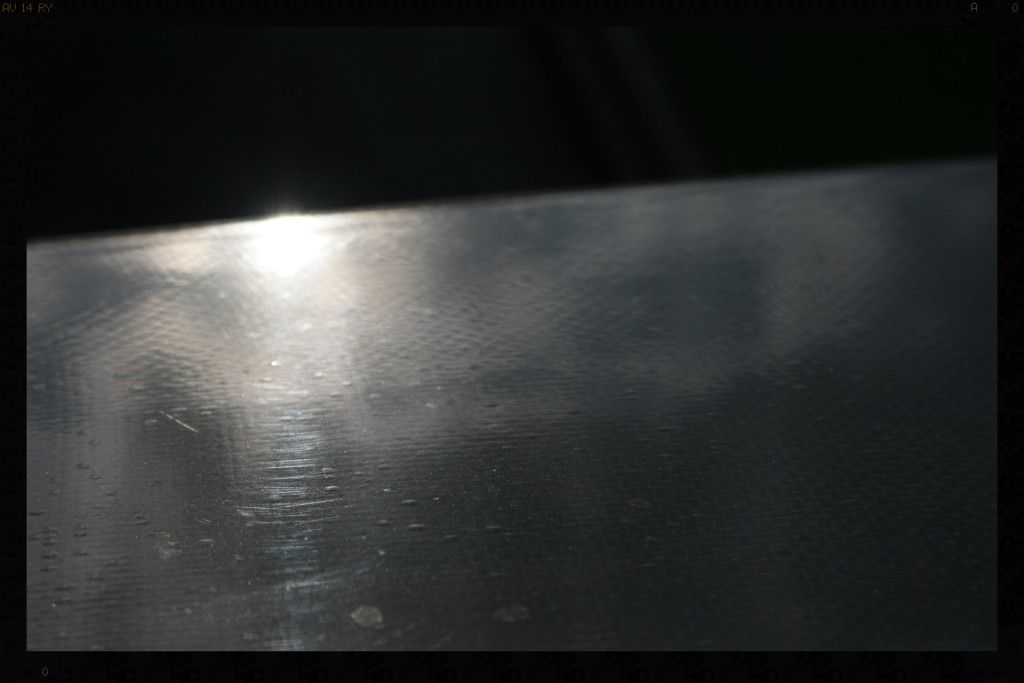
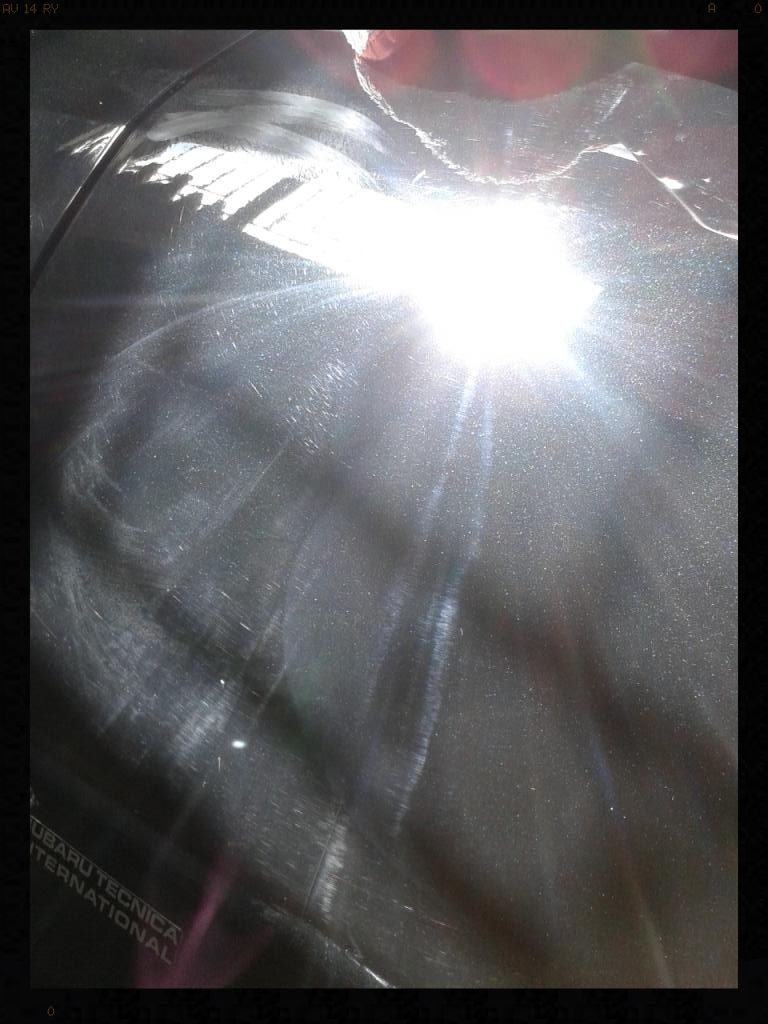
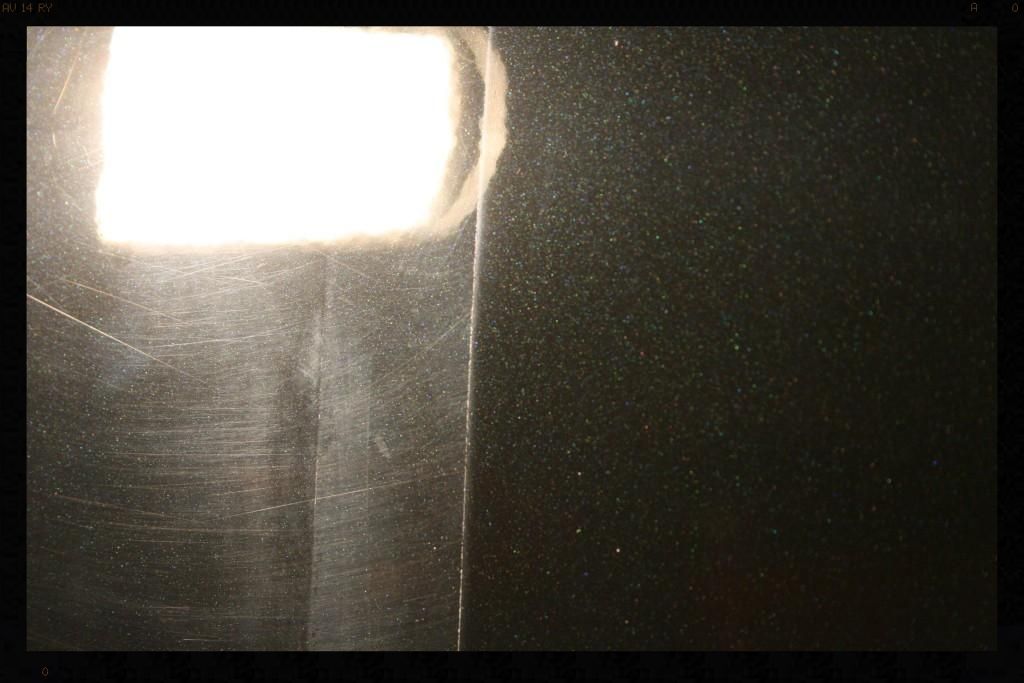
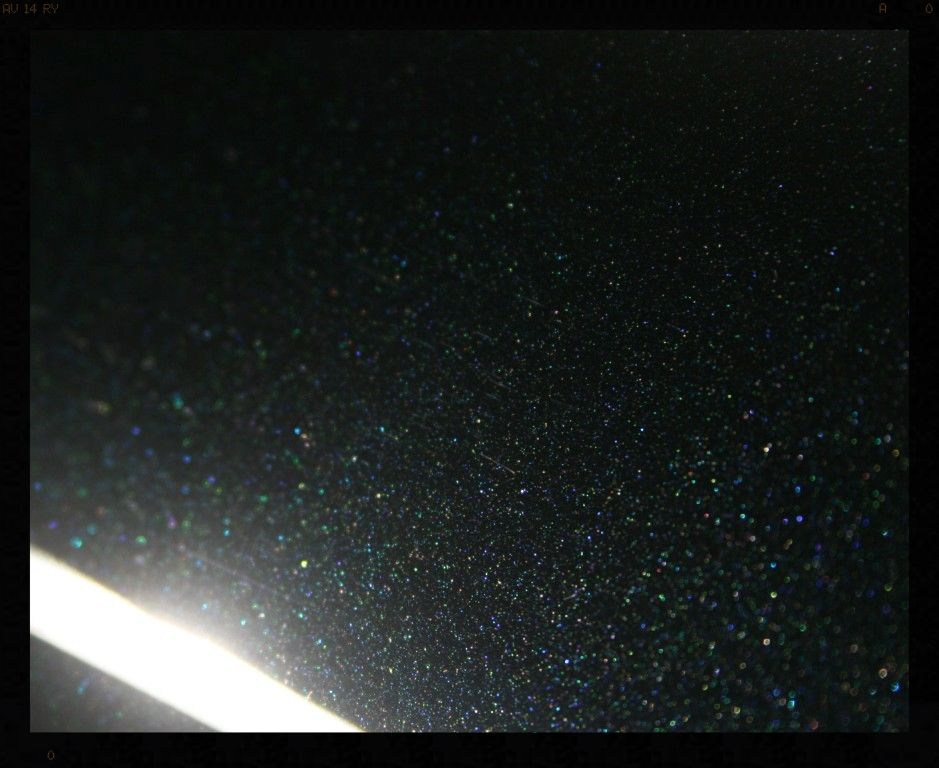
Here is what the paint looks like after defect removal (It was still a relatively mild Ultimate compound that was used). It is the very fine scratches (that you cannot actually see) that make the polished side appear dull.
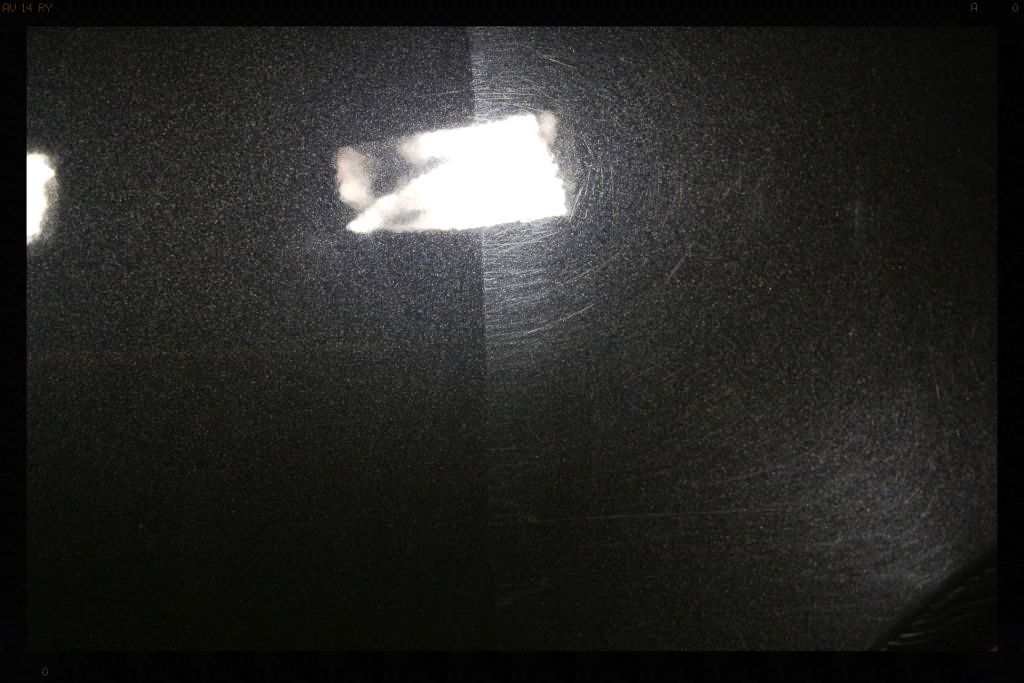
Now after the refining polish to remove this minute scratches with Menzerna SF4000
The point I am making is normally a finishing polish on a finishing pad is nowhere near enough to use for defect removal, but on these cars it is usually ample.
The stickiness problem is that when polishing, the polish residue sticks to the paint, making it extremely difficult to remove without re-introducing marring into the very soft paint. This makes finishing off the paint very difficult but like I said, I thought I had it under control. But for some reason, this particular Subaru was on a whole new level of sticky.... perhaps it was the weather (30 degrees / 82% humidity). Admittedly I really struggled with it. I tried adding a spritz of ONR mid-cycle, adding DI water mid cycle, and a whole host of other things, but there was no simple miracle cure. I eventually settled on a combo of using a handheld sprayer to 'wash' the polish residue off without having to touch it, using ONR and using MF towels soaked in an ONR mix to wipe off, but then had to re-polish with Chemical Guys Blacklight, which can be left to dry to a haze after polishing and then wiped off very easily. This ensured that I was able to finish off the car without leaving towelling marks all over it.
Oh and did I mention that wiping off the polish residue is difficult :lol:
So as if that wasn't enough, besides this soft/sticky OEM paint, there was also some re-sprayed sections, which obviously had completely different paint. First, let me say whoever did the re-spray got the color matching spot on - probably the best I have seen of all the cars I have detailed, especially taking into consideration the flake distribution etc. The clear coat itself was a much harder version of the OEM paint - definitely a good thing IMO. This obviously complicated the job as it was effectively like polishing 2 completely different cars. The re-painted panels included the bonnet, front bumper, wing and rear bumper.
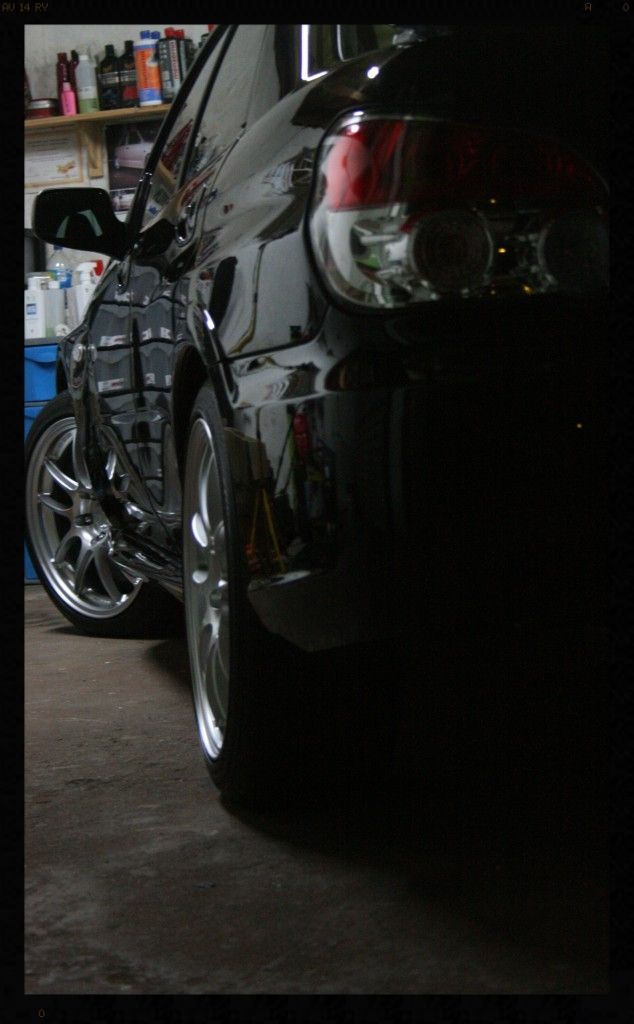
Just for the record, this is one of Nxgen's bulletproof builds, making 413kw and 760nm on the wheels. :driving: :drool: :hurray: Obviously a lot done under the bonnet, but also big brake upgrade, suspension, wheels etc. There was much drooling and daydreaming over owning this, in my garage over the week I spent with it (Thursday night to Wednesday night) :: Good laaaaaawd but I want to own it....badly.
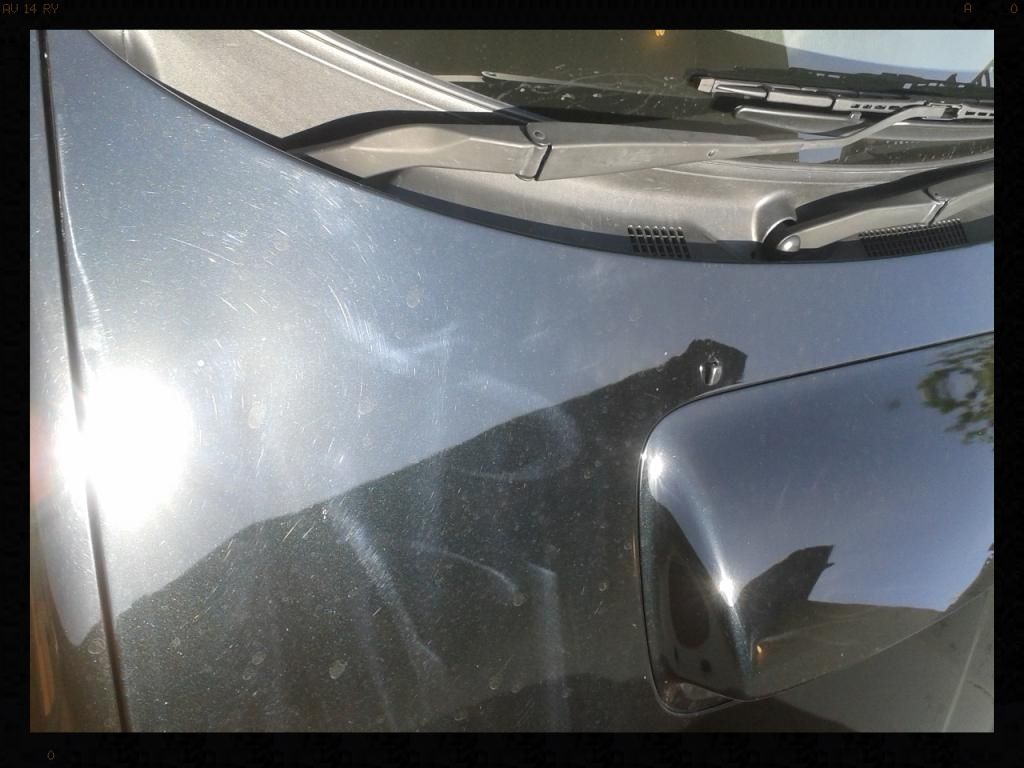
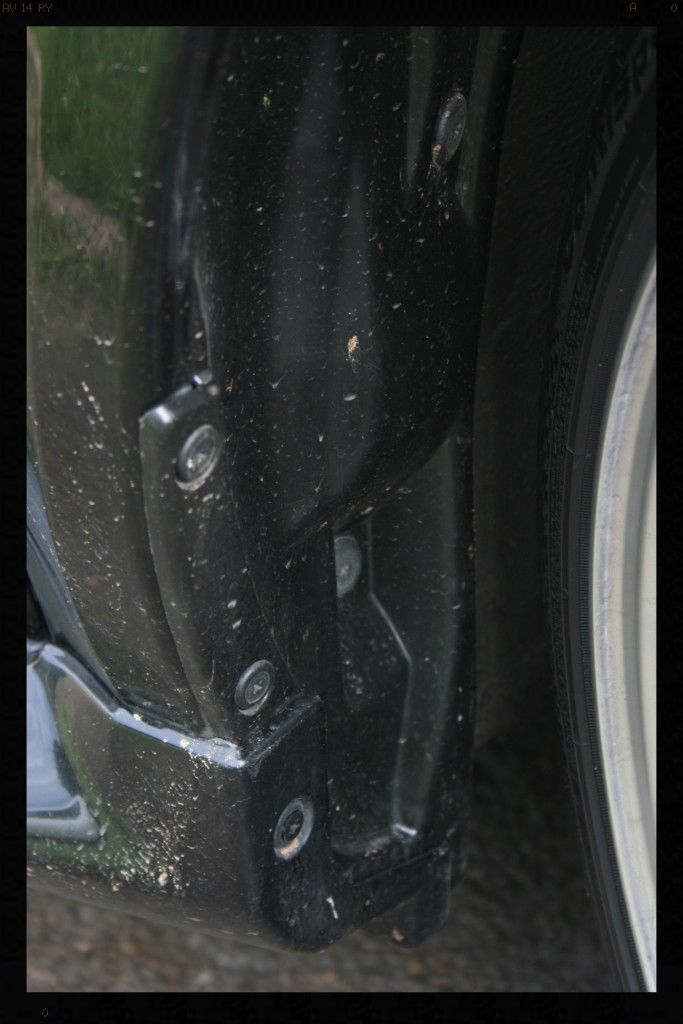
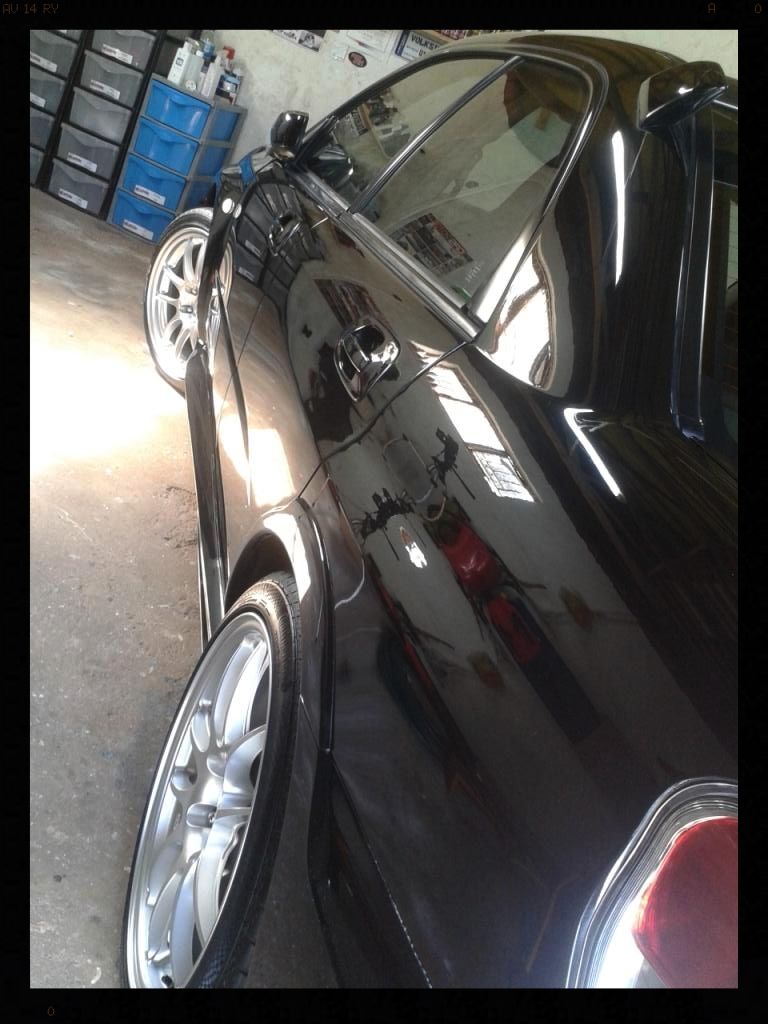
So enough about the paint for now, let's look at what I was up against.
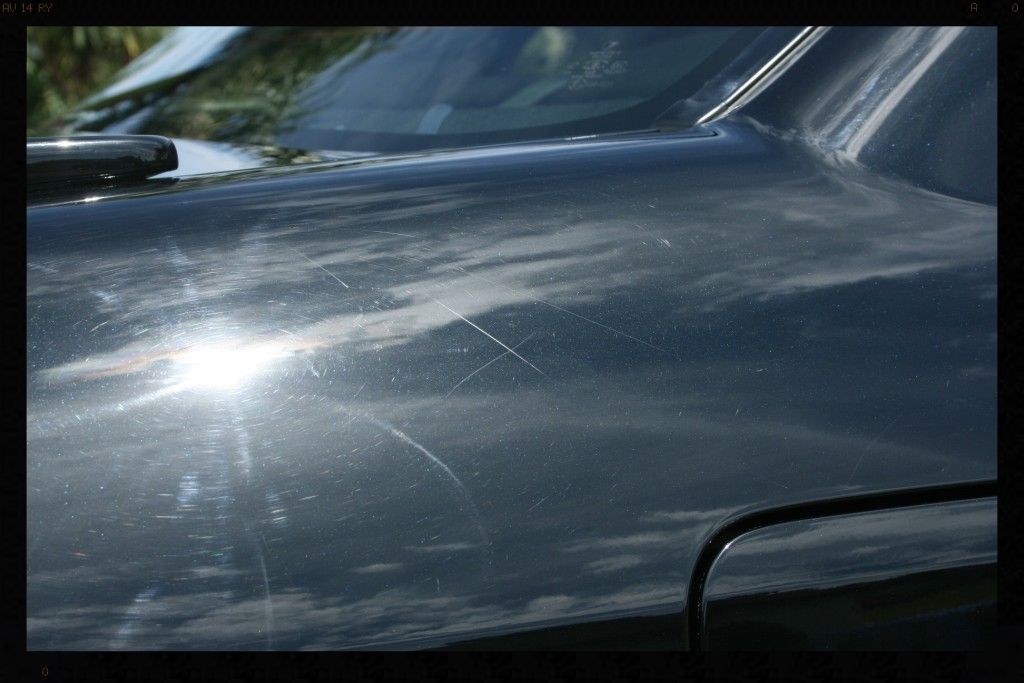
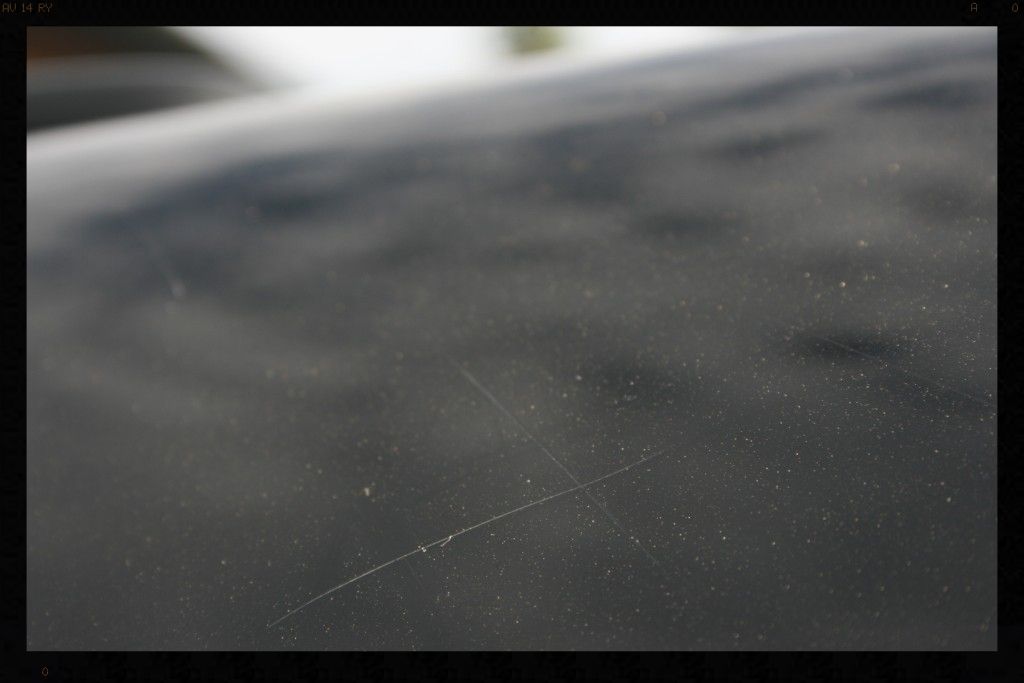
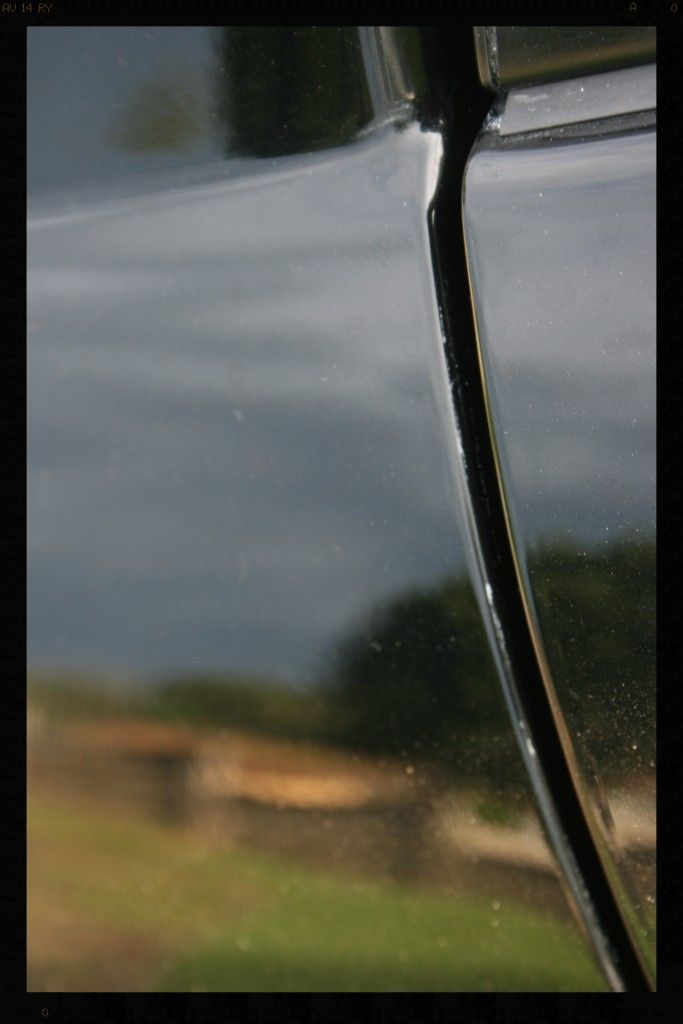
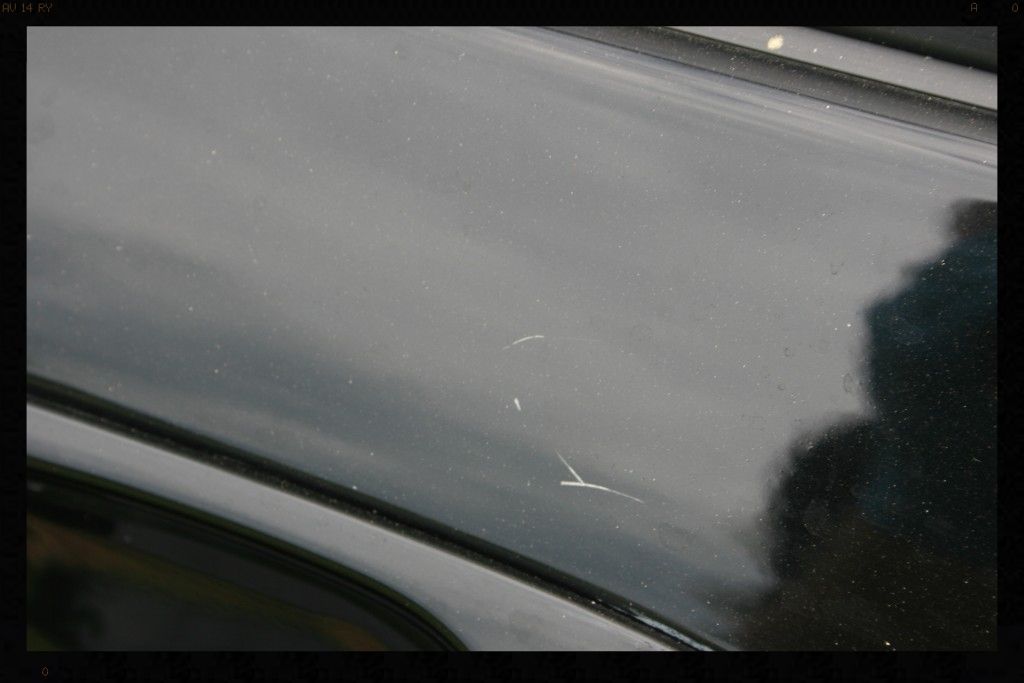
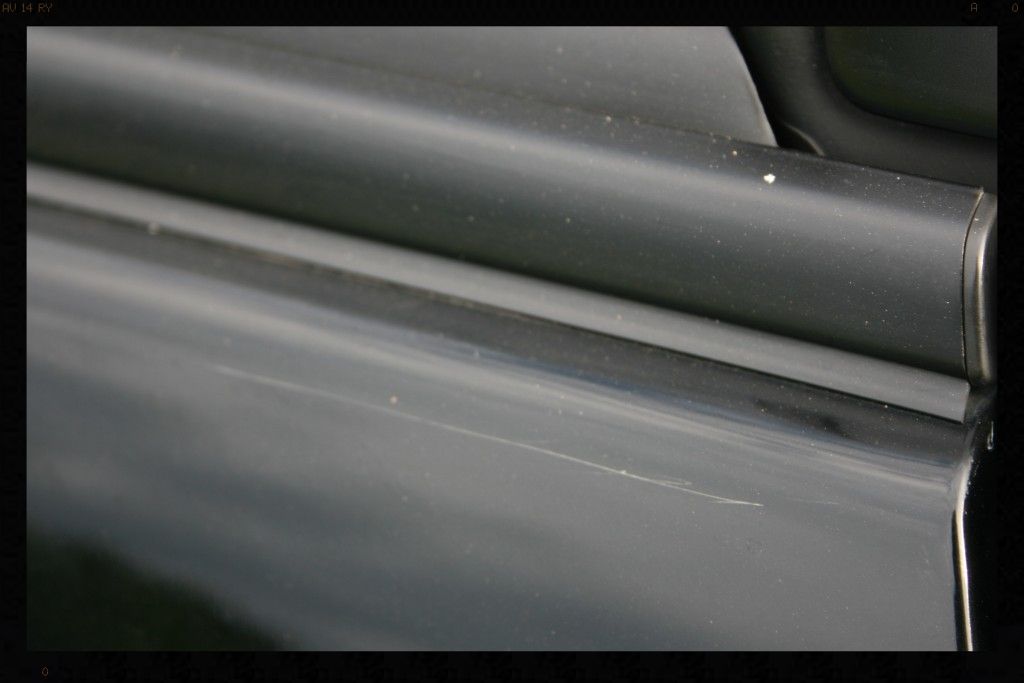
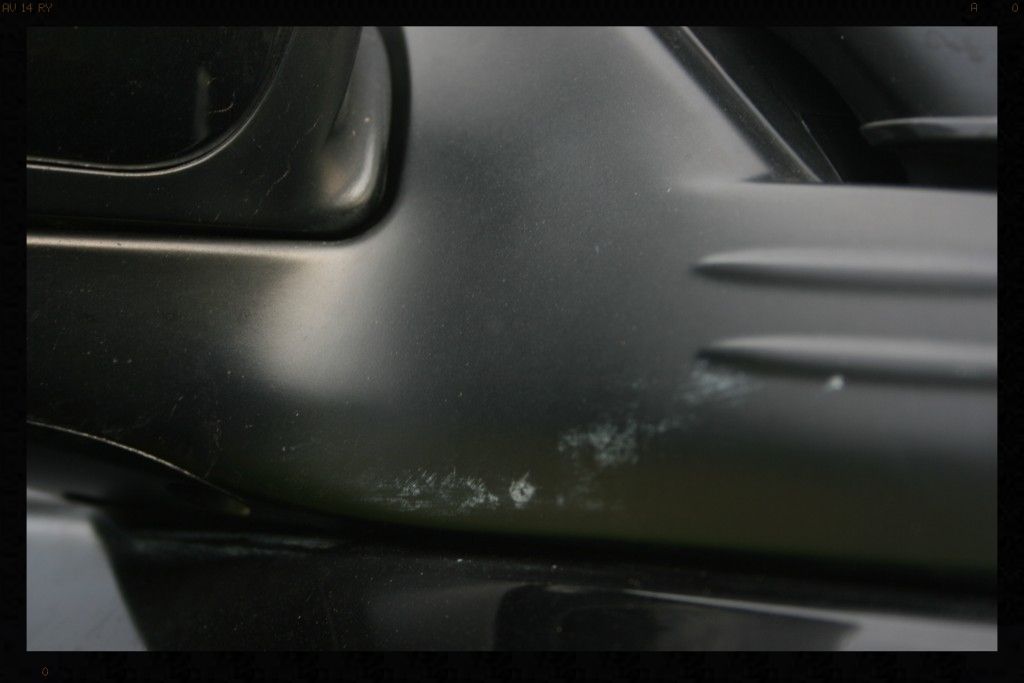
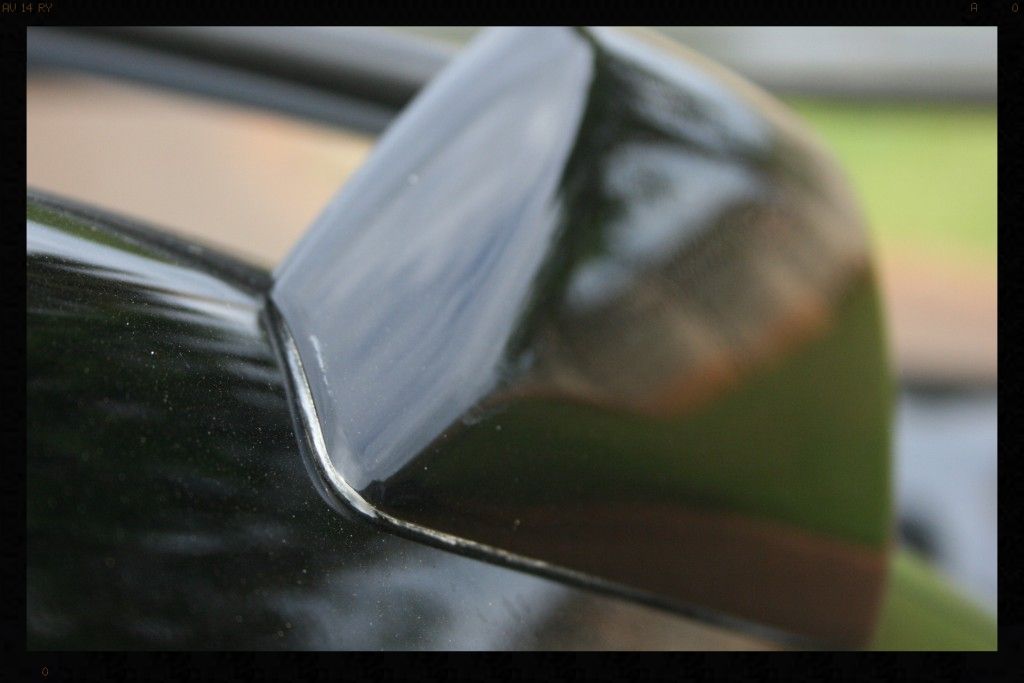
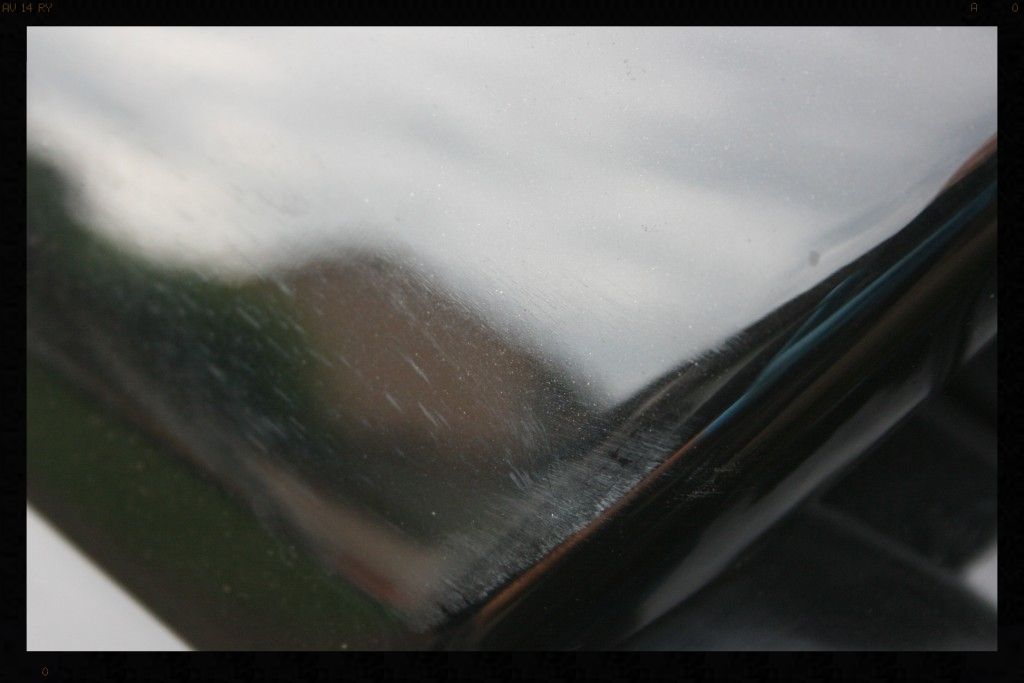
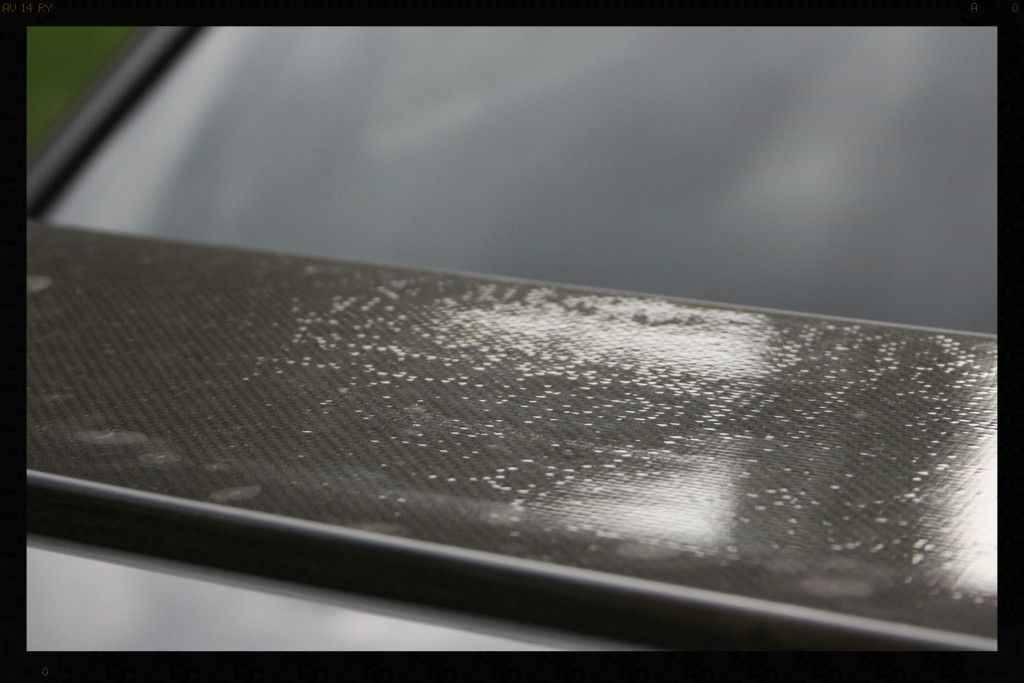
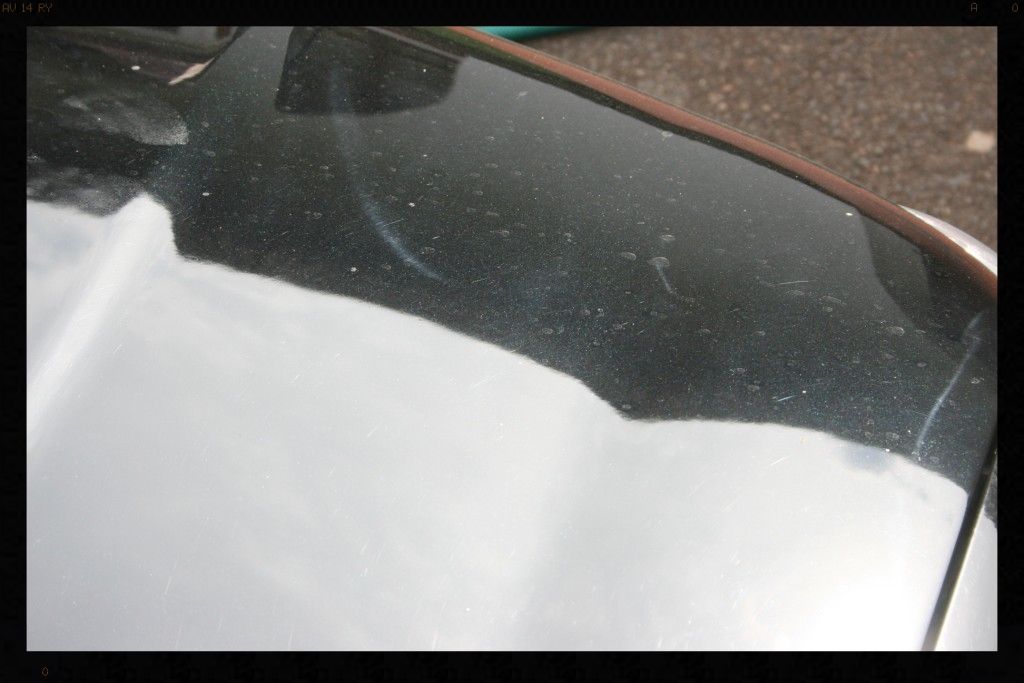
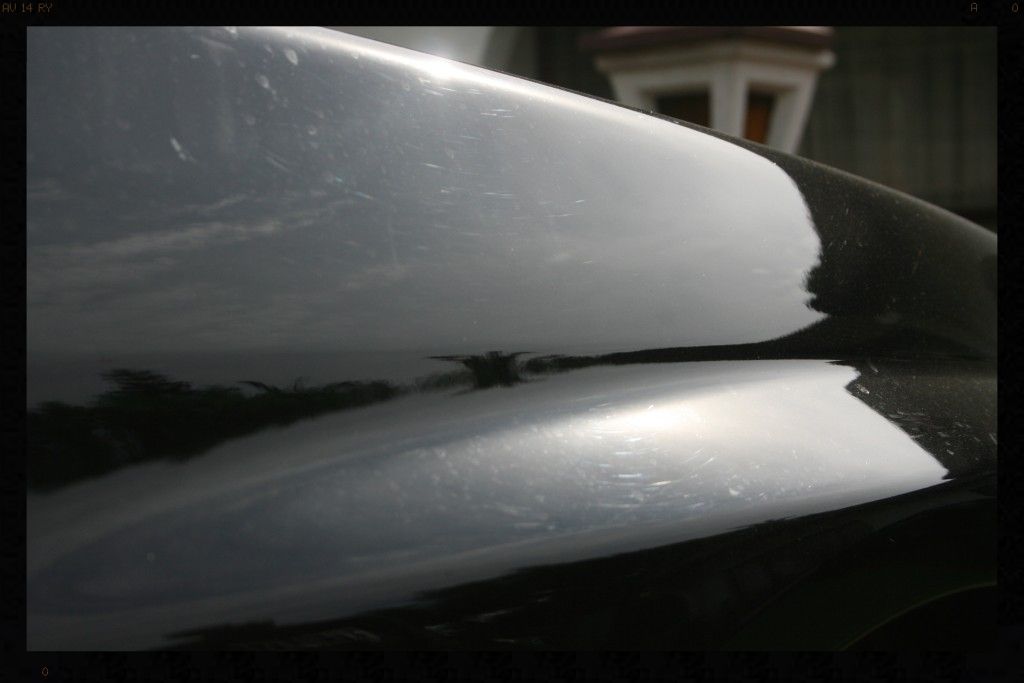
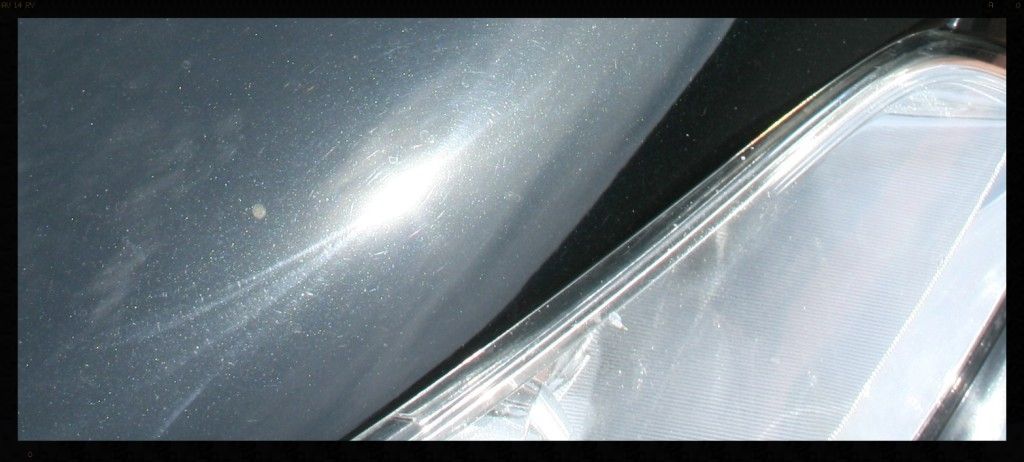
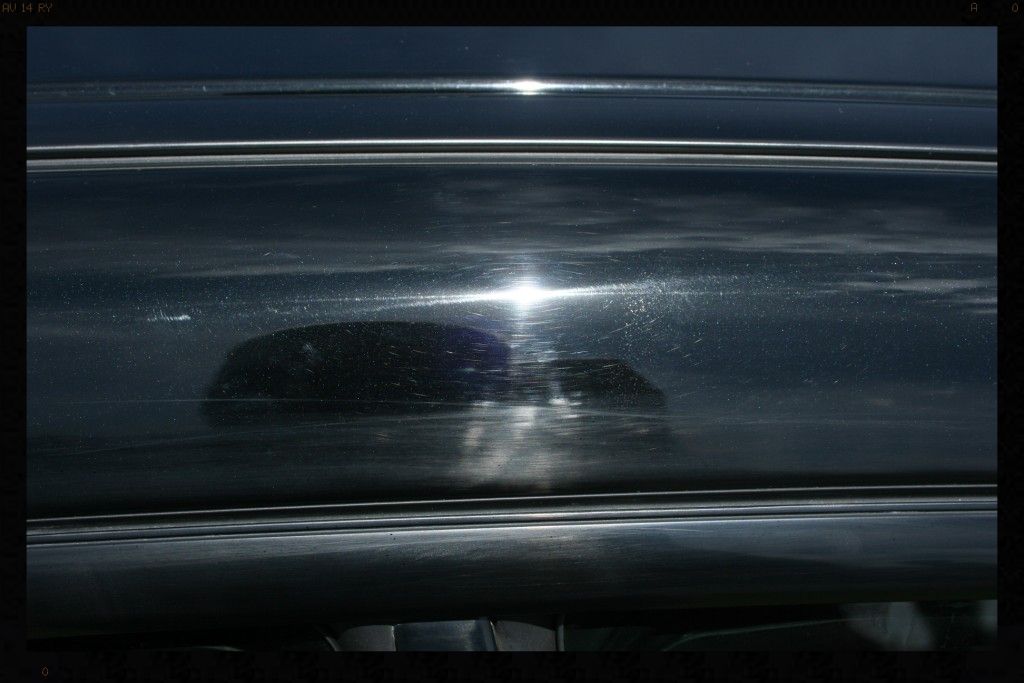
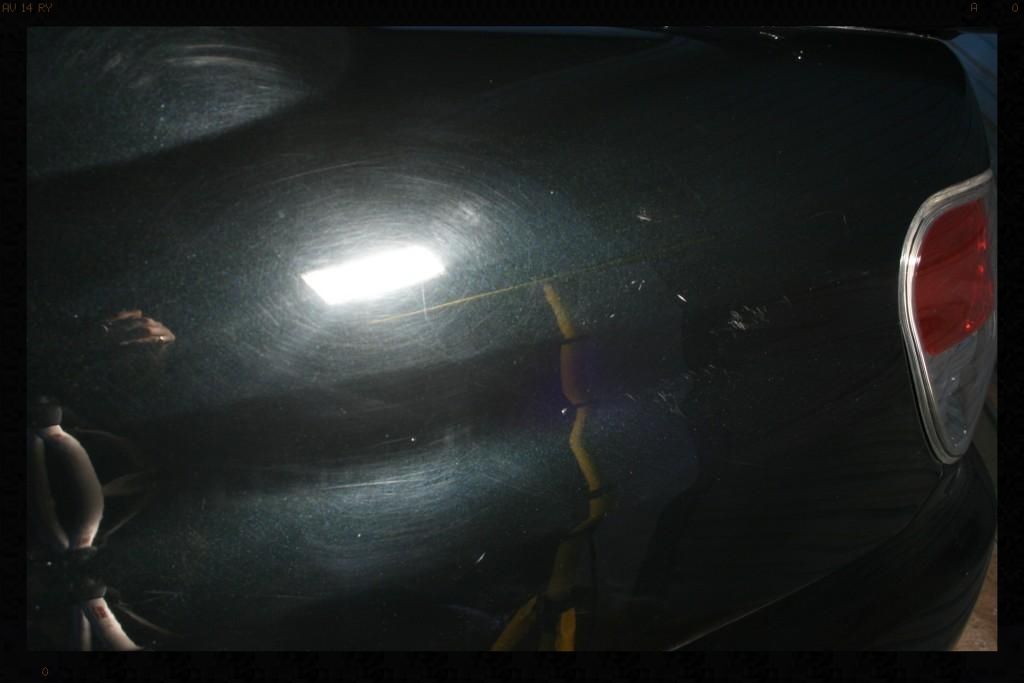
Pretty much everything. Swirls, Deep RIDS, Buffer Trails, Water spots....
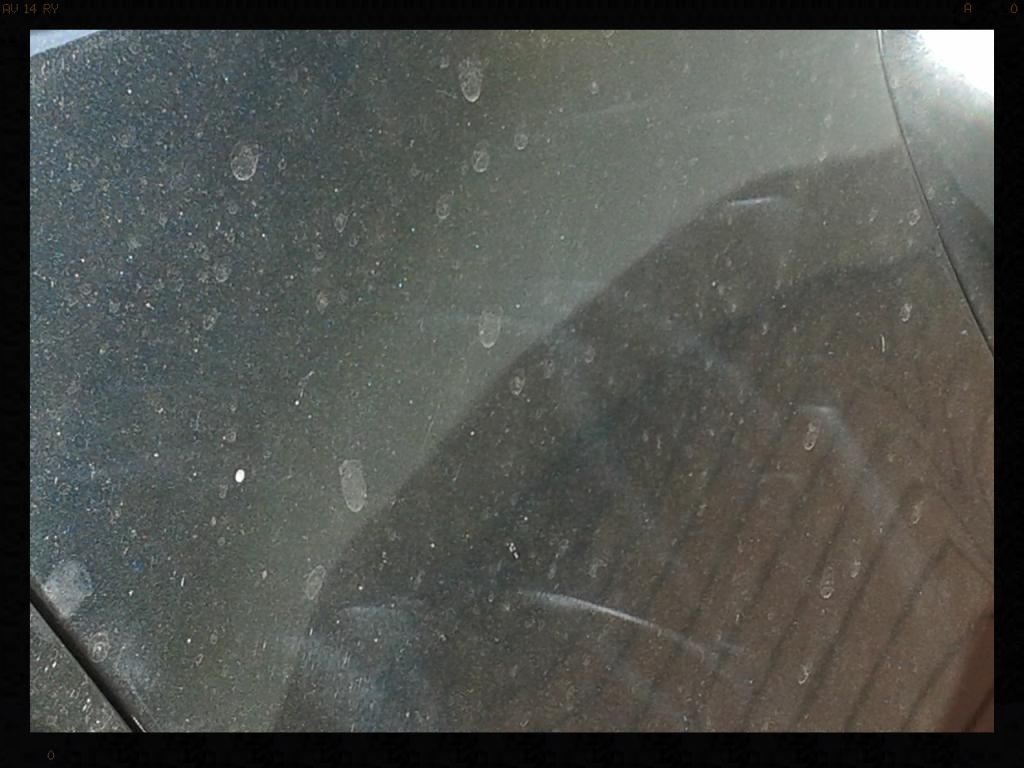
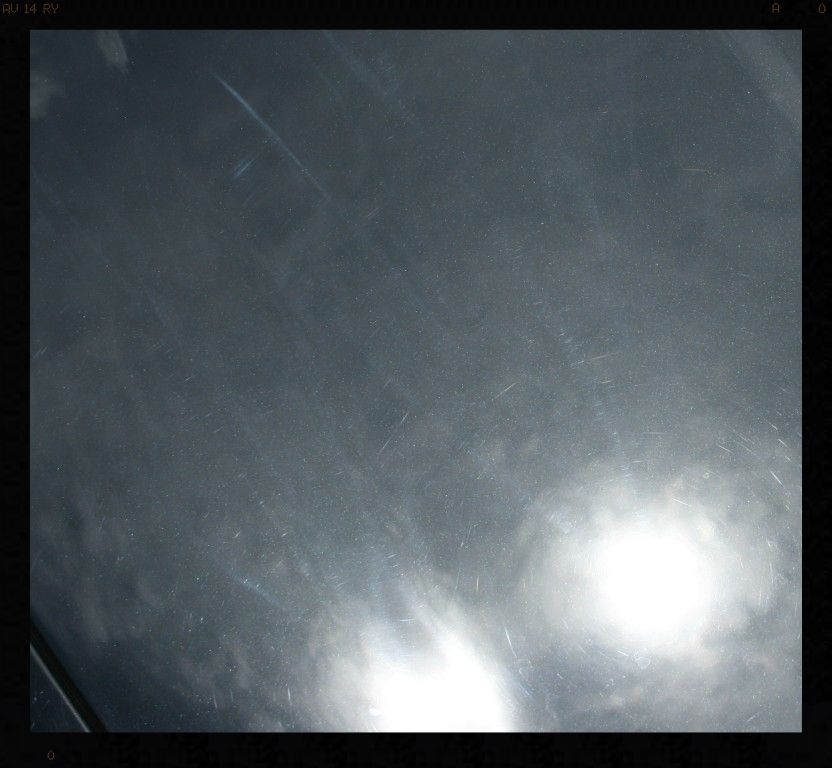
Some more pics....
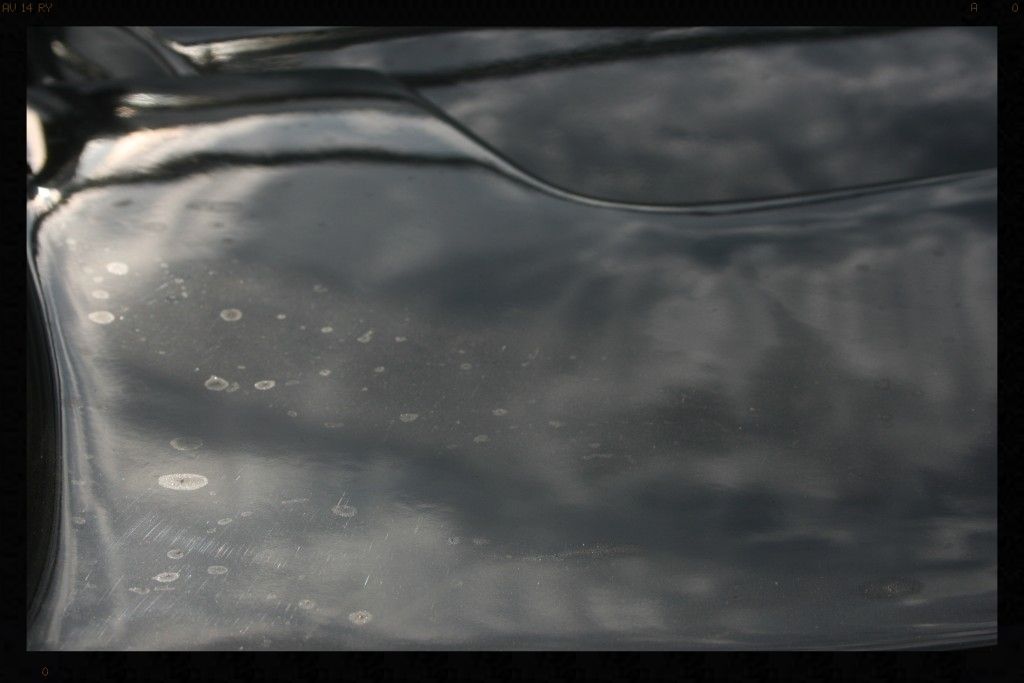
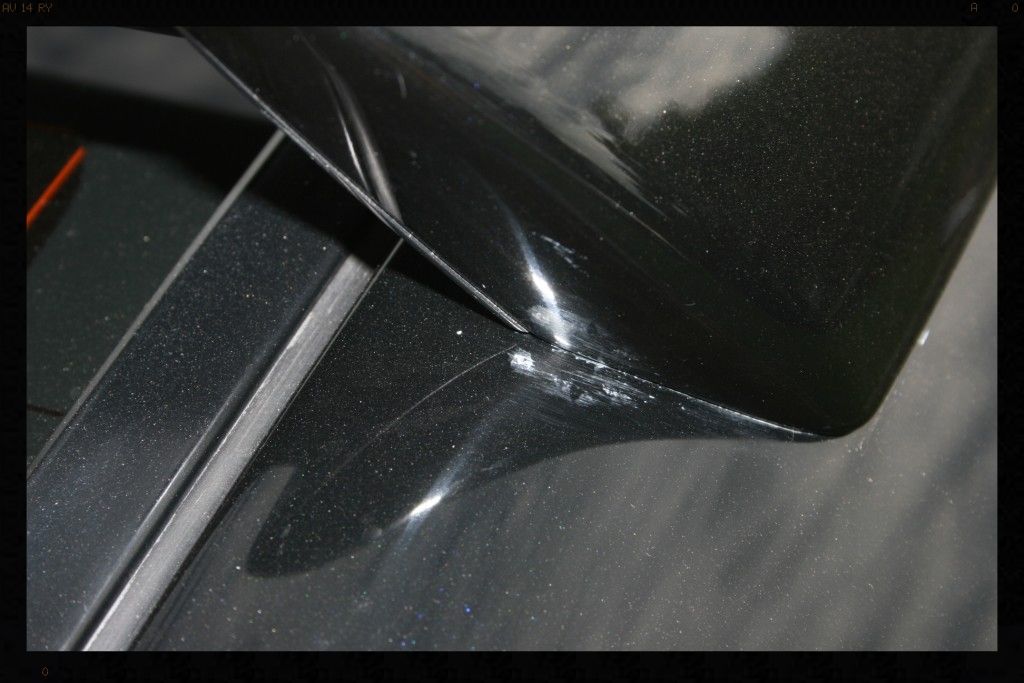
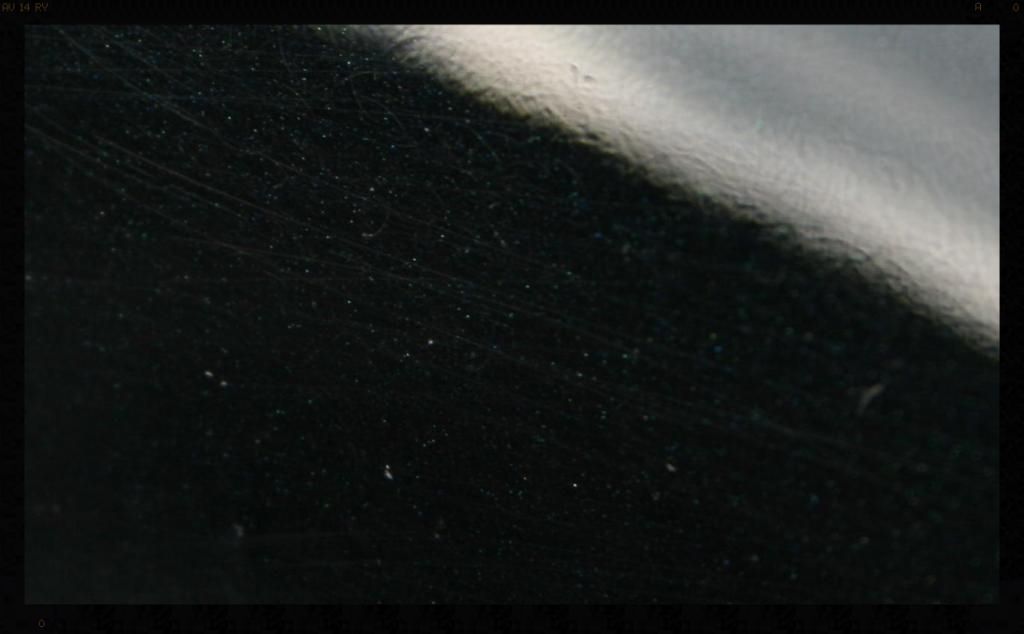
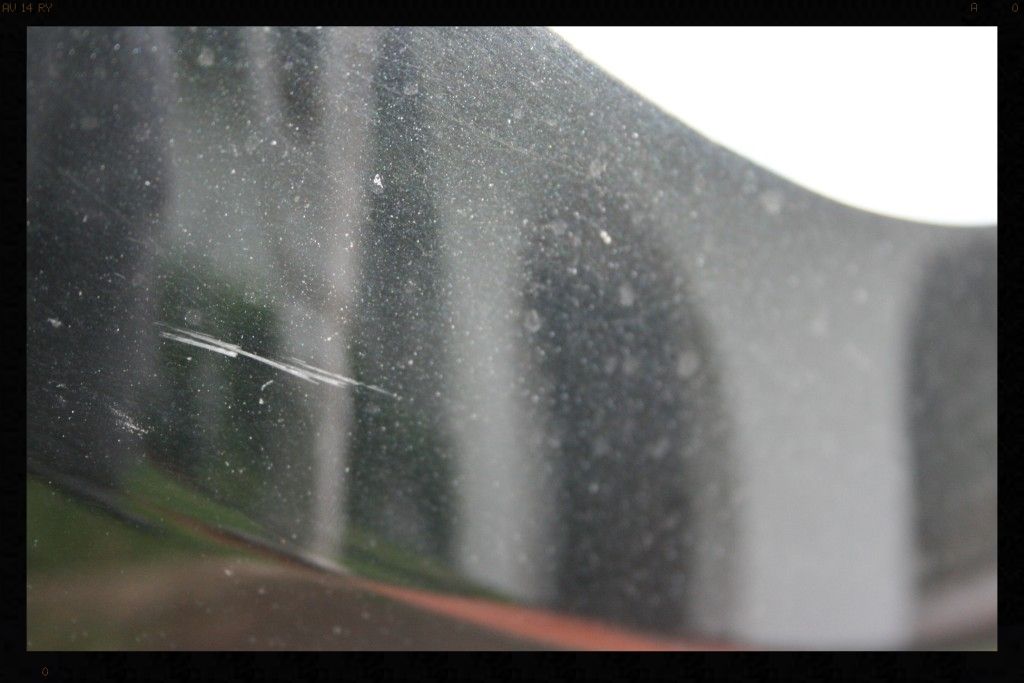


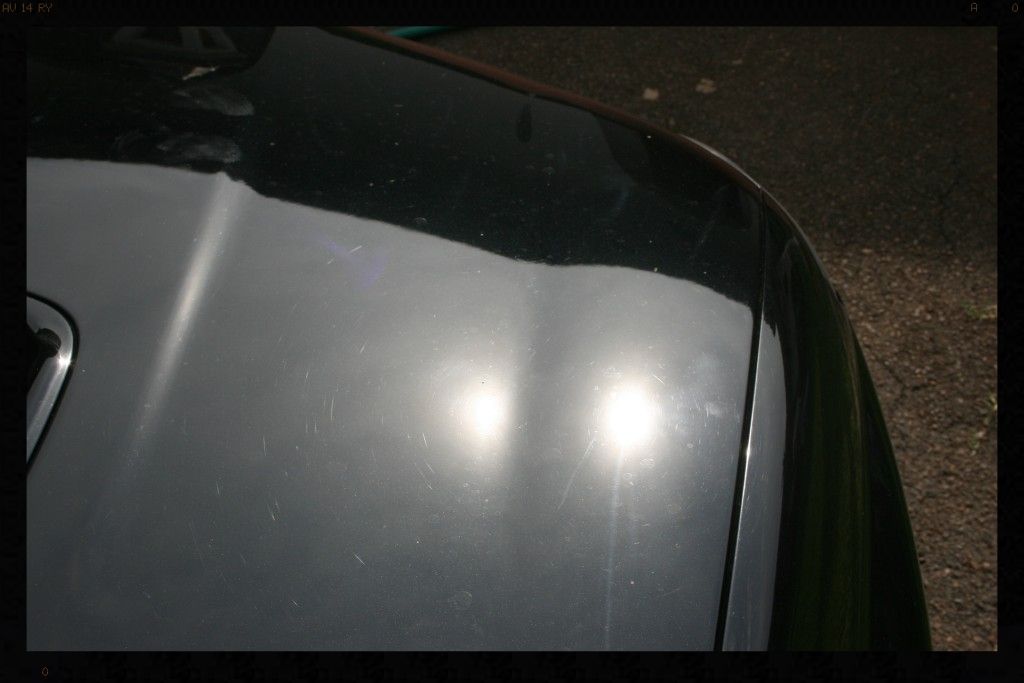
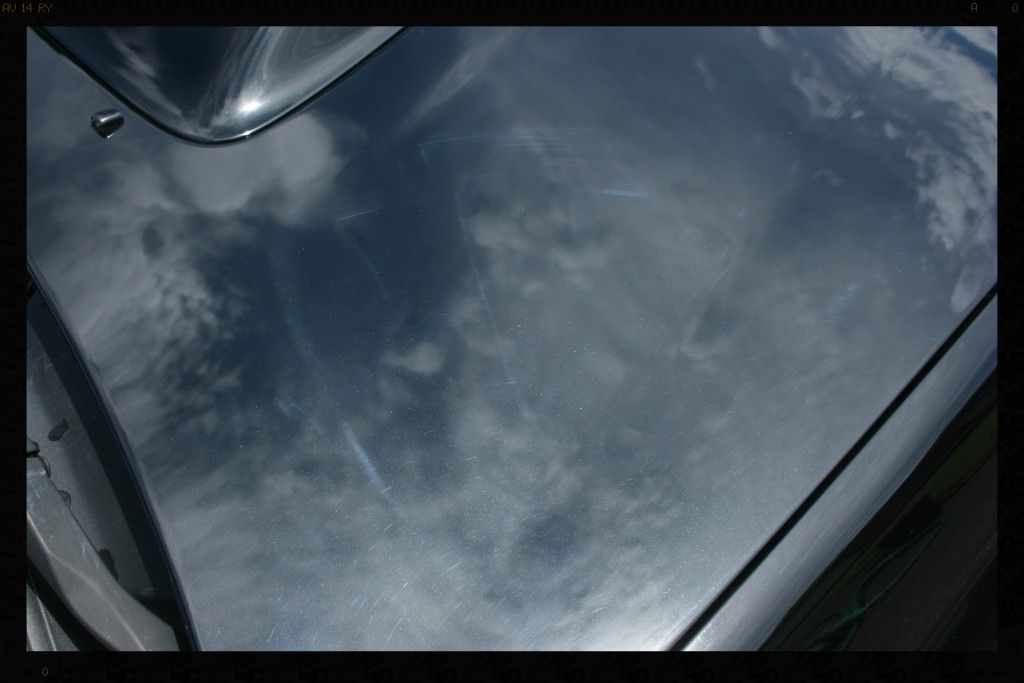
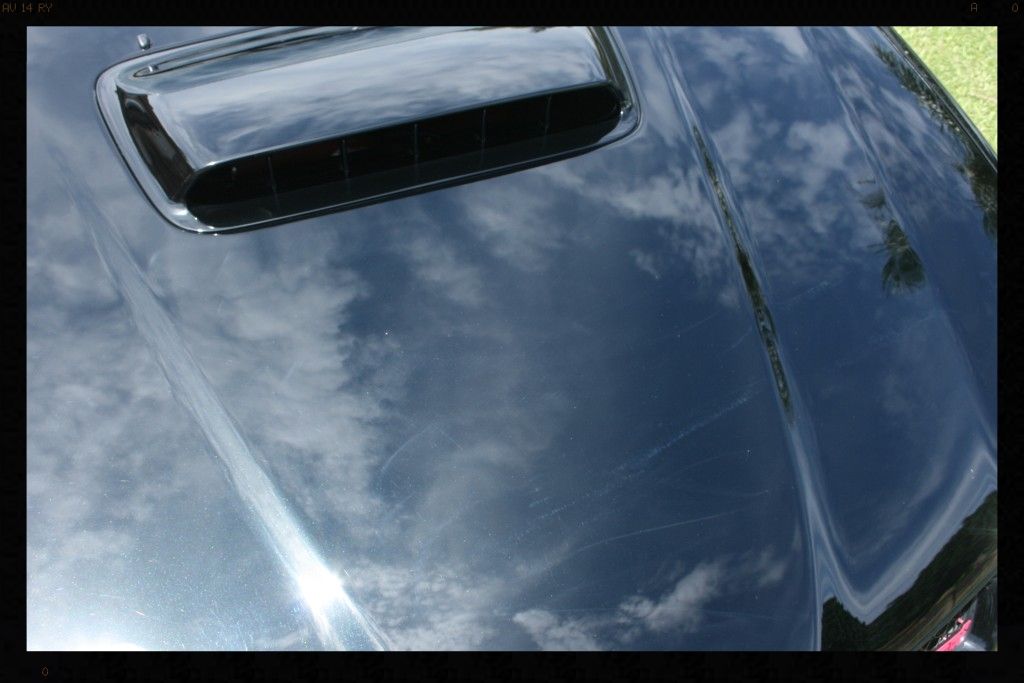
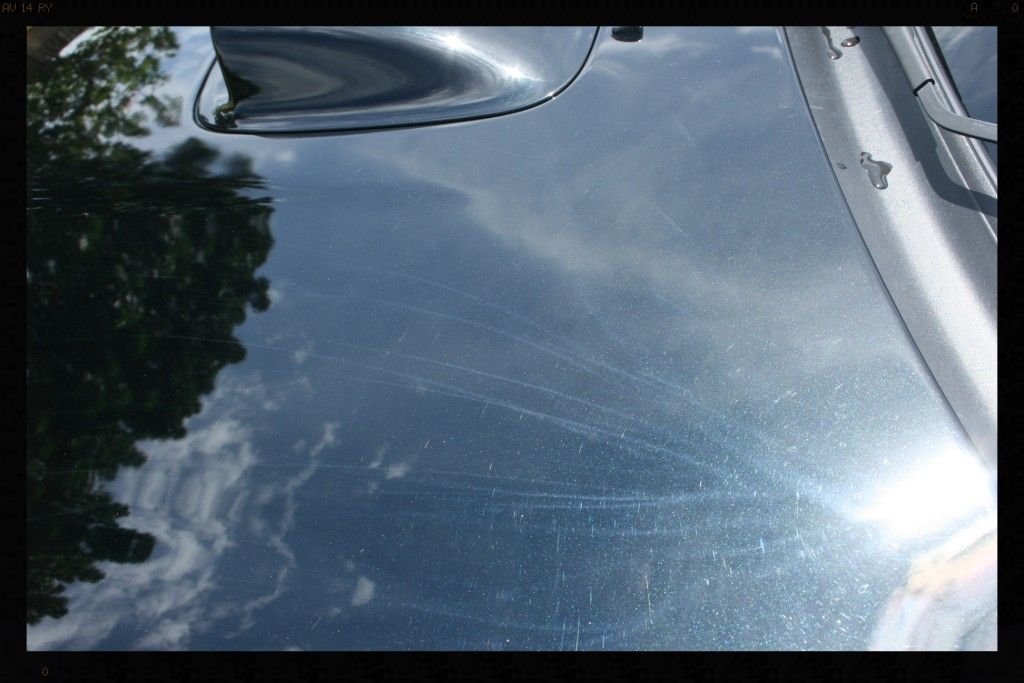
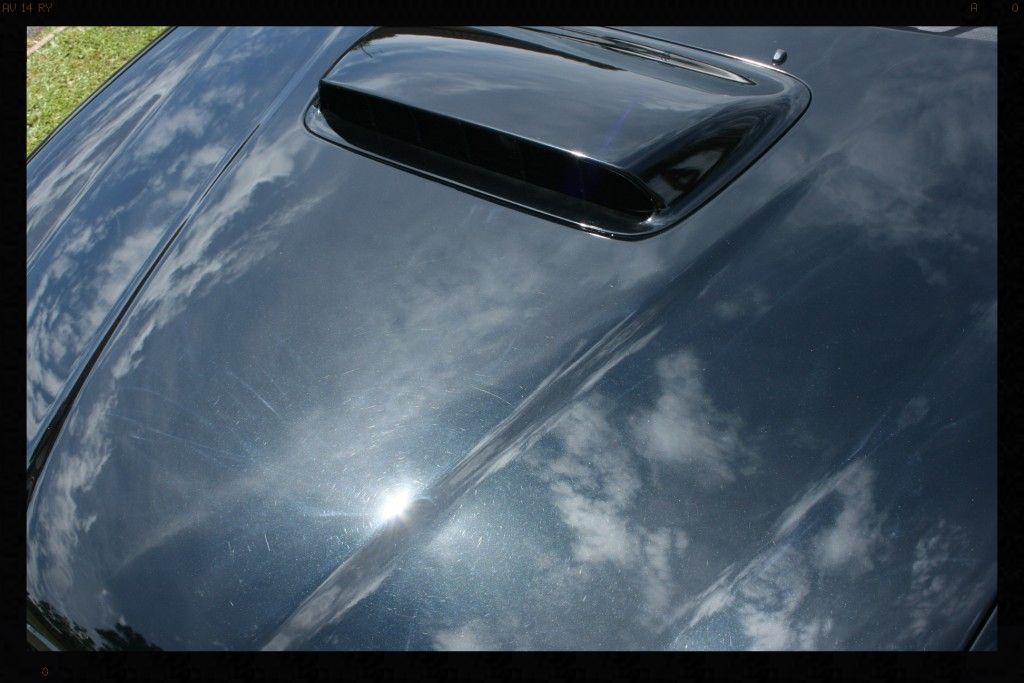
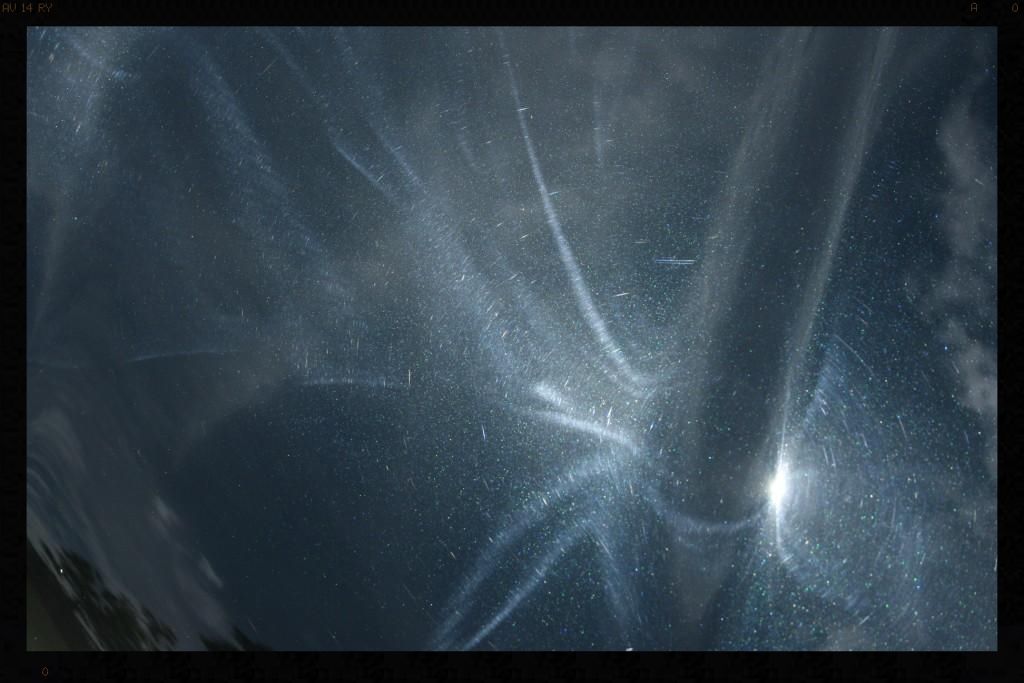
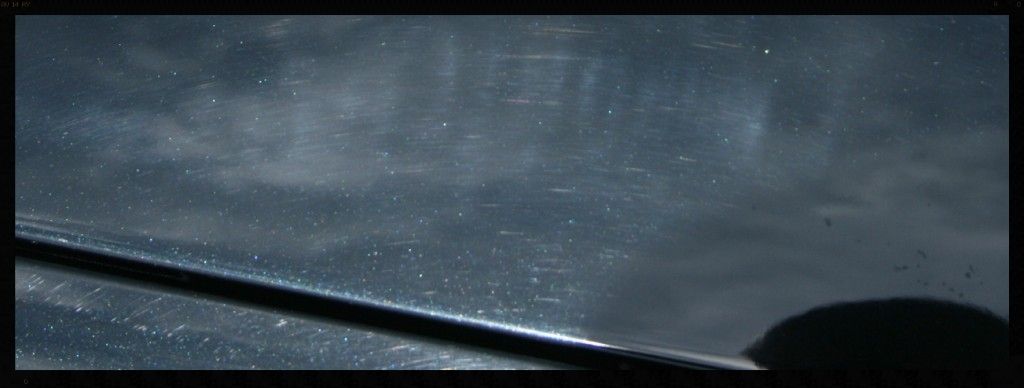
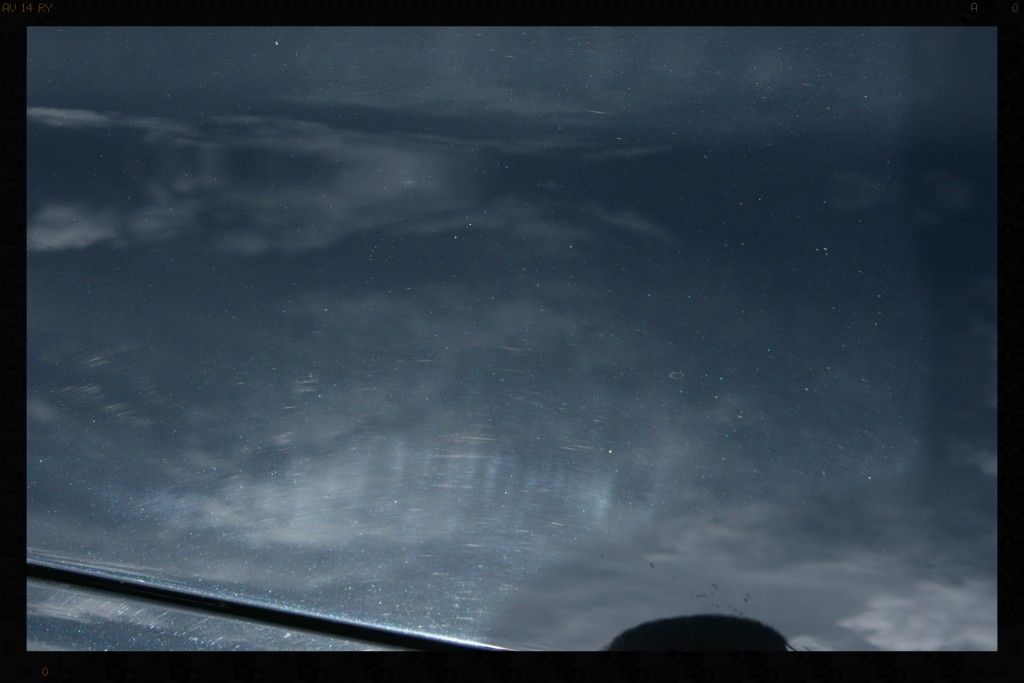
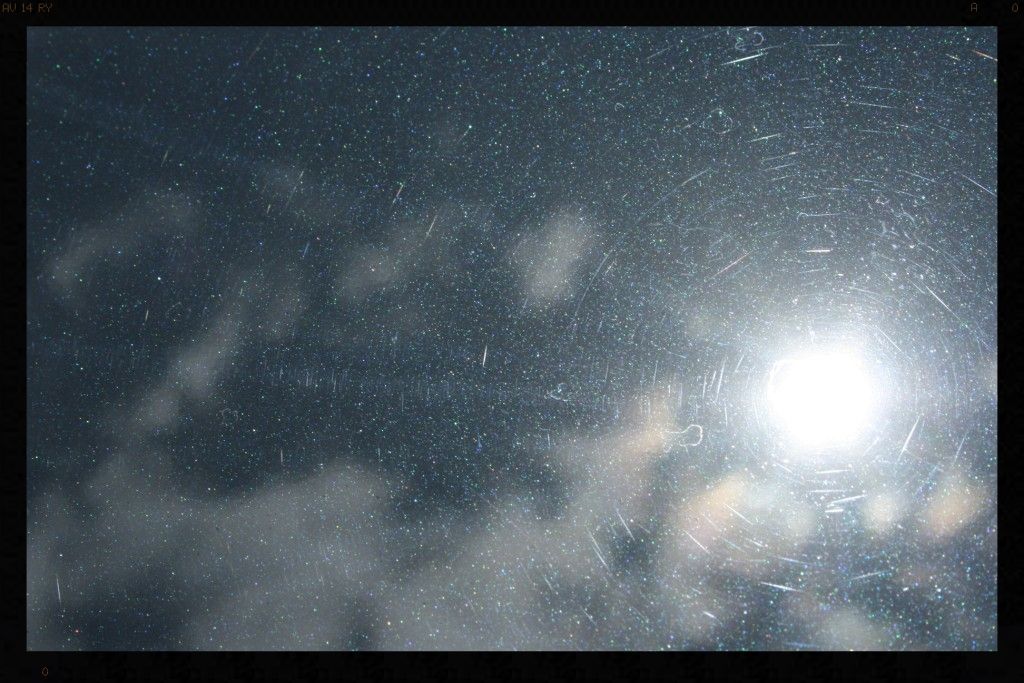
The buffer trails were immediately a cause for concern. It meant that the previous human behind the polisher had used a rotary machine (a Dual Action machine cannot instill buffer trails, but instead will product DA Haze [which looks like tiny little tick marks in the paint]). The rotary is obviously a more powerful machine, thus capable of removing paint a lot quicker than a dual action, and unfortunately in the majority of 'production detailing/body shop' type environments, is paired with an aggressive wool pad and a compound, enable super-fast paint removal.
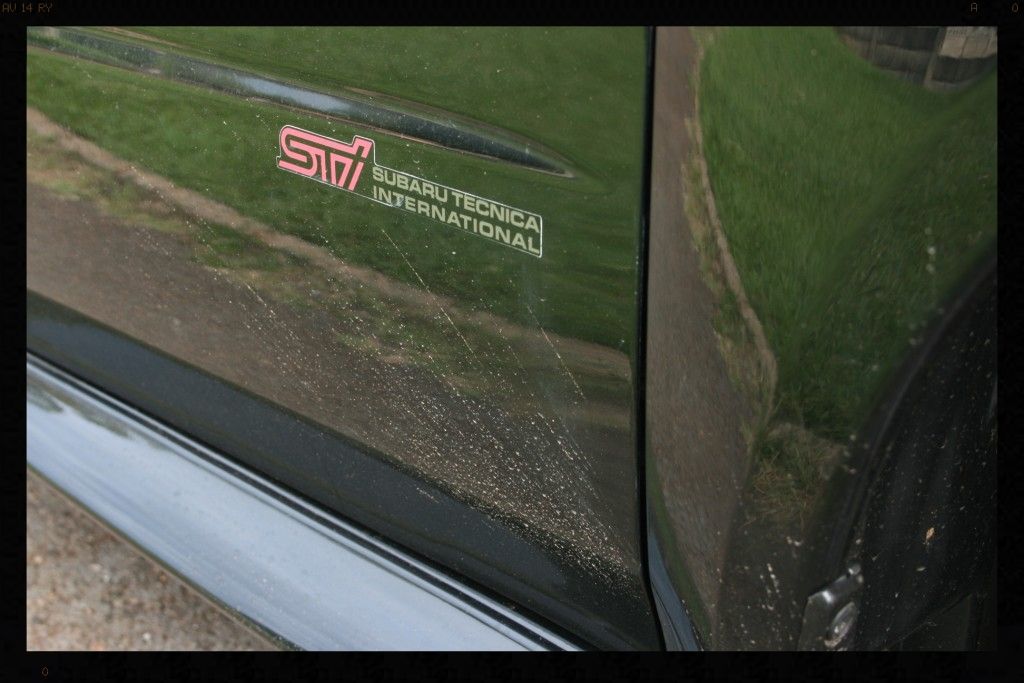
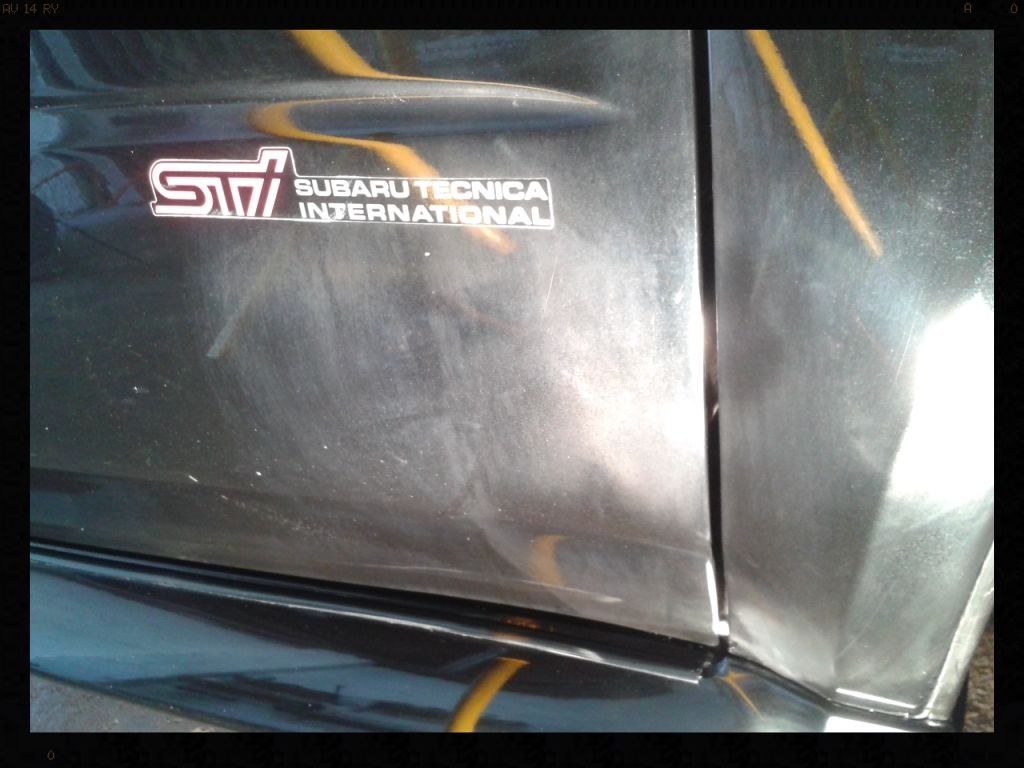
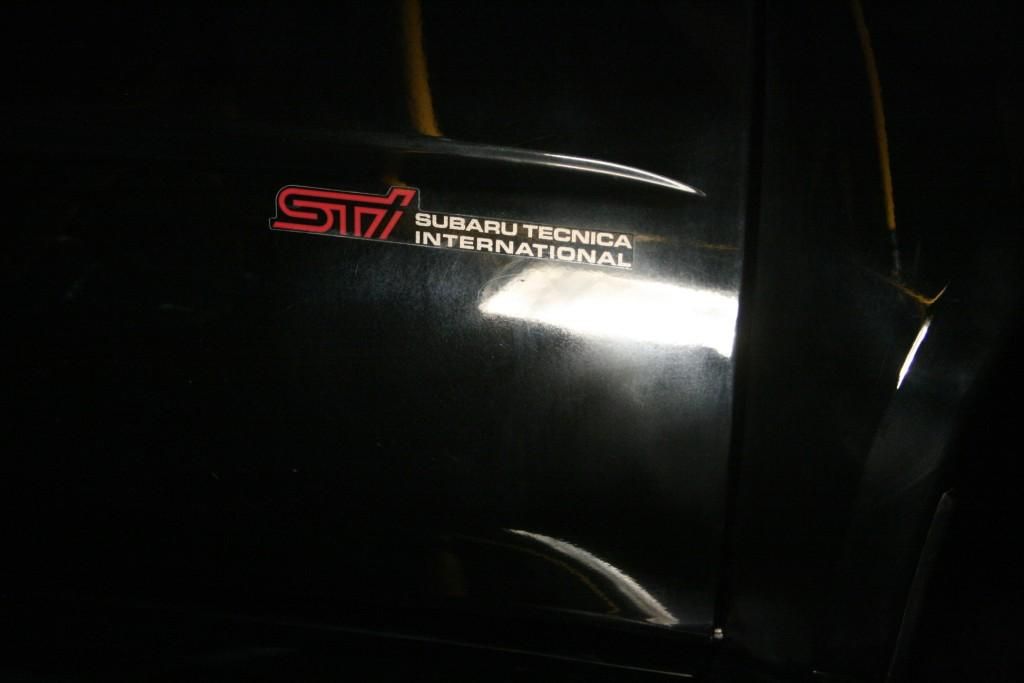
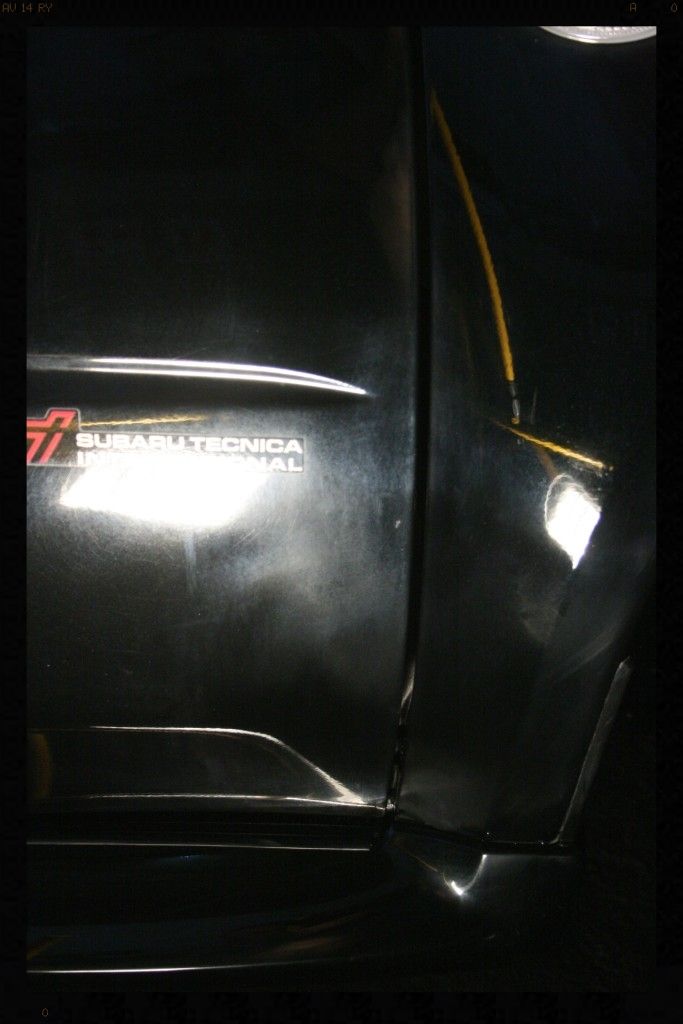
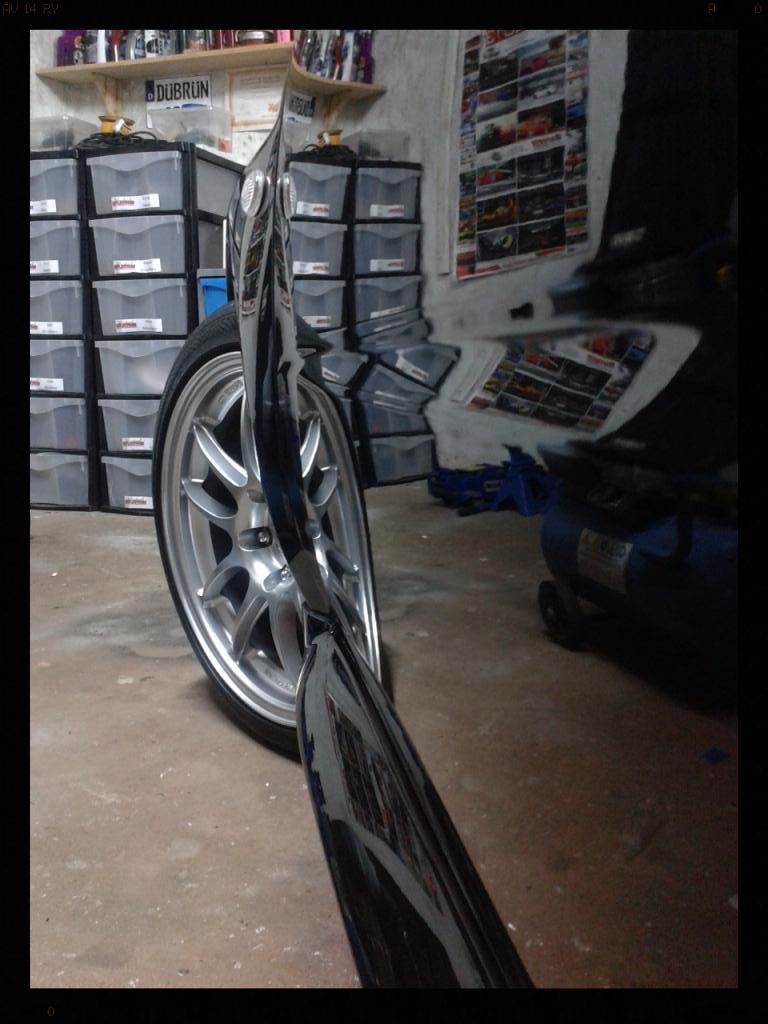
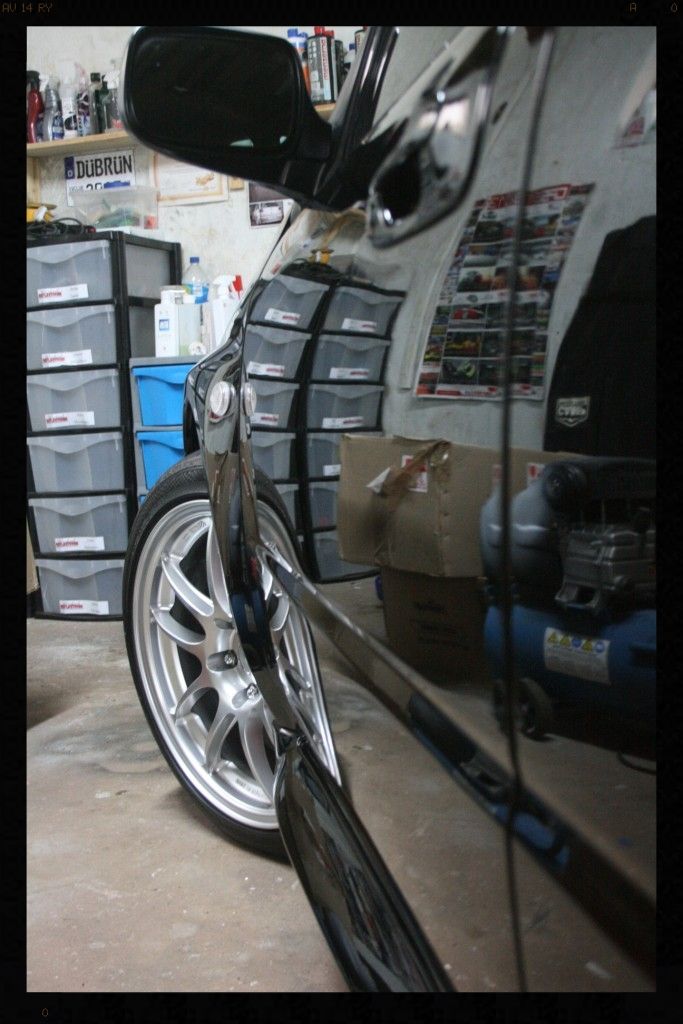
The downside is if too aggressive a pad/polish combo is used, buffer trails are the result - these are scratches in the paint caused by being overly aggressive, and are follow the pattern the machine was moved across the paint. So, I knew that is was almost certain that more paint than was necessary had been removed - remember, for the most part, a finishing pad and finishing polish is all that is needed, in my experience - and there is nothing that irks me more :angry: In fact, if you look on the drivers door under the Sti sticker and on the front fender, the paint was polished completely off. I suspect the previous hack dialled in a combo on the hard repainted bonnet (hood for you American folks) and simply continued with this over the whole car, including the super-soft OEM paint, ripping it off and leaving behind very deep buffer trails on the little paint he left. Such a pity!
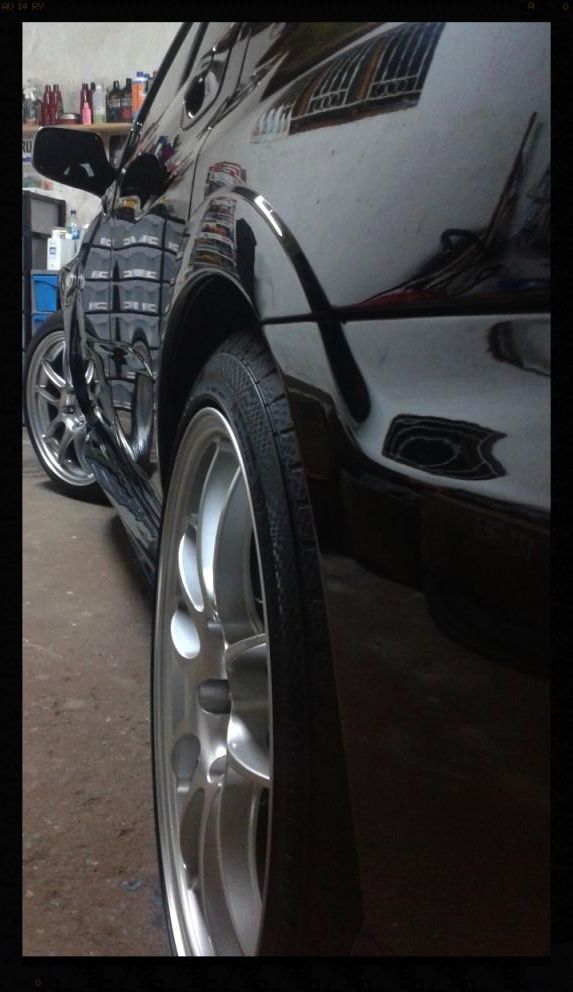
As always, the arches, tires and wheels were cleaned first in order to get rid of the dirtiest stuff first – no point in working backwards.
Before (yes the do look pretty clean don’t they)
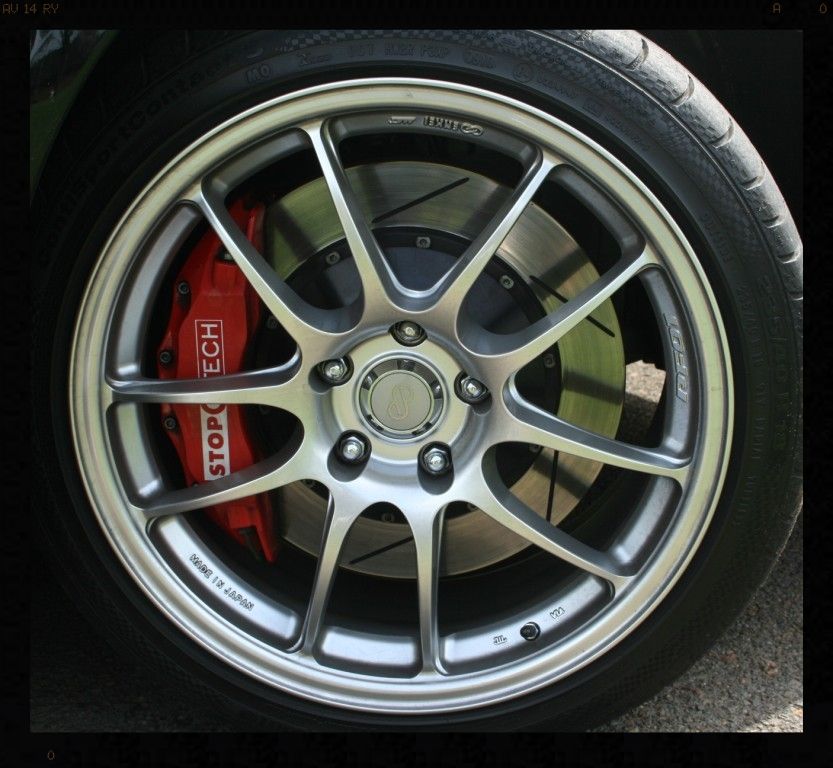
During
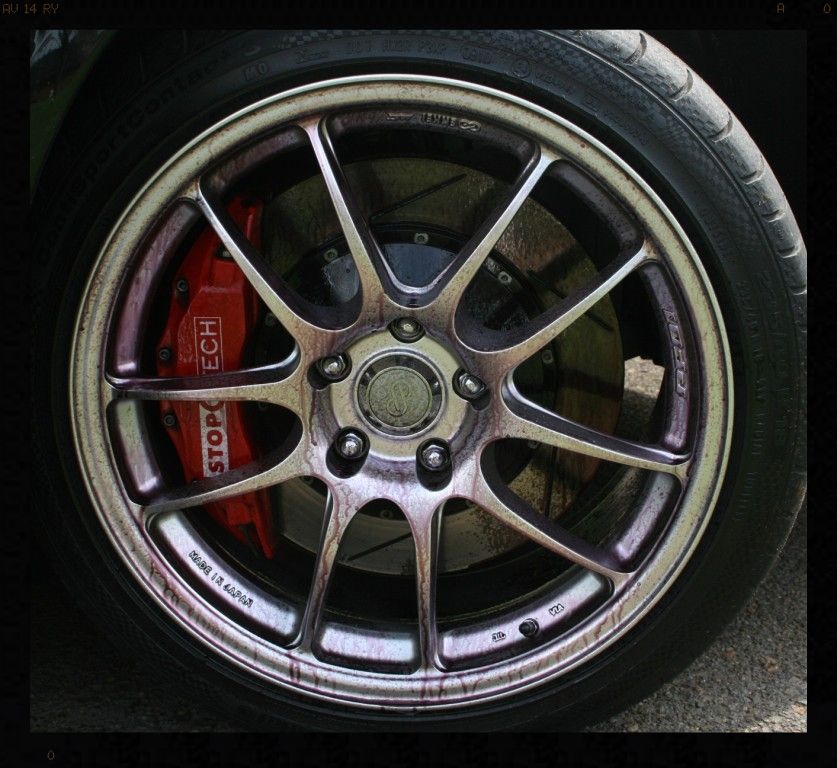
After (now they are properly clean)
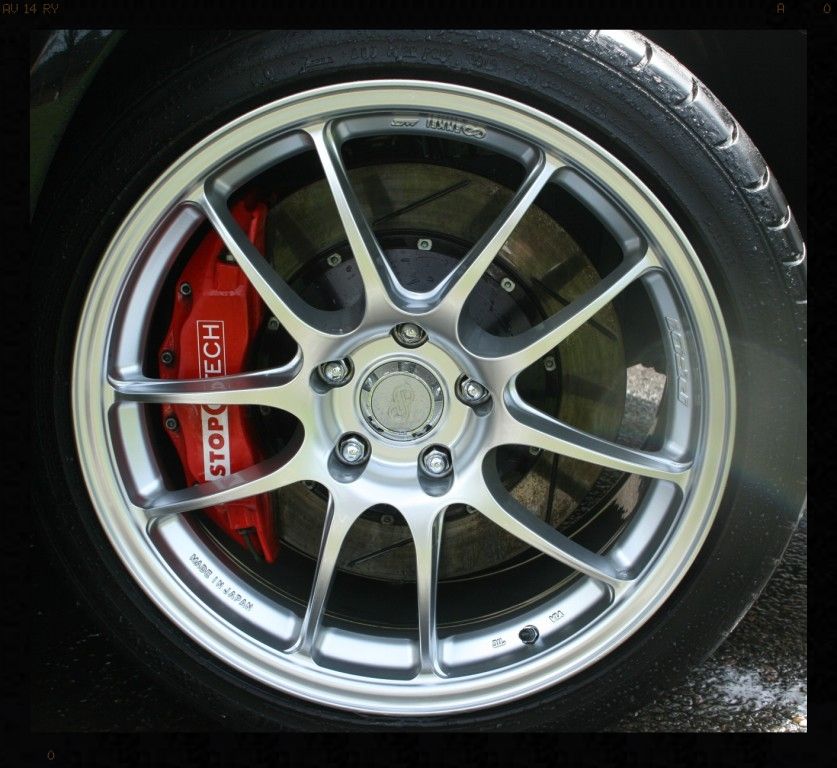
Right.... time to get the car clean and decontaminated so that I can get stuck into correction this beast.
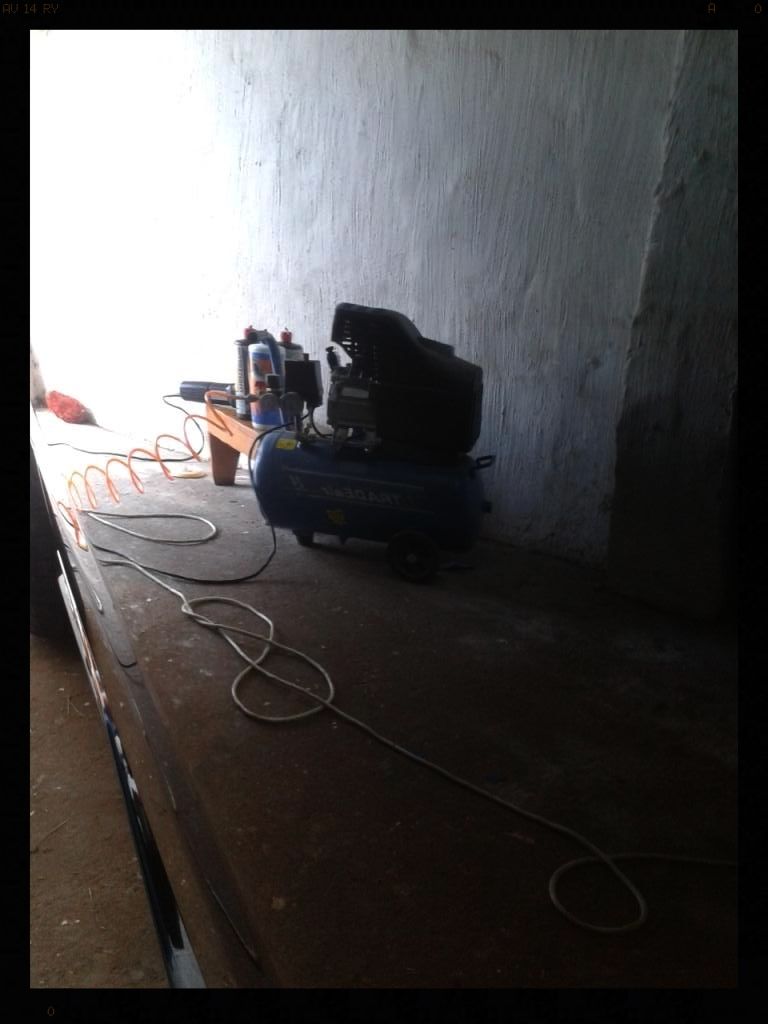
Arches: Cyclo APC / Mothers Fender Well Brush / HP Rinse / Shield Sheen
Tires: Meguiars All Wheel and Tire Cleaner / Mothers Tire Brush / Optimum Optibond Tire Gel
Wheels: Glossworx Wheel Cleaner / Daytona Jnr / Various brushes/ Autofinesse Oblitarate / Hot water rinse / AF Iron Out / Daytona Jnr / HP Rinse / Menzerna Powerlock
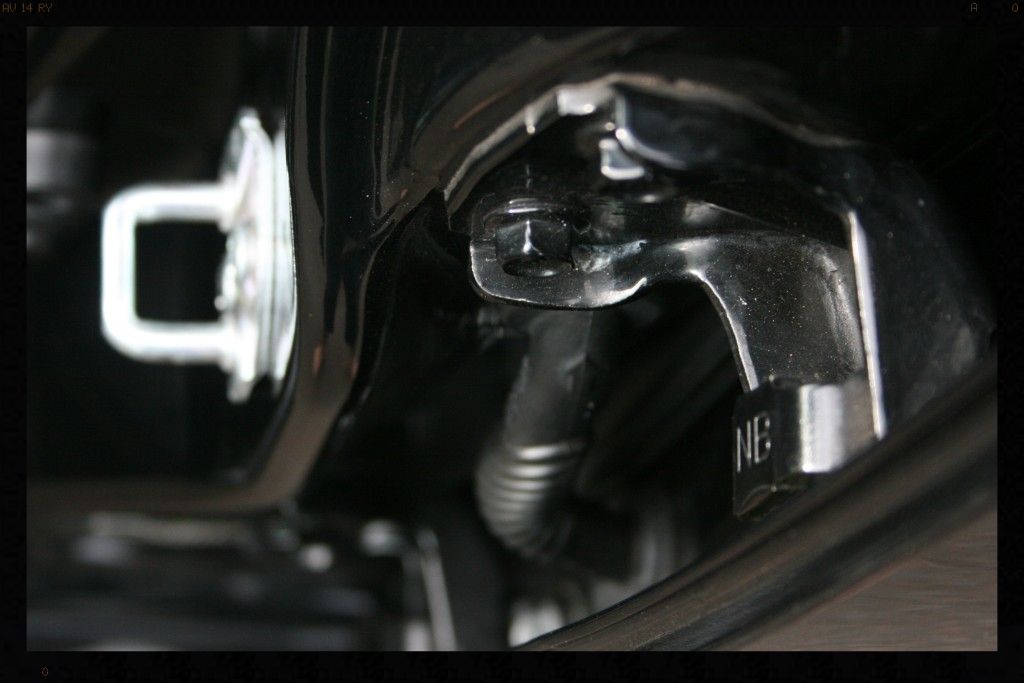
Door shuts, window rubbers, fuel flap, badges: Cyclo APC / Various Brushes / HP Rinse
Wash: Chemical Guys Maxisuds II, Cyclo APC, white vinegar mix via foam cannon / Cyclo Polymer Car Wash and ONR mix / 2BM with Lambswool wash mitt
Dry: ONR at QD strength / WW Drying towel / Compressed Air
Tar removal : Autoglym Intensive Tar Remover / Hot water rinse
Iron removal : Autofinesse Iron Out
Remaining Contaminants : Autoglym Fine Grade Clay / Carways Mist and Wipe
Glass : Autoglym Fine Grade Clay / Carways Mist and Wipe
With everything now clean, I was able to start performing some test spots.
On the OEM paint the first combo I naturally reached for was a black pad and Menzerna SF4000. And.... voila - swirls gone.... but wait, what is that.....? Buffer trails are still there....hmmmm..... so I slowly (the paint is soft remember) dialled up the aggressiveness going through:
SF4000/Black pad
SF4000/Crimson
SF4000/White pads
SF4000/Tangerine
SF4000/Orange Pad
PF2500/Black pad
PF2500/White pads
PF2500/Orange Pad
FG400/White pads
FG400/Orange Pad
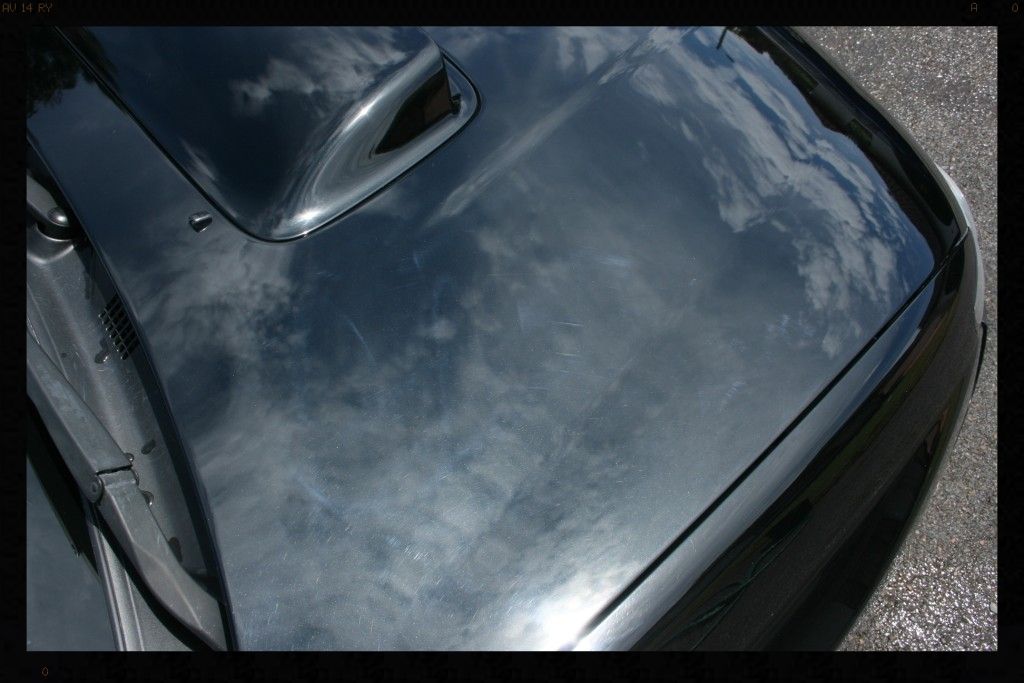
Yip, the buffer trails were so deep in some places that I had to use FG400 and an orange pad to remove them. This left the paint full of micro-marring, and I had to then perform a refining polish with SF4000 on a Crimson pad to get the paint as close to perfect as I could. Then follow that up with Chemical Guys Blacklight on a Black Pad.
It took a while to dial in, but then it was just a matter of replicating the rest of the paint.
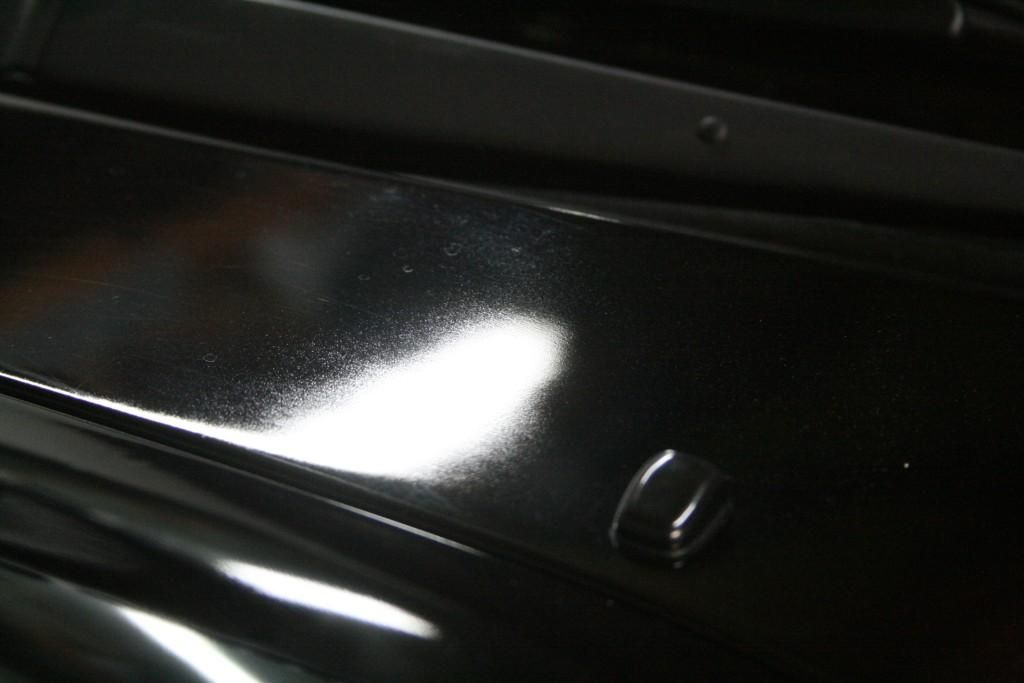
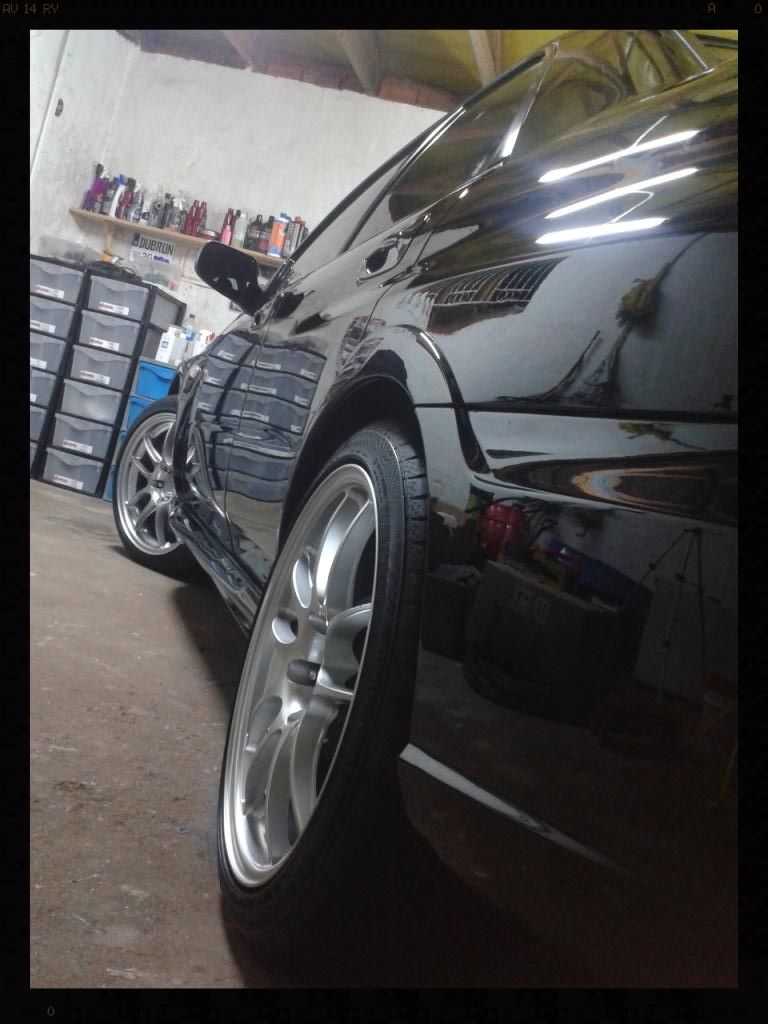
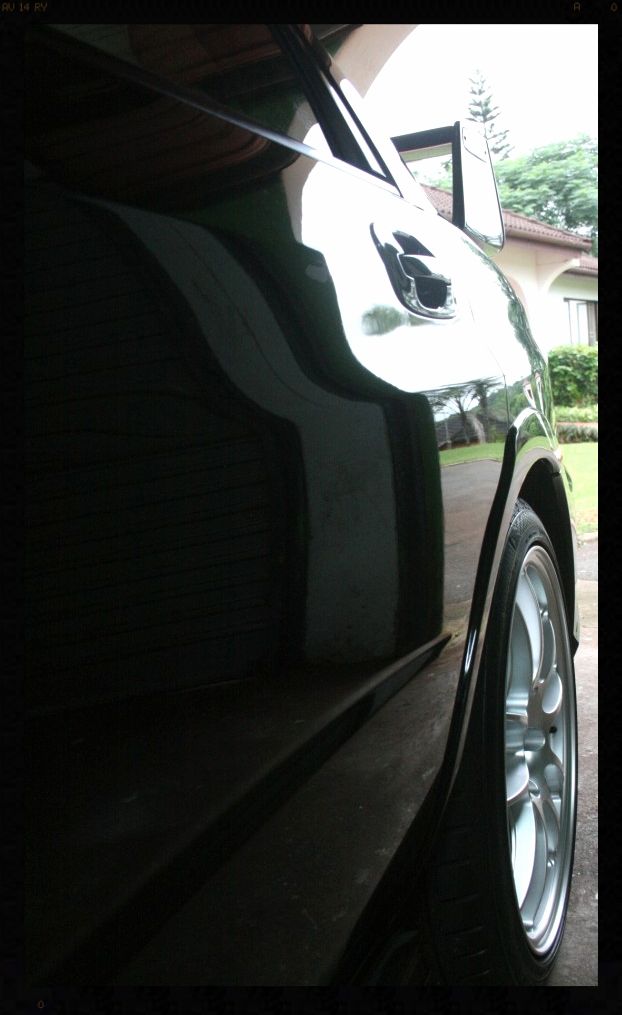
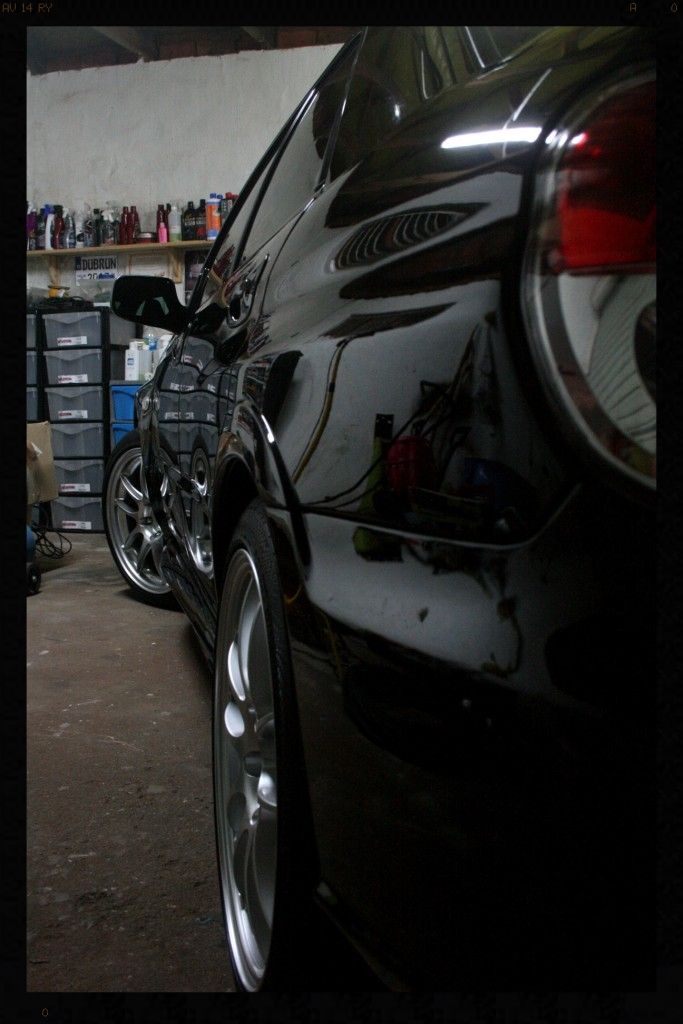
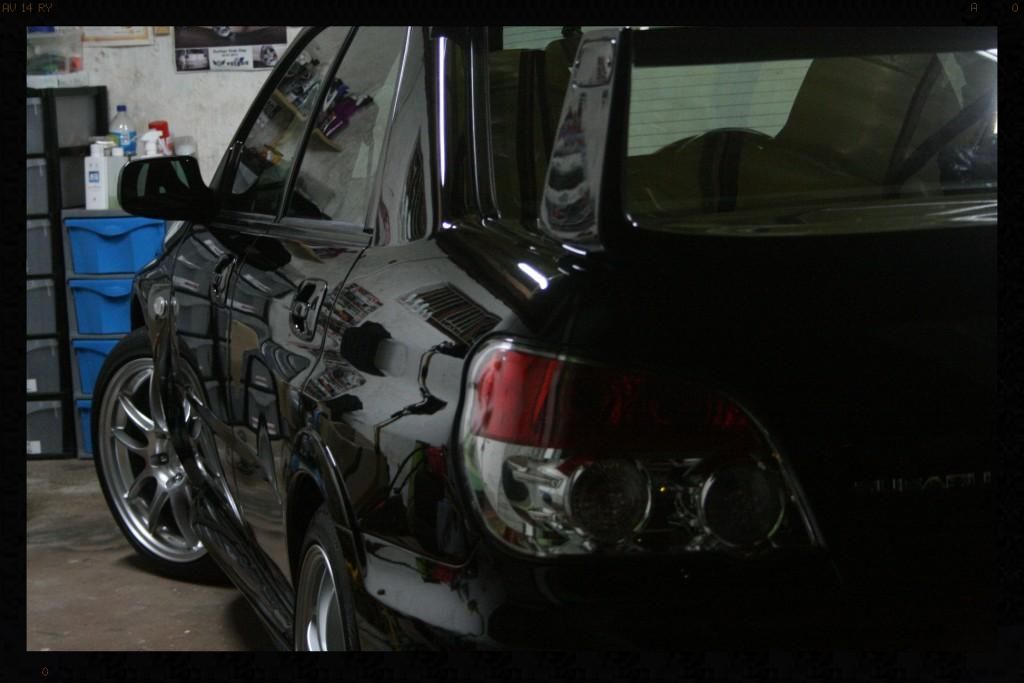
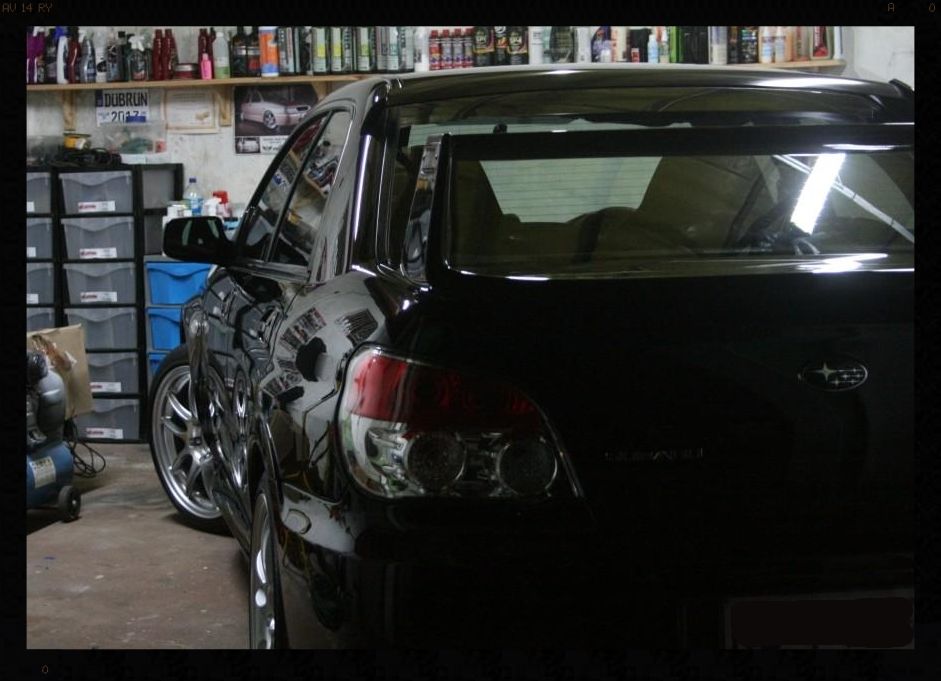
This is the result
http://i1217.photobucket.com/albums/dd393/polo_playa/Detailing%20-%20Nash%20Subaru%20Sti/IMG_5519_zpsf8d80e73.jpg
Paint correction : Combination of Menzerna FG400 and PF 2500 / LC Orange pads, followed by Menzerna SF4000 / LC Crimson Pad followed by Chemical Guys Black Light / LC Black Finishing Pad
Tail light correction: Menzerna PF2500 / LC White Pad / Menzerna SF4000 / LC Black Pad
Paint protection : 2 coats Chemical Guys EZ Creme Acrylic / 2 coats Chemical Guys Pete's 53
Door rubbers, plastic trim : Shield Heavy Duty Vinyl and Rubber Cleaner / Smartwax Smart Dressing
Exhaust tips : Autofinesse Mercury Metal Polish /Mothers Power Ball mini / MF Towels
Carbon Fiber : Chemical Guys EZ Creme
I absolutely love everything about them, but hate how finicky the paint on this cars is to finish off. I have done 2 of them prior to this - one exactly the same color - and whilst I encountered the soft and sticky problem on the first one (and it nearly broke me) by the time I was done with the second, I had found a what I thought was a process that would work on all to come. How wrong I was.
Firstly, the paint is very soft. So soft that I have managed to correct them all with nothing more than a DA with Menzerna SF4000 on their Black finishing pads. To compare using this combination on say typical VW paint, would yield almost no correction, but will enhance the gloss a little. Like it did here on this polo.
Here is what the paint looks like after defect removal (It was still a relatively mild Ultimate compound that was used). It is the very fine scratches (that you cannot actually see) that make the polished side appear dull.
Now after the refining polish to remove this minute scratches with Menzerna SF4000
The point I am making is normally a finishing polish on a finishing pad is nowhere near enough to use for defect removal, but on these cars it is usually ample.
The stickiness problem is that when polishing, the polish residue sticks to the paint, making it extremely difficult to remove without re-introducing marring into the very soft paint. This makes finishing off the paint very difficult but like I said, I thought I had it under control. But for some reason, this particular Subaru was on a whole new level of sticky.... perhaps it was the weather (30 degrees / 82% humidity). Admittedly I really struggled with it. I tried adding a spritz of ONR mid-cycle, adding DI water mid cycle, and a whole host of other things, but there was no simple miracle cure. I eventually settled on a combo of using a handheld sprayer to 'wash' the polish residue off without having to touch it, using ONR and using MF towels soaked in an ONR mix to wipe off, but then had to re-polish with Chemical Guys Blacklight, which can be left to dry to a haze after polishing and then wiped off very easily. This ensured that I was able to finish off the car without leaving towelling marks all over it.
Oh and did I mention that wiping off the polish residue is difficult :lol:
So as if that wasn't enough, besides this soft/sticky OEM paint, there was also some re-sprayed sections, which obviously had completely different paint. First, let me say whoever did the re-spray got the color matching spot on - probably the best I have seen of all the cars I have detailed, especially taking into consideration the flake distribution etc. The clear coat itself was a much harder version of the OEM paint - definitely a good thing IMO. This obviously complicated the job as it was effectively like polishing 2 completely different cars. The re-painted panels included the bonnet, front bumper, wing and rear bumper.
Just for the record, this is one of Nxgen's bulletproof builds, making 413kw and 760nm on the wheels.
:driving: :drool: :hurray: Obviously a lot done under the bonnet, but also big brake upgrade, suspension, wheels etc. There was much drooling and daydreaming over owning this, in my garage over the week I spent with it (Thursday night to Wednesday night) :: Good laaaaaawd but I want to own it....badly.So enough about the paint for now, let's look at what I was up against.
Pretty much everything. Swirls, Deep RIDS, Buffer Trails, Water spots....
Some more pics....
The buffer trails were immediately a cause for concern. It meant that the previous human behind the polisher had used a rotary machine (a Dual Action machine cannot instill buffer trails, but instead will product DA Haze [which looks like tiny little tick marks in the paint]). The rotary is obviously a more powerful machine, thus capable of removing paint a lot quicker than a dual action, and unfortunately in the majority of 'production detailing/body shop' type environments, is paired with an aggressive wool pad and a compound, enable super-fast paint removal.
The downside is if too aggressive a pad/polish combo is used, buffer trails are the result - these are scratches in the paint caused by being overly aggressive, and are follow the pattern the machine was moved across the paint. So, I knew that is was almost certain that more paint than was necessary had been removed - remember, for the most part, a finishing pad and finishing polish is all that is needed, in my experience - and there is nothing that irks me more :angry: In fact, if you look on the drivers door under the Sti sticker and on the front fender, the paint was polished completely off. I suspect the previous hack dialled in a combo on the hard repainted bonnet (hood for you American folks) and simply continued with this over the whole car, including the super-soft OEM paint, ripping it off and leaving behind very deep buffer trails on the little paint he left. Such a pity!
As always, the arches, tires and wheels were cleaned first in order to get rid of the dirtiest stuff first – no point in working backwards.
Before (yes the do look pretty clean don’t they)
During
After (now they are properly clean)
Right.... time to get the car clean and decontaminated so that I can get stuck into correction this beast.
Arches: Cyclo APC / Mothers Fender Well Brush / HP Rinse / Shield Sheen
Tires: Meguiars All Wheel and Tire Cleaner / Mothers Tire Brush / Optimum Optibond Tire Gel
Wheels: Glossworx Wheel Cleaner / Daytona Jnr / Various brushes/ Autofinesse Oblitarate / Hot water rinse / AF Iron Out / Daytona Jnr / HP Rinse / Menzerna Powerlock
Door shuts, window rubbers, fuel flap, badges: Cyclo APC / Various Brushes / HP Rinse
Wash: Chemical Guys Maxisuds II, Cyclo APC, white vinegar mix via foam cannon / Cyclo Polymer Car Wash and ONR mix / 2BM with Lambswool wash mitt
Dry: ONR at QD strength / WW Drying towel / Compressed Air
Tar removal : Autoglym Intensive Tar Remover / Hot water rinse
Iron removal : Autofinesse Iron Out
Remaining Contaminants : Autoglym Fine Grade Clay / Carways Mist and Wipe
Glass : Autoglym Fine Grade Clay / Carways Mist and Wipe
With everything now clean, I was able to start performing some test spots.
On the OEM paint the first combo I naturally reached for was a black pad and Menzerna SF4000. And.... voila - swirls gone.... but wait, what is that.....? Buffer trails are still there....hmmmm..... so I slowly (the paint is soft remember) dialled up the aggressiveness going through:
SF4000/Black pad
SF4000/Crimson
SF4000/White pads
SF4000/Tangerine
SF4000/Orange Pad
PF2500/Black pad
PF2500/White pads
PF2500/Orange Pad
FG400/White pads
FG400/Orange Pad
Yip, the buffer trails were so deep in some places that I had to use FG400 and an orange pad to remove them. This left the paint full of micro-marring, and I had to then perform a refining polish with SF4000 on a Crimson pad to get the paint as close to perfect as I could. Then follow that up with Chemical Guys Blacklight on a Black Pad.
It took a while to dial in, but then it was just a matter of replicating the rest of the paint.
This is the result
http://i1217.photobucket.com/albums/dd393/polo_playa/Detailing%20-%20Nash%20Subaru%20Sti/IMG_5519_zpsf8d80e73.jpg
Paint correction : Combination of Menzerna FG400 and PF 2500 / LC Orange pads, followed by Menzerna SF4000 / LC Crimson Pad followed by Chemical Guys Black Light / LC Black Finishing Pad
Tail light correction: Menzerna PF2500 / LC White Pad / Menzerna SF4000 / LC Black Pad
Paint protection : 2 coats Chemical Guys EZ Creme Acrylic / 2 coats Chemical Guys Pete's 53
Door rubbers, plastic trim : Shield Heavy Duty Vinyl and Rubber Cleaner / Smartwax Smart Dressing
Exhaust tips : Autofinesse Mercury Metal Polish /Mothers Power Ball mini / MF Towels
Carbon Fiber : Chemical Guys EZ Creme


")