Greg Gellas
I'm Greg :)
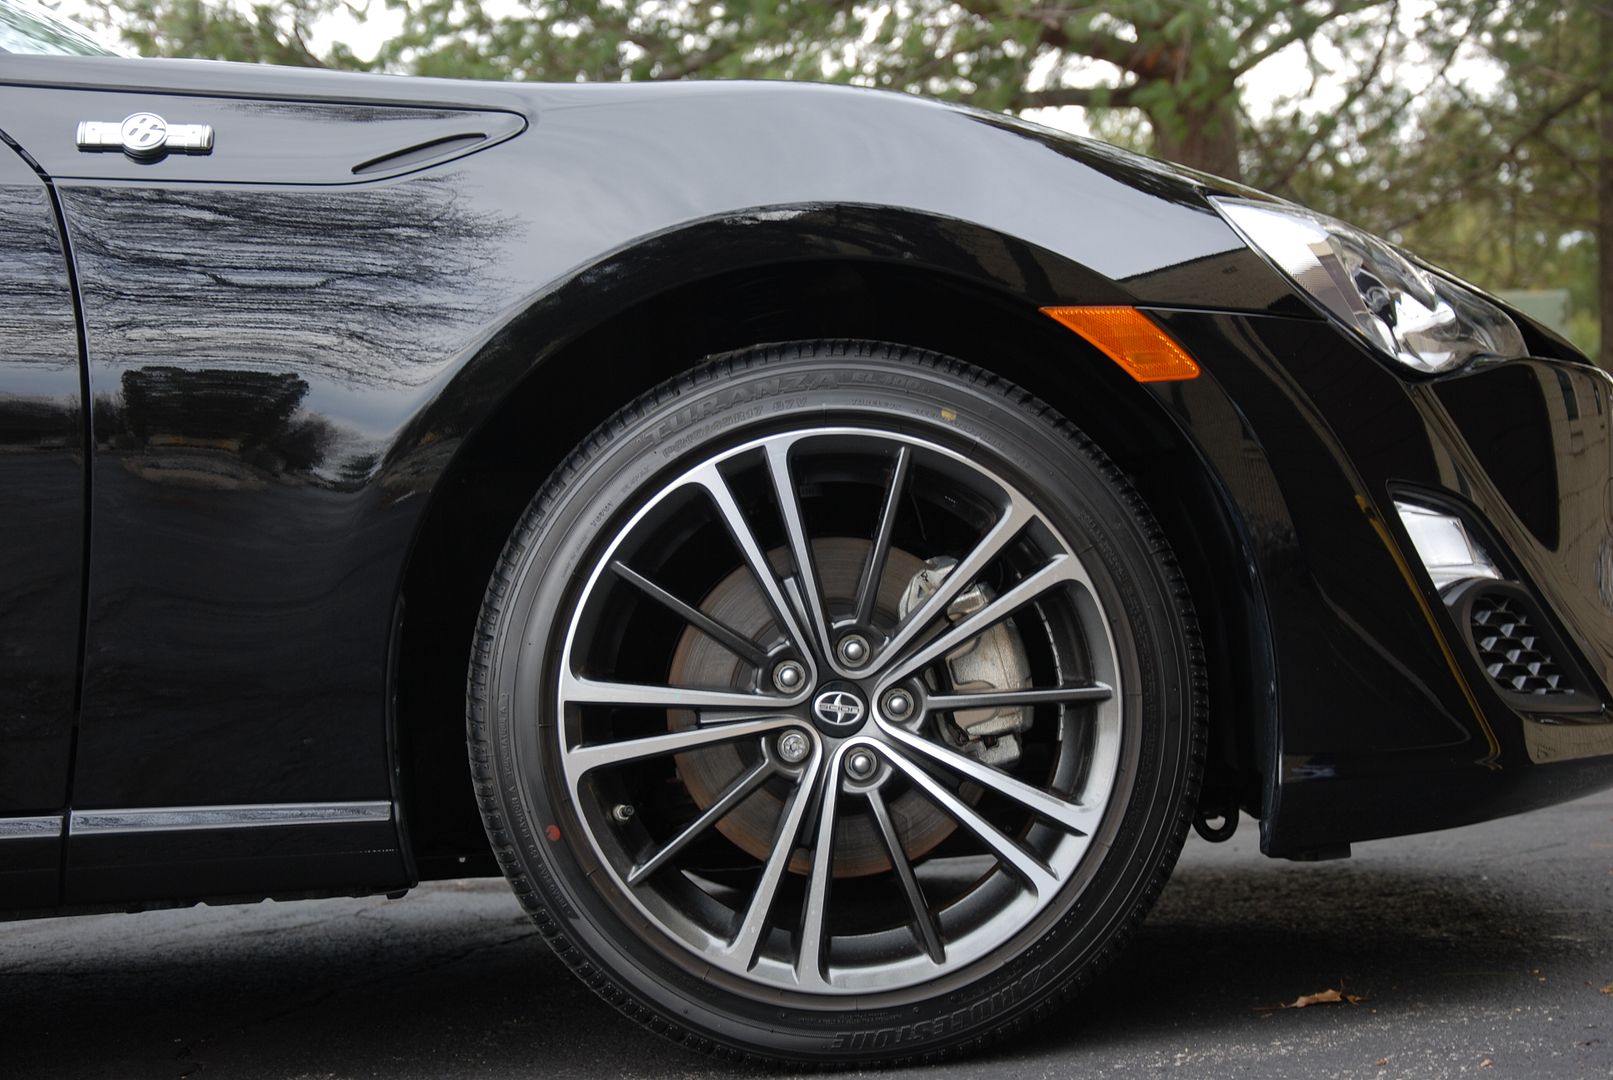
I was contacted by [MENTION=33698]blackraven1425[/MENTION] to correct the paint on his Raven Black FRS, then coat it with Opti-Coat with warranty. This car received two dealership washes. After a thorough wash while the owner was there we were able to see the full damage to the paint. I began with a 50/50 wash with Chemical guys Citrus wash and clear and dawn. I would never use dawn regularly, but it does strip wax off the surface. I then followed up with a Iron-X chemical decon, and finally it got a nanoskin clay mitt.
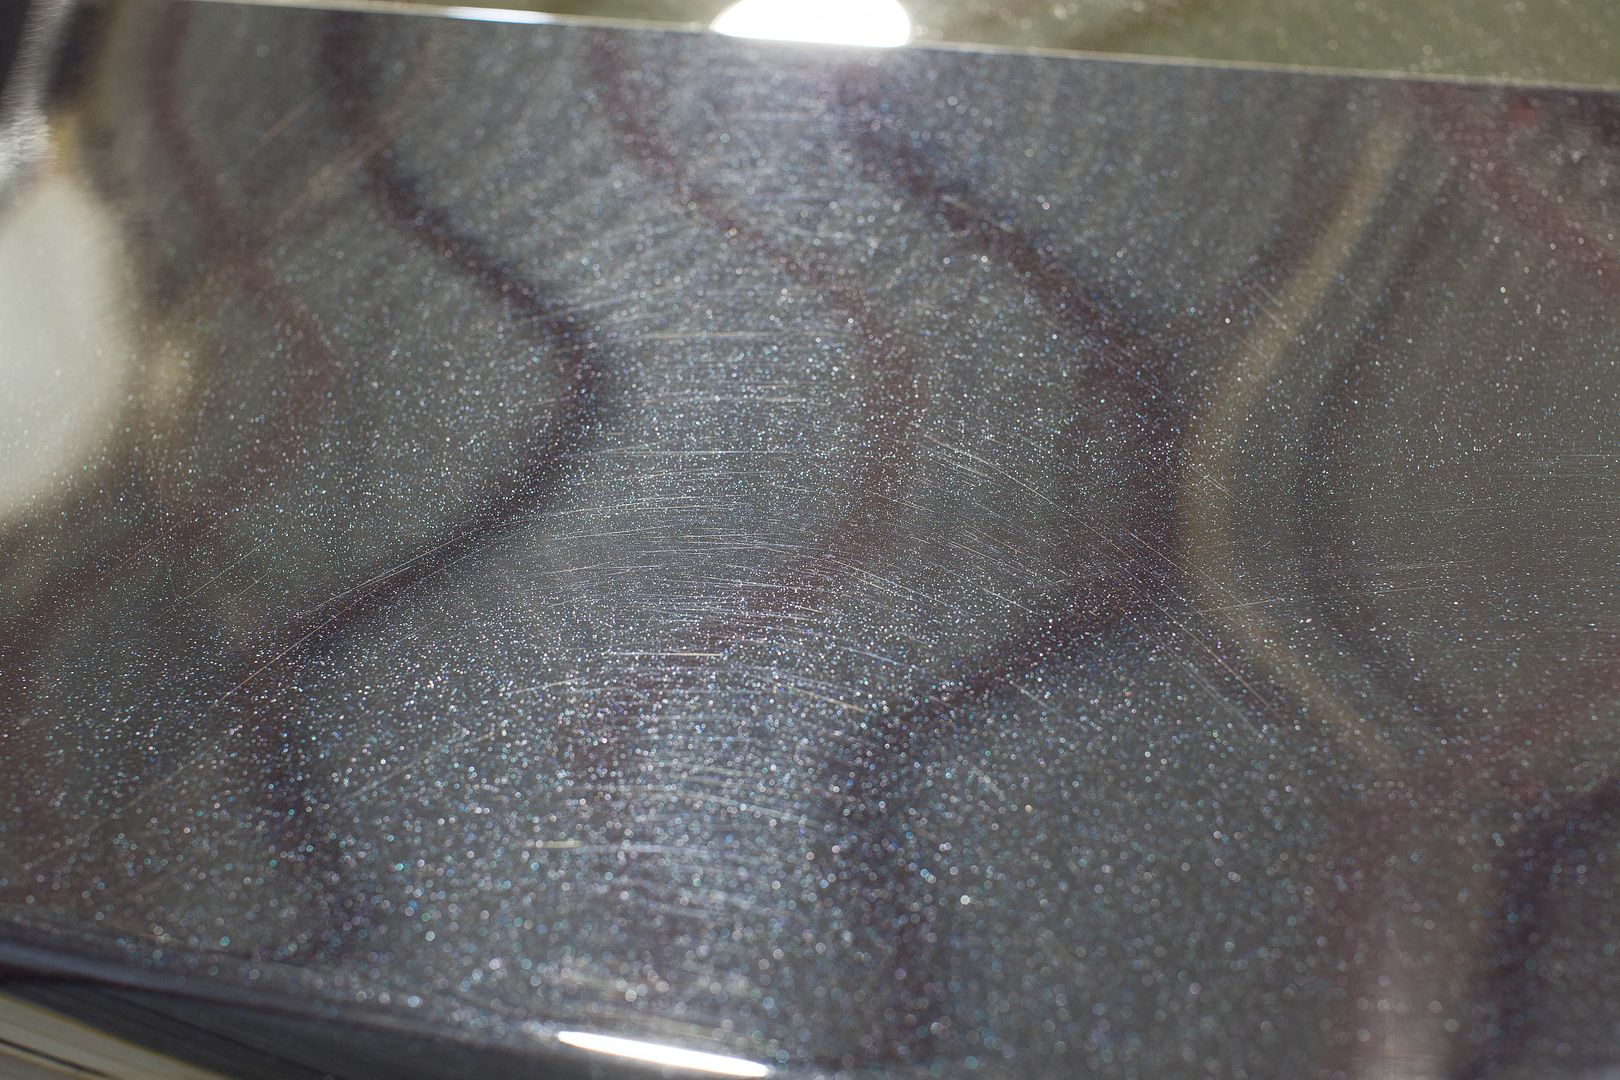
I would guess that both washes were done with a brush on a stick. This damage is not normally seen on this new of a FRS. Initally, we were going to do a single step correction, with this amount of damage I would not have made this in the time frame without some friends. I called up Franki Li, and Gary Feng, both are local friends and part time detailers that I would trust to do my own car. I had no hesitation to have them help me out to finish this car in timeframe I had. On top of that Gary was able to to photograph the work being done on the car. He is a better photographer than me.
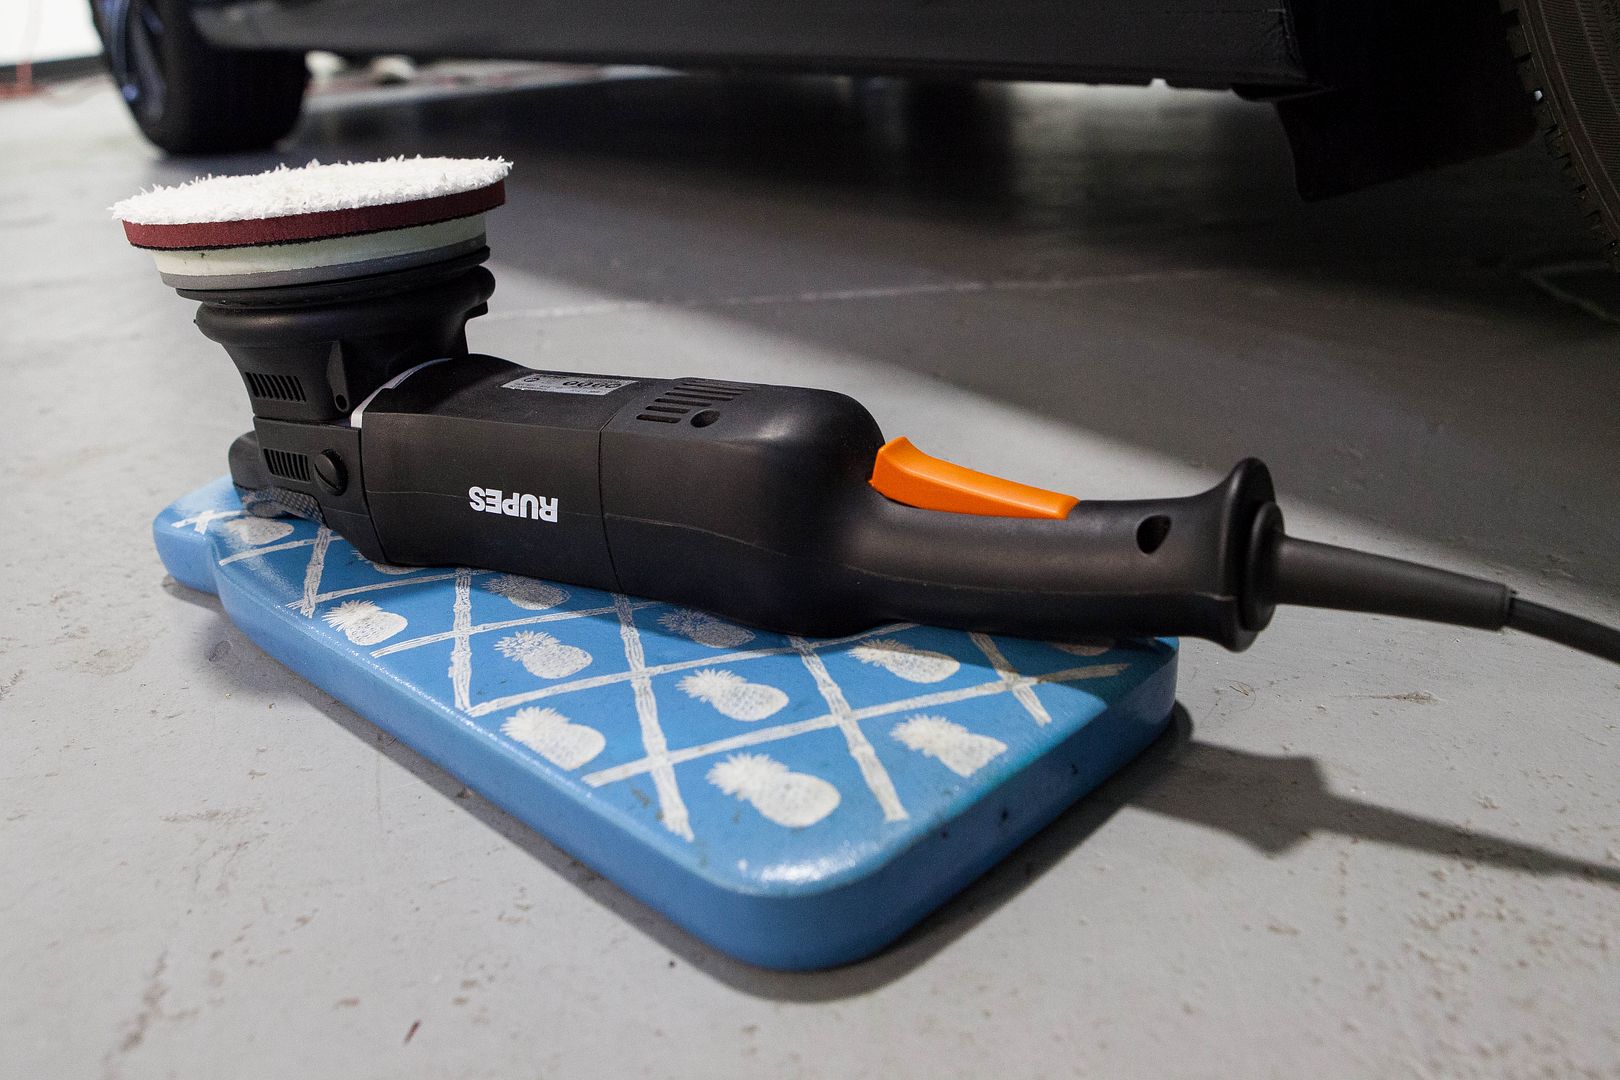
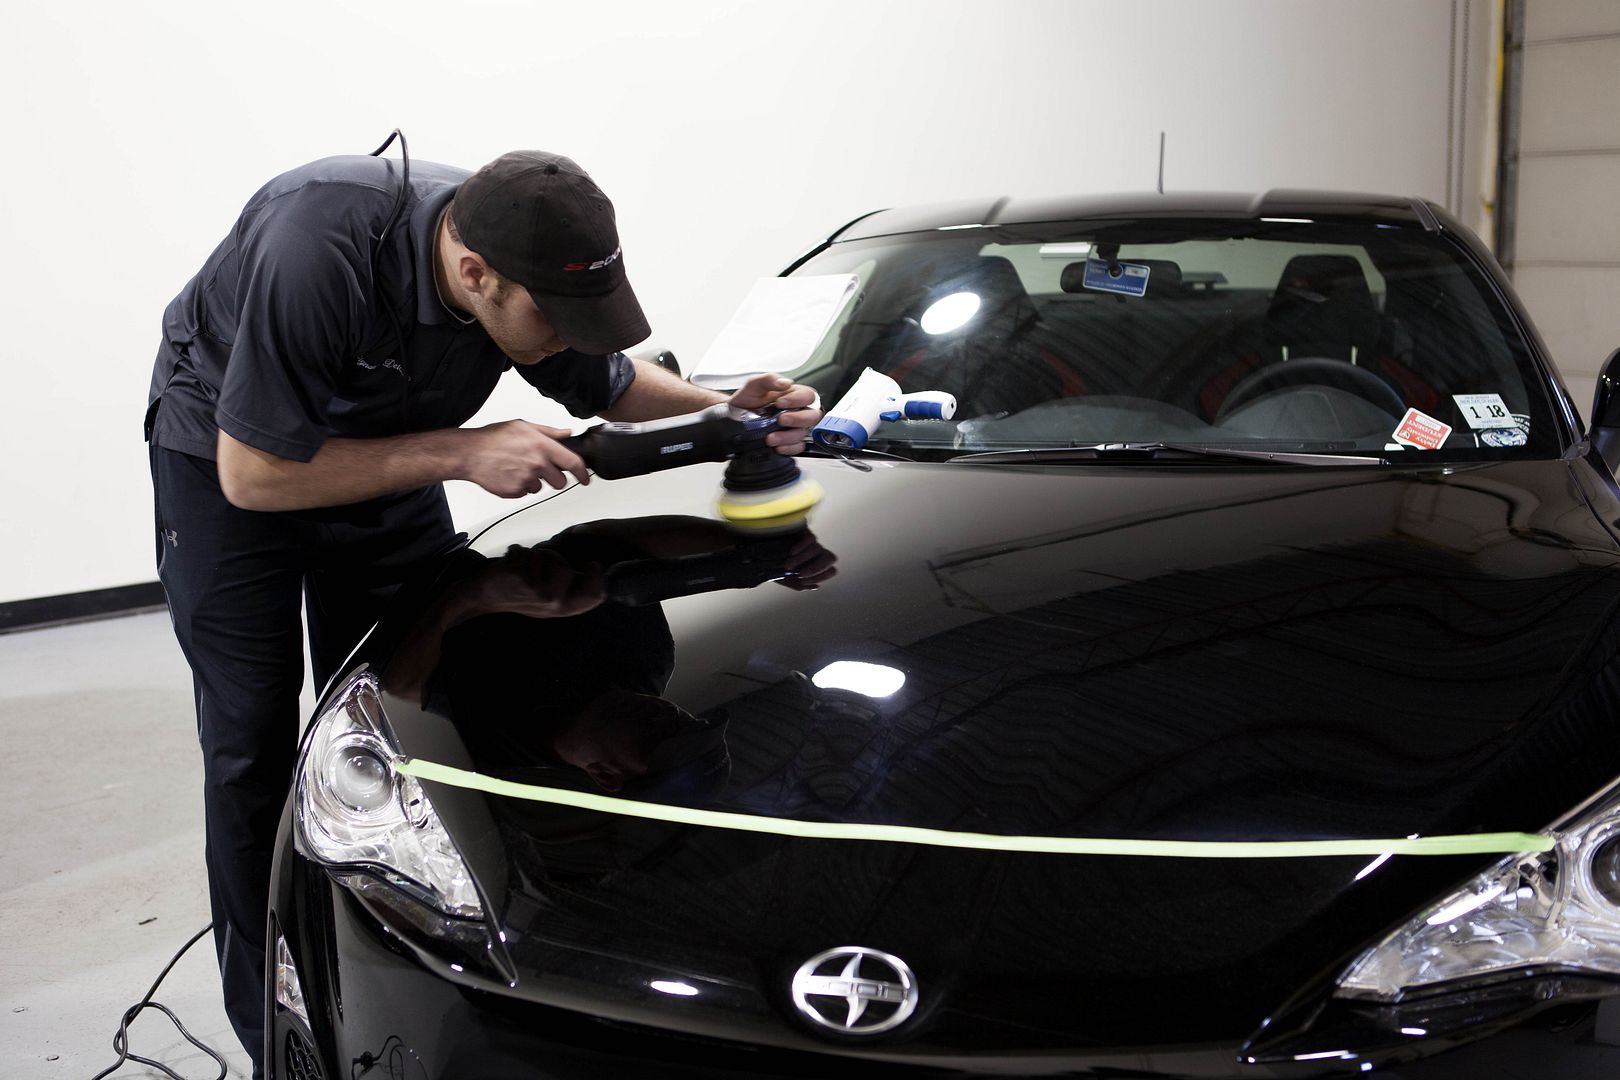
Knowing we needed a heavier cut,and after a test spot, we all started out with a Meg's MF pad and M105 on a rupes machine. The larger panels were used with a Rupes LHR21, and thighter curves were taken care of with the LHR15. The really tight areas where taken care of with a Griots Garage Machine and a 3" pad, both areas required a two step correction.
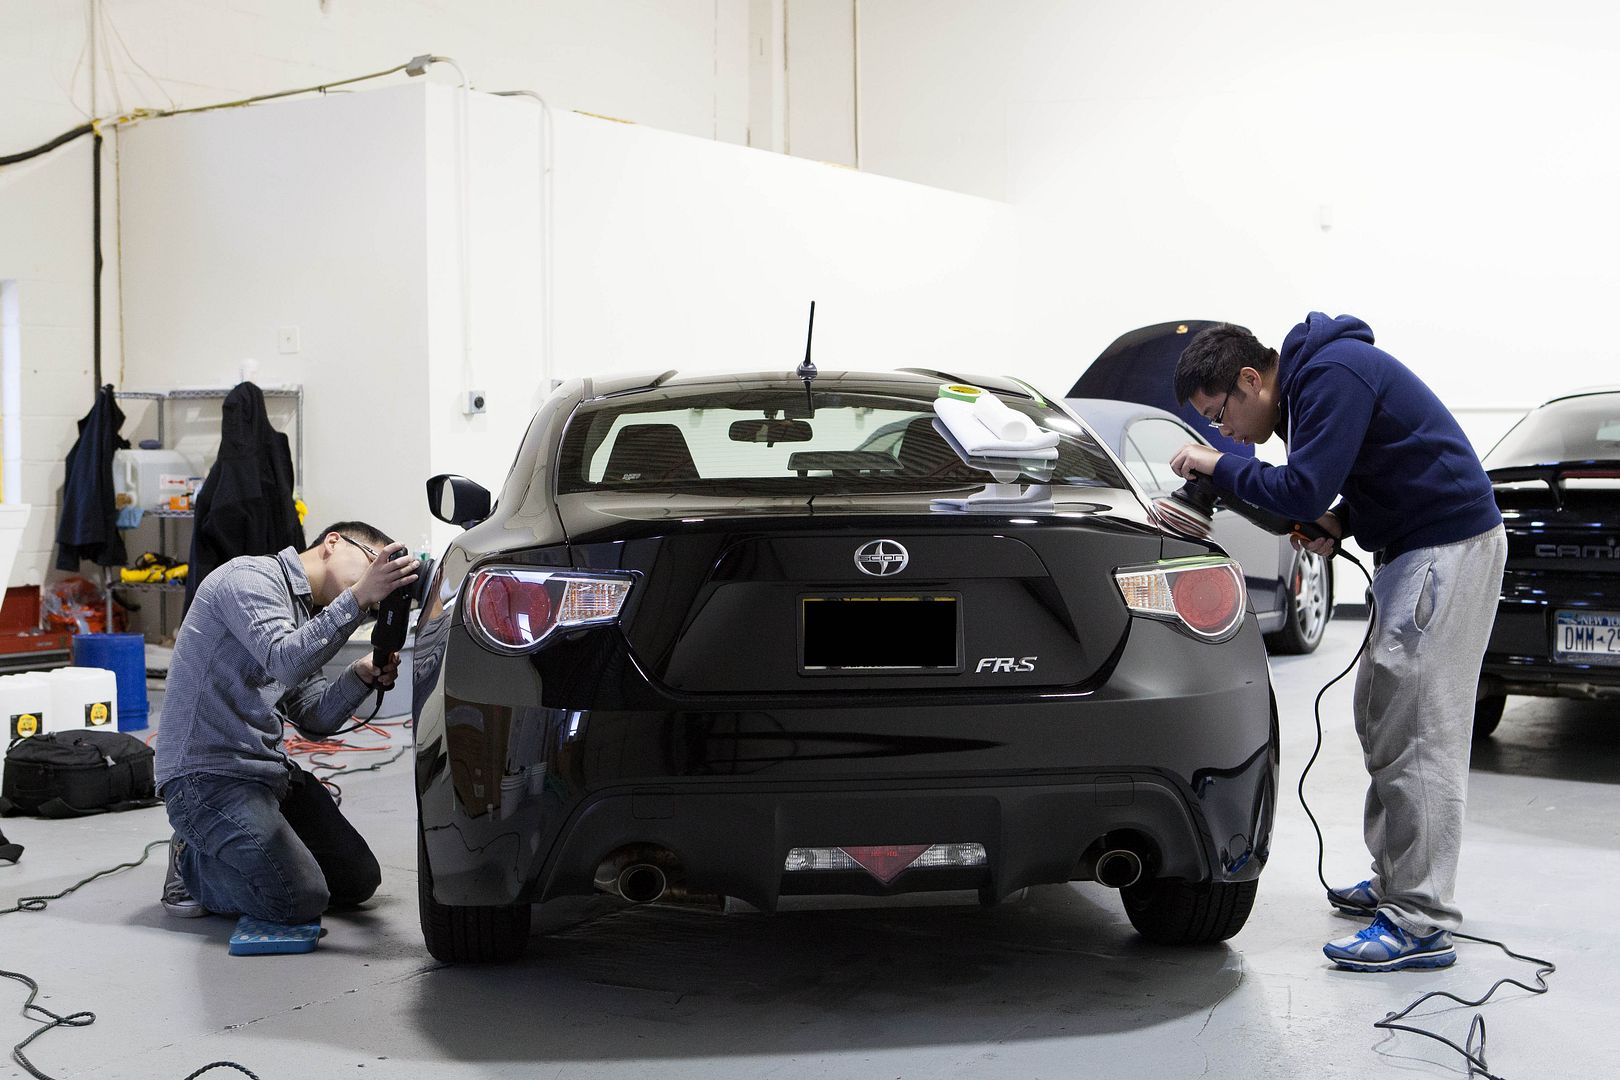
Here is my help for the day correction out panels while I snap the shot. Look at the focus on both of them! They were just killing it!!!
Ok, let me get out from behind the camera and start correcting some paint.
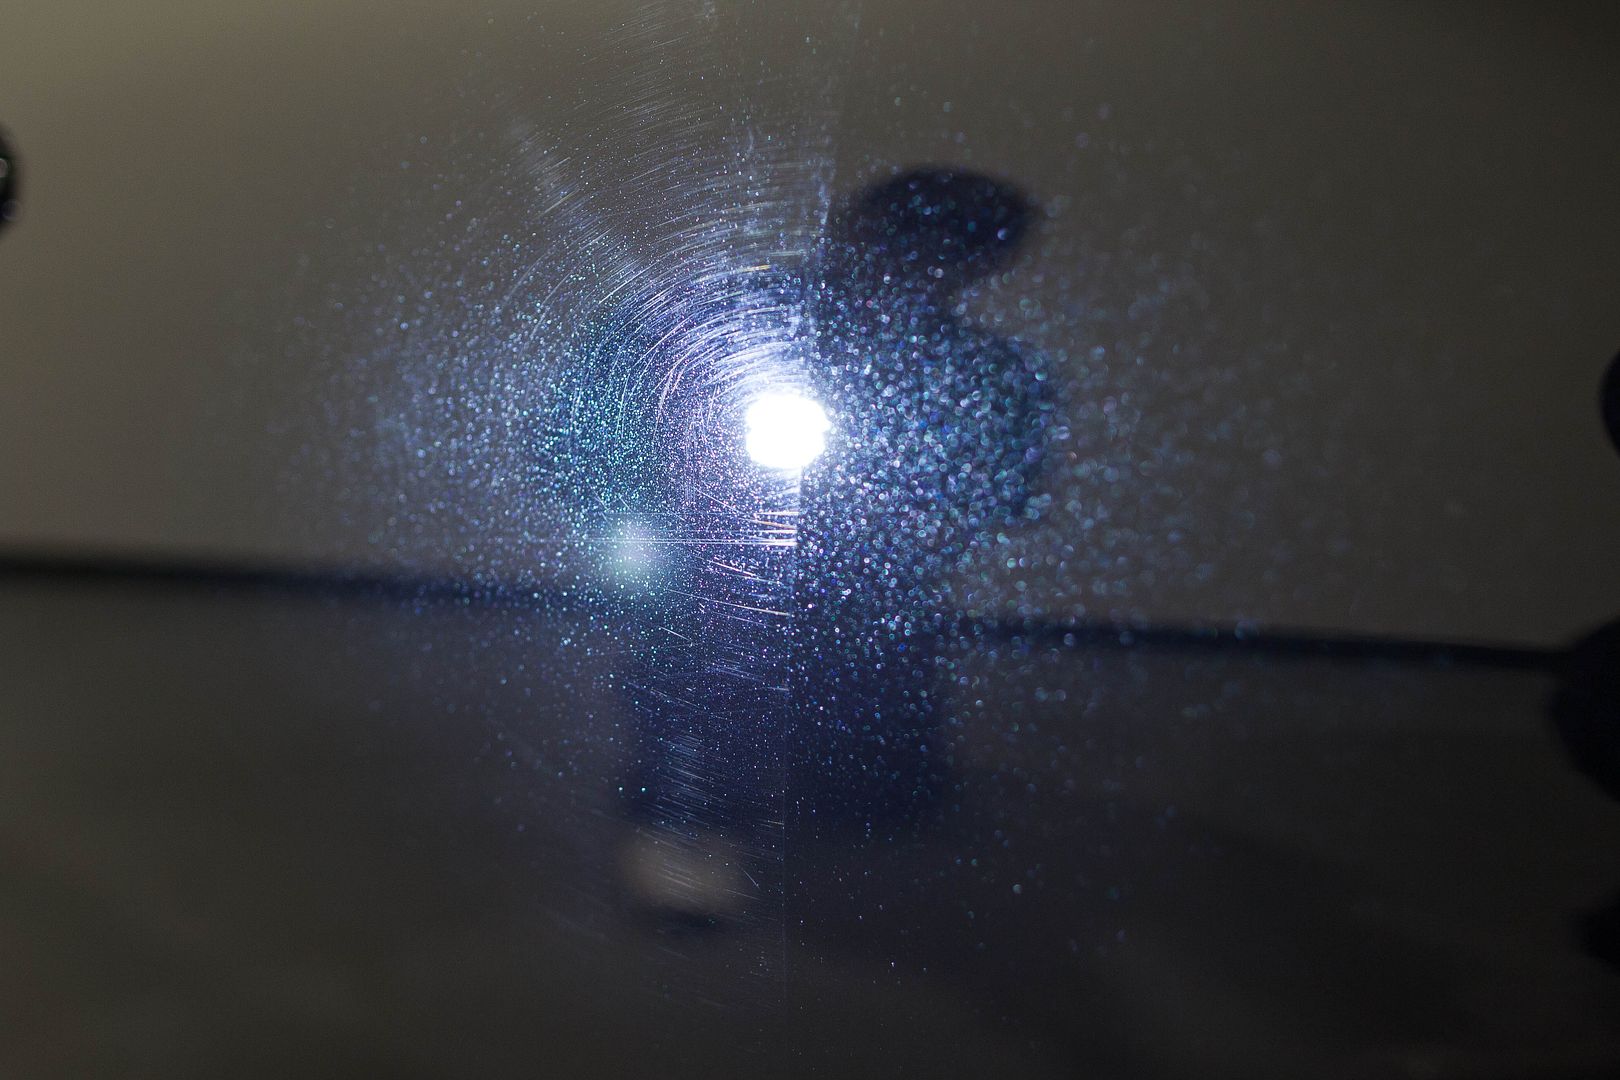
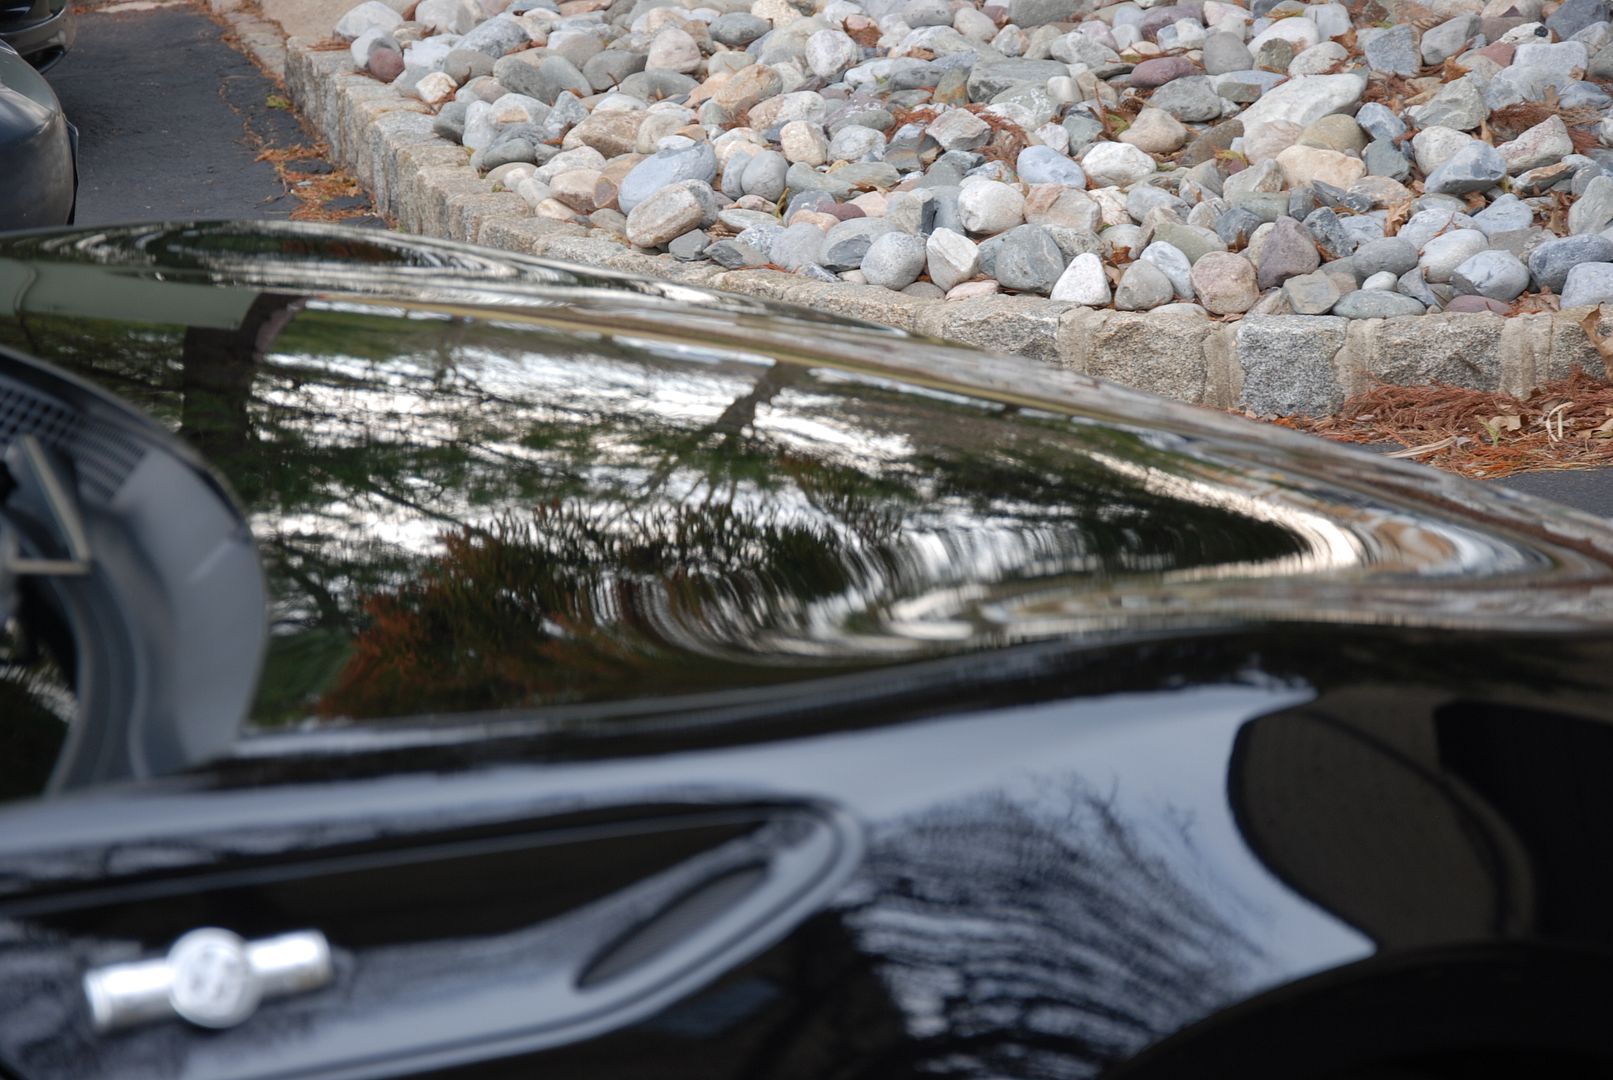
Here you can see the hazyness caused from heavier compounding. If you see how it almost appears blue at the front of the hood, that is caused from the deep compounding required to removed the rough stuff on the clear coat. At this point I have moved to a Yellow pad using Sonax Perfect finish to correct the hazing, and finish the clear coat to a glowing shine.
How much correction were we able to get? Well after two steps, we achieved a 95-98% correction rate.
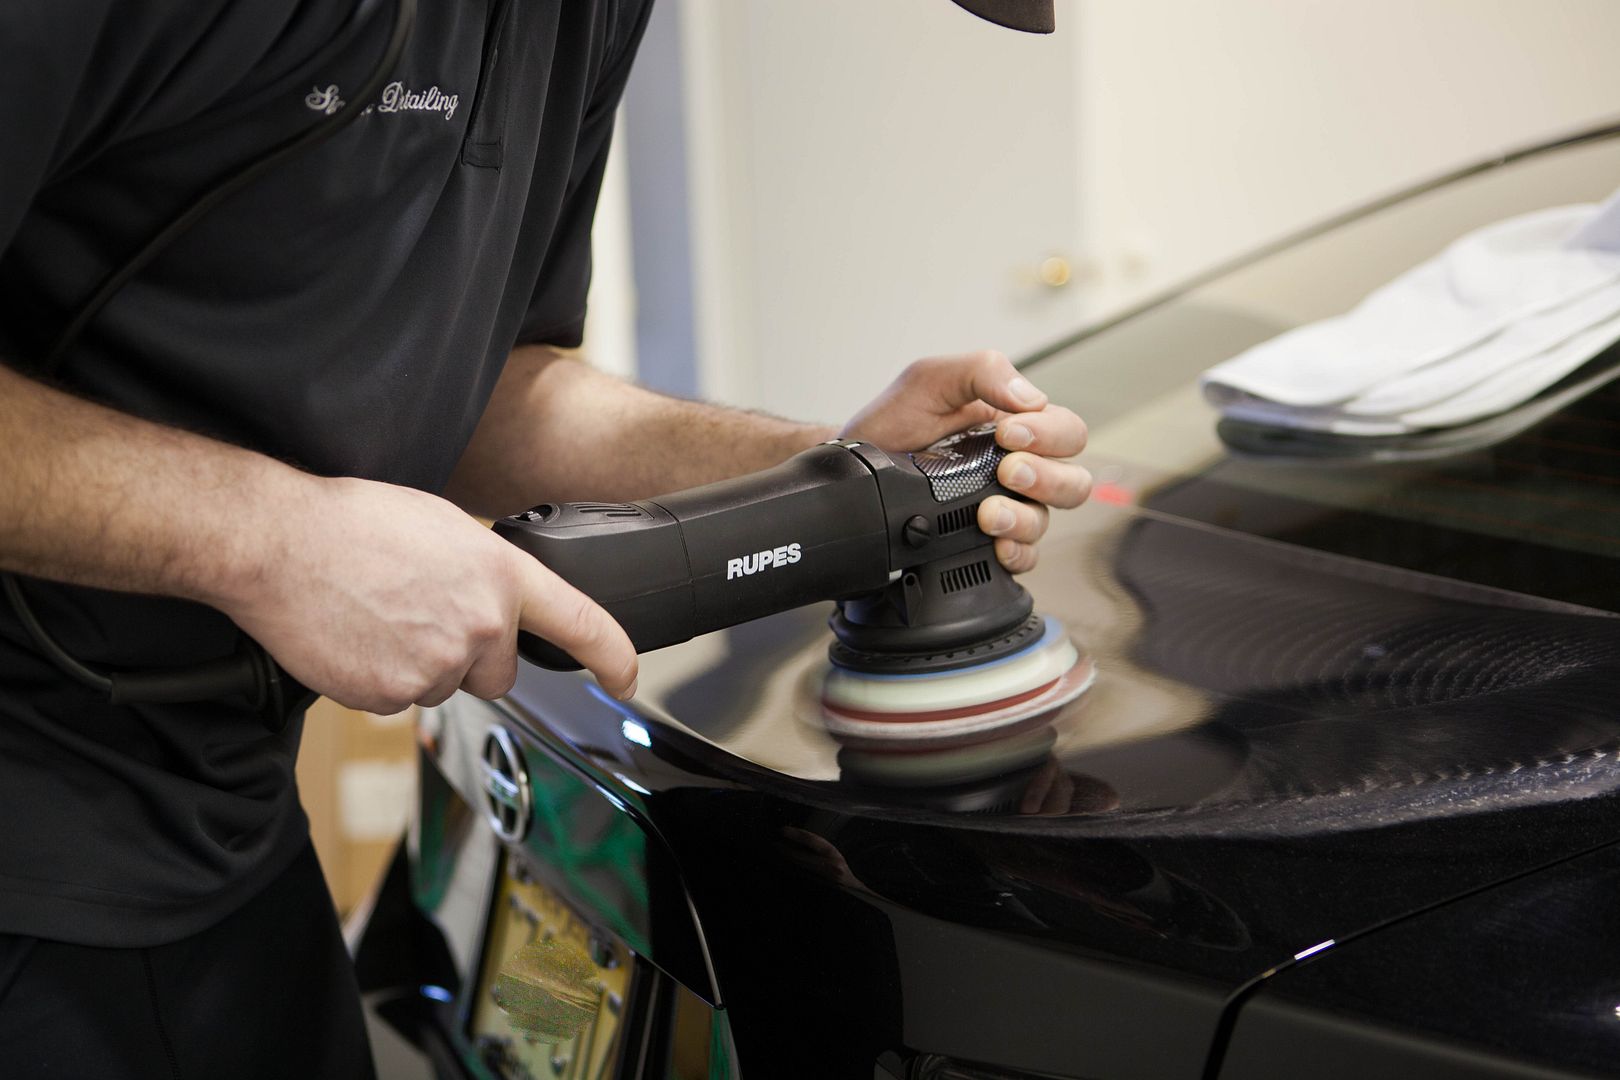
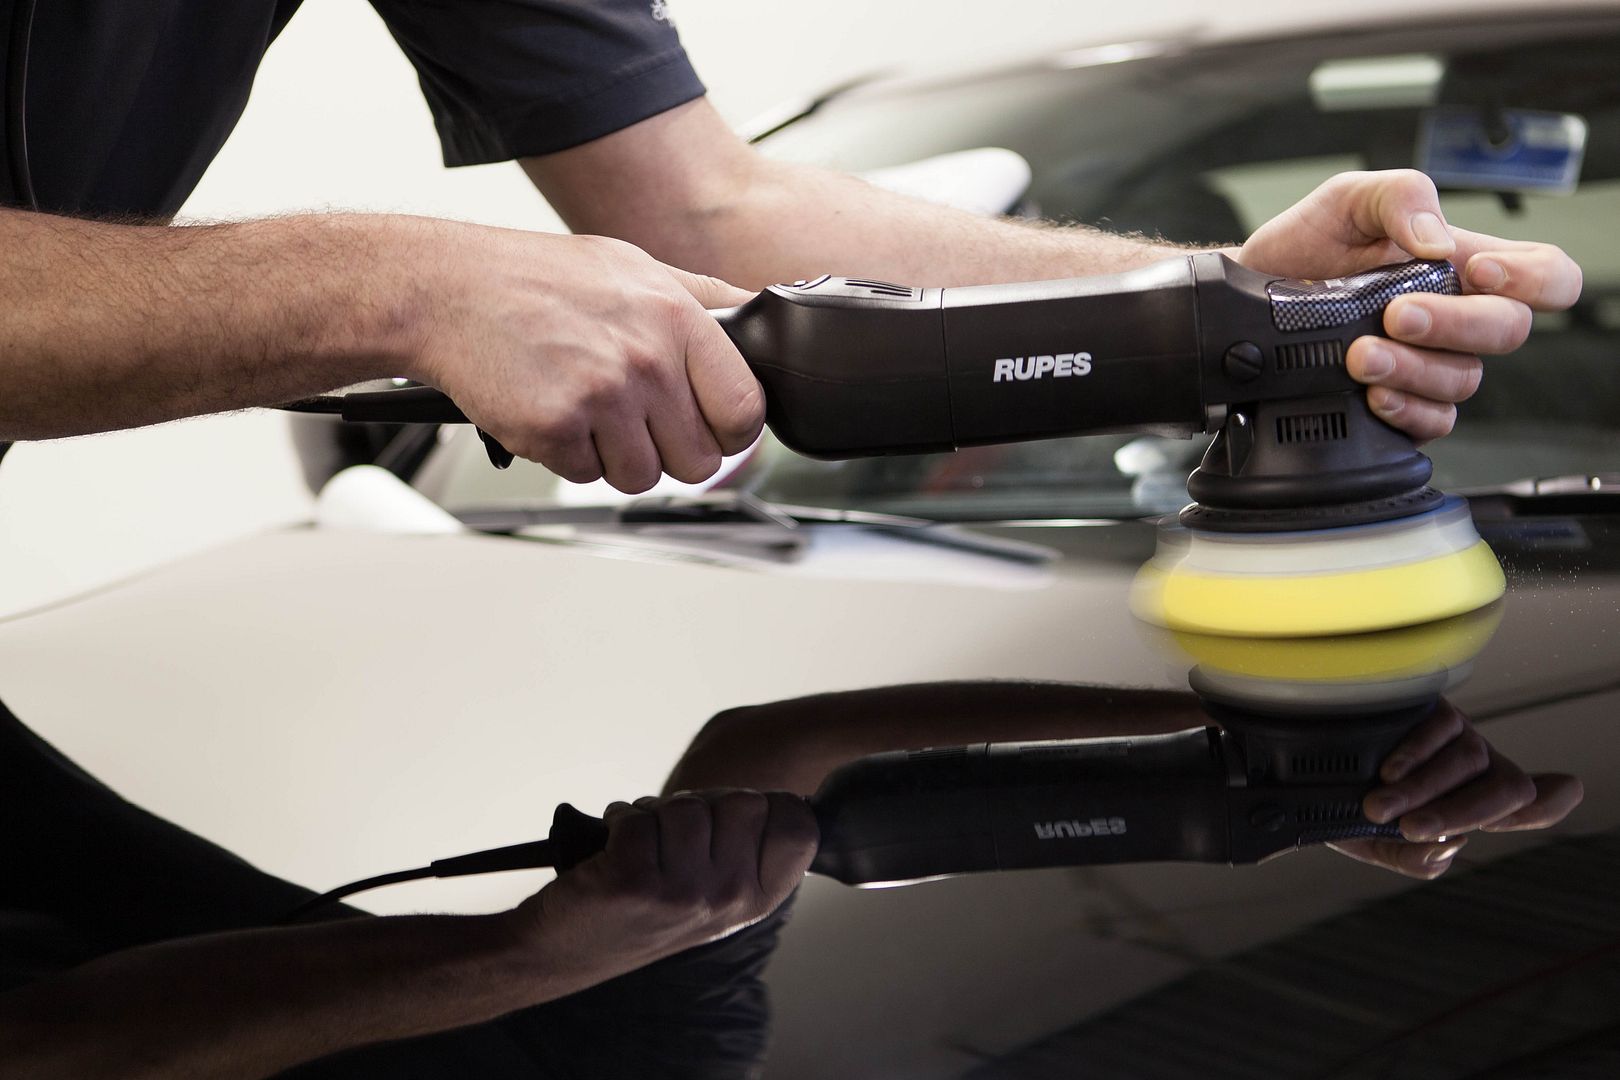
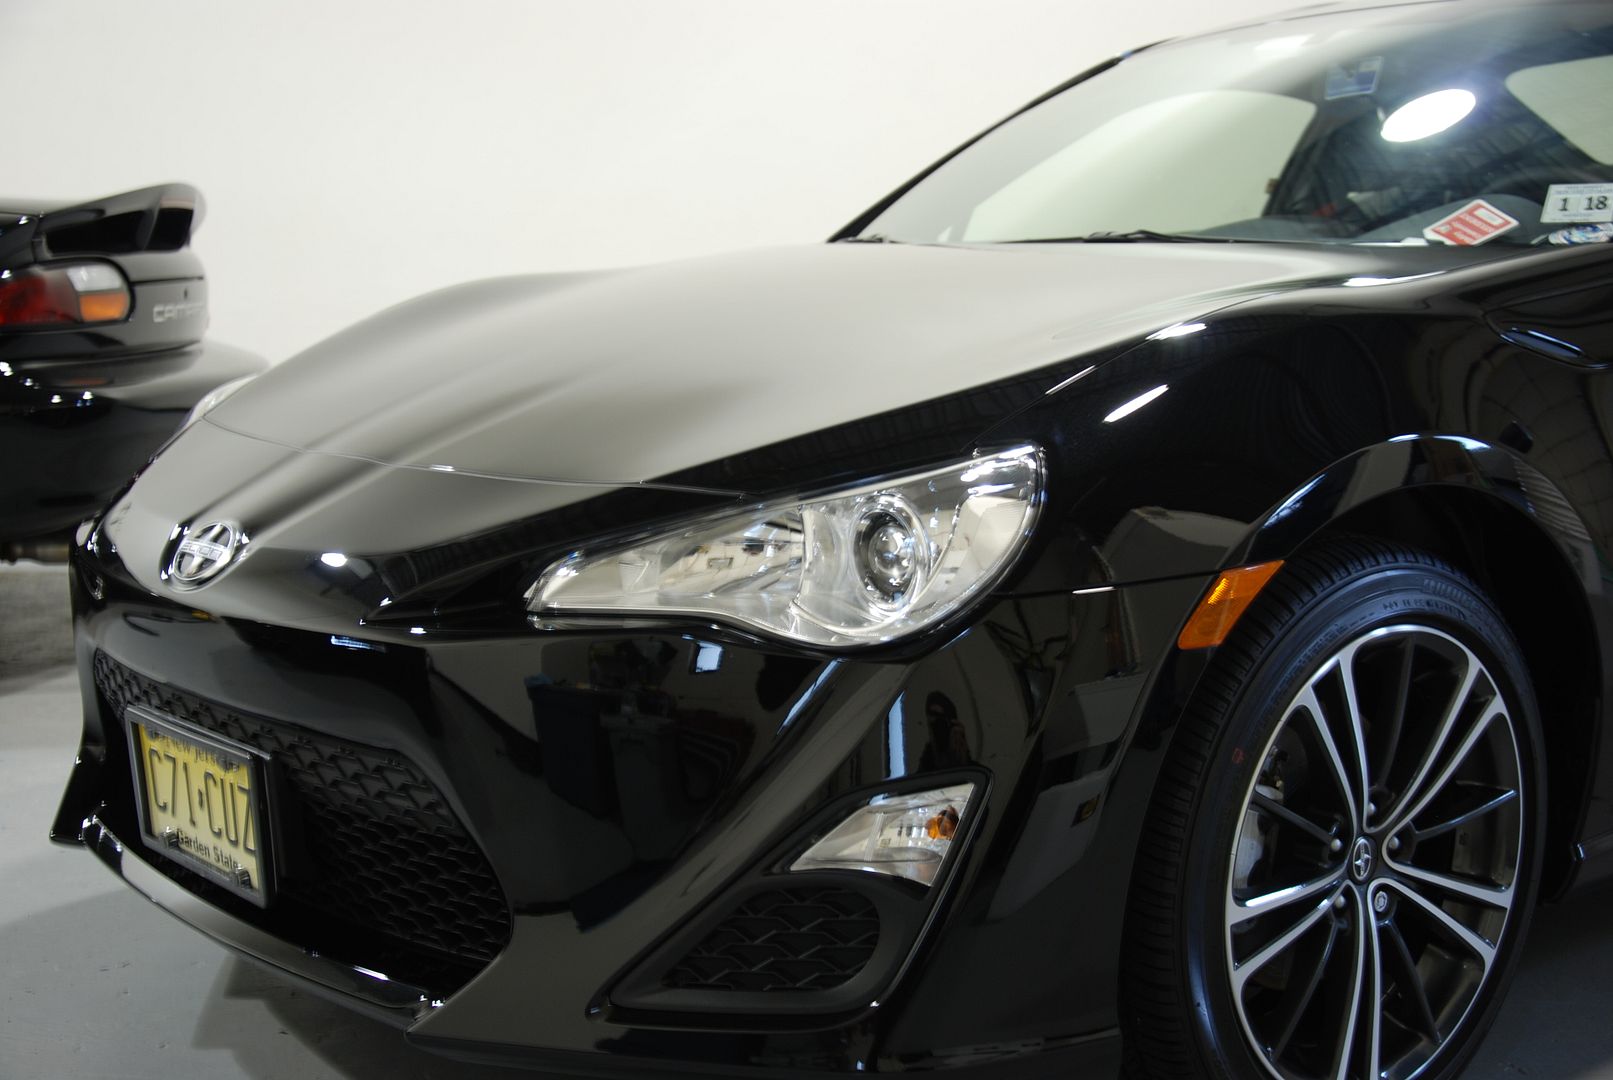
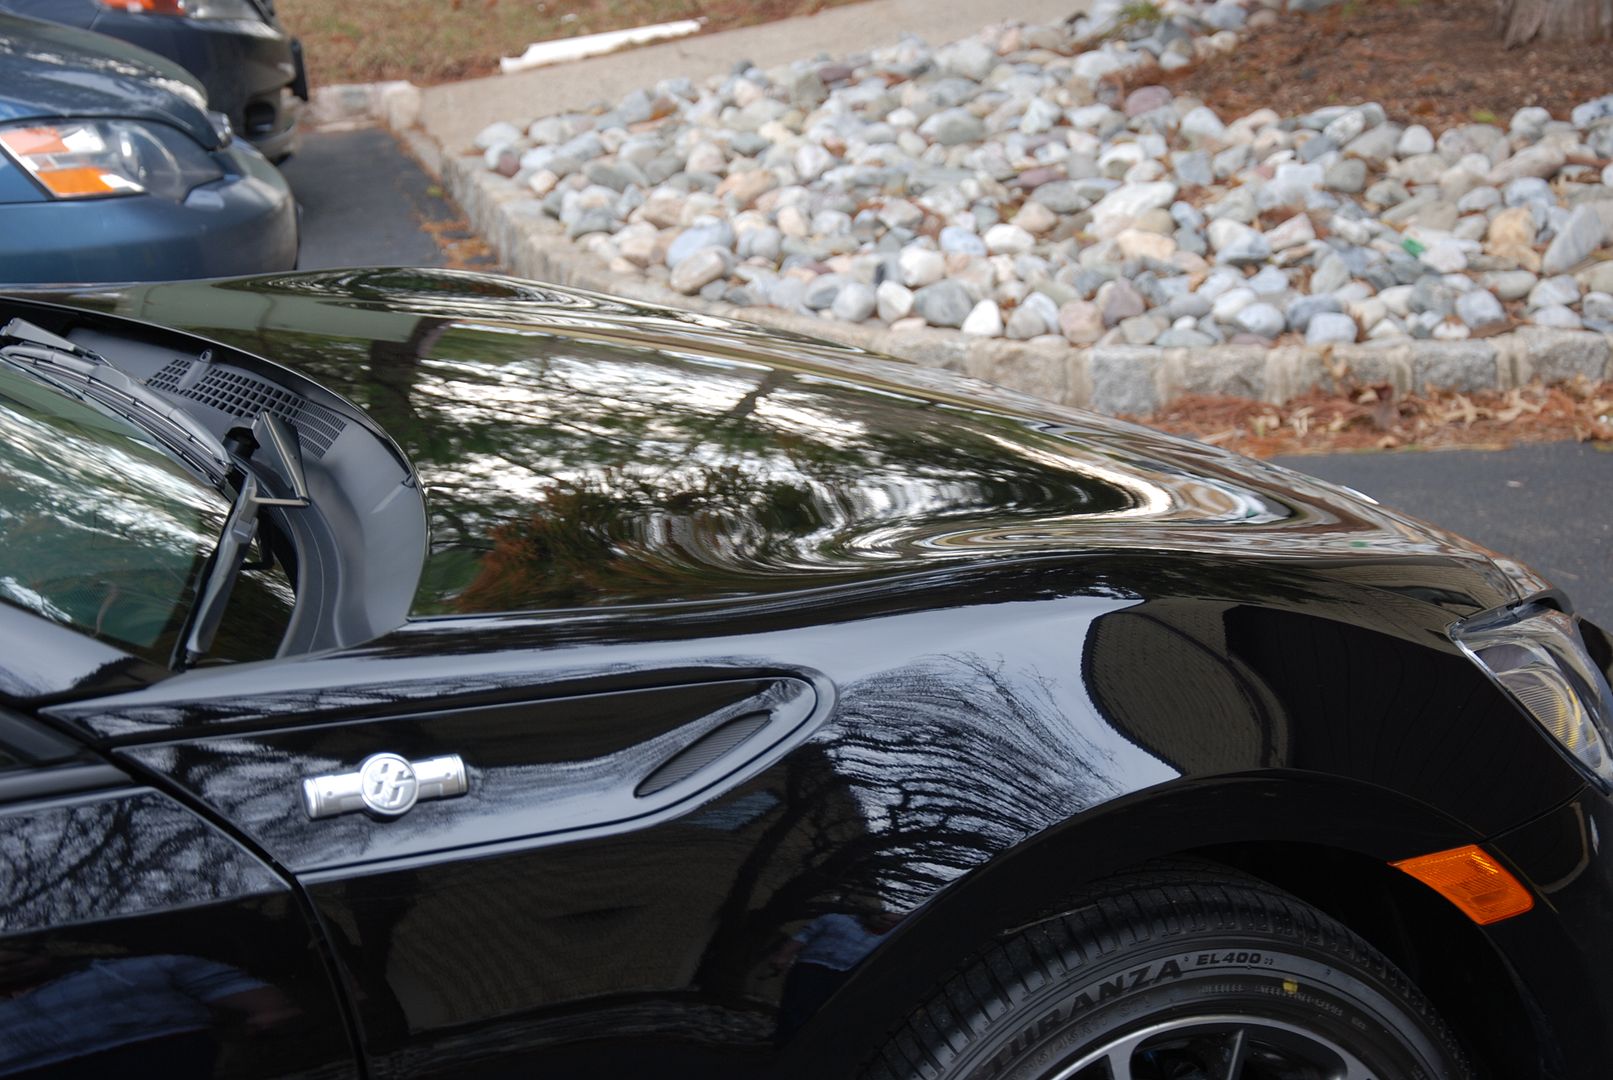
I finished down with a Rupes Yellow pad and Sonax perfect finish, here you can see some of the reflection that we got with this finishing step, even the machine is reflecting off the surface.
Wiping off polish can be challenging, short wipes are ideal, longer wipes can cause a long scratch if there happens to be anything stuck in your Microfiber towel. Although I treat my towels like a surgeon treats his scalpel so that isn't a real issue")
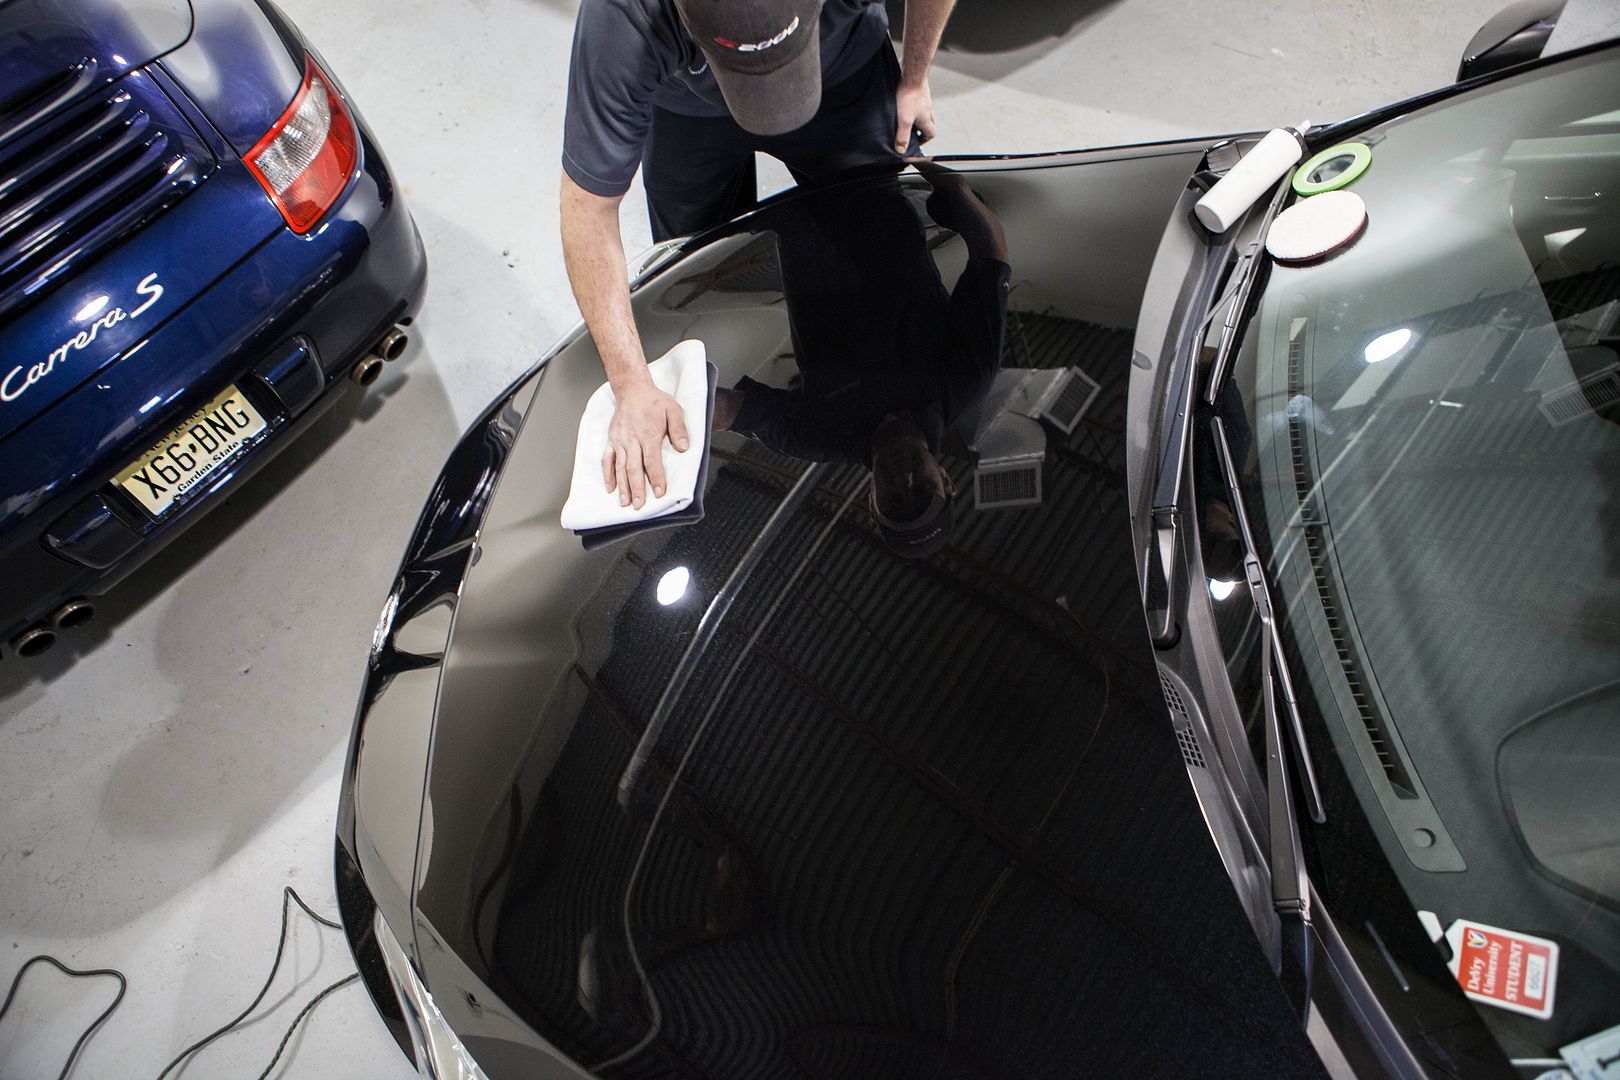
The reflections are coming along!
After another wash to remove polishing residue, I moved on to an alcohol wipe down. All coatings need to adhere to the paint, no oils can be present.
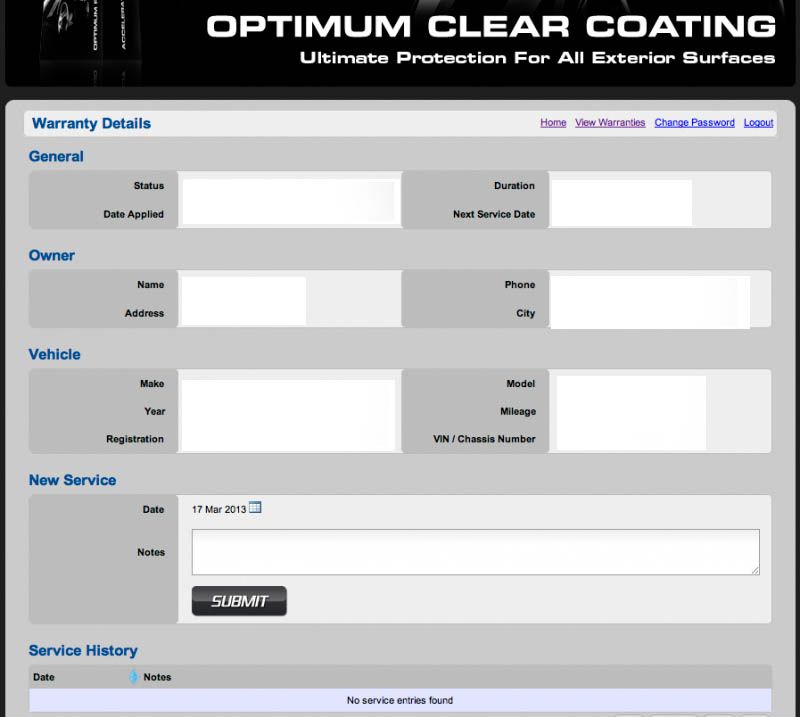
As a authorized installer I thought I would share what we see when a warranty is registered with Optimum. We are able to see every warranty we have sold, and get reminders when they are ready for their yearly inspection.
OK, I know I have bored everyone by now, and your waiting for how it turned out. Even the owner when he saw it was giddy with joy!
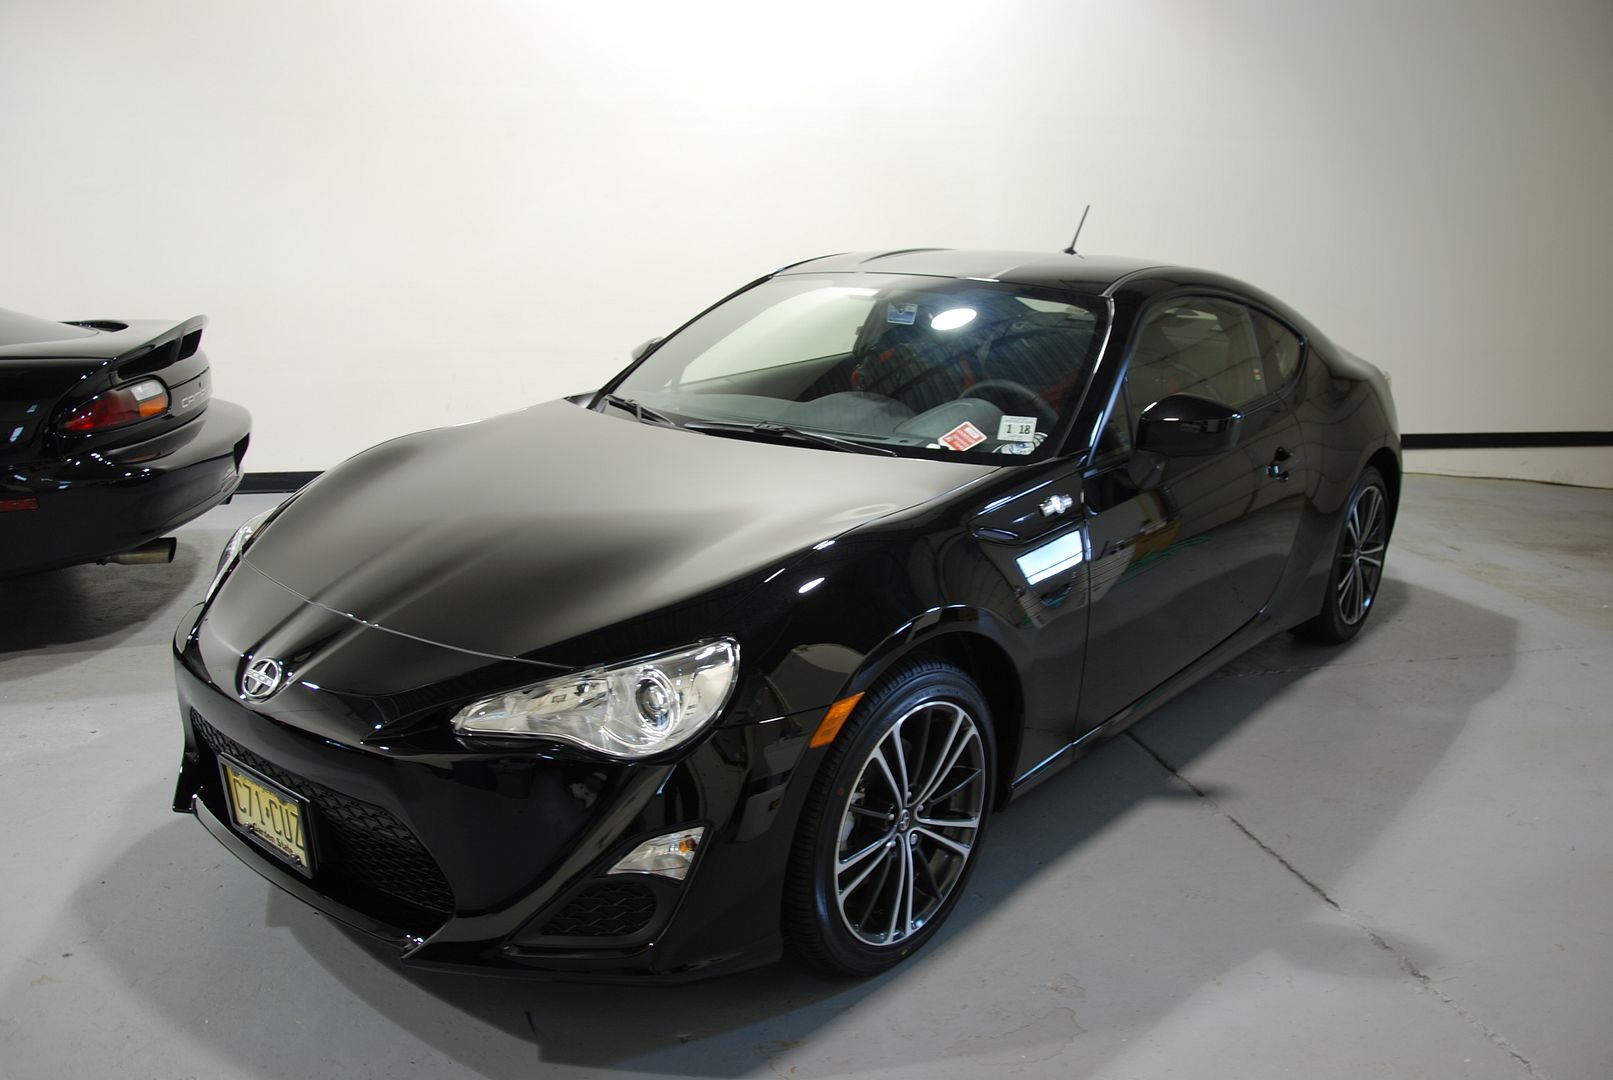
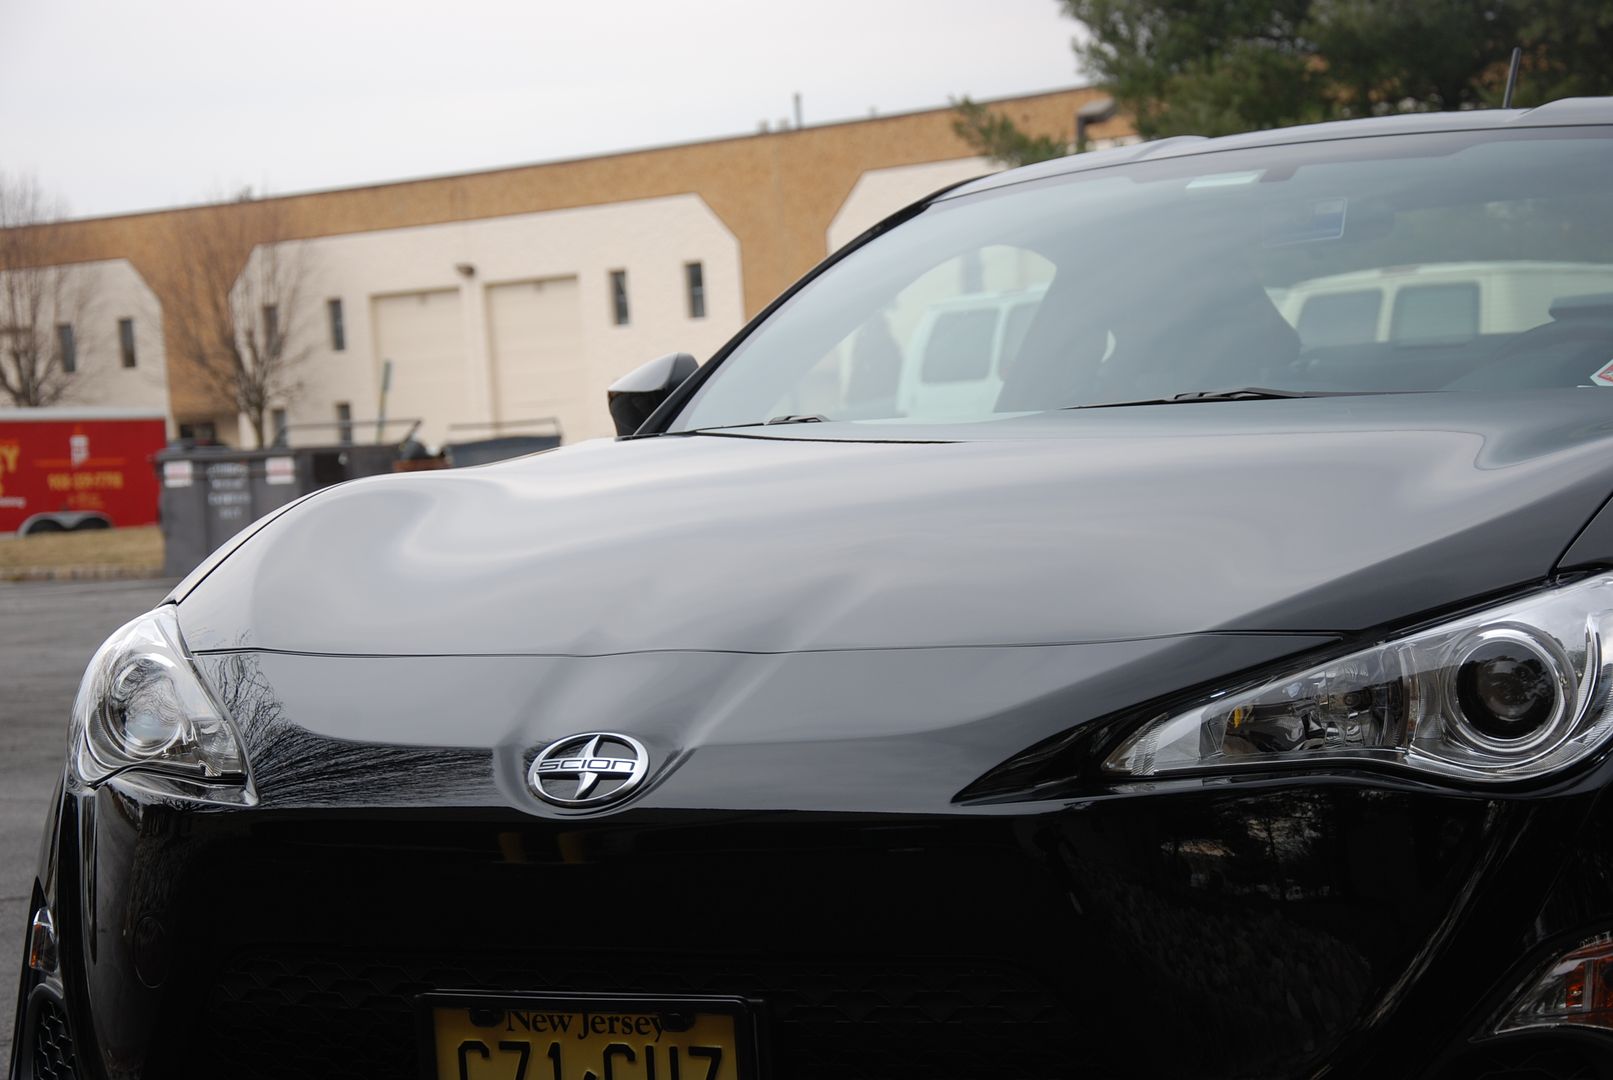

As always, thanks for looking! Greg
I would guess that both washes were done with a brush on a stick. This damage is not normally seen on this new of a FRS. Initally, we were going to do a single step correction, with this amount of damage I would not have made this in the time frame without some friends. I called up Franki Li, and Gary Feng, both are local friends and part time detailers that I would trust to do my own car. I had no hesitation to have them help me out to finish this car in timeframe I had. On top of that Gary was able to to photograph the work being done on the car. He is a better photographer than me.
Knowing we needed a heavier cut,and after a test spot, we all started out with a Meg's MF pad and M105 on a rupes machine. The larger panels were used with a Rupes LHR21, and thighter curves were taken care of with the LHR15. The really tight areas where taken care of with a Griots Garage Machine and a 3" pad, both areas required a two step correction.
Here is my help for the day correction out panels while I snap the shot. Look at the focus on both of them! They were just killing it!!!
Ok, let me get out from behind the camera and start correcting some paint.
Here you can see the hazyness caused from heavier compounding. If you see how it almost appears blue at the front of the hood, that is caused from the deep compounding required to removed the rough stuff on the clear coat. At this point I have moved to a Yellow pad using Sonax Perfect finish to correct the hazing, and finish the clear coat to a glowing shine.
How much correction were we able to get? Well after two steps, we achieved a 95-98% correction rate.
I finished down with a Rupes Yellow pad and Sonax perfect finish, here you can see some of the reflection that we got with this finishing step, even the machine is reflecting off the surface.
Wiping off polish can be challenging, short wipes are ideal, longer wipes can cause a long scratch if there happens to be anything stuck in your Microfiber towel. Although I treat my towels like a surgeon treats his scalpel so that isn't a real issue
The reflections are coming along!
After another wash to remove polishing residue, I moved on to an alcohol wipe down. All coatings need to adhere to the paint, no oils can be present.
As a authorized installer I thought I would share what we see when a warranty is registered with Optimum. We are able to see every warranty we have sold, and get reminders when they are ready for their yearly inspection.
OK, I know I have bored everyone by now, and your waiting for how it turned out. Even the owner when he saw it was giddy with joy!
As always, thanks for looking! Greg