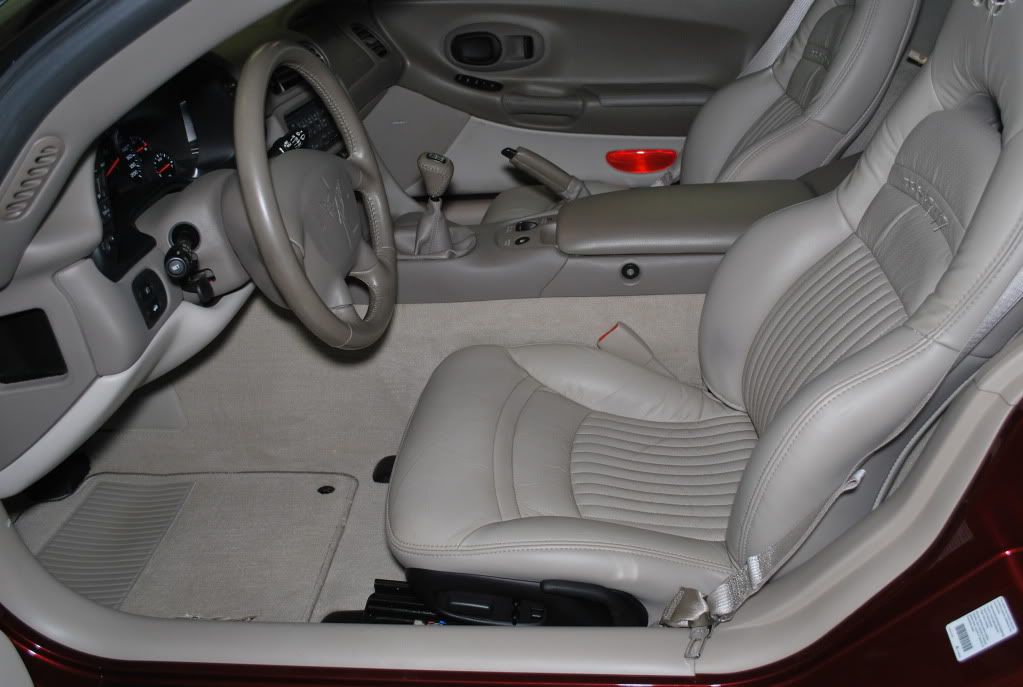
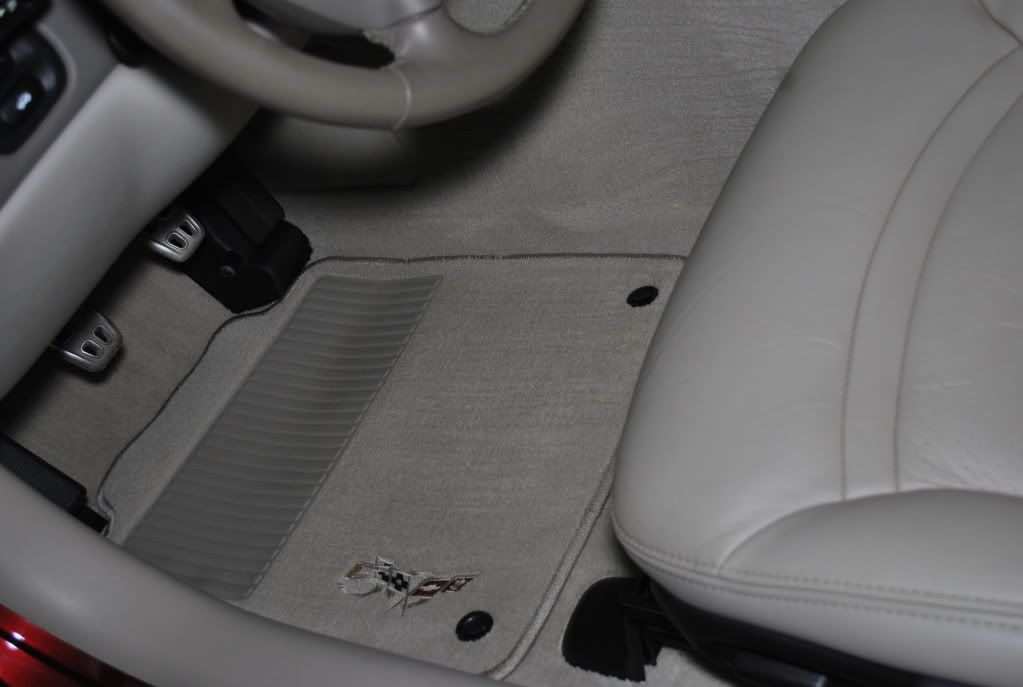
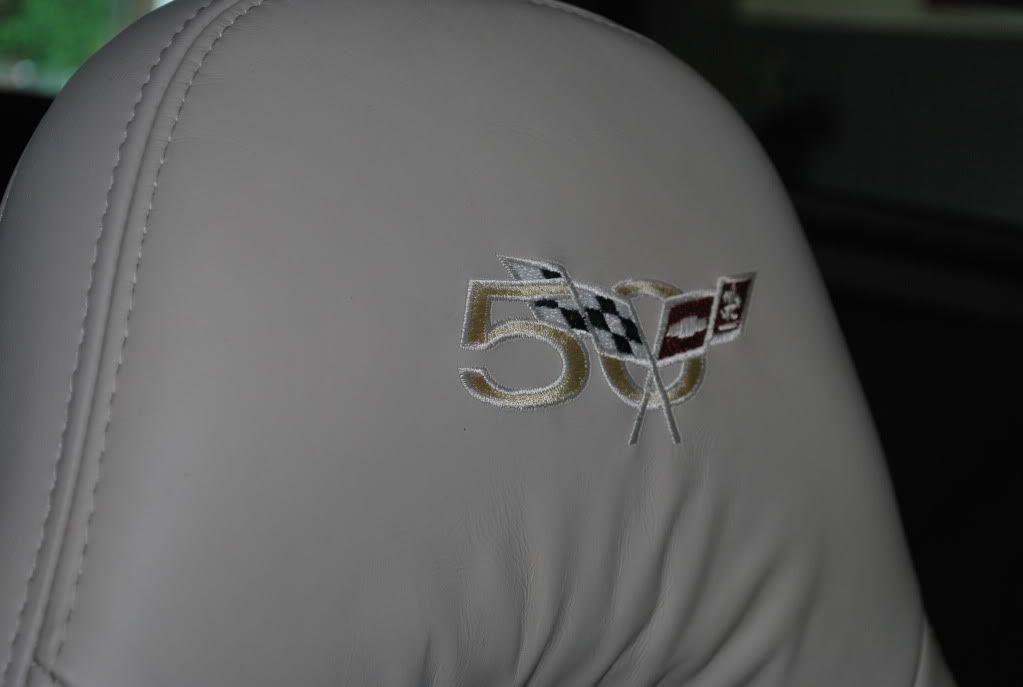
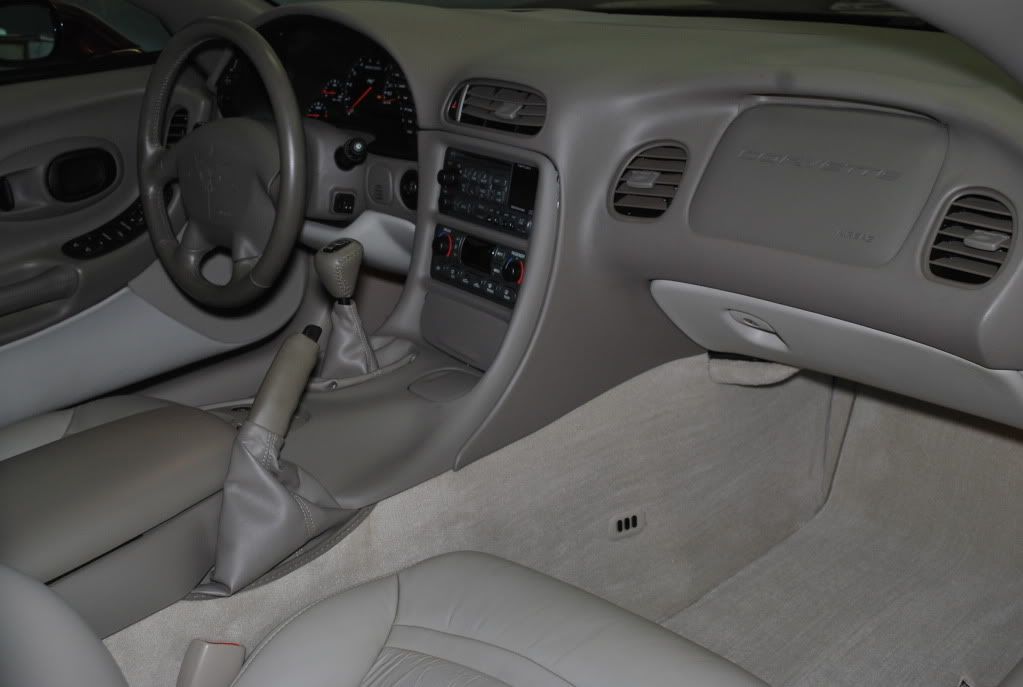
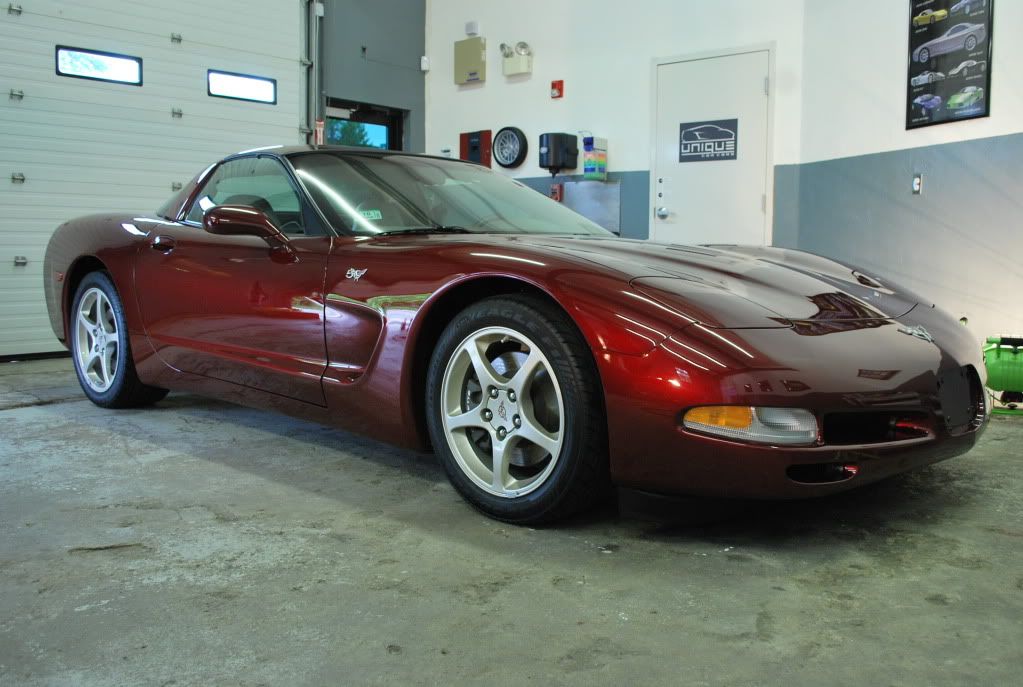
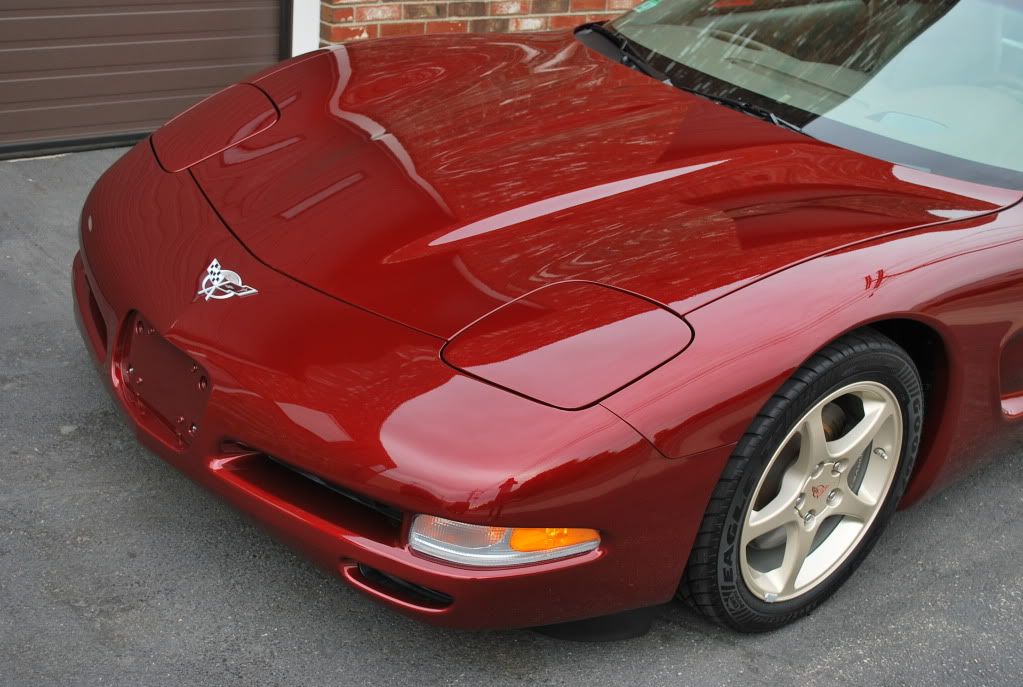
This beautiful 50th Anniversary Edition Corvette was scheduled for a complete detail. Overall, the car was in fairly good shape, but it had a few issues that needed to be addressed. With only 12,000 miles on the odometer, the owner wanted to get the car looking as good as it did when it rolled out of the showroom. My goal was a bit different… I wanted to make the car look better than the day it rolled out of the showroom! The owner had a tight budget, so I assured him that we would do the best job possible for the amount he was looking to spend.
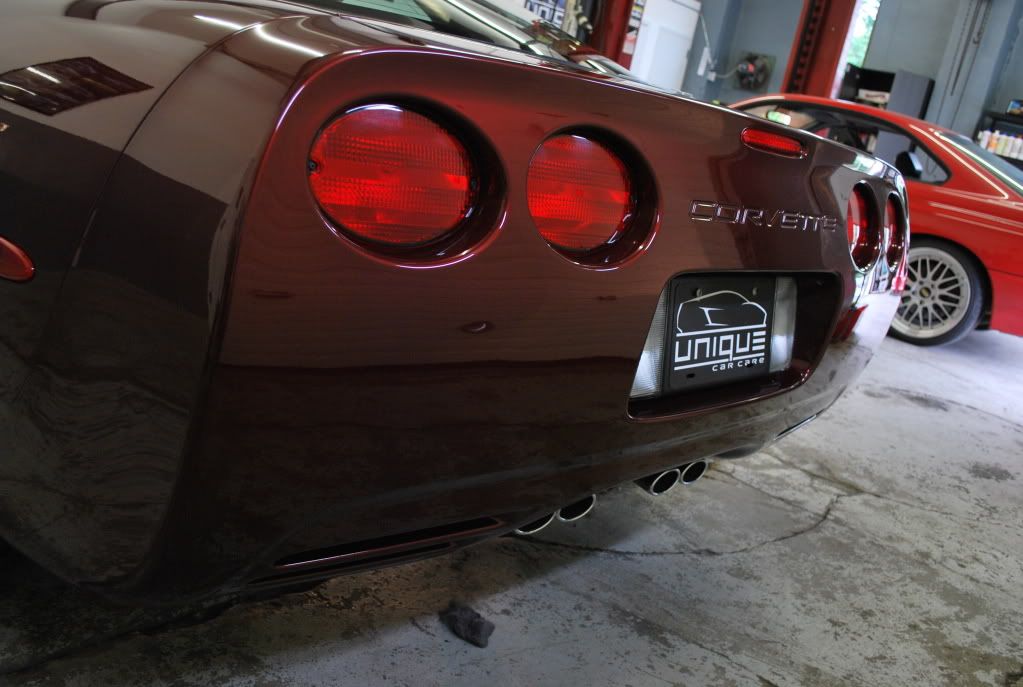
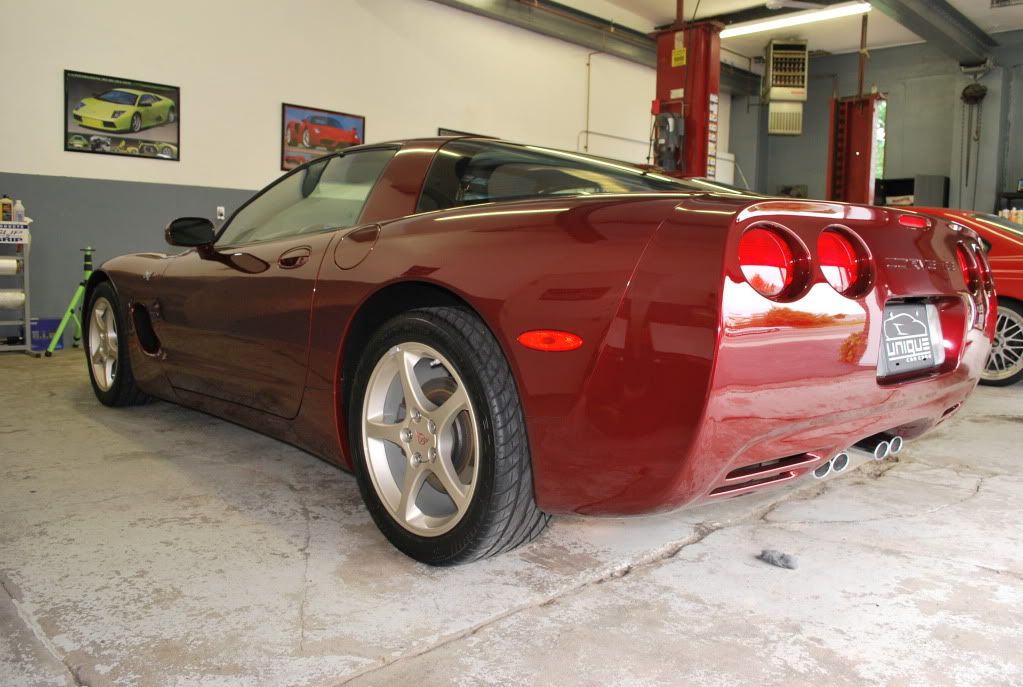
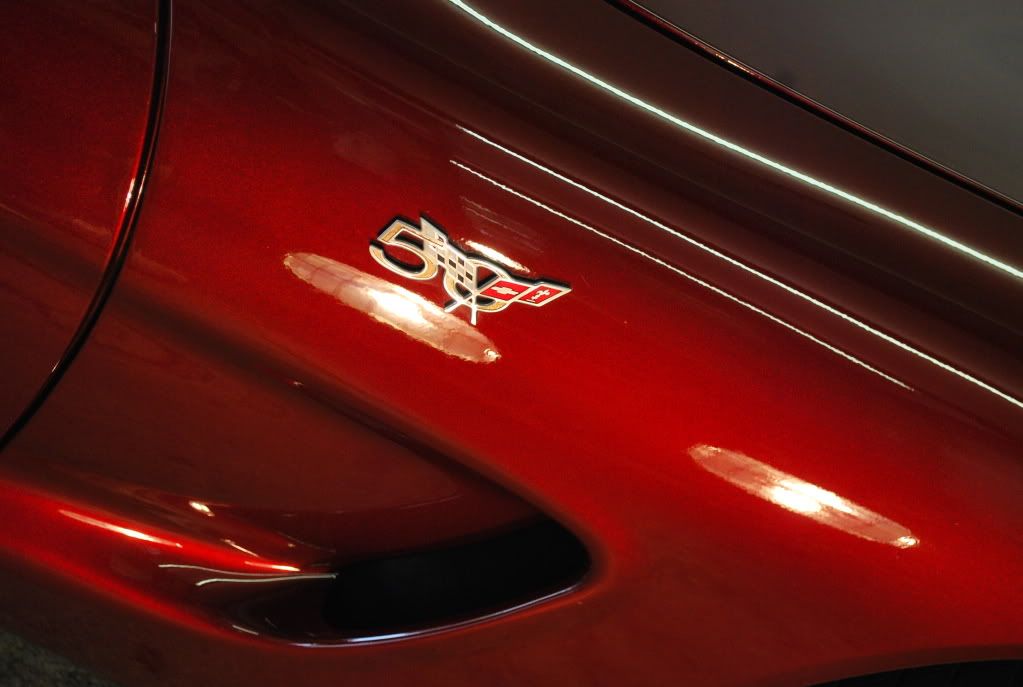
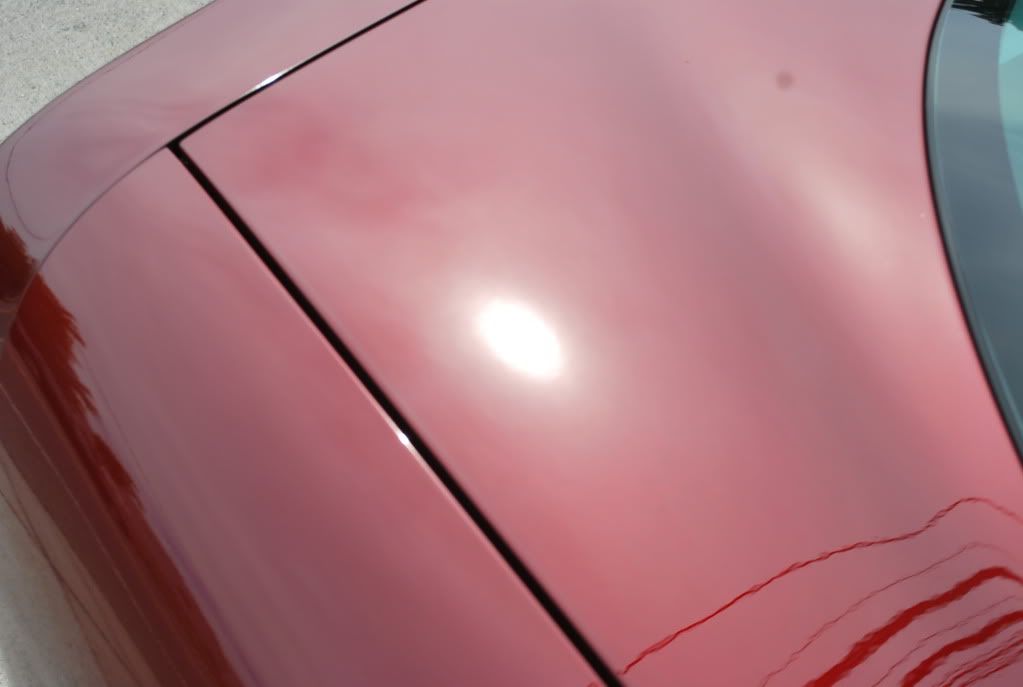
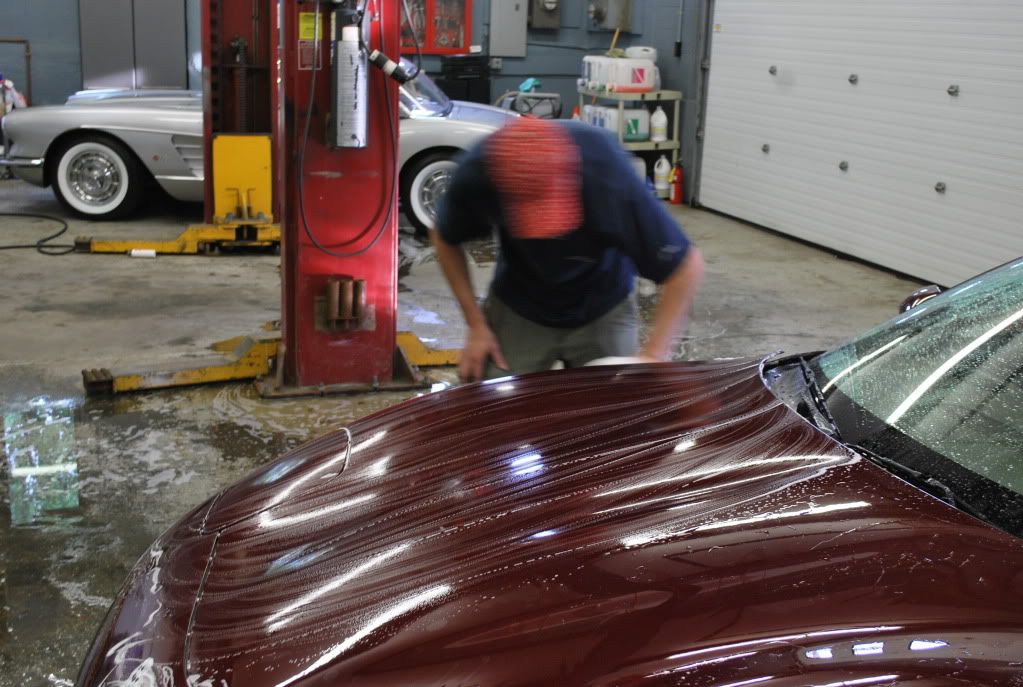
Below are a few examples of how the car looked upon arrival…
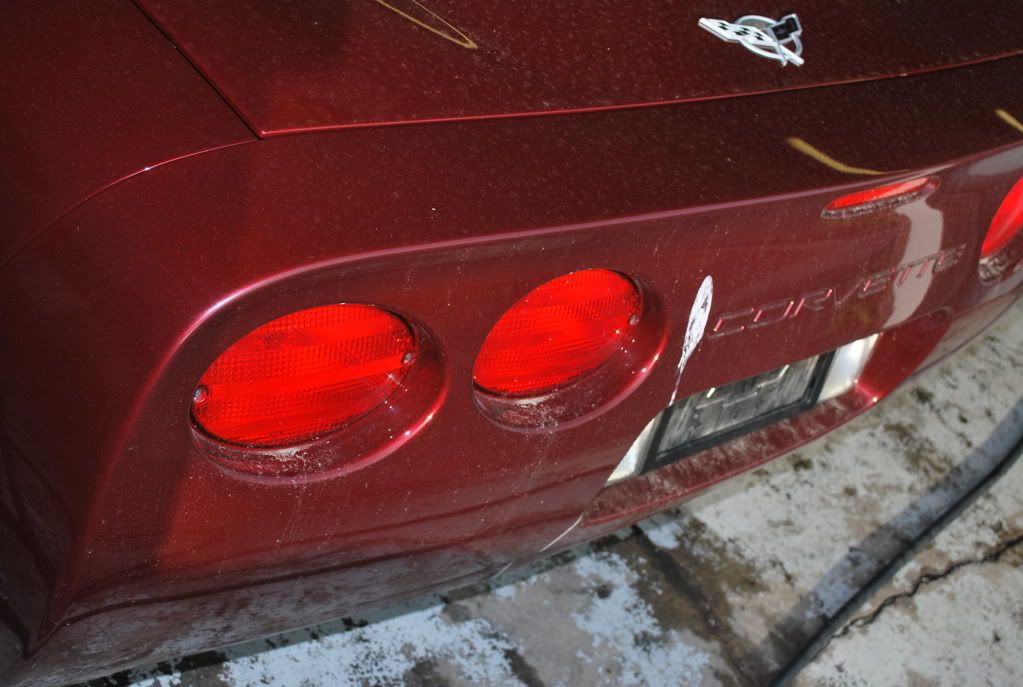
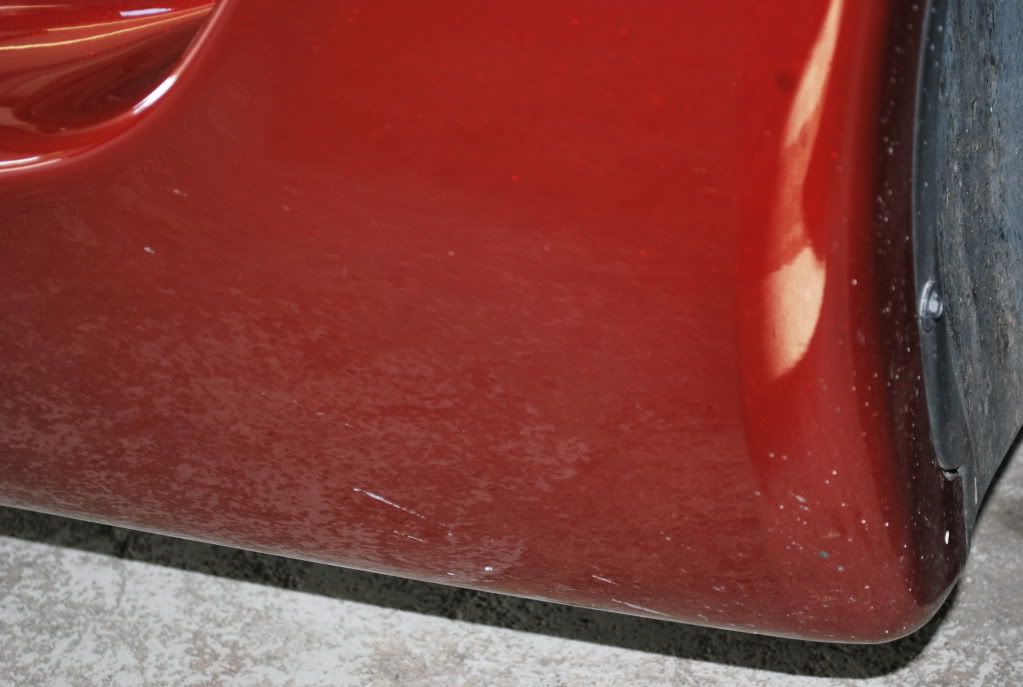
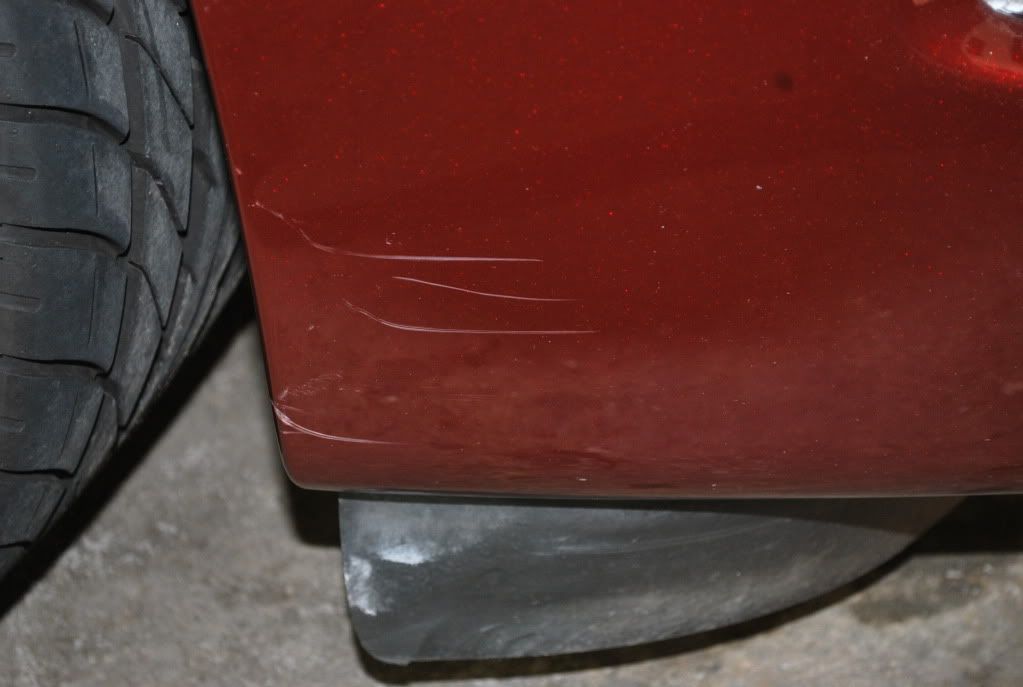
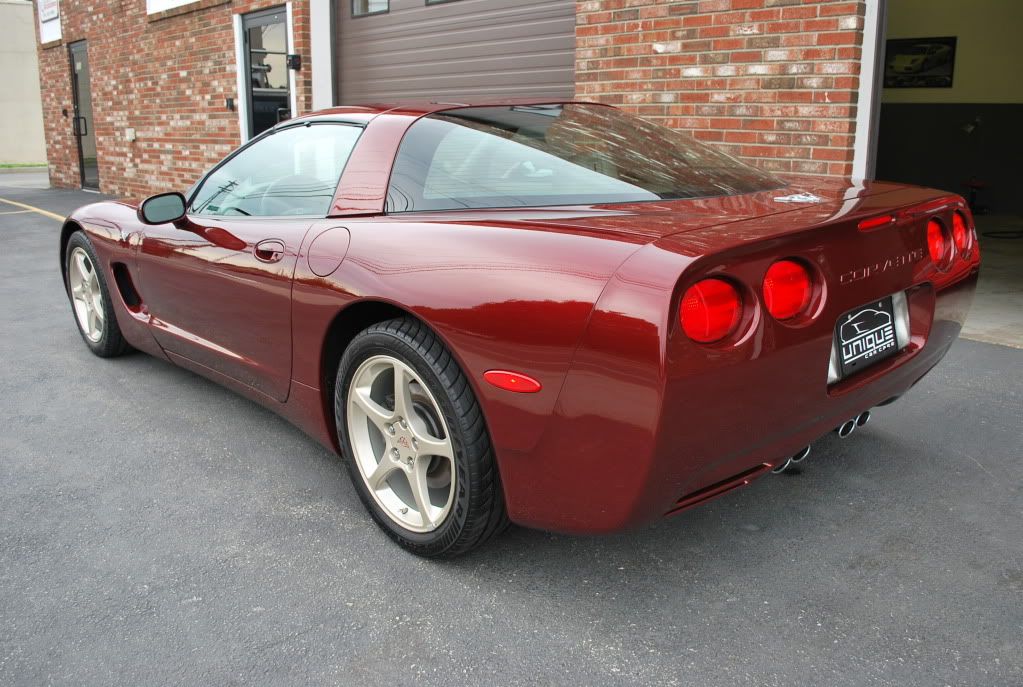
As you can see, it was a bit dirty and the finish had a very sterile look to it. My brother started by giving the exterior a basic hand wash, which made a noticeable difference in overall appearance.
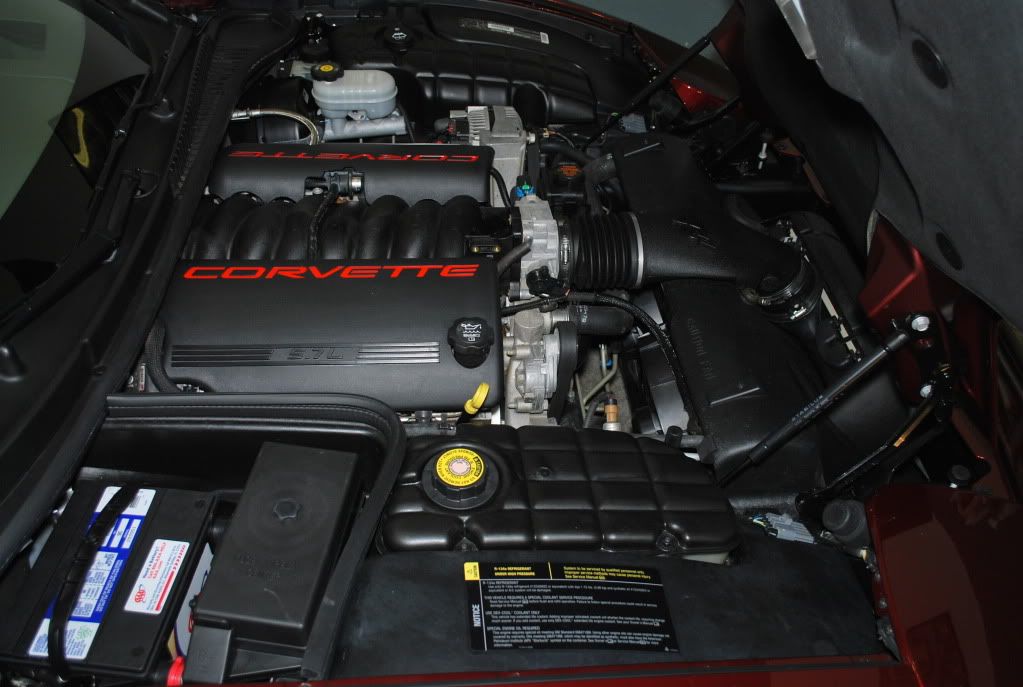
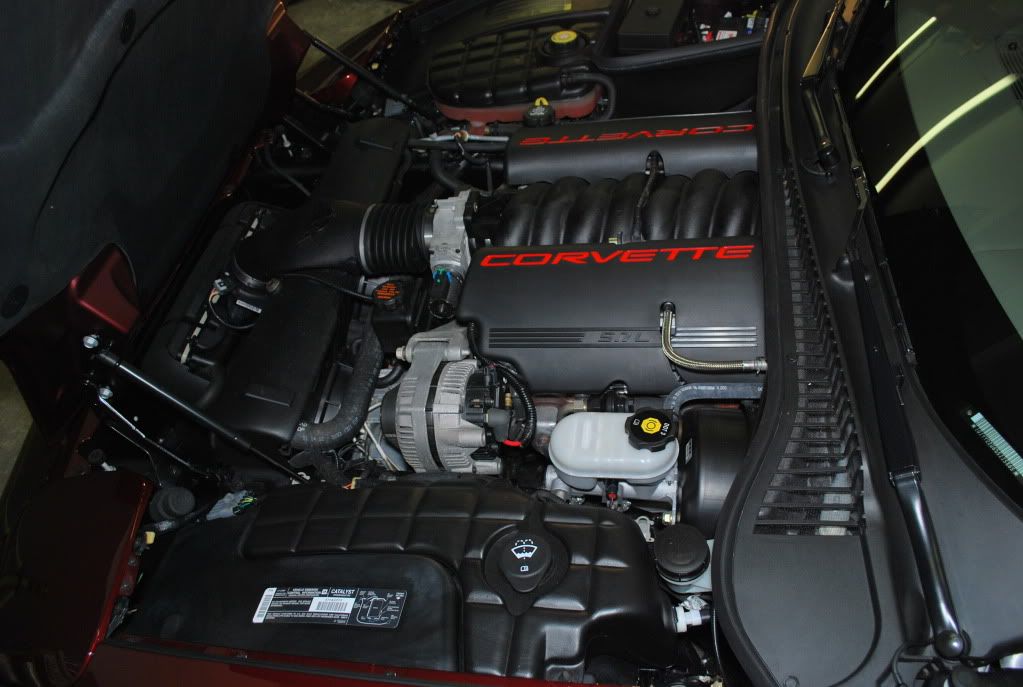
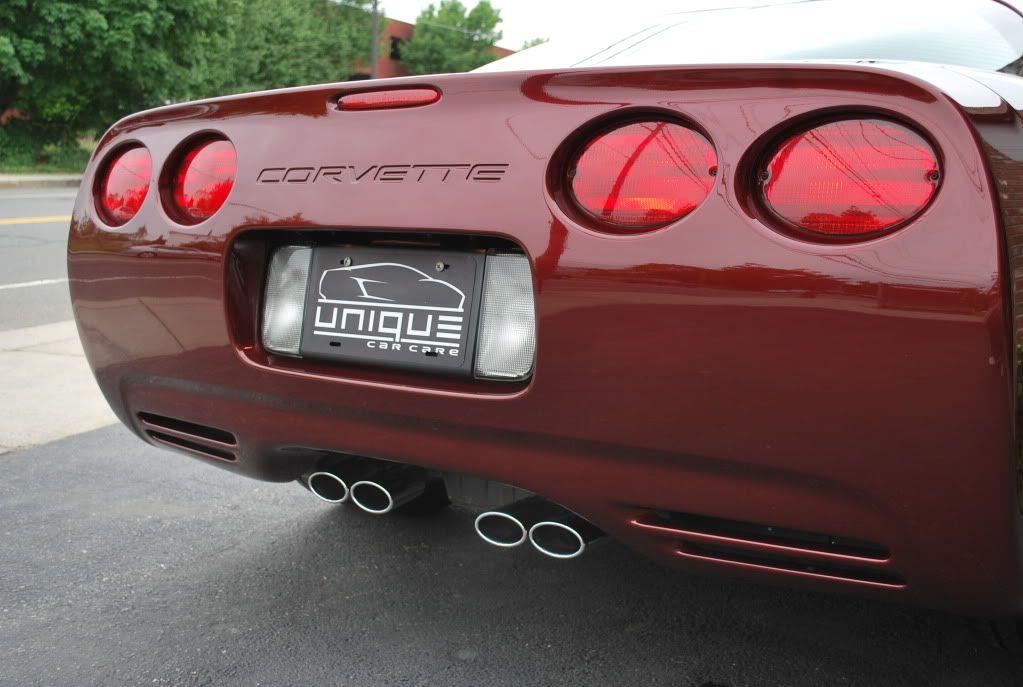
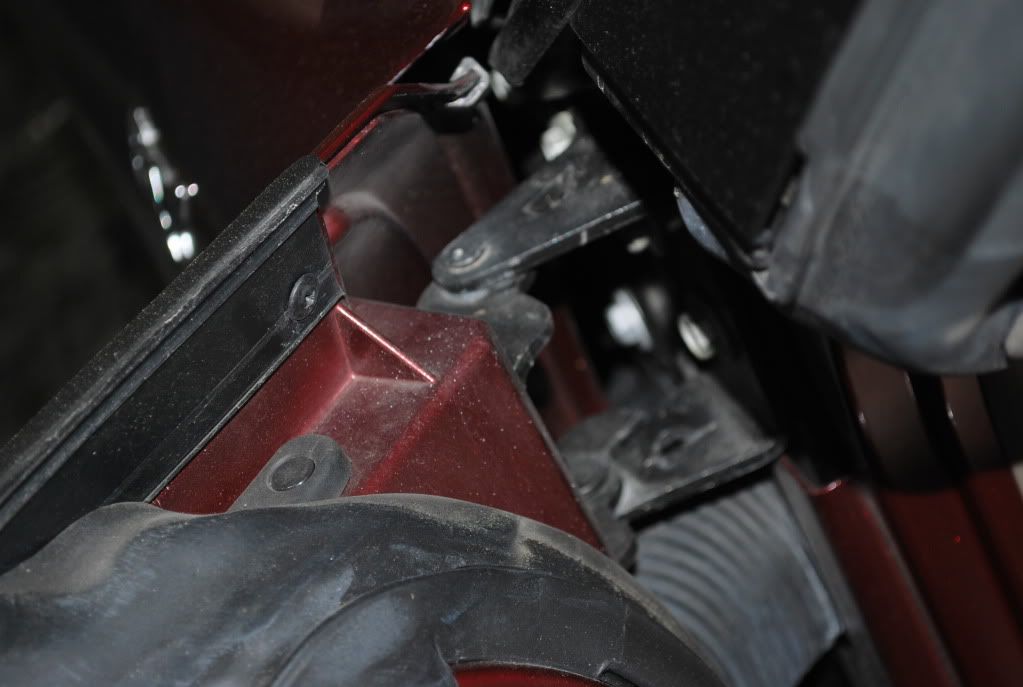
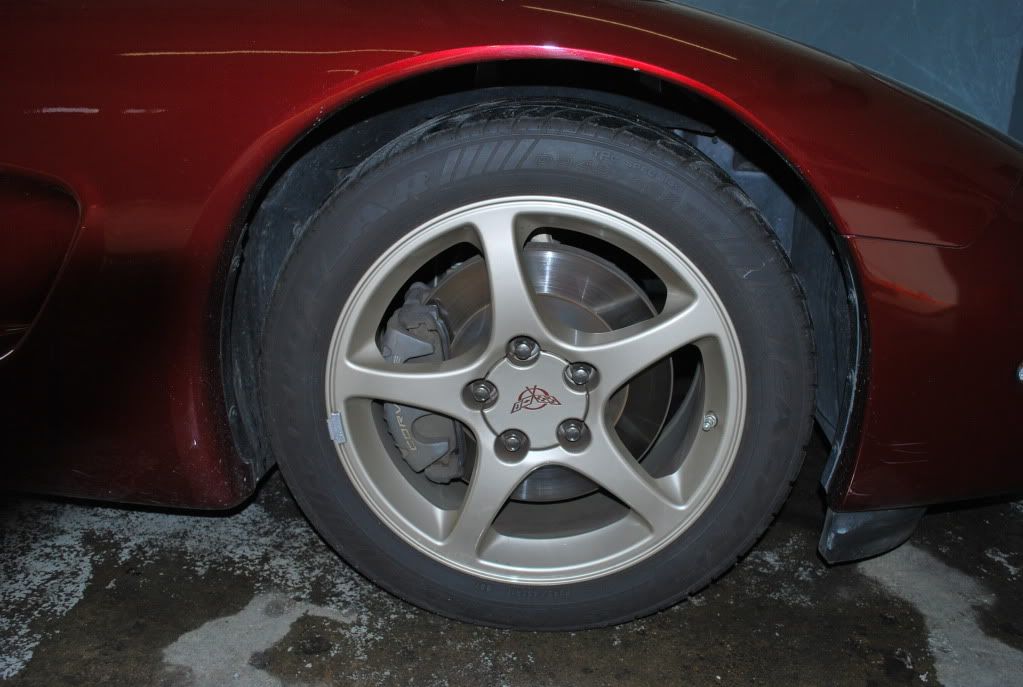
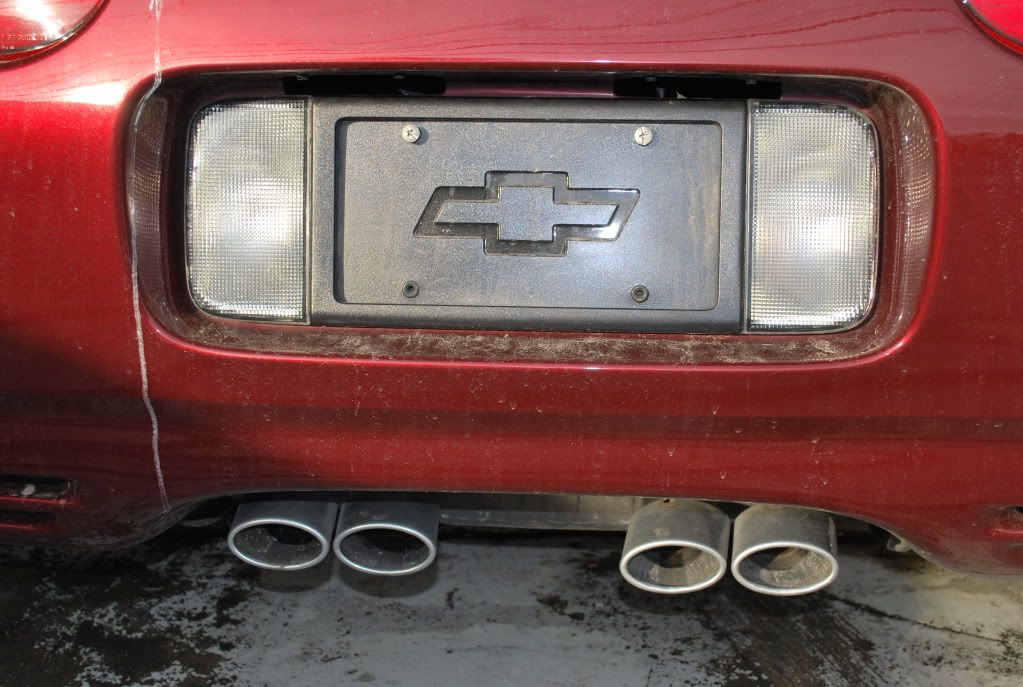
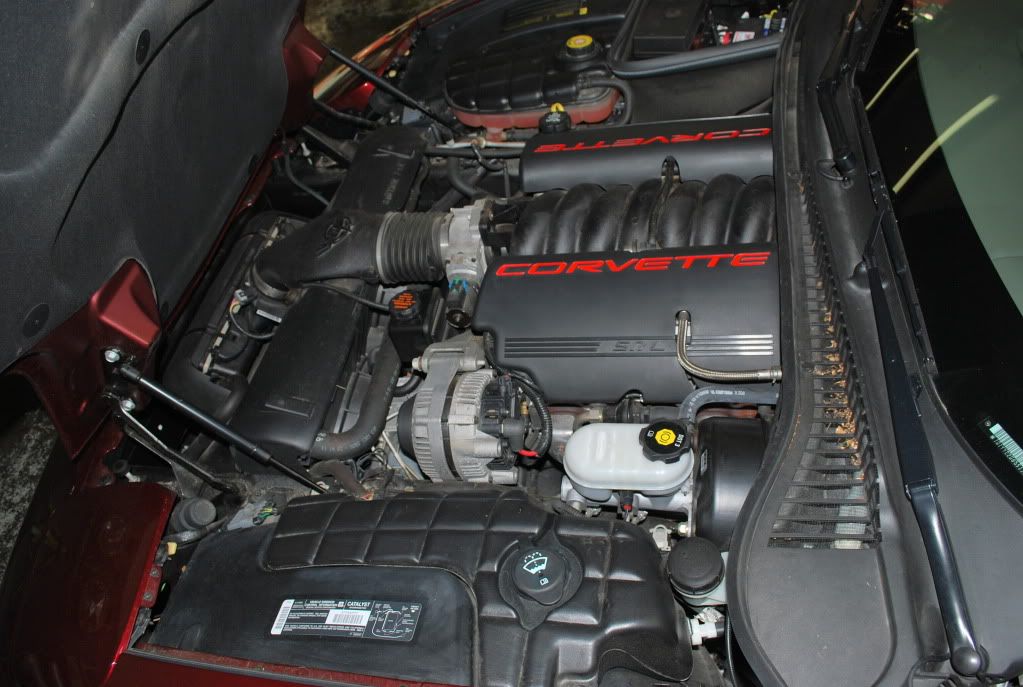
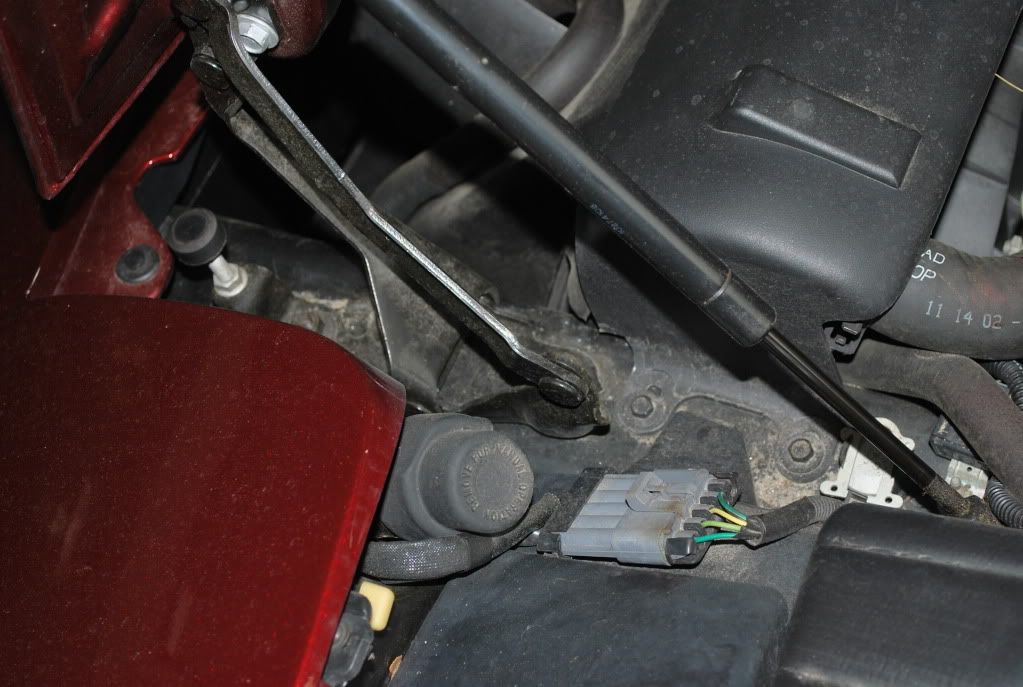
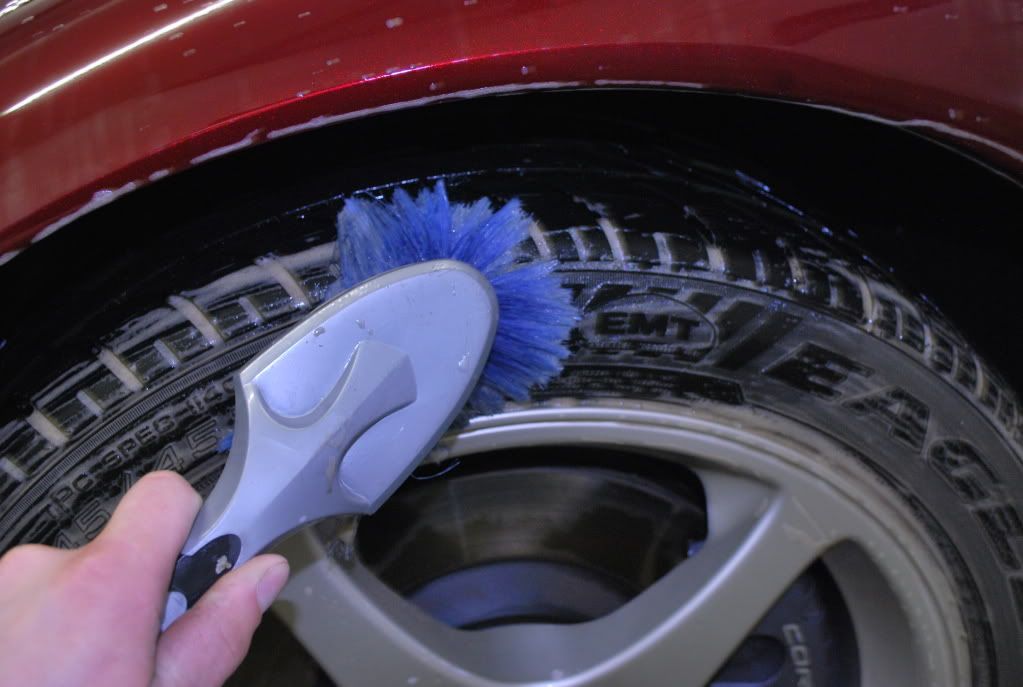
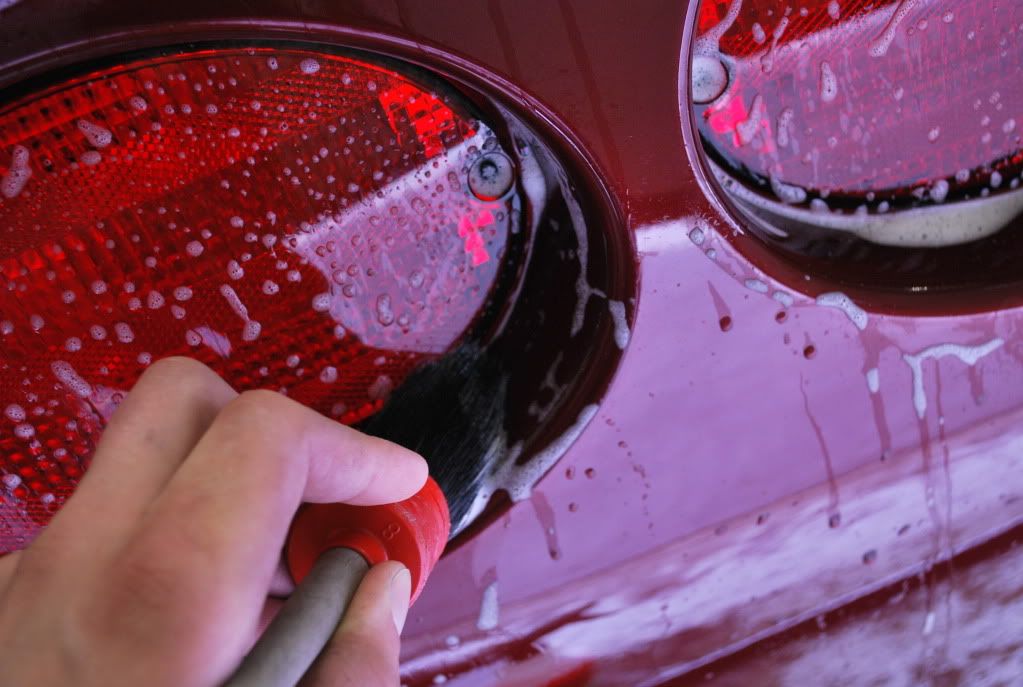
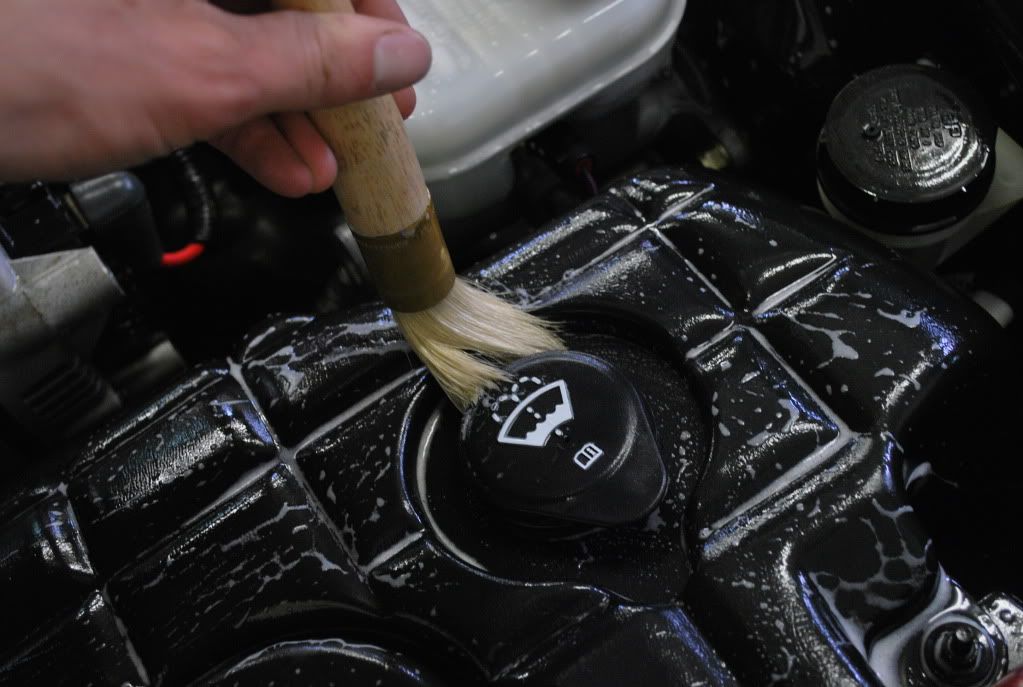
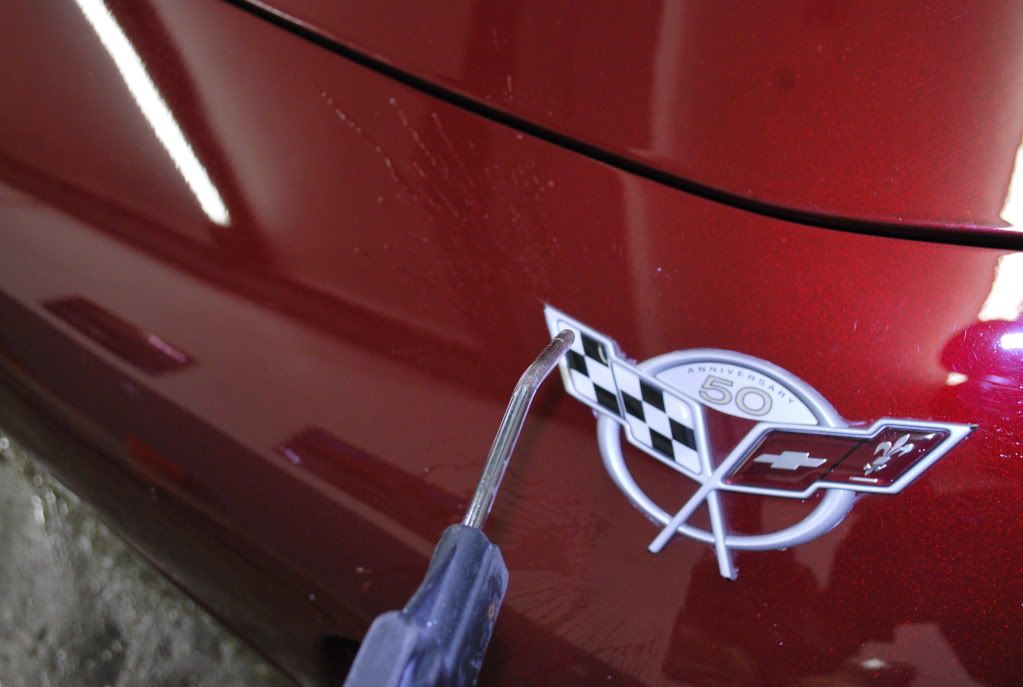
While my brother was washing the exterior, I began cleaning all wheels, tires and wheel wells using a variety of brushes. Spray Nine was used on these areas, as well as the engine compartment and all hard to reach areas such as the tail lights, emblems, door jambs, etc…

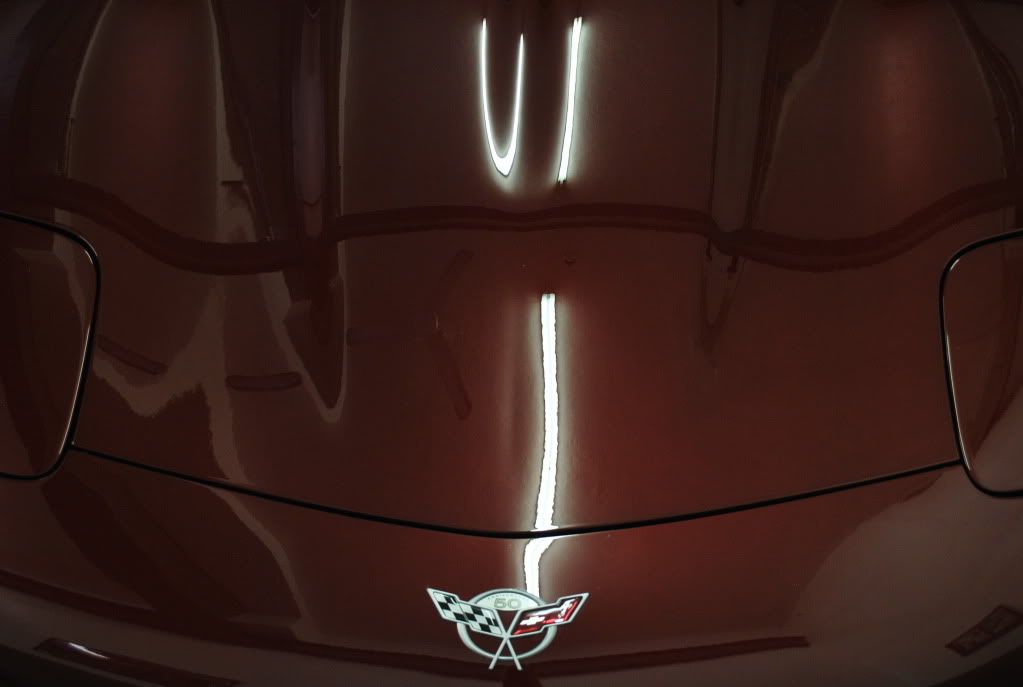
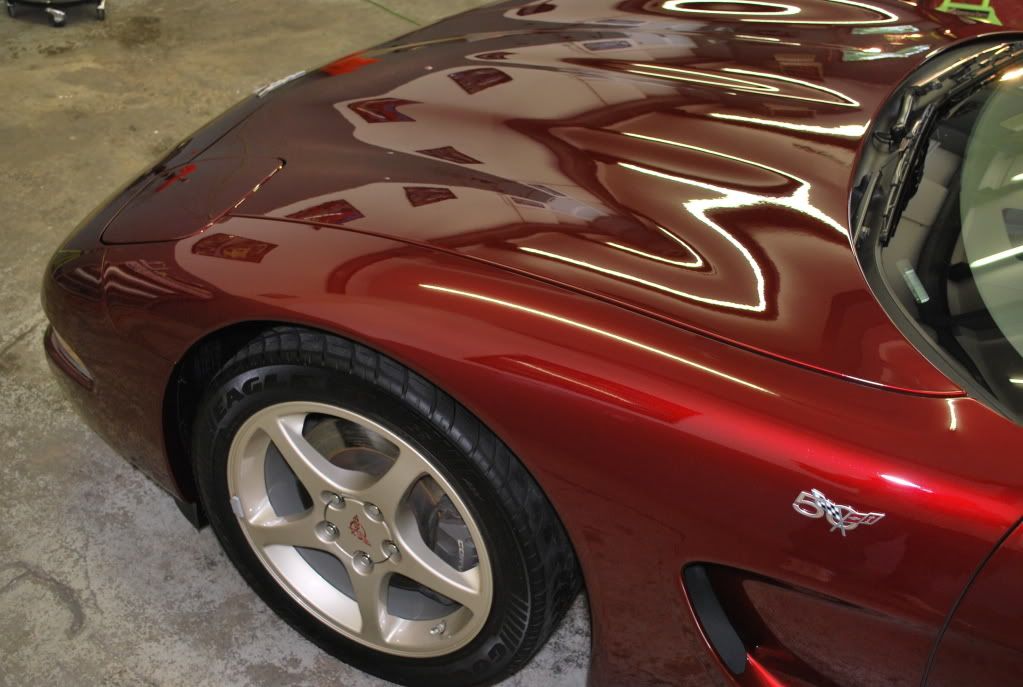
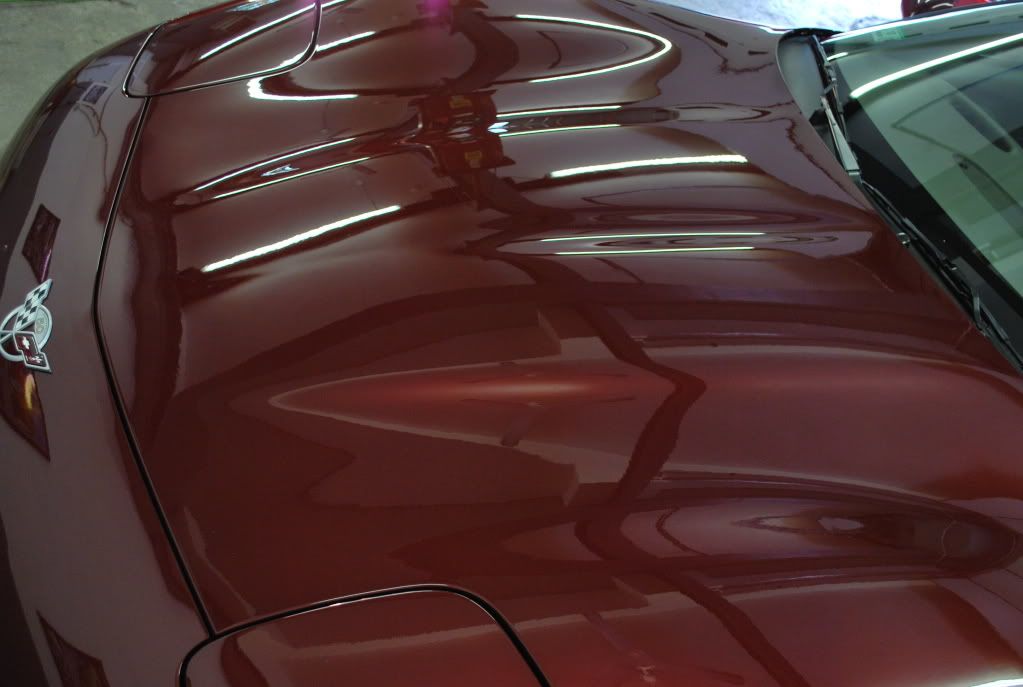
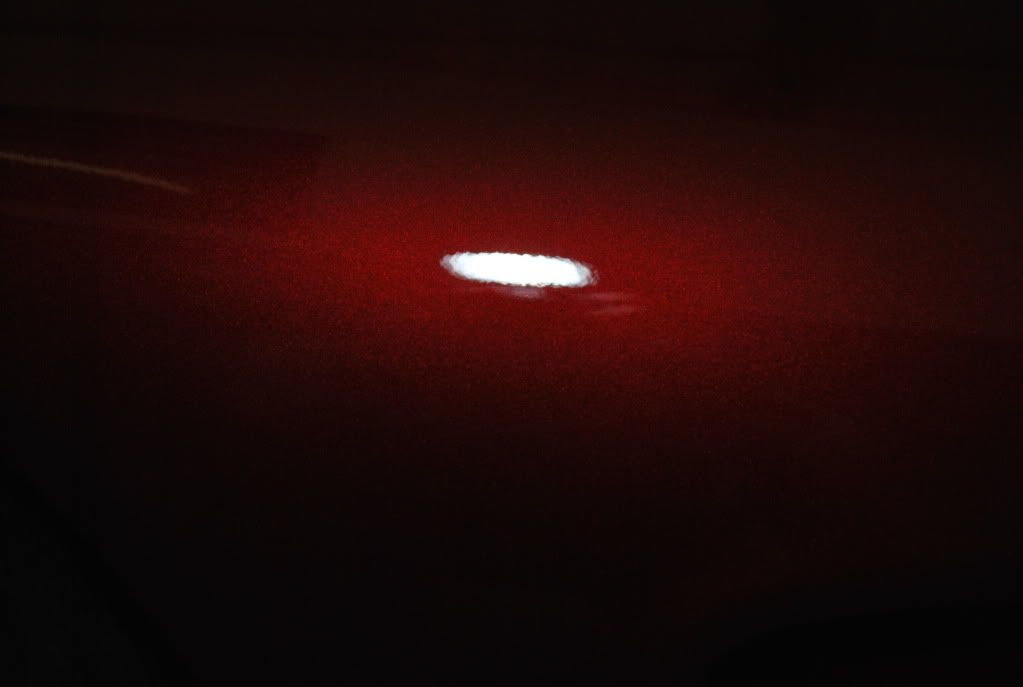
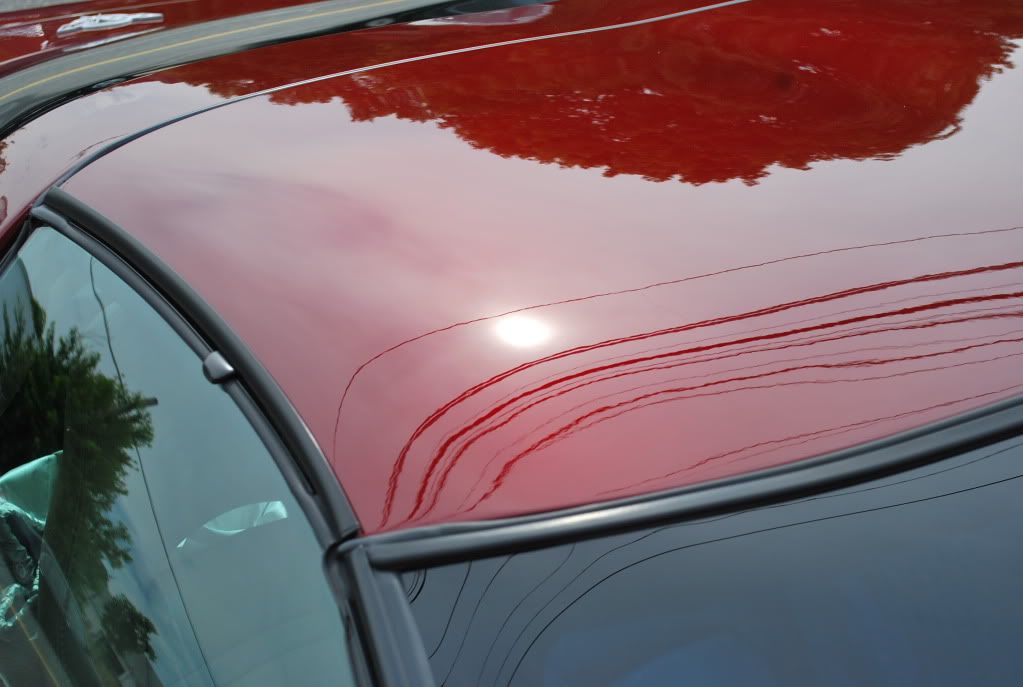
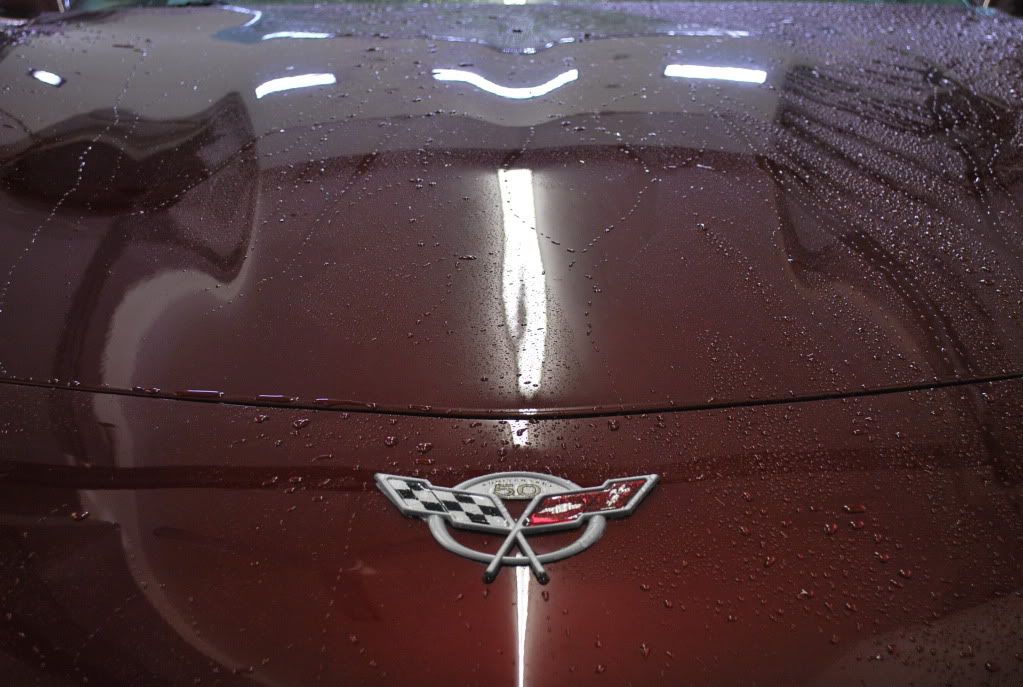
The water was beading heavily on the surface, so Spray Nine was used to strip whatever was on the paint in order to make the polishing go smoother. The pictures below show how well Spray Nine works at removing whatever was on the paint…
Before: (notice the water beading)
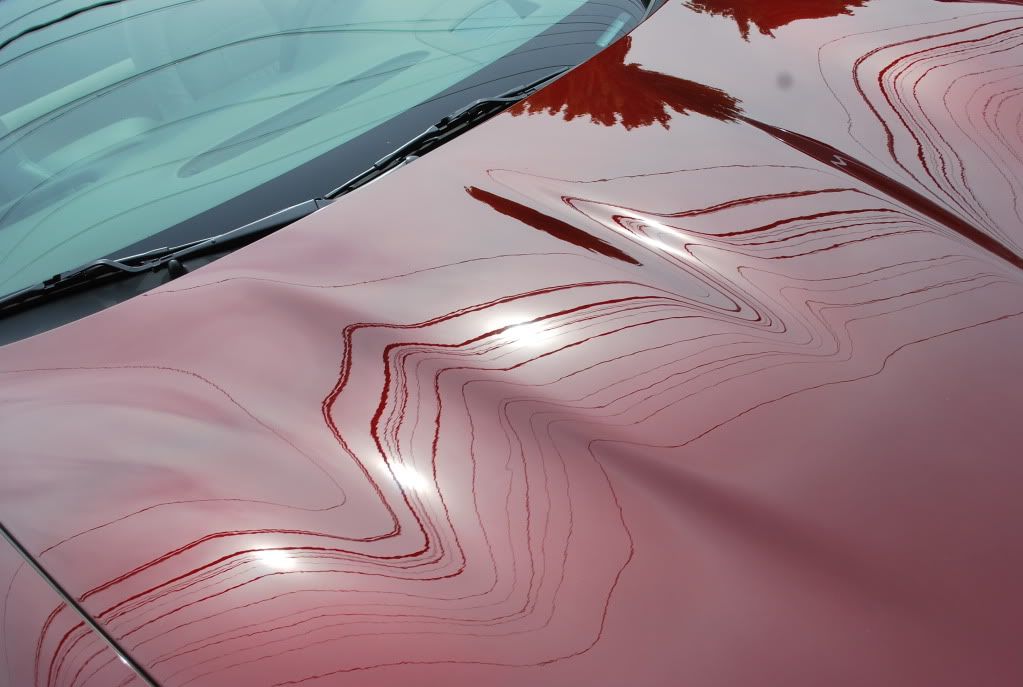
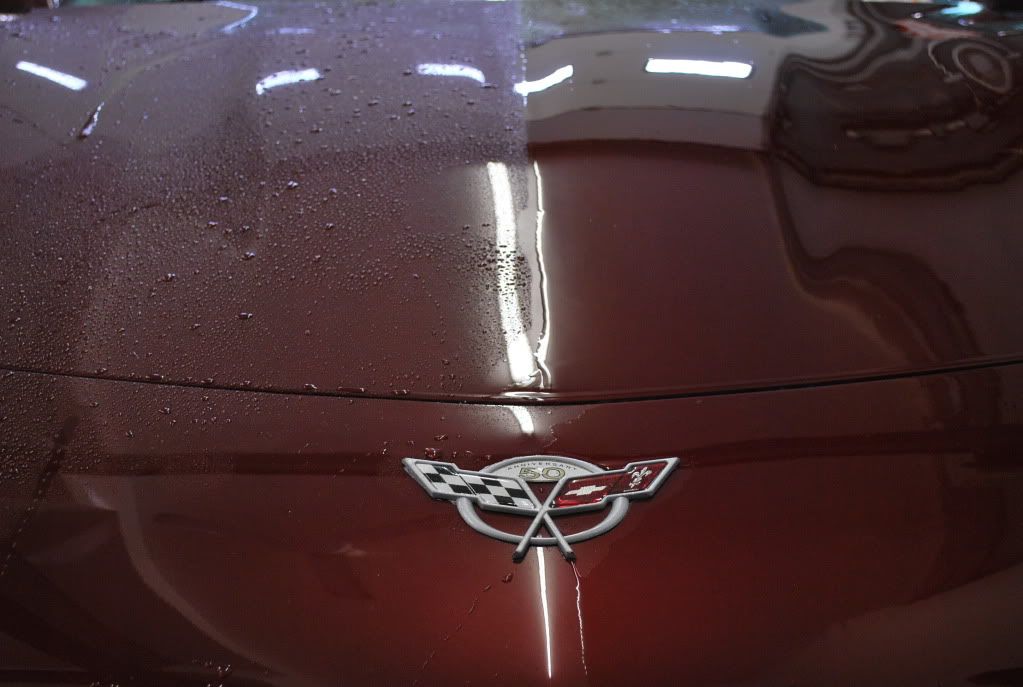
After: (left side untouched, right side after Spray Nine)
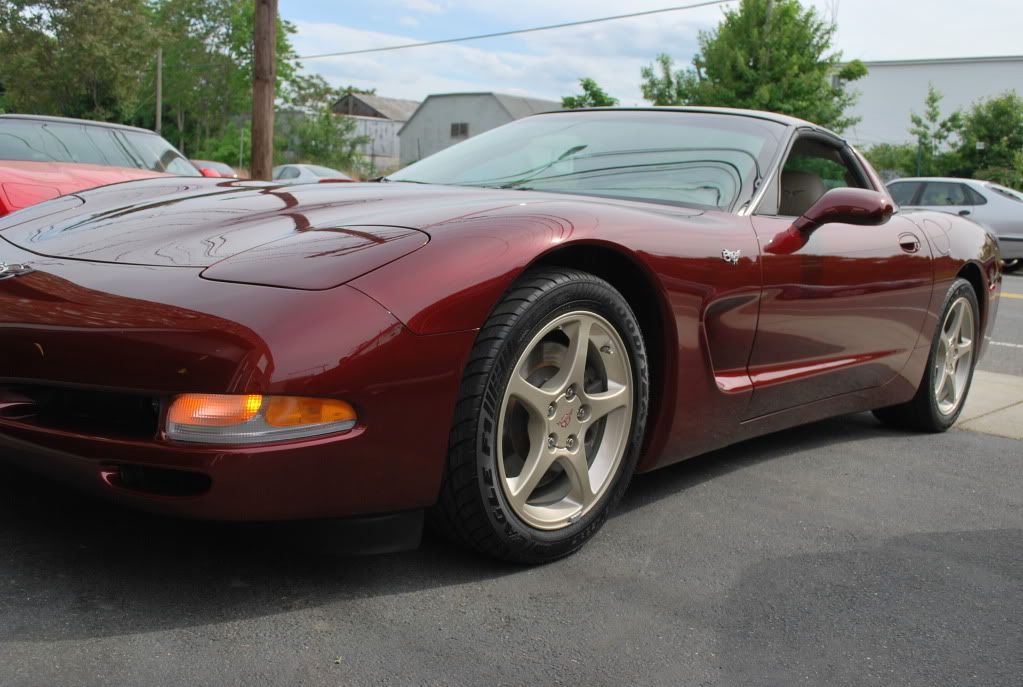
After stripping the paint free of all previous products, the exterior received a claybar treatment to remove any bonded contaminants from the surface. This left the paint feeling silky smooth and ready for polishing. The exterior was rinsed thoroughly and hand dried, then all cracks & crevices were purged with compressed air. All door, hood and trunk jambs were wiped clean with a microfiber cloth.
Below are a few examples of how the car looked upon arrival…
As you can see, it was a bit dirty and the finish had a very sterile look to it. My brother started by giving the exterior a basic hand wash, which made a noticeable difference in overall appearance.
While my brother was washing the exterior, I began cleaning all wheels, tires and wheel wells using a variety of brushes. Spray Nine was used on these areas, as well as the engine compartment and all hard to reach areas such as the tail lights, emblems, door jambs, etc…
The water was beading heavily on the surface, so Spray Nine was used to strip whatever was on the paint in order to make the polishing go smoother. The pictures below show how well Spray Nine works at removing whatever was on the paint…
Before: (notice the water beading)
After: (left side untouched, right side after Spray Nine)
After stripping the paint free of all previous products, the exterior received a claybar treatment to remove any bonded contaminants from the surface. This left the paint feeling silky smooth and ready for polishing. The exterior was rinsed thoroughly and hand dried, then all cracks & crevices were purged with compressed air. All door, hood and trunk jambs were wiped clean with a microfiber cloth.