I'd first like to say, this was probably our biggest turn around so far...and not just due to size. We both took a lot of time to do this baby, and additional time went into taking the pics and making the write-up, so, if you have the time...take a minute to read through and not just scan it please lol
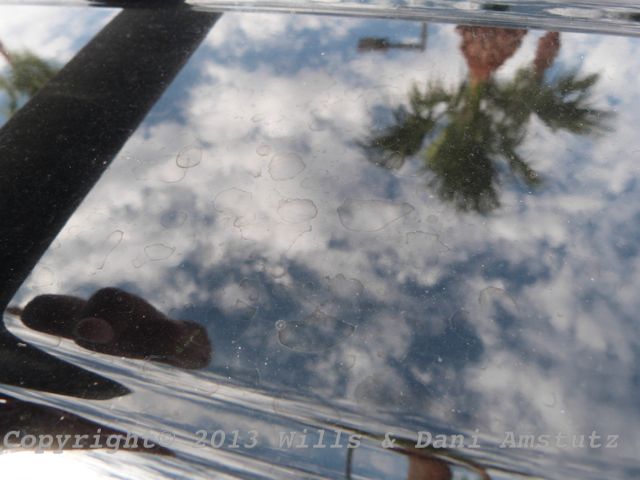
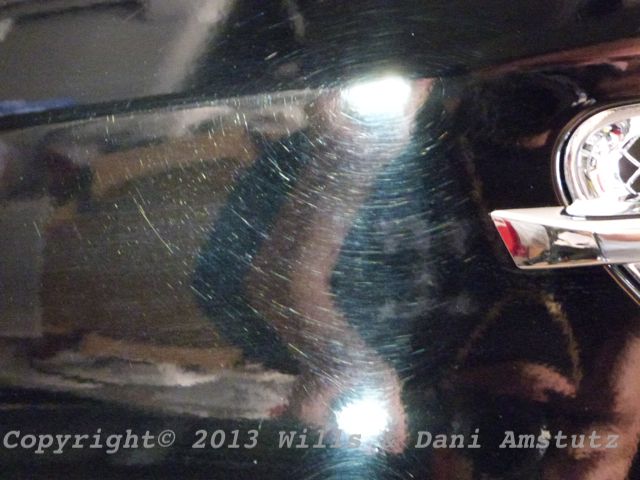
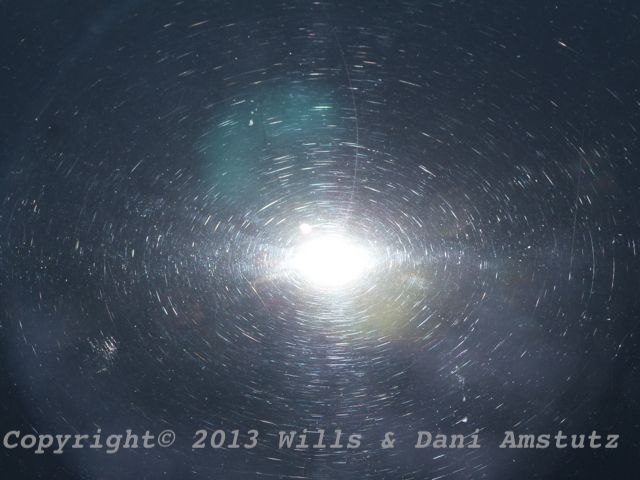
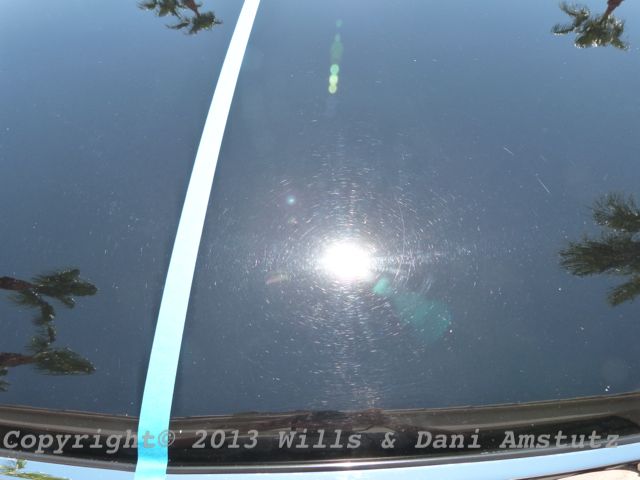
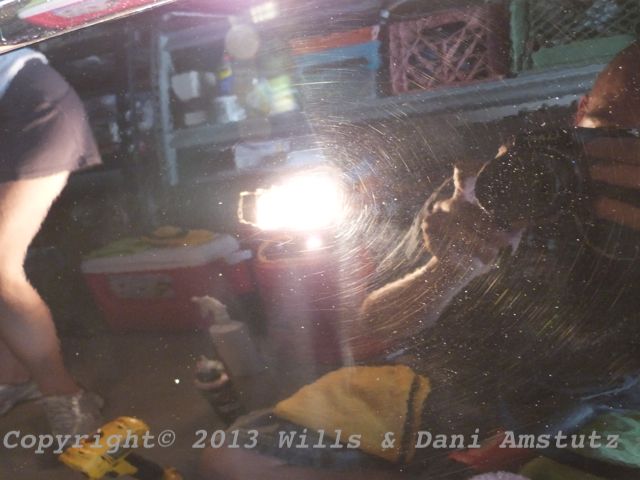
This SUV....this SUV was special. Special in that - it's paint was more destroyed than any other vehicle we worked on at that point. Then factor in that it was black...HUGE, and it was done in the middle of summer in Arizona - well, you have one hell of a detail on your hands. This was a sink or swim kind of detail...it was either going to be an incredible turn around...or a fail.
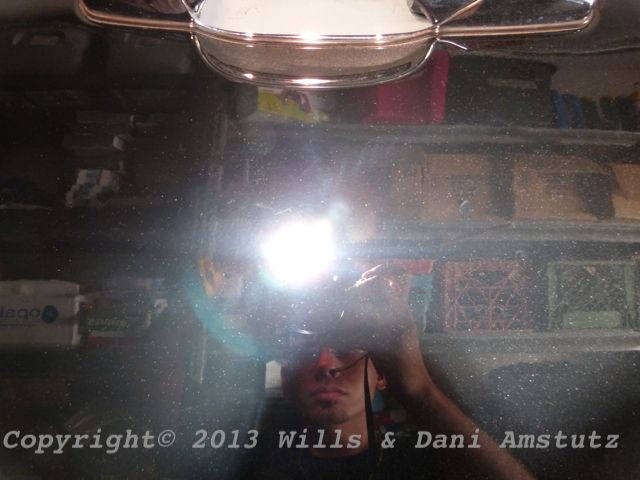
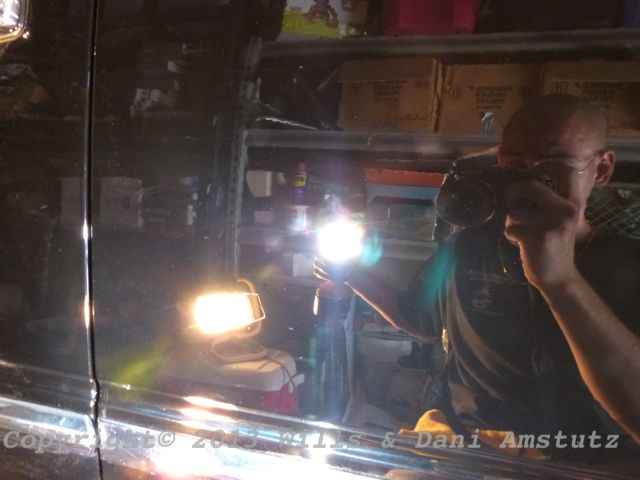
Here is a quick idea of what i mean:
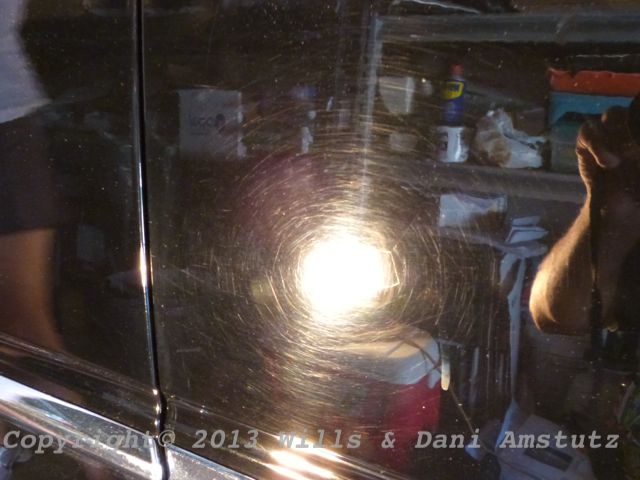
Thats just to hold your attention for now. Before we got to even considering correcting the paint...we had a lot of cleaning to do. And again, this was during the middle of the summer in Arizona, where we were working it 110+ degrees. Over the next two days, the two of us would be removing bug, grime, road paint, DEEP swirls & scratches, and 100's of water spots that covered the entire roof.
Our client (my sisters Orthodontist actually) had just purchased this big baby used. And while the previous owner took good care of the inside, they did NOT know what they were doing with the outside.
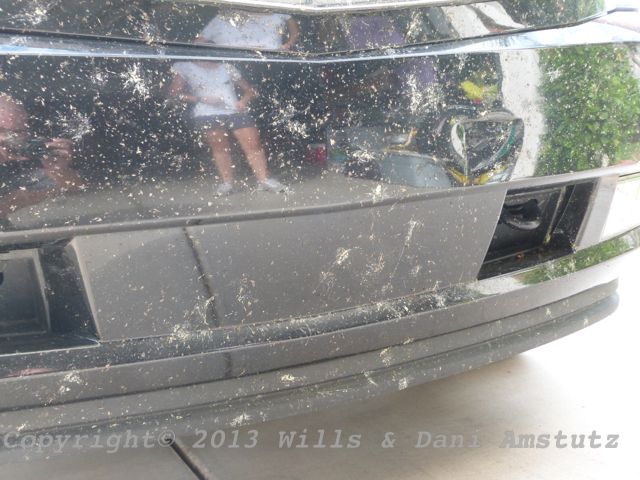
Cactus...CACTUS is what came to mind when we saw the paint, because it looked like it had been driven though it, literally. On top of that, well...there were the bugs:
Yeah, the bugs were well...plentiful.
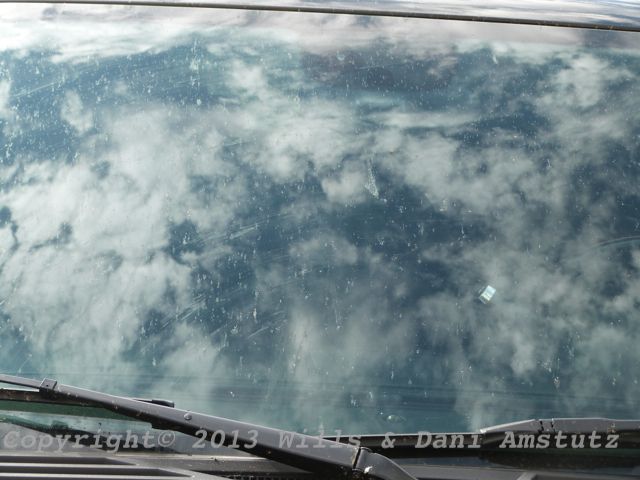
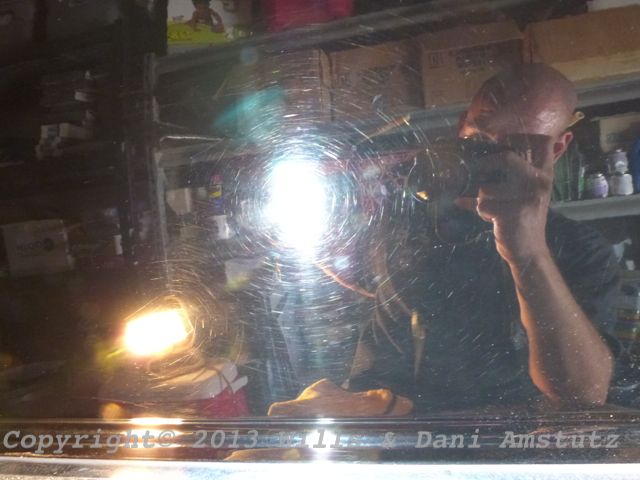
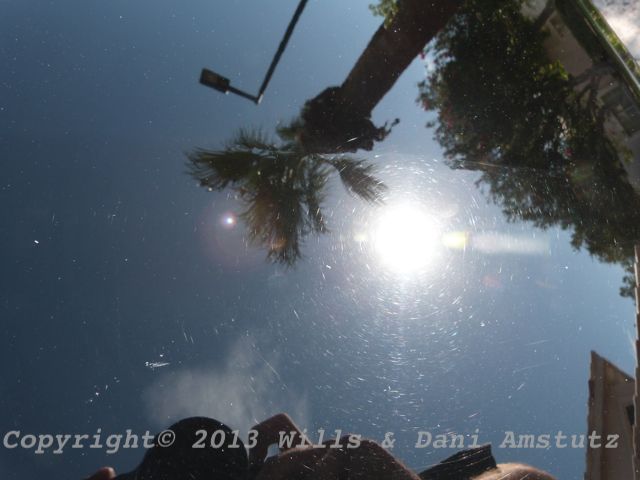
Even the windshield was splattered:
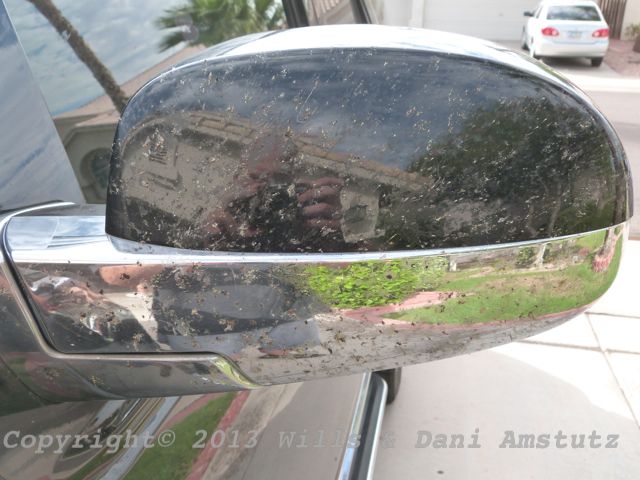
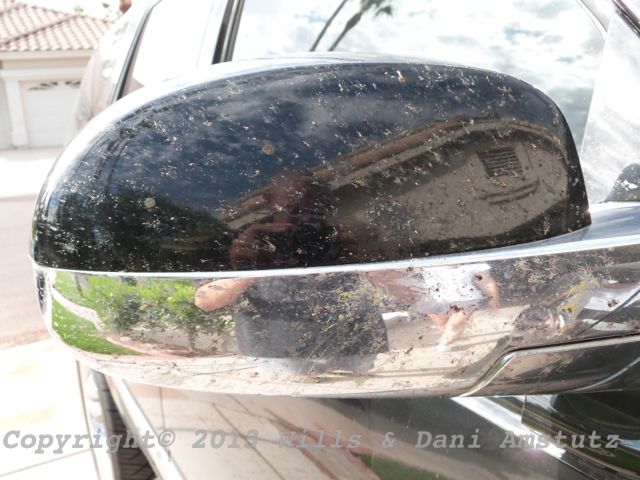
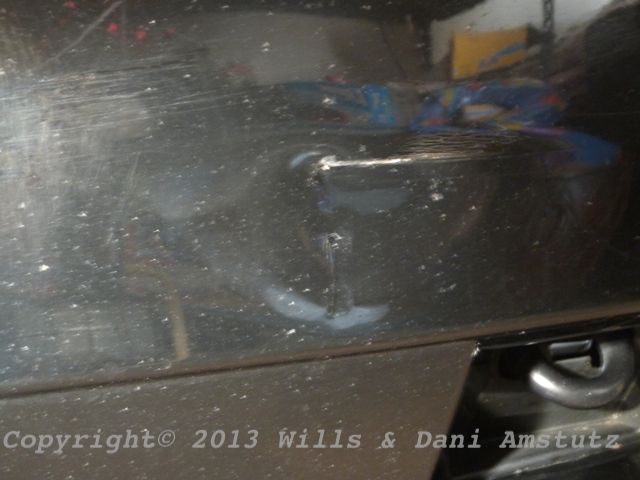
The side mirrors...
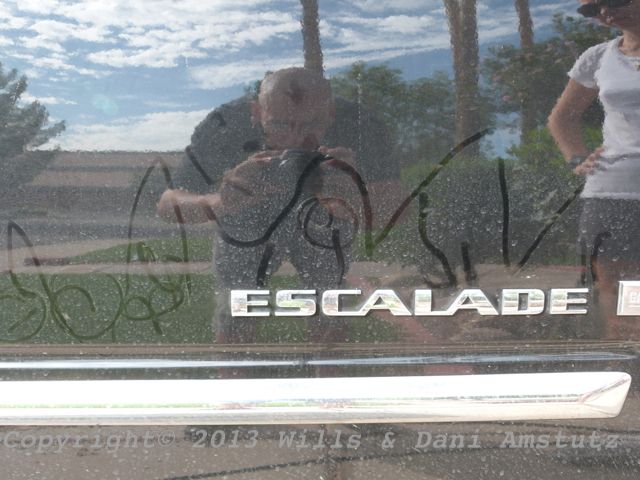
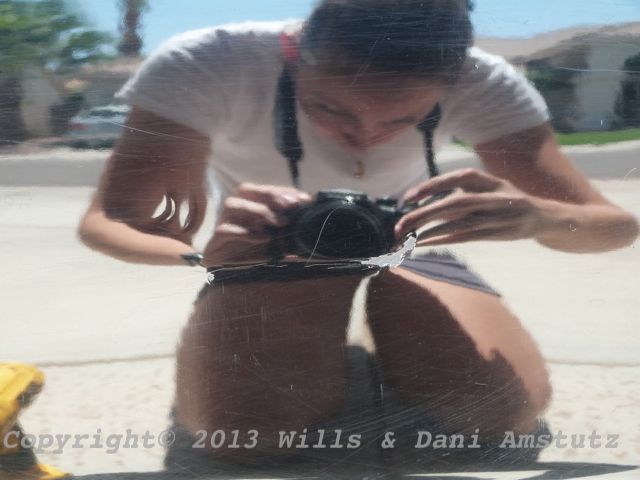
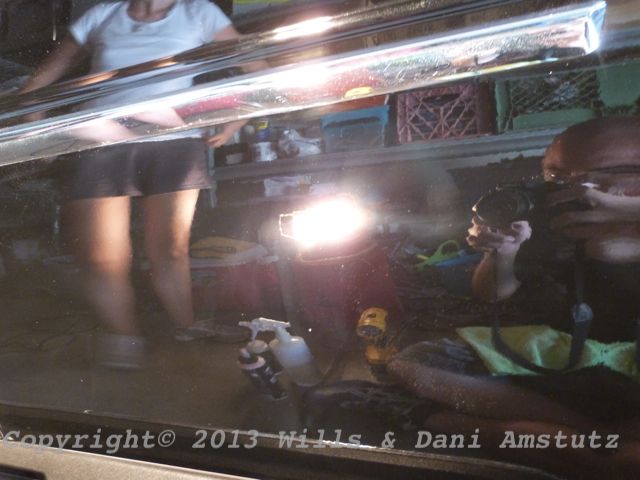
Oh and i forgot, the writing on the paint....you can tell by the pose my sister is striking that she was NOT happy about this. She wasn't shy about what she felt when she saw that lol:
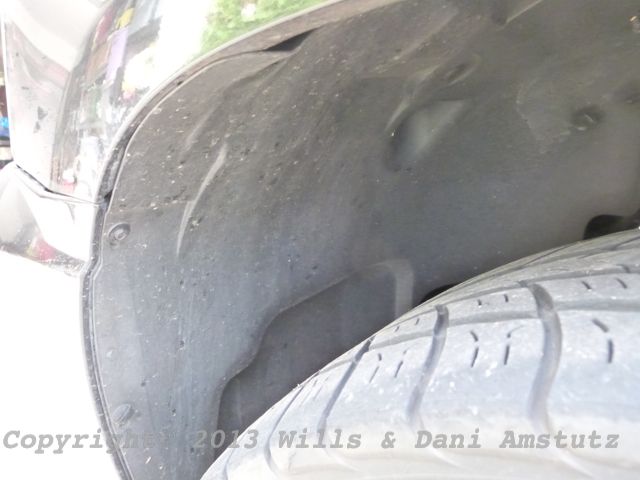
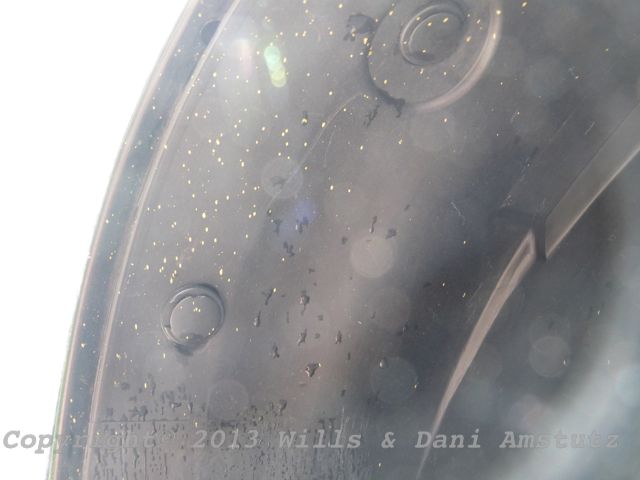
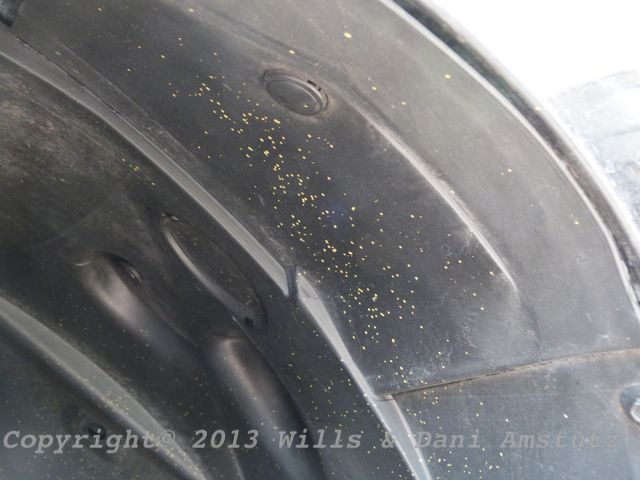
The wheel wells were as dry as the desert we were working in...I dont think they'd ever seen dressing or anything resembling it:
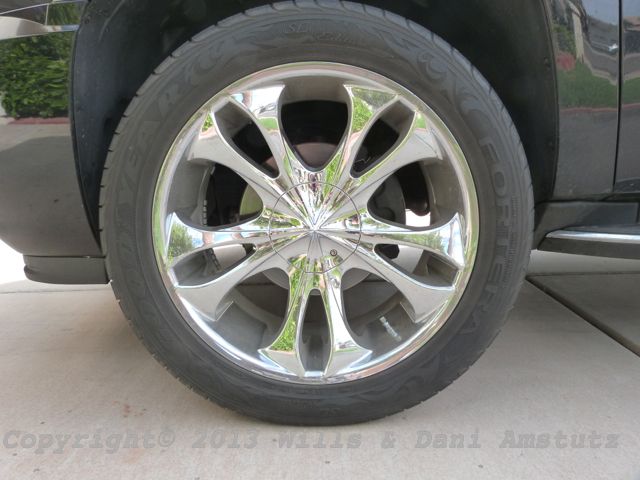
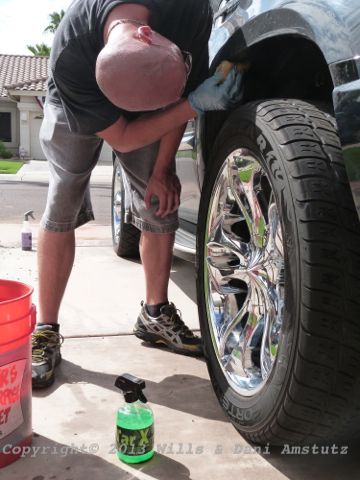
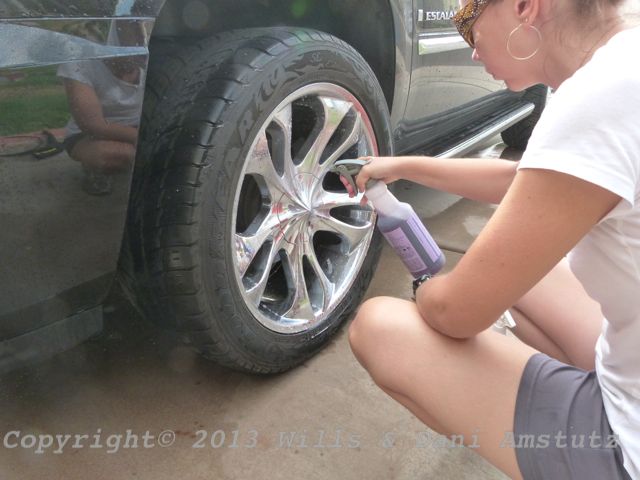
The tires were dry as a bone too, the rims...quite filthy and HUGE:
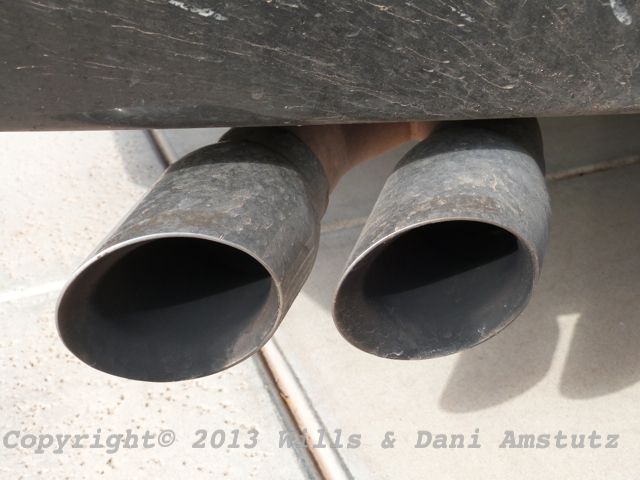
The exhaust tips...yeah well...I'm sure you can guess:
And the road paint...yeah don't forget that:
Of course it had to get slung ALLLLLL the way to the back of the wheel well:
Tar-X, a bug sponge and a lot of elbow grease was needed to remove this, but it was ALL removed. Tar-X actually worked quite well in this circumstance to remove the paint splatter...but it was difficult to keep the Tar-X from drying to the plastic, so constant re-wetting was needed. Eventually though, it was all removed.
After hanging upside down for a while all the blood started to rush to my head lol...can you tell from the big vein popping out!
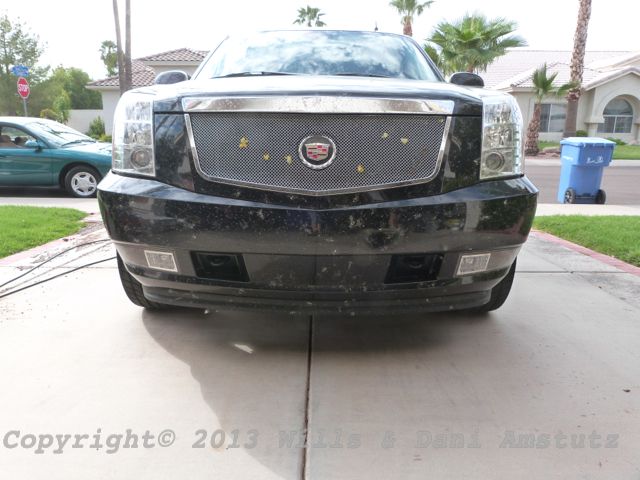
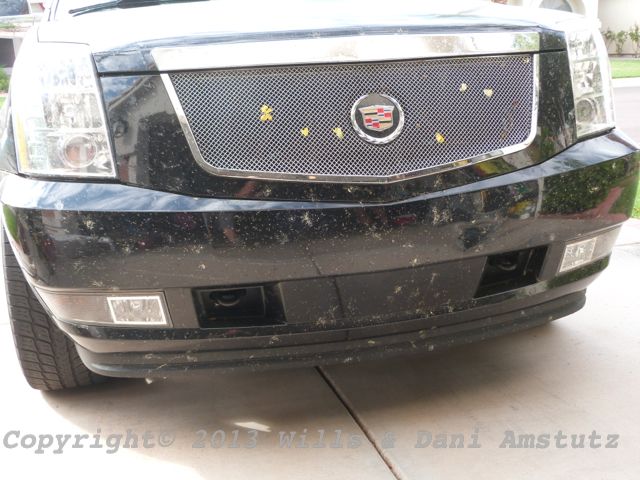
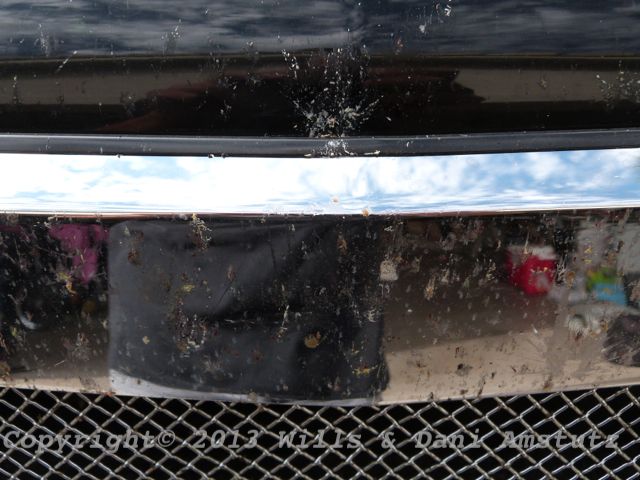
There was some damage that was beyond our repair, but it was segregated to the front bumper mostly:
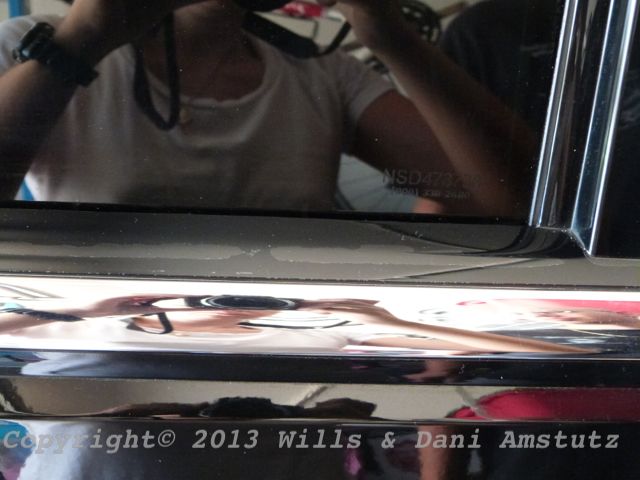
And unfortunately the clear coated hard trim around the windows had begun to flake away as well:
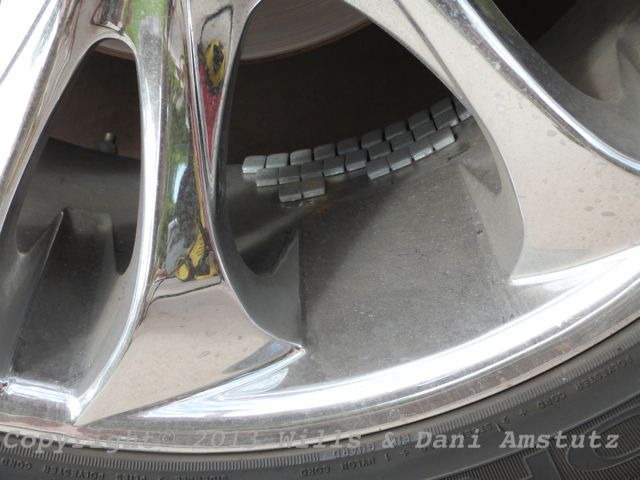
Then for the nasty rims, lots of cleaner was needed to rid of all the brake dust and grime that had been baked on:
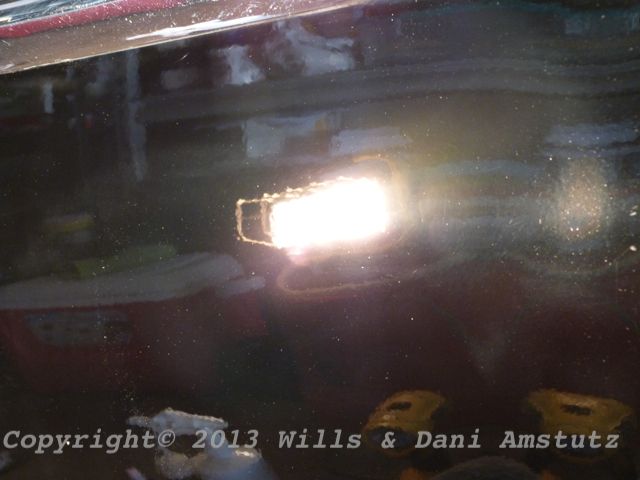
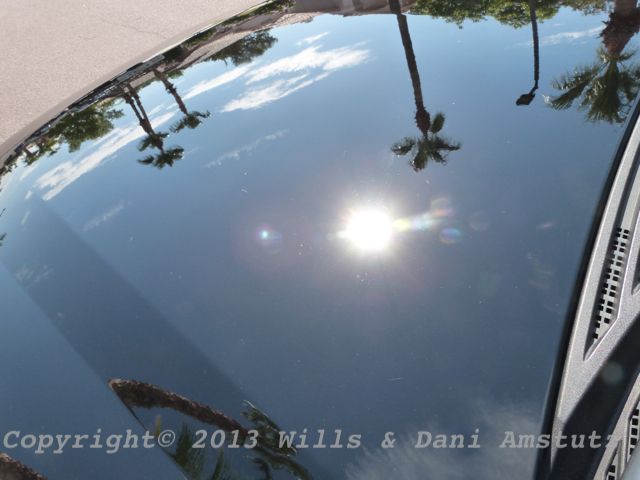
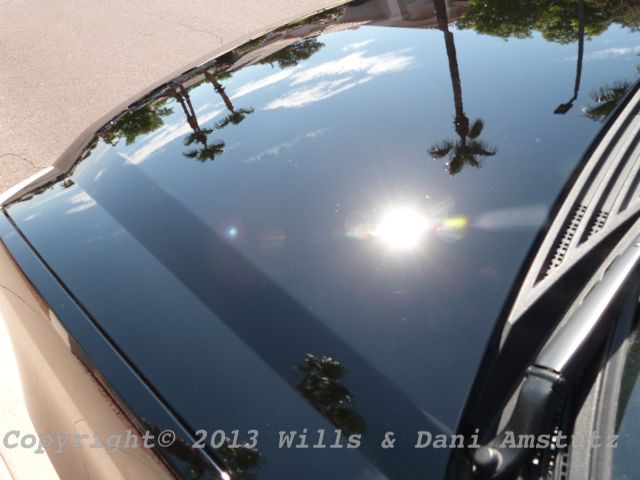
And then the water spots. The hood had some, but was nothing compared to the roof (pics of that to come soon)
After washing, removing the bugs, the paint splatter, the God knows what on the rims and tires...we pulled it in and clayed it. Of course there was still plenty of bonded contaminants left on the paint, but the clay helped to smooth it out. After that though, it was time to address the bigger issues...the swirls:
I'd just like to take a moment to say....FML! Thank you and please, enjoy the rest of the write-up.
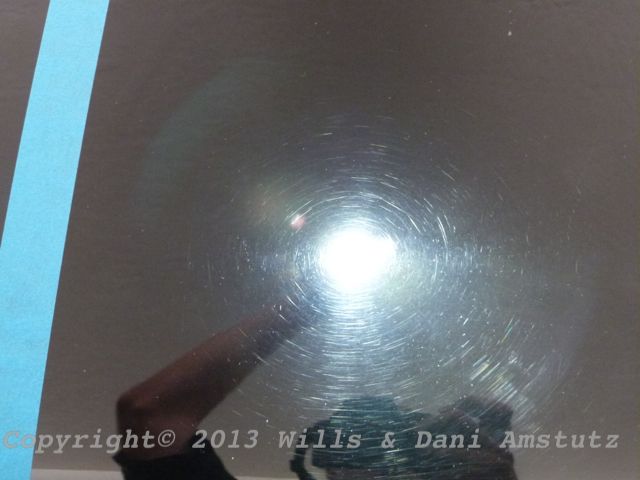
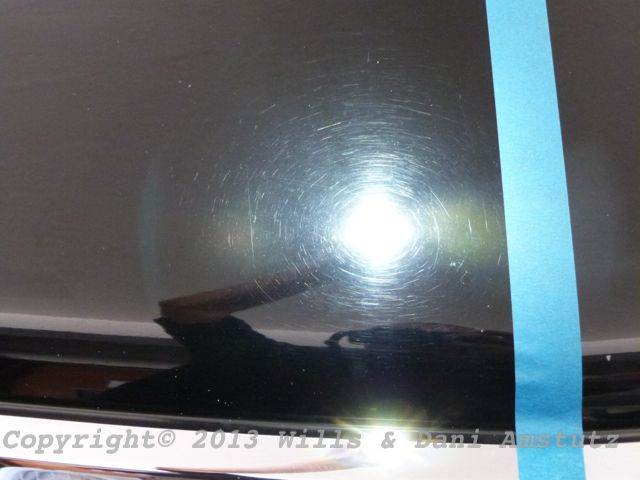
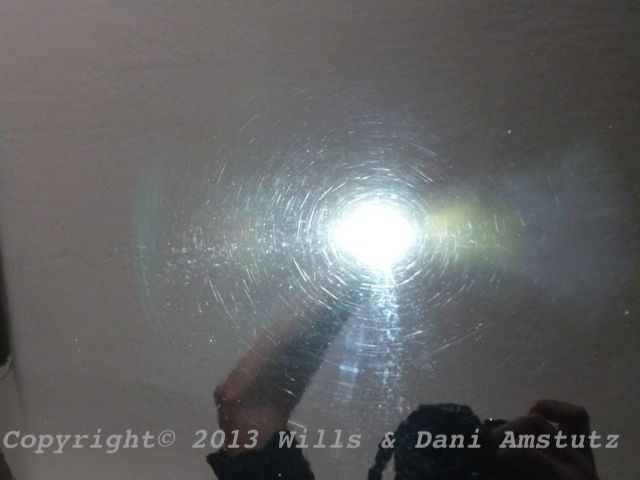
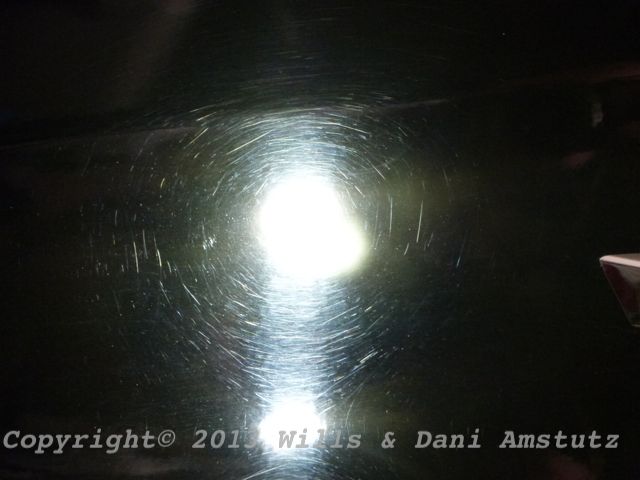
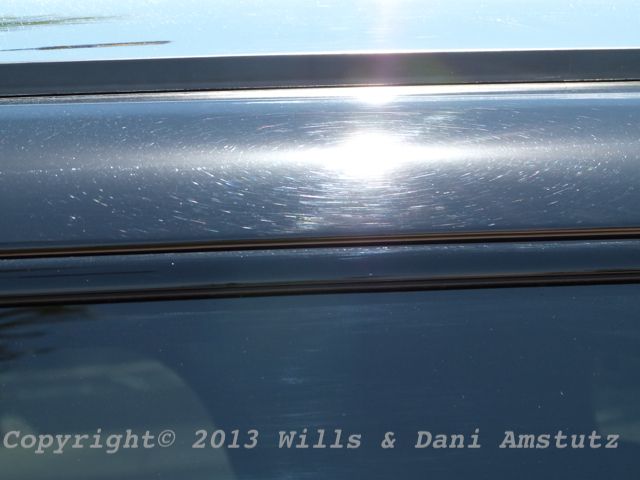
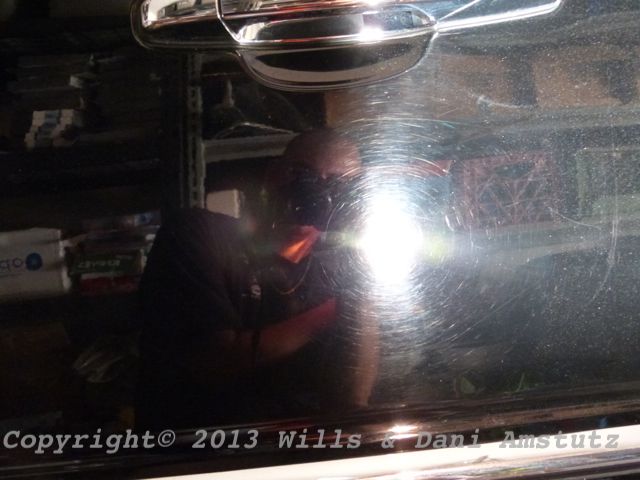
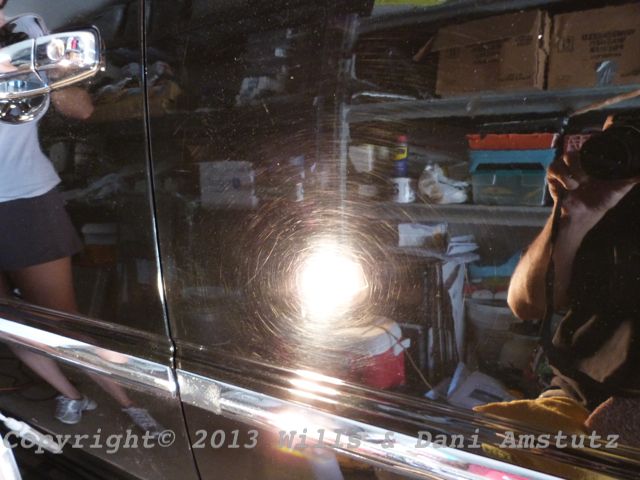
Light source didn't matter as you can see above. LED light, Sun Gun, or the direct sunlight...it was HAMMERED in any and every light.
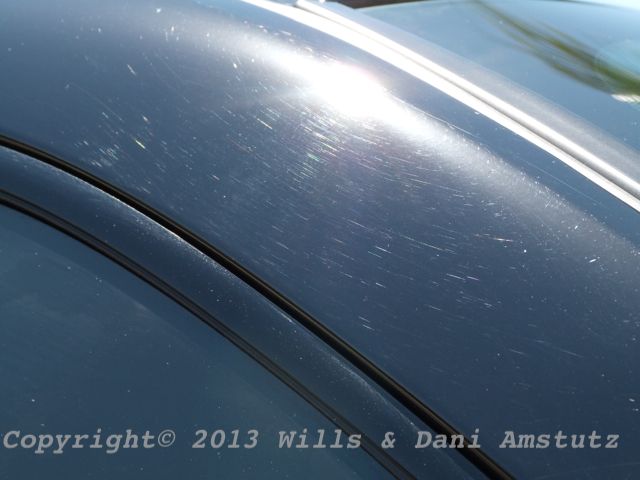
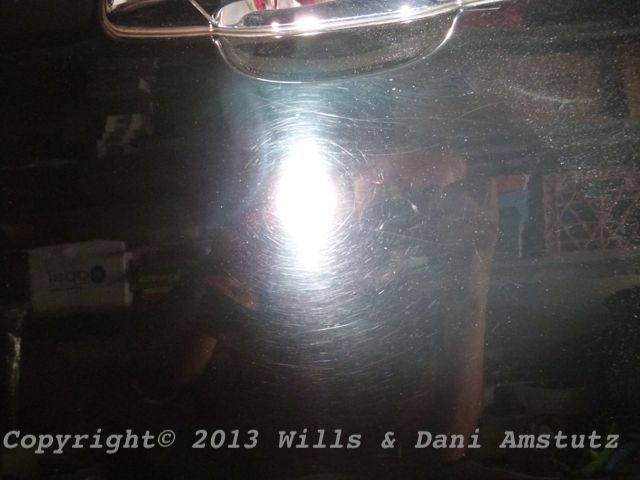
There were some deep ones too, as seen here:

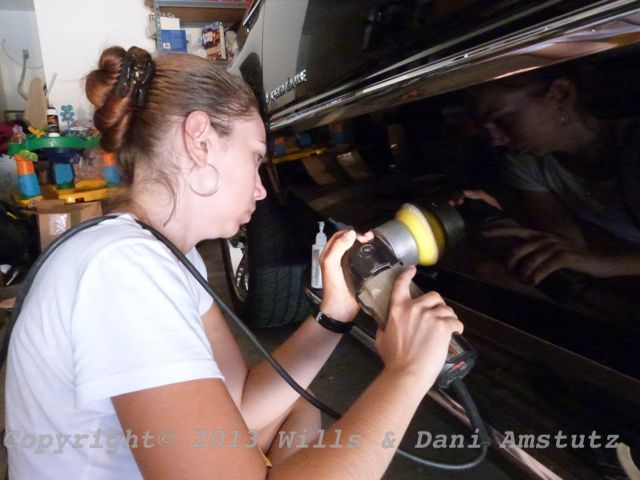
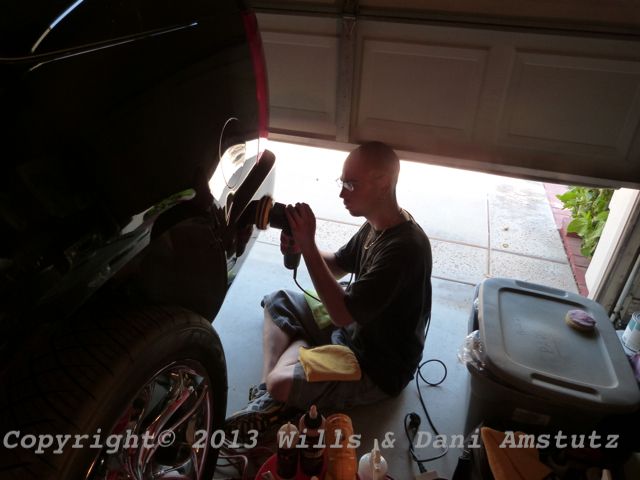
It was time for the test spot. Tape line down the center of the hood and then it was time to break out the big guns:
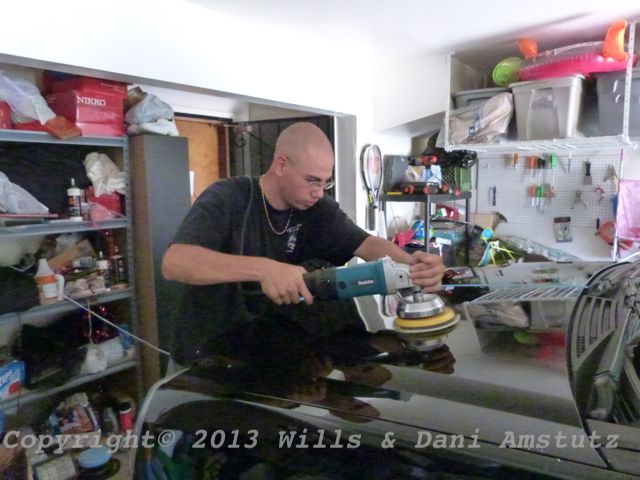
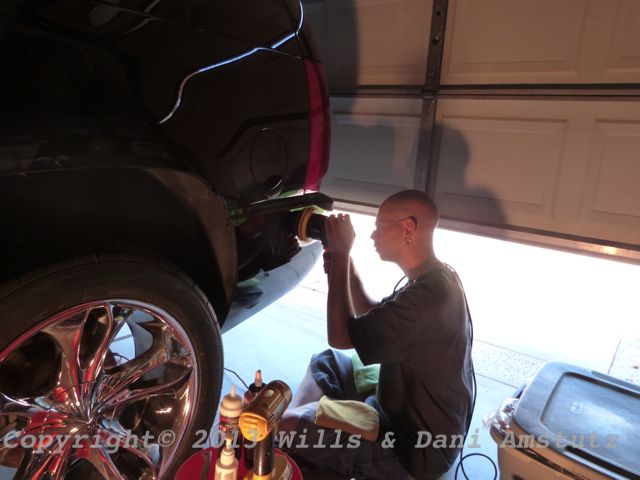
While the bigger 6" pad was nice to work with on the hood...it wasn't giving the cut we needed on the vertical panels. We had to kick it back down to the 5.5" pads we usually use to help concentrate the cut.

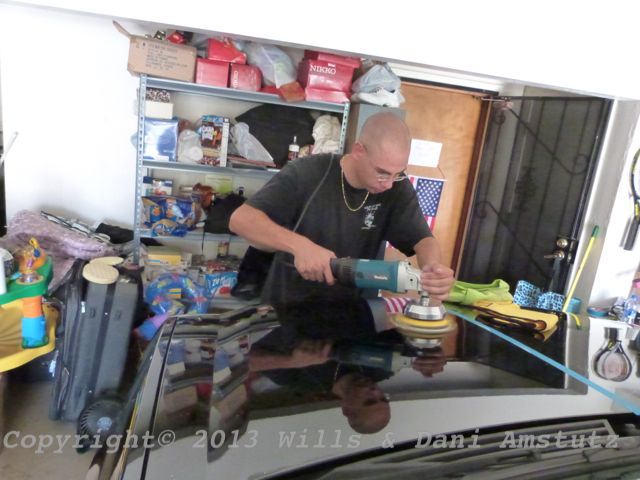
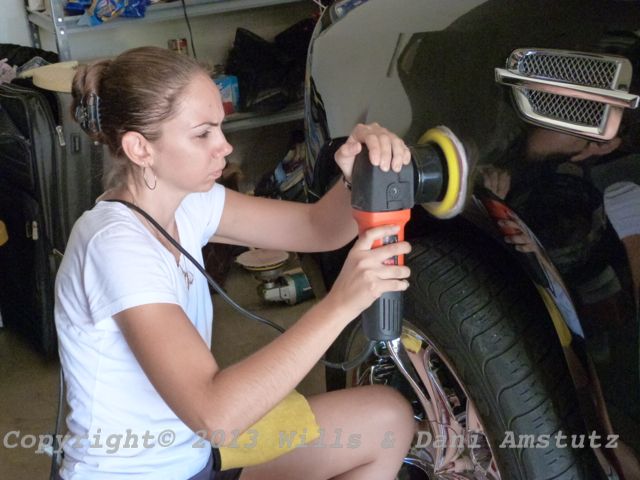
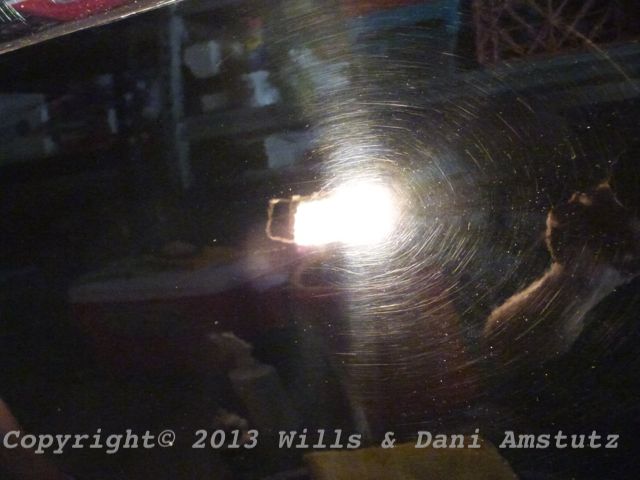
Concentration:
Slow passes, and MULTIPLE passes were needed to get the cut we were looking for, but slowly we were, section by section, taking a wreck like this:
And cutting it down to this:
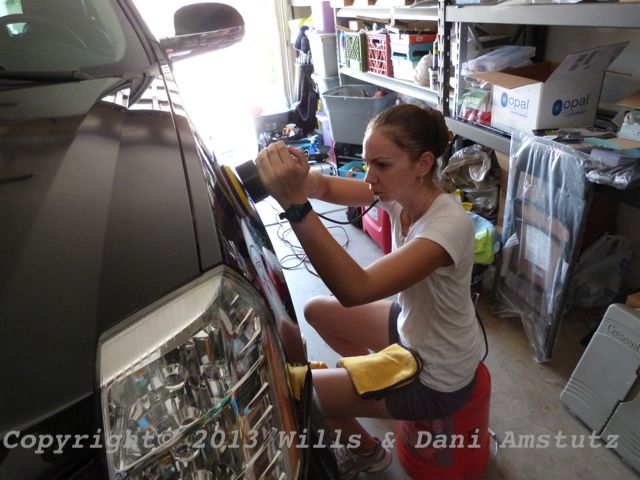
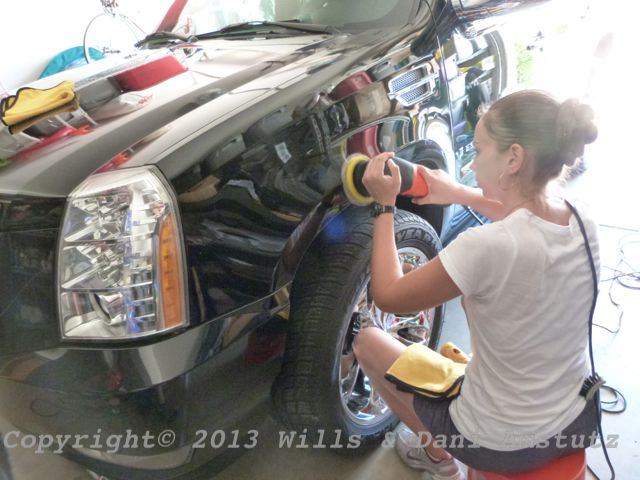
Lower areas required a smaller pad. While the 5.5" would fit just fine...again...it wasn't giving the cut needed on the edges coming out about 3" or so. Plus the fact that the lower panels were EXTREMELY bad..even compared to the rest of the vehicle, the small pad was needed to really give a heavy cut on those deeper swirls.
Left side done, right side not:
And then, the full area done:
Yes, slowly but surely, we were winning. It was taking a LOT of work, even MORE patience and every bit of know how we had to get this paint to this point....but it was happening. The first day we didn't even polish, we just cut and cut and cut some more...we were trying to get this thing as close to perfect as possible. We both lost about 5 lbs during these 2 days just from how much we were sweating in that garage. Most of the time with the door closed and a hot halogen at our back.
As soon as we'd get one section looking awesome, we were faced with more of this:
Do you see why all i could think was "CACTUS!"
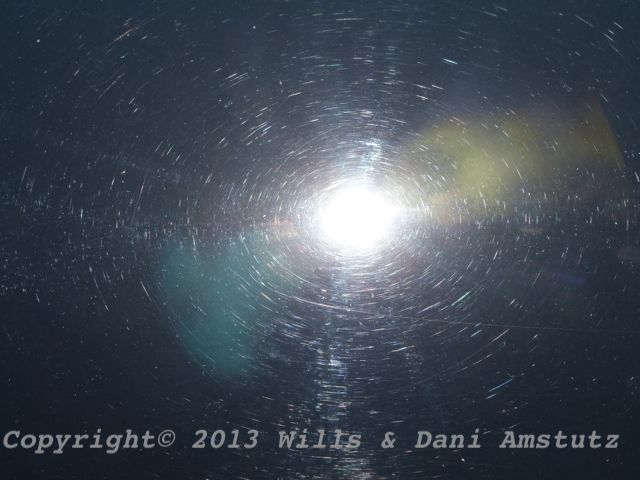
LED lighting just amplified how bad it was:
But, like i said...we were winning:
When i said this was a fight, thats no exaggeration. On a job like this when you are facing paint in THIS bad of shape, with temperatures as extreme as these were, with THIS much real-estate to cover...thoughts can try to creep into your head like "Thats good enough" or "NO ONE but us will ever see this area, a few deeper scratches left won't ruin the job." Any honest detailer will tell you he/she has faced those thoughts...but a determined mind set and dedication to the job at hand is more important than any product, machine, tool, camera, picture or anything else. Its about the job...its about doing what you said you'd do...so you go over that "good enough" panel again to get it better...even if its just an extra 4-5% better...its still what needs to be done. And if we were able to get it better, thats just what we did.
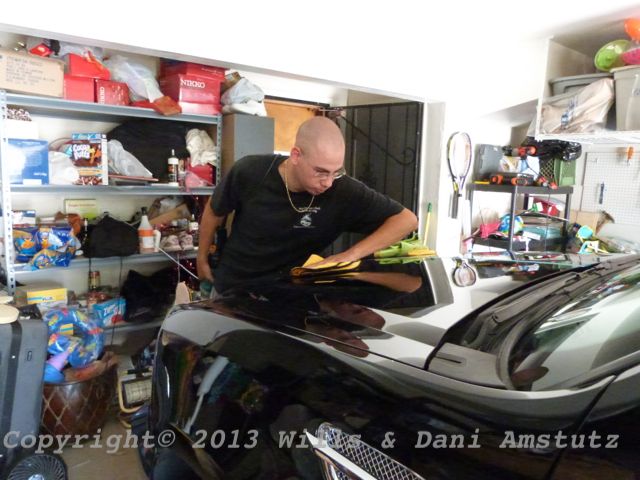
Top to bottom:
Why? Cause of this:

Because we took this:
And made it this:

This SUV....this SUV was special. Special in that - it's paint was more destroyed than any other vehicle we worked on at that point. Then factor in that it was black...HUGE, and it was done in the middle of summer in Arizona - well, you have one hell of a detail on your hands. This was a sink or swim kind of detail...it was either going to be an incredible turn around...or a fail.
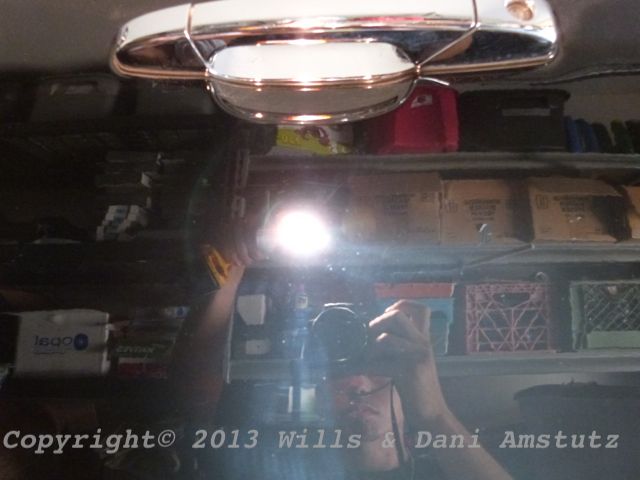
Here is a quick idea of what i mean:

Thats just to hold your attention for now. Before we got to even considering correcting the paint...we had a lot of cleaning to do. And again, this was during the middle of the summer in Arizona, where we were working it 110+ degrees. Over the next two days, the two of us would be removing bug, grime, road paint, DEEP swirls & scratches, and 100's of water spots that covered the entire roof.
Our client (my sisters Orthodontist actually) had just purchased this big baby used. And while the previous owner took good care of the inside, they did NOT know what they were doing with the outside.
Cactus...CACTUS is what came to mind when we saw the paint, because it looked like it had been driven though it, literally. On top of that, well...there were the bugs:

Yeah, the bugs were well...plentiful.


Even the windshield was splattered:


The side mirrors...


Oh and i forgot, the writing on the paint....you can tell by the pose my sister is striking that she was NOT happy about this. She wasn't shy about what she felt when she saw that lol:

The wheel wells were as dry as the desert we were working in...I dont think they'd ever seen dressing or anything resembling it:

The tires were dry as a bone too, the rims...quite filthy and HUGE:


The exhaust tips...yeah well...I'm sure you can guess:

And the road paint...yeah don't forget that:


Of course it had to get slung ALLLLLL the way to the back of the wheel well:
Tar-X, a bug sponge and a lot of elbow grease was needed to remove this, but it was ALL removed. Tar-X actually worked quite well in this circumstance to remove the paint splatter...but it was difficult to keep the Tar-X from drying to the plastic, so constant re-wetting was needed. Eventually though, it was all removed.
After hanging upside down for a while all the blood started to rush to my head lol...can you tell from the big vein popping out!

There was some damage that was beyond our repair, but it was segregated to the front bumper mostly:


And unfortunately the clear coated hard trim around the windows had begun to flake away as well:

Then for the nasty rims, lots of cleaner was needed to rid of all the brake dust and grime that had been baked on:

And then the water spots. The hood had some, but was nothing compared to the roof (pics of that to come soon)

After washing, removing the bugs, the paint splatter, the God knows what on the rims and tires...we pulled it in and clayed it. Of course there was still plenty of bonded contaminants left on the paint, but the clay helped to smooth it out. After that though, it was time to address the bigger issues...the swirls:


I'd just like to take a moment to say....FML! Thank you and please, enjoy the rest of the write-up.


Light source didn't matter as you can see above. LED light, Sun Gun, or the direct sunlight...it was HAMMERED in any and every light.

There were some deep ones too, as seen here:


It was time for the test spot. Tape line down the center of the hood and then it was time to break out the big guns:


While the bigger 6" pad was nice to work with on the hood...it wasn't giving the cut we needed on the vertical panels. We had to kick it back down to the 5.5" pads we usually use to help concentrate the cut.


Concentration:

Slow passes, and MULTIPLE passes were needed to get the cut we were looking for, but slowly we were, section by section, taking a wreck like this:


And cutting it down to this:


Lower areas required a smaller pad. While the 5.5" would fit just fine...again...it wasn't giving the cut needed on the edges coming out about 3" or so. Plus the fact that the lower panels were EXTREMELY bad..even compared to the rest of the vehicle, the small pad was needed to really give a heavy cut on those deeper swirls.

Left side done, right side not:


And then, the full area done:


Yes, slowly but surely, we were winning. It was taking a LOT of work, even MORE patience and every bit of know how we had to get this paint to this point....but it was happening. The first day we didn't even polish, we just cut and cut and cut some more...we were trying to get this thing as close to perfect as possible. We both lost about 5 lbs during these 2 days just from how much we were sweating in that garage. Most of the time with the door closed and a hot halogen at our back.
As soon as we'd get one section looking awesome, we were faced with more of this:

Do you see why all i could think was "CACTUS!"
LED lighting just amplified how bad it was:

But, like i said...we were winning:

When i said this was a fight, thats no exaggeration. On a job like this when you are facing paint in THIS bad of shape, with temperatures as extreme as these were, with THIS much real-estate to cover...thoughts can try to creep into your head like "Thats good enough" or "NO ONE but us will ever see this area, a few deeper scratches left won't ruin the job." Any honest detailer will tell you he/she has faced those thoughts...but a determined mind set and dedication to the job at hand is more important than any product, machine, tool, camera, picture or anything else. Its about the job...its about doing what you said you'd do...so you go over that "good enough" panel again to get it better...even if its just an extra 4-5% better...its still what needs to be done. And if we were able to get it better, thats just what we did.

Top to bottom:

Why? Cause of this:

Because we took this:

And made it this:


") .
.