Todd@RUPES
Just a regular guy
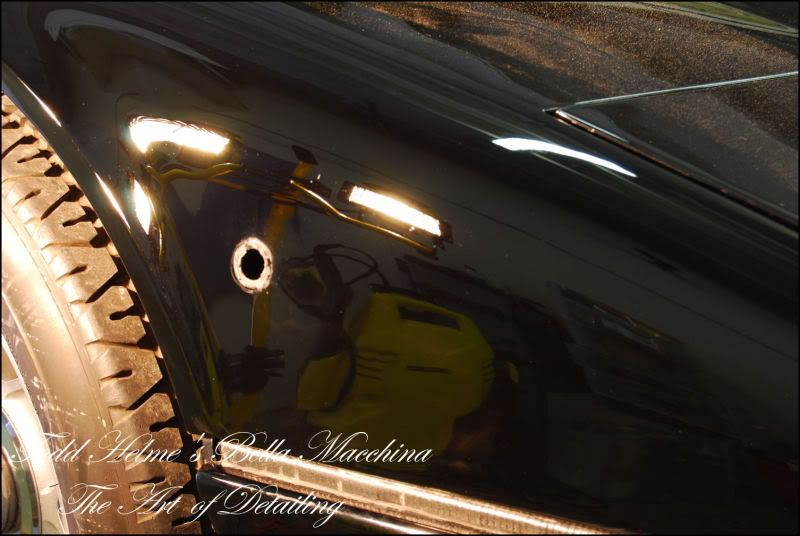
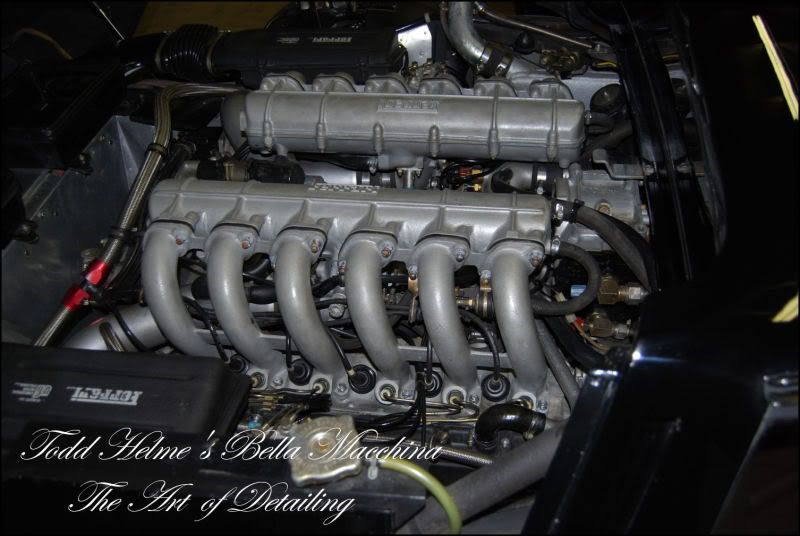
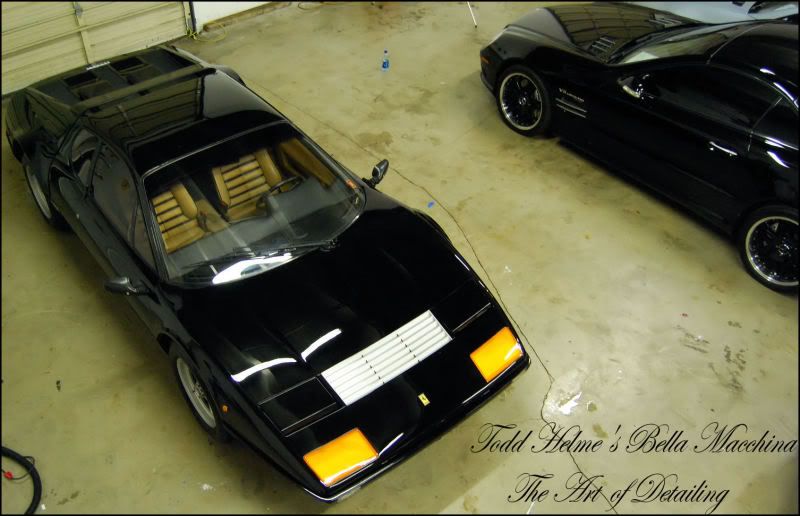
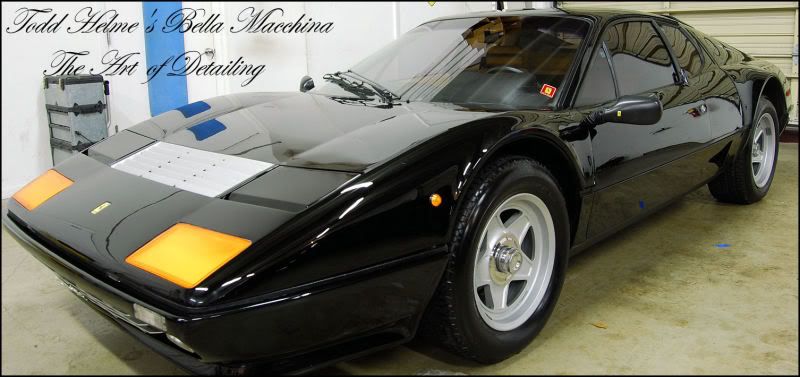
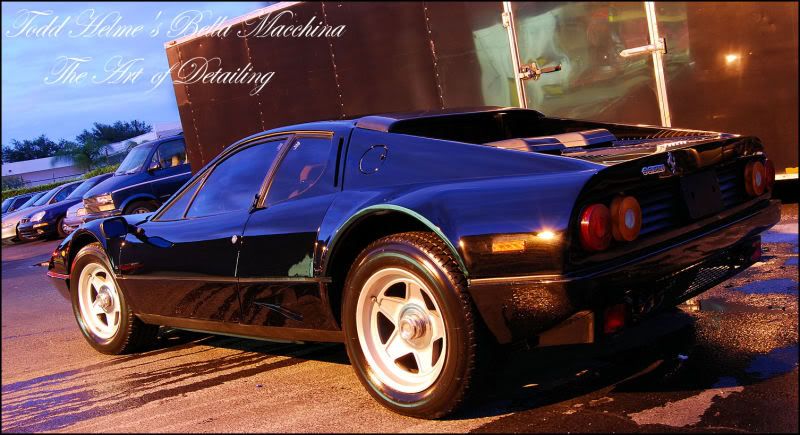
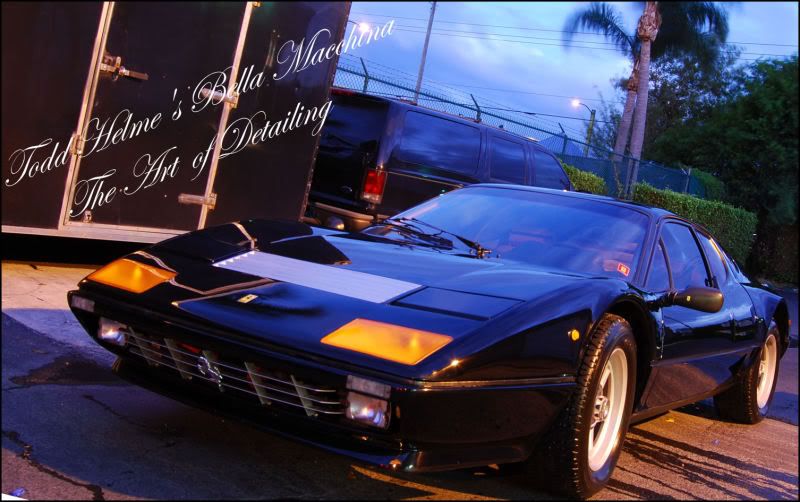
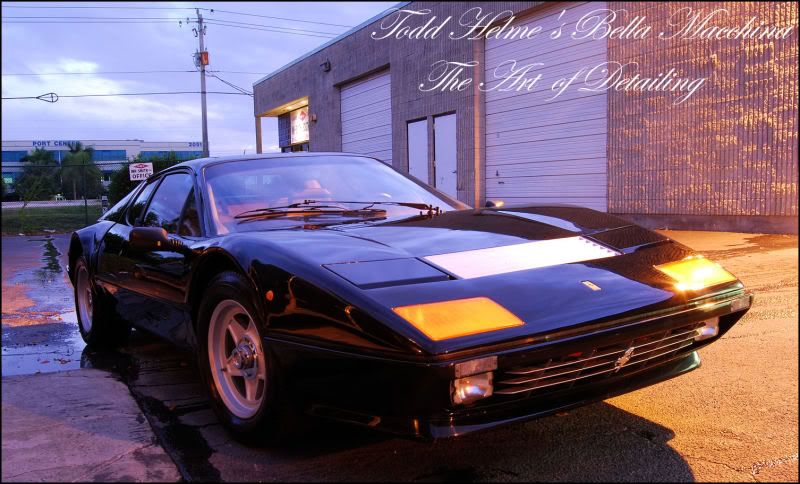
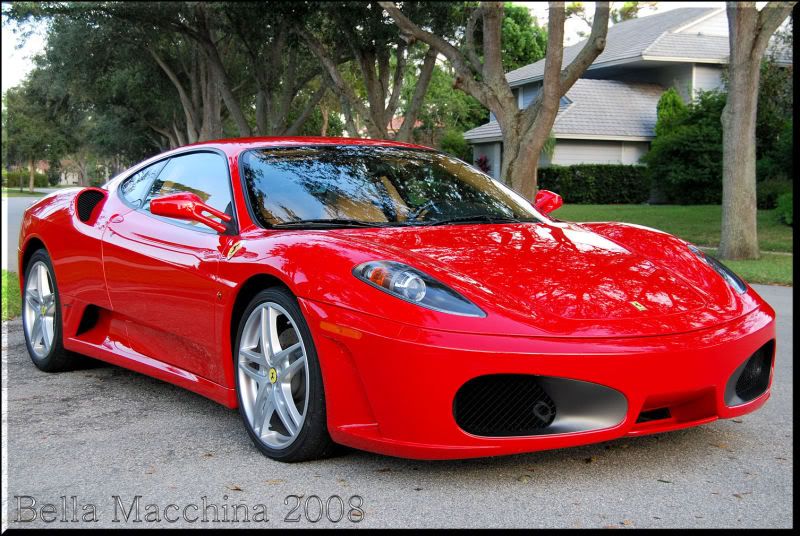
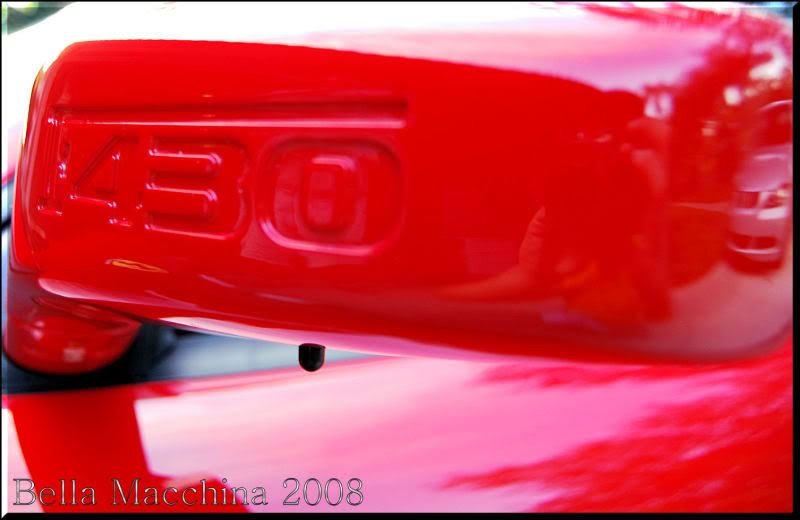
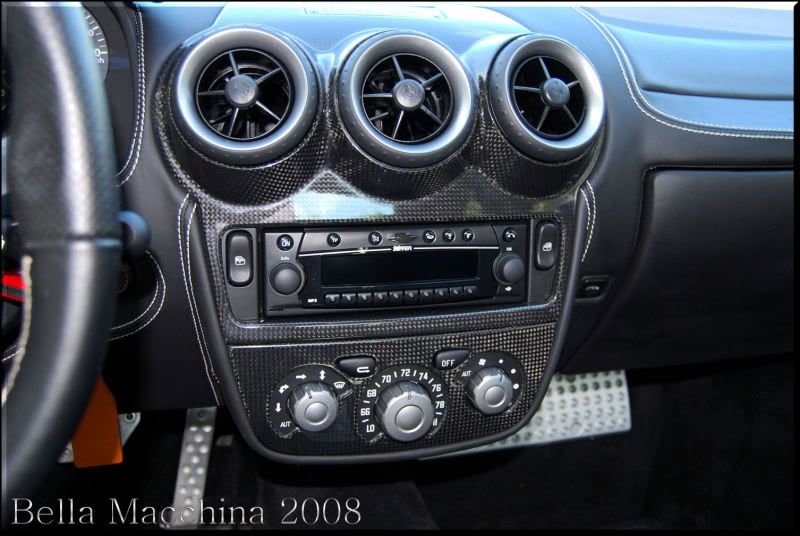
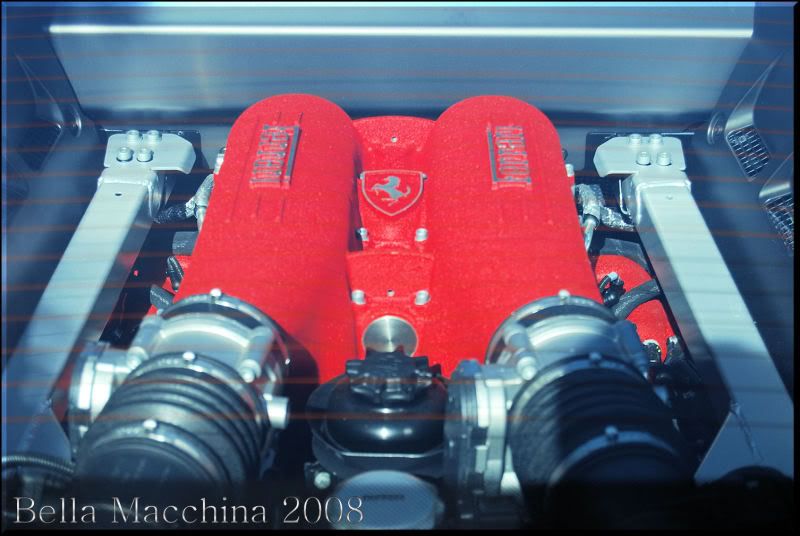
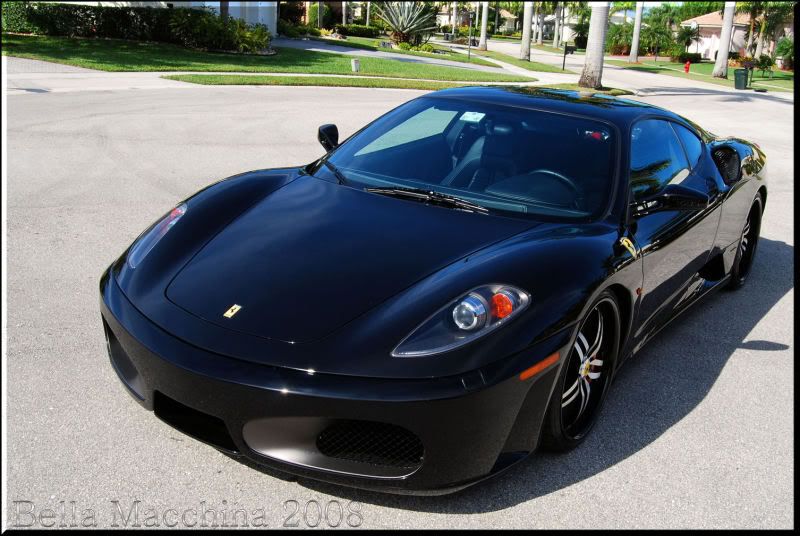
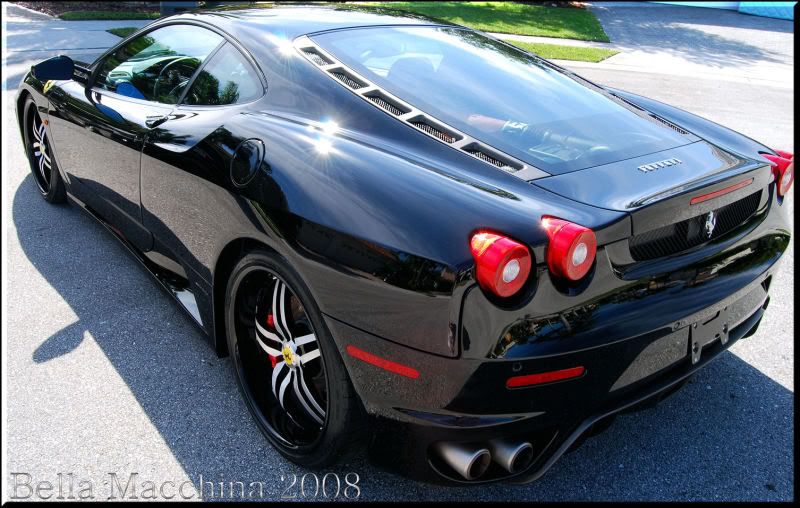
In 1984 Ferrari rolled out the last of its ‘hand built’ road cars ending a tradition started when Enzo Ferrari would fix the bodies of his Alfa race cars. The 1984 512 BBi (Boxer Berlinetta injection) was the last car beat into existence by Italian craftsman working with dollies and hammers. If you imagine the scene you can almost hearing Enzo screaming in the background.
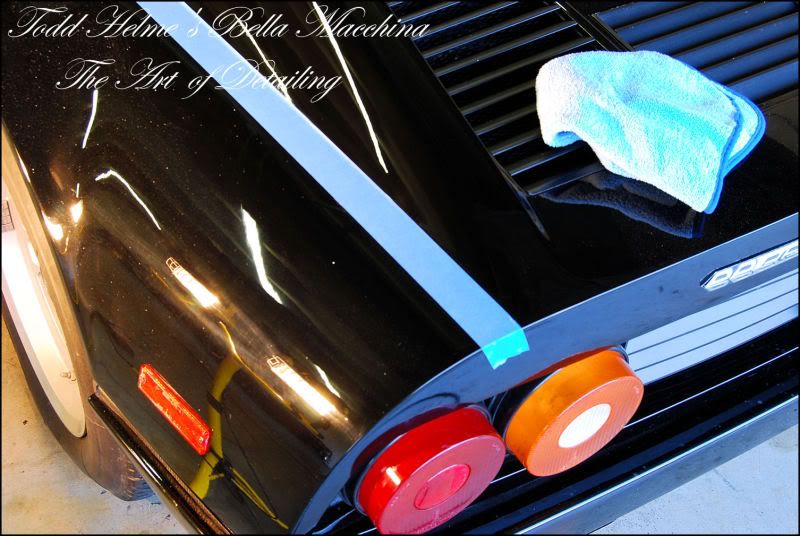
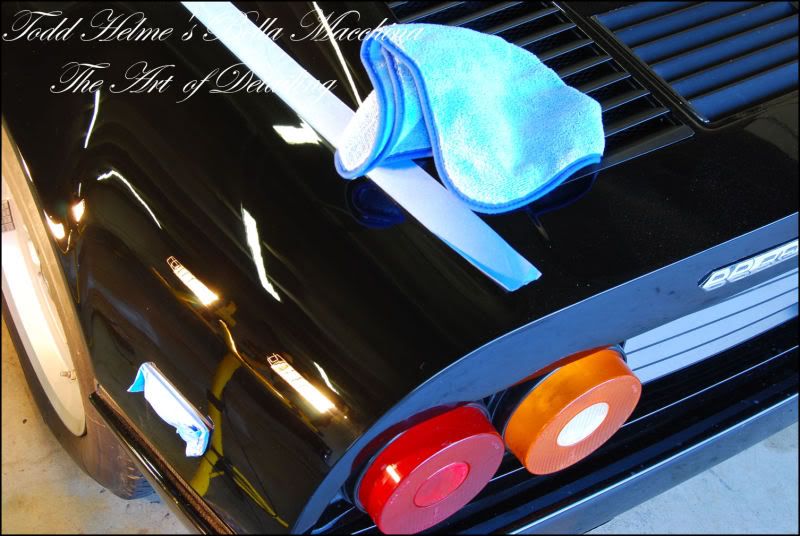
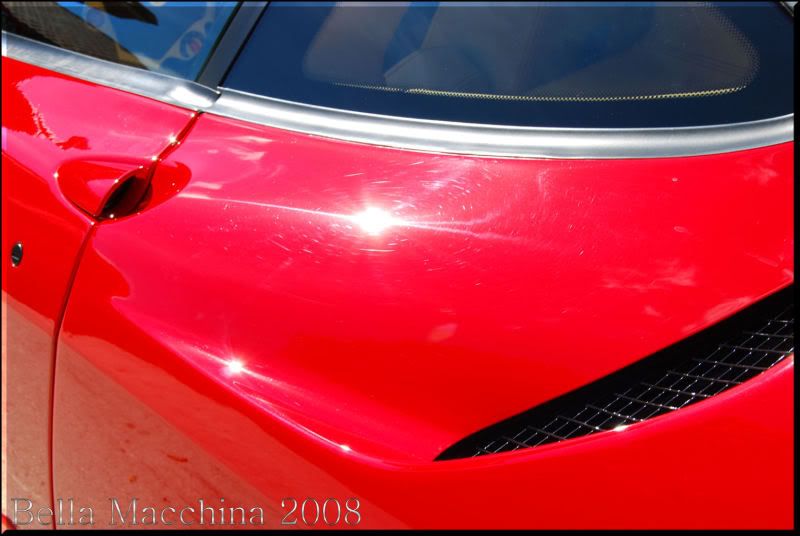
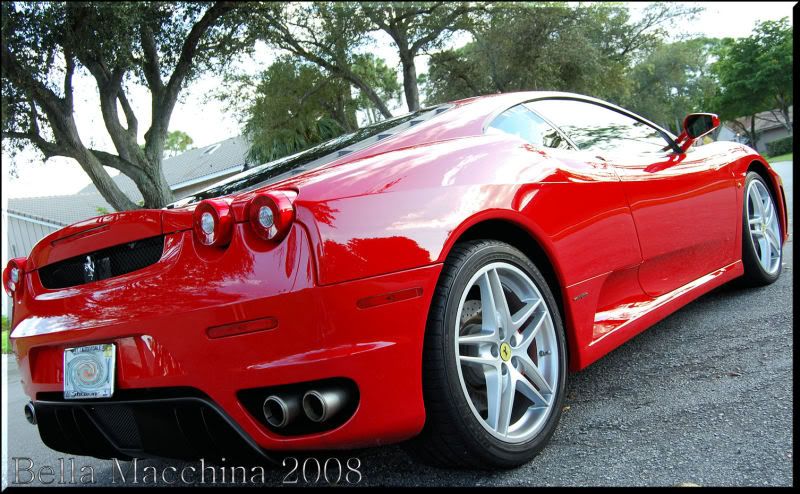
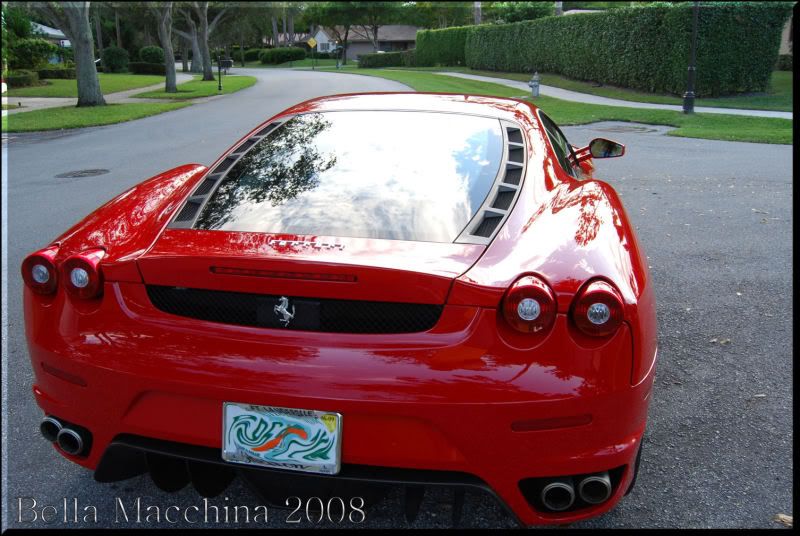
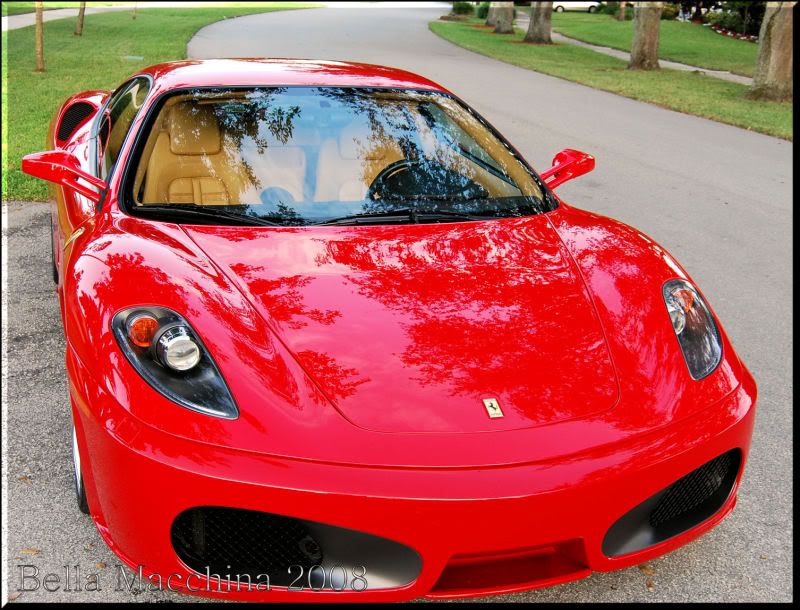
This particular car was in terrible shape, covered in scratches, swirl marks, acid rain damage, rain etching, and a fine blanket of white overspray… Luckily Brian Brice was able to corridinate his schedule and able to lend a much needed hand on this Boxer.
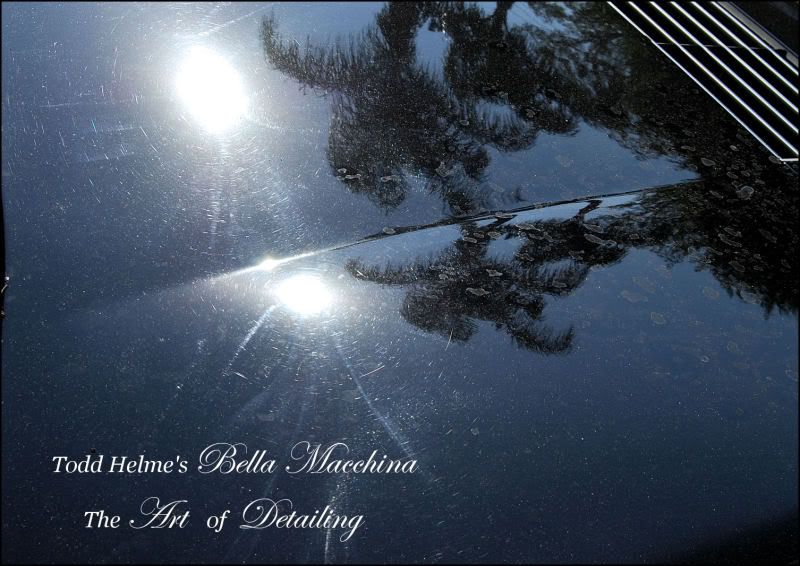
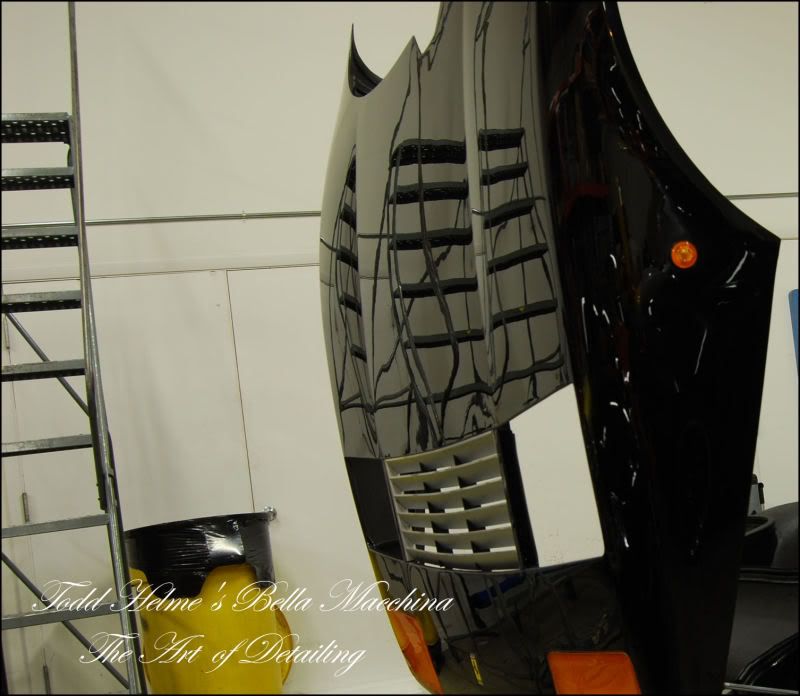
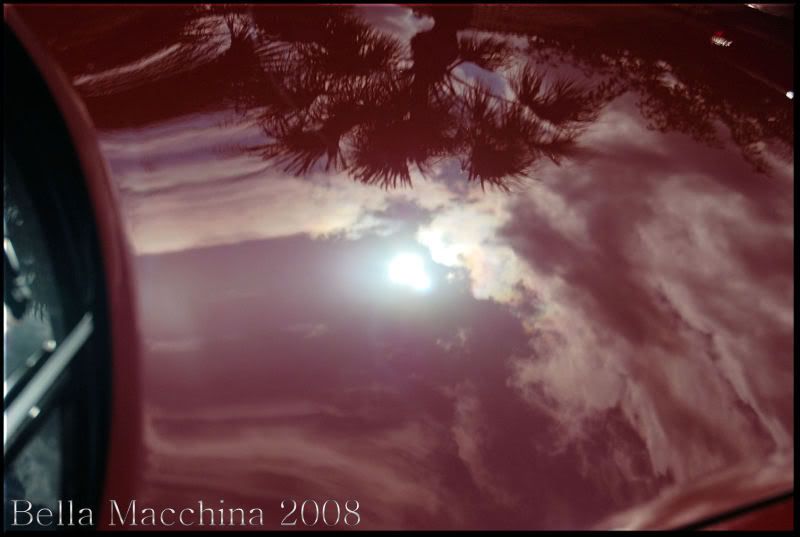
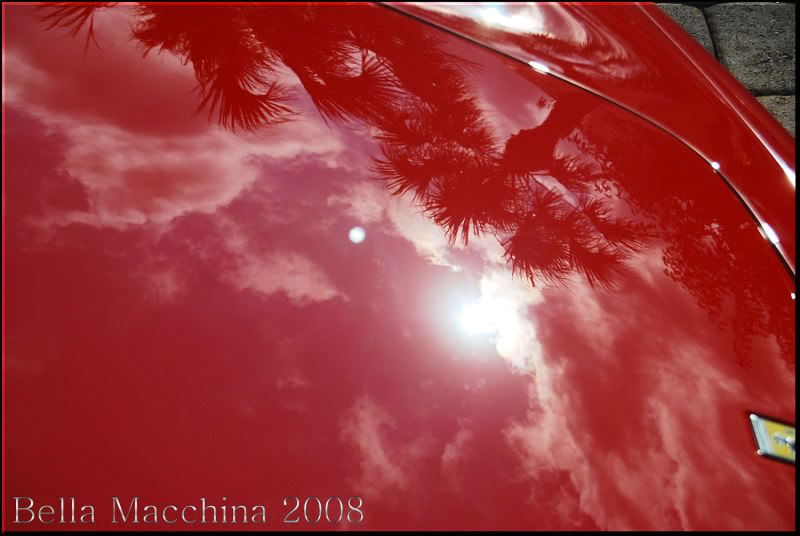
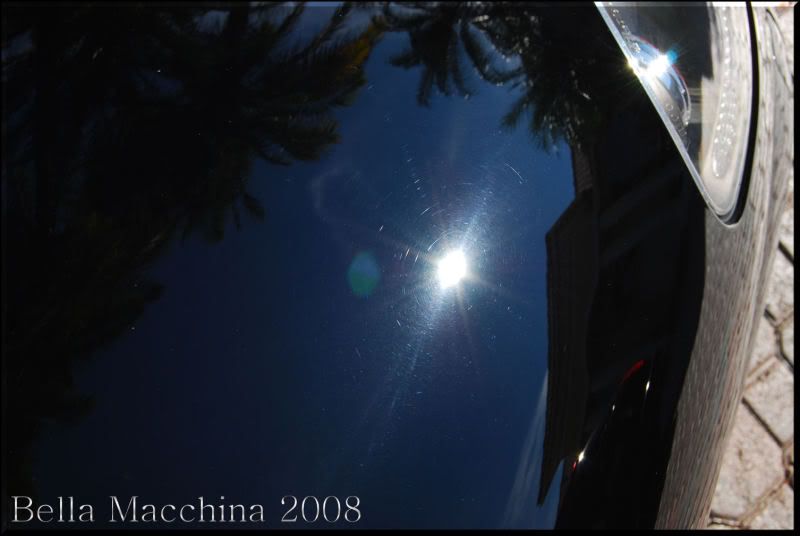
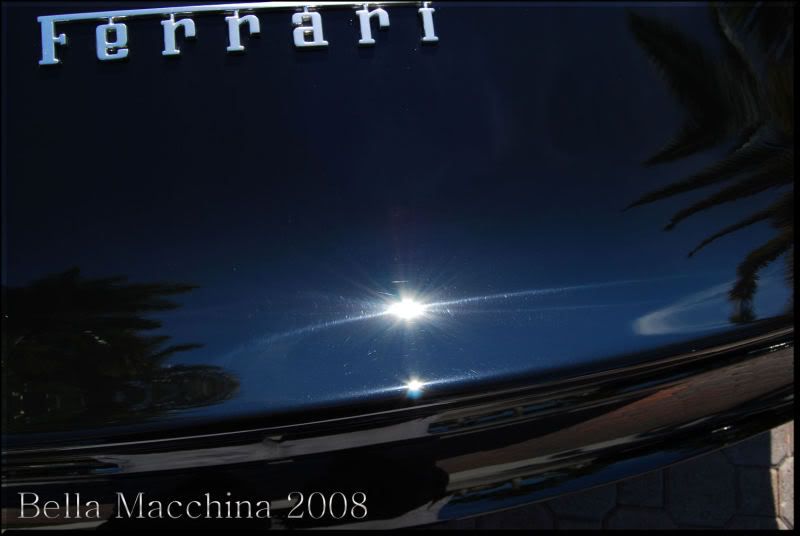
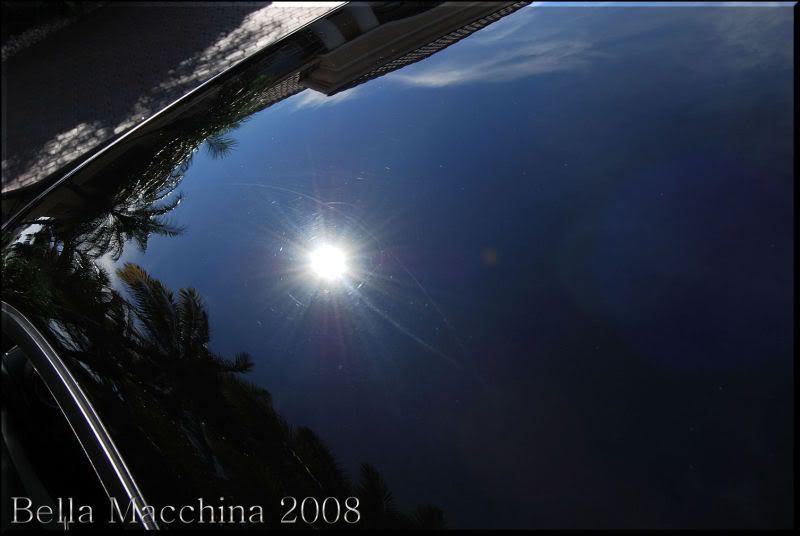
Some of the before photographs…
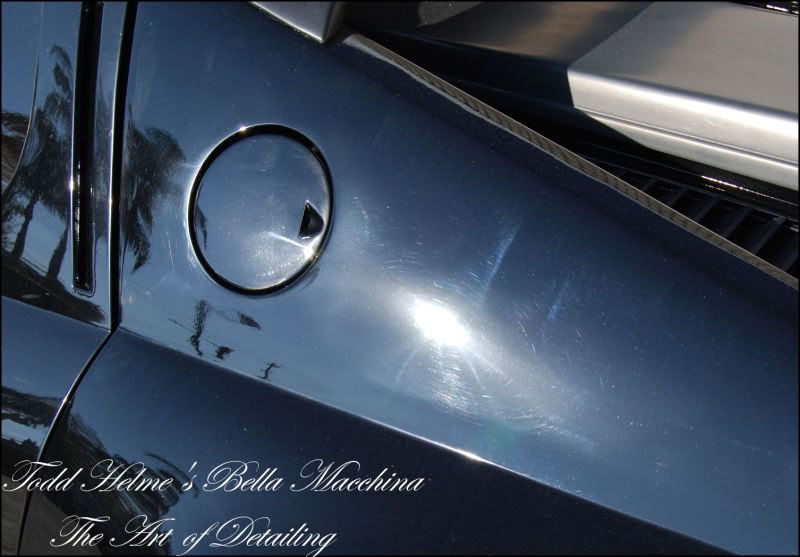
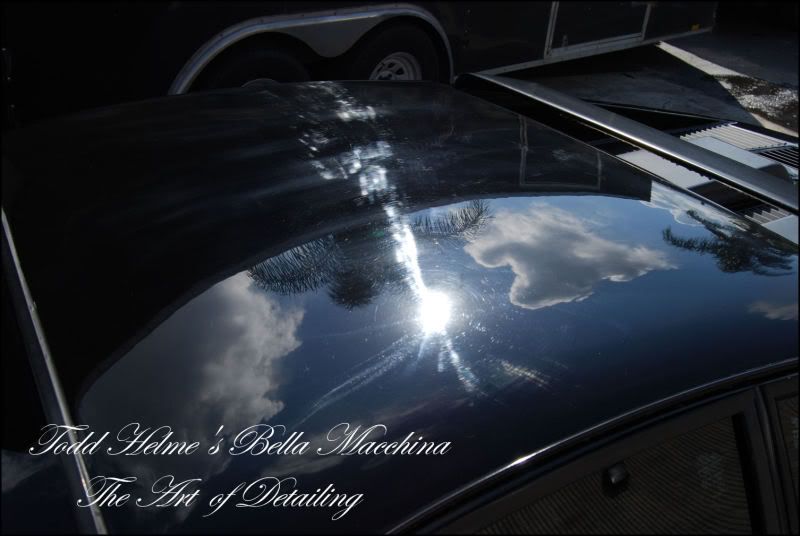
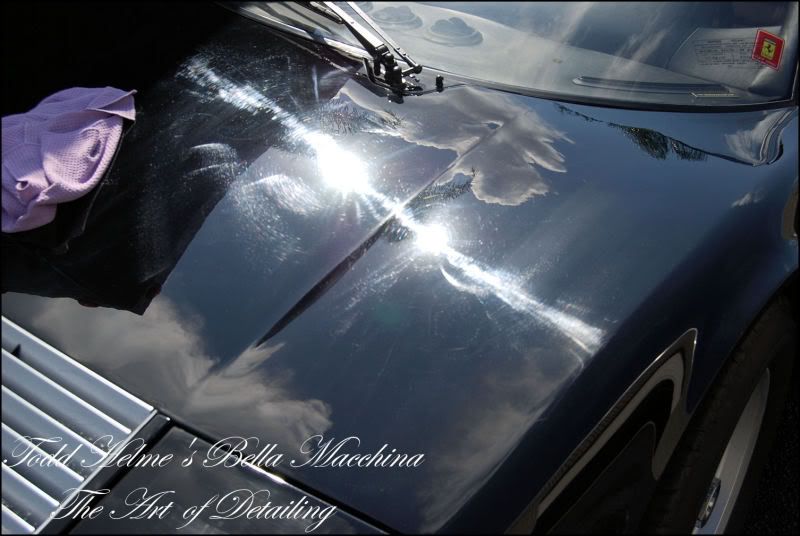
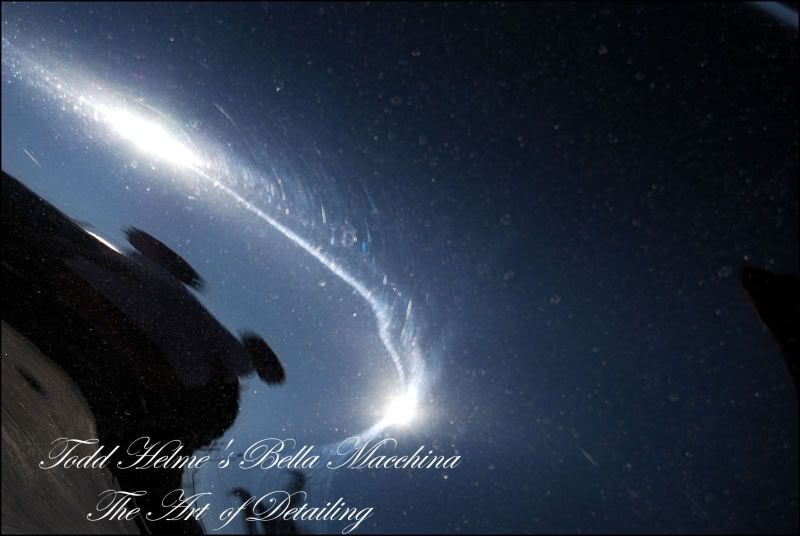
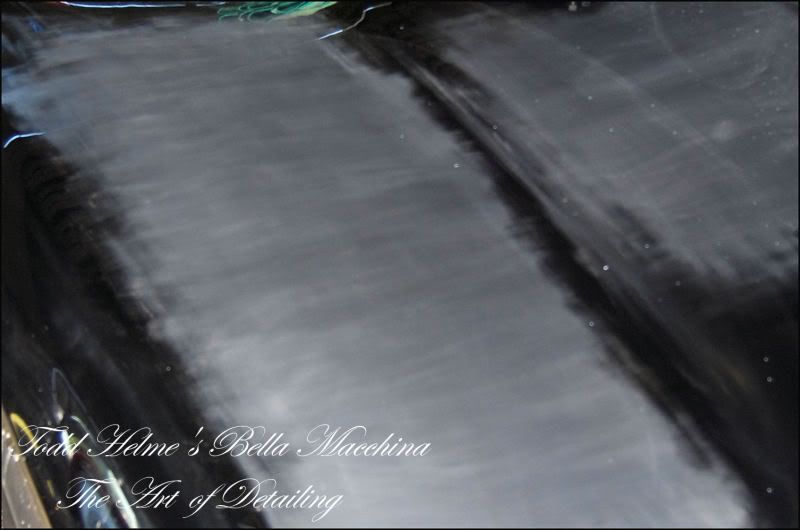
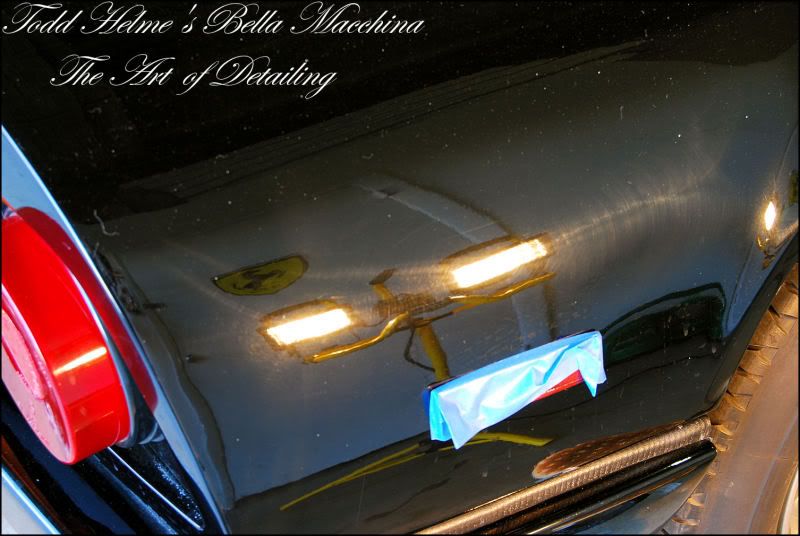
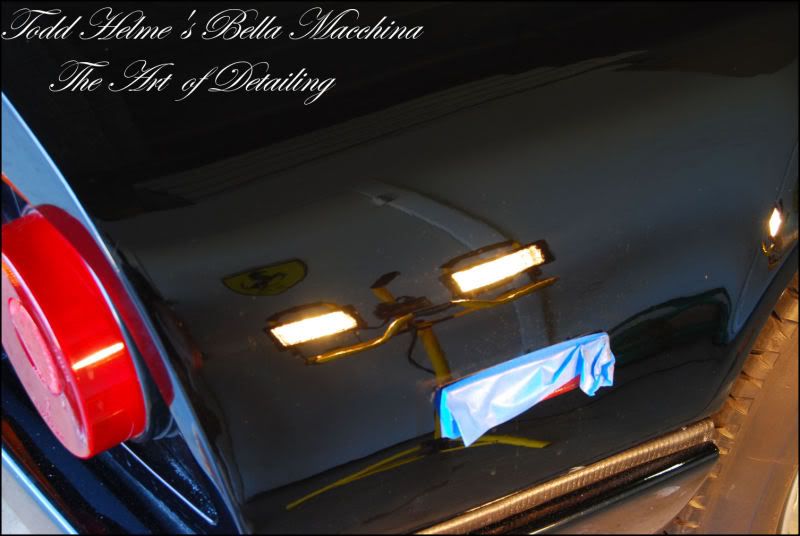
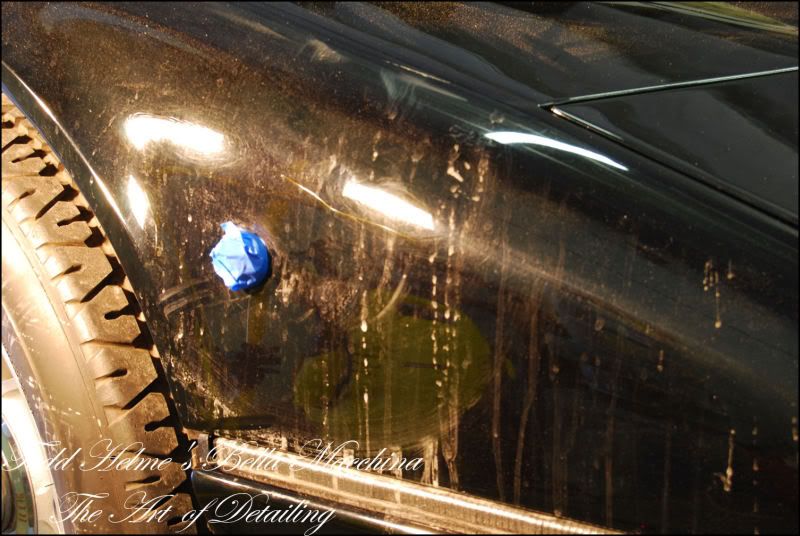
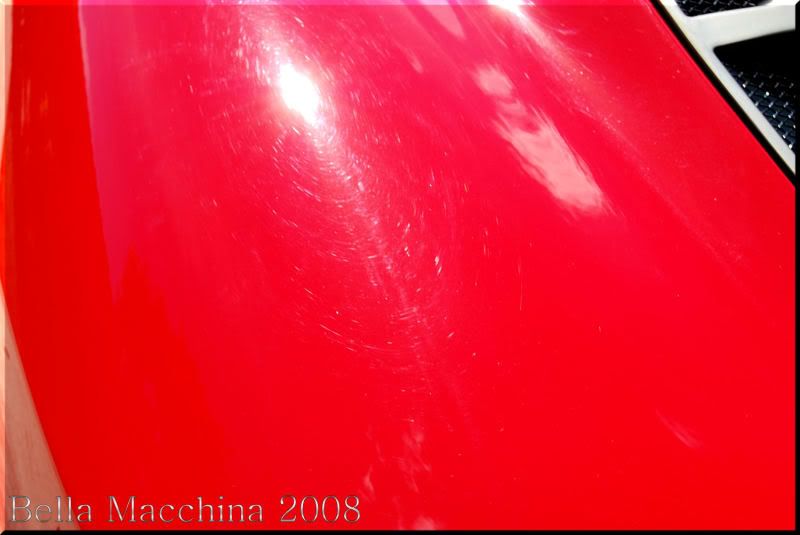
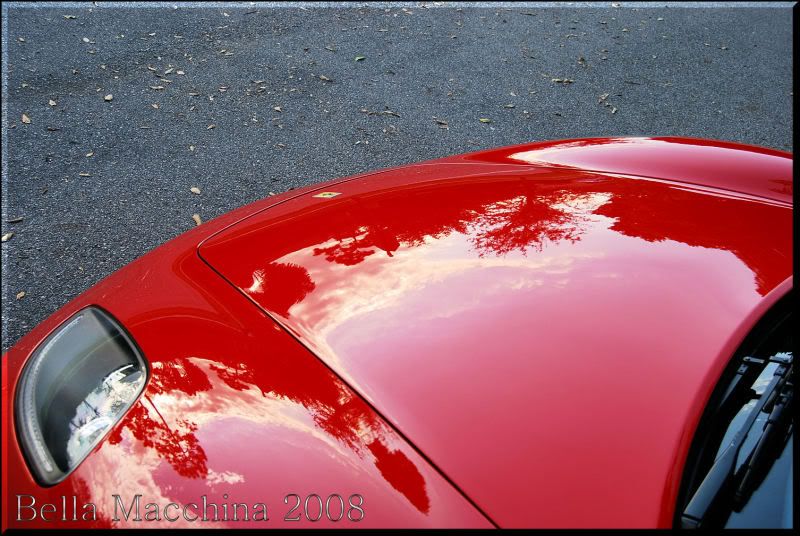
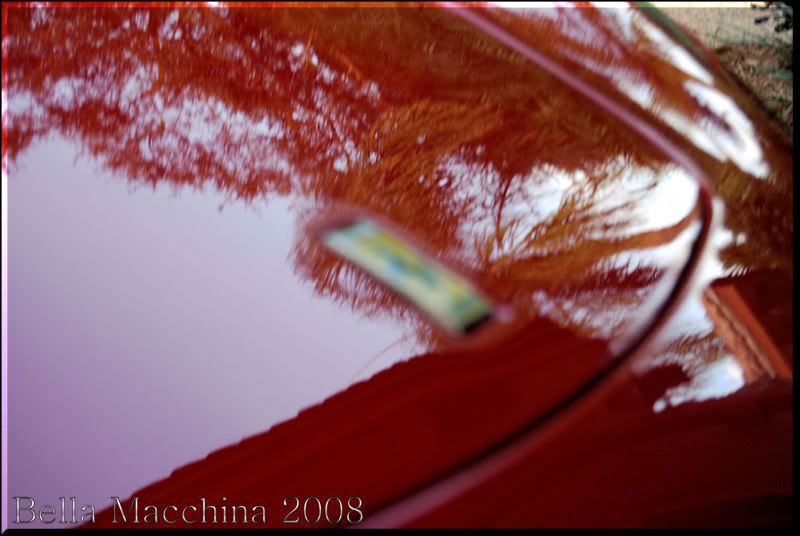
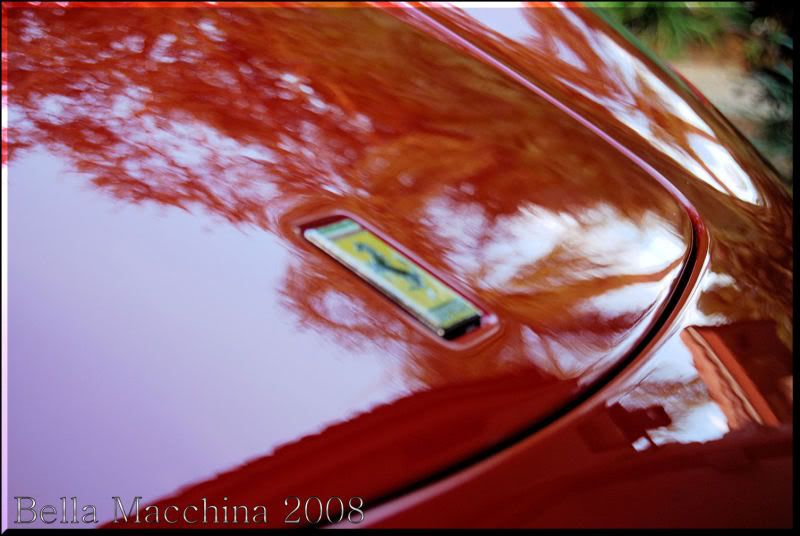
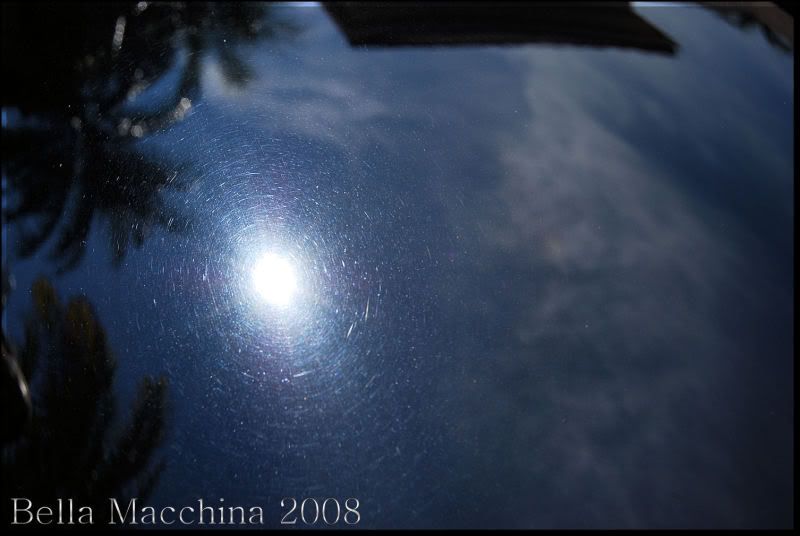
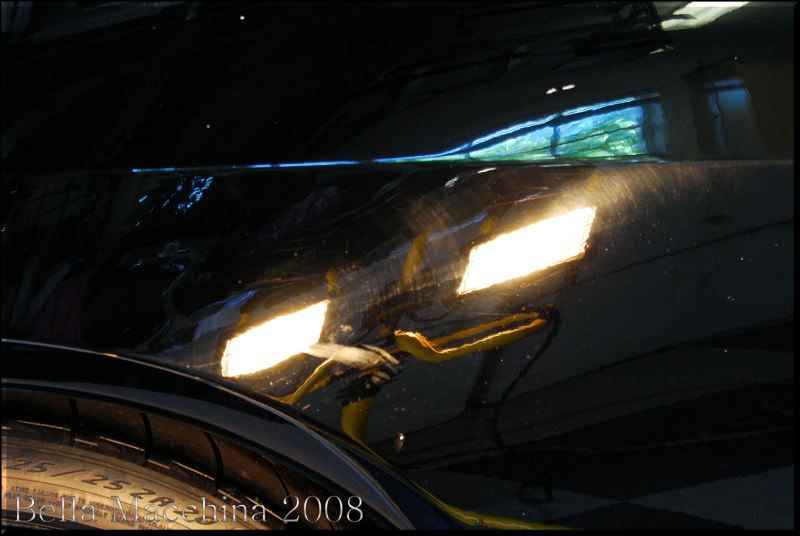
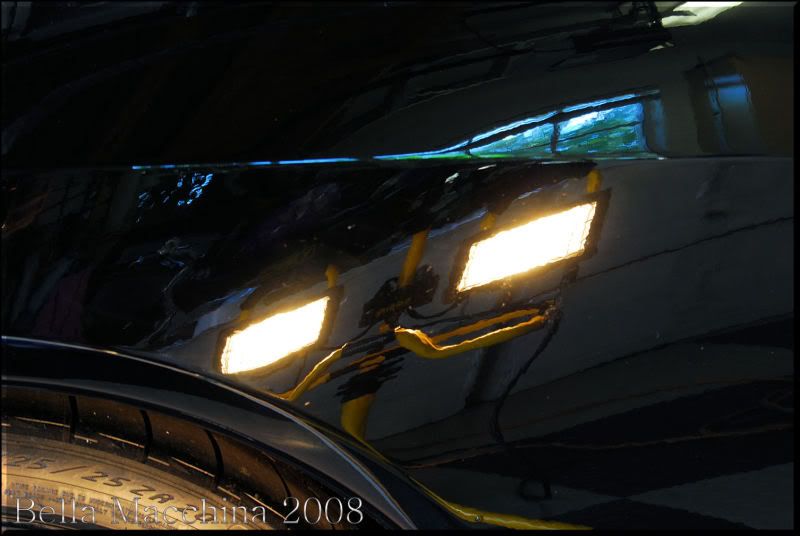
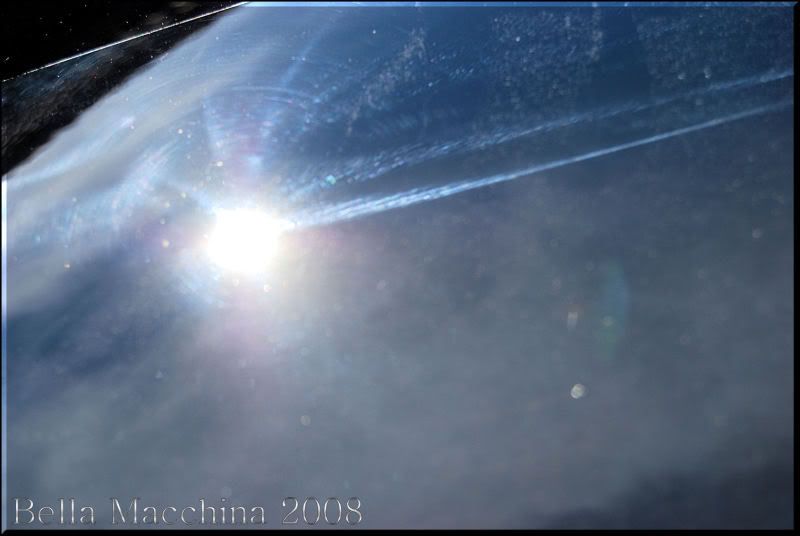
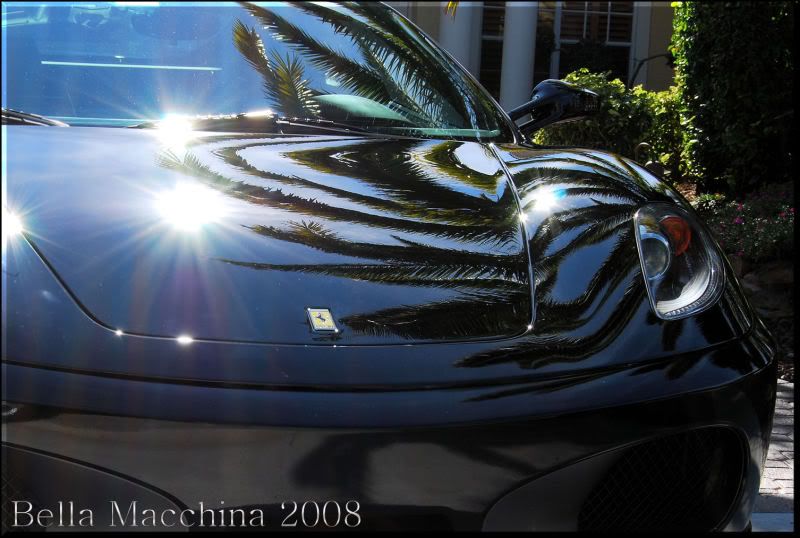
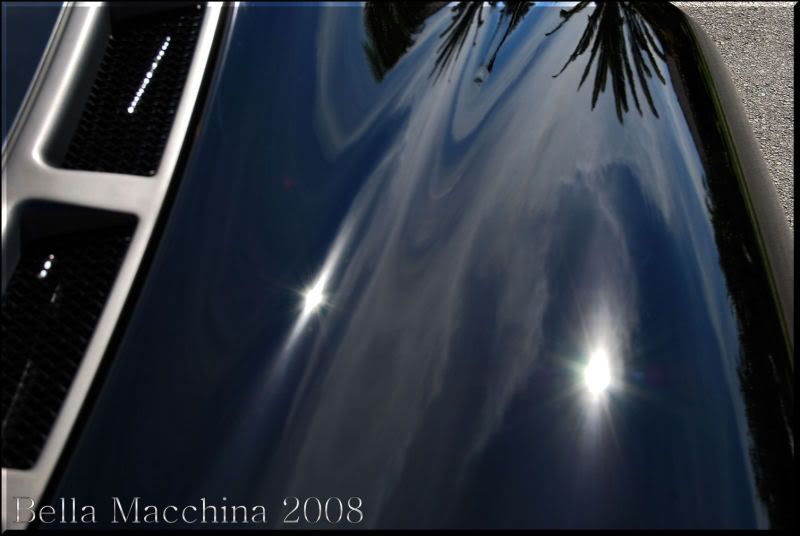
Here is a picture in the early morning sun, AFTER being washed. You can see some water spotting/etching as well as a fine white mist of overspray.

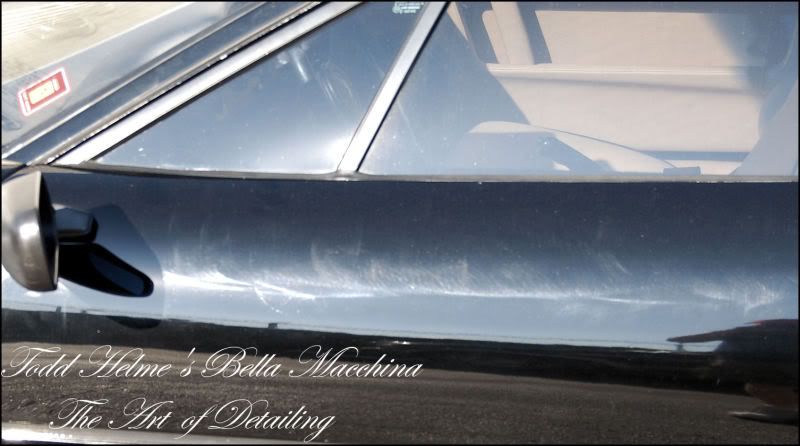
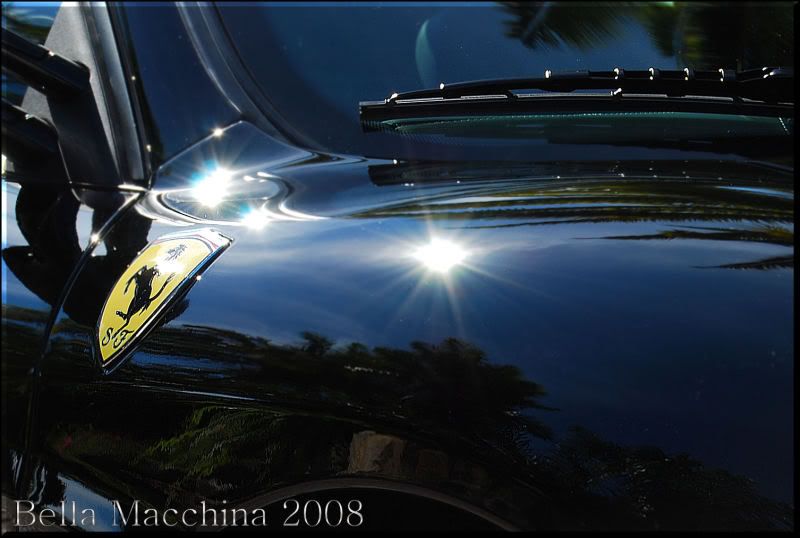
Another picture of the same area, again showing swirls/overspray/grayness
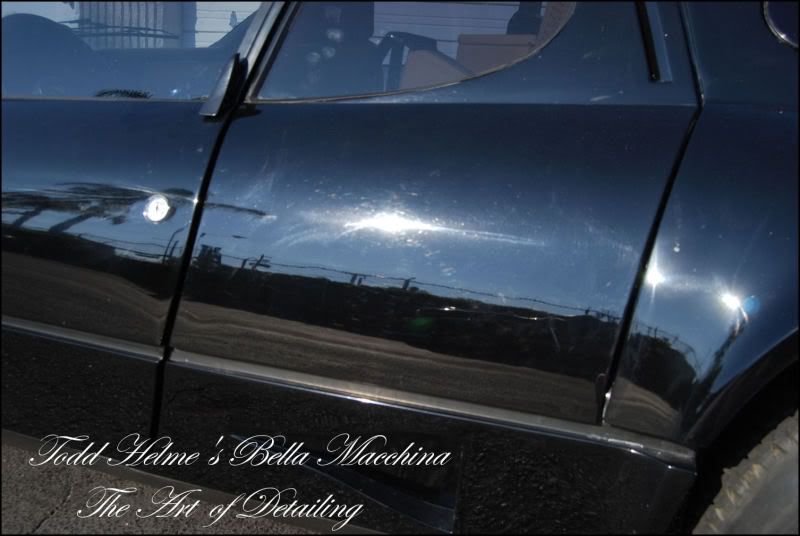
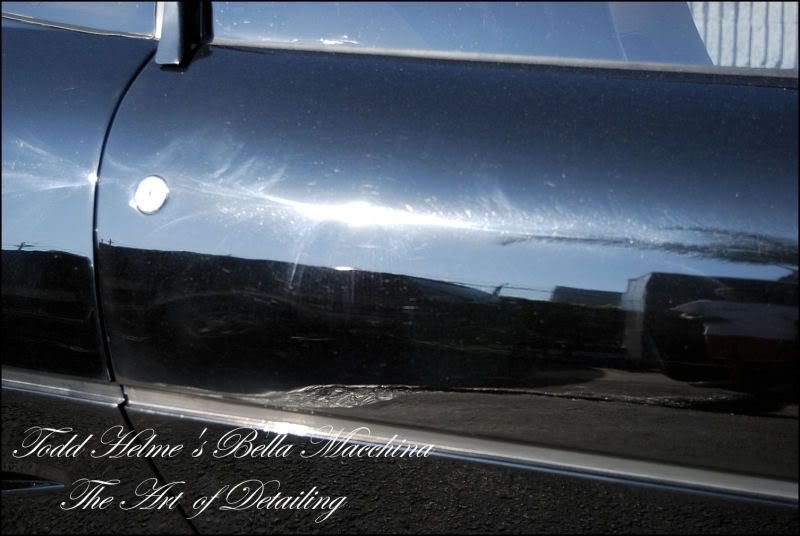
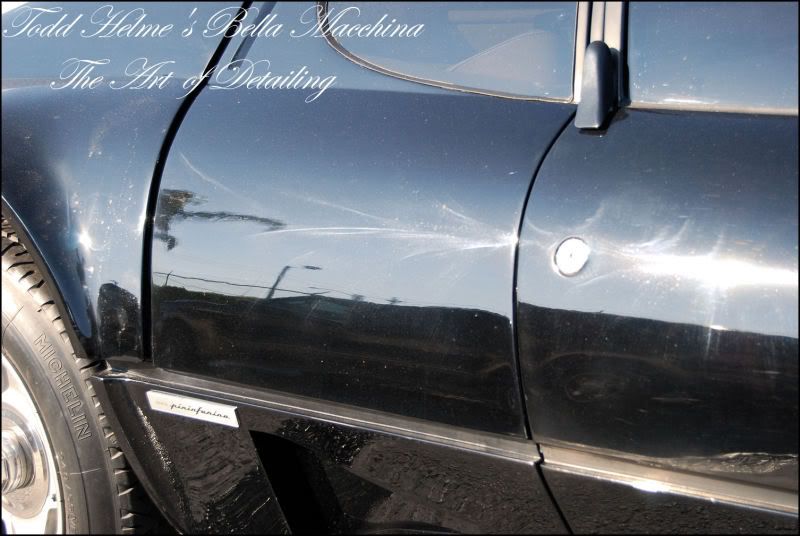
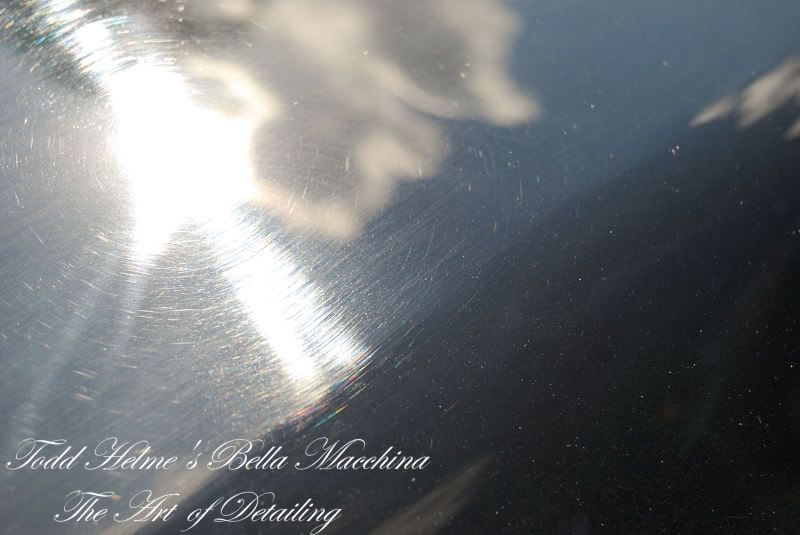
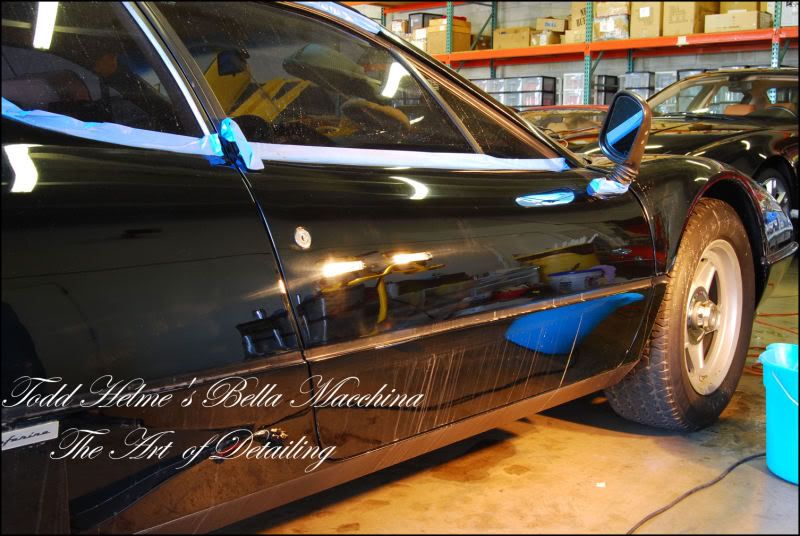
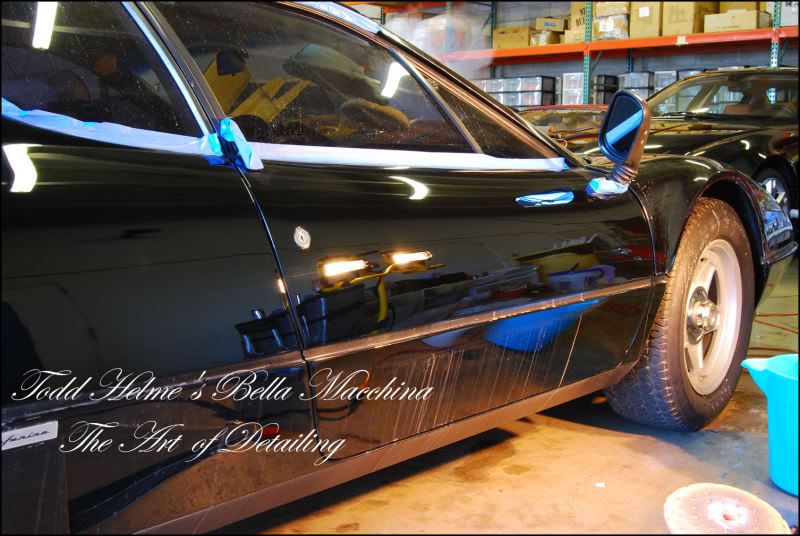
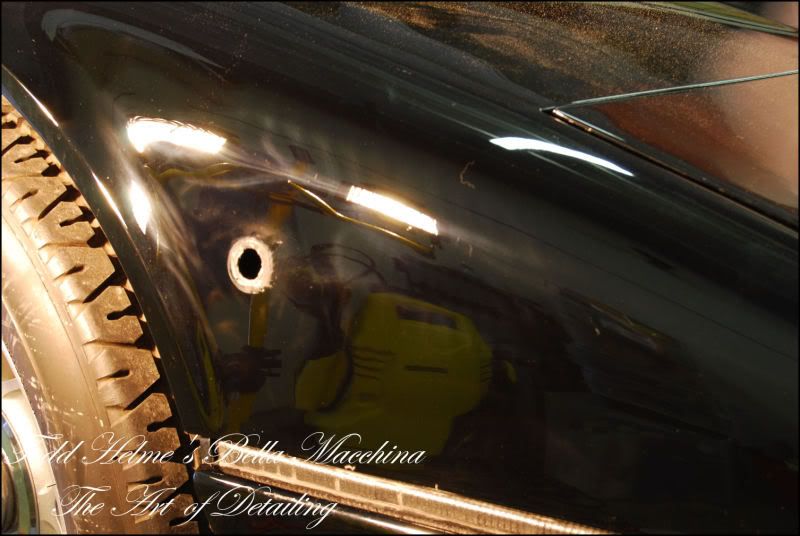
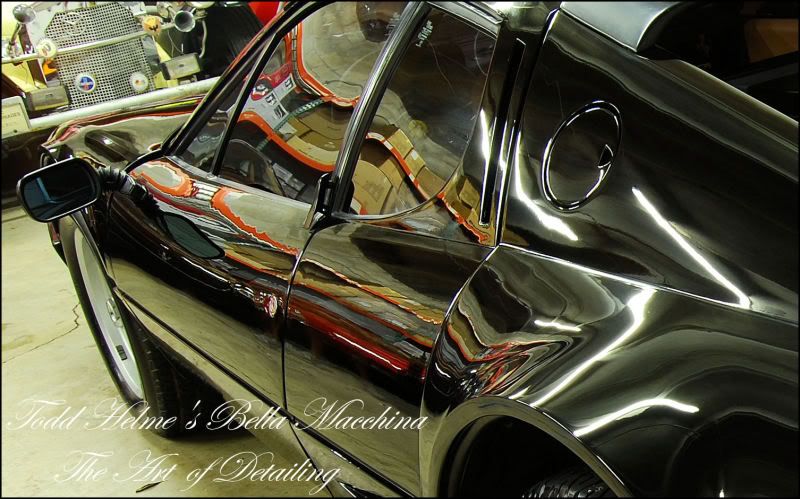
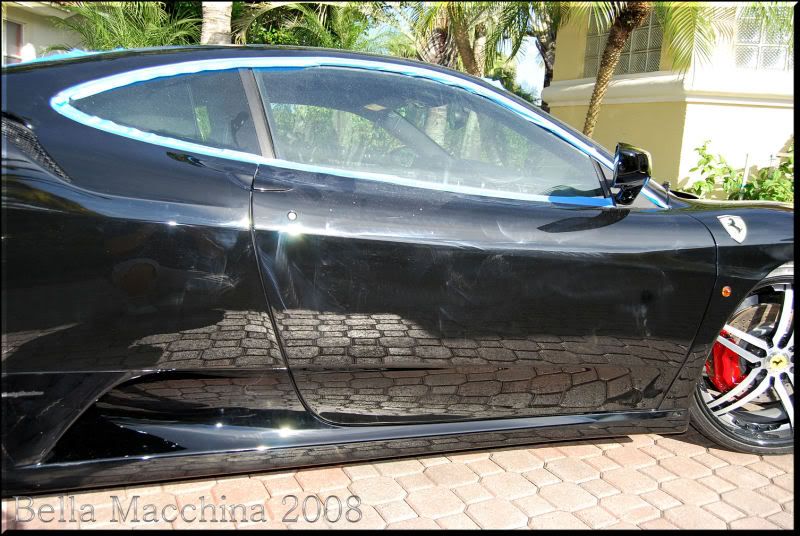
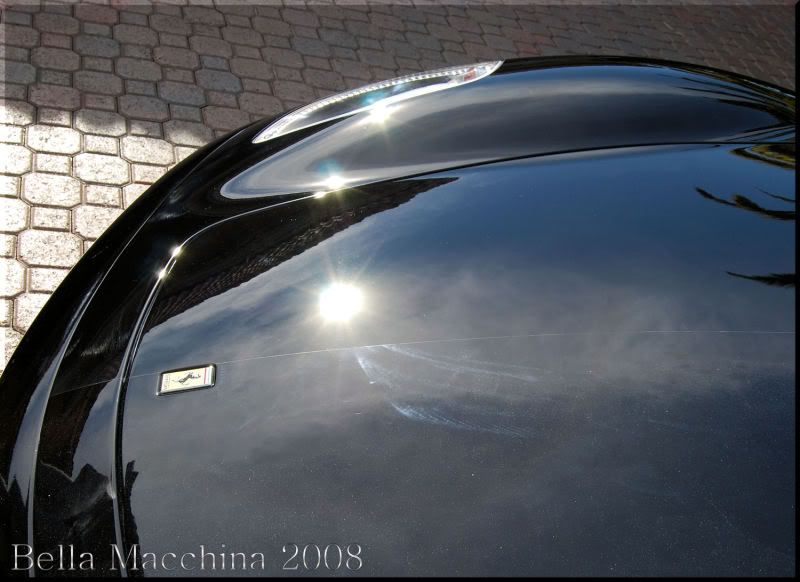
The paint on the sides of the Ferrari was as bad as the paint on the horizontal panels… Only slightly more difficult to photograph, the paint had overspray, trails, scratches, and a gray haze…
Wash Process
-Hand wash using two bucket method with P21S total auto wash
-FK1 USA three stage decontamination wash
-Menzerna 7.5 Wheel Gel on wheels and tires
-Dried with waffle weave towels and wiped down with 91% Isopropyl Alch.
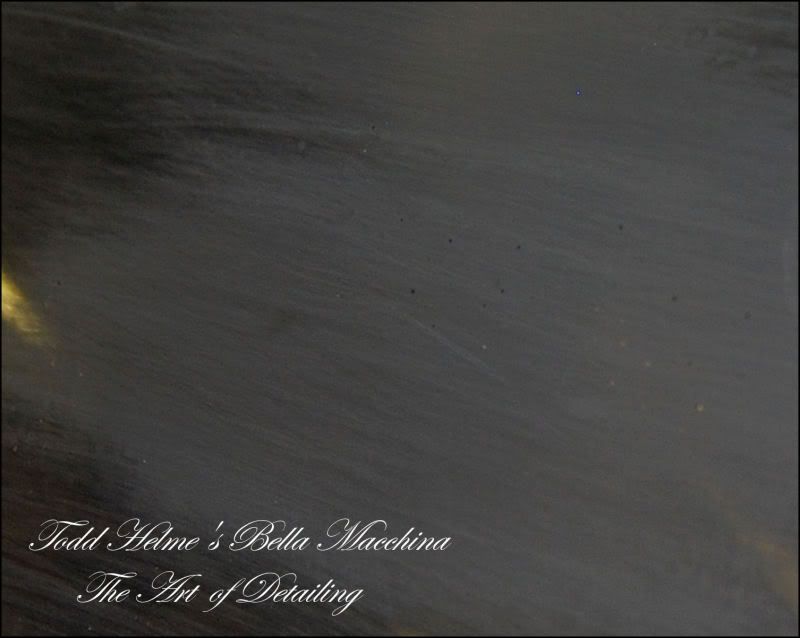
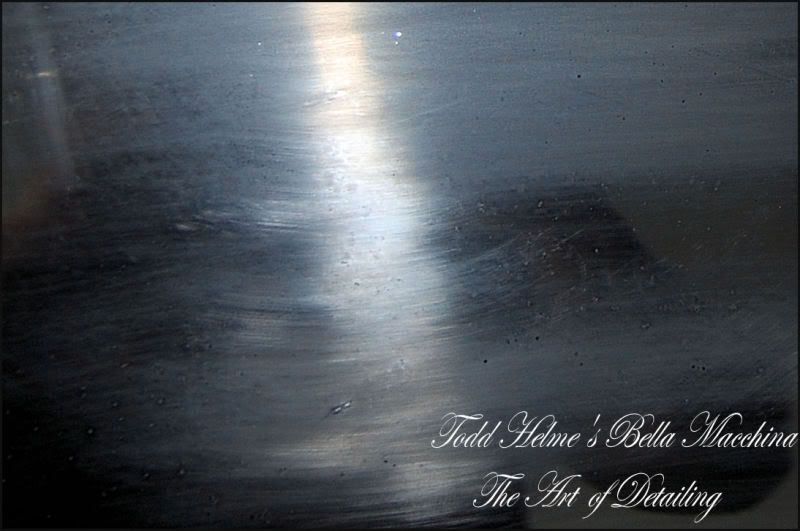
After using some aggressive chemicals to thoroughly strip and clean the paint any previous oils and glazes where removed. In the ‘flesh’ the paint looked even worse and was border line horrid. The previous buffer trails must have been used with a glaze that filled in a lot of the defects. Here is what the paint really looked like!
Pre Polishing Prep-Lightly ‘sand’ remaining orange peel with Micro Abrasive 4000 grit
-Clay using Clay Magic ‘Red’ Clay with Meguiar’s’ Last Touch QD
-Bathe paint with 91% Iso-Alcohol
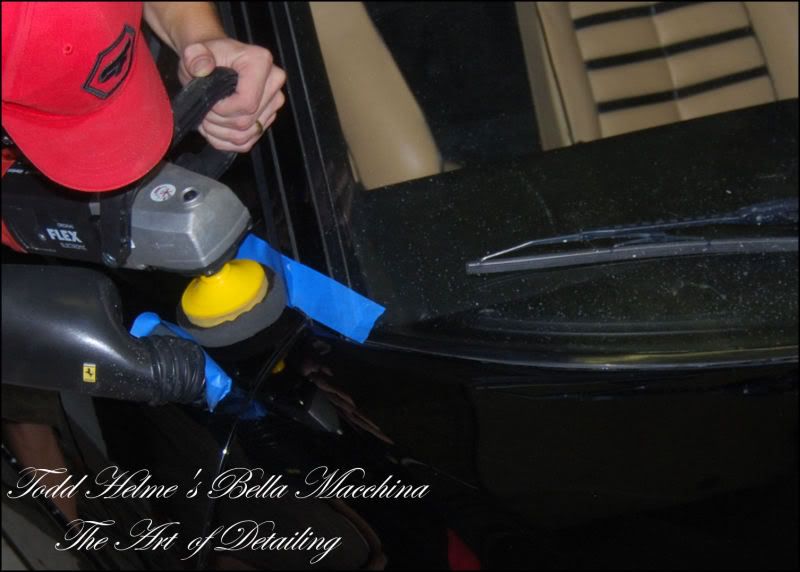
-Mask trim, rubber, edges, and corners with various thickness 3M Blue tape
After preparing the Ferrari for surgery we took paint thickness readings, averaging between 5.4 mils and 8.3 mils
After masking half of the trunk cover (front hood) we worked on a test section, trying different combinations to massage the 25 year old paint and restore its original (if not better then original) gloss. After trying several polishing compounds on various cutting wool pads it became evident that the severe water etching on the front trunk and the roof would require significant wet-sanding to remove.
The original single stage paint also because to dot or dimple along the doors and side panels, so we decided to level these as well.
Paint Correction Process
-Wet-sand with various sheets of paper including
-3M 1500 grit
-3M 2000 grit
-Meguiar’s’ 2000 unigrit
-Meguiar’s’ 2500 unigrit
-Meguiar’s’ 3000 unigrit
-Compound and cut paint with 3M Extra Cut 3000 x 2-6 passes
-Polish paint with Mark V ‘Uno’ 1-2 passes
-Refine paint with Mark V ‘Uno’ 1 pass
-Jewel paint with 3M UltraFina 3000 1 pass
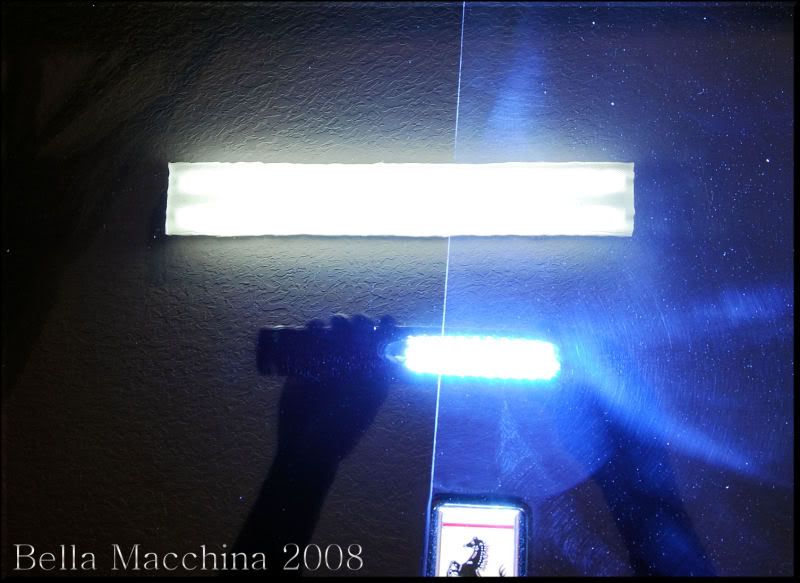
Notes: Paint was measured after each step. Paint was also wiped with 91% Alcohol after each polishing session to ensure true results and to ensure that this paint was truly restored and refinished.
Paint Correction in Process-Pictures
This picture from the door shows the black ‘dimples’ or pitting in the process of being removed.
Another picture from a similar area…

It is going to get worse before we can make it perfect")
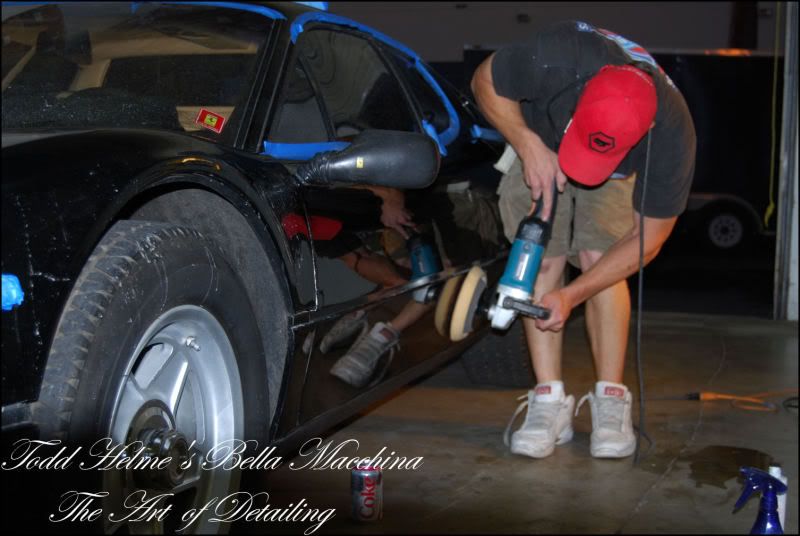
I was lucky to have the help of Brian Brice from Finer Finish. I snapped a photo of him working out some deeper defects with 1500 grit on the trunk cover.
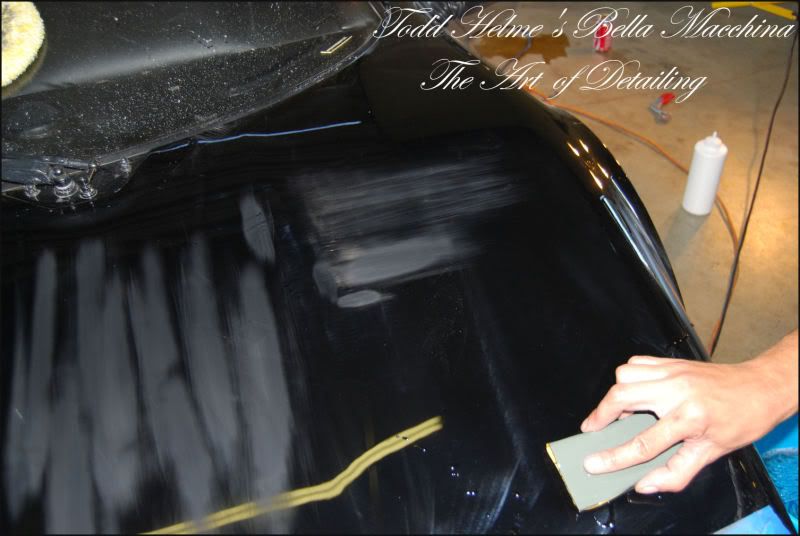
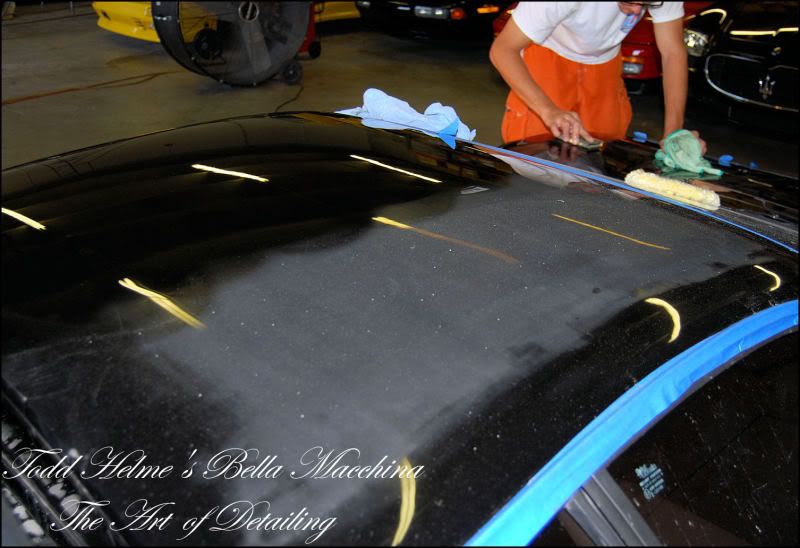
The hood was a mess and it was difficult the to gauge the acid water etching removal so we often had to sand it, cut it to restore gloss, sand it again, etc….
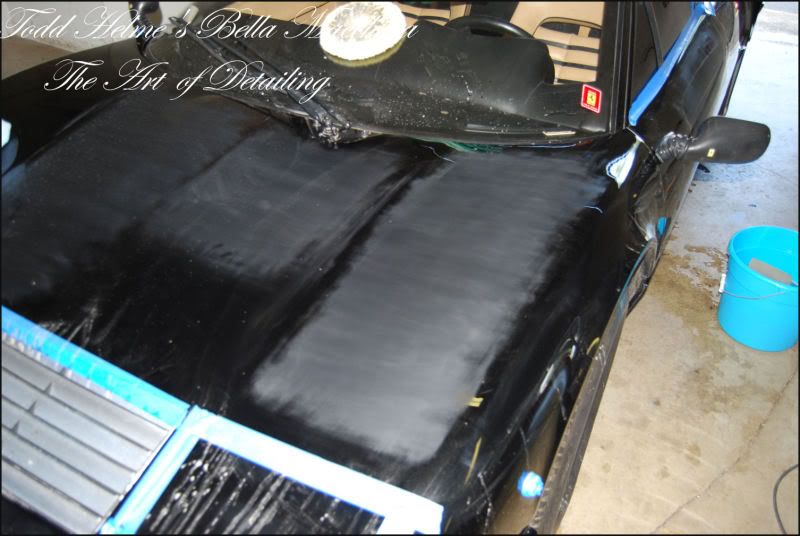
After sanding we could cut the hood to restore gloss and mark remaining water marks…

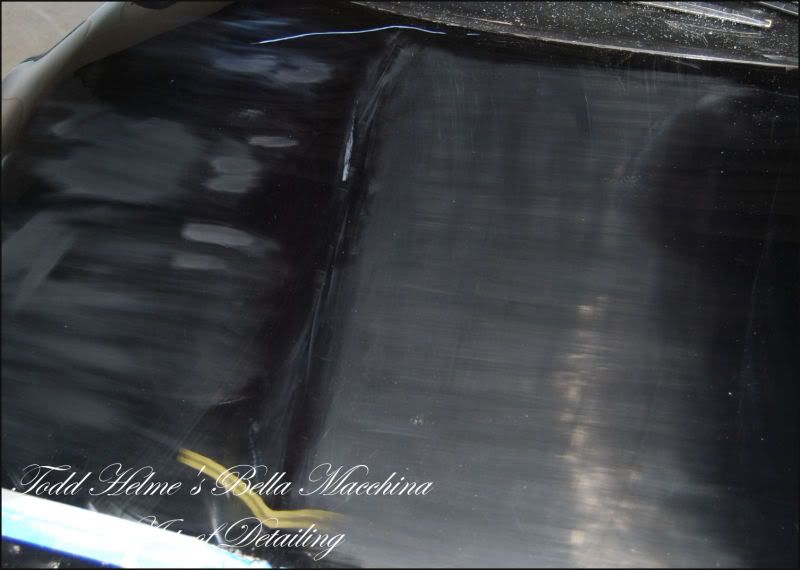
Then sand them again…
Once we where comfortable with the removal we processed to sand the rest of the paint level and use finer and finer grits to ensure a perfectly flat and level surface.
Finishing with 3000 grit…
The roof also received the same treatment…

A good 50/50 shot of the roof while Brian continues to work on the hood (which took a full 10 hours of his time to get our desired results)…
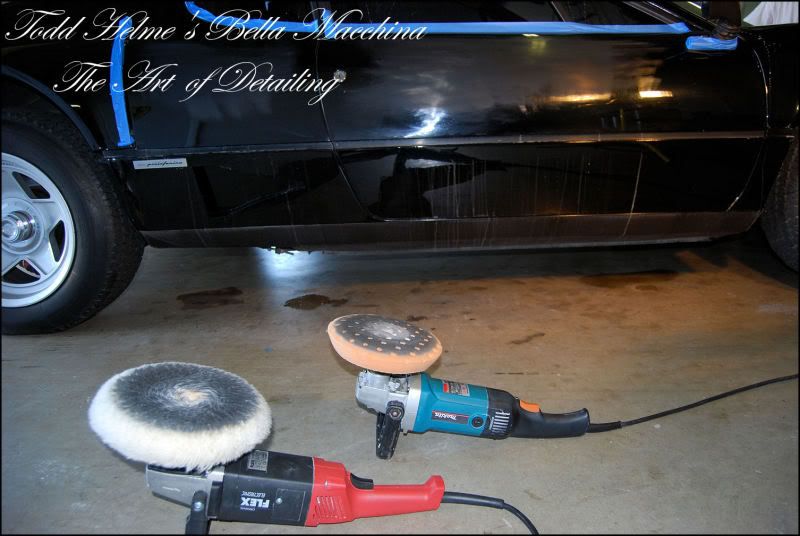
The tools of the trade…
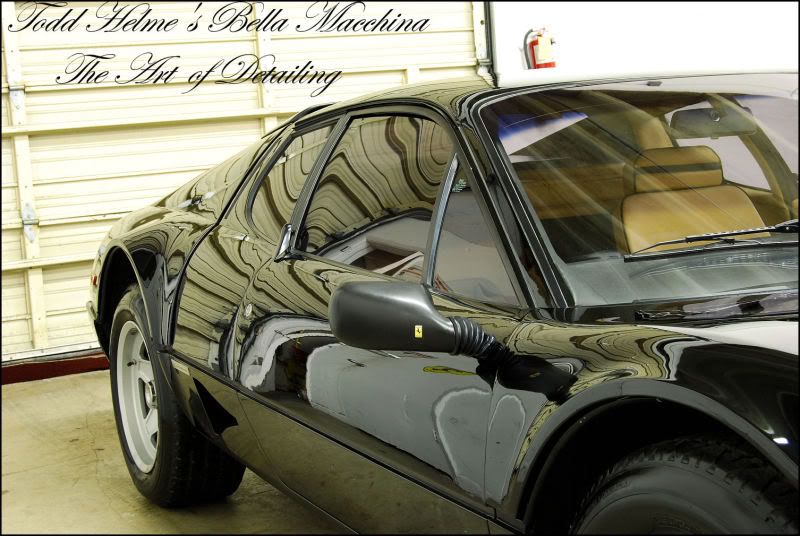
Passenger side door after sanding…
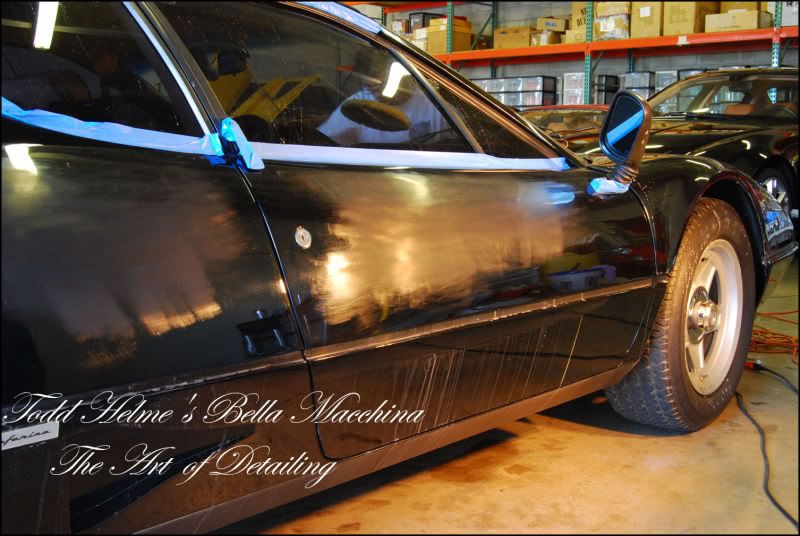
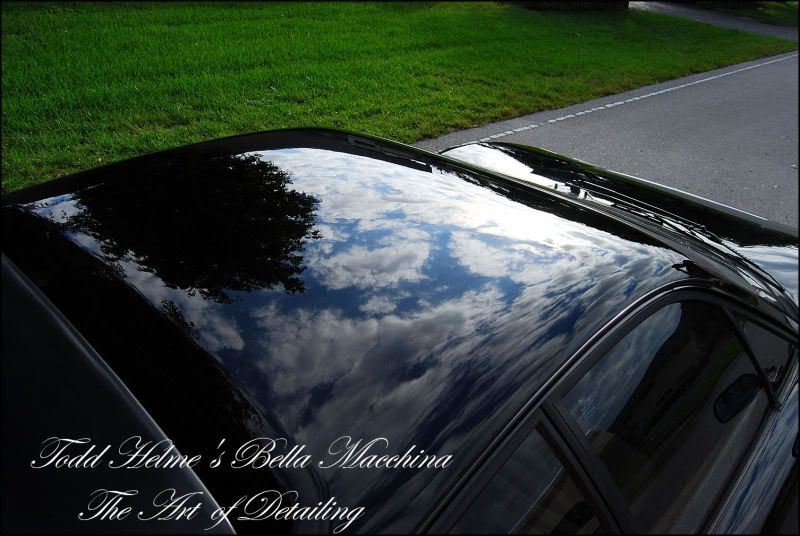
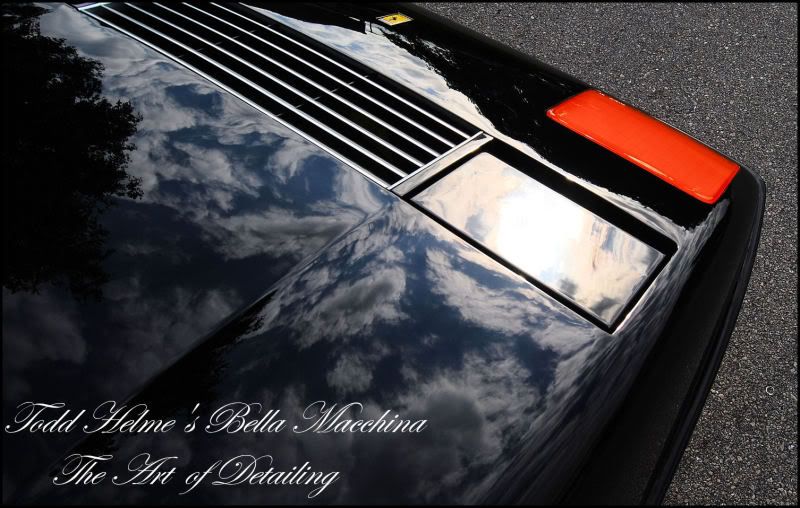
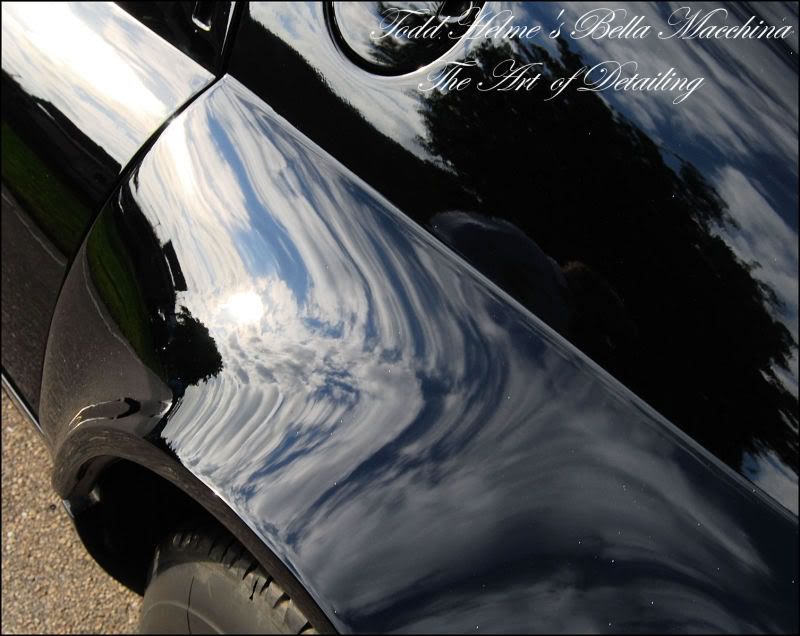
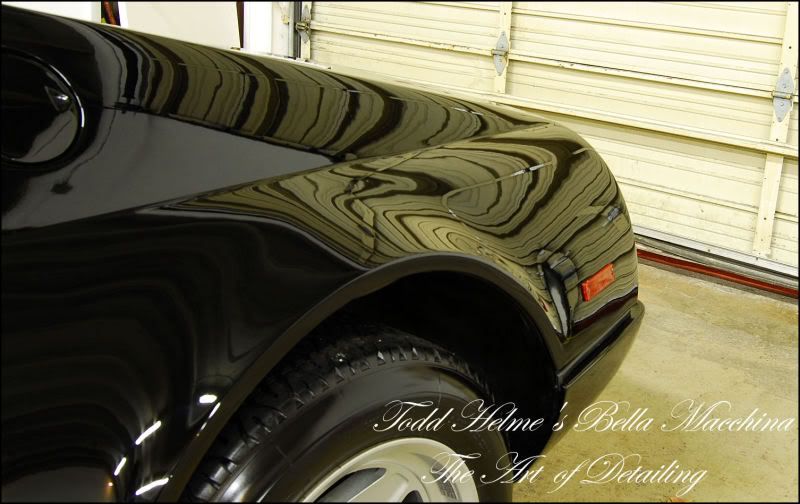
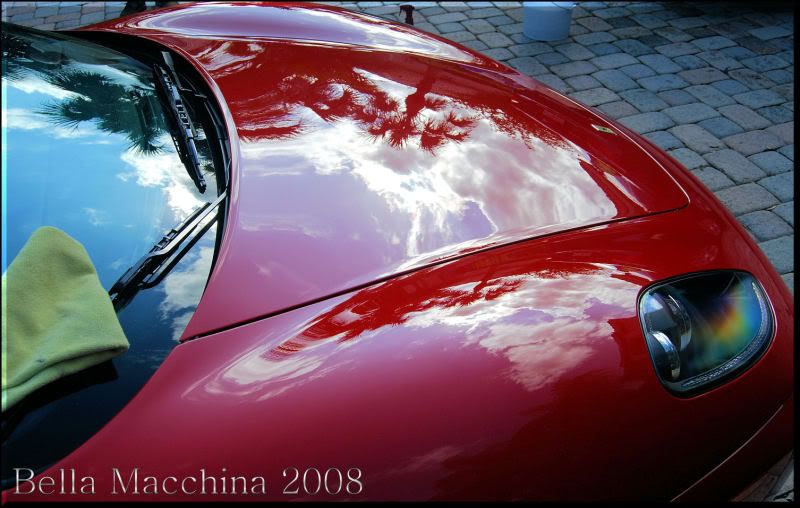
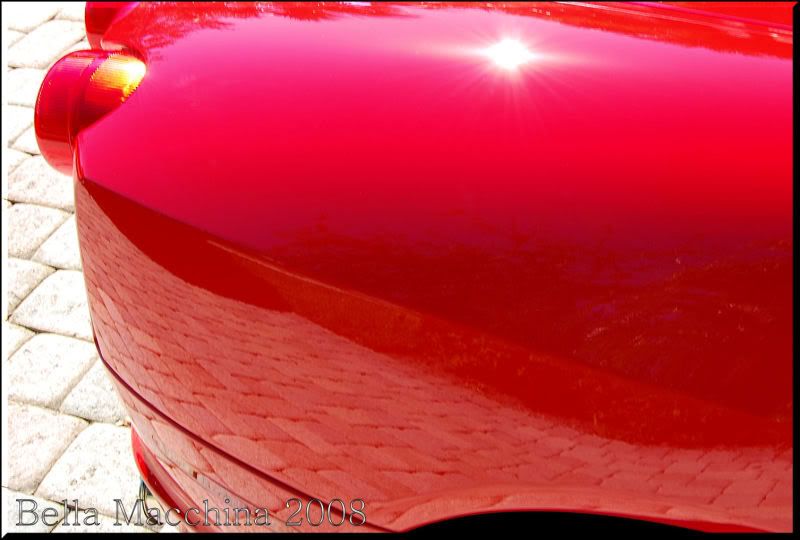
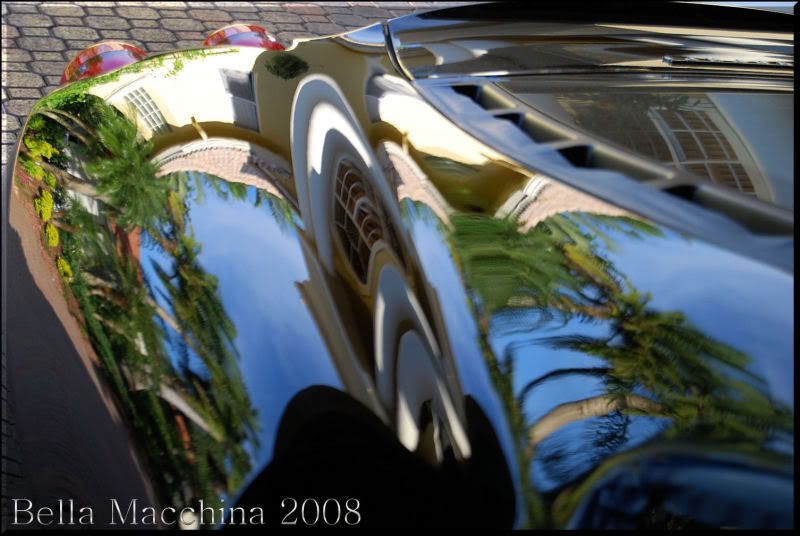
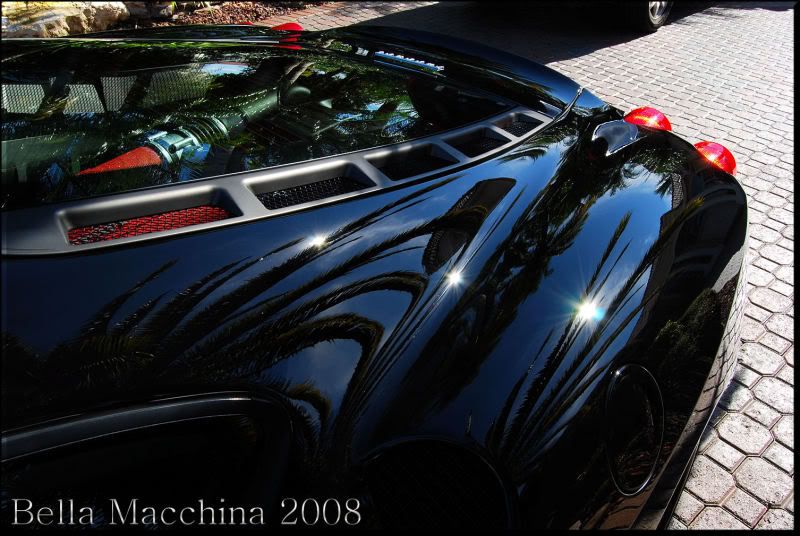
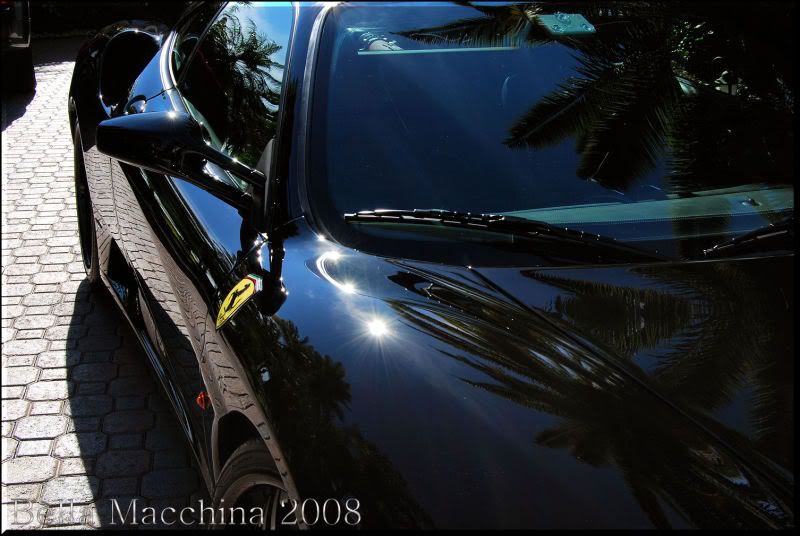
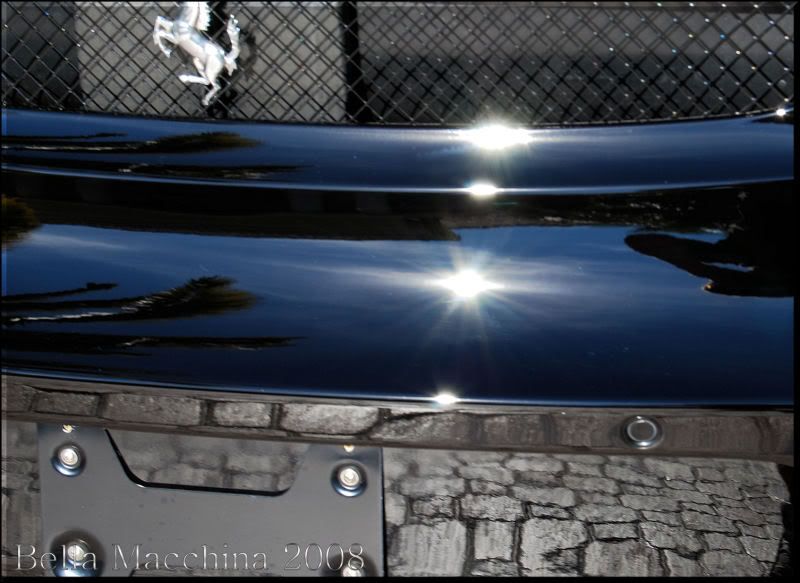
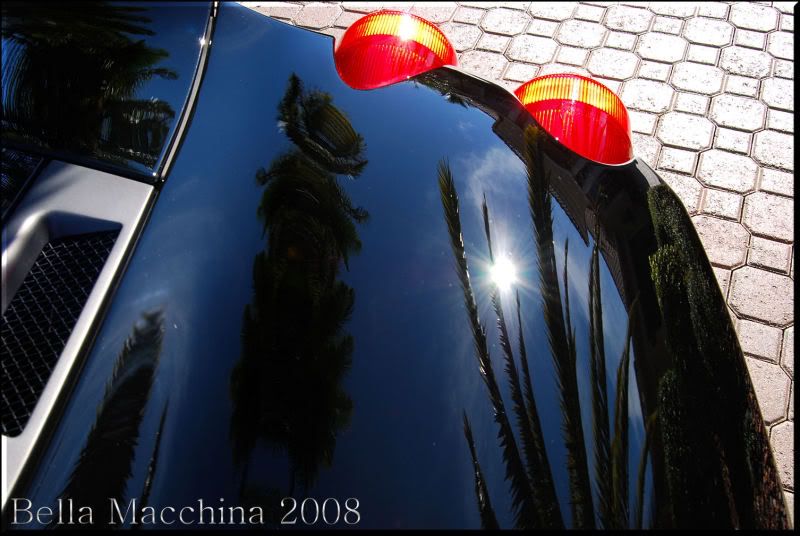
After cutting and polishing…
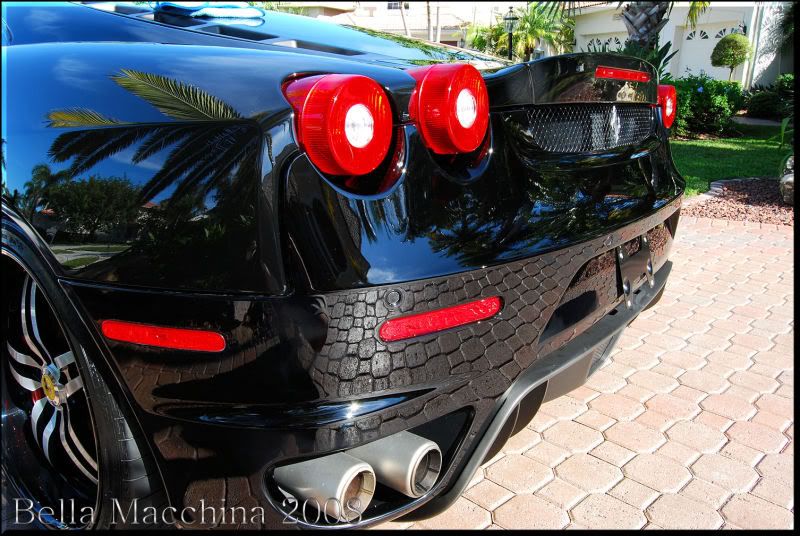
This particular car was in terrible shape, covered in scratches, swirl marks, acid rain damage, rain etching, and a fine blanket of white overspray… Luckily Brian Brice was able to corridinate his schedule and able to lend a much needed hand on this Boxer.
Some of the before photographs…
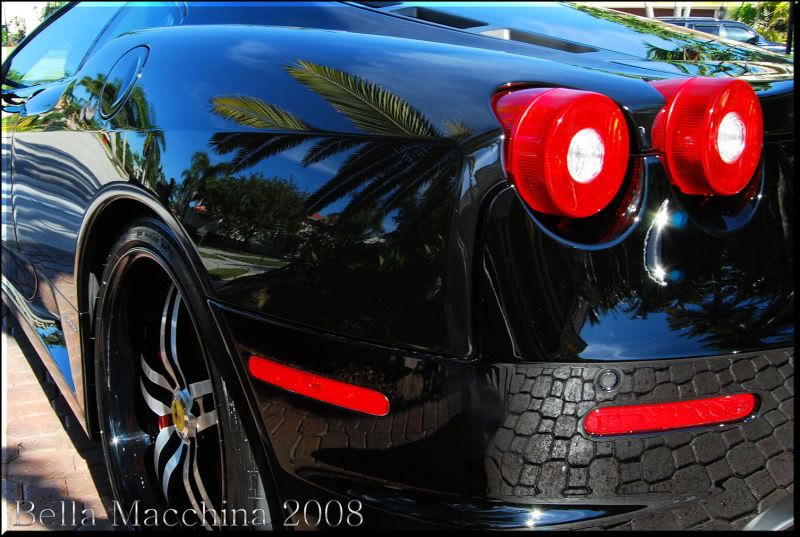
Here is a picture in the early morning sun, AFTER being washed. You can see some water spotting/etching as well as a fine white mist of overspray.
Another picture of the same area, again showing swirls/overspray/grayness
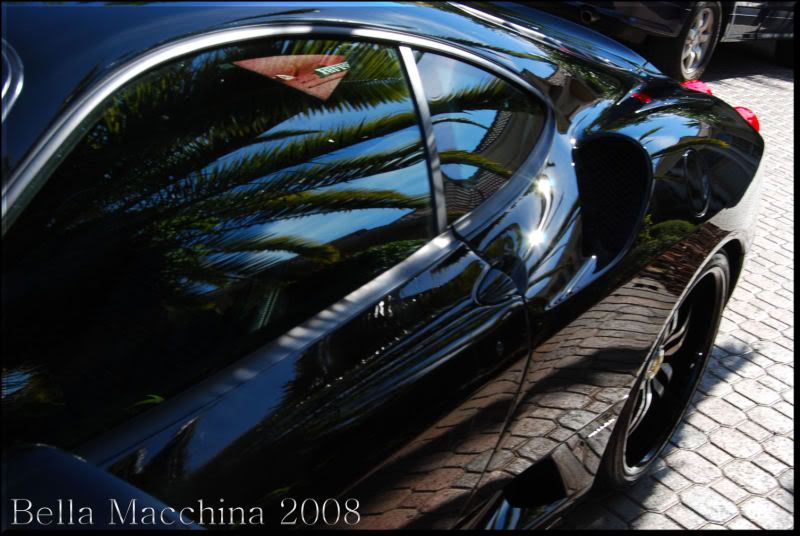
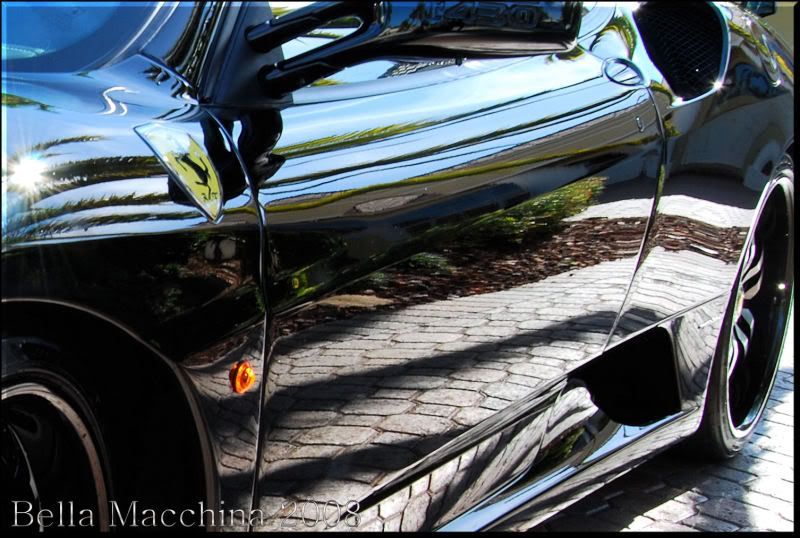
The paint on the sides of the Ferrari was as bad as the paint on the horizontal panels… Only slightly more difficult to photograph, the paint had overspray, trails, scratches, and a gray haze…
Wash Process
-Hand wash using two bucket method with P21S total auto wash
-FK1 USA three stage decontamination wash
-Menzerna 7.5 Wheel Gel on wheels and tires
-Dried with waffle weave towels and wiped down with 91% Isopropyl Alch.
After using some aggressive chemicals to thoroughly strip and clean the paint any previous oils and glazes where removed. In the ‘flesh’ the paint looked even worse and was border line horrid. The previous buffer trails must have been used with a glaze that filled in a lot of the defects. Here is what the paint really looked like!
Pre Polishing Prep-Lightly ‘sand’ remaining orange peel with Micro Abrasive 4000 grit
-Clay using Clay Magic ‘Red’ Clay with Meguiar’s’ Last Touch QD
-Bathe paint with 91% Iso-Alcohol
-Mask trim, rubber, edges, and corners with various thickness 3M Blue tape
After preparing the Ferrari for surgery we took paint thickness readings, averaging between 5.4 mils and 8.3 mils
After masking half of the trunk cover (front hood) we worked on a test section, trying different combinations to massage the 25 year old paint and restore its original (if not better then original) gloss. After trying several polishing compounds on various cutting wool pads it became evident that the severe water etching on the front trunk and the roof would require significant wet-sanding to remove.
The original single stage paint also because to dot or dimple along the doors and side panels, so we decided to level these as well.
Paint Correction Process
-Wet-sand with various sheets of paper including
-3M 1500 grit
-3M 2000 grit
-Meguiar’s’ 2000 unigrit
-Meguiar’s’ 2500 unigrit
-Meguiar’s’ 3000 unigrit
-Compound and cut paint with 3M Extra Cut 3000 x 2-6 passes
-Polish paint with Mark V ‘Uno’ 1-2 passes
-Refine paint with Mark V ‘Uno’ 1 pass
-Jewel paint with 3M UltraFina 3000 1 pass
Notes: Paint was measured after each step. Paint was also wiped with 91% Alcohol after each polishing session to ensure true results and to ensure that this paint was truly restored and refinished.
Paint Correction in Process-Pictures
This picture from the door shows the black ‘dimples’ or pitting in the process of being removed.
Another picture from a similar area…
It is going to get worse before we can make it perfect
I was lucky to have the help of Brian Brice from Finer Finish. I snapped a photo of him working out some deeper defects with 1500 grit on the trunk cover.
The hood was a mess and it was difficult the to gauge the acid water etching removal so we often had to sand it, cut it to restore gloss, sand it again, etc….
After sanding we could cut the hood to restore gloss and mark remaining water marks…
Then sand them again…
Once we where comfortable with the removal we processed to sand the rest of the paint level and use finer and finer grits to ensure a perfectly flat and level surface.
Finishing with 3000 grit…
The roof also received the same treatment…
A good 50/50 shot of the roof while Brian continues to work on the hood (which took a full 10 hours of his time to get our desired results)…
The tools of the trade…
Passenger side door after sanding…
After cutting and polishing…


")