Gurge
New member
New client contacted me regarding his black VW Passat. It was his baby, but had seen some tough times and had noticeable swirls in the paint. We did a wash and pre-inspection prior to booking anything and it wasn't pretty. At that time I also learned that some of the car was original paint and some had been repainted. We agreed to a 2-3 step correction (depending on original or repaint) with the goal being 90% correction or better all around.
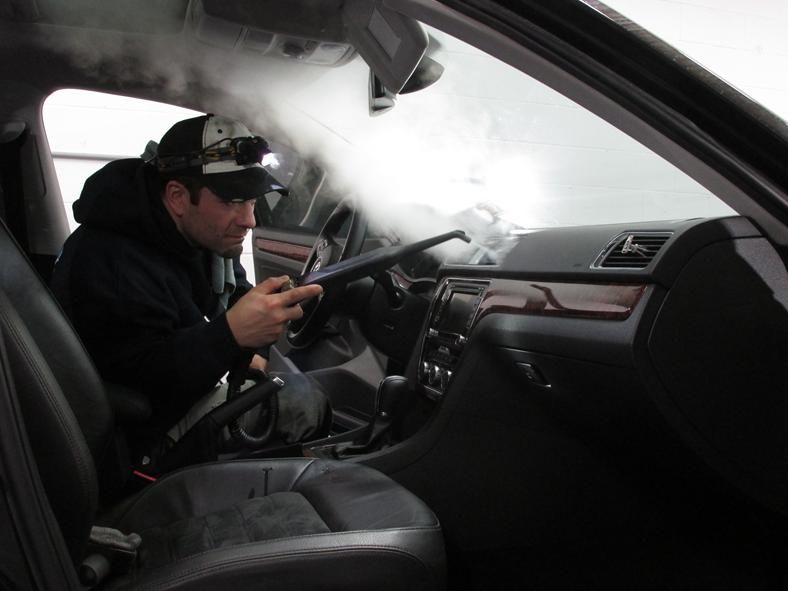
Car was dropped off and first started on the interior which also needed some attention. Thorough vacuum, all interior plastic cleaned with megs APC+, leather cleaned and conditioned (OPC 10:1 => CG leather conditioner), fabric insets and carpets steam cleaned (VX5000), dash and doors dressed with 303 Aero
Quick shot of me giving the vents a hot steam injection (heh)
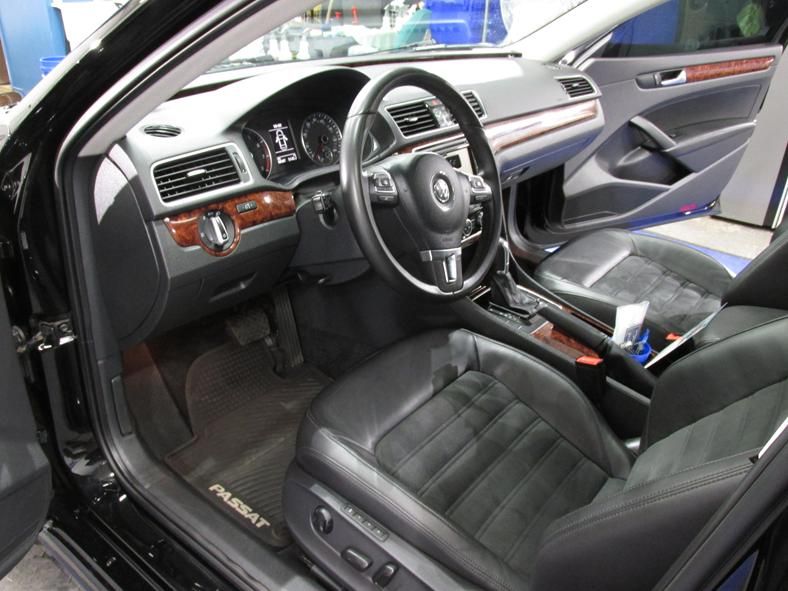
and another shot after all finished up. Center console shown here featuring Mr. Sparkle Detailing: THE CUP (containing all loose change and randoms found throughout the morning)
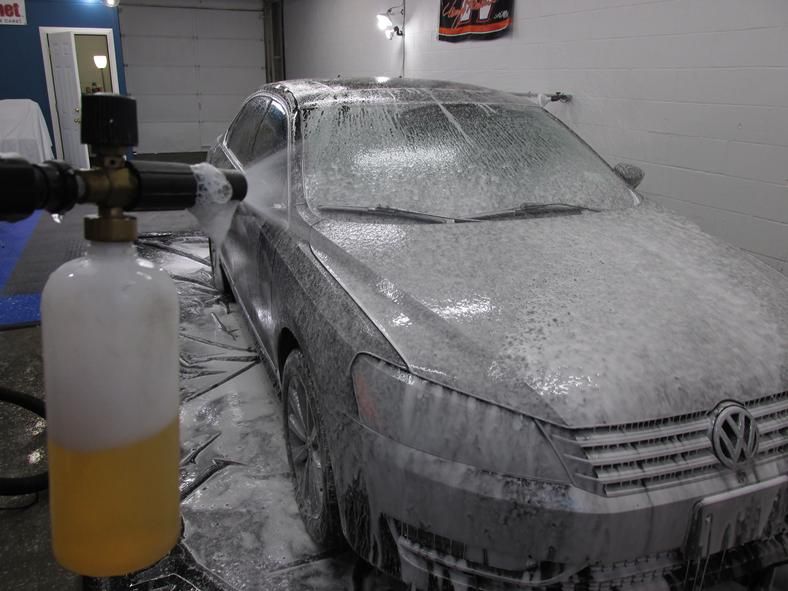
Got started on the outside which was filthy. Wash, CarPro TRIX, speedy prep towel (fine). Took a photo foaming the car with the house mix of CG Citrus wash gloss, dawn, OPC
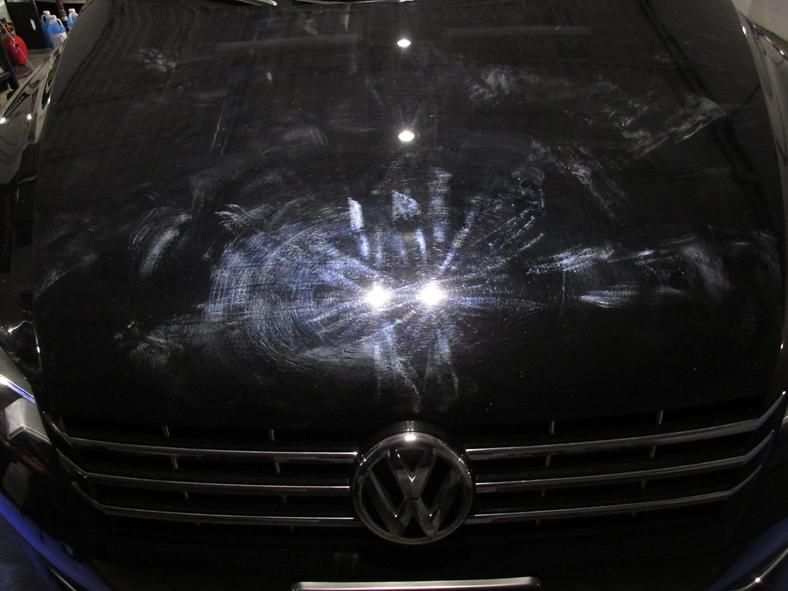
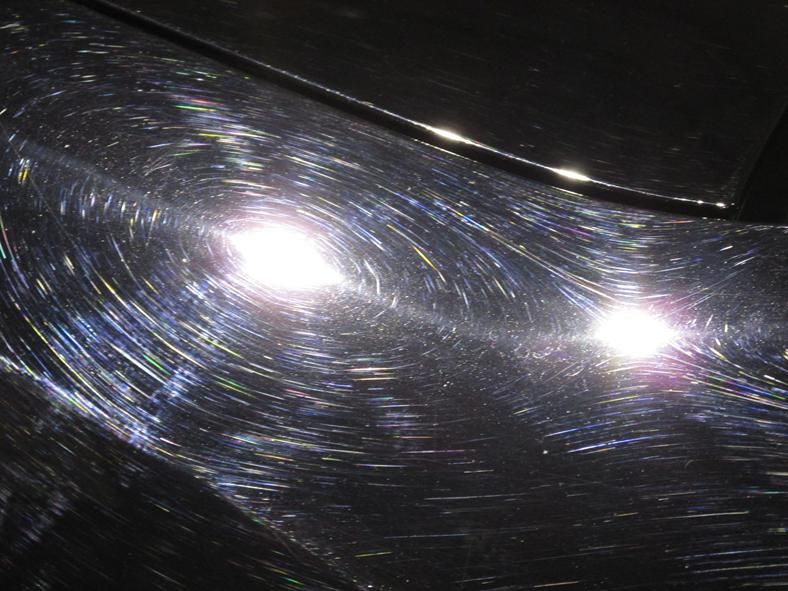
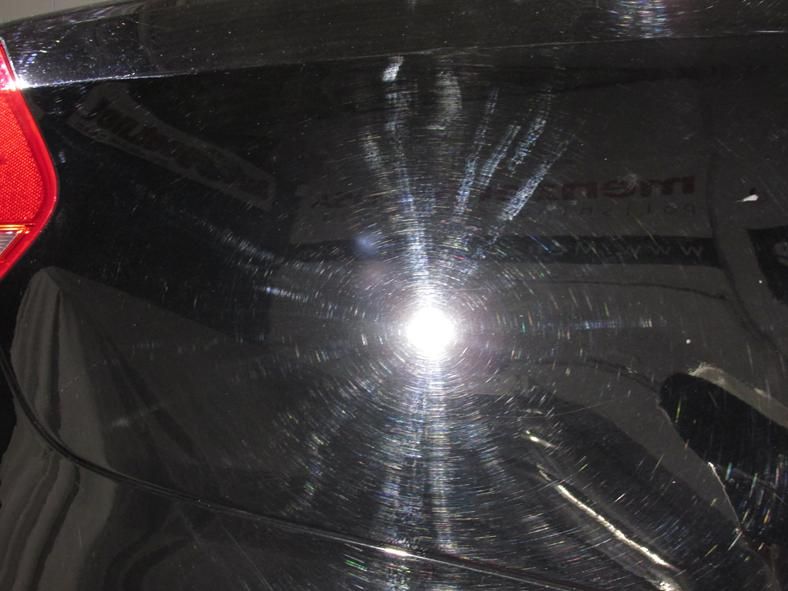
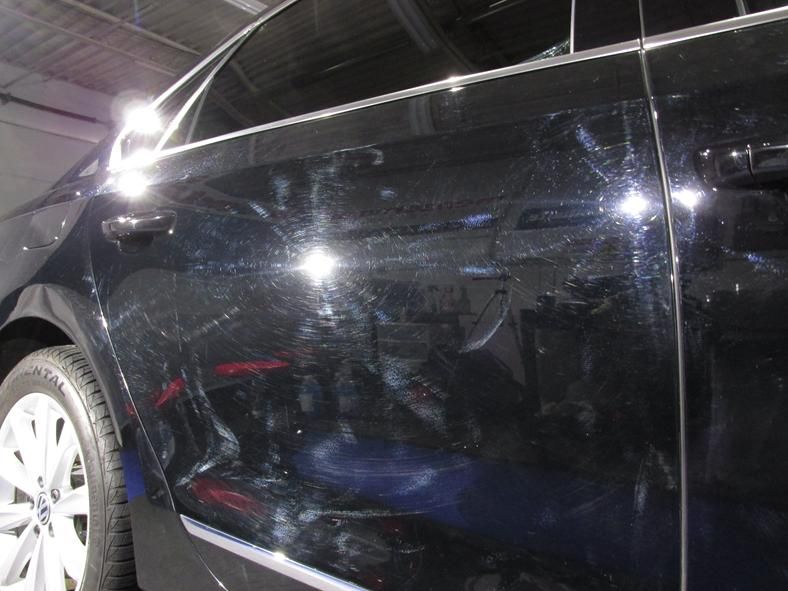
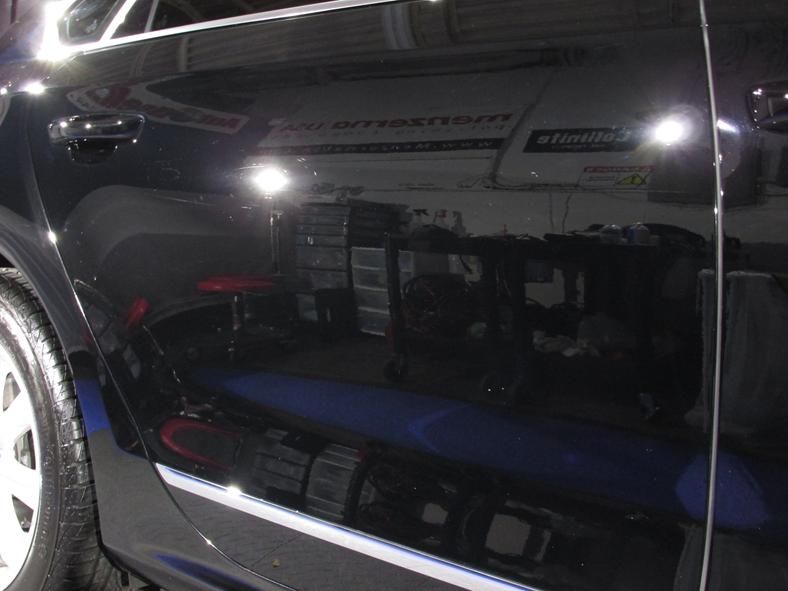
Dried off the car, taped the trim and turned off the fluroscent lights relying on the LEDs only. Did I mention it wasn't pretty? It was even worse after the speedy prep towel. Yet another reminder not to use a clay substitute unless you're planning to polish
Wont reveal all my secrets, but the experienced in the room will probably figure out what was going on. The following tools, pads and products were all used at some point throughout the lengthy correction depending on the task at hand and size of the panel
Makita 9227C, Flex PE, Flex 3401, Griots DA, PC 7424
Megs M100, Menz FG400, Menz Power Finish
3m low lint wool, Optimum MF compounding pads, LC PFW, LC white
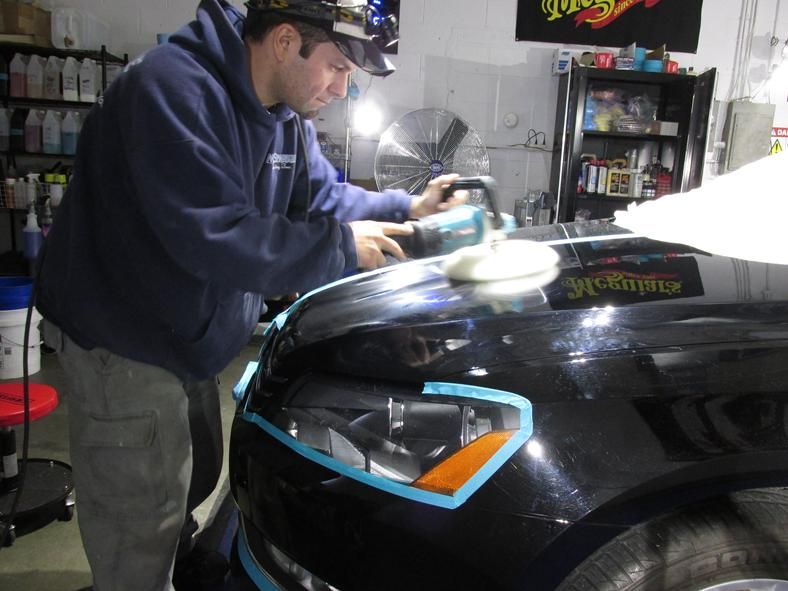
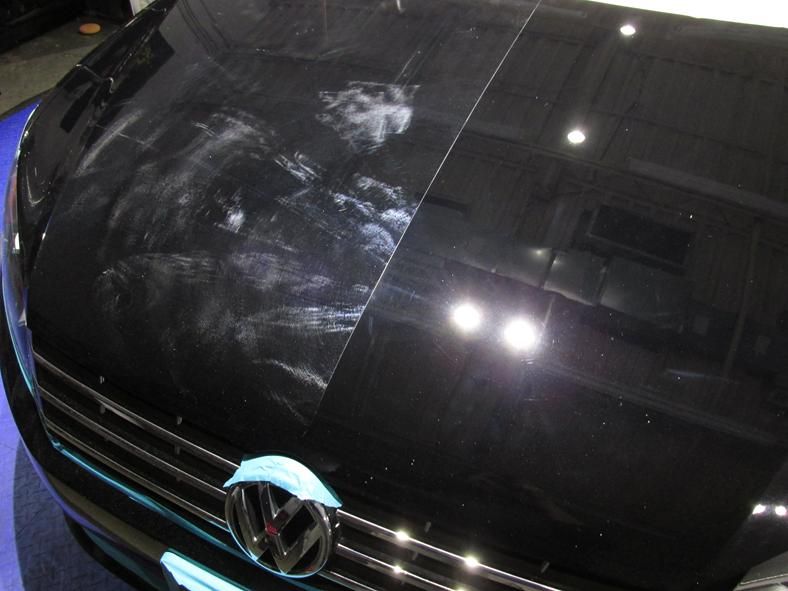
Getting my grind on. Hood required several passes to get decent
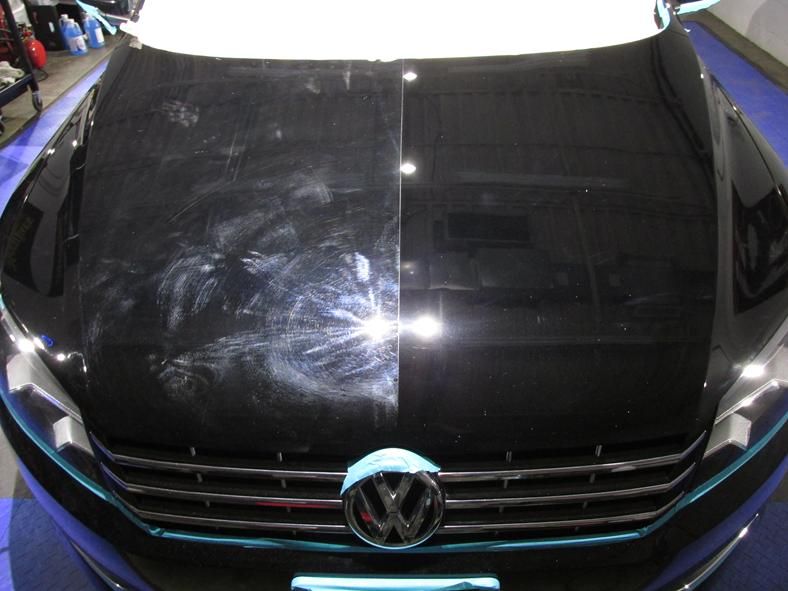
Big 50/50 on the hood after compounding only. This would be finished down later to improve the clarity
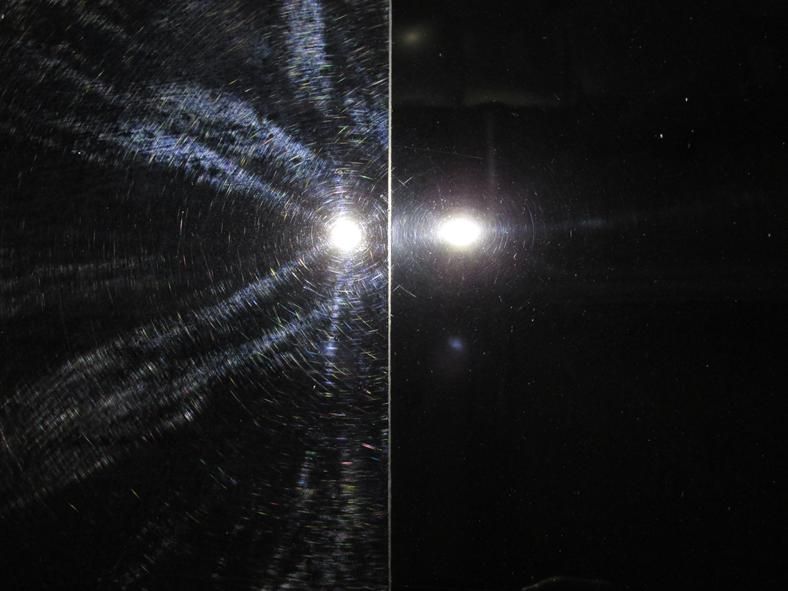
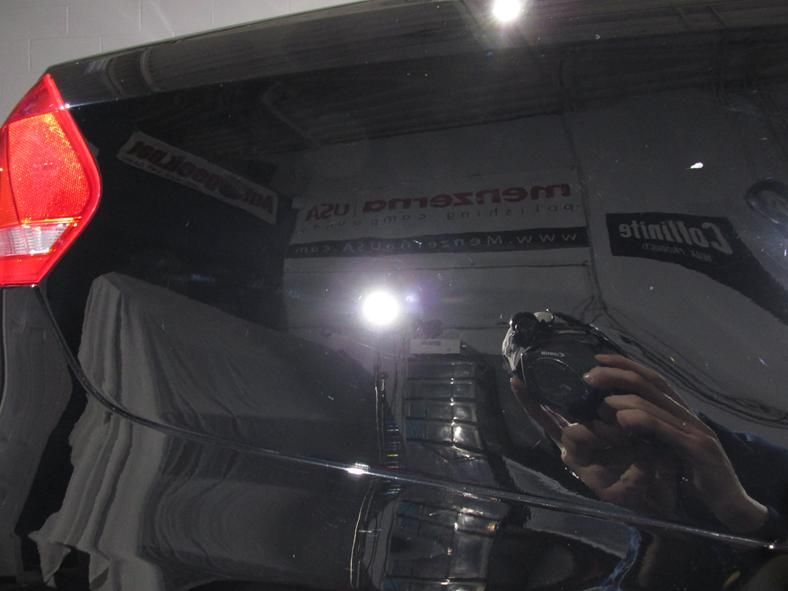
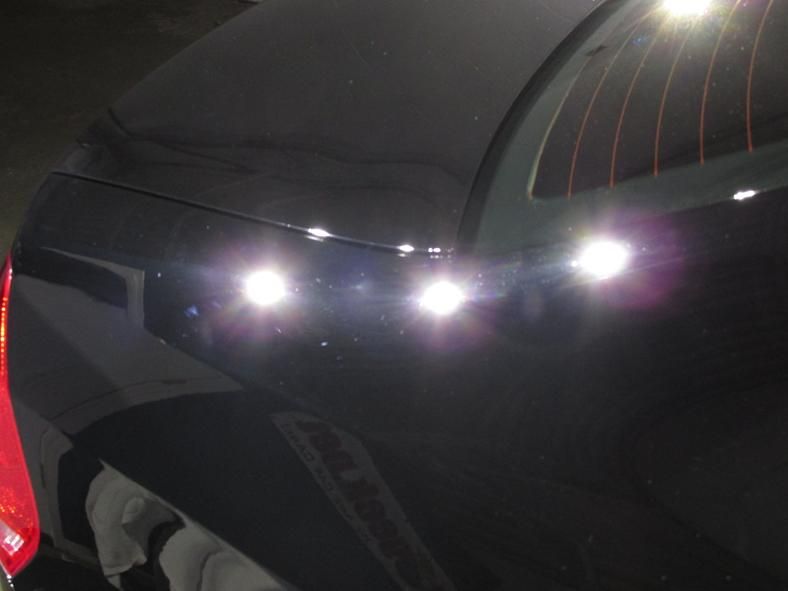
Sure looks like I'm doing something right. Getting 90% correction or better as planned (some leftovers here and there as you'll see) And away we go....


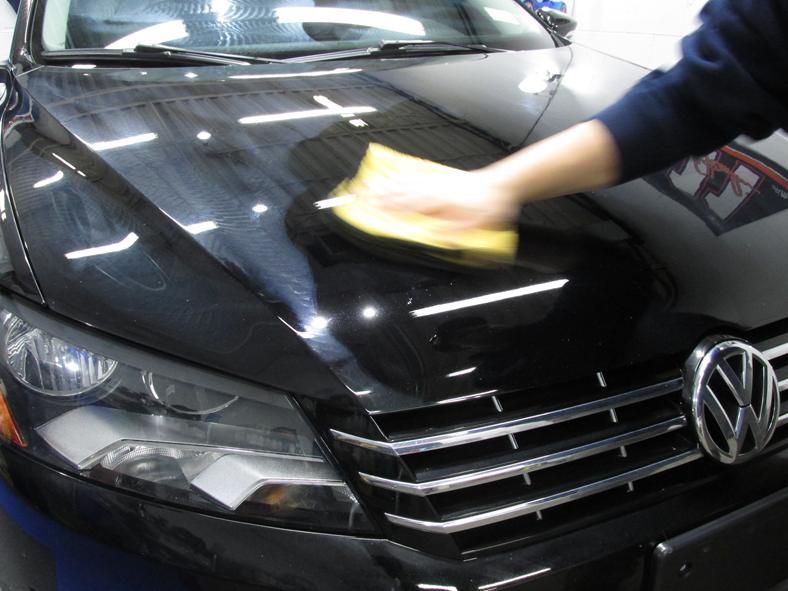
Finished off the job with Blackfire Wet Diamond sealant applied even via DA as shown here

Buffing off the sealant with a clean MF towel
Car was dropped off and first started on the interior which also needed some attention. Thorough vacuum, all interior plastic cleaned with megs APC+, leather cleaned and conditioned (OPC 10:1 => CG leather conditioner), fabric insets and carpets steam cleaned (VX5000), dash and doors dressed with 303 Aero
Quick shot of me giving the vents a hot steam injection (heh)

and another shot after all finished up. Center console shown here featuring Mr. Sparkle Detailing: THE CUP (containing all loose change and randoms found throughout the morning)

Got started on the outside which was filthy. Wash, CarPro TRIX, speedy prep towel (fine). Took a photo foaming the car with the house mix of CG Citrus wash gloss, dawn, OPC

Dried off the car, taped the trim and turned off the fluroscent lights relying on the LEDs only. Did I mention it wasn't pretty? It was even worse after the speedy prep towel. Yet another reminder not to use a clay substitute unless you're planning to polish


Wont reveal all my secrets, but the experienced in the room will probably figure out what was going on. The following tools, pads and products were all used at some point throughout the lengthy correction depending on the task at hand and size of the panel
Makita 9227C, Flex PE, Flex 3401, Griots DA, PC 7424
Megs M100, Menz FG400, Menz Power Finish
3m low lint wool, Optimum MF compounding pads, LC PFW, LC white
Getting my grind on. Hood required several passes to get decent

Big 50/50 on the hood after compounding only. This would be finished down later to improve the clarity


Sure looks like I'm doing something right. Getting 90% correction or better as planned (some leftovers here and there as you'll see) And away we go....


Finished off the job with Blackfire Wet Diamond sealant applied even via DA as shown here

Buffing off the sealant with a clean MF towel


