Please be gentle. This post has a lot of firsts for me:
- First ever click-n-brag post on any forum
- First time doing paint correction on a black car
- First ever convertible
- First time using Menzerna FG400
- First time using microfiber cutting pads
- First time applying Opti-Coat
Background: I'm a weekend warrior type of car detailing enthusiast. This is only the second car I've done any sort of polishing beyond my own cars, of which I've only done a handful of times anyway. That means I'm pretty inexperienced at paint polishing.
Story of the car: A friend/co-worker of mine bought this pre-owned car a couple of months ago. I suggested getting it cleaned up (polished) and protected, especially after pointing out the various swirls. One conversation led to another, and I ended up with a weekend of mental therapy.")
Process and products:
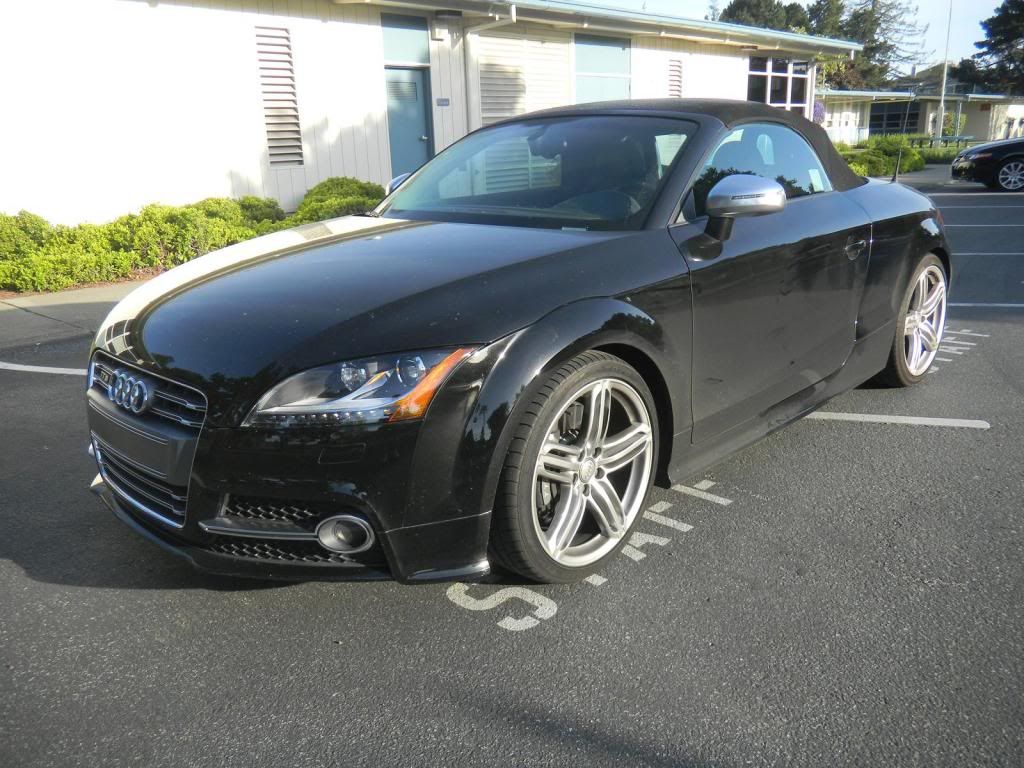
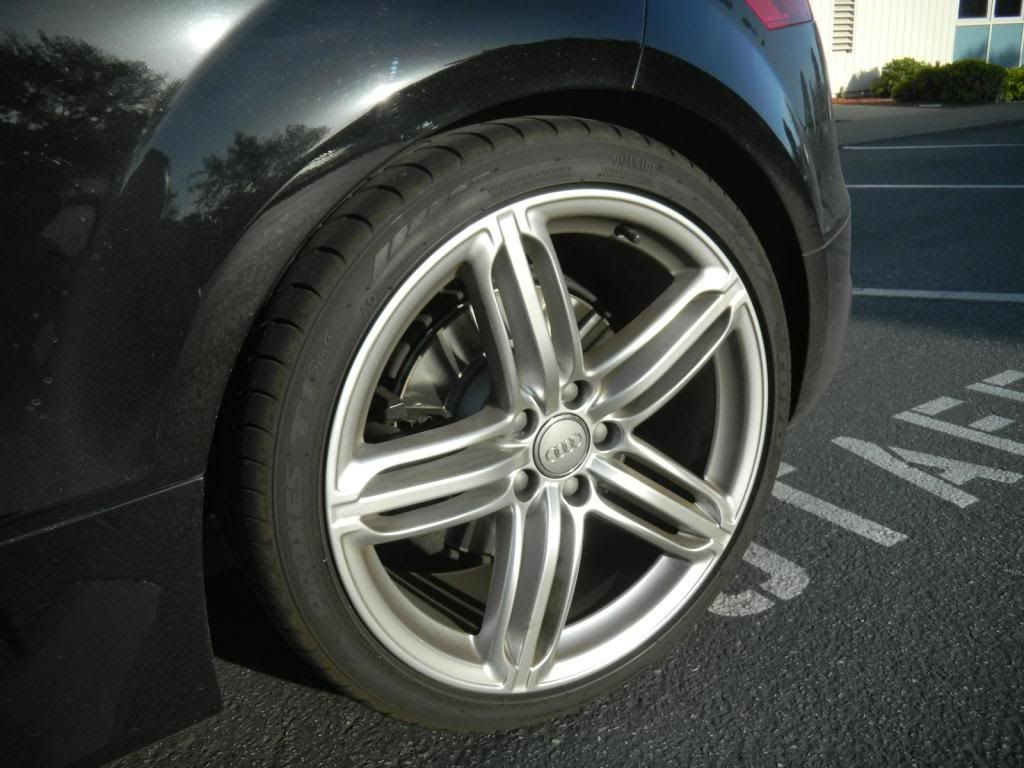
Before the wash:
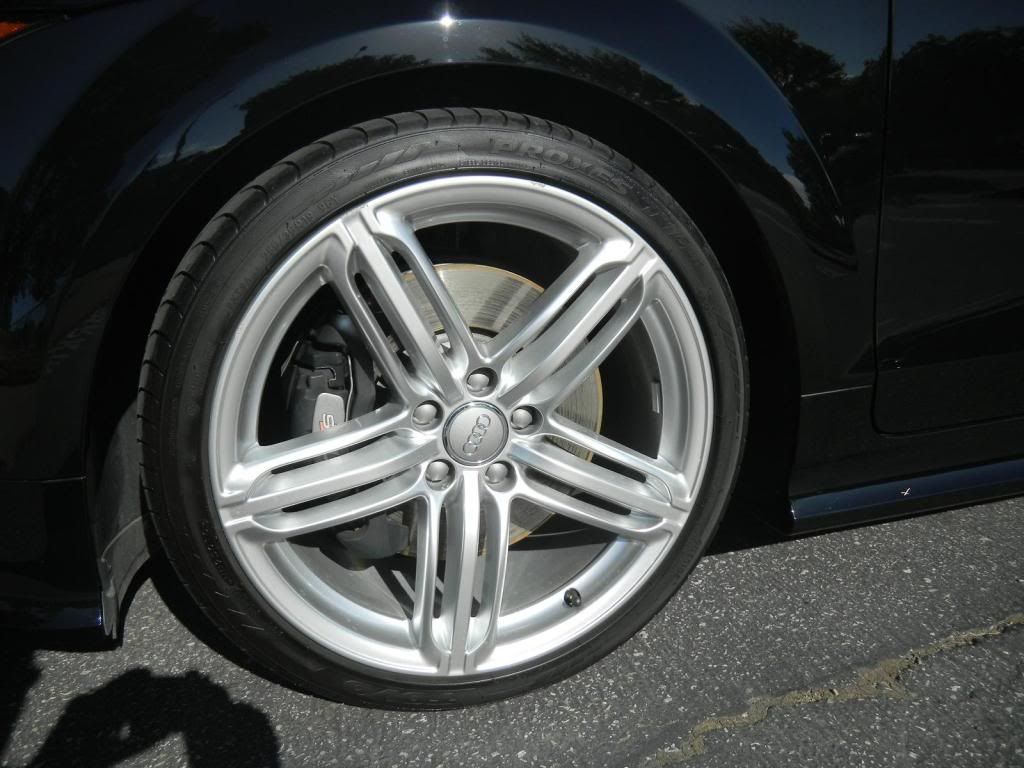
Typical Audi brake dust:
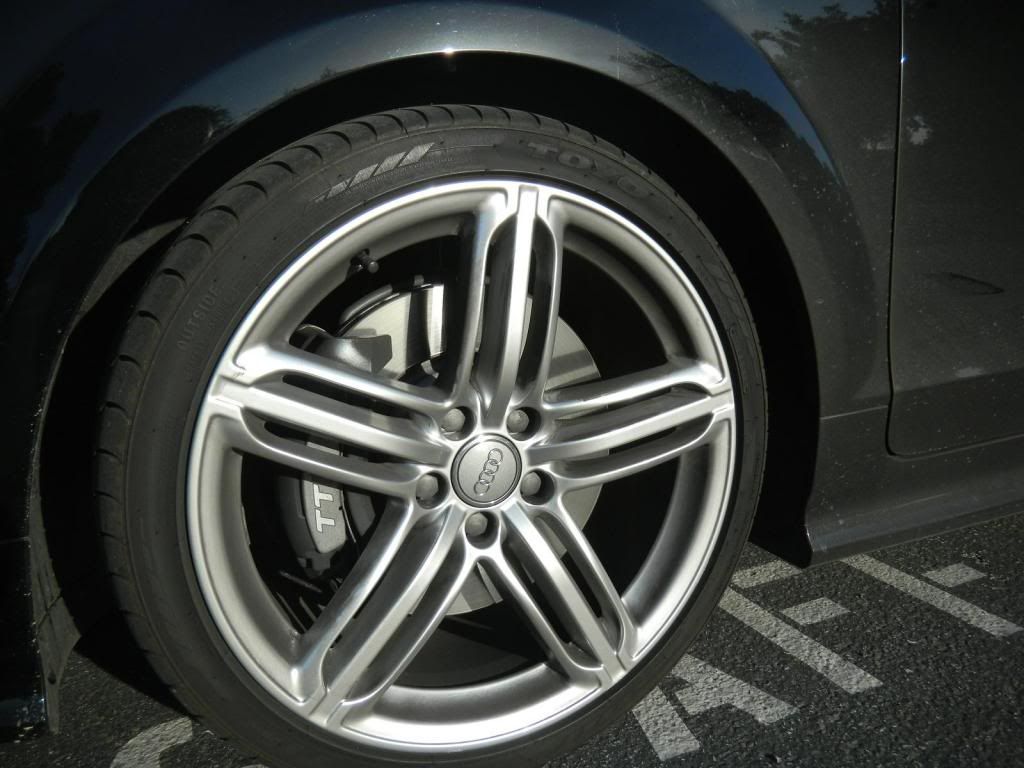
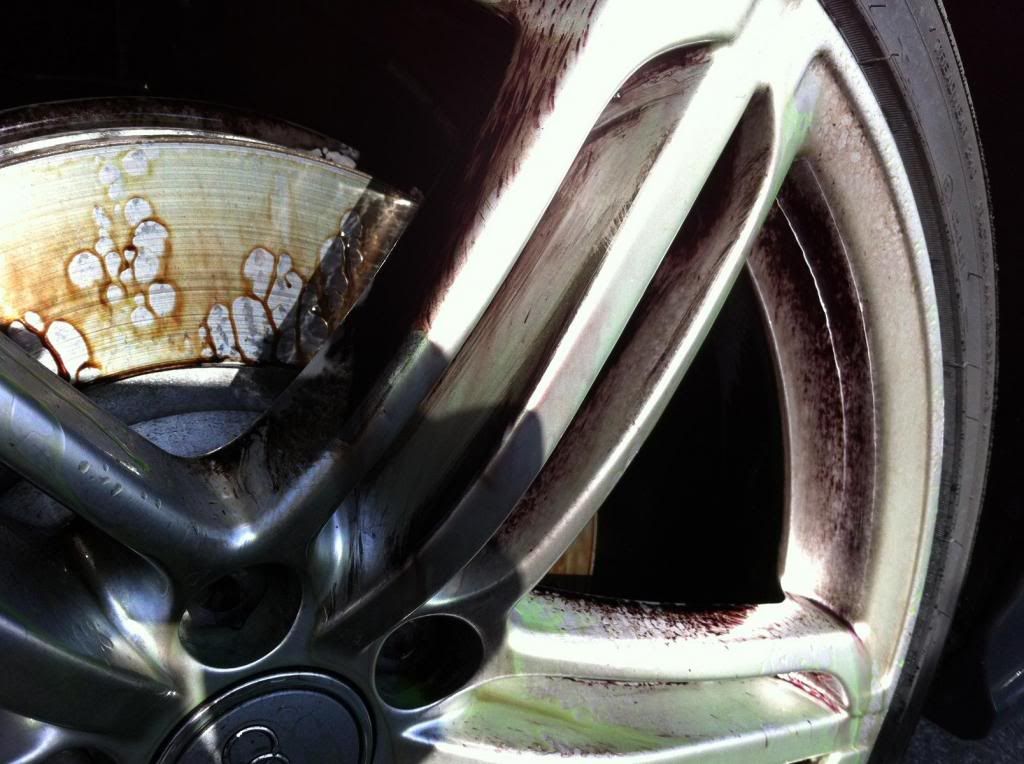
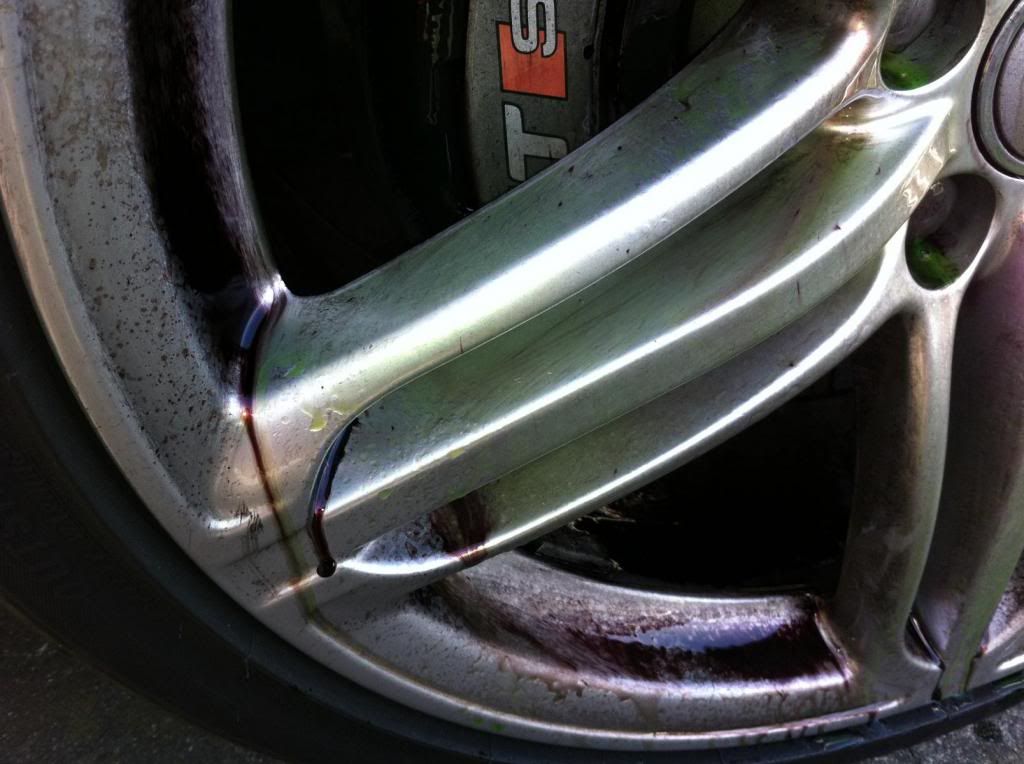
Owner tried to clean the brake dust a couple of weeks beforehand, but it didn't help much:
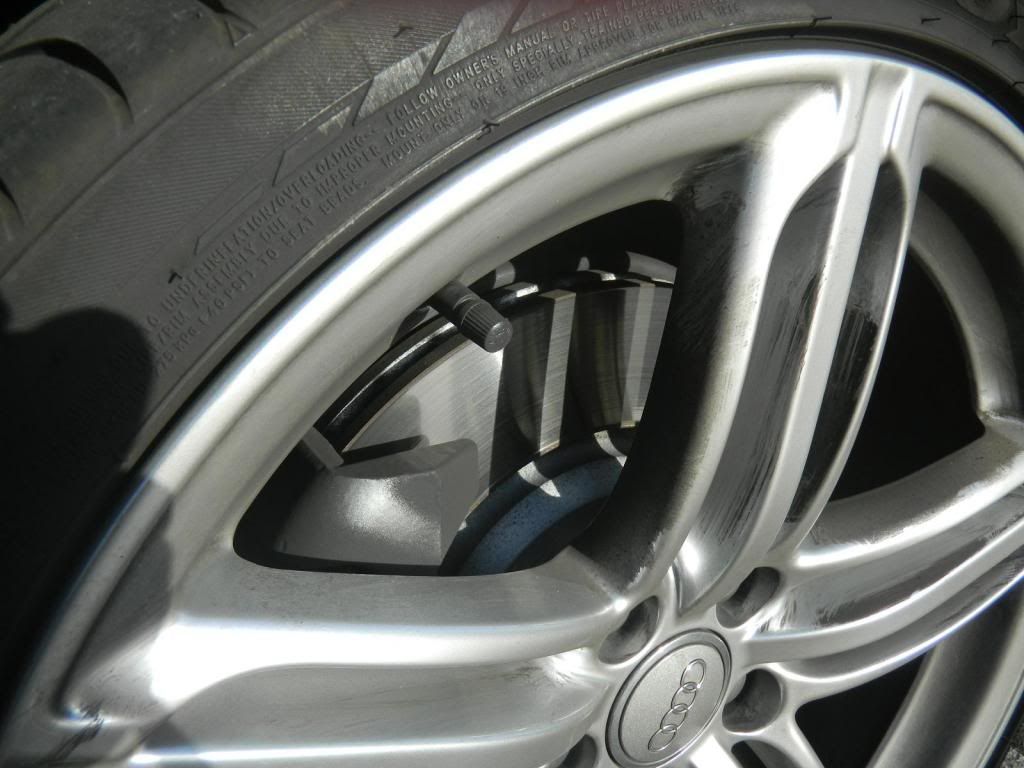
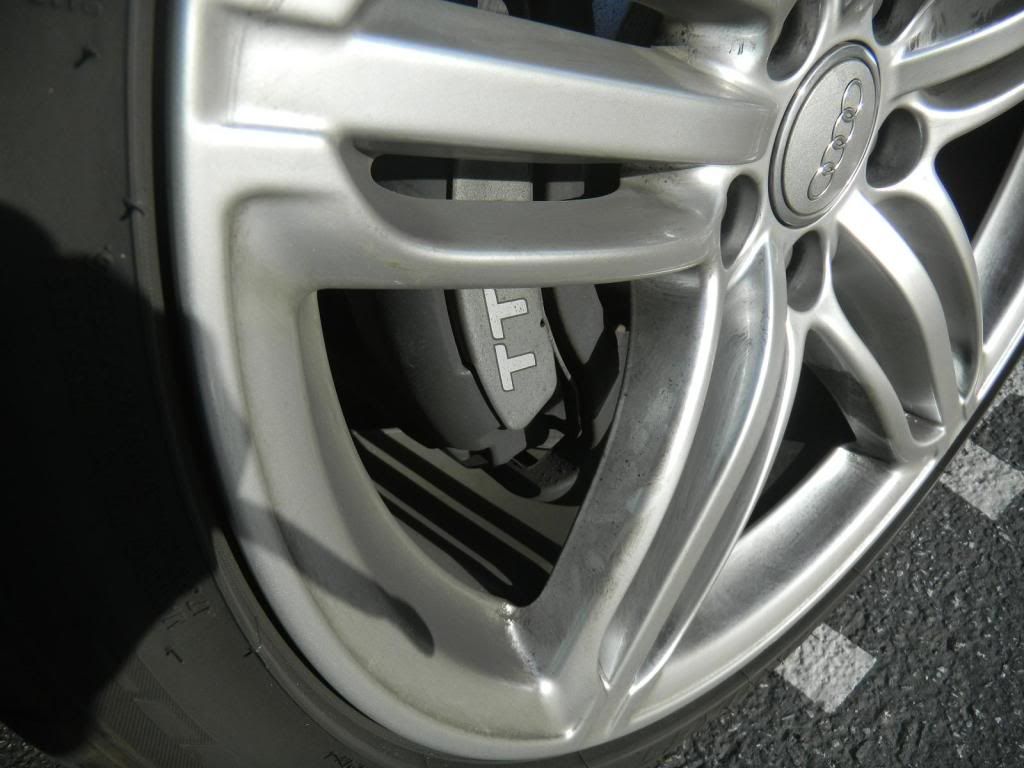
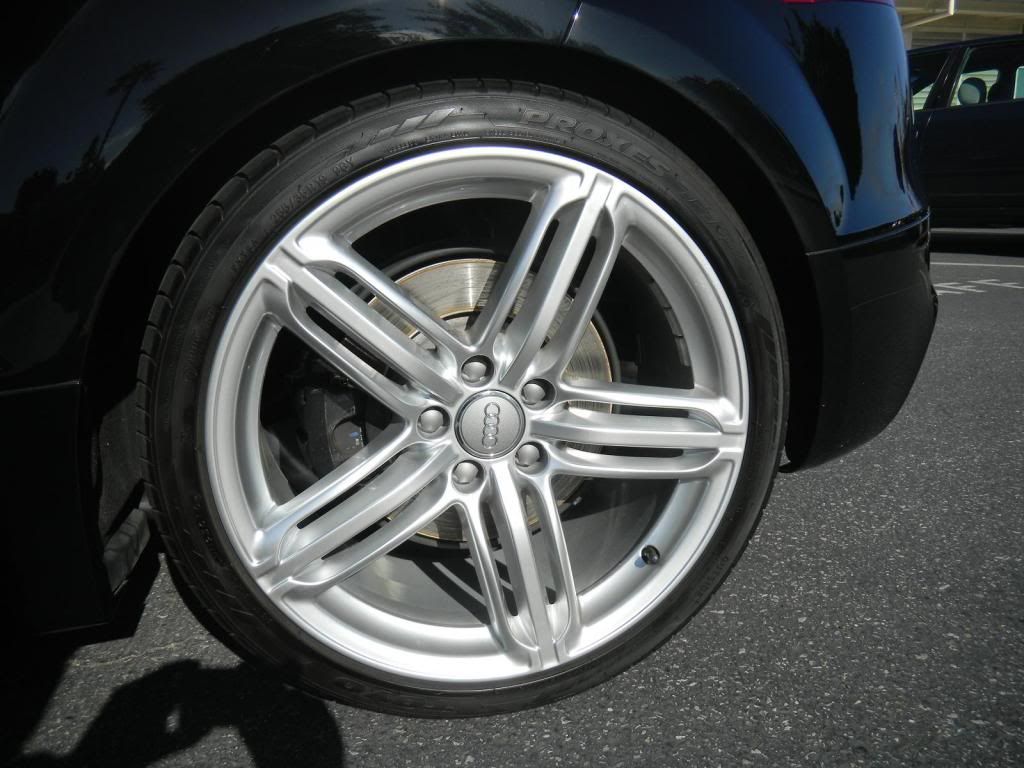
Lots of brake dust in the barrels:
Rear wheels were about the same:
Sonax FE in action:

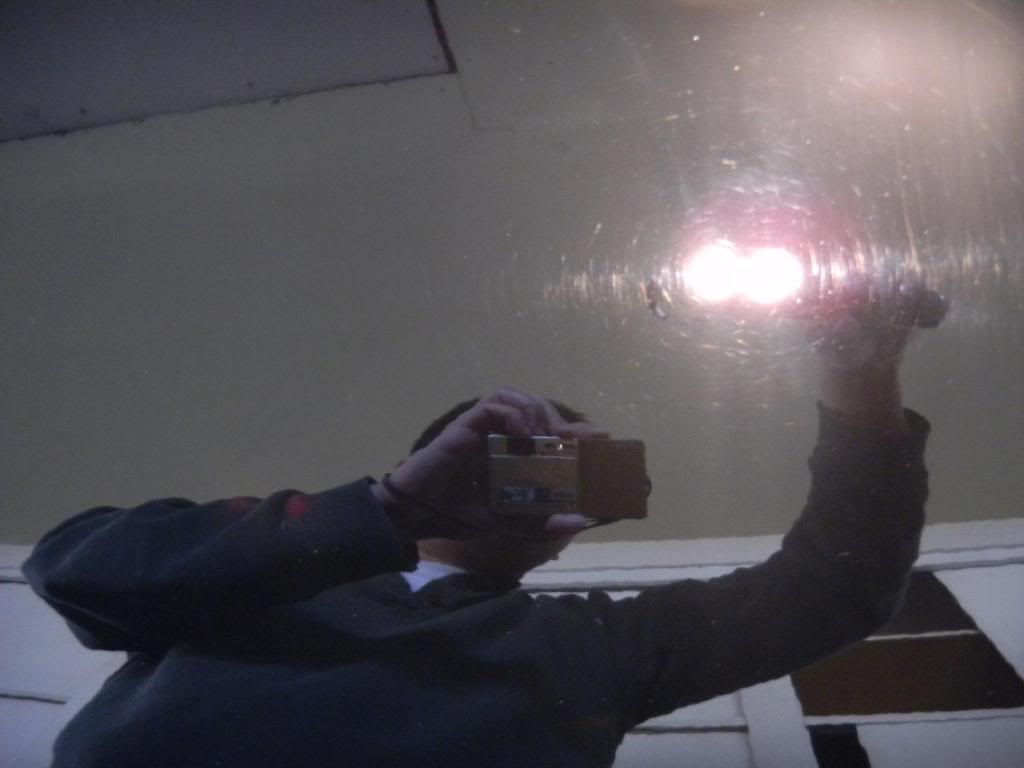
After wash, decontamination, and drying, here's what I found ... surprise! The whole car was like this:
After some work, I got it to look like this:
50/50 -- please excuse the polishing dust. You can see water spots and/or minor bird bomb etchings on the left (uncorrected) side.
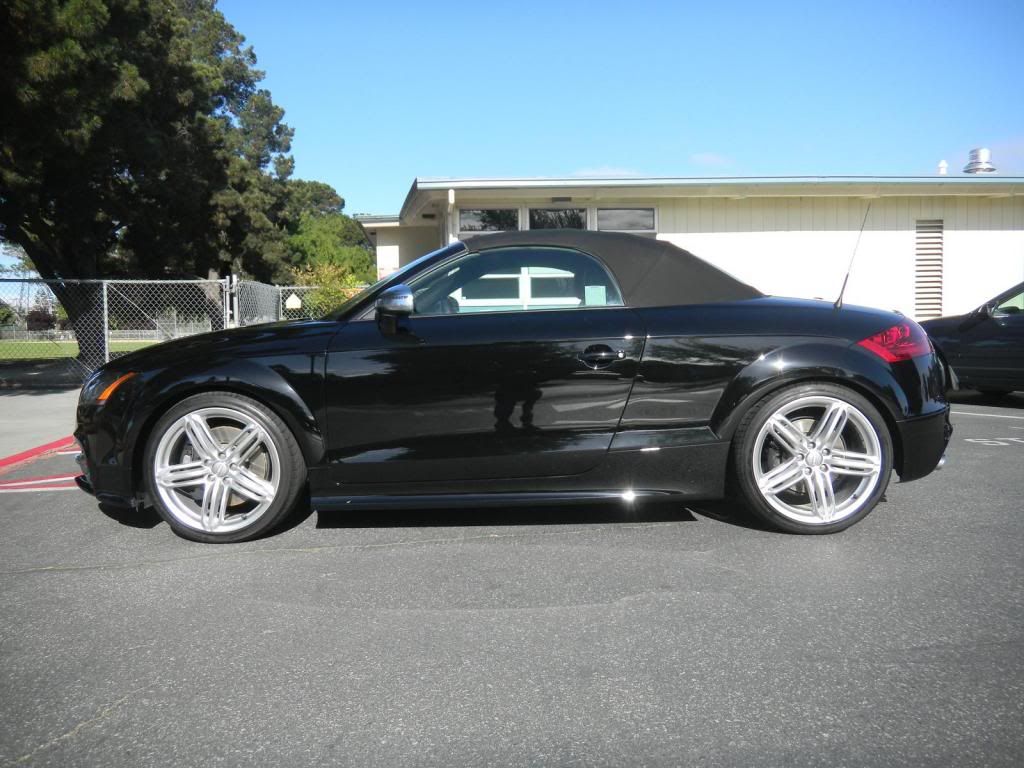
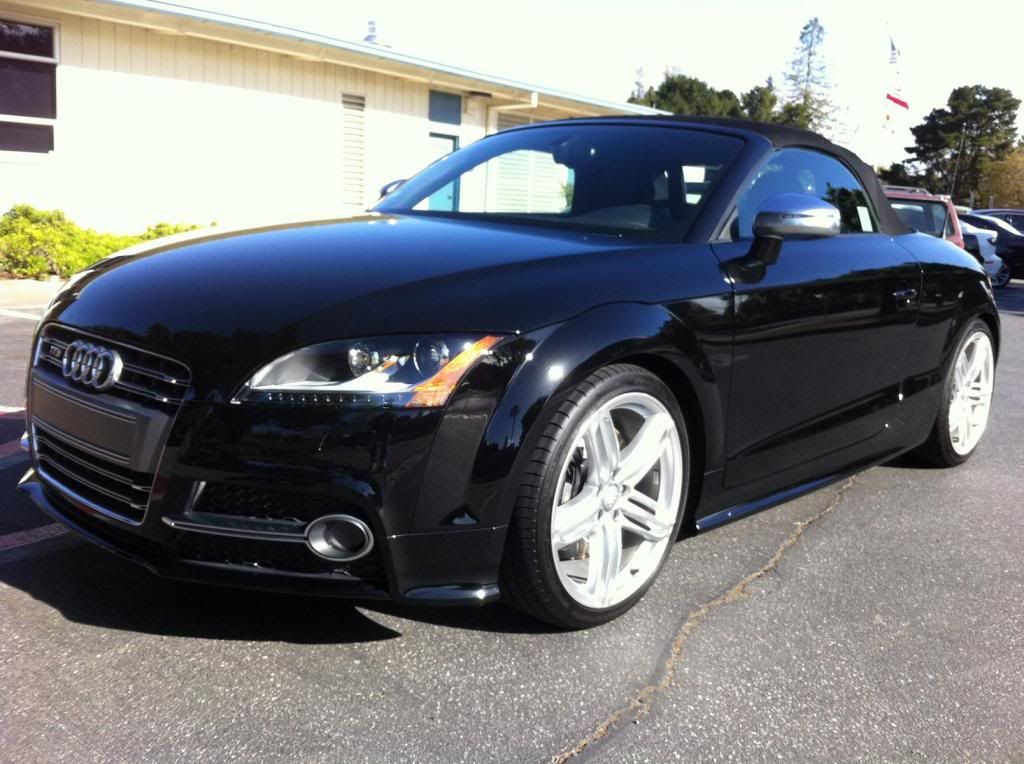
After pictures. Wheels are all better:
Opti-Coat applied, and all done!
My friend was ecstatic. Told me it's better than when it was new.
Ok honestly, I think I achieved maybe an 80% correction. There's still a lot for me to improve on, especially how efficiently I can do this. I could also use a better camera.
Thanks for looking! Feedback would be appreciated.
- First ever click-n-brag post on any forum
- First time doing paint correction on a black car
- First ever convertible
- First time using Menzerna FG400
- First time using microfiber cutting pads
- First time applying Opti-Coat
Background: I'm a weekend warrior type of car detailing enthusiast. This is only the second car I've done any sort of polishing beyond my own cars, of which I've only done a handful of times anyway. That means I'm pretty inexperienced at paint polishing.
Story of the car: A friend/co-worker of mine bought this pre-owned car a couple of months ago. I suggested getting it cleaned up (polished) and protected, especially after pointing out the various swirls. One conversation led to another, and I ended up with a weekend of mental therapy.
Process and products:
- Thorough wash with Dawn, and not re-using the wash media
- Decontamination using Speedy Prep Towel
- GG 6" with Menzerna FG400 and Optimum MF pads; some areas were also hit with Menzerna SF4000 and B&S Green pads
- Wheels cleaned using Sonax Full Effect and various brushes
- Tires and wheel wells cleaned with Meguiar's APC+ and various brushes
- Nooks, crannies, jambs, etc cleaned up
- ISP wipedown, followed by Opti-coat for LSP
- Rubber and plastic treated with 303 Aerospace Protectant
- Interior was in good shape -- just a quick wipedown; 303 for the plastic bits, and Lexol twins for the leather
Before the wash:
Typical Audi brake dust:
Owner tried to clean the brake dust a couple of weeks beforehand, but it didn't help much:
Lots of brake dust in the barrels:
Rear wheels were about the same:
Sonax FE in action:
After wash, decontamination, and drying, here's what I found ... surprise! The whole car was like this:
After some work, I got it to look like this:
50/50 -- please excuse the polishing dust.
You can see water spots and/or minor bird bomb etchings on the left (uncorrected) side.
After pictures. Wheels are all better:
Opti-Coat applied, and all done!
My friend was ecstatic. Told me it's better than when it was new.
Ok honestly, I think I achieved maybe an 80% correction. There's still a lot for me to improve on, especially how efficiently I can do this. I could also use a better camera.
Thanks for looking! Feedback would be appreciated.