VW GTI Full Correction – Step by Step Write-Up
A few months ago I promised to detail my cousins VW GTI however I have been busy with client details and I wanted to make sure that I had enough time to take a lot of step by step pictures and do a full correction.
Ok so to the present day. My cousin went on vacation so I chose two days out of the two weeks he was away to work on his vehicle. Thankfully our schedules worked out and I had freed up two days so I could detail his GTI.
Ok so let us get started. I am going to try something a little different this time around by accompanying the pictures with product and process information. So bare with me and hopefully you will enjoy the write up as much as I have enjoyed writing it up.
BEFORES
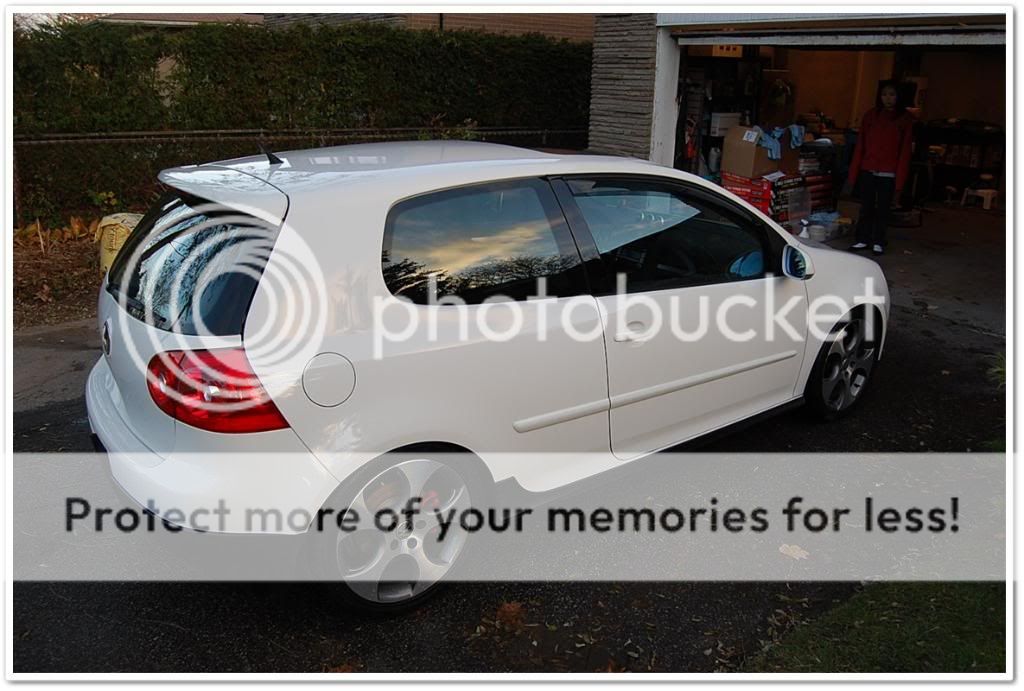
So before I do anything to the car I like to go around with my D40. You can use any camera with a decent quality pixel rate but I find that DSLR provides for better depth and sharpness. Even though I do a walk through at the beginning I find that the process of snapping quality pictures really helps with me with prioritizing trouble areas. If surprises pop up I make sure to call the customer to let him know of the issue before proceeding. It really saves me and customer time and hassle.


Possible bird etching issue on this particular panel.

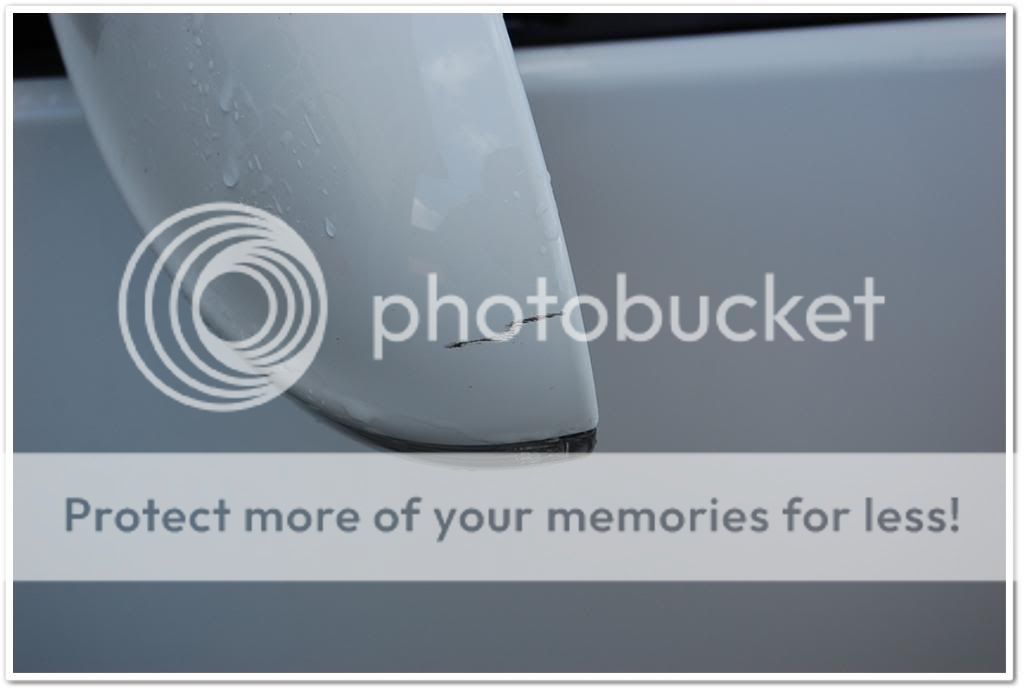
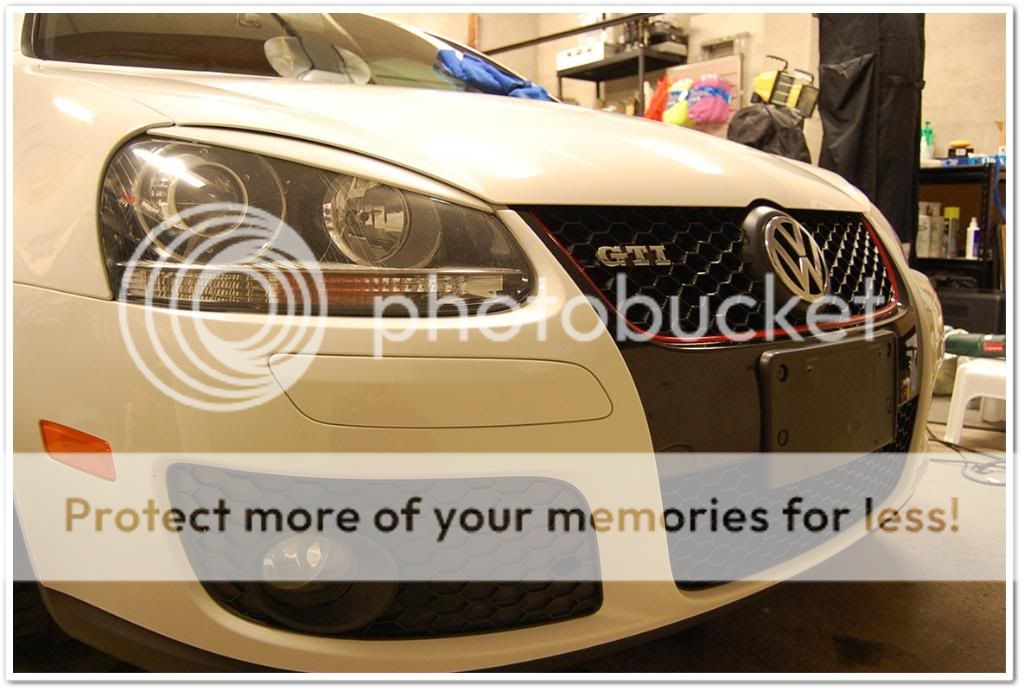
Scratch on driver side mirror with paint transfer. Possible solutions could be heat gun and a light wipe, ISA wipe (isopropyl and water 50:50 mix), clay & clay lube and polishing.


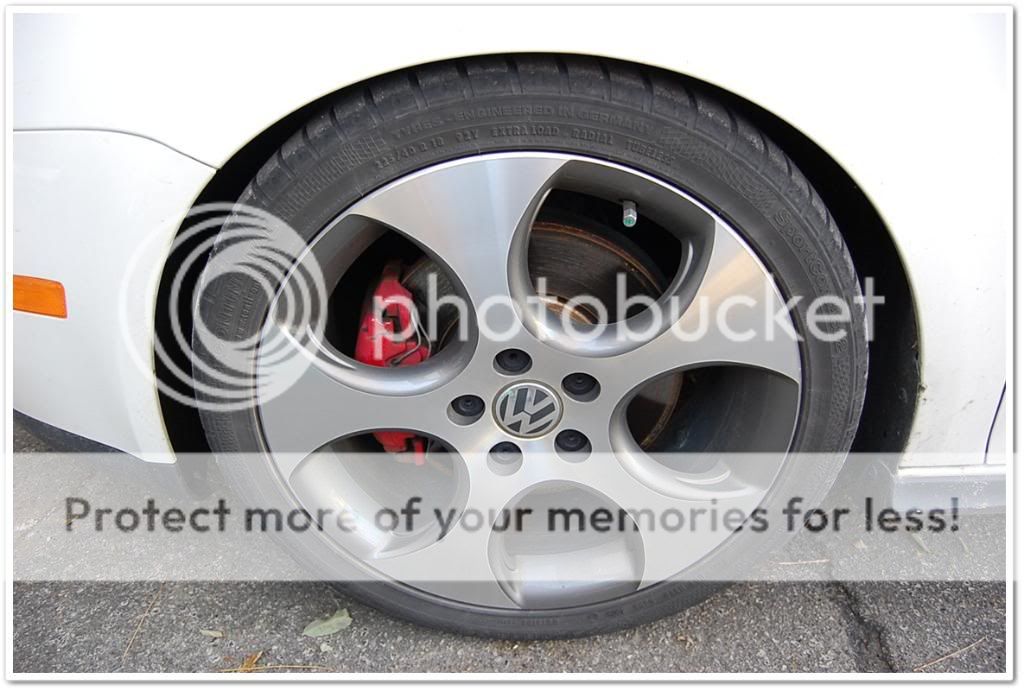
The GTI is obviously dull but there is also a noticeable grayish tinge but it is nothing to be overly concerned about.
WASH
Ok so I’ve done the post detail walk through now let us move on to the wash phase of the detail. After my washes I always like to snap additional pictures because you never know what could be hiding underneath all that dirt. Dirt may not be dirt and maybe a scratch.

My tools of choice for washing this GTI’s paint is as follows:
2 Grit Guards
2 Sheepskin Wash Mitts
1 Detail Brush
Chemicals Guys Maxi Suds
Optimum No Rinse
Optimum Power Clean
I mix all three together. 1 oz of Maxi Suds, 1 oz of ONR and 2 oz of PC. I like a little suds so I use Maxi Suds to lift the dirt, ONR is added to soften the water and to pull the dirt away from the paintwork and PC to get rid of any existing wax or sealant even though this particular GTI did not have any protection to speak off.

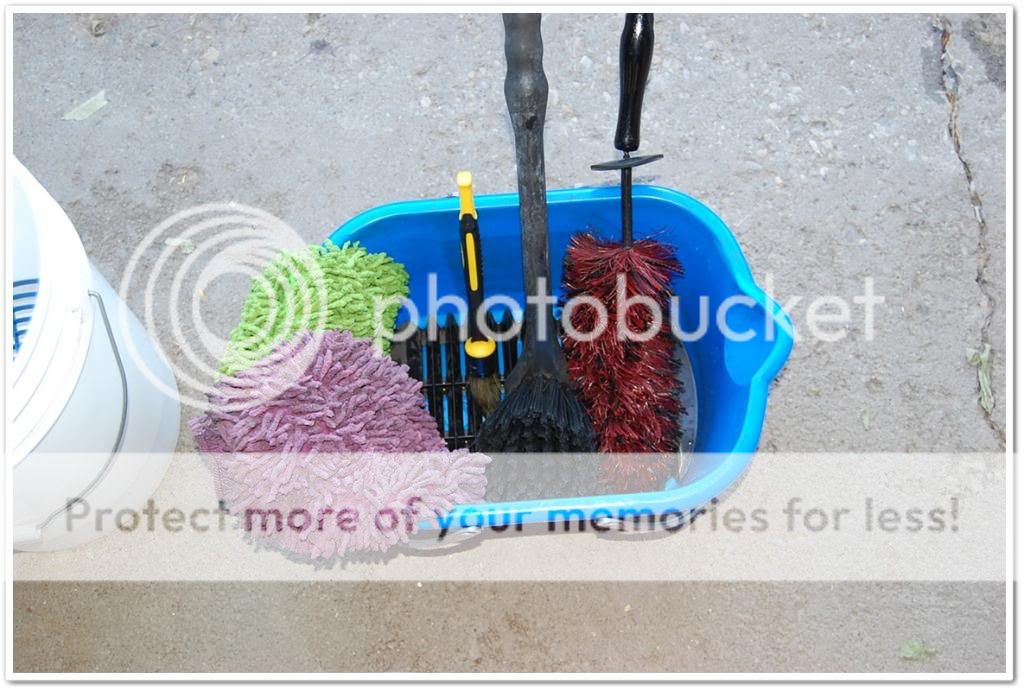
The tools that I used for the wheels are:
Detail brush (which are brilliant for lug nuts)
Grit guard
One bucket
Daytona Wheel Brush (completely invaluable when cleaning inner rims)
2 Chenille wash Mitts
Chemical Guys Wheel Gel ( 1 part water 1 part Wheel Gel used directly on surface)
Optimum Power Clean (1.5 oz of Power Clean used in bucket solution)


When rinsing wheels it is always safer to wash your wheels when they have cooled down. If you rinse a vehicle that has just been driven you risk the rotor warping because the rotor is hot while the water is cold. GTI was picked up the day before so the wheels were cool so there were no issues rinsing the wheels.

Coating the caliper and wheel with Chemical Guys Wheel Gel.

CG Wheel Gel also sprayed on tires.

You can see the wheel gel working and pulling the dirt away from the tire. This will help the longevity and look of your favourite tire dressing by having a clean canvas to work on.

Here is the Daytona brush in action. I scrub by brushing in side to side and back and forth motion to get the best cleaning action. Again I can’t emphasize how much it’s helped me keep my hands from getting tiny cuts from the rotors.


The Daytona Brush bent and being used behind the spokes.


The chenille mitt being used for the face of the rim. Although I prefer using the detail brush or zymol brush I find that the chenille mitt saves me some time because it has more coverage. I still use the detail brush for the corners of spokes.

Detail brush being used for the lug nuts.

All cleaned up.

Whoops almost forgot the calipers. When cleaning your calipers or the inner rims if you find that it’s being blocked by a spoke or caliper just roll your vehicle backward or forward to clean the previously inaccessible area.

Another example of a wheel scrub down.

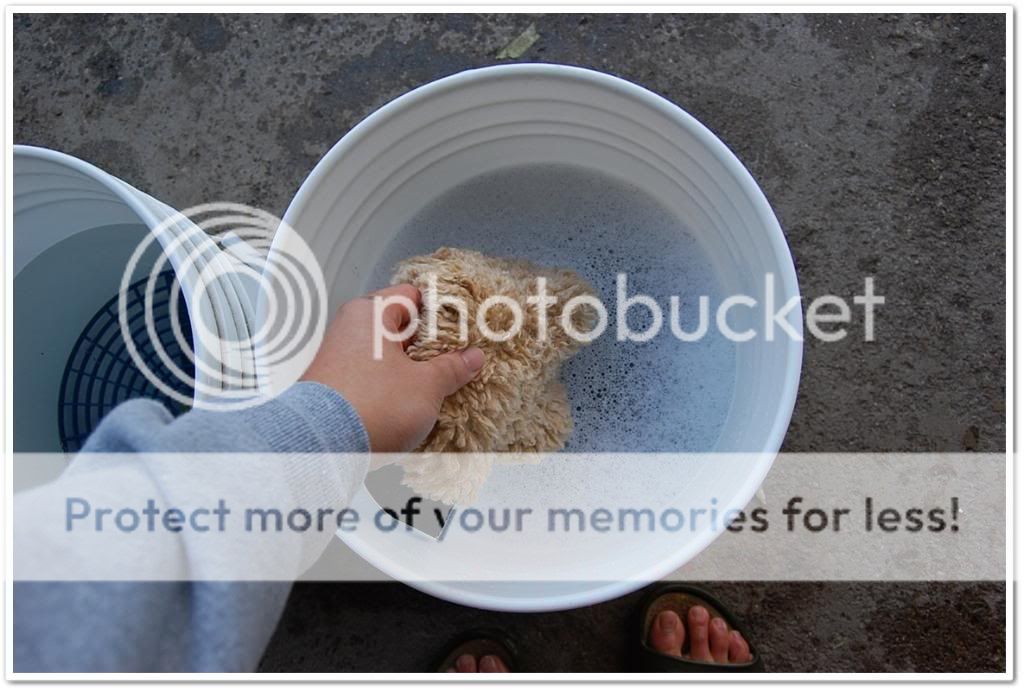
Clean and Clear bucket. Keep that in mind for after the wash.
A few months ago I promised to detail my cousins VW GTI however I have been busy with client details and I wanted to make sure that I had enough time to take a lot of step by step pictures and do a full correction.
Ok so to the present day. My cousin went on vacation so I chose two days out of the two weeks he was away to work on his vehicle. Thankfully our schedules worked out and I had freed up two days so I could detail his GTI.
Ok so let us get started. I am going to try something a little different this time around by accompanying the pictures with product and process information. So bare with me and hopefully you will enjoy the write up as much as I have enjoyed writing it up.
BEFORES
So before I do anything to the car I like to go around with my D40. You can use any camera with a decent quality pixel rate but I find that DSLR provides for better depth and sharpness. Even though I do a walk through at the beginning I find that the process of snapping quality pictures really helps with me with prioritizing trouble areas. If surprises pop up I make sure to call the customer to let him know of the issue before proceeding. It really saves me and customer time and hassle.
Possible bird etching issue on this particular panel.
Scratch on driver side mirror with paint transfer. Possible solutions could be heat gun and a light wipe, ISA wipe (isopropyl and water 50:50 mix), clay & clay lube and polishing.
The GTI is obviously dull but there is also a noticeable grayish tinge but it is nothing to be overly concerned about.
WASH
Ok so I’ve done the post detail walk through now let us move on to the wash phase of the detail. After my washes I always like to snap additional pictures because you never know what could be hiding underneath all that dirt. Dirt may not be dirt and maybe a scratch.
My tools of choice for washing this GTI’s paint is as follows:
2 Grit Guards
2 Sheepskin Wash Mitts
1 Detail Brush
Chemicals Guys Maxi Suds
Optimum No Rinse
Optimum Power Clean
I mix all three together. 1 oz of Maxi Suds, 1 oz of ONR and 2 oz of PC. I like a little suds so I use Maxi Suds to lift the dirt, ONR is added to soften the water and to pull the dirt away from the paintwork and PC to get rid of any existing wax or sealant even though this particular GTI did not have any protection to speak off.
The tools that I used for the wheels are:
Detail brush (which are brilliant for lug nuts)
Grit guard
One bucket
Daytona Wheel Brush (completely invaluable when cleaning inner rims)
2 Chenille wash Mitts
Chemical Guys Wheel Gel ( 1 part water 1 part Wheel Gel used directly on surface)
Optimum Power Clean (1.5 oz of Power Clean used in bucket solution)
When rinsing wheels it is always safer to wash your wheels when they have cooled down. If you rinse a vehicle that has just been driven you risk the rotor warping because the rotor is hot while the water is cold. GTI was picked up the day before so the wheels were cool so there were no issues rinsing the wheels.
Coating the caliper and wheel with Chemical Guys Wheel Gel.
CG Wheel Gel also sprayed on tires.
You can see the wheel gel working and pulling the dirt away from the tire. This will help the longevity and look of your favourite tire dressing by having a clean canvas to work on.
Here is the Daytona brush in action. I scrub by brushing in side to side and back and forth motion to get the best cleaning action. Again I can’t emphasize how much it’s helped me keep my hands from getting tiny cuts from the rotors.
The Daytona Brush bent and being used behind the spokes.
The chenille mitt being used for the face of the rim. Although I prefer using the detail brush or zymol brush I find that the chenille mitt saves me some time because it has more coverage. I still use the detail brush for the corners of spokes.
Detail brush being used for the lug nuts.
All cleaned up.
Whoops almost forgot the calipers. When cleaning your calipers or the inner rims if you find that it’s being blocked by a spoke or caliper just roll your vehicle backward or forward to clean the previously inaccessible area.
Another example of a wheel scrub down.
Clean and Clear bucket. Keep that in mind for after the wash.


") but i hope you enjoyed it !
but i hope you enjoyed it !