OakesDetail
New member
There is something about impressive builds that has always fascinated me, to take something and make it completely something else while retaining its original foundation. This car is pretty much the physical definition of that. No corners cut, nothing overlooked, nothing rushed or thrown together and no expense was spared.
However, the owner didn't feel the car was finished, there were some final touches needed to bring it all to a "close" and fortunately I had the opportunity to help him with this.
"D" called me up to come detail the Subaru, which would boggle a lot of minds, because the car was flawless, everything was new - the paint, the chrome, the plastics, etc. It's details like this that truly separate what "us" paint correction specialists - as I like to say - do, apart from your usual detailer. To take a perfect foundation, and make it better.
Enough blabbering from me, I will let the pictures showcase the hard, well thought out work that Dimitri put into his truly one of a kind Subaru and how I was able to help finish it up for him.
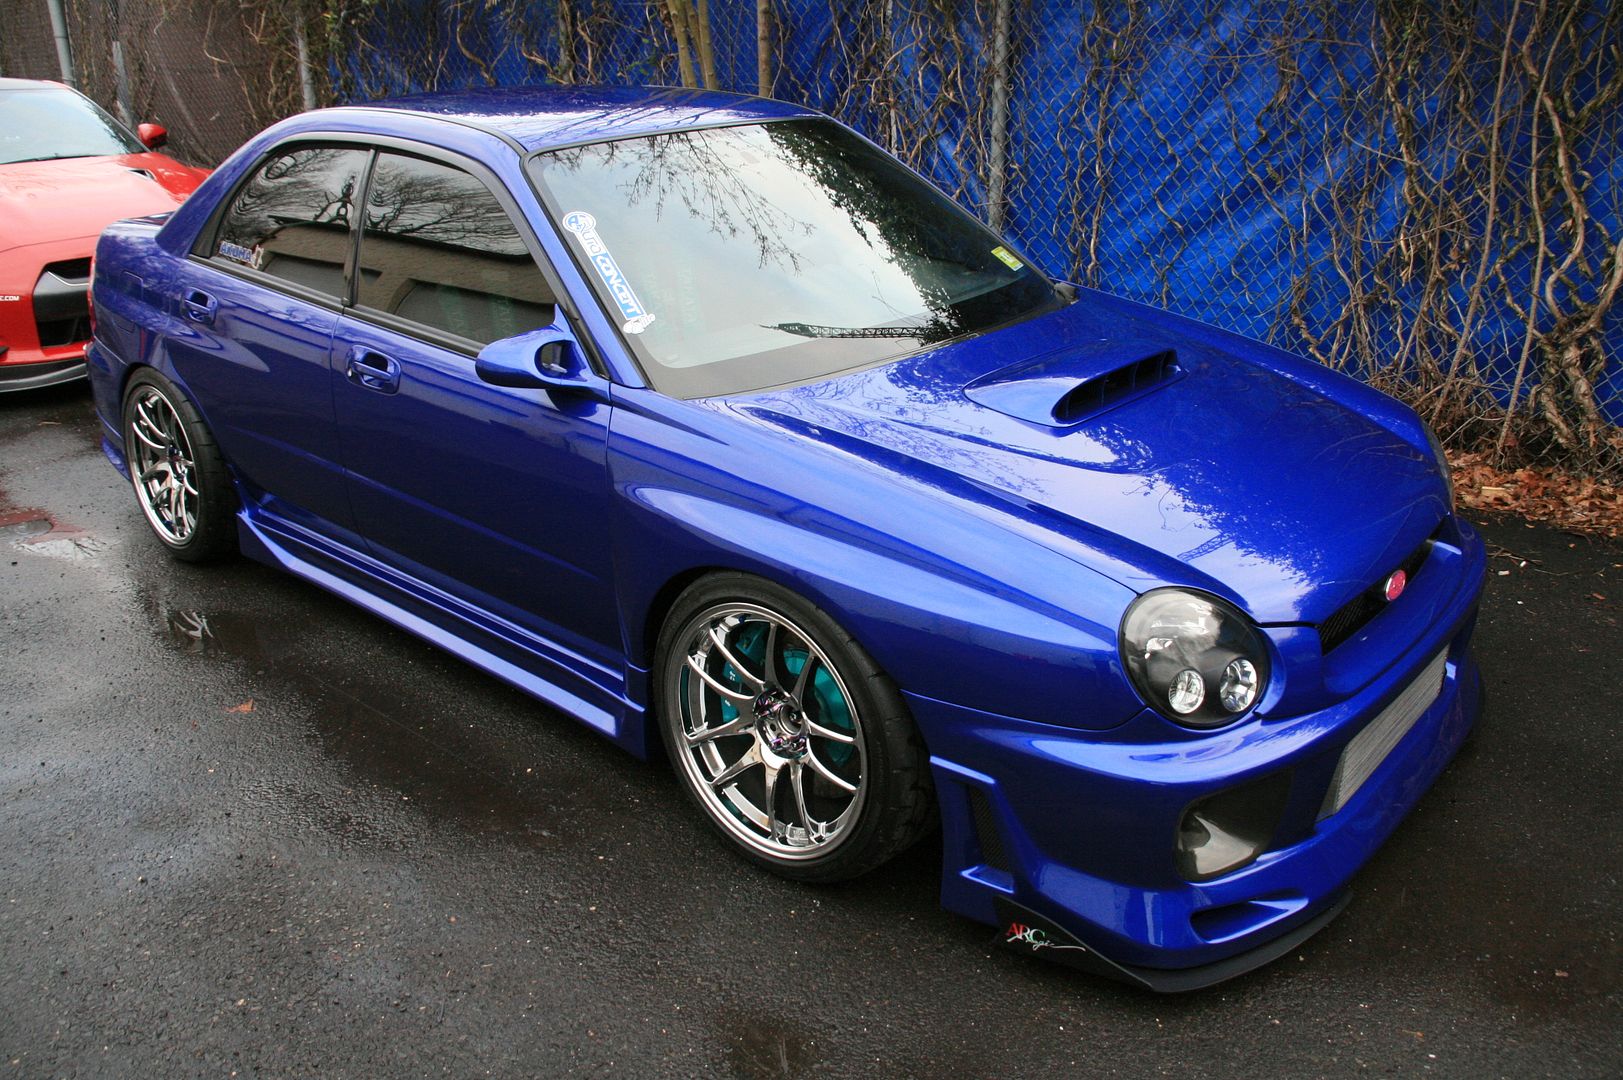
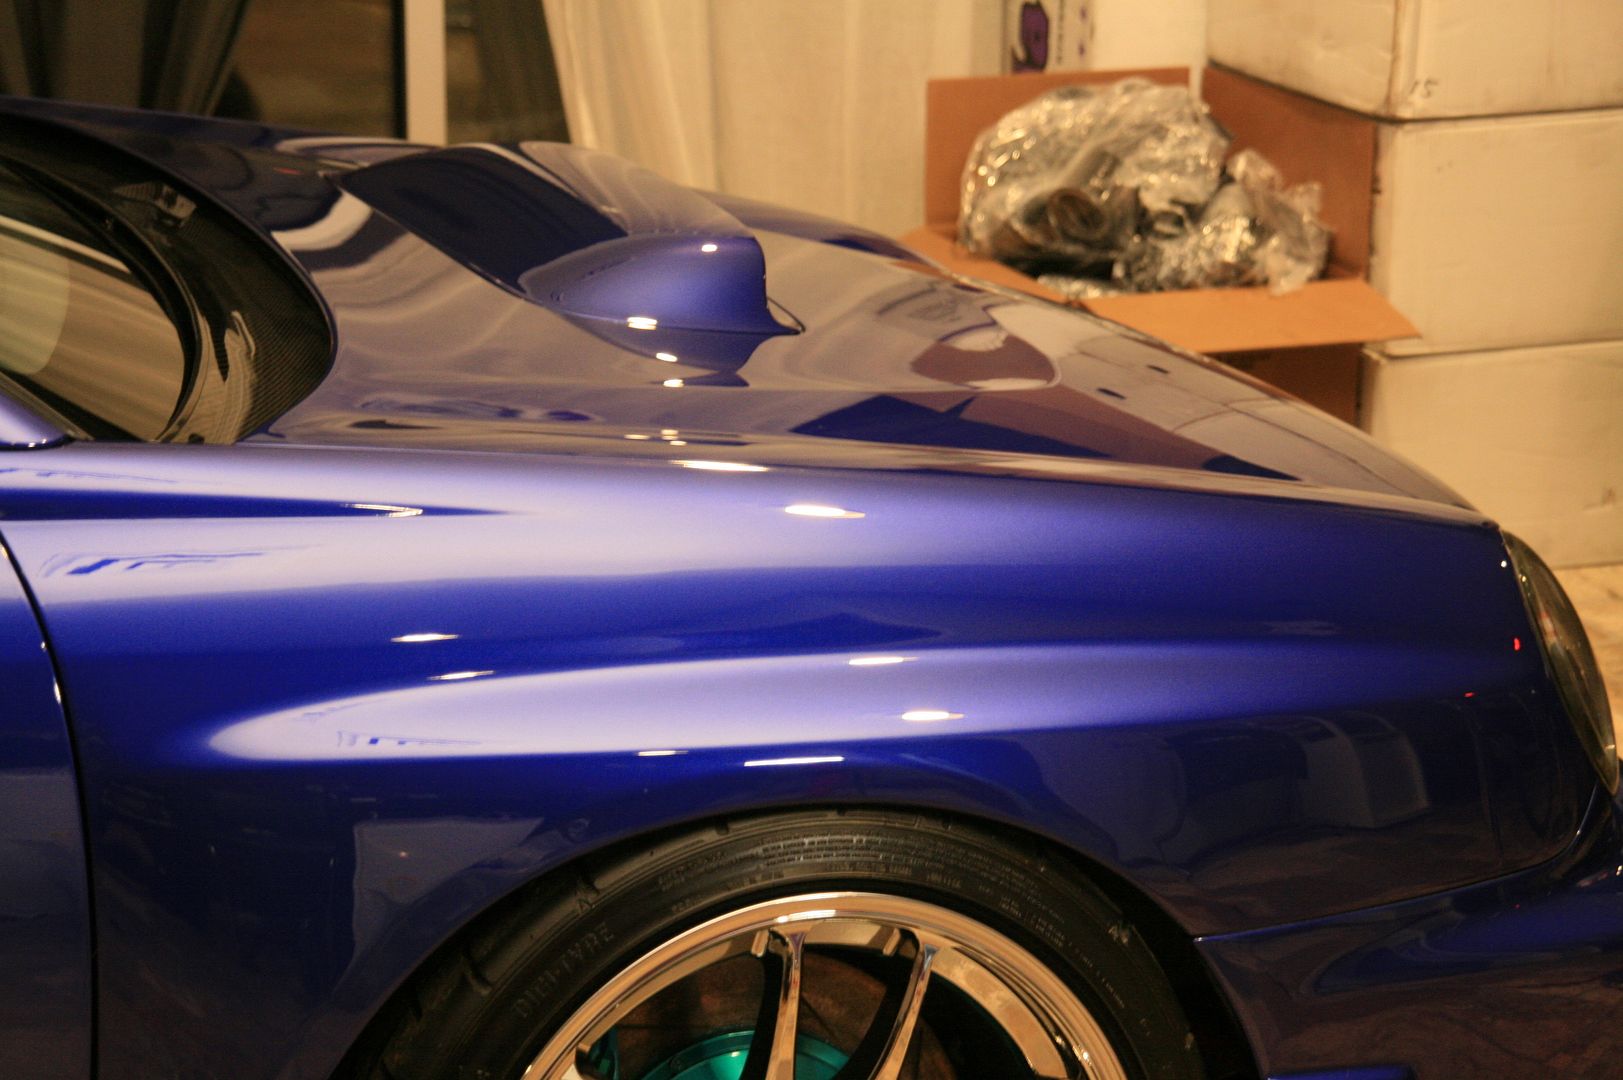
How it looked when I arrived:
Vehicle was prepped, all wax removed through degreasing, citrus wash, very fine clay and IPA wipedown, then masked off:
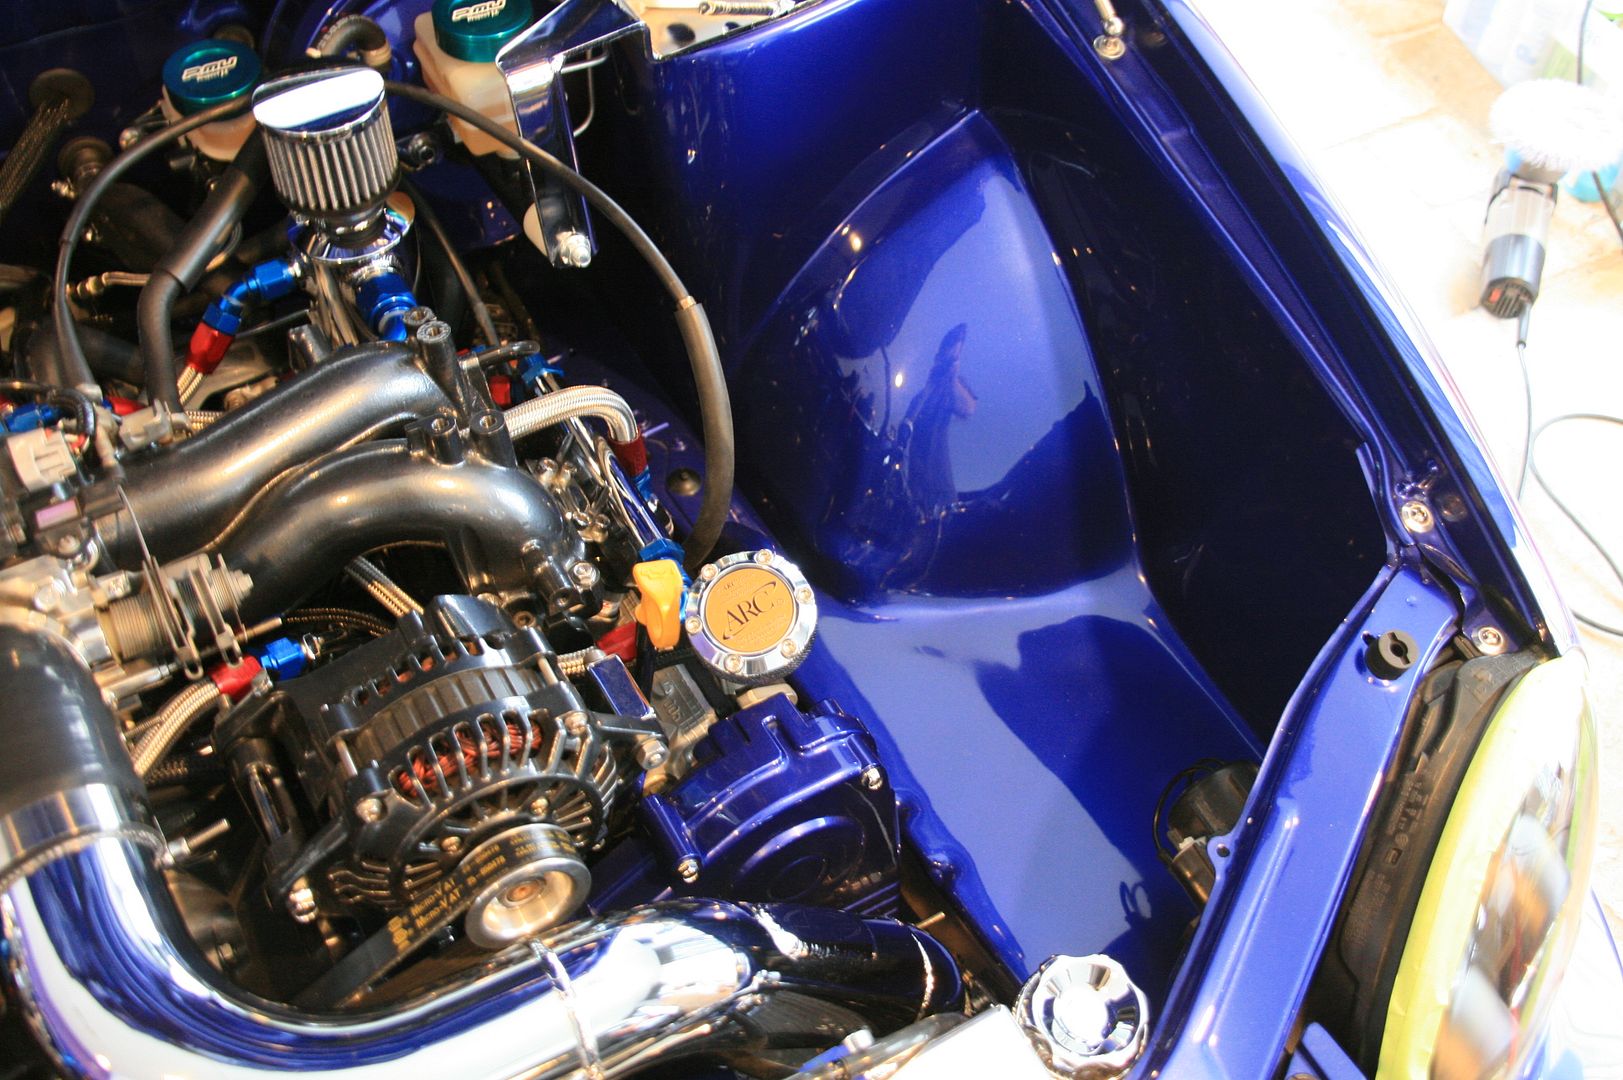
I started with the engine bay, which had some accidental over spray since the bay was painted before the body, which was a phenomenal job regardless. Here is the over spray on the inner fender before and after:
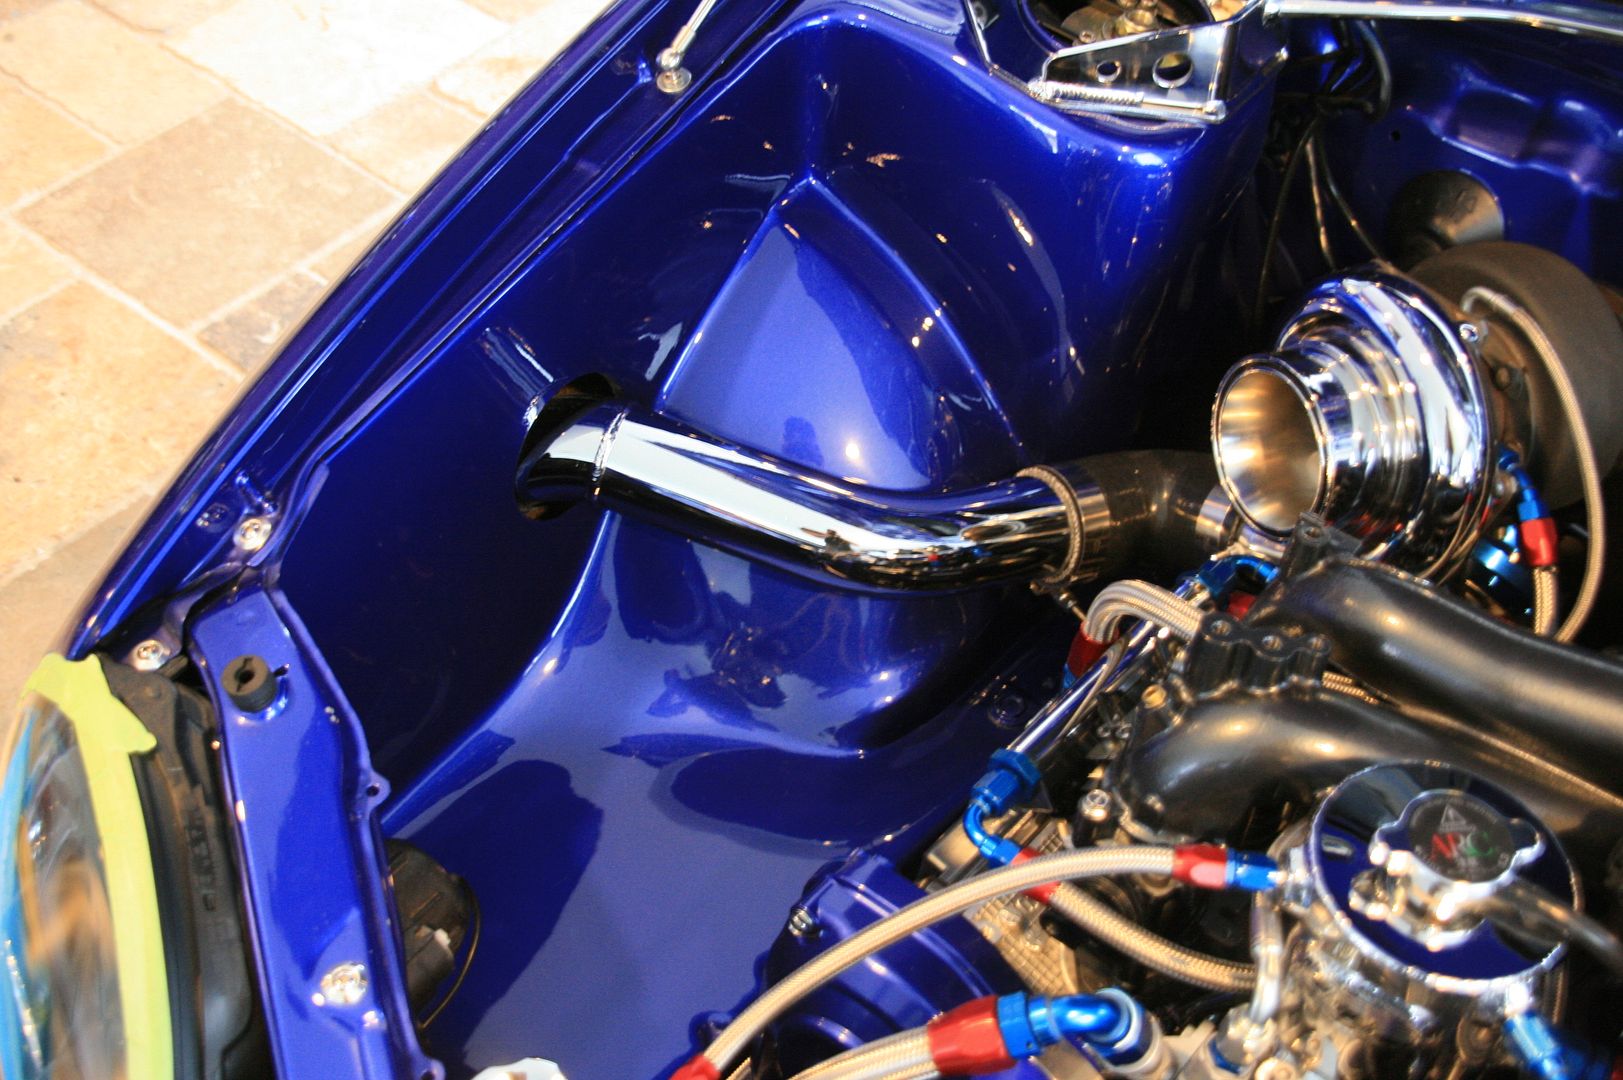
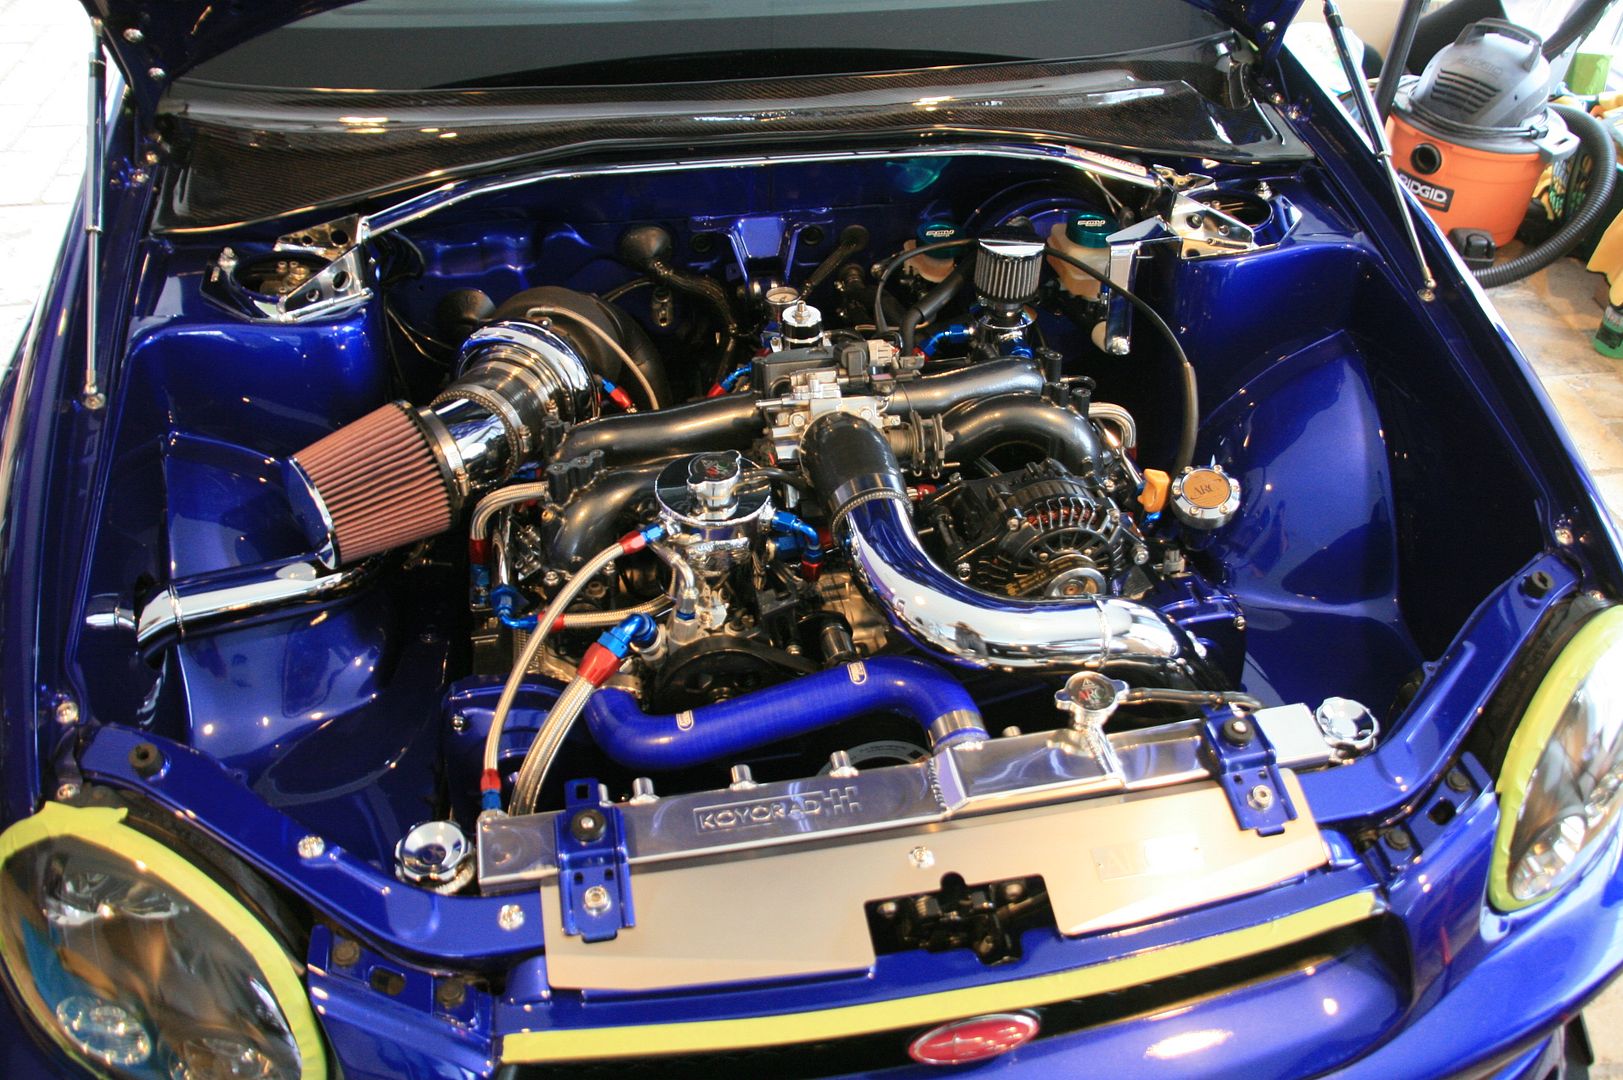
The other side was done as well, all metals polished and sealed, here is the finished results:
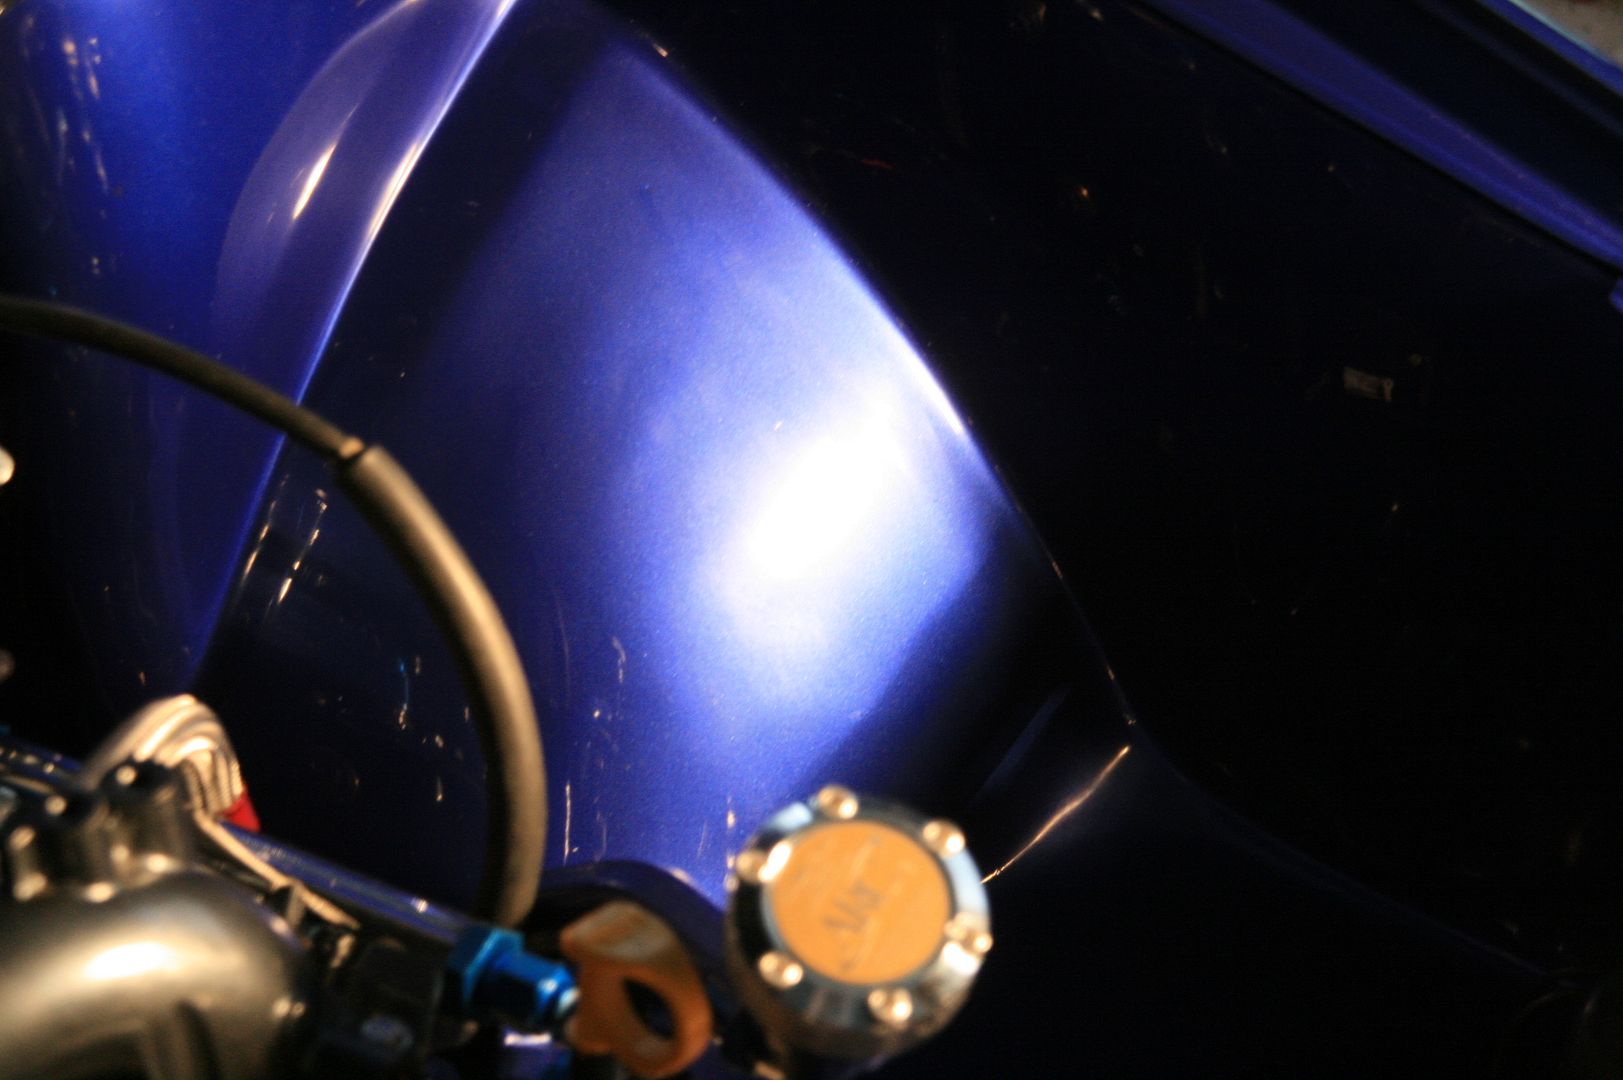
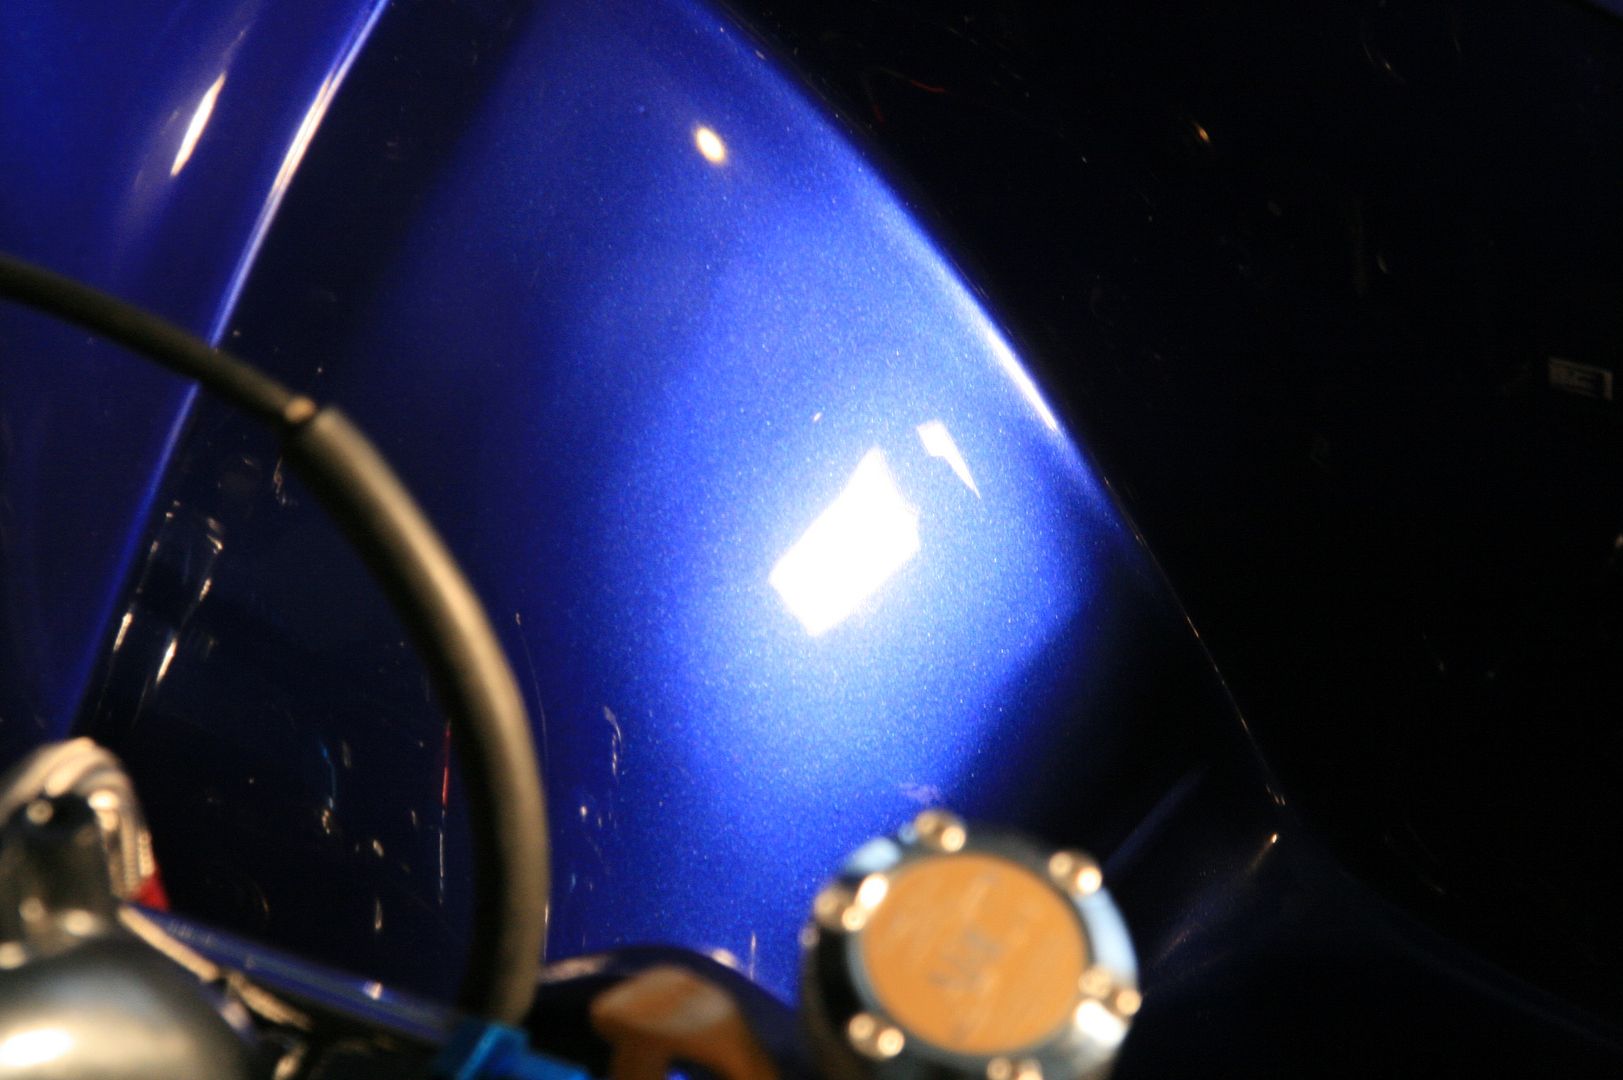
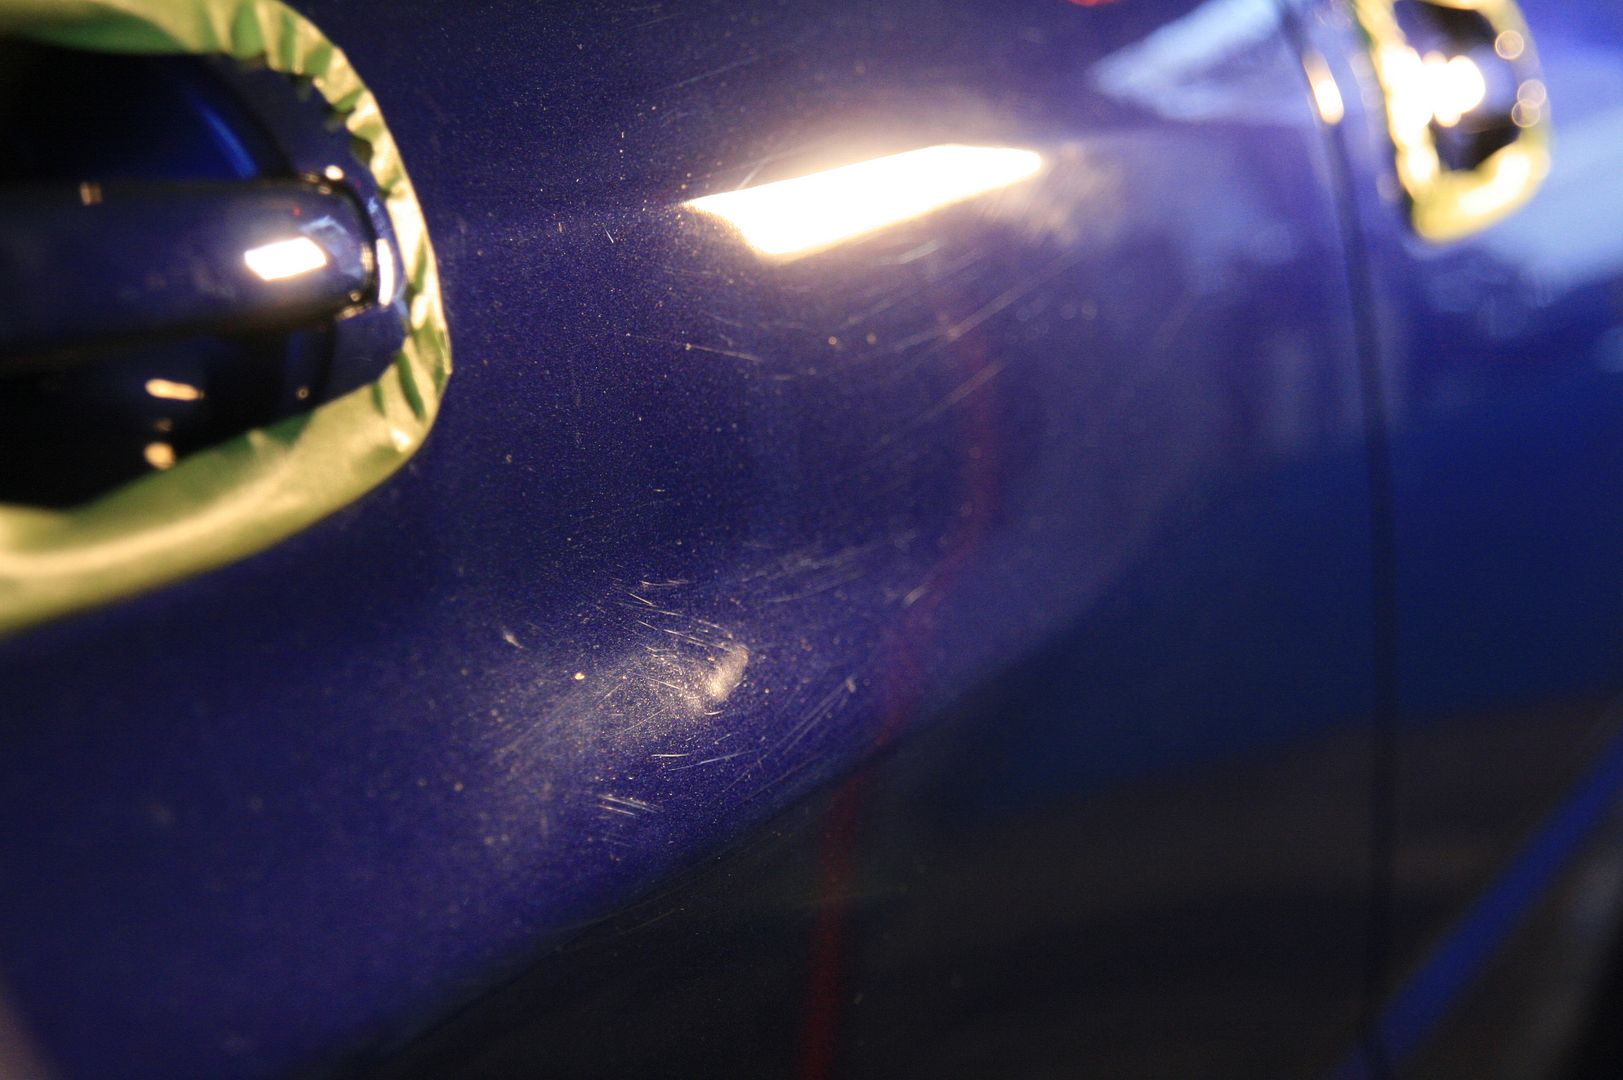
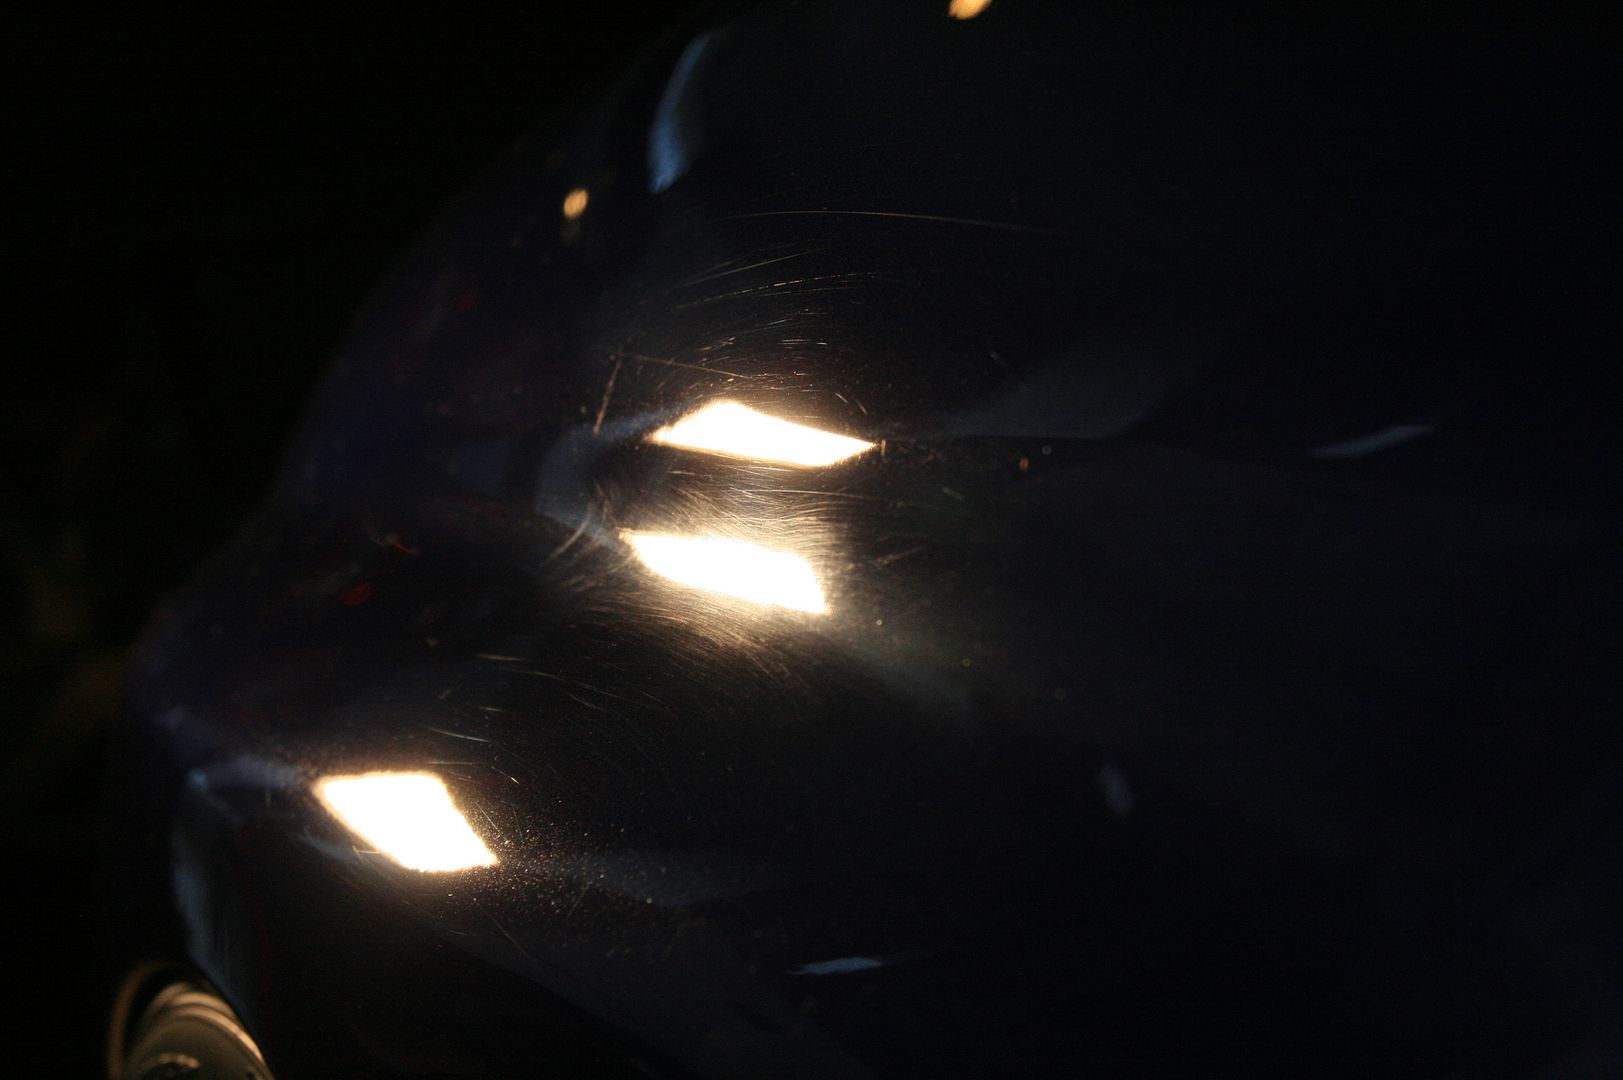
Now it was on to the paint work where some finishing touches were needed in the correction process. Some before photos of the defects and some after photos immediately following:
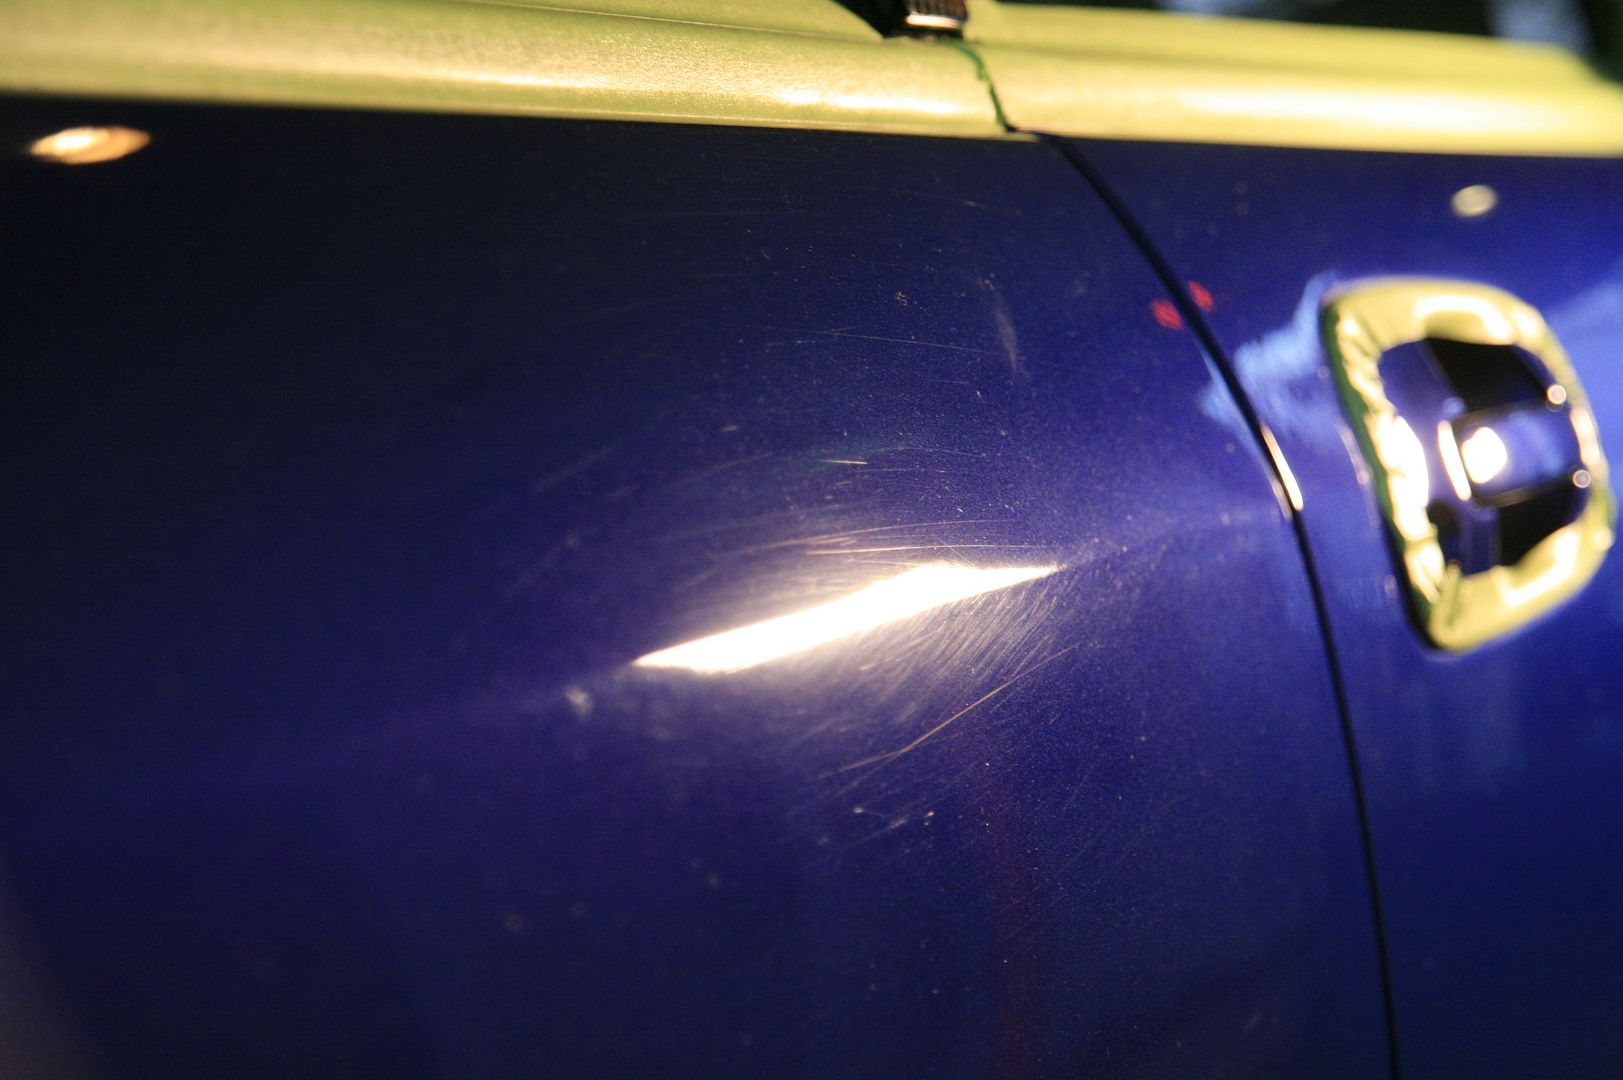

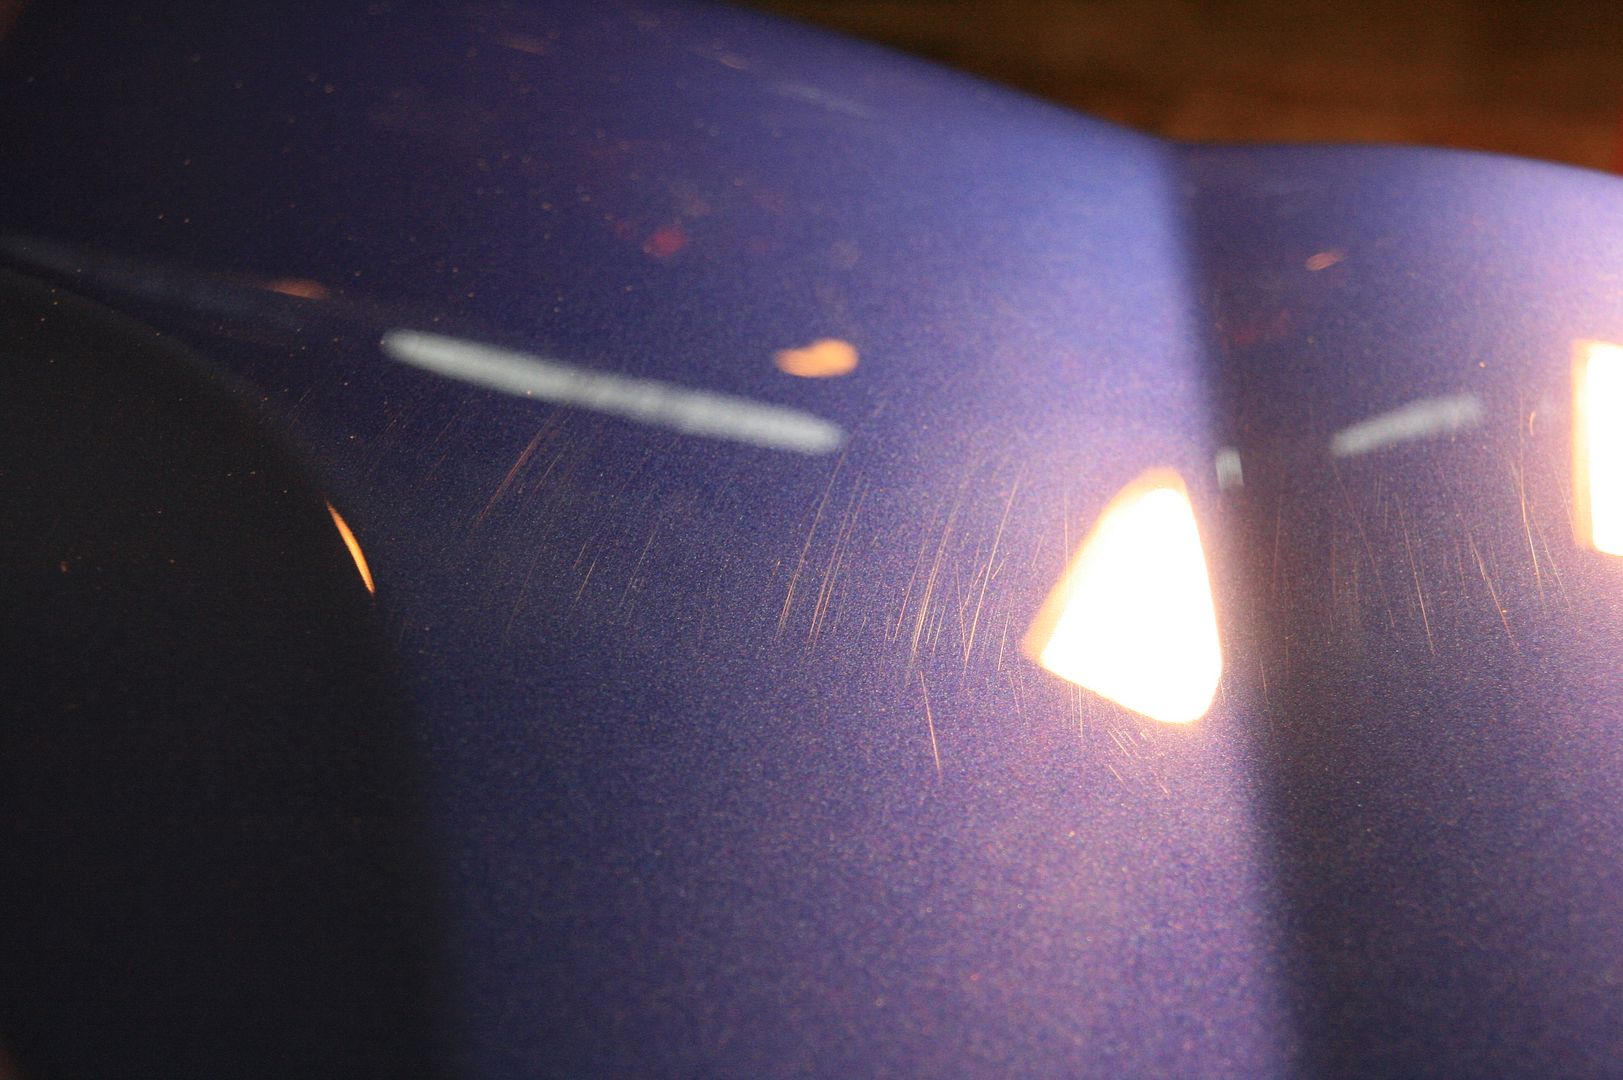
Paint defects After

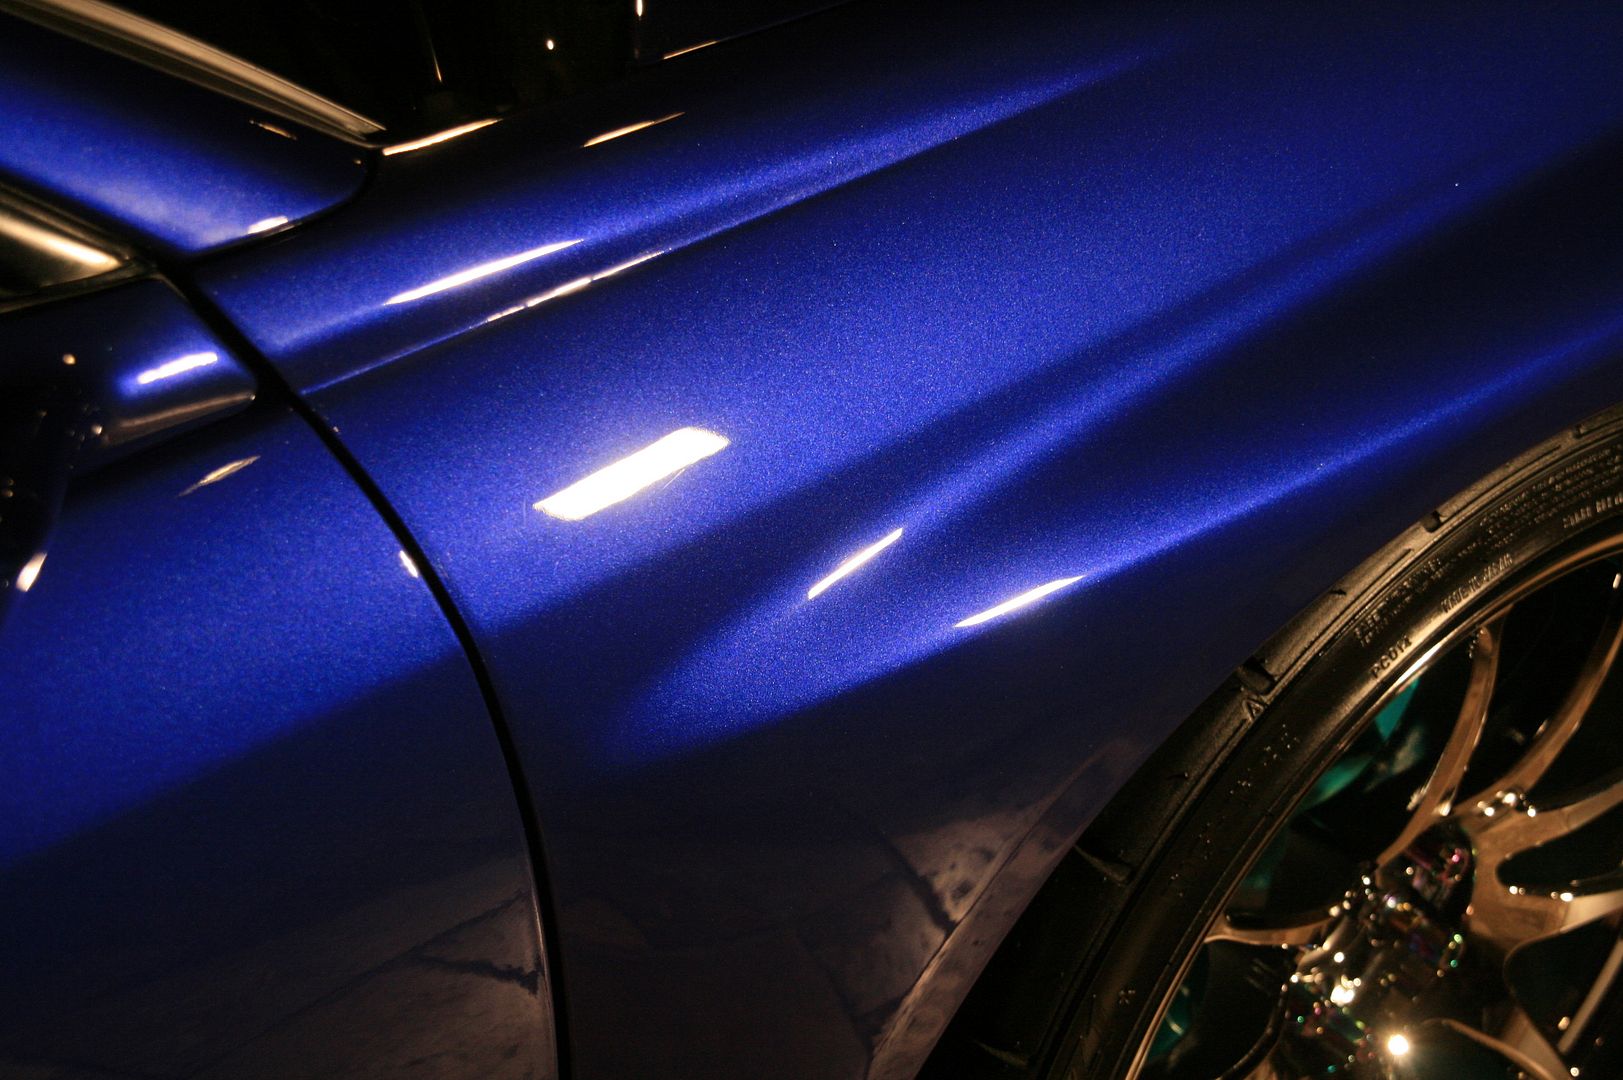
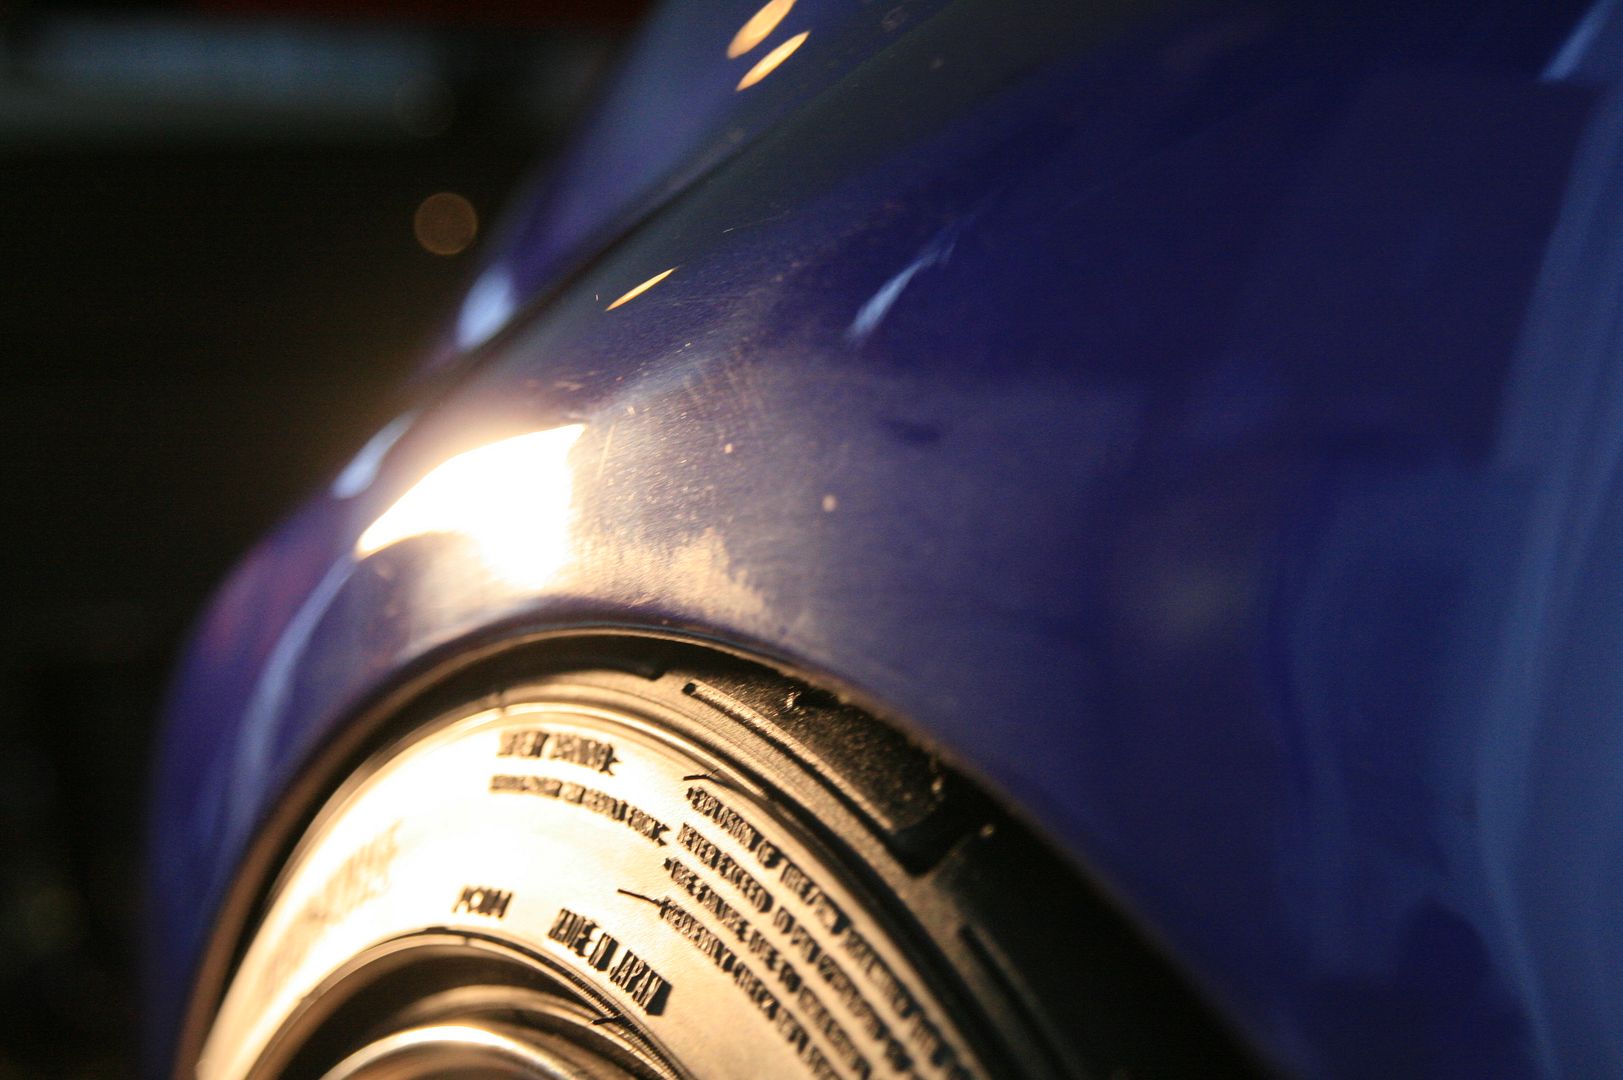
Fender Before/After. The metal flake is VERY vibrant in this paint.
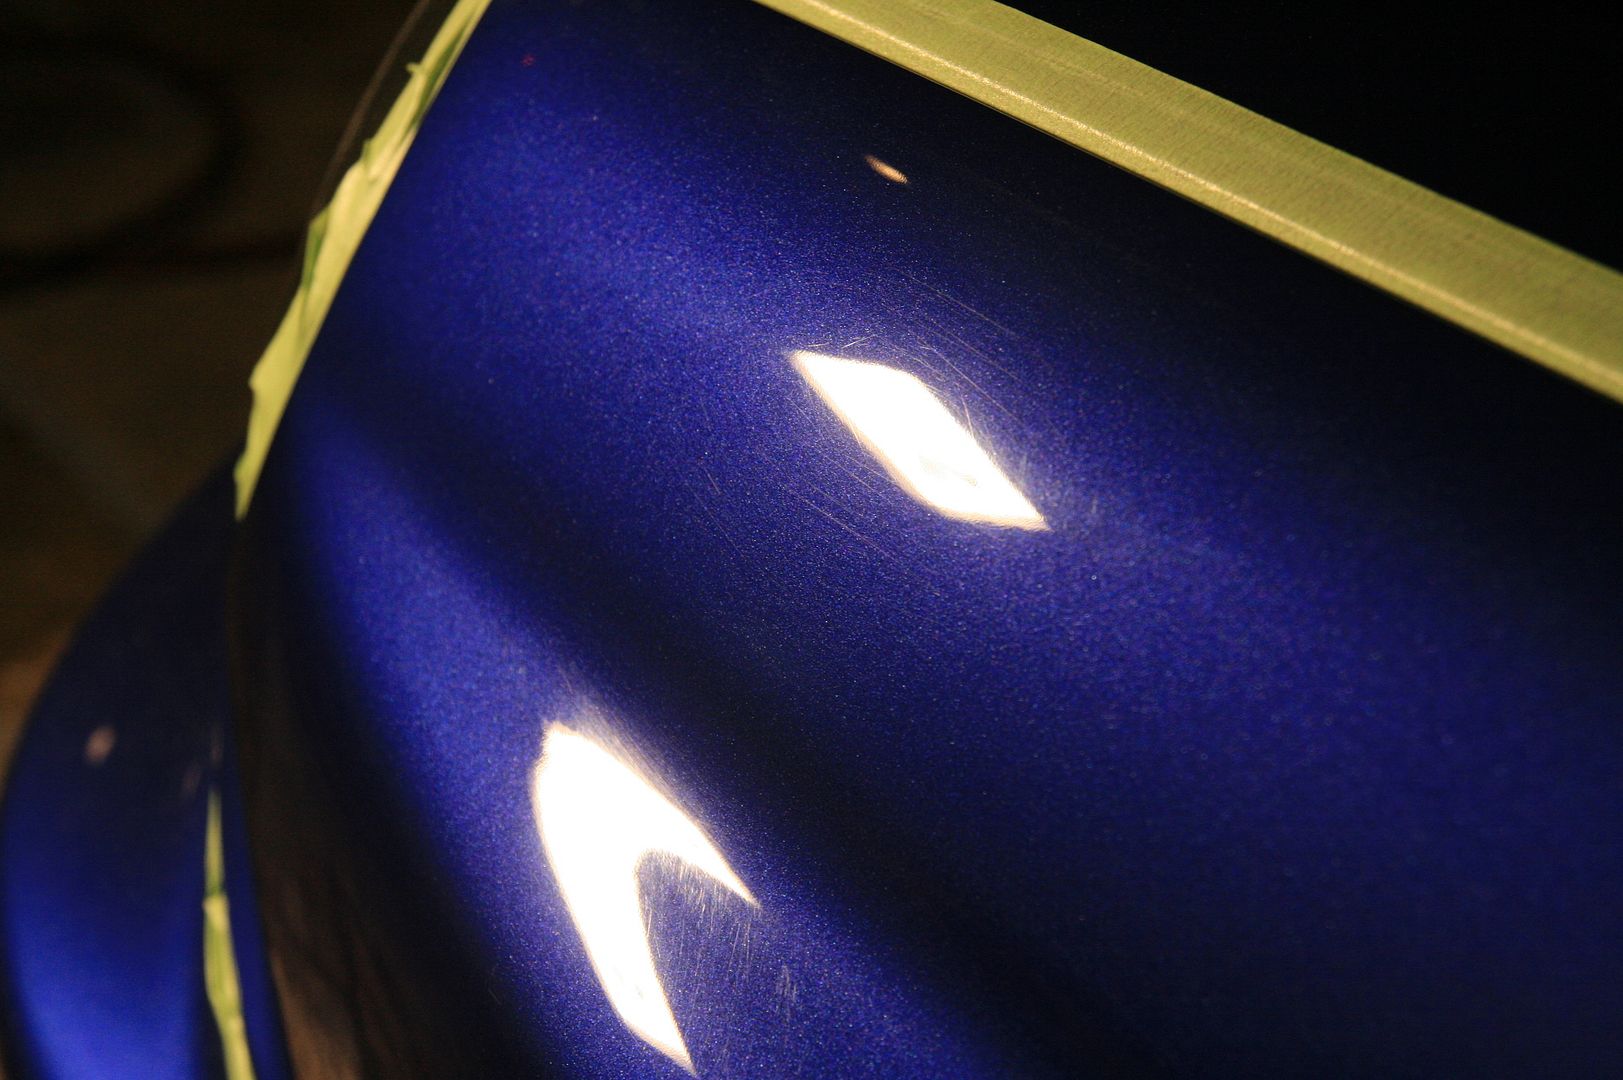


Some light sanding needing to be finished, before and after seen here:

Trunk after final polishing step before removal and final IPA wipedown and paint cleansing.

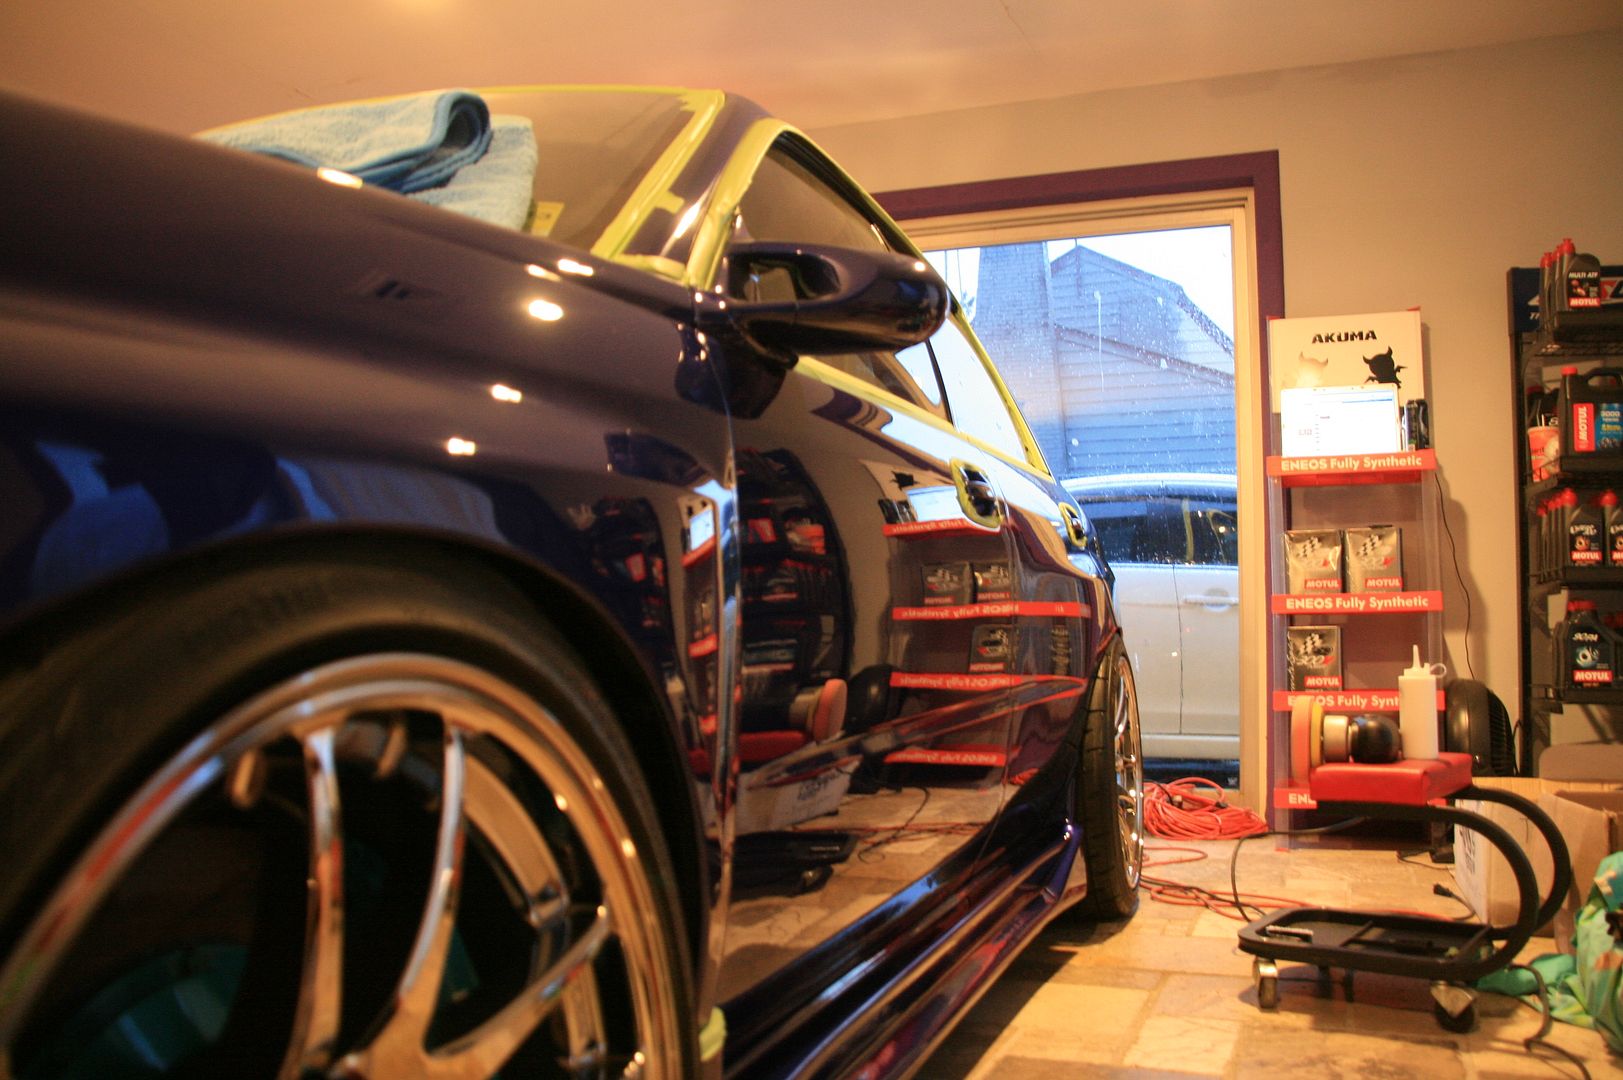
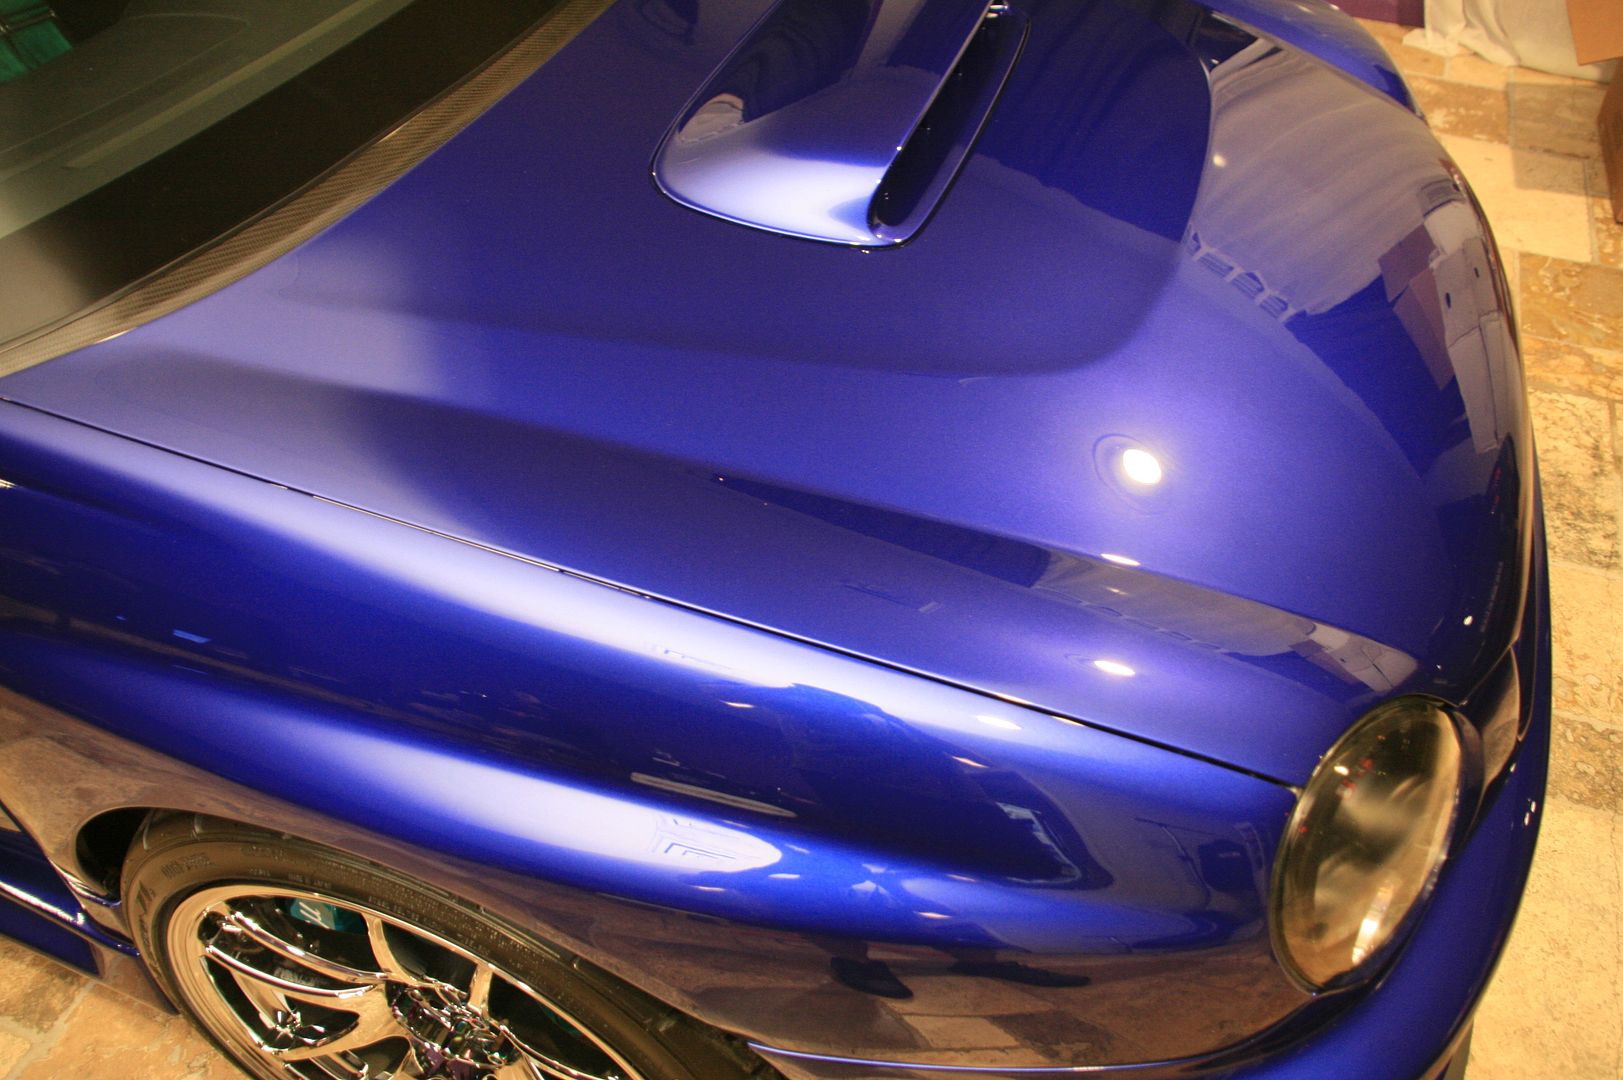
Finished reflection photos before the sealant and wax application. Wax doesn't make the gloss, professional polishing does!
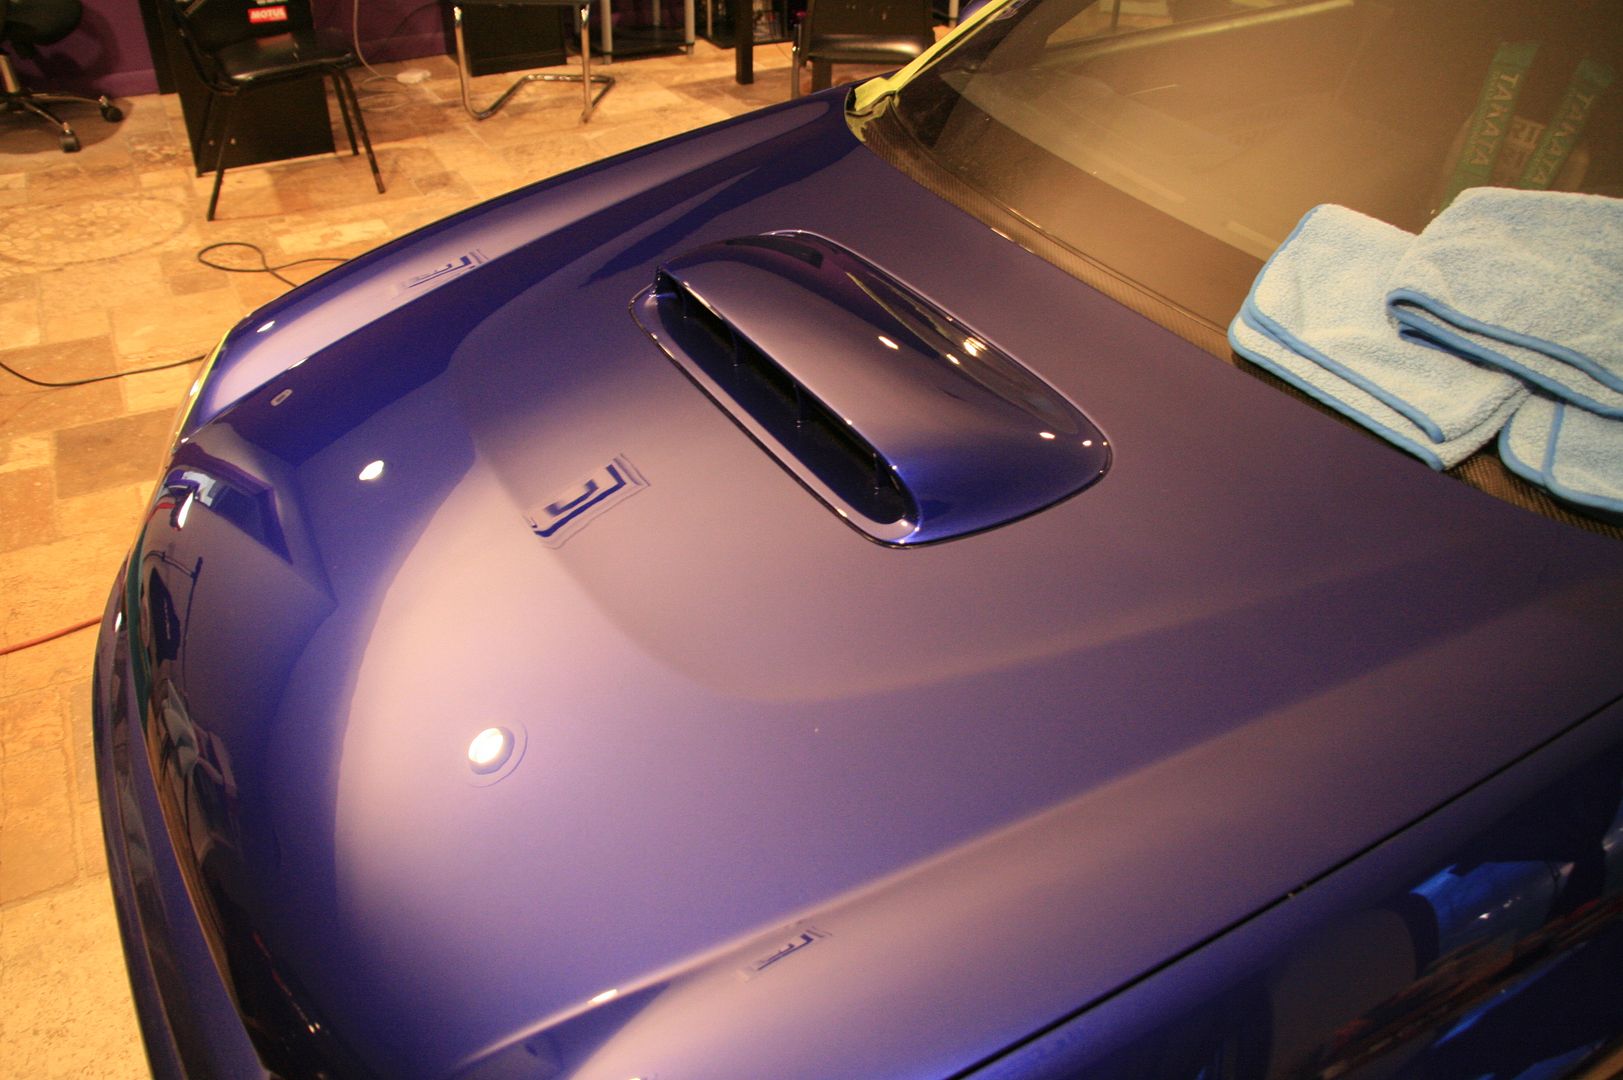
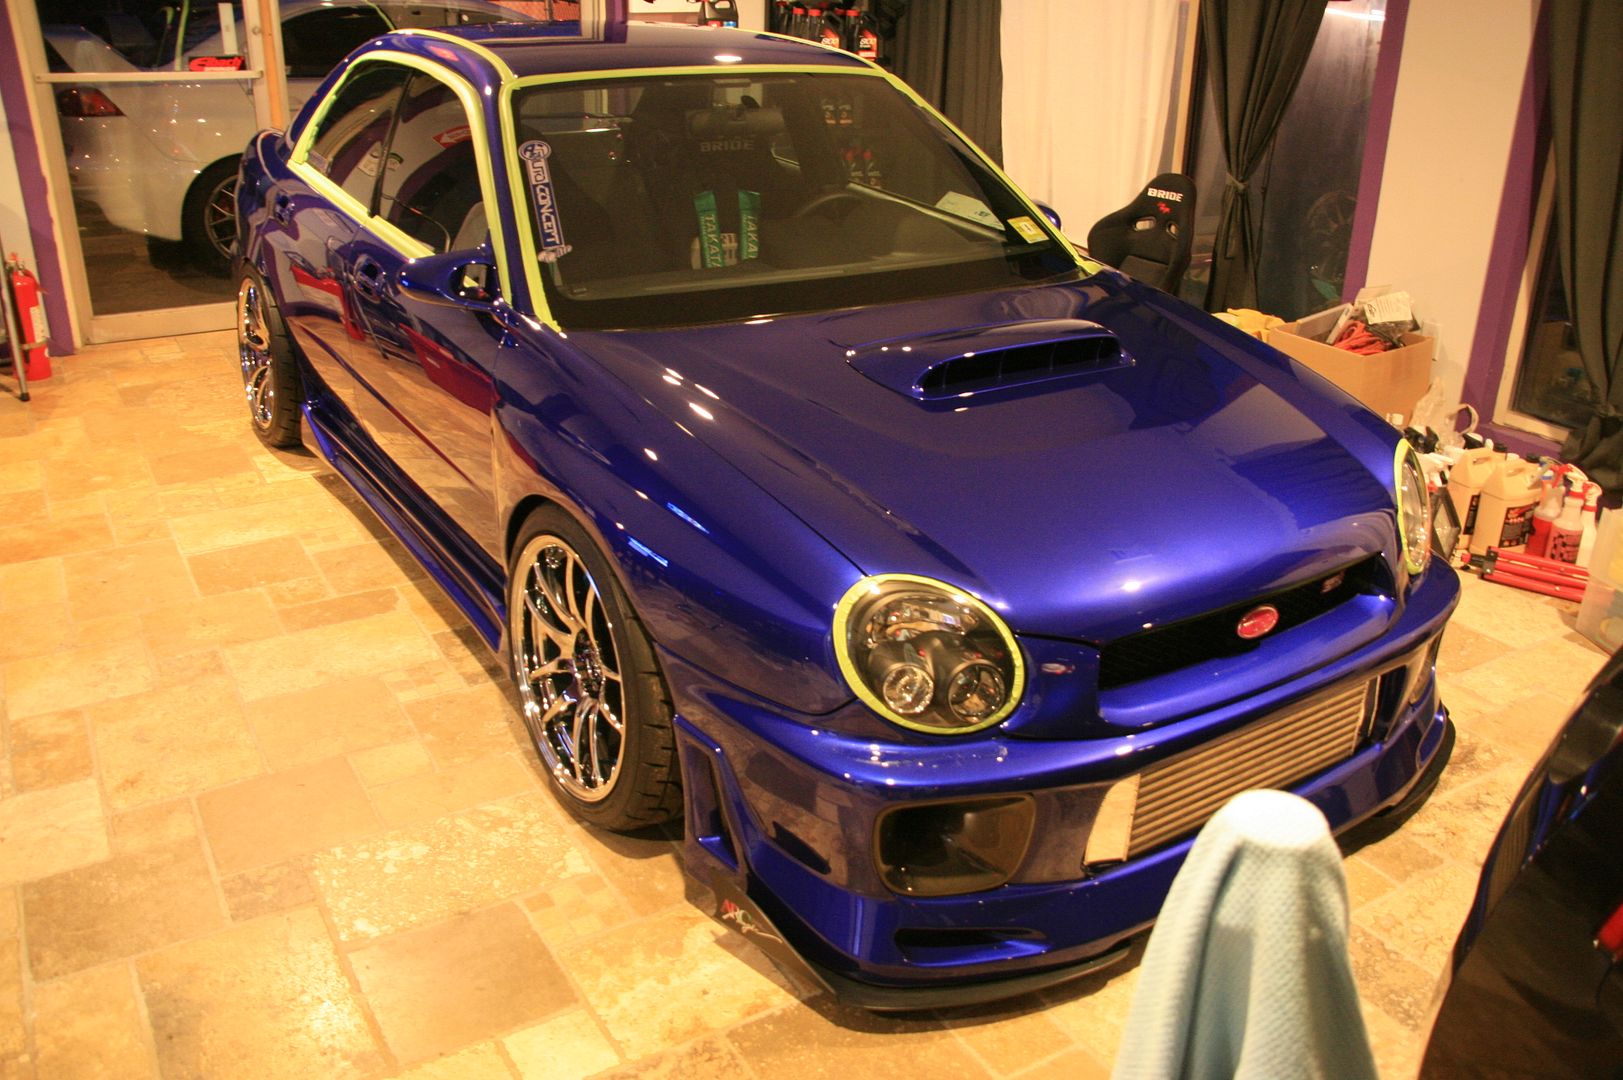
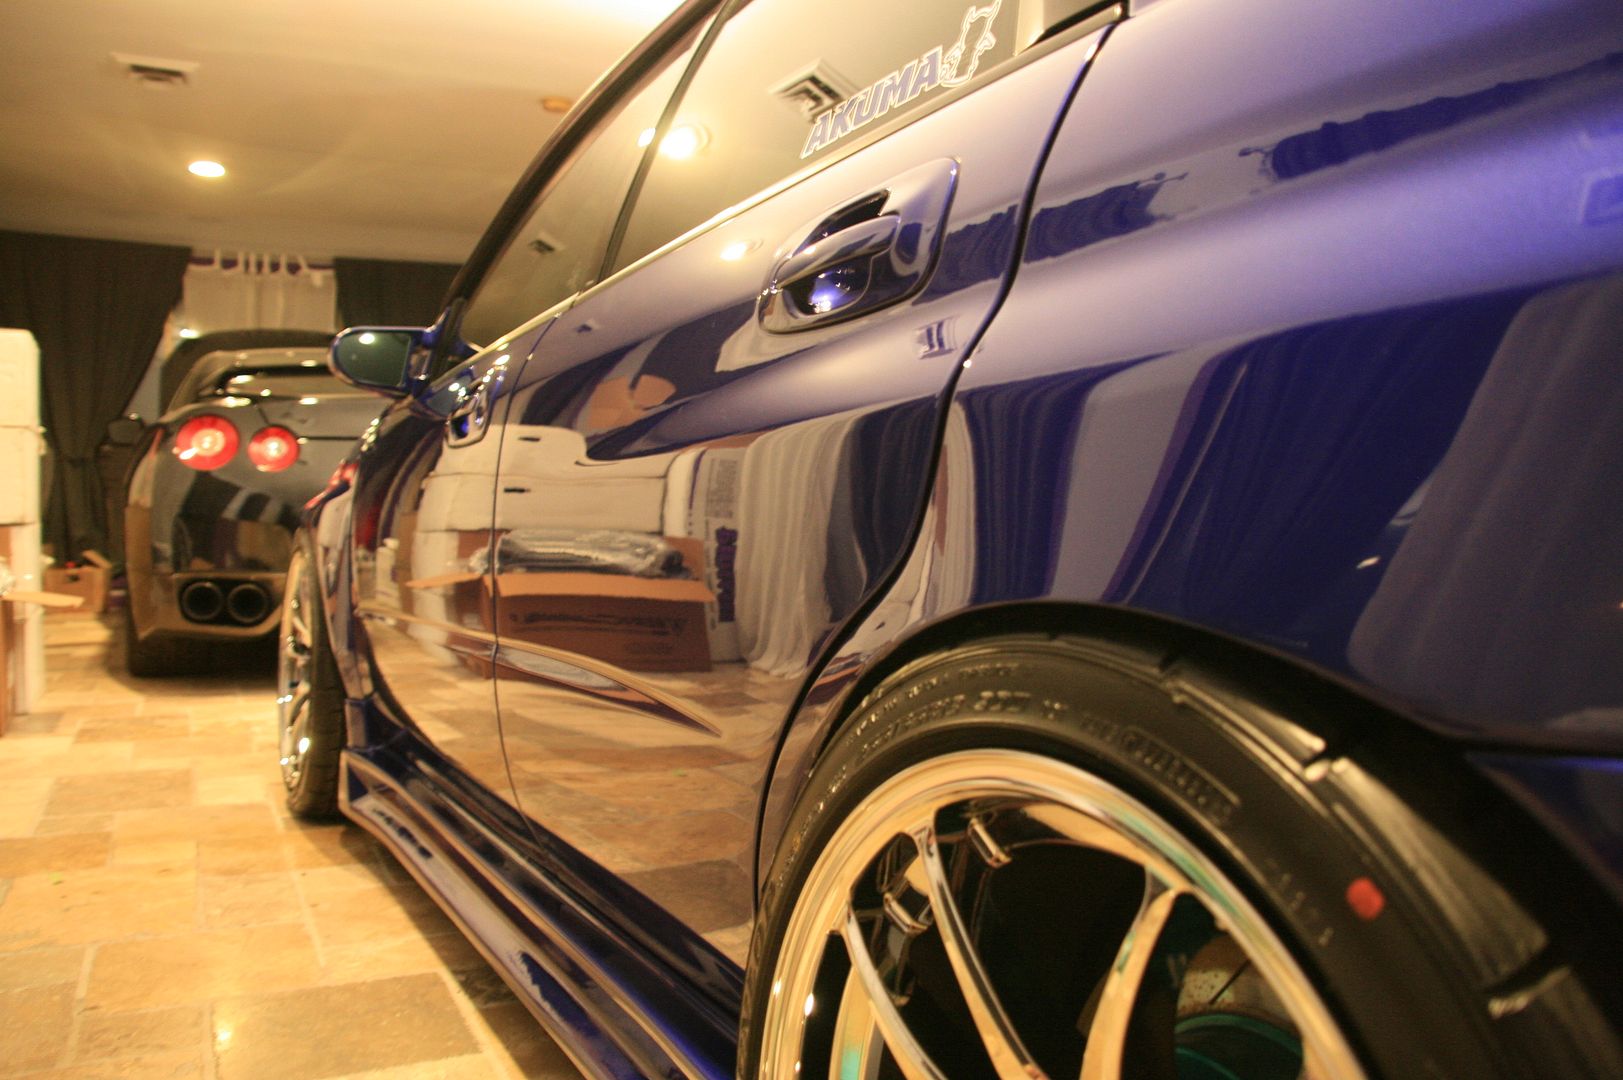
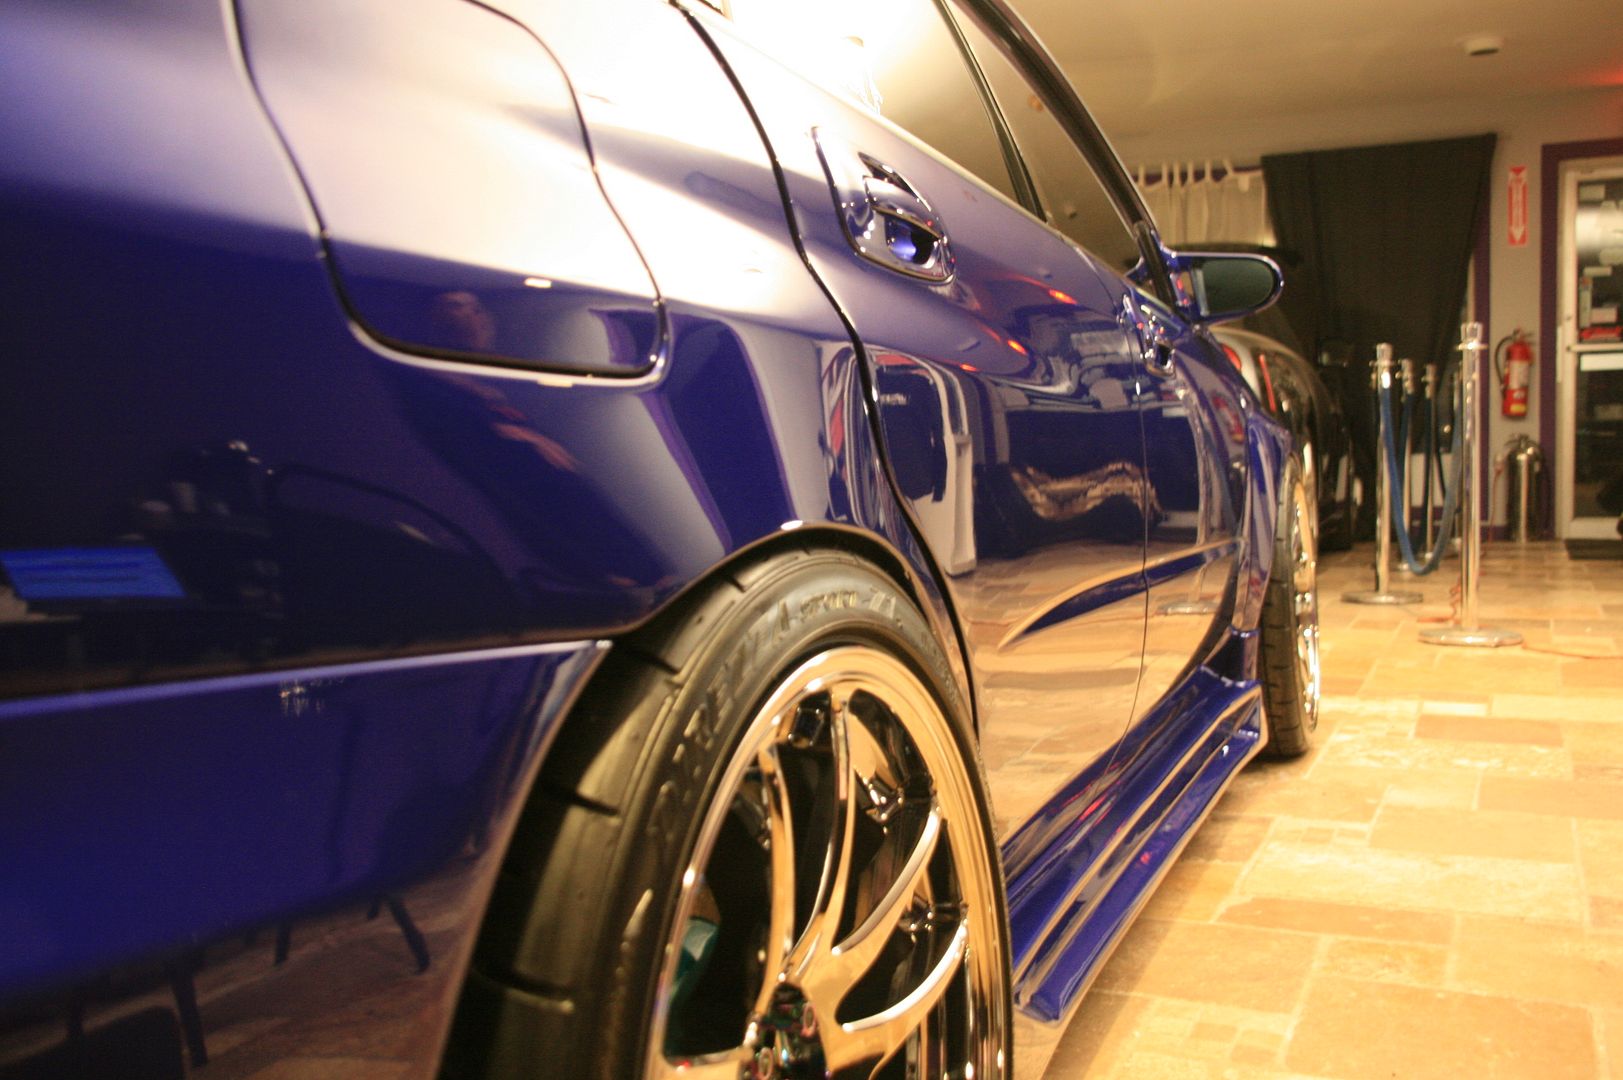
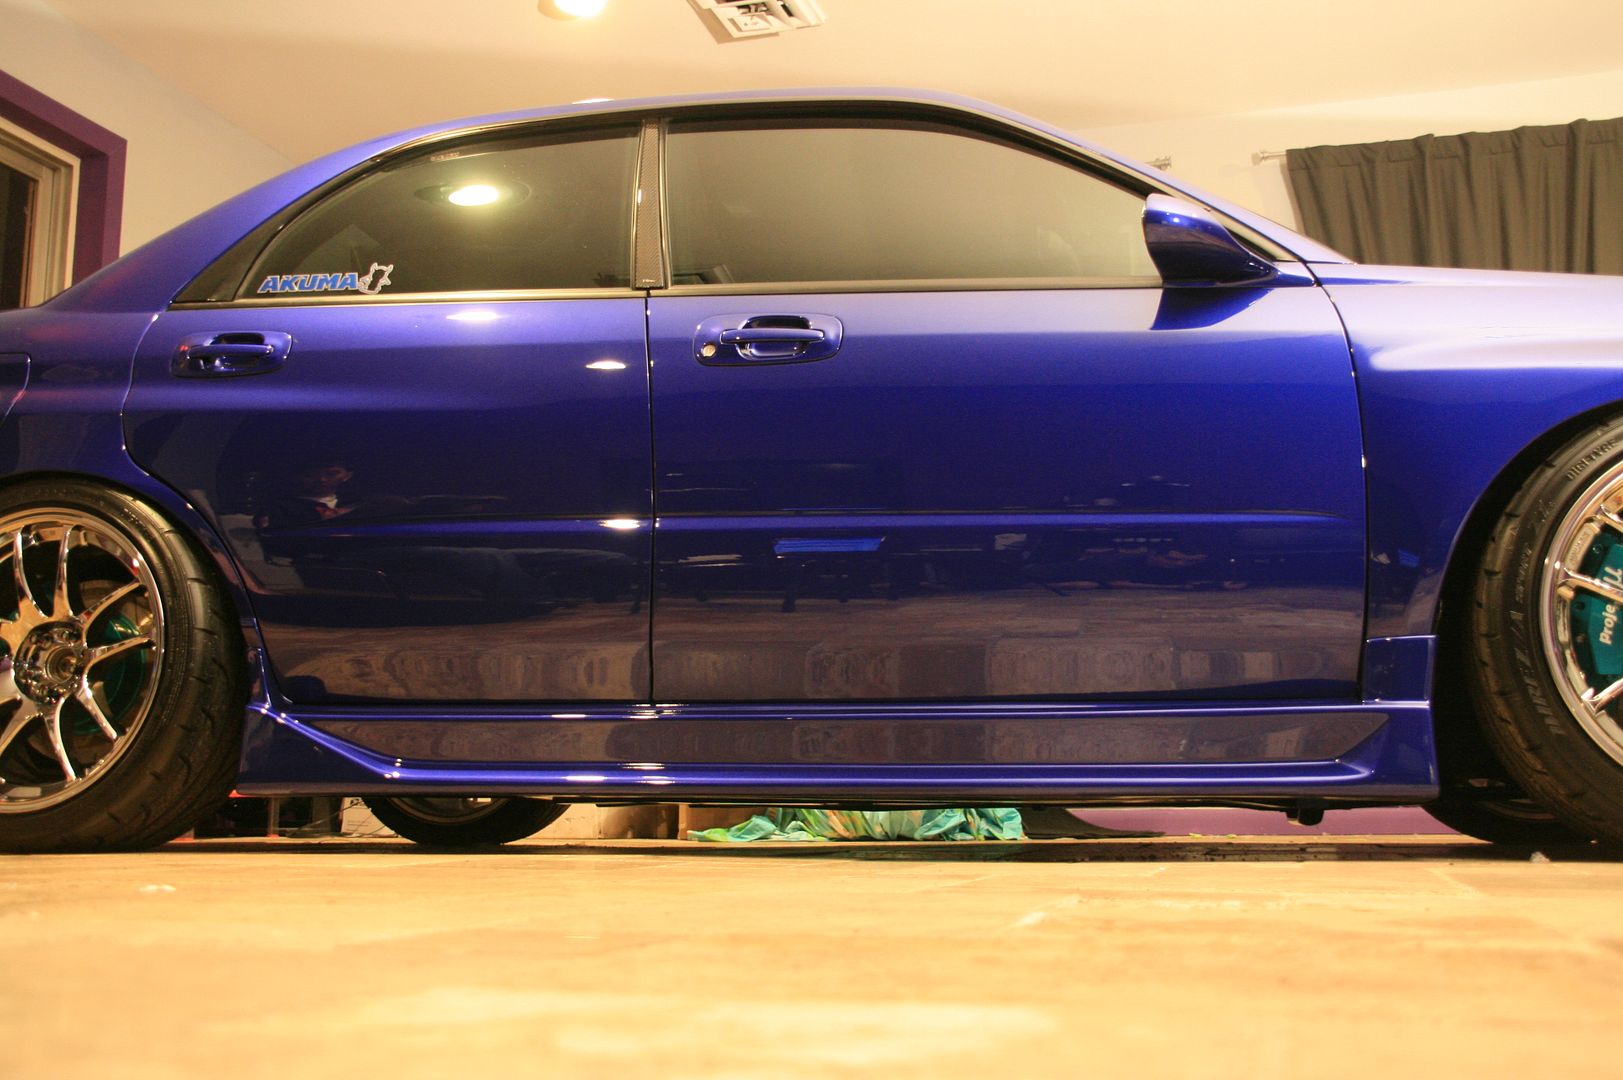
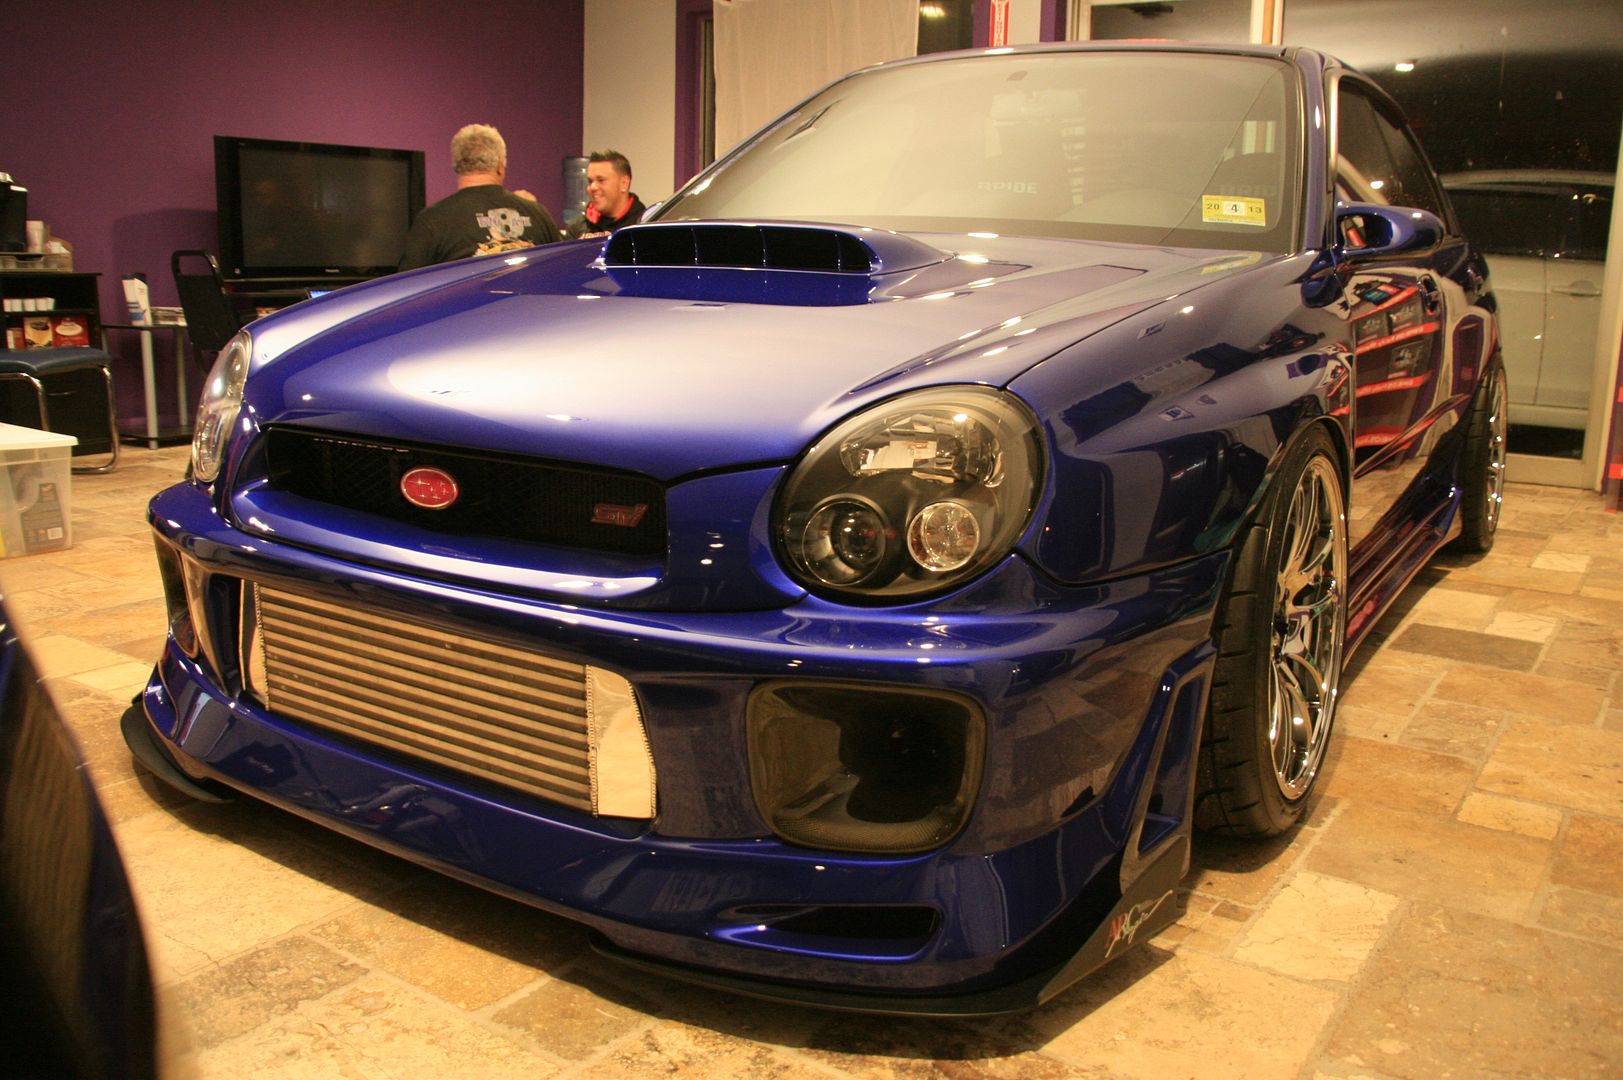
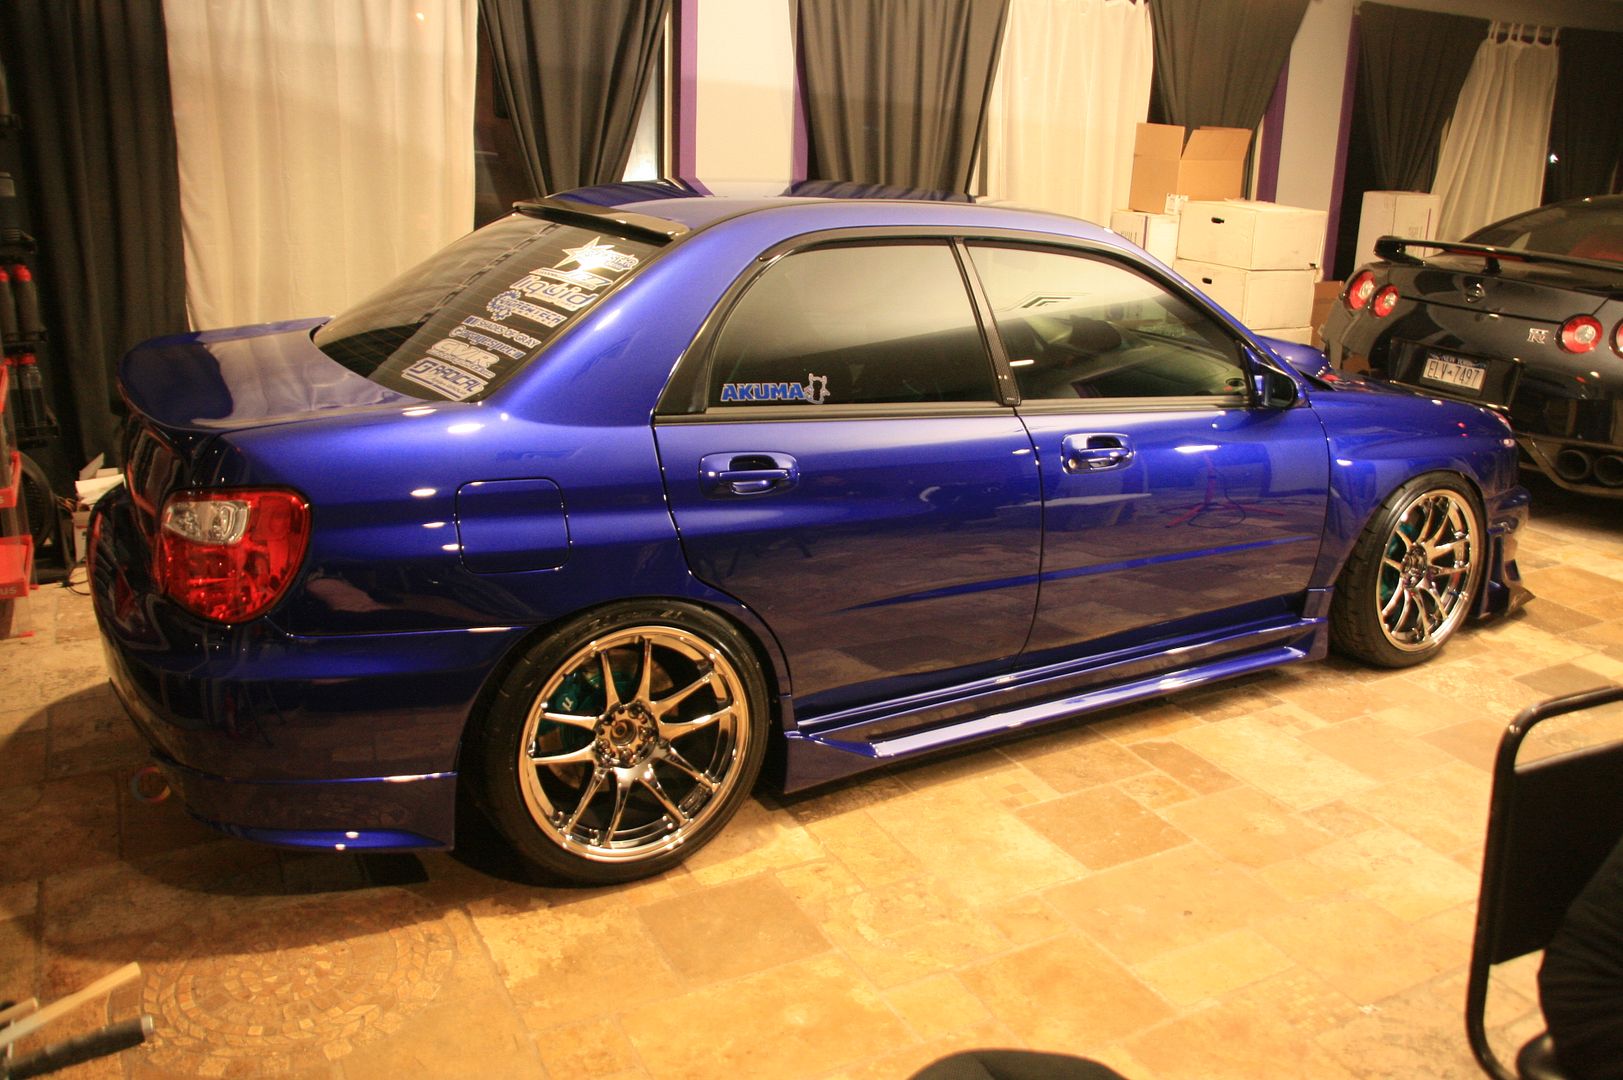
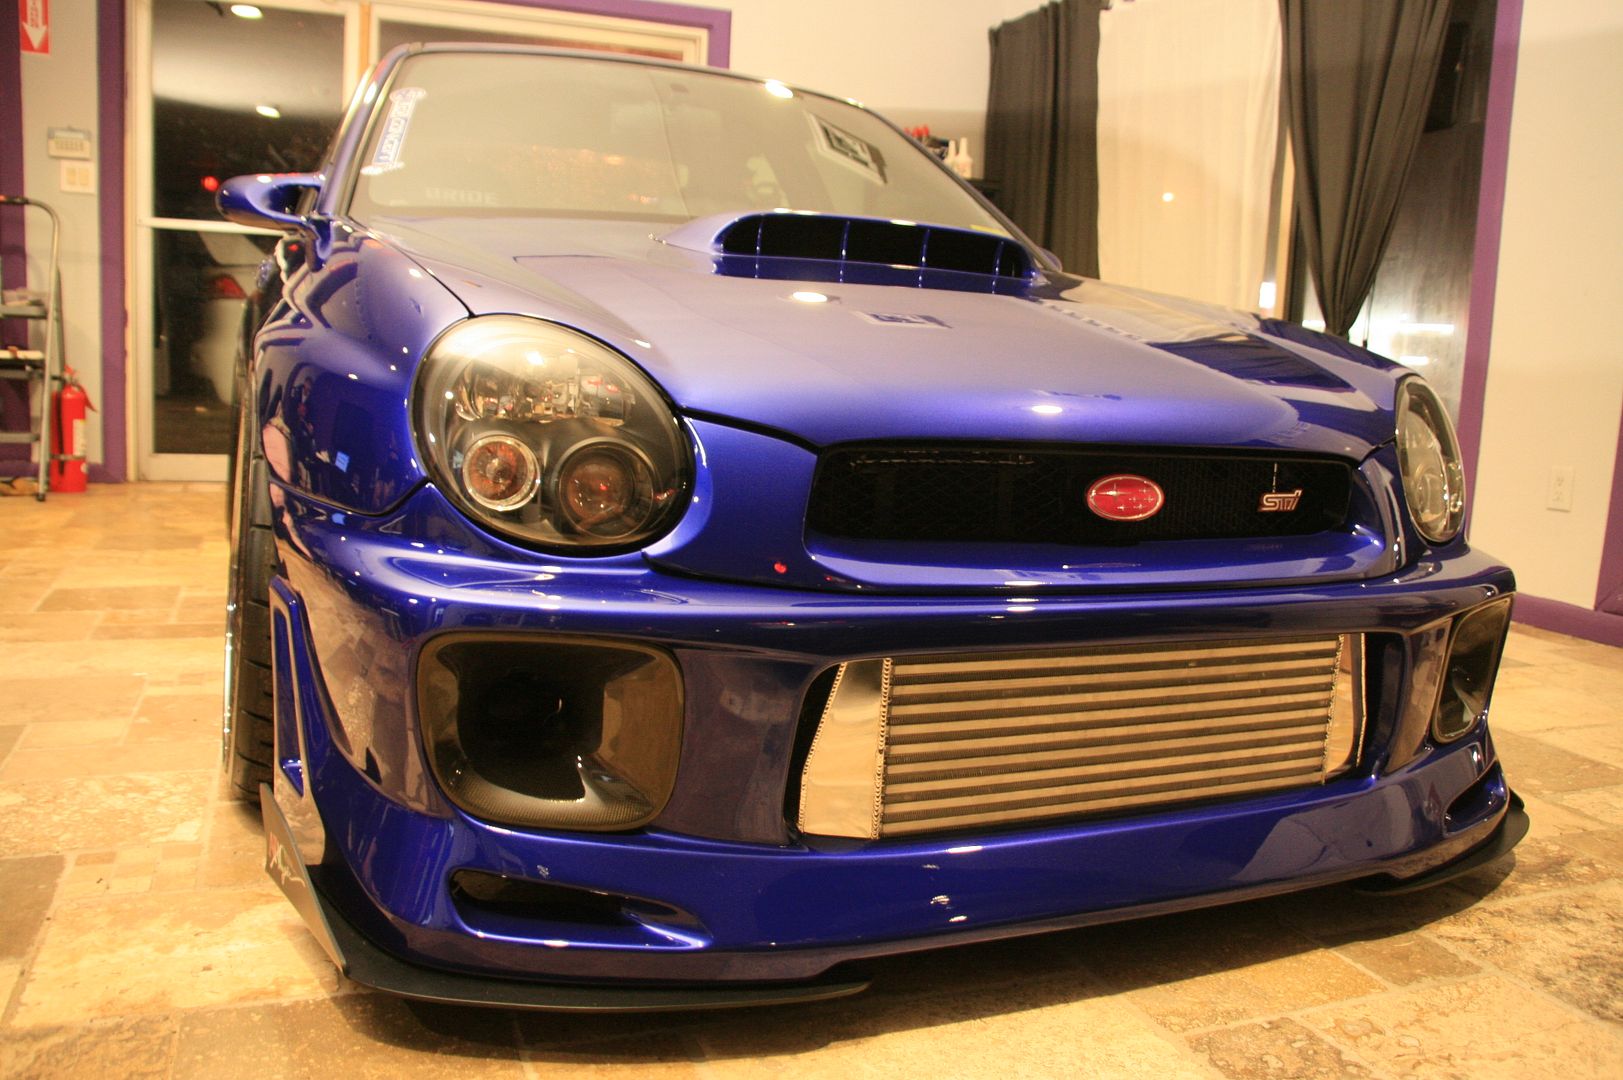
Final results and photos


Thanks for checking it out! It was a blast working on this car and the guys at Akuma Motorsports where I performed the job are truly a class act above and beyond!
-Oakes
However, the owner didn't feel the car was finished, there were some final touches needed to bring it all to a "close" and fortunately I had the opportunity to help him with this.
"D" called me up to come detail the Subaru, which would boggle a lot of minds, because the car was flawless, everything was new - the paint, the chrome, the plastics, etc. It's details like this that truly separate what "us" paint correction specialists - as I like to say - do, apart from your usual detailer. To take a perfect foundation, and make it better.
Enough blabbering from me, I will let the pictures showcase the hard, well thought out work that Dimitri put into his truly one of a kind Subaru and how I was able to help finish it up for him.
How it looked when I arrived:
Vehicle was prepped, all wax removed through degreasing, citrus wash, very fine clay and IPA wipedown, then masked off:
I started with the engine bay, which had some accidental over spray since the bay was painted before the body, which was a phenomenal job regardless. Here is the over spray on the inner fender before and after:
The other side was done as well, all metals polished and sealed, here is the finished results:
Now it was on to the paint work where some finishing touches were needed in the correction process. Some before photos of the defects and some after photos immediately following:
Paint defects After
Fender Before/After. The metal flake is VERY vibrant in this paint.
Some light sanding needing to be finished, before and after seen here:
Trunk after final polishing step before removal and final IPA wipedown and paint cleansing.
Finished reflection photos before the sealant and wax application. Wax doesn't make the gloss, professional polishing does!
Final results and photos
Thanks for checking it out! It was a blast working on this car and the guys at Akuma Motorsports where I performed the job are truly a class act above and beyond!
-Oakes