2000 300m meets bufferbarry

Barry Theal

New member
ok this is gonna be long write up for you guys so please sit back and relax and enjoy! ill do the write up as i go!


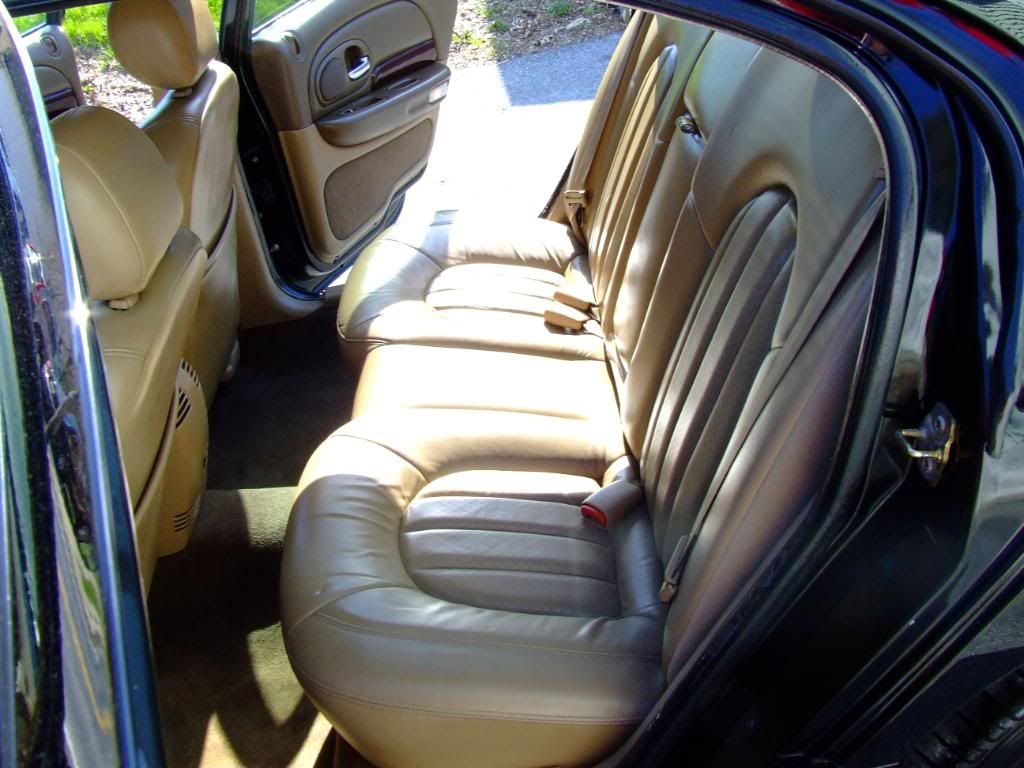
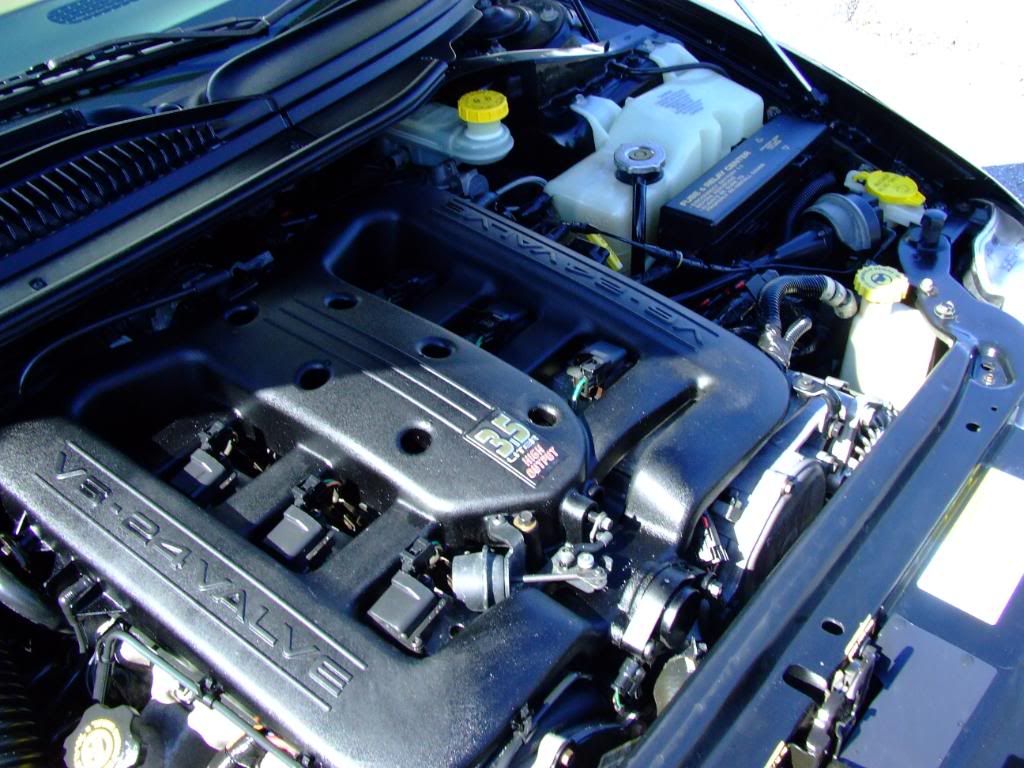
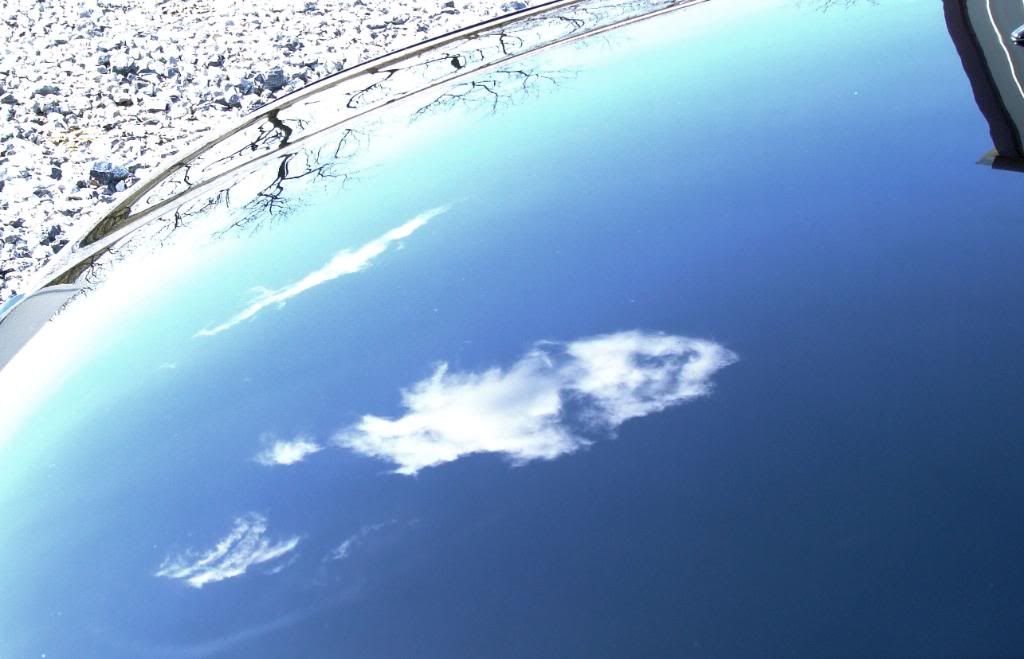
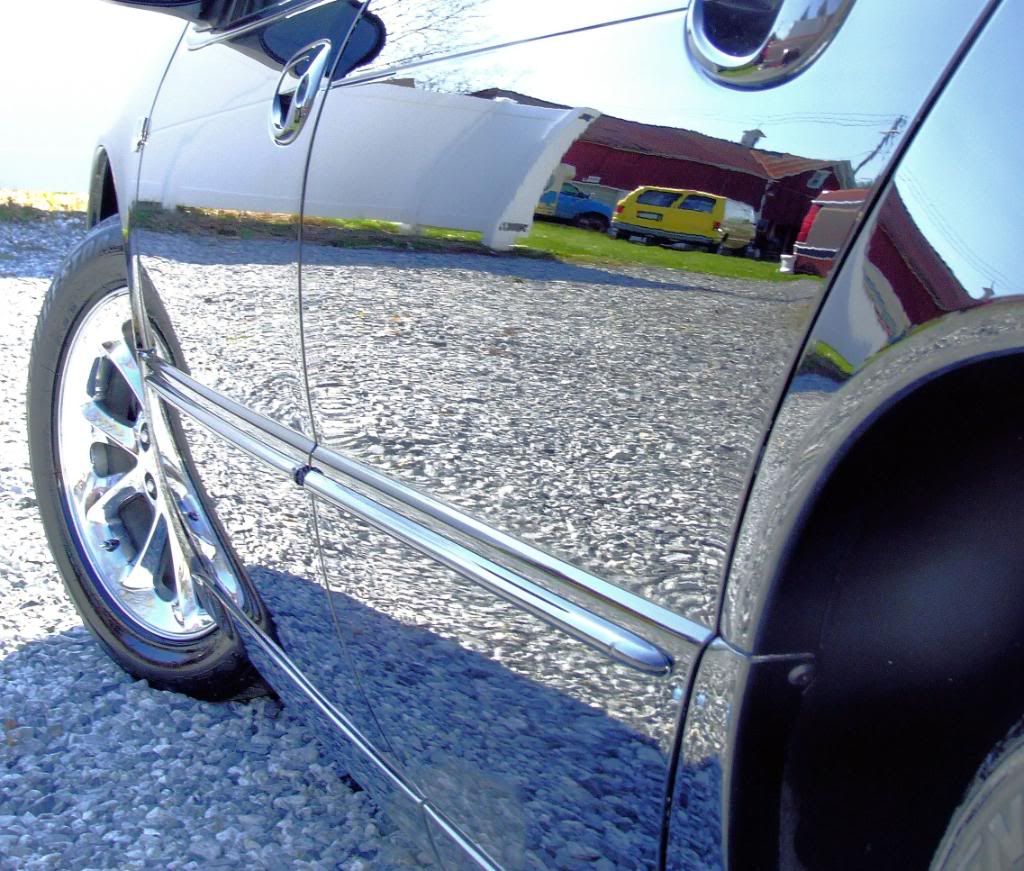
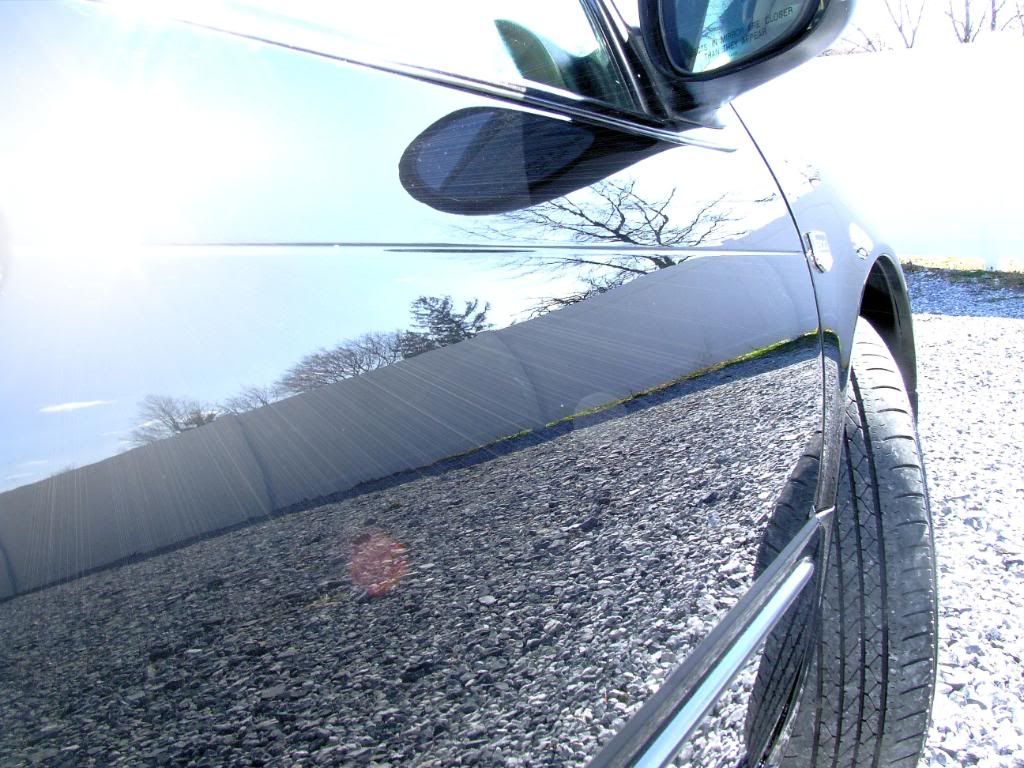
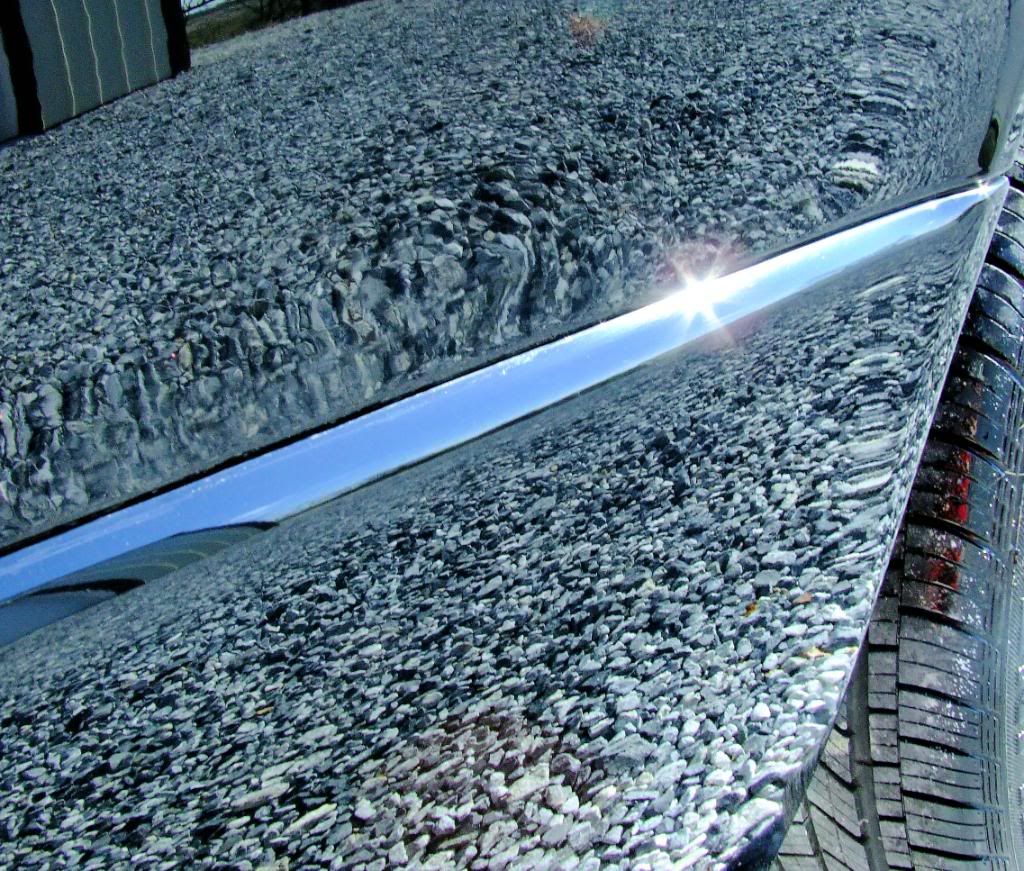
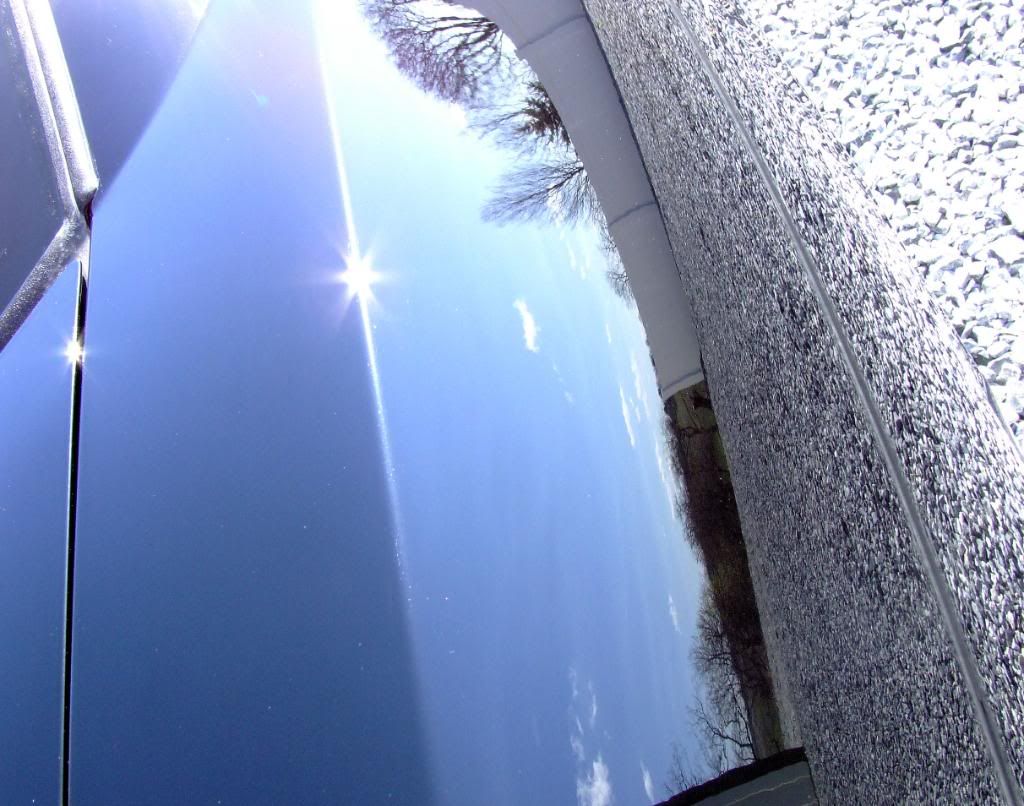
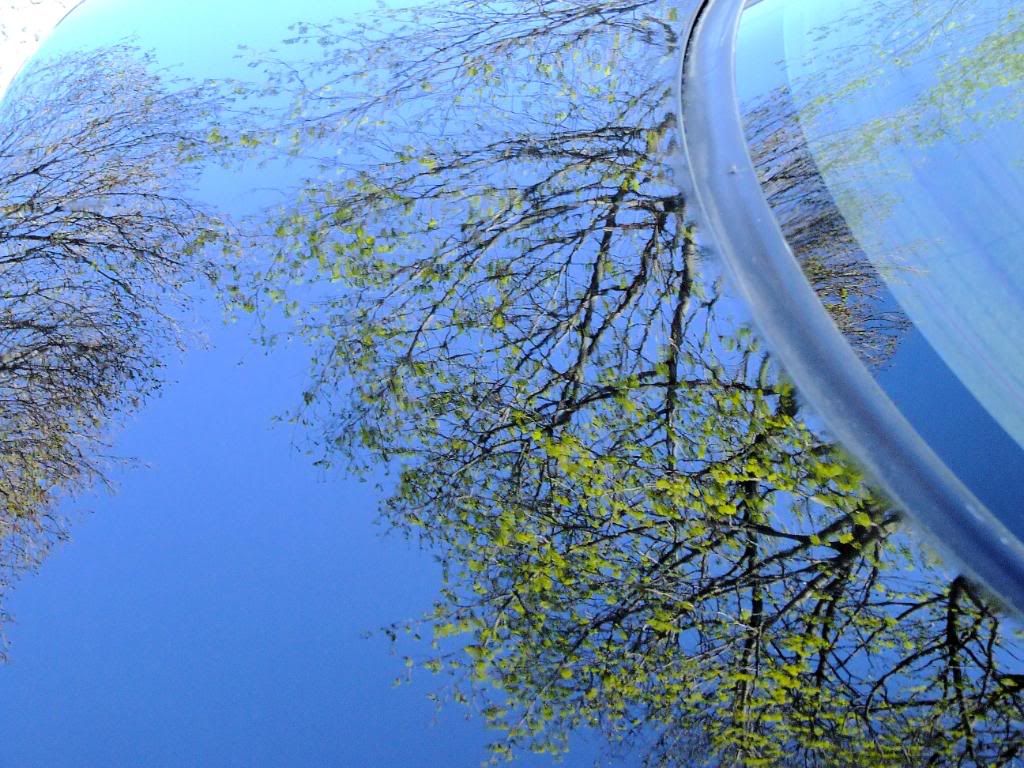
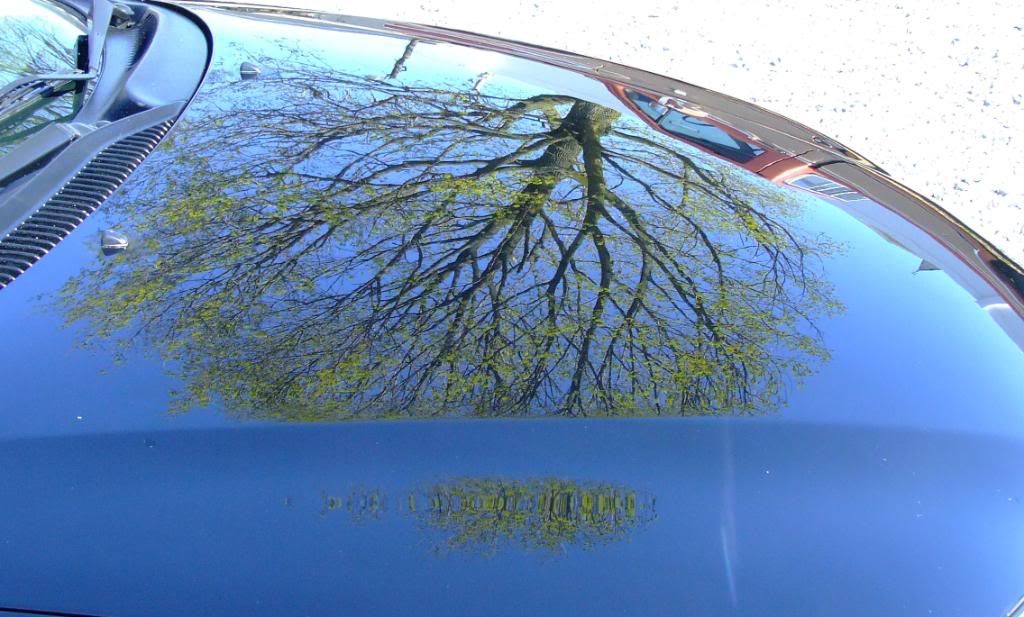
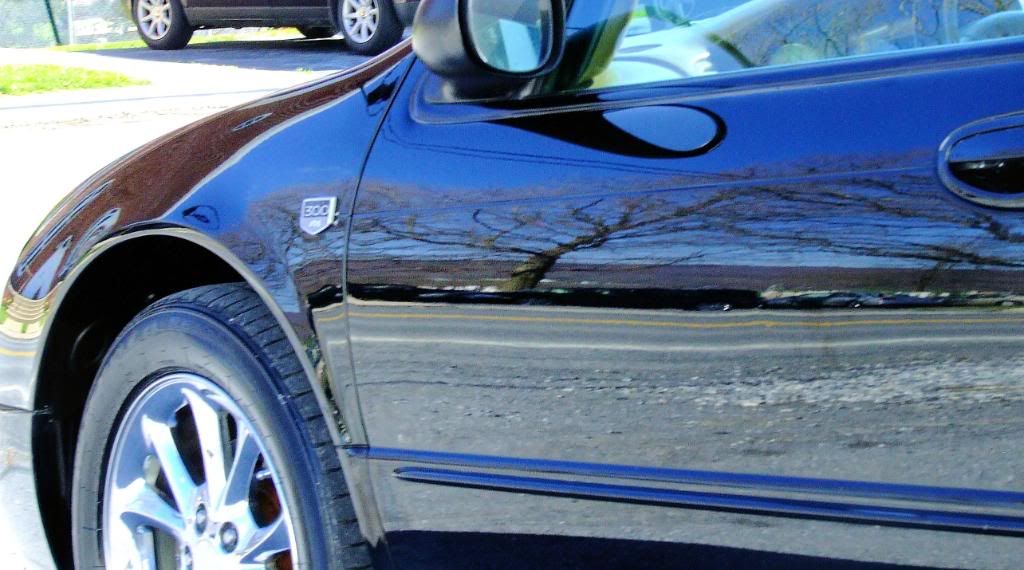
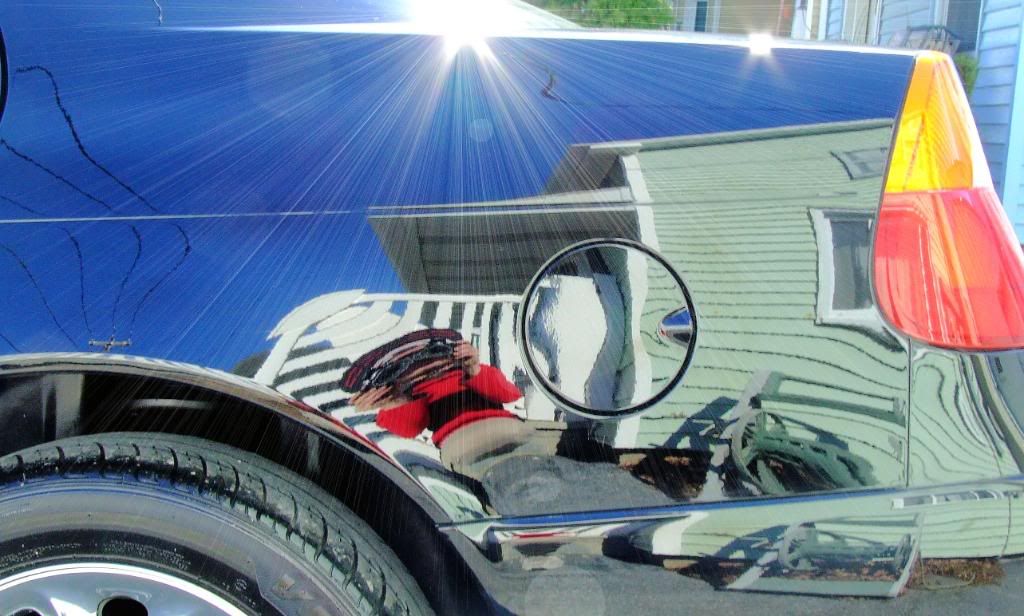
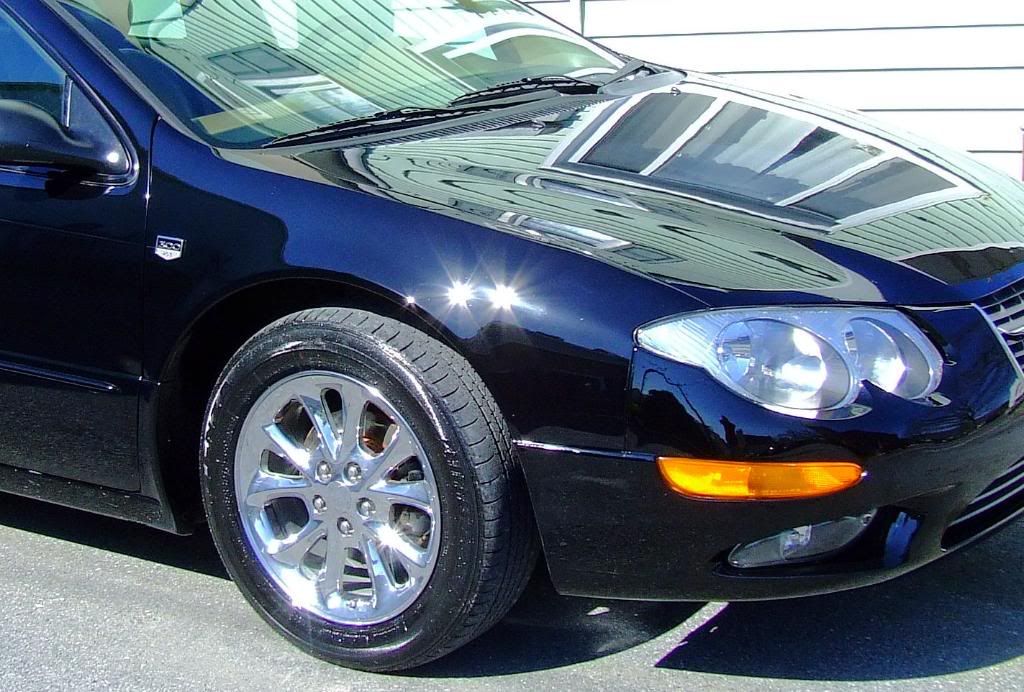
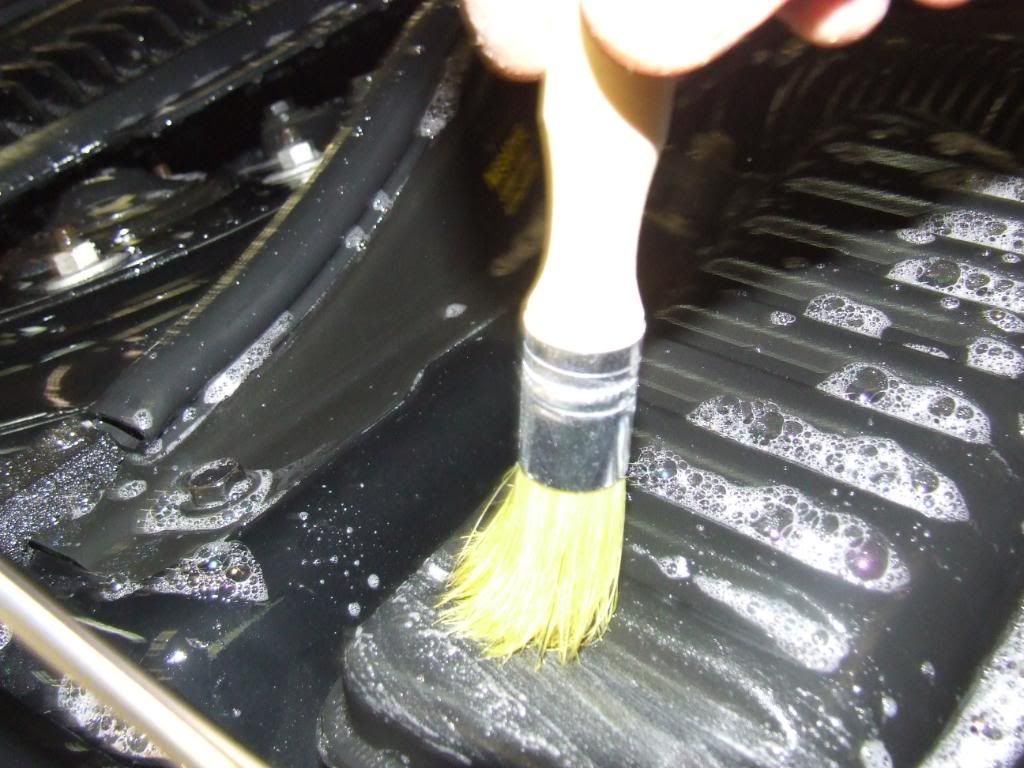
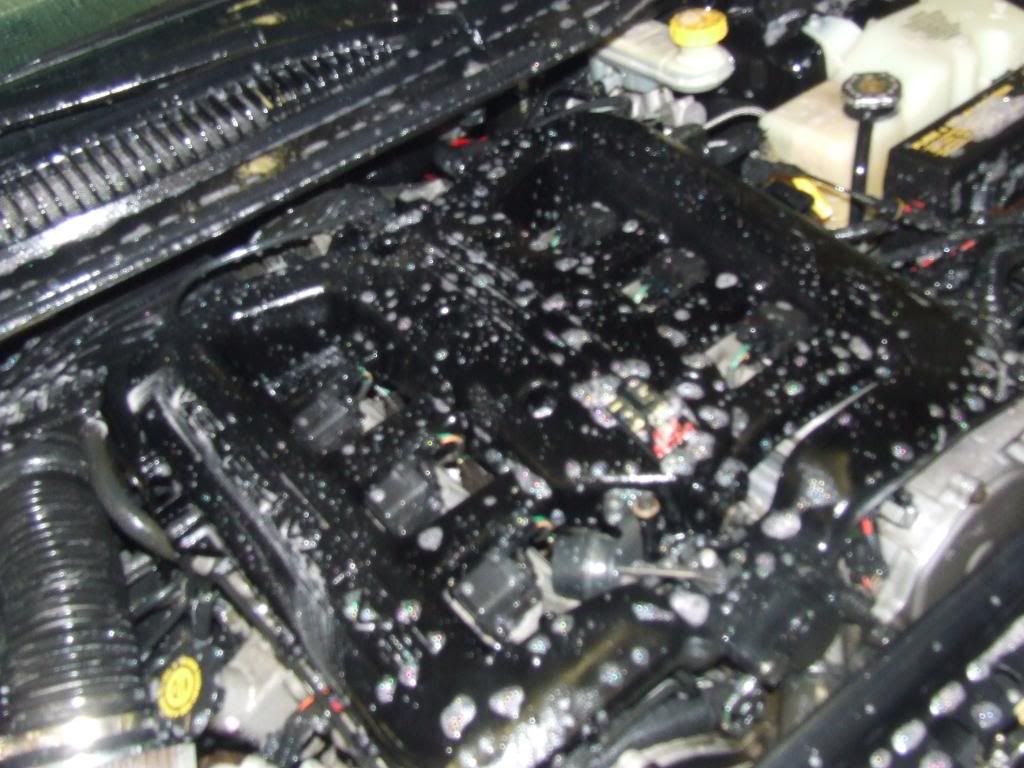
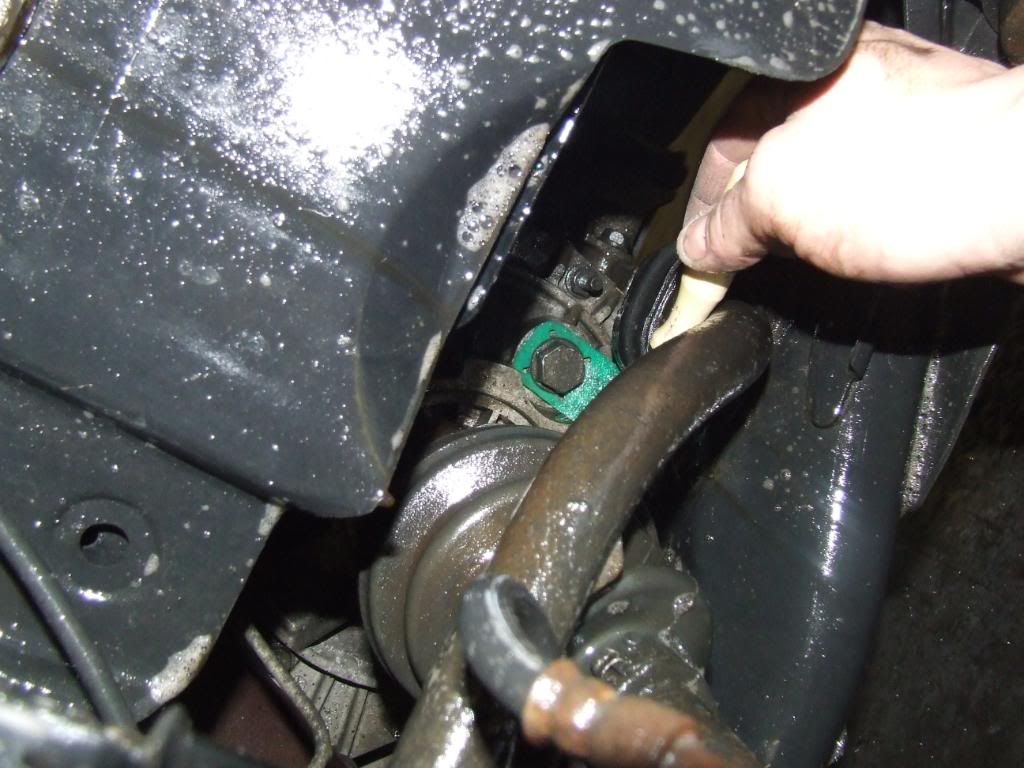
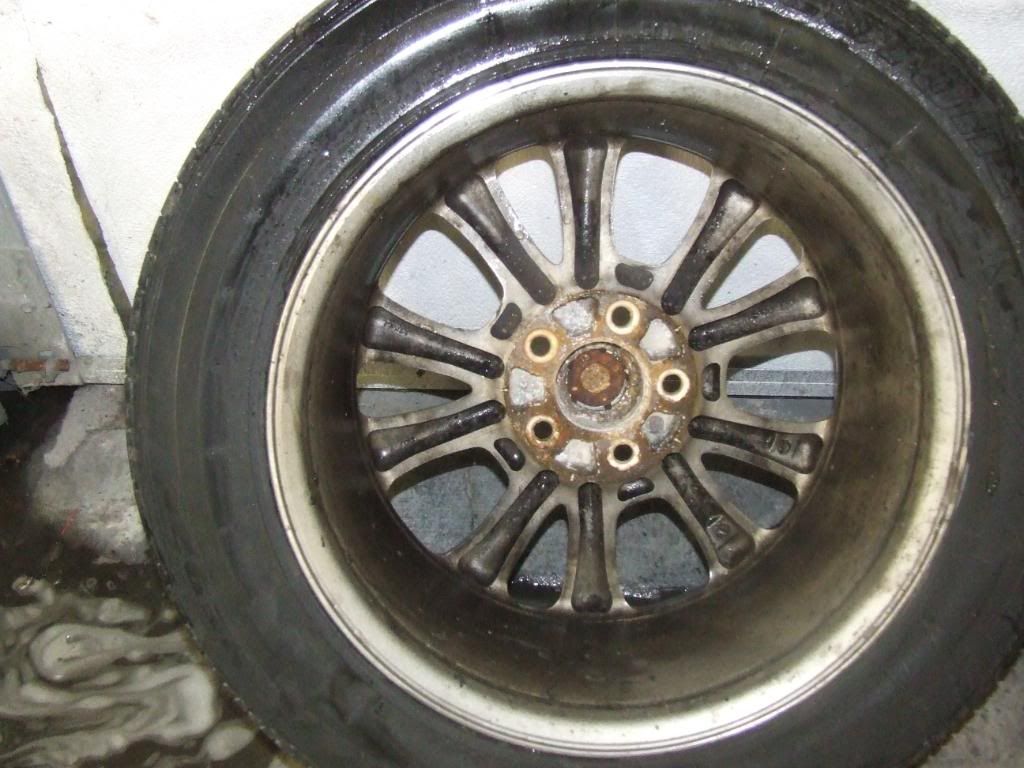
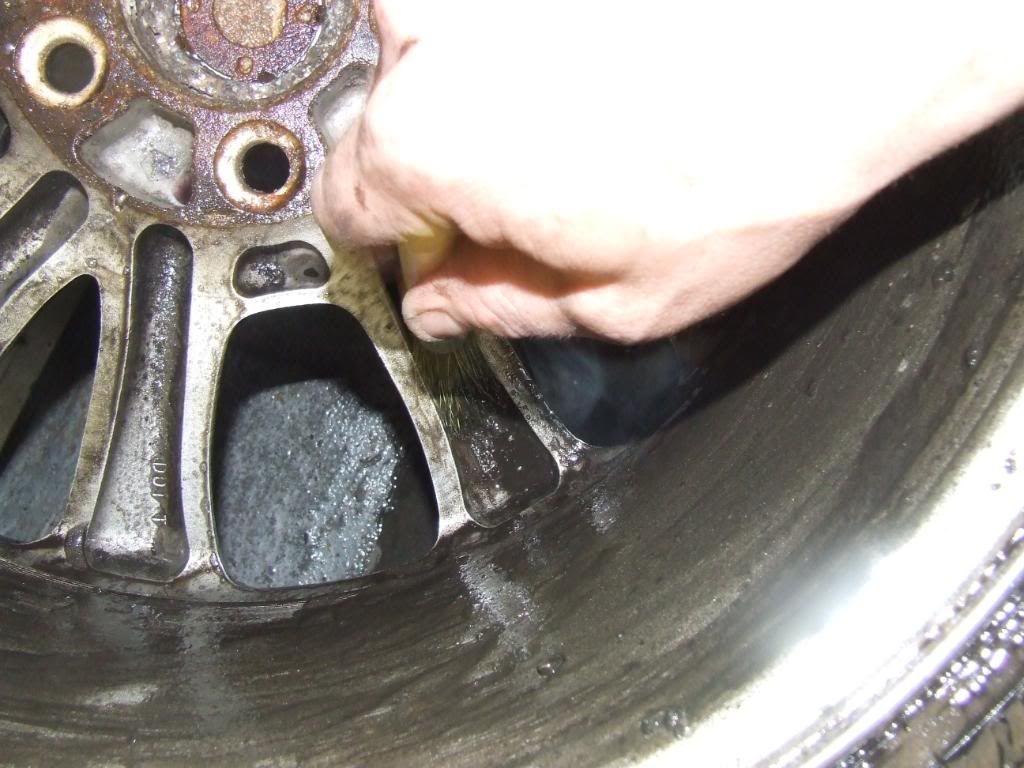
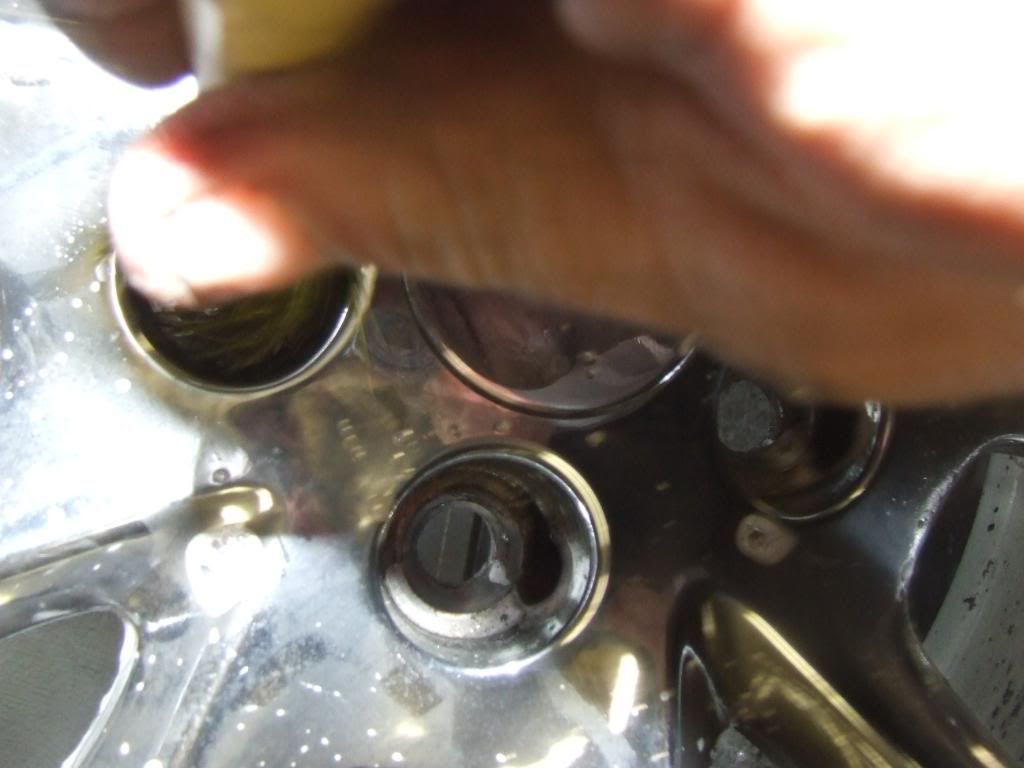
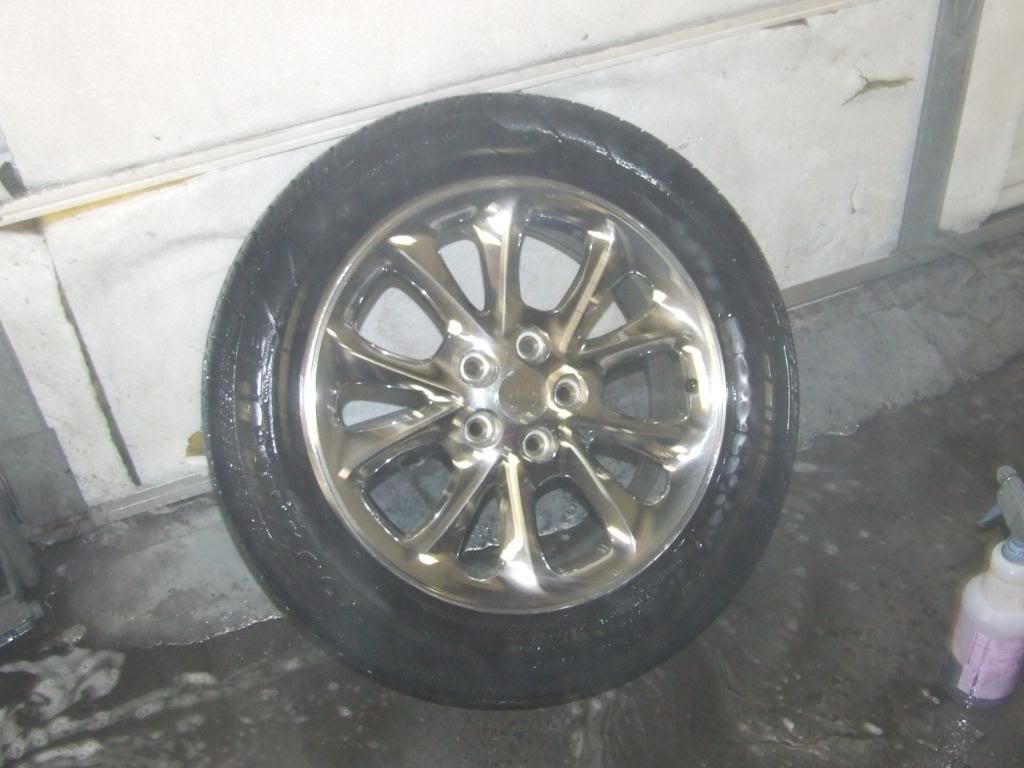
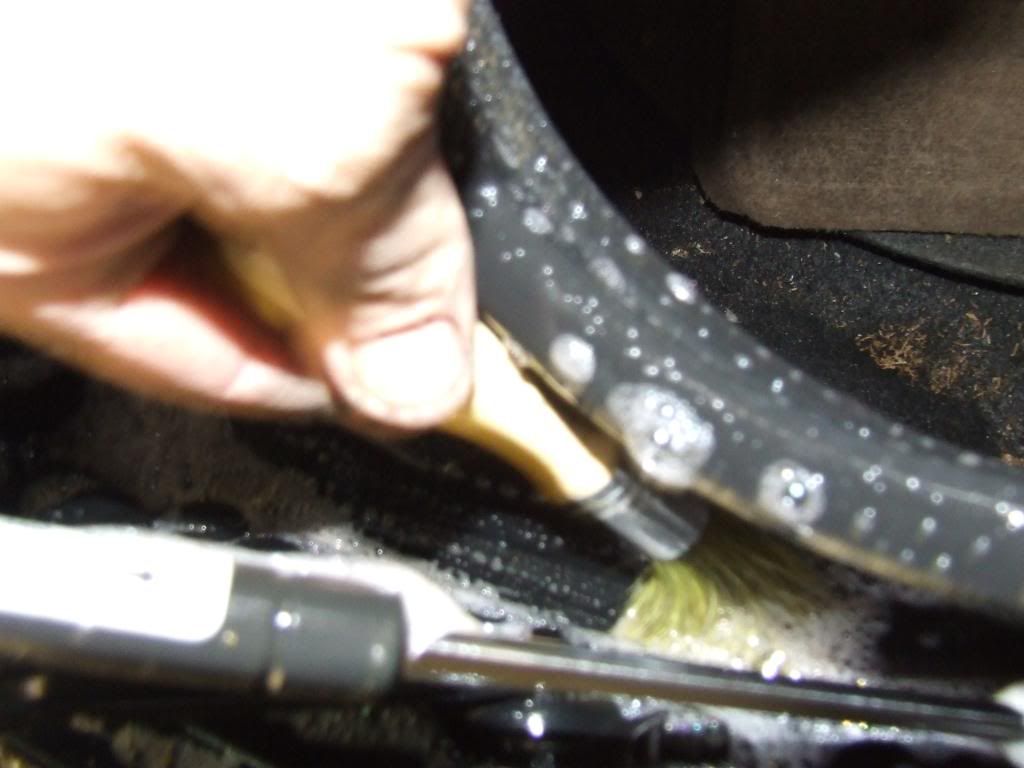
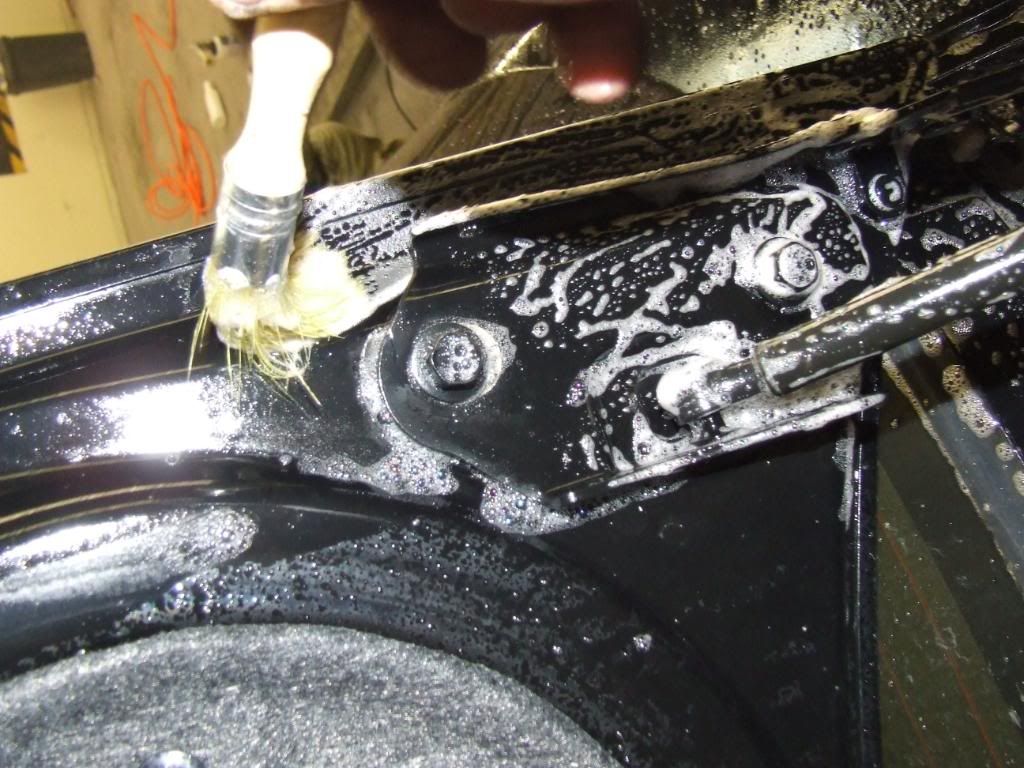
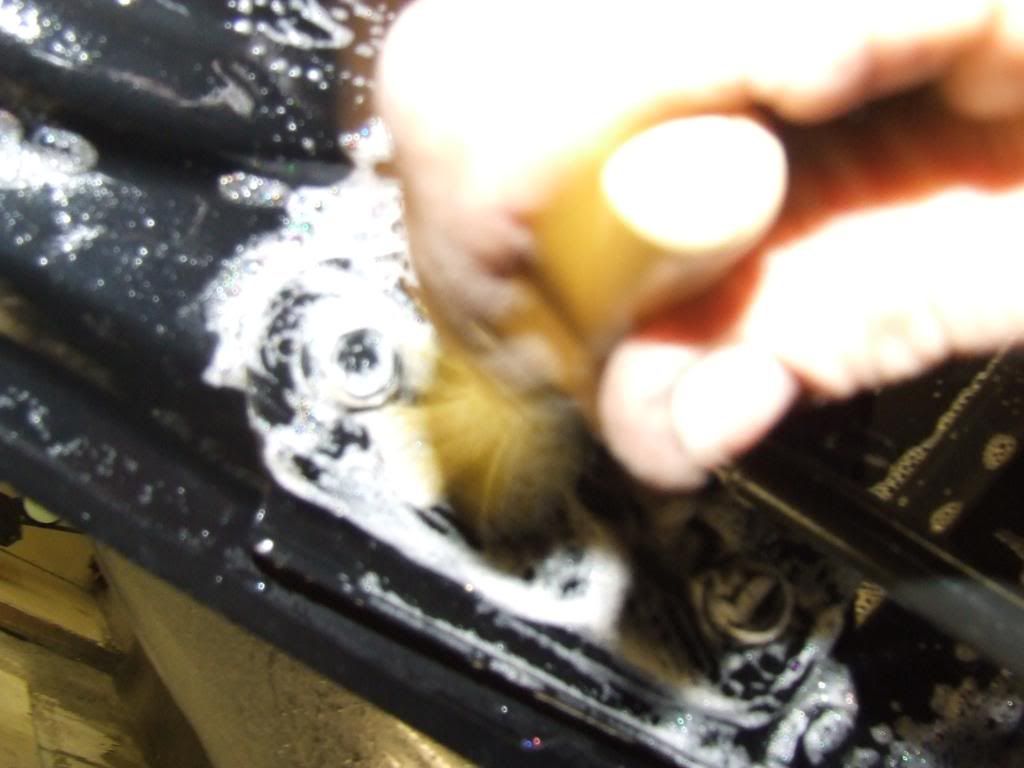
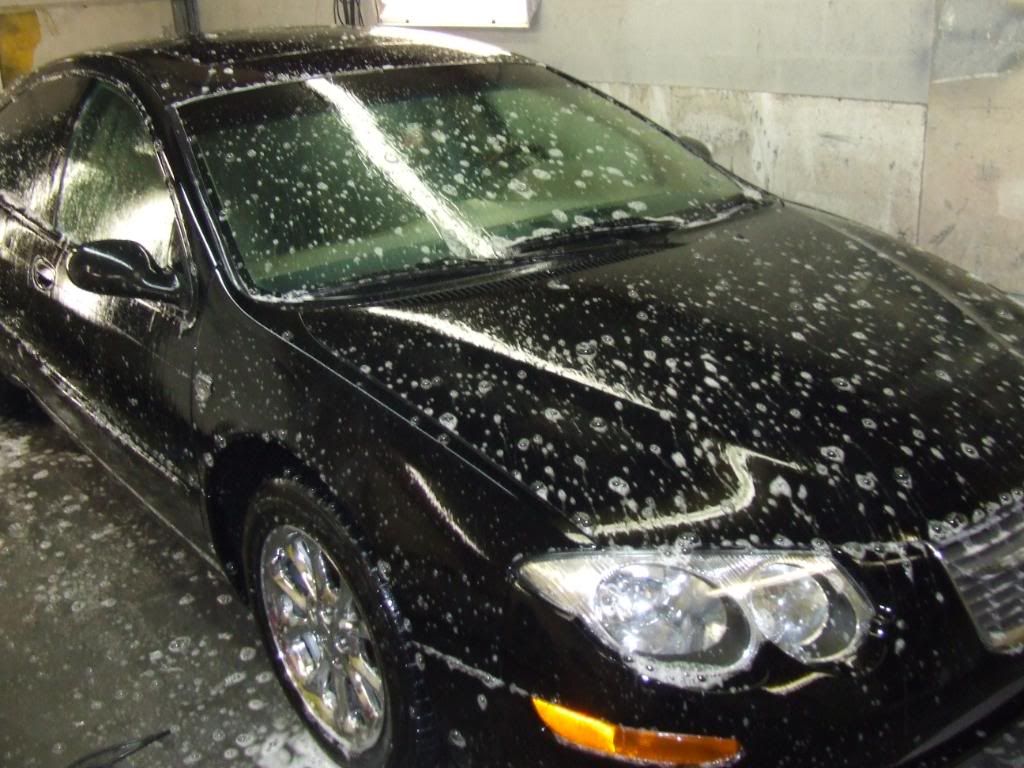
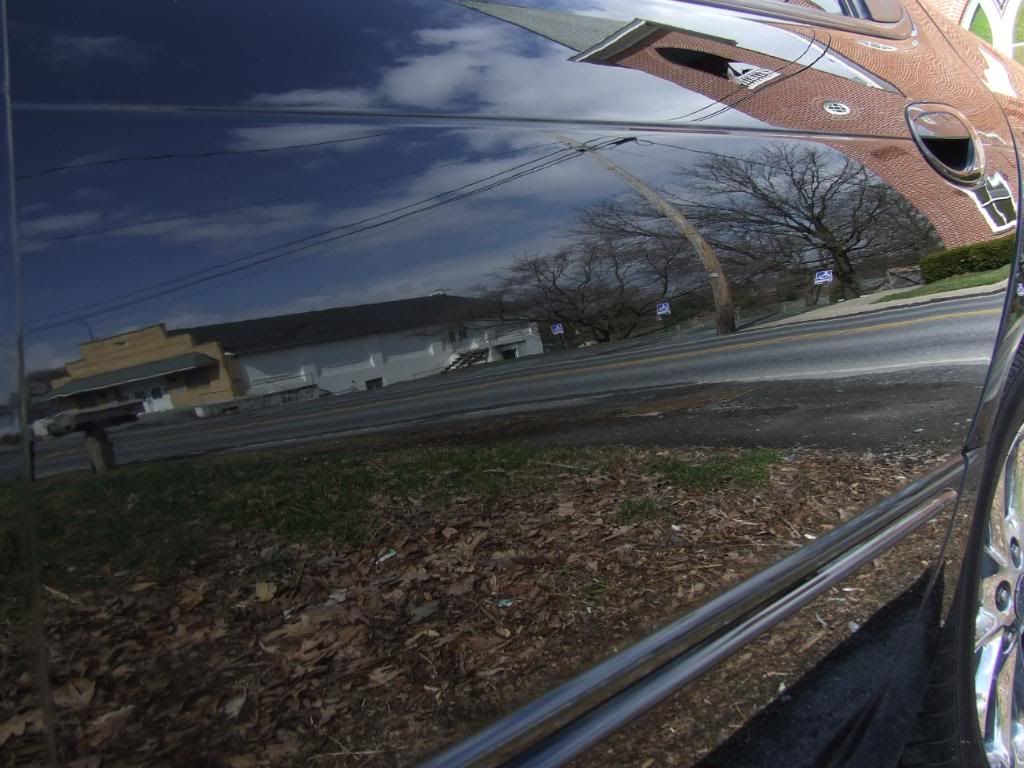
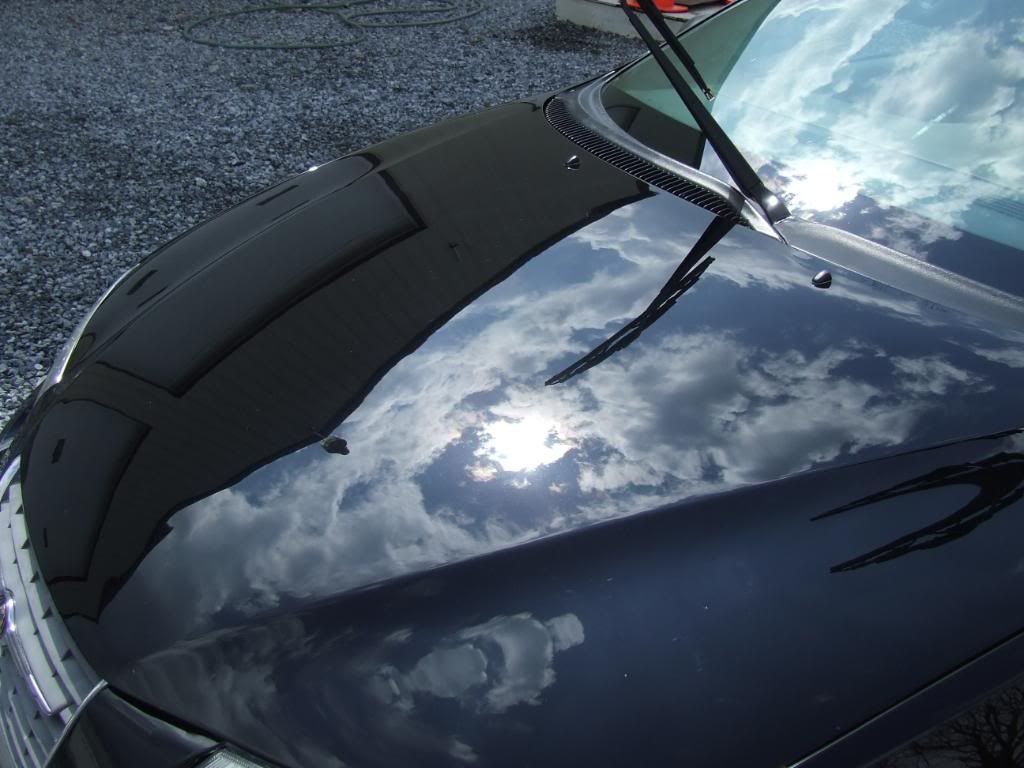
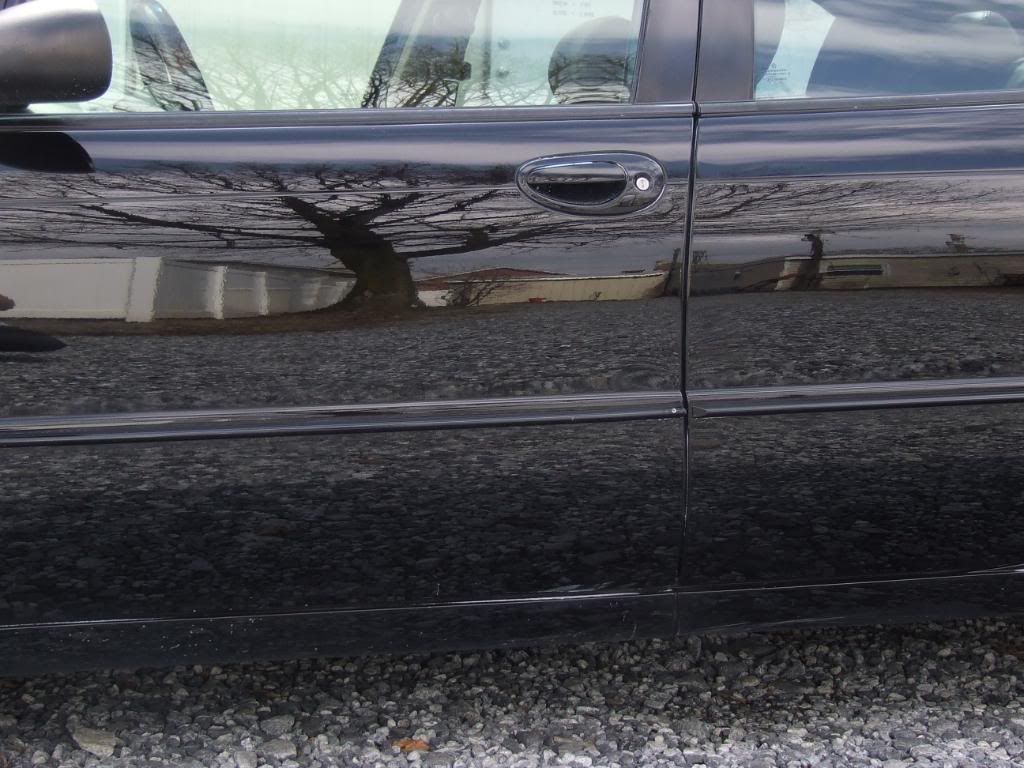
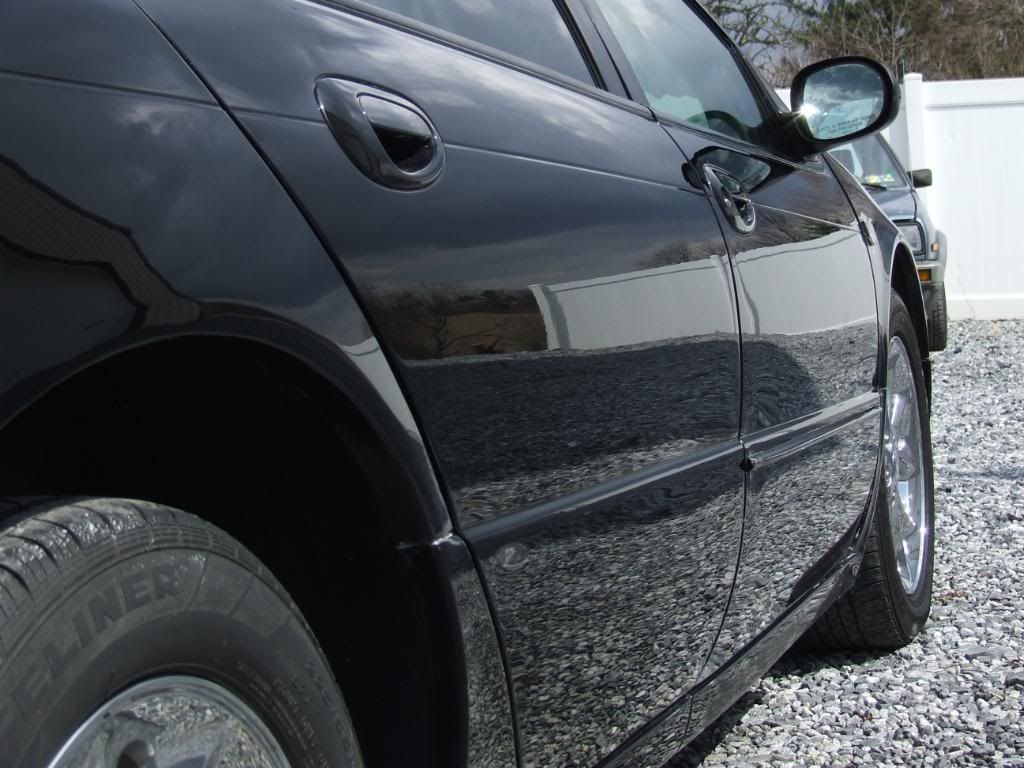
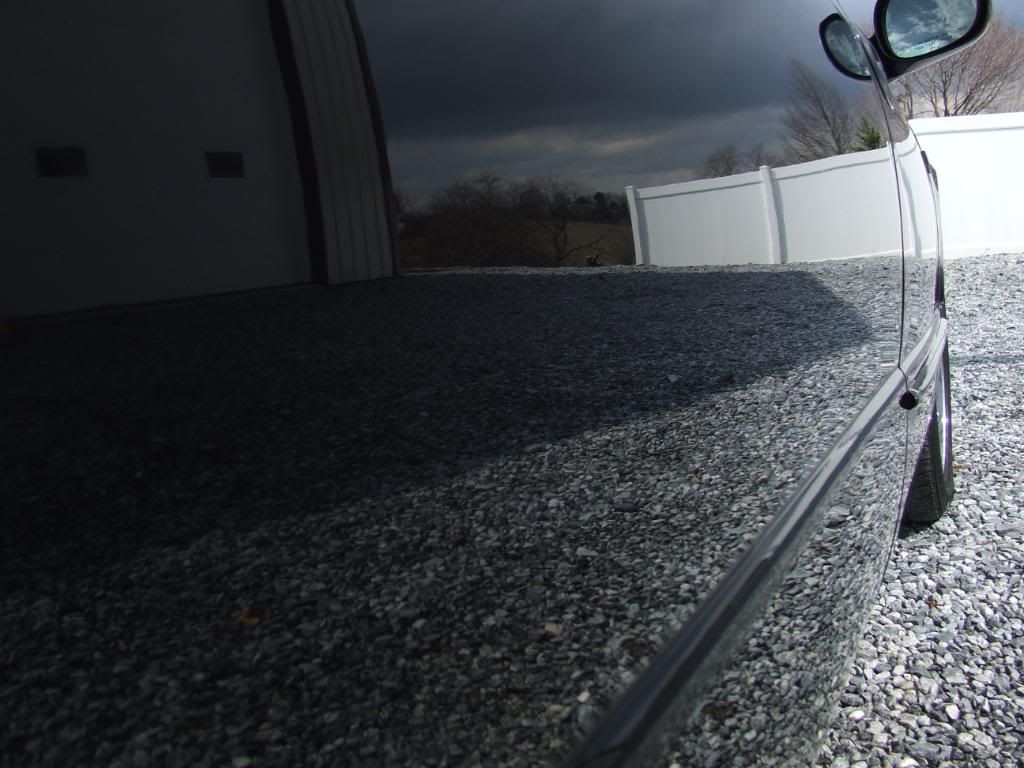
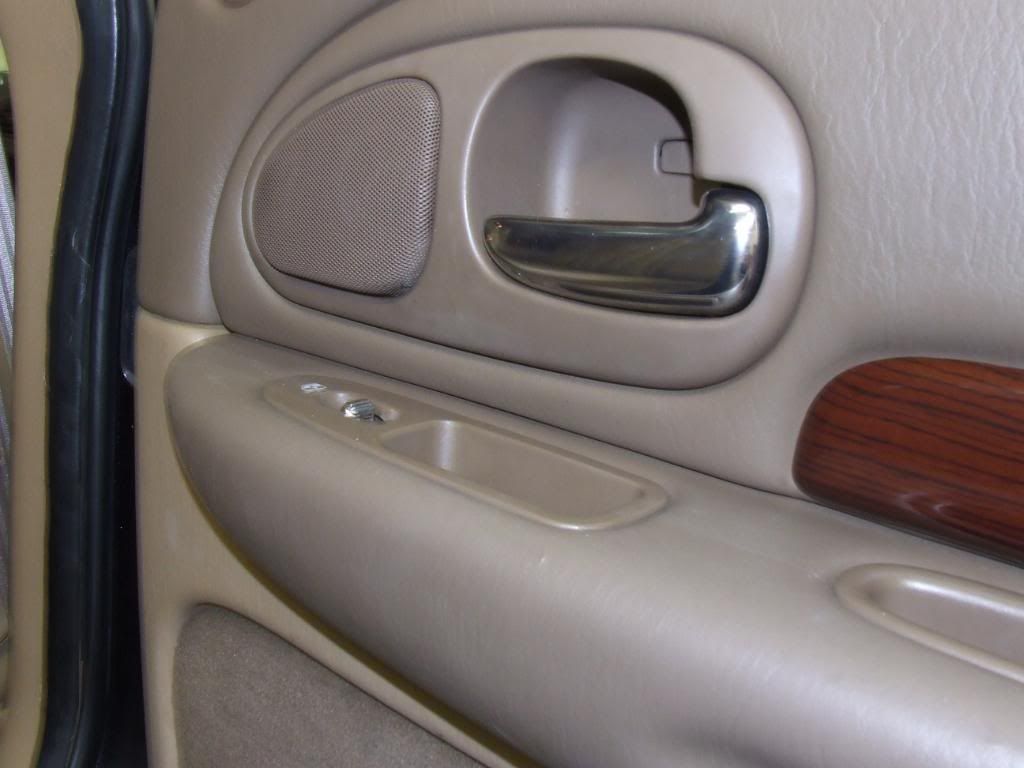
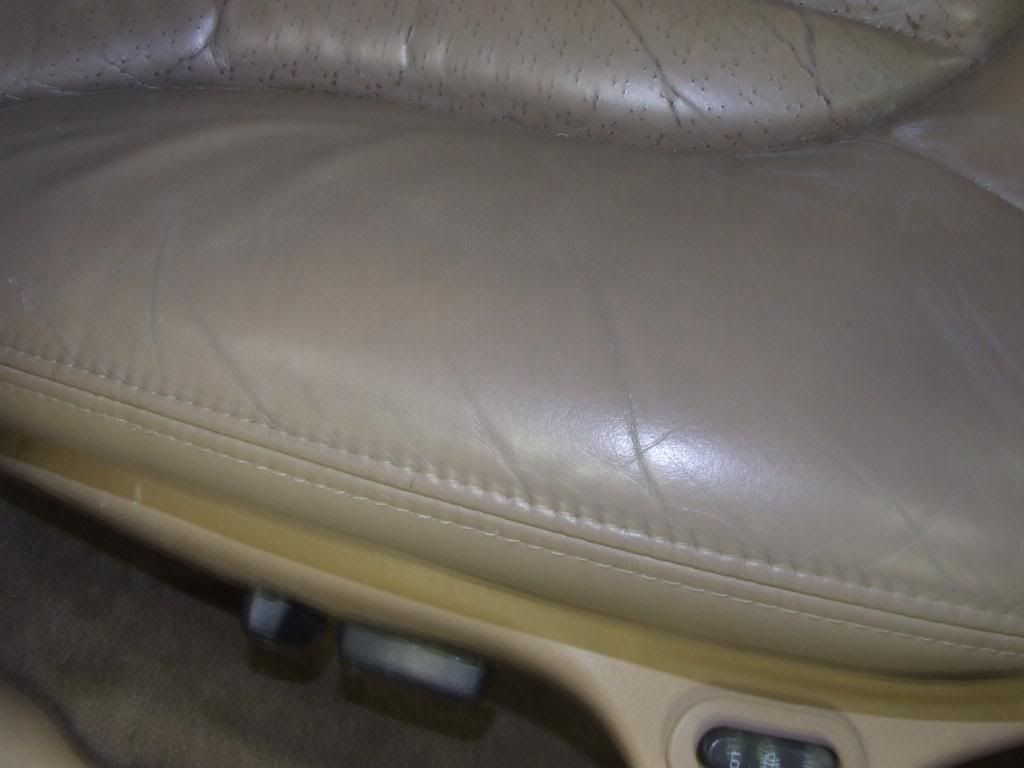
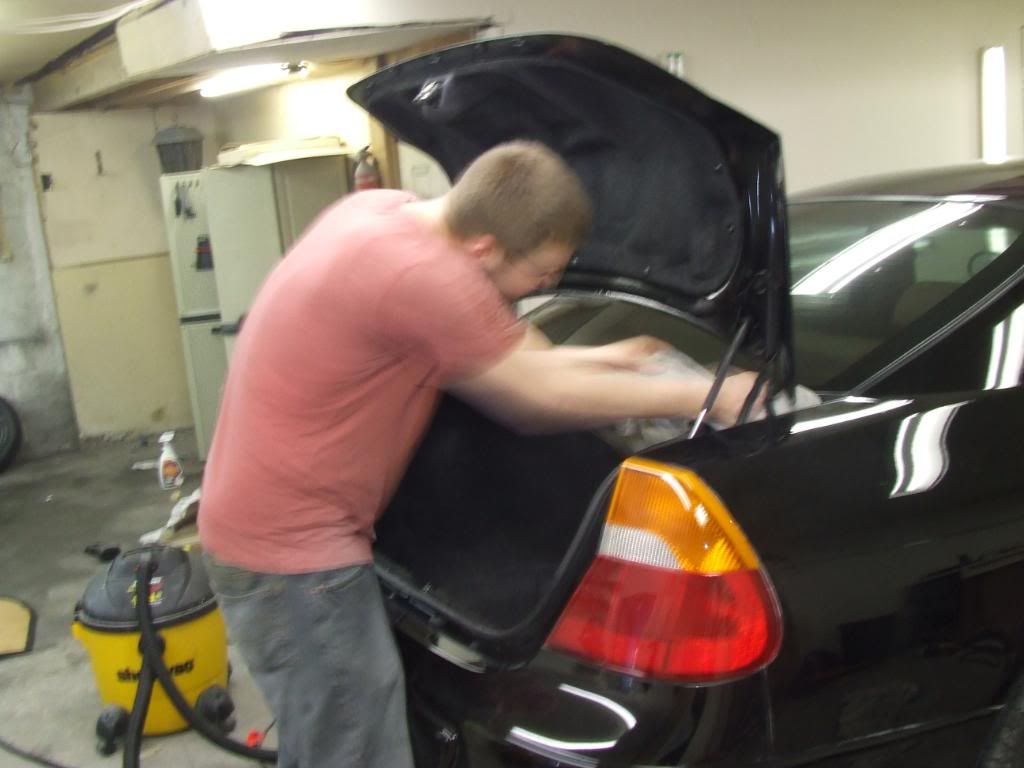
First off we began with the decontamination which consided of a dawn wash first to loosten all surface dirt and to strip any wax prior to rejuvenation.then i did degreased the motor and all the jams with purple power degreaser diluted 2:1. Next all wheels were pulled and the wheel wells were cleaned and agitated with meg. apc 4:1. Then I hit the wheels with meg. wheel brightner. agitated with various brushes. The tires were scrubbed with ardex new wave degreaser then blown off. Next i washed the whole car with blue corral car wash then the car was clayed with claymore its dynamite medium clay and meg. quick detailer was used for a good lube job! next the car was washed again with meg. apc 20:1 all emblems and and such was agitated! here are some pics.


DSCF2993.jpg


DSCF2998.jpg


DSCF2999.jpg


DSCF3007.jpg


DSCF3008.jpg


DSCF3012.jpg


DSCF3013.jpg


DSCF3021.jpg


DSCF3034.jpg


DSCF3037.jpg


DSCF3039.jpg


DSCF3052.jpg


DSCF3071.jpg


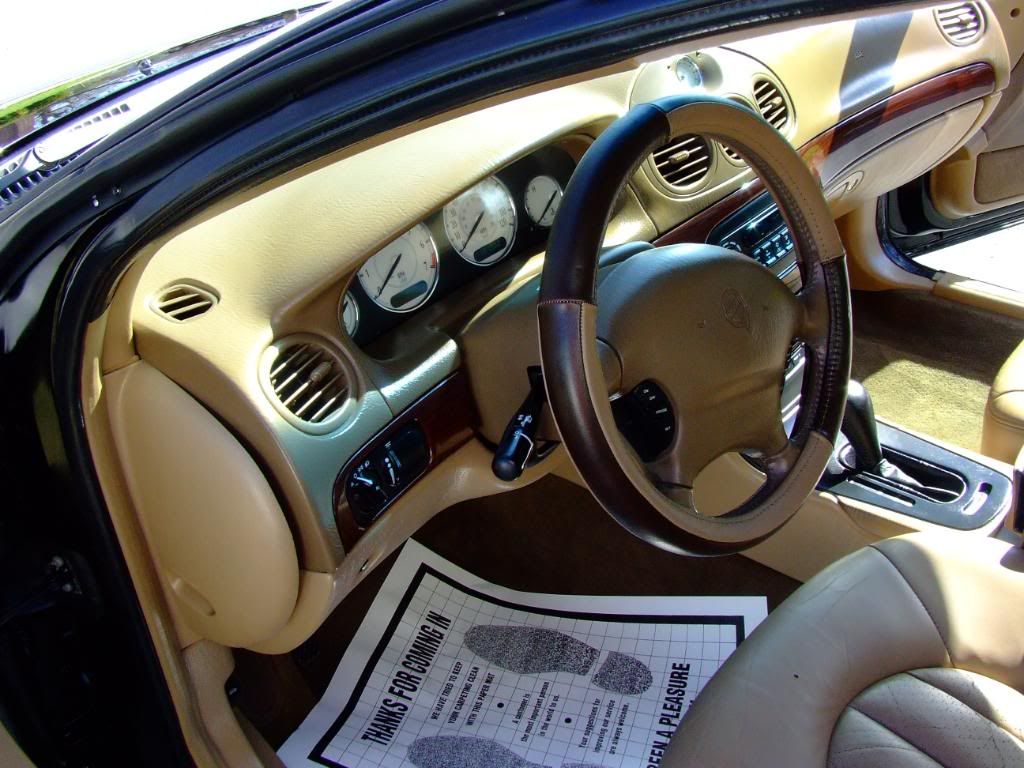
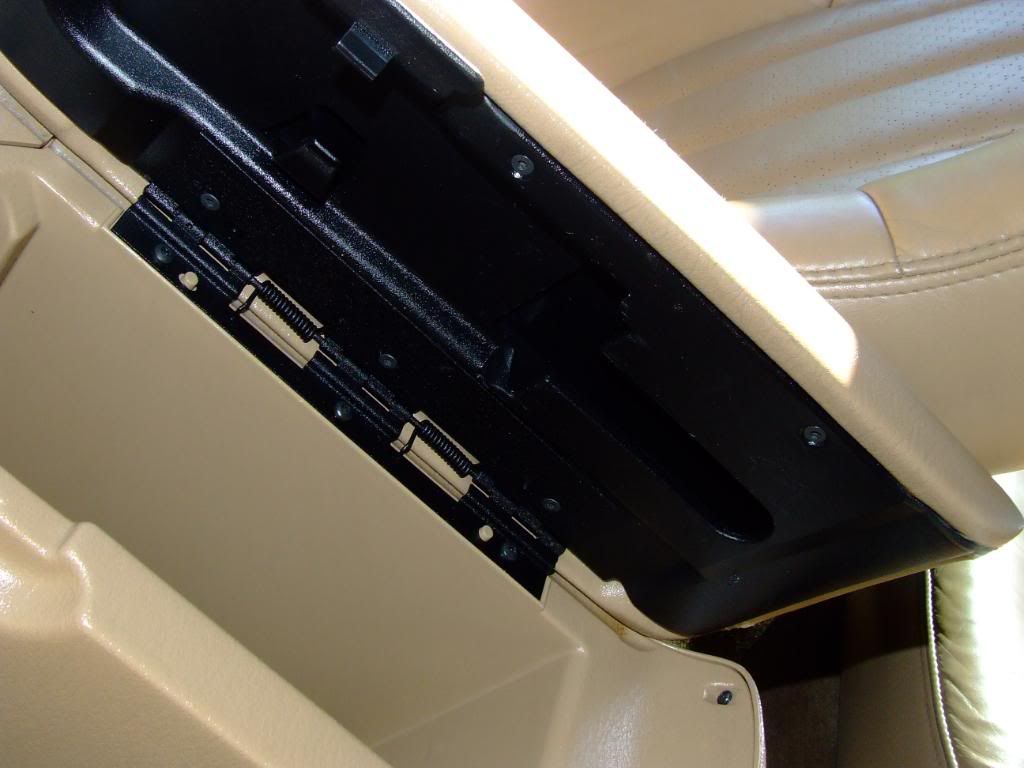
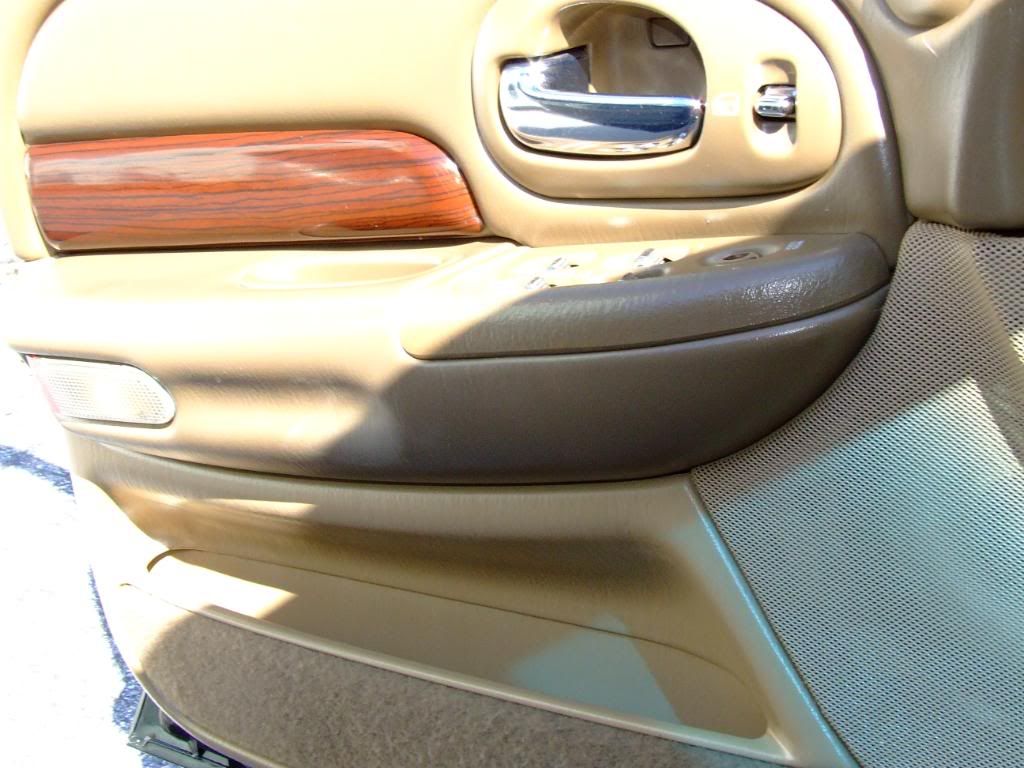
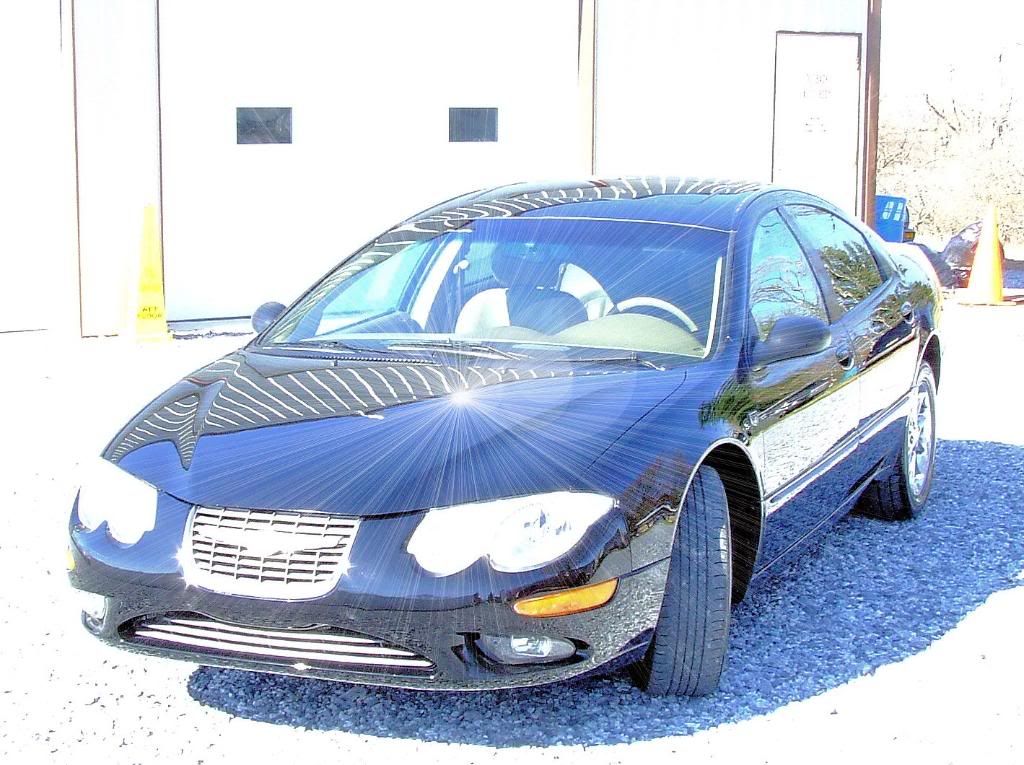
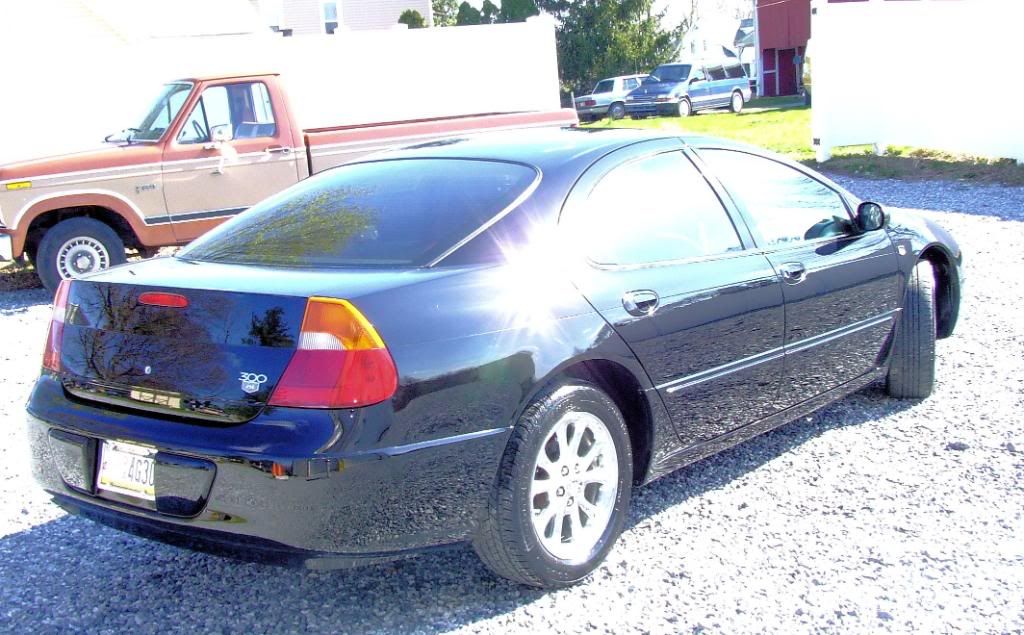
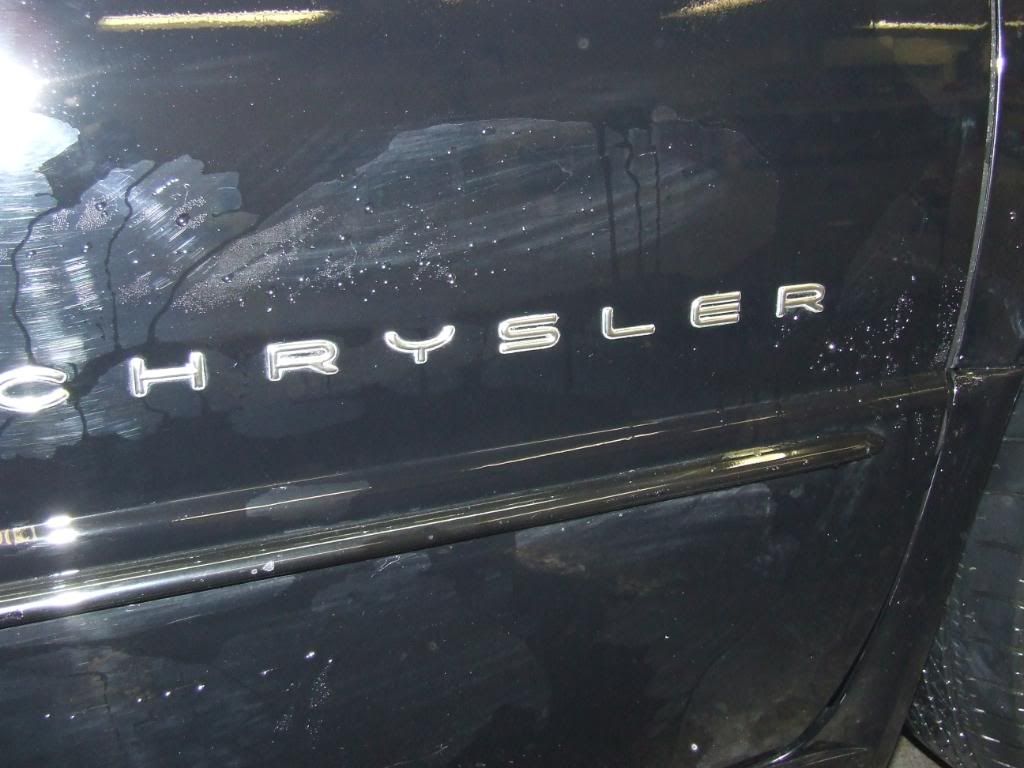
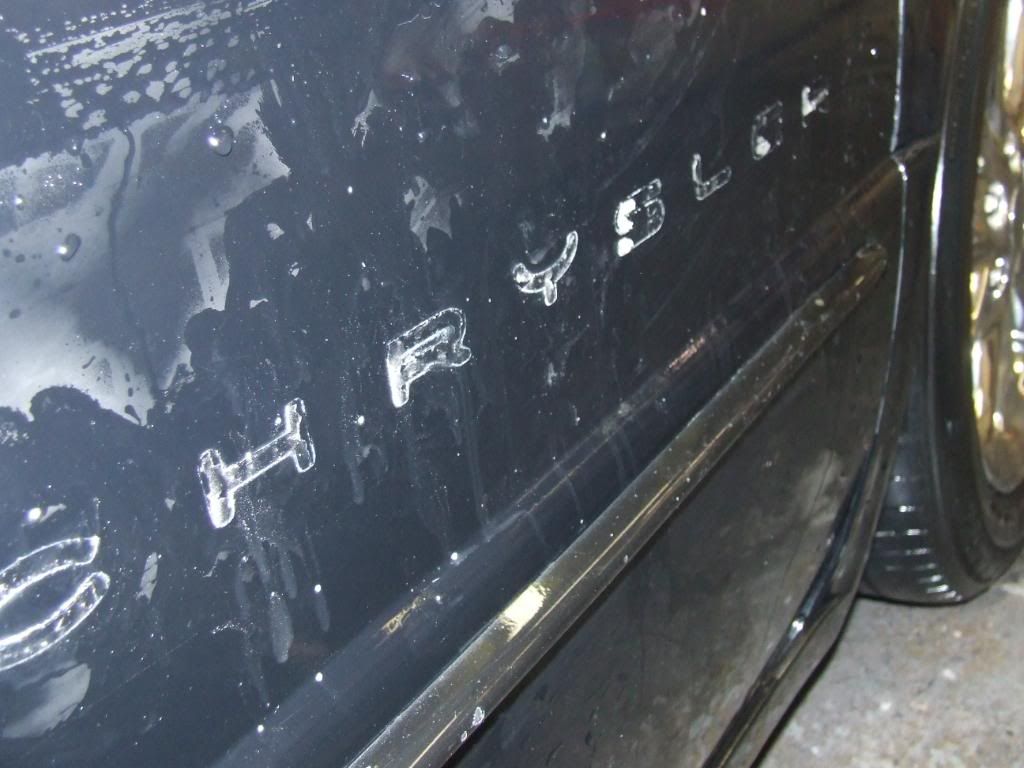
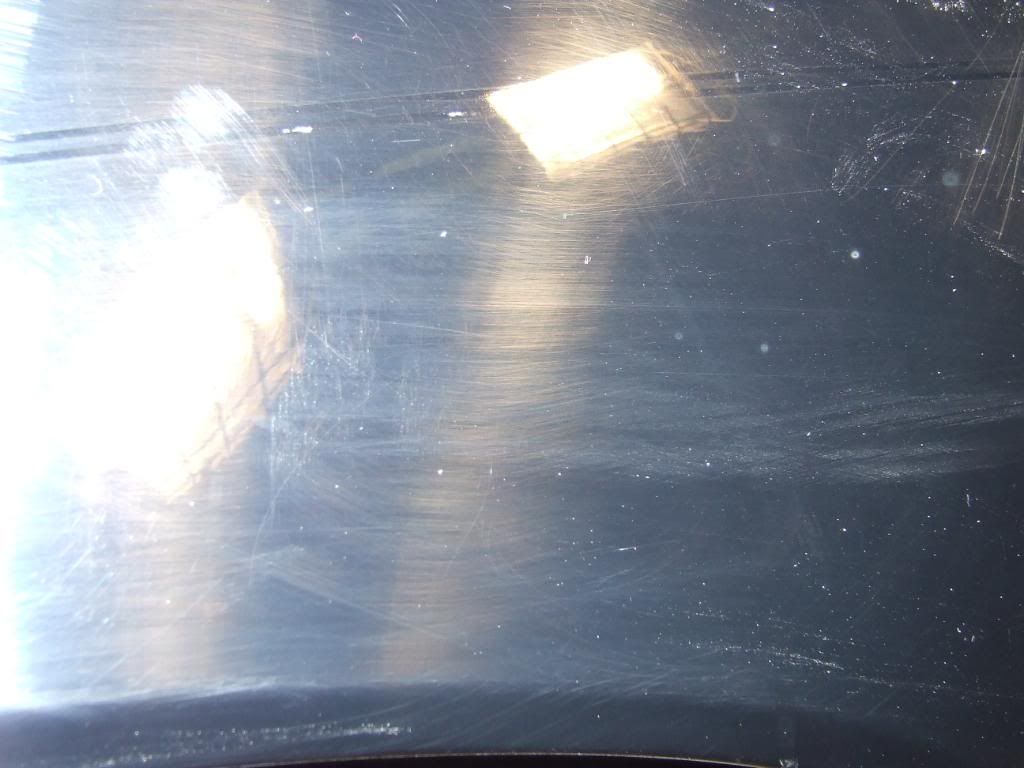
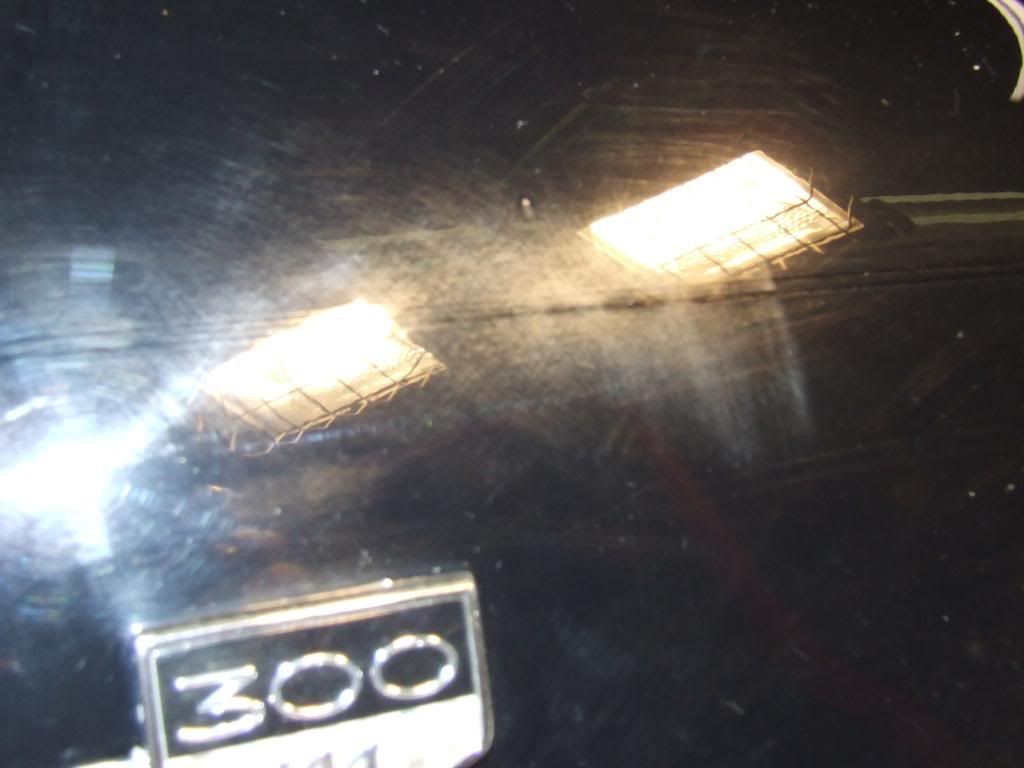
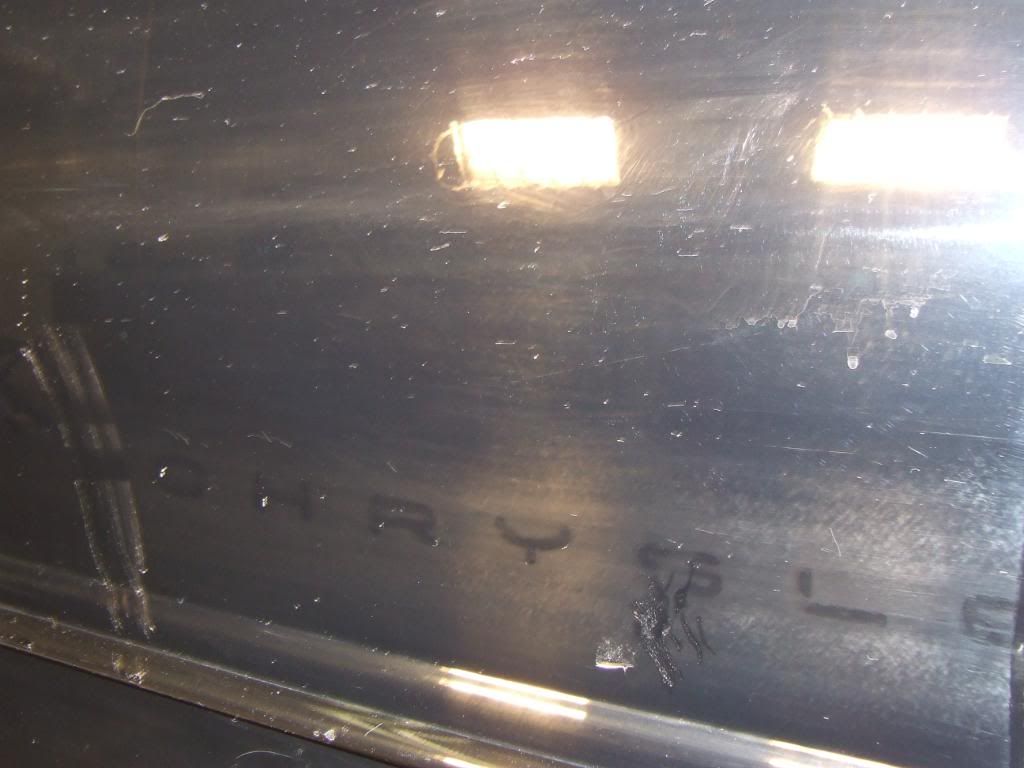
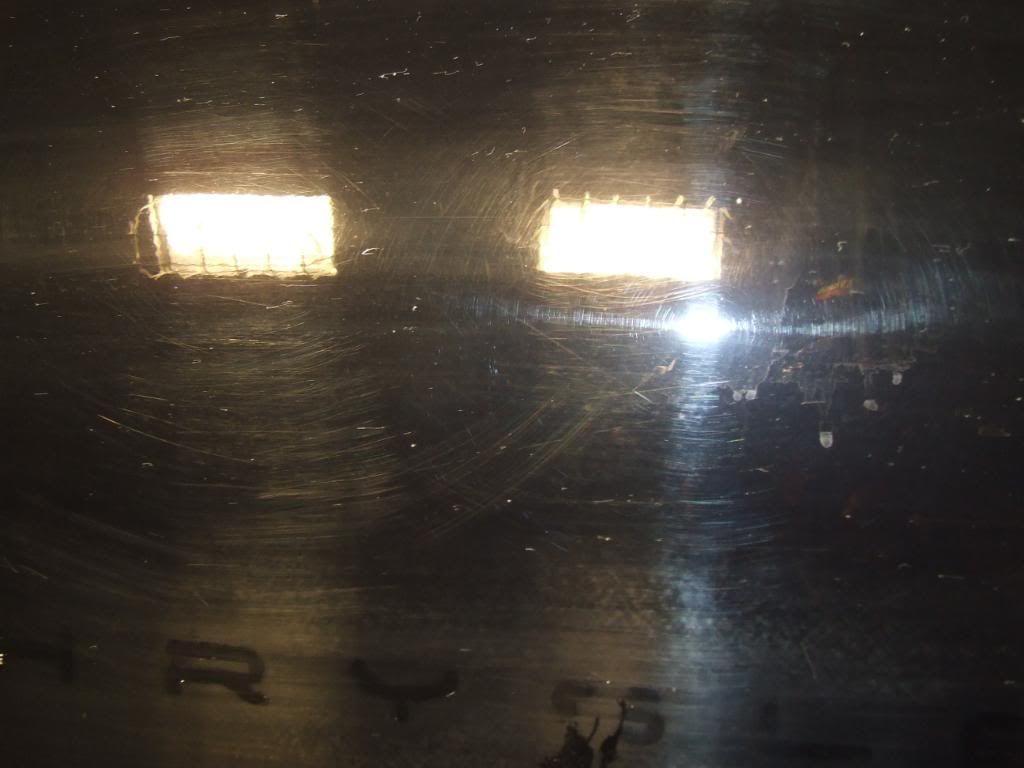
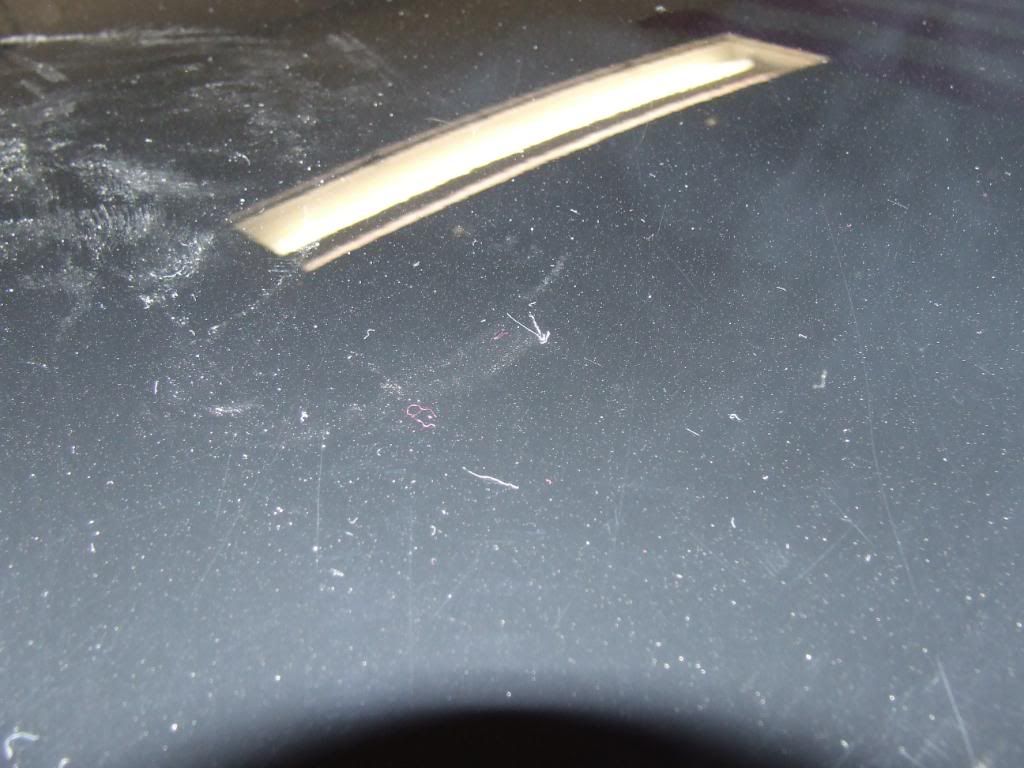
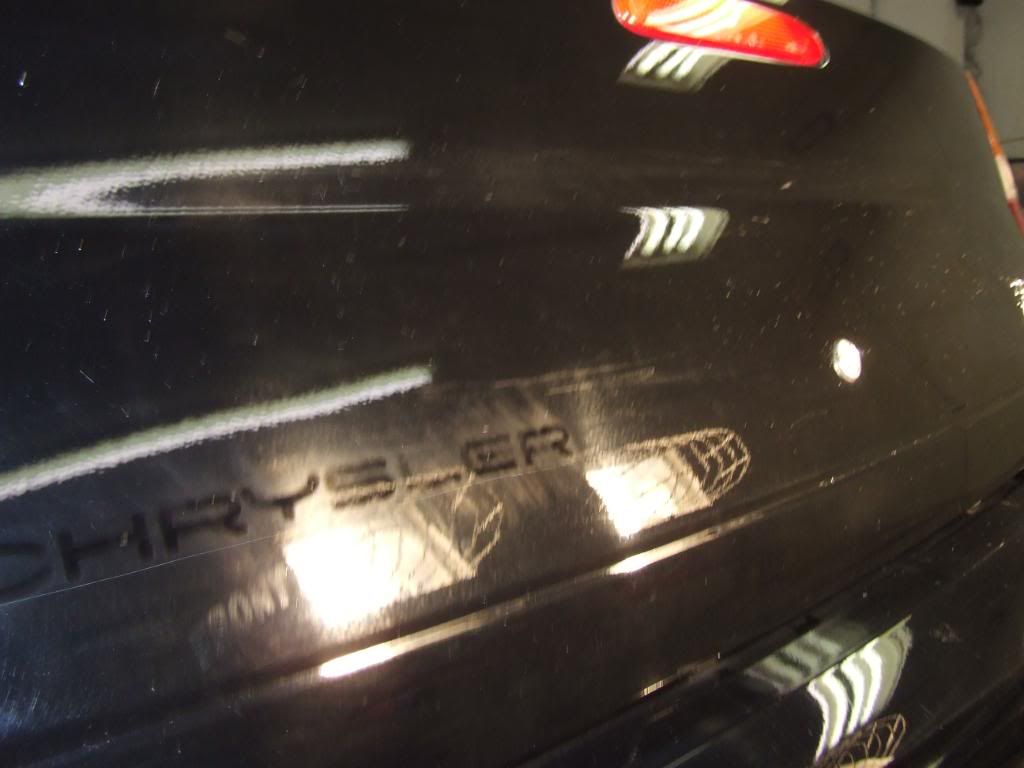
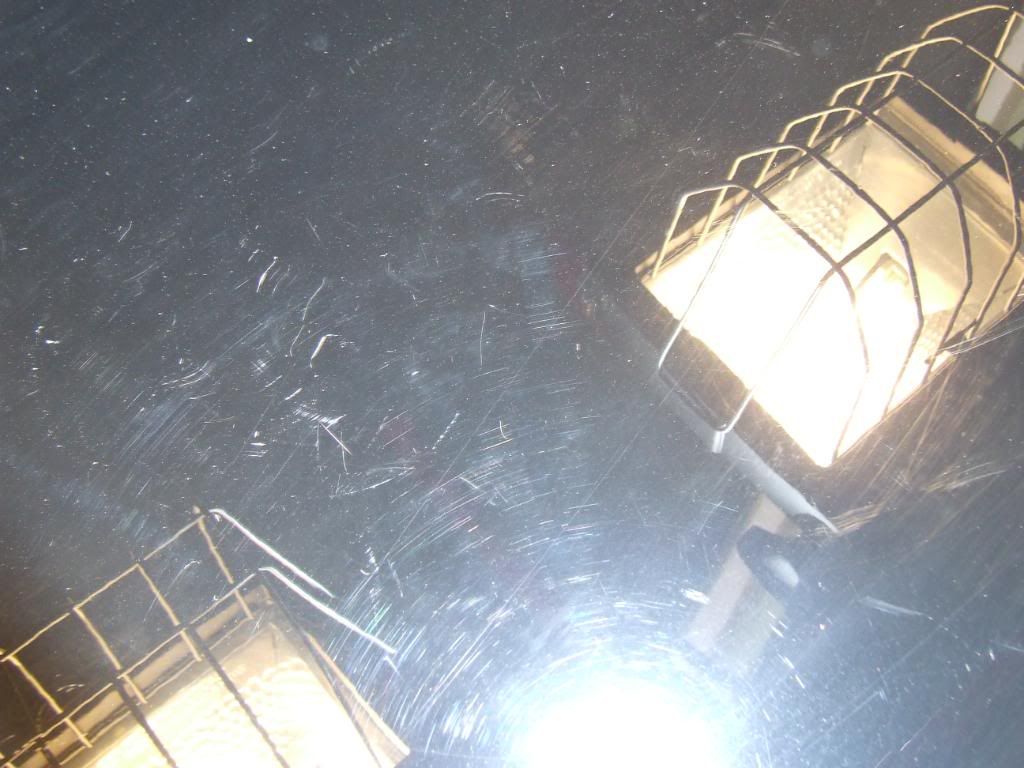
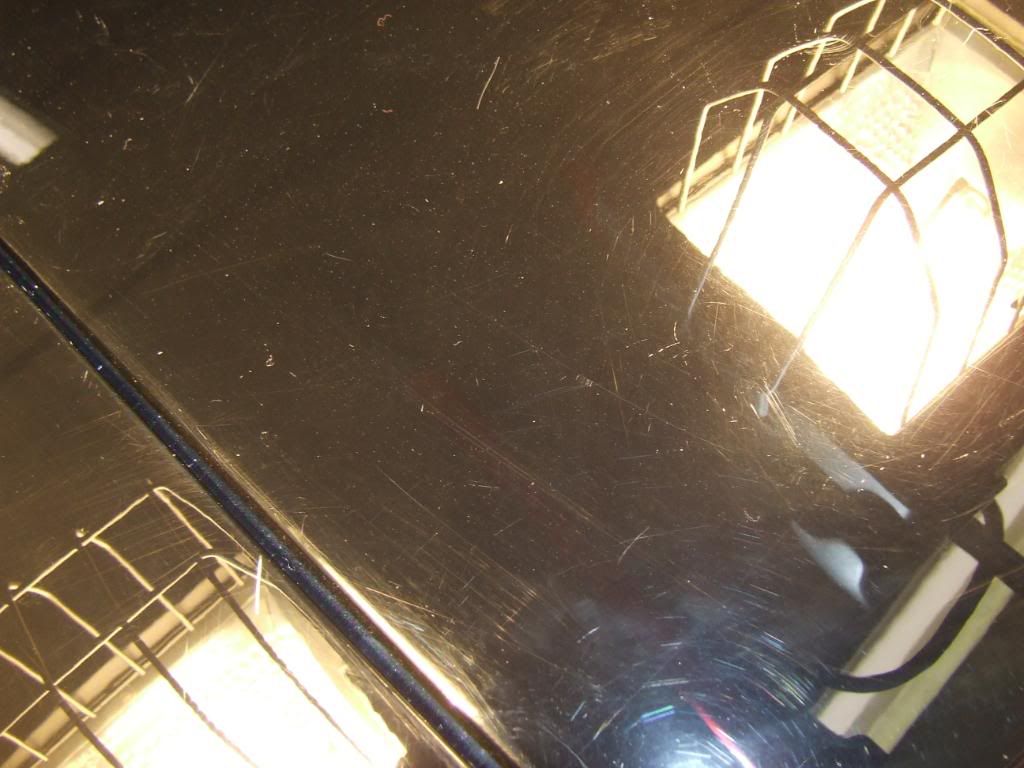
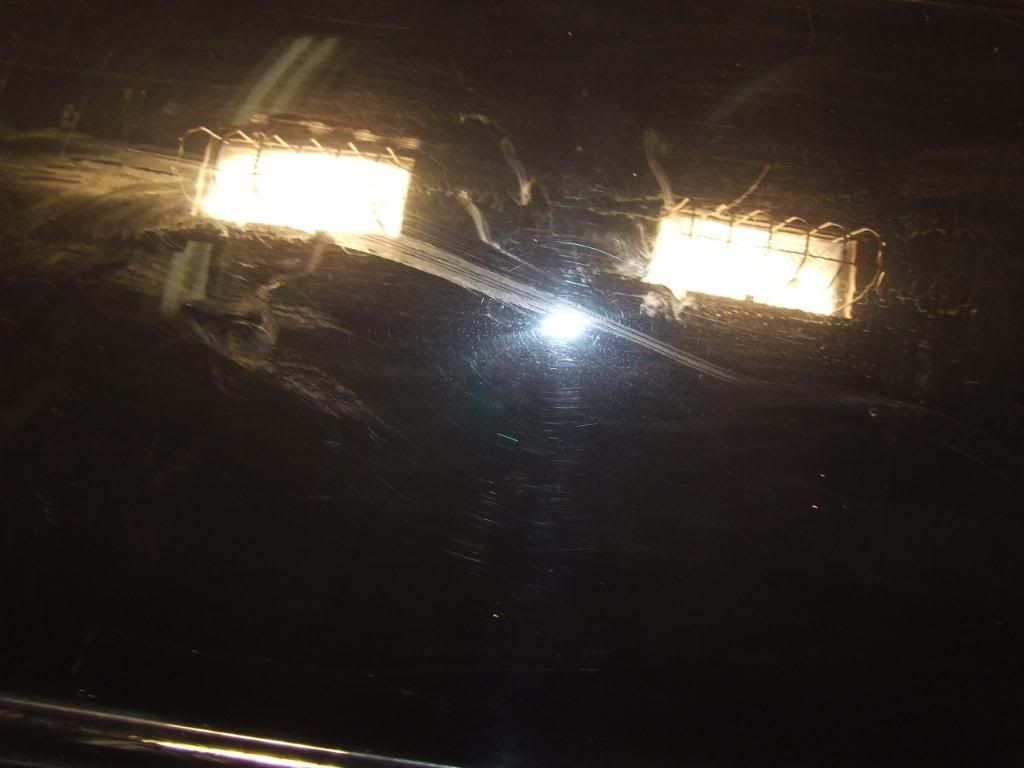
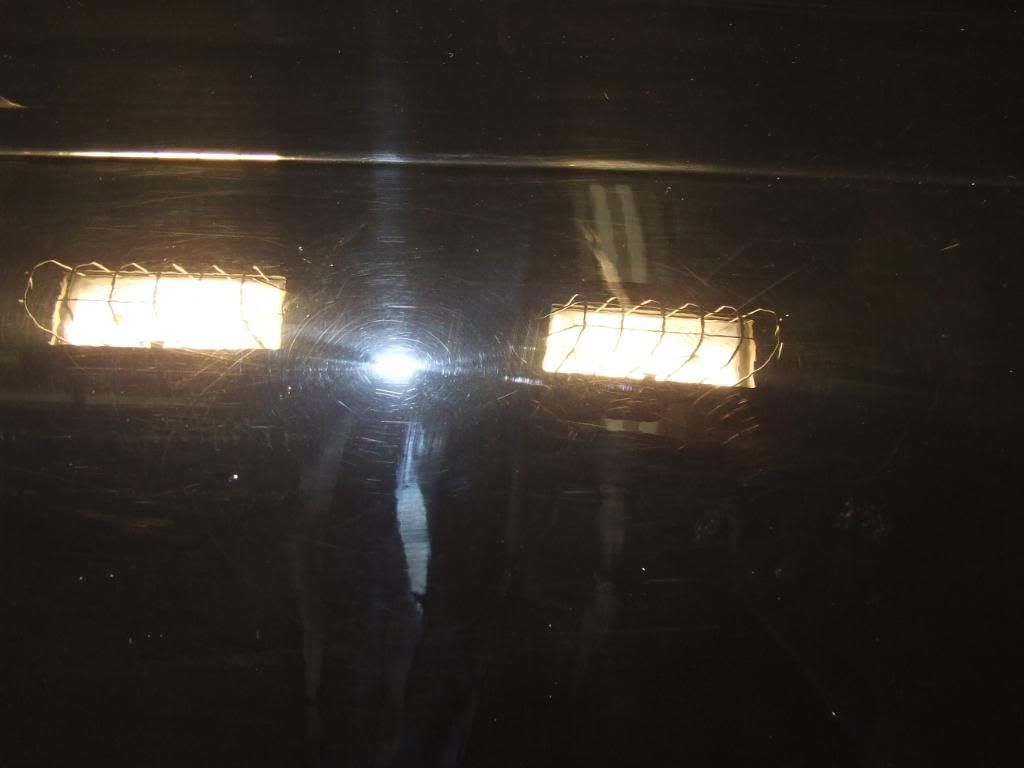
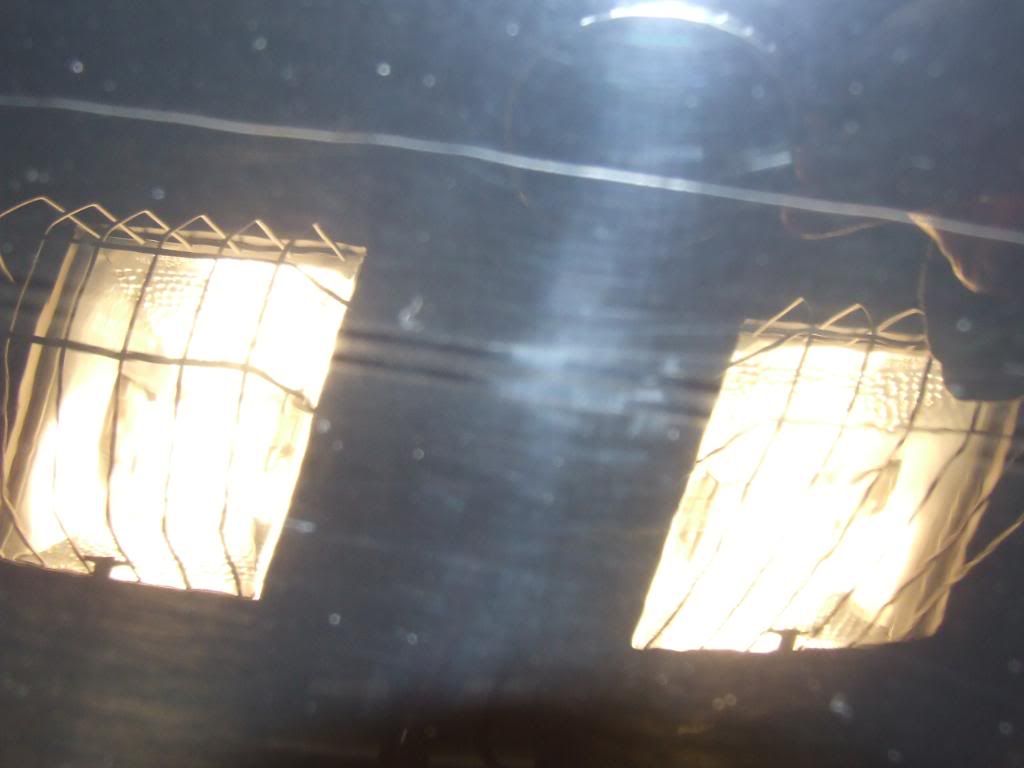
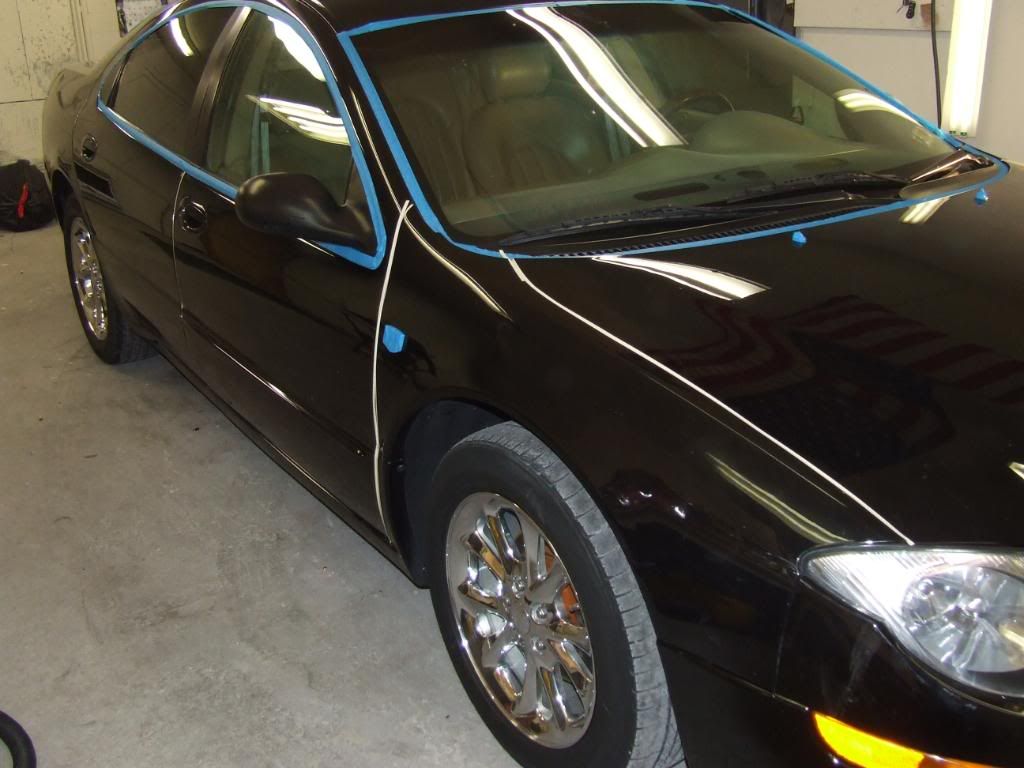
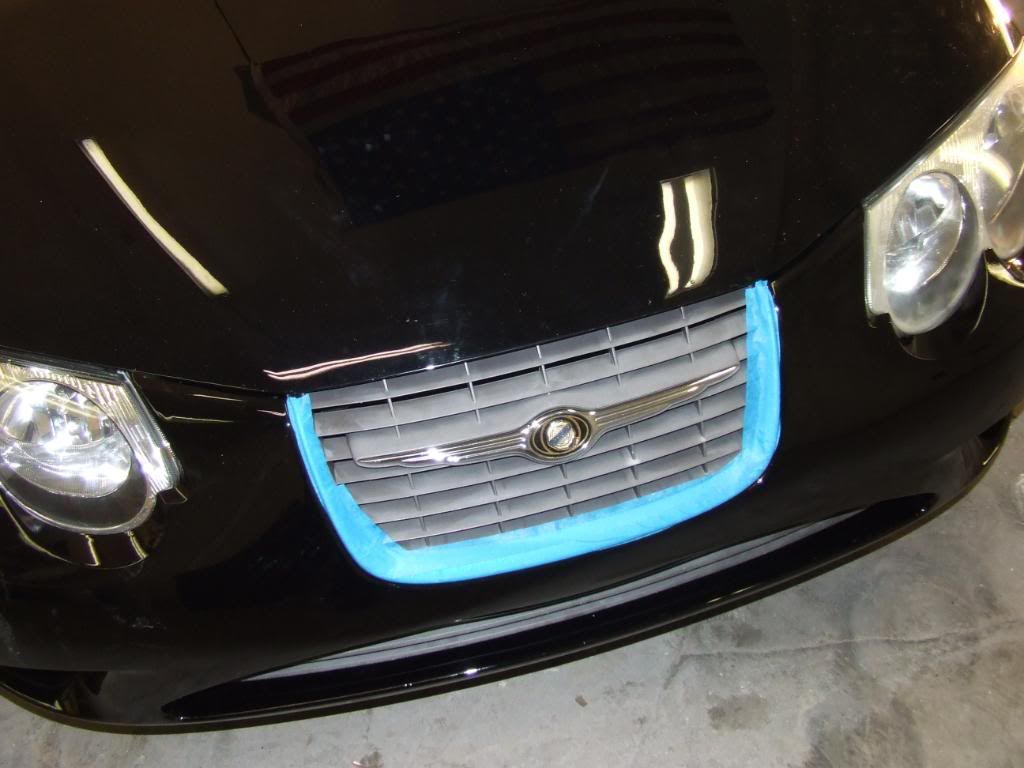
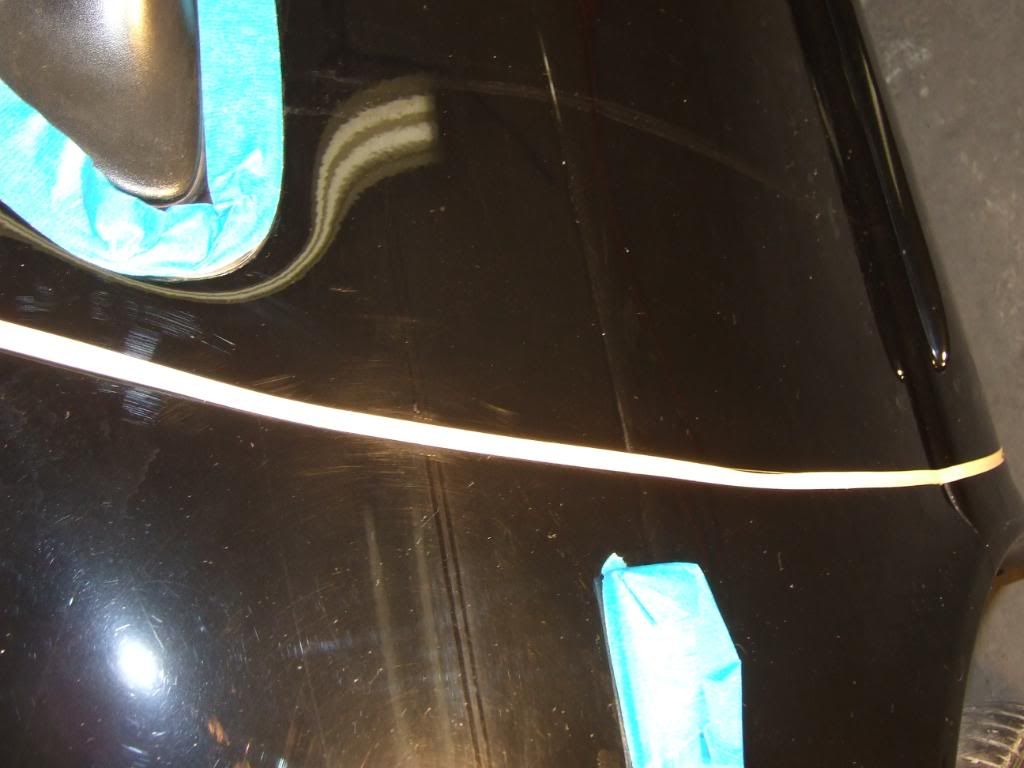
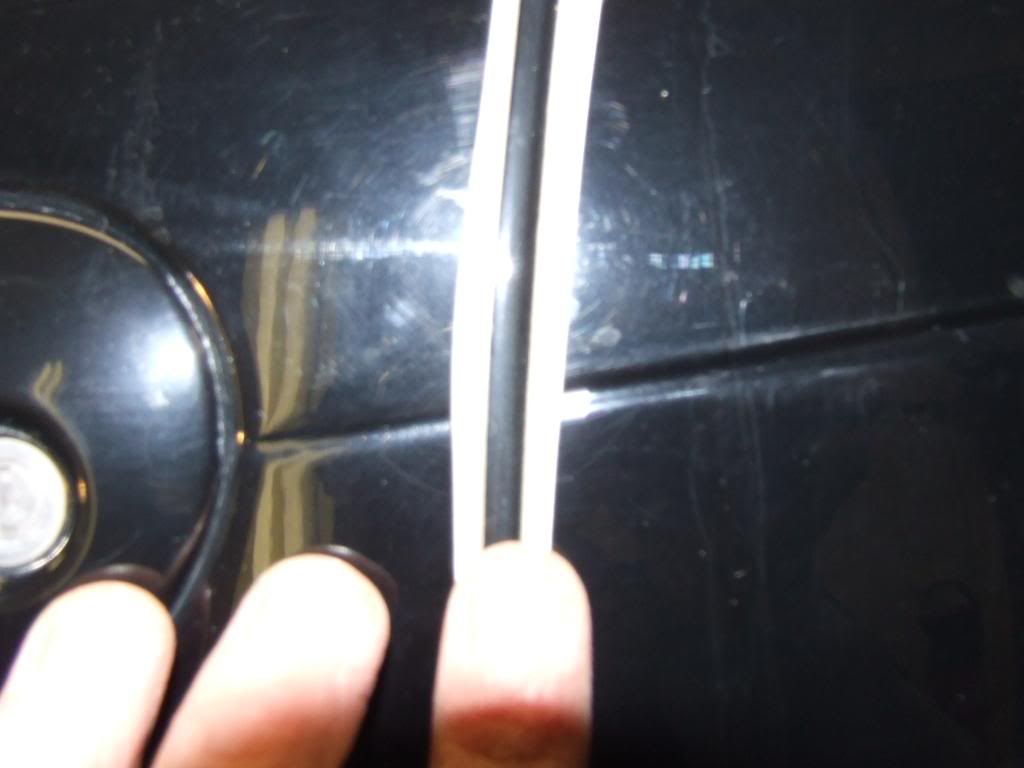
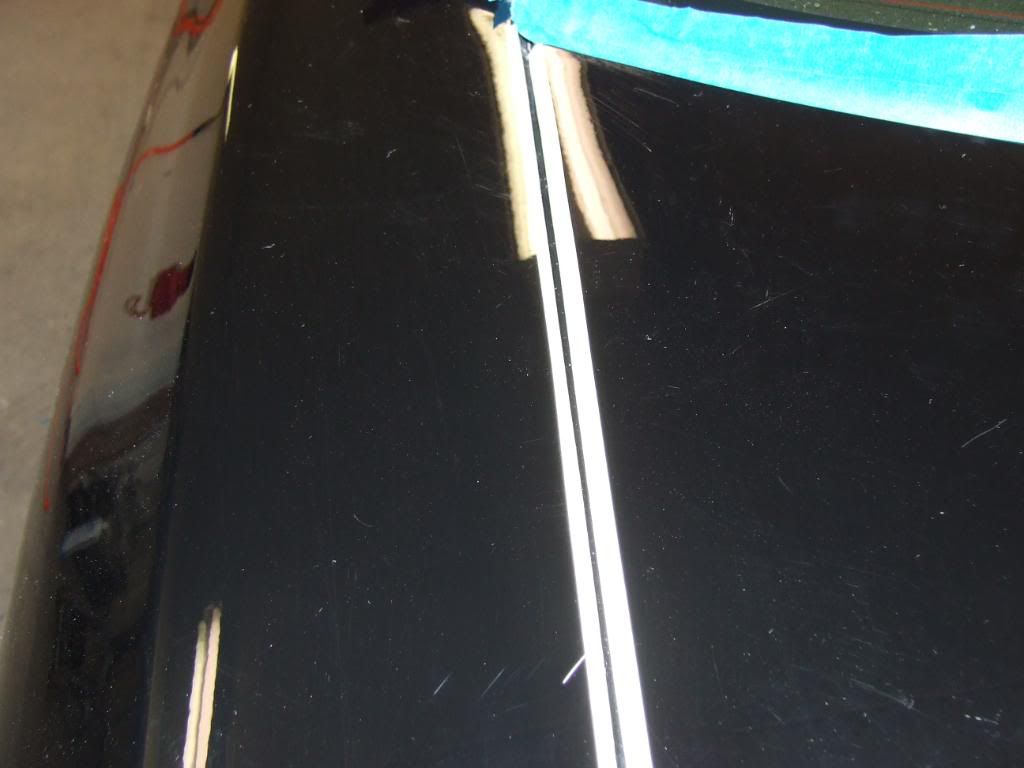
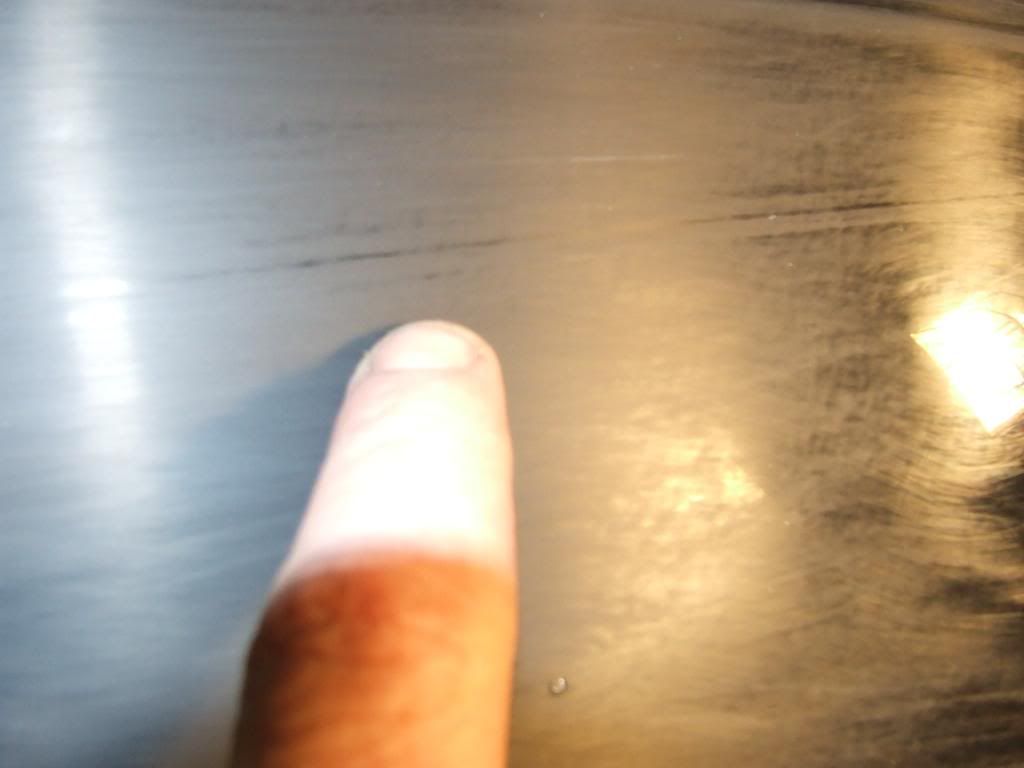
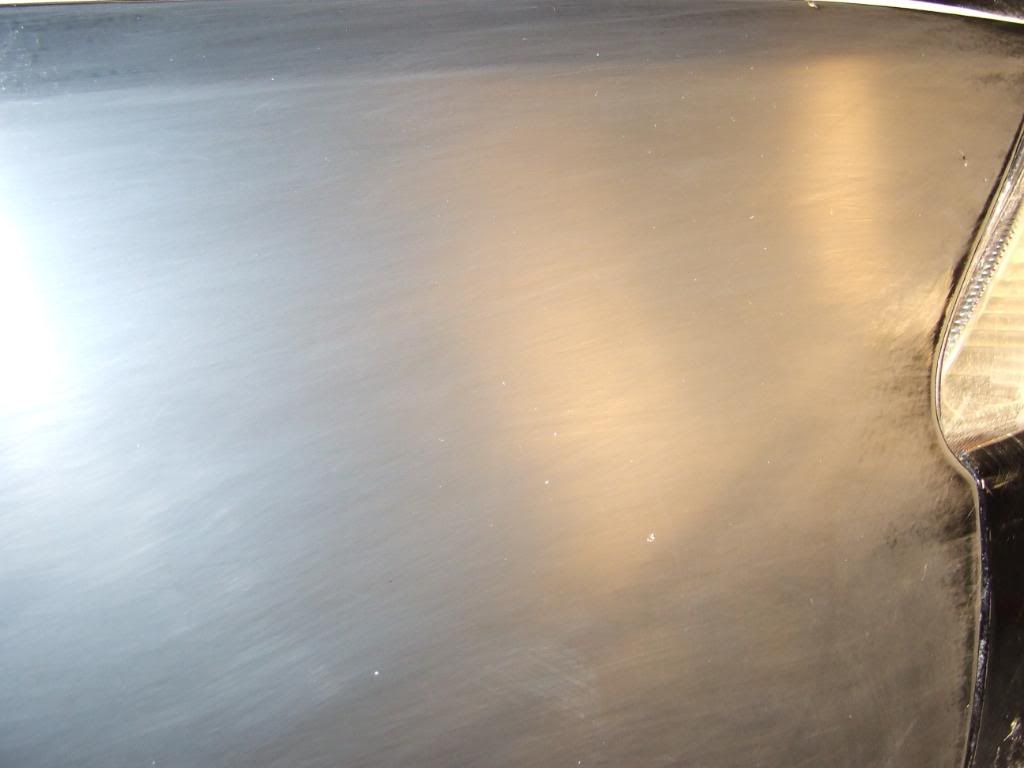
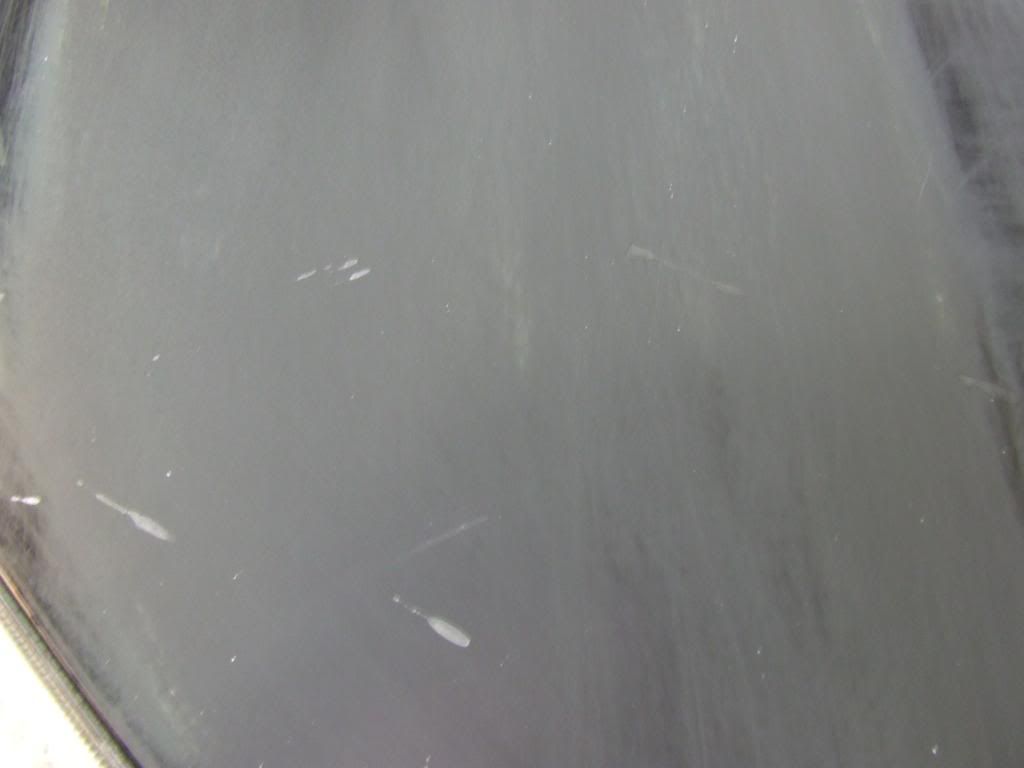
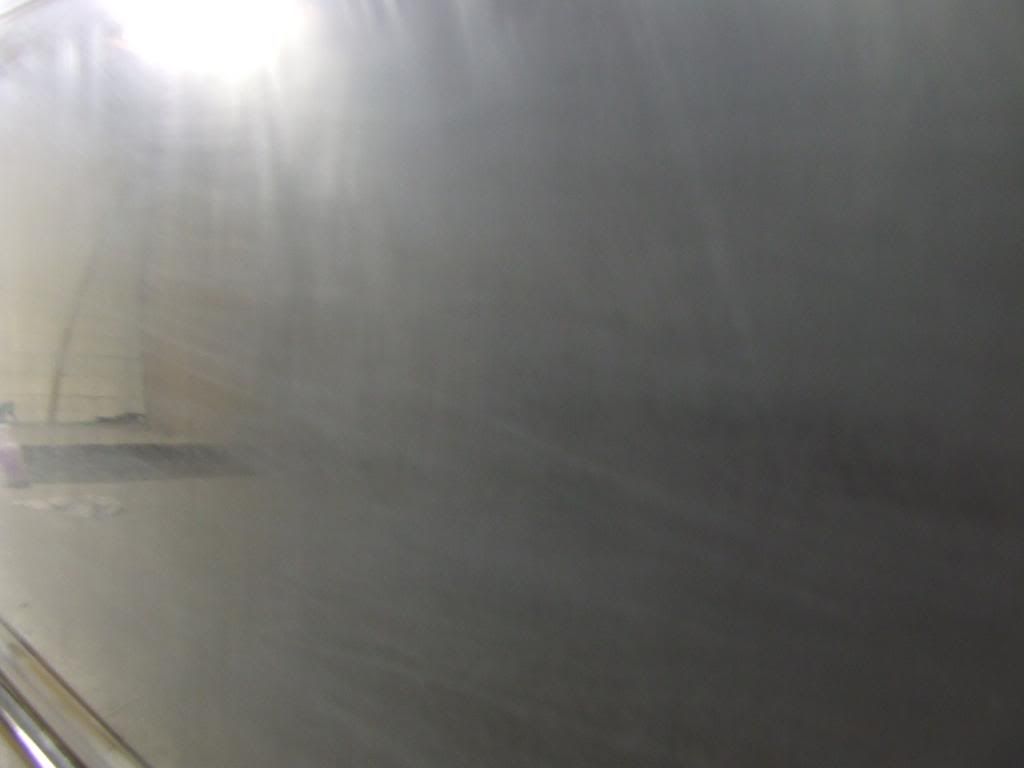
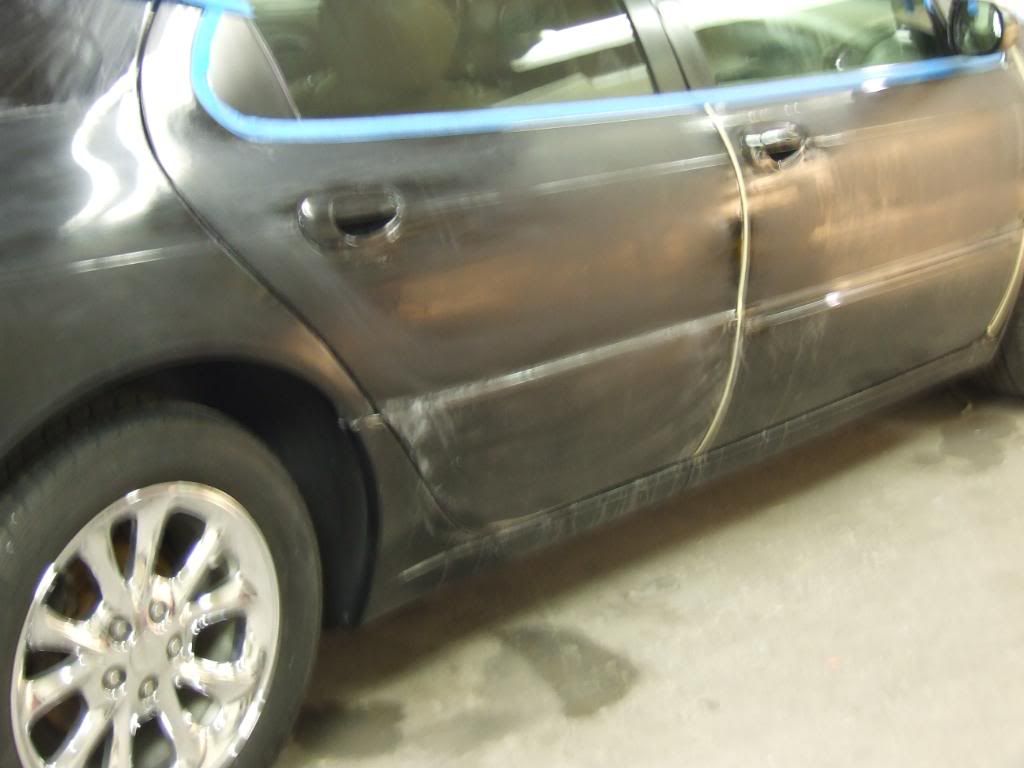
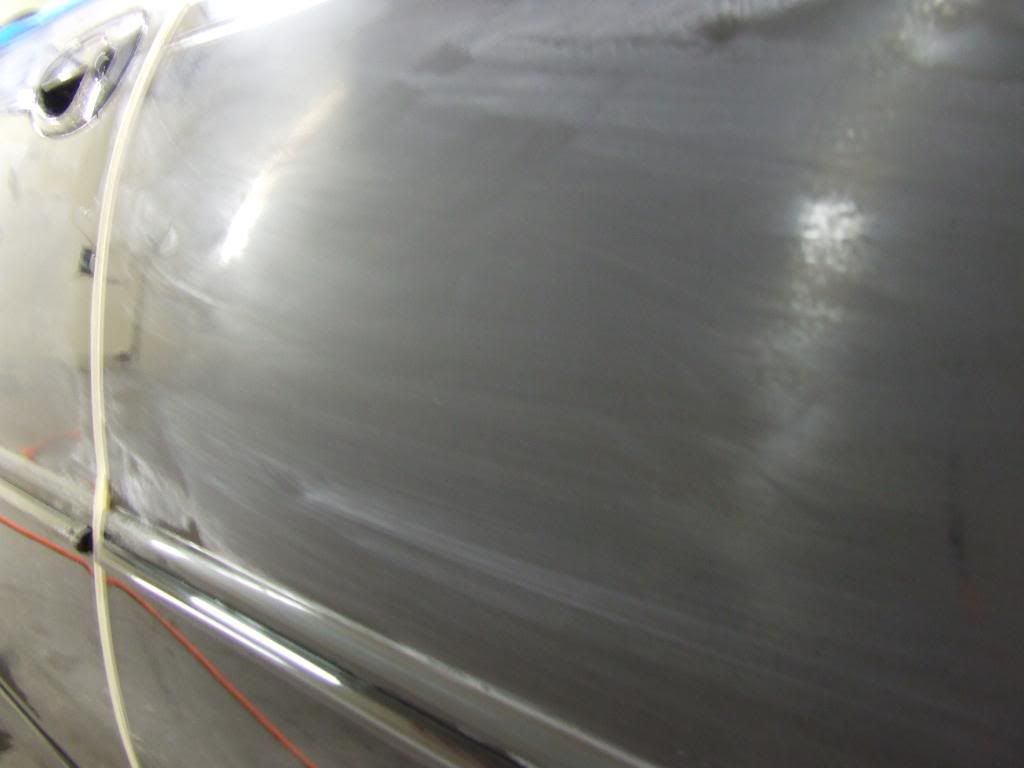
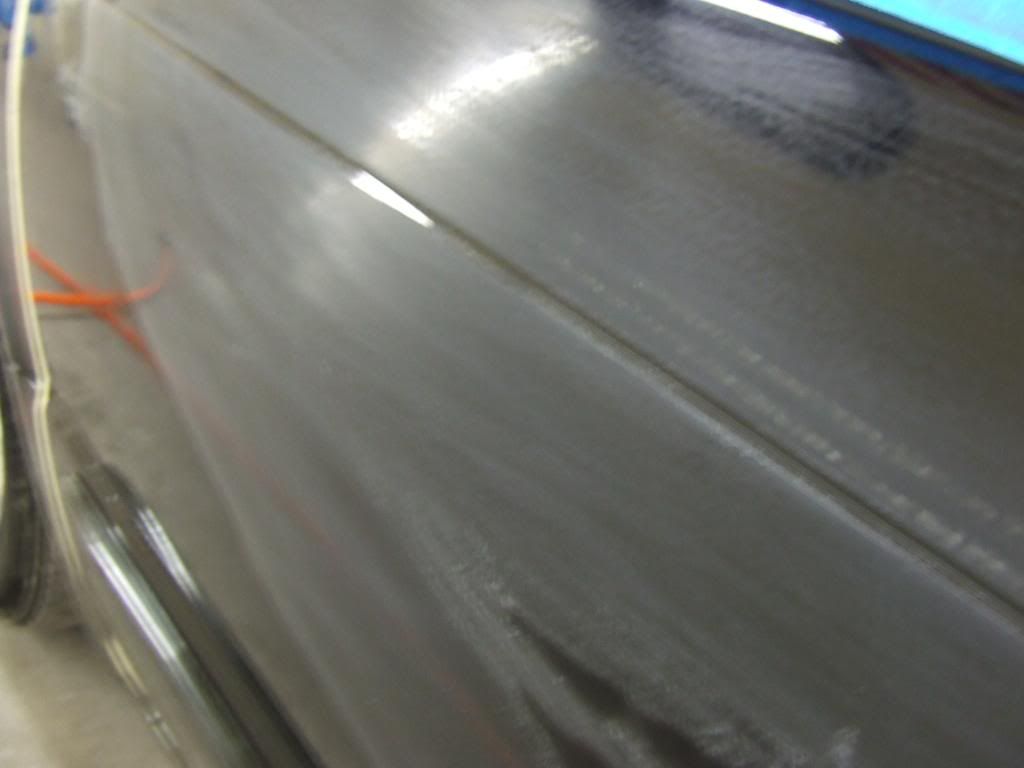
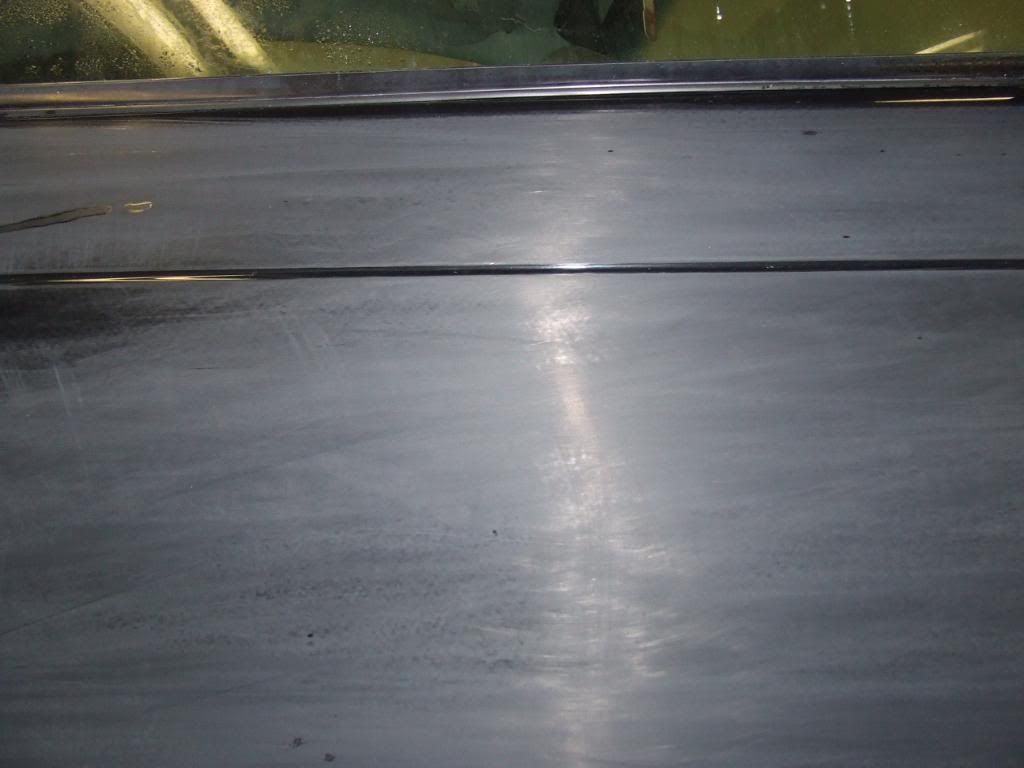
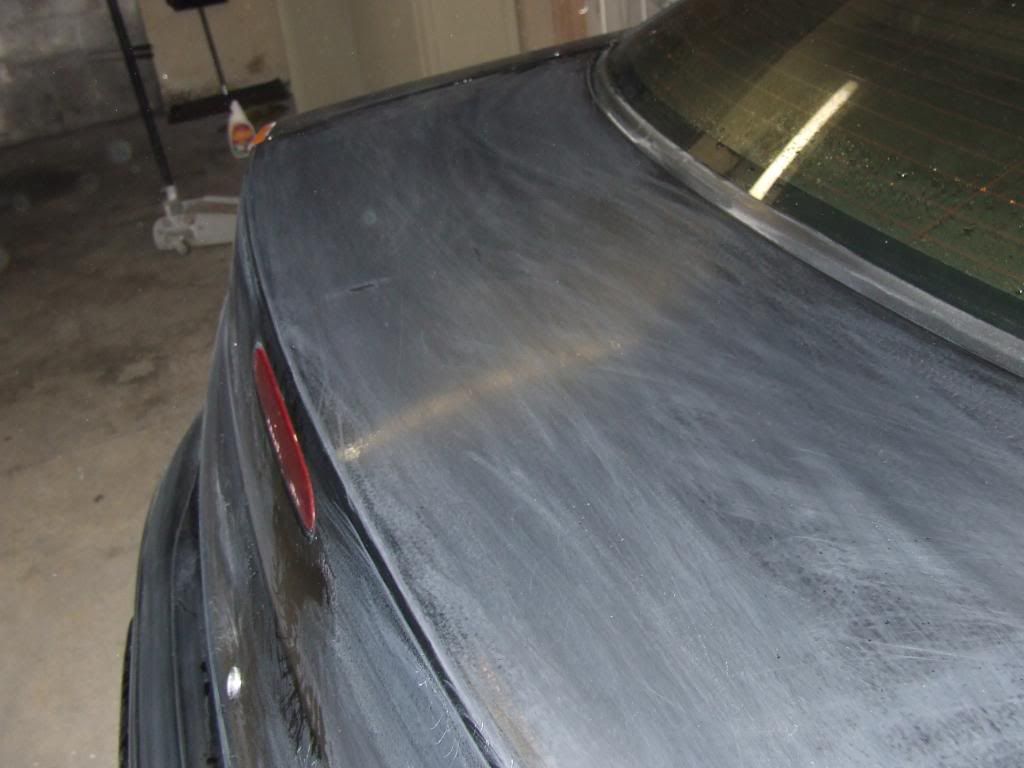
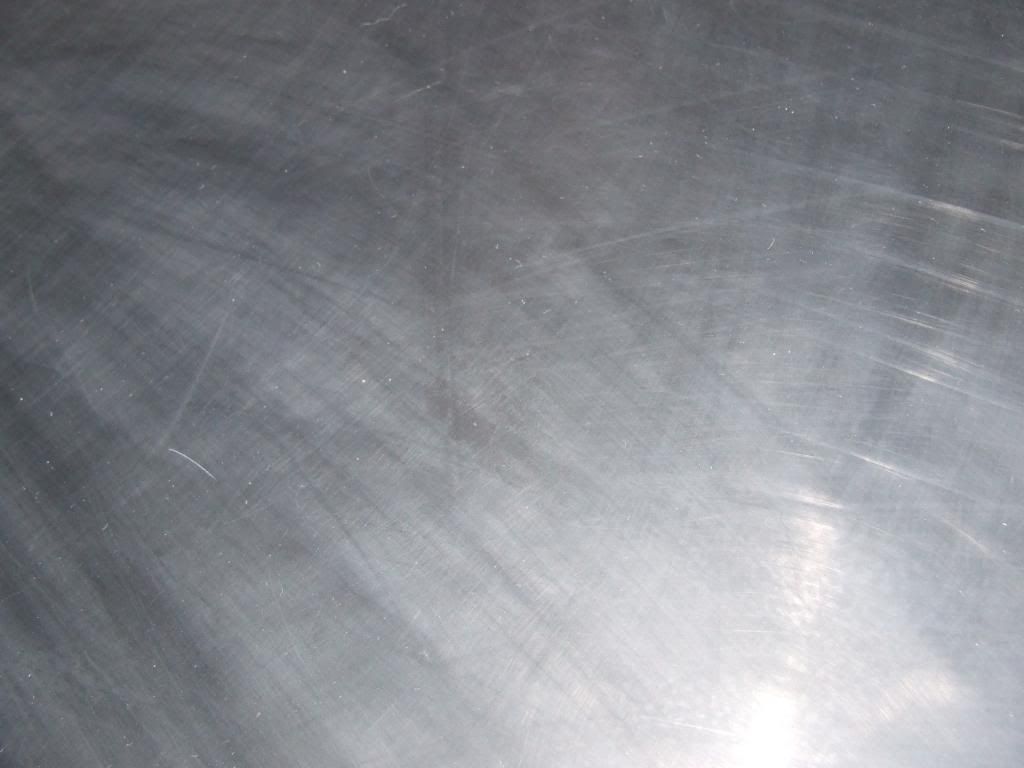
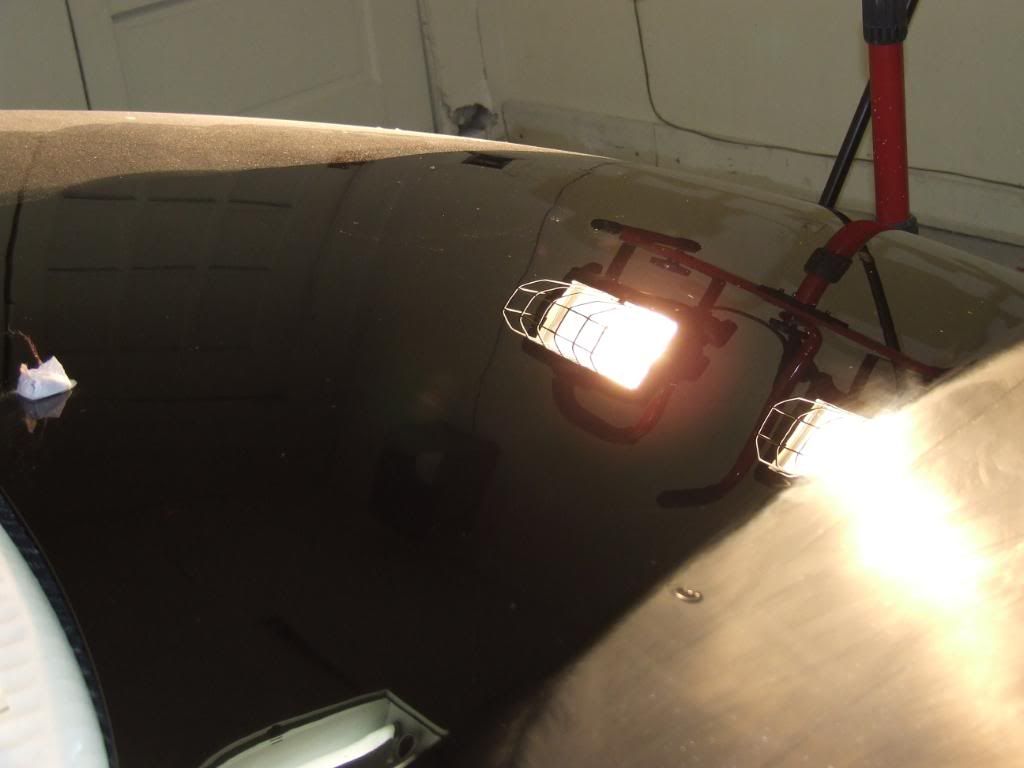
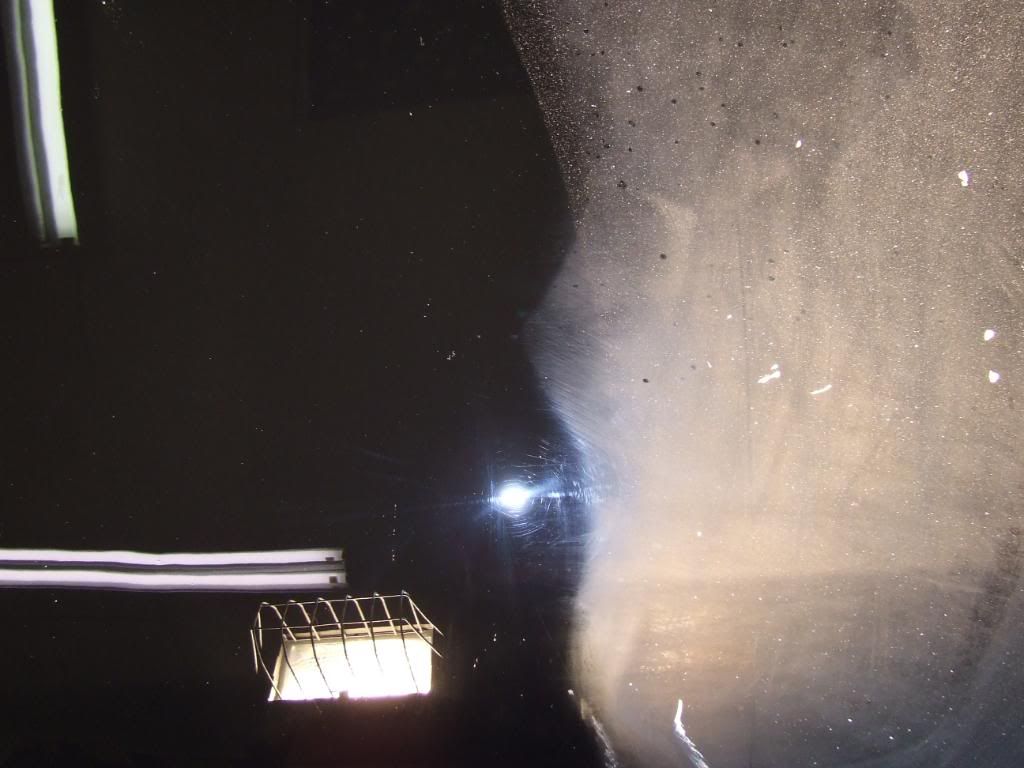
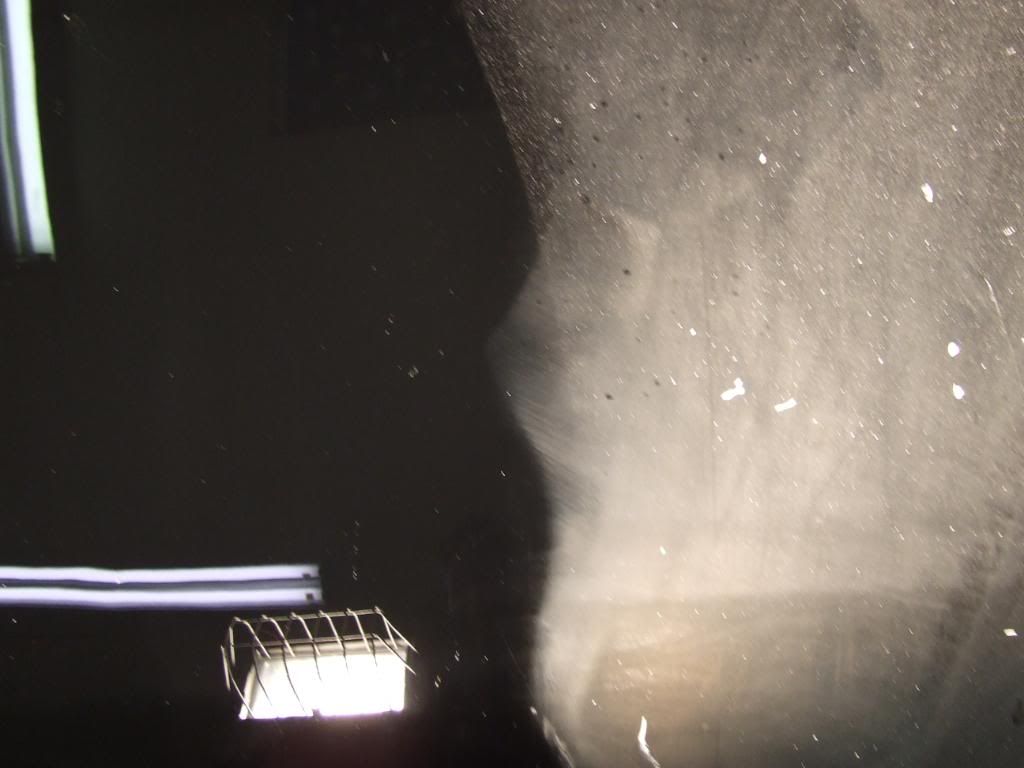
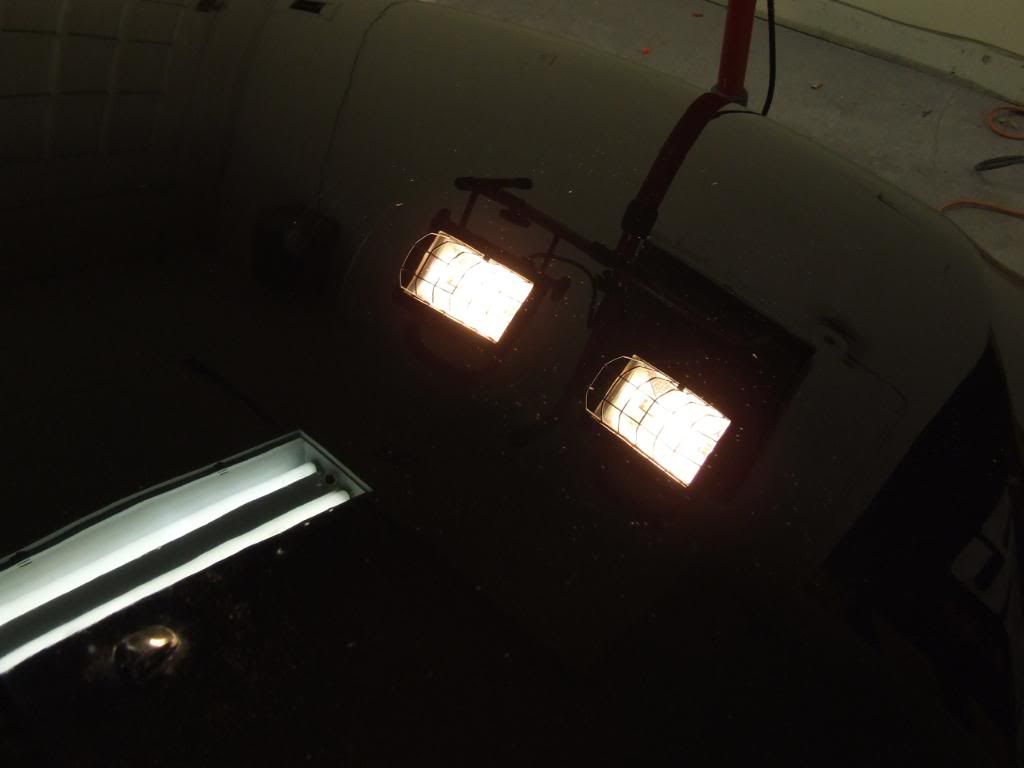
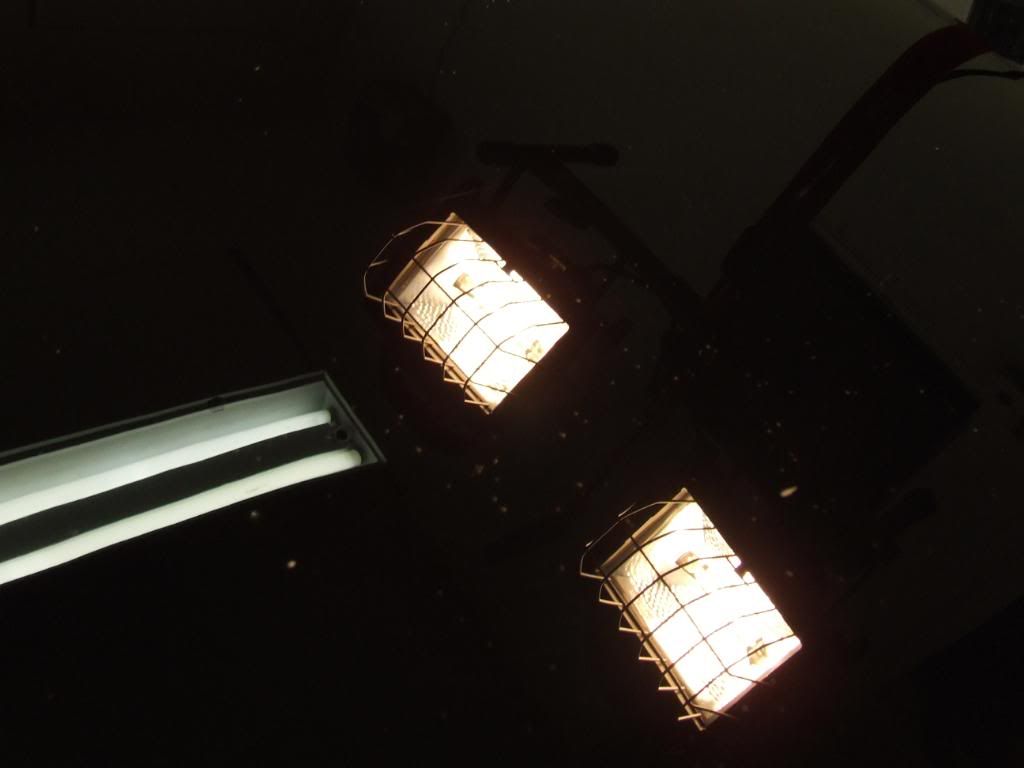
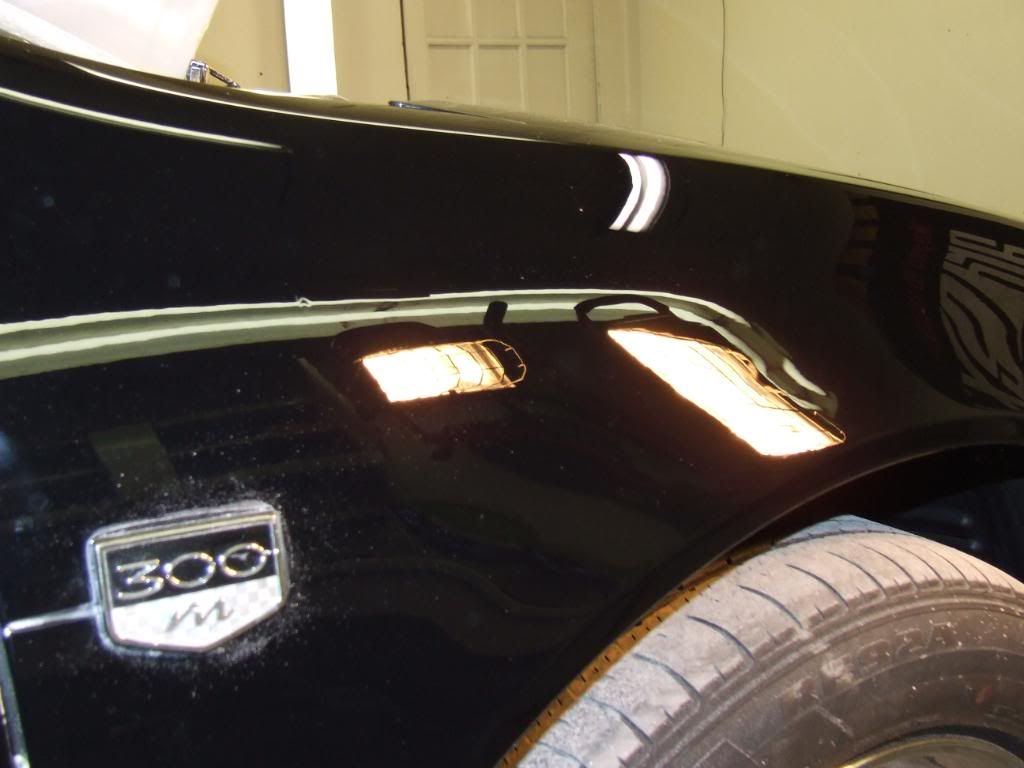
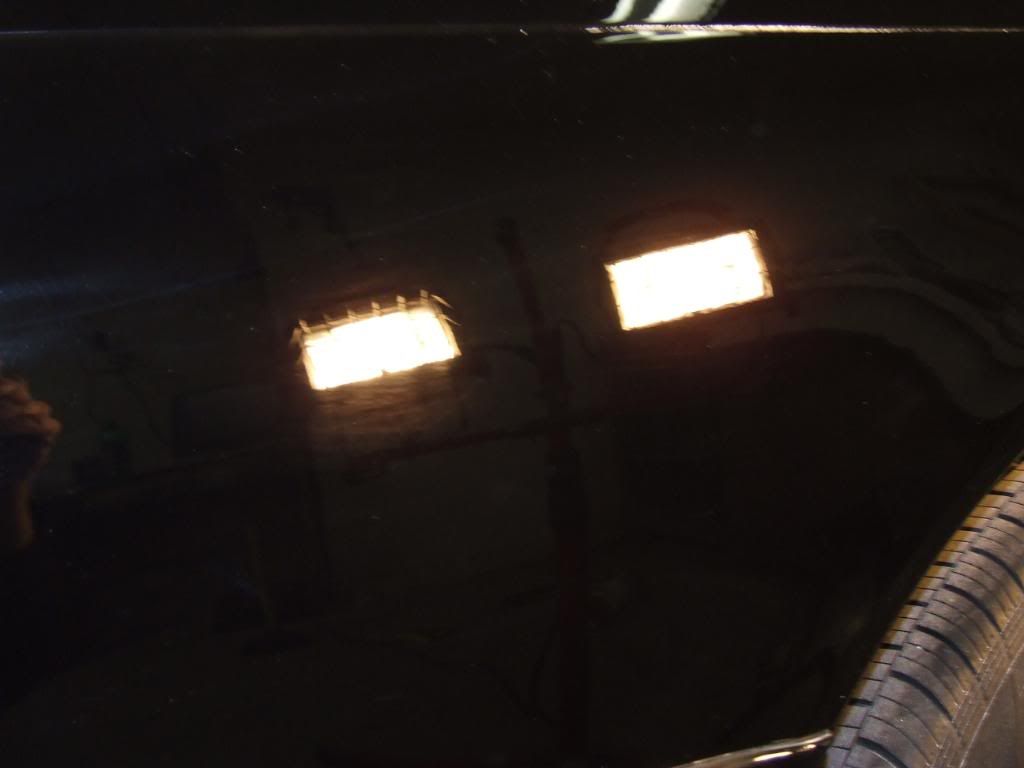
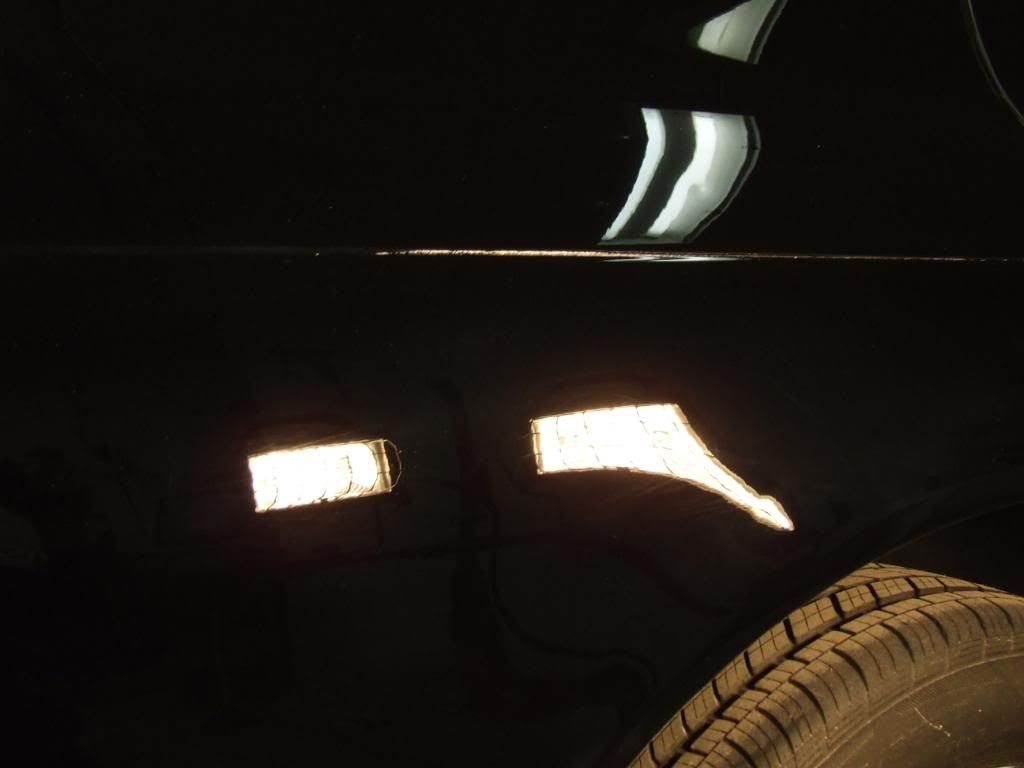
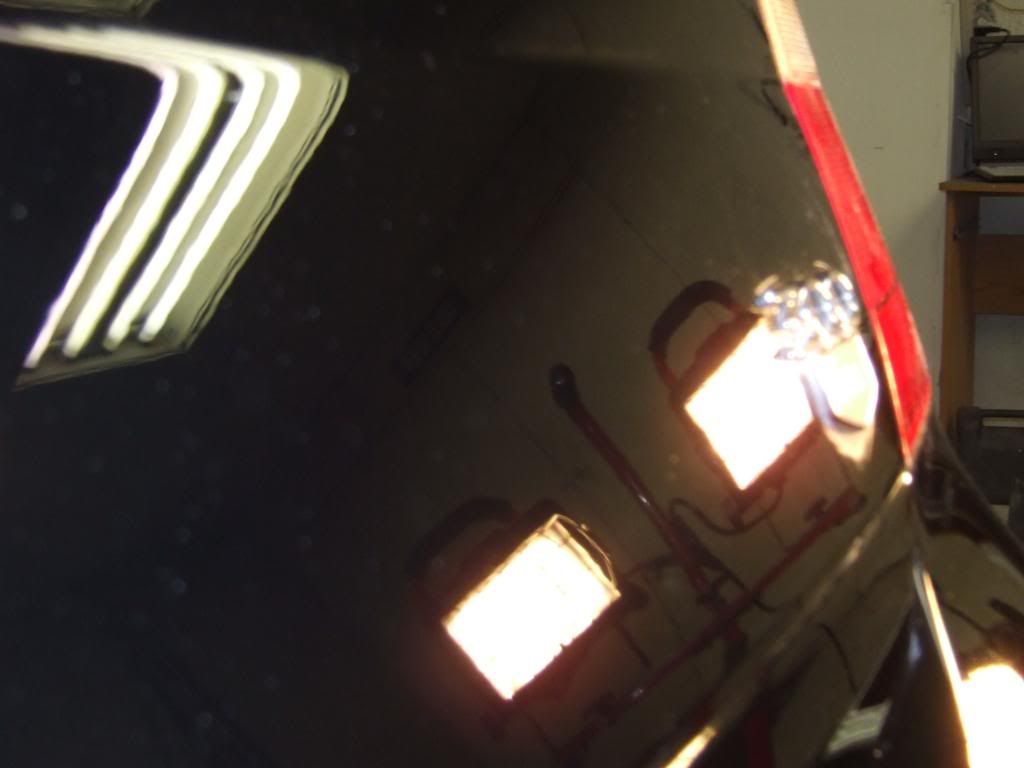
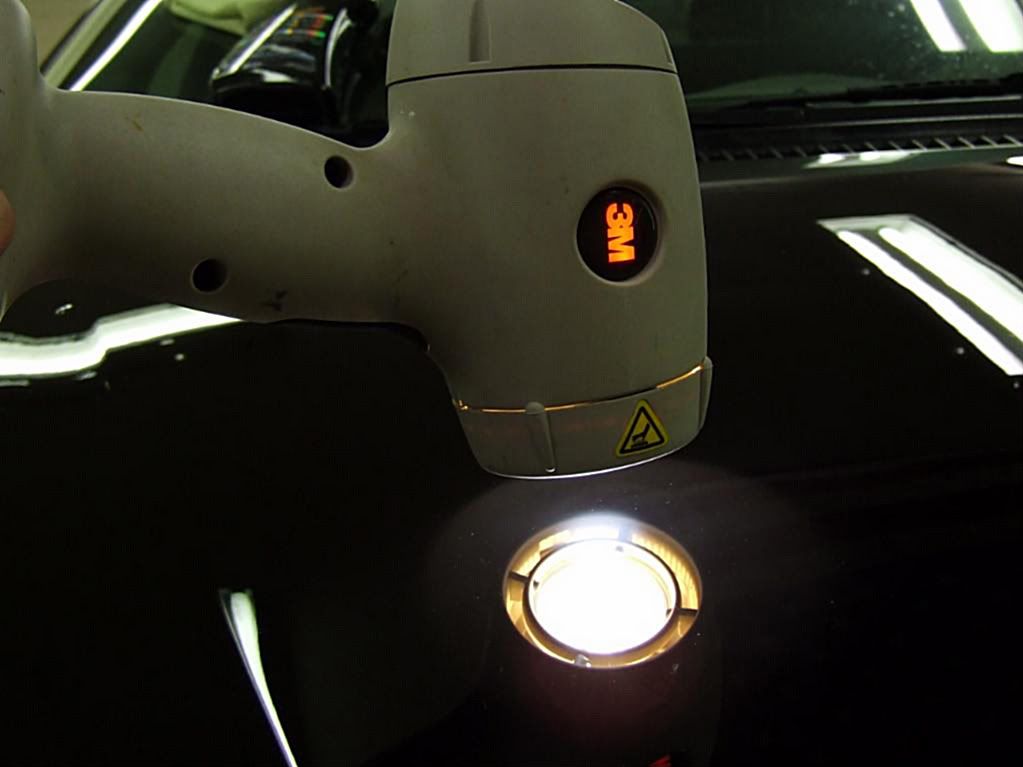
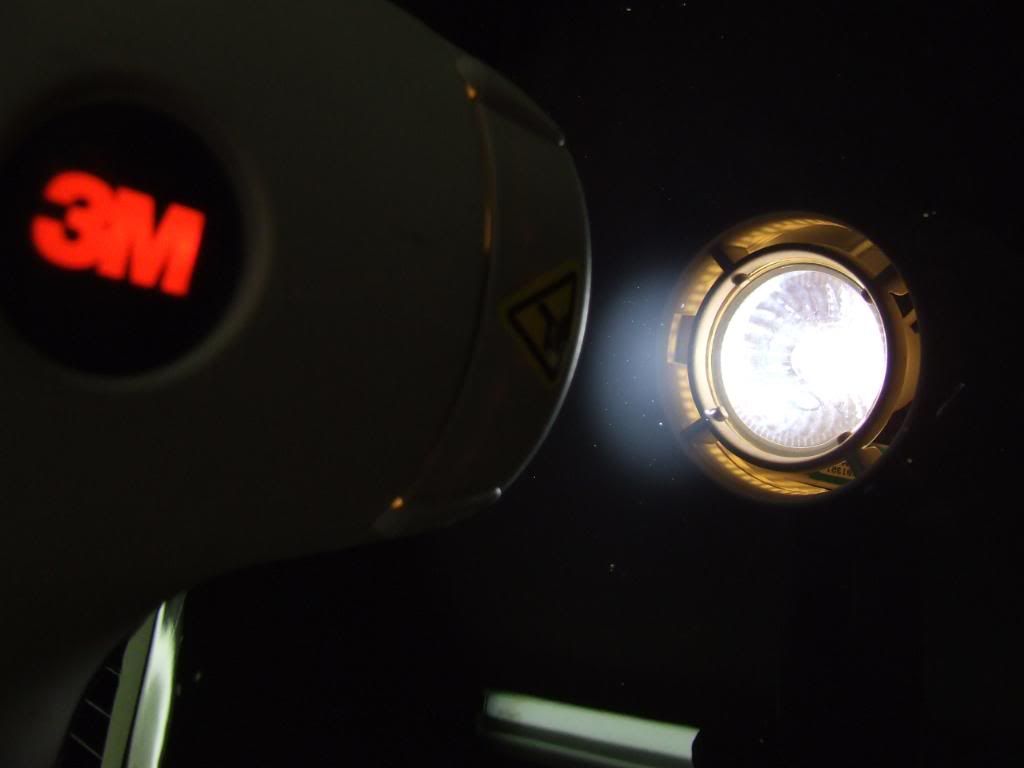
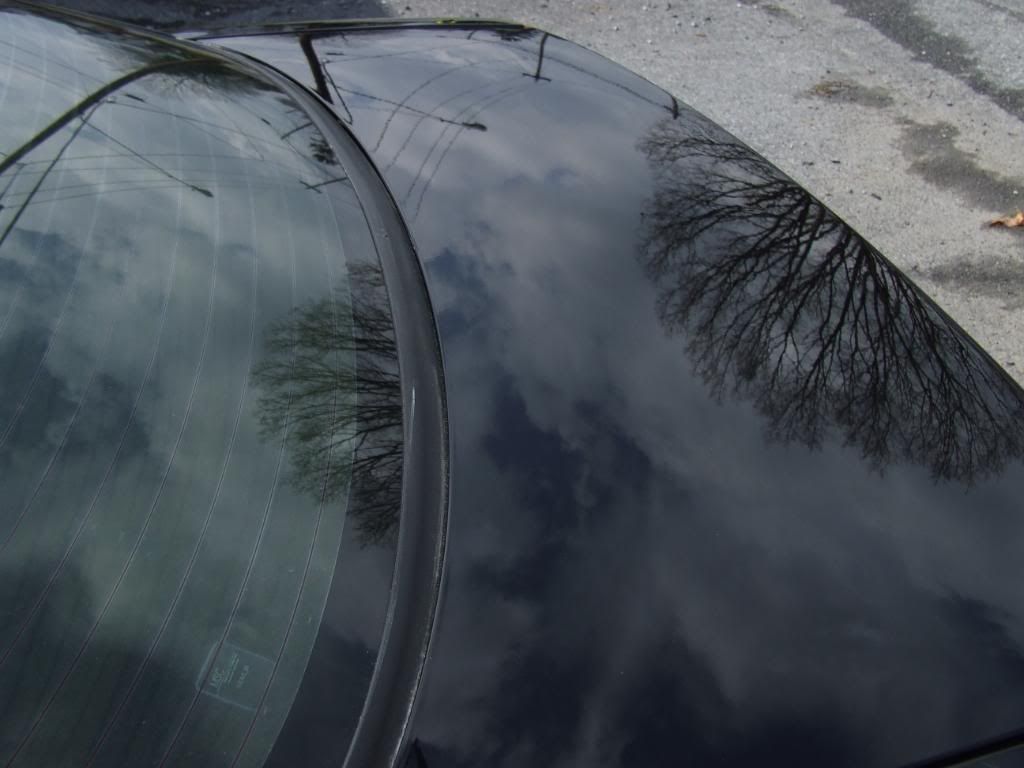
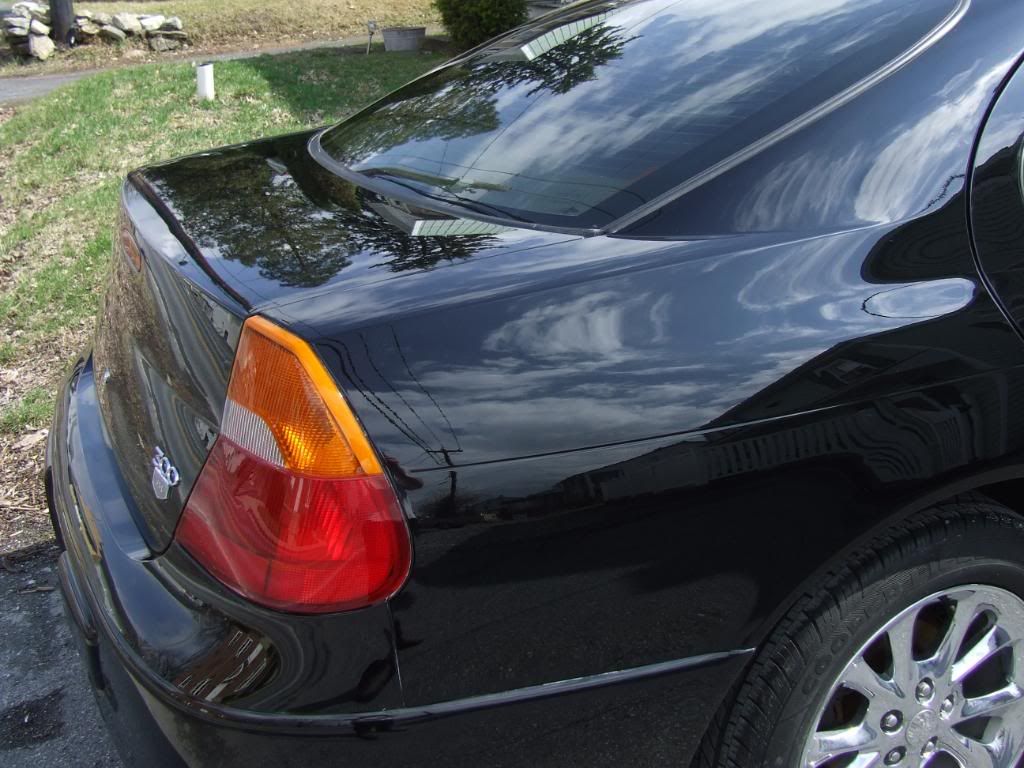
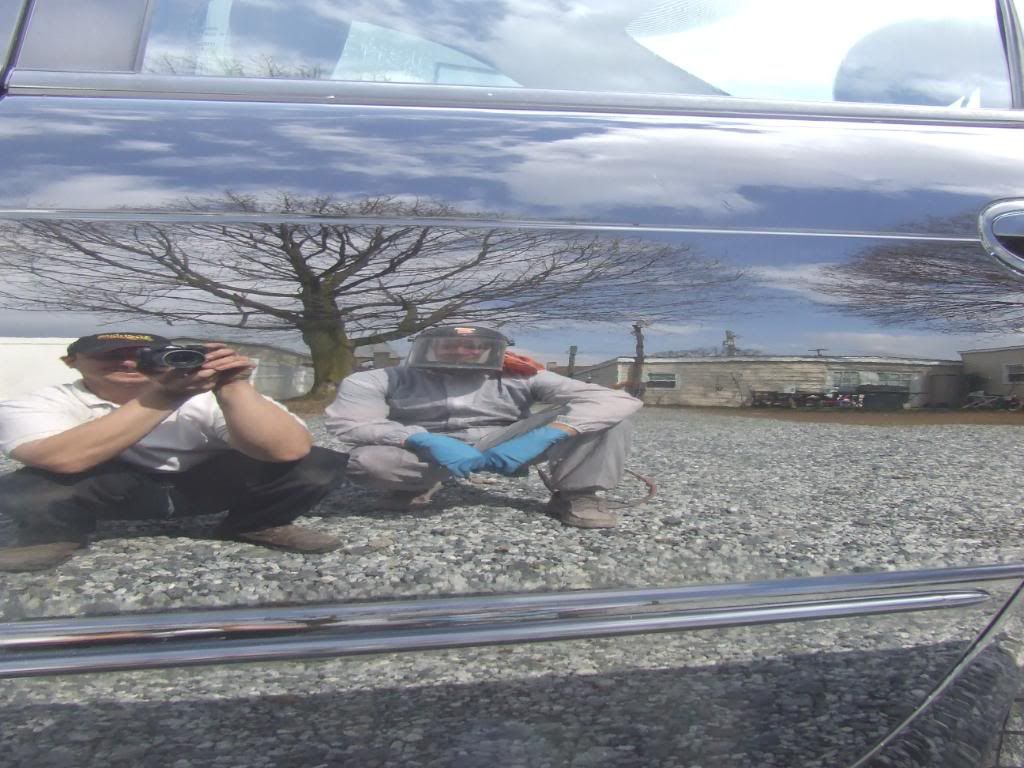
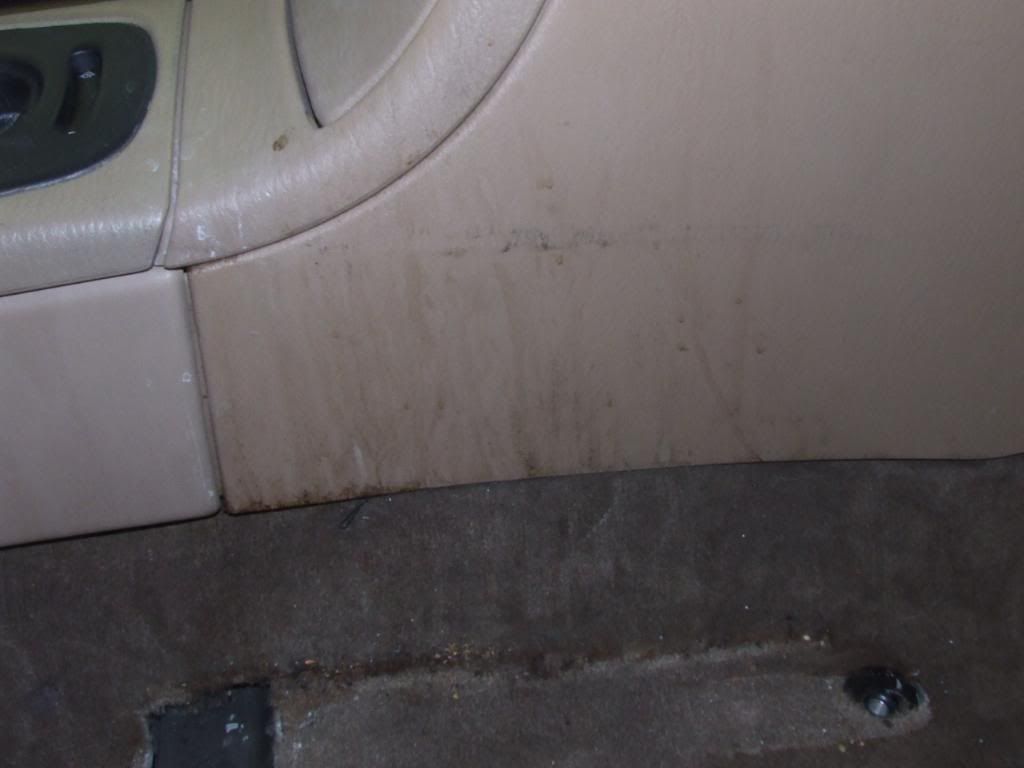
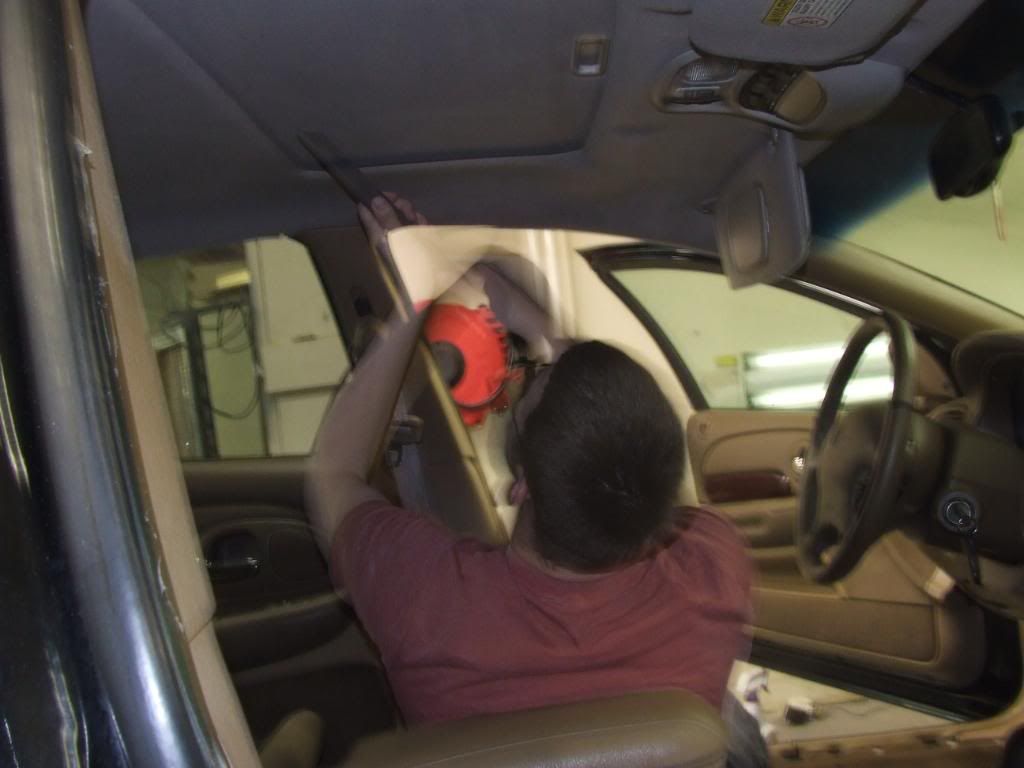
At this point the car was prepped for rejuvenation, During this phased i popped a few dents, remove all the chrystler letting. the letters had some clear peeling off them. so a debaging would make the car look fresh and clean upon finishing. then a carefull paint inspection was done using warious lights from a 3m sun gun to halogens and flourecents. i found using several lights will help ensure a proper correction. then i finished with the taping. for the tape i used all 3m masking tape and painters tape with a variety of sizes from fine line to 2 inch. The pinstripped was also removed at this point. here are some pics.


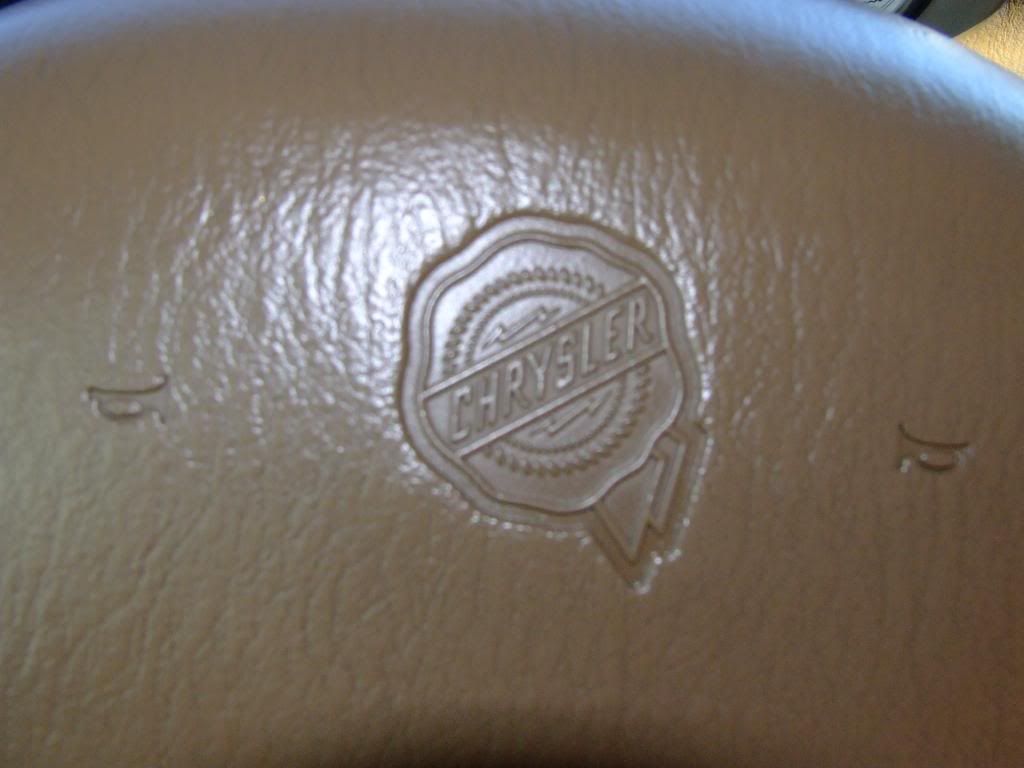
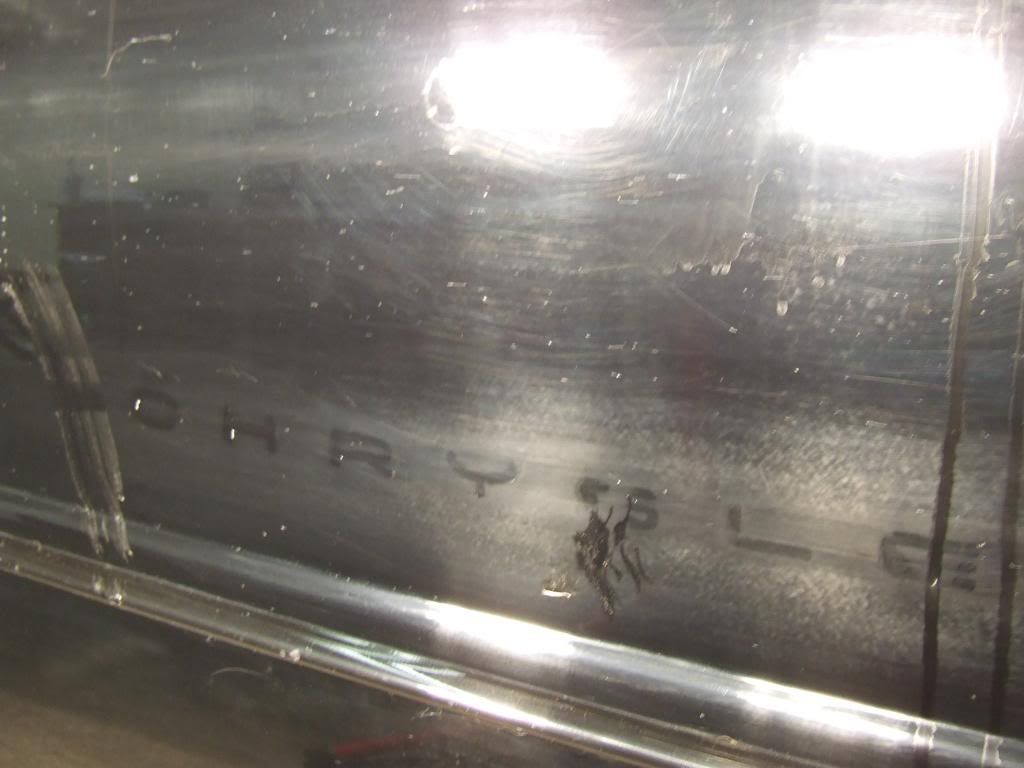
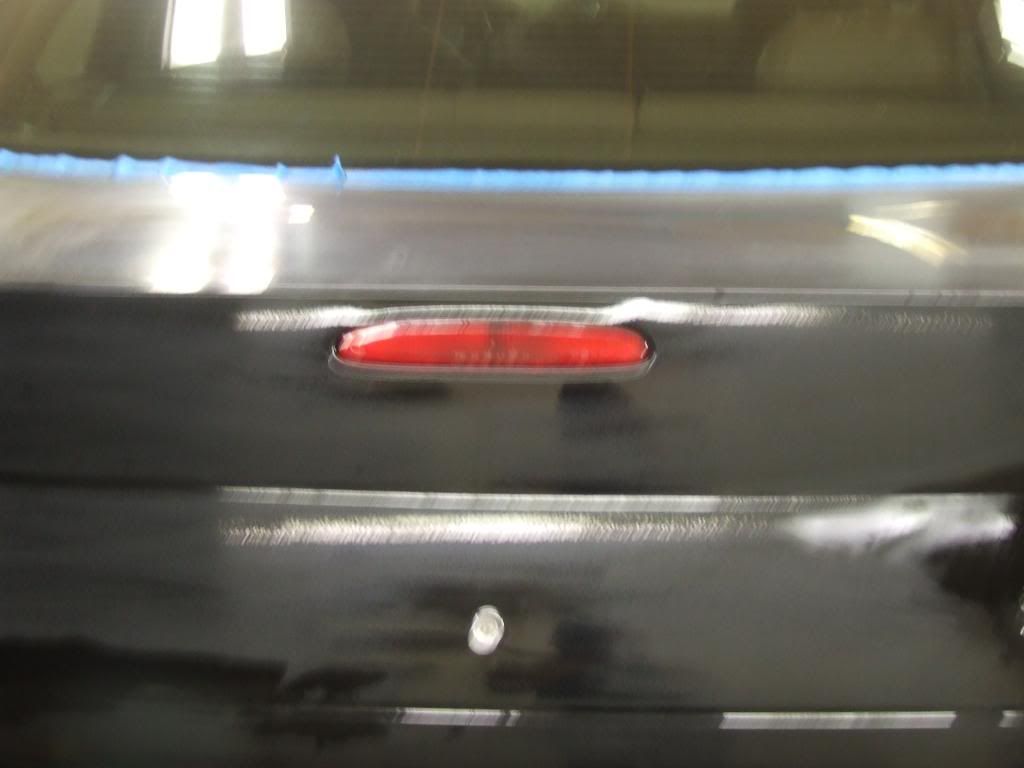
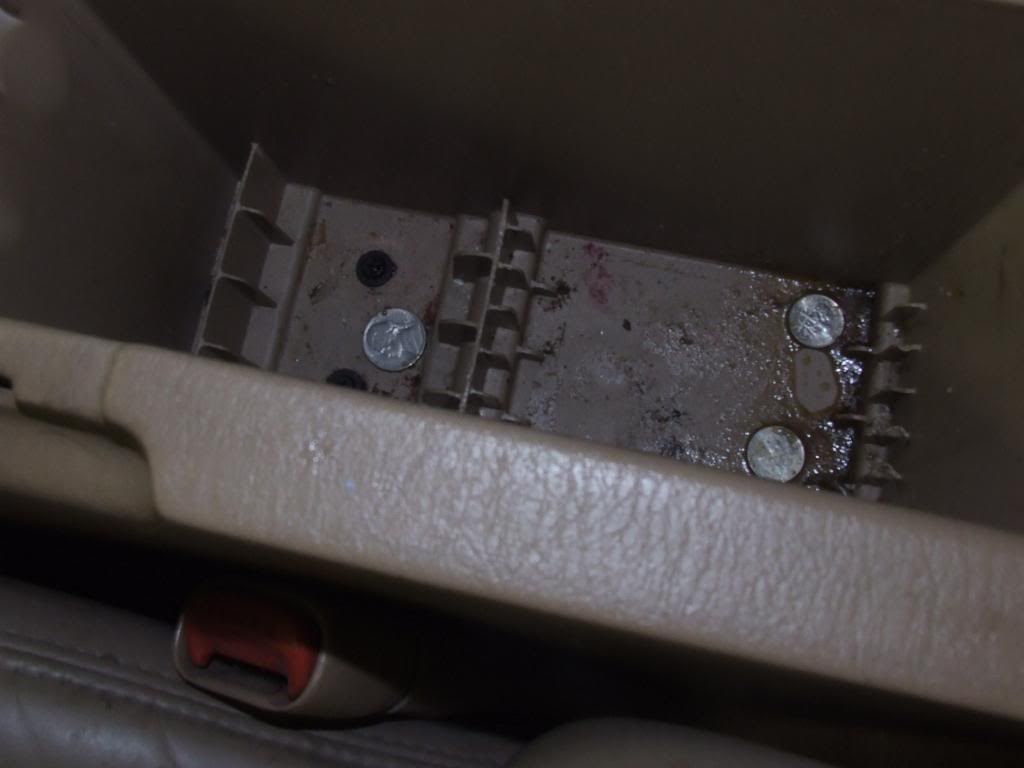
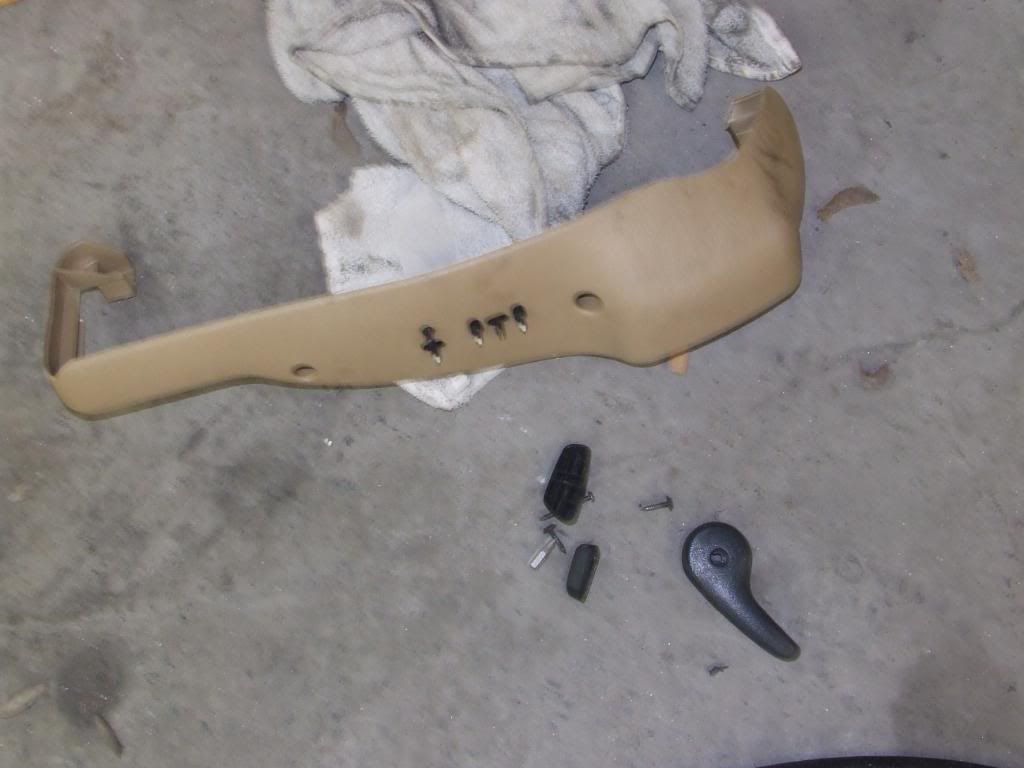
Here is the debadging pics, during this process i used a heat gun to ensure easy removal. i also used a butter knife with tape on the ended to pry the emblems off this would ensure no scatches were left!


DSCF3060.jpg


DSCF3061.jpg


DSCF3062.jpg


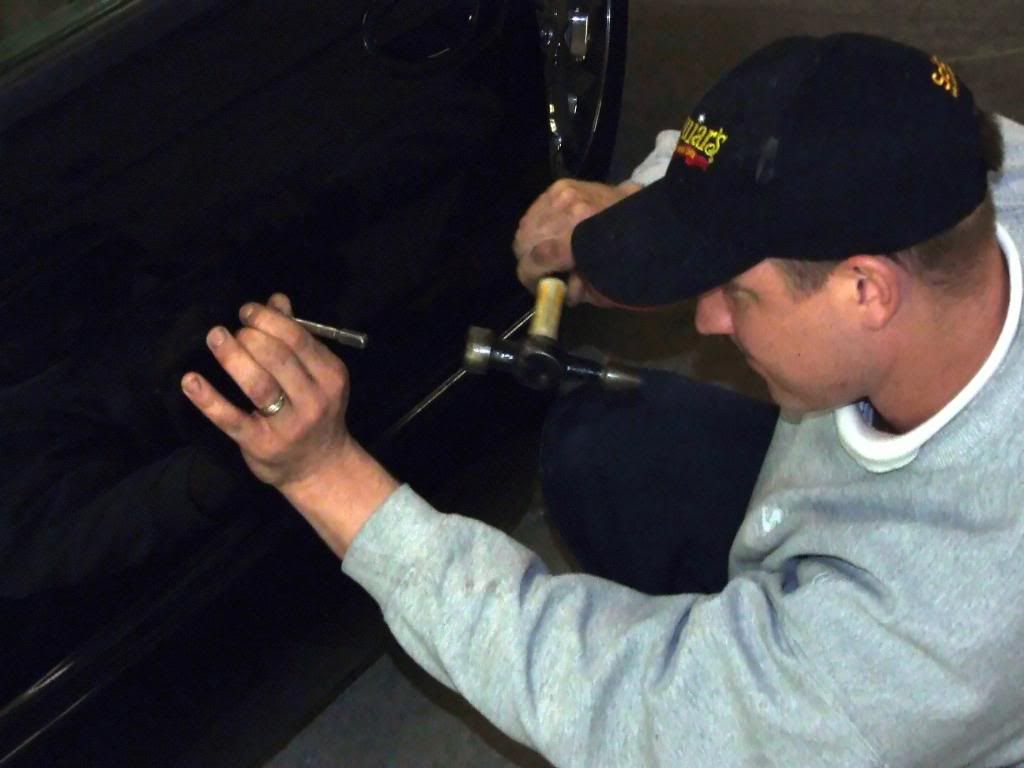
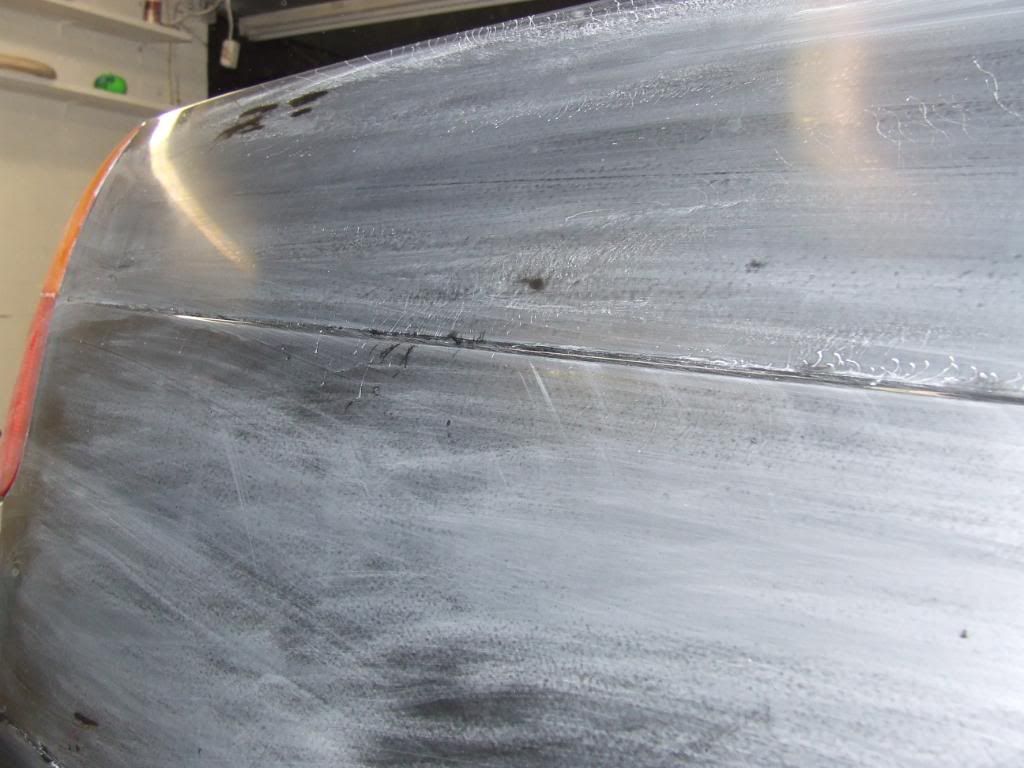
Here i am tapping down a dent!


DSCF3086.jpg
 
At this point i began to inspect the paint for proper correction here is what i was looking at!


DSCF3089.jpg


DSCF3090.jpg


DSCF3091.jpg


DSCF3092.jpg


DSCF3093.jpg


DSCF3094.jpg


DSCF3095.jpg


DSCF3096.jpg


DSCF3097.jpg


DSCF3099.jpg


DSCF3100.jpg


DSCF3101.jpg


DSCF3104.jpg


DSCF3105.jpg


DSCF3107.jpg


Next the car was taped to ensure no mistakes would happen to moldings, edges, and anything the dewalt dw849 could harm!


some pics


DSCF3111.jpg


DSCF3112.jpg


DSCF3113.jpg


DSCF3114.jpg


DSCF3115.jpg
 
Upon inspection of the paint i noticed that seval panels were painted and i knew i was in for it if i decided to just compound this car to remove defects so i began to wetsand starting with 1000 grit, i began to shave down some of the major flaws one thing i reall noticed was how the pinstriped etched into the paint so the shaving began.


in this pic you can notice hsome dirt in the paint along with some etching from the pinstripe so after shaving the clearcoat flat this is what it ended up like!

here is the strip etching

DSCF3119.jpg


next here is the dirt i was referring to


DSCF3120.jpg


here is the paint flat!!! all defects removed


DSCF3121.jpg


now here are some pictures of the rest of the car defect free! well as much as i could remove without damaging any clearcoat!


DSCF3129.jpg


DSCF3130.jpg


DSCF3132.jpg


DSCF3134.jpg


DSCF3135.jpg


DSCF3136.jpg


DSCF3137.jpg


DSCF3138.jpg


DSCF3139.jpg


DSCF3145.jpg


DSCF3147.jpg


DSCF3148.jpg


DSCF3153.jpg


the car was then rewetsanded down using a da and trizact 3000. i found this step it crucial it allows for the compounding to go smoothly and also gives you a scond chance to catch anything defect that was still remaining to be taken car of.
 
at this point the compounding began. i used realdeal's leveler for the first step with a dewalt dw849 along with meg. backing plate and meg. maroon wool heavy pad. this step fas to ensure complete removal of all wetsanding marks. this took a few hours and a few passes per panel! here are some 50/50 pics after the first step!


DSCF3155.jpg


DSCF3156.jpg


DSCF3157.jpg


as you notice some hazing was left along with a few hologams! this is exspected when compoundng this hard! after this step i choose realdeal's rejuvinator compound. this is an excellant polish. its characteristics are inbetween m105 and m205 i found this my new goto polish. i used this with the combination of dewalt dw849 and meg. yellow foam polish pad with has little cut ability when used with realdeals rejuvinator.


DSCF3161.jpg


DSCF3162.jpg


DSCF3164.jpg


DSCF3167.jpg


DSCF3169.jpg


DSCF3171.jpg


DSCF3173.jpg


DSCF3211.jpg


DSCF3213.jpg
 
at this point i pulled the car out after a wipedown with rubbing alcohal 91% sprayed on and wiped off. i found using the sun during a true paint correction is the only true light to show imperfections. so here is what she looked liked with no lsp or sealent or final polish! at this point the car was just compounded!


DSCF3215.jpg


DSCF3216.jpg


DSCF3217.jpg


DSCF3218.jpg


DSCF3219.jpg


DSCF3223.jpg


DSCF3224.jpg


DSCF3225.jpg


DSCF3226.jpg


DSCF3227.jpg


DSCF3230.jpg


DSCF3231.jpg


DSCF3233.jpg
 
Max effort Barry!!!!!!!!!!!!!!!! there a few who will sand with 1000 grit and then correct big cajones my friend, love the dismount on the wheels as that was the only fix for wheels that bad.


Not a detail, but a low grade restoration:shocked
 
NOw the car was pulled in and john my partimer who deserves a lot of credit for helping my business grow over the last year began to work on the interior as i began to start the leather repair. during this phased john used various tools cosisting of a shop vac, tornado interior tool varius brushes and lots of compressed air. The main chemicals used for interior were meg. apc. 10:1 and meg. gold class car wash soap. here are some before photos of the interior keep in mind the front buckets were pulled along with the rear bottom seat!


DSCF3235.jpg


DSCF3236.jpg


DSCF3237.jpg


DSCF3238.jpg


DSCF3240.jpg


DSCF3241.jpg


DSCF3242.jpg


DSCF3243.jpg


DSCF3248.jpg


DSCF3249.jpg


DSCF3254.jpg


DSCF3289.jpg


DSCF3290.jpg


DSCF3292.jpg


DSCF3294.jpg


DSCF3298.jpg


DSCF3299.jpg


DSCF3300.jpg


Here is john he always says i need to post him on these transformations this is the big dog


DSCF3306.jpg


DSCF3316.jpg


while john was doing the interior i began the leather repair! For this step i sanded down the leather and appiled dyepro leather dye!


here are some pics


DSCF3317.jpg


DSCF3318.jpg


DSCF3320.jpg


DSCF3323.jpg


DSCF3325.jpg


DSCF3330.jpg


DSCF3331.jpg


DSCF3332.jpg


DSCF3333.jpg


DSCF3334.jpg


DSCF3335.jpg


DSCF3336.jpg


DSCF3338.jpg
 
once the interior was put together i choose to finsh down the paint using 3m's ultra fina and on dewalt dw849 and the recomenned blue ultrafina finishing pad. this jeweled the car nicely then i did an ipa wipedown and applied realdeals sealent followed by to coats of wolfgang fuzion! the interior recevied a wipeddown using meg. quick interiiors wipes. the wheels were polished with m205 and recevied a coat of colinite 845. the tires were dressed with realdeal's supershine waterbased dressing diluted 3:1. the leather was massaged softly with realdeals leather refinish to soften the hyde and bring out luster to the freshly dyed buckets!


now for some after shots!


The interior.


DSCF3504.jpg


DSCF3505.jpg


DSCF3506.jpg


DSCF3507.jpg


DSCF3508.jpg


DSCF3509.jpg


DSCF3510.jpg


DSCF3511.jpg


DSCF3512.jpg


DSCF3513.jpg


DSCF3516.jpg


DSCF3517.jpg


DSCF3518.jpg


DSCF3519.jpg


DSCF3521.jpg


DSCF3522.jpg


DSCF3523.jpg


DSCF3524.jpg


The motor finsihed and shined with realdeal's supershine 6:1


DSCF3503.jpg
 
Now for the some final exterior shots!


DSCF3490.jpg


DSCF3457.jpg


DSCF3464.jpg


DSCF3470.jpg


DSCF3479.jpg


DSCF3482.jpg


DSCF3483.jpg


DSCF3494.jpg


DSCF3499.jpg


DSCF3539.jpg


DSCF3540.jpg


DSCF3548.jpg


Thank you for taking the time to read my post. sorry it has been a while since i posted ut work is overwhelming right now hopefully you enjoyed all the hardwork john and i put into this one! The total time spent was roughly 55 man hours over to weeks time we did this one while getting other shop work done! thaks for looking! god bless. Barry Theal
 
Simply Beautiful. I love the afters on the paint, but the door jambs are my favorite shot because that is so often overlooked but no less important.
 
Great work man. And to think you almost sold me that Sun Gun a few months ago! BTW- I still want one :bigups


Question: Did you redye and fill cracks or just redye the leather?
 
Did the car change hands and the new owner thought it would be cheaper to restore the car rather than just getting another car? While the the work you did is some of the best I've seen, I don't understand how someone could justify spending $2k-4k on a resto of a 9 year old Chrysler? See what I mean? Someone with more 'cents' then brains?
 
Back
Top