2 Day Makeover (complete vehicle rejuvenation)

Rickrack

New member
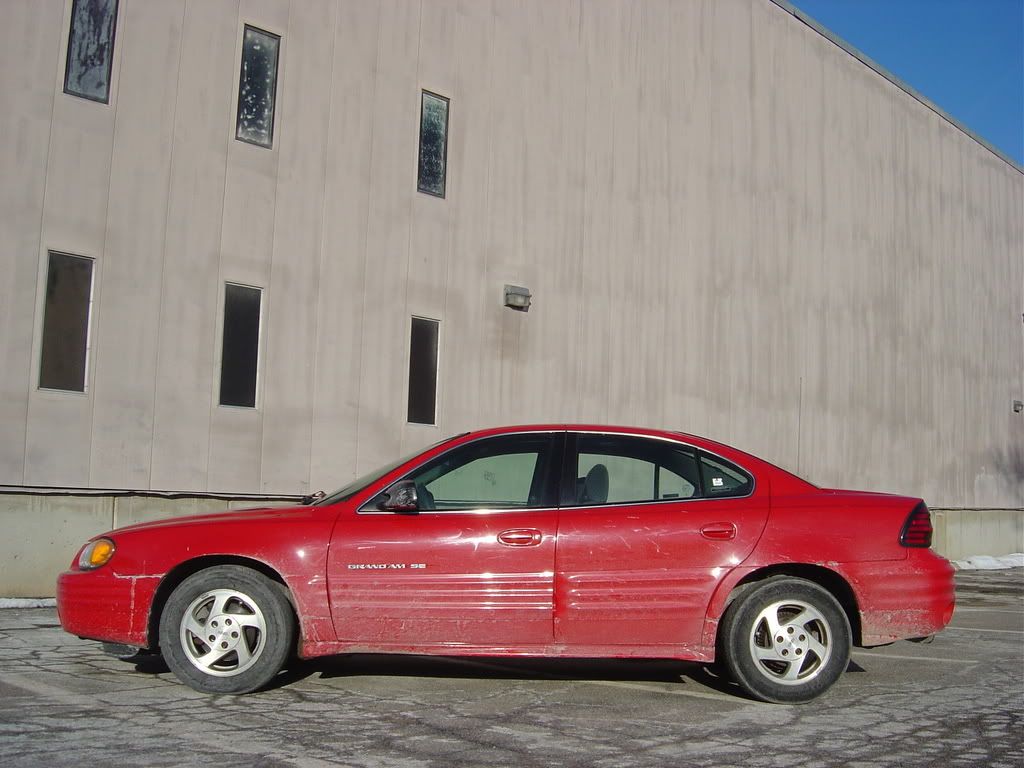
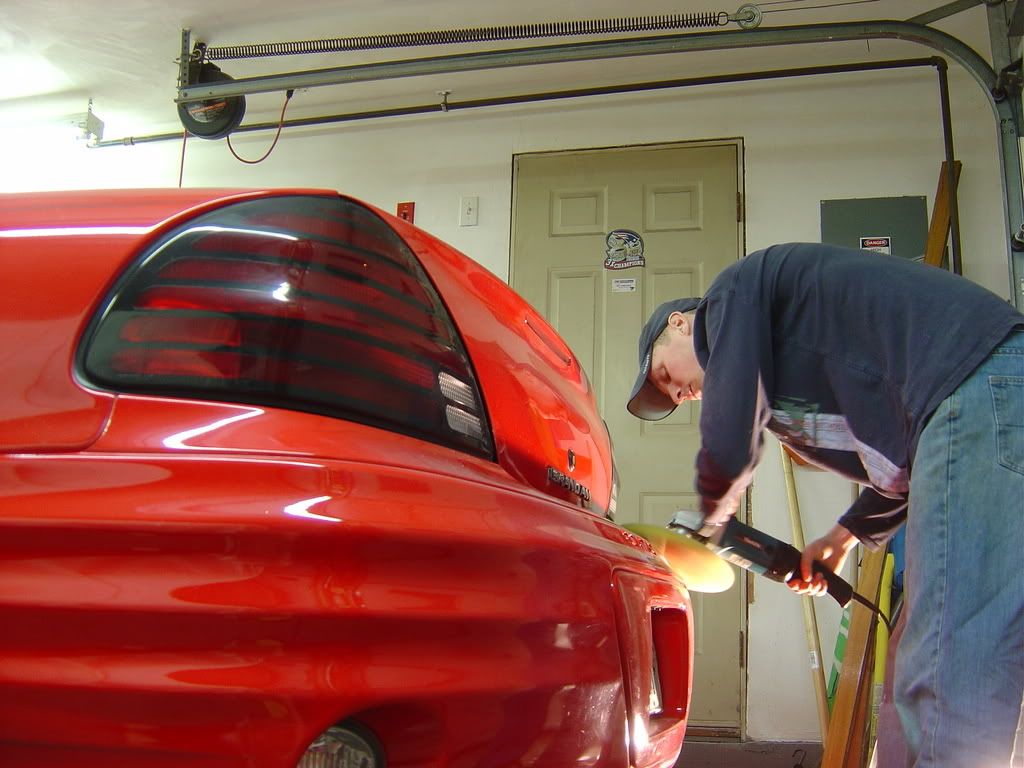
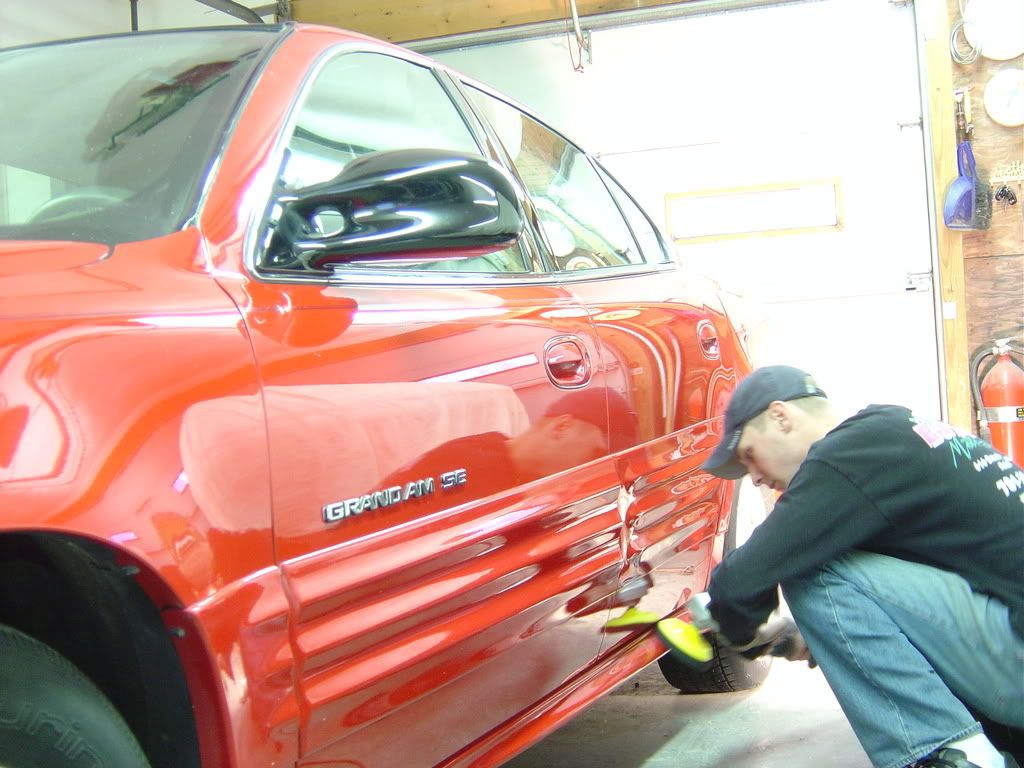
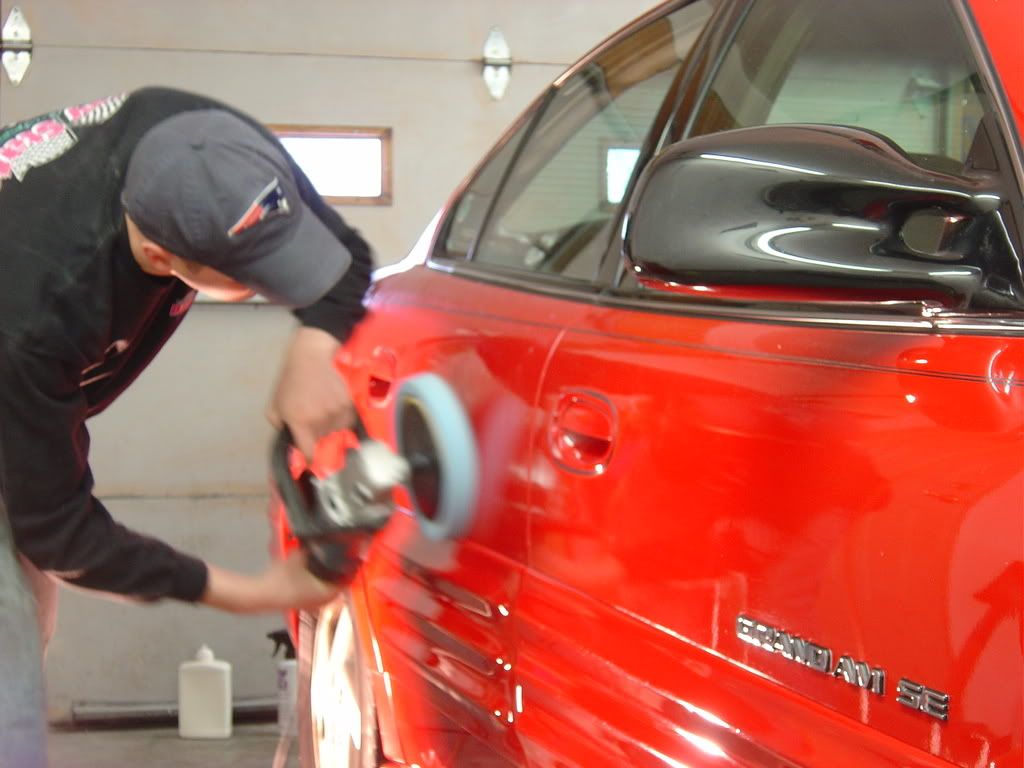
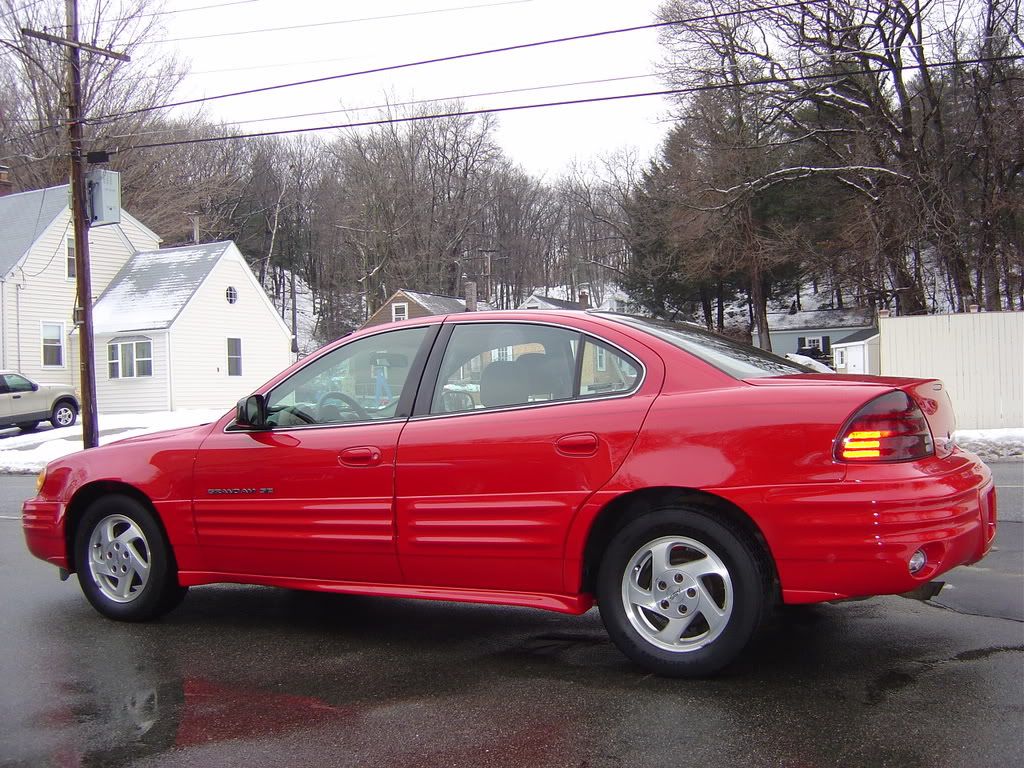
This Pontiac Grand Am was brought to me for a complete detail. It was being sold to one of the owners family members, so the owner requested that I did the best I could considering the poor condition it was in. I had a total of two days to perform the work, so I decided to go for as close to 100% paint correction as I could in the time allotted. I know the owner very well, so I decided to really step it up on this car, no matter what I was getting paid for the job. Normally on a car of this caliber and considering what kind of condition it was in when brought to me, a “typical� detailer would have never gone through the steps I did, but lately I have not been interested in detailing unless I can spend at least two days on a vehicle bringing it to as close to perfection as possible.


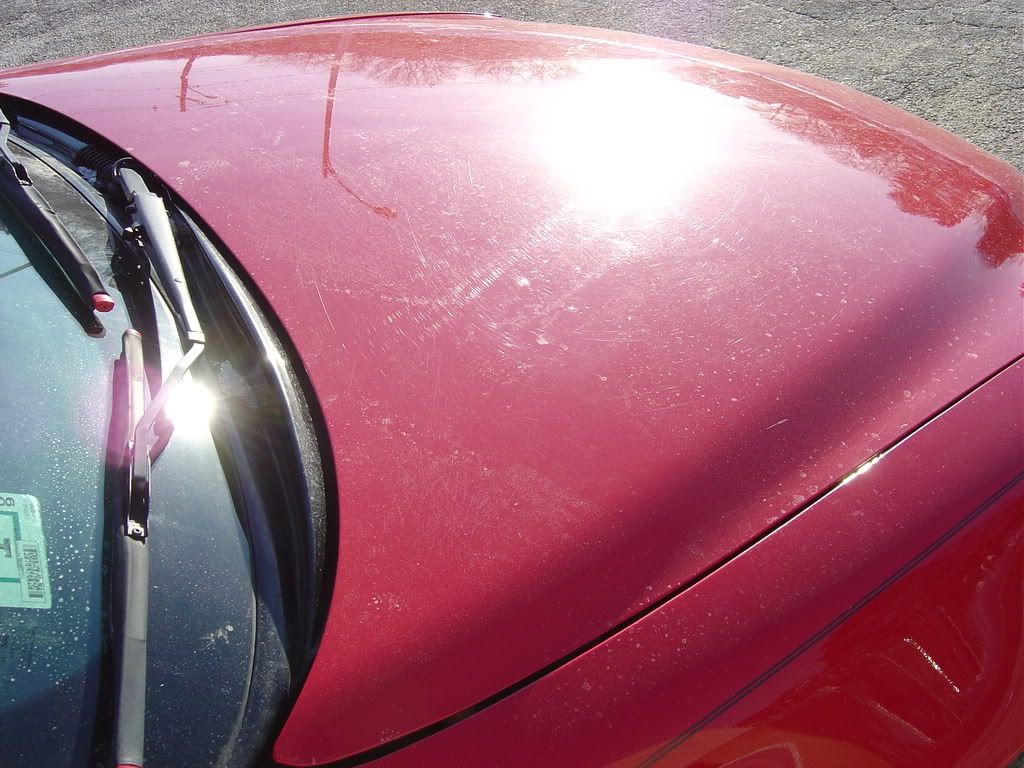
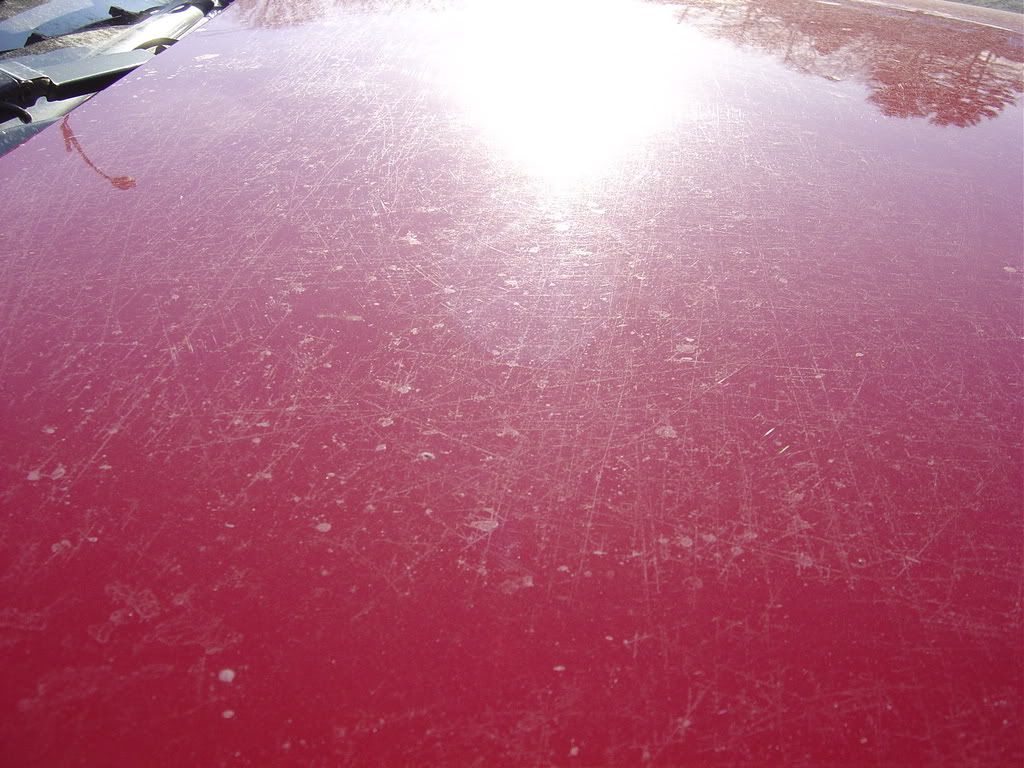
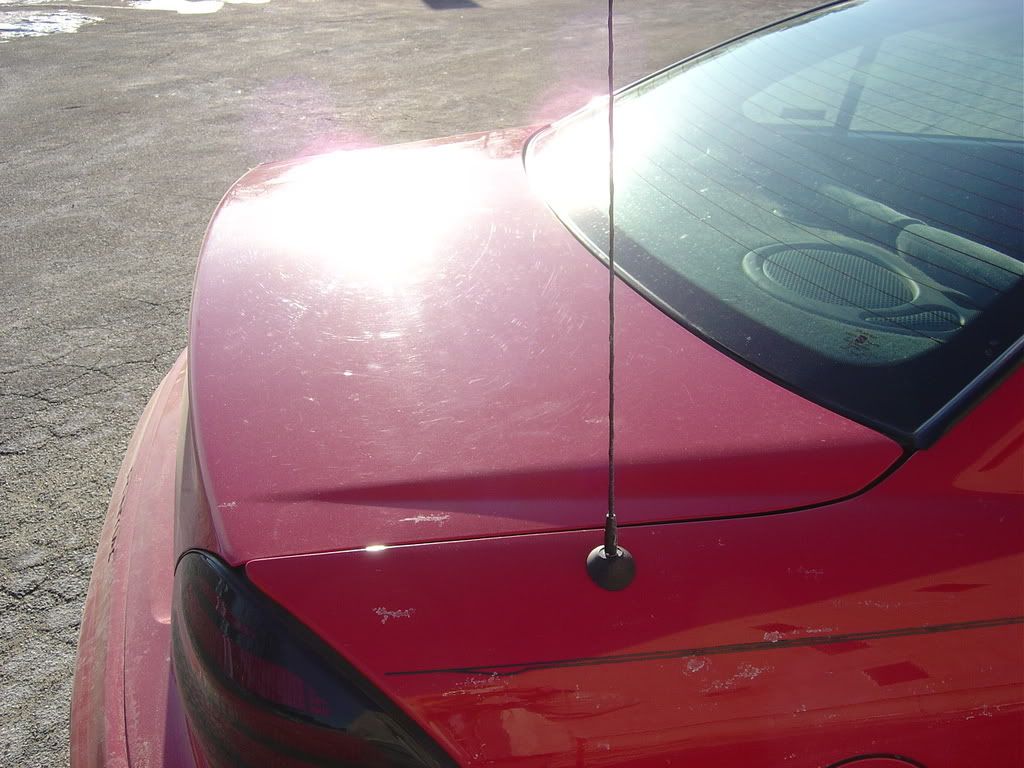
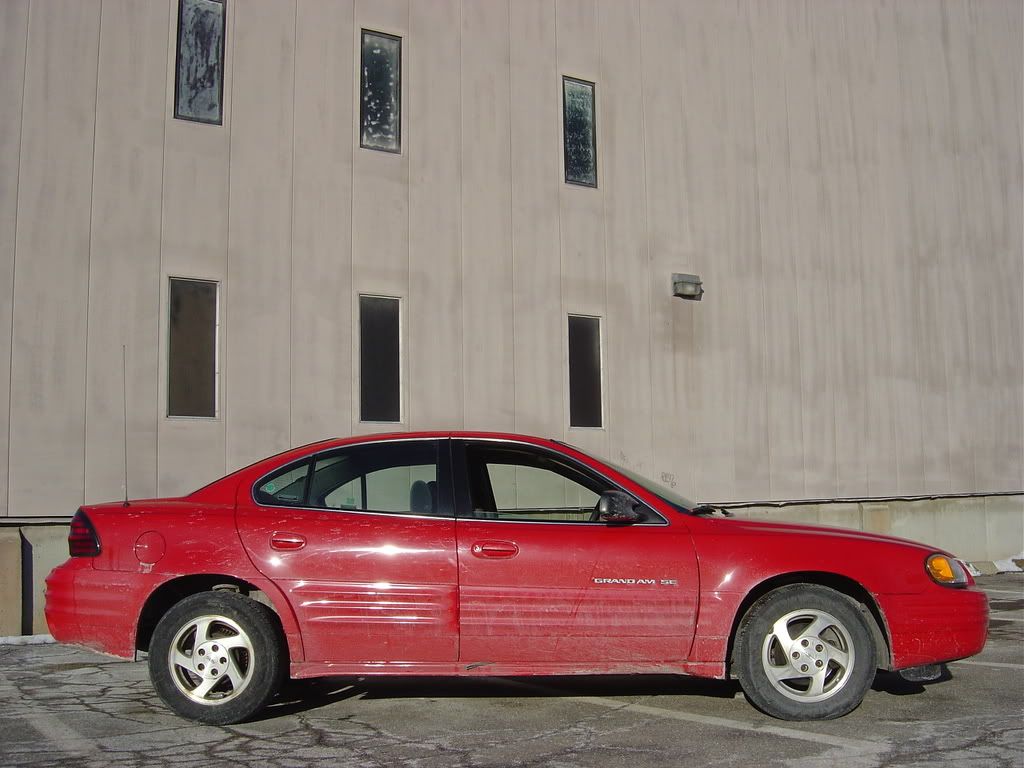
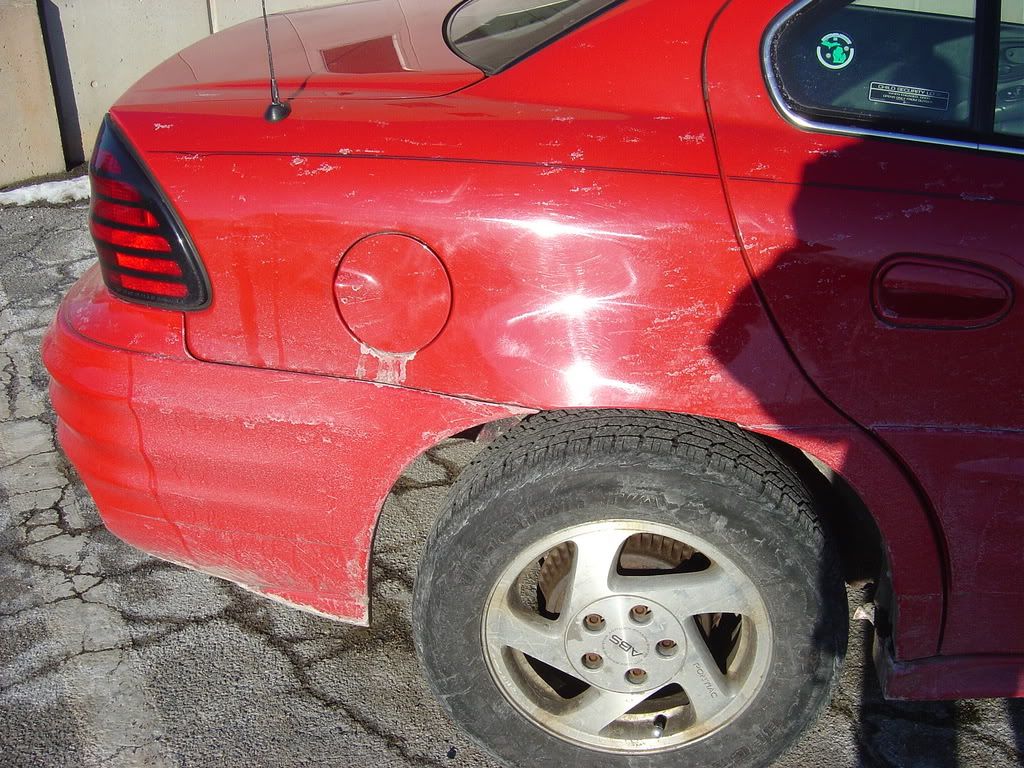
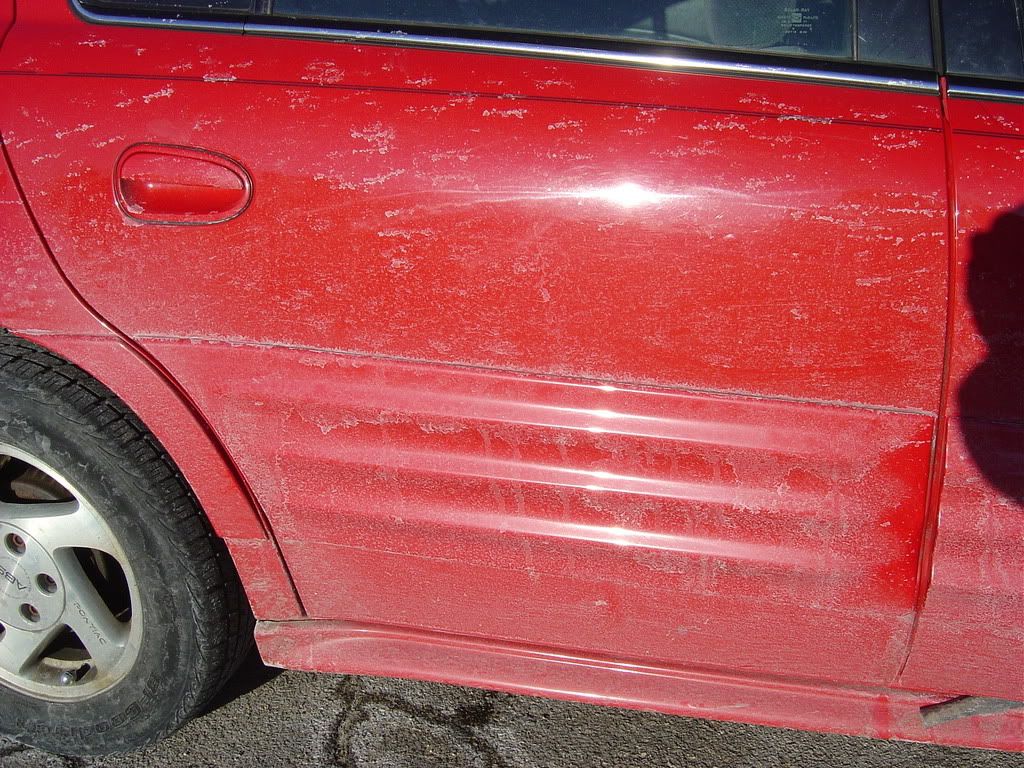
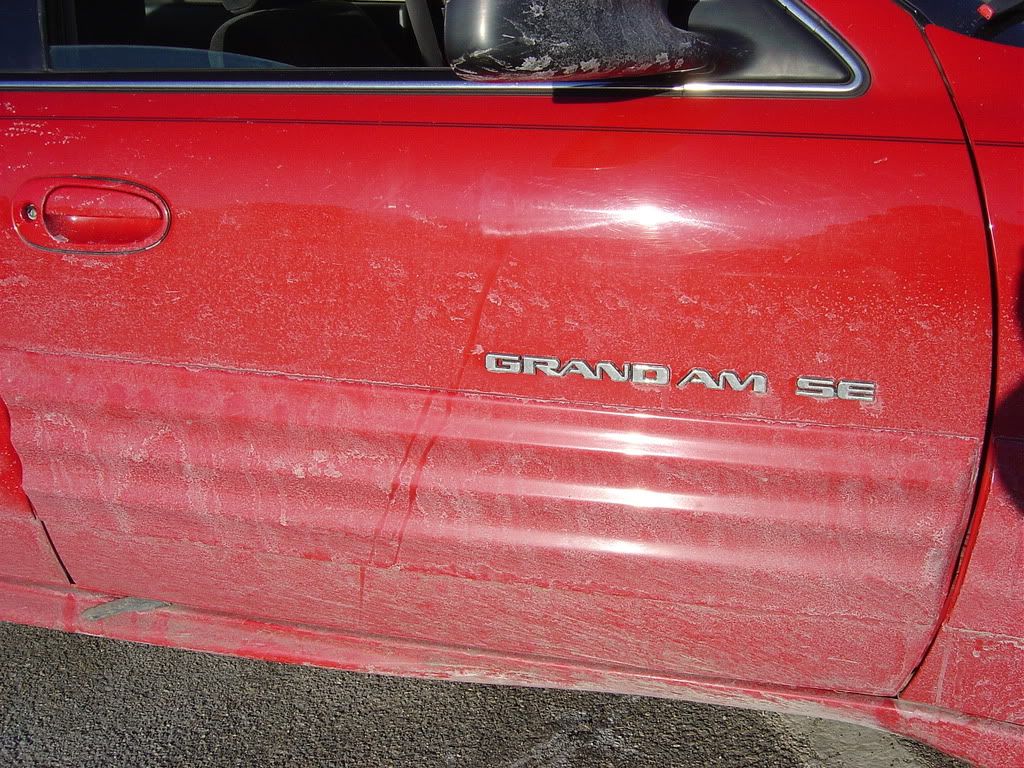
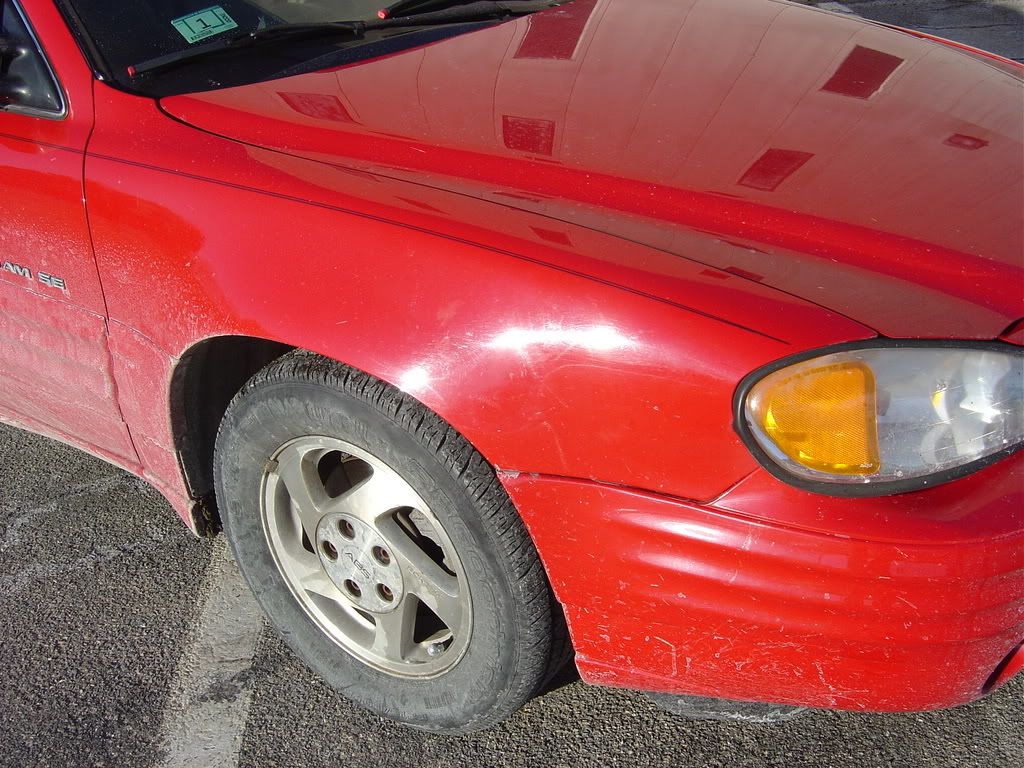
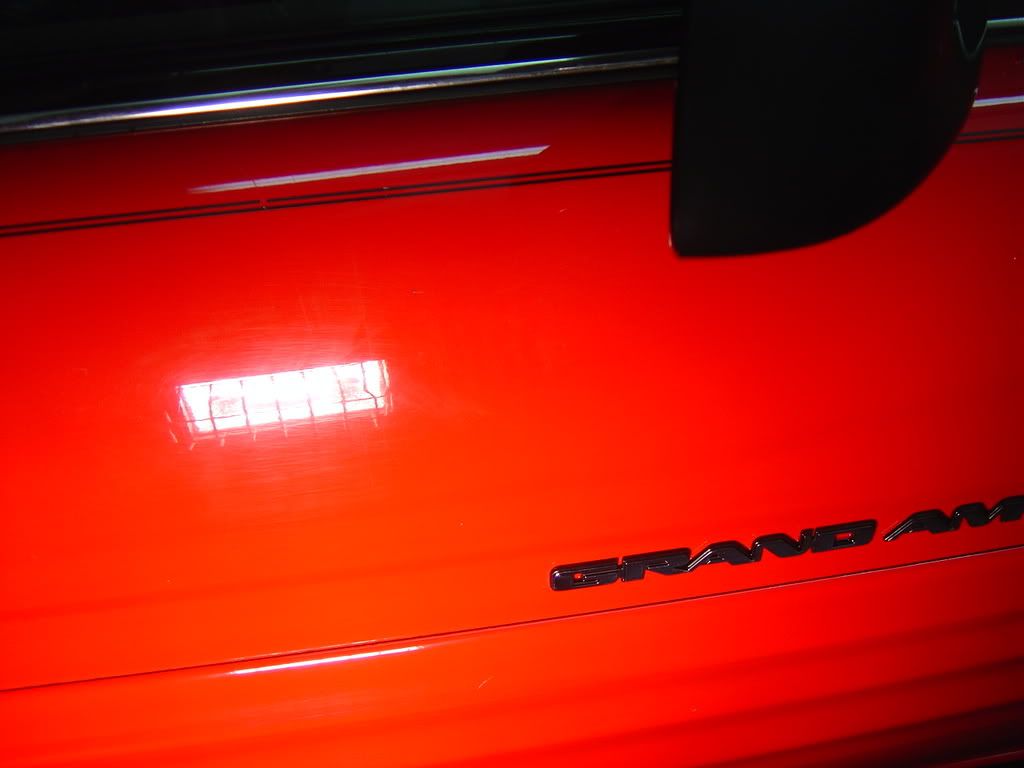
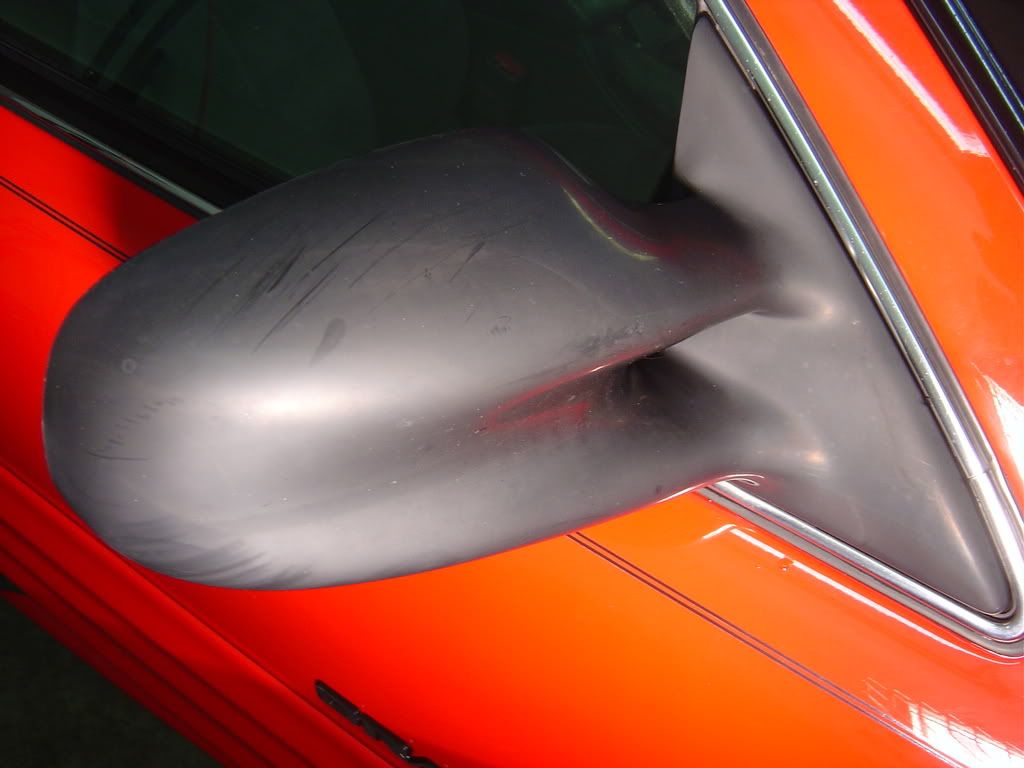
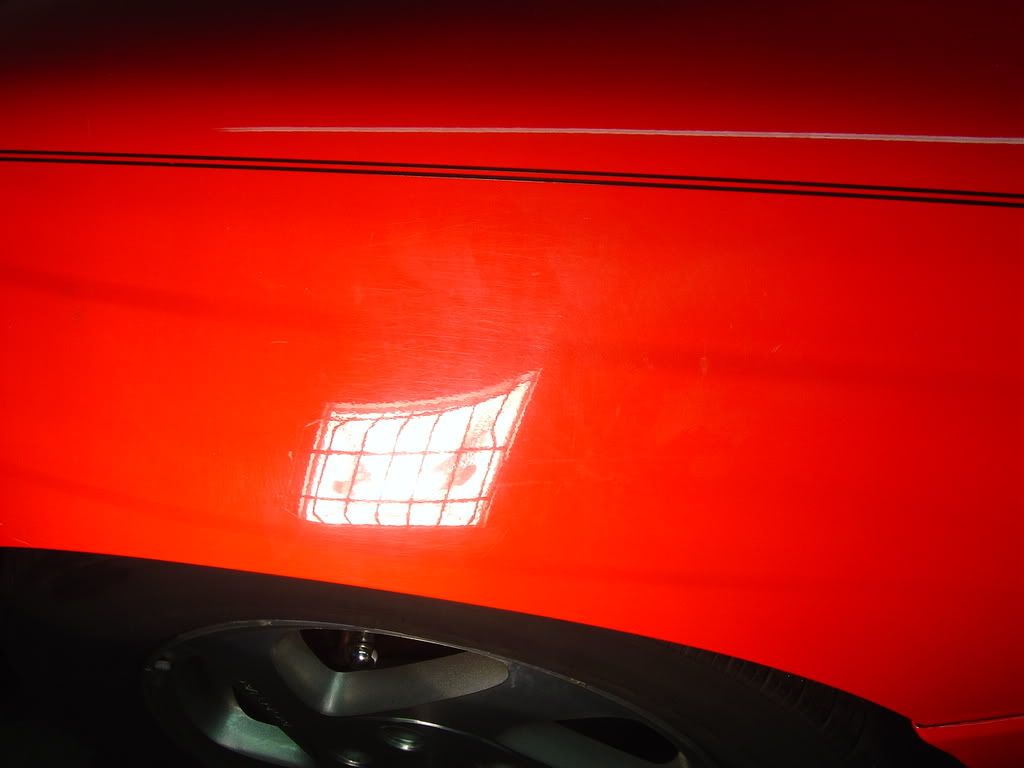
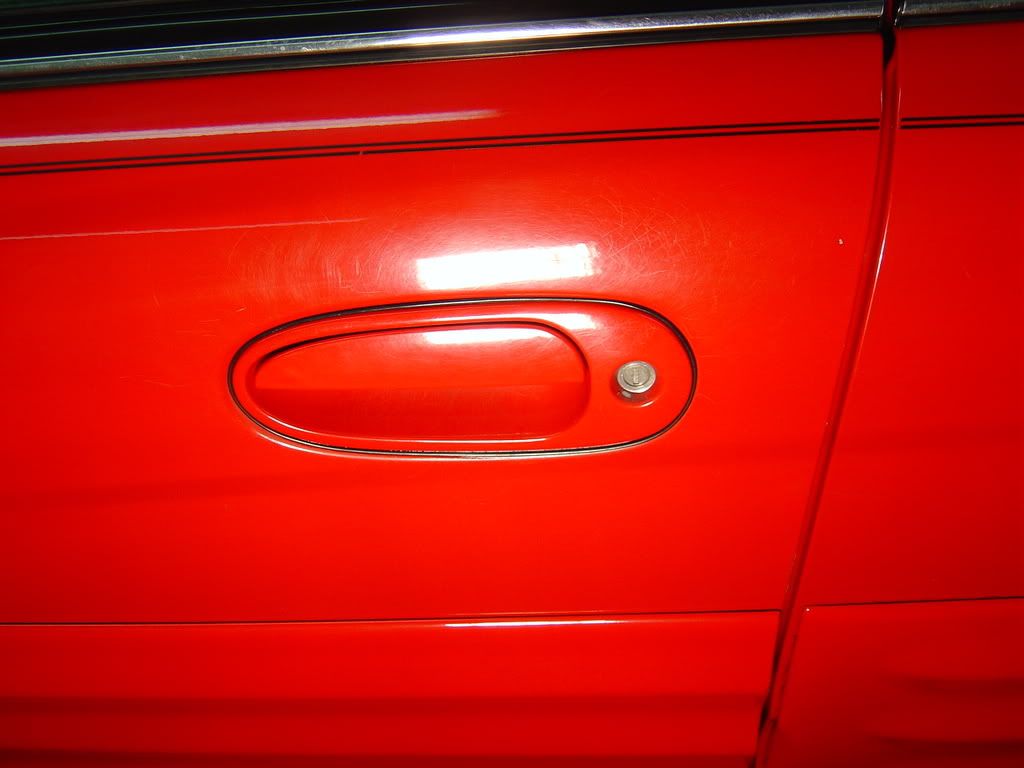
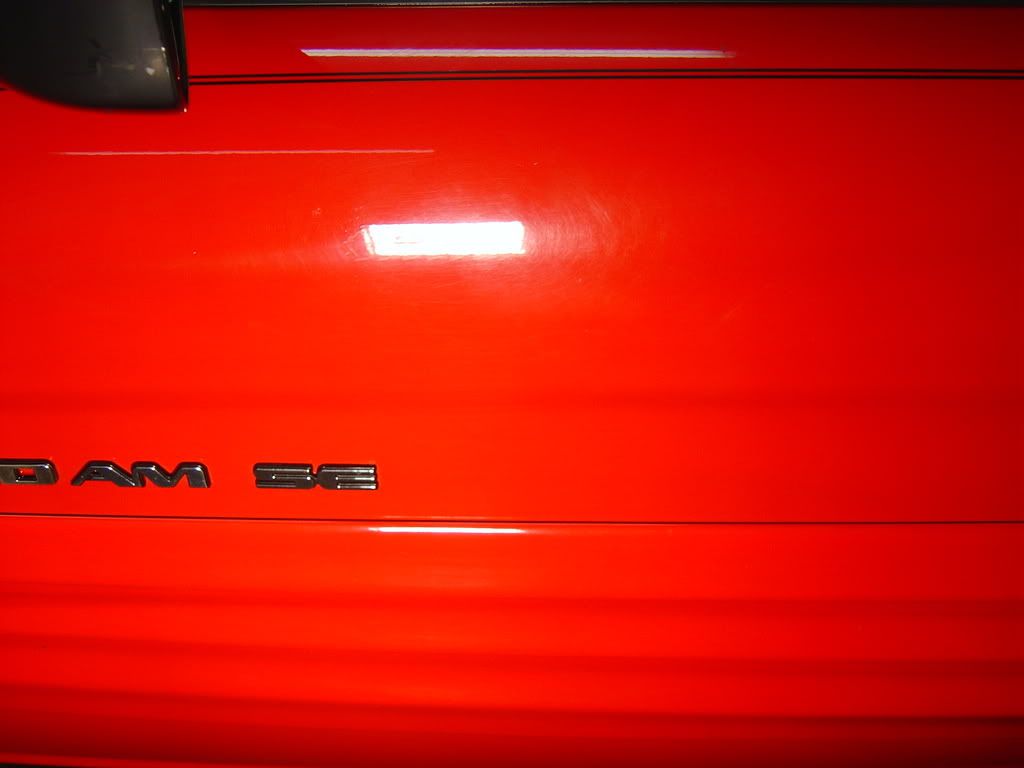
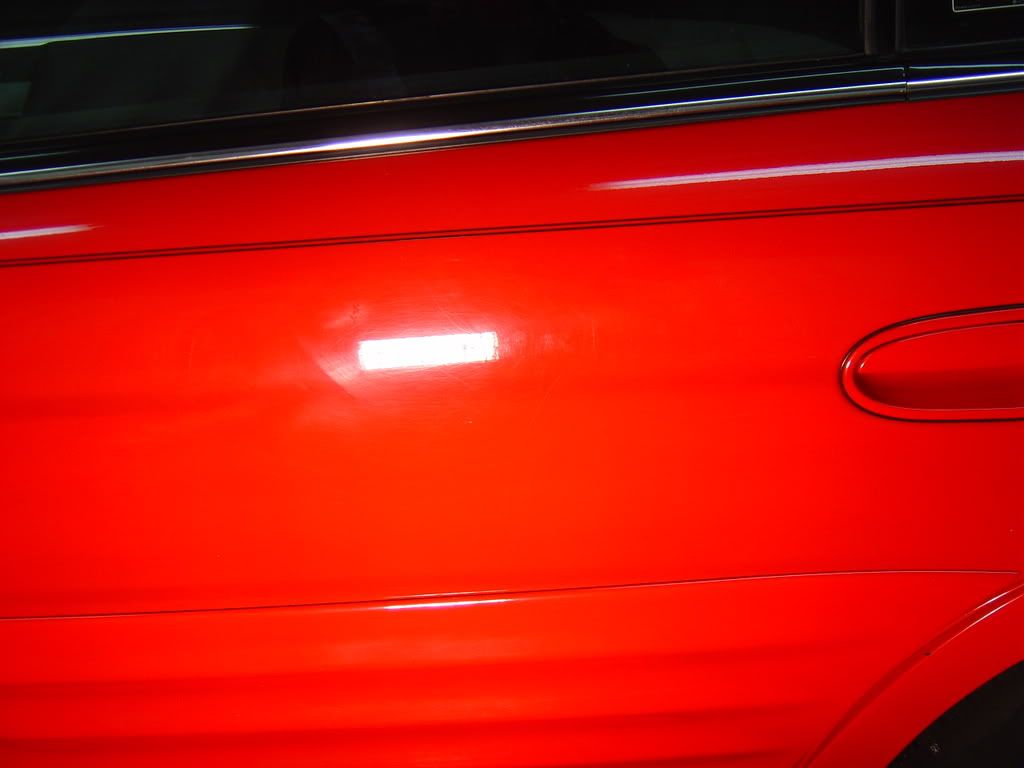
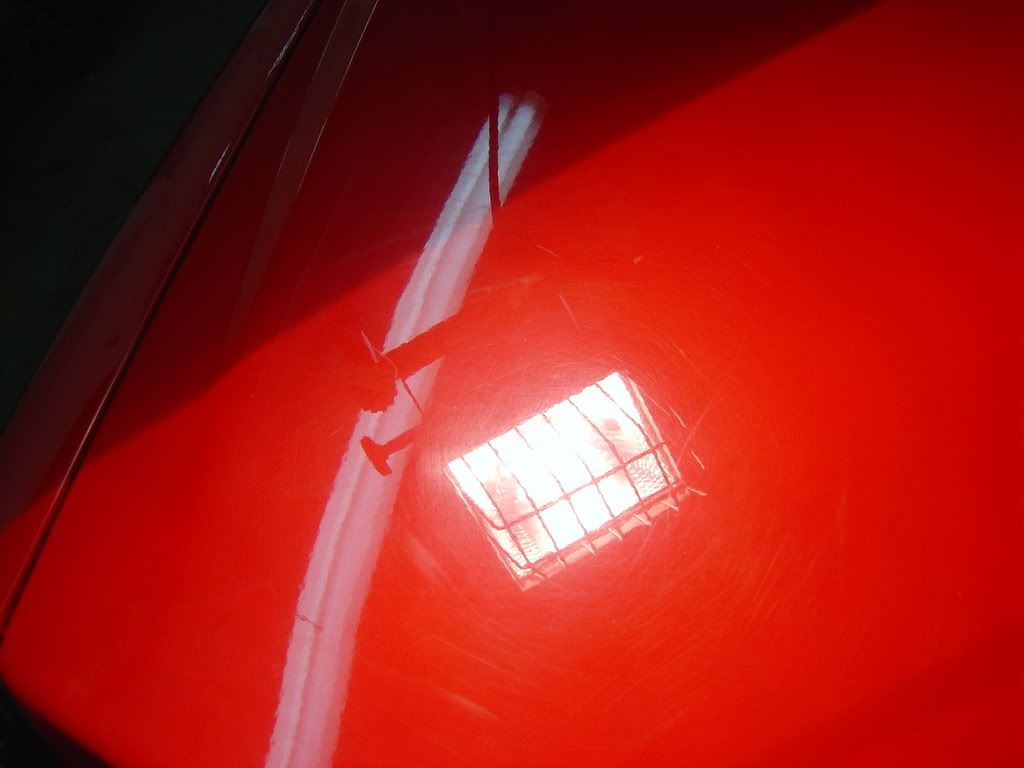
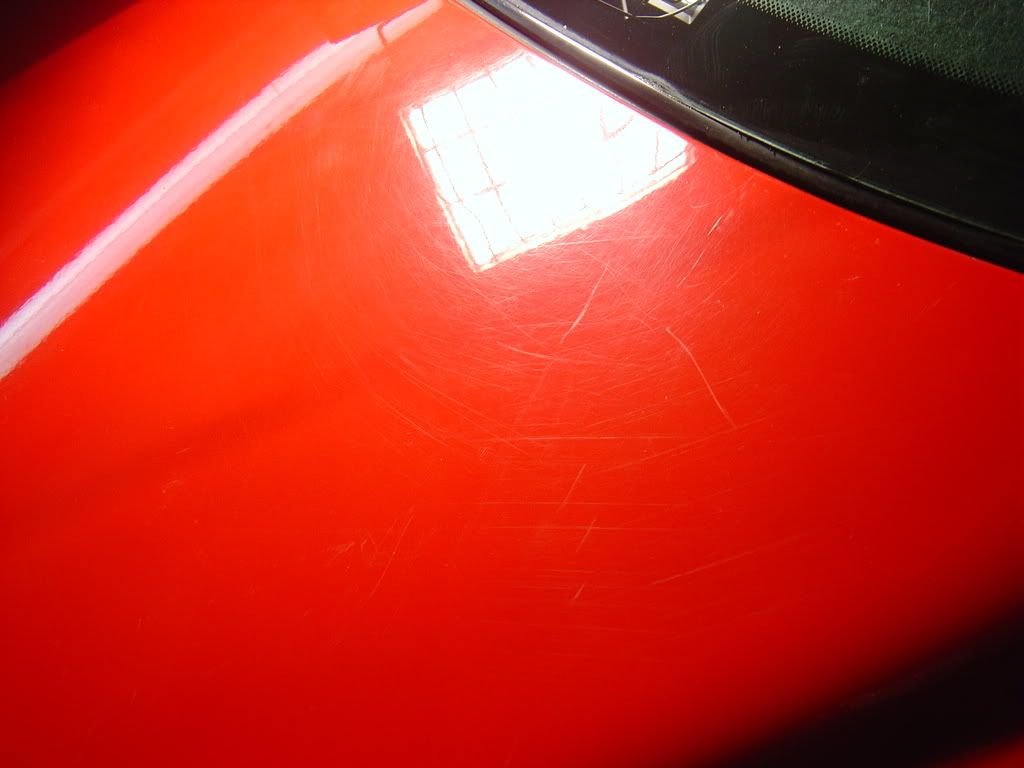
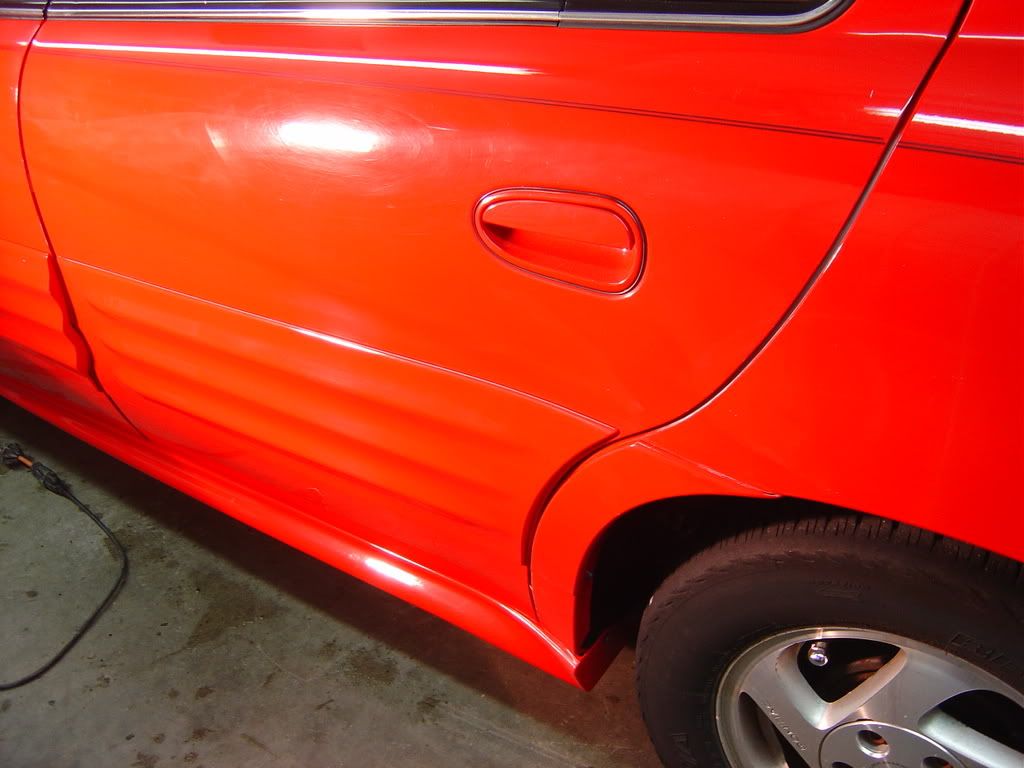
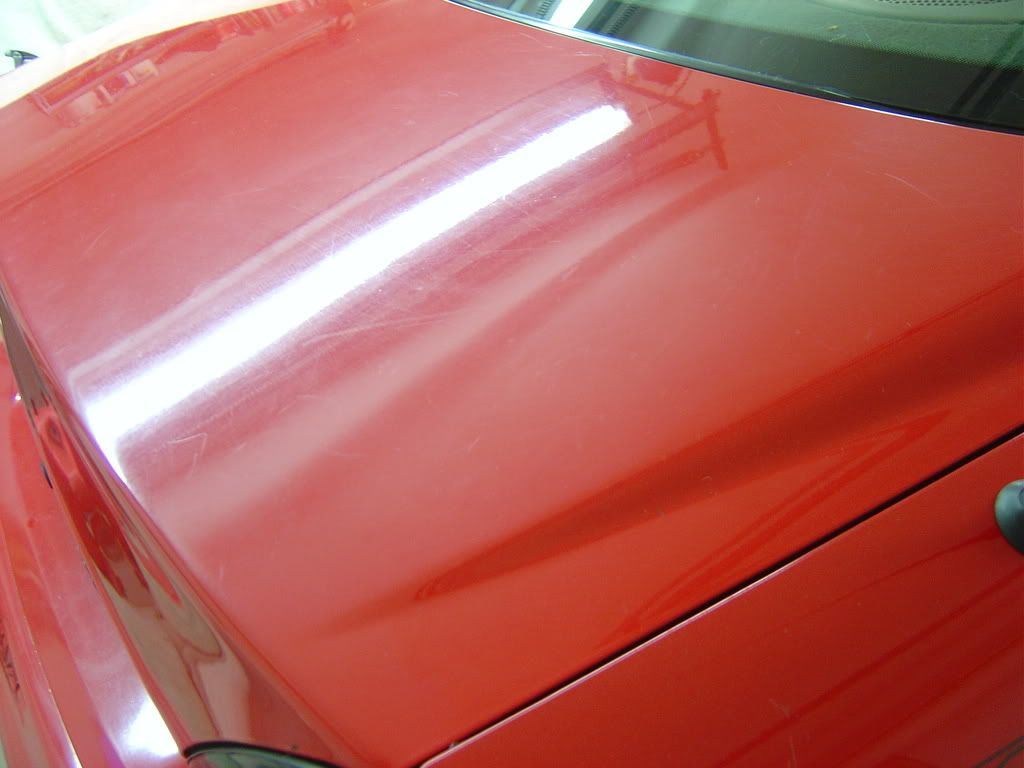
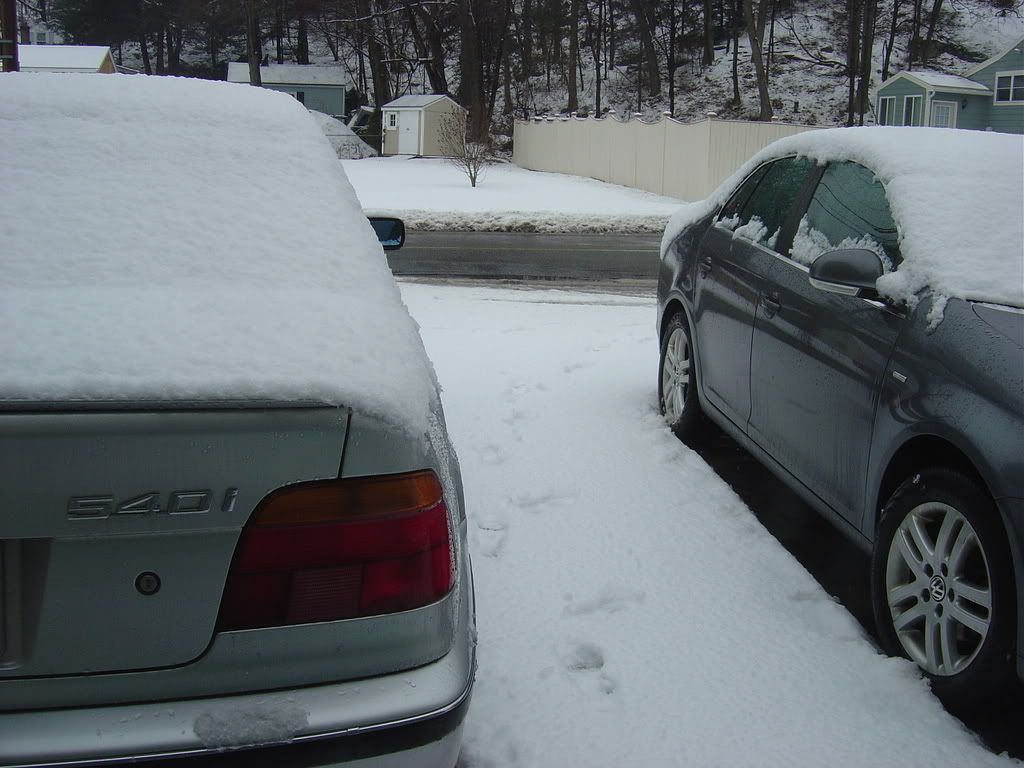
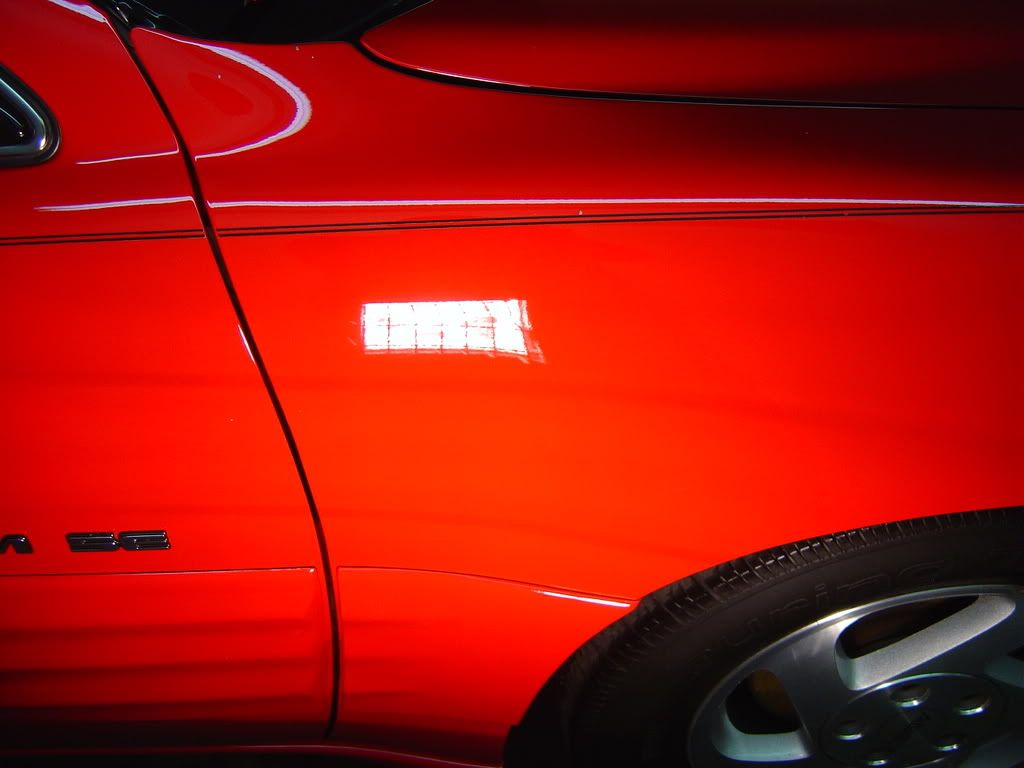
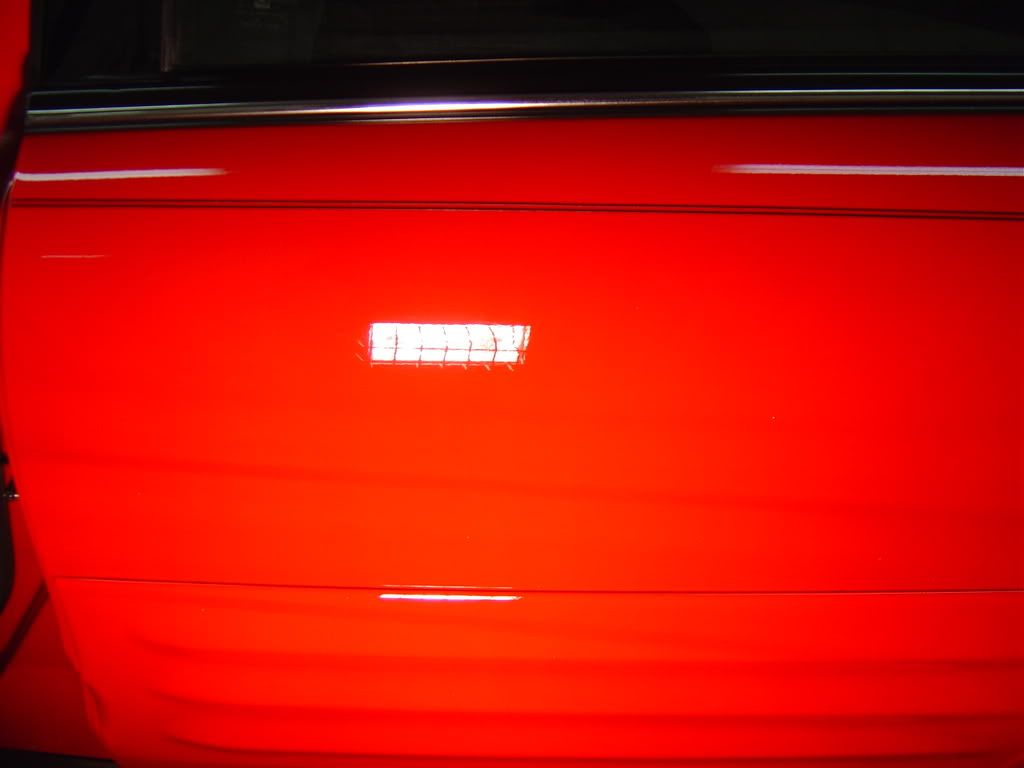
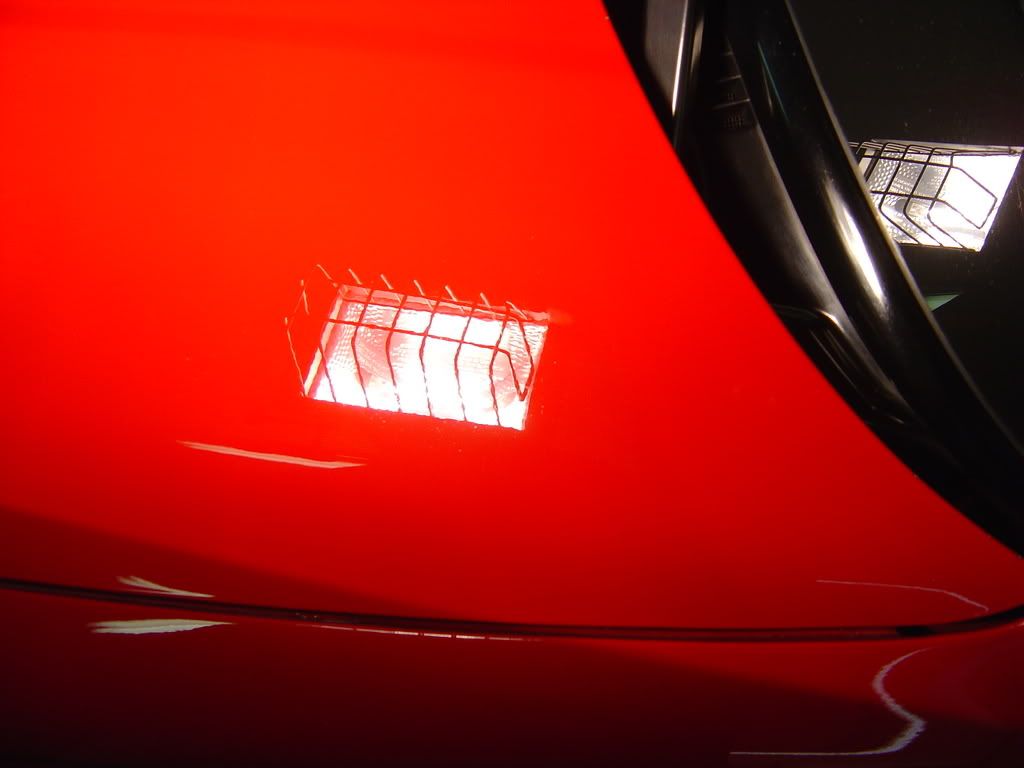
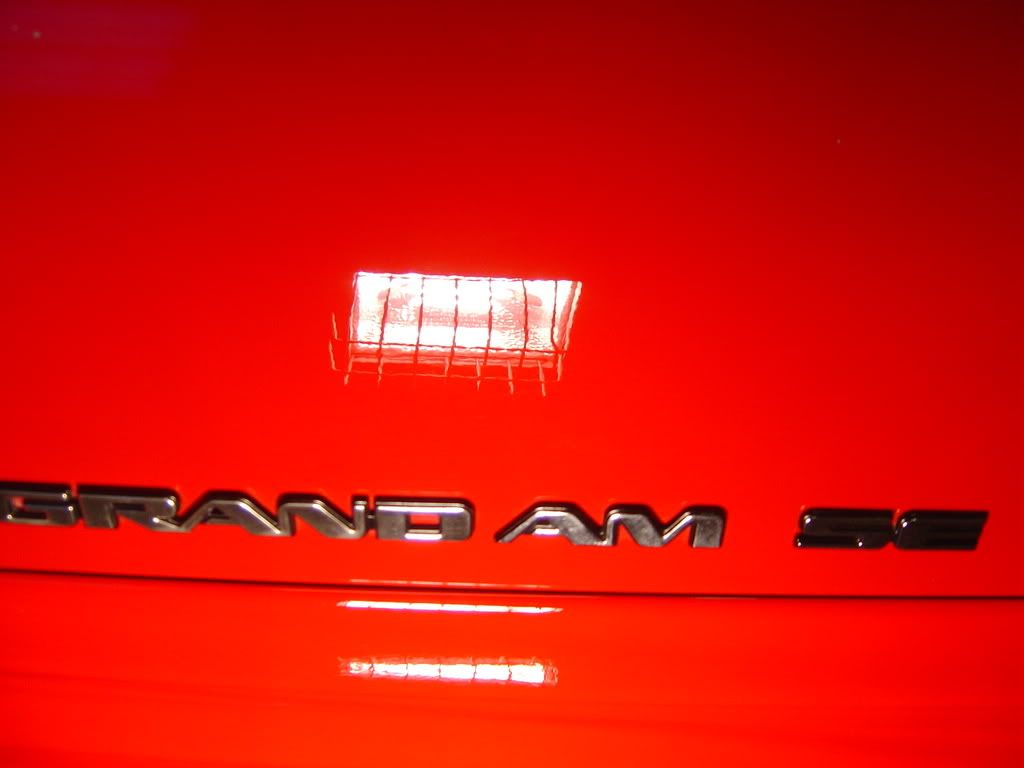
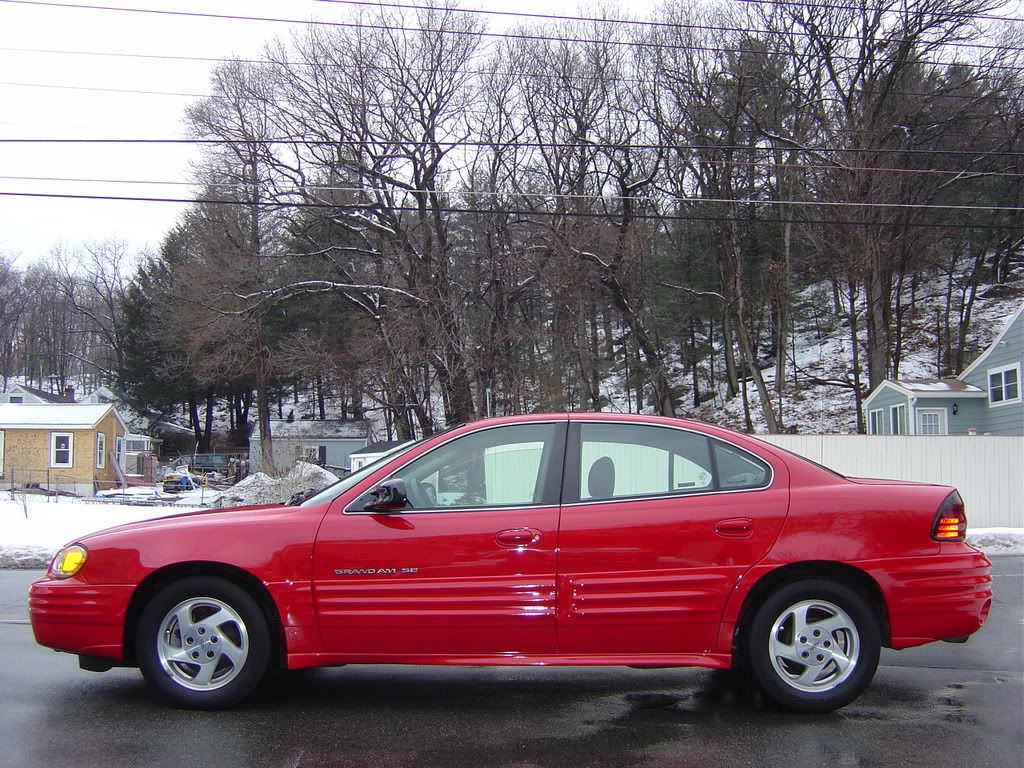
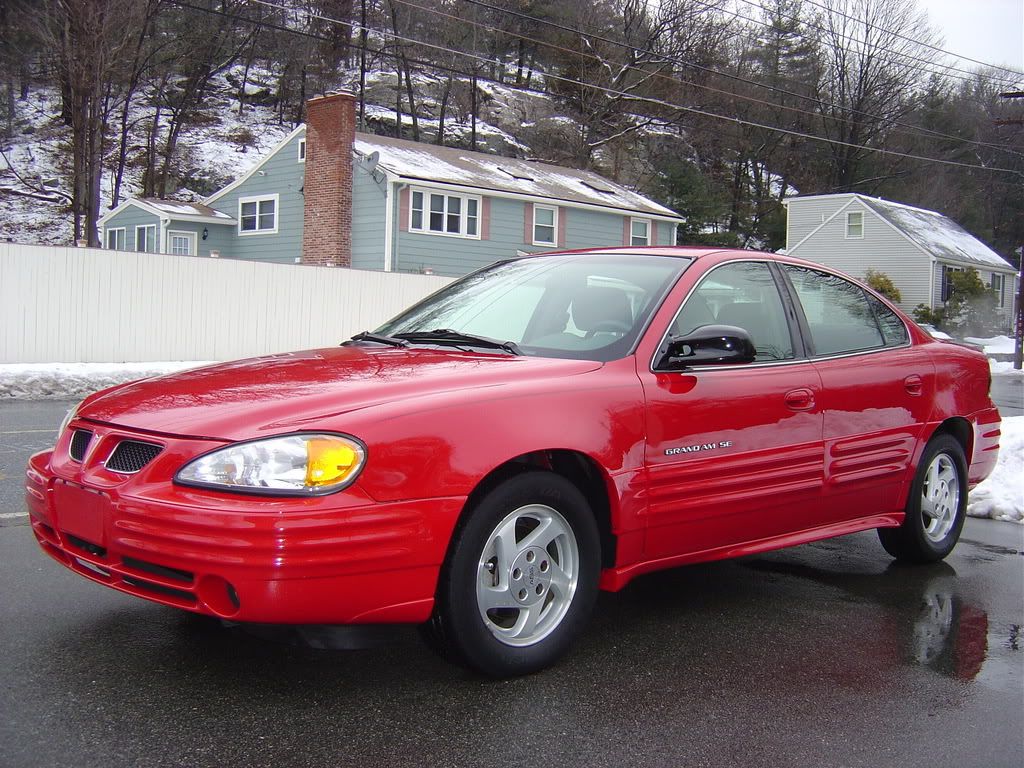
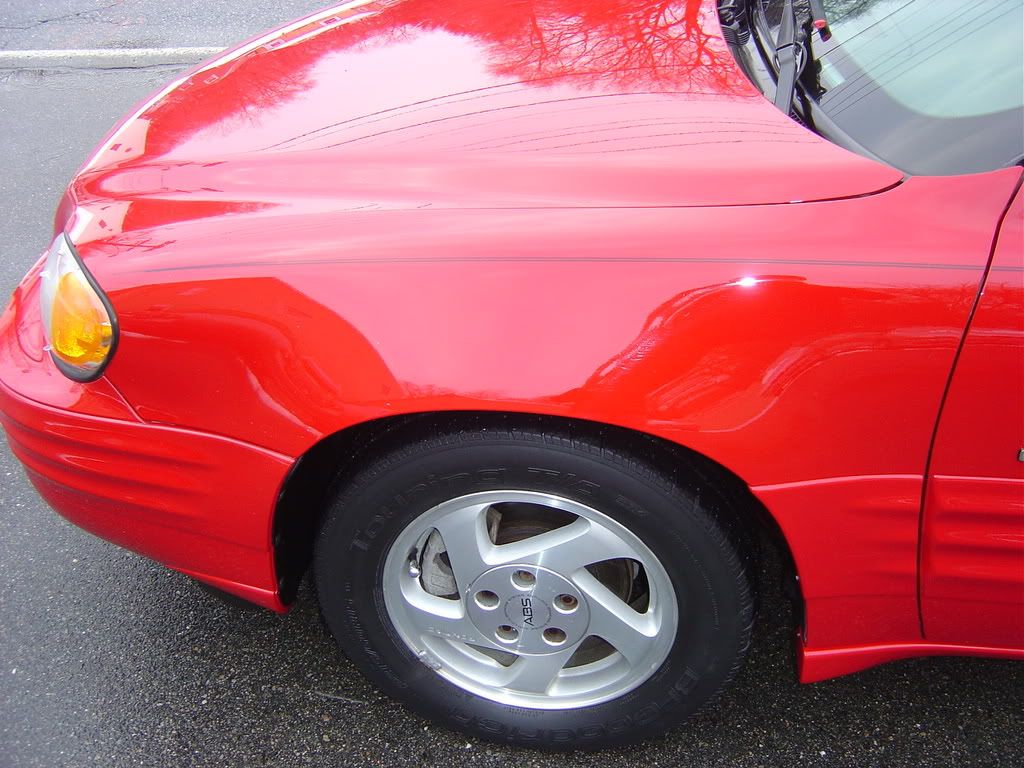
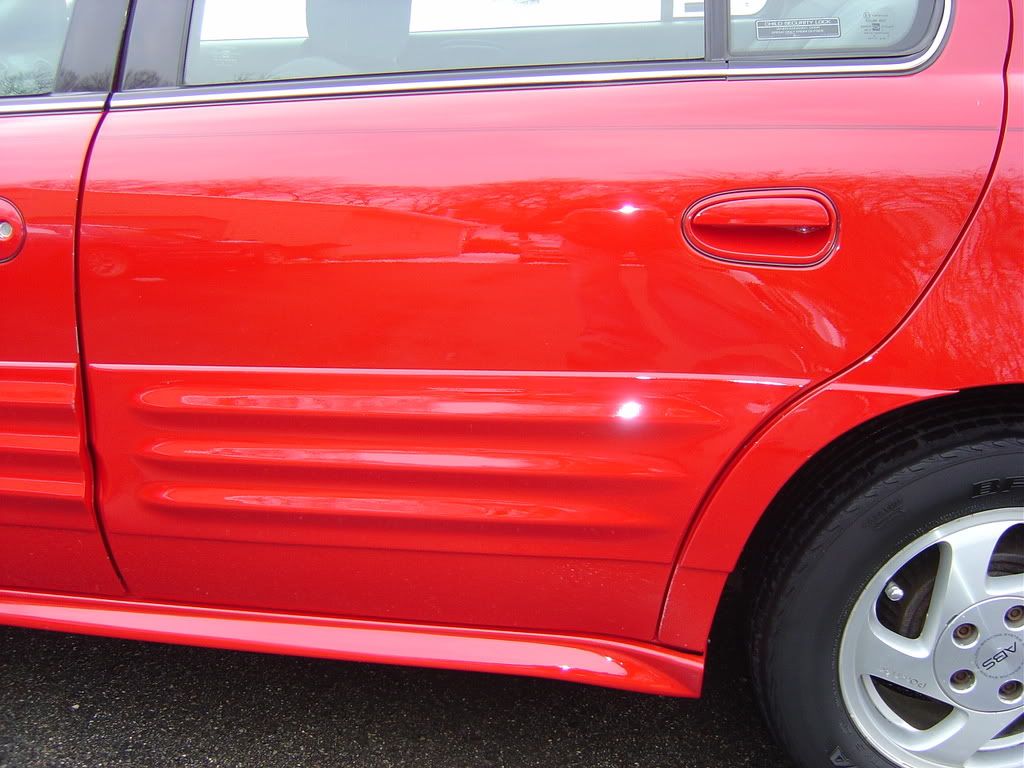
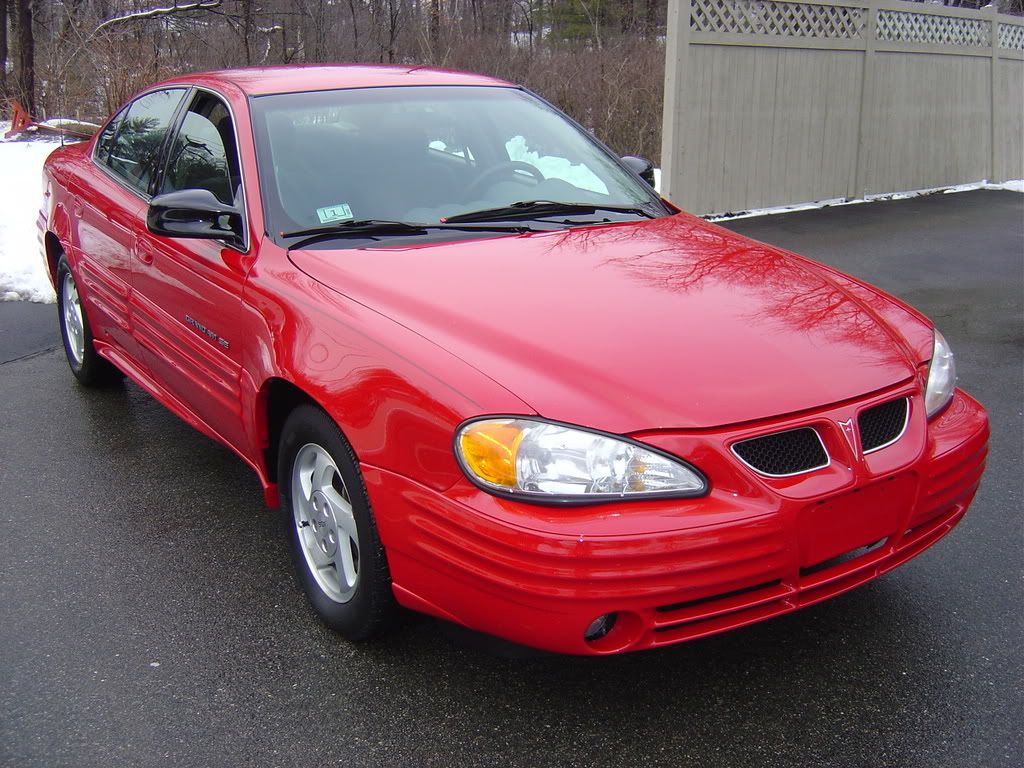
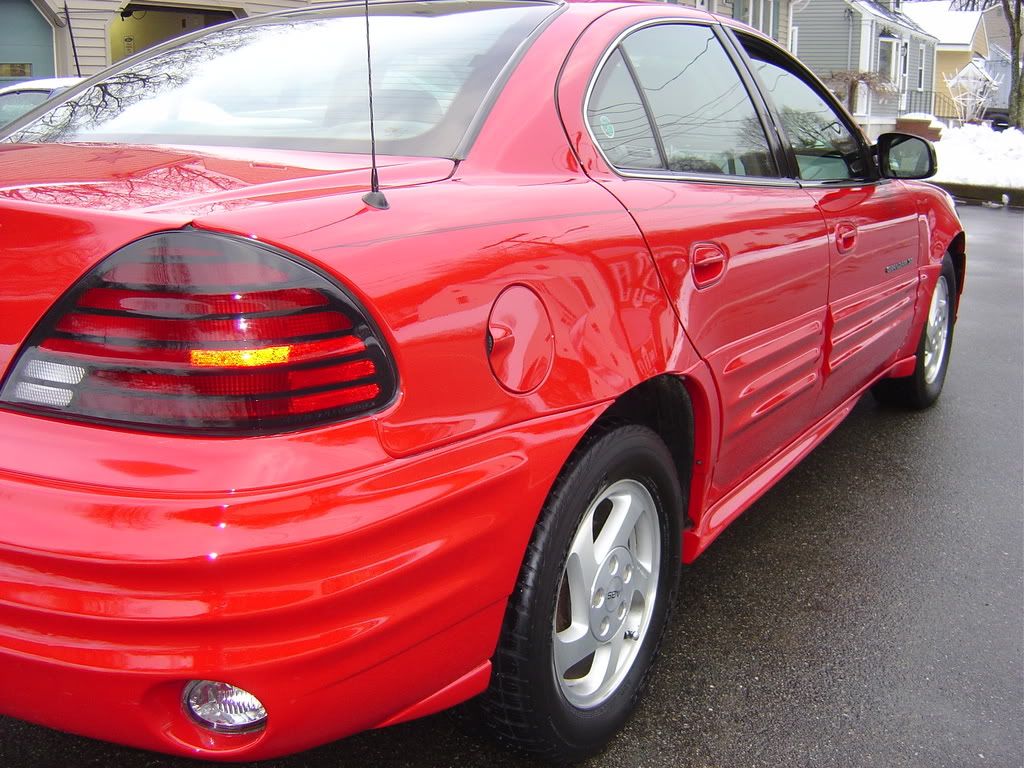
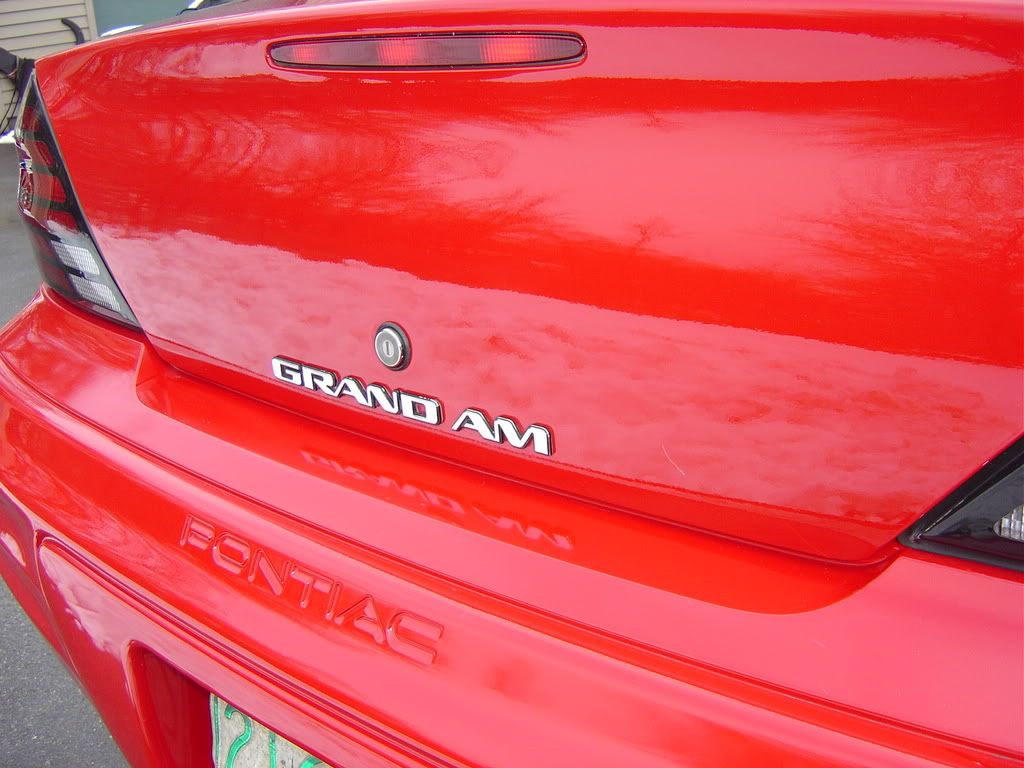
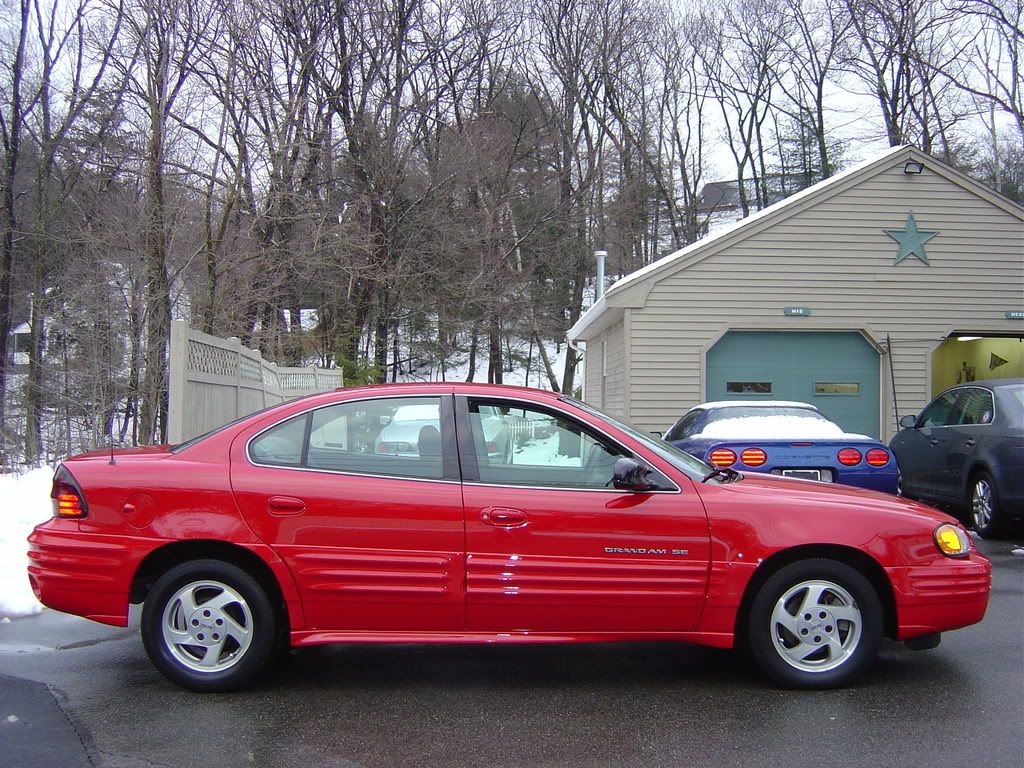
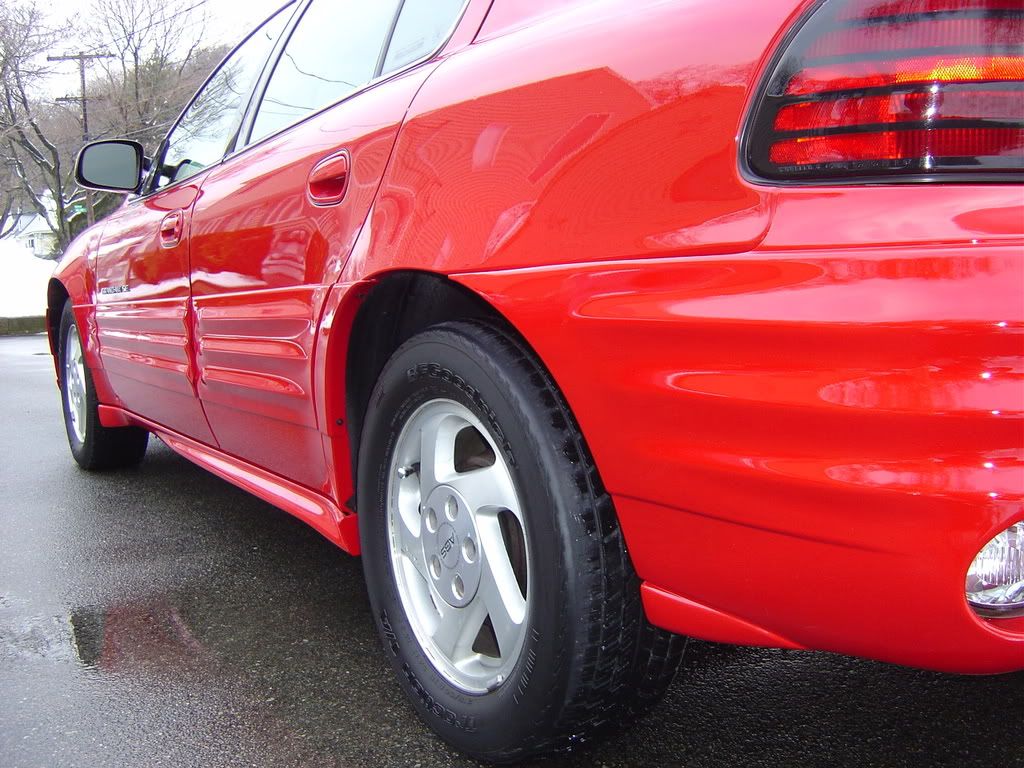
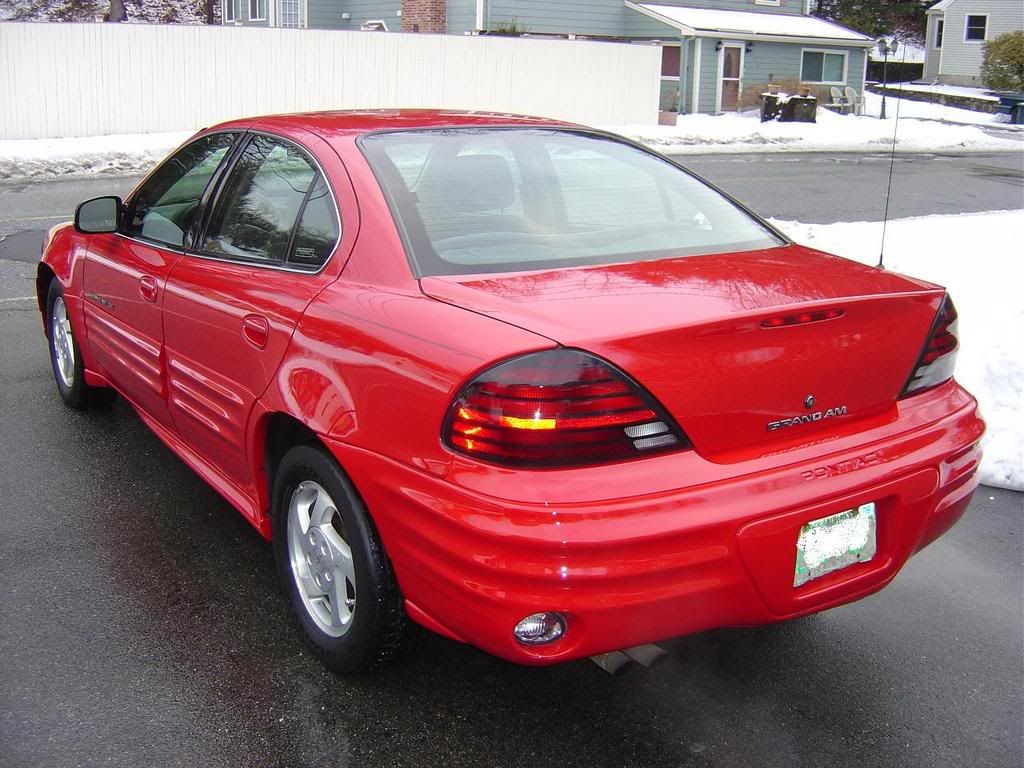
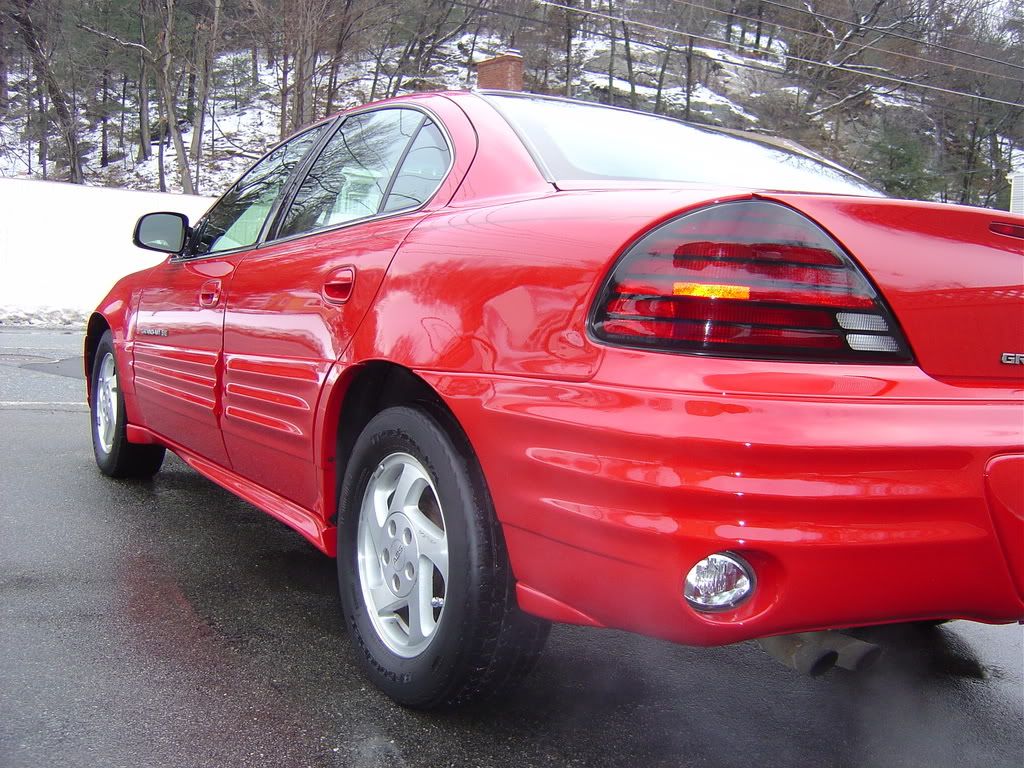
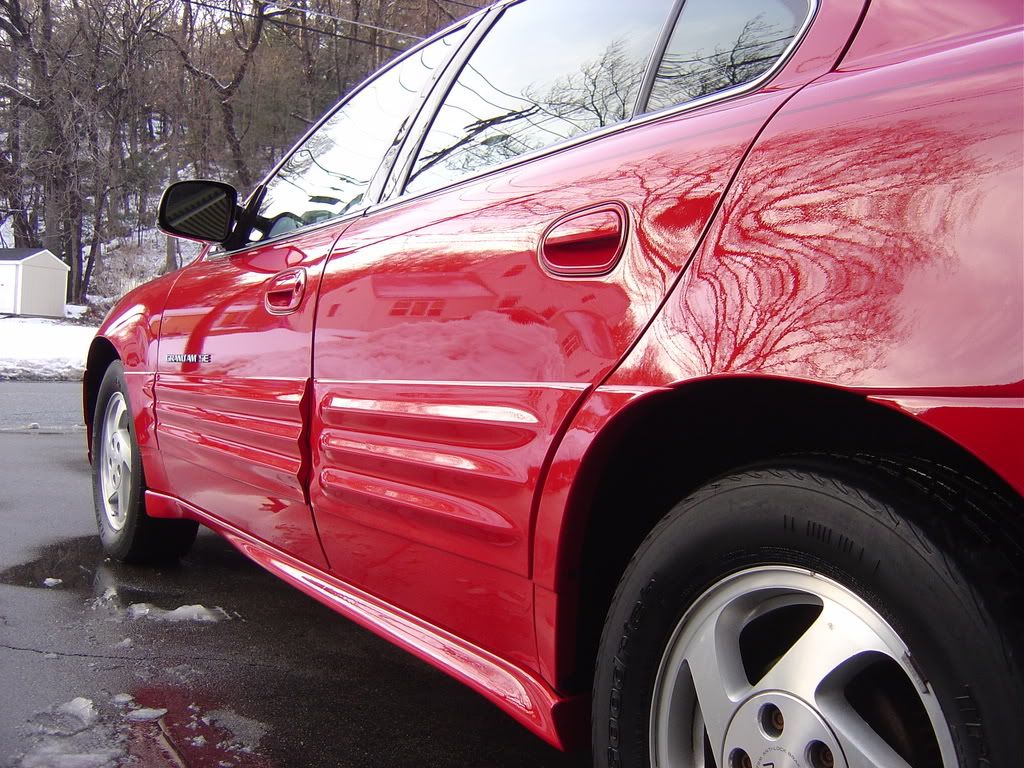
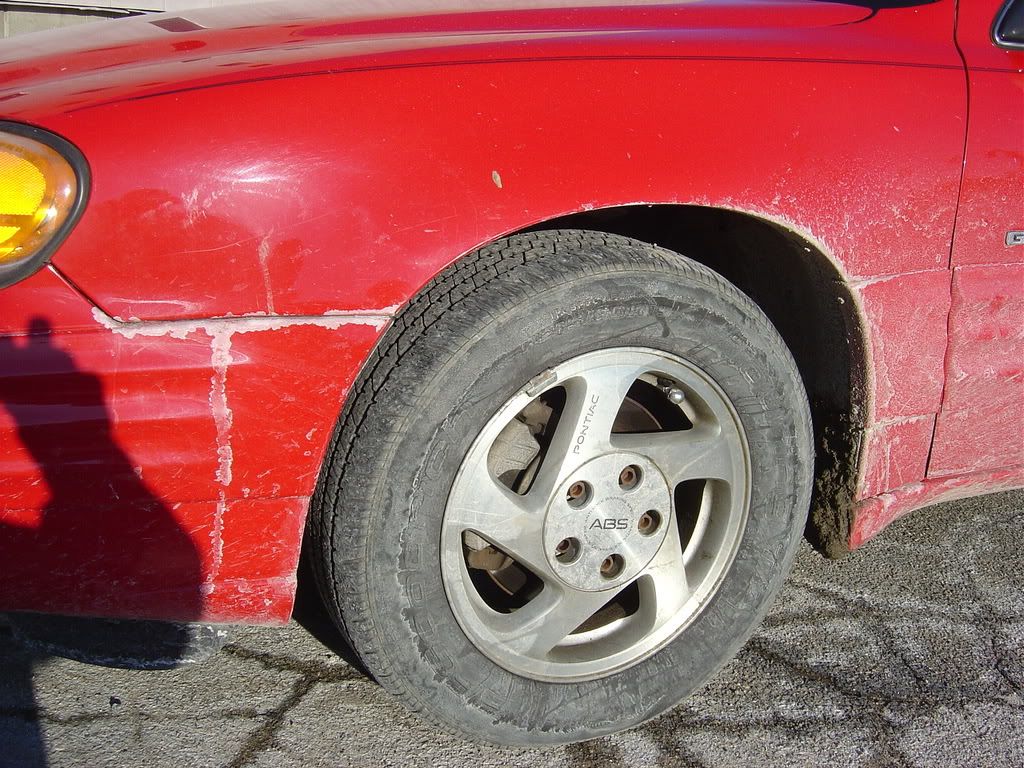
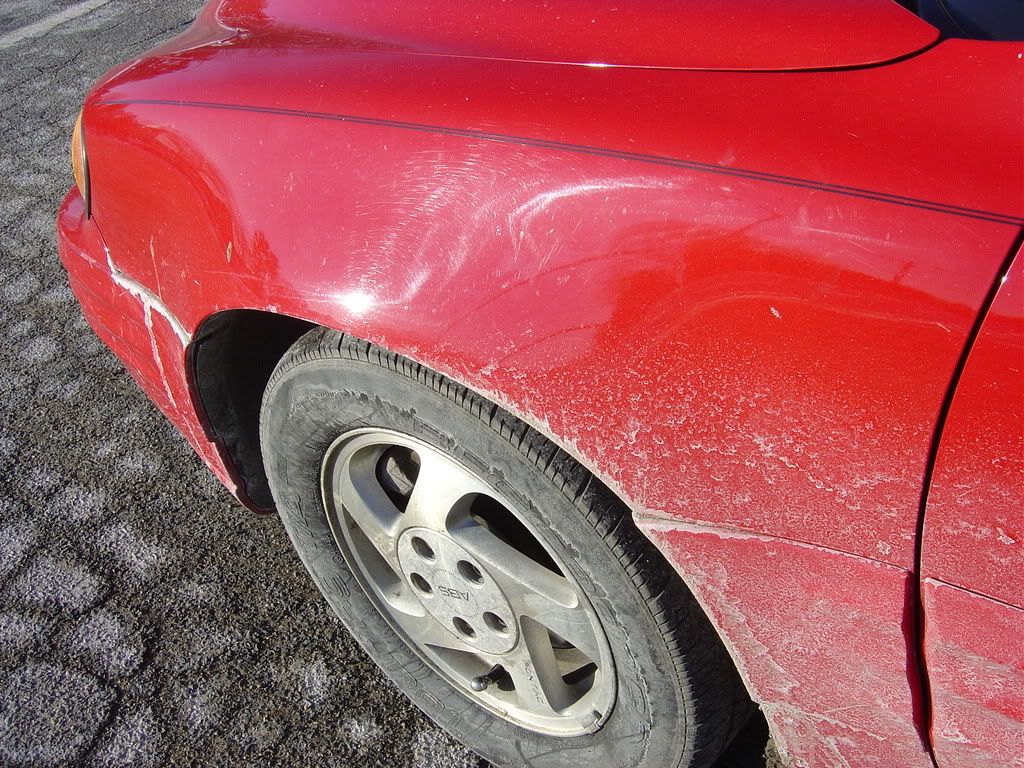
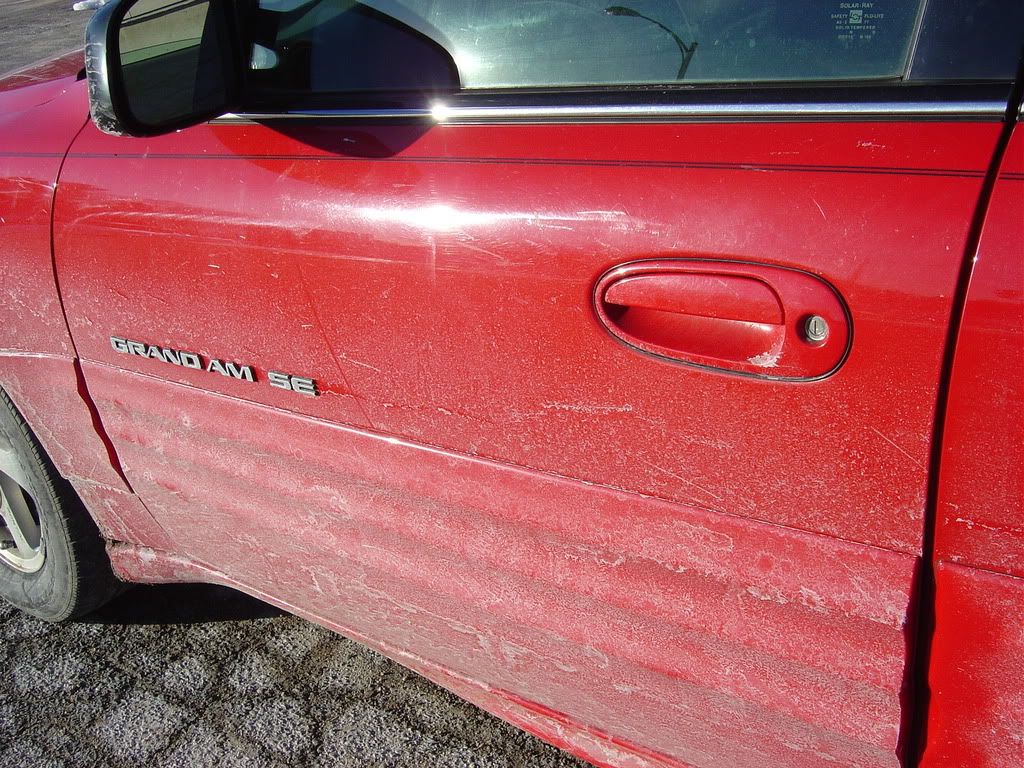
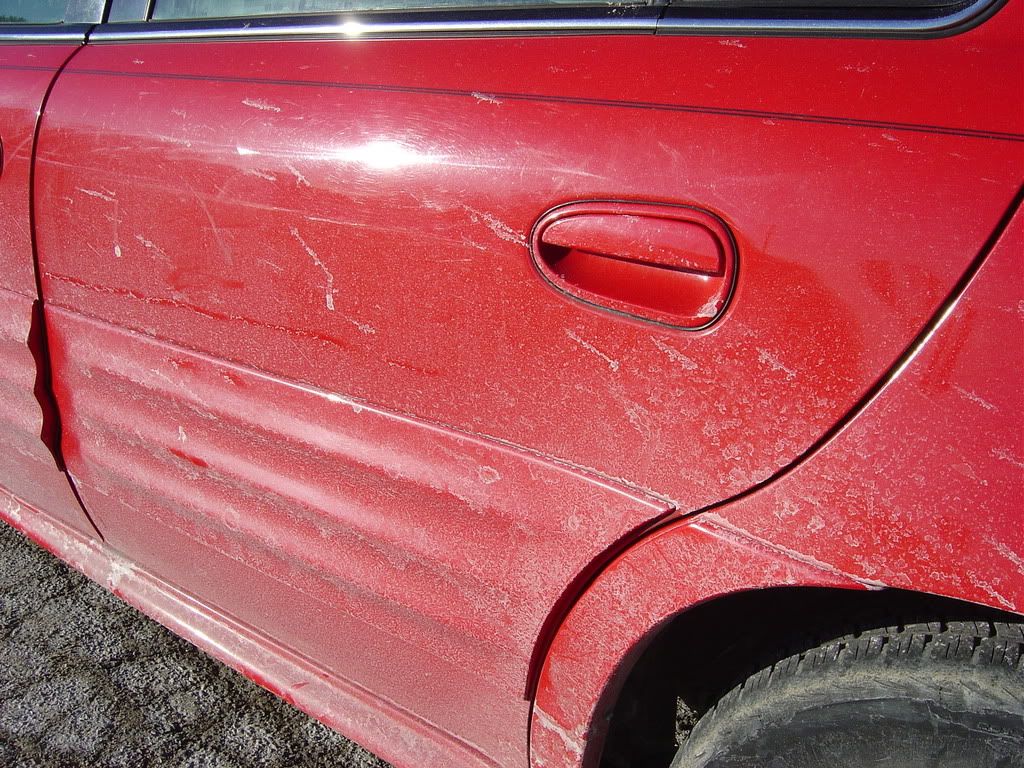
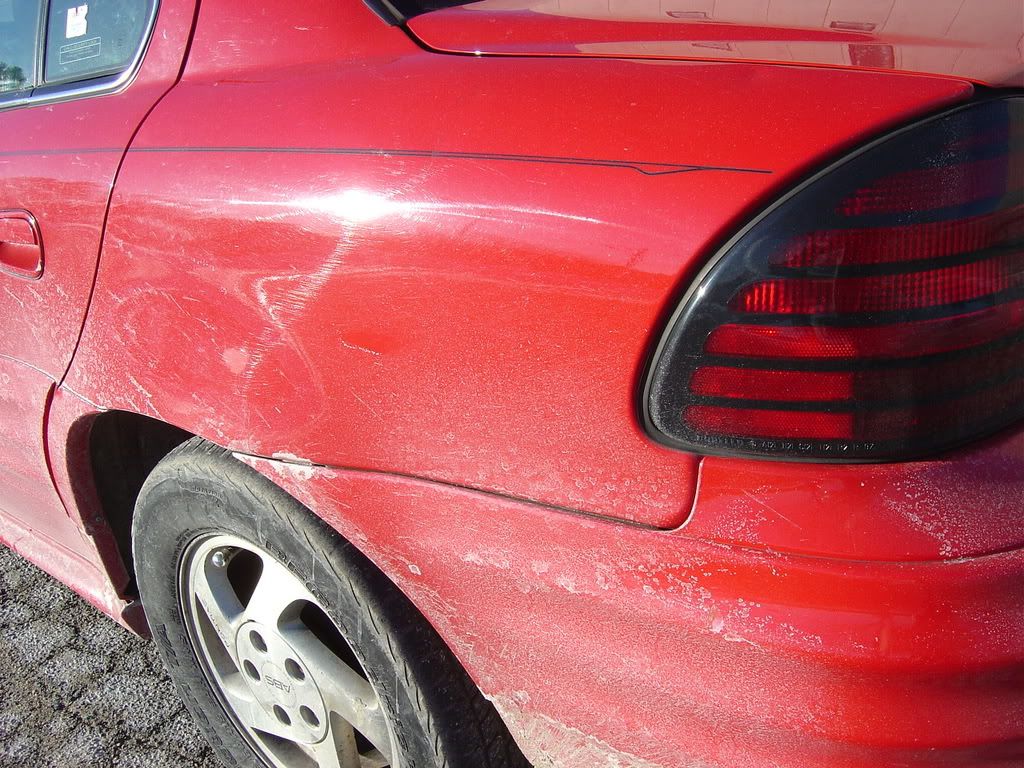
As you can see, this car was dire need of a complete vehicle rejuvenation. Both the interior and exterior were severely neglected. The exterior was very dirty due to the lovely weather we have been encountering here in New England. Underneath the coating of filth, it had its fair share of heavy scratches, rock chips, swirls, buffer trails, etc..


54f4b88a.jpg


06e09d90.jpg


2aa2e98f.jpg


6a67d843.jpg


f5986008.jpg


bb004721.jpg


9a49f26e.jpg
 
After the vehicle was clayed and prepped for polishing, I tried a variety of products and pads and decided to use Meguiars M105 Ultra Cut Compound for the defect removal.


The picture below shows just how much cut M105 has. These are the results with just 2 passes using a yellow Edge wool pad at 1500rpm. By a pass, I mean two full passes across the paint, not a polishing set (which is a set of passes consisting of overlapping left/right or up/down movements required to cover the whole area). Most people get confused about what a “pass� consists of.


f5dfeb40.jpg


As you can see, there were still some defects present after just 2 passes, so each panel was compounded a total of three to four times (sets) and I was able to remove 99% of the defects.


000f19df.jpg


^Above is me compounding with M105 using a yellow Edge wool pad.


After the compounding was complete I polished the complete exterior with Menzerna Intensive Polish mixed with a bit of Red Moose Glaze using a yellow foam polishing pad at 1400rpm.


49579ec1.jpg


^Above is me polishing the bottom areas with 3M Ultrafina using a black 5 inch polishing pad at 1400rpm


9032e168.jpg


^Me polishing with 3M Ultrafina using an 8 inch UF pad at 1500rpm to the rest of the vehicle.


418072fa.jpg


^This was the weather outside while I was working...


Here are some pictures after all of the polishing was complete. The gloss achieved was incredible and I was disappointed that I was not able to get any full sun pictures, but these pictures under the halogens give you a pretty good idea how well it came out.


a82d9b28.jpg


dc7b3367.jpg
 
I took it outside to get a few decent pictures before the darkness set in. After I took the pictures outside, I pulled it back in and spent over an hour touching up all of the stone chips with some factory touch up paint.


9f55d1e4.jpg


ffc590d9.jpg


02507d10.jpg


2ba3d164.jpg


e126a6d1.jpg


adfc426e.jpg


26f17469.jpg
 
a973a94f.jpg


843f2bc3.jpg


97ceb079.jpg


2b4b4d3f.jpg


76a215f0.jpg


b3fa2b49.jpg


492aabf7.jpg


4ef0d130.jpg


The total process:


Washed, cleaned wheels, tires and wheel wells


Clayed with green Kar Kraft clay bar


Compounded complete exterior with M105 a total of 4 times in most areas using a yellow Edge wool pad at 1500rpm


Polished complete exterior with Intensive Polish using a bit of RMG using a yellow foam polishing pad at 1400rpm


Polished complete exterior with Ultrafina using a black 5 inch polishing pad at 1400rpm for the lower panels and used an 8 inch UF pad for the rest


Compounded headlights and tail light with M105 followed by 106ff.


Rewashed, removed excess polish from nooks and crannies


Z6 wipedown


Gtechniq hydrophobic glass treatment on all windows


Hand application of Lusso Oro


Super Blue Dressing on tires and wheel wells


Opti-Seal on wheels


Complete interior detail


Edit: Interior Pictures Added on Page 7


.
 
Wow, looks great! If only vehicle could come of the lot this nice.


Quick question. Did you use Super Blue dressing on the side mirrors as well? Whatever you did really brought them back to life.
 
etml12 said:
Wow, looks great! If only vehicle could come of the lot this nice.


Quick question. Did you use Super Blue dressing on the side mirrors as well? Whatever you did really brought them back to life.


I used the same process on the mirrors that I did on the paint. M105, IP with RMG and UF. I had to do some of the areas by hand because i was not able to get the buffer in there.
 
etml12 said:
Quick question. Did you use Super Blue dressing on the side mirrors as well? Whatever you did really brought them back to life.


On that same subject, how do you maintain that? I go over my parent's Olds Intrigue's mirrors with a pass of Scratch X, turns out great, but 2 months later, back to what it was.
 
spielnicht said:
On that same subject, how do you maintain that? I go over my parent's Olds Intrigue's mirrors with a pass of Scratch X, turns out great, but 2 months later, back to what it was.


I recommend applying a wax or sealant to the mirrors after the Scratch X to maintain the look.
 
RickRack said:
I used the same process on the mirrors that I did on the paint. M105, IP with RMG and UF. I had to do some of the areas by hand because i was not able to get the buffer in there.


Huh, from the before pics I assumed that they were plastic and not painted.
 
Back
Top