Detailed: 1996 C4 Corvette by Esoteric Auto Detail of Columbus, Ohio
When I performed the initial inspection on this Corvette, I knew right away that it was going to experience a remarkable transformation. While readers always enjoy seeing amazing shots of beautiful Exotic vehicles, the ones with the unbelievable before and after shots always get the most attention.
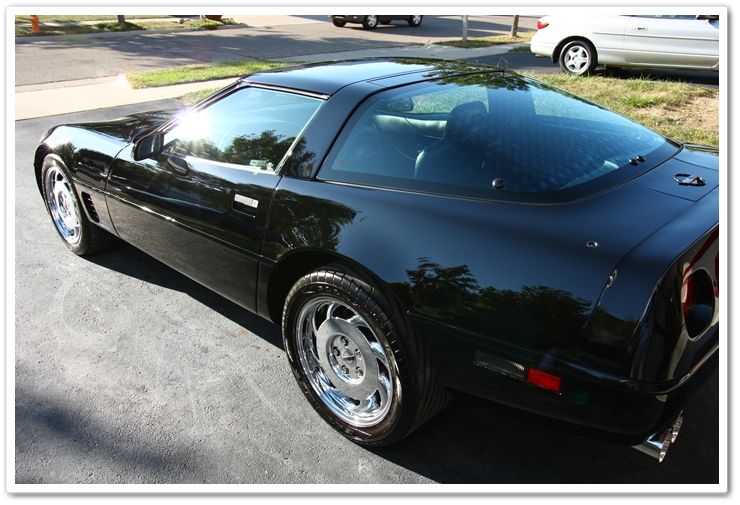
1996 was the last year of the C4 generation Corvette (1984-1996), and the current owner just recently purchased it with 28K miles on the clock with plans to recondition it to as close to new as possible. He ordered a brand new set of wheels and tires (that didn’t arrive before I worked on it), he was having me recondition the paint, and then over the winter he is working on a big sound deadening/stereo install as well. Once he has completed the project it will be one of the nicest C4 drivers around!
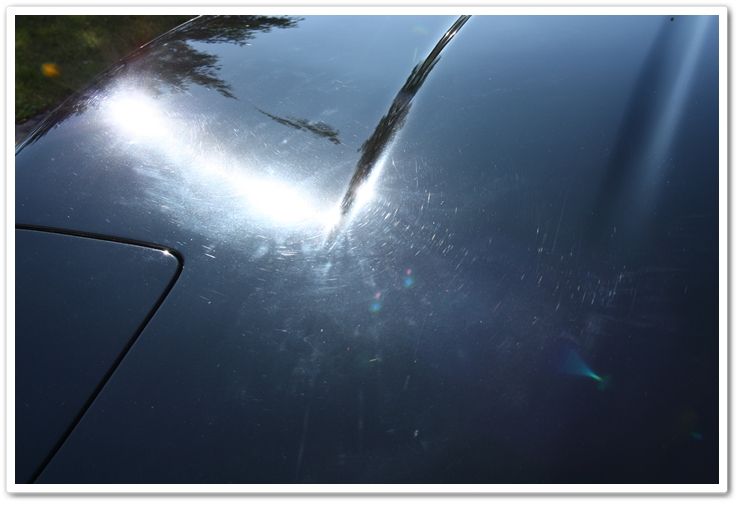
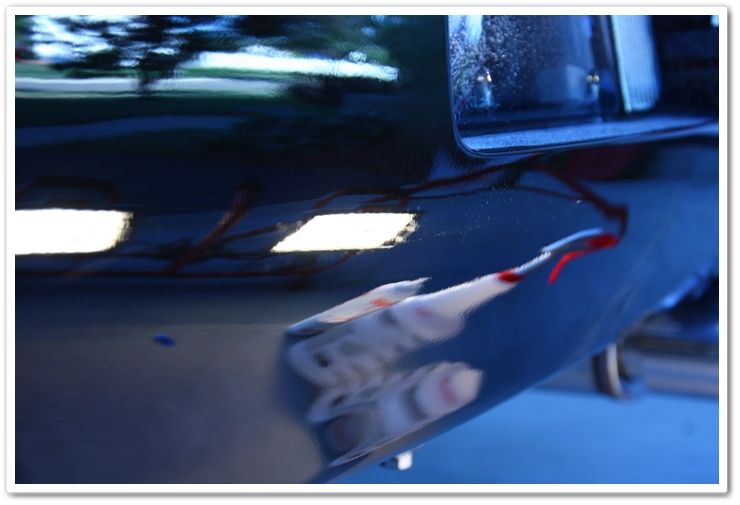
As you will see from the photos below, the car had a severe case of swirls and deep, long scratches in the very hard Corvette clear coat. I knew that it was going to require a tremendous amount of work, but it would look stunning once properly leveled and polished out. We opted against a lot of wetsanding, and knew that it could only be brought back to about 90% of new without it, but at that rate it would still look better than most vehicles on the road. You can quickly achieve a point of diminishing returns on paint correction, so it is important to establish goals and expectations with the customer, as well as the budget that they have to work within. A 90% correction on this was 17 hours’ worth, whereas a 98%-100% could have taken 30+ hours.
Now that we’ve established a bit of history as well as goals, let’s go through the inspection to see what we have to work with.
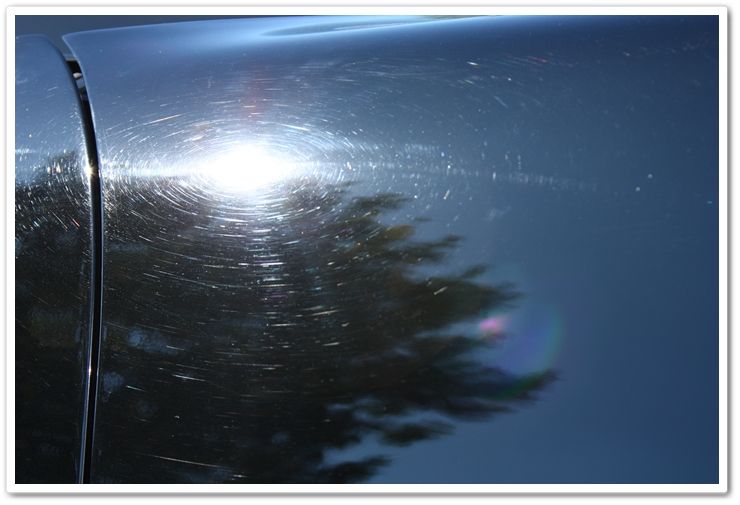
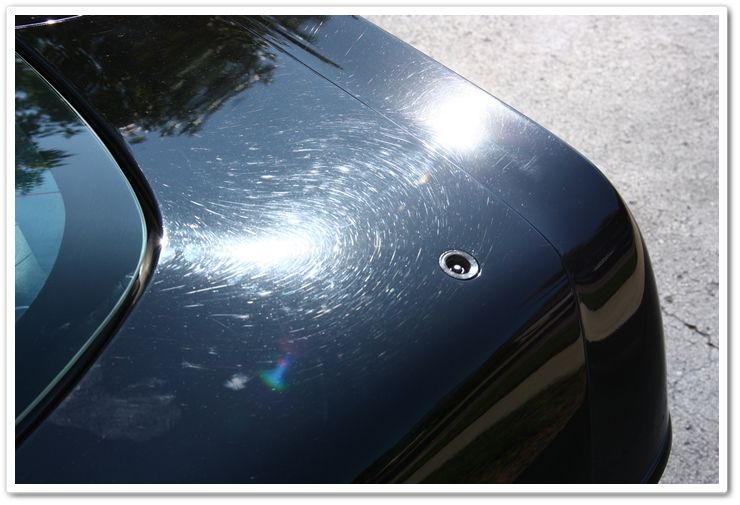
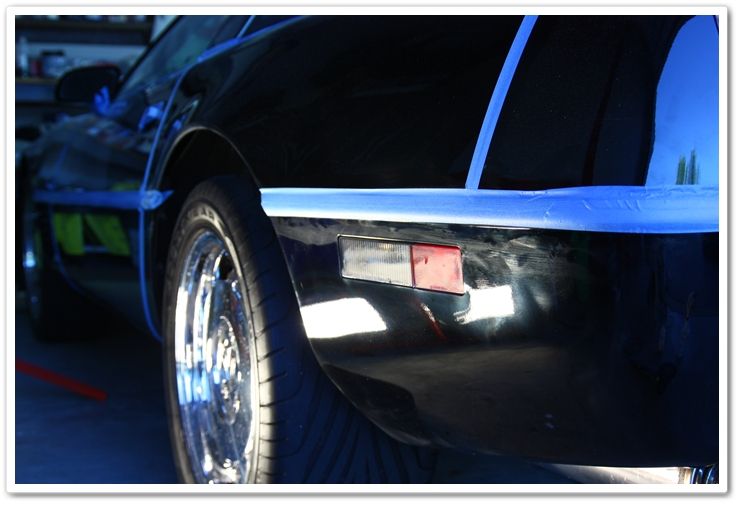
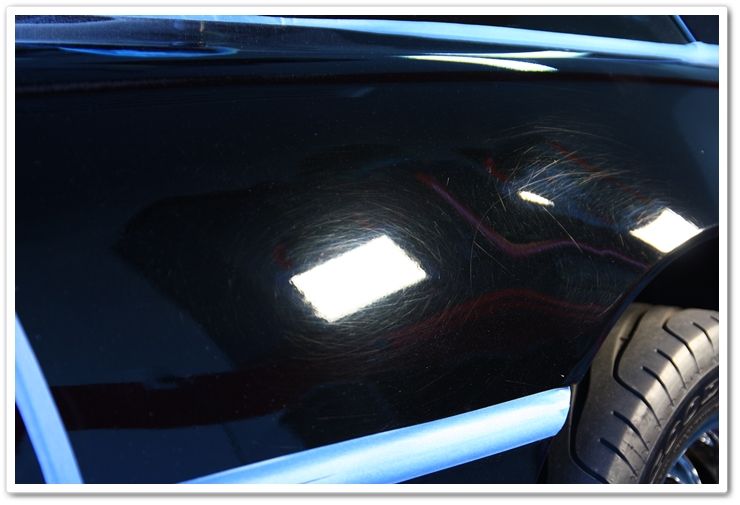
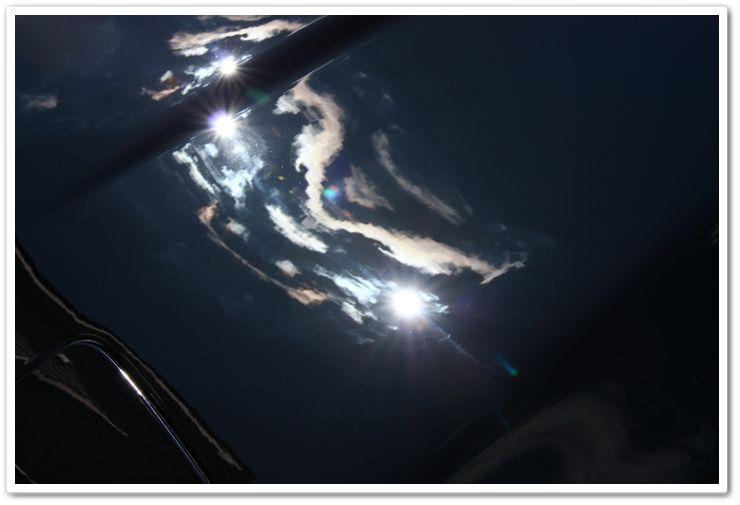
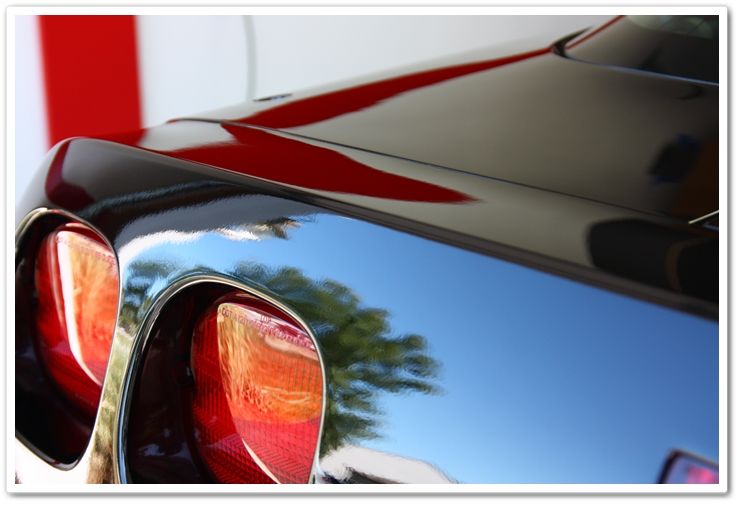
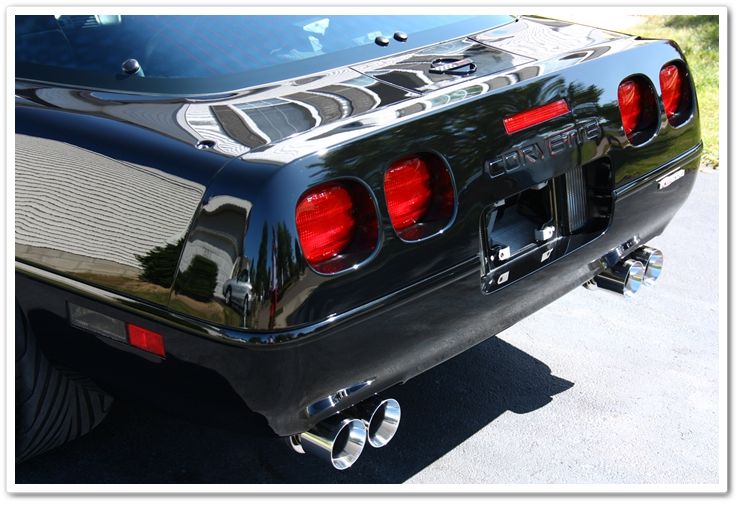
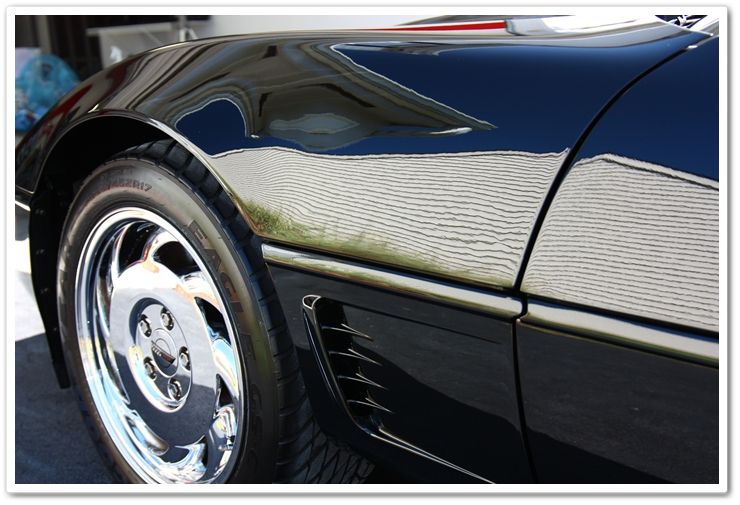
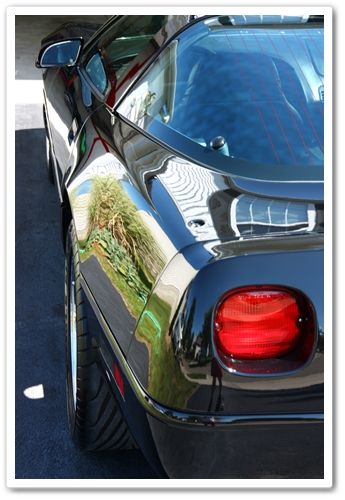
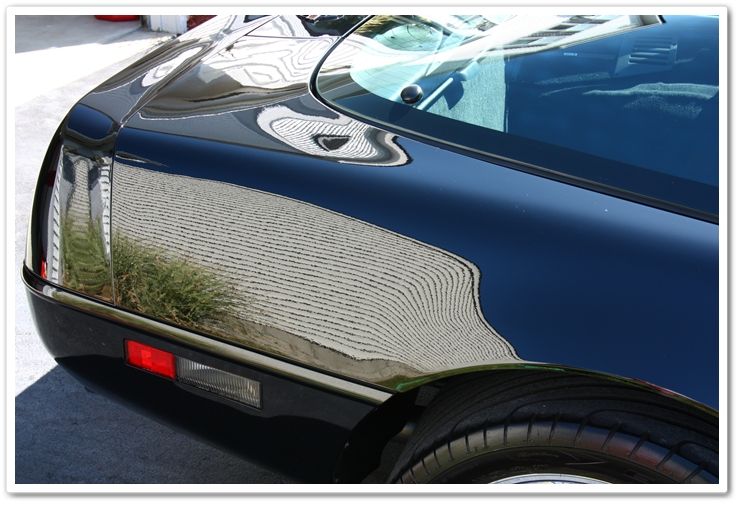
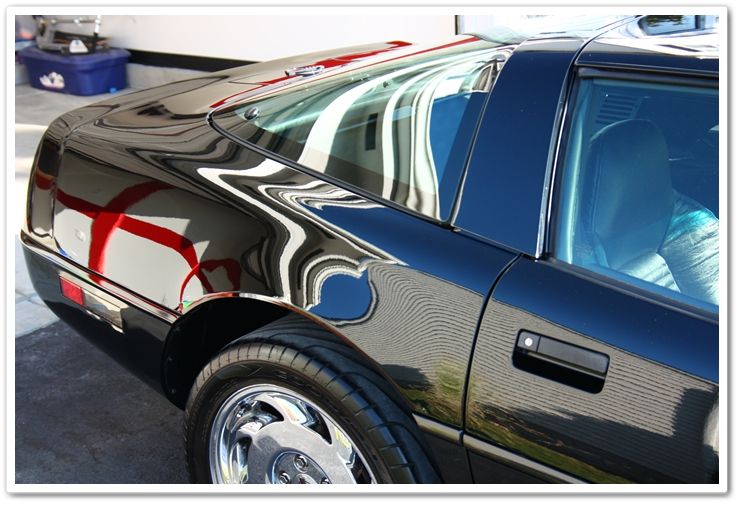
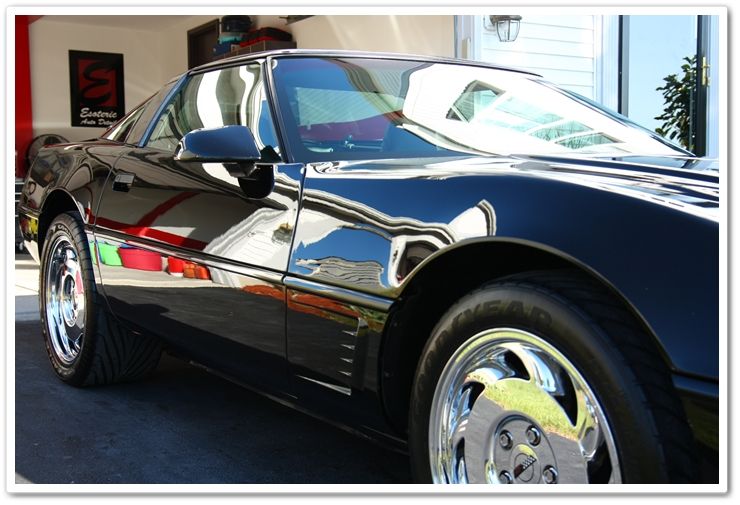
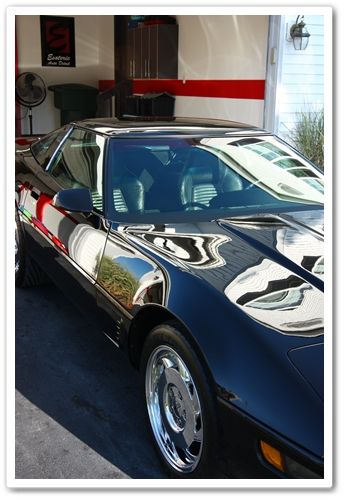
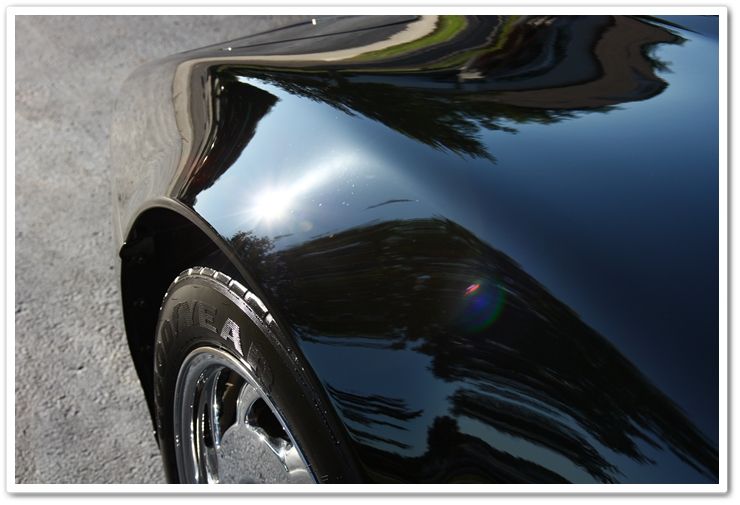
When you have a black car with a notoriously hard clear coat like the Corvette, and it pulls up looking like this, you know you have some overtime to work! Swirls this severe will hide the true color (especially on black), and in this case they made the car look charcoal-grey.
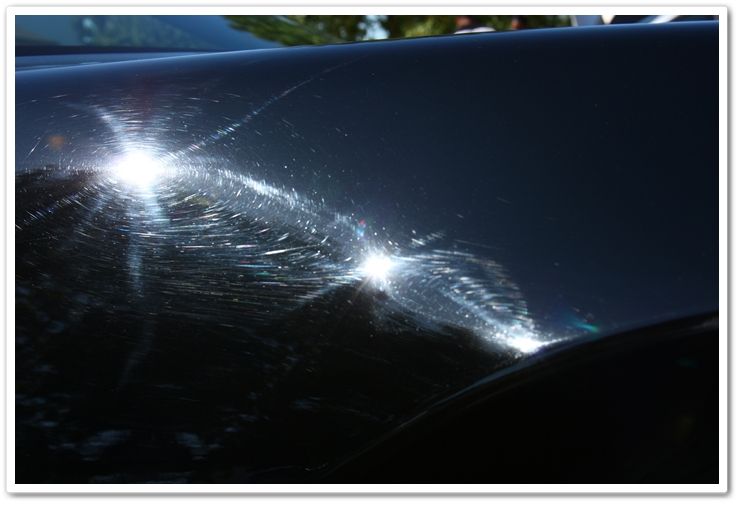
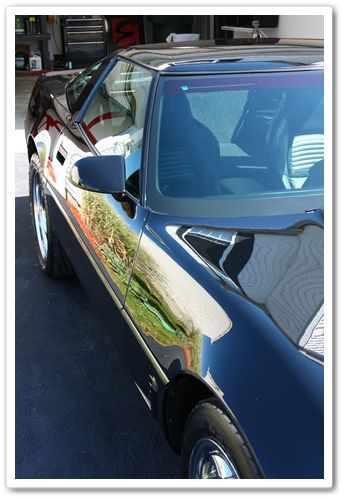
There were holograms mixed throughout as well.
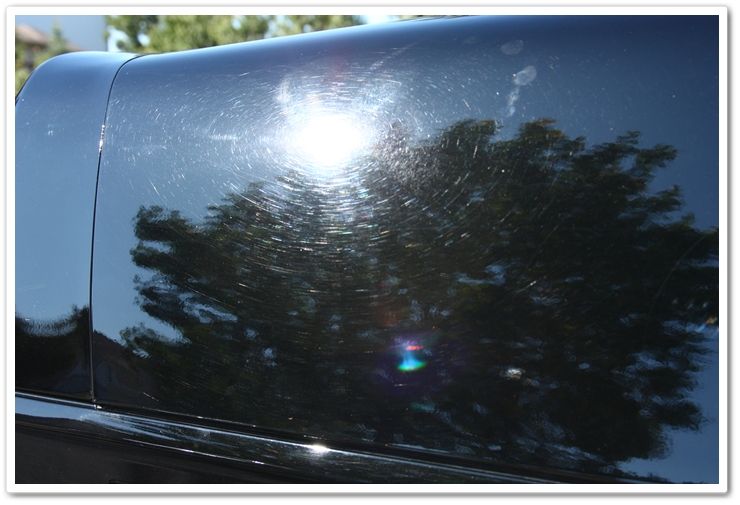
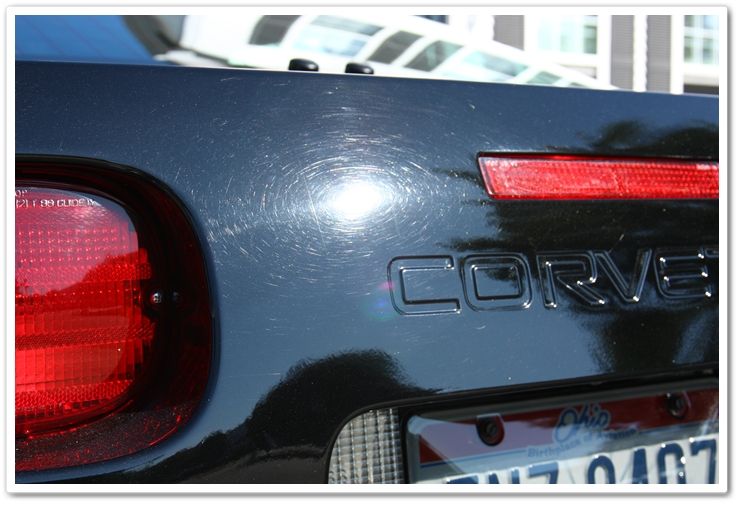
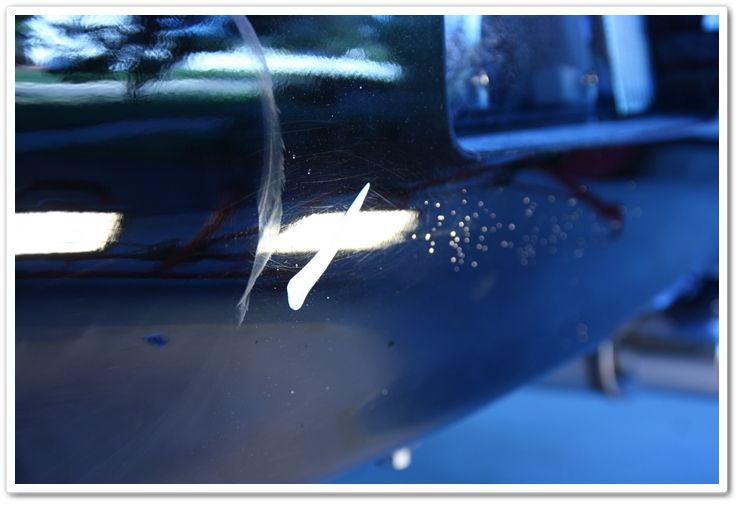
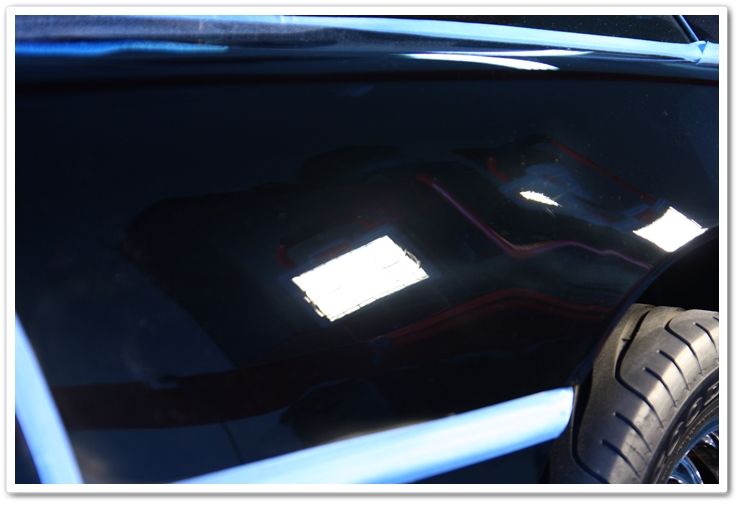
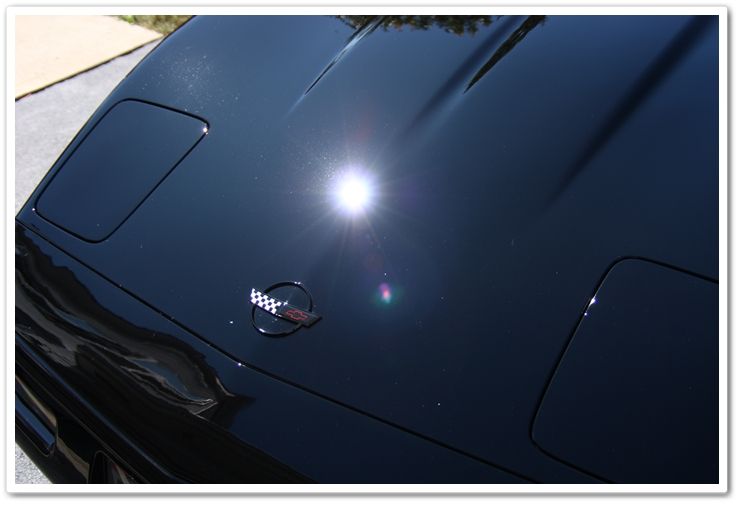
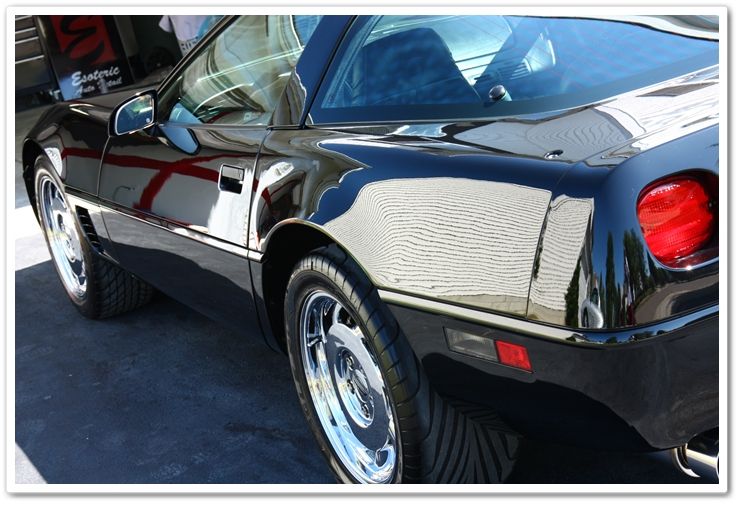
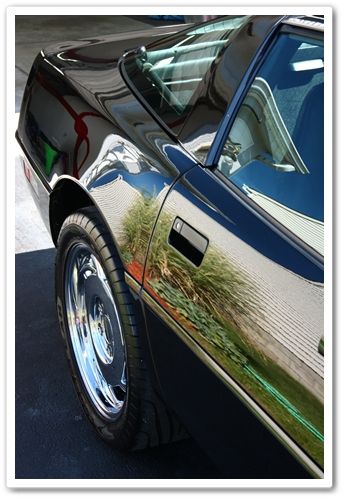
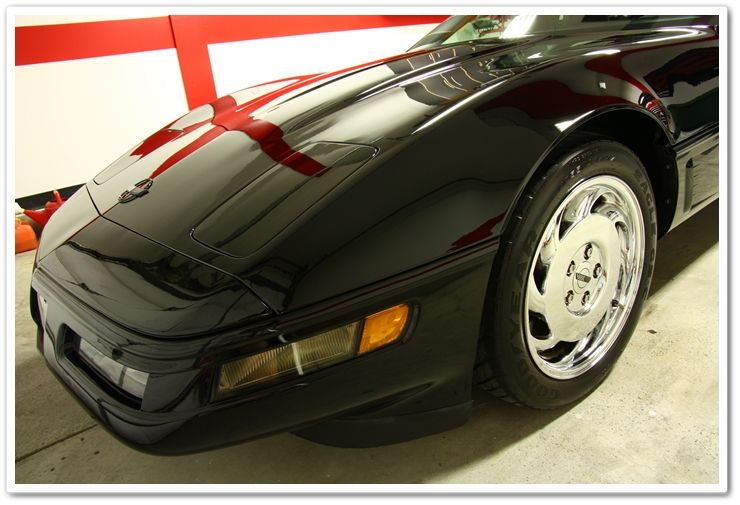
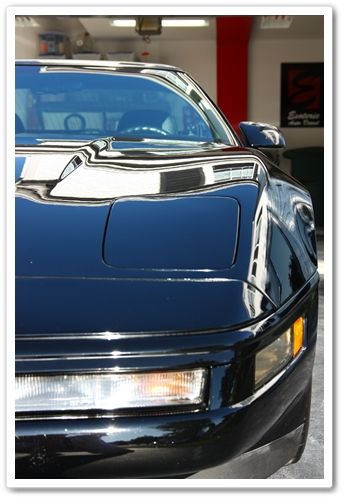
Here you can see where somebody tried to spot-fix a problem, and did more damage than good. Look at the hazy spot in the center of the photo.

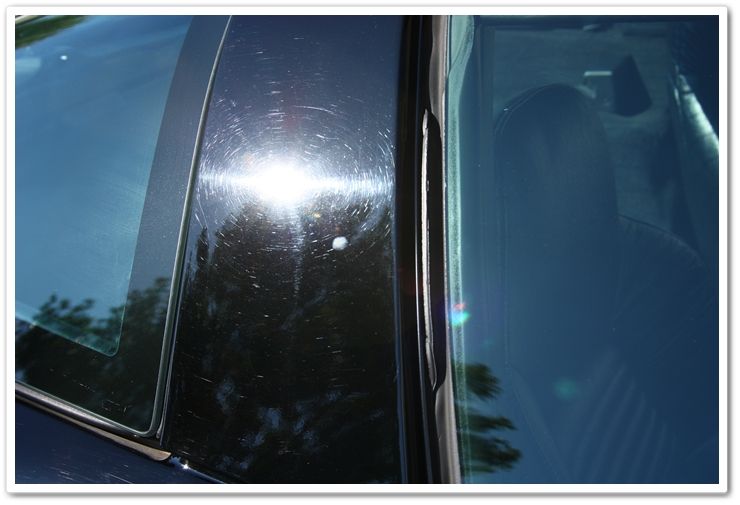
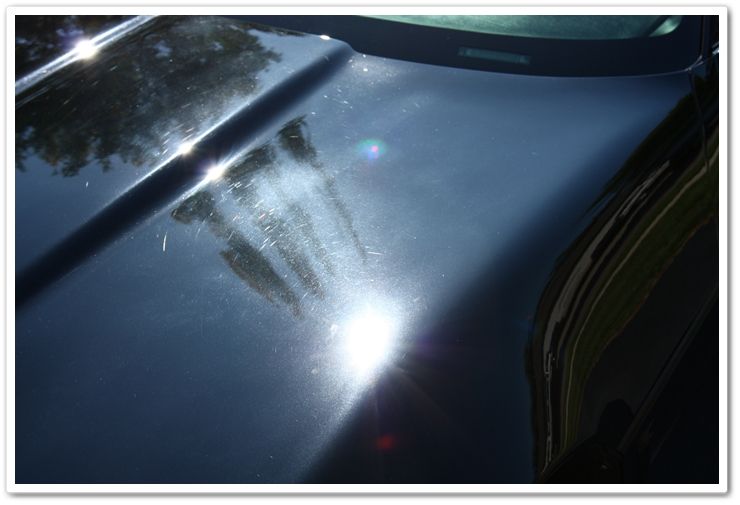
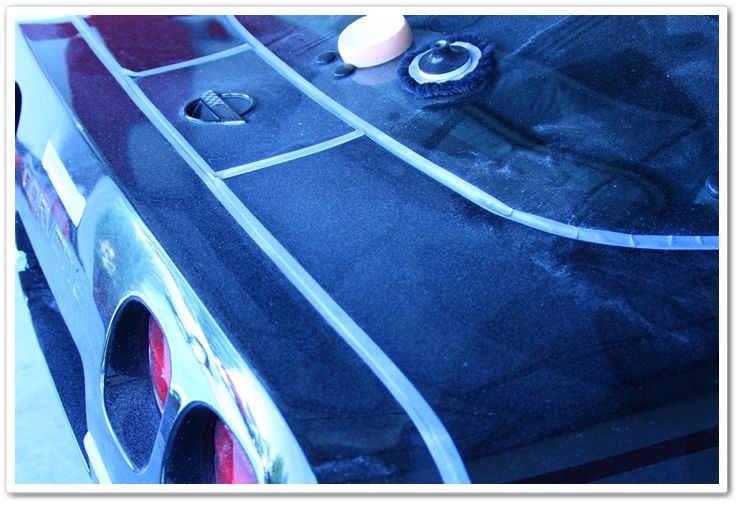
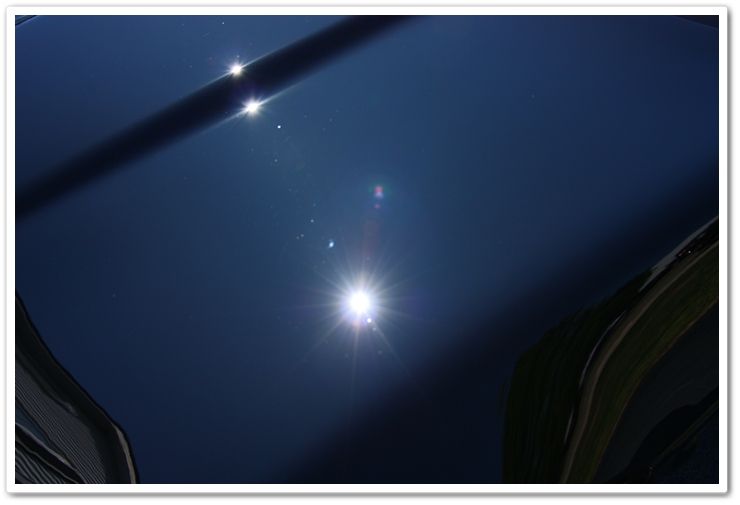
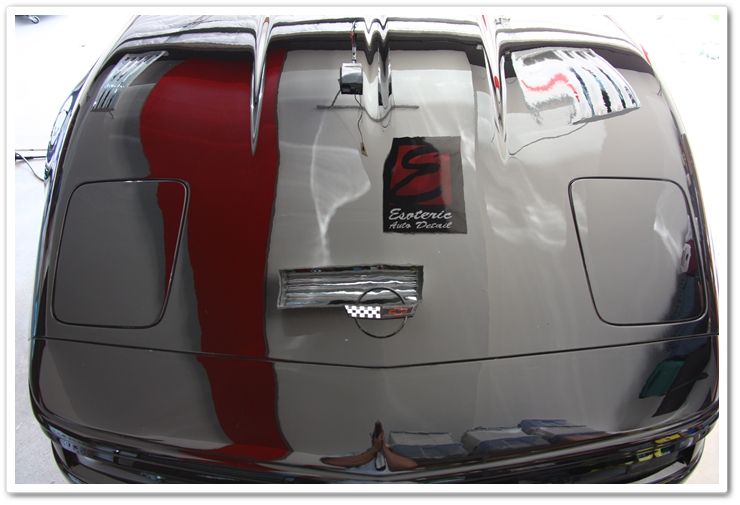
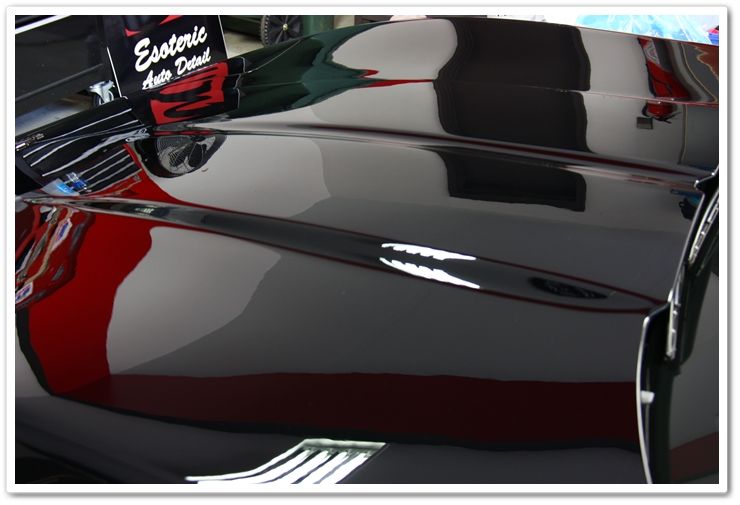
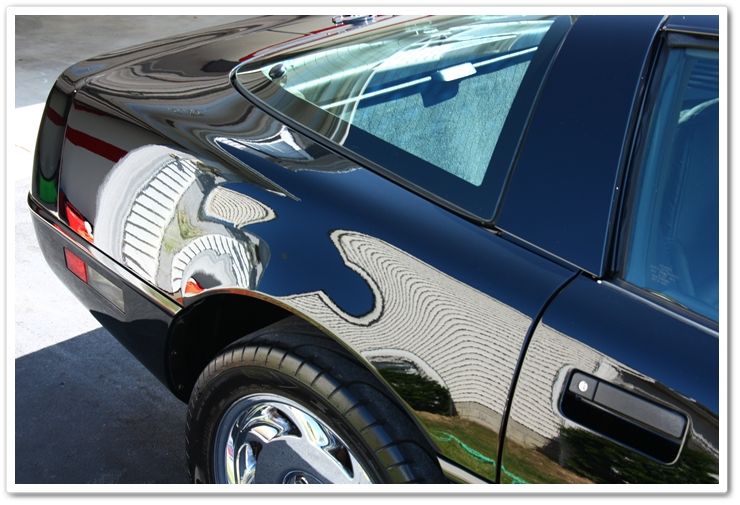
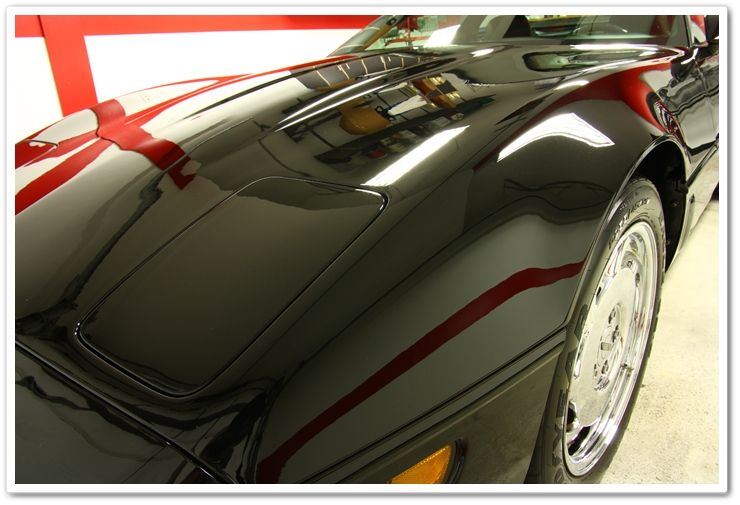
The hood was exceptionally bad. You can tell where somebody had attempted to polish the hood in the past, but gave up…leaving a hazy finish. This area would require more work than the rest!

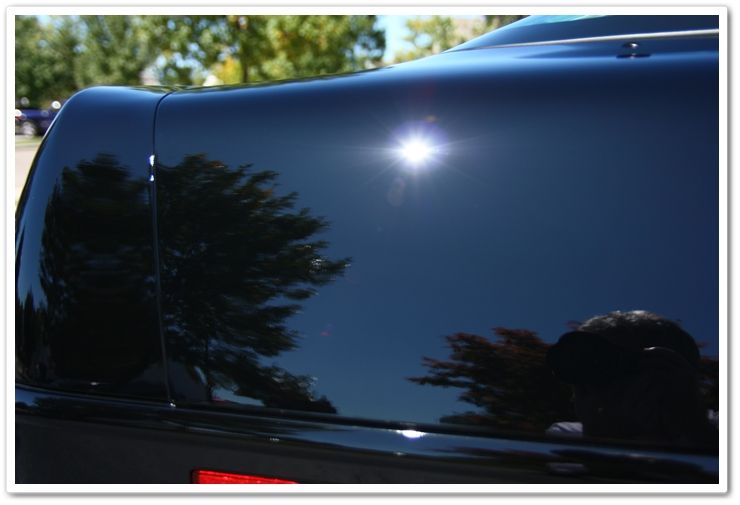
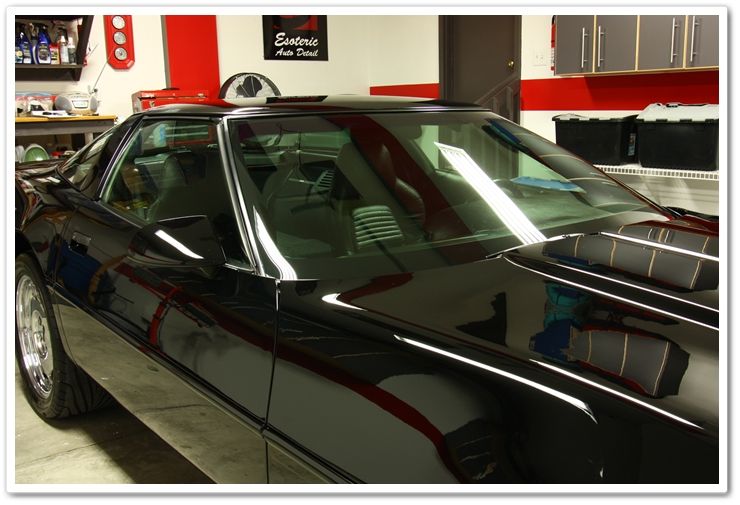
So now you have a good idea of the amount of work that lies ahead.
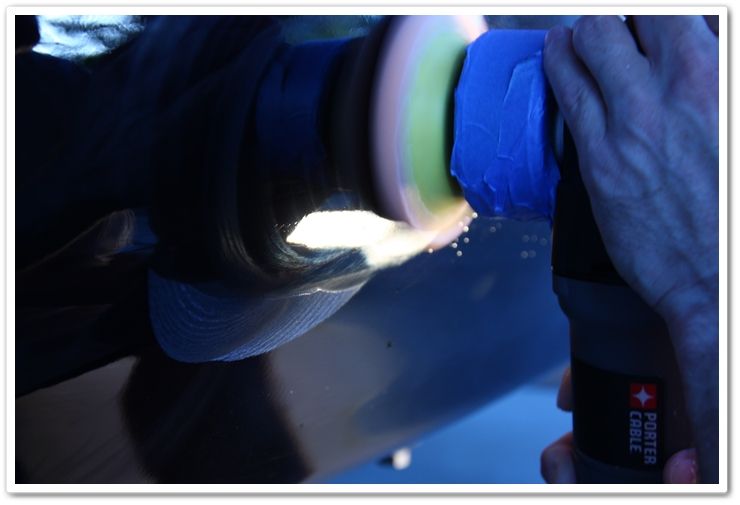
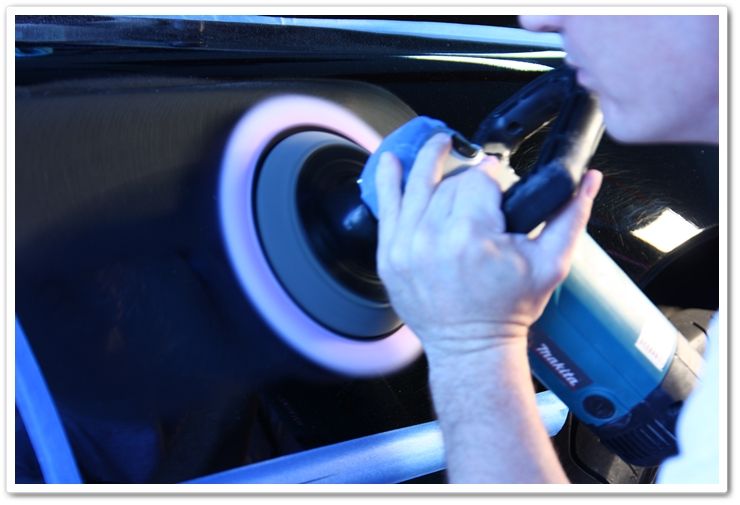
I prepped the Vette for surgery (wash, clay, tape), and proceeded with a heavy combination of Megs 105 and LC Purple Foamed Wool pads on the Makita rotary. I tried a few lighter combinations first, but they simply weren’t cutting the defects well enough. Despite the fact that I was using a heavy cut combination during the compounding stage, the hard Corvette clear wasn’t giving in easily! Many areas required 3-4 passes before I could move on to the next stage.
When I performed the initial inspection on this Corvette, I knew right away that it was going to experience a remarkable transformation. While readers always enjoy seeing amazing shots of beautiful Exotic vehicles, the ones with the unbelievable before and after shots always get the most attention.
1996 was the last year of the C4 generation Corvette (1984-1996), and the current owner just recently purchased it with 28K miles on the clock with plans to recondition it to as close to new as possible. He ordered a brand new set of wheels and tires (that didn’t arrive before I worked on it), he was having me recondition the paint, and then over the winter he is working on a big sound deadening/stereo install as well. Once he has completed the project it will be one of the nicest C4 drivers around!
As you will see from the photos below, the car had a severe case of swirls and deep, long scratches in the very hard Corvette clear coat. I knew that it was going to require a tremendous amount of work, but it would look stunning once properly leveled and polished out. We opted against a lot of wetsanding, and knew that it could only be brought back to about 90% of new without it, but at that rate it would still look better than most vehicles on the road. You can quickly achieve a point of diminishing returns on paint correction, so it is important to establish goals and expectations with the customer, as well as the budget that they have to work within. A 90% correction on this was 17 hours’ worth, whereas a 98%-100% could have taken 30+ hours.
Now that we’ve established a bit of history as well as goals, let’s go through the inspection to see what we have to work with.
When you have a black car with a notoriously hard clear coat like the Corvette, and it pulls up looking like this, you know you have some overtime to work! Swirls this severe will hide the true color (especially on black), and in this case they made the car look charcoal-grey.
There were holograms mixed throughout as well.
Here you can see where somebody tried to spot-fix a problem, and did more damage than good. Look at the hazy spot in the center of the photo.
The hood was exceptionally bad. You can tell where somebody had attempted to polish the hood in the past, but gave up…leaving a hazy finish. This area would require more work than the rest!
So now you have a good idea of the amount of work that lies ahead.
I prepped the Vette for surgery (wash, clay, tape), and proceeded with a heavy combination of Megs 105 and LC Purple Foamed Wool pads on the Makita rotary. I tried a few lighter combinations first, but they simply weren’t cutting the defects well enough. Despite the fact that I was using a heavy cut combination during the compounding stage, the hard Corvette clear wasn’t giving in easily! Many areas required 3-4 passes before I could move on to the next stage.


")