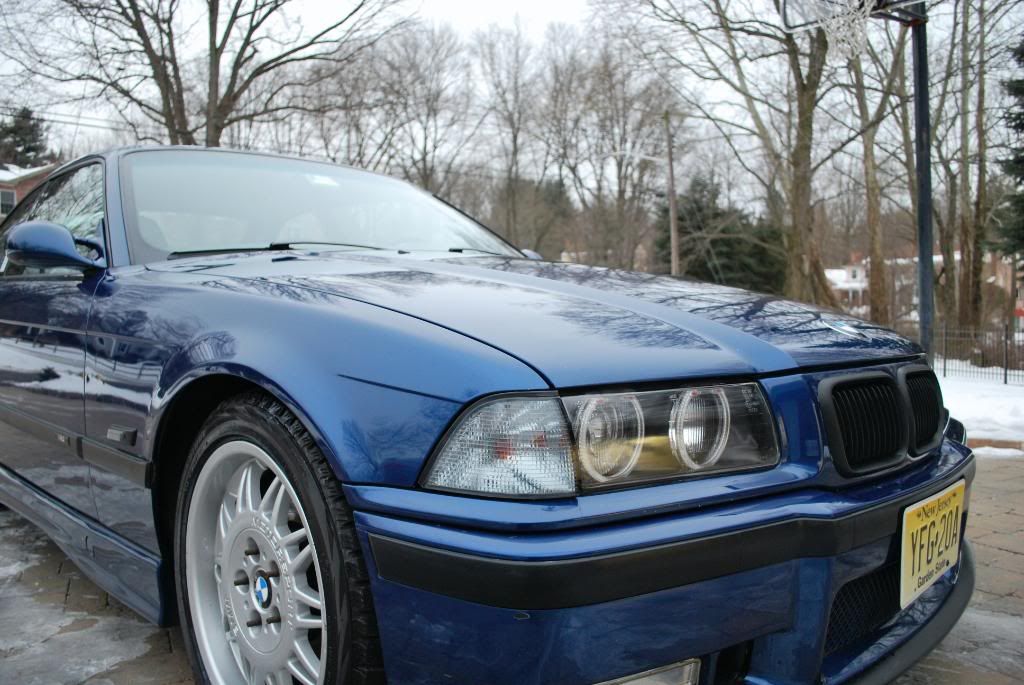
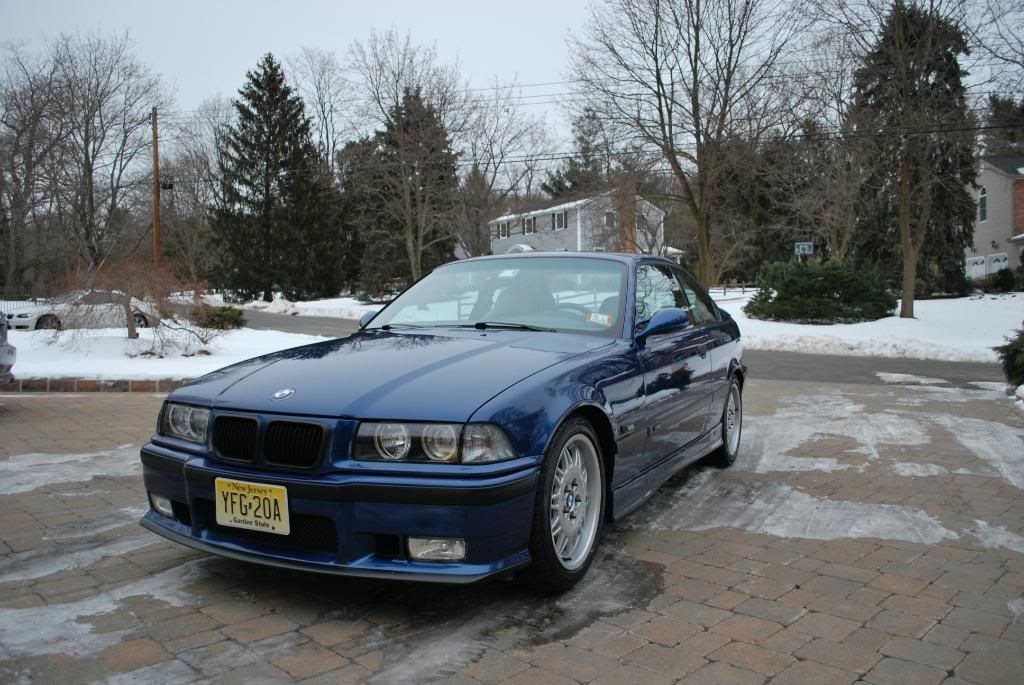
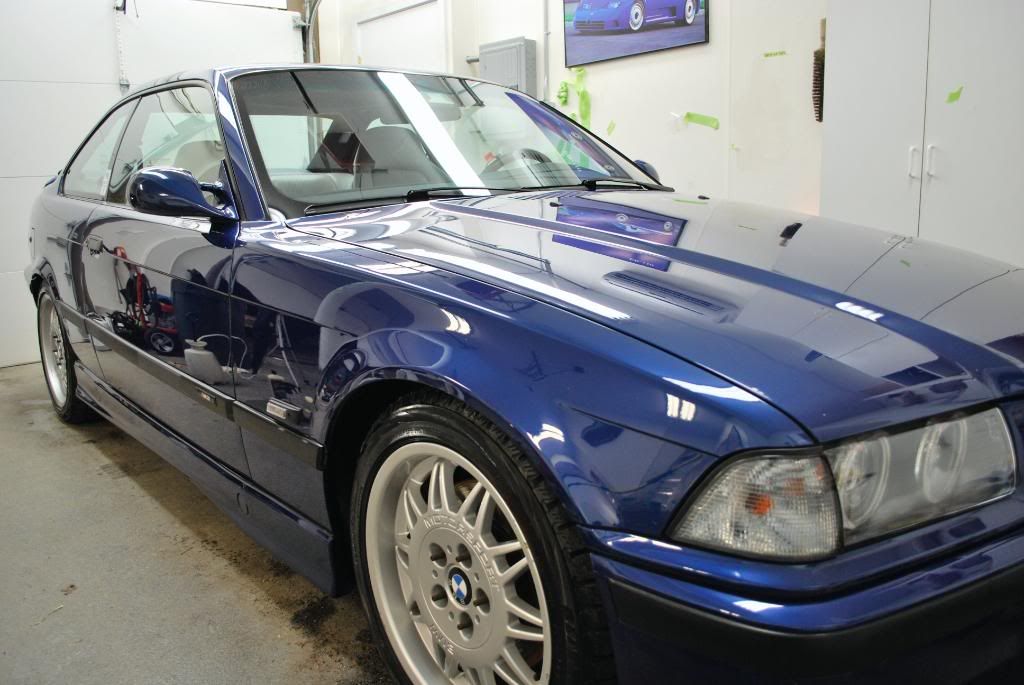
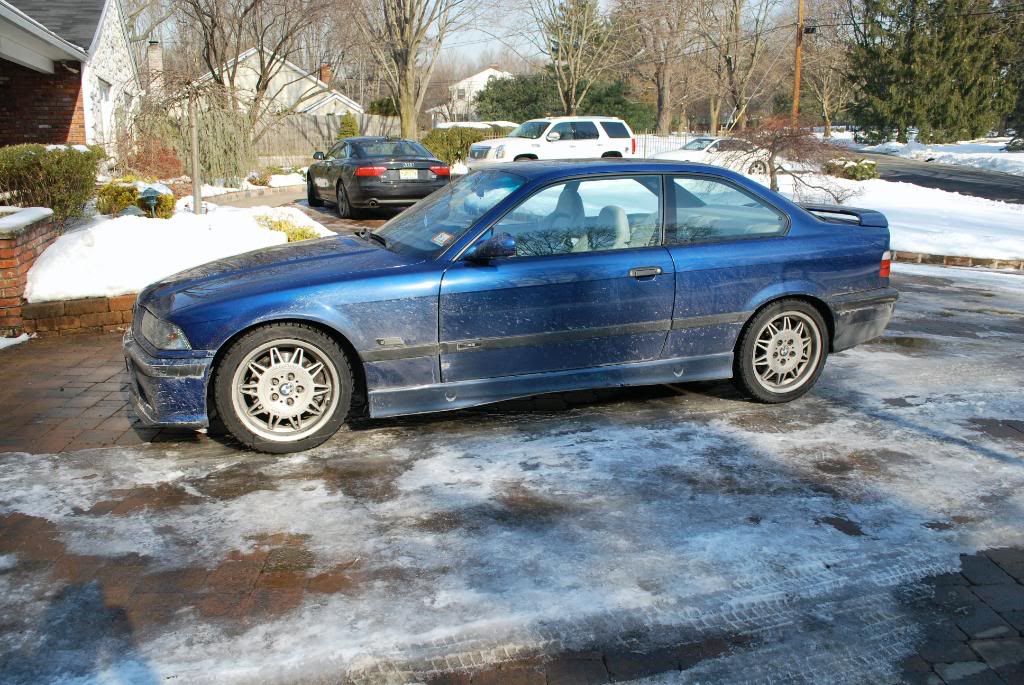
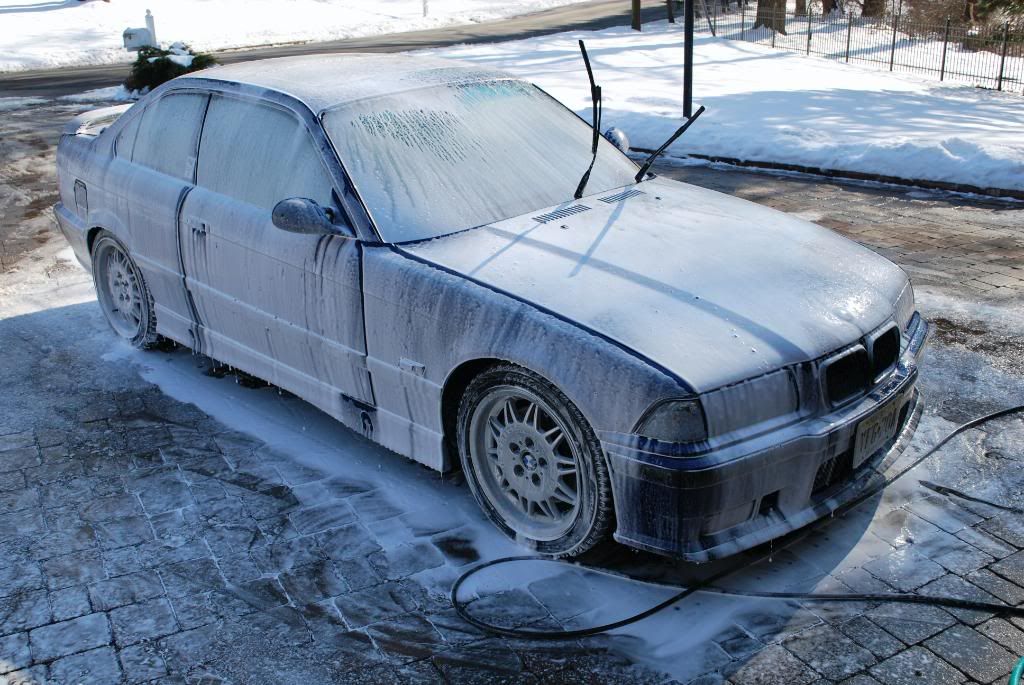
Had the pleasure of working on this the e36 M3 in Avus Blue. This car was booked for a full 3 day correction.
This M3 is actually used as a DD, now sitting on WS60 Blizzaks it is fully capable of getting around in the winter. As you can see this car is no garage queen:applause2:
On with the detail...
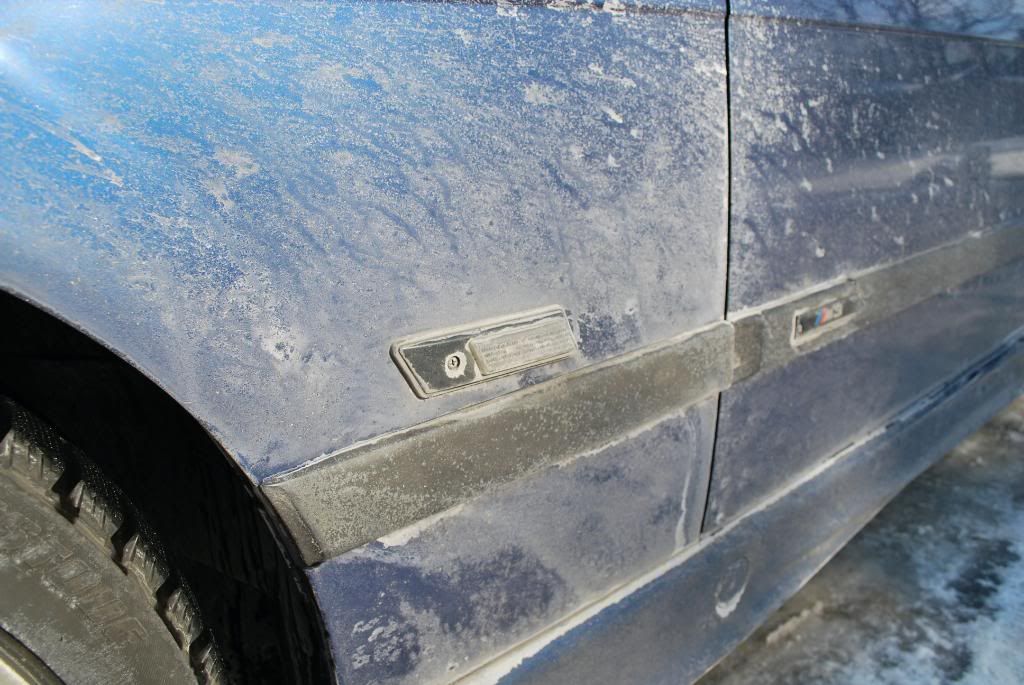
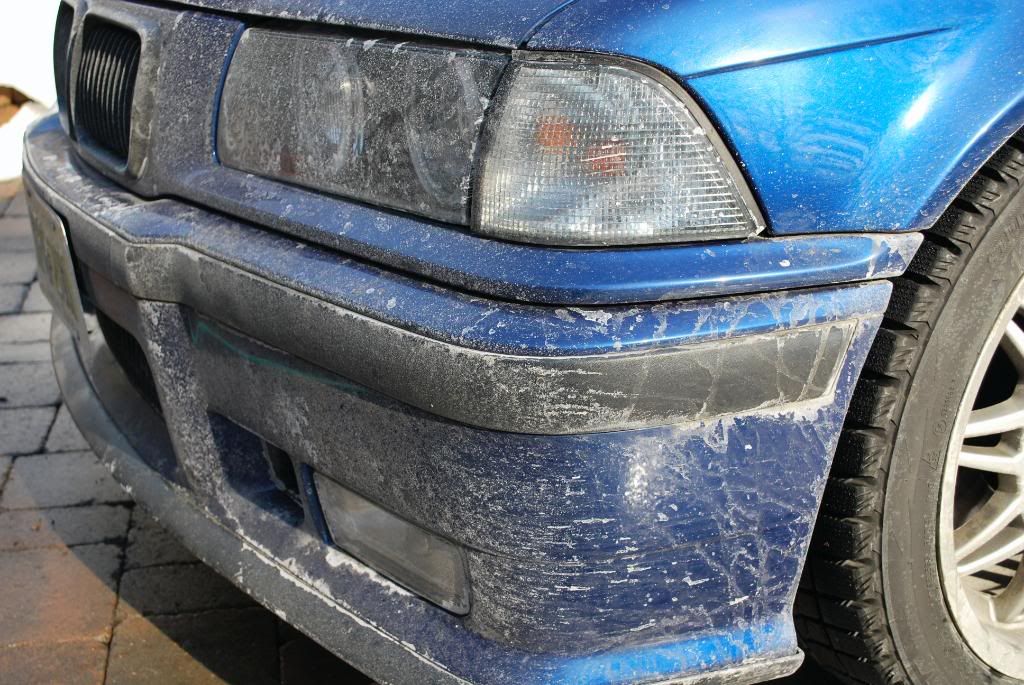
Some before shots
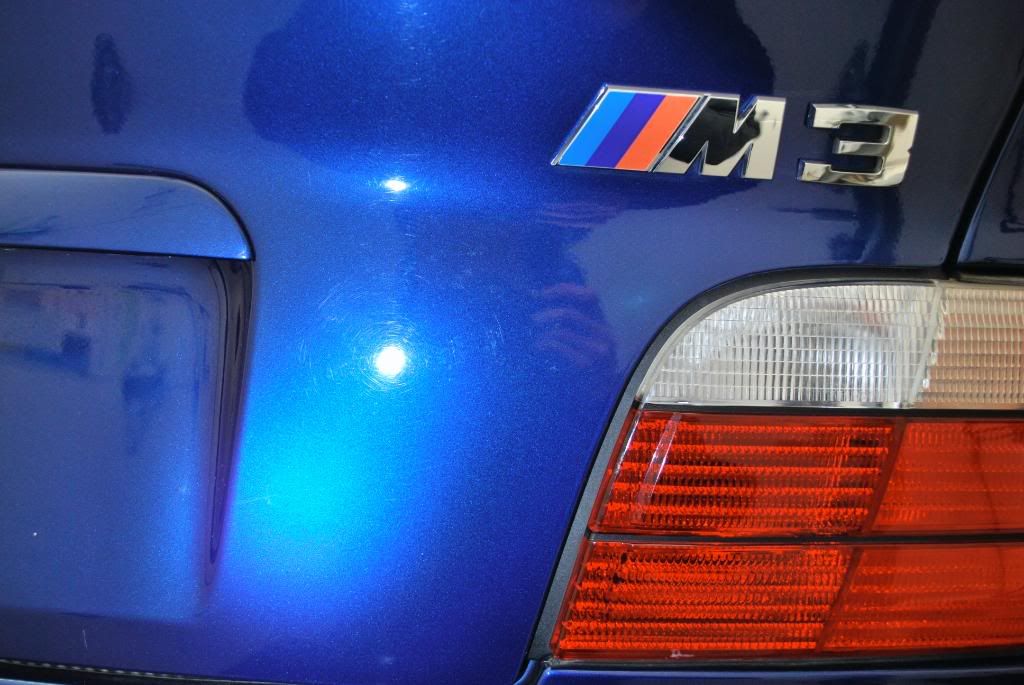
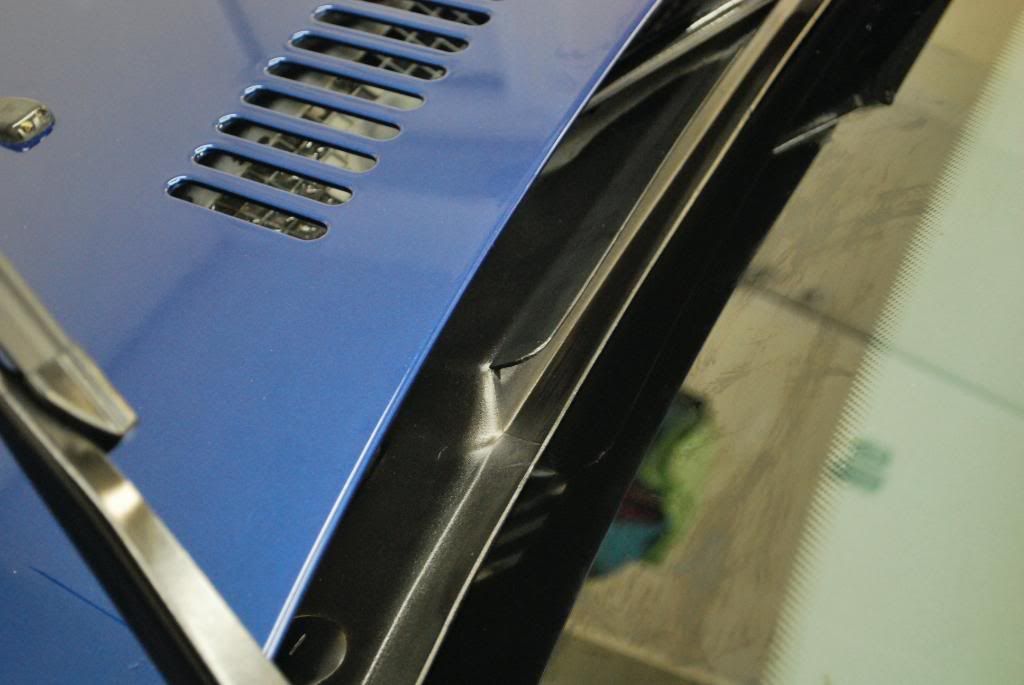
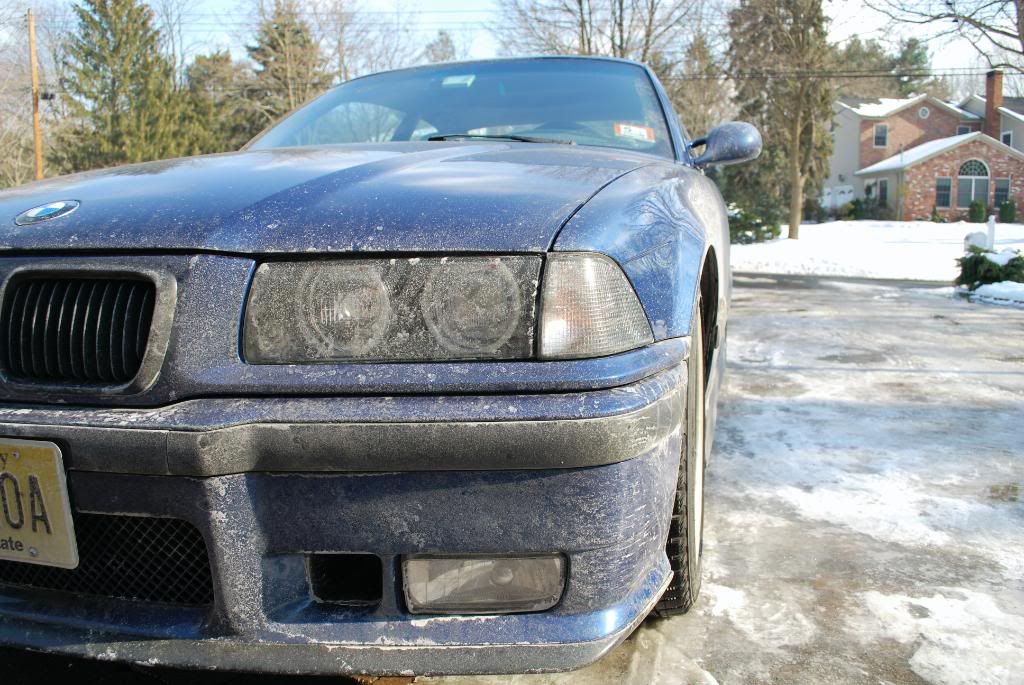
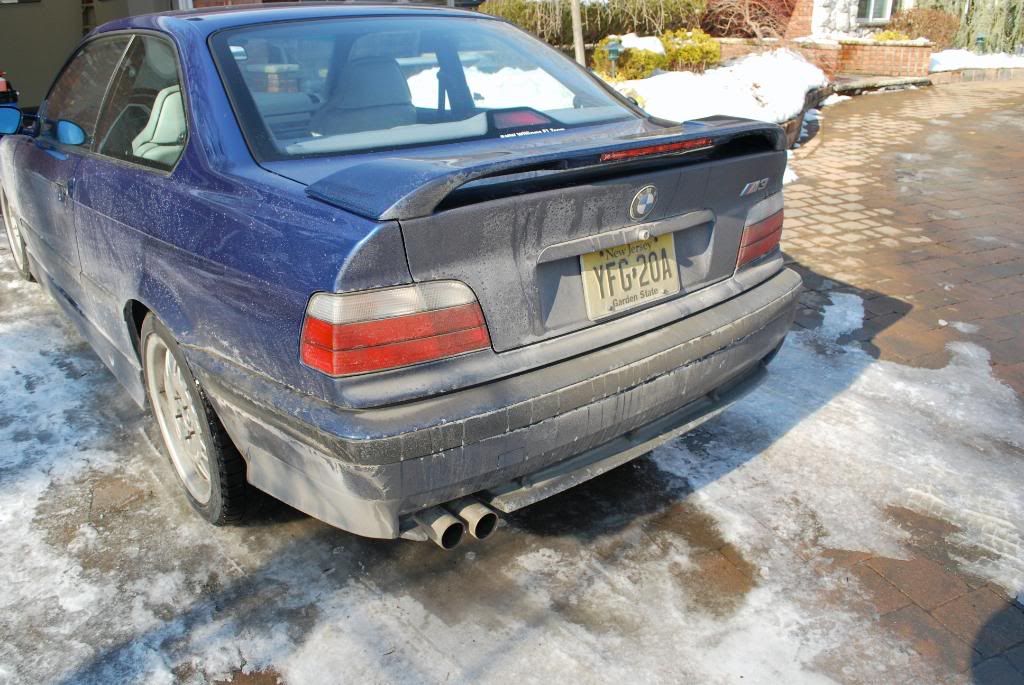
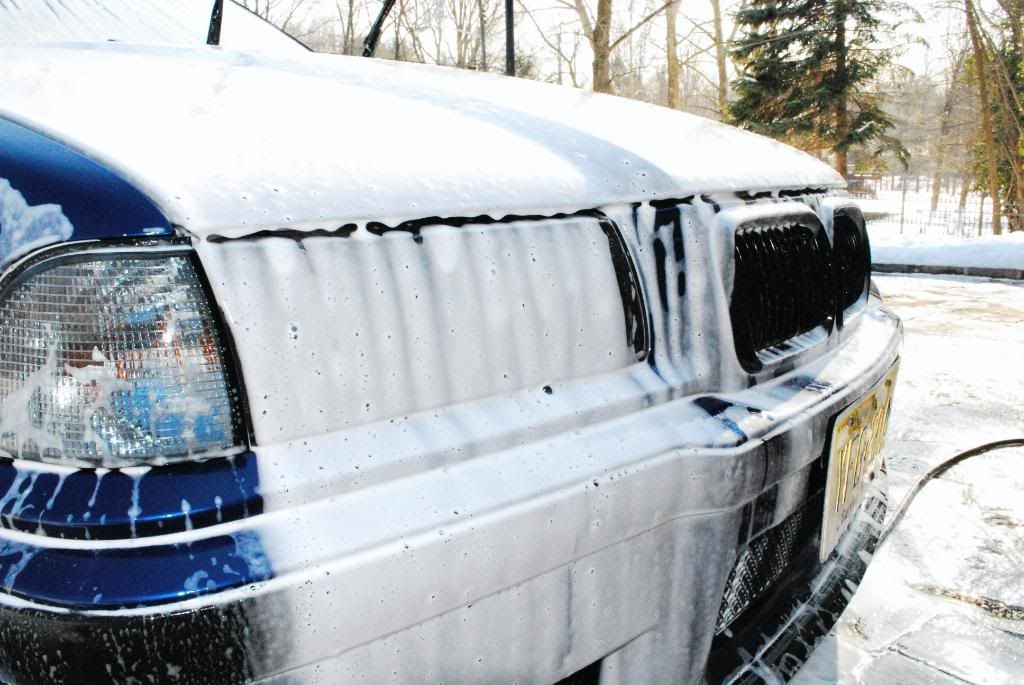
You can see the amount of road salt dried on the paint
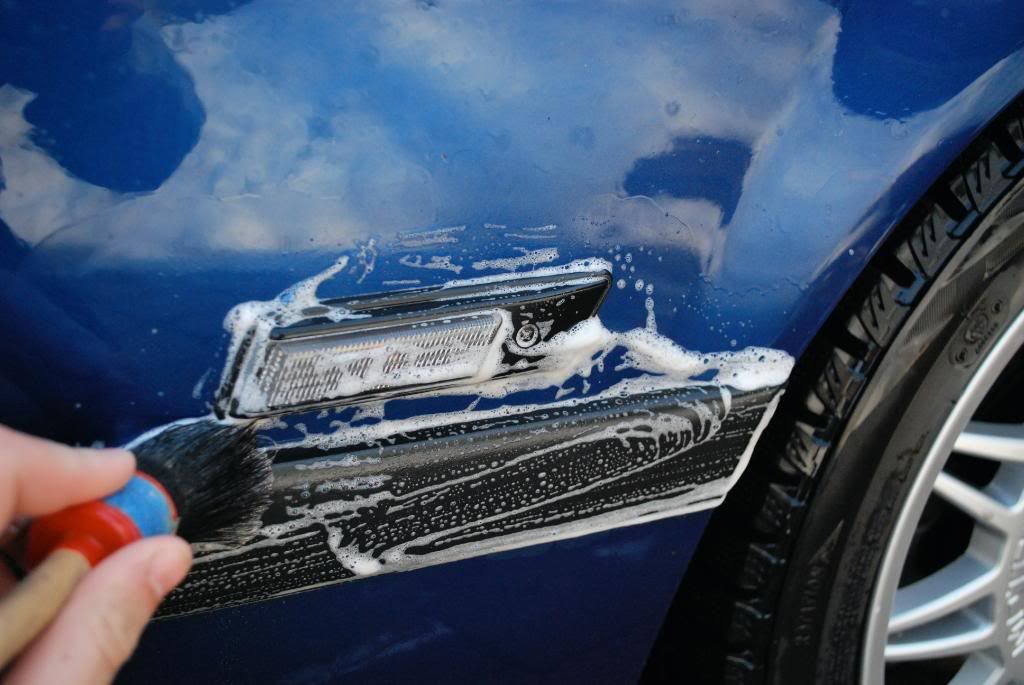
The salt damage really took its toll on the plastic moldings
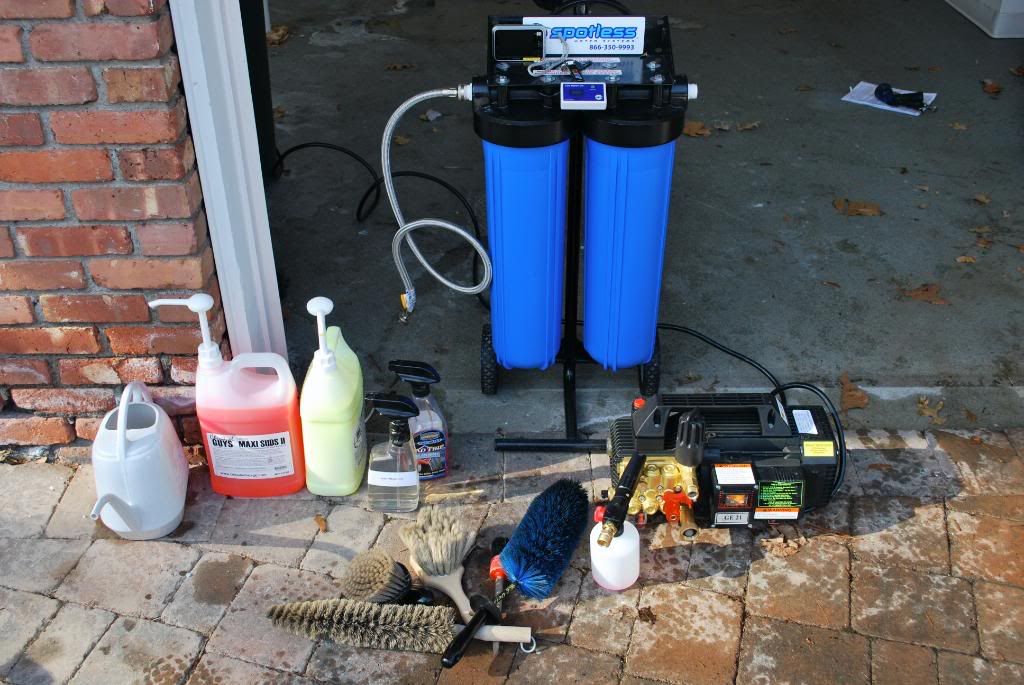
After some thought I assembled my wash process products. To me the proper, thorough wash process sets the pace for the rest of the detail.
- CG Maxi suds for pre-foam (x2)
- CG CWG for wash w/ 2 shmitts
- Surf city grime destroyer for some stubborn lower panel grime
- Safe degreaser 3:1 for tires and wheel wells
- Assortment of wheel and tire brushes
- Gloss It safe wheel gel
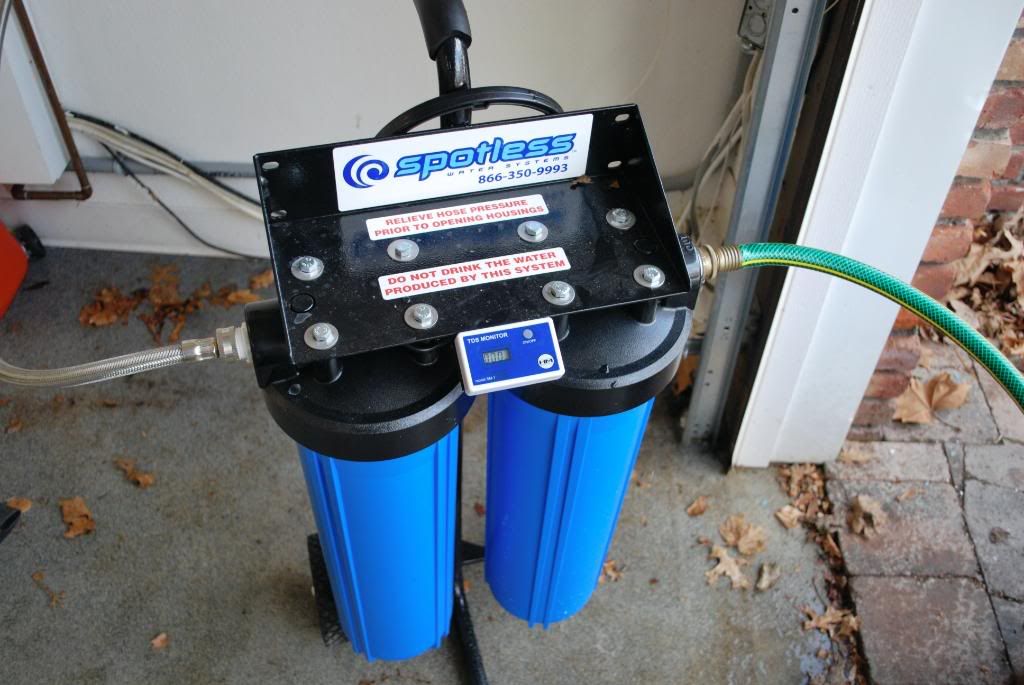
I used the DIC 20 CRspotless coupled with the camspray 1500 for most all the last step paint washing. For the pre-rinses and cleaning the wheels I feel there is no need to use DI water as those CR resin bags are very expensive and I did use a ton of water during the rinsing and wash process of this car.
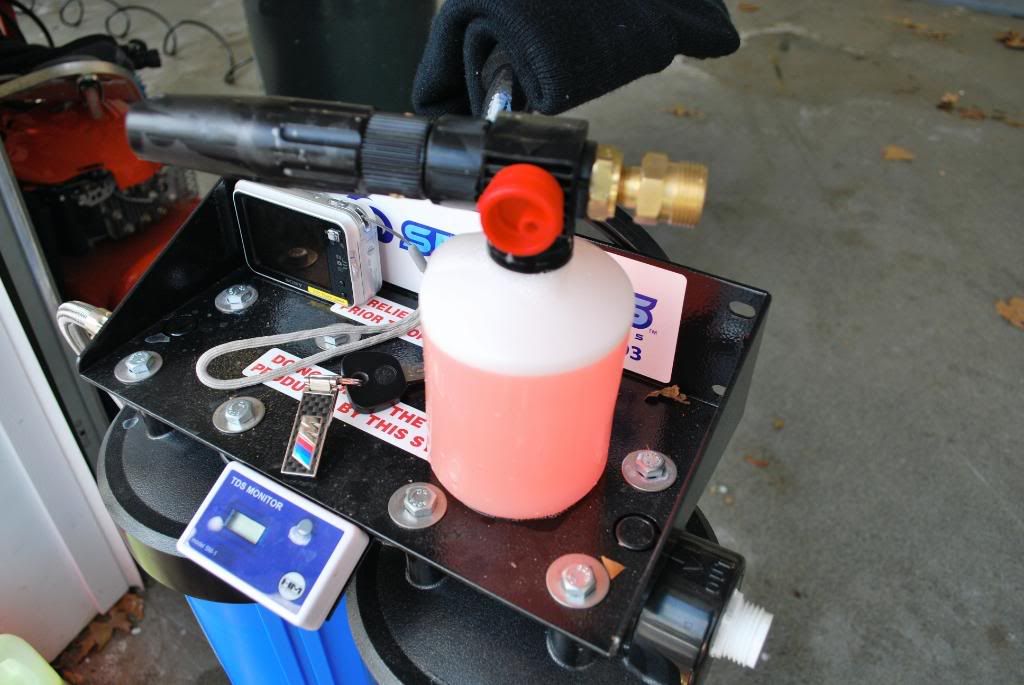
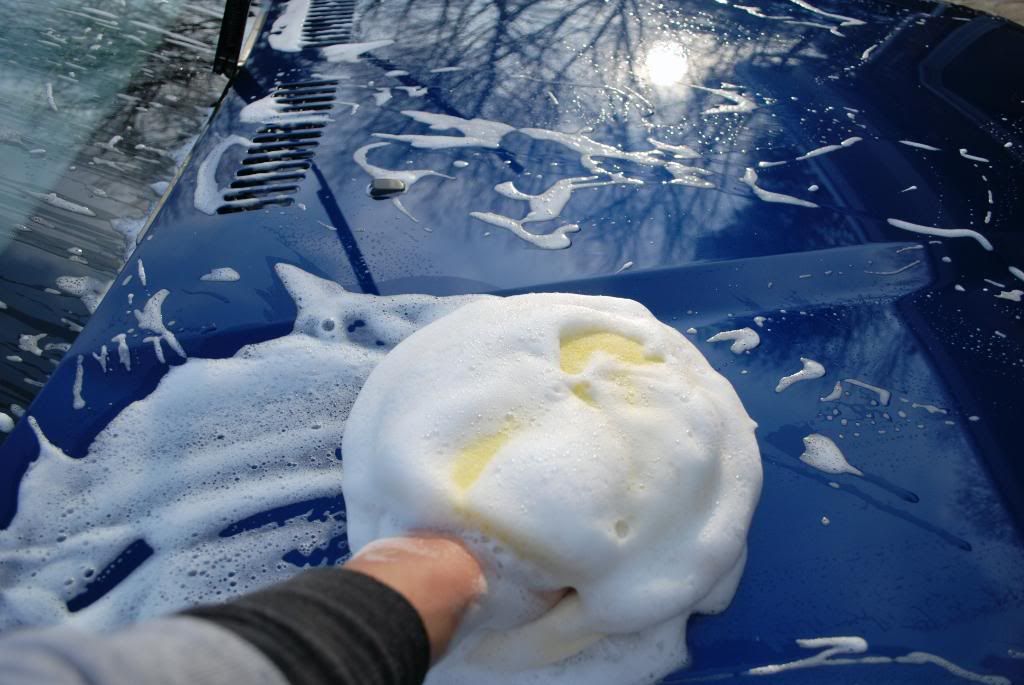
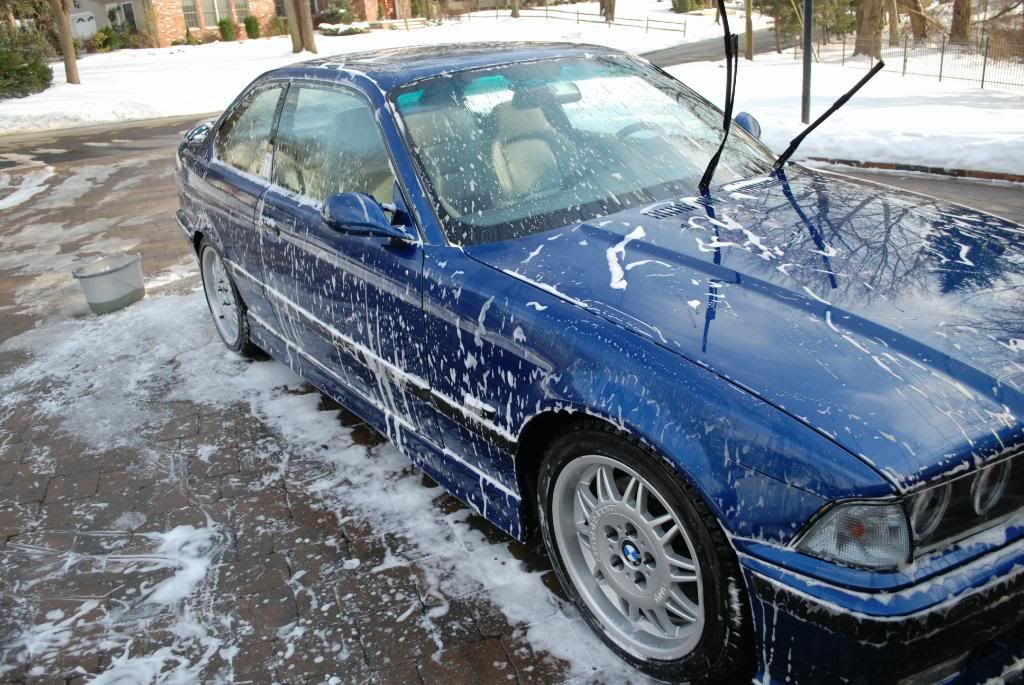
Set up the camspray foamer with a strong mix of Maxi Suds
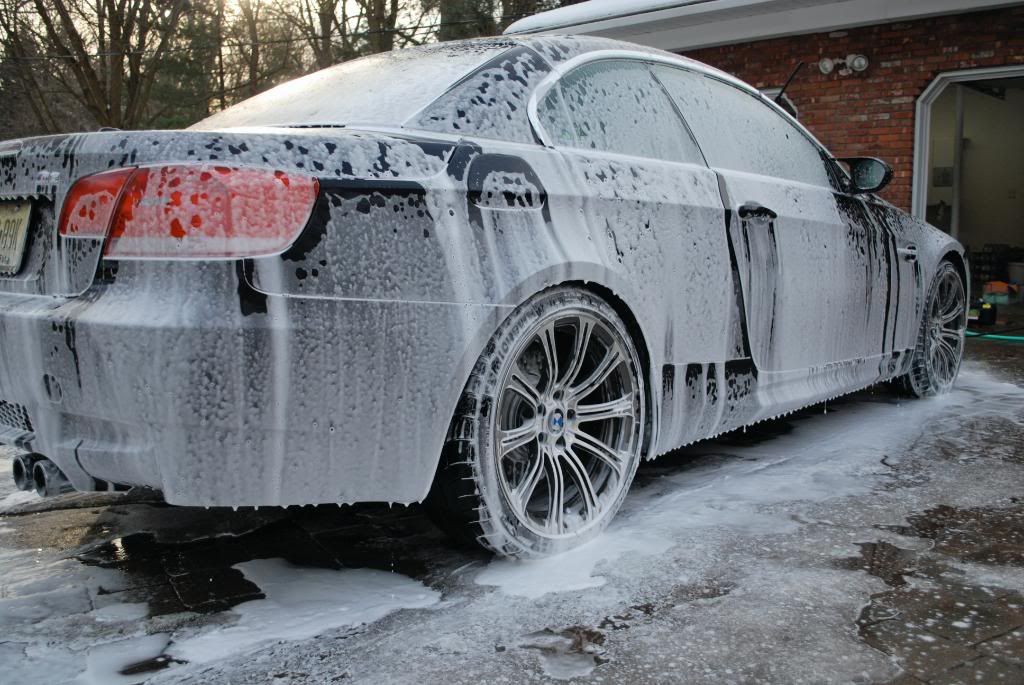
Im still getting used to the thick foam capable of being sprayed though this little lance and bottle... this car being a little extra dirty I decided to foam the car twice for 10 minutes each to ensure as much dirty and especially salt was loosened up on the paint before starting my 2 bucket wash process.
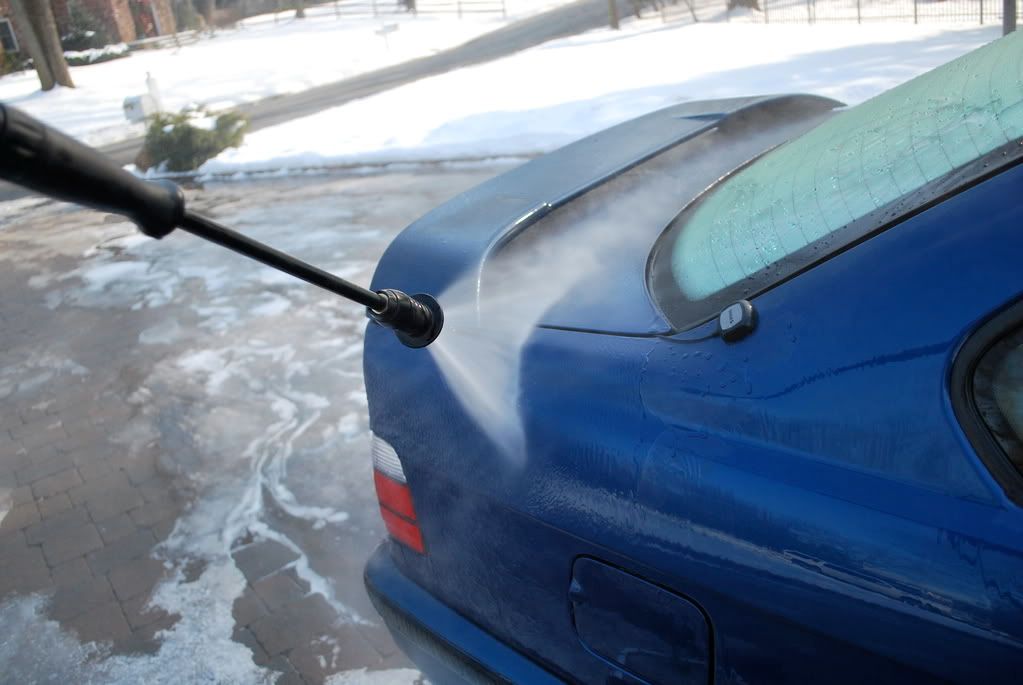
I spent 10-12 minutes just rinsing this car at high pressure, aiming to blast off as much salt and grime as possible before foaming and washing.
This shot was a bit overexposed but you get the idea of how the foam sits on the paint
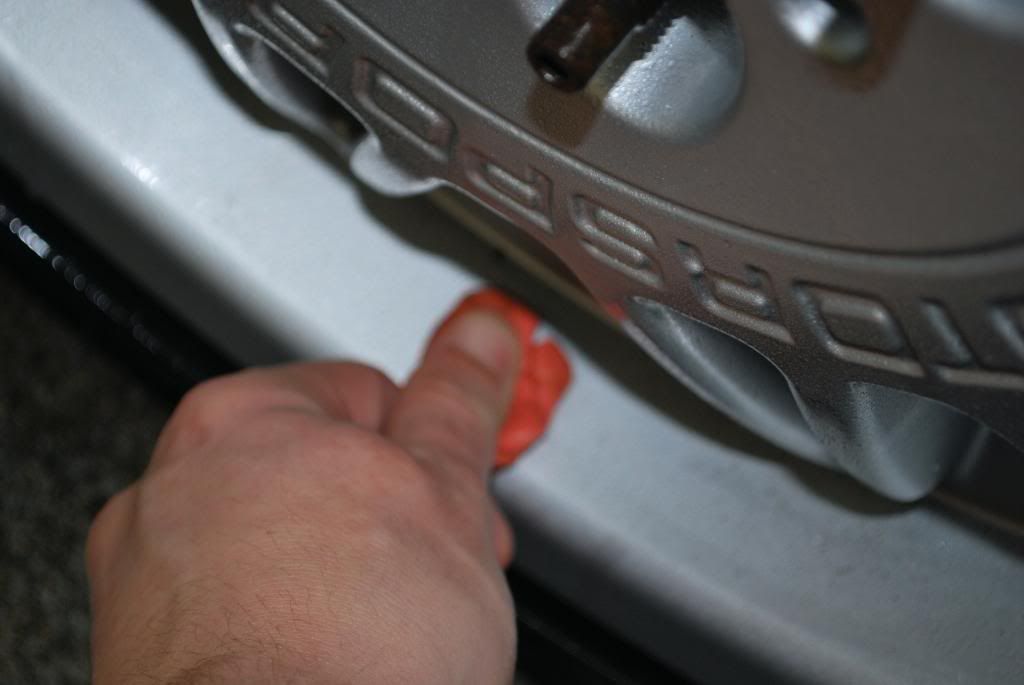
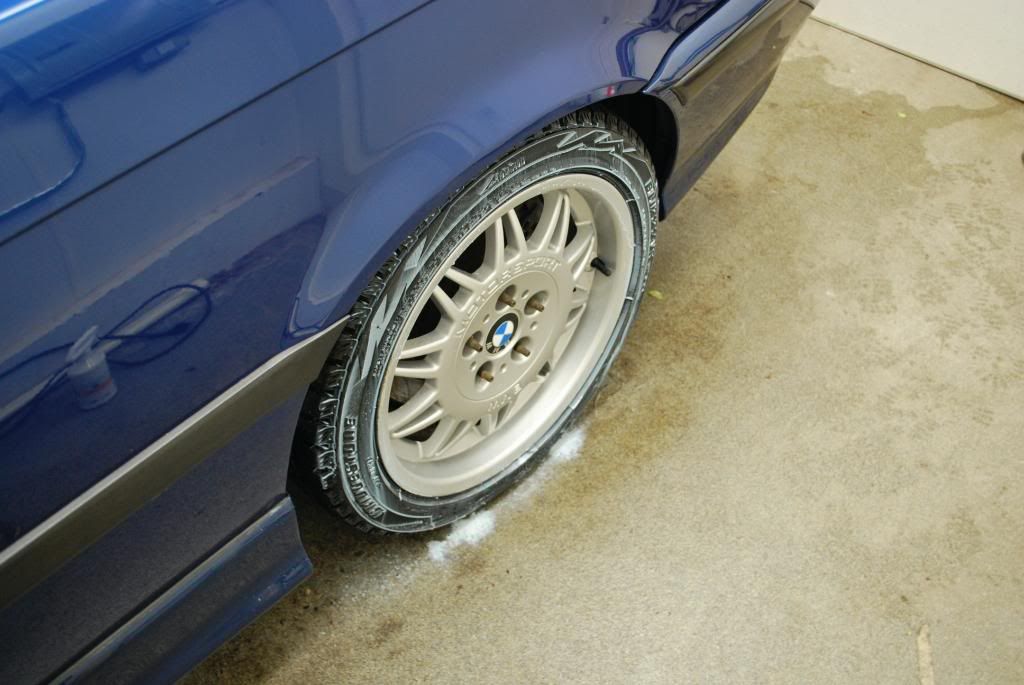
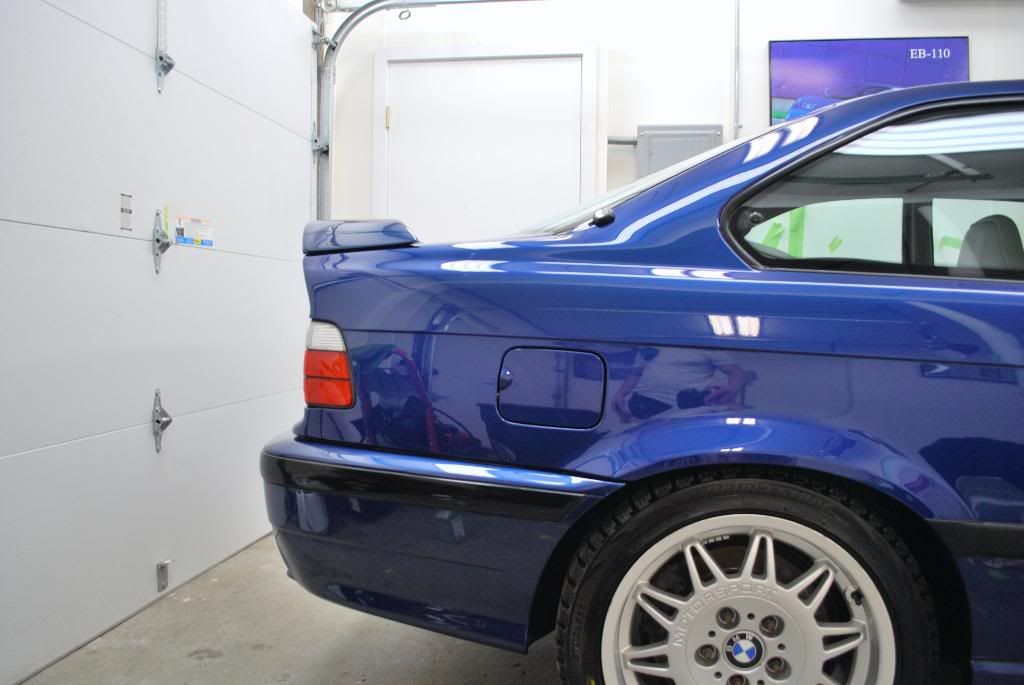
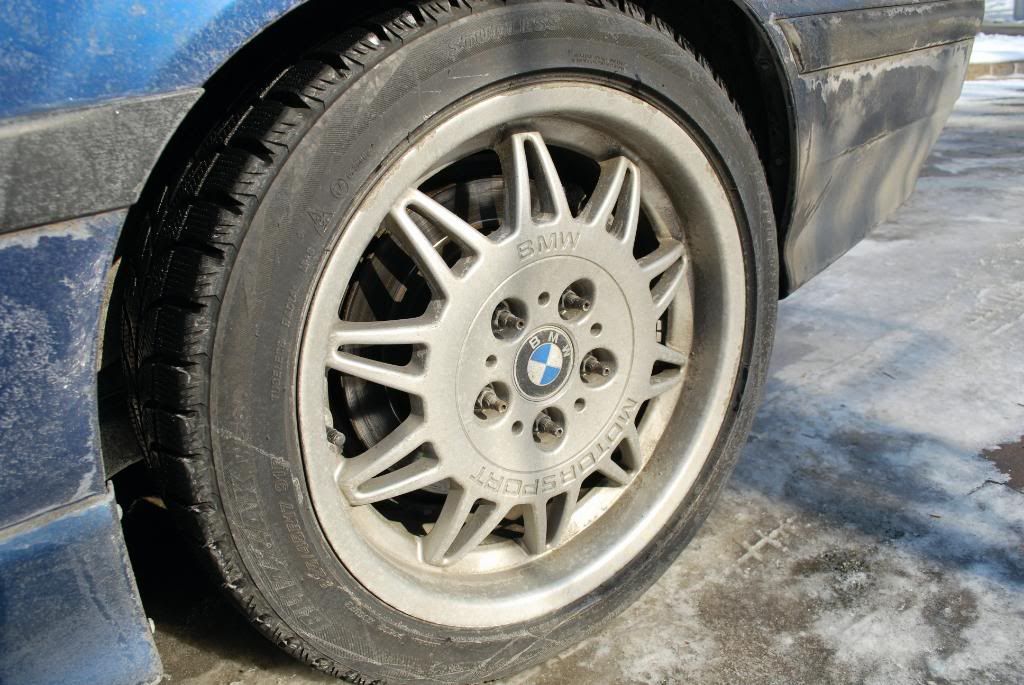
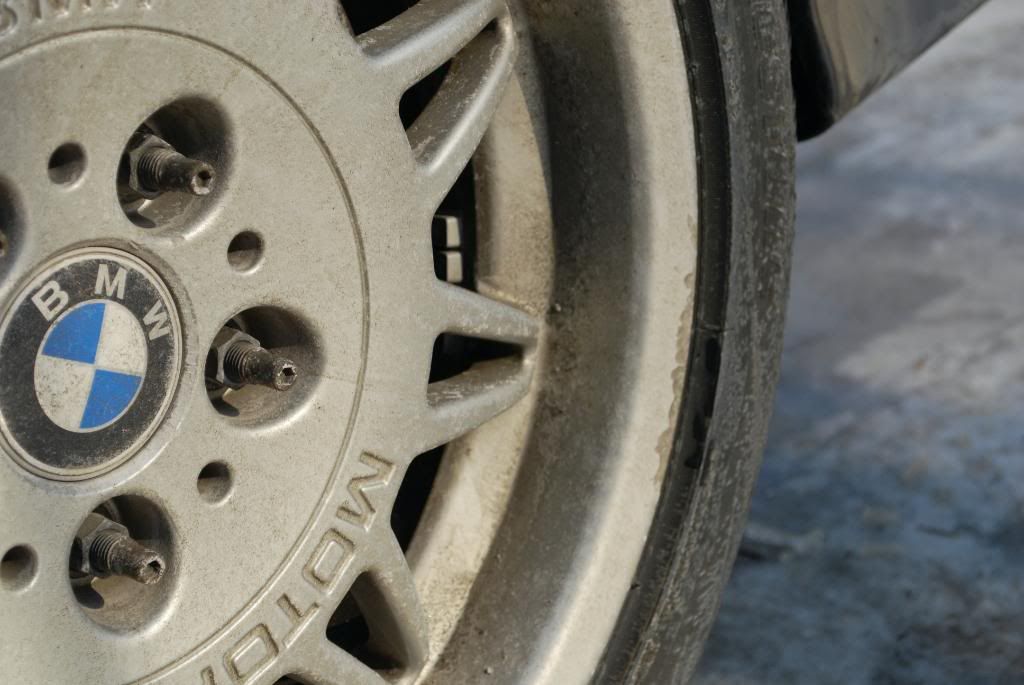
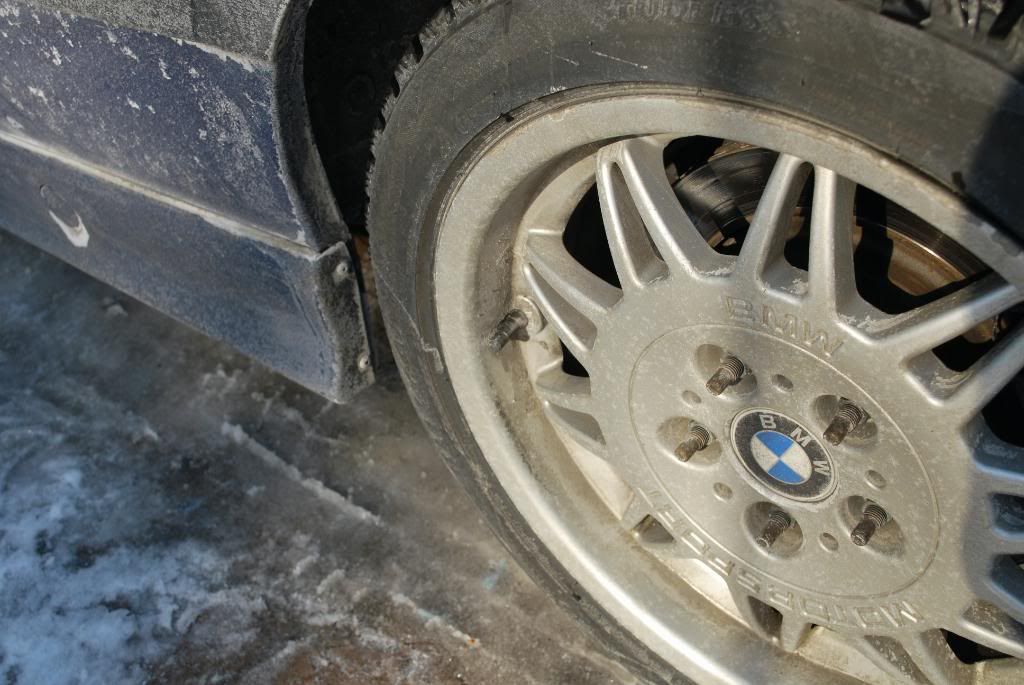
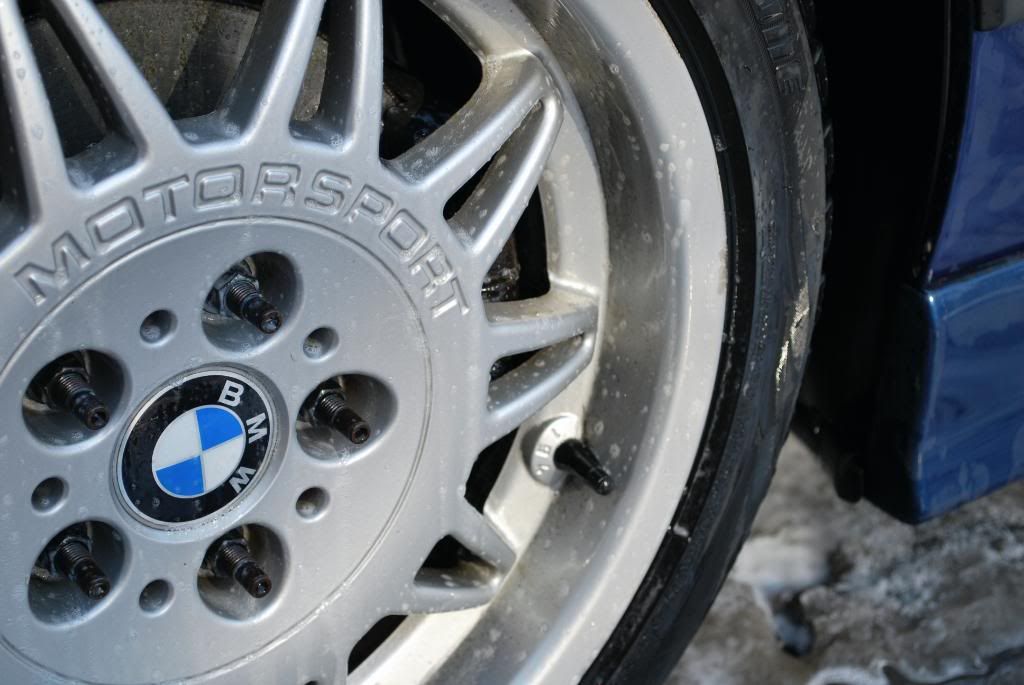
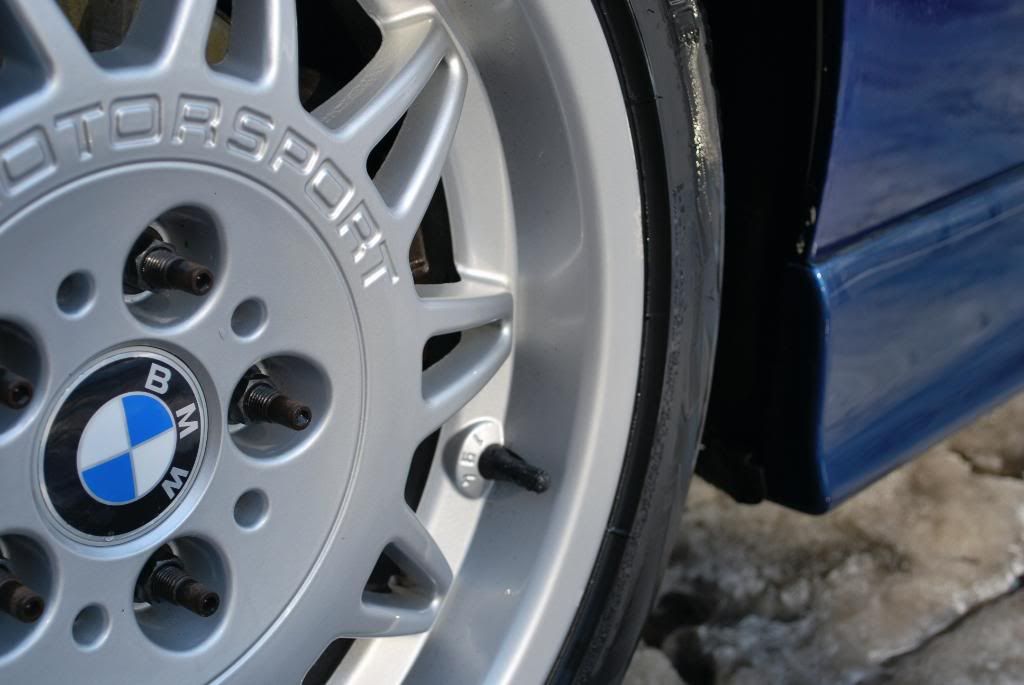
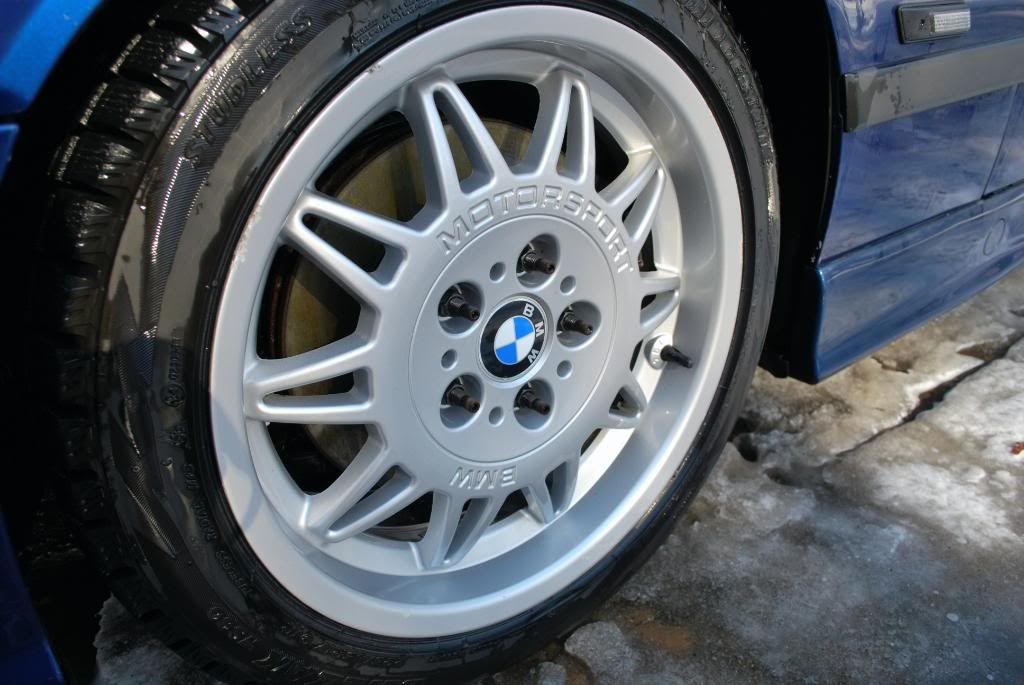
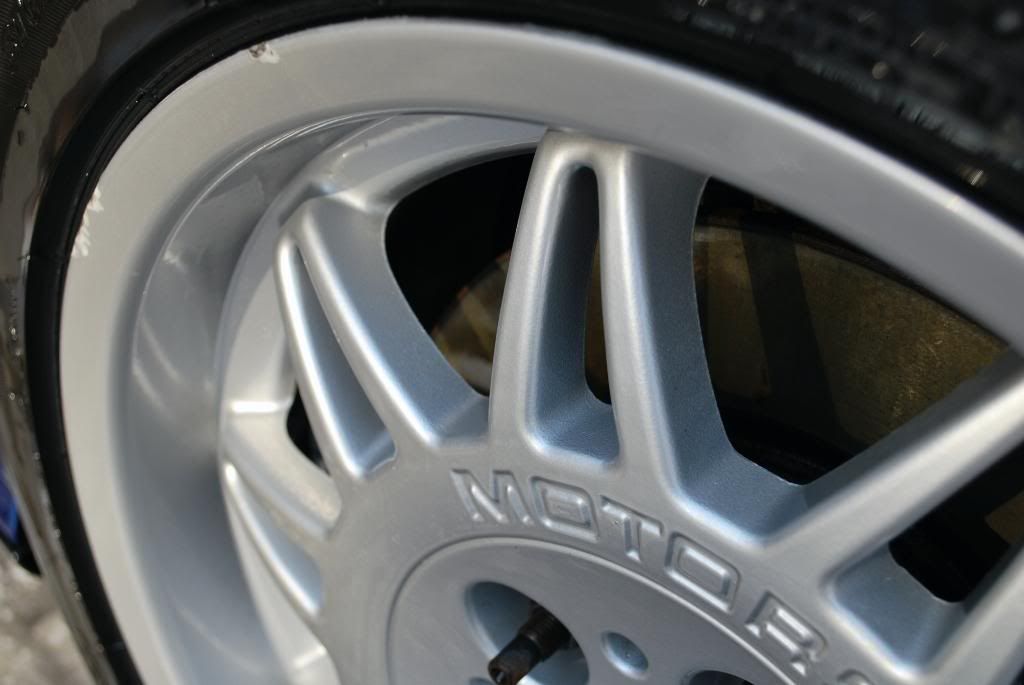
Before the hand wash I cleaned the wheels. These M3 wheels were an option back in 1995. The Motorsport wheels on this car are forged aluminum and were considerably lighter than the stock wheels offered at the time.
Before shots of the wheels, lots of brake dust and salt buildup in the lipe and inner spoke areas
After high pressure rinsing I sprayed the Gloss It safe wheel gel to the face and inner part of the wheels liberally and let it dwell for abot 1 minute before agitating with a secltion of brushes.
The new wheel gel dwelling
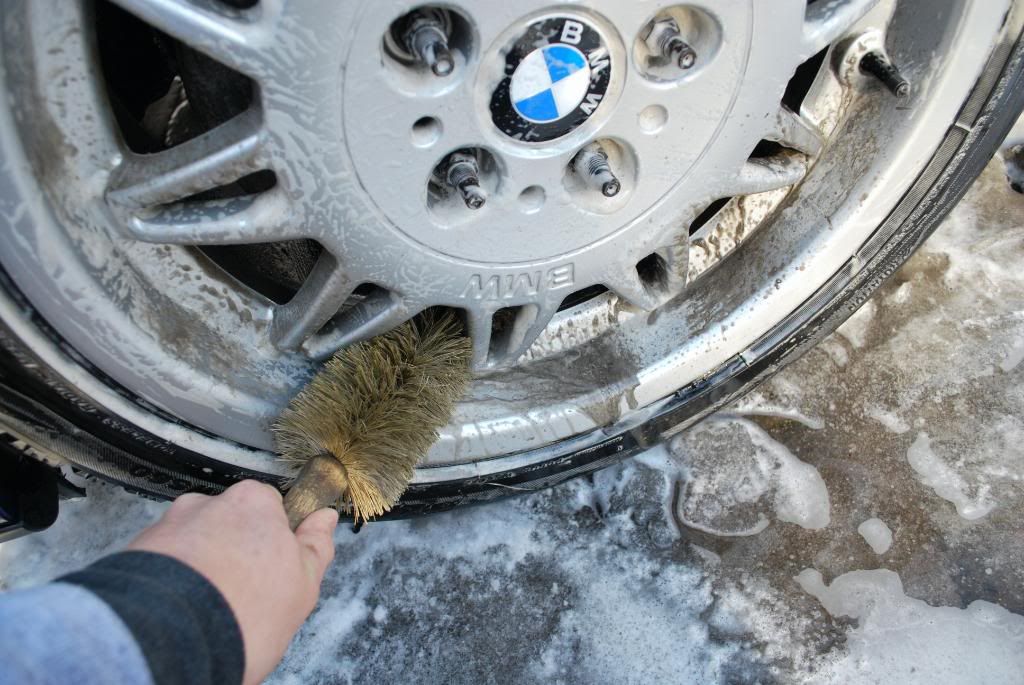
Using the spoke brush to clean the inner barrels is always my first step before cleaning the face of the wheels because those inner wheel barrels usually contain the most amount of dirt and grim. So I bring all that to the surface first and then clean the face of the wheel.
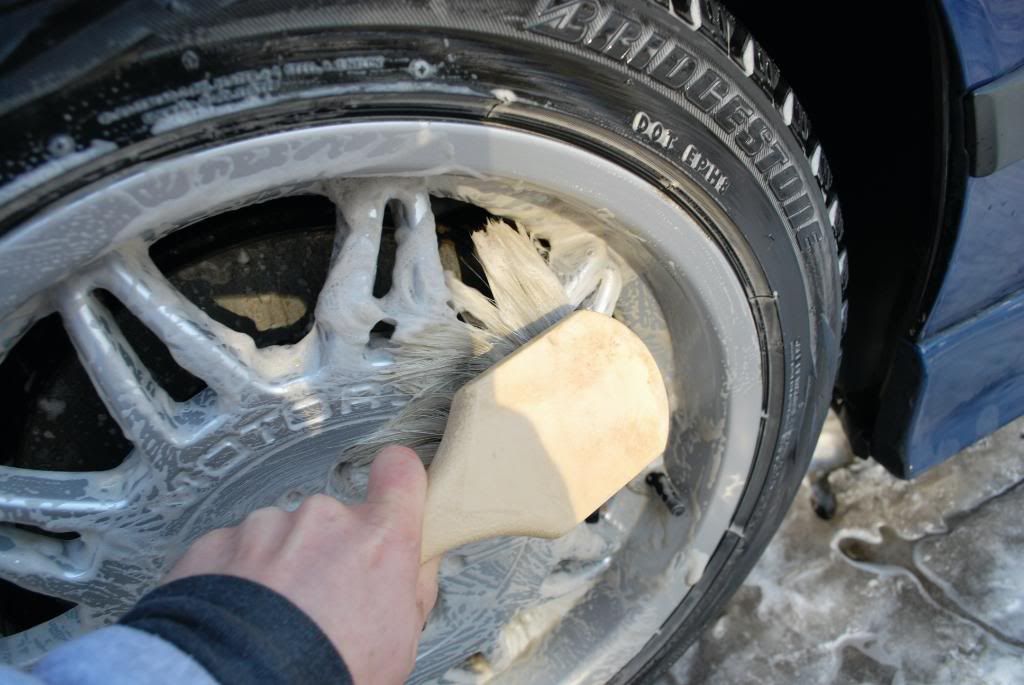
Then I moved onto the boars hair brush for the initial cleaning of the wheel face, I find this brush is excellent for spokey wheels. I used to only use the SV brish to clean the entire face of a wheel but the boars haid brush its much more efficent, of course the SV brush was used later to ensure each spoke was cleaned properly and that the small lip was brushed of all dirt and grime.
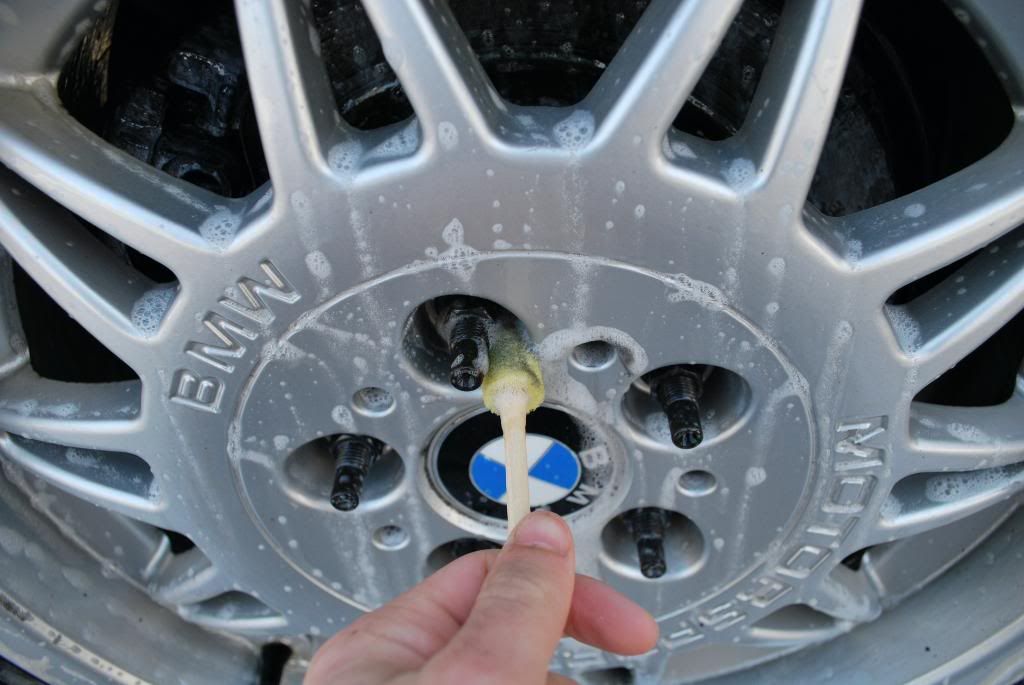
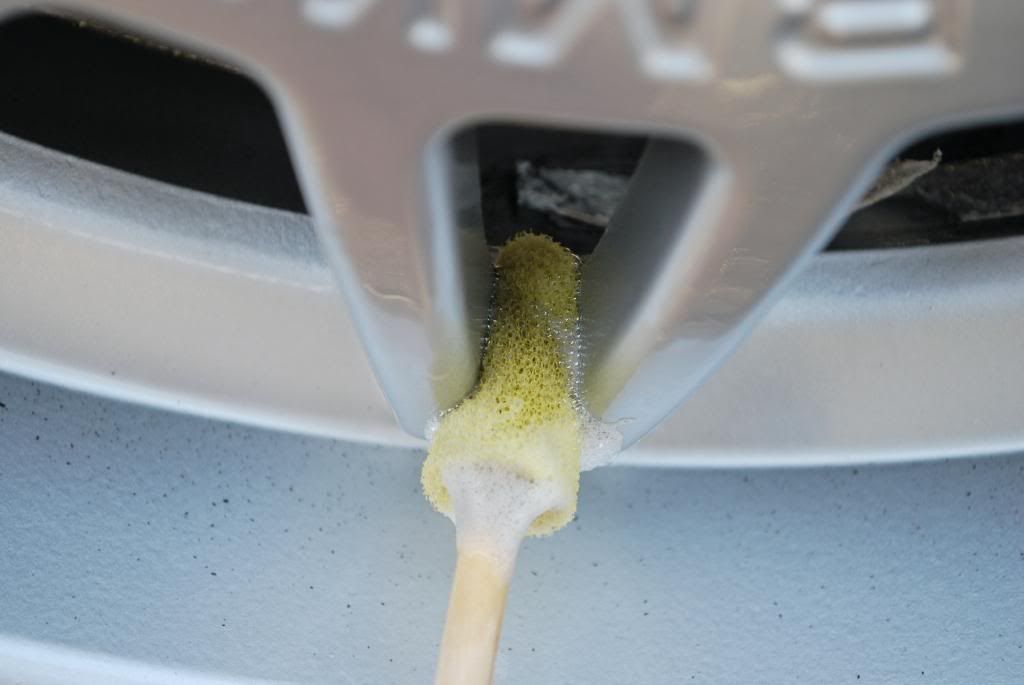
I used the little edge detail swabs to clean inside the lug housings and between the spoke crevices
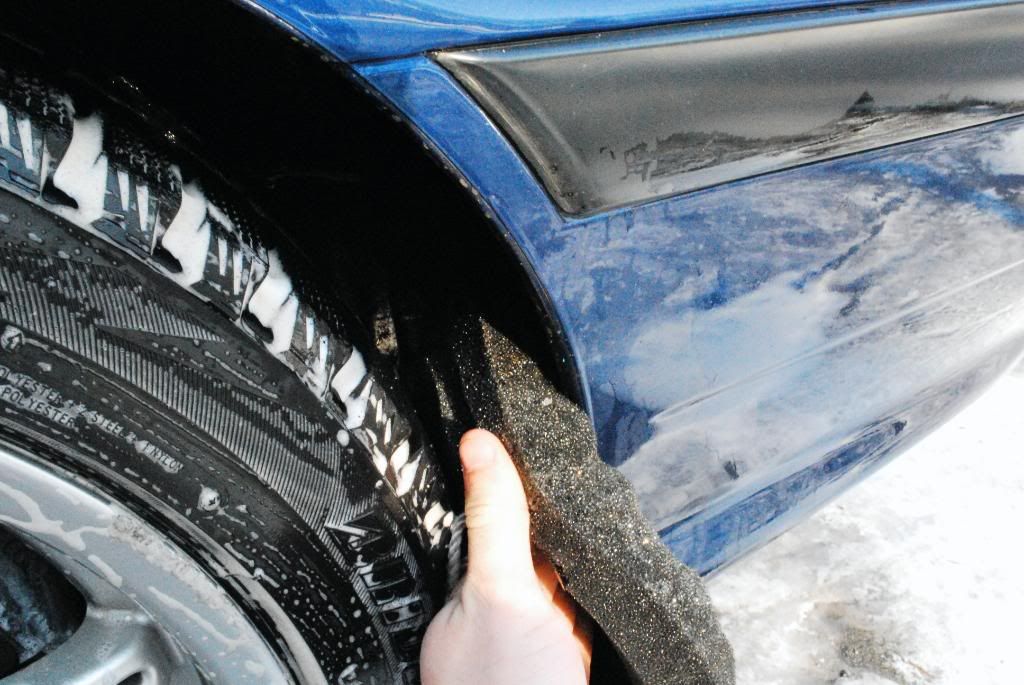
Tires and wheel wells were cleaned with Megs safe degreaser 3:1 with an OXO tire brush and the black aggressive shmitt, the car was siting low as is and having little space between the wheels and fenders I didnt have room to fit in a long handle brush to clean the wells, so the black shmitt came in handy:thumb:
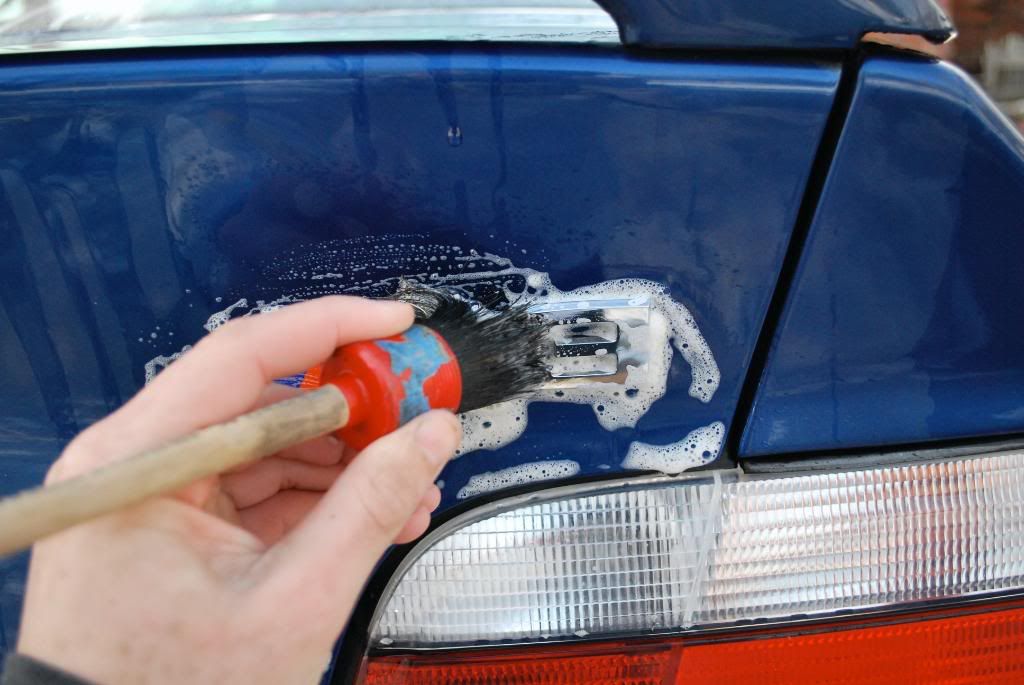
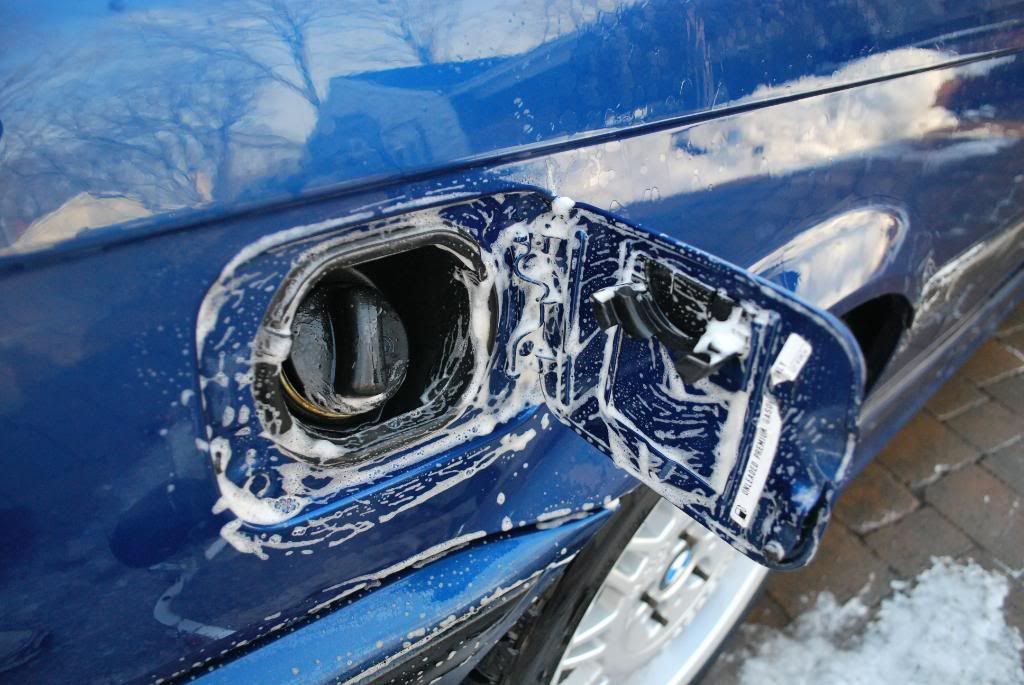
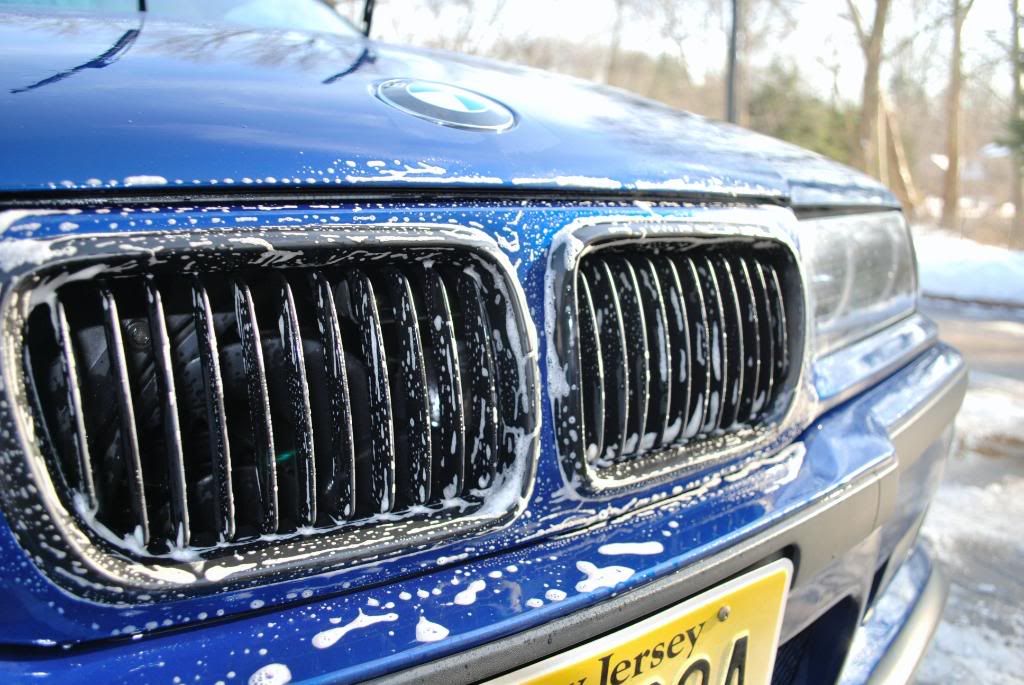
Now back to the wash process, before the hand wash I agitated all crevices and trim with the SV brush to get out any set in grime and salt
I focused heavily on cleaning the plastic trim because that was where the majority of the salt damage was
Once all crevices were pre cleaned I moved onto the 2 bucket wash using a strong mix CG CWG coupled with 2 white foam shmitts. On most regular washes like on my own car I opt for the DD uber sponges because of the softer foam but on cars that need a little extra agitation I find the shmitts do a better job, not to mention they retain a ton of shampoo keeping everything well lubricated.
After the hand wash
More rinsing at high pressure to ensure all shampoo is washed off the paint, this time with the CR spotless hooked up
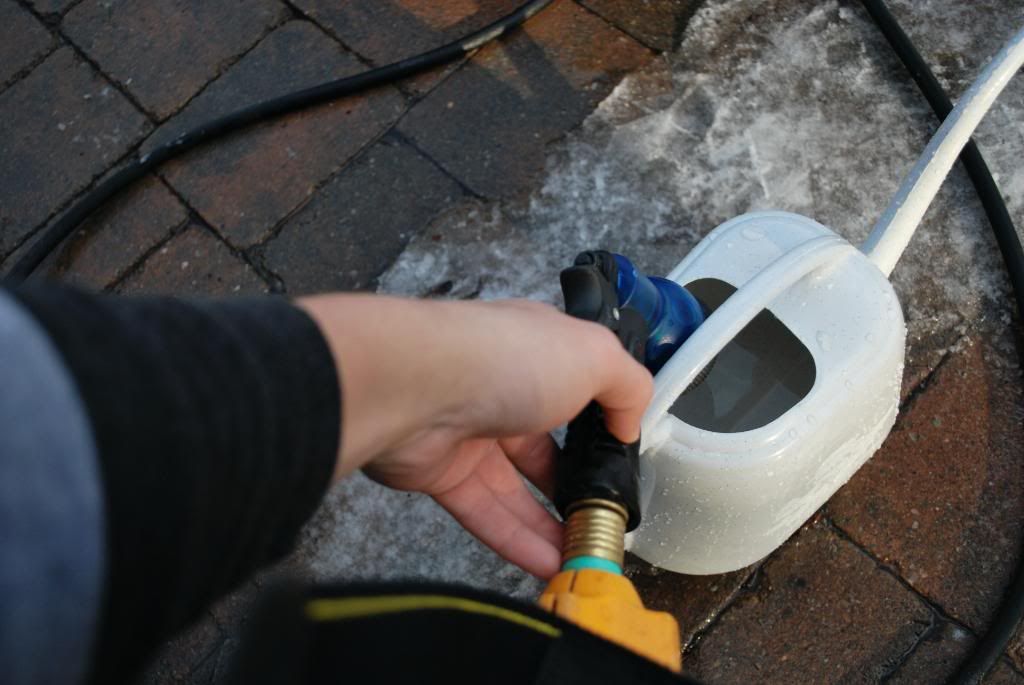
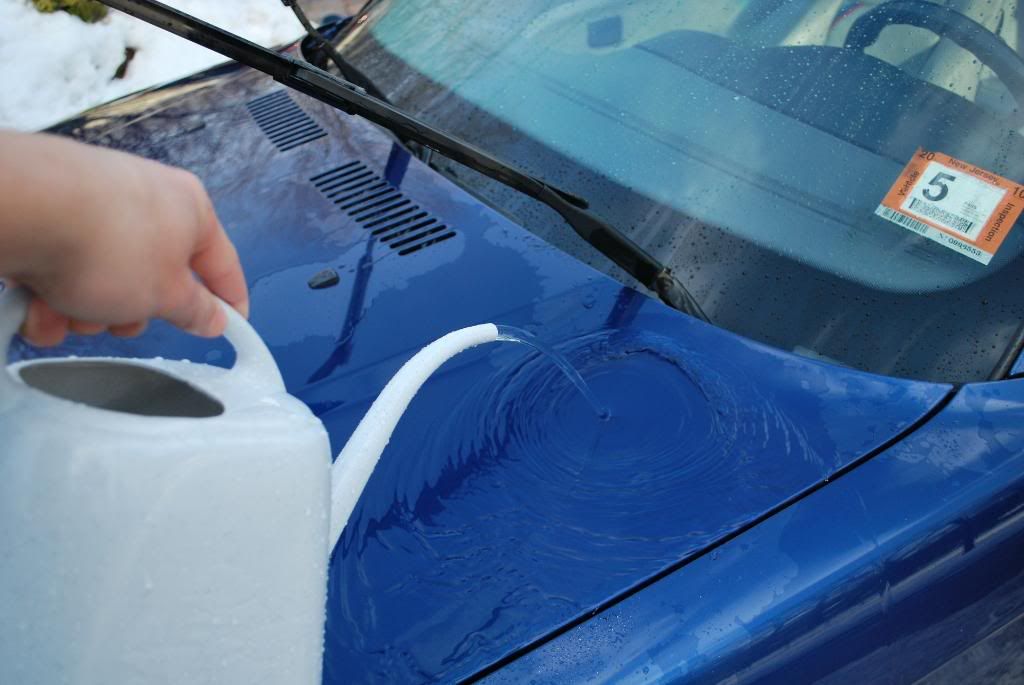
For the final rinse I used DI water in a watering can to sheet off as much remaining water as possble beofore drying...this trick I blatantly stole from VXRMarc in the UK, thanks for the tip Marc:thumb:
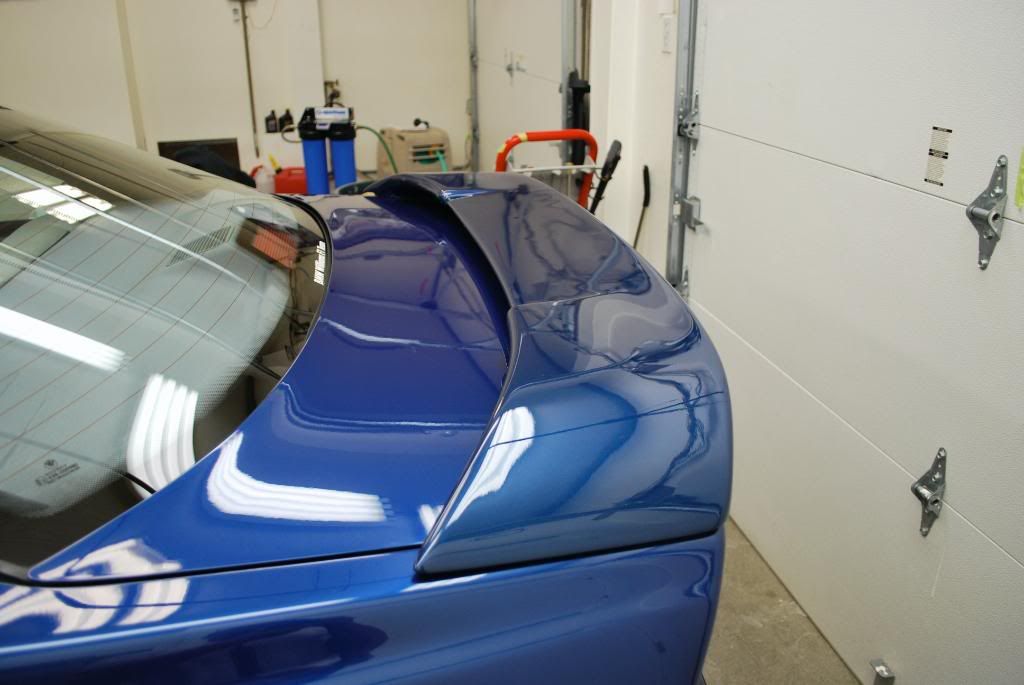
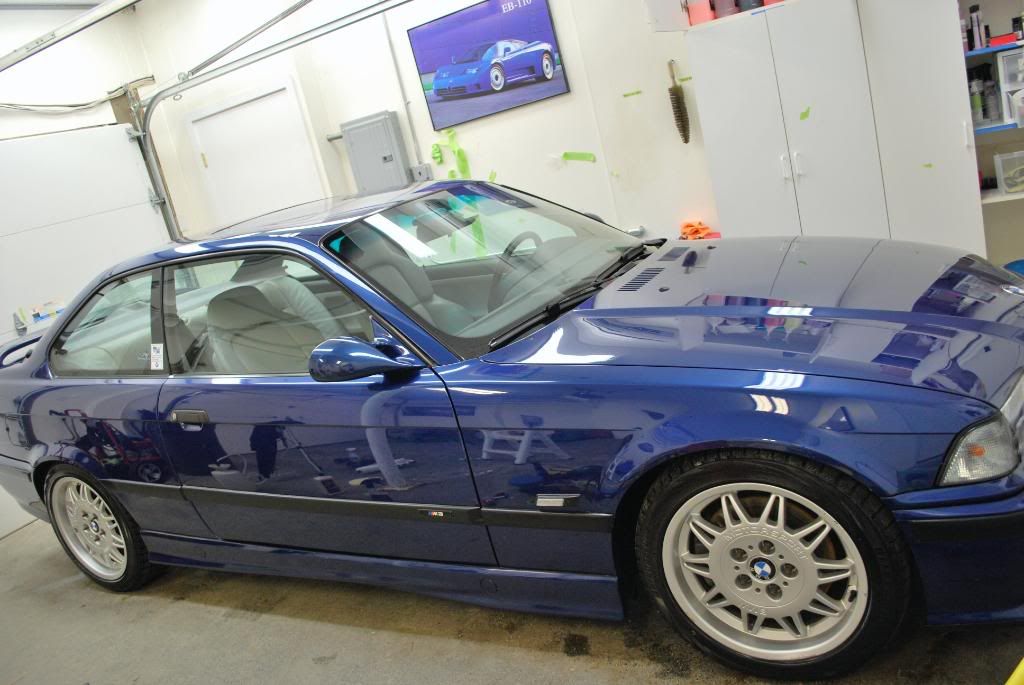
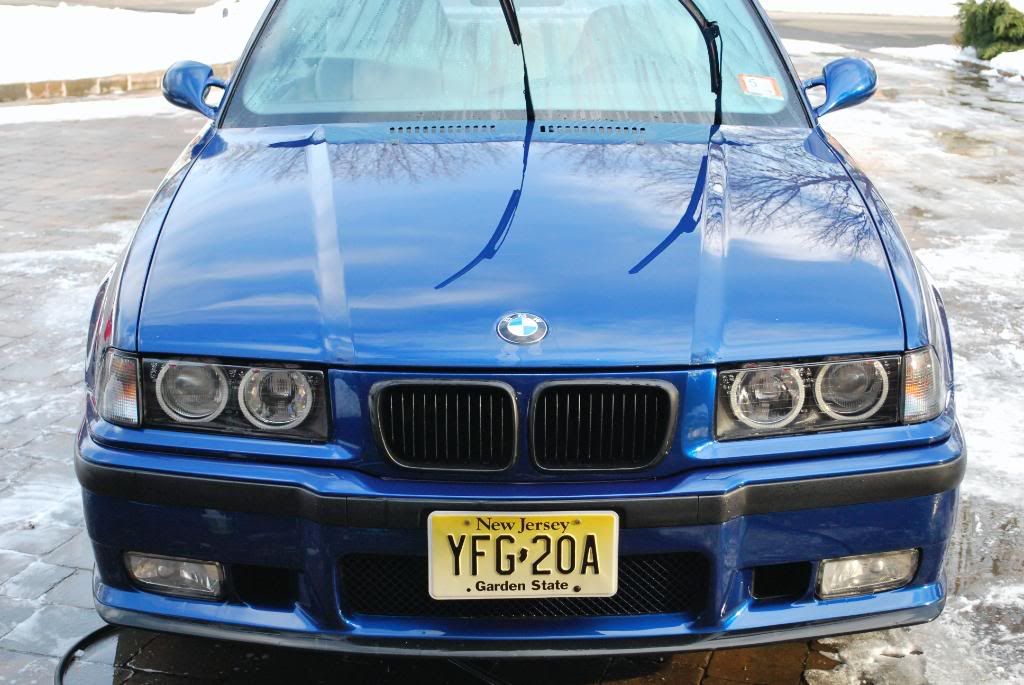
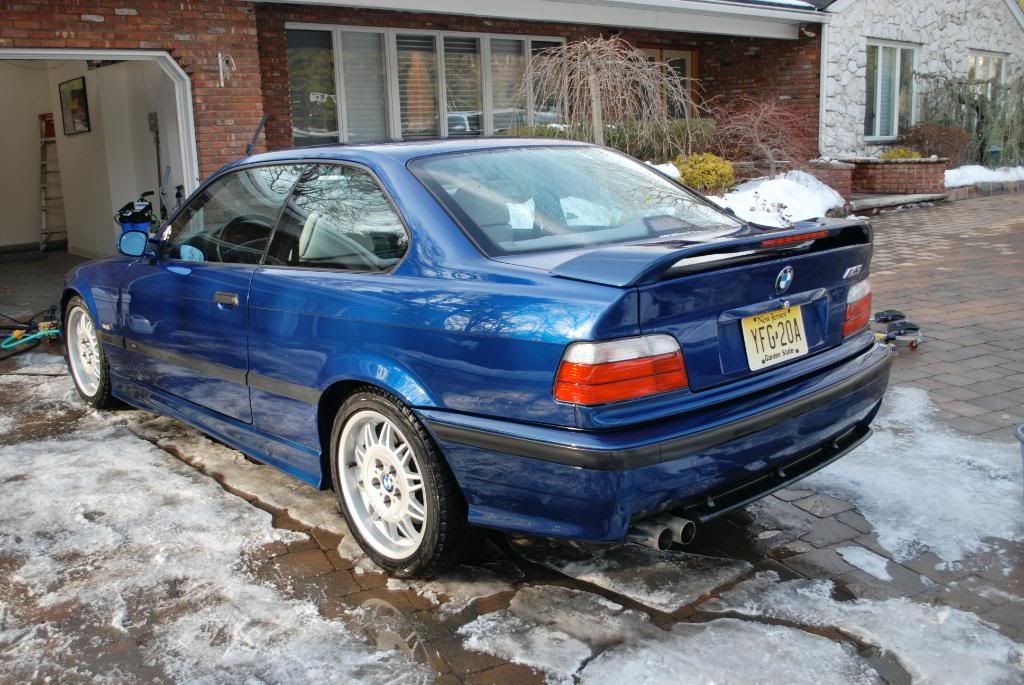
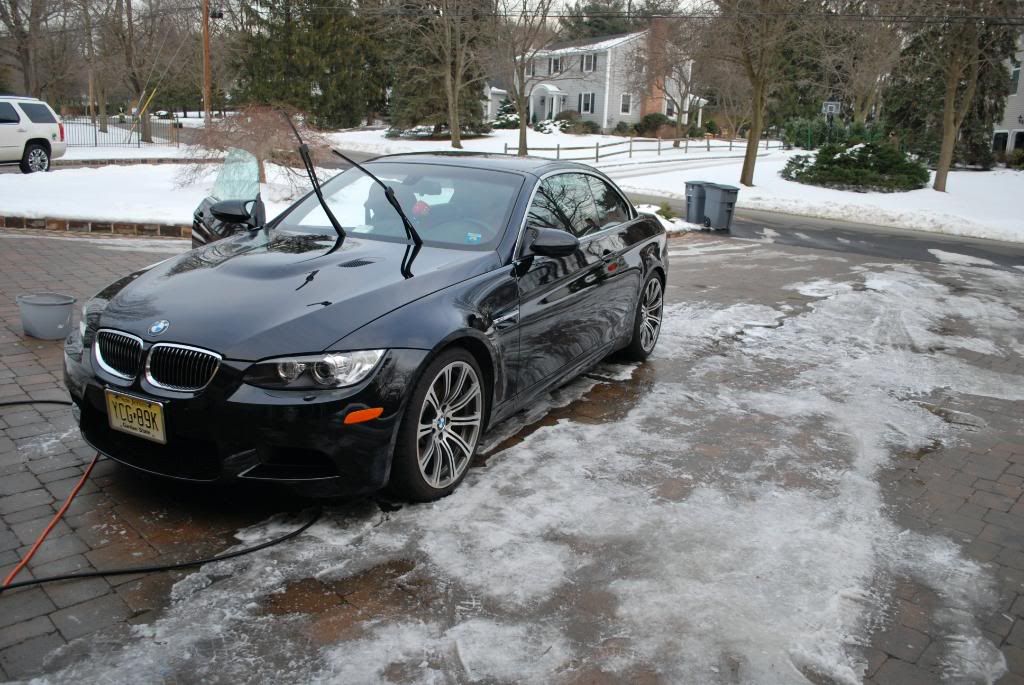
Here she is after the wash process was completed
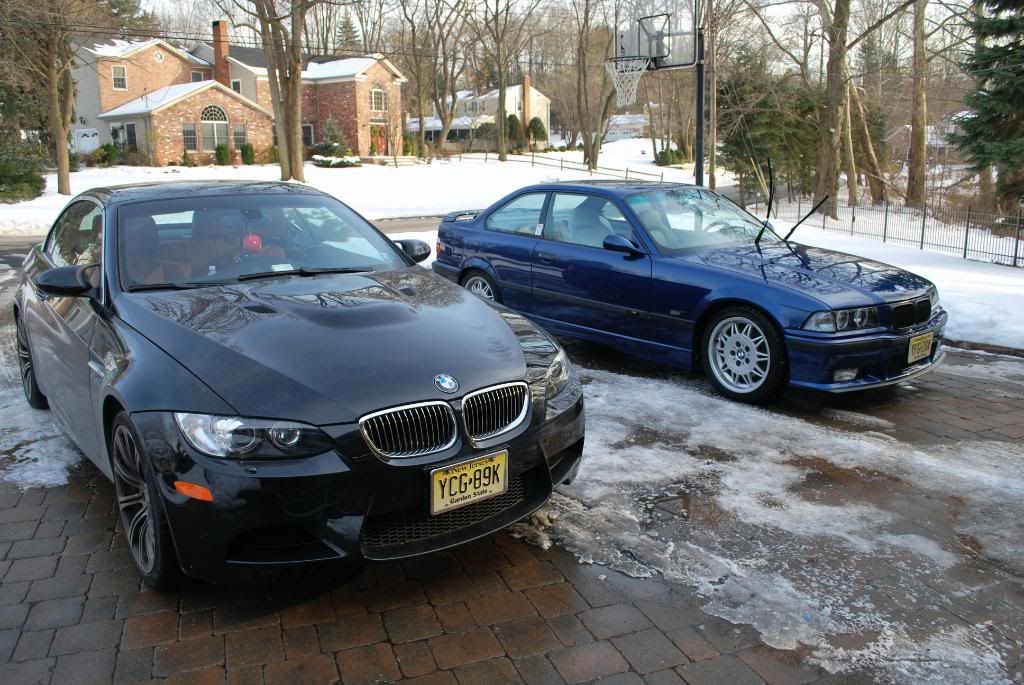
And as a nice coincidental suprise my friend Sean stopped by with his 09' Jerez black M3, he saw all my wash gear layed out and asked if I could give his car a little attention,...and I did.
I considered the e36 the grandafather to the e92, I thought it was cool to see 2 different generations of M3 side by side. One thing about BMW, they know how to keep a legacy going without forgetting where it started, just look at the styling cues.
Out with the foam once more, I let my buddy Sean have a go at foaming his car. He had this silly grin on his face, I could tell he enjoyed it...
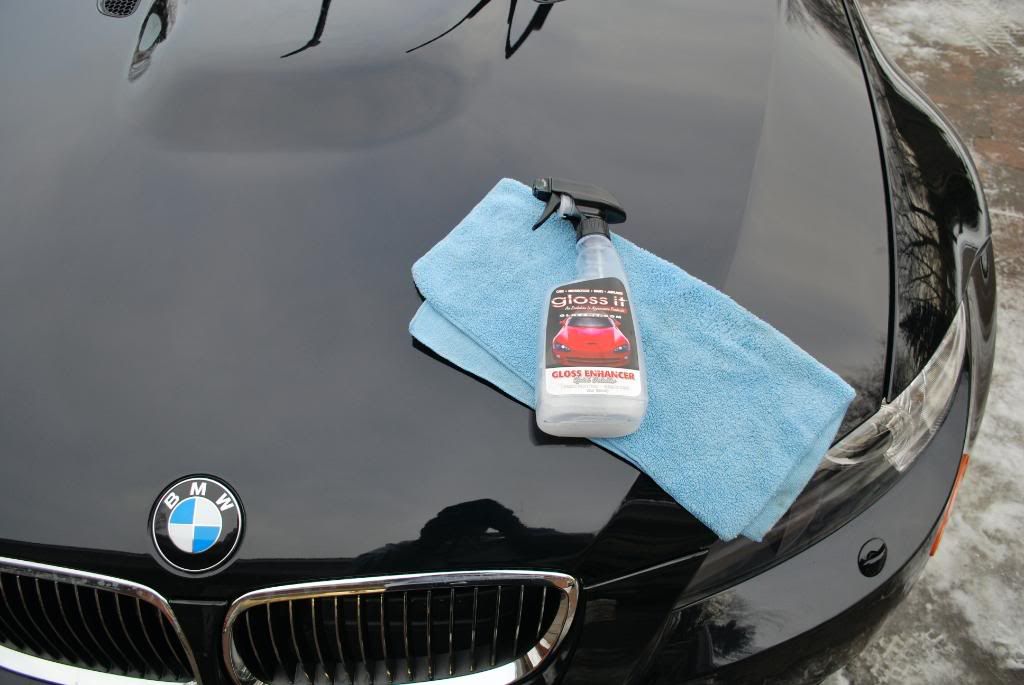
I did a very quick hand wash and just wiped down his car with Gloss Enhancer QD little added protection and shine
Both cars clean, the e36 a little more than the e92
As payment for me washing his new M3 my friend asked if I would like to drive it, I had more work ahead of me on the 1995 M3 but I coulnt resist:headbang:
I toyed around in it for about 10minutes in tiptronic with my buddy in the front seat, the car does for sure have lightning quick shifts, I also took it upon myself to change the ferocity of the gear change to level 5, I mean wouldnt you? IMO Best part about the transmission?....it blips on the downshifts :
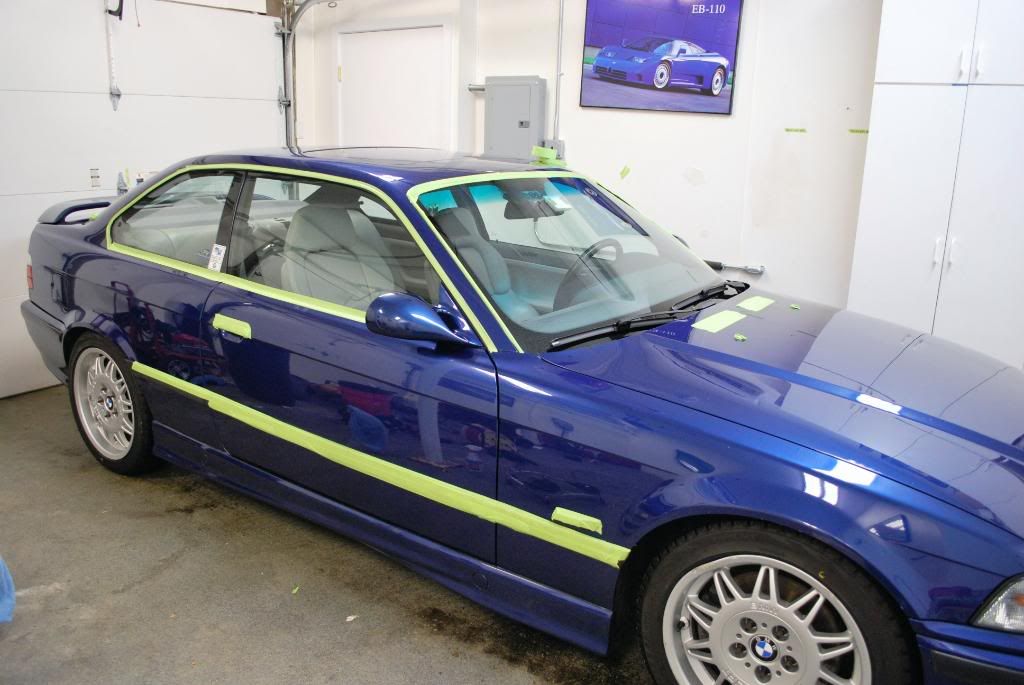
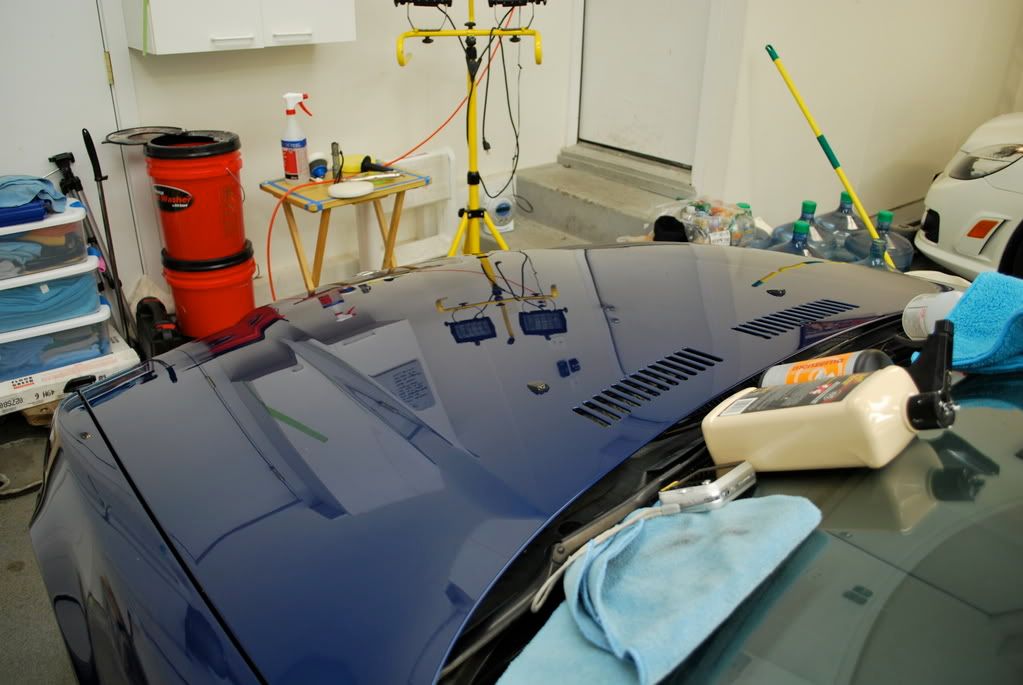
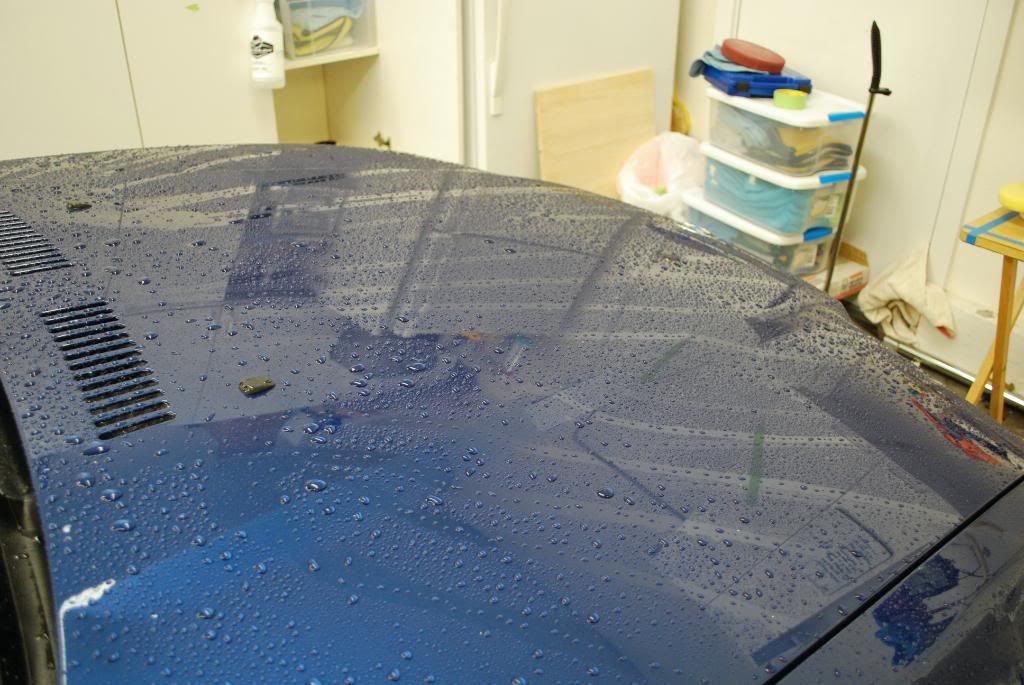
Enough play, time for more work. I pulled the M3 inside to begin claying and taping. I personally like to clay seperate from the wash process. I normally dry the car and then begin claying panel by panel. It was was rinsed prior with DI water so I didnt bother drying the windows or wheels for fear of spotting.
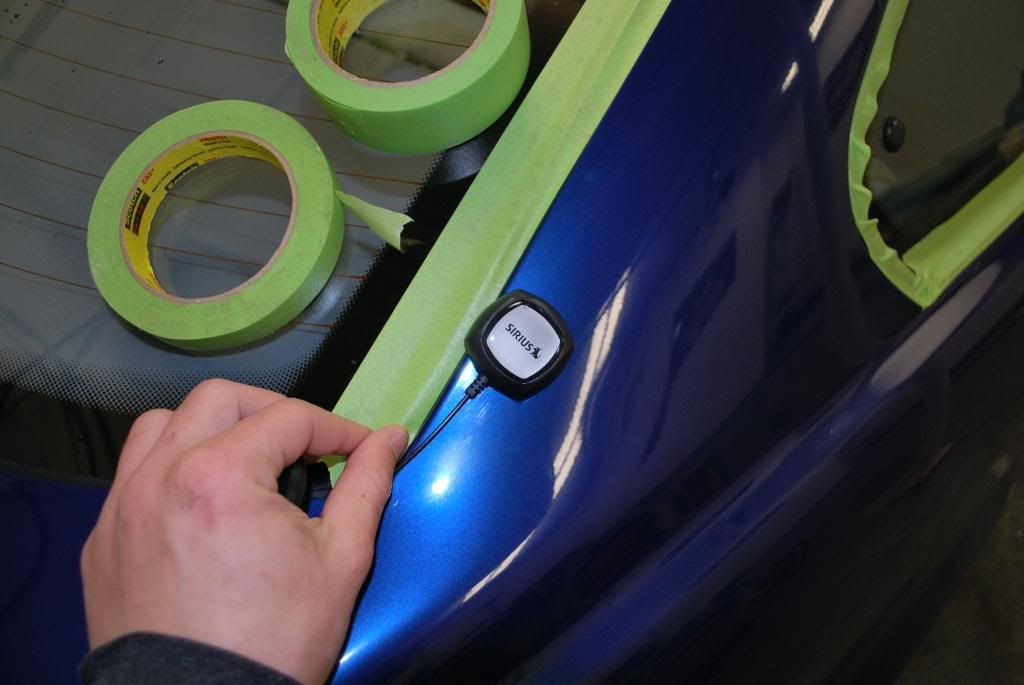
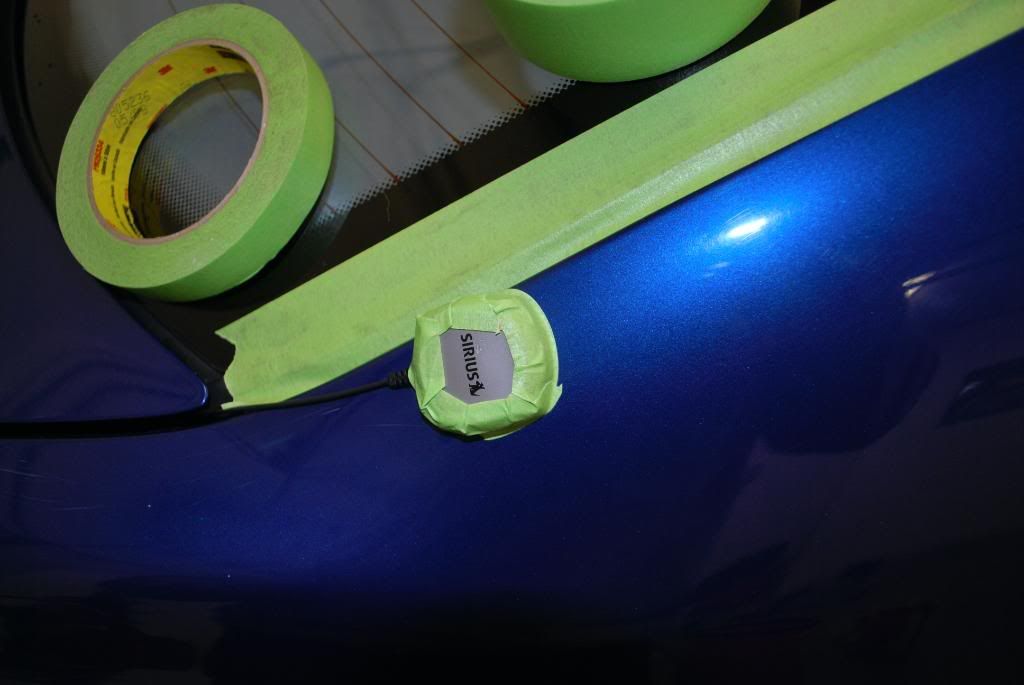
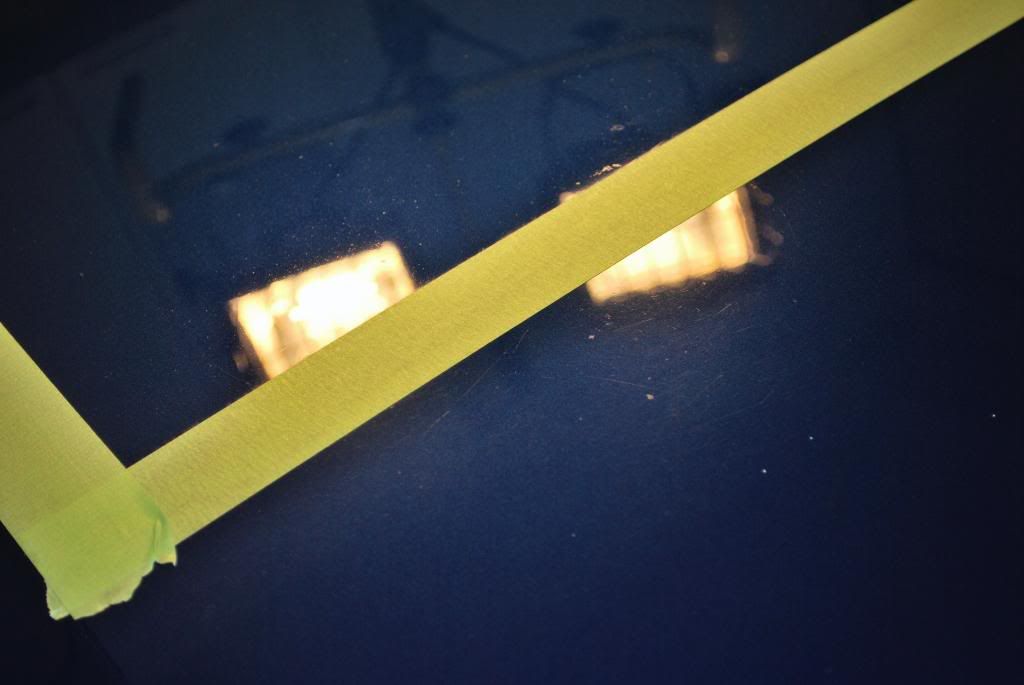
This little XM reciever was magnetic but underneath the metal magnet had rusted some of the paint so I decided to tape it up and just polish around it instead of removing it.
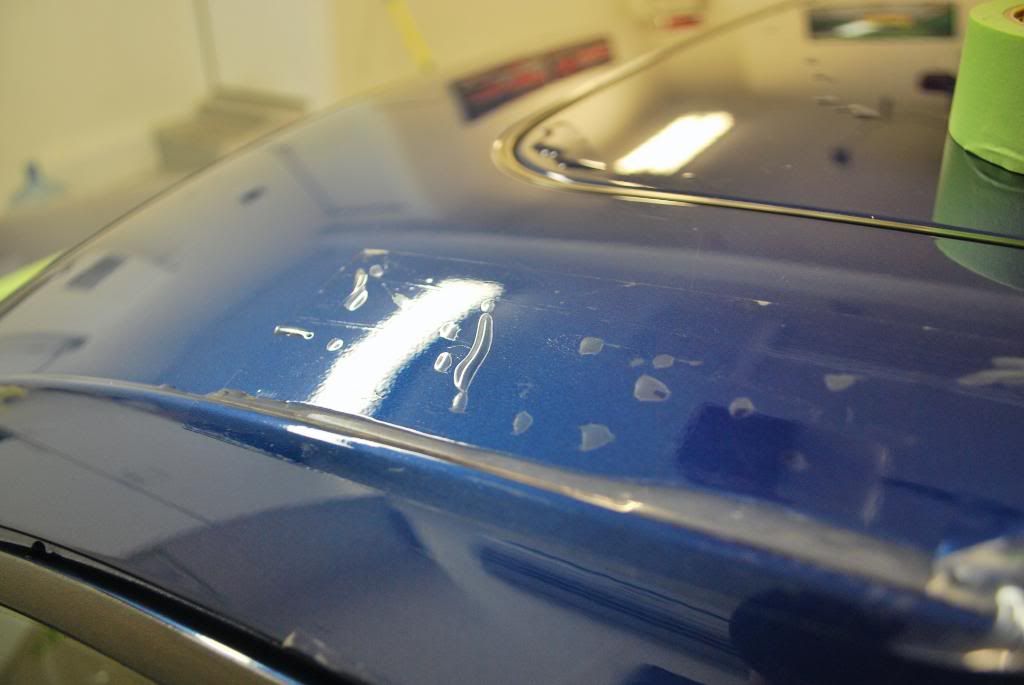
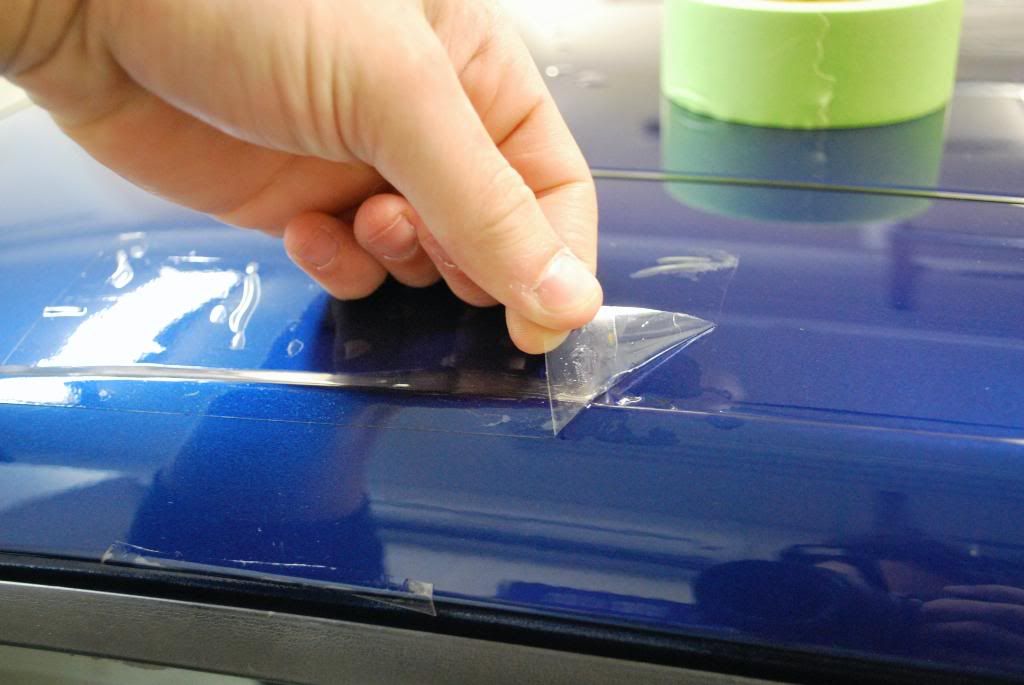
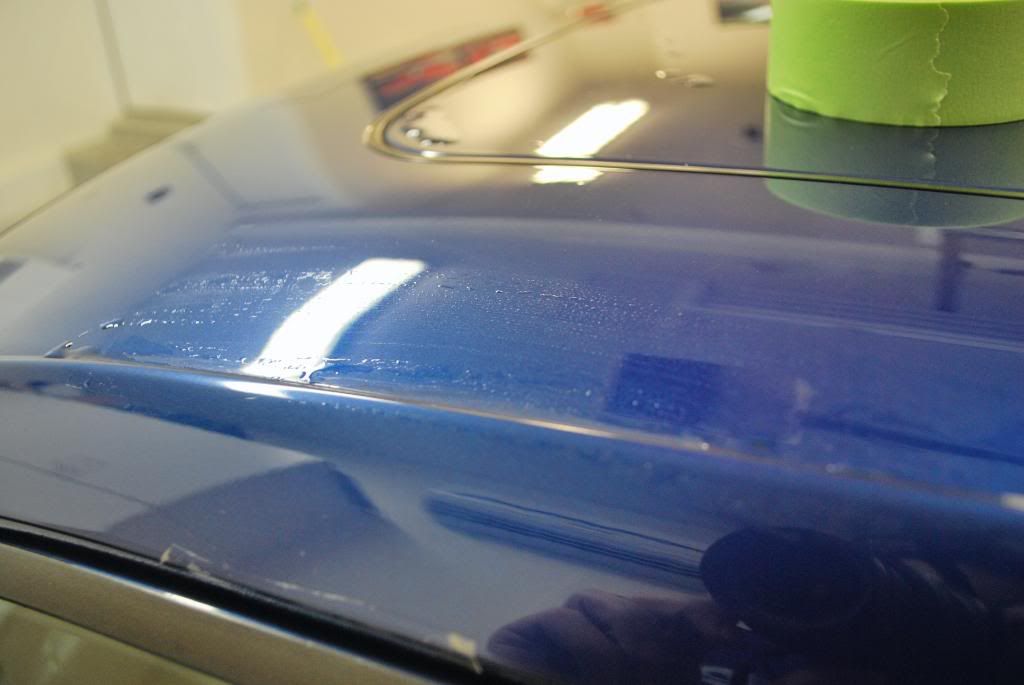
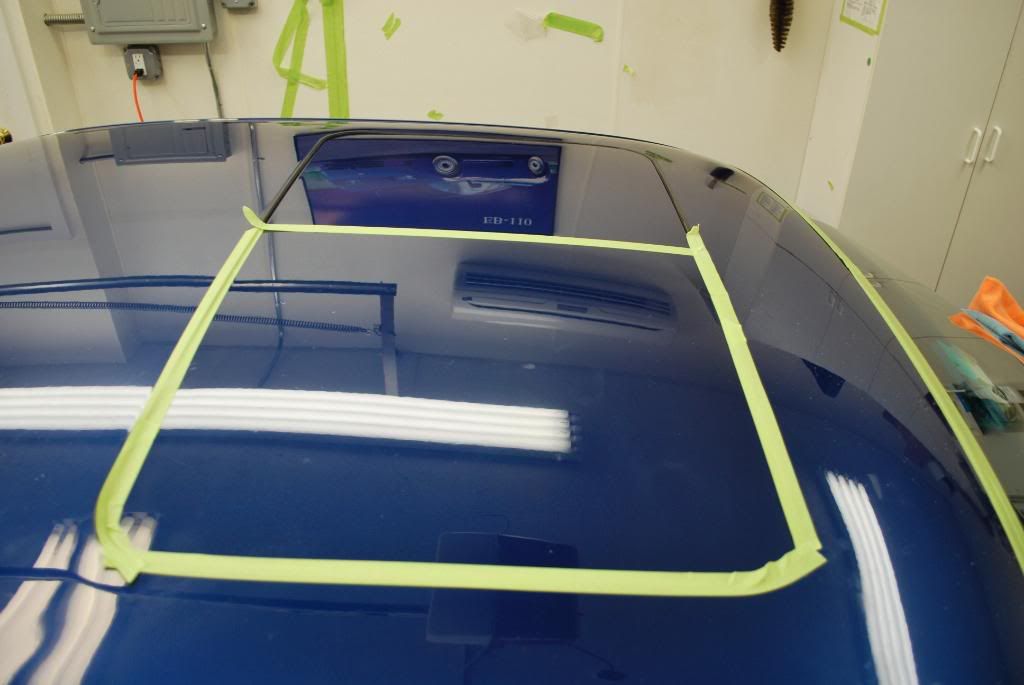
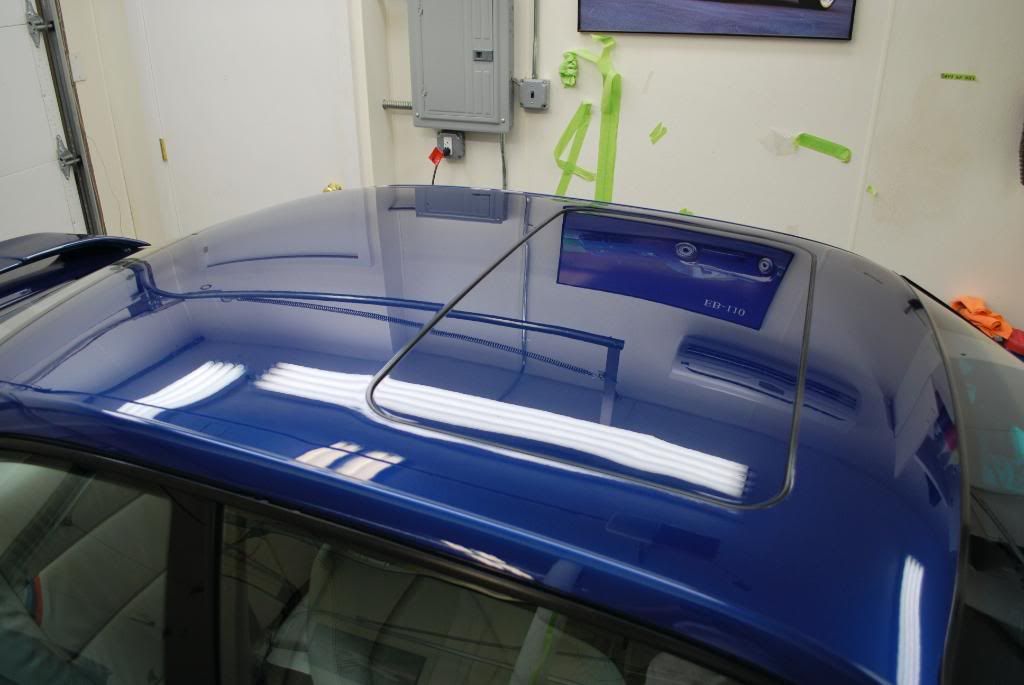
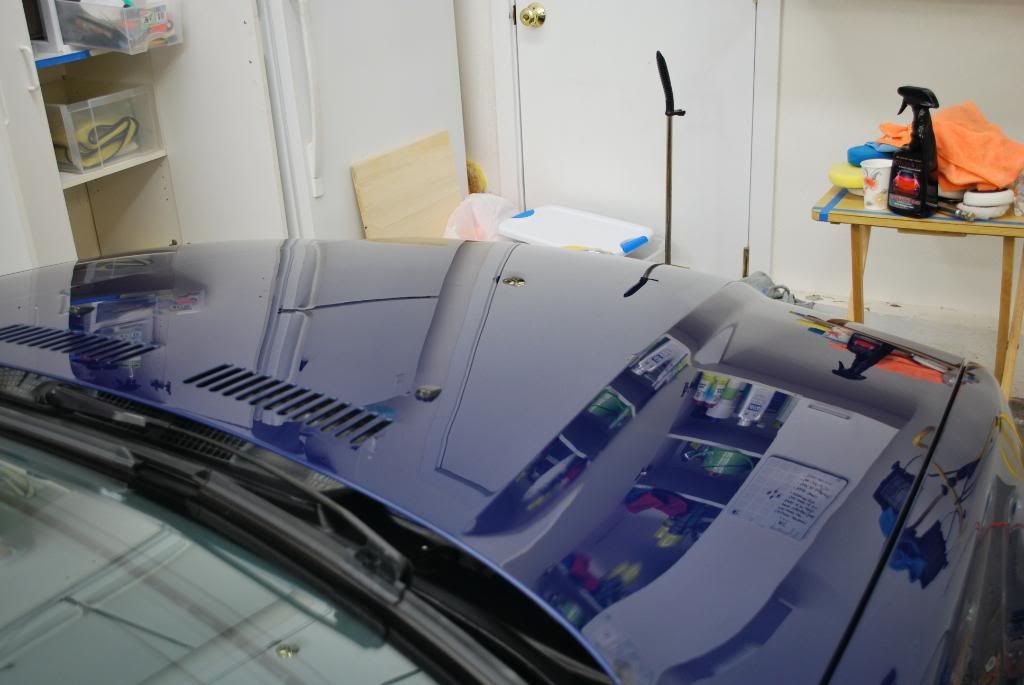
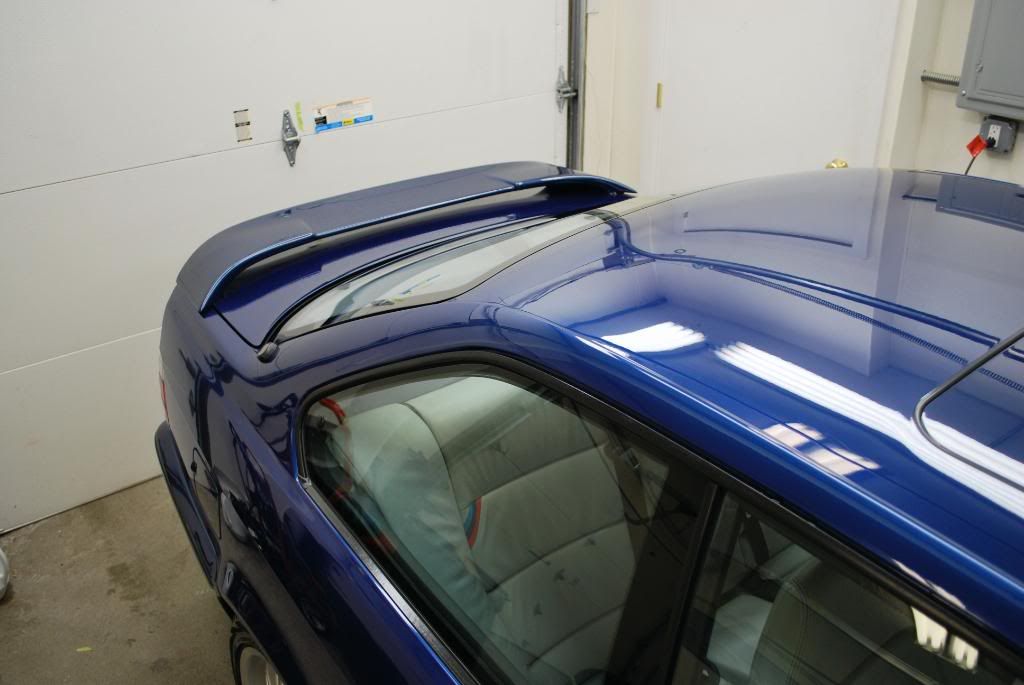
The owner applied some clear film on the roof of the car to protect the paint from a snowboard rack, it began to bubble so I took it off as per his request
And clayed underneath the filmed area as well
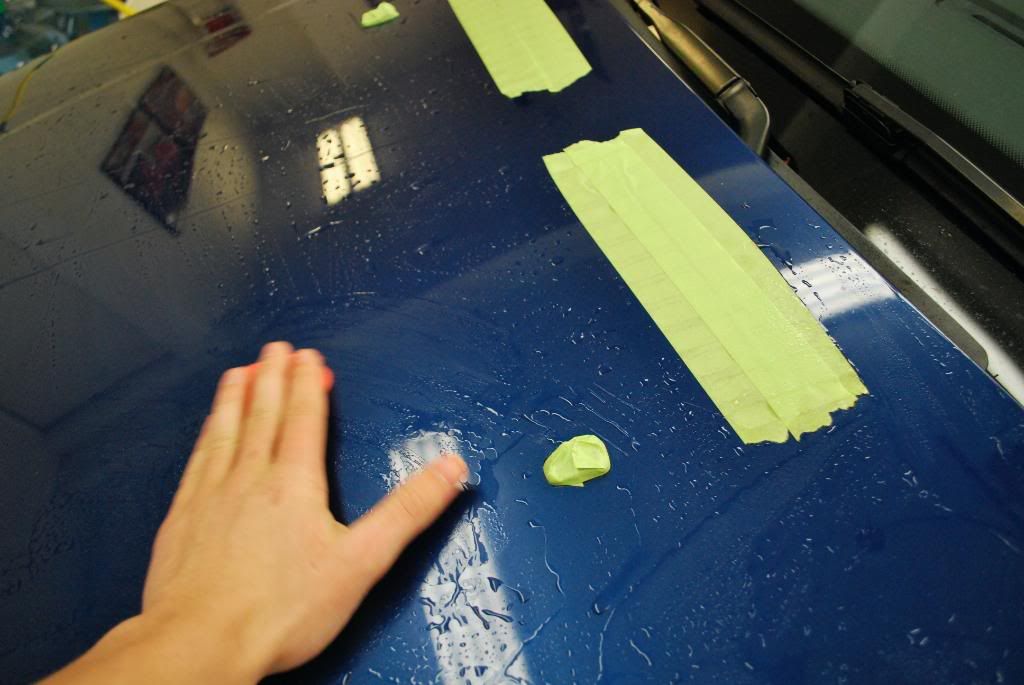
I then proceeded t clay the entire car using an aggressive bar and LT 1:1 for lube. The wheels, glass and roof were all clayed in conjuction with the paint finish because all those areas were also to be polished and sealed.
Claying the wheels helped reduce the amount of tar and brake dust deposits sitting on the lip but unfortunately not all of it could be removed
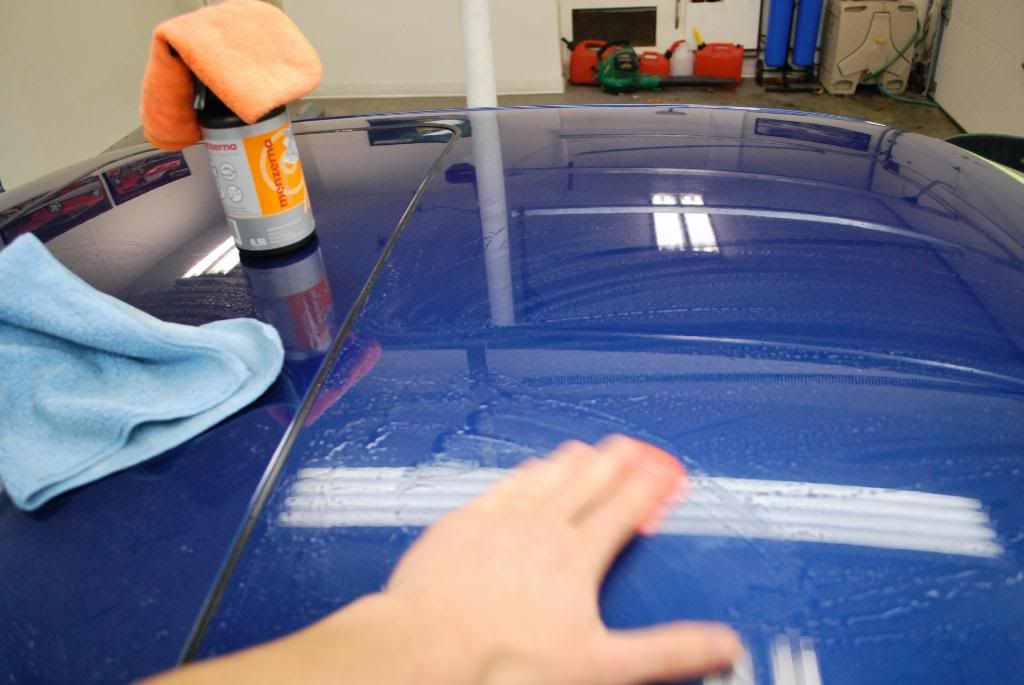
After claying I wiped the car down with IPA because the last touch from meguiars does leave a tiny bit of slick protection on the paint and I needed it to be perfectly clean and LSP free before starting correction.
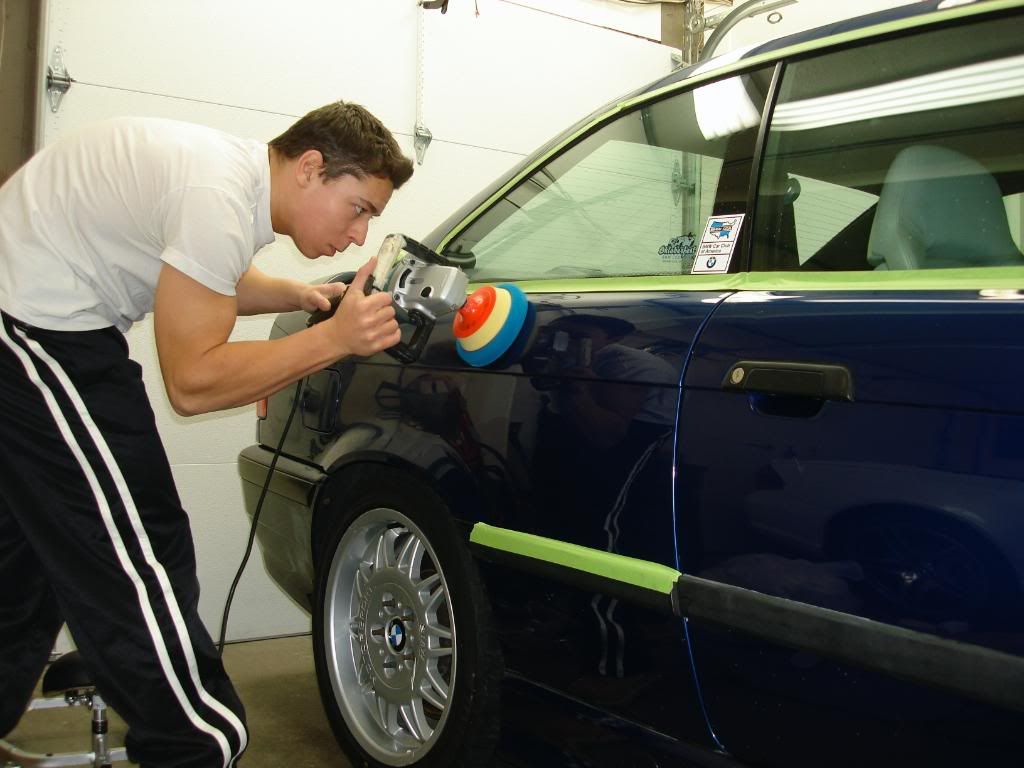
I did a test spot on the hood using my new flex 3403 and a gloss it cutting pad with Menzerna power finish, I found this cleaned up the light swirls very quickly but the deeper RIDS remained untouched. Some of the defects im sure have accumulated over the past 15 years, so the deeper stuff is in fact very deep.
After some more testing with pads and polishes I settled on M105 with either the LC PFW in 6.5 and 4inch or the gloss it cutting pad in both 5.75 and 4inch sizes. With both polishes and both kinds of pads I used the gloss it EVP to extend the work time of M105.
Here is the 3M BP in comparrison to the new Gloss It 3inch BP. I finally found 3inch BP that works as I want. Just think of it as being a 3M BP in a smaller size, with the backing foam just a tad softer which helps on the contours when polishing.
M105's biggest flaw IMO is its super fast work time, yes it cuts very well but your limited in how you work it, the EVP allowed me to work M105 at about 2100rpm for several minutes before jeweling it down (yes JEWELING down M105!) to about 1100rpm. I found this helps to get the most out of it AND to lessen the apperance of holograms once I am done working it.
To further enhance the finish I choose another Meguiars product, funny how just a year ago I would never think to use meguiars line of polishes but after seeing what M105 was capable of I figured they would also try their newest finishing polish, also a good friend of mine and well respected detailer reccomended I try this product as well.
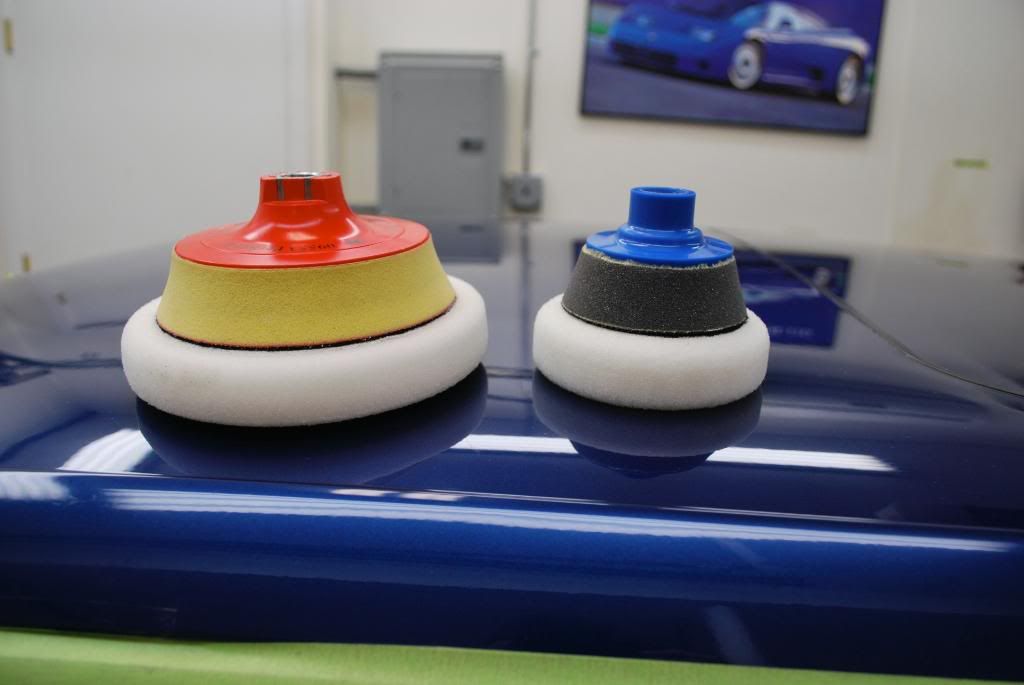
I used the M205 finishing polish with another pre-polymer foam gloss it pad, this one is a 5.75inch blue finishing pad. The pre-polymer fpads are cut from the same foam as 3M's newest UK version pads. The only difference bewteen this blue finishing pad compared to the 3M UK pad is that it does not have the waffle weave design. I have used the 3M finishing pad and prefer this flat version better.
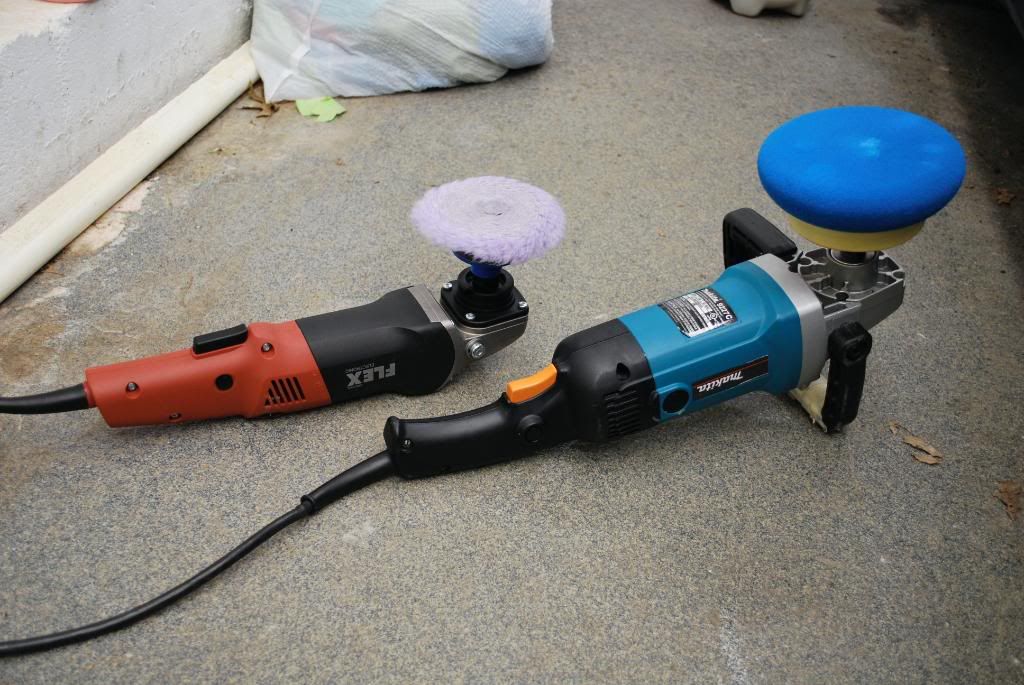
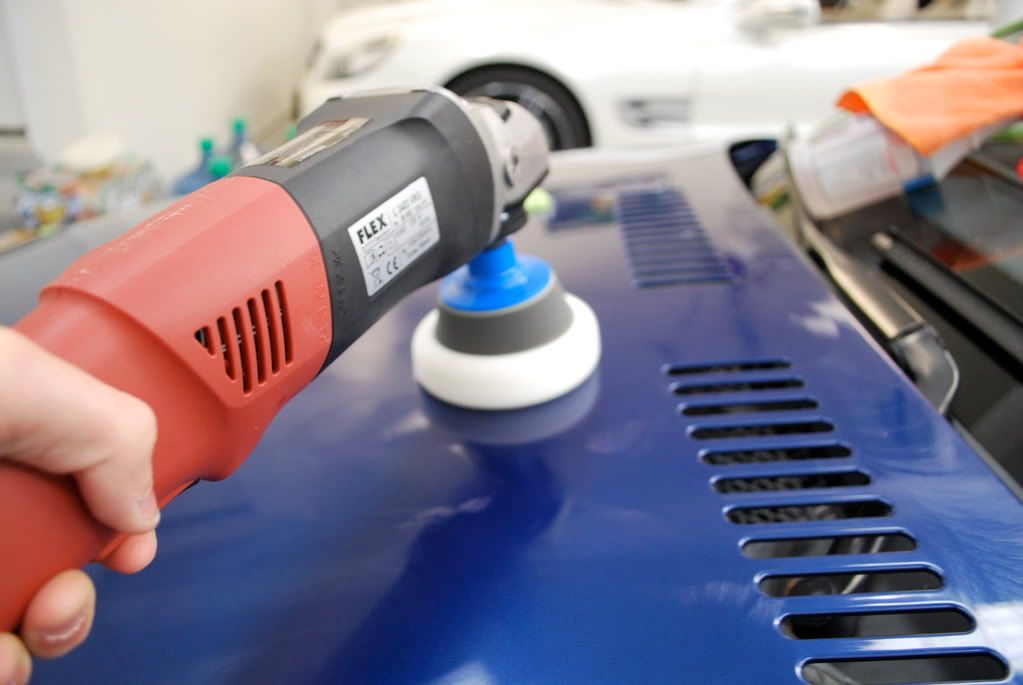
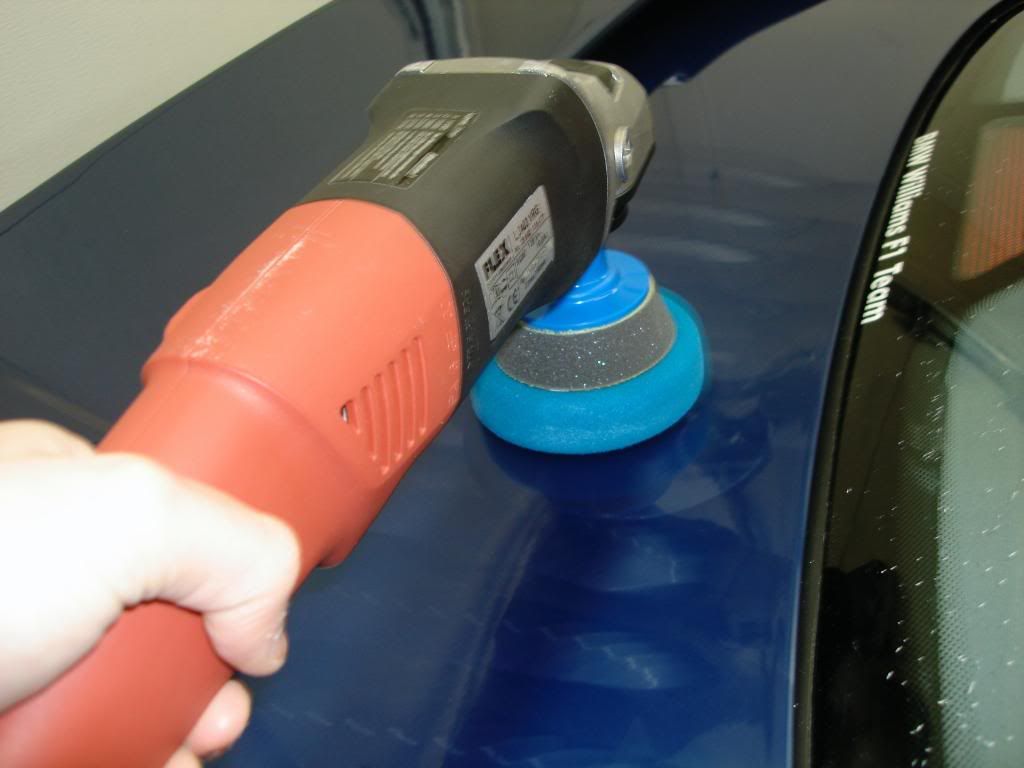
Here is what I was using for correction, I put the 4inch pads on the new Flex because its smaller frame allowed me to correct the tighter areas. I also took the bale handle off to get better control.
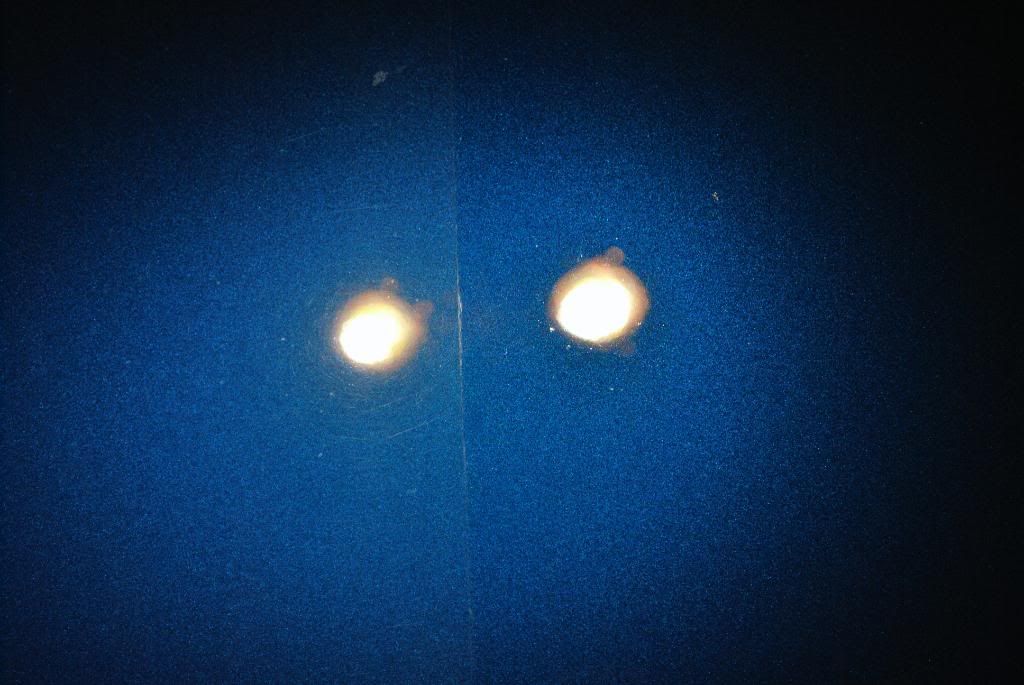
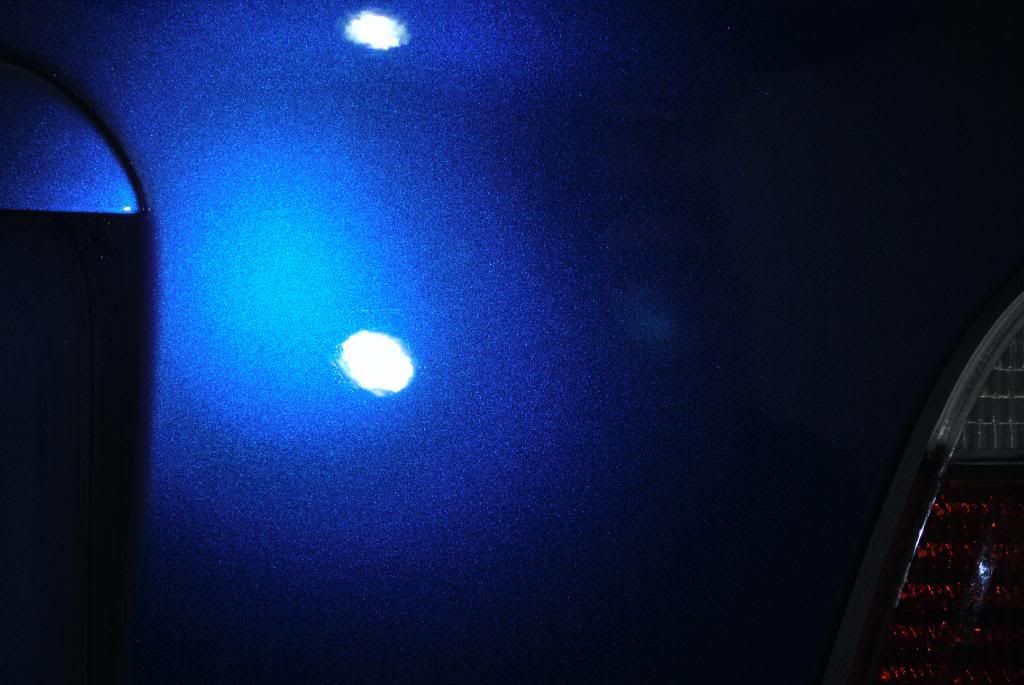
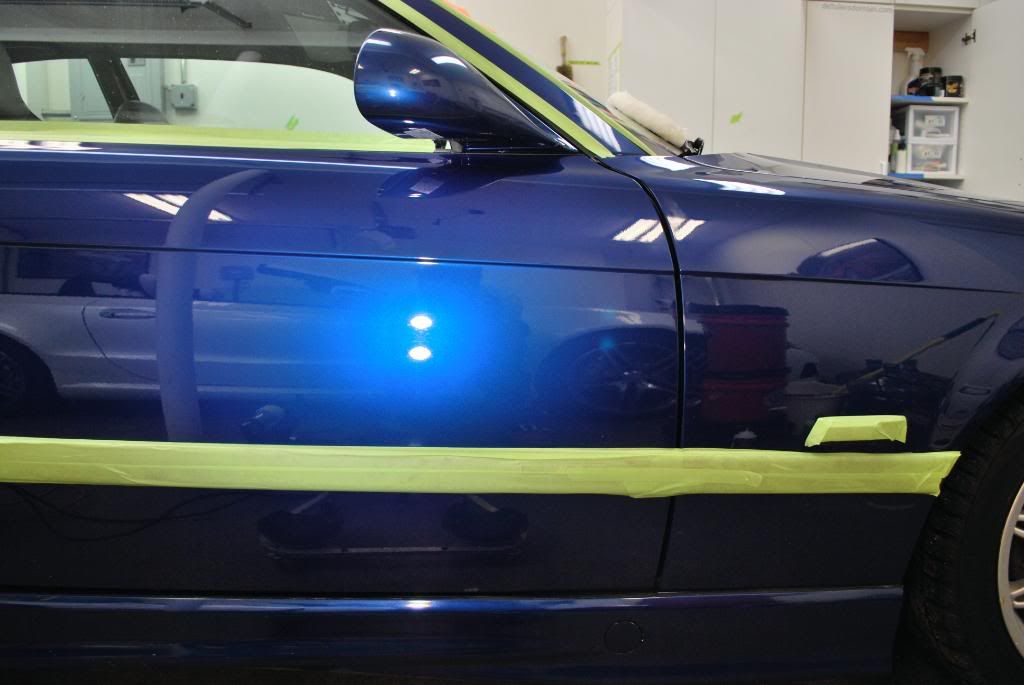
Now onto correction shots, please note that photographic defects on this color was very difficult. I tired to do the best I could
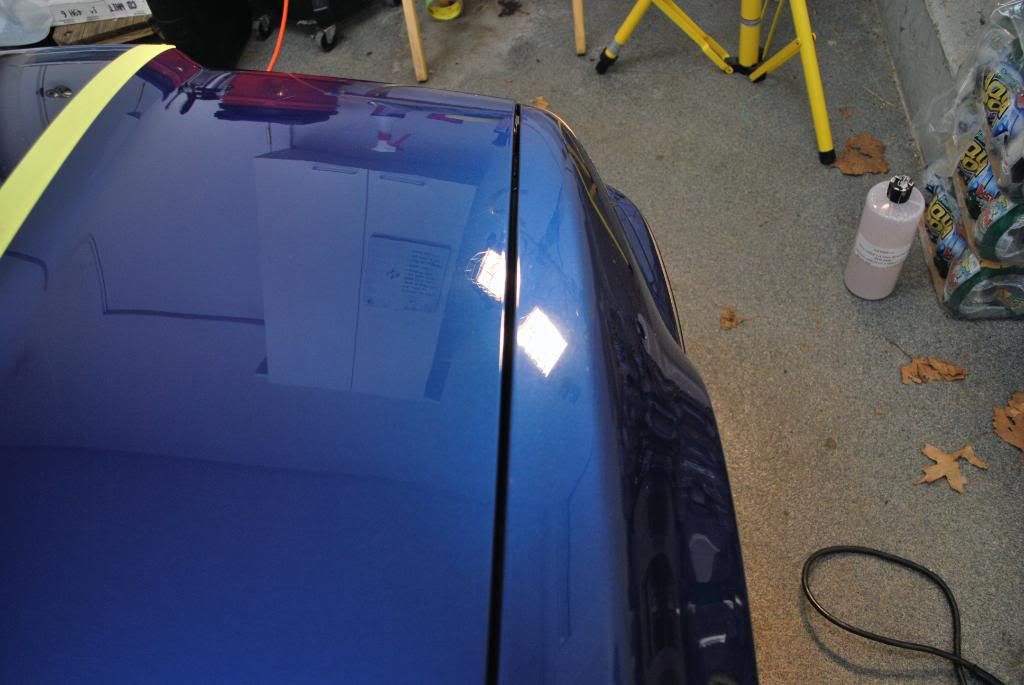
Left side is uncorrected, notice the haziness
Right side is corrected
Again, better shot.
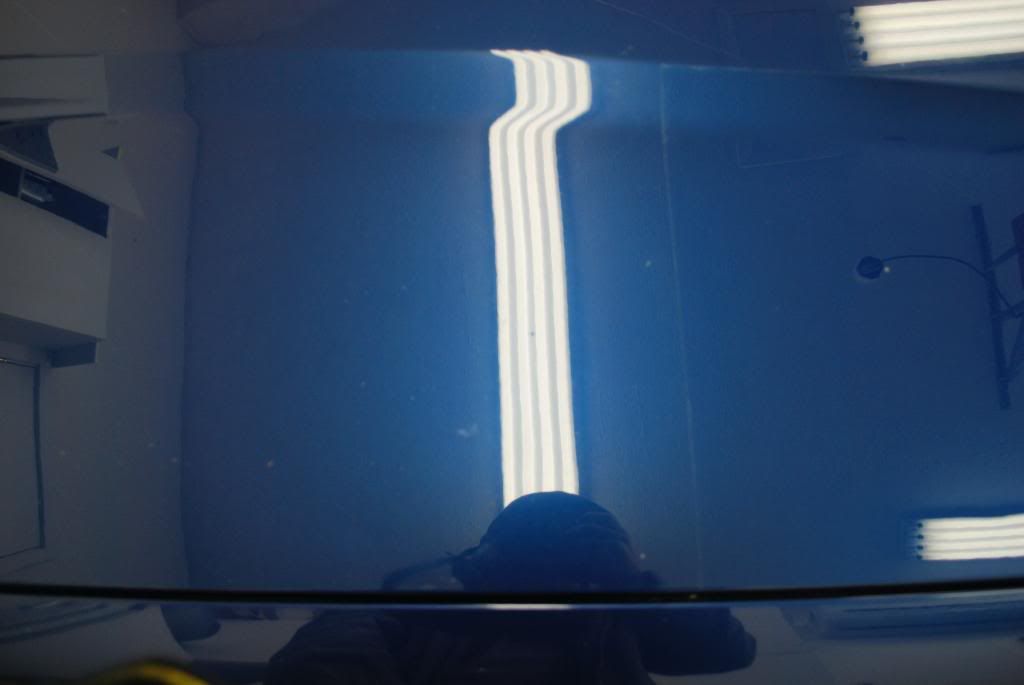
Uncorrected
Part of hood uncorrected
Before
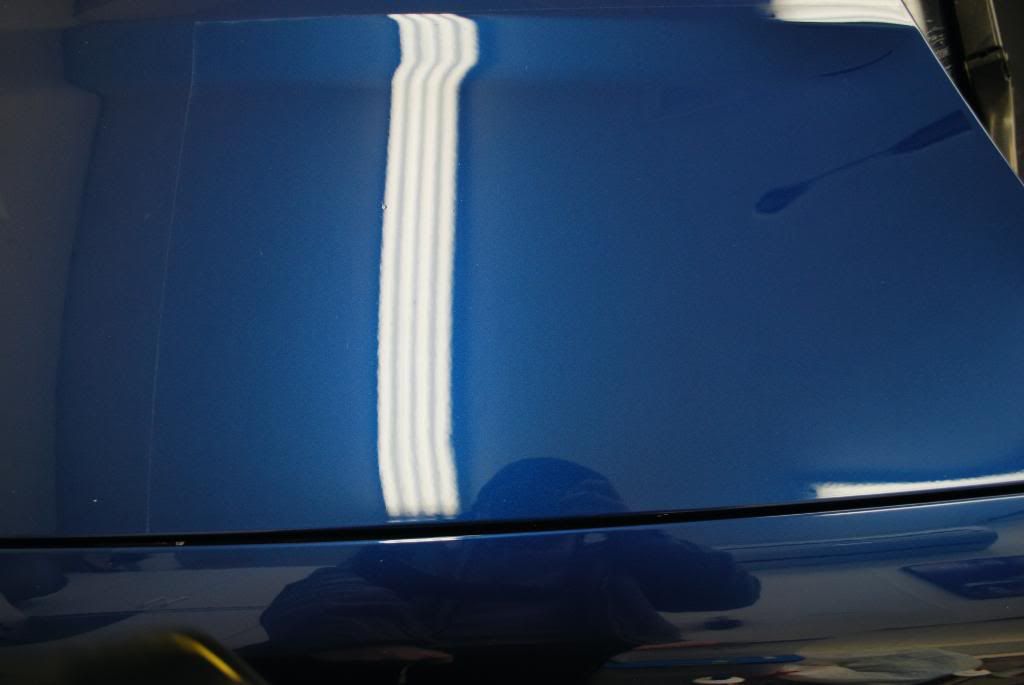
After
After correction and then jeweling at 1100rpm for several minutes w/ M205
A lousy 50/50 after 2 passes using M105, some light RIDS still remain. This is after an IPA or Menzerna TI wipedown (thanks Phil for throwing that in when I got Menz powerfinish)
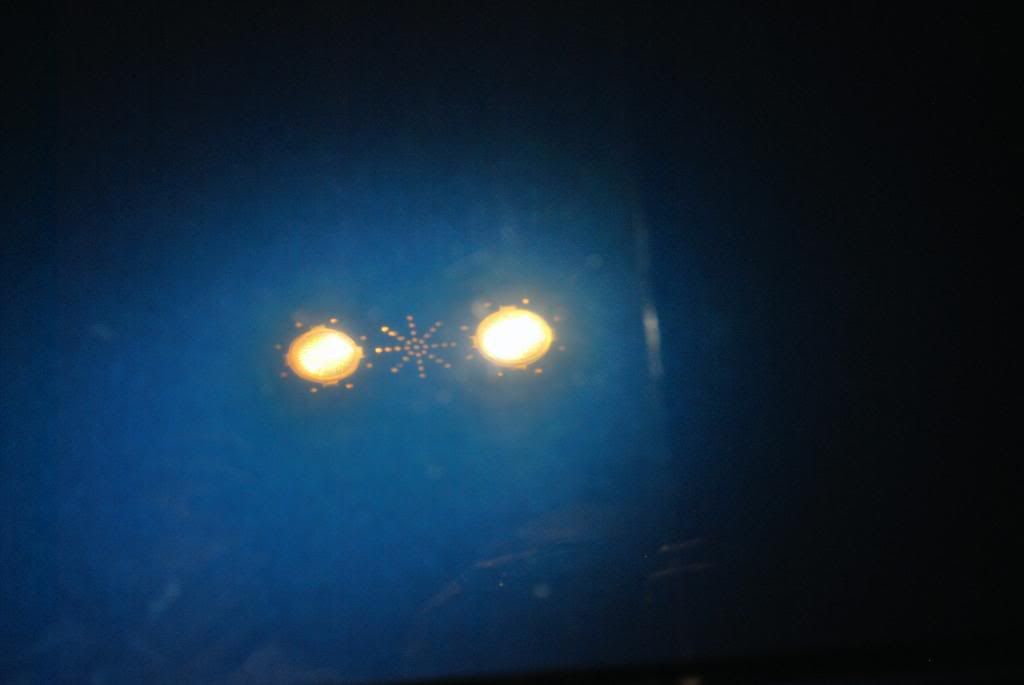
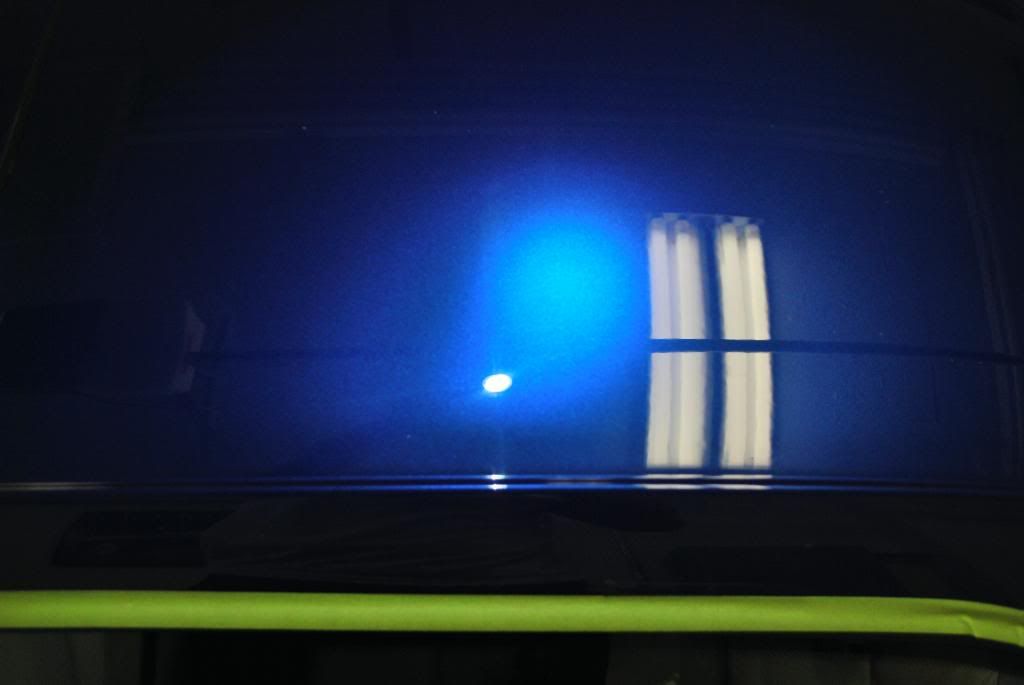
Another, only the hood side was corrected, you see the difference in color and clarity between the corrected and uncorrected sides a little better here
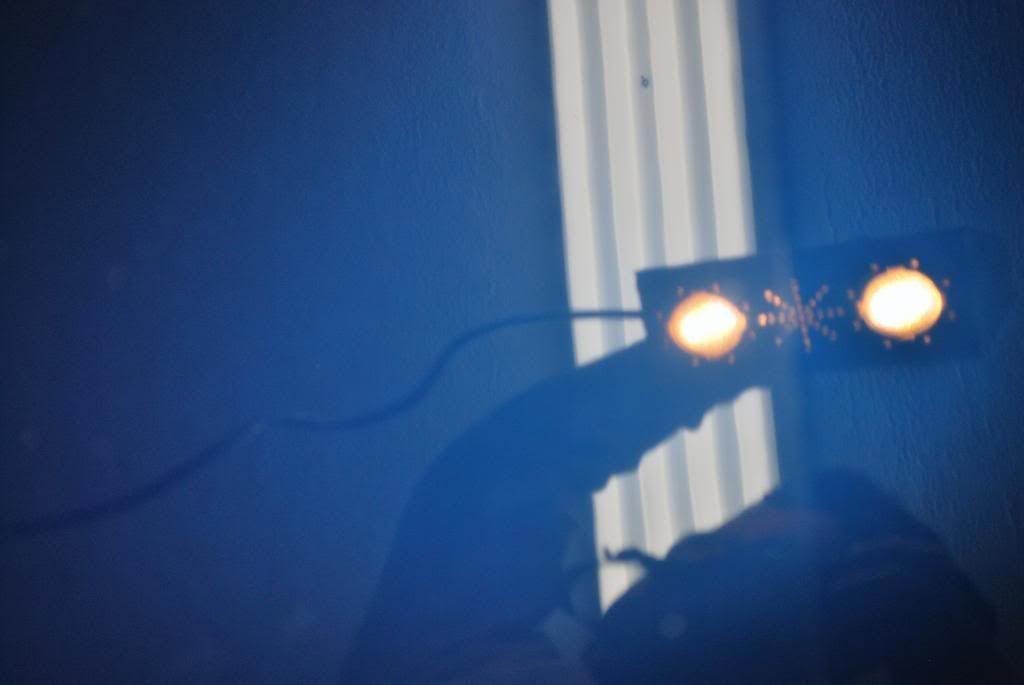
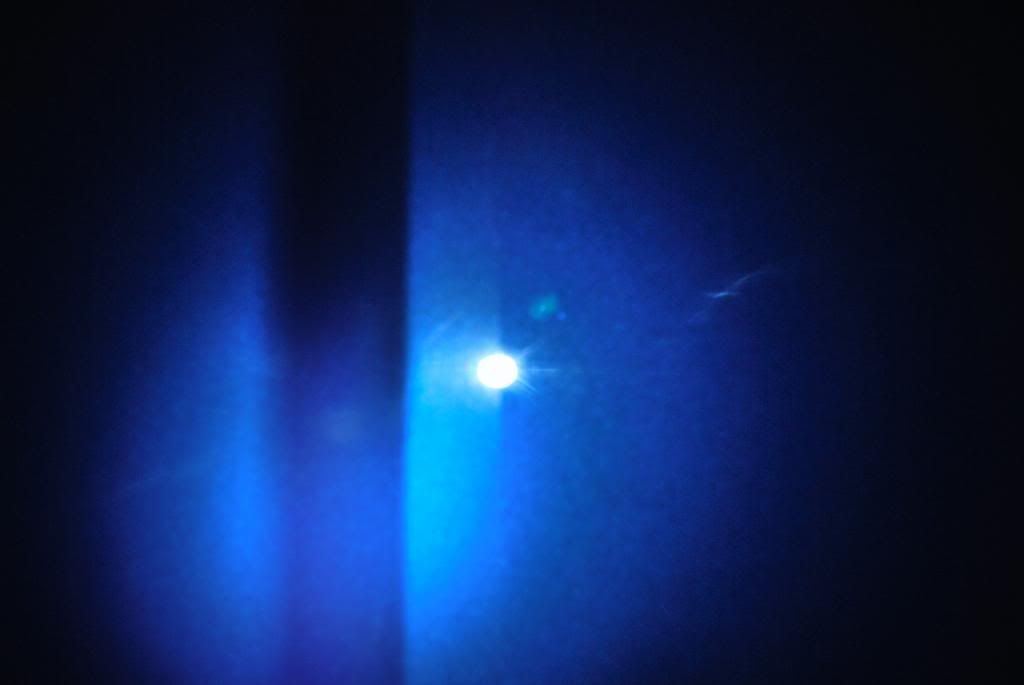
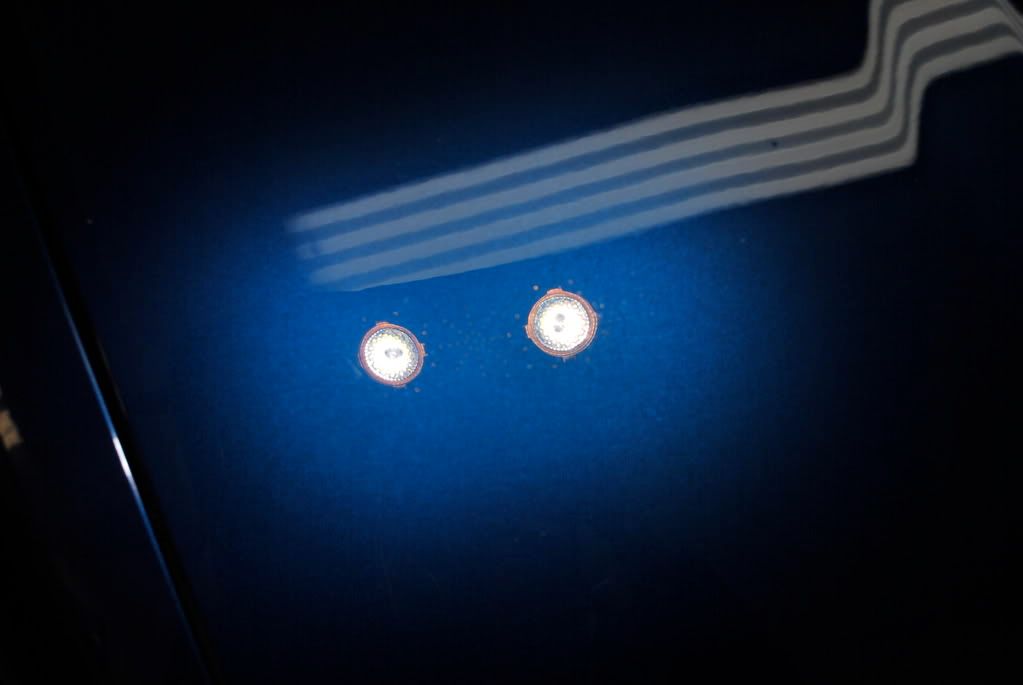
A small 50/50 shot of the hood under the infamous "Light of Truth" Fenix TK10 led
After I did the bulk correction on 90% of the hood using the 5.75inch pad I removed the tape frpm the hood vents so I could manuver the 4inch pads around in that area
I then finished down the rest of the hood with M205 on the gloss it finishing pad using a tiny bit of the EVP on the pad to extend the work time.
I polished M205 at a maximum of 1400rpm as I didnt need it to futher correct the finish but to rather refine it, ie: get rid of holograms and any fine marring left by the M105 prior.
I jeweled at the lowest speed on the Flex 3403 which is 1100rpm for several minutes using very slow passes
working M205 w/ the gloss it EVP
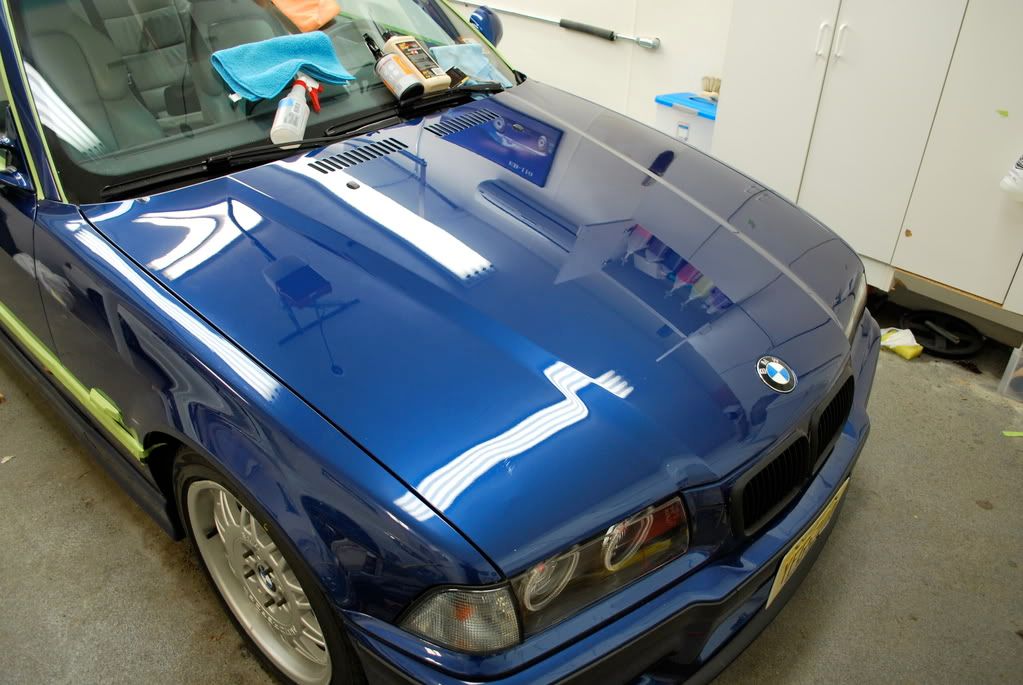
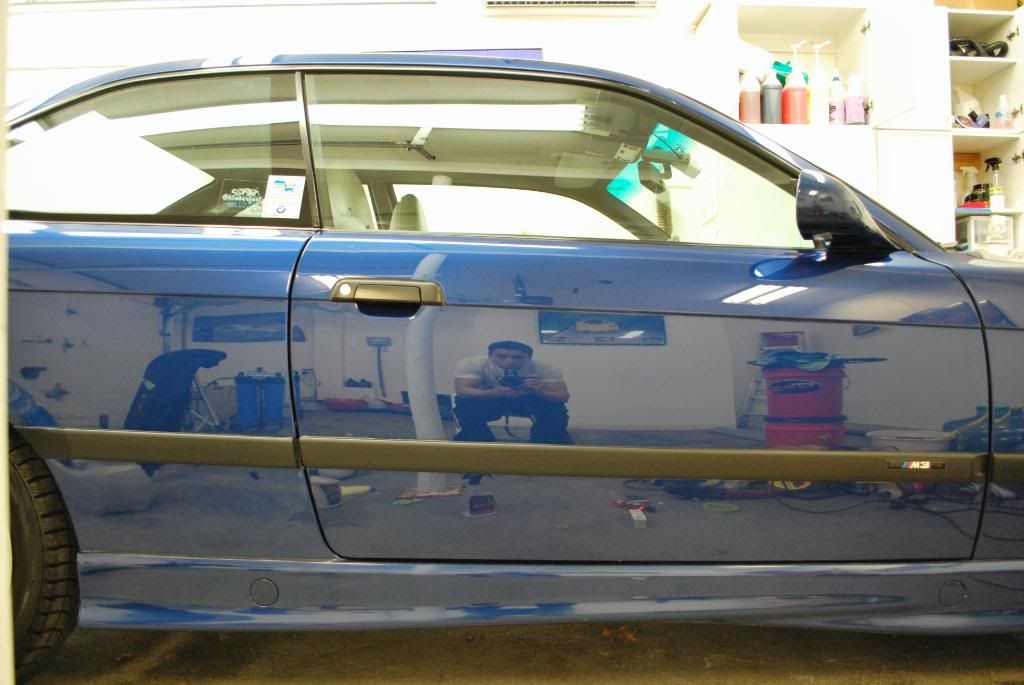
Some finished post polishing shots of the hood, no LSP yet
After the final IPA wipedown post polishing, again no LSP . I feel its important to show these type of shots so people can se exactly what correction did to the finish and that an LSP is only a small part of the final result.
Another
I always start with the largest and most problematic area first, in this case it was the hood. Once I get that out of the way I make my way around the rest of the car. I usually like to correct and finish each panel back to back instead of going around once and correcting and then going around a second time finishing.
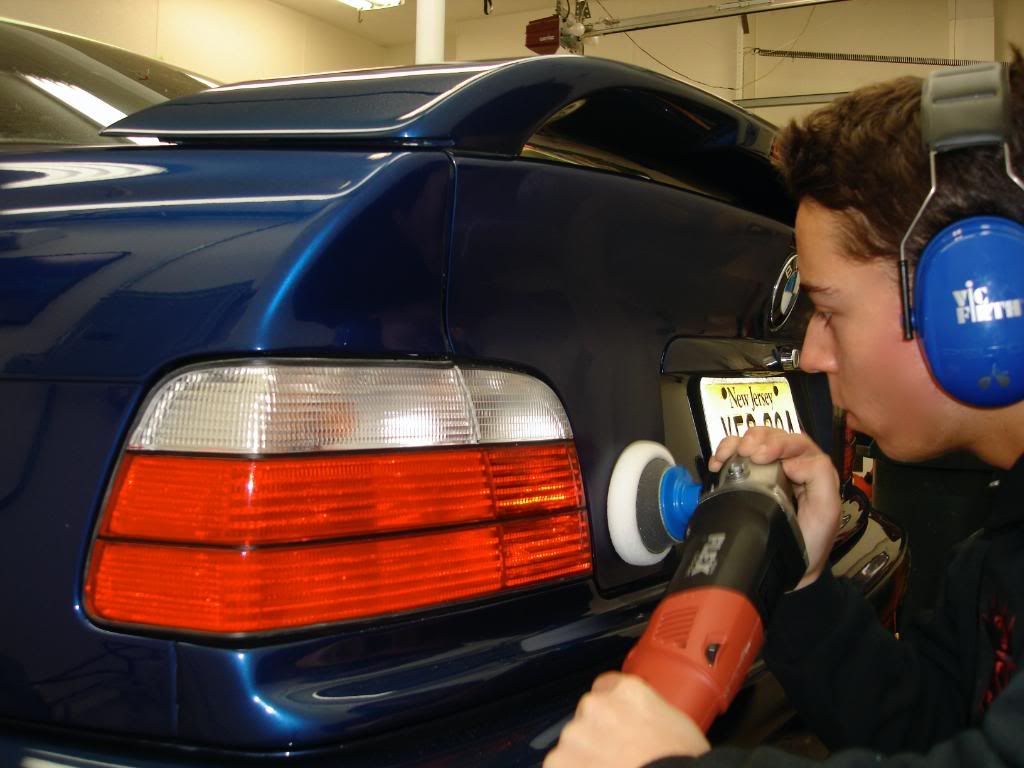
Me correcting the rear license plate area with the 4inch glos it cutting pad and M105, teh flex is great for tighter areas such as this.
Before, wash swirls and RIDS under the fenix
After
After finishing the door panel
I like to hold the Infratech far away because anybody that has one will tell you if you hold it just a few inches off the paint defects will not show up well.
The hood needed quite a bit of attention to work out the deeper RIDS, I used the 6.5 and 4inch PFW pads at 2100rpm for several passes with the EVP to help disperse the heat generated from the higher speed.
A 50/50 the far side corrected and finished
Fenix shot of hood
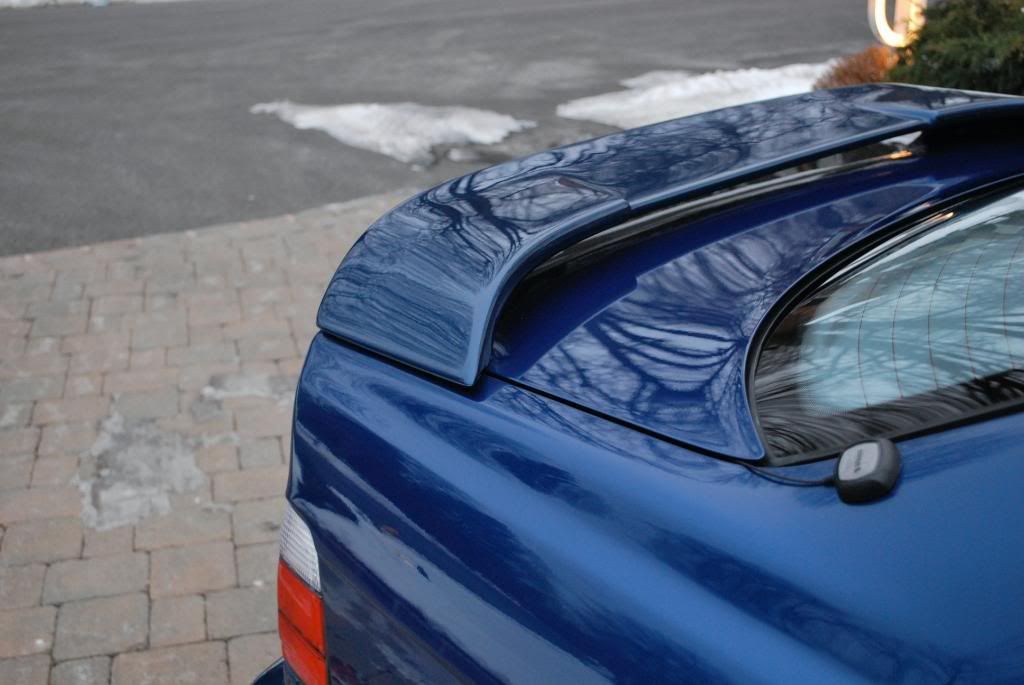
Working the rear deck and wing areas with M205 and the gloss it finish pad, 4inch.
Same here with the 5.75inch finishing pad
Couple videos finishing the rear wing area and rear quarter
(I focused on the flat center on the wing, dont mind the polishing on the edge of the side of the wing)
After jeweling the finish and inspecting it closely under the Fenix, Infratech and standing halogens I was satisfied and proceeded to LSP prep.
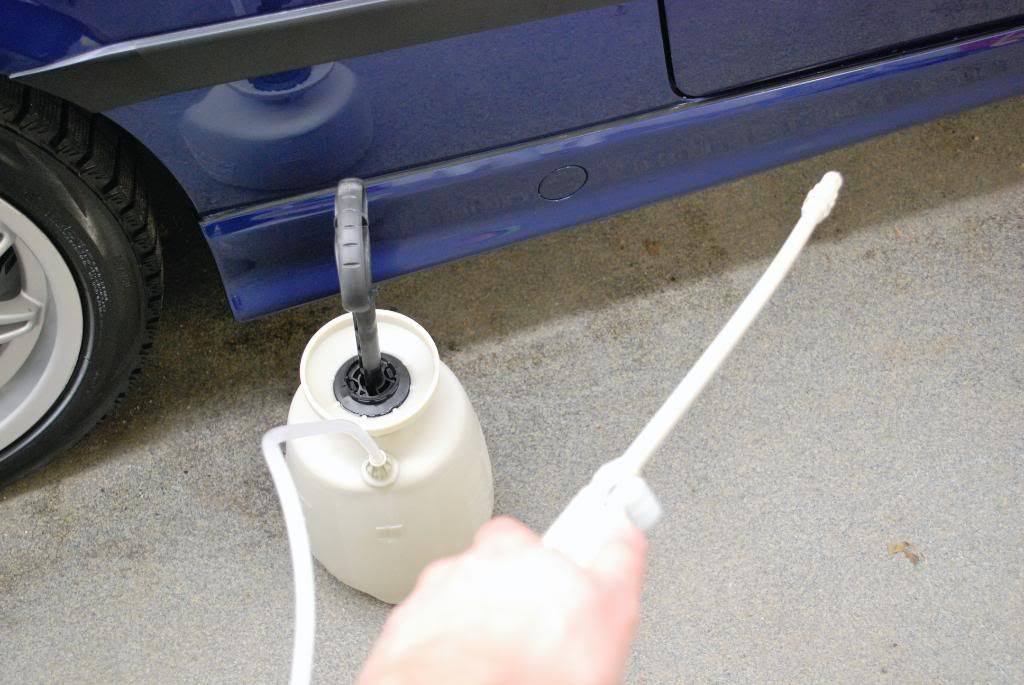
I really avoid re-washing a car if I dont have to and since this car only had minimal dust from the polishing stages I decided to give it a thorough rinse inside using DI water in a pressurized chemical sprayer. I made sure to spray all the little crevices and areas around the glass to get out any particles of dirt or dust.
DI rinsing in the chem. sprayer
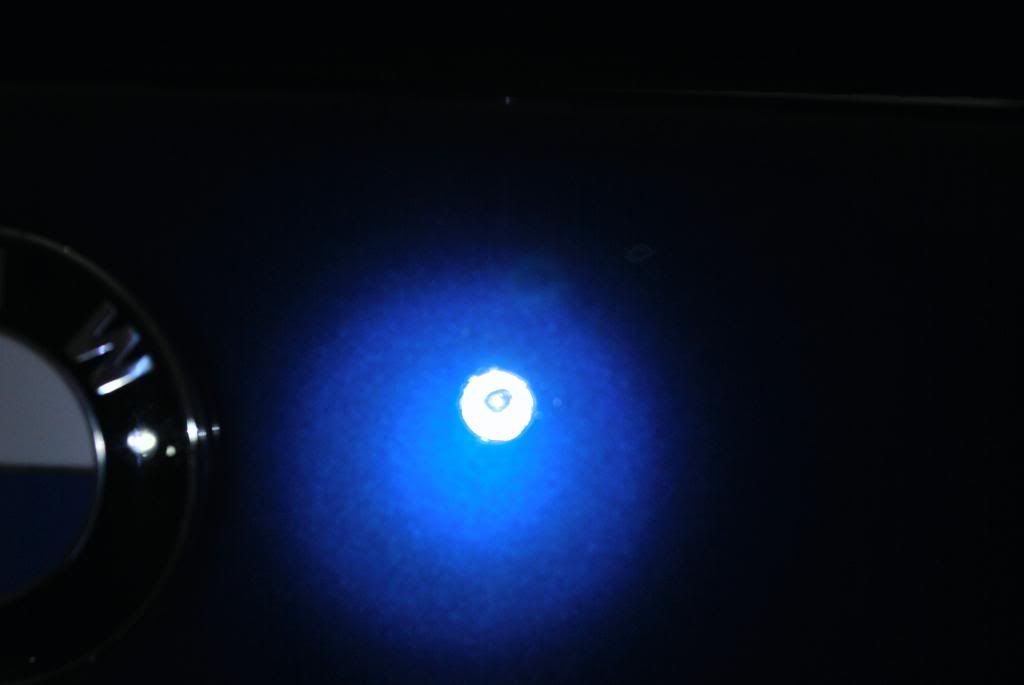
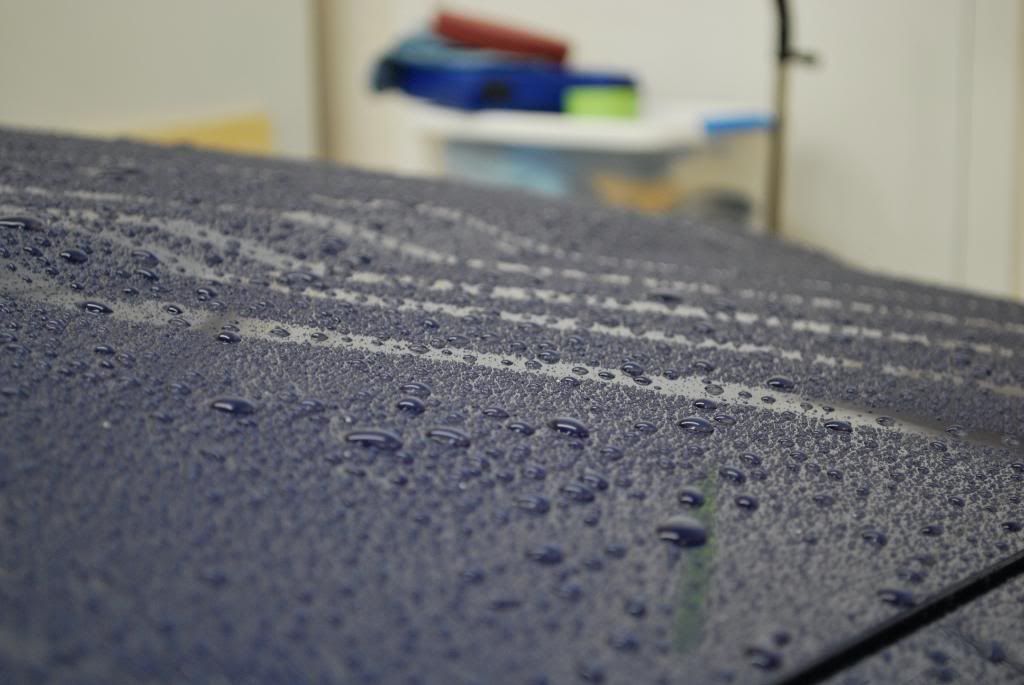
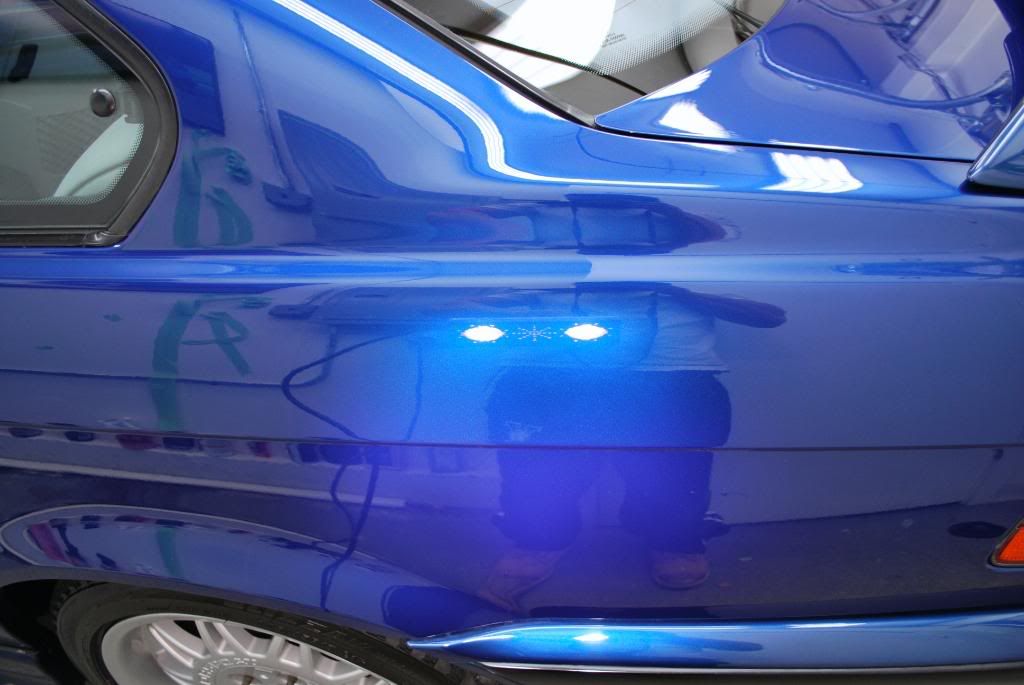
Here are some natural beading shots, leveled paint on its own will bead quite nicely
Close up of the "no LSP" rouge beadsicture:
I patted the car dry with some waffle weaves and started work on the interior and trim before LSP.
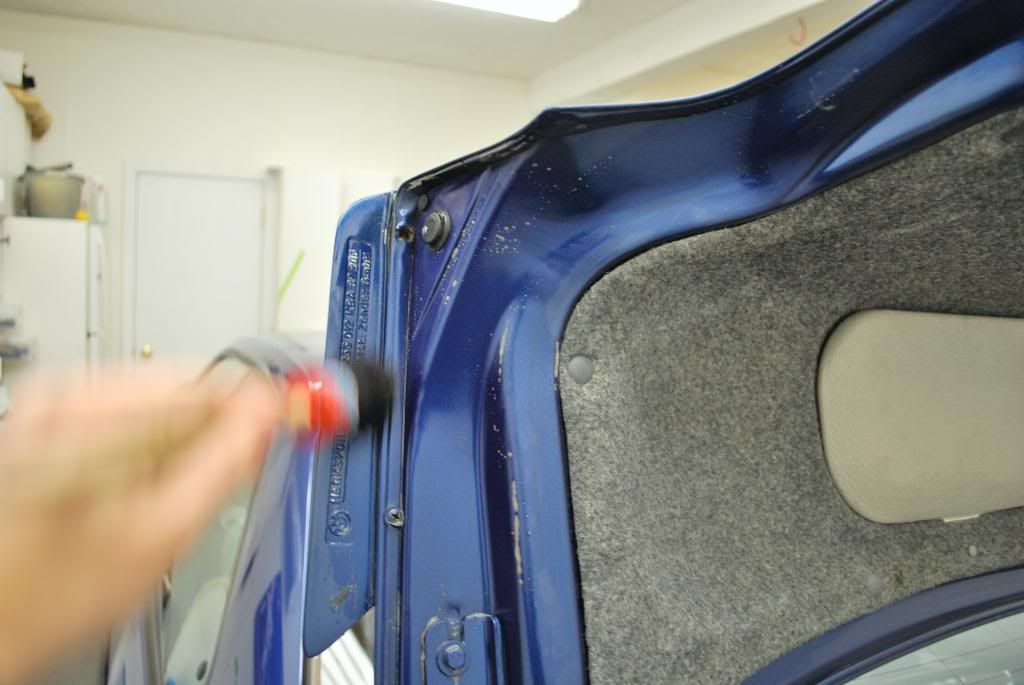
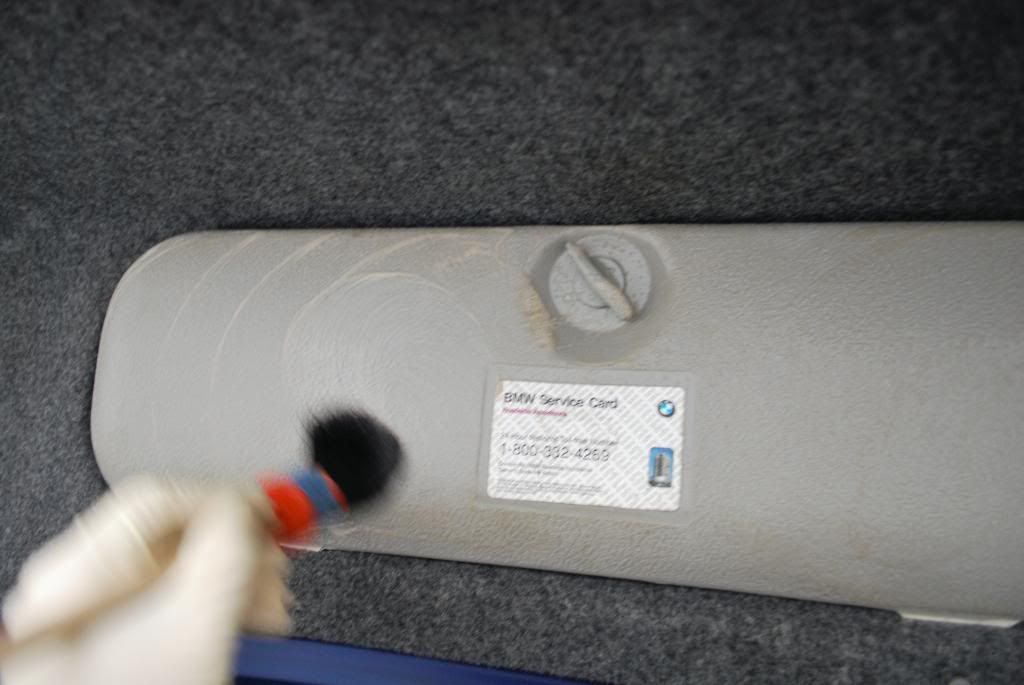
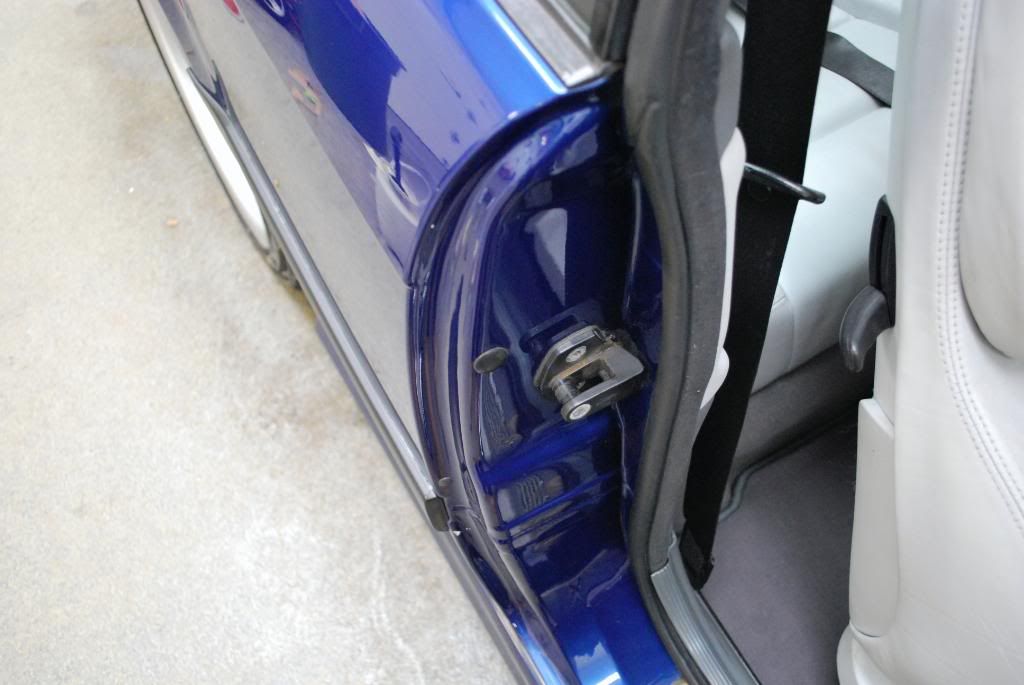
Safe Degreaser was used on the door jambs etc. agitated with a dedicated swissvax brush I use for interiors
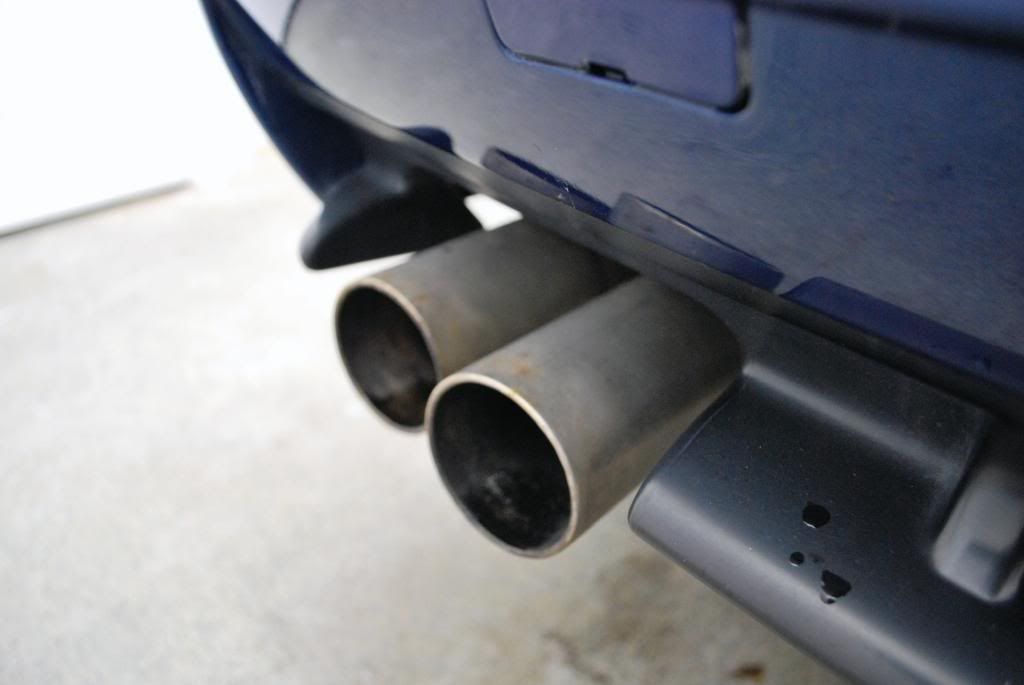
Exhaust before
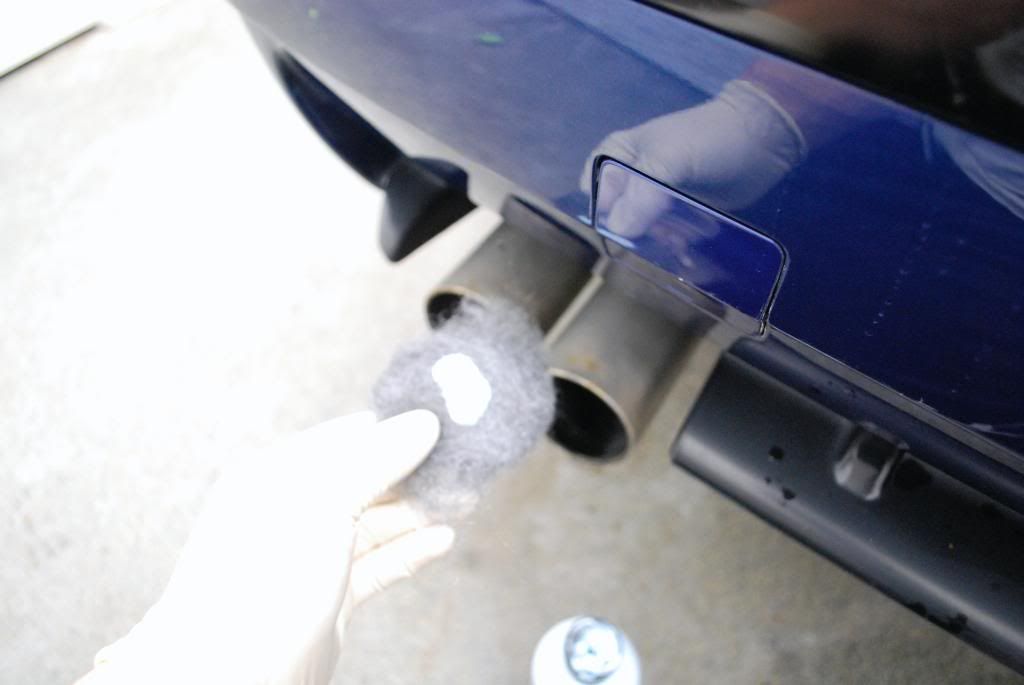
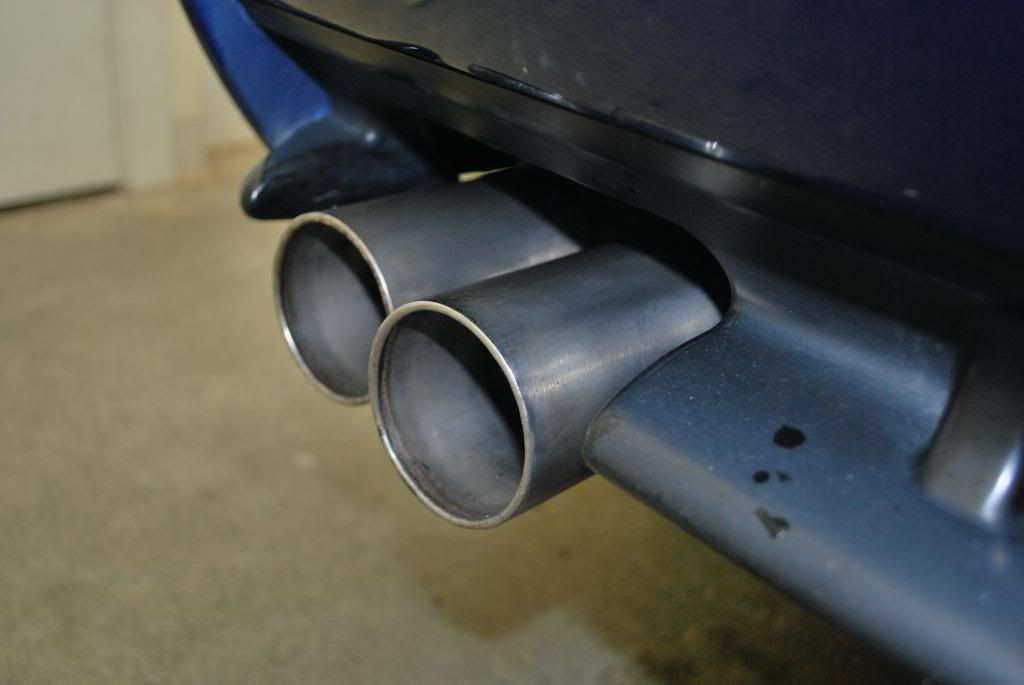
I used #0000 steel wool w/ adams metal polish #1 to clean the outside and inside of the tips
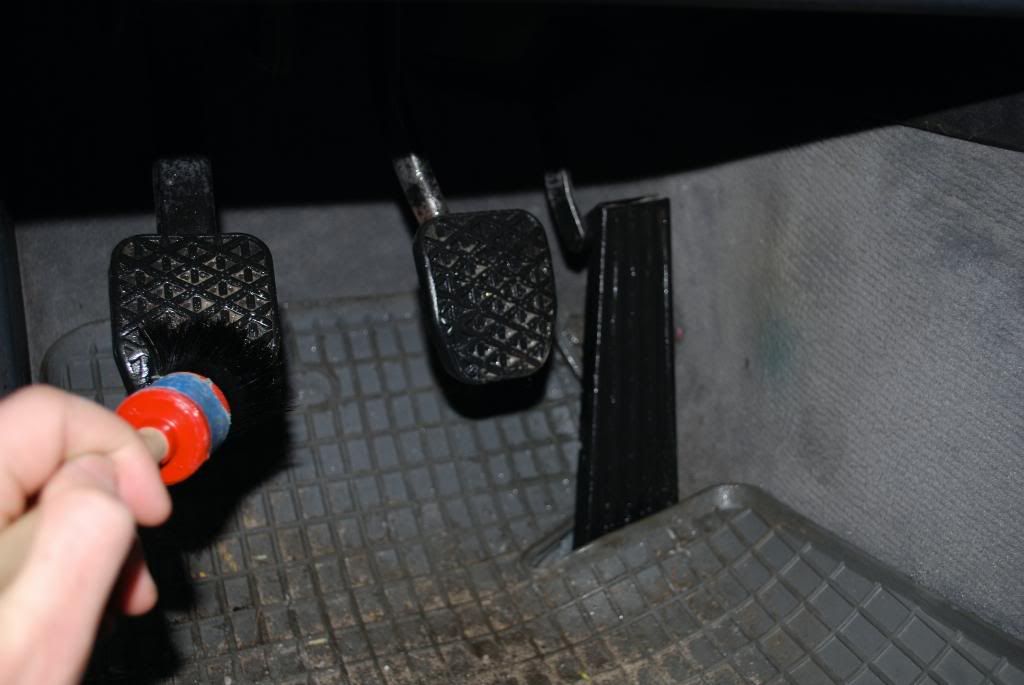
For the interior work there wasnt a whole lot to do as it was kept in very clean condition. :applause:
I started with the pedals
I cleaned and conditioned the hides with the gloss it interior twins.
Gloss It satin leather cleaner
Gloss It satin leather polish (conditioner)
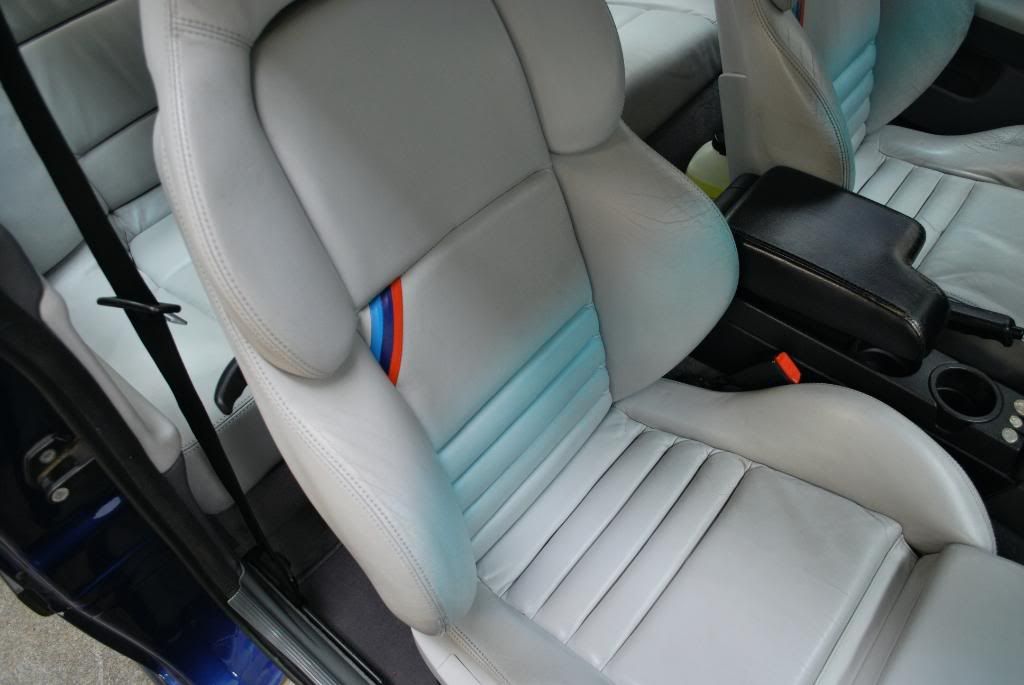
The seats had some cracking unfortunately
Door jambs were hand polished with Werkstat Prime and topped with Gloss Finish sealant
The dash was cleaned and then treated with Gloss It TRV protectant, it left a very nice matte finish which fit well with the natural matte finish of the leather seats and dash.
Plastic was treated with 1Z CP.
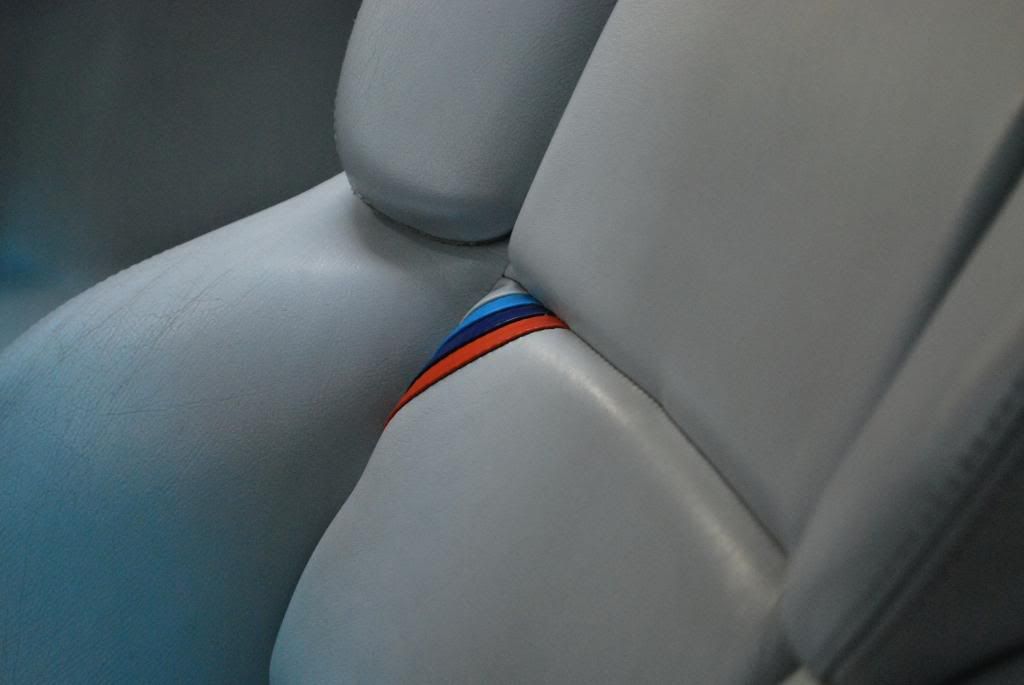
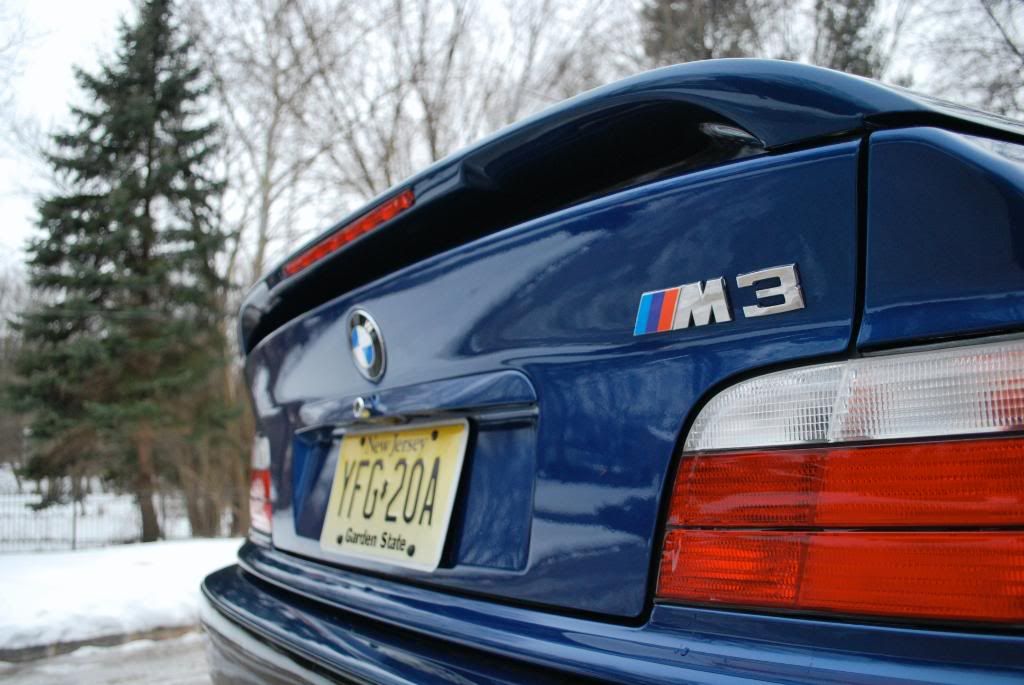
I think it should be a rule that all BMW M cars should bear the motorsport stripe on the seats, little details like such I appreciate greatly, the owner firmly agress with me on this :headbang:
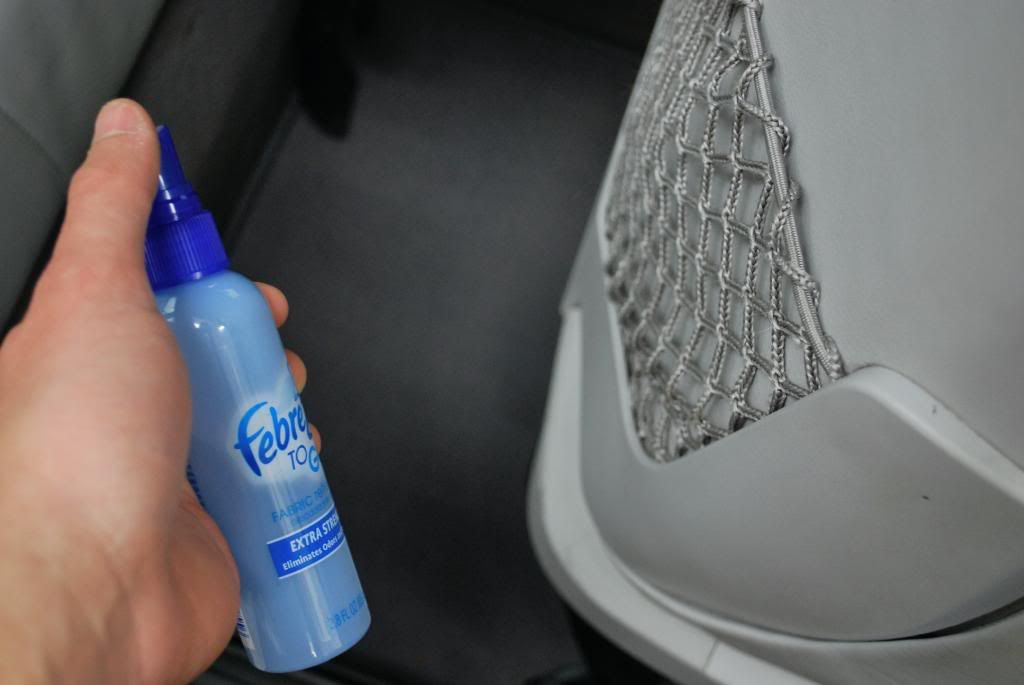
Little finishing touch on the interior, I like to mist a little Febreeze on the carpets and in the trunk area... just something I do:shrug:
Now onto the LSP stuff.
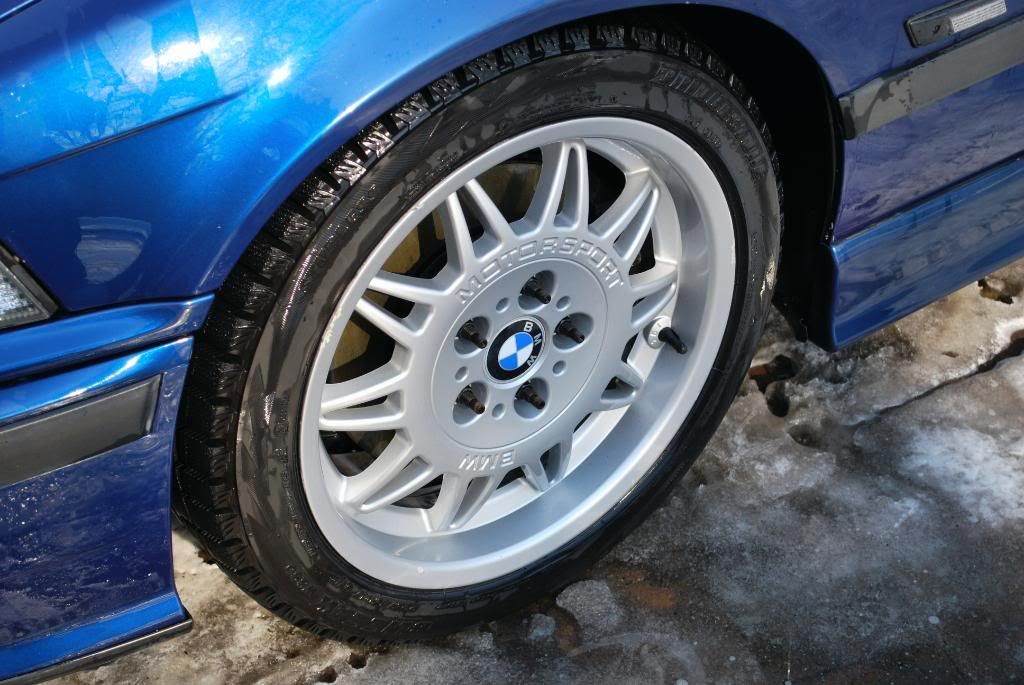
-Tires were dressed with 2 coats of Gloss it Signature Tire gloss which left a deep matte finnish.
signature tire dressing soaking
-Wheels were hand polished with Wertkstat Prime and topped with Rejex sealant
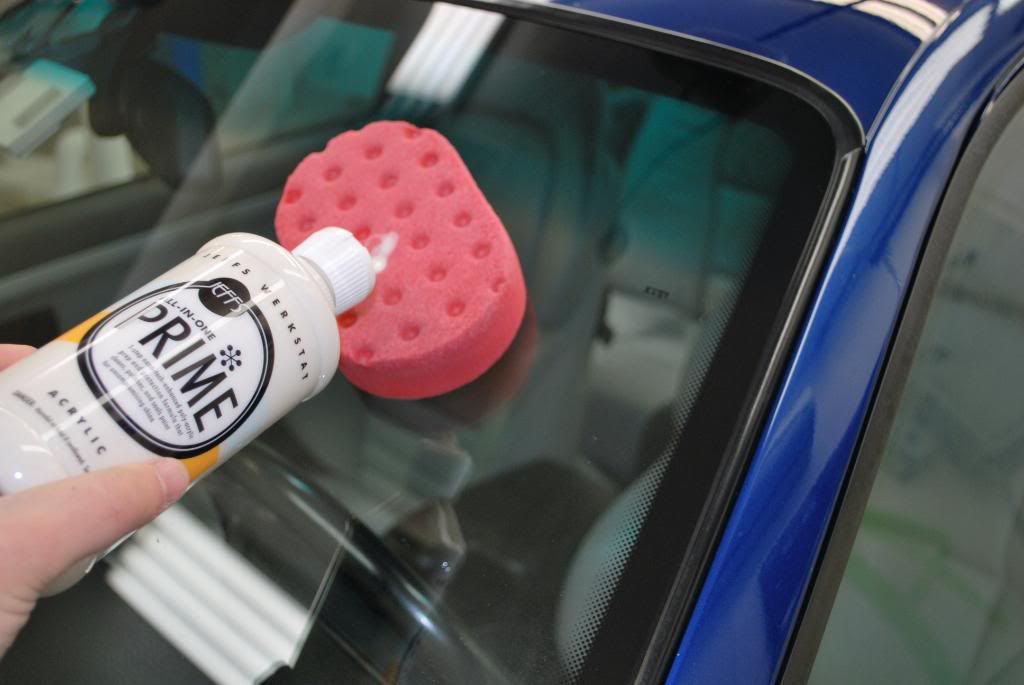
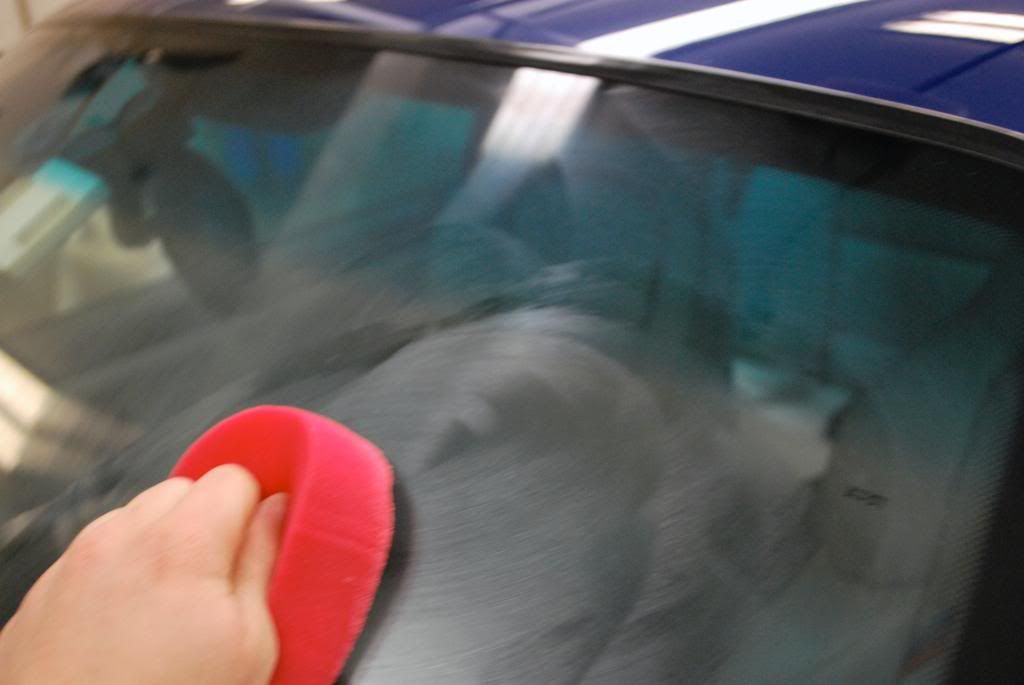
-Glass was hand polished/prepped also with Werkstat prime
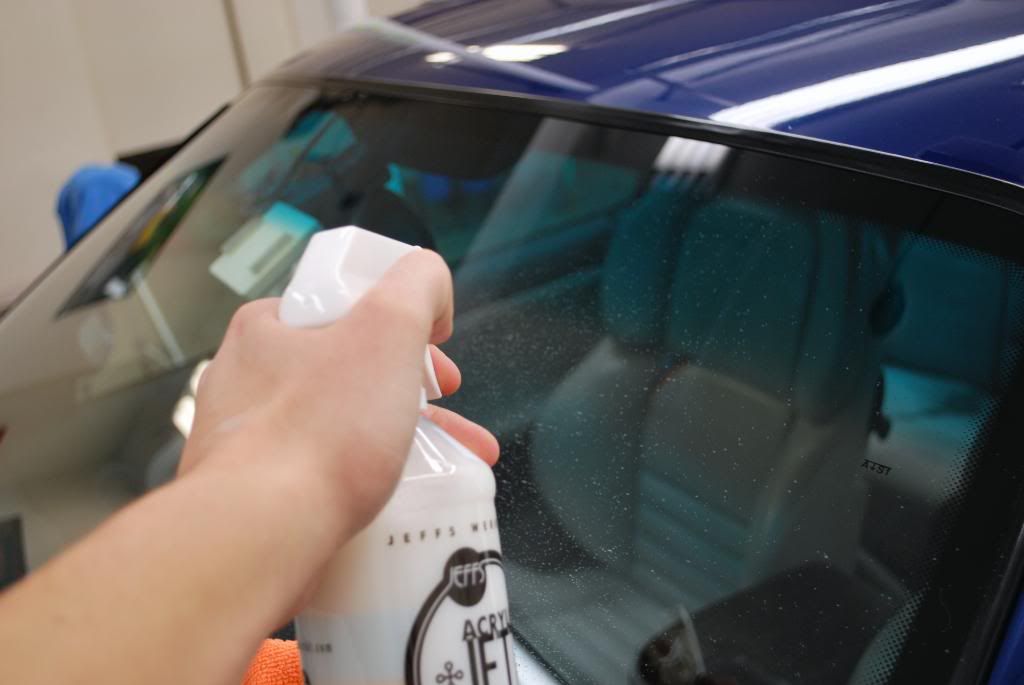
And topped with Acrylic jet trigger
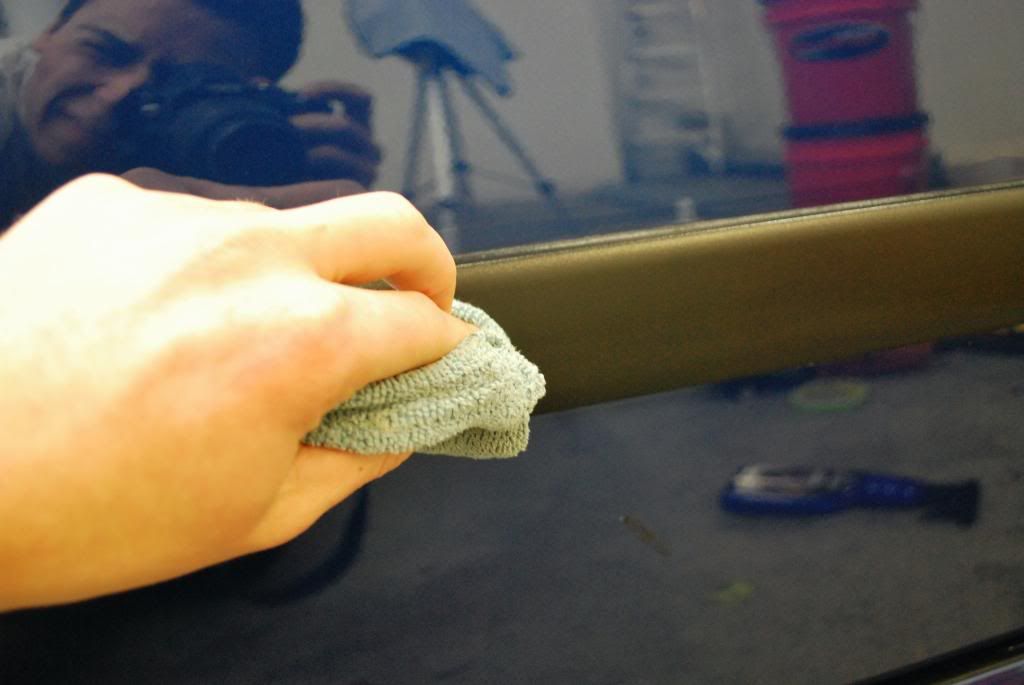
All plastic trim and moldings were treated with Black WOW or Einzette gummi pledge
Before Black WOW
After, looks great but unfortunately BW is a real paint to get off windows. You can see some of that smearing required me to re-clean the windows later:doh:
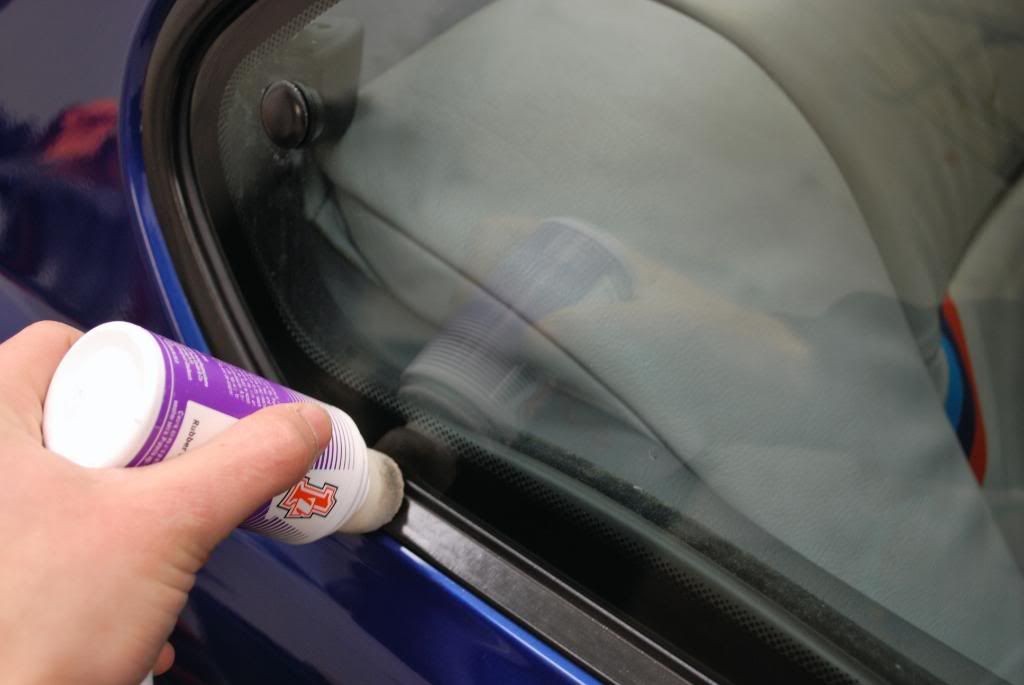
The gummi pledge I find is perfect for the trim around glass
The windshield washer sprayers were a little faded as well so they were to treated with the gummi pledge
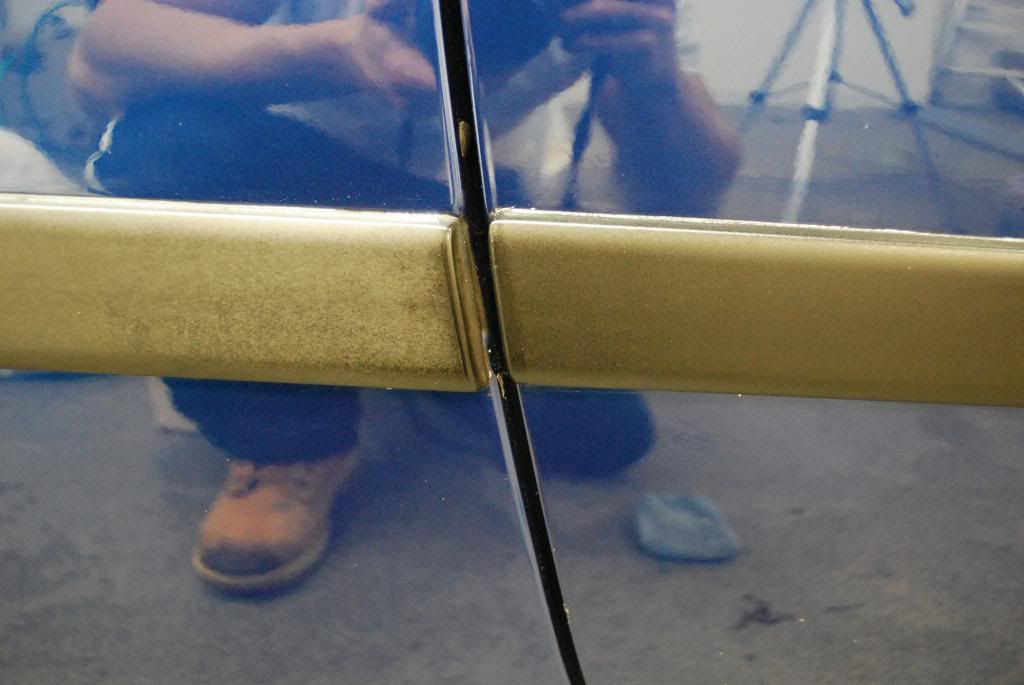
The moldings on the lower panel were a bit tarnished from the prior salt sitting on the car, after cleaning with some IPA I applied black wow via MF applicator
50/50
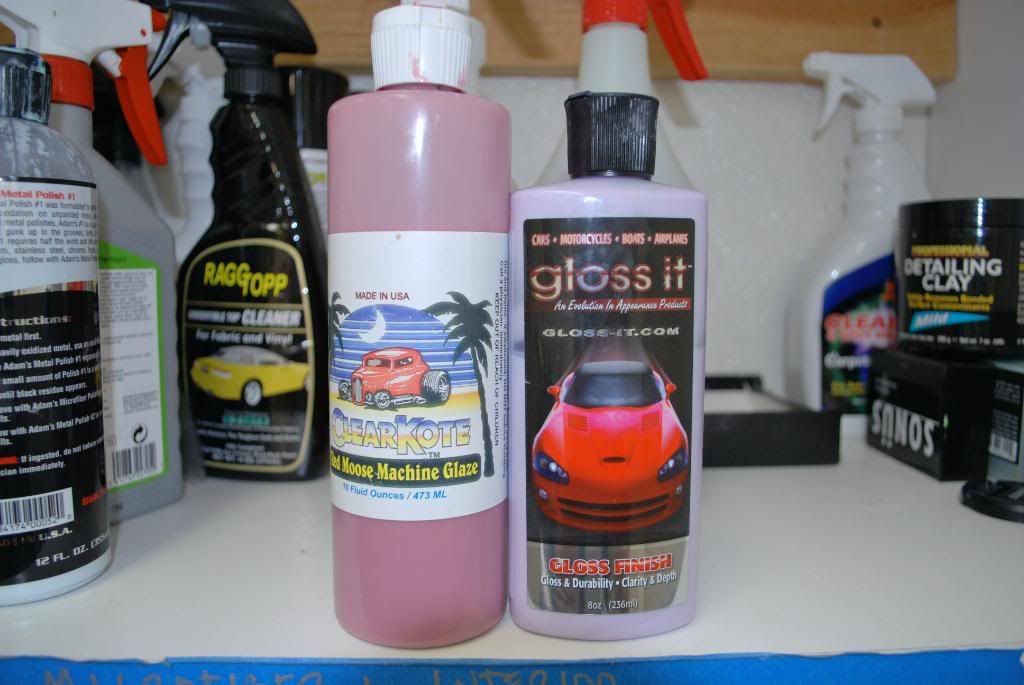
After some consideration for the paint LSP I decided on an unusual combo I thought would maximize the depth, clarity and flake of this Avus Blue finish
I first applied Red Machine glaze to the paint via the flex DA and a blue final finish pad and followed up with Gloss It Gloss Finish
I found RMG to be a great choice for this color, added a nice wet look before topping the other 2 LSP's which were Gloss Finish and Concourso Gloss from gloss it.
I normally do not use glazes and go straight for multiple coats of sealant but I did believe this color would benefit from a base coat of RMG. On blacks I never bother with glazes, but I really like the look of RMG on dark metallics such as blue or gray.
I went over the car again with the flex this time with the Gloss Finish, I let it cure for about 15mins and buffed it off with plush MF.
As a final topper I added Gloss It Concourso gloss on top of gloss finish, I applied the Concourso by hand via red CCS oval applicator. It only takes about 6 or 7 minutes to coat a whole car and then I immediately buffed it off.
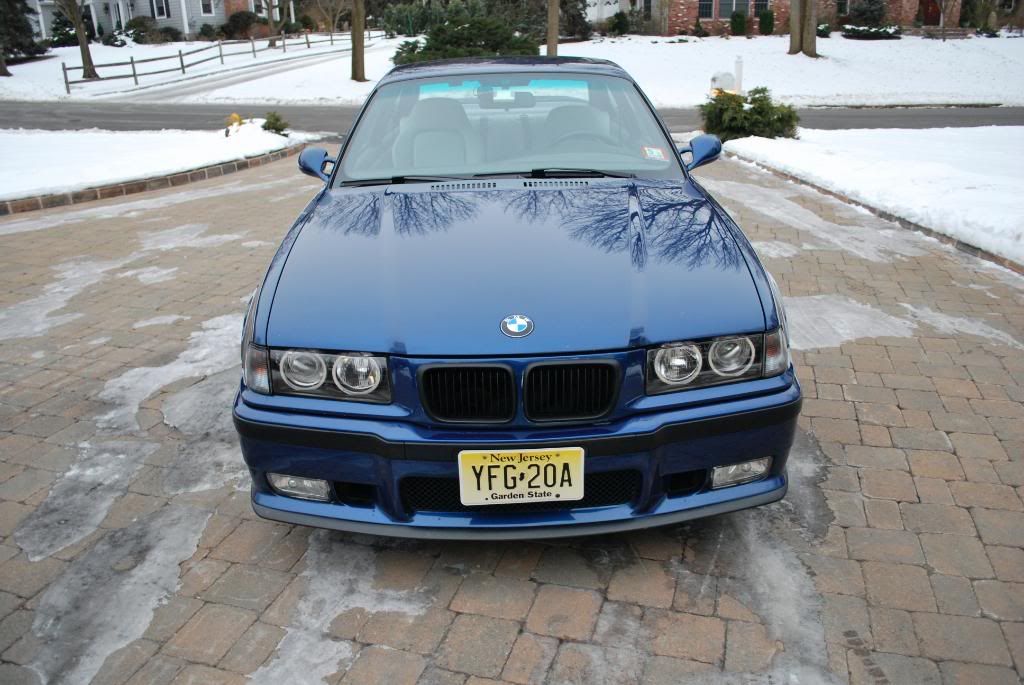
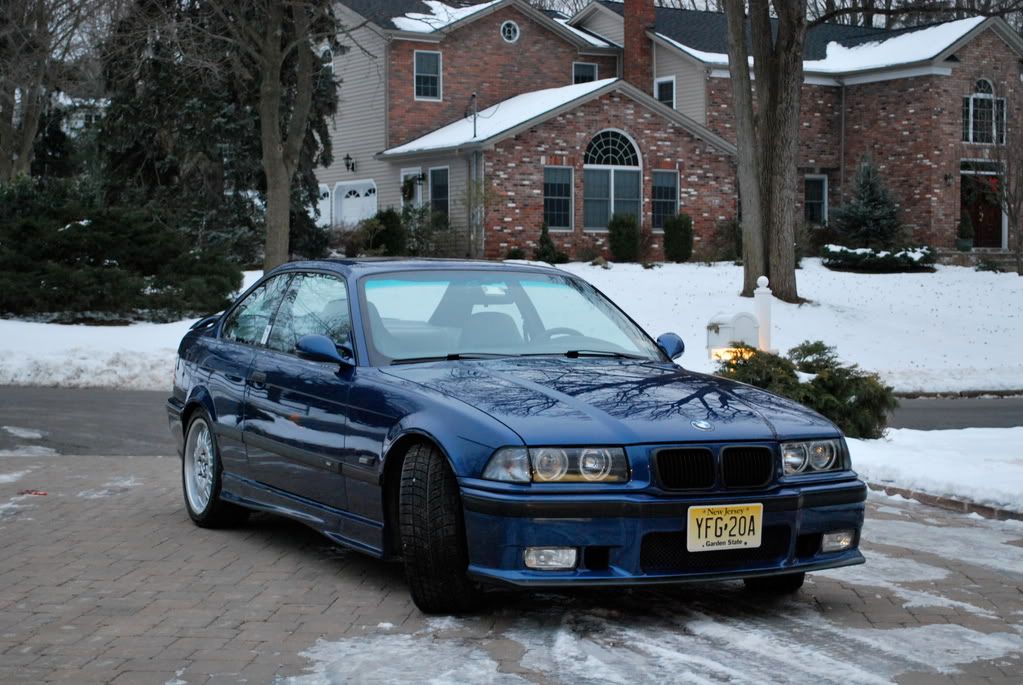
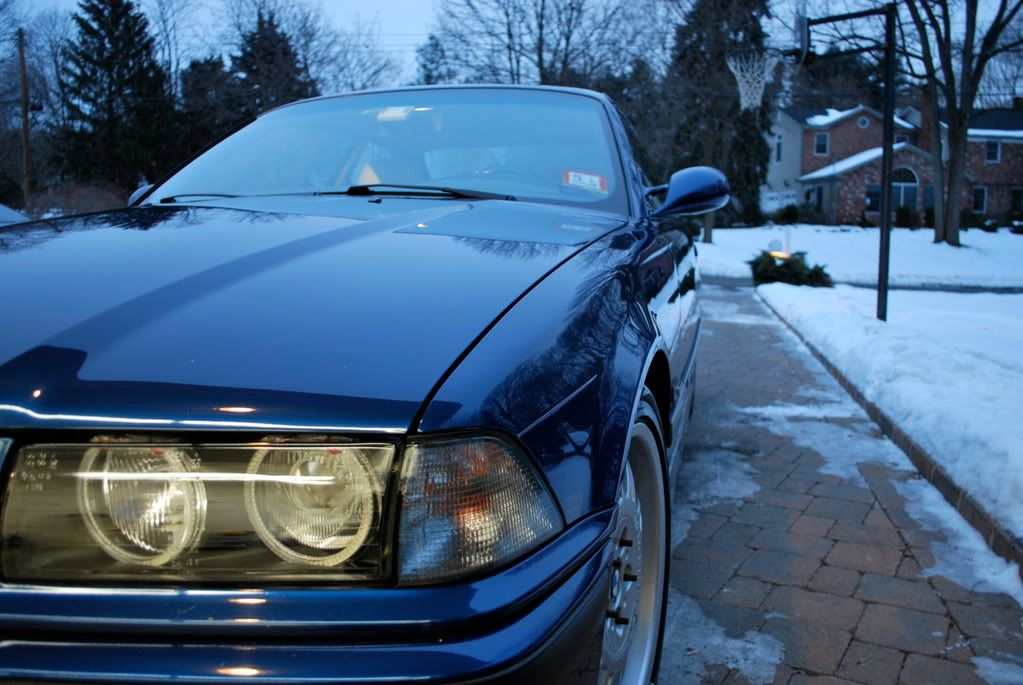
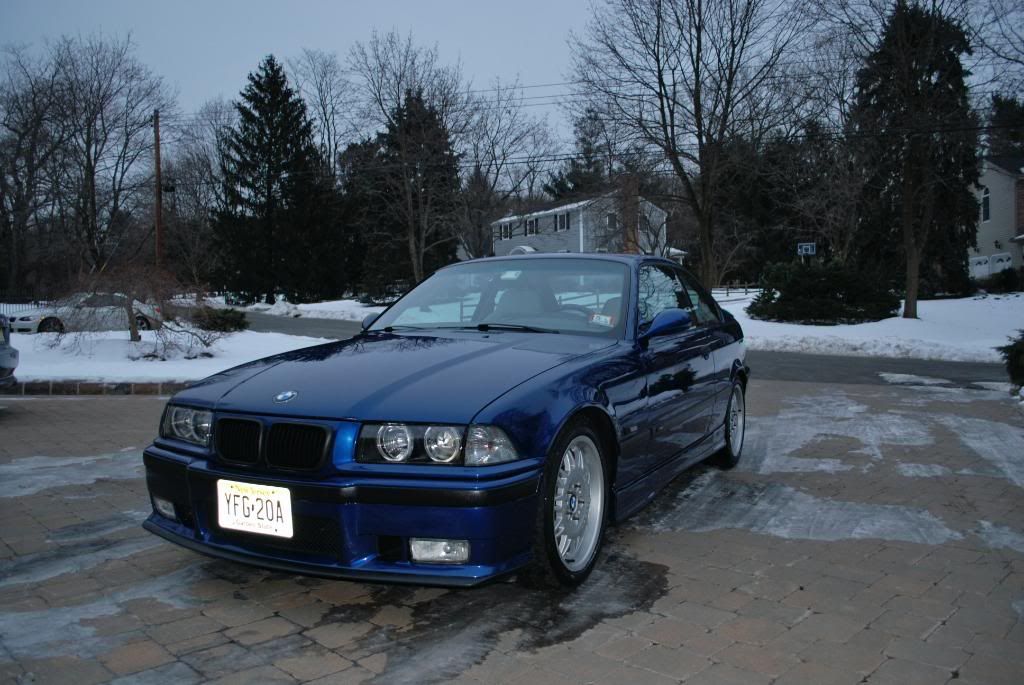
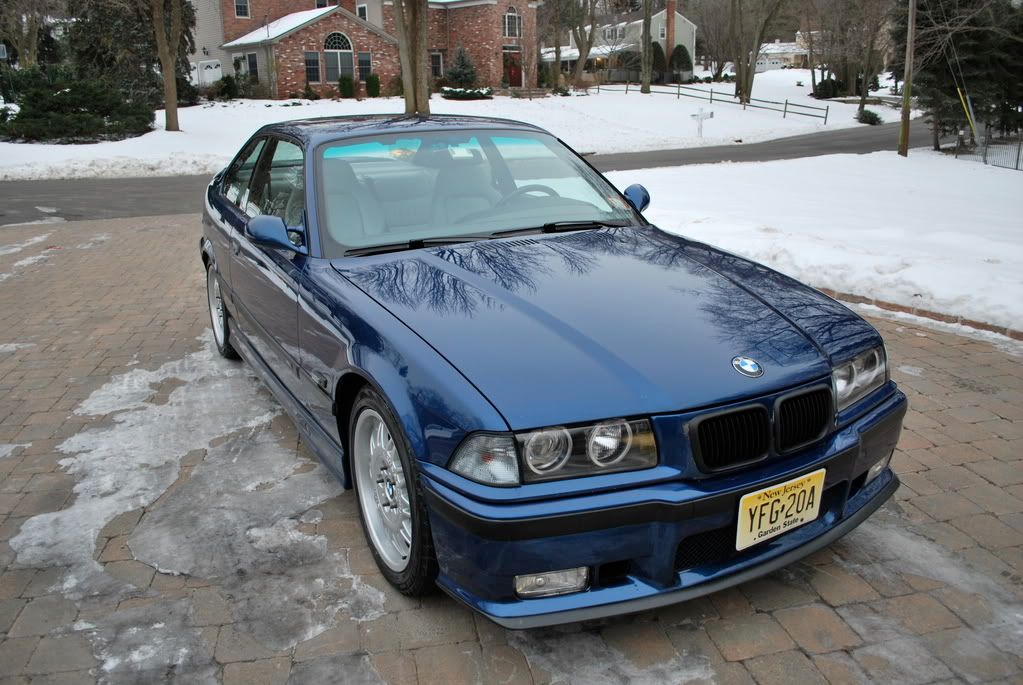
Before the sun went down I pulled the car outside for some quick shots. I wish there was some sun out but as per an NJ winter there were only clouds in the sky...and ice on the driveway!
It started to get dark quickly so I snapped one more, you can see the paint in a different light here
Back inside for the final wipedown with Gloss Enhancer QD and some final shots
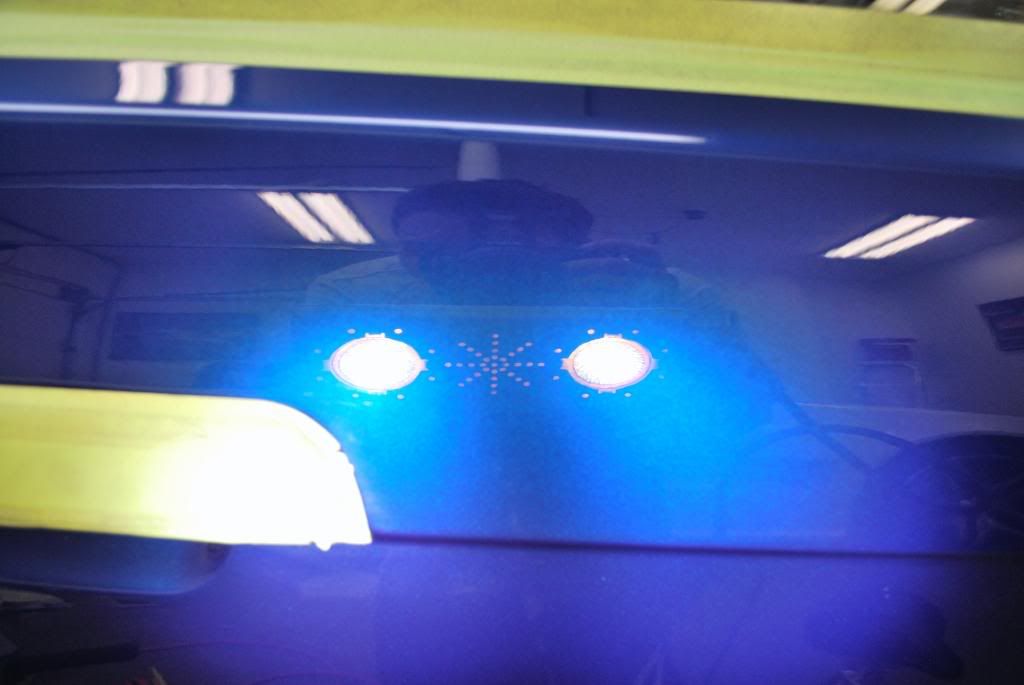
I did another Infratech shot to see how the flake looked after LSP
Hello there icture:
This is my personal favorite shot of the M3
I also took 2 videos of this car, one inside under my garage lighting and the other outside. People have said to me the cars I detail look a certain way because how bright my garage lighting is and that maybe those cars dont look that way outside.
Here is the video outside, again sorry for not having good daylight
And here is the video inside
I know this was a long write up but I enjoyed doing it. I thank you all for taking the time to read it. I am open to all comments, questions and constructive criticisms.
dude your work is getting better and better by the post! im not sure your age but you look a little you to me like eaqrly 20's. by no means am i getting on you about that! your work is really getting very nice for someone at your age! if my guess is right! steller job! outstanding! very nice attention to details during that degressing. and by the way! im in pa i know that weather you got there! all i can say is your dedicated! :xyxthumbs
ou look a little you to me like eaqrly 20's. by no means am i getting on you about that! your work is really getting very nice for someone at your age! :xyxthumbs
some seriously sick work: superb attention to detail, beautiful outcome.
i know exaclty the problems black wow can give. you may want to pick up a few seriously cheap foam applicators from HD or something of the like. here's a link to a random google site carrying them. Foam Paint Brushes: Solo Horton Brushes
they're maybe a buck, come in different sizes, and are great for treating trim like you had to do.
460 views and ONLY 17 replies??? That is kind of a shame considering that this is one of the most thorough and well explained details I have seen in a long time.
I know how hard these theads are to put together and commend you on a job well done. Thanks for sharing!


 :
: